Tag: Recipe

  • Greek Pasta Salad Recipe

    Greek Pasta Salad Recipe

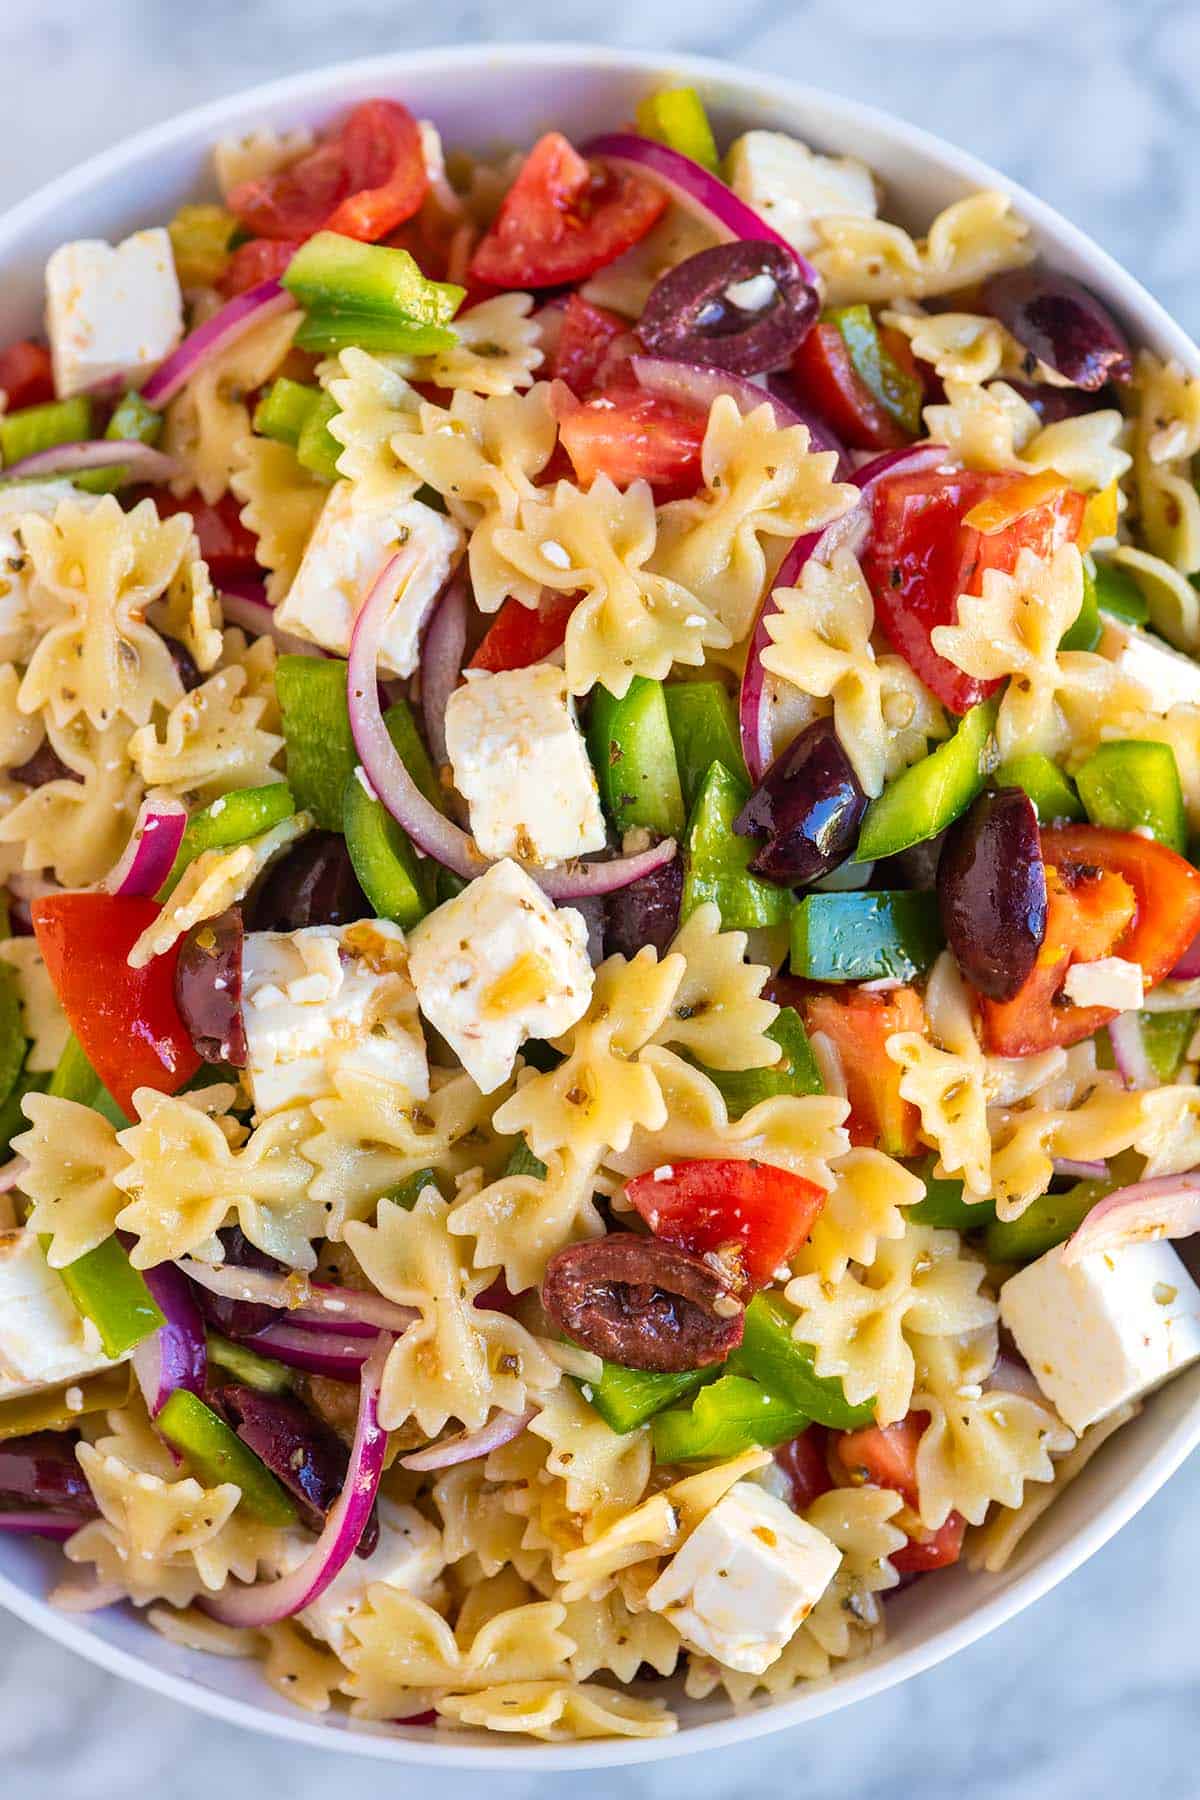
    This Greek pasta salad recipe is fresh, colorful, and made with the most irresistible homemade dressing. Perfect for summer entertaining and potlucks!
    Greek Pasta Salad

    Inspired by our favorite Greek salad, this easy pasta salad combines fresh tomatoes, red onion, olives, and creamy feta cheese. It’s simple to shop for, comes together quickly, and always tastes like summer.

    Serve it as a side dish, or make it a full meal by topping it with grilled chicken, shrimp scampi, or your favorite protein. For an Italian twist, try our Italian pasta salad with salami. It’s just as easy and just as delicious.

    Key Ingredients

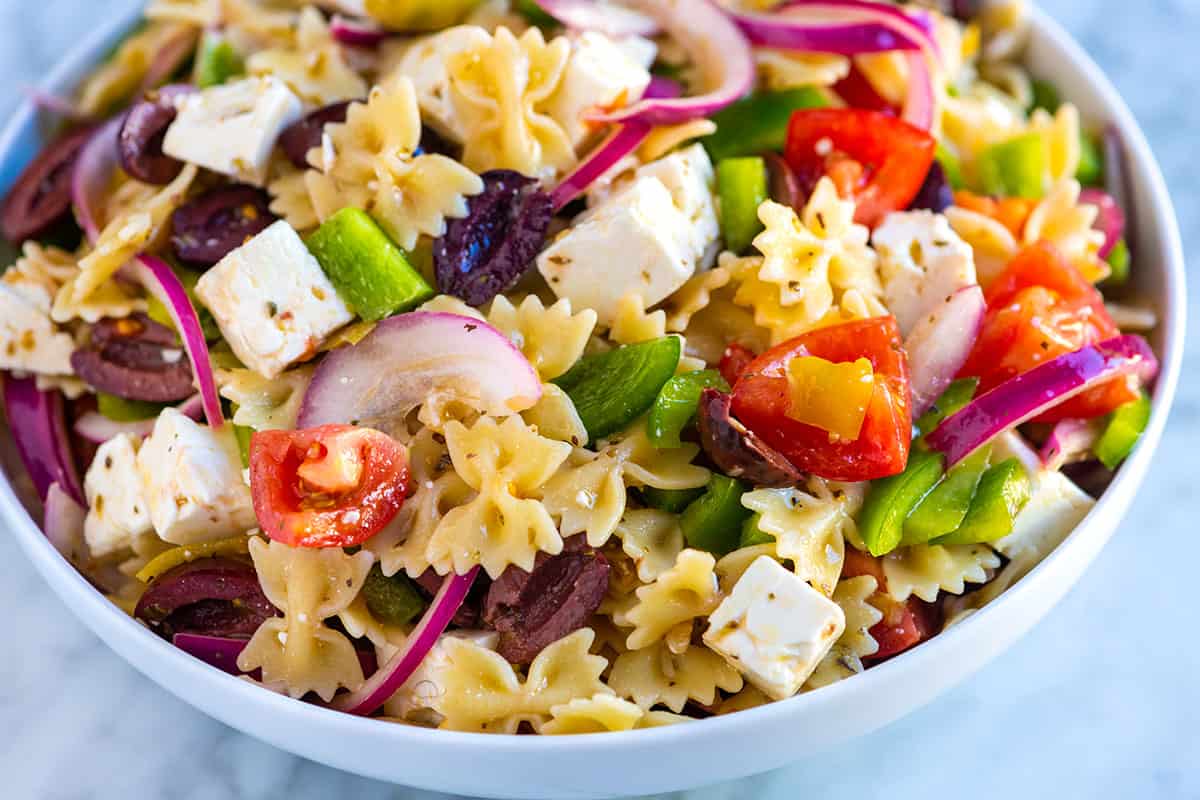
    • Pasta: I used mini farfalle in the photos, but choose a shape that has plenty of nooks and crannies to catch the dressing. Penne, fusilli, rotini, farfalle (bow tie), and orzo are all great options.
    • Veggies: This calls for the same veggies as a traditional Greek salad, except for the cucumber, which doesn’t hold up as well over time. I add tomatoes, red onion, and green bell pepper.
    • Olives: I’ve used pitted Kalamata olives in the photos, but feel free to use your favorite olives instead. Consider black, green, or Castelvetrano olives.
    • Feta Cheese: Choose feta sold in brine if you can. It tastes better than pre-crumbled feta, and you can even add a spoonful of the brine to the dressing for more flavor.
    • Pepperoncini Peppers: These are optional, but I love them. I like to slice them thin and mix them into the salad, plus add a splash of the pepperoncini brine to the dressing for even more flavor. I do the same with our classic pasta salad.
    • Greek Salad Dressing: You’ll make it with olive oil, red wine vinegar, dried oregano, salt, and pepper. I also add a bit of feta brine and pepperoncini brine (trust me, it’s delicious!).

    Find the full recipe with measurements below.

    How to Make Seriously Good Greek Pasta Salad

    Tip 1: Make everything in one bowl. I’m always looking for ways to reduce the number of dirty dishes, so I make this pasta salad directly in the serving bowl. Start by whisking the dressing in the bottom, then add the cooked pasta and other ingredients on top. Toss it all together, and you’re done.

    Greek pasta salad ingredients in a bowl ready to be tossed

    Tip 2: Let it sit. This pasta salad actually gets better as it rests. Let the pasta and veggies sit in the dressing for at least 30 minutes before serving so the flavors have time to mingle. It makes a big difference.

    Serving Suggestions

    This Greek salad is perfect for bringing to your next get-together. It’s fresh, colorful, and tasty. I’ve also been enjoying it myself as a base for something else. Add chickpeas, poached salmon, baked tofu, or juicy chicken breasts for a complete meal.
    Greek Pasta Salad

    Greek Pasta Salad

    • PREP
    • COOK
    • TOTAL

    To make this Greek pasta salad really flavorful, we use brine in two ways. First, we add a few tablespoons of juice from a jar of pepperoncini peppers, which adds a touch of spice. Second, we use feta cheese packed in brine and stir a couple of tablespoons of that cloudy, salty liquid into the dressing.

    6 Servings

    You Will Need

    Greek Pasta Salad

    8 ounces short-cut pasta, such as bow-tie, fusilli, or penne (226g)

    1/2 cup thinly sliced red onion

    3 small tomatoes, chopped, 1 ¼ cups

    1 green bell pepper, chopped

    1 ¼ cups Kalamata olives, pitted and halved

    8 ounces feta cheese, cut into ½-inch cubes (226g)

    4 pepperoncini peppers, thinly sliced, optional


    Salad Dressing

    1/4 cup extra-virgin olive oil (60ml)

    1/4 cup red wine vinegar (60ml)

    2 tablespoons brine from jar of pepperoncini peppers or use fresh lemon juice (30ml)

    2 tablespoons brine from feta, optional (30ml)

    1 ½ teaspoons dried oregano

    1/4 teaspoon fine sea salt plus more to taste

    Directions

      1Place the sliced onion in a small bowl and cover with cold water. Set the bowl aside for 10 minutes so that the raw flavor of the onion calms a little. Drain and rinse the onions before adding them to the salad.

      2Bring a large pot of salted water to a boil. Add pasta and cook until tender, 6 to 10 minutes (check the package for recommended cook time). Drain and rinse well under cold water.

      3While the pasta cooks, in the bottom of a large bowl, make the dressing. Whisk the olive oil, red wine vinegar, pepperoncini brine, feta brine, oregano, salt, and black pepper until well blended.

      4Add the drained and rinsed pasta to the dressing and mix well.

      5Stir in the drained and rinsed red onion, tomatoes, bell pepper, olives, feta cheese, and sliced pepperoncini peppers.

      6Taste for seasoning and adjust with salt and pepper as needed. Serve or, for the best results, cover and refrigerate for at least 30 minutes and up to 5 days.

    Adam and Joanne’s Tips

    • Feta brine: We buy feta cheese that’s packaged in brine. That cloudy liquid is salty, creamy, and delicious whisked into our dressing. If you don’t find feta sold in brine, that’s okay. The salad still tastes great, but if you can find it, buy it. The feta is better, and you can use the brine to season all sorts of things (this pasta salad, included).
    • The nutrition facts provided below are estimates.

    Nutrition Per Serving
    Serving Size
    1/6 of the recipe
    /
    Calories
    381
    /
    Total Fat
    21.2g
    /
    Saturated Fat
    7.5g
    /
    Cholesterol
    33.6mg
    /
    Sodium
    661.4mg
    /
    Carbohydrate
    37.4g
    /
    Dietary Fiber
    4.2g
    /
    Total Sugars
    5.5g
    /
    Protein
    11.7g


    AUTHOR:

    Joanne Gallagher

    Adam and Joanne of Inspired Taste

    We are Adam and Joanne Gallagher, the creators of Inspired Taste. Established in 2009, Inspired Taste grew from a childhood dream into one of the internet’s most trusted recipe sites with hundreds of reliable recipes, step-by-step videos, and expert tips.More About Us


    Source link

  • Crab Fried Rice | The Recipe Critic

    Crab Fried Rice | The Recipe Critic

    This website may contain affiliate links and advertising so that we can provide recipes to you. Read my disclosure policy.

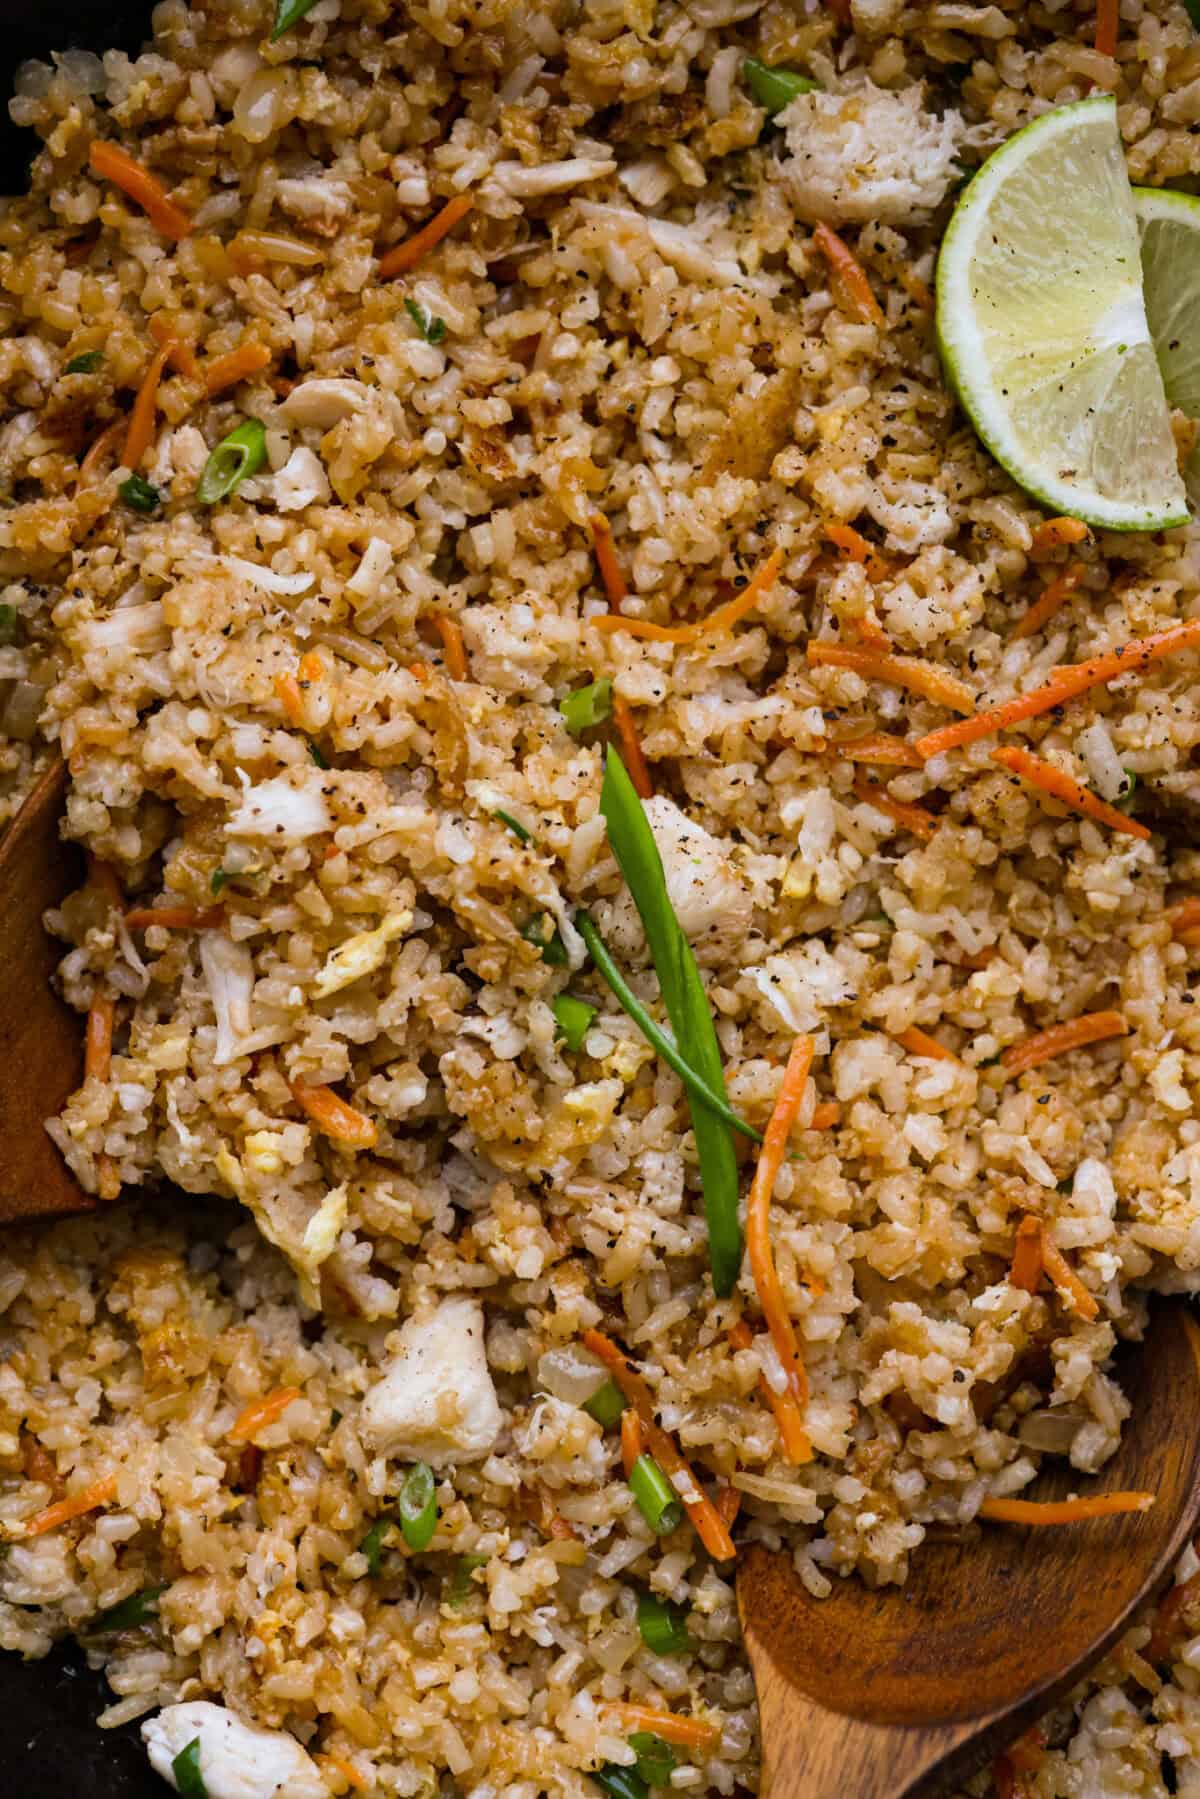
    Delicious crab fried rice comes together in just 25 minutes with simple ingredients and tons of flavor! It combines the sweetness of lump crab meat with the savory flavors of classic fried rice for an endlessly satisfying dish that’s sure to become a family favorite!

    Overhead shot of a bowl of crab fried rice.

    Reasons You’ll Love This Recipe

    • Irresistible Flavors: Crab fried rice is the perfect blend of convenience and indulgence! With tender lump crab meat, garlic, soy sauce, and a hint of zesty lime juice, every bite bursts with an incredible taste.
    • A Cinch to Make: This quick and easy recipe is great for busy weeknights when you crave a delicious, homemade meal without any hassle.
    • Better than Takeout: Pair this dish with some tasty Asian sides like vegetable dumplings or egg rolls for a divine takeout experience in your own home. To keep things a bit lighter, try this Asian ramen salad.

    Fantastic Fried Rice Recipe

    I LOVE fried rice! And my blog can back that up! I have lots of recipes and variations on the classic. I recently found out that crab meat is an excellent source of protein. It has a similar amount of protein per gram as other meats but is lower in fat. I knew I had to make a recipe using crab meat and wanted to stick to my go-to comfort food, fried rice!

    Ingredients Needed for Crab Fried Rice

    Overhead shot of labeled ingredients.Overhead shot of labeled ingredients.

    How to Make Crab Fried Rice

    Make mealtime a breeze with this easy crab-fried rice recipe! With the extra protein from the crab meat, this dish works as the main course, or you can serve it as a side to an Asian-inspired meal!

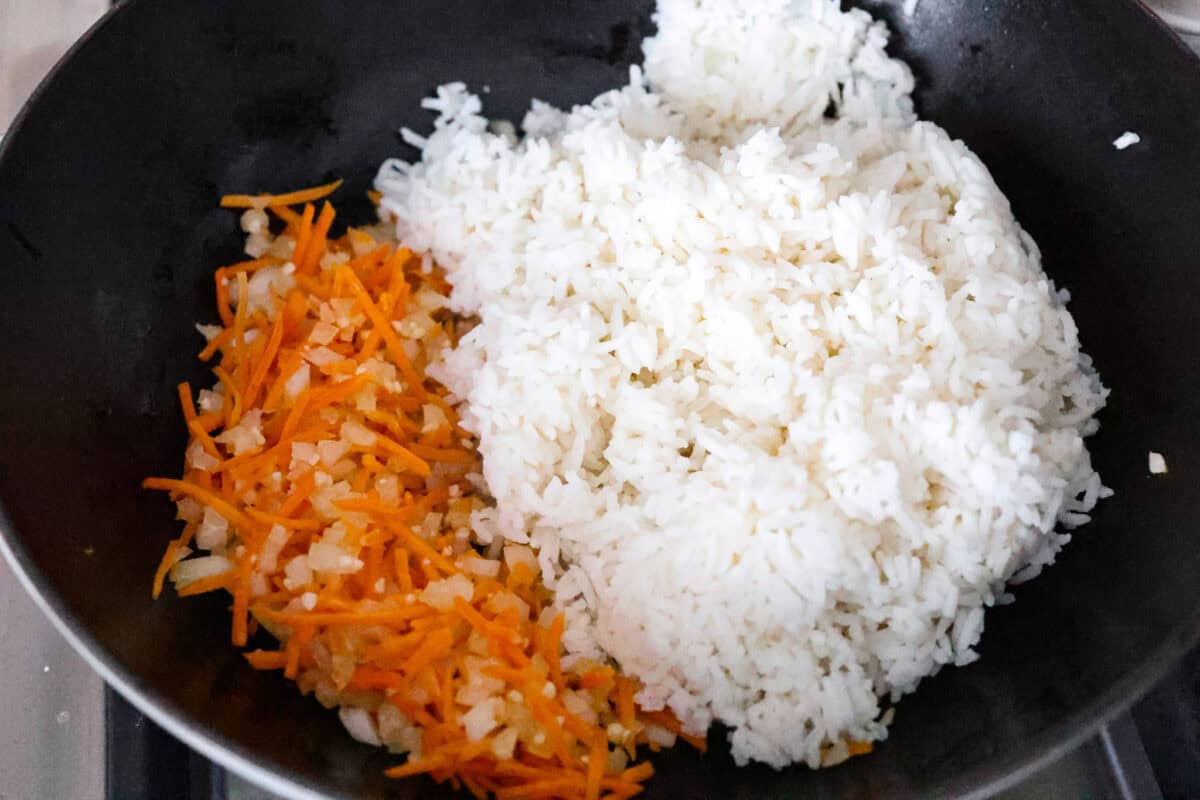
    1. Cook the Veggies: Preheat a large skillet or wok to medium heat, then add the sesame oil, onion, and carrots. Cook until tender. 
    2. Add Garlic: Add the garlic and saute for 30 seconds until fragrant.
    3. Stir-Fry: Add the cooked white rice to the veggie mixture. Stir and fry the rice and veggie mixture until warmed through and combined. If you like your rice to be more crispy and golden, you can cook it longer.
    4. Scramble the Eggs: Create a hole in the middle of the rice and veggie mixture, then add the slightly beaten eggs. Using a spatula, scramble the eggs as they cook. Once cooked, you can then mix the eggs into the rice mixture.
    5. Add: Season with onion powder, salt, and pepper, then add the drained crab meat to the wok. Stir to combine. Then, stir in the soy sauce and squeeze the juice of a lime. Toss to combine. Garnish with green onions and lime wedges, and enjoy!

    Crab Fried Rice Variations

    If you love crab, this recipe for crab fried rice is an easy and delicious way to get your crab fix! You get to add, delete, and switch up the ingredients to make it your own.

    • Can I add more veggies? Yes! Load it up with all the veggies! Try adding diced peppers, sautéed mushrooms, or zucchini. I also love using broccoli, cabbage, green beans, or sugar snap peas. Just clean out your fridge and add all that veggie goodness!
    • What kind of rice can I use? Substitute brown rice or quinoa for the white rice if you desire. You can even make this with cauliflower rice for a low-carb option.
    • Protein: If you don’t love canned crab, cook fresh crab yourself before adding it in! This fried rice recipe is a great base for any protein option! Substitute the crab for bacon, ham, chicken, or tofu.

    Overhead shot of crab fried rice in a wok. Overhead shot of crab fried rice in a wok.

    Storing Leftovers

    This crab-fried rice makes the best leftovers for lunch! It’s a hearty and packed with protein. Make a big batch to store for leftovers and serve with crispy air fryer egg rolls or these chicken potstickers on the side! My kids love it when we have leftovers!

    • In the Refrigerator: Transfer to an airtight container and store in the fridge for up to 4 days.
    • To Reheat: Reheat individual portions in the microwave. Heat in 1- minute intervals, stirring in between should do the trick!

    Close up shot of crab fried rice. Close up shot of crab fried rice.

    More Delicious Crab Recipes

    If you love the flavor of crab as much as I do, be sure to check out all my crab recipes! Here are a few family favorites that are easy and taste amazing!

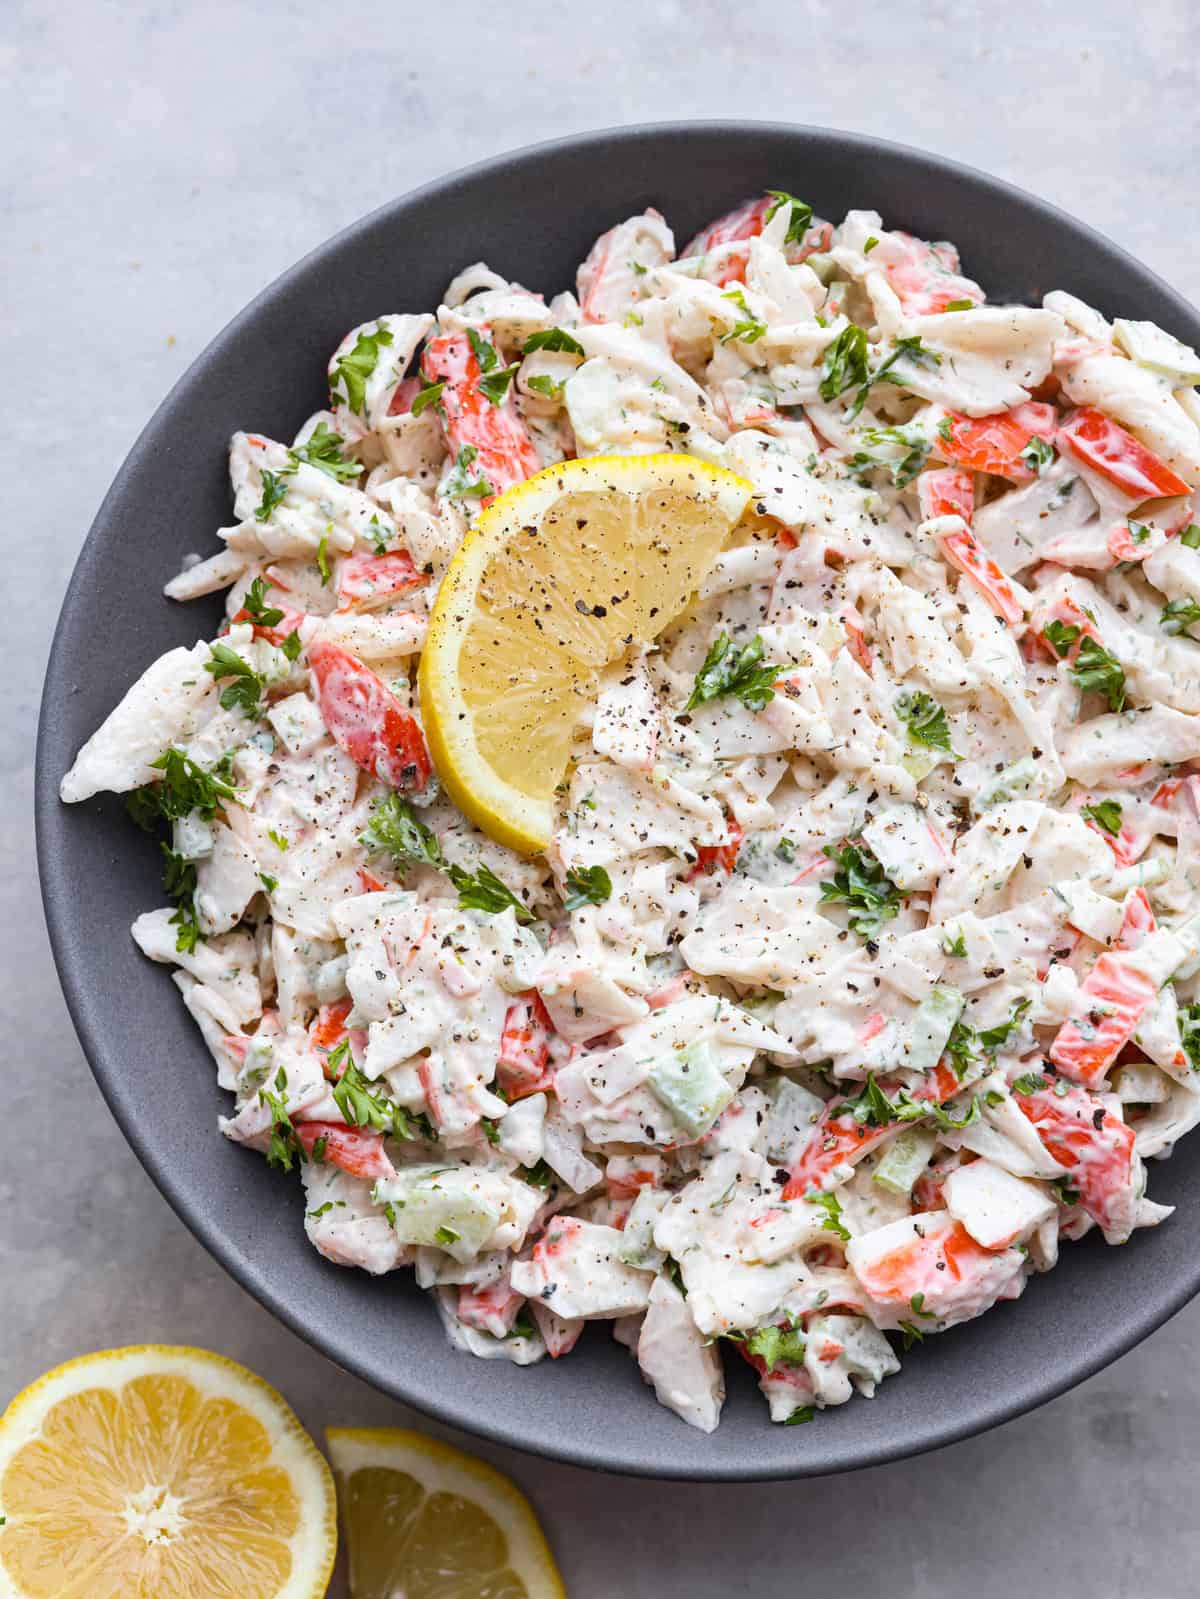
    Crab Salad

    10 minutes

    Crab Rangoon

    50 minutes

    Air Fryer Crab Cakes

    20 minutes

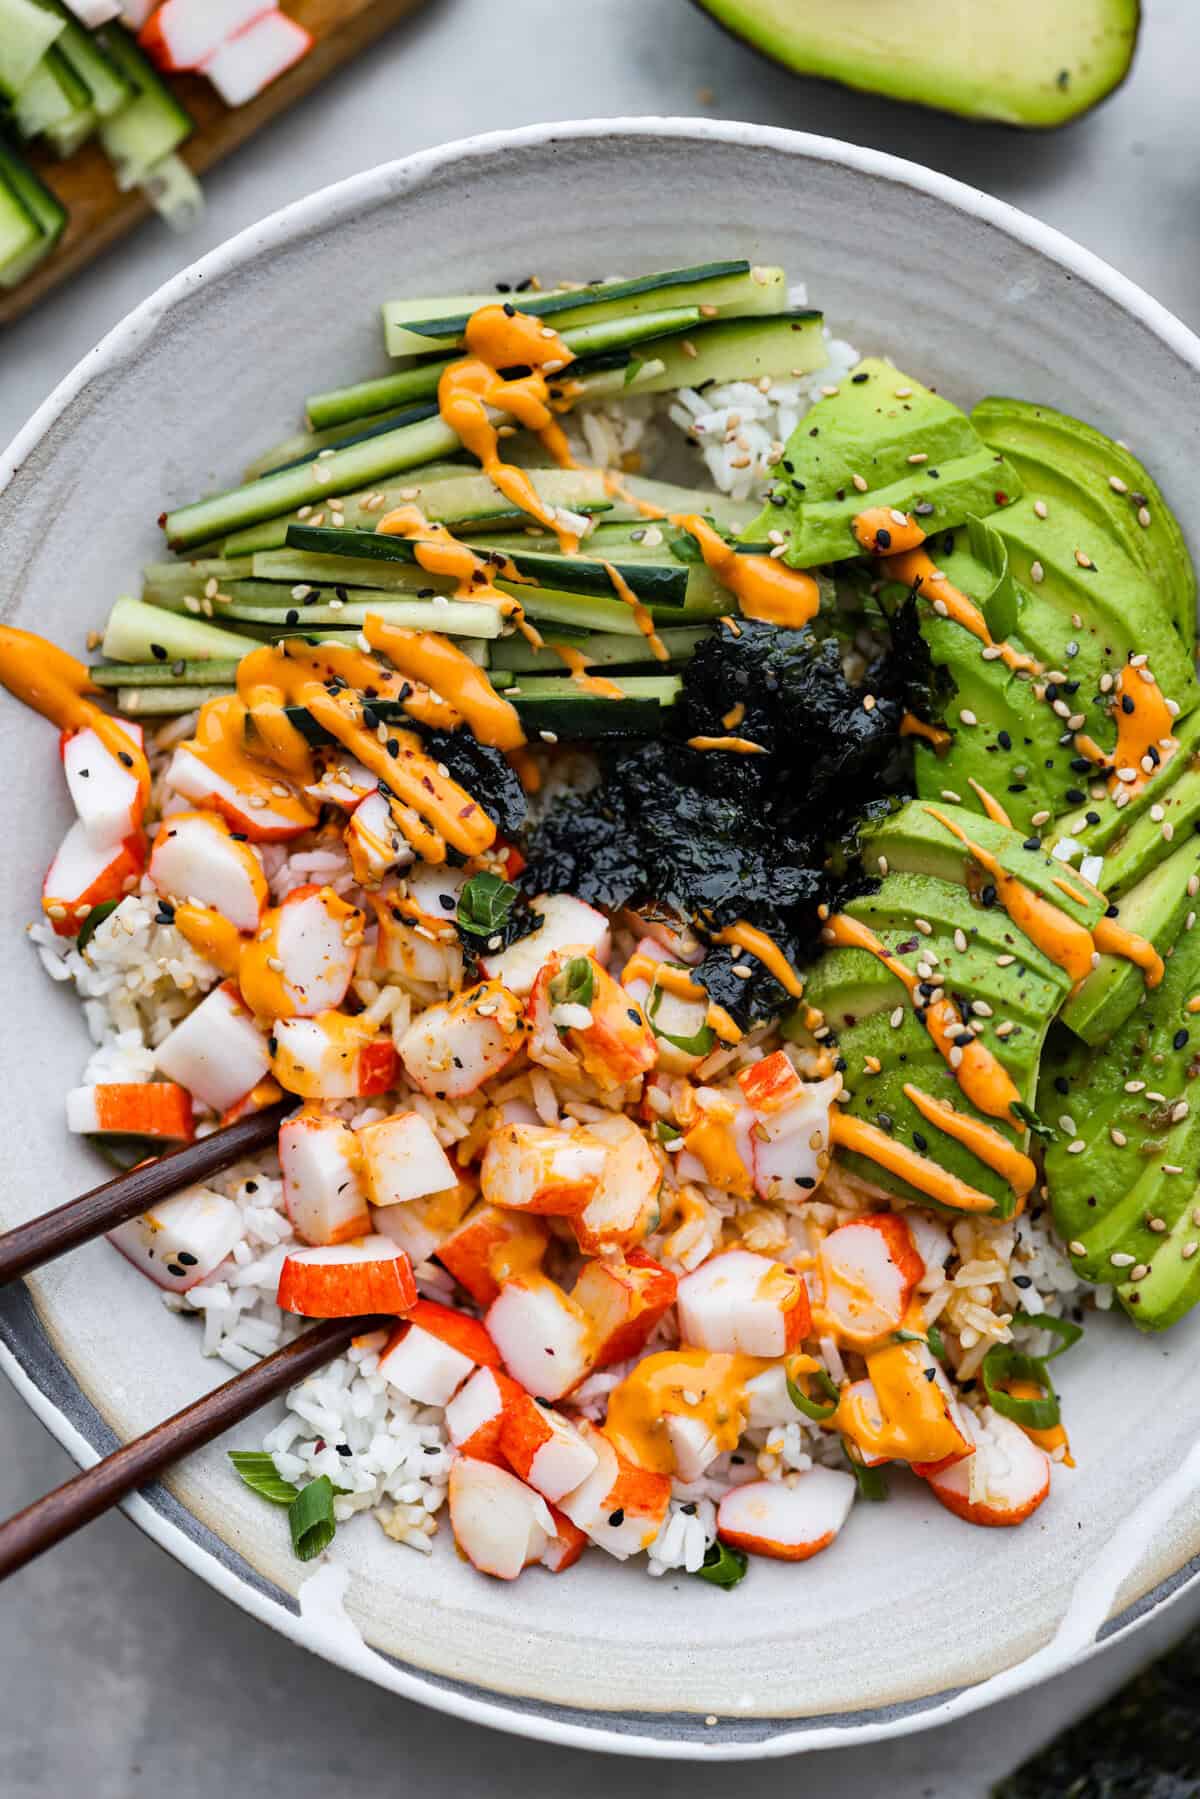
    Sushi Bowl

    20 minutes

    Pin this now to find it later

    Pin It


    Source link

  • Zuppa Toscana Recipe – Pinch of Yum

    Zuppa Toscana Recipe – Pinch of Yum

    Broth: I always use 6 cups water + 2 tablespoons Better Than Bouillon chicken flavor base. It’s amazing. Highly recommend. If you’re not using this, you’ll probably need to add a bit more salt.

    Pork Fat: This soup will have small beads of the pork fat distributed throughout the soup and/or pearling on top of the soup. That’s a good thing – it is a sign of both amazing flavor and a luscious mouthfeel. These will incorporate as it gently bubbles, and they will rise to the surface as it cools. To re-incorporate, just heat it back up again and give it a stir. 

    Bacon: Hot take, but I don’t think it’s necessary which is why I didn’t include it. You get so much flavor already from the pork sausage. I have never eaten this and wished it had bacon in it.

    Potato Peels vs. No Peels: If you want to save a bit of time, use baby potatoes and just cut them into quarters – you don’t have to peel them! It has a slightly different, more earthy taste (as potato peels do), but can confirm, it’s still delicious. 

    White Wine: For weeks now, I’ve considered adding white wine to this recipe to deglaze the pan after the sausage, onion, and garlic; in my mind, it would add a nice layer of acidity to a very savory, rich broth. However, I have made this so many times and never had white wine in the house on any of the times, and I have loved every batch so much exactly as it is. Let me know if you try it with white wine in there!

    Source link

  • Cilantro Lime Butter Shrimp Recipe

    Cilantro Lime Butter Shrimp Recipe

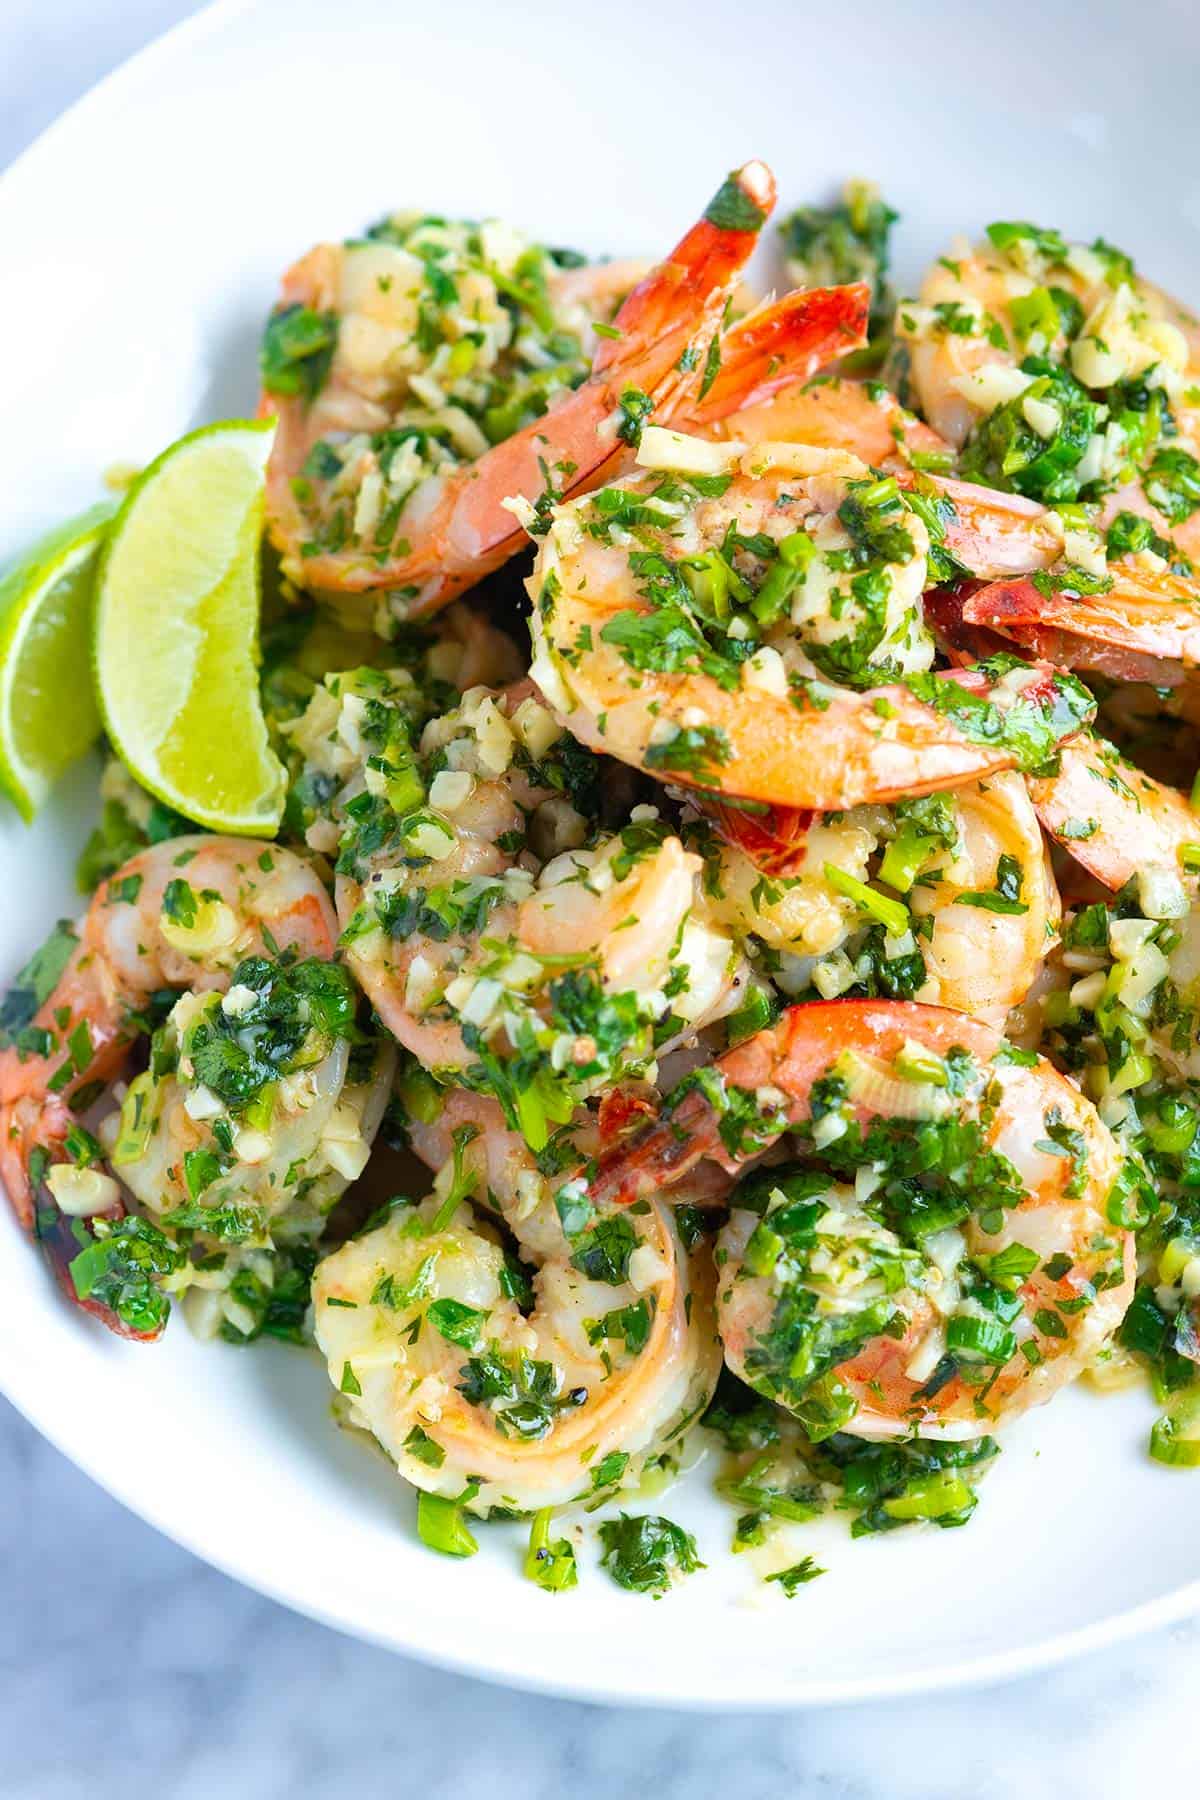
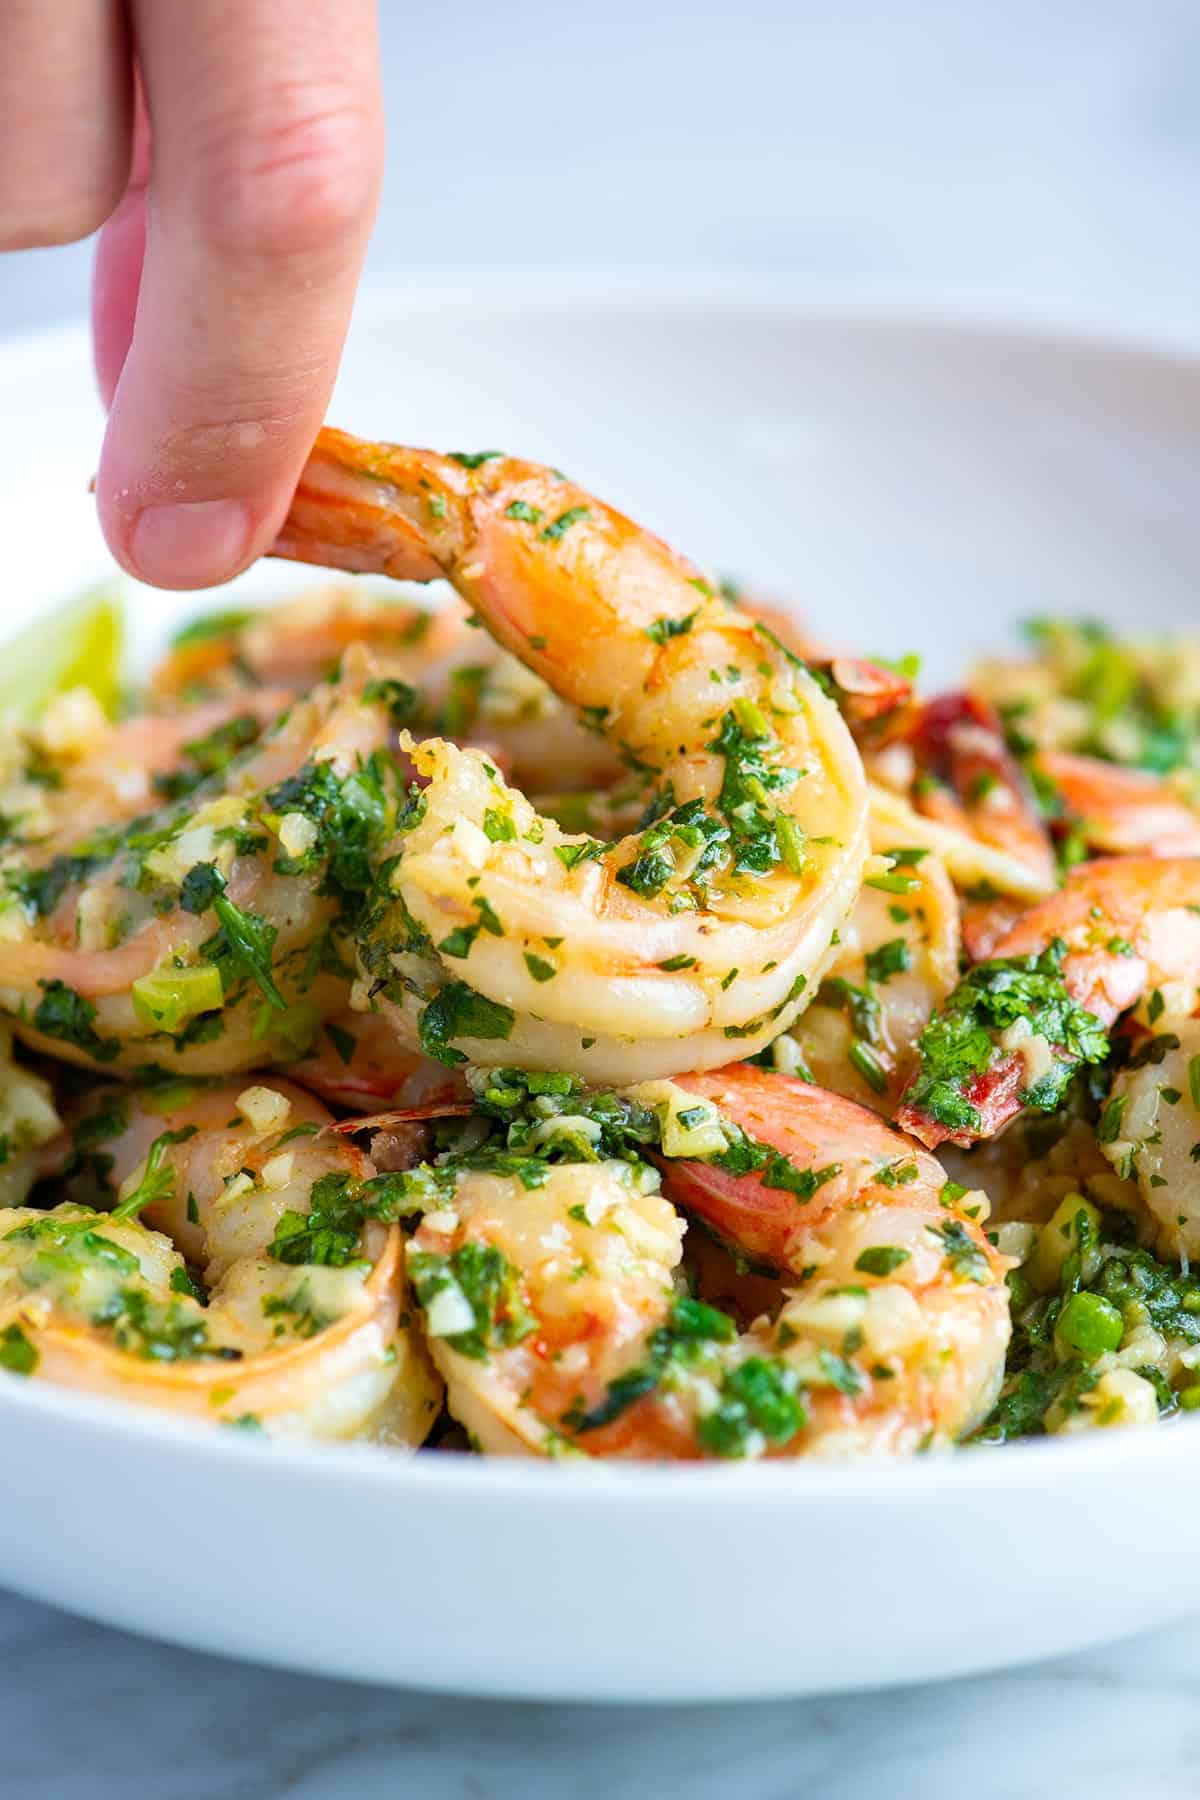
    This delicious cilantro lime shrimp recipe is ready in less than 20 minutes and has easily become one of my family’s favorite shrimp recipes!

    Cilantro Lime shrimp with lots of garlic piled up on a plate.

    This cilantro lime shrimp is one of my favorite shrimp recipes. I love classic shrimp scampi with lemon, garlic, and butter, but lately, I’ve fallen for this shrimp with a butter sauce made with fresh cilantro and lime.

    This recipe is quick and simple, so you can absolutely make it tonight. It takes less than 20 minutes and requires only a handful of ingredients.

    Key Ingredients

    • Shrimp: Use fresh, high-quality jumbo or large shrimp. You can keep the tails on or remove them, whichever you prefer.
    • Butter: I use butter in two ways in this cilantro lime shrimp recipe. First, I cook the shrimp in it, and then, as it finishes cooking, I swirl in more for a creamy sauce. I do the same when making these seared scallops.
    • Garlic: I use 6 garlic cloves for this recipe and love it!Lime: I use the juice and zest of 1 lime for this recipe.
    • Cilantro: I use a lot of cilantro! I know not everyone loves it, and if that’s you, don’t worry. You can swap the cilantro for any tender fresh herb like parsley or basil.
    • Coriander: It’s optional, but it adds a delicious citrusy flavor to the shrimp. Coriander seeds are the seeds of cilantro.
    • Green Onion: It’s also optional, but I love the extra green and flavor it adds.

    Find the full recipe with measurements below.

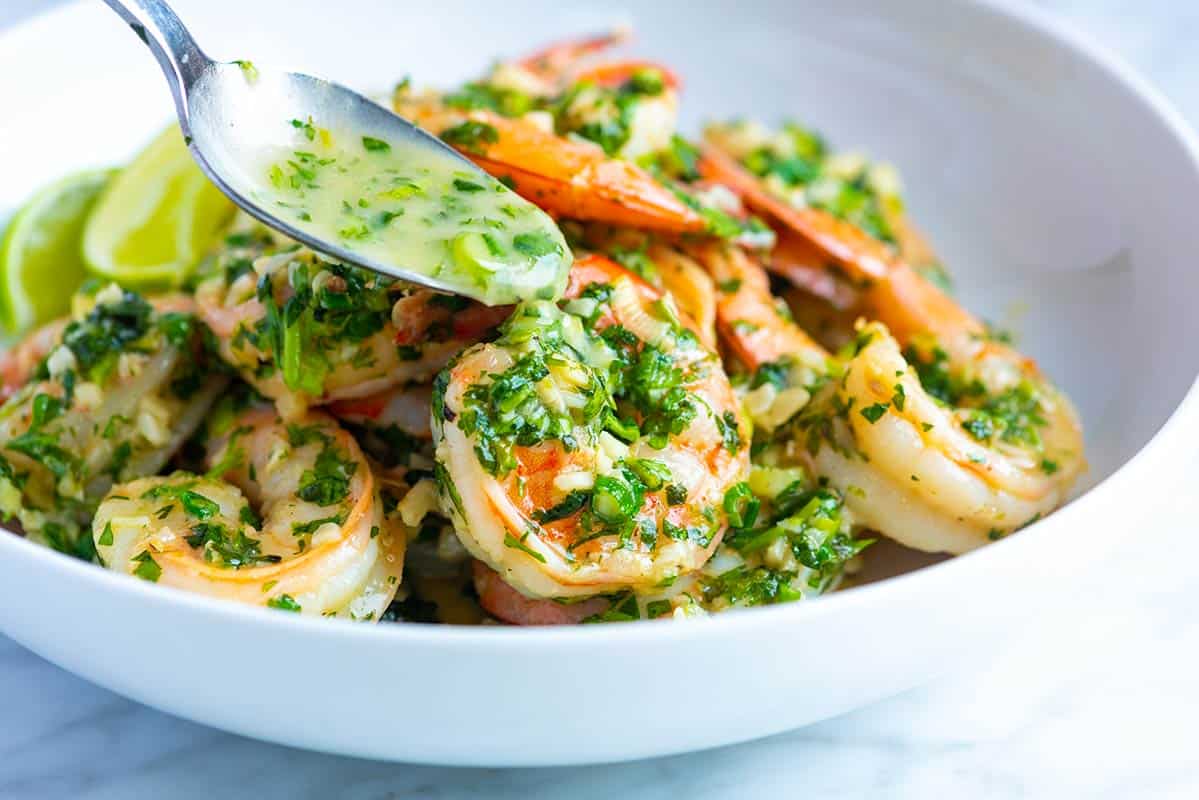
    Cilantro lime garlic butter shrimp

    How to Make the Best Cilantro Lime Shrimp

    Tip 1: Use lots of garlic. When we crave garlicky shrimp, we go all in. That means we don’t hold back on the amount of garlic in this recipe. We use 6 garlic cloves (sometimes more) for one pound of shrimp.

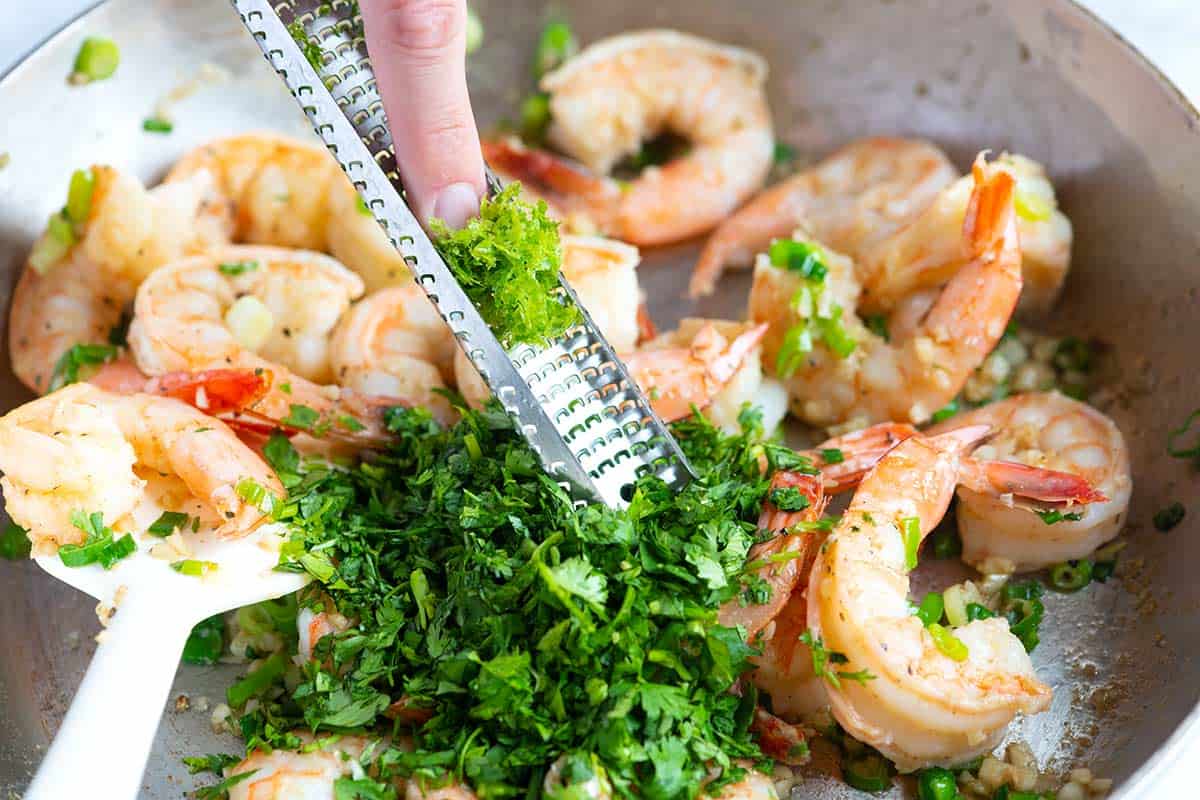
    Tip 2: Use lots of lime. We use the juice and zest of a whole lime. To remove the zest, we use our Microplane (a fine hand grater). It’s quick and easy, plus the tool isn’t expensive.

    Adding cilantro and the zest and juice of a lime to the shrimp

    Tip 3: Make a butter sauce. For the best flavor, cook the shrimp in a little butter, and then as the shrimp finishes cooking, slide the skillet off the heat and swirl in more butter. Since the pan isn’t too hot, the butter melts into a creamy sauce.

    Serving Suggestions

    These cilantro lime shrimp are perfect served family-style. The shrimp are a bit messy, but that’s a good thing in this case. Serve these by themselves, with pasta (hello garlic cilantro shrimp pasta), over cilantro lime rice, coconut rice, Mexican rice, on top of homemade grits, or wrapped in homemade tortillas. I also love them next to this avocado and cucumber salad.

    Recipe Variations

    Our recipe is flexible. Although we use garlic, cilantro, and lime in our photos to make the sauce, you don’t need to. You can always take our method and swap the flavors around a bit. Swap lime for lemon and cilantro for parsley. This lemon parsley version is similar to more traditional shrimp scampi. Or try fresh basil, dill, and tarragon. I also highly recommend our cajun butter shrimp!

    Cilantro Lime Shrimp

    Cilantro Lime Butter Shrimp

    • PREP
    • COOK
    • TOTAL

    I love this garlic shrimp cooked in a creamy cilantro lime butter sauce. Serve this as an appetizer, with pasta, over rice, or in tortillas for tacos. The recipe is easy to adapt. Swap lime for lemon and try other tender herbs like parsley, dill, basil, or tarragon instead of cilantro.

    Makes 4 servings

    You Will Need

    1 pound (450g) extra large shrimp, peeled with tails left on and deveined

    1 lime plus a few extra wedges for serving

    3 tablespoons unsalted butter, divided

    2 tablespoons minced garlic, about 6 cloves

    1/2 teaspoon ground coriander, optional

    2 scallions, chopped

    1/2 cup fresh cilantro leaves and tender stems, chopped

    Salt and fresh ground black pepper

    Directions

    • Cook Shrimp
    • 1Pat the shrimp dry, then season it with 1/4 teaspoon of salt and fresh ground black pepper.

      2Zest the lime using a microplane and set aside. Cut the zested lime in half, ready for the sauce later in the recipe.

      3Add one tablespoon of the butter to a wide skillet. Save the remaining two tablespoons for later.

      4Place the skillet with butter over medium heat, then add the garlic and coriander. Stir the garlic around the pan until the butter melts and bubbles for about 1 minute.

      5Add the shrimp, nestling them into the pan so they are in one layer. A few shrimp stacked on top of each other is okay. Cook until the shrimp starts turning opaque, about 1 minute.

      6Stir in the scallions and lime zest. Continue to cook, stirring, until the shrimp are firm and opaque, another 1 to 2 minutes. Slide the skillet off the heat.

      7Add the cilantro, lime juice, and the remaining two tablespoons of butter. Stir the butter around the pan to melt into the lime juice, making the creamy butter sauce.

      8Taste, then season as needed with salt and pepper. Serve with extra lime wedges on the side.

    Adam and Joanne’s Tips

    • Lemon garlic butter shrimp: Swap lime for lemon and cilantro for parsley, then follow the recipe as written above. Add a splash of dry white wine at the end for extra flavor.
    • How to make spicy cilantro lime shrimp: Add 1/2 to 3/4 teaspoons of crushed red pepper flakes to the pan while adding the garlic.
    • Olive oil instead of butter: While the sauce is not creamy, you can substitute olive oil for the butter. You will need one tablespoon to cook the Shrimp and only a light drizzle at the end (about half a tablespoon).
    • The nutrition facts provided below are estimates.

    Nutrition Per Serving
    Serving Size
    1/4 pound
    /
    Calories
    193
    /
    Protein
    23.6 g
    /
    Carbohydrate
    5.2 g
    /
    Dietary Fiber
    1.2 g
    /
    Total Sugars
    1.4 g
    /
    Total Fat
    9.4 g
    /
    Saturated Fat
    5.5 g
    /
    Cholesterol
    205.4mg
    /
    Sodium
    284.9 mg


    AUTHOR:

    Adam Gallagher

    Adam and Joanne of Inspired Taste

    We are Adam and Joanne Gallagher, the creators of Inspired Taste. Established in 2009, Inspired Taste grew from a childhood dream into one of the internet’s most trusted recipe sites with hundreds of reliable recipes, step-by-step videos, and expert tips.More About Us

    Source link

  • Perfectly Baked Fish Recipe with Scallions and Orange

    Perfectly Baked Fish Recipe with Scallions and Orange

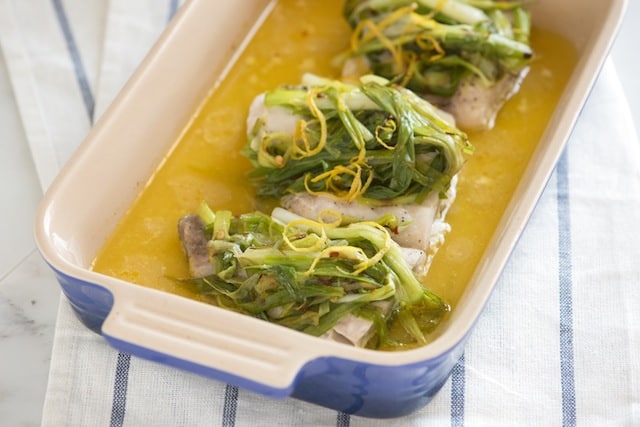
    How to make perfectly baked fish with scallions and orange. Jump to the Baked Fish Recipe with Scallions or read on to see our tips for making it.

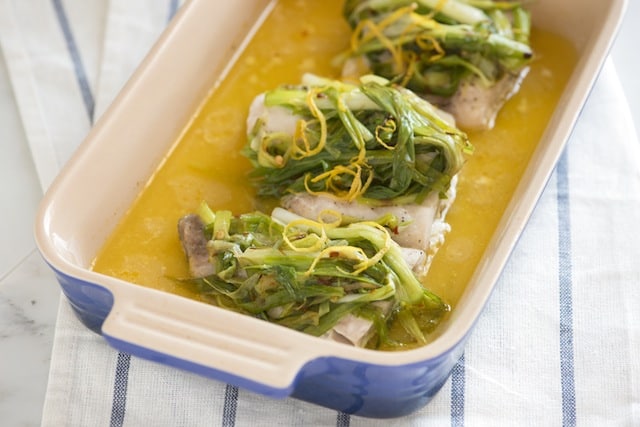
    Perfectly Baked Fish Recipe with Scallions and Orange

    We love this easy fish recipe. It doesn’t call for lots of ingredients and is very quick to make. Scallions (or spring onions) are a big part of the recipe. So often we see scallions used as a finishing touch, but they can be used for so much more — they’re mild, not pungent and when you cook them, they turn sweet, gently wilted and tender.

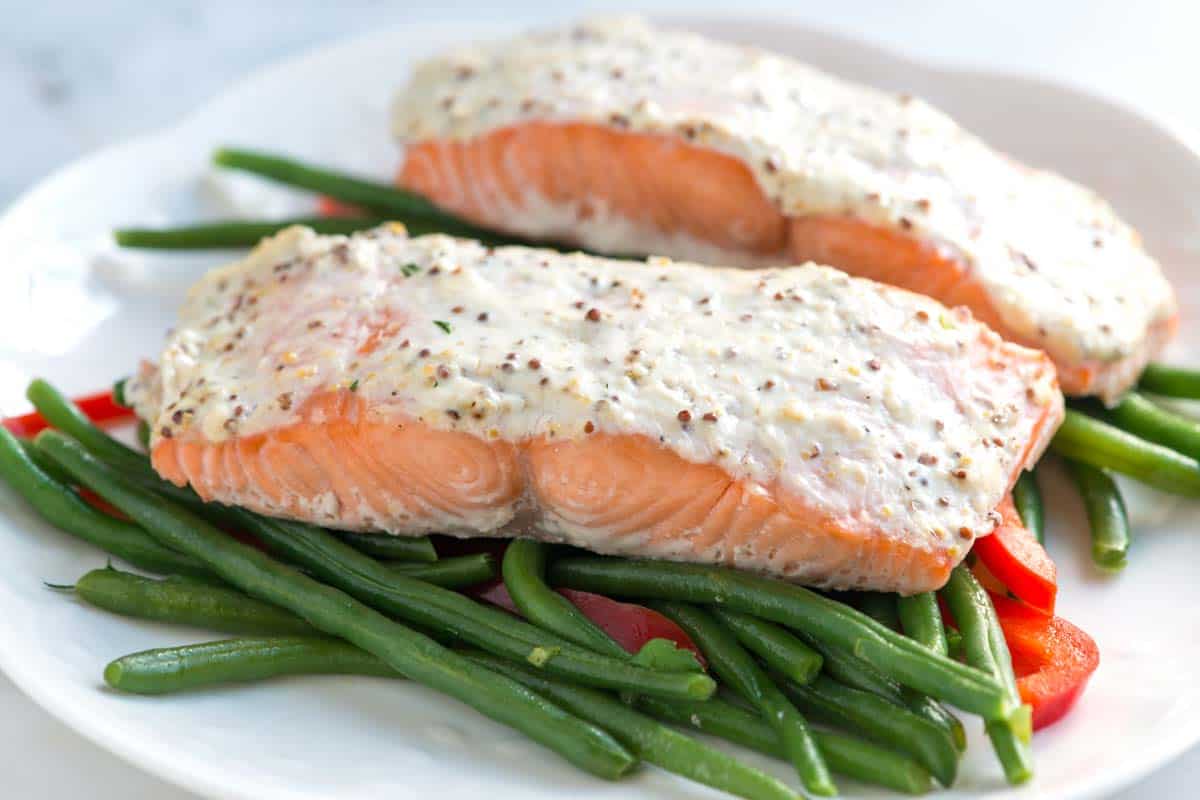
    Sour Cream Baked Salmon RecipeYOU MAY ALSO LIKE: How to make moist and tender baked salmon in less than 30 minutes. Jump to the Sour Cream Baked Salmon Recipe.

    How to Bake Fish with Scallions and Orange

    Look for a firm white fish for this — rockfish, striped bass or halibut are all excellent.

    How to Bake Fish with Scallions and Orange

    You will also need scallions, fresh orange juice, red pepper flakes, lemon zest and butter. To make make it, start by cooking thinly sliced scallions until wilted and starting to brown.

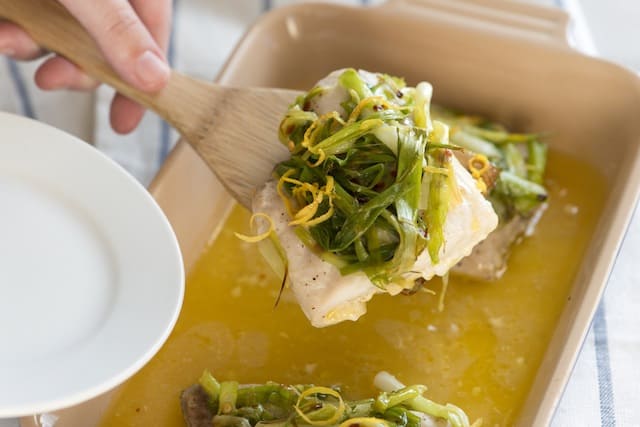
    Season the fish, add to a baking dish, and then top with the cooked scallions. Scatter lemon zest, and a few dabs of butter on top then pour fresh orange juice into the pan. Cover the dish with foil and bake. After about 15 minutes the fish will be perfectly cooked and the butter will have melted down into the orange juice, creating a silky broth.

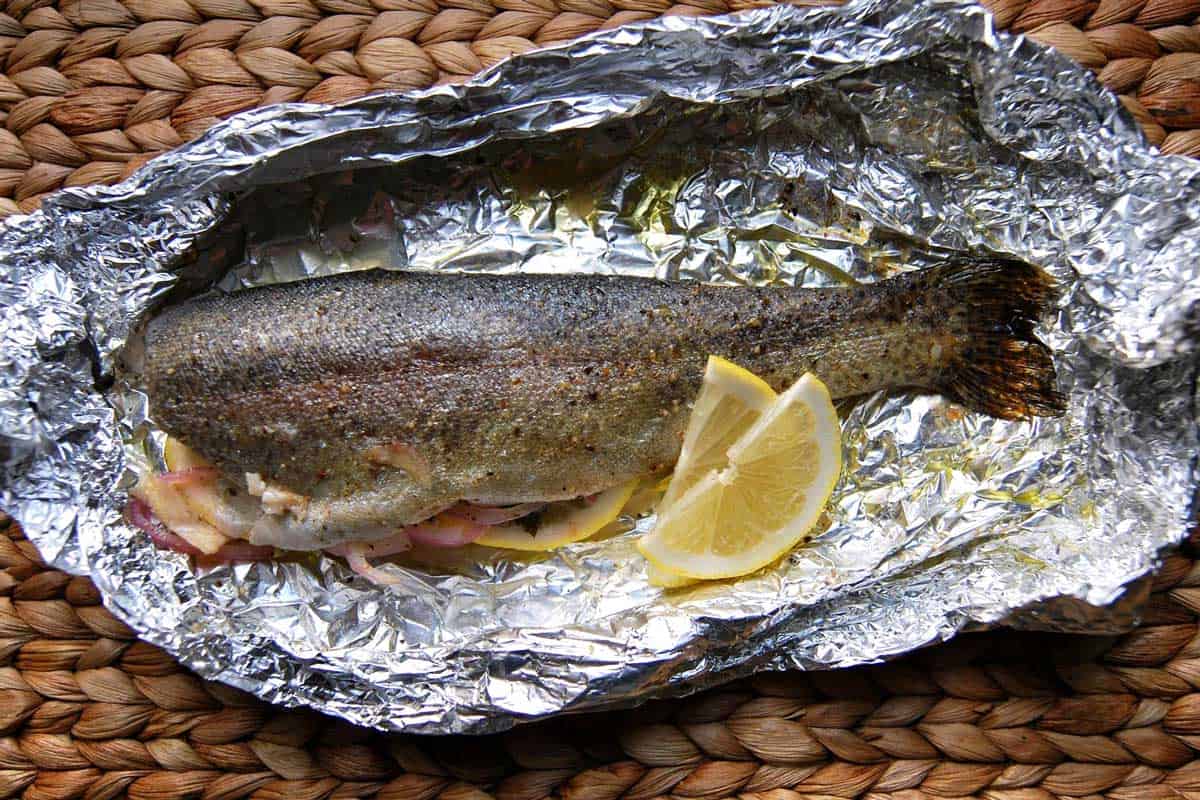
    Oven Baked Trout RecipeYOU MAY ALSO LIKE: How to make oven baked trout in foil packets. Jump to the Easy Oven Baked Trout Recipe.

    Recipe updated, originally posted August 2012. Since posting this in 2012, we have tweaked the recipe to be more clear. – Adam and Joanne

    Perfectly Baked Fish Recipe with Scallions and Orange

    • PREP
    • COOK
    • TOTAL

    If you can, use fresh squeezed orange juice for this. One large orange should do it. For the fish, choose a firm white fish — we particularly like halibut, striped bass and rockfish.

    Makes 4 servings

    You Will Need

    12 scallions

    1 tablespoon extra-virgin olive oil

    1/4 teaspoon crushed red pepper flakes

    4 (6-ounce portions) firm white fish, such as rockfish, striped bass or halibut

    1 tablespoon lemon zest

    1 tablespoon butter

    1/4 cup orange juice

    Salt and fresh ground black pepper

    Directions

      1Heat the oven to 425 degrees F.

      2Discard the first 2 inches from the top of each scallion. Cut scallions in half crosswise and thinly slice them lengthwise into strips.

      3Heat the olive oil in a skillet over medium heat. Add the spring onions, red pepper flakes and a pinch of salt. Cook, stirring occasionally, until the scallions are wilted and begin to brown.

      4Season fish on both sides with salt and fresh ground pepper then place, in one layer, into a baking dish. Divide the cooked scallions between the tops of each piece of fish. Scatter lemon zest over scallions then cut the butter into small squares and place on top.Step 1

      5Pour the orange juice around the fish then cover the pan with aluminum foil. Bake until the fish is opaque throughout, 15 to 18 minutes, depending on thickness of the fish.

    Adam and Joanne’s Tips

    If you make this recipe, snap a photo and hashtag it #inspiredtaste — We love to see your creations on Instagram and Facebook! Find us: @inspiredtaste


    AUTHOR:

    Joanne Gallagher

    Adam and Joanne of Inspired Taste

    We are Adam and Joanne Gallagher, the creators of Inspired Taste. Established in 2009, Inspired Taste grew from a childhood dream into one of the internet’s most trusted recipe sites with hundreds of reliable recipes, step-by-step videos, and expert tips.More About Us



    Source link

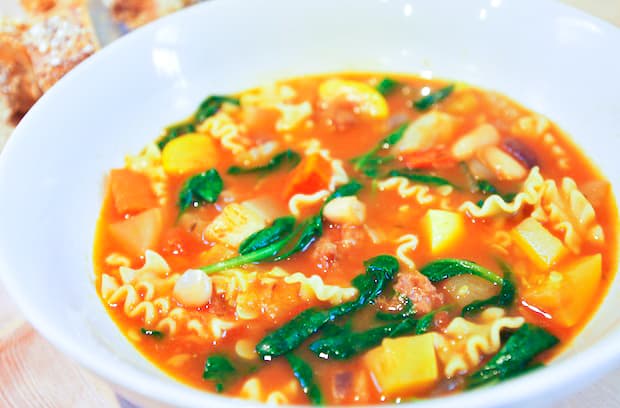
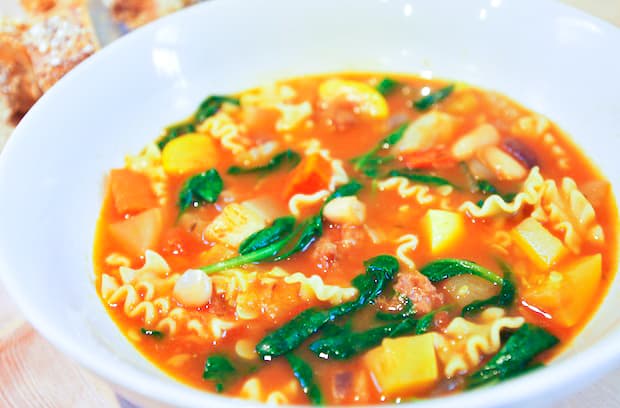
  • Minestrone Soup Recipe with Spicy Sausage and Fennel

    Minestrone Soup Recipe with Spicy Sausage and Fennel

    How to make minestrone soup with sausage, fennel, white beans and pasta. Jump to the Easy Minestrone Soup Recipe or read on to see our tips for making it.

    Easy Minestrone Soup Recipe with Sausage and Fennel

    Chicken Sausage, Potato and Kale Soup RecipeYOU MAY ALSO LIKE: Easy kale soup packed with greens, low-fat chicken sausage, and potato. Jump to the Chicken Sausage, Potato and Kale Soup Recipe.

    How to Make Minestrone with Sausage and Fennel

    We make this easy soup often. You can think of our recipe as a guide — this is perfect for using up vegetables in the refrigerator. Potatoes, kale, turnips and squash would all be excellent added to the soup.

    I love the addition of sausage for this, it adds so much flavor. For a meatless minestrone, skip the sausage and replace the chicken stock with a hearty vegetable stock. It still tastes great, just different. If you have access to it, fennel is delicious in this. It adds a sweet, licorice flavor. I especially love it with the sausage.

    Quick and Easy Creamy Vegetable SoupYOU MAY ALSO LIKE: How to make quick and easy creamy vegetable soup with only one pot in under 35 minutes. Jump to the Creamy Vegetable Soup Recipe.

    Recipe updated, originally posted August 2009. Since posting this in 2009, we have tweaked the recipe to be more clear. – Adam and Joanne

    Minestrone Soup Recipe with Sausage and Fennel

    • PREP
    • COOK
    • TOTAL

    Think of this recipe as a guide. The soup is excellent as written, but this is the perfect opportunity to use up vegetables in the fridge. This is great eaten straight away and it will keep overnight. The pasta may become softer overtime, but the flavors of the soup will improve.

    Makes approximately 6 servings

    You Will Need

    2 tablespoons extra-virgin olive oil

    8 ounces bulk spicy or Italian pork sausage, see note

    2 medium bulbs fennel, trimmed and finely chopped

    1 medium onion, finely chopped

    3 medium carrots, peeled and finely chopped

    3 stalks celery, finely chopped

    3 garlic cloves, minced

    2 medium zucchini or yellow summer squash, finely chopped

    1 (15-ounce) can diced tomatoes, with juice

    1 (15-ounce) can cannellini beans (white kidney beans)

    8 cups low-sodium chicken stock, see how we make chicken stock

    1 bay leaf

    3 sprigs fresh thyme

    3/4 cup small dried pasta such as penne, elbow or orecchiette

    1 pound baby spinach (about 4 cups)

    Salt and fresh ground black pepper

    1/4 cup fresh parsley leaves and tender stems, chopped

    Fresh grated Parmesan cheese for serving

    Directions

      1Heat the olive oil over medium-low heat in a large, heavy soup pot or Dutch oven and add the fennel, onion, carrots and celery. Cook, stirring, until beginning to soften, about 3 minutes. Stir in 1/2 teaspoon of salt and garlic and cook for 1 minute.

      2Add zucchini, tomatoes with juice, beans, bay leaf, thyme and the chicken stock, and bring to a simmer. Stir in 1 teaspoon of salt, taste then adjust with more as needed. Add 6 to 7 generous grinds of black pepper. Reduce heat to low and simmer about 20 minutes.

      3Add pasta and cook until it is tender but not mushy, 8 to 10 minutes. Stir in spinach and parsley and cook until wilted, about 2 minutes. Taste the soup and adjust with more salt and/or pepper. Serve with parmesan cheese on top.

    Adam and Joanne’s Tips

    • Depending on the store, you can find bulk sausage. If you cannot and instead buy sausage formed into links, remove the casings by cutting a slit down the sausage and pulling the casing away from the meat. The meat from two large sausages should do it.

    If you make this recipe, snap a photo and hashtag it #inspiredtaste — We love to see your creations on Instagram and Facebook! Find us: @inspiredtaste


    AUTHOR:

    Adam Gallagher

    Previous Post: Easy Chocolate Cookies with Dried Fruit and Nuts
    Next Post: Chilled Pea Soup Recipe with Shrimp


    Source link

  • Easy Potato Leek Soup Recipe

    Easy Potato Leek Soup Recipe

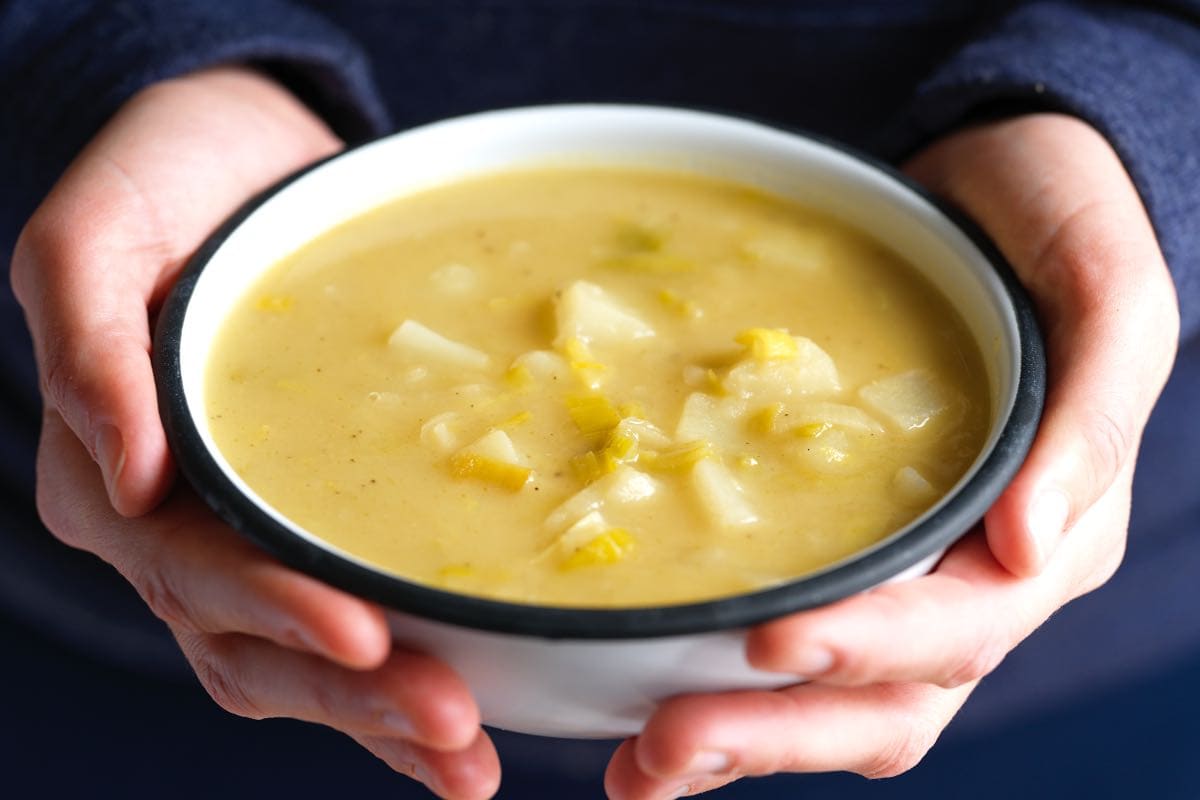
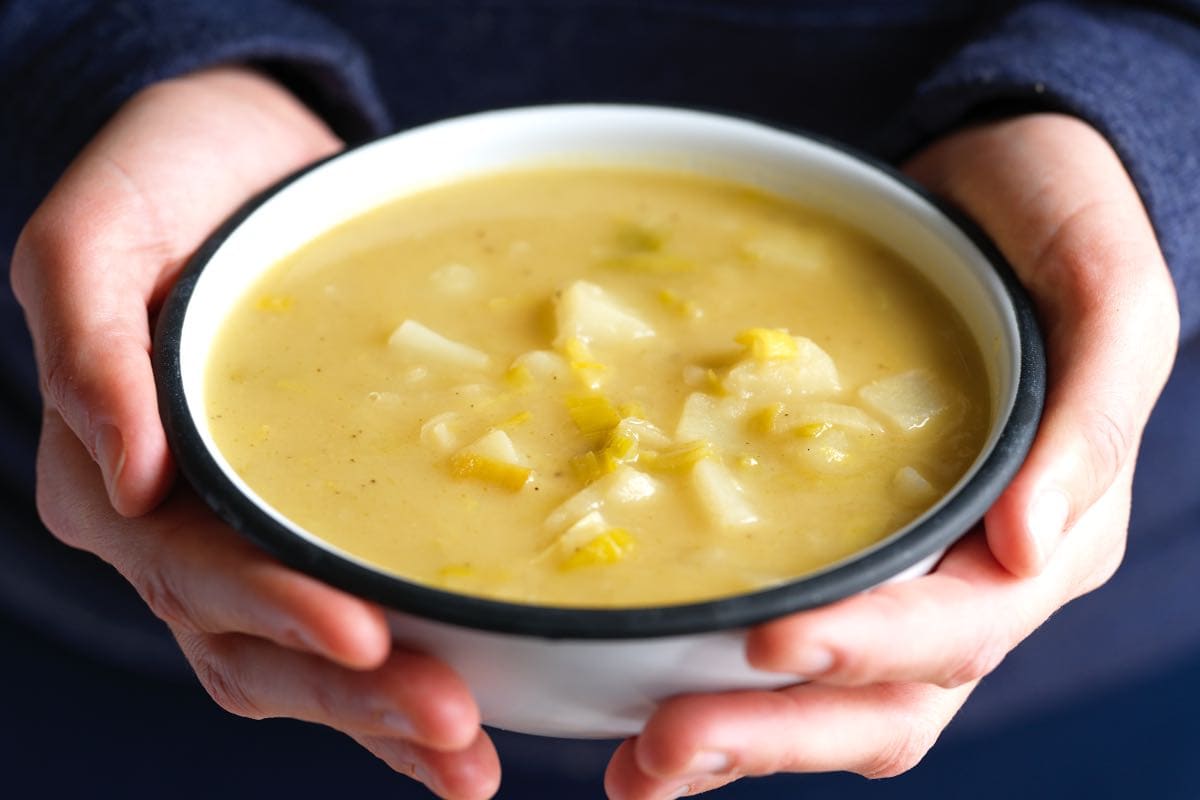
    I make this potato leek soup recipe all the time! This easy soup is super creamy and comforting (and I make it without cream!).

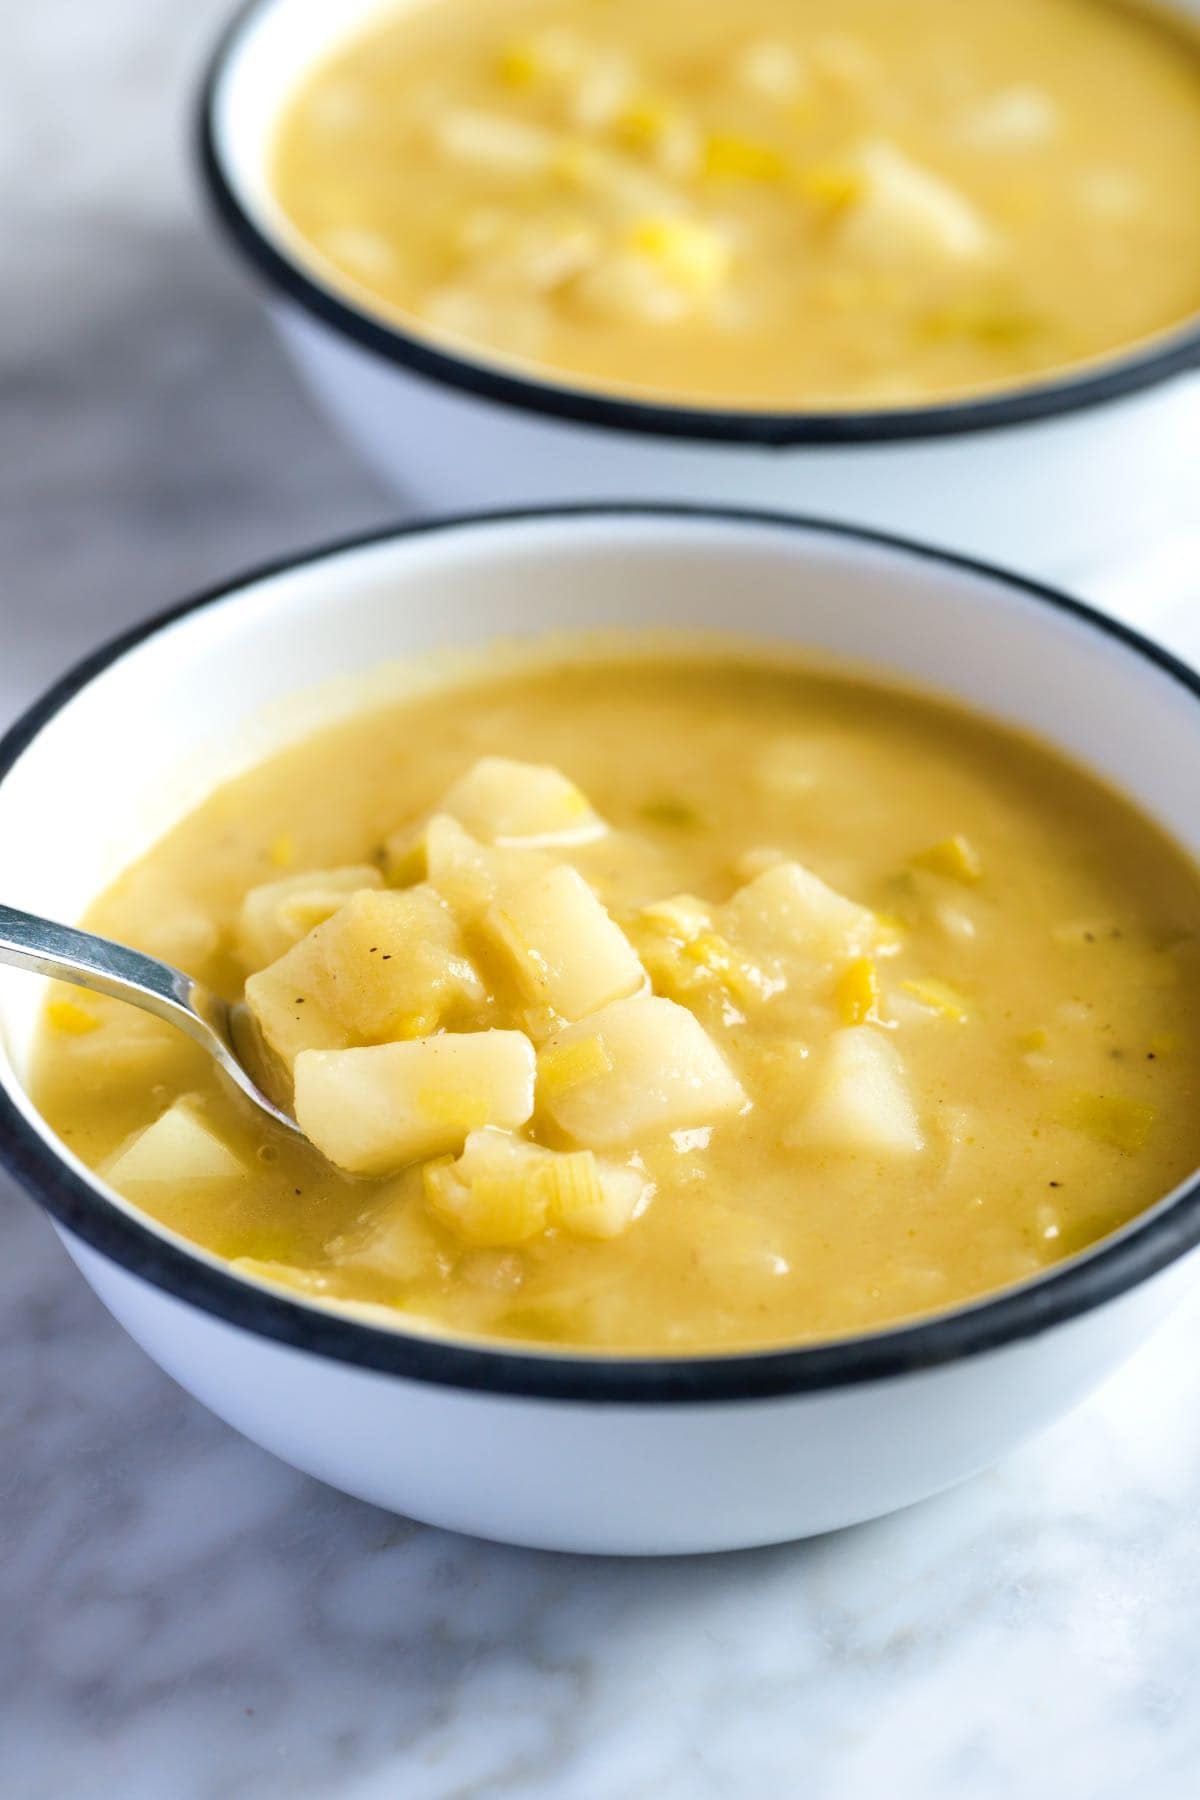
    Two Bowls of Leek and Potato Soup

    I learned how to make potato leek soup from my Mom, who makes it weekly. The ingredient list for this easy soup is pretty short (woohoo!) and super simple to prepare.

    Plus, it keeps well in the fridge or freezer for busy days. We love this soup and hope you’ll give it a try!

    Key Ingredients

    • Butter: I love the creaminess butter adds, especially since this soup has no cream, but olive oil is a good substitute.
    • Leeks: Think of leeks as sweet, mellow onions. We’ll use the white and light green parts, saving the tougher dark green tops for stock. Check out my article about how to clean leeks for more tips!
    • Potatoes: Use any kind you have. Yukon Gold potatoes will make it extra creamy, but russets break down easily for a nice texture, too.
    • Broth: Either chicken broth or vegetable broth works perfectly here.
    • Spices: Don’t be shy with the salt and pepper! A pinch of nutmeg adds a subtle warmth, and half a bay leaf is plenty for flavor.

    Find the full recipe with measurements below.

    How to Make Potato and Leek Soup

    Tip 1: Throughly clean your leeks. Leeks tend to trap sand, so I always clean them thoroughly. My go-to method is slicing them in half lengthwise, which makes it easier to rinse away any hidden grit. If you need a visual guide, check out my article on cleaning leeks.

    Tip 2: Cook the leeks until soft. Once your leeks are clean and chopped, this soup comes together quickly. Start by cooking the leeks in butter until they’re very soft, then add the rest of the ingredients and simmer until the potatoes are tender.

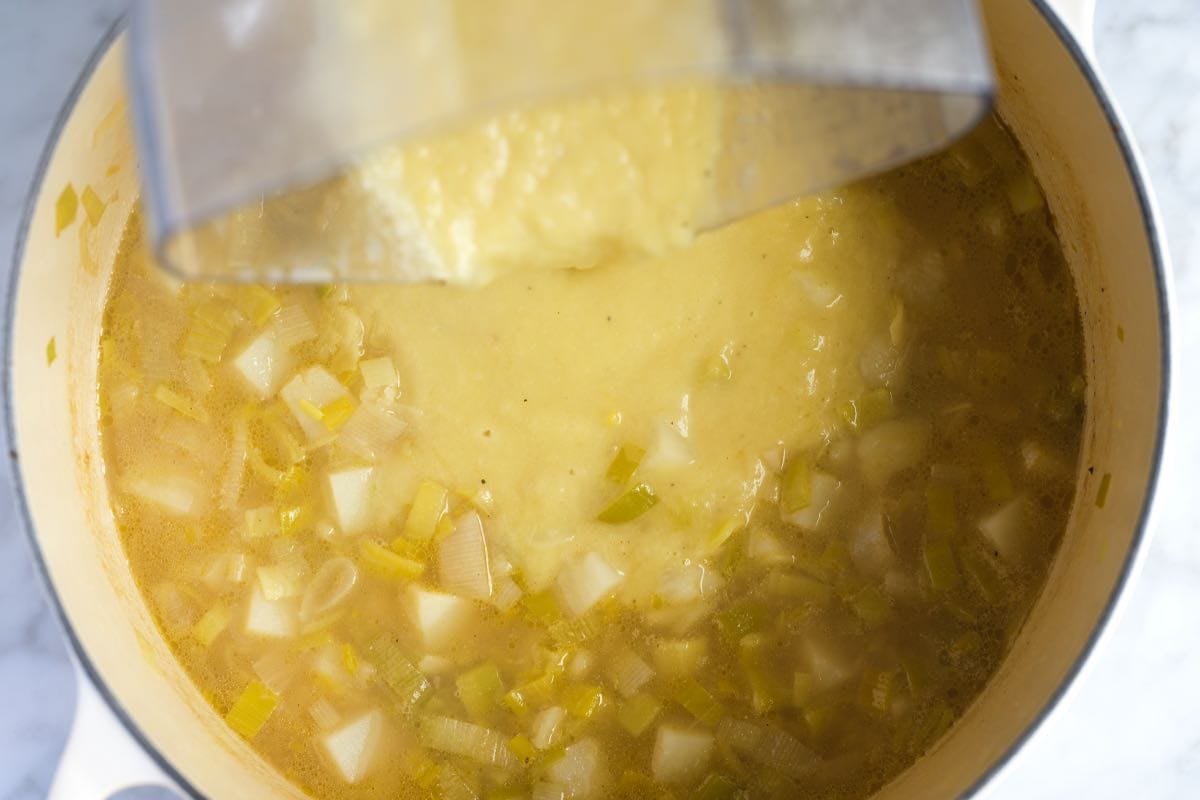
    Tip 3: Blend half of the soup for the best texture. I’m a big fan of textured soups. While many potato leek soup recipes call for blending until silky smooth, I prefer a heartier, more rustic approach. I leave plenty of potato chunks and sliced leeks in the pot. We blend about half the soup to thicken it up and add creaminess while leaving the rest chunky for texture.

    Blending half of the potato and leek soup

    More Potato Soup Recipes

    Homemade Potato Leek Soup

    Easy Potato Leek Soup

    • PREP
    • COOK
    • TOTAL

    We love this potato and leek soup recipe with butter, leeks, potatoes, stock, and spices. This soup is so creamy and comforting. There’s no cream needed, but if you want to make this more decadent, add a little crème fraîche, sour cream, or cream to your bowl before serving.

    Makes 4 servings

    You Will Need

    3 tablespoons butter or olive oil

    3 large leeks

    2 medium-to-large russet potatoes, peeled and chopped into ½-inch cubes

    6 cups stock or broth, see our chicken stock or vegetable broth

    Half of a bay leaf

    Salt and fresh ground black pepper

    Pinch freshly ground nutmeg

    Crème fraîche, sour cream, or cream for serving, optional

    Directions

    • Prepare Leeks
    • 1Cut away the stem and dark green parts of the leeks. Discard the stem and save the green tops for stock or broth. We only need the light green and white parts of the leeks for this recipe.

      2Slice the leeks into half, lengthwise, and then run cold water over them, using your fingers to release any dirt stuck inside the layers.

      3Slice the leeks into 1/4-inch thick half-moons.

    • Prepare Soup
    • 1Melt the butter in a large saucepan or Dutch oven over medium heat.

      2Stir in the leeks and 1/4 teaspoon of salt. Reduce the heat to medium-low, and cook, stirring frequently, until very soft but not browned, 10 to 15 minutes. If the leeks begin to brown, lower the heat a bit more.

      3Stir in the potatoes, stock, and 1/4 teaspoon of fresh ground pepper. Add half of a bay leaf, and then bring it to a boil. Reduce the soup to a low simmer, and cook uncovered for 10 to 15 minutes or until the potatoes are tender.

      4Taste the broth and season with additional salt.

      5Blend one-third of the soup, and then stir back into the pot. Stir in a bit more ground pepper and a pinch of nutmeg. Serve.

    Adam and Joanne’s Tips

    • Storing: Store potato leek soup in airtight containers in the fridge for up to 3 days or in the freezer for up to 3 months.
    • Vegetarian and vegan adaptations: Use vegetable broth. Try our homemade veggie broth.
    • The nutrition facts provided below are estimates.

    Nutrition Per Serving
    Serving Size
    1/4 of the recipe
    /
    Calories
    263
    /
    Total Fat
    11.3g
    /
    Saturated Fat
    6.2g
    /
    Cholesterol
    22.9mg
    /
    Sodium
    418.8mg
    /
    Carbohydrate
    33.7g
    /
    Dietary Fiber
    2.9g
    /
    Total Sugars
    3.8g
    /
    Protein
    10.7g


    AUTHOR:

    Joanne Gallagher

    Adam and Joanne of Inspired Taste

    We are Adam and Joanne Gallagher, the creators of Inspired Taste. Established in 2009, Inspired Taste grew from a childhood dream into one of the internet’s most trusted recipe sites with hundreds of reliable recipes, step-by-step videos, and expert tips.More About Us
    Previous Post: Essential Mignonette Sauce
    Next Post: Easy Apple Crisp

    Source link

  • Hummus with Spiced Ground Beef Recipe

    Hummus with Spiced Ground Beef Recipe

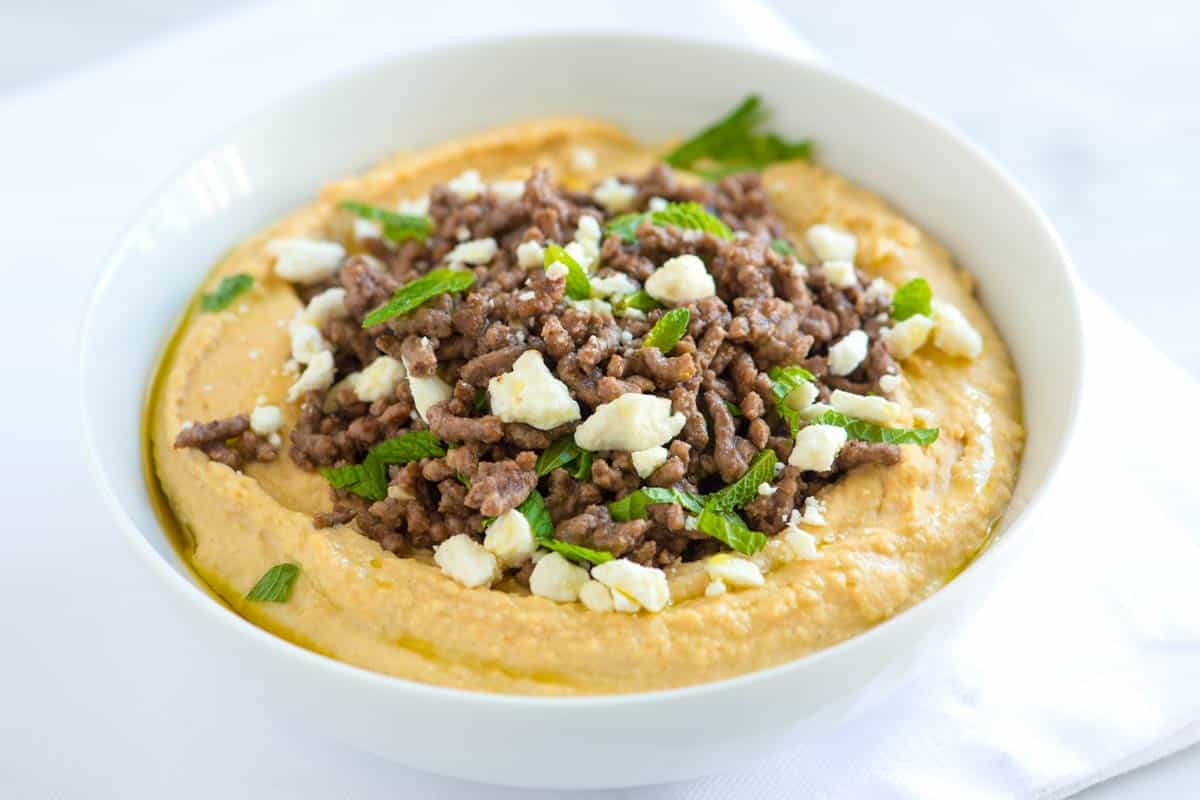
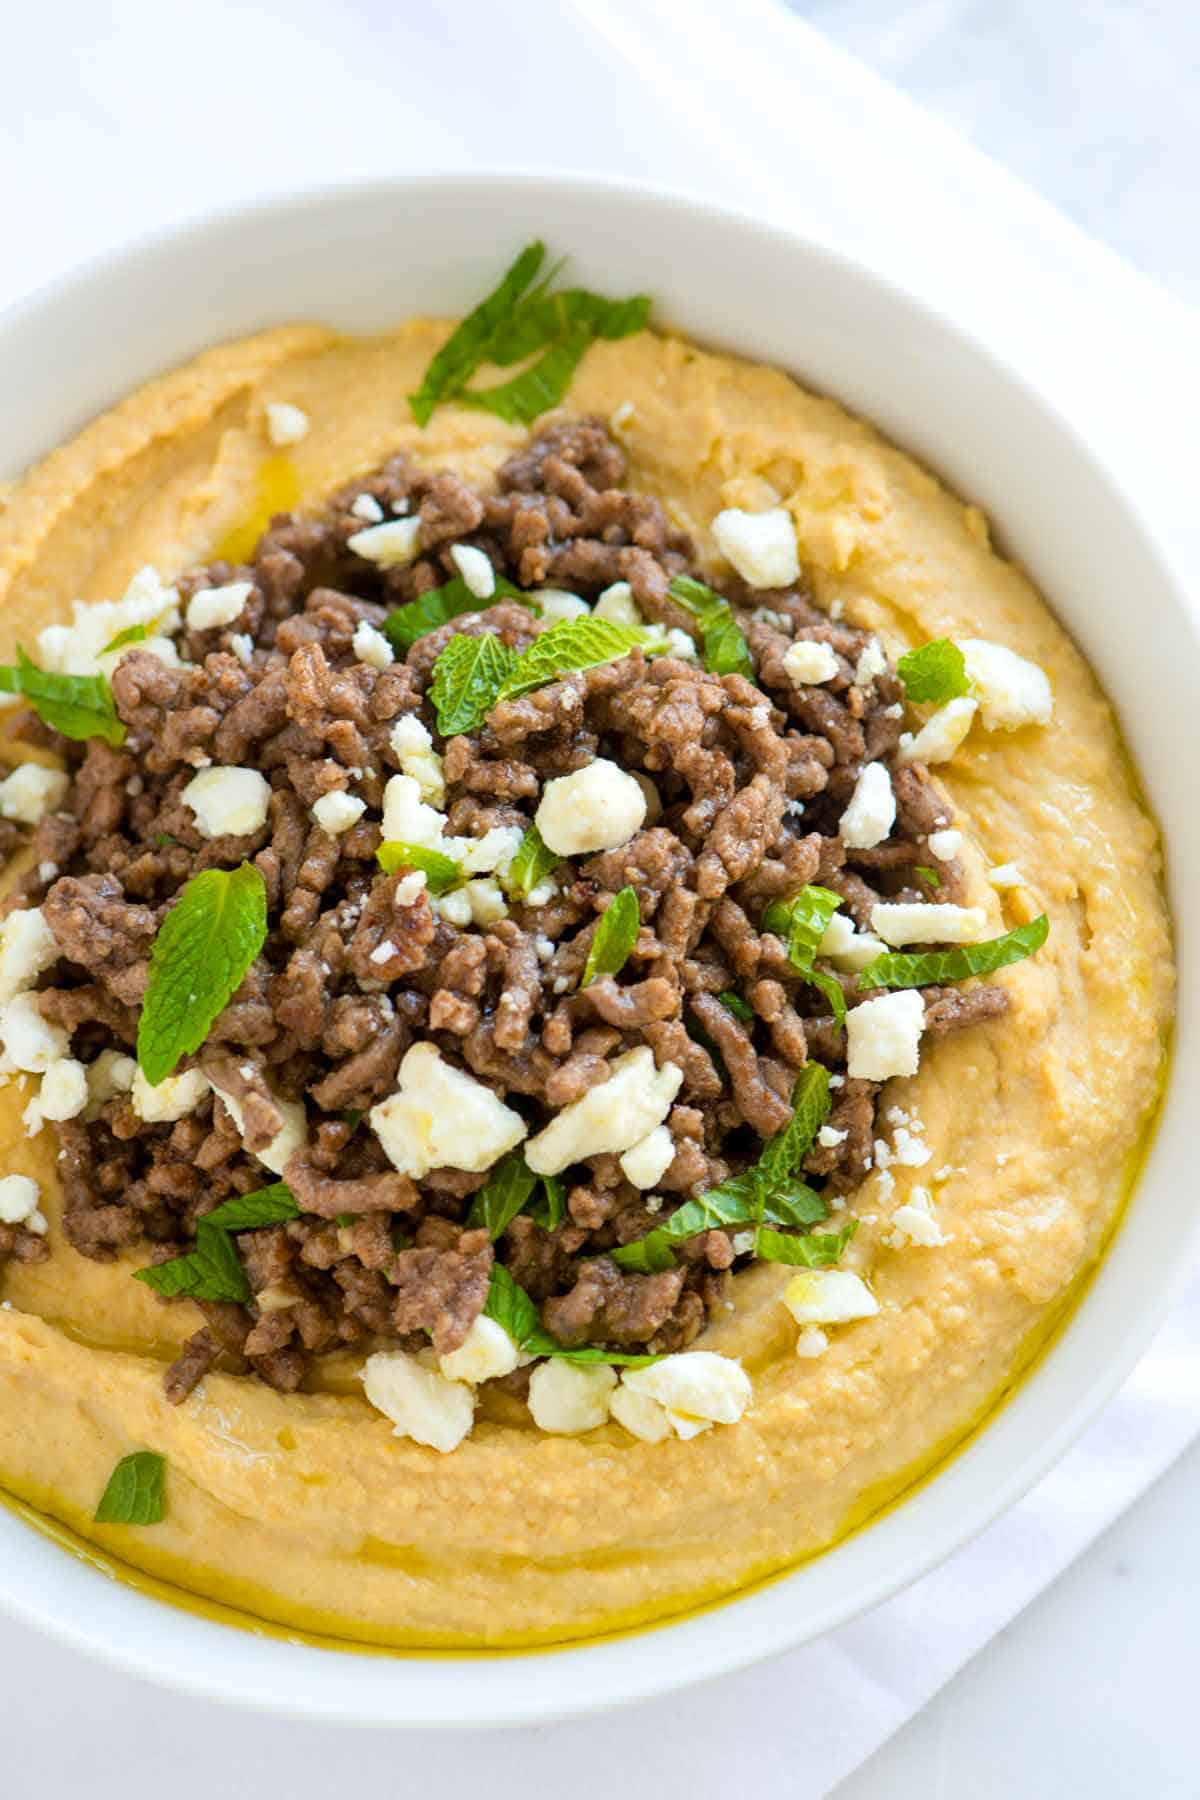
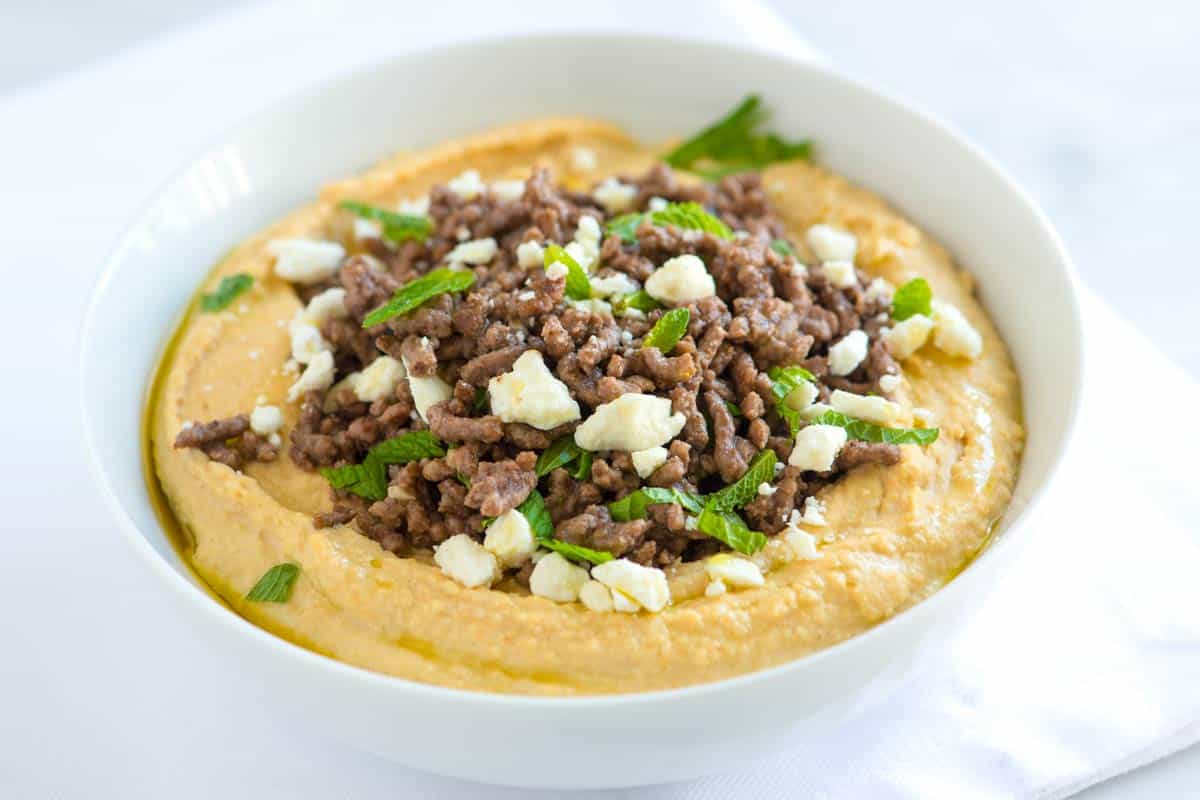
    This creamy hummus with spiced ground beef, feta cheese, and fresh mint is absolutely delicious! It’s the perfect appetizer or turn it into a light, high-protein meal.

    Hummus with Spiced Ground Beef

    Our long-time readers know how much we love our recipe for homemade hummus (shared many years ago). We’re always on the lookout for new ways to enjoy it, which is where this hummus with ground beef recipe came from.

    We take hummus and pile on lots of spiced ground beef, crumbled feta cheese, and fresh mint. It’s extra tasty, easy to do, and works really well with homemade pita bread, this quicker flatbread, or served on top of salad for a light protein-forward meal.

    Key Ingredients

    • Hummus: I highly recommend our simple hummus recipe, but feel free to use your favorite store-bought brand.
    • Ground Beef: Look for ground beef with some fat (85/15 or close to it is perfect). Ground lamb is also excellent.
    • Spices: We’re going for a Middle-Eastern vibe with the spice mixture, so you’ll combine cumin, cinnamon, cayenne, coriander, and allspice. These make the beef really delicious with an almost intoxicating warm spice.
    • Broth: Use beef stock, chicken stock, veggie stock, or, if you are in a pinch, water. We just need a little liquid to make our beef juicier.
    • Feta and Mint: I love the salty pop of feta cheese and the fresh flavor of mint. That said, you could skip this altogether and add a spoonful of homemade tzatziki sauce on top, instead.

    Find the full recipe with measurements below.

    My Tips for Making Hummus with Spiced Beef

    Tip 1: Don’t miss the opportunity to brown your beef. When cooking ground beef, I like to press it down into my skillet and resist the urge to stir it until the bottom is nicely browned. When it is, I stir and add my spice mixture.

    Tip 2: Season the beef really well. Think of the ground beef as a topper to the hummus, so it’s okay if it’s very well seasoned. That’s a good thing. You’ll likely be enjoying this with flatbread and scooping up some of the hummus with the beef for each bite, so while the meat on its own may seem too seasoned, once it’s all put together, it works.

    And there you go! If you want more ways to spice up hummus, see our roasted red pepper hummus (a reader favorite!).

    Hummus with Spiced Ground Beef

    Hummus with Spiced Ground Beef

    • PREP
    • COOK
    • TOTAL

    This hummus with spiced beef is seriously delicious. You can buy your hummus or make our simple hummus recipe. It only takes about 10 minutes and tastes better than store-bought. Feel free to substitute the ground beef in our recipe below for ground lamb. I especially love this with our soft and fluffy pita bread!

    6 Servings

    You Will Need

    1 batch homemade hummus or 2 cups store-bought hummus

    1/2 teaspoon ground cumin

    1/2 teaspoon ground coriander

    1/4 teaspoon ground cinnamon

    1/4 teaspoon ground allspice

    1/4 teaspoon cayenne pepper

    1/2 teaspoon fine sea salt

    2 tablespoons olive oil

    1 pound ground beef, we prefer 85/15 (450g)

    1/4 cup beef stock, chicken stock, or water (60ml)

    2 tablespoons chopped mint leaves

    1 ounce crumbled feta cheese (28g)

    Directions

      1Make the spice mixture: In a small bowl, whisk the cumin, coriander, cinnamon, allspice, cayenne, and salt together.

      2Brown the beef: Preheat a large skillet over medium heat. When it is hot, add the olive oil, and then press the beef down into the pan. Cook, without disturbing it, until browned on one side, about 8 minutes. Break the beef up, then stir in the spice mixture and continue for 2 minutes. Pour in the stock and cook until reduced and the beef is cooked, about 5 minutes more.

      3To serve: Spoon the hummus into a serving bowl, top with the spiced ground beef, and finish by sprinkling over the mint and feta cheese.

    Nutrition Per Serving
    Serving Size
    1/6 of the recipe
    /
    Calories
    362
    /
    Total Fat
    24.1g
    /
    Saturated Fat
    6.6g
    /
    Cholesterol
    55.6mg
    /
    Sodium
    486.4mg
    /
    Carbohydrate
    17g
    /
    Dietary Fiber
    3.4g
    /
    Total Sugars
    0.4g
    /
    Protein
    18.8g


    AUTHOR:

    Joanne Gallagher

    Adam and Joanne of Inspired Taste

    We are Adam and Joanne Gallagher, the creators of Inspired Taste. Established in 2009, Inspired Taste grew from a childhood dream into one of the internet’s most trusted recipe sites with hundreds of reliable recipes, step-by-step videos, and expert tips.More About Us
    Source link

  • Easy Cranberry Orange Scones Recipe

    Easy Cranberry Orange Scones Recipe

    This cranberry orange scones recipe is a keeper! They turn out light and flaky, with fresh orange zest and dried cranberries.

    Cranberry Orange Scones

    My Mom makes a lot of scones. She inherited her love from her Mom, and I can only imagine it goes back from there. Now, here I am sharing our favorite recipe with you! You can top these with bit of sugar, or add my delicious orange glaze.

    Scones are really easy to make. If you’ve made homemade biscuits, you’ll recognize many of the steps in our recipe below. For more scones recipes, see our classic scones, blueberry scones, blackberry lemon scones or these pumpkin scones.

    Key Ingredients

    • Cranberries: I use dried cranberries in my photos, but you can absolutely use fresh or frozen cranberries in these scones. If you opt for fresh cranberries, keep in mind that they are more tart, so you might want to add a touch more sugar to the dough (I’ve shared tips below the recipe).
    • Orange: I use plenty of orange zest to infuse the dough with a bright citrus flavor. For more orange flavor, try my optional orange glaze, which you’ll find in the recipe below.
    • Flour: I stick to all-purpose flour for my scones. It consistently yields light and flaky results.
    • Baking powder: This adds a little extra lift and lightness to the scones. I also use baking powder when making this strawberry shortcake!
    • Butter: I always use very cold butter when making these. The cold butter creates steam in the oven, resulting in that delightful flaky texture we all love.
    • Heavy cream: I’m partial to cream scones because they tend to be lighter and more tender than those made solely with butter.
    • Honey: I love the subtle sweetness honey adds to these cranberry orange scones. For an extra special touch, try using orange blossom honey! Feel free to substitute with sugar.

    Find the full recipe with measurements below.

    Tips for Making the Best Cranberry Orange Scones

    Tip 1: Use chilled ingredients. Using cold ingredients is really important when making scones. The butter should be chilled and hard, and you want to use the cream straight from the refrigerator.

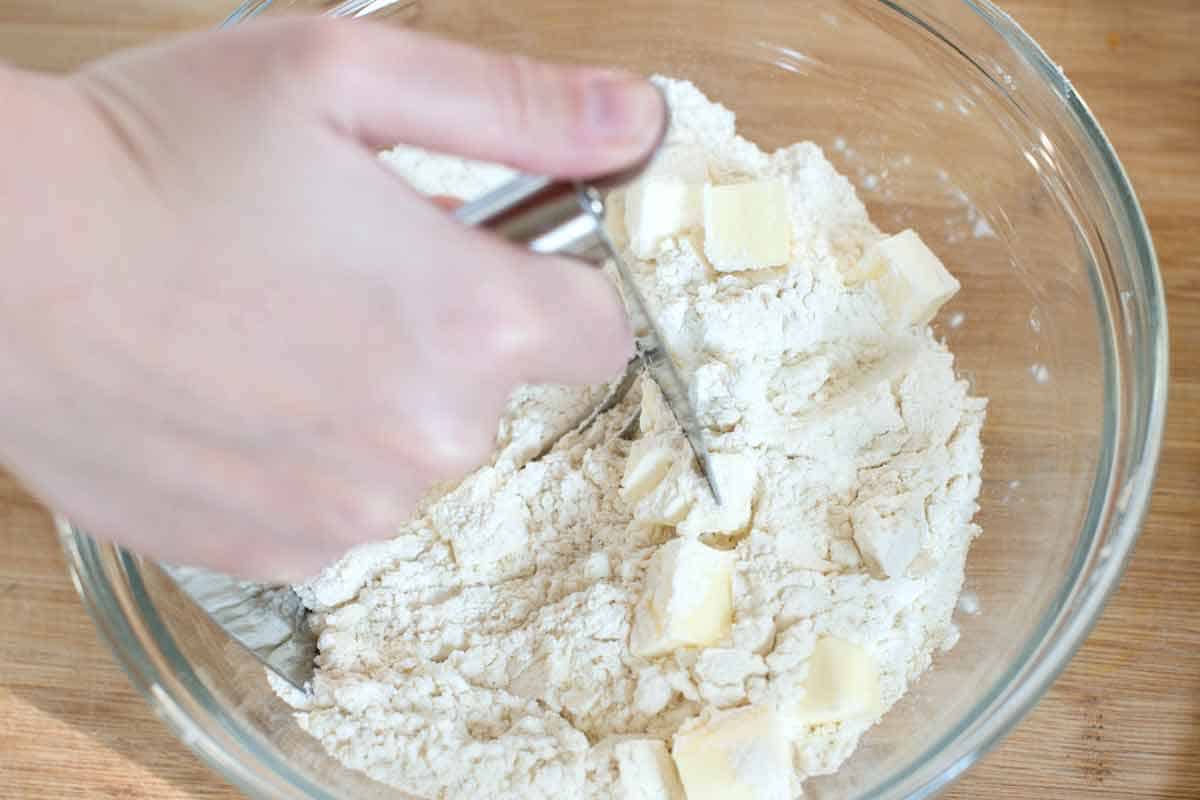
    To make scones, you will “cut in” very cold butter. I use a pastry blender, but cold hands or a food processor will work. The goal is to distribute small pieces of butter throughout the flour. As the scones bake, these little bits of butter create steam pockets that make the dough rise, resulting in a light and tender texture (the same happens in my butter pie crust recipe and these biscuits).

    Cutting cold butter into flour

    Tip 2: Add fresh orange flavor. You can add orange flavor in two ways to these scones. First, add a generous amount of orange zest to the dough itself (similar to how we add lemon zest to these blueberry scones). Second, you can make our orange glaze. It’s optional, but it’s really easy! Stir powdered sugar and fresh orange juice together, then drizzle the glaze over the baked and cooled scones.

    Cranberry orange scone dough

    Tip 3: Don’t overwork your dough. When making these, gentle handling is key! Overworking the dough develops gluten, which can make your scones less fluffy and tender. That’s why I skip the biscuit cutter and lightly pat the dough into a circle before cutting them into 8 triangles.

    Cutting scone dough into triangles.

    Tip 4: Sprinkle sugar on top (optional). Transfer your triangles of dough onto a baking sheet, leaving a little room (they will spread slightly), and then brush them generously with cream. For a beautiful, shiny, textured top, sprinkle coarse sugar over the cream and bake.

    Homemade Cranberry Orange Scones

    Easy Cranberry Orange Scones

    • PREP
    • COOK
    • TOTAL

    These incredible cranberry orange scones are light and flaky, with fresh orange zest and dried cranberries. I love topping them with a little coarse sugar, but they are also delicious drizzled with our optional orange glaze shared in the recipe below.

    Makes 8 scones

    You Will Need

    2 cups (260g) all-purpose flour

    1 tablespoon baking powder

    1/2 teaspoon fine sea salt

    5 tablespoons (70g) cold, unsalted butter, cut into 1/4-inch cubes

    1 cup (235ml) heavy cream, plus more for tops of scones

    3 tablespoons honey or sugar

    1 tablespoon grated orange zest

    3/4 cup (100 grams) dried cranberries, see tips for fresh cranberries

    1 tablespoon coarse sugar for tops of scones


    Optional Glaze

    1 cup (120g) powdered sugar

    2 to 3 tablespoons (30ml to 45ml) orange juice

    Directions

      1Adjust the oven rack to the middle position and heat the oven to 425°F (218°C). Line a large baking sheet with parchment paper or use a silicon baking mat.

      2Whisk together flour, baking powder, and salt in a medium bowl.

      3Combine cream, honey, and orange zest in a measuring jug. Stir until the honey is completely incorporated into the cream.

      4Use a pastry blender to work the butter into the flour mixture until it resembles a coarse meal with a few small crumbles of butter the size of peas. (Or use a food processor).

      5Stir in cranberries. Pour in the cream mixture and use a rubber spatula to mix until a crumbly dough forms.

      6Transfer the dough and all dry, floury bits to a lightly floured work surface. Knead the dough 3 to 5 times until it just comes together. Form into an 8-inch circle. Cut into 8 triangles, or use a biscuit cutter.

      7Place the scones on the baking sheet, brush with extra cream, and lightly sprinkle the tops with coarse sugar.

      8Bake until light golden brown, 12 to 15 minutes. Cool at least 10 minutes before serving.

      9For the optional glaze, whisk the powdered sugar and 2 tablespoons of the orange juice until smooth. If it’s too thick, add a bit more orange juice. Drizzle over the cooled scones.

    Adam and Joanne’s Tips

    • Fresh or frozen cranberries: You can substitute 1 heaping cup of fresh or frozen (not thawed) cranberries in the recipe above. They will be more tart, so consider increasing the honey or sugar by 1 to 2 tablespoons.
    • Storing: Scones are best eaten fresh. If you do have leftovers, your best bet for keeping them fresh is to freeze them. Freeze baked and cooled scones until hard, then transfer to resealable plastic bags. Freeze for up to 1 month. To reheat, bake in a 350°F oven until warmed. It shouldn’t take long.
    • You can freeze unbaked scone dough: Chill cut scones in the freezer until firm, then transfer to resealable plastic bags. They can be kept for up to one month. Bake in a 425°F oven straight from the freezer. (They may take a few extra minutes.)
    • Recipe inspired and adapted from America’s Test Kitchen

    Nutrition Per Serving
    Serving Size
    1 scone
    /
    Calories
    343
    /
    Protein
    4 g
    /
    Carbohydrate
    42 g
    /
    Dietary Fiber
    1 g
    /
    Total Sugars
    16 g
    /
    Total Fat
    19 g
    /
    Saturated Fat
    11 g
    /
    Cholesterol
    60 mg
    /
    Sodium
    342 mg


    AUTHOR:

    Joanne Gallagher

    Adam and Joanne of Inspired Taste

    We are Adam and Joanne Gallagher, the creators of Inspired Taste. Established in 2009, Inspired Taste grew from a childhood dream into one of the internet’s most trusted recipe sites with hundreds of reliable recipes, step-by-step videos, and expert tips.More About Us
    Source link

  • Teriyaki Meatball Foil Packets – Oven, Grill or Campfire Recipe

    Teriyaki Meatball Foil Packets – Oven, Grill or Campfire Recipe

    This website may contain affiliate links and advertising so that we can provide recipes to you. Read my disclosure policy.

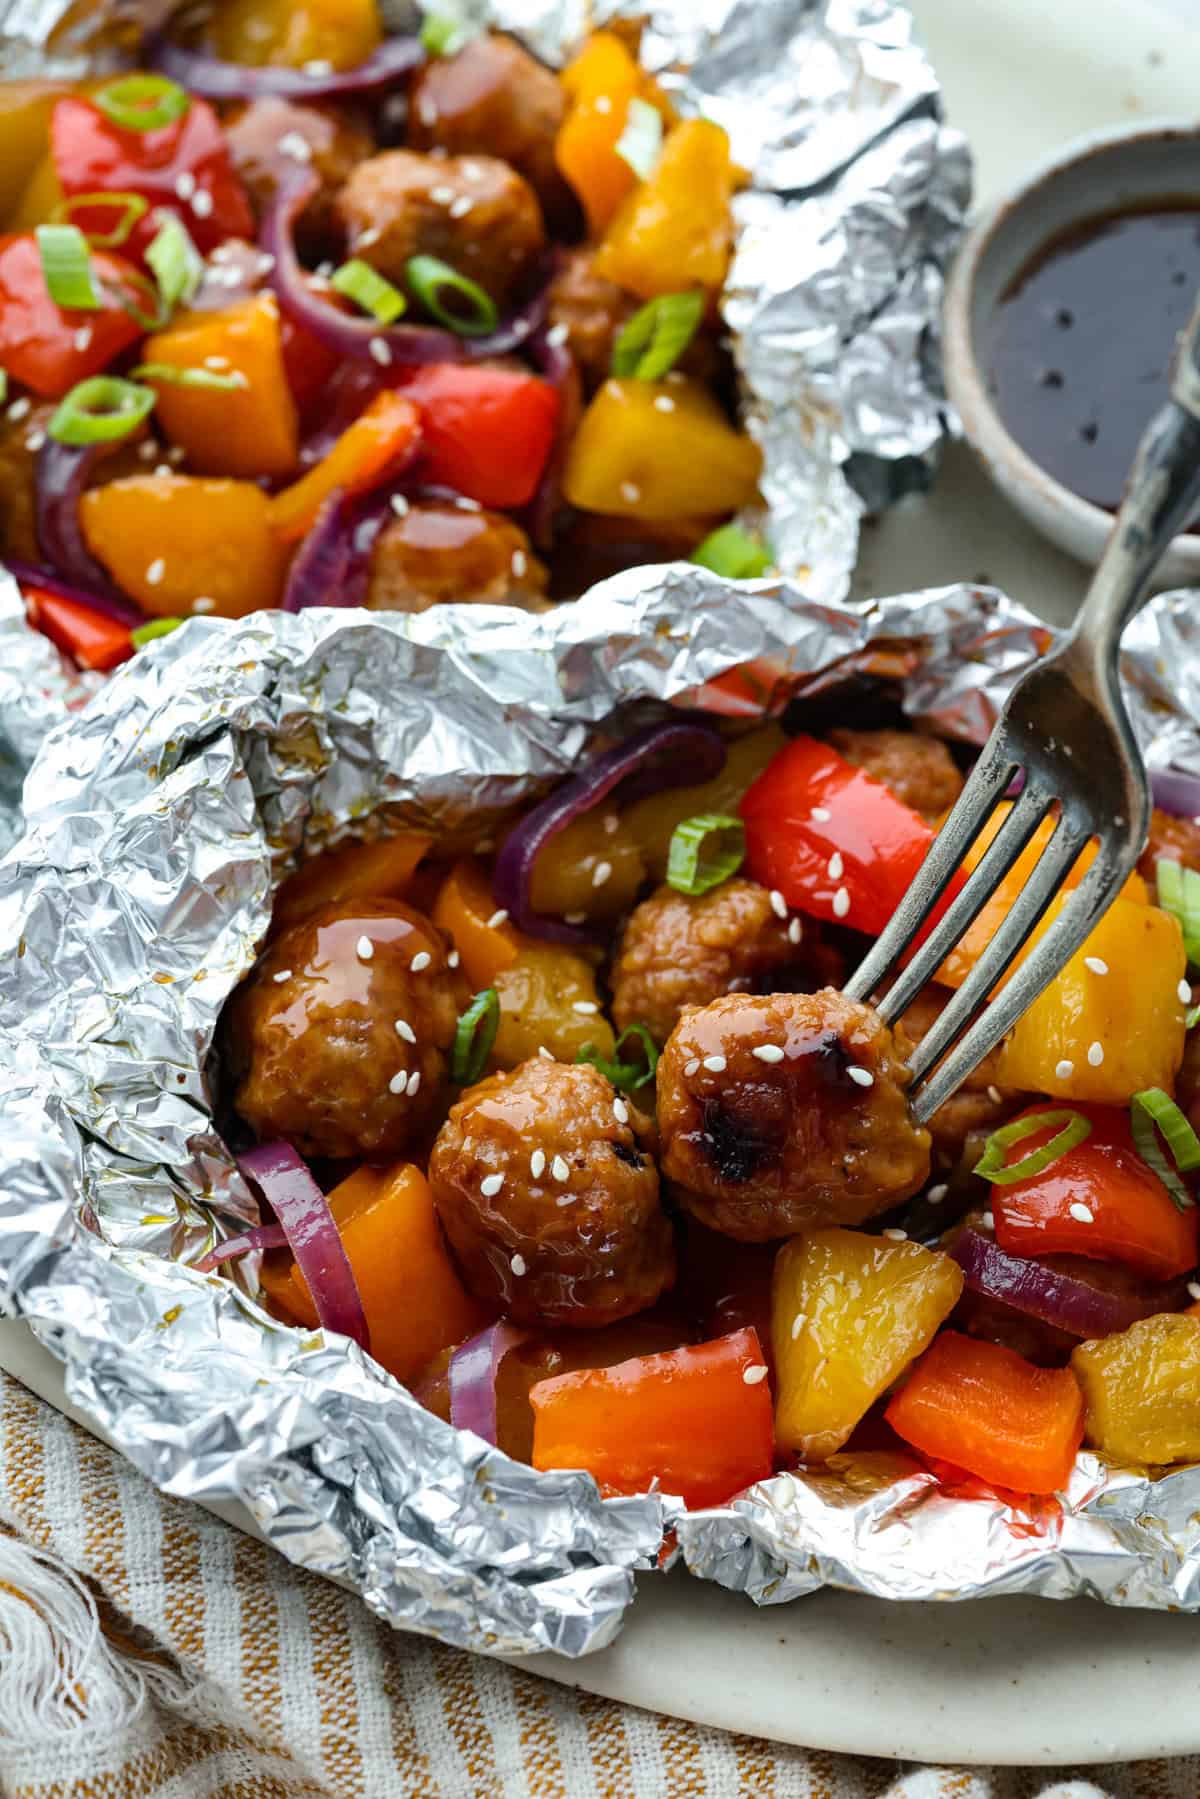
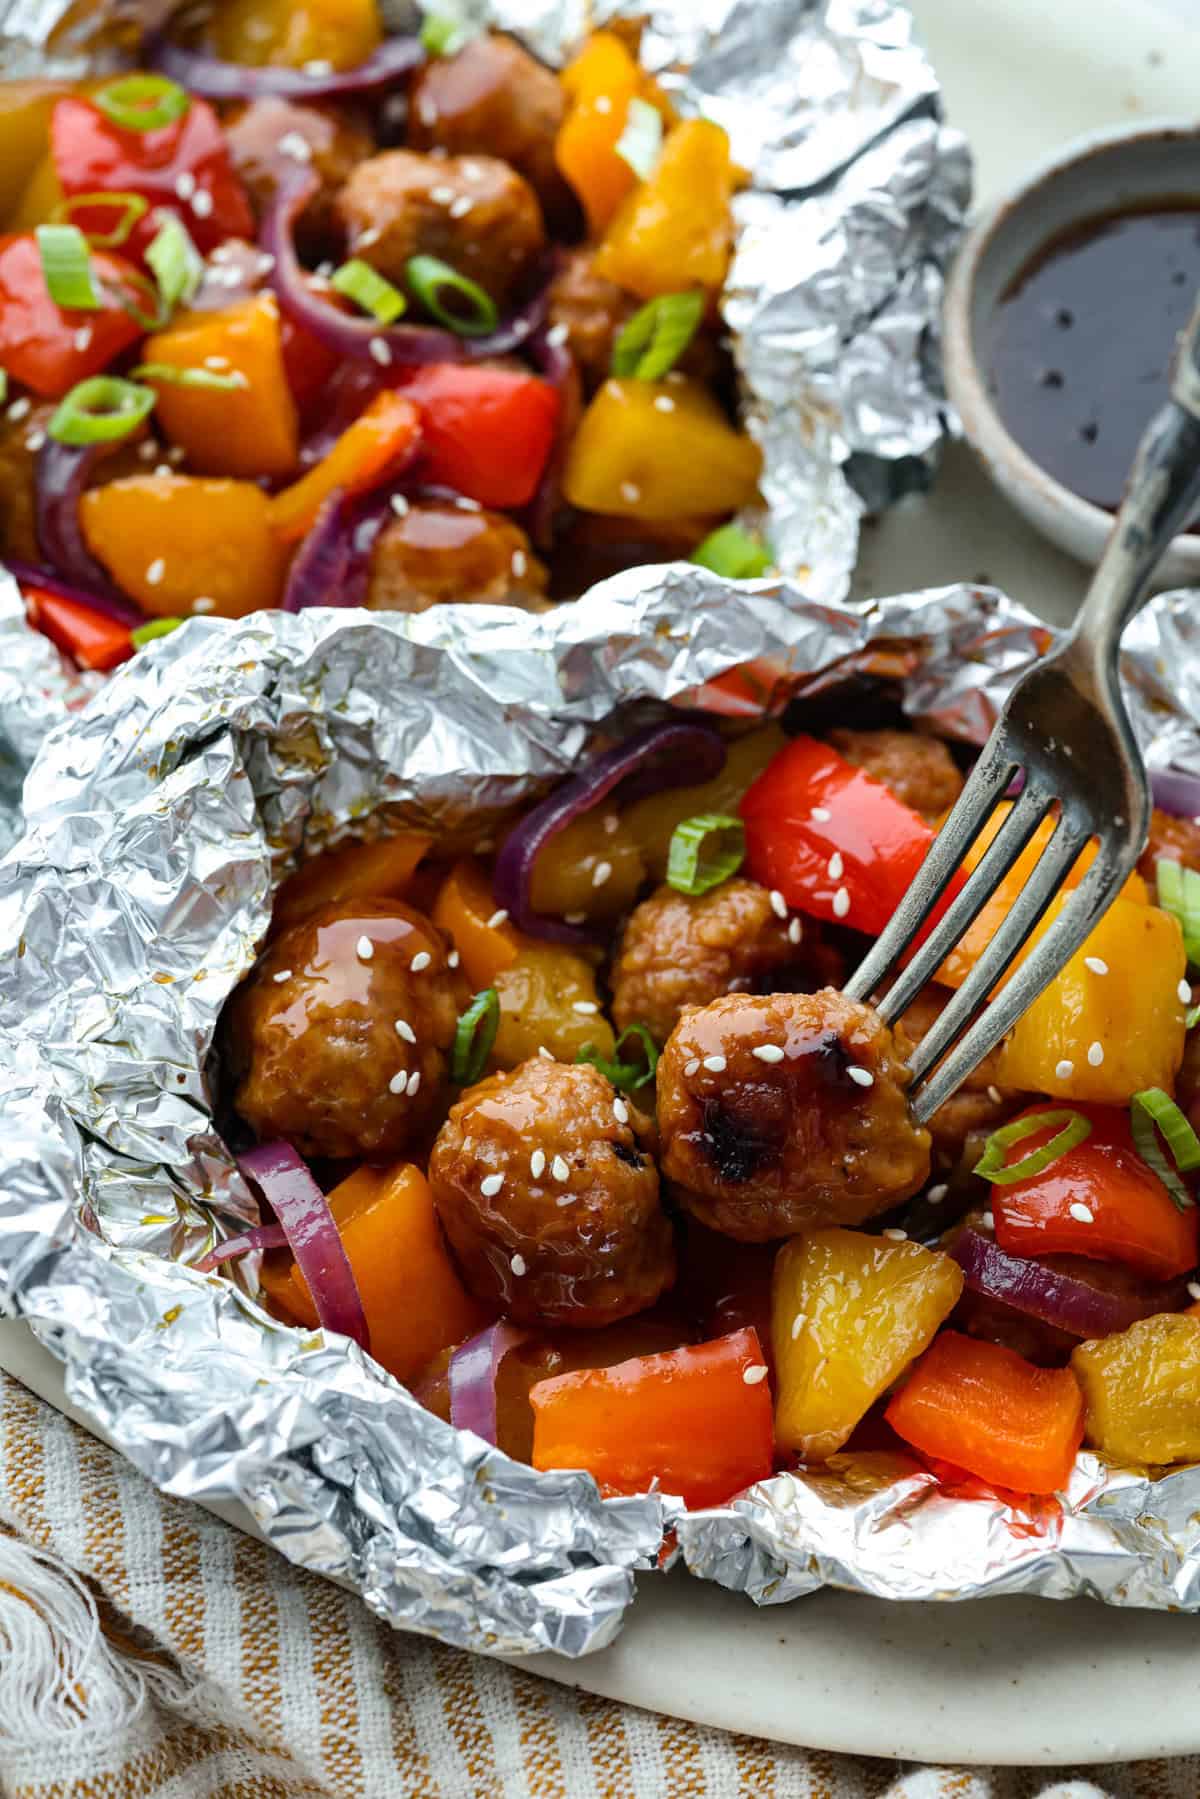
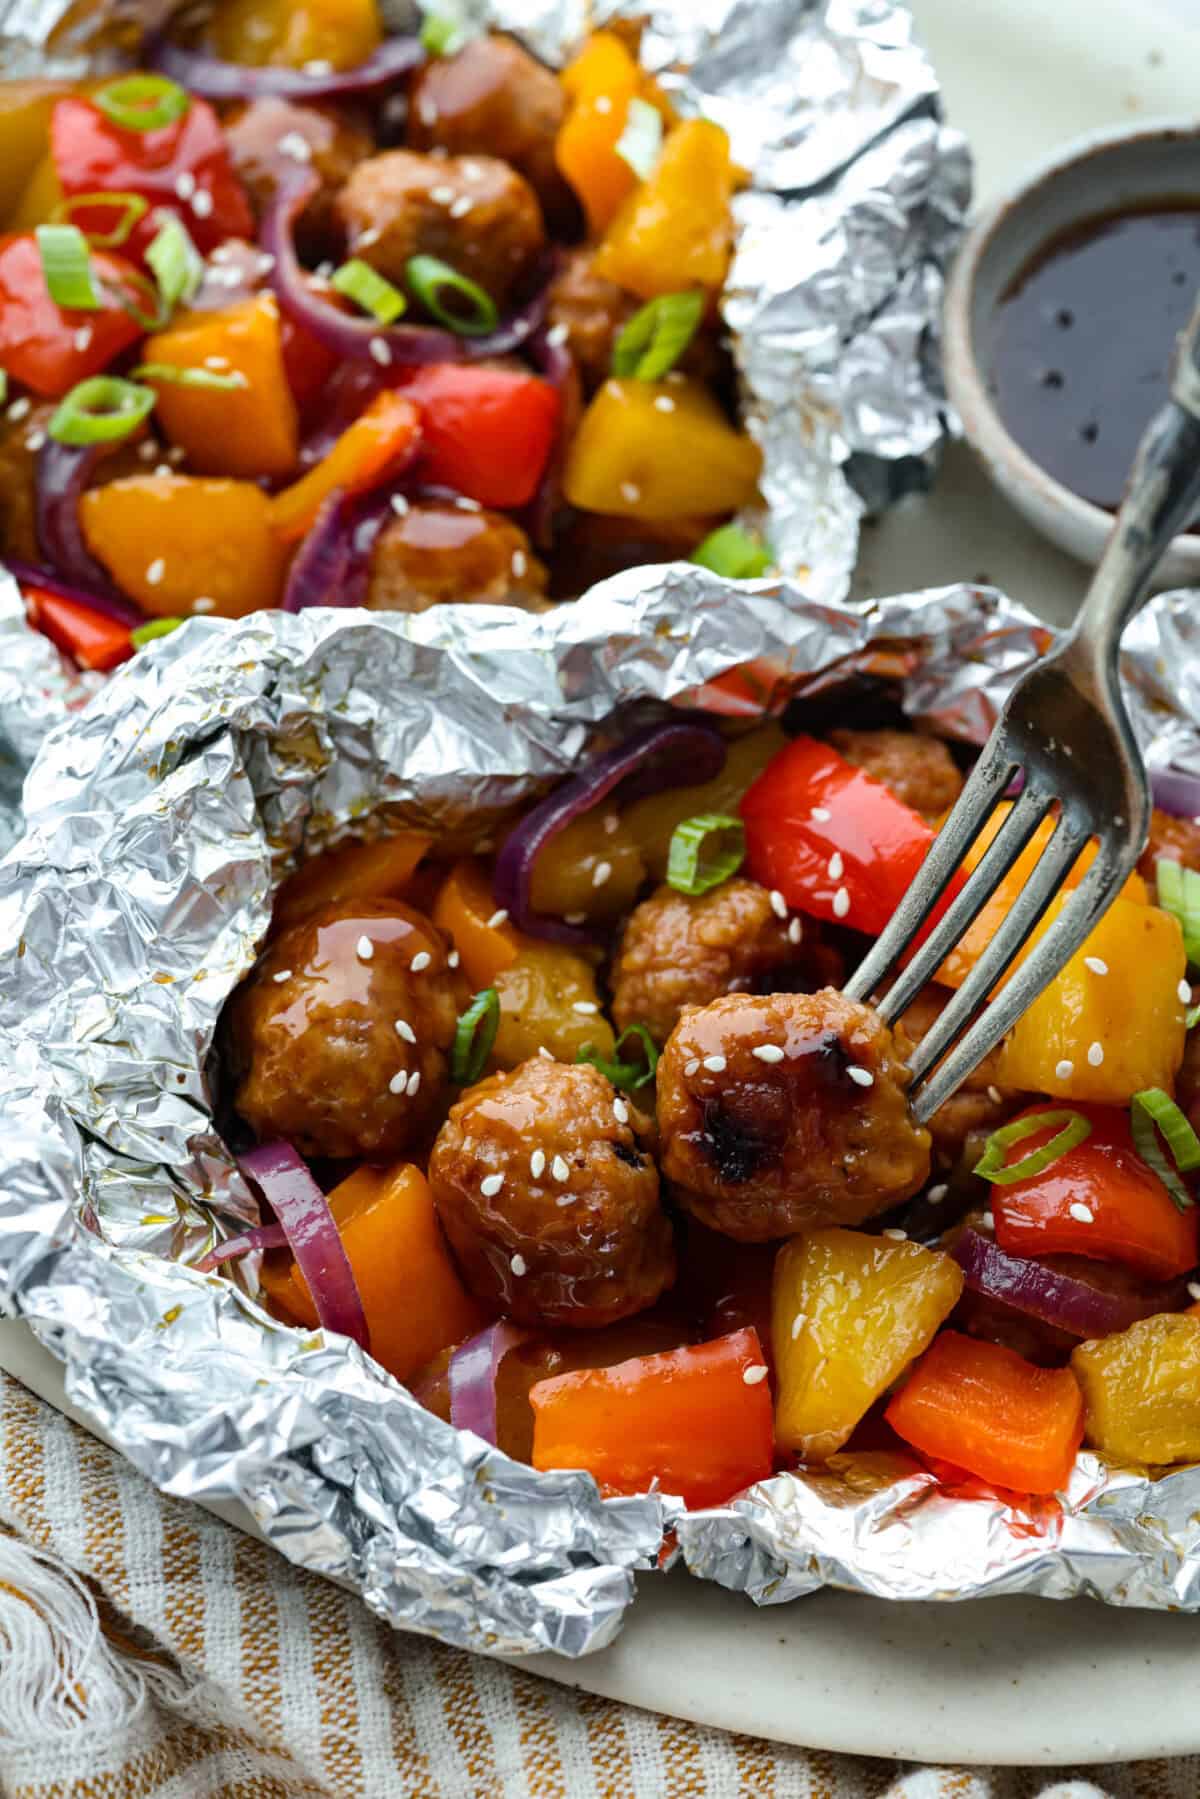
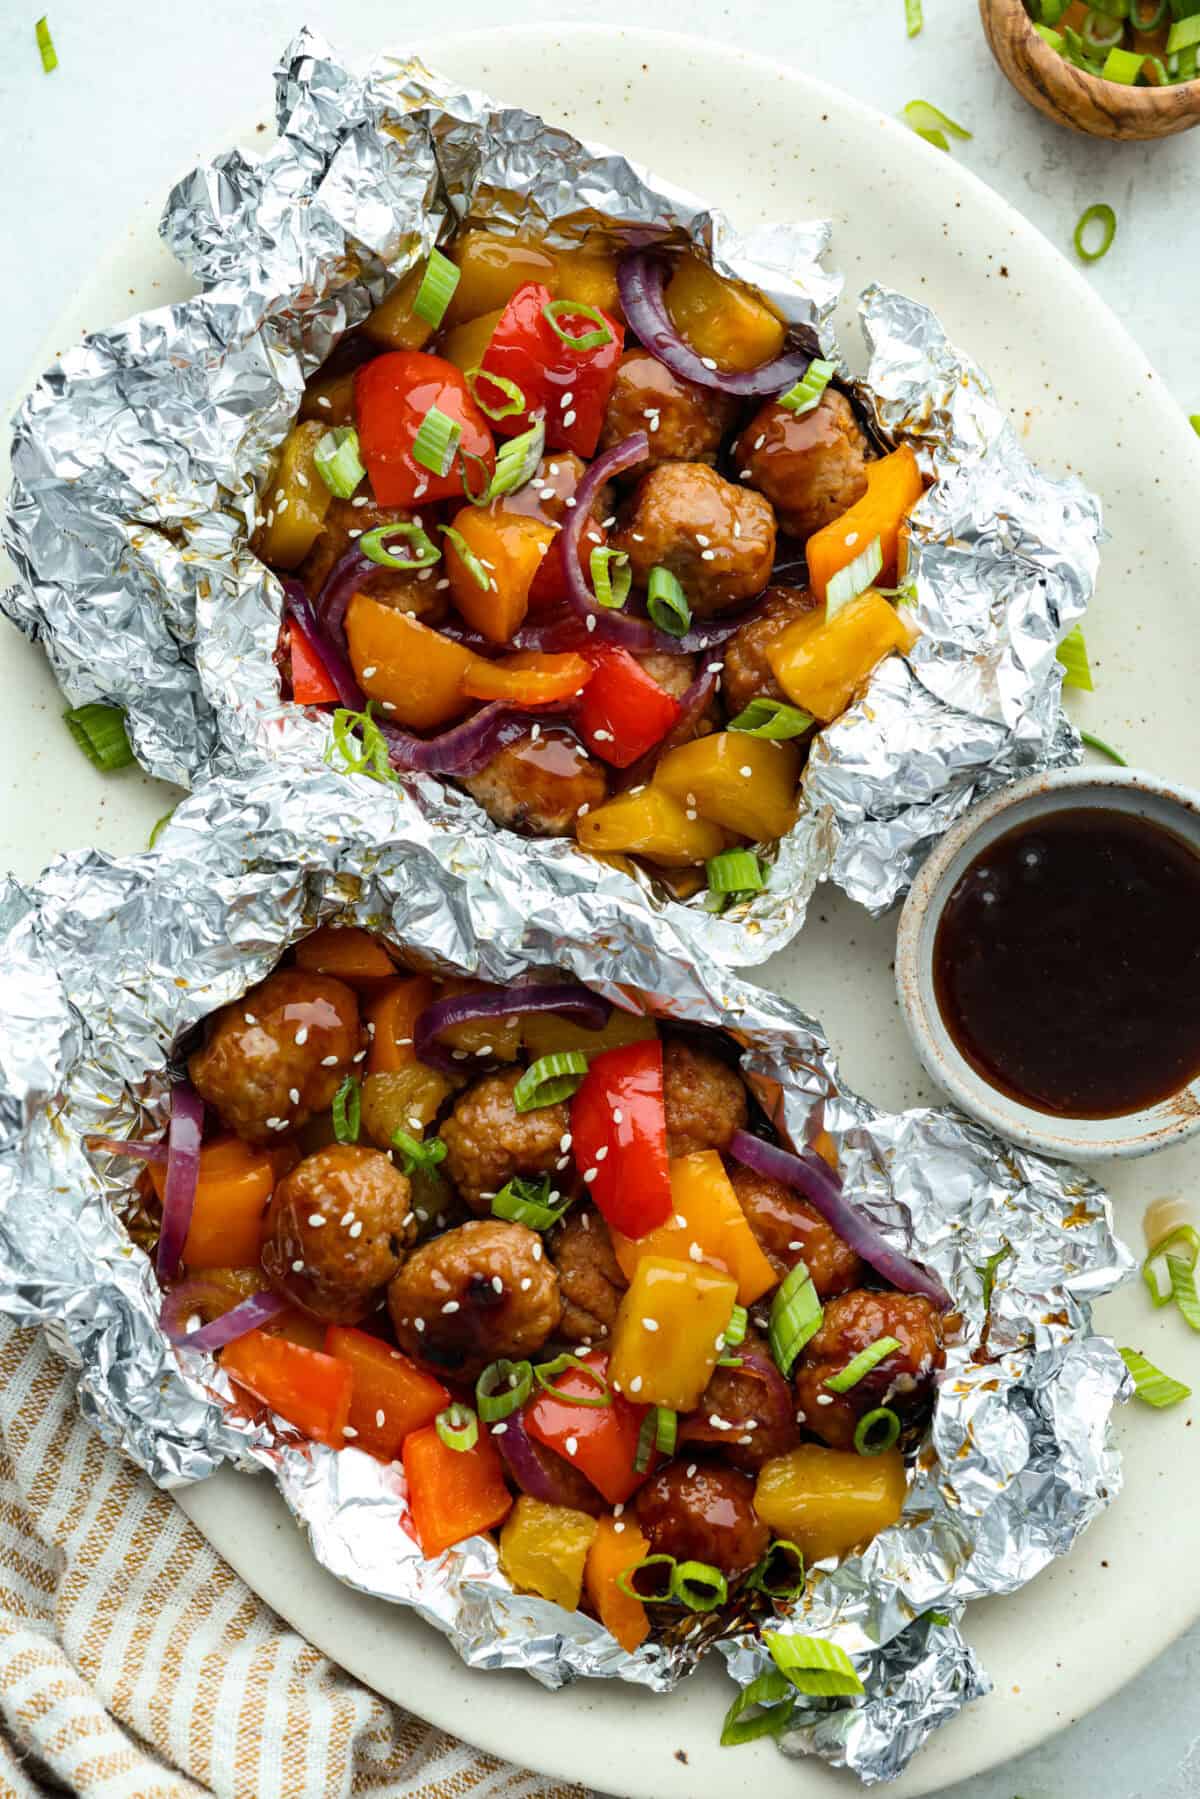
    My meatball foil packets have juicy meatballs, sweet pineapple, colorful veggies, covered in sticky teriyaki sauce, and grilled to perfection. Easy to make, fun to eat, and no dishes to wash! Yes, please!

    Meatball foil packets with veggies and pineapple.

    Packet Perfection

    • Sweet & Savory Combo: Tender meatballs meet caramelized pineapple and teriyaki sauce for bold, irresistible flavor.
    • Optional Cooking Methods: These are delicious whether you’re grilling at home or cooking under the stars. They work great in the oven, too!
    • Perfect for Prep or Travel: Make ahead and toss on the grill when you’re ready—ideal for busy nights or weekend getaways.

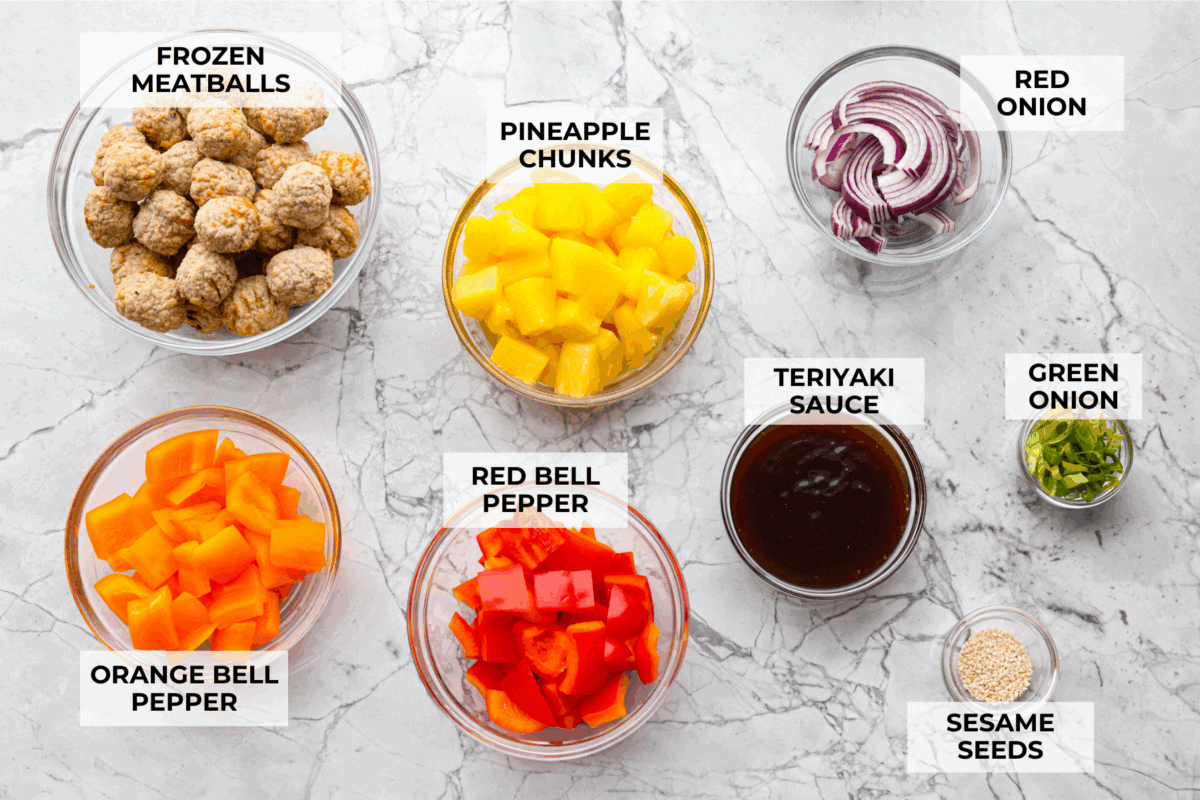
    Teriyaki Meatball Foil Packet Ingredients

    Overhead shot of labeled ingredients.
    • Meatballs: I used pre-cooked frozen beef meatballs from Costco to save time, but you can make my homemade meatball recipes as well!
    • Teriyaki Sauce: I love using my homemade teriyaki sauce, but you can use store bought if you’re in a time crunch.
    • Veggies: Cut your veggies into even pieces so they cook at the same rate. Feel free to mix it up; zucchini, mushrooms, and broccoli all work!
    • Pineapple: Be sure to drain the pineapple well if you’re using canned. Fresh pineapple or pineapple rings are also an option!

    How to Make Meatball Foil Packets

    Dinner doesn’t get easier than this! With just a few ingredients and zero cleanup, you’ll have a delicious meal on the table (or around the campfire!) in no time.

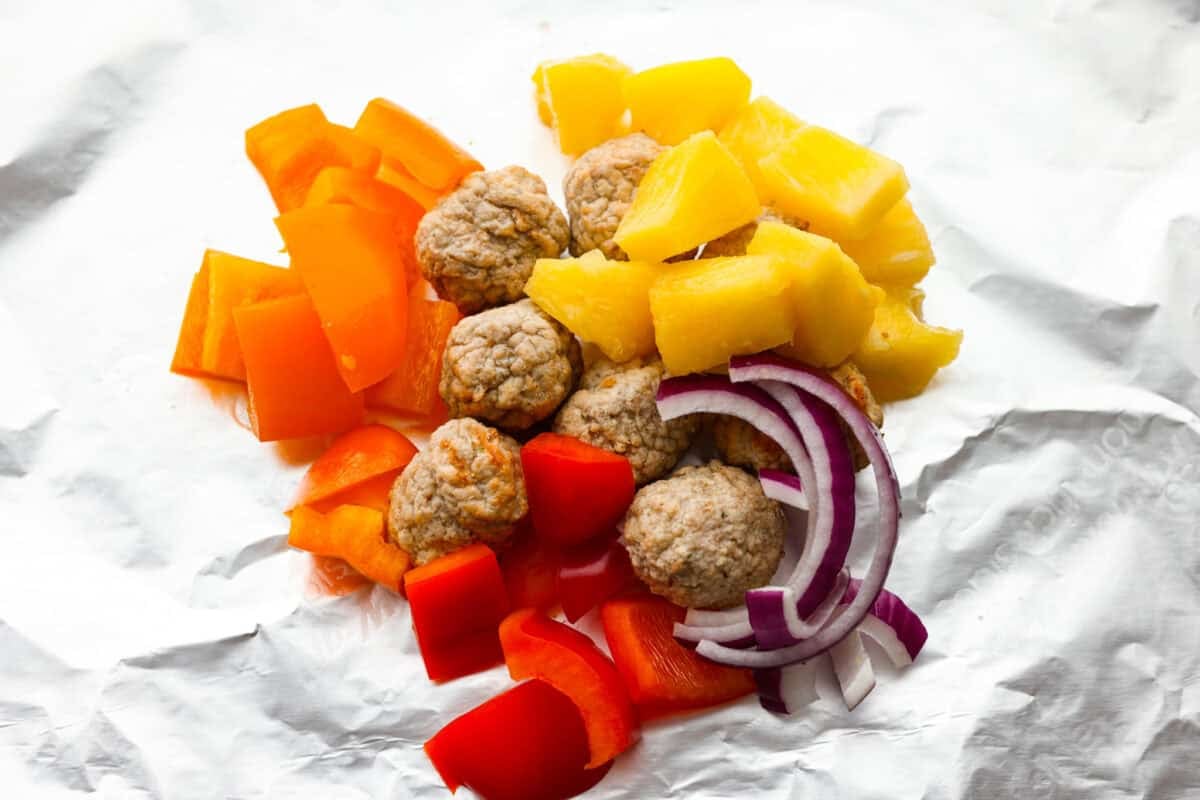
    1. Prepare and Assemble: Preheat the grill to medium heat, then cut heavy-duty aluminum foil into 4 large pieces, large enough to wrap around the meatballs and veggies. Place 8 meatballs in the center of each sheet of aluminum foil. Divide the pineapple chunks, chopped bell peppers, and the sliced red onion evenly into each packet. 
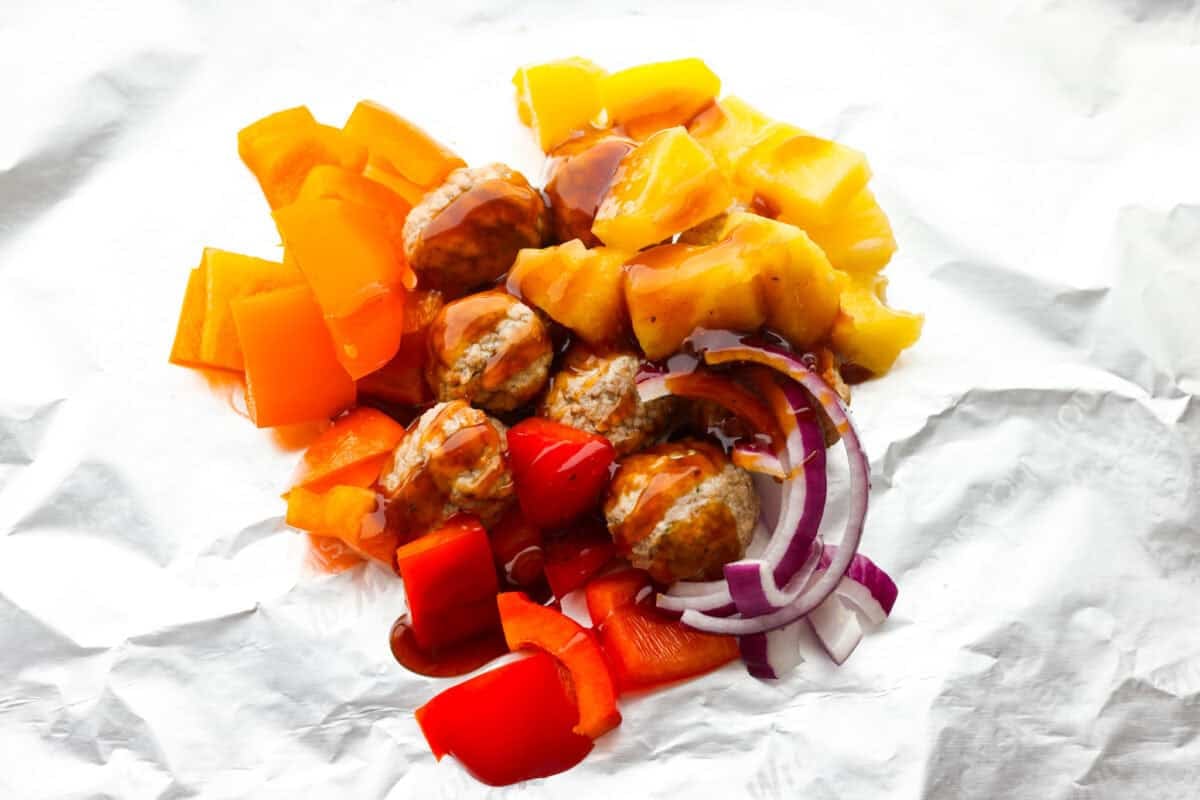
    2. Add the Sauce: Prepare Homemade Teriyaki Sauce or use your favorite store bought sauce. Drizzle ¼ cup of the sauce on top of each meatball and veggie mixture and slightly stir together.
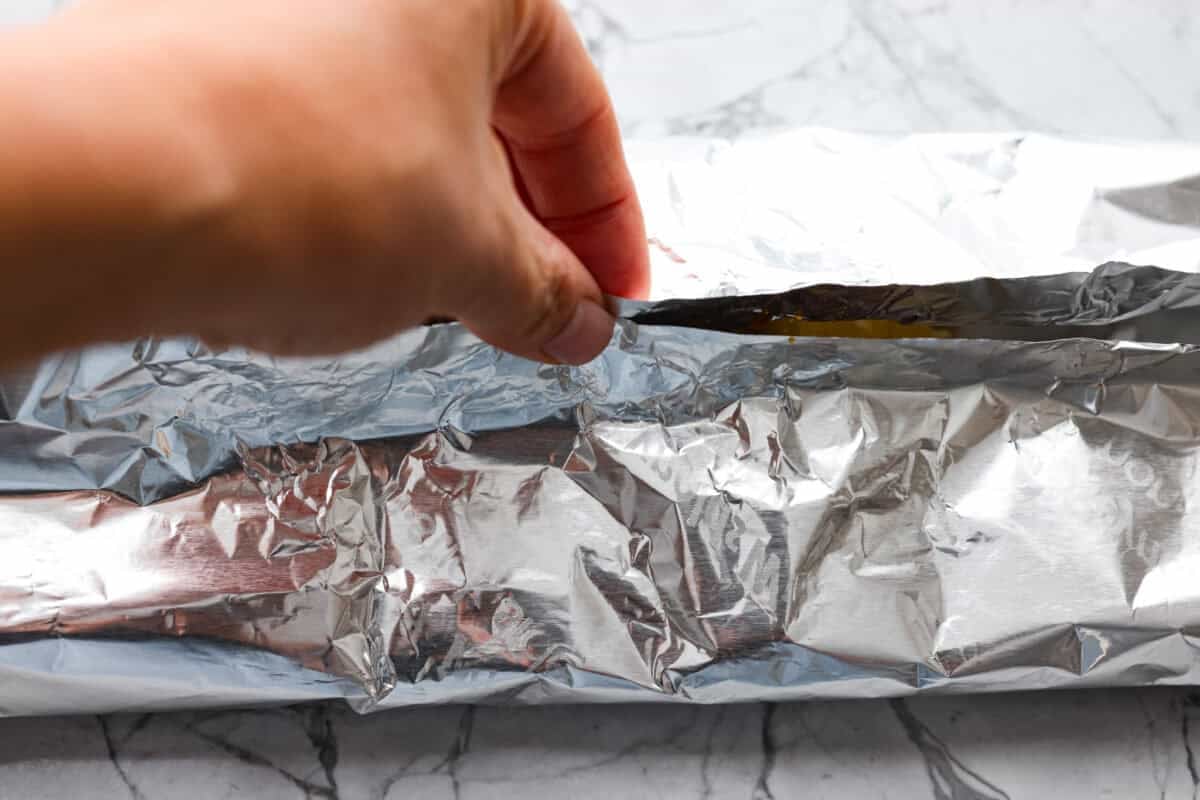
    3. Fold and Seal: Bring the two longer sides of the foil together and seal tightly, then fold in the shorter edges of the foil, making sure there are no openings or gaps.
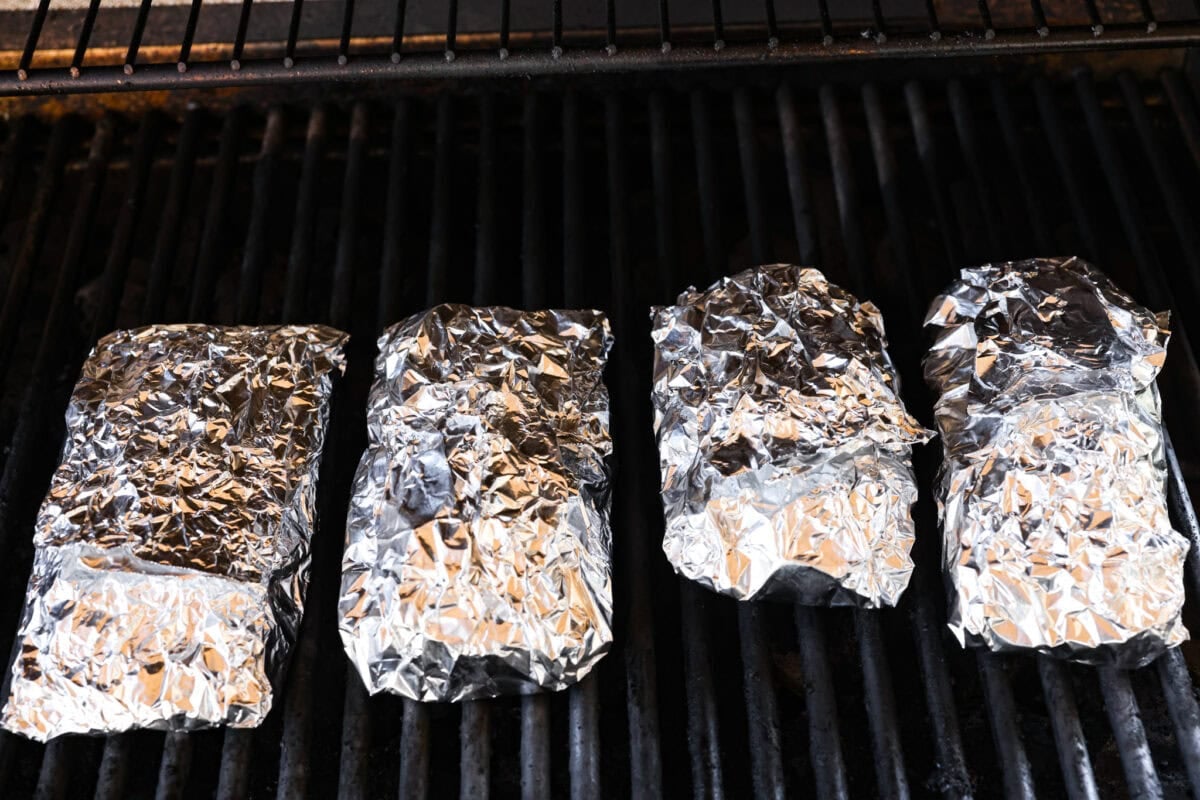
    4. Cook: Place the packets onto the hot grill and cook for 15-20 minutes or until the meatballs are warmed through. To serve, carefully open packets, then garnish with green onions and sesame seeds. Serve meatball foil packets over cooked rice, if desired!

    Alyssa’s Pro Tip

    Use heavy-duty foil and seal your meatball foil packets tightly with no gaps. This prevents leaks on the grill and locks in steam for juicy, perfectly cooked meatballs.

    Meatball Foil Packet Cooking Methods

    • Oven: Preheat your oven to 375ºF. Place the sealed foil packets on a baking sheet and bake for 20–25 minutes, or until the meatballs are heated through.
    • Grill: Preheat the grill to medium high heat. Place the foil packets directly on the grill grates and cook for 15-20 minutes.
    • Campfire: Place the foil packets over medium hot coals in a campfire or fire pit. Cook for 15–20 minutes, rotating occasionally for even cooking.

    Overhead shot of plated teriyaki meatball foil packets.

    Storing and Reheating Leftovers

    • In the Refrigerator: These meatball foil packets are best served right away! Transfer the cooked meatball packets into an airtight container. Store in the fridge for up to 3 days.
    • To Reheat: Reheat in the oven at 350°F until warmed through, or toss in the air fryer for a quick option that crisps up the edges.

    Pin this now to find it later

    Pin It

    More Foil Packet Recipes

    These meatball foil packet dinners are such a game changer! Cleanup is a breeze, they’re packed with flavor, and they cook up quickly. Here are some of our other favorite foil packet meals.

    Butter Garlic Herb Salmon Foil Packets

    25 minutes


    Source link