My Kindergartener Can Make This Recipe – And I Actually, Genuinely Love It
It’s a parenting first!
I love the idea of matching your kid’s age to a number of goal recipes – for example, when you’re 5 years old – you learn how to make 5 recipes. (I got this idea from Nita and Jess at Healthy Happy Eaters – they are wonderful.)
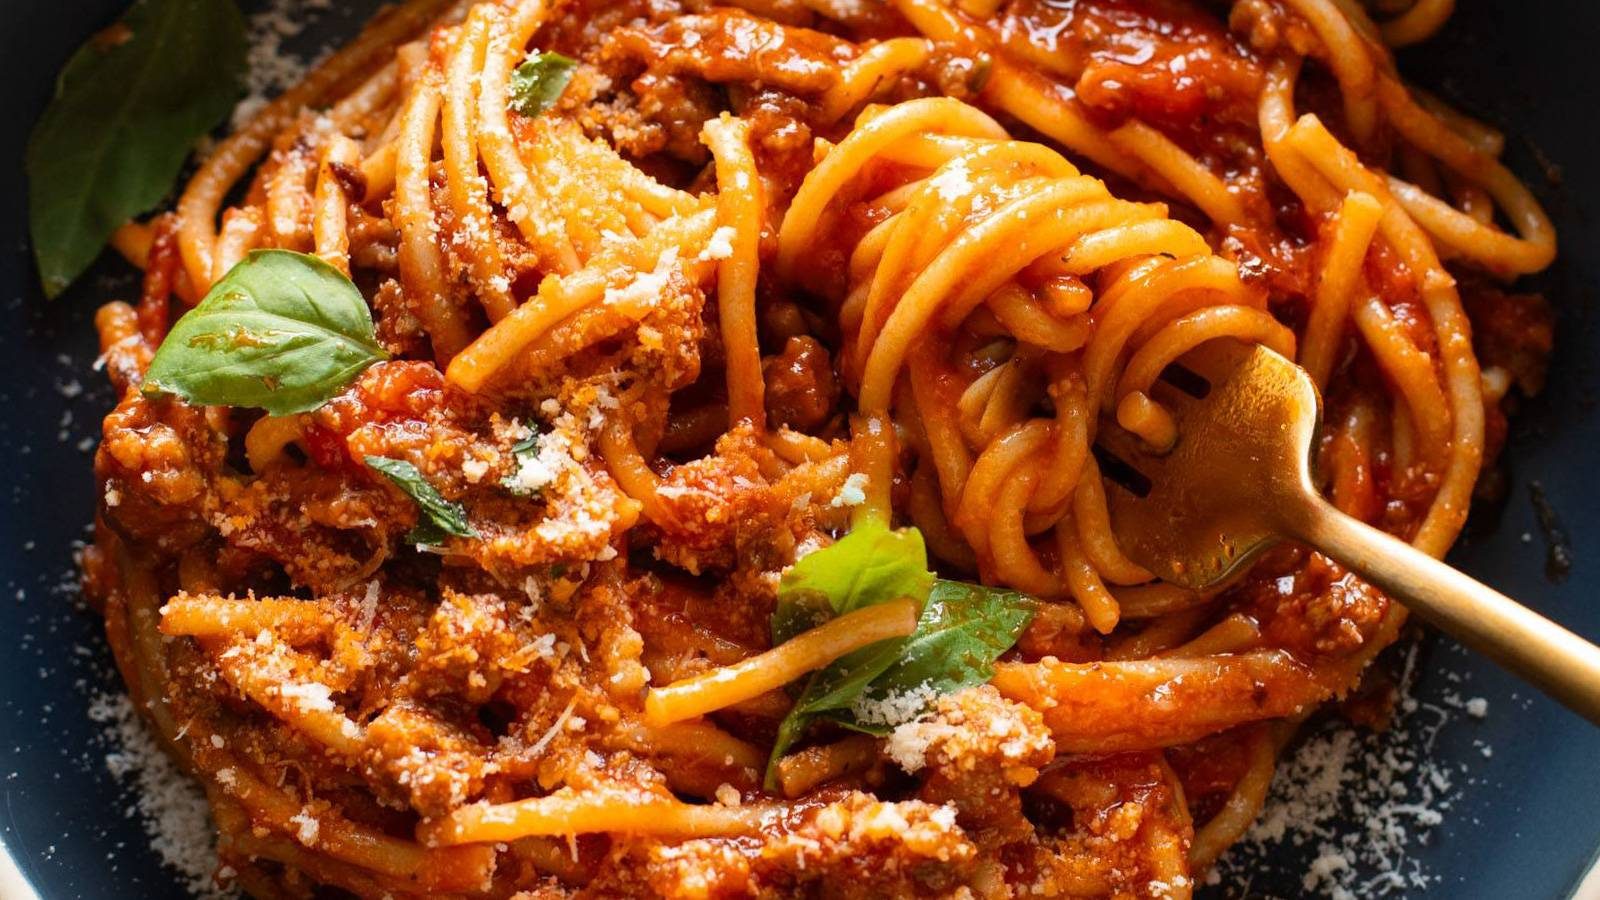
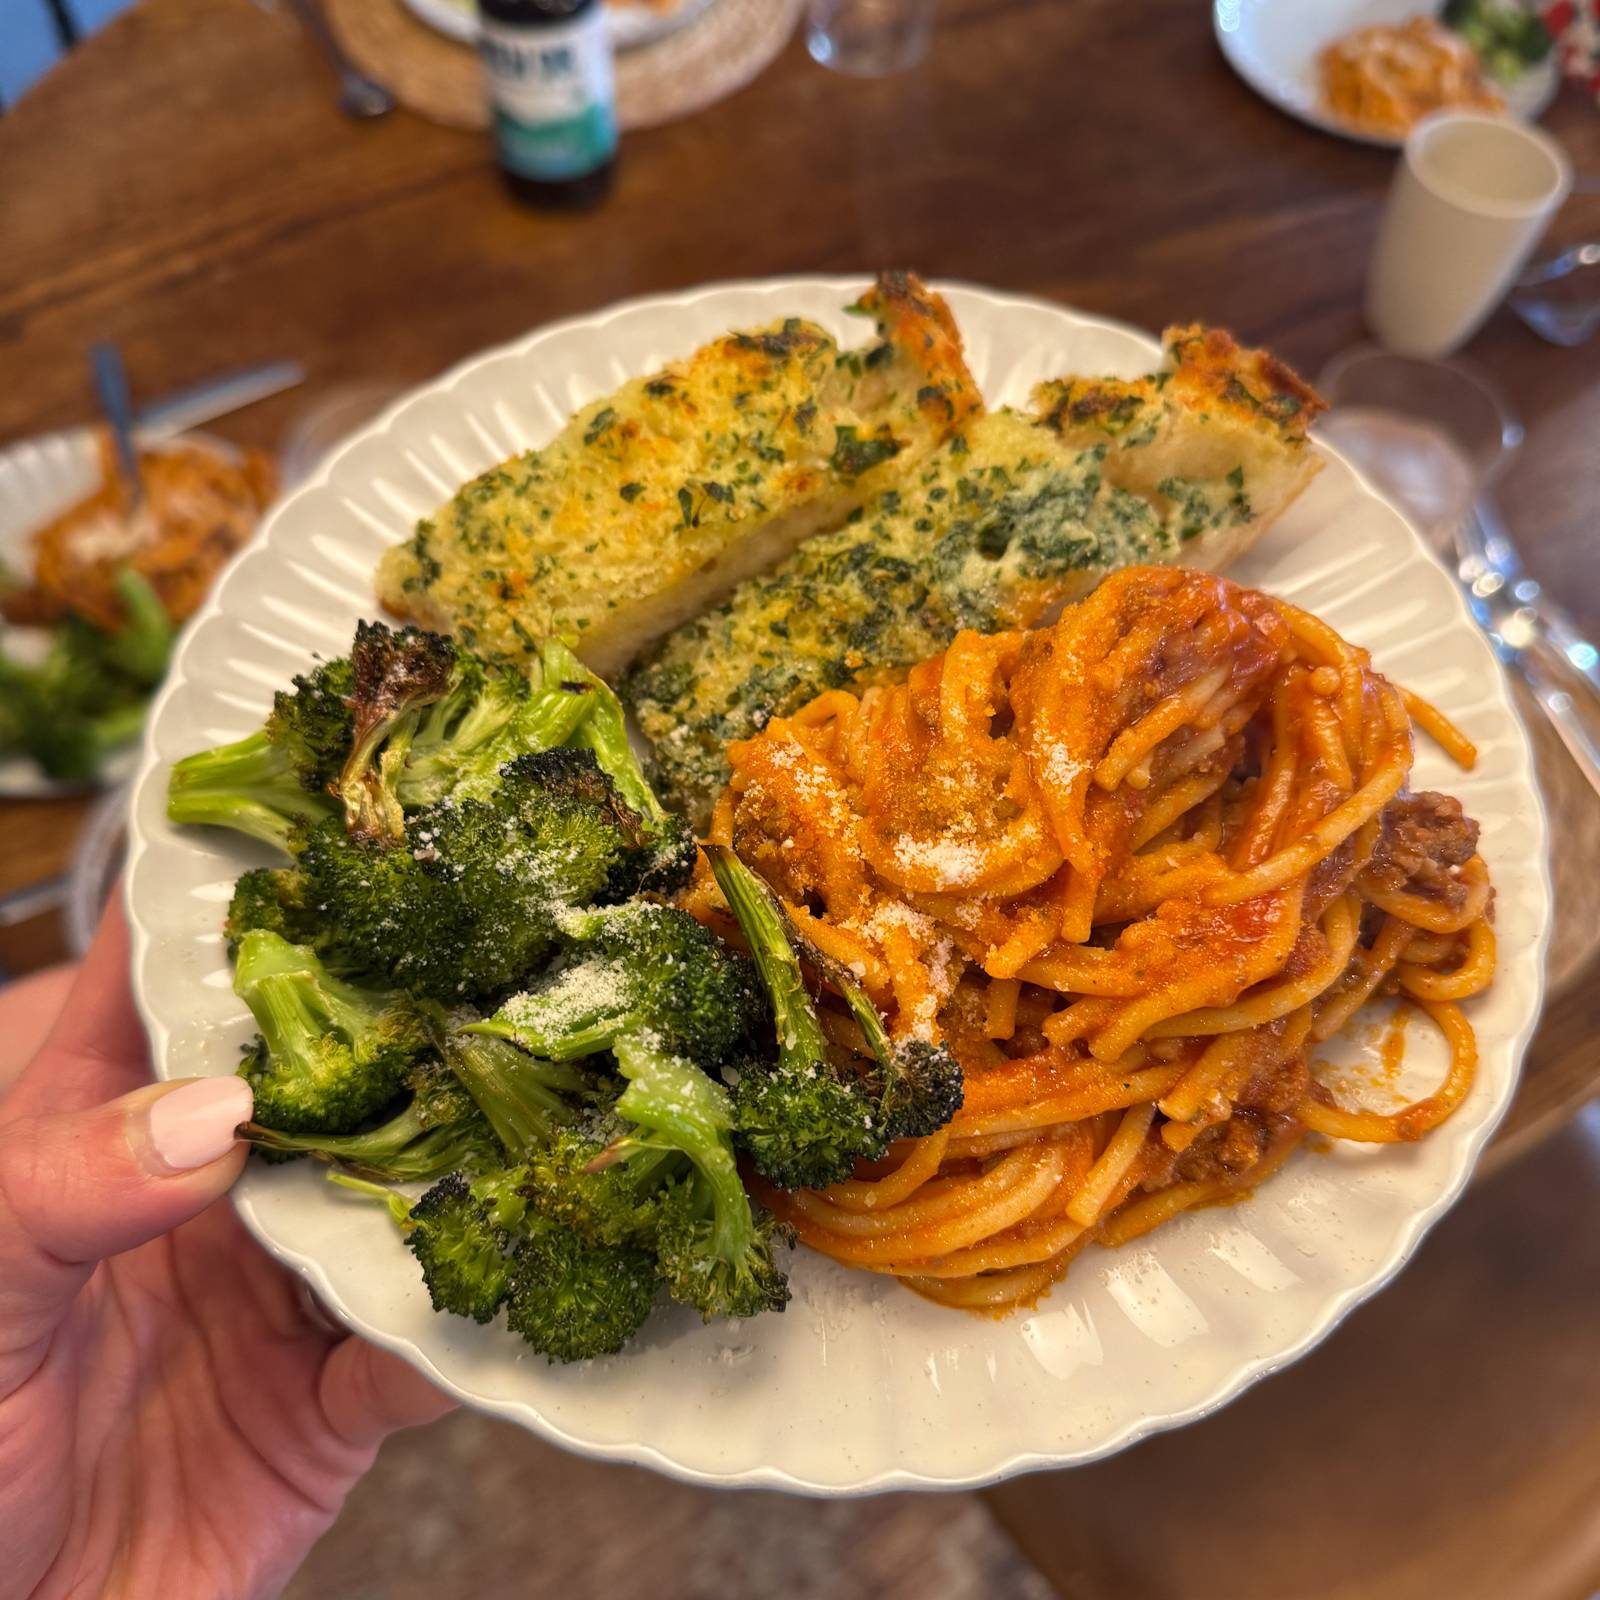
My daughter’s favorite dinner is spaghetti, so I thought making it in the Instant Pot might help it feel more manageable:
it’s one single pot.
no cutting board required.
it has higher sides so there’s less splattering.
no draining of boiling water.
We started making it this way “to help her” but quickly realized… Instant Pot spaghetti is actually kinda special. It’s silky, flavorful, and extra clingy. Makes for an ideal combo with house favorite garlic bread and air fryer broccoli.
These days, when my family requests spaghetti for dinner (made by me, or my daughter), THIS is the spaghetti they are asking for. Some people might be offended by the breaking of the noodles, which you have to do to get them to fit – but in our house we roll with it and the shorter noodles work great for kids.
The ratios are just how I like them: meaty, saucy, so comforting. A home run hit with my kids and my husband every time.
(But I’d make this for myself even if I didn’t have kids!)
Hope you love it! If you love easy dinner recipes – check out this mega page of all my favorites!
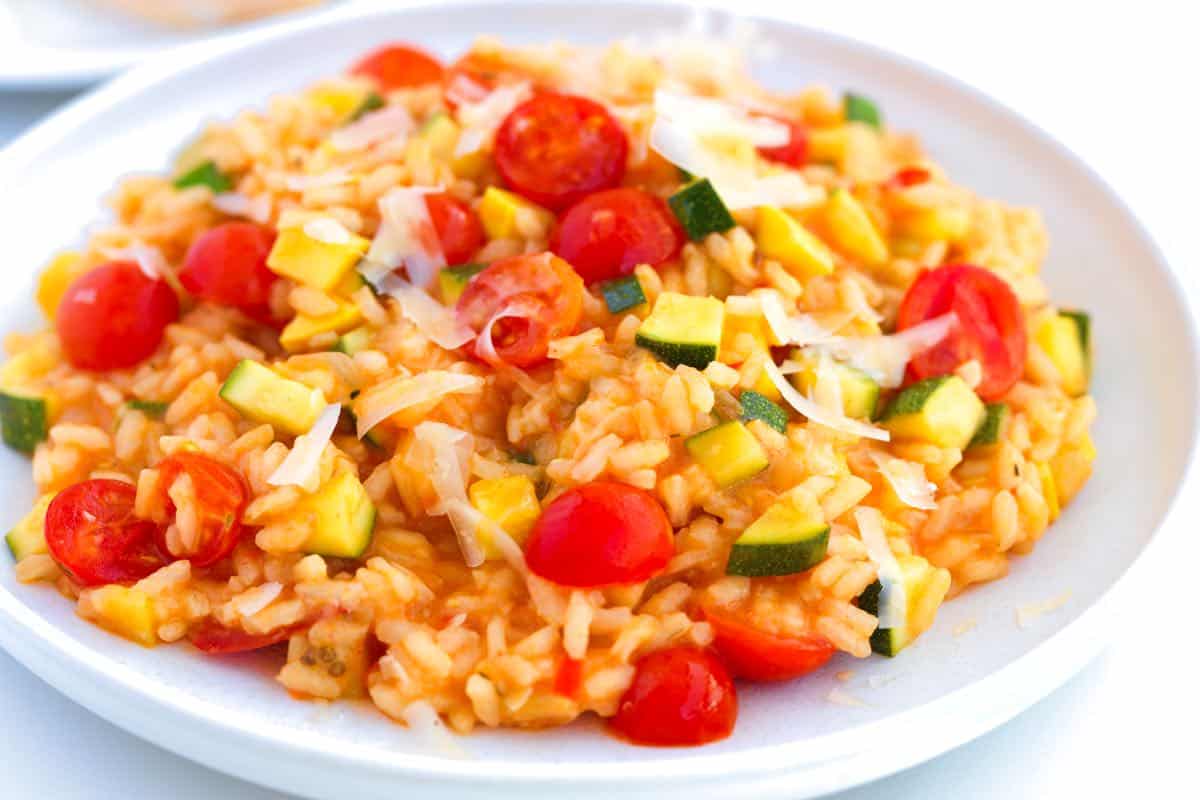
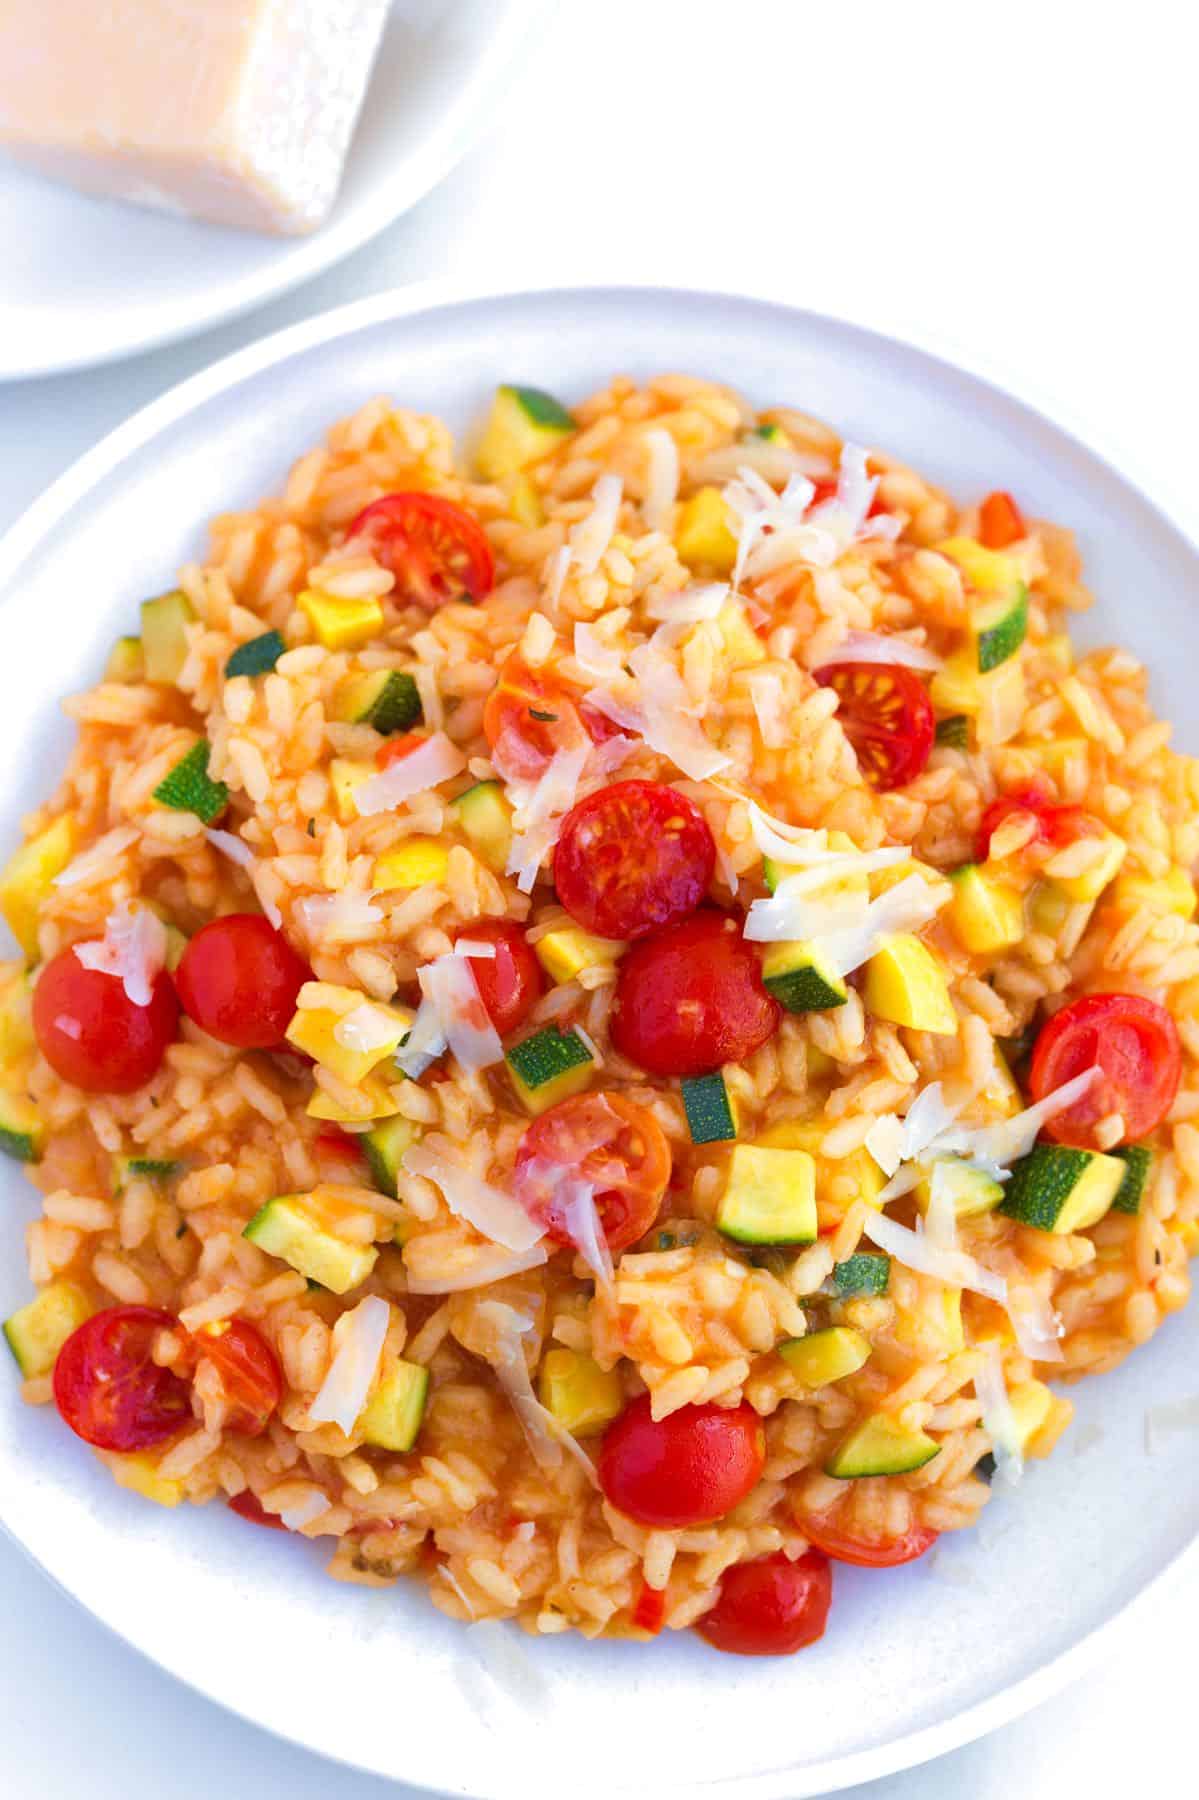
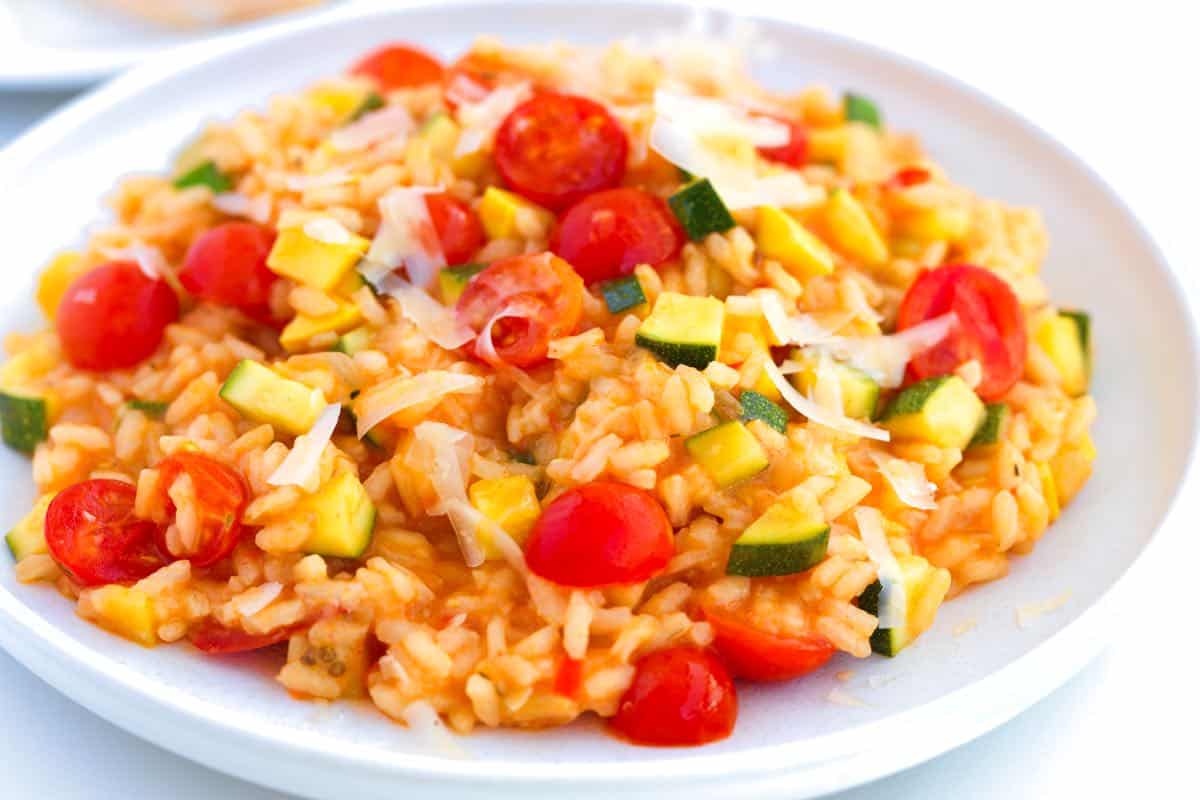
This vegetable risotto recipe combines two of our favorite things: fresh veggies and super creamy risotto rice. It’s fun to make and with our tips to guide you, it’s easy!
We’re excited to share this recipe developed with our chef friend, Richard Hattaway. Thanks to Richard’s restaurant trick, making risotto at home is now easier than ever. Instead of the usual continuous cooking, this recipe breaks the process into two stages. You can do most of the cooking up to 4 days ahead, then finish it in just 10 minutes right before serving.
Of course, you can still make the recipe all at once if you prefer, but this two-stage method makes risotto much more convenient for busy schedules. For another risotto recipe, see our mushroom risotto.
Key Ingredients
Rice: The best rice for risotto are Arborio, Carnaroli, and Vialone Nano since they are all short-grain rice varieties with a high starch content. We use Carnaroli in our kitchen since it makes creamy risotto and is more forgiving when it comes to overcooking.
Broth: A good vegetable broth and even chicken broth work perfectly well in this recipe, but we love our easy tomato broth for a summery tomato risotto base (that is what we have used in our photos).
White Wine: Whenever you cook with wine, the most important thing to remember is to use something you enjoy. We use a light, dry white wine like Pino Gris, Albariño, Grüner Veltliner, or Sauvignon Blanc for this veggie risotto. Wine adds flavor and some acidity. If you prefer to leave it out, replace it with more broth and sprinkle a little fresh lemon juice over the risotto before serving.
Veggies: We love risotto with veggies. You have some leeway when it comes to the vegetables. We use yellow squash, zucchini, tomatoes, eggplant, and fresh herbs. These are the same veggies we use to make our reader favorite veggie lasagna.
Butter: There’s no cream in this risotto (thanks to the rice, it is creamy enough), but a generous pat of butter adds to the creamy, luxurious texture. For vegan risotto, use plant-based butter.
Parmigiano-Reggiano: I’m generous with the cheese and recommend you do the same. For a vegetarian risotto, swap the Parmigiano-Reggiano for a vegetarian-friendly cheese like mozzarella, ricotta, or vegetarian parmesan. For vegan risotto, swap for a bit of nutritional yeast.
Find the full recipe with measurements below.
How to Make Vegetable Risotto
Tip 1: How to make risotto (a quick overview). Making risotto gets a bad rap for being complicated and fussy, but with a reliable method, it’s very doable. Here’s what happens step-by-step:
Cook aromatics (onion, bell pepper, garlic).
Toast the rice.
Add wine and simmer until it reduces.
Add broth gradually, stirring occasionally to prevent the rice from sticking.
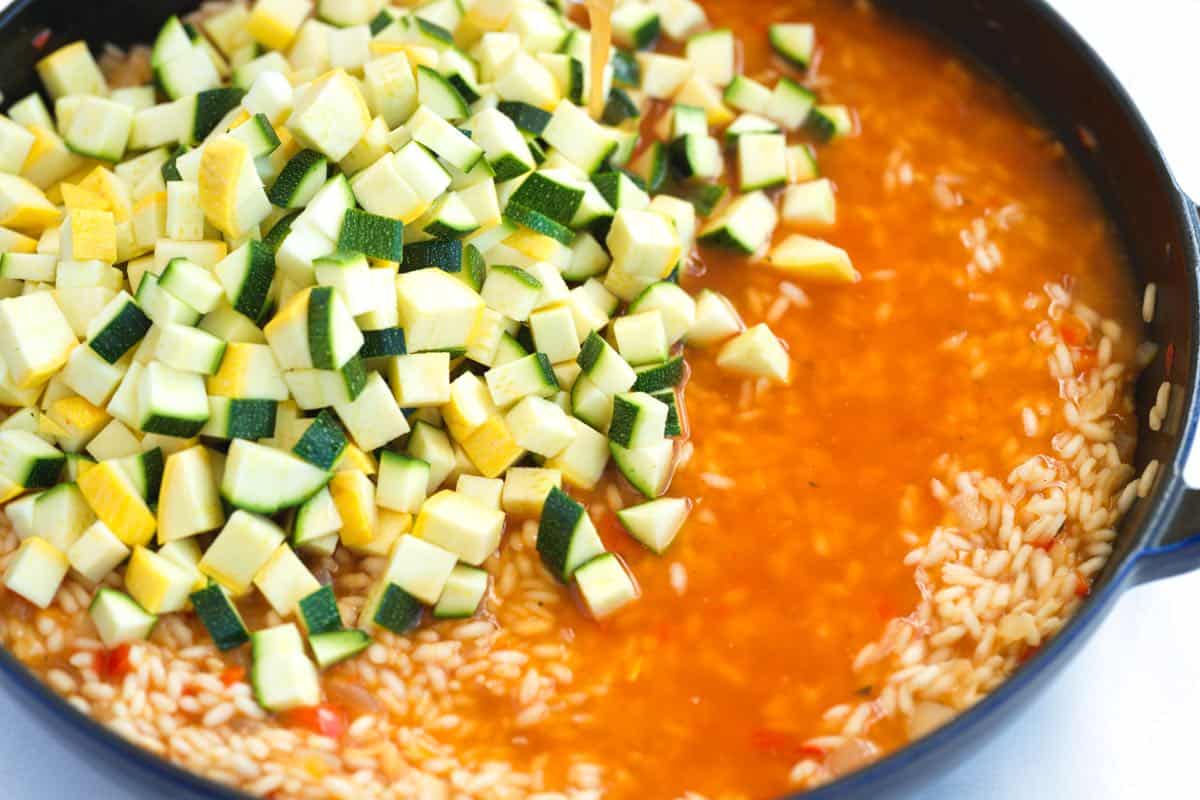
Finish with quick-cooking vegetables (like zucchini and yellow squash).
Stir in butter and cheese, and serve.
Tip 2: Use a heavy-bottomed pan and a wooden spoon. Choose a wide, heavy-bottomed pan so you have room to stir. A wooden spoon is ideal for risotto (a tip from Richard, who says it helps create a creamier texture).
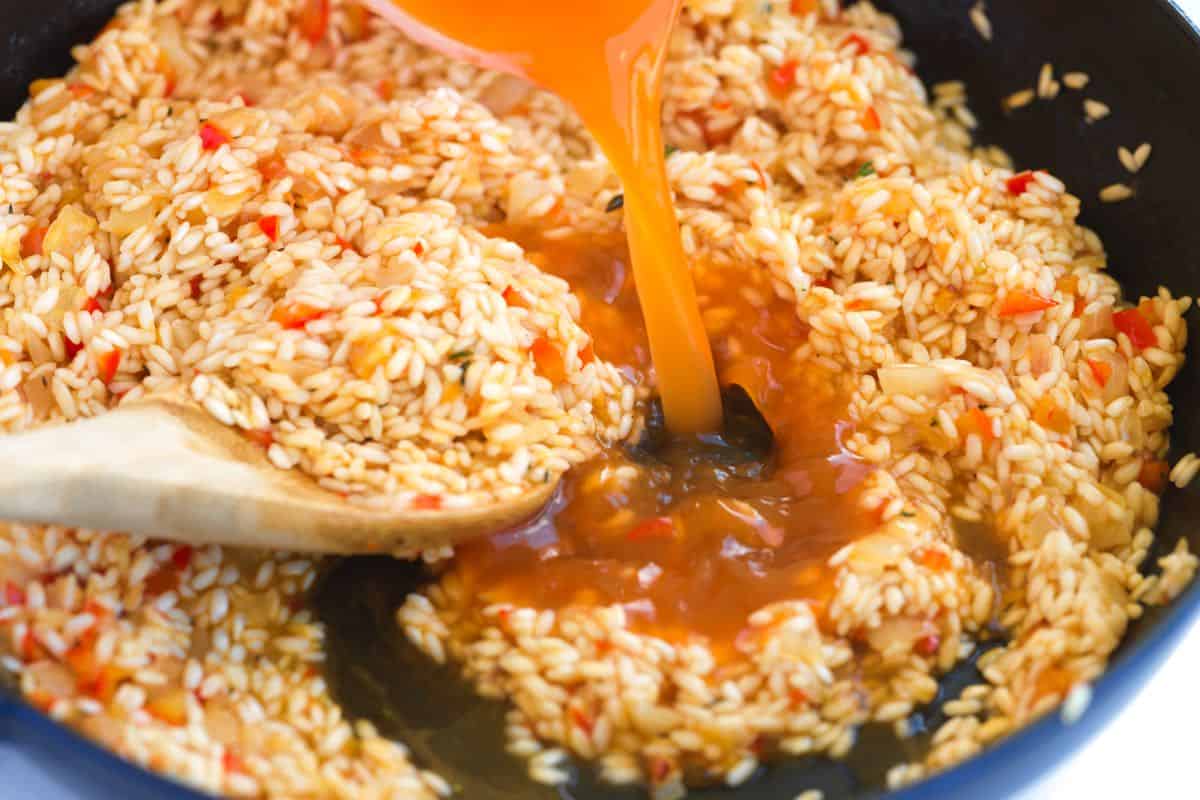
Tip 3: Continue adding broth as the rice cooks. Let the rice absorb liquid slowly. When the broth is mostly absorbed, add more. Stir occasionally, not constantly. Just enough to keep the rice from sticking. When the rice is almost tender but still firm in the center, it’s about 75% cooked.
Tip 4: Use the two-part method (excellent for entertaining). When the rice is tender but still firm in the center (about 75% done), you can finish and serve, or pause and store the risotto for later.
Part 1, store for later: Spread the partially cooked risotto on a baking sheet and cool quickly in the freezer. Transfer to containers and refrigerate for up to 4 days.
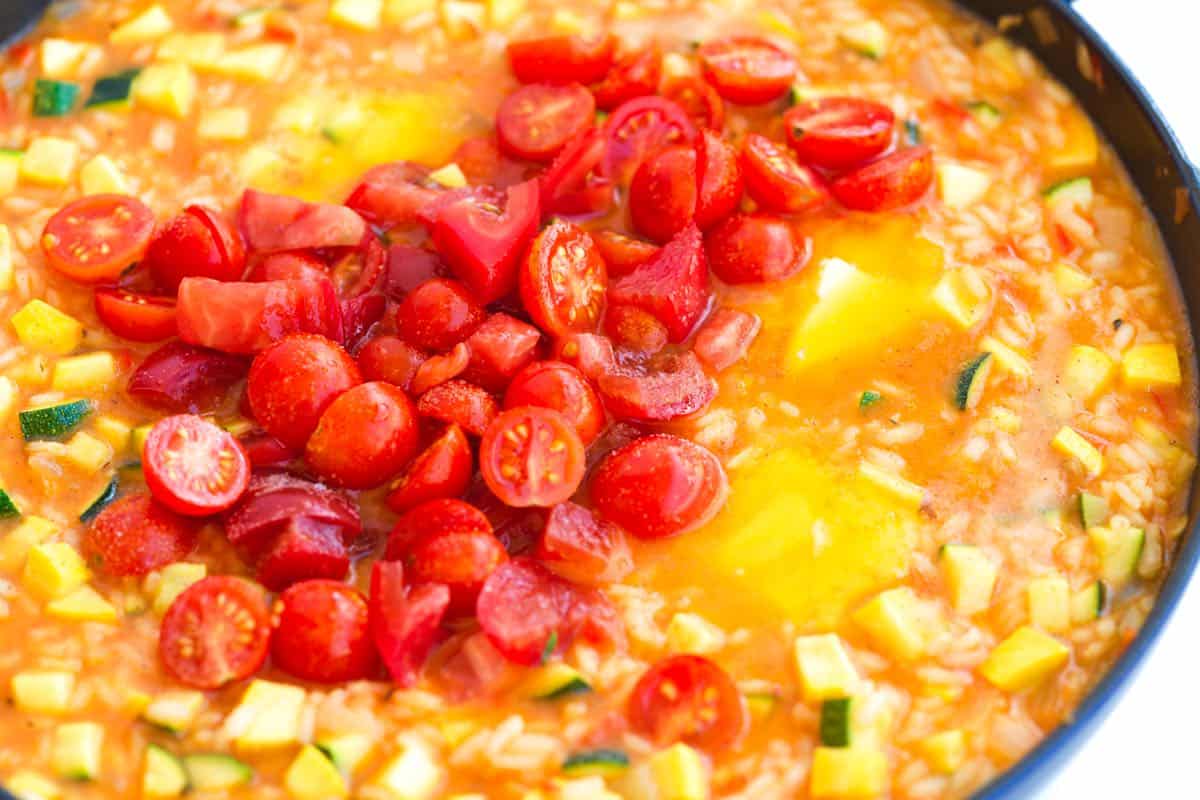
Part 2, finish when ready to serve: Return the rice to your wide pan with chopped zucchini/yellow squash and a splash of broth. Stir often, adding more broth as needed, until the risotto is creamy and the rice is just tender. Season with salt and pepper, stir in chopped tomatoes, then finish with butter and Parmigiano-Reggiano.
Tip 5: Add the optional eggplant puree. Roasted eggplant adds even more savory flavor and extra creaminess. We’ve included instructions below if you’d like to use it.
Serving Suggestions
This dish works really well on its own, but you can always add more to round out the meal. Consider a simple green salad with lemon vinaigrette or a homemade Caesar on the side.
You can add some protein with poached shrimp, simple baked salmon, or these lemon chicken thighs. And, I love a nice slice of roasted garlic bread or focaccia with this olive oil bread dip.
More Vegetable Recipes
Perfect Vegetable Risotto
PREP
COOK
TOTAL
This vegetable risotto combines two of our favorite things: fresh veggies and super creamy risotto rice. It’s also fun to make. We use a wide, heavy-bottomed pan and wooden spoon for risotto. A stainless steel rondeau or a wide Dutch oven is excellent. For the broth, we love our tomato broth (it takes 30 minutes), but you can use your favorite homemade or store-bought broth in its place. You will need about 6 cups.
If you are entertaining, we highly recommend making the risotto in stages. First, cook it until 75% done, cool the rice mixture, and then about 10 minutes before serving, reheat and finish the risotto. This way, you are not standing over a hot stove for 30+ minutes when your guests are there. This method is written into the recipe below.
Makes 6 servings
You Will Need
6 cups vegetable broth, we highly recommend this tomato broth (1420ml)
2 cups arborio rice or carnaroli rice (380g)
1 cup dry white wine, see notes (236ml)
¼ cup olive oil (60ml)
1 cup finely chopped onion, half large onion
¾ cup finely chopped red bell pepper, half large pepper
3 cloves garlic, minced
1 teaspoon fresh thyme leaves, chopped
1 medium yellow squash, chopped small
1 medium zucchini, chopped small
1 ¼ cups cherry tomatoes or use chopped tomatoes, 6 ounces
3 tablespoons salted butter
Handful chopped fresh herbs like basil, chives, and green onion
Parmigiano-Reggiano cheese for serving
Directions
Make Rice Mixture
1Cook aromatics: In a wide, heavy-bottom pan over medium heat, cook the garlic, onion, and bell pepper in olive oil until the onions turn translucent, about 3 minutes.
2Toast the rice: Add the rice and thyme and cook, stirring for 3 to 5 minutes. When the rice sticks a little, pour 1 cup of white wine into the pot. Stir the rice and wine around the pan with a wooden spoon until mostly dry.
3Add the broth:This step will take about 15 minutes. Begin by measuring out 3 ½ cups of broth, setting aside the remaining 2 ½ cups for later. Pour one third of the measured broth into the pan and keep the risotto at a low simmer while stirring often to prevent the rice from sticking. Once the pot becomes mostly dry, add another one third of the broth and repeat the process until all of the remaining stock has been added.
4The rice will be about 75% done and will be somewhat tender while still having a raw bite in the center. This is the end of stage one. Either cool the partially cooked risotto to finish later or move on to finishing the risotto.
Cool Rice Mixture (optional for entertaining or making ahead)
1You can skip this step if making the risotto from start to finish. When the rice mixture is 75% done, cool the risotto rice by spreading thin on a baking sheet and placing it in the refrigerator. When it is cool, transfer the risotto rice to a container or resealable bags, and store it in the fridge for up to 4 days. If you have a smaller family, like me, you can divide the rice mixture into two batches.
Finish Risotto
1Add the squash and zucchini: About 10 minutes before serving, heat a wide, heavy-bottomed pan over medium heat. Add the cooled rice mixture, chopped yellow squash, and zucchini. If you skipped cooling the rice, simply add the squash and zucchini to your pan with the hot rice mixture.
2Add the broth: Grab the remaining 2 ½ cups of broth. Pour in a third of the broth. Then, with the wooden spoon, stir the rice mixture constantly, ensuring it doesn’t stick to the pan. Once the pot is mostly dry, add another one third of the broth and repeat the process until all of the remaining stock has been added.
3Season and add the tomatoes: Season the vegetable risotto with 1 ½ teaspoons of fine sea salt, and stir in the tomatoes.
4To finish: Grate enough parmesan cheese over the top to cover the rice, add the butter, and finish with 5 twists of black pepper. Stir until the butter melts and the tomatoes are hot. The risotto should be creamy, the squash tender, and the tomatoes heated through. Serve immediately with fresh green herbs, green onion, and extra parmesan cheese on top.
Adam and Joanne’s Tips
Eggplant puree: For even more flavor, stir in 1/2 cup of eggplant puree to the risotto at the same time as the tomatoes. To make eggplant puree, char the outside of a medium eggplant over a gas flame or under the broiler for about 10 minutes. Then, roast the eggplant in a 425°F (220°C) oven for 12 minutes or until the eggplant is completely soft. Remove the eggplant from the oven and let it cool. Scrape the softened eggplant flesh into a blender and puree until smooth.
Wine to use: Choose a lighter dry white wine like Pino Gris, Albariño, Grüner Veltliner, or Sauvignon Blanc
Wine substitution: If you prefer to leave the wine out, replace it with more broth and sprinkle a little fresh lemon juice over the risotto before serving.
Alternate methods: For the best, creamiest result, we do not recommend using a slow cooker or pressure cooker (Instant Pot) for making risotto.
The nutrition facts provided below are estimates.
Nutrition Per Serving Serving Size 1/6 of the recipe / Calories 430 / Total Fat 16.4g / Saturated Fat 5.7g / Cholesterol 18.8mg / Sodium 647.3mg / Carbohydrate 57.8g / Dietary Fiber 1.3g / Total Sugars 4.7g / Protein 6.2g
AUTHOR:
Joanne Gallagher
We are Adam and Joanne Gallagher, the creators of Inspired Taste. Established in 2009, Inspired Taste grew from a childhood dream into one of the internet’s most trusted recipe sites with hundreds of reliable recipes, step-by-step videos, and expert tips.More About Us
This website may contain affiliate links and advertising so that we can provide recipes to you. Read my disclosure policy.
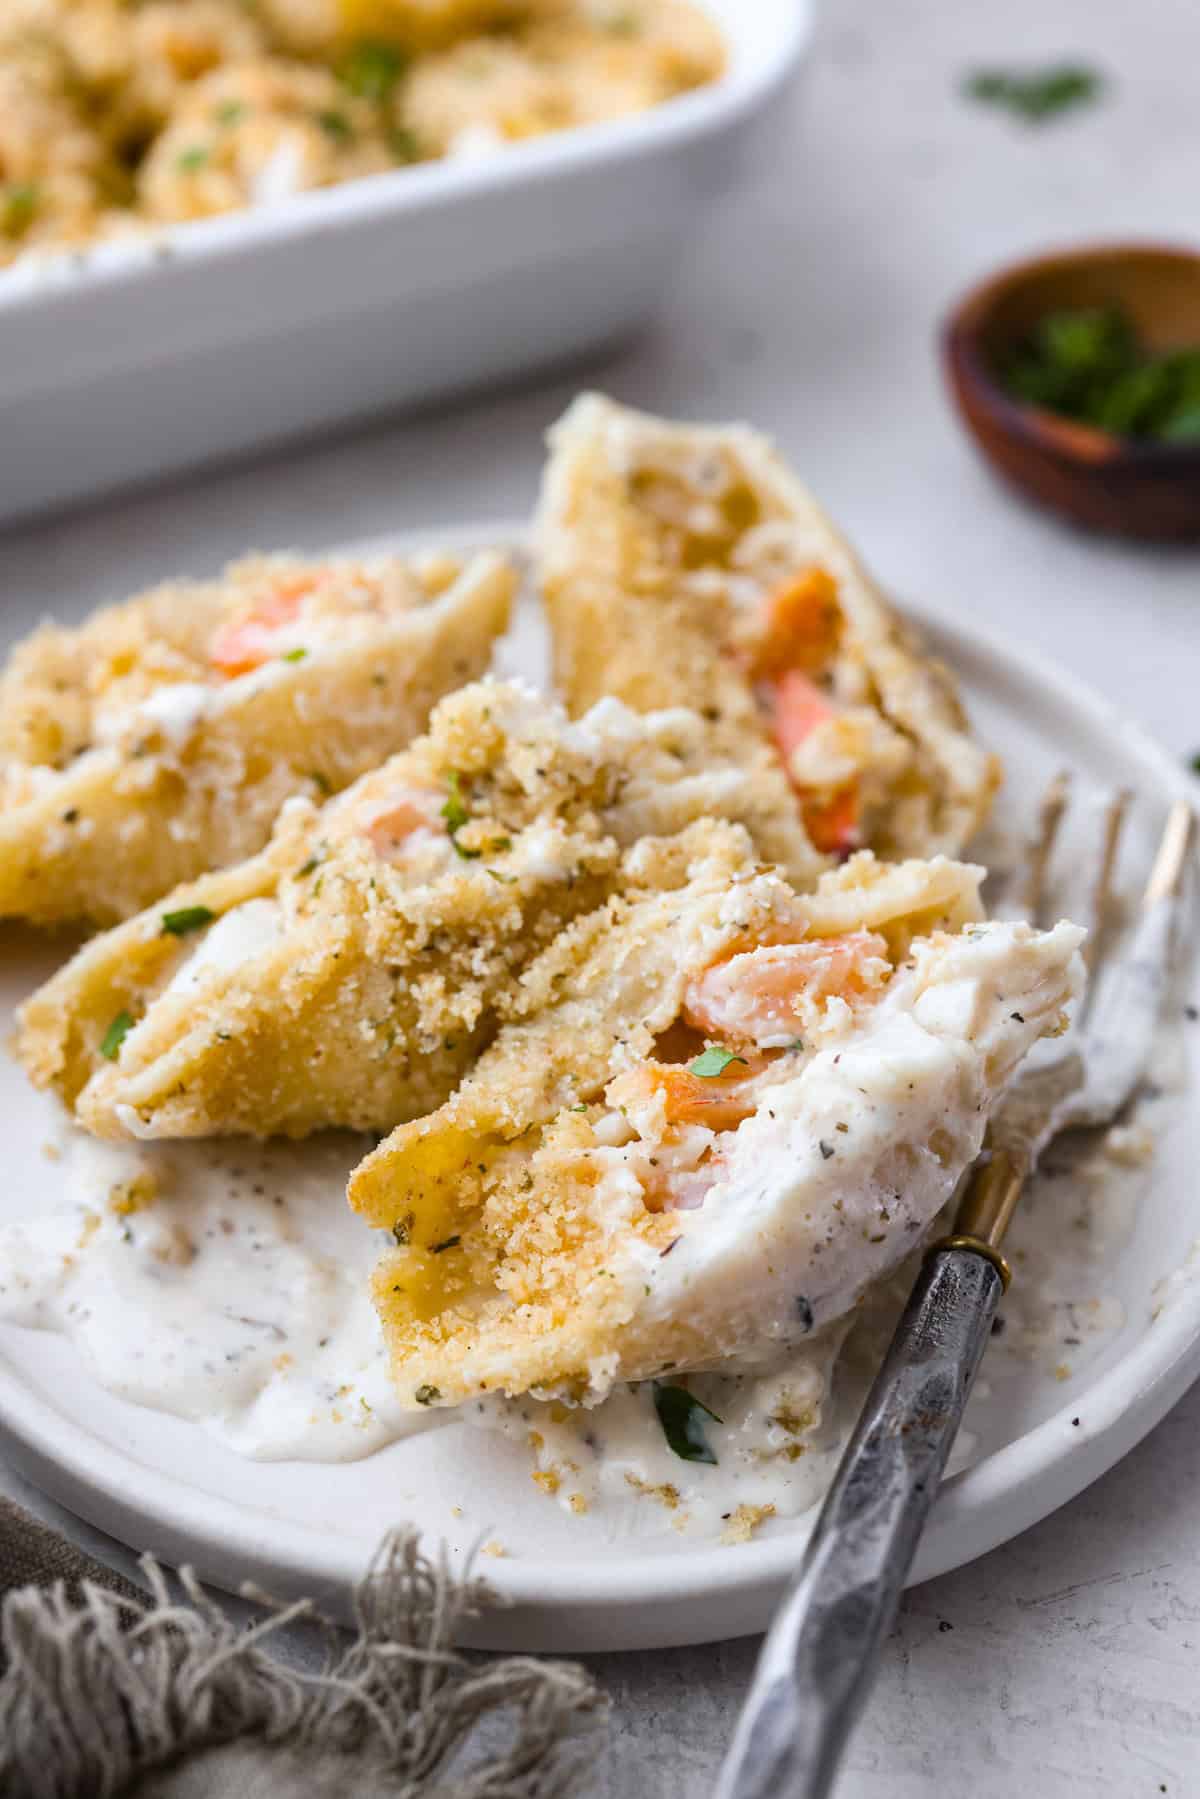
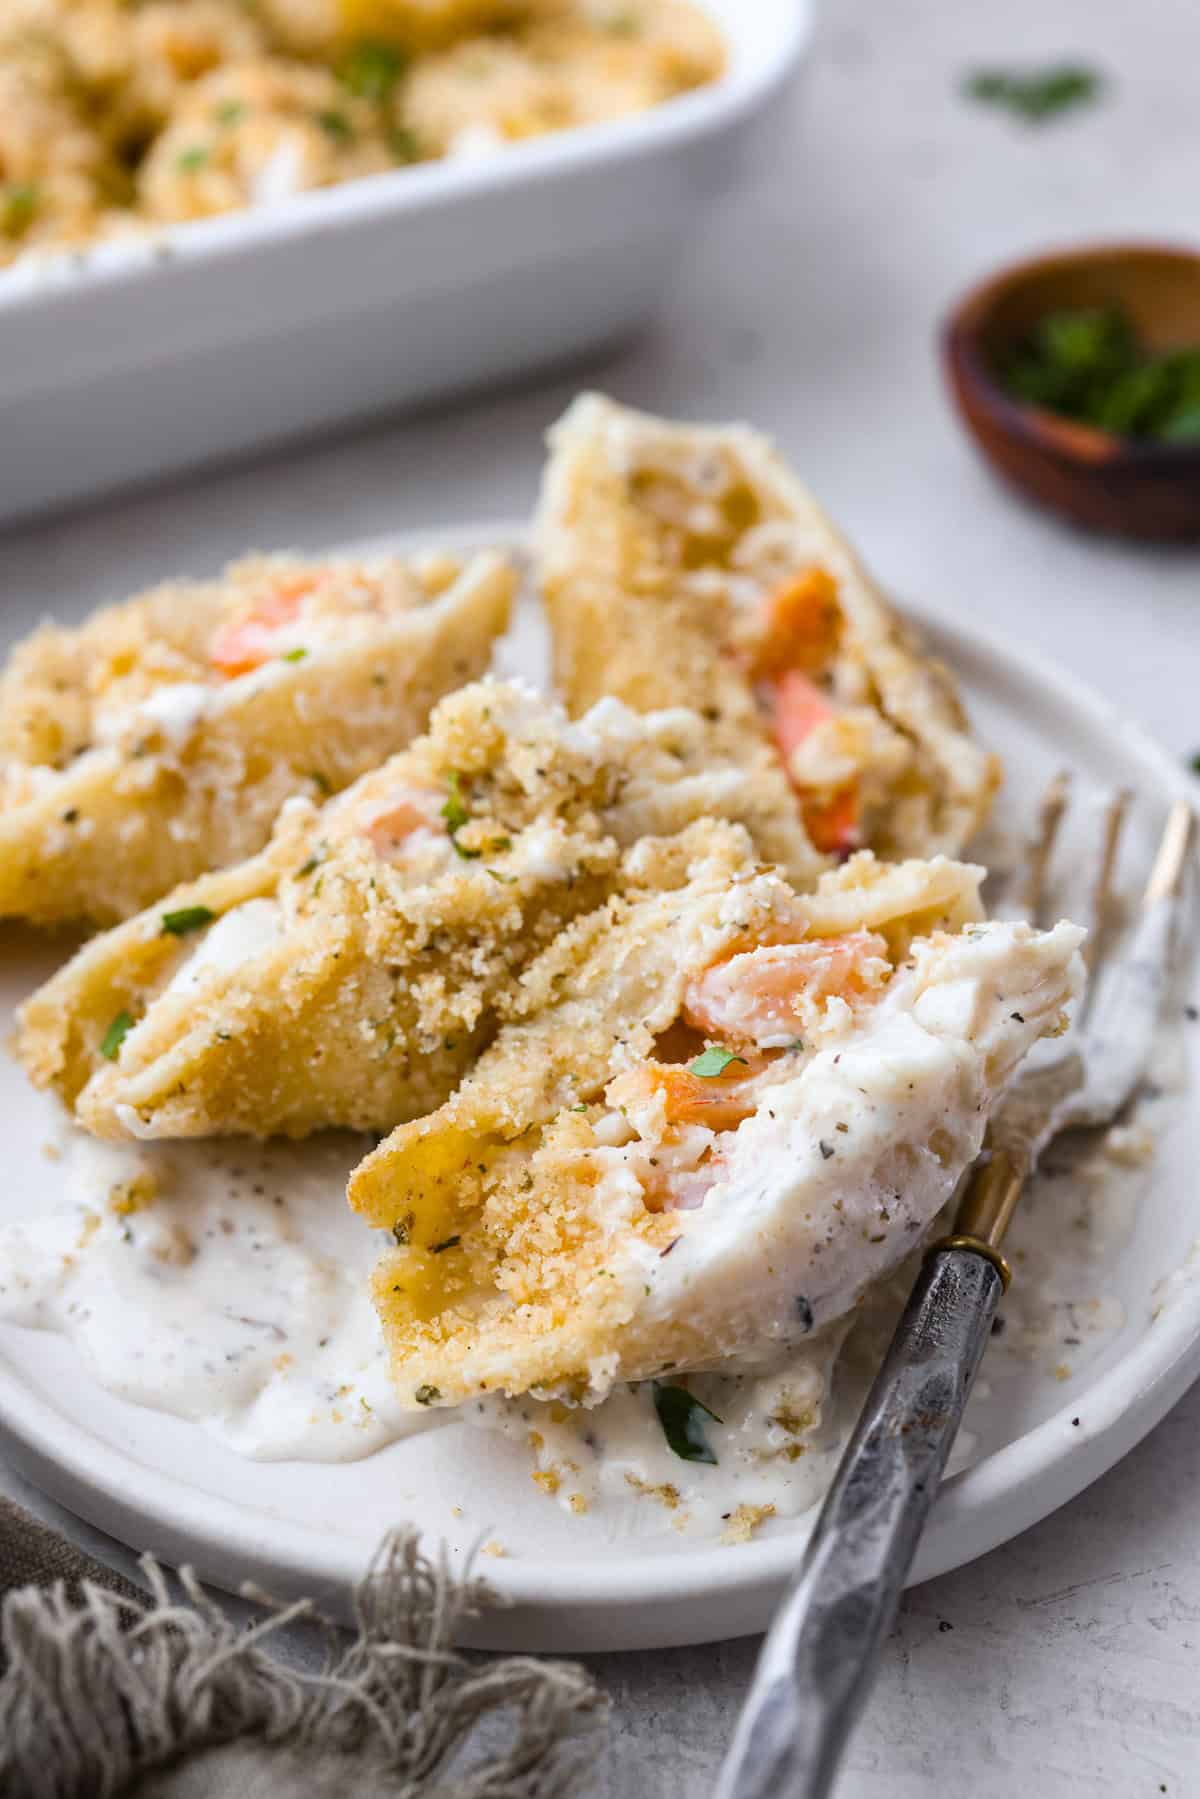
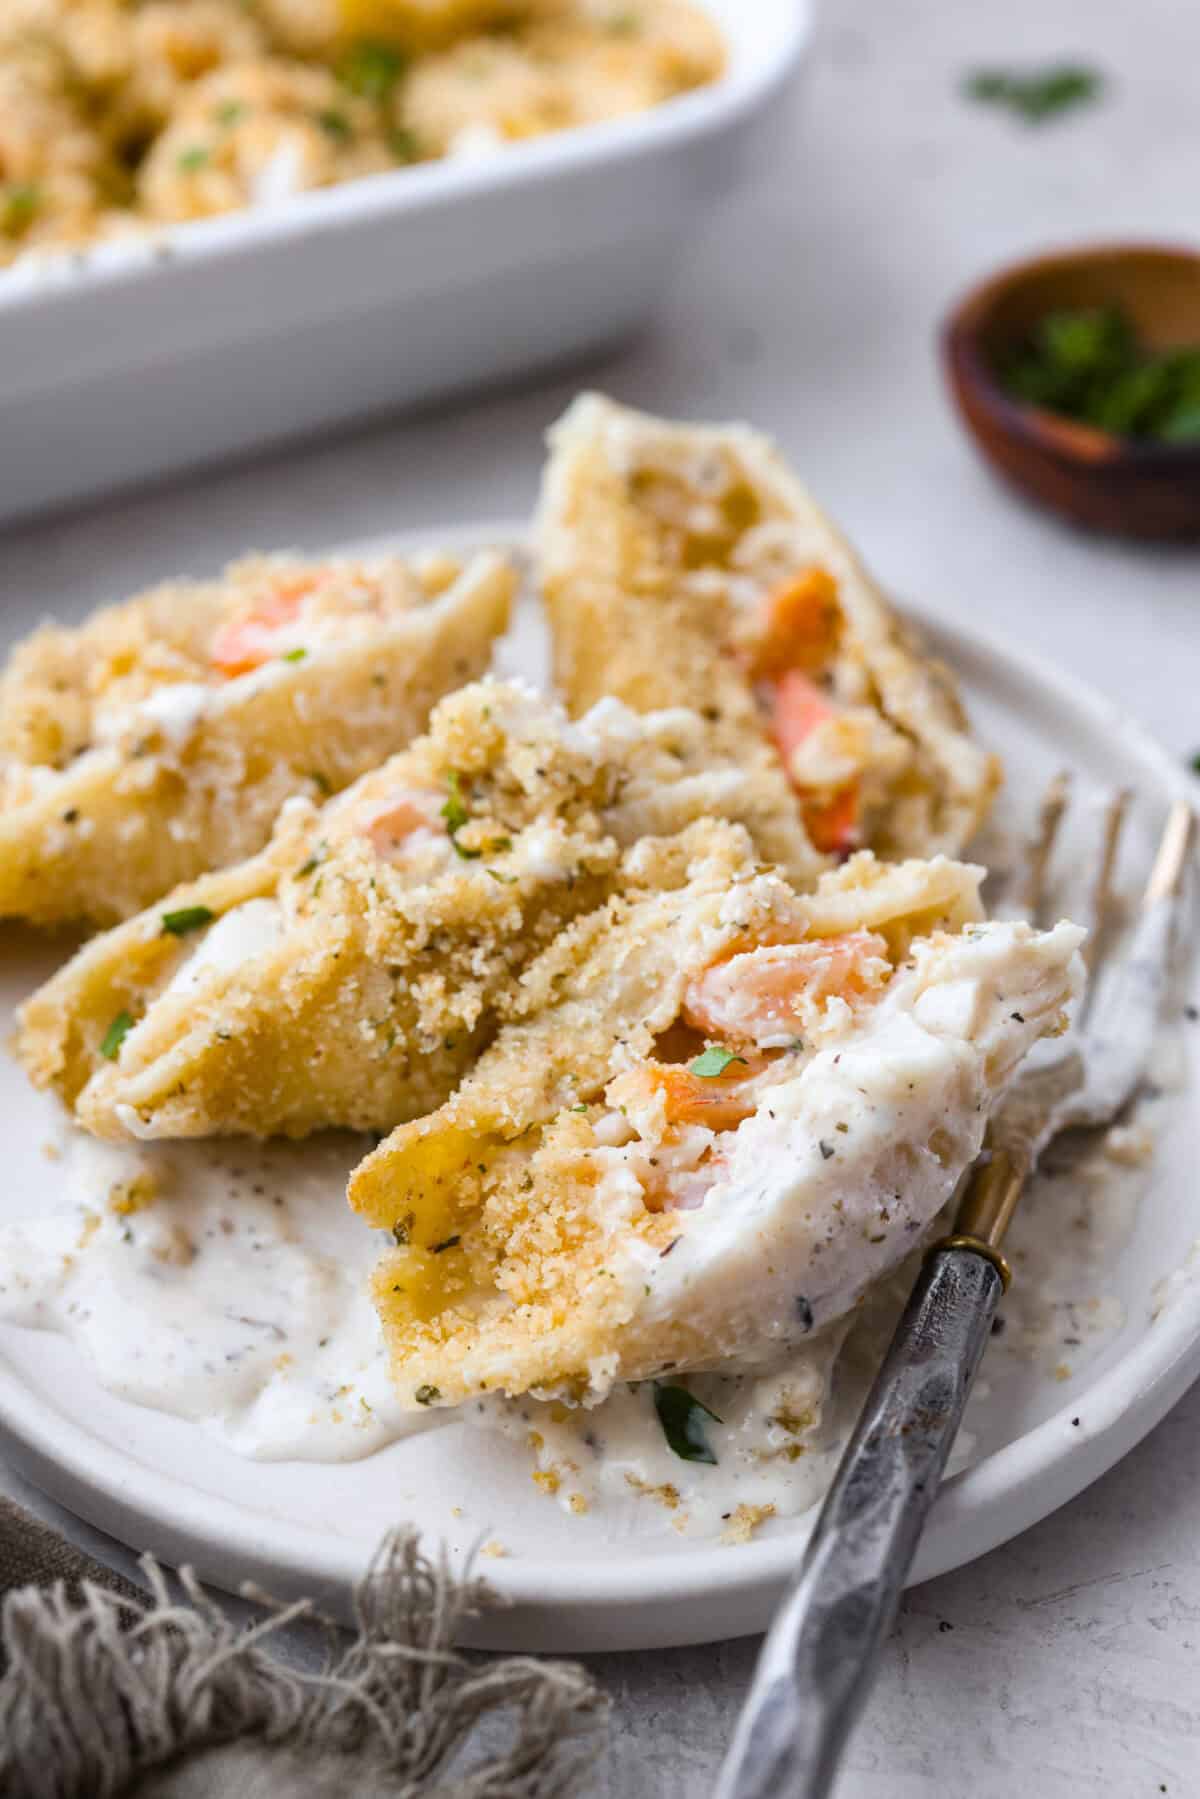
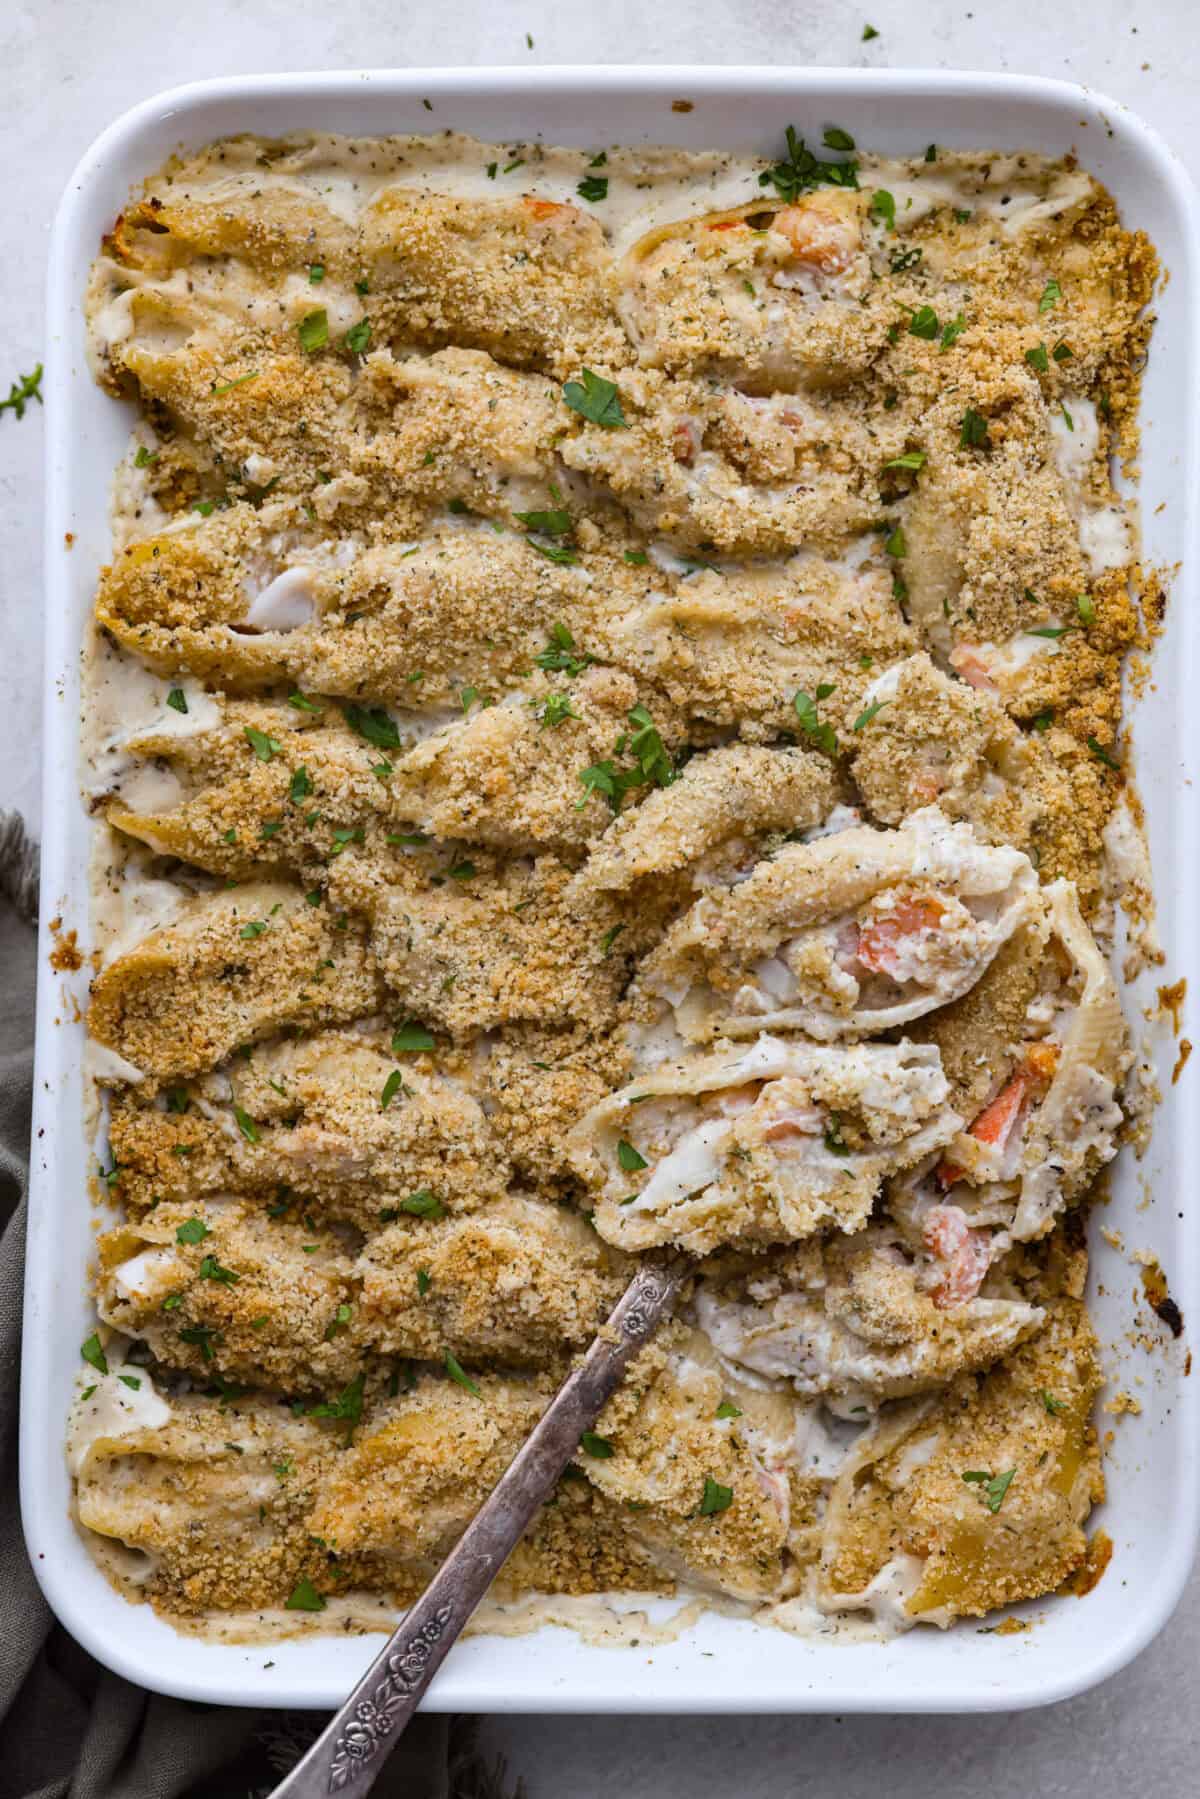
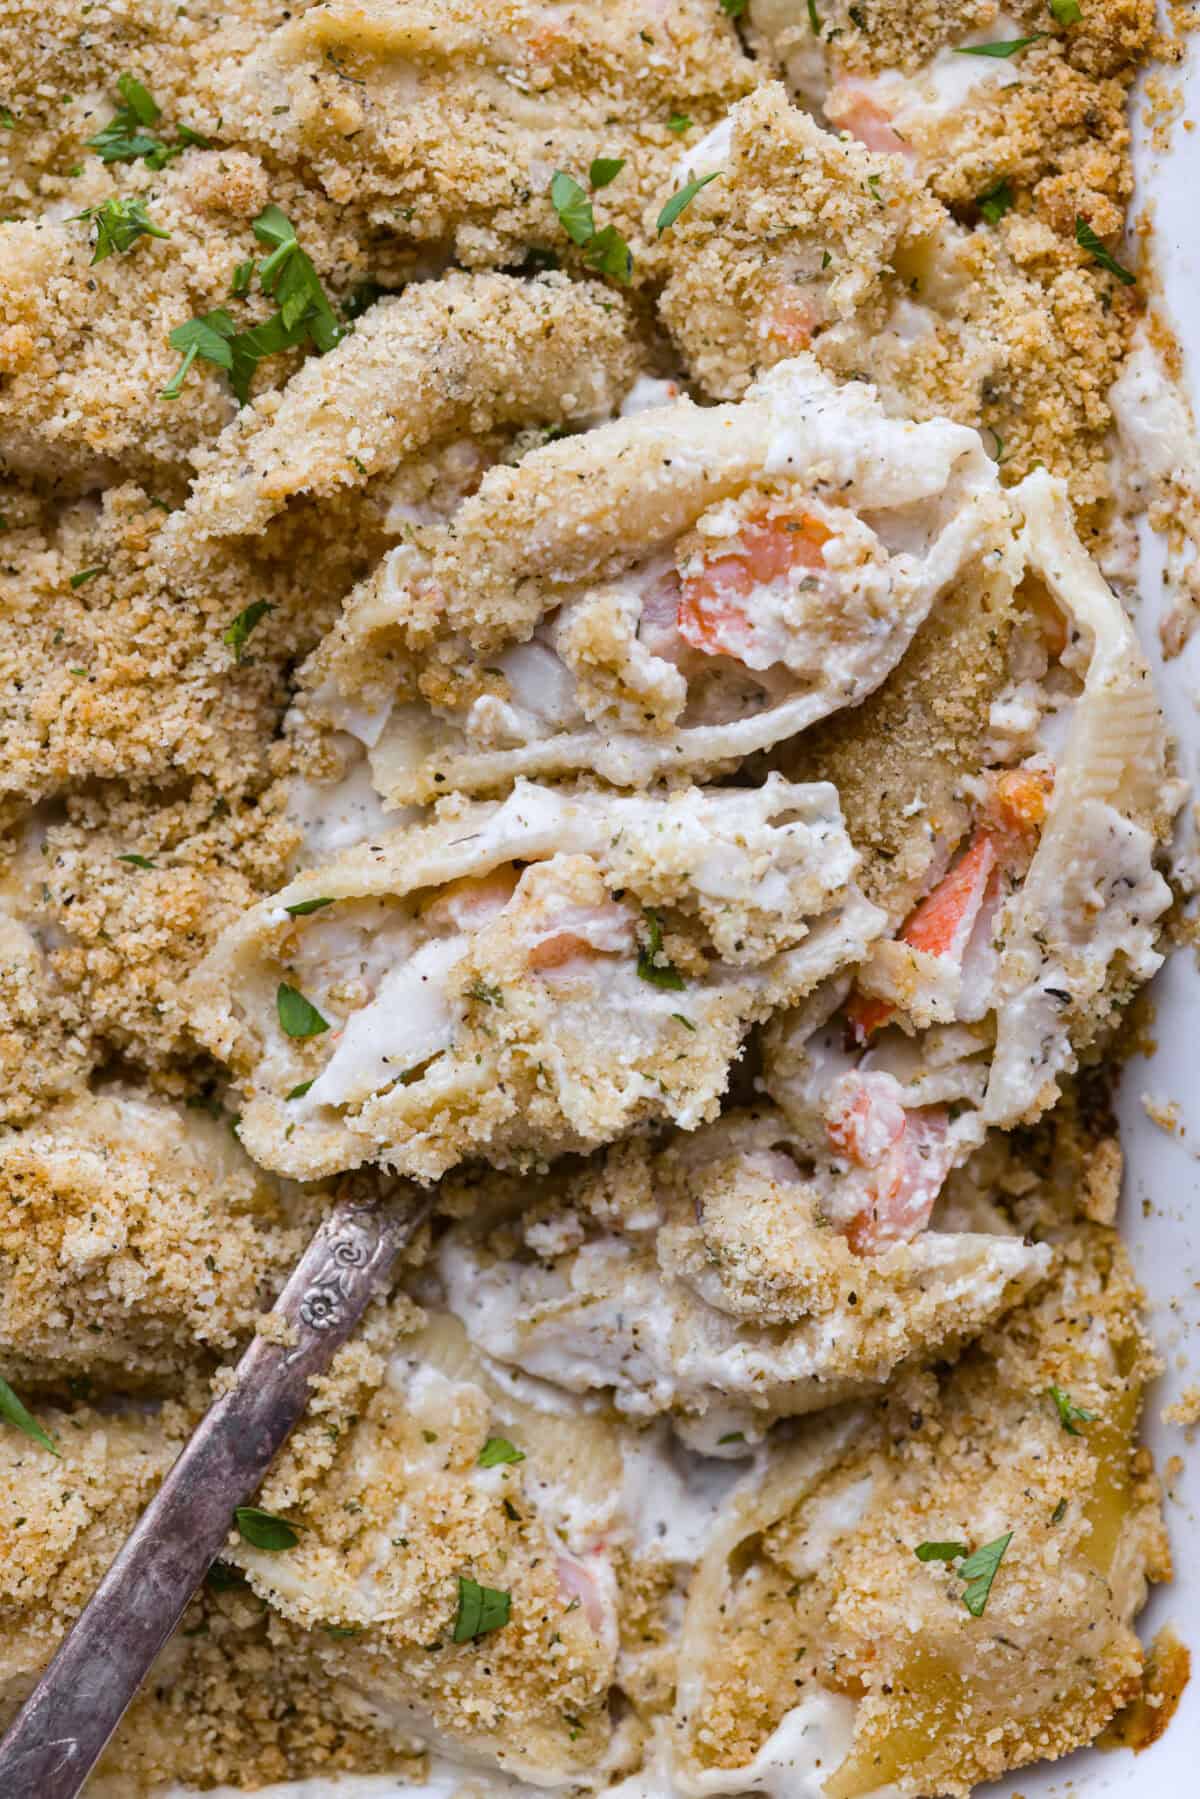
If you loved my seafood lasagna, you are going to love these Jumbo pasta shells, which are generously filled with a creamy, savory seafood filling and coated in a rich Alfredo-based sauce.
Reasons You’ll Love This Recipe
Indulgence in Every Bite! This seafood stuffed shells recipe has the best flavor and is the perfect choice for a date night in, or a comforting meal to impress your loved ones!
Make it a Meal! Seafood stuffed shells are delicious on their own but would be amazing served with breadsticks, a fresh green salad, and a better-than-anything cake for dessert.
Simple Assembly! This dish comes together easier than you think! It can be on the table in about 45 minutes, which includes prep and cook time!
Seafood Lovers Dream
Is it true that you either love seafood or hate it? Where are my seafood lovers at? This recipe combines creamy, cheesy deliciousness with succulent crab and shrimp, all loaded in a jumbo pasta shell. All my seafood-loving follower’s dreams just came true!
How to Make Seafood Stuffed Shells
You’re going to want to make this seafood stuffed shells recipe again and again. The prep and assembly time is only about 20 minutes, and then the oven does the rest of the work. It looks and tastes really elegant, but it’s actually so easy to make!
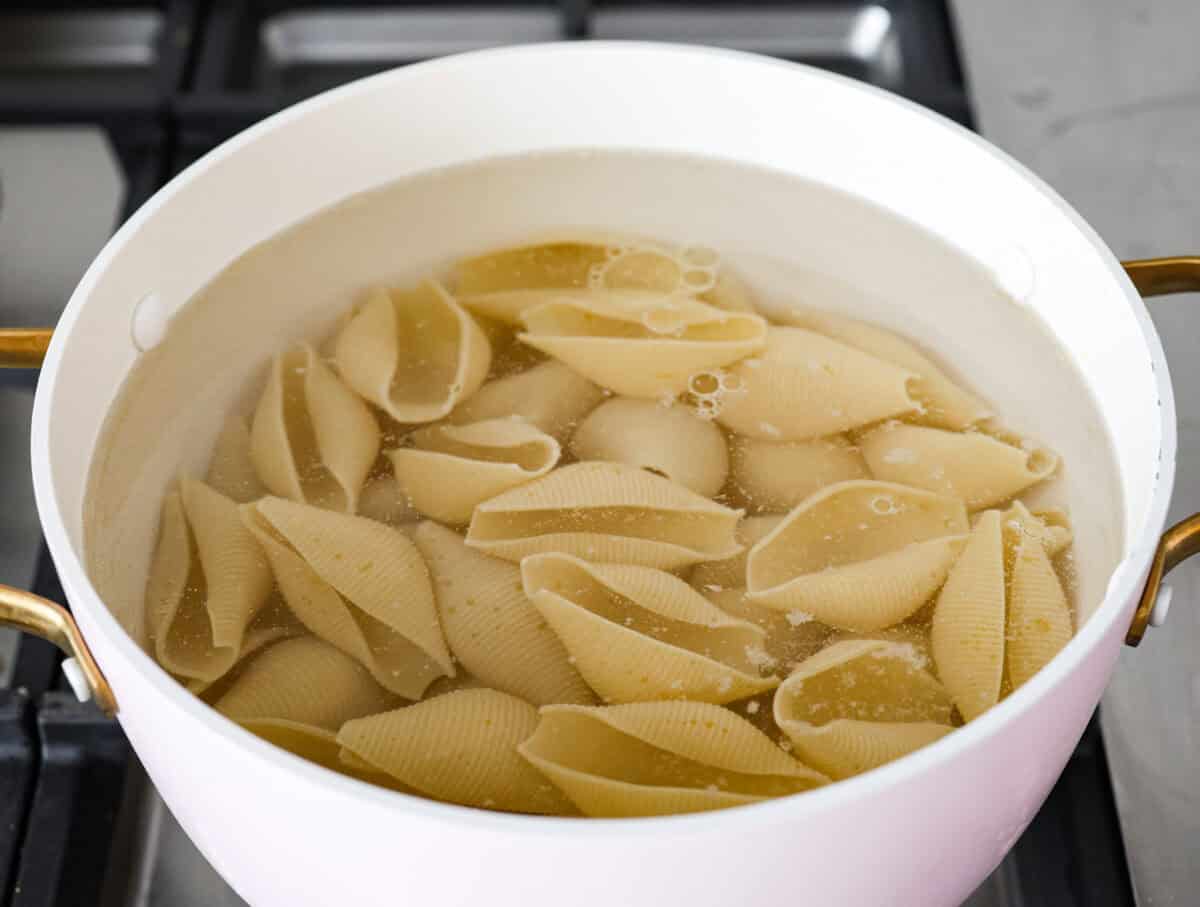
Cook the Shells: Preheat oven to 350 degrees Fahrenheit and spray a 9×13-inch baking dish with cooking spray. Cook the shells according to the package directions until they are al dente. Drain and set aside.
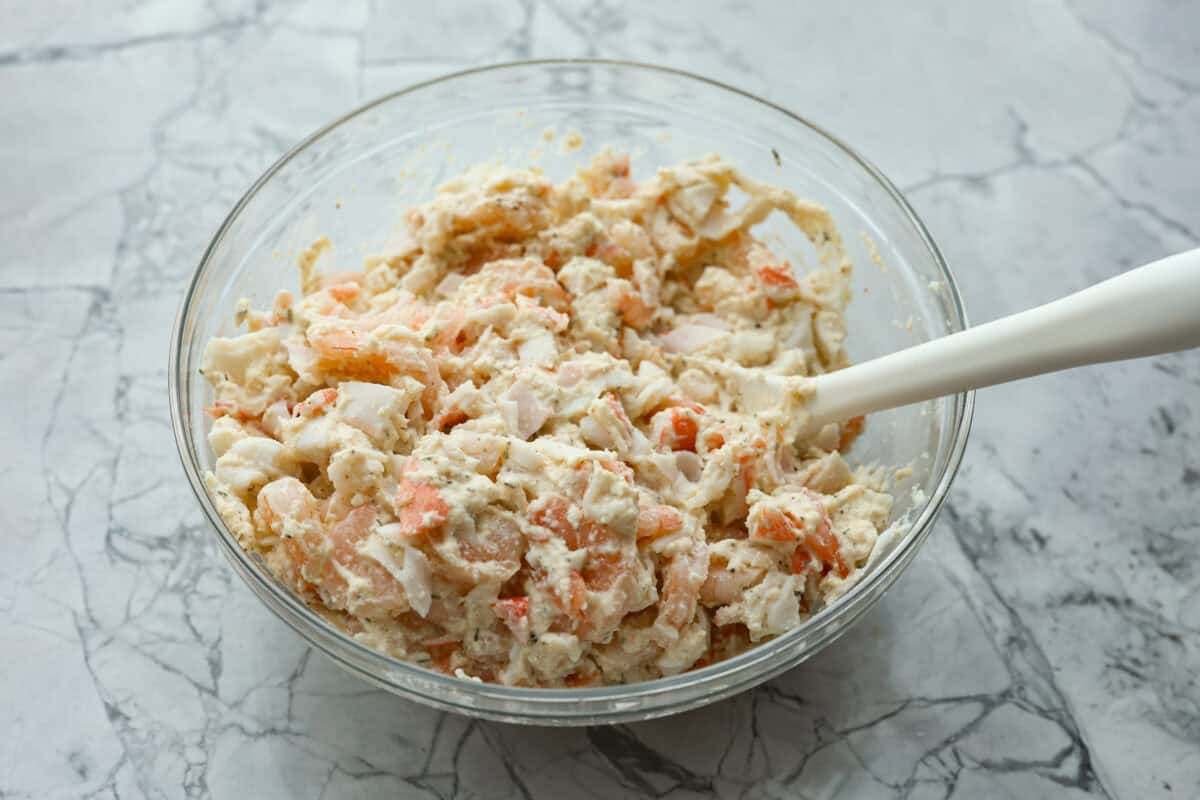
Make the Filling: In a large bowl, stir the ricotta cheese, egg, old bay seasoning, Italian seasoning, Dijon mustard, salt, and black pepper. Fold the shrimp and crabmeat into the filling mixture.
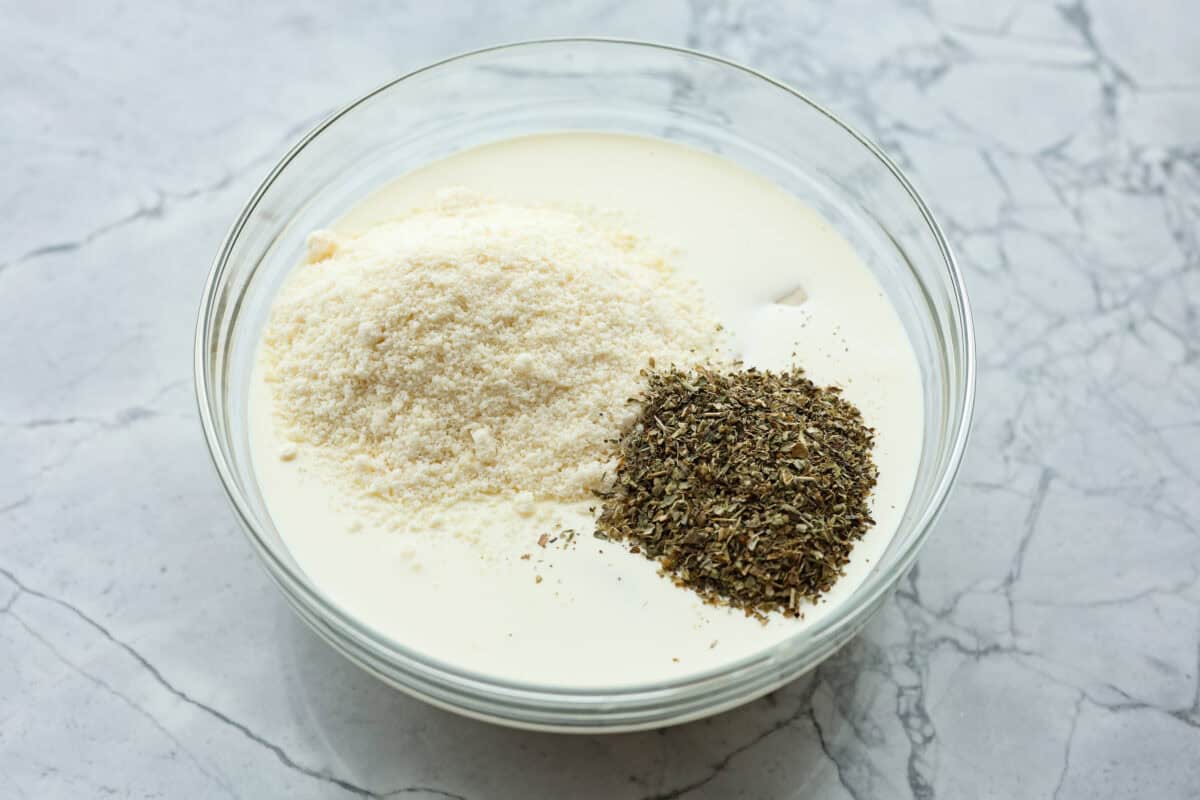
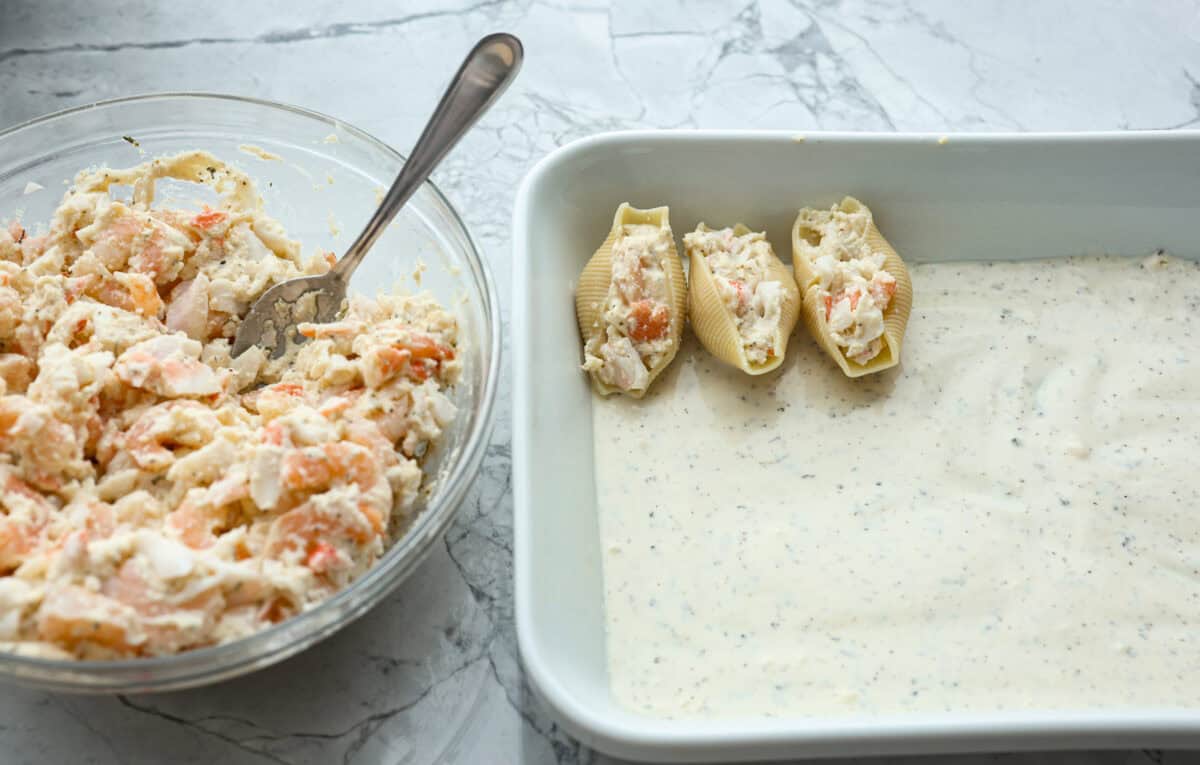
Make the Sauce: In a separate bowl, whisk together the alfredo sauce, heavy cream, parmesan cheese, Italian seasoning, and salt and pepper to taste. Pour about ½ cup of the sauce into the bottom of the baking dish.
Fill the Shells: Take one jumbo shell in one hand and stuff it with about 2 tablespoons of the filling seafood mixture.
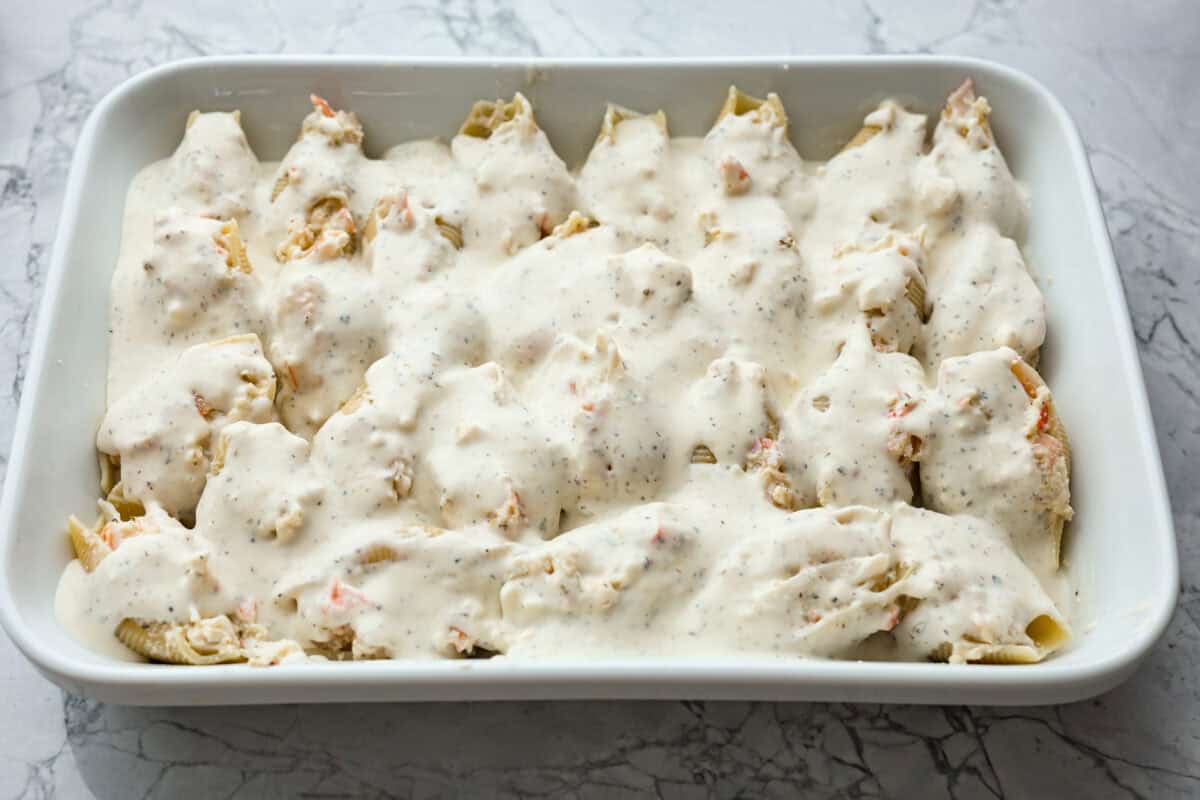
Pour Over the Sauce: Place the seafood stuffed shells open-side up in the sauce-lined baking dish. Until the filling has been used and the dish has been filled. Pour the rest of the sauce over the stuffed shells.
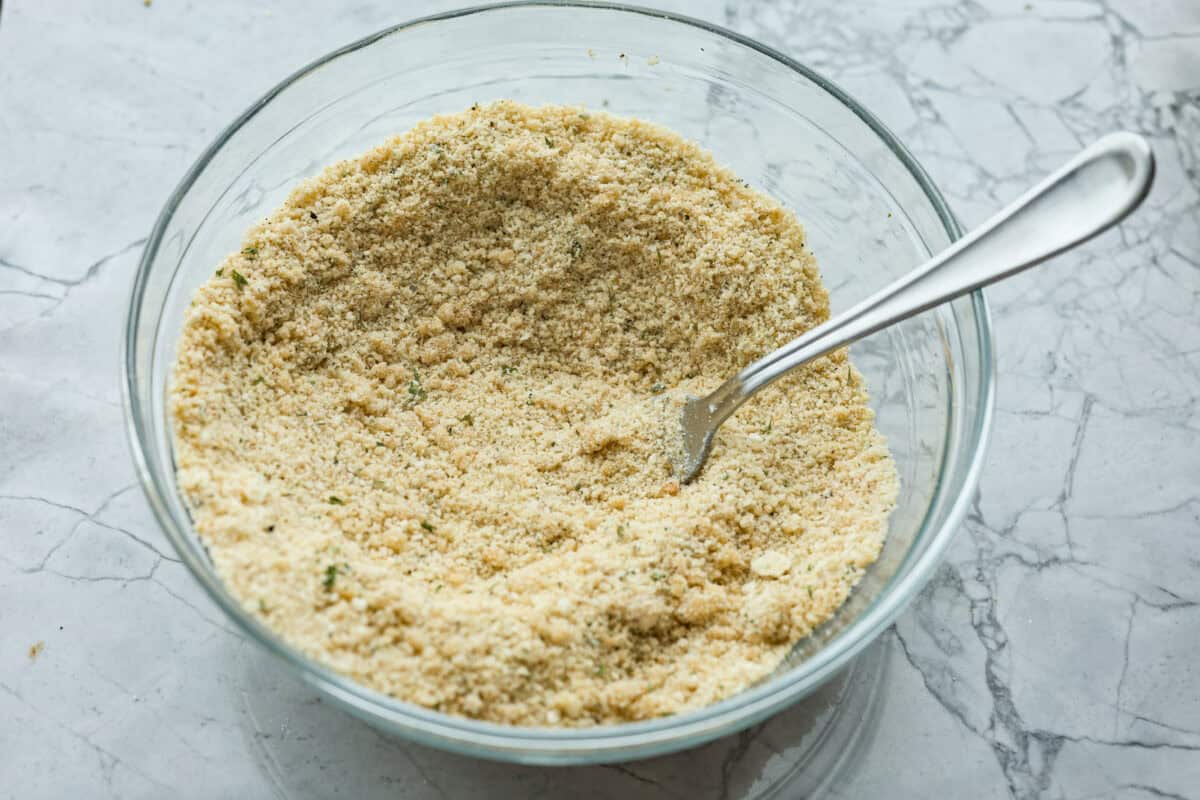
Make the Topping and Bake: In a small bowl, whisk together the bread crumbs, parmesan cheese, butter, and seasoning. Sprinkle the crumb topping over the sauce-covered shells and bake for 20-25 minutes, until the shells are heated through and the topping is browned. Remove the seafood stuffed shells from the oven and let rest for a few minutes before serving.
Seafood Stuffed Shells Tips and Variations
Here are my top tips for making these shells stuffed with seafood!
Using Uncooked Shrimp: If you use uncooked shrimp, boil it for a moment in the same water you boiled the pasta in, just until it turns pink, then remove and use as directed.
What Size Shrimp Should I Use? I like to use small shrimp for this recipe, even salad-size shrimp, so you get more in each shell. If you can only find larger shrimp, coarsely chop them before adding them to the filling.
Crab Meat Option: You can use real crab meat in this seafood stuffed shells recipe if you prefer.
Make Ahead and Storing Options
In the Refrigerator: Store leftover seafood stuffed shells in the fridge in an airtight container for up to 3 days.
Make Ahead: Prepare all the elements of the dish and assemble, leaving off the crumb topping. Store the prepared casserole in the fridge for up to 3 days or in the freezer for up to 2 months before topping with crumb mixture and baking.
Bake from Frozen: Preheat oven to 350 degrees Fahrenheit, cover the seafood stuffed shells dish with foil and bake for 45-50 minutes, remove the foil, sprinkle the crumb mixture over, and bake uncovered for another 10-15 minutes.
More Delicious Seafood Recipes
If you liked these seafood stuffed shells, you would love my creamy lemon garlic seafood pasta. You should also try these other seafood-inspired recipes.
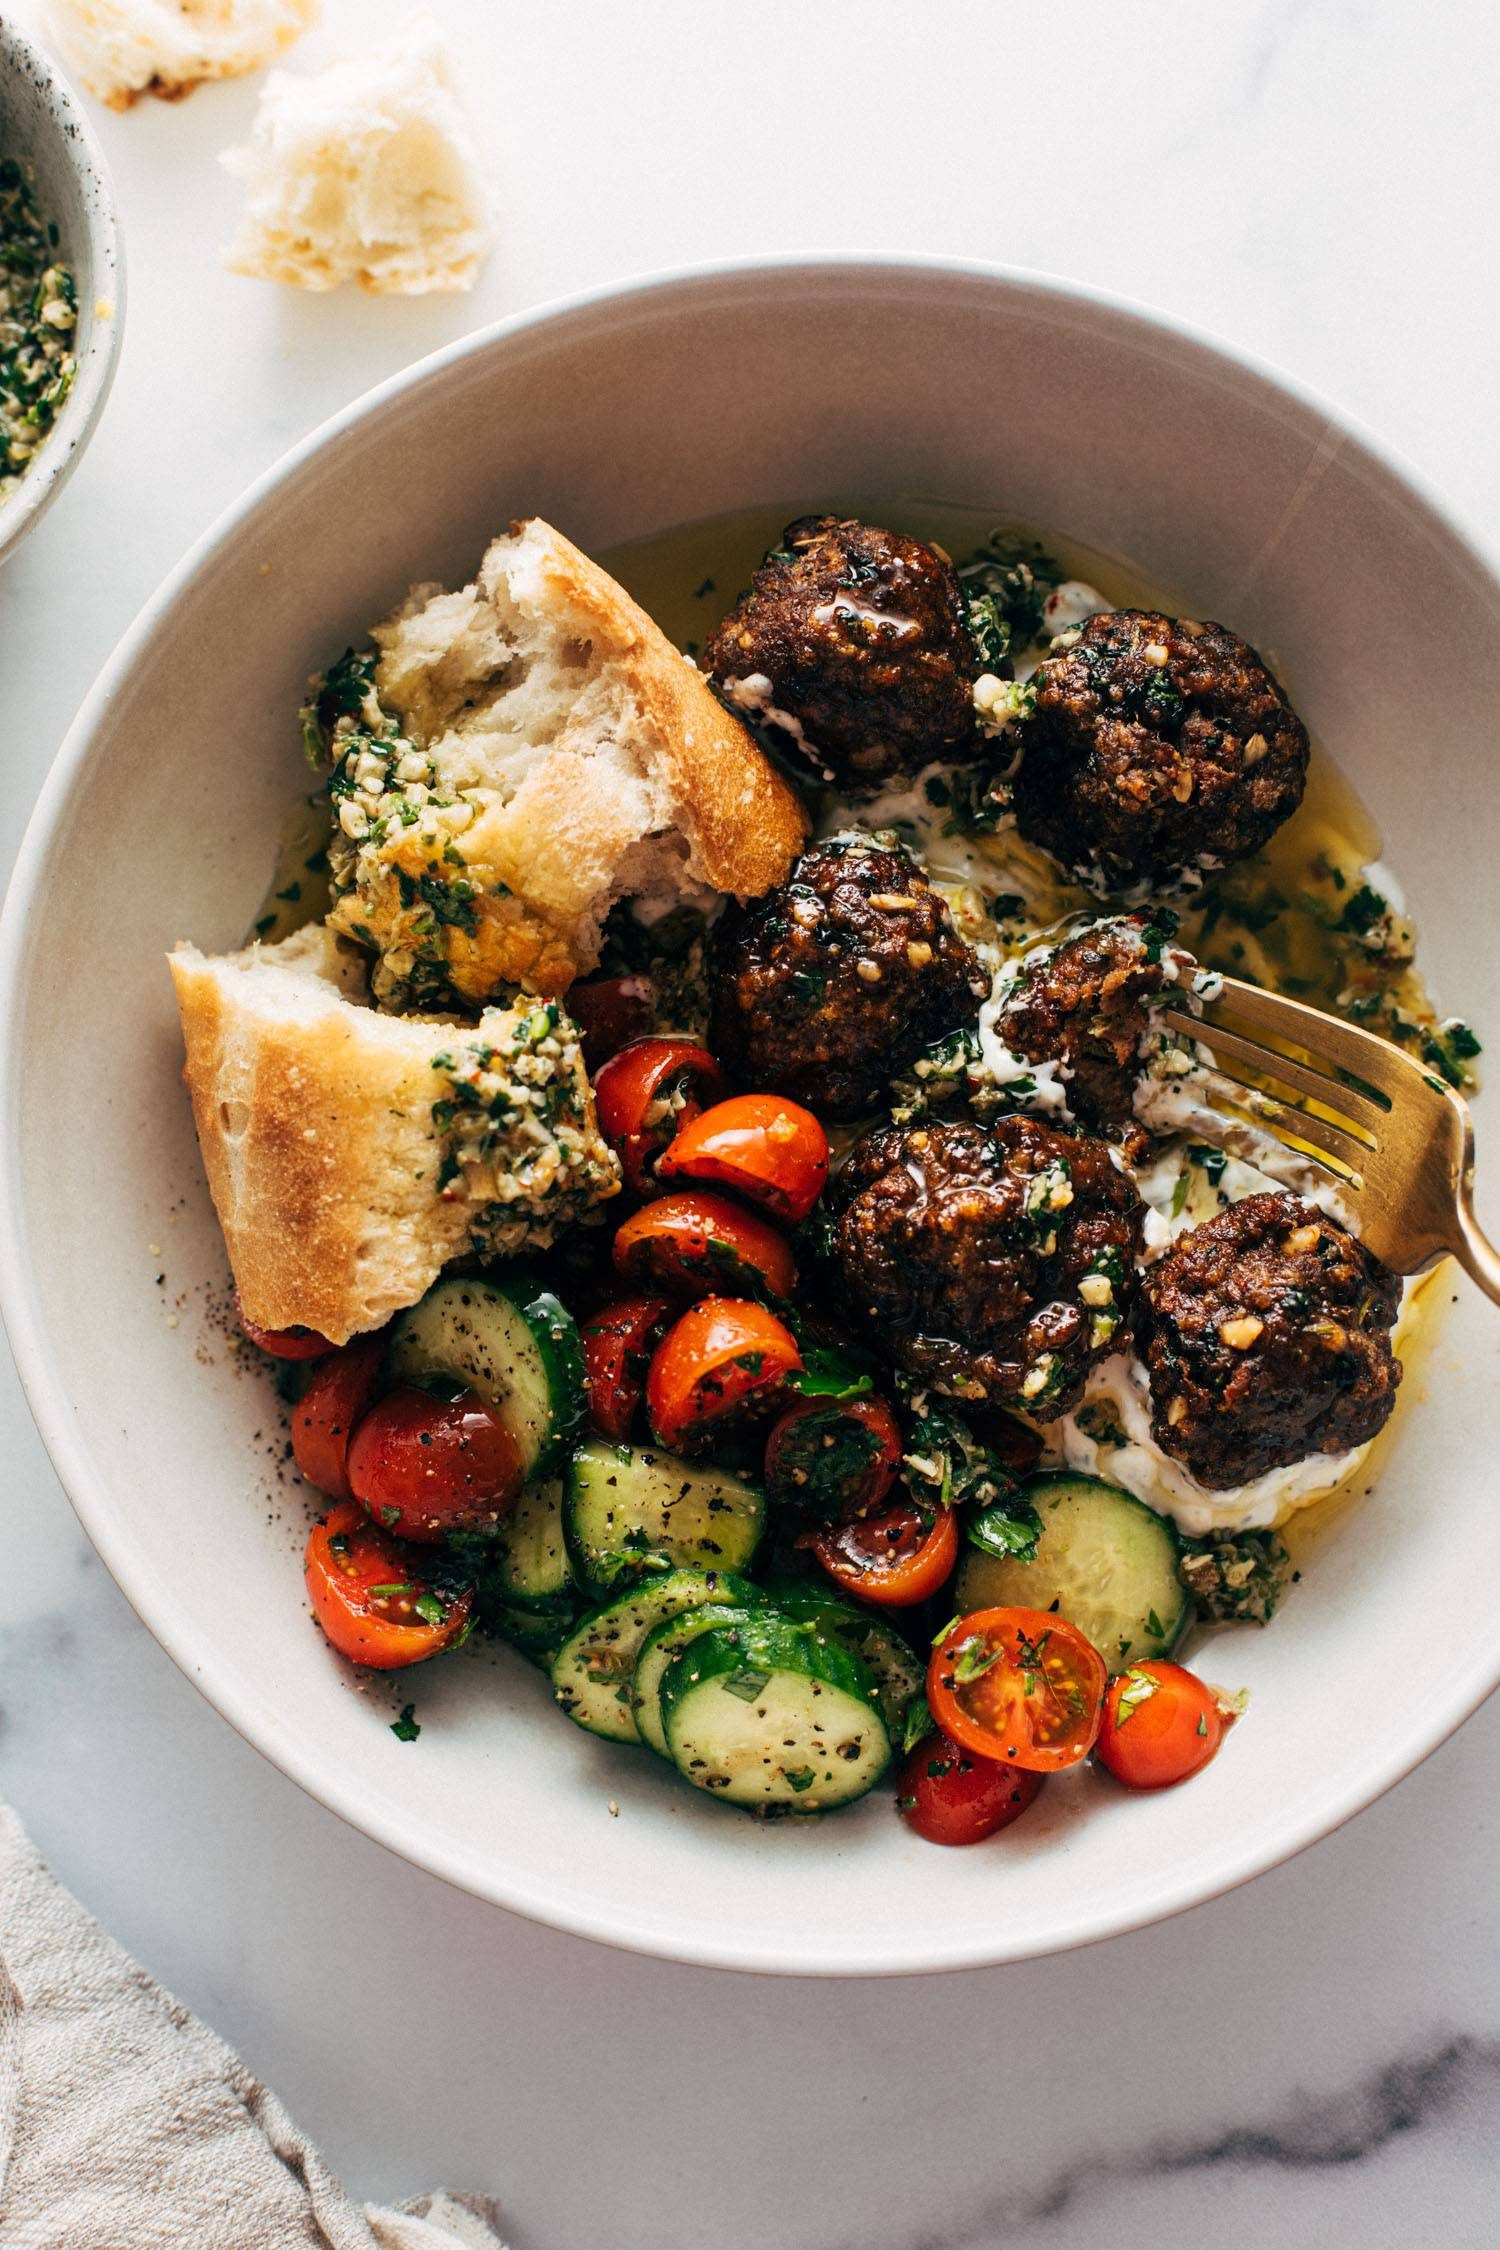
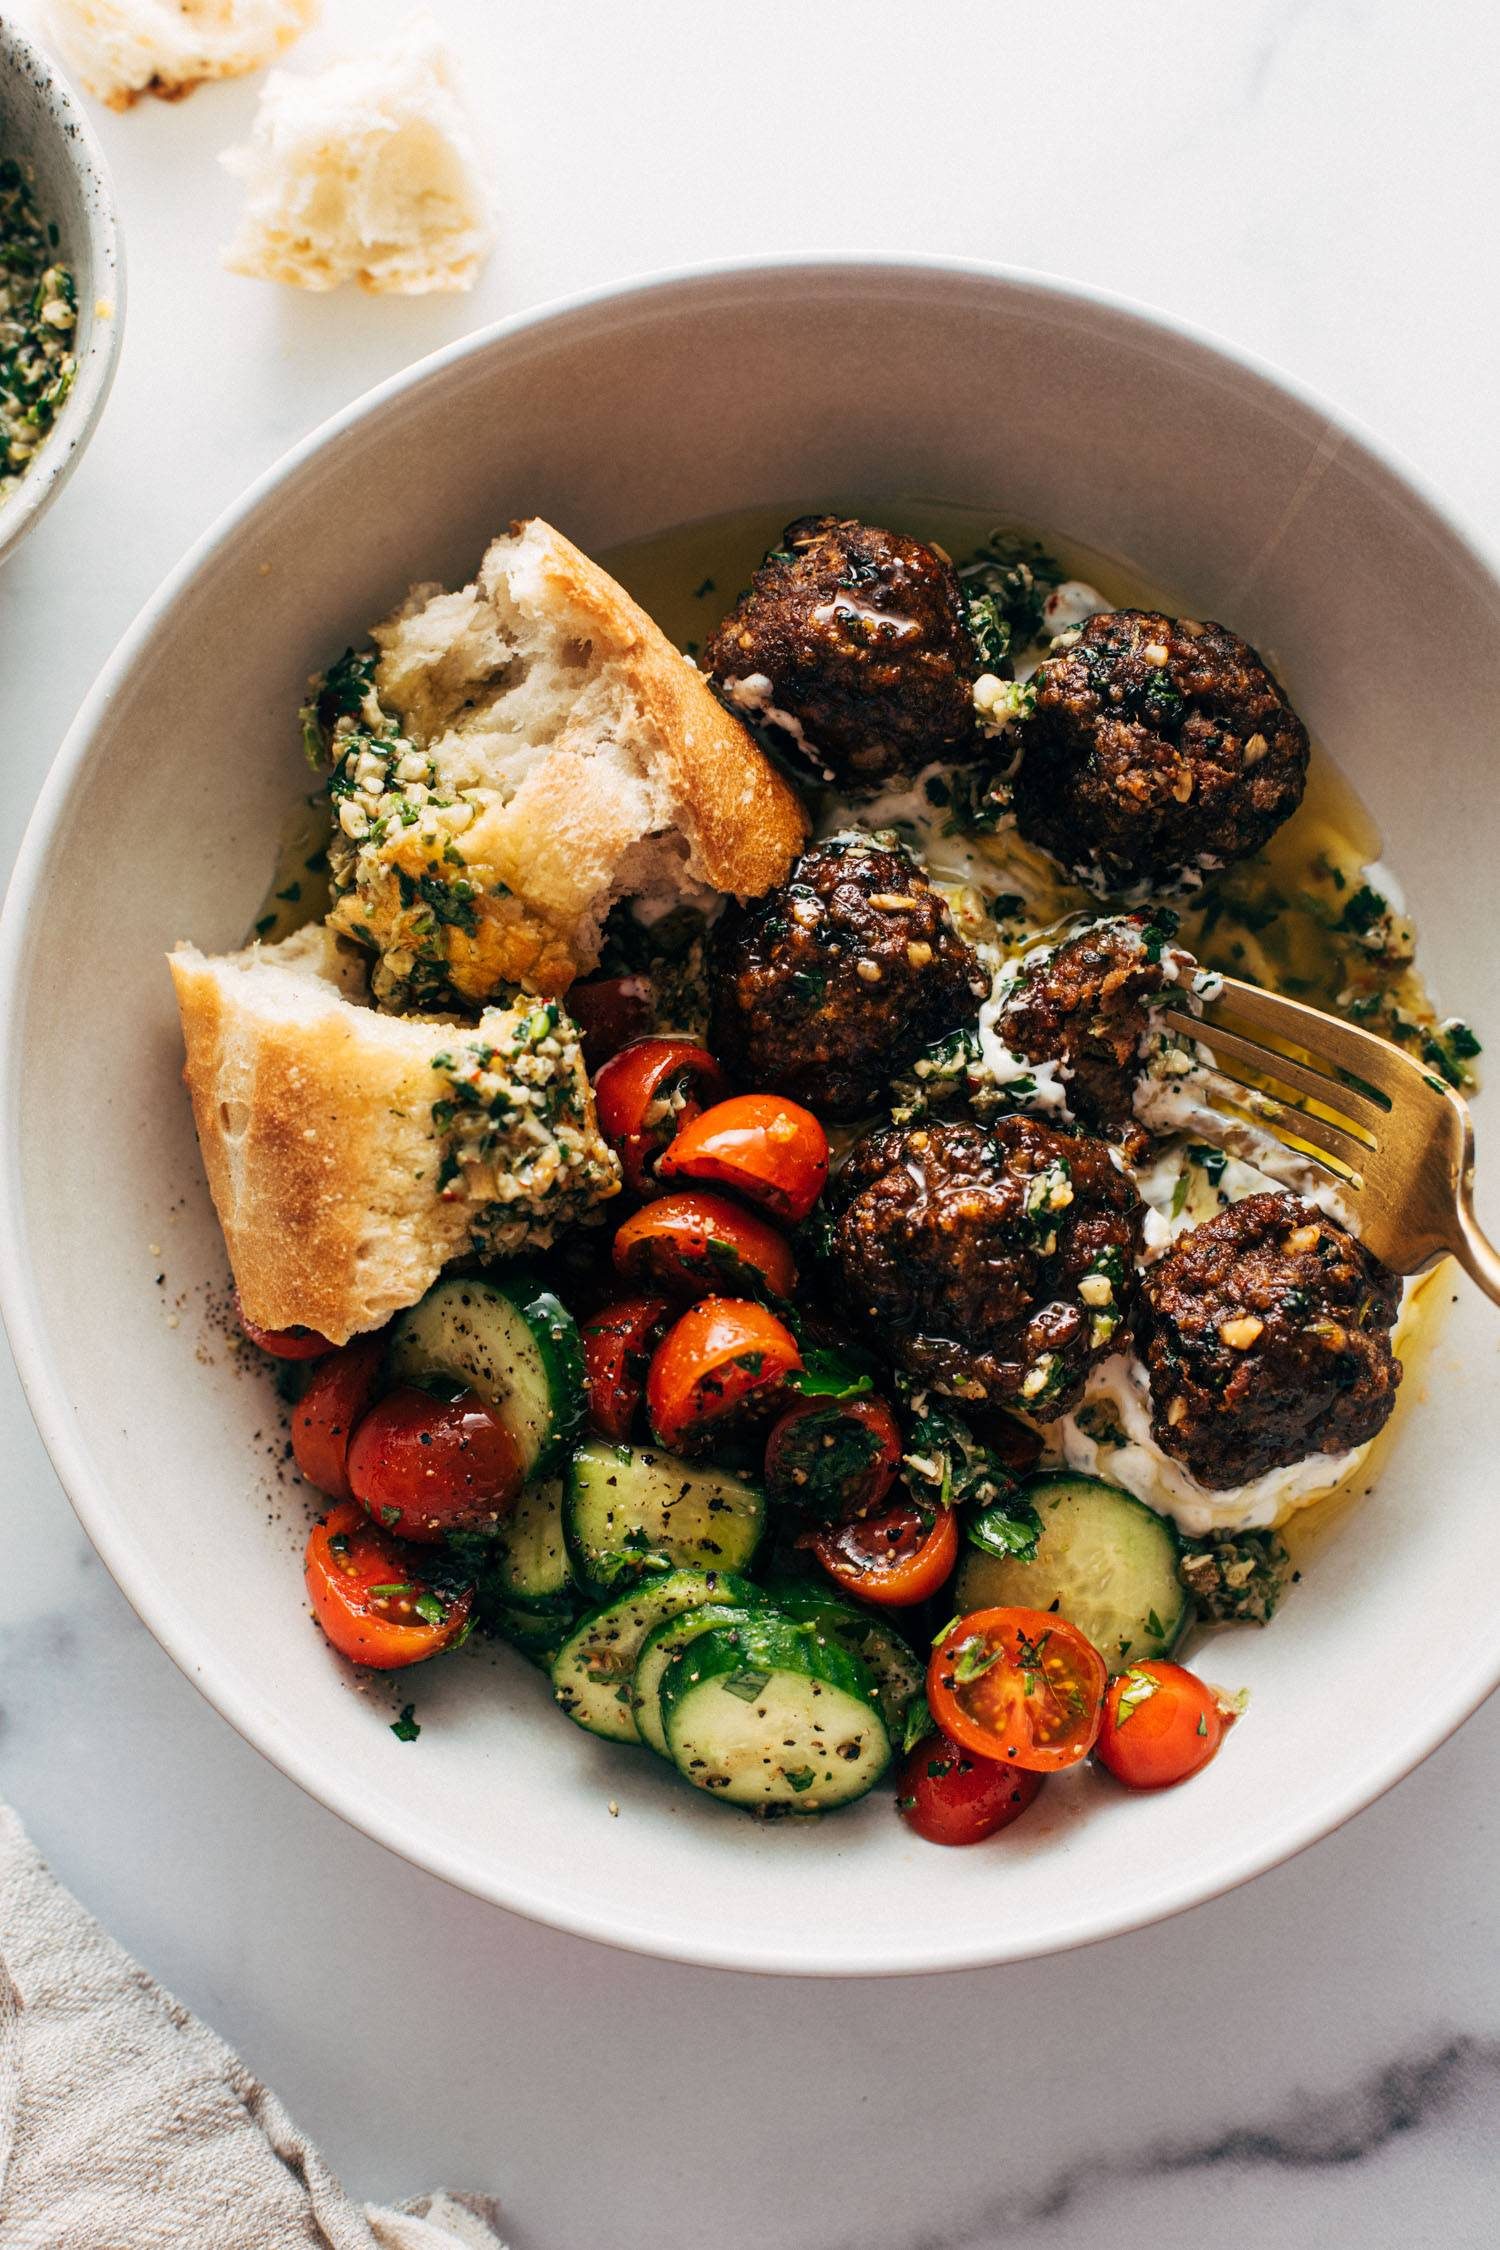
Juicy little sheet pan meatballs that are salty, zesty, briney, and so so delicious. Pile them on tzatziki, spoon some punchy green sauce over top, and serve with a simple salad and crusty bread.
This post is sponsored by ButcherBox
We’re no strangers to sheet pan meatballs around here. We love to love them! Easy clean-up, no frying mess, but still oven-crisp goodness, and they’re always the easiest option for straight-off-the-pan sneaks.
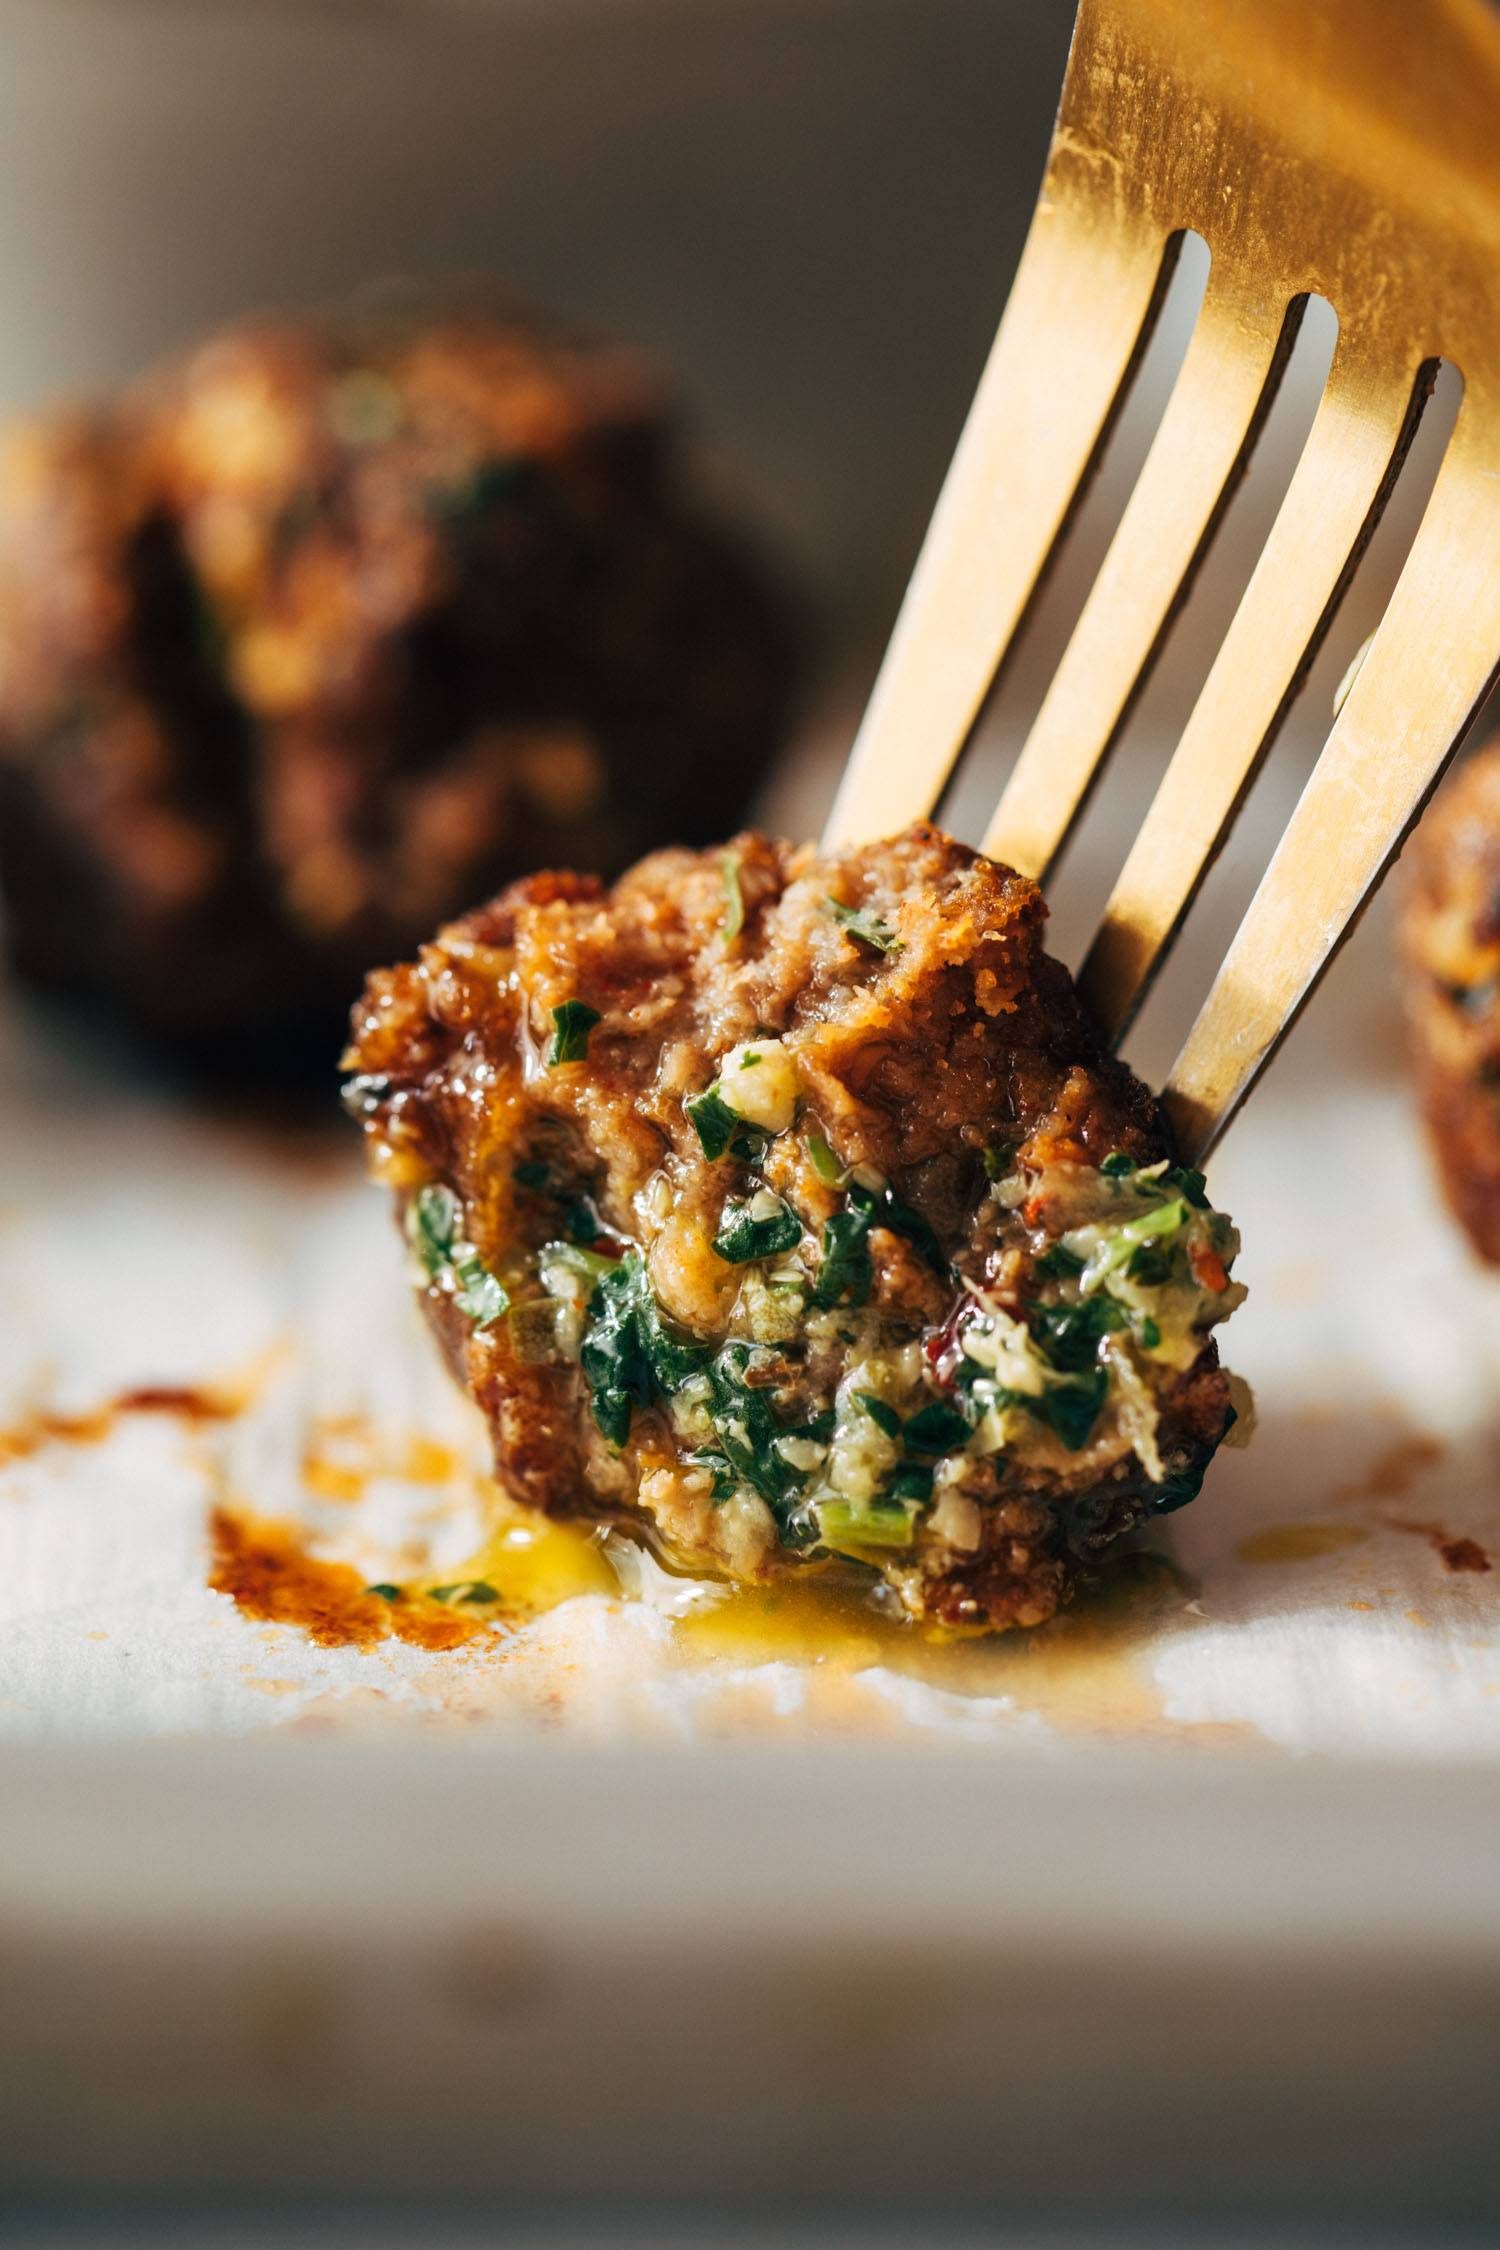
Super juicy and deeply flavored thanks to some delicious briney green sauce – made with parsley, cilantro, walnuts, capers, garlic, and more – that will go not only inside but also on top of these little beauties. Serve them alongside some juicy marinated tomatoes, swoop them through tzatziki, douse them in that green sauce, grab yourself a buttery hunk of crusty bread, and let’s have the best meatball party in town, shall we?
Salty, Zesty, Briney Goodness
This isn’t just any old meatball. Not only is the quality of beef A+ (we’re using ButcherBox Grass-Fed Grass-Finished – more on that later), but that little green sauce magic concoction in the mixture brings a whole explosion of flavor with salty brininess from the capers, a little zest from the lemon, and our favorite punch of all punches, the garlic punch. It all just sort of swims together to bring maximum flavor to this little guy. It’s like a whole meal of tastes in one bite!
And you better believe you save some of that green sauce to put on top of your meatballs, and bread, and any kind of veggies. We’re nothing if not sauce hogs.
Prefer To Watch Instead Of Read?
A Word About This ButcherBox Beef
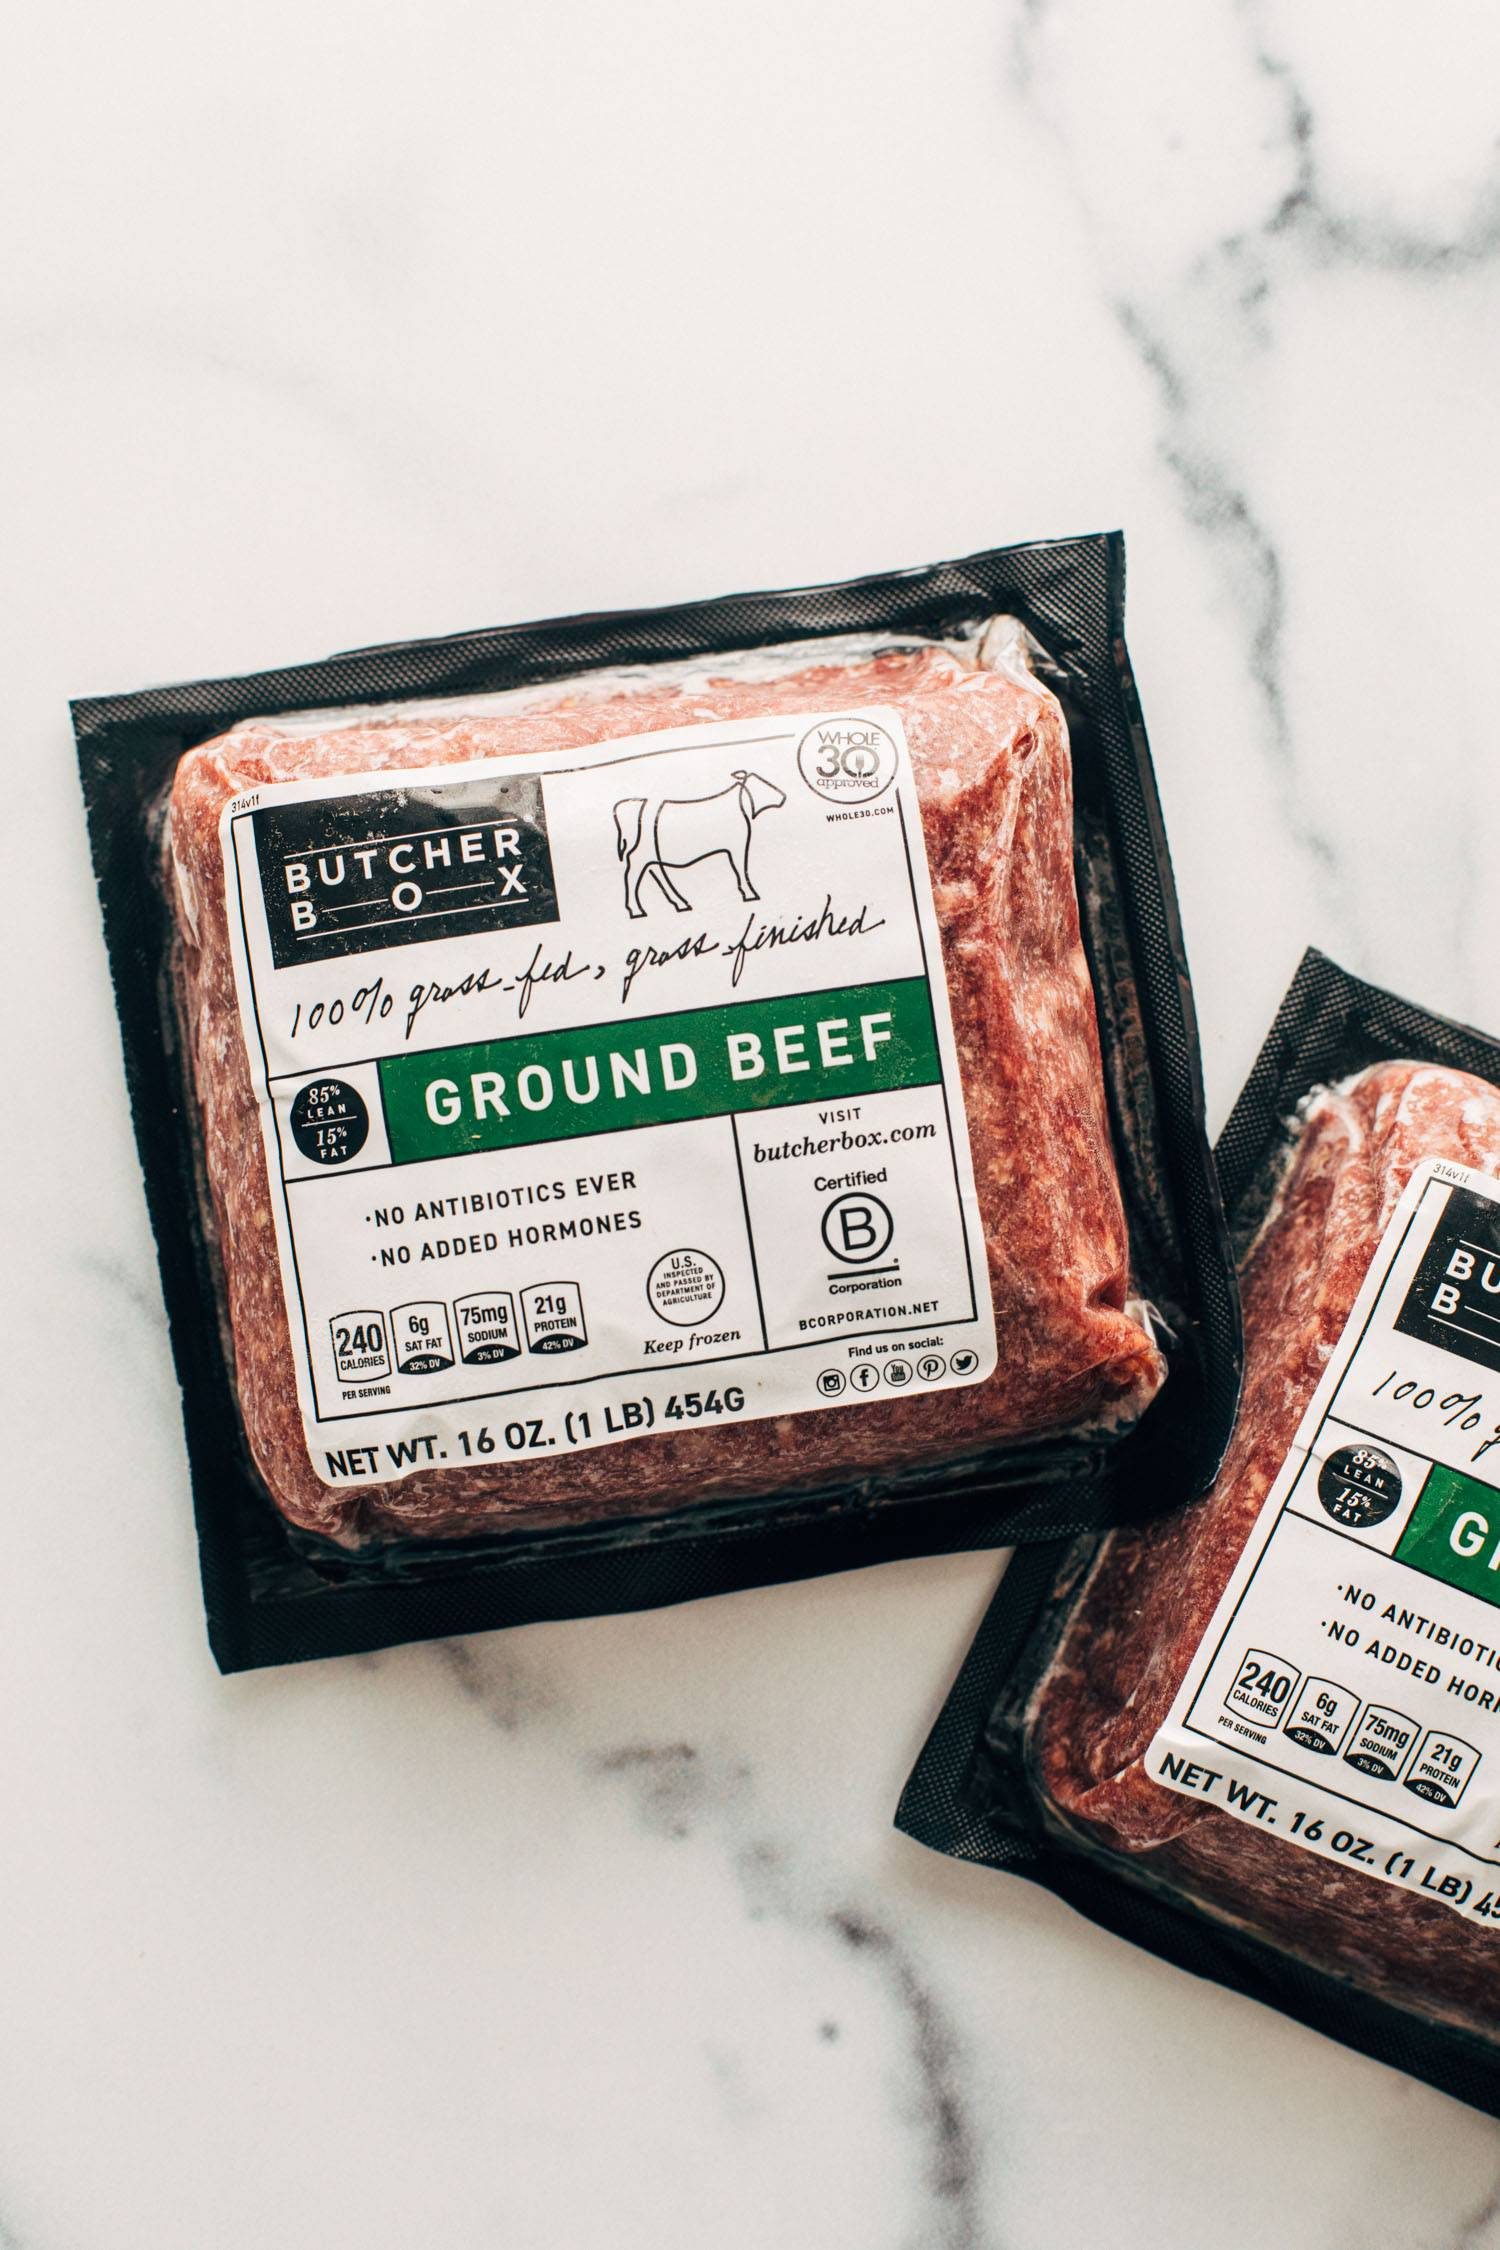
Okay, if you’re not on the ButcherBox train yet, we highly recommend you climb aboard! The quality of their meat and seafood is top-notch.
This is why we love them:
They are a certified B Corp company, which means they are mission-driven to do some environmental good in this world and that is always something we can get behind.
They source from family farms and are committed to humane practices, and have a focus on sustainability for their seafood offerings which we also feel really good about!
Plus, sustainable and recyclable insulation and packaging whenever possible? Yes, please.
There is so much care put behind their product and it really shows. And, ultimately, this grass-fed, grass-finished ground beef is SO flavorful and cooks up beautifully.
ButcherBox has a deal going right now where you get two pounds of free (yes, FREE) grass-fed grass-finished ground beef in every single box for the life of your membership. WHAT.
Click here to learn more about the boxes (or add this deal to your existing membership)!
For burgers, for spaghetti, for meatballs, and everything else in between, this ground beef is such good quality and it is a total freezer essential. And it’s free in every box right now. Do not miss this deal!
How To Make These Meatballs (Sheet Pan FTW!)
Get your sheet pans and your food processor at the ready and let’s get down to business.
Green Sauce. Pulse everything up in a food processor until chopped very finely (but not a paste). This is your flavor base! Transfer half of the flavor base to a large bowl for the meatballs and then use the rest make your sauce.
Meatballs. Mix the egg, paprika, salt, panko, ground beef, and reserved flavor base green sauce in a bowl until evenly distributed. Roll into balls. Place the rolled meatballs on sheet pan, brush with olive oil, and bake!
Then serve those meatballs over creamy tzatziki, heavily dolloped with your green sauce, along with a pile of tzatziki and simple tomato salad, add a big torn-off hunk of rustic bread, and oof, what a satisfying flavor extravaganza you’re in for!
Will these juicy delicious little sheet pan meatballs absolutely steal your hearts? Yes. Does green sauce, just in general, make the world better? Also yes. Let’s get to it, pals.
Juicy little sheet pan meatballs that are salty, zesty, briney, and so so delicious. Pile them on tzatziki, spoon some punchy green sauce over top, and serve with a simple salad and crusty bread.
Preheat the oven to 425 degrees.
Make your tomato salad and throw in some sliced cucumbers too!
Pulse the garlic, parsley, cilantro, capers, and walnuts in a food processor until chopped very finely (but not creamy / not a paste – you just want a fine chop! and you could do this by hand as well). This is your flavor base!
Transfer half of the flavor base to a large bowl for the meatballs. Add all other meatball ingredients and mix thoroughly with your hands to combine. Roll into balls and bake for 10-12 minutes.
Add the other half of the flavor base to a smaller bowl; add lemon zest and lemon juice, olive oil, and salt and pepper to taste to make your sauce. Add red pepper flakes for heat if you want. It should look similar to a loose pesto or chimichurri.
Serve meatballs over a swipe of tzatziki, with a hunk of rustic bread and a scoop of tomato salad. And drizzle, dip, and swish all of it through that punchy green sauce! BIG, BIG FLAVORS! So good!
Prep Time:15 minutes
Cook Time:30 minutes
Category:Dinner
Method:Bake
Cuisine:Mediterranean-Inspired
Keywords: sheet pan meatballs, meatball bowls, green sauce
Thank you to ButcherBox for sponsoring this recipe!
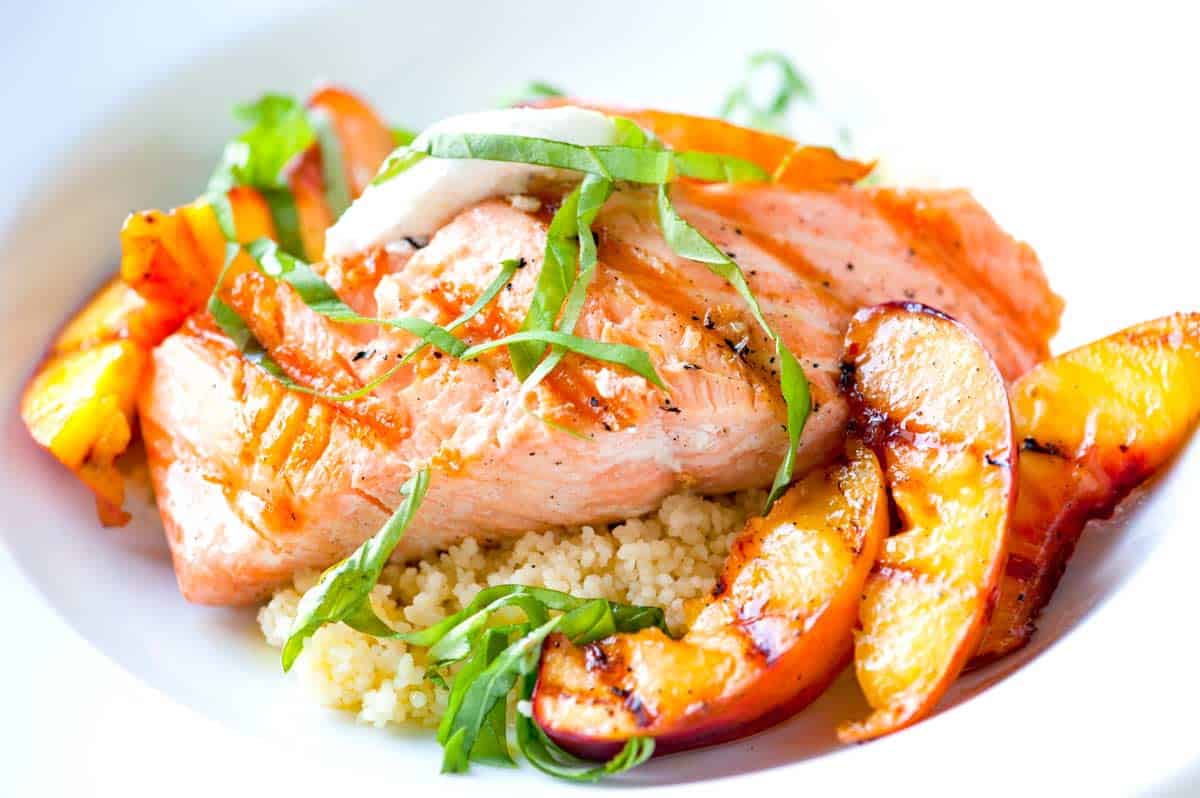
How to make grilled salmon topped with grilled nectarines and goat cheese. Jump to the Grilled Salmon Recipe with Nectarines and Goat Cheese or read on to see our tips for making it.
The salmon is simply grilled — only with salt, pepper and olive oil. That’s okay, though, because we toss nectarines in maple syrup mixed with a pinch of red pepper flakes and grill them. Everything comes together on a bed of couscous with fresh basil and a dollop of goat cheese on top.
YOU MAY ALSO LIKE: Grilling salmon on a cedar plank is genius. If you haven’t tried it, let me tell you, you need to. Jump to the Sweet Citrus Cedar Plank Salmon Recipe.
How to Cook Salmon and Nectarines on the Grill
You can grill salmon one of two ways — outside or indoors using a cast iron grill pan.
If you are outside, prepare the grill for cooking over medium-hot charcoal or moderate heat for gas grills. For an indoor cast iron grill pan it should be lightly oiled, well-seasoned and over medium-high heat.
To prepare the salmon, rub with a little olive oil then season with salt and pepper. Grill the salmon, 5 to 6 minutes on each side (depending on thickness).
While the salmon grills, thrown on some nectarines or peaches. To grill them, remove the pit then cut into wedges. Toss with a little olive oil then add some maple syrup and a pinch of red pepper flakes — this makes them a little sweet with a spicy kick.
Throw them onto the grill and cook until you begin to see grill marks and they are warmed through — about 2 minutes on each side.
YOU MAY ALSO LIKE: How to make perfectly marinated and grilled swordfish kabobs with lemon, pepper and thyme. Jump to the Lemon Pepper Grilled Swordfish Kabobs Recipe.
Recipe updated, originally posted September 2011. Since posting this in 2011, we have tweaked the recipe to be more clear. – Adam and Joanne
Grilled Salmon Recipe with Nectarines and Goat Cheese
PREP
COOK
TOTAL
The nectarines can be replaced with peaches or other stone fruit (apricots would be lovely).
Makes 2 servings
You Will Need
2 salmon fillets, six ounces each
Olive oil
Salt and fresh ground black pepper
1 medium nectarine, pit removed and cut into wedges
1 tablespoon maple syrup
1/4 teaspoon crushed red pepper flakes
1 cup cooked couscous or rice
2 ounces fresh goat cheese
Handful basil leaves, chopped
Directions
1Prepare a grill for cooking over medium heat. (If using outdoor grill, it needs to have very clean grates). If grilling inside, heat a lightly oiled, well-seasoned grill pan over medium-high heat.
2Wipe salmon fillets dry with paper towels. Brush on both sides with olive oil. Season with salt and black pepper. Grill the salmon, turning once and cooking for five to six minutes on each side, or until it can easily be flaked with a fork. (If you have one, take the salmon off the heat when an internal thermometer reads 135 degrees F).
3Meanwhile, toss nectarine wedges with a teaspoon of olive oil, the maple syrup and crushed red pepper flakes. Place onto the grill and cook until warmed through and grill marks appear, about 2 minutes on each side.
4Serve salmon on a bed of rice or couscous topped with grilled nectarines, a few crumbles of goat cheese and fresh basil.
Adam and Joanne’s Tips
If you make this recipe, snap a photo and hashtag it #inspiredtaste — We love to see your creations on Instagram and Facebook! Find us: @inspiredtaste
AUTHOR:
Joanne Gallagher
We are Adam and Joanne Gallagher, the creators of Inspired Taste. Established in 2009, Inspired Taste grew from a childhood dream into one of the internet’s most trusted recipe sites with hundreds of reliable recipes, step-by-step videos, and expert tips.More About Us
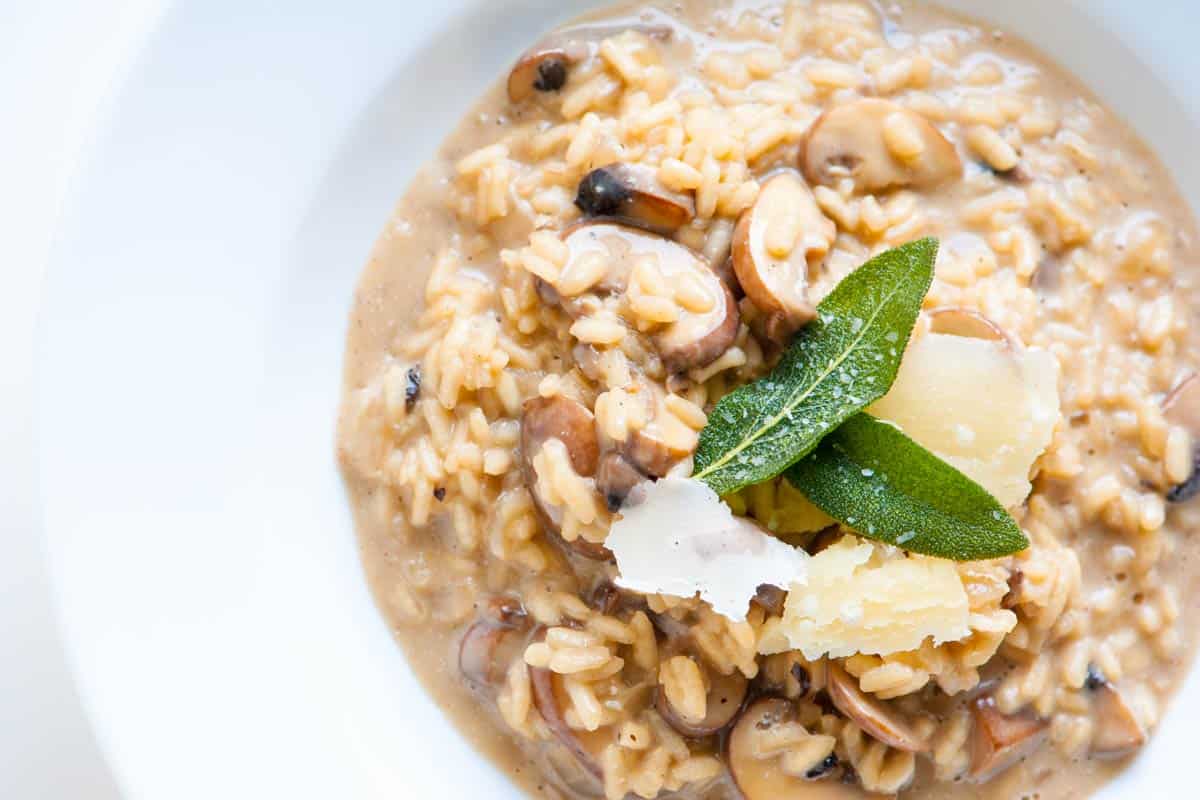
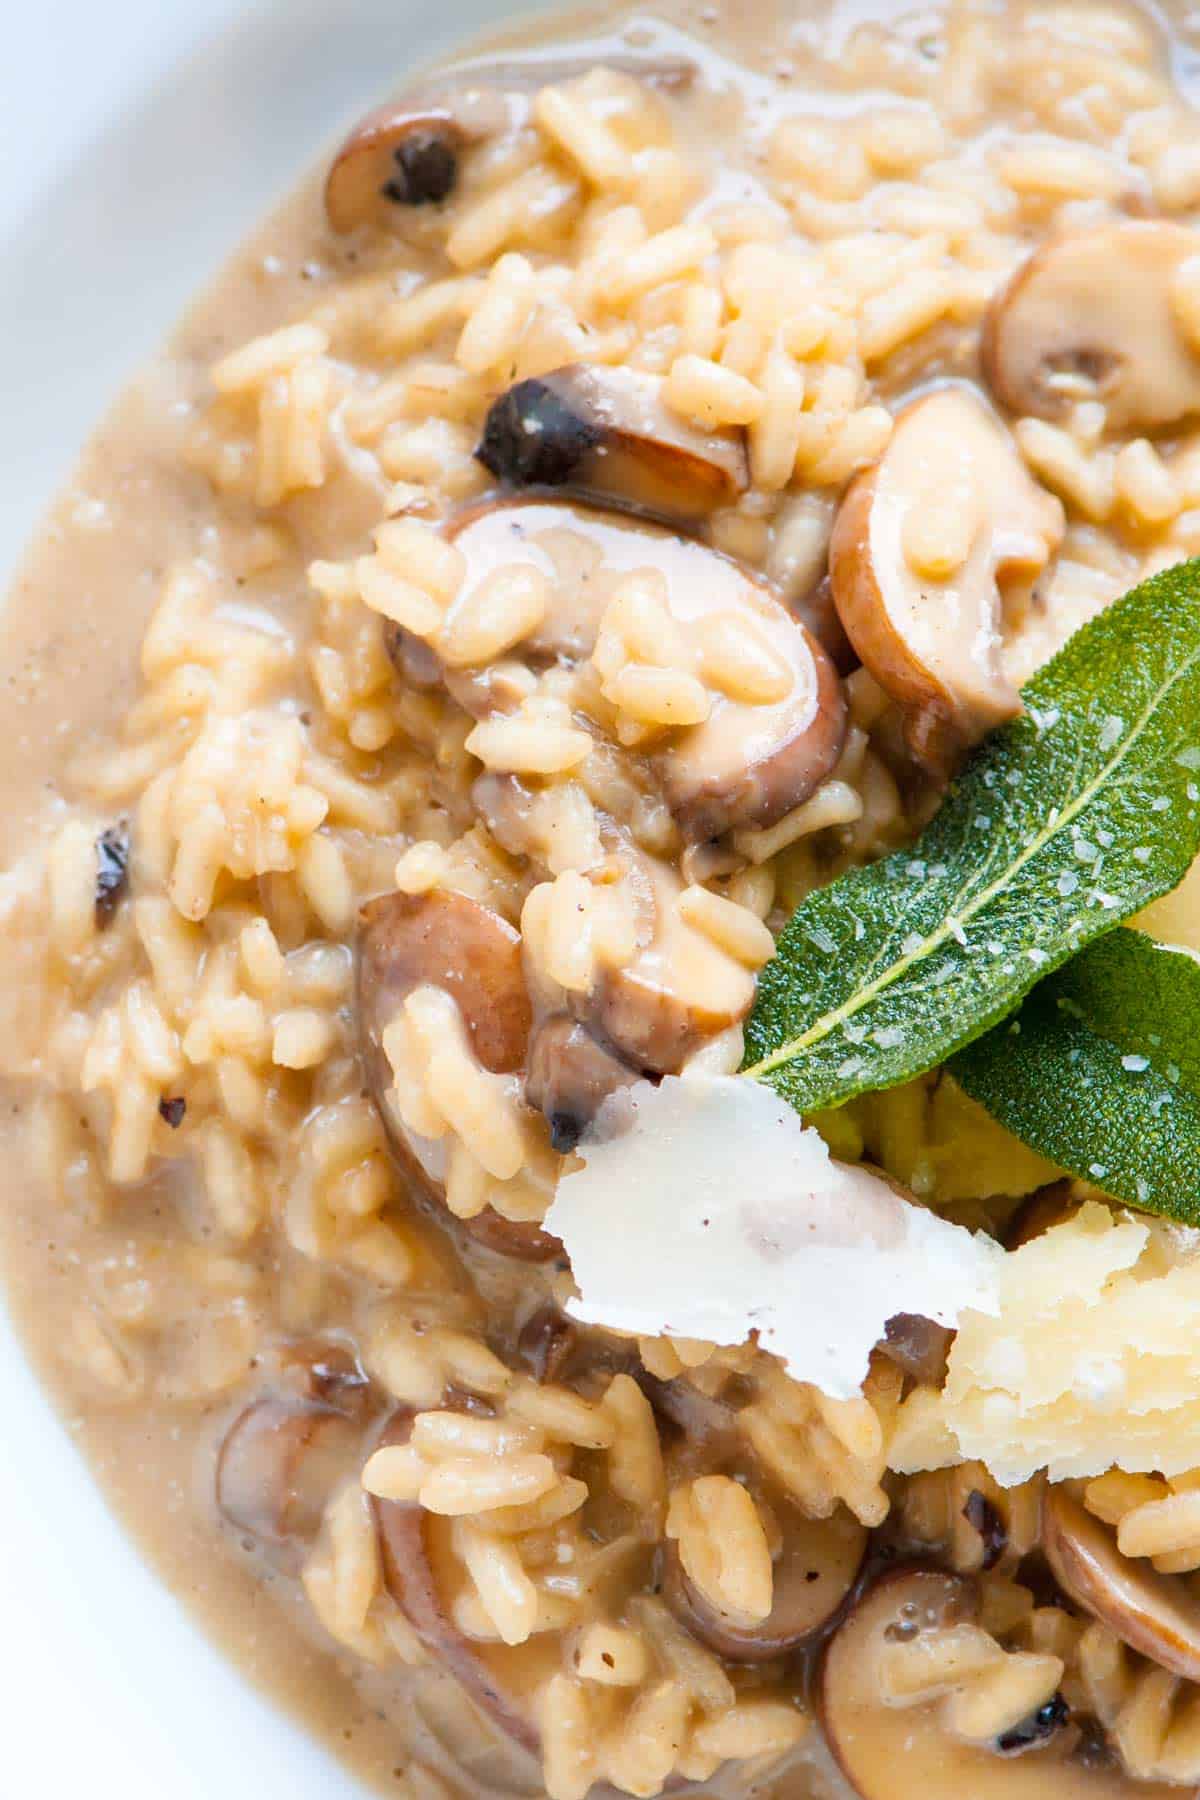
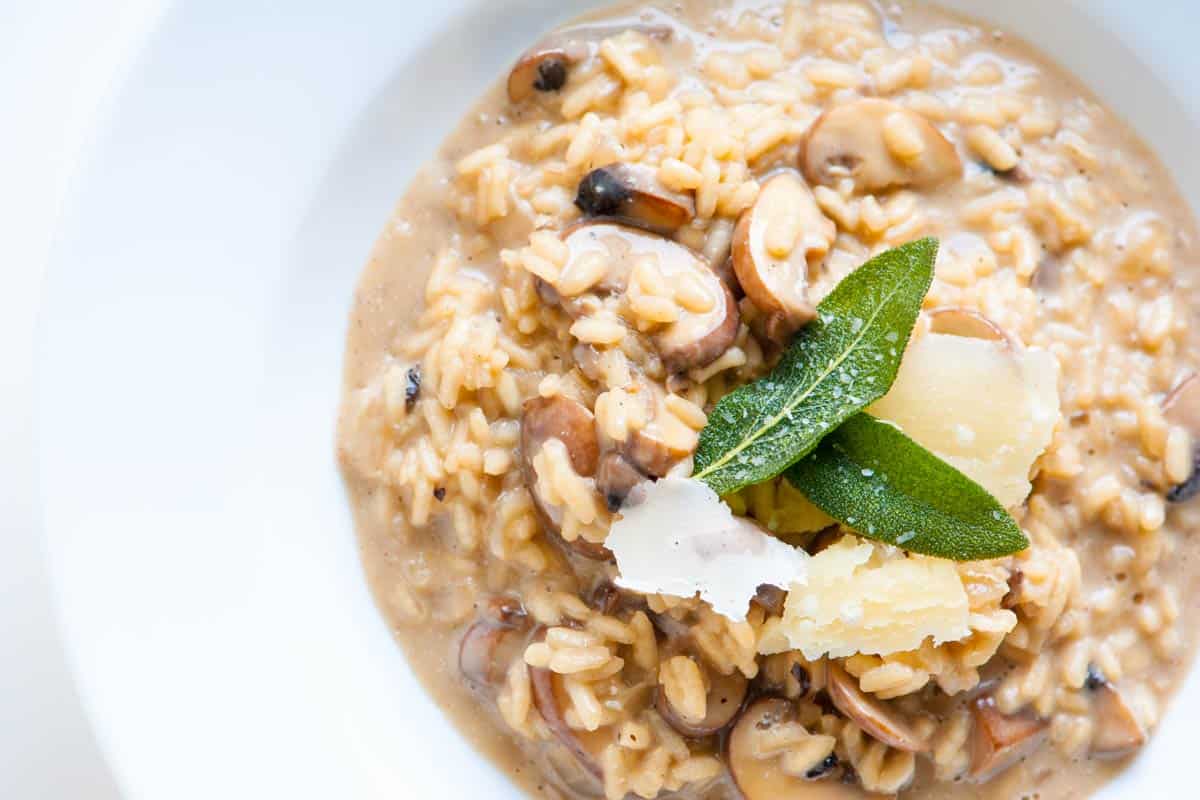
I love this easy mushroom risotto recipe so much! It’s unbelievably creamy and tastes incredible, thanks to perfectly cooked mushrooms and an easy, umami-packed broth!
Mushroom risotto is a labor of love, but this mushroom risotto is totally doable with our easy recipe! It’s not a “throw everything into a pan and walk away” deal, but the steps are simple, and you’ll be rewarded with creamy mushroom risotto rivaling your favorite restaurants.
For more incredible risotto recipes, I highly recommend our vegetable risotto made with tomato broth and lots of fresh veggies! For a quicker mushroom dish that still wows, try our mushroom pasta!
Key Ingredients
Mushrooms: You can use your favorite mushrooms for this recipe, but I love cremini or wild mushrooms. I remove the stems and then use them to infuse my broth with mushroom flavor. Then, I slice the mushroom caps for the risotto.
Rice: The best rice for risotto are Arborio, Carnaroli, and Vialone Nano, all short-grain rice varieties with a high starch content. We use Carnaroli in our kitchen because it makes creamy risotto and is more forgiving of overcooking.
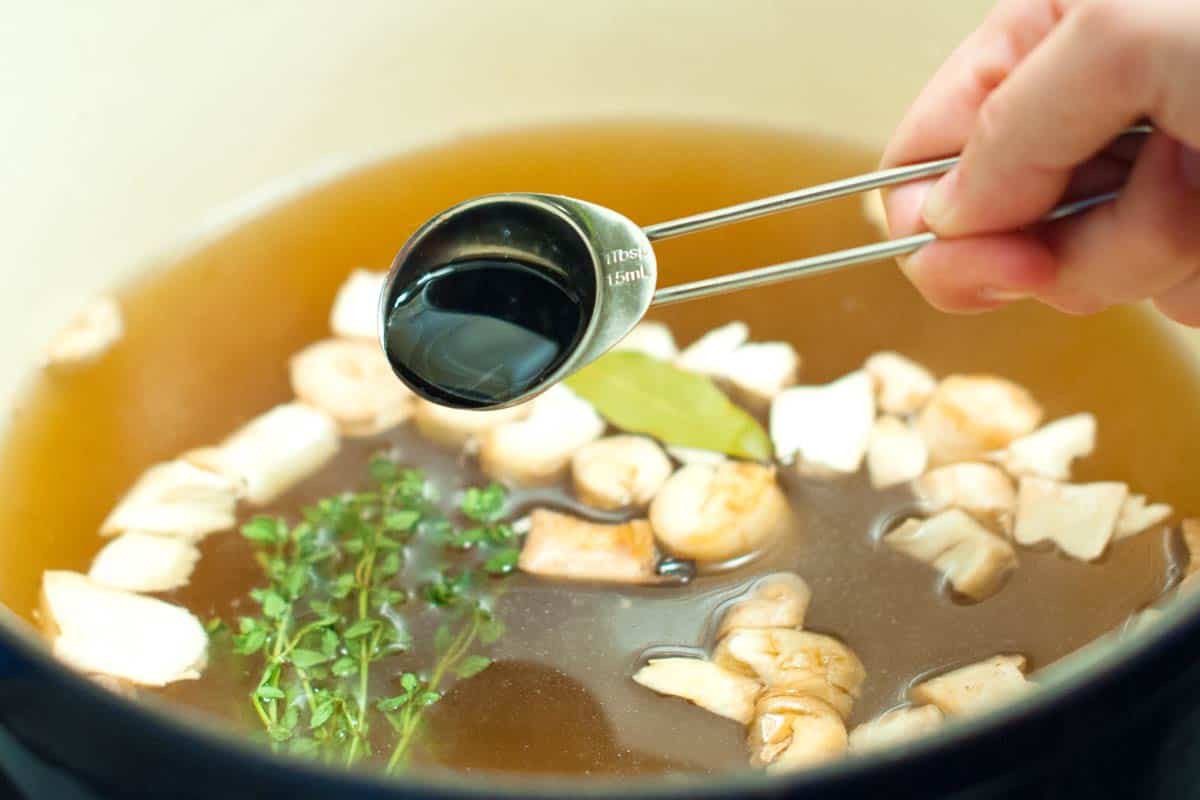
Broth: A good vegetable broth or chicken broth works well in this recipe. I love doctoring it up a bit and simmering my broth with the discarded mushroom stems, thyme, a bay leaf, and a bit of soy sauce. These add extra flavor and nicely complement the mushrooms in our risotto.
White Wine: Whenever you cook with wine, the most important thing to remember is to use something you enjoy. I use a light, dry white wine like Pino Gris, Albariño, Grüner Veltliner, or Sauvignon Blanc for this mushroom risotto. Wine adds flavor and some acidity. If you prefer to leave it out, replace it with more broth and sprinkle a little fresh lemon juice over the risotto before serving.
Cheese: To make this risotto creamy, I stir in mascarpone cheese (or cream cheese) and lots of Parmigiano-Reggiano cheese at the end.
How to Make Mushroom Risotto
This mushroom risotto starts with a flavorful base. I enhance store-bought or homemade stock by simmering it with mushroom stalks (saved from prepping the mushrooms!), thyme, a bay leaf, and a bit of soy sauce for richness.
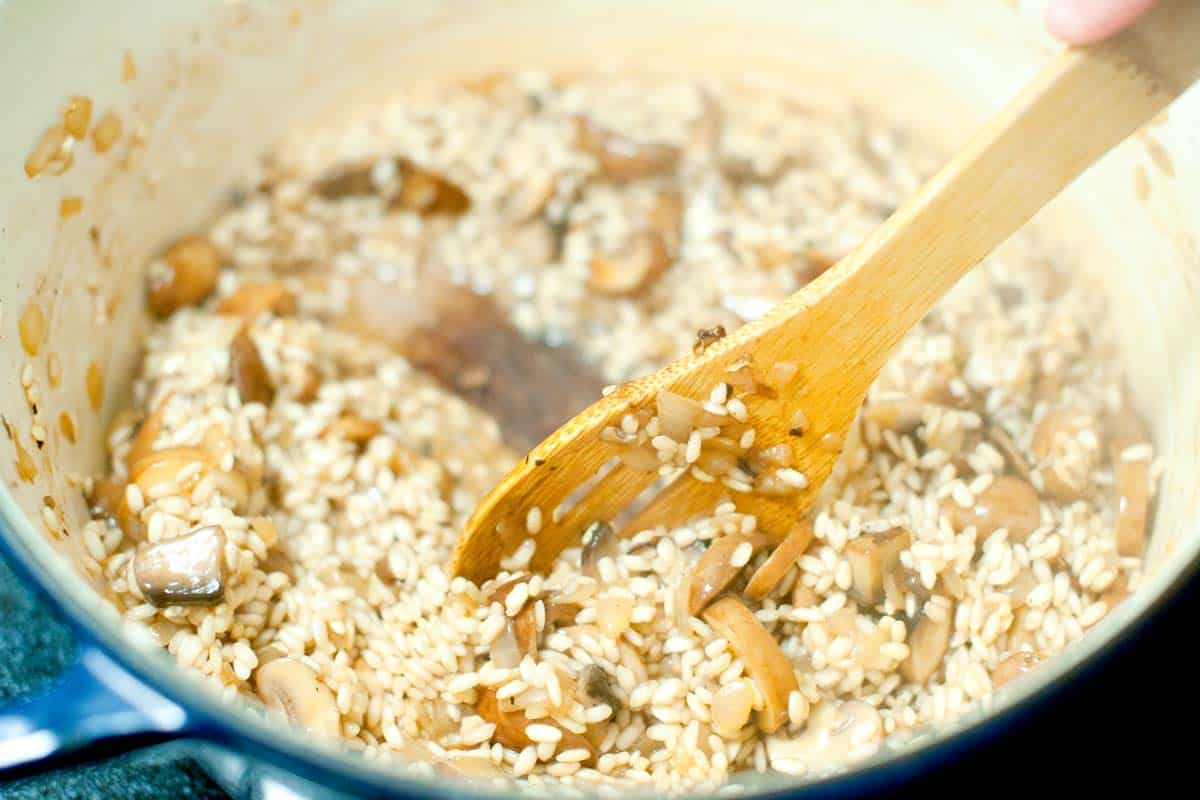
Next, I cook sliced mushrooms and onions in butter until they’re soft and golden brown. Then, I add the arborio rice to the pan, stirring to toast it in the butter (yum!).
In goes some white wine. I let it reduce, then slowly incorporate the warm mushroom broth. You want to add the broth a little at a time, allowing it to be fully absorbed by the rice before adding more. As you add the broth, remember to stir frequently. Stirring is the key to achieving that luxuriously creamy texture risotto is known for.
After 20 to 25 minutes of adding stock and stirring, the rice is nearly cooked. So, you can stir in mascarpone cheese and parmesan and season to taste with salt and pepper. Of course, you could stop there, but if you are up to it, fry a few sage leaves in oil to place on top of the risotto. It takes less than a minute (I shared how to make them in the recipe below).
Creamy Mushroom Risotto
PREP
COOK
TOTAL
This incredibly creamy mushroom risotto is the perfect dinner for two or to make for your next dinner party. It’s easy to make and can be customized to your liking with different types of mushrooms and stock (try vegetable stock to make this vegetarian).
For wild mushrooms, clean them (if necessary) and tear or slice thicker mushrooms into smaller pieces. Smaller wild mushrooms can be left whole.
4 Servings
You Will Need
Mushroom Risotto
4 tablespoons butter
2 cups mushrooms such as button, cremini, or wild mushrooms
8 cups chicken broth or vegetable broth
2 sprigs fresh thyme
1 bay leaf
1 tablespoon soy sauce
1 medium onion, finely chopped
1 ¾ cups arborio risotto rice
3/4 cup dry white wine
1/3 cup mascarpone cheese or cream cheese
1/3 cup fresh grated Parmigiano-Reggiano cheese, plus more for serving
Salt and fresh ground black pepper
Homemade mushroom powder, optional
Fried Sage Leaves
1 tablespoon olive oil
12 sage leaves for garnish
Directions
1Clean mushrooms by wiping them with a dry paper towel. Remove mushroom stems, roughly chop them, and set aside. Cut mushroom caps into 1/4-inch thick slices. (If large, cut into bite-sized pieces.)
2Make the mushroom broth. Pour broth into a 3-quart saucepan. Add chopped mushroom stems, thyme, bay leaf, and soy sauce. Bring to a boil, then reduce to a simmer. Cook at a low simmer, uncovered, for 30 minutes. Strain stock and discard the stems, thyme, and bay leaf. You should have about 6 cups of broth; if not, add water or more broth.
3In a 3-quart deep heavy saucepan, melt butter over medium-high heat. Add mushroom slices and onion, then cook for 5 minutes. Stir in the rice and cook for 1 minute. Pour in the wine, then cook until reduced by half.
4Add 1/2 cup of the mushroom-infused stock and cook over medium-high heat, constantly stirring, until the rice has absorbed the liquid. Repeat this until 5 to 5 ½ cups of broth have been added and the rice is cooked but slightly chewy.
5Stir in the mascarpone cheese and grated Parmesan cheese. Season to taste with salt, pepper, and 1/2 to 1 teaspoon of mushroom powder (optional).
6Make fried sage leaves. Heat the olive oil over medium-high heat in an 8-inch skillet. Add sage leaves, a few at a time, in a single layer. Fry for 15 seconds, but do not brown. Transfer the leaves from the skillet to paper towels and sprinkle with a pinch of salt.
7Serve risotto in individual shallow bowls. Top each with a few sage leaves and parmesan cheese shavings.
Adam and Joanne’s Tips
Make-ahead: The mushroom infused stock can be made up to 2 days in advance. Keep it in an airtight container in the refrigerator. Warm before adding to the risotto.
Wine to use: Choose a lighter dry white wine like Pino Gris, Albariño, Grüner Veltliner, or Sauvignon Blanc
Wine substitution: If you prefer to leave the wine out, replace it with more broth and sprinkle a little fresh lemon juice over the risotto before serving.
The nutrition facts provided below are estimates. Sodium will vary based on the which brand of stock you choose.
Nutrition Per Serving Serving Size 1/4 of the recipe / Calories 461 / Total Fat 25.7g / Saturated Fat 14.1g / Cholesterol 61.7mg / Sodium 592.1mg / Carbohydrate 35.9g / Dietary Fiber 0.9g / Total Sugars 2.7g / Protein 17.1g
AUTHOR:
Joanne Gallagher
We are Adam and Joanne Gallagher, the creators of Inspired Taste. Established in 2009, Inspired Taste grew from a childhood dream into one of the internet’s most trusted recipe sites with hundreds of reliable recipes, step-by-step videos, and expert tips.More About Us
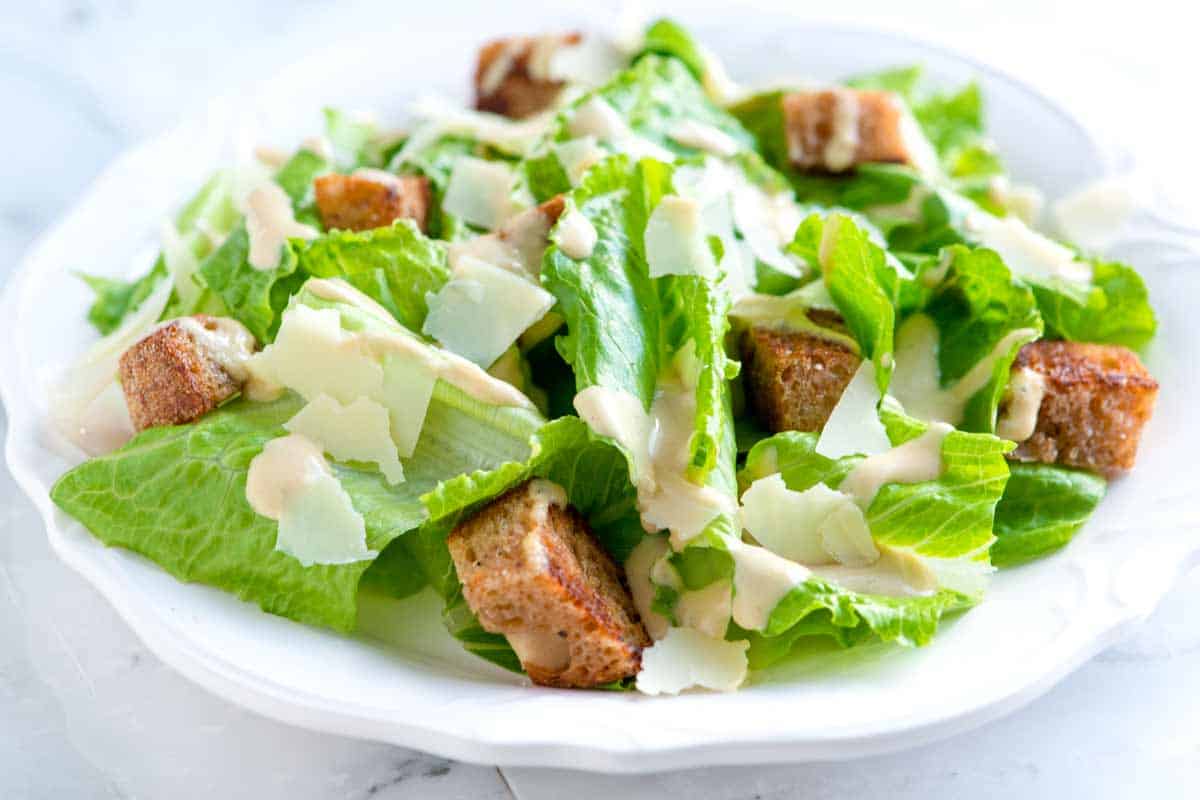
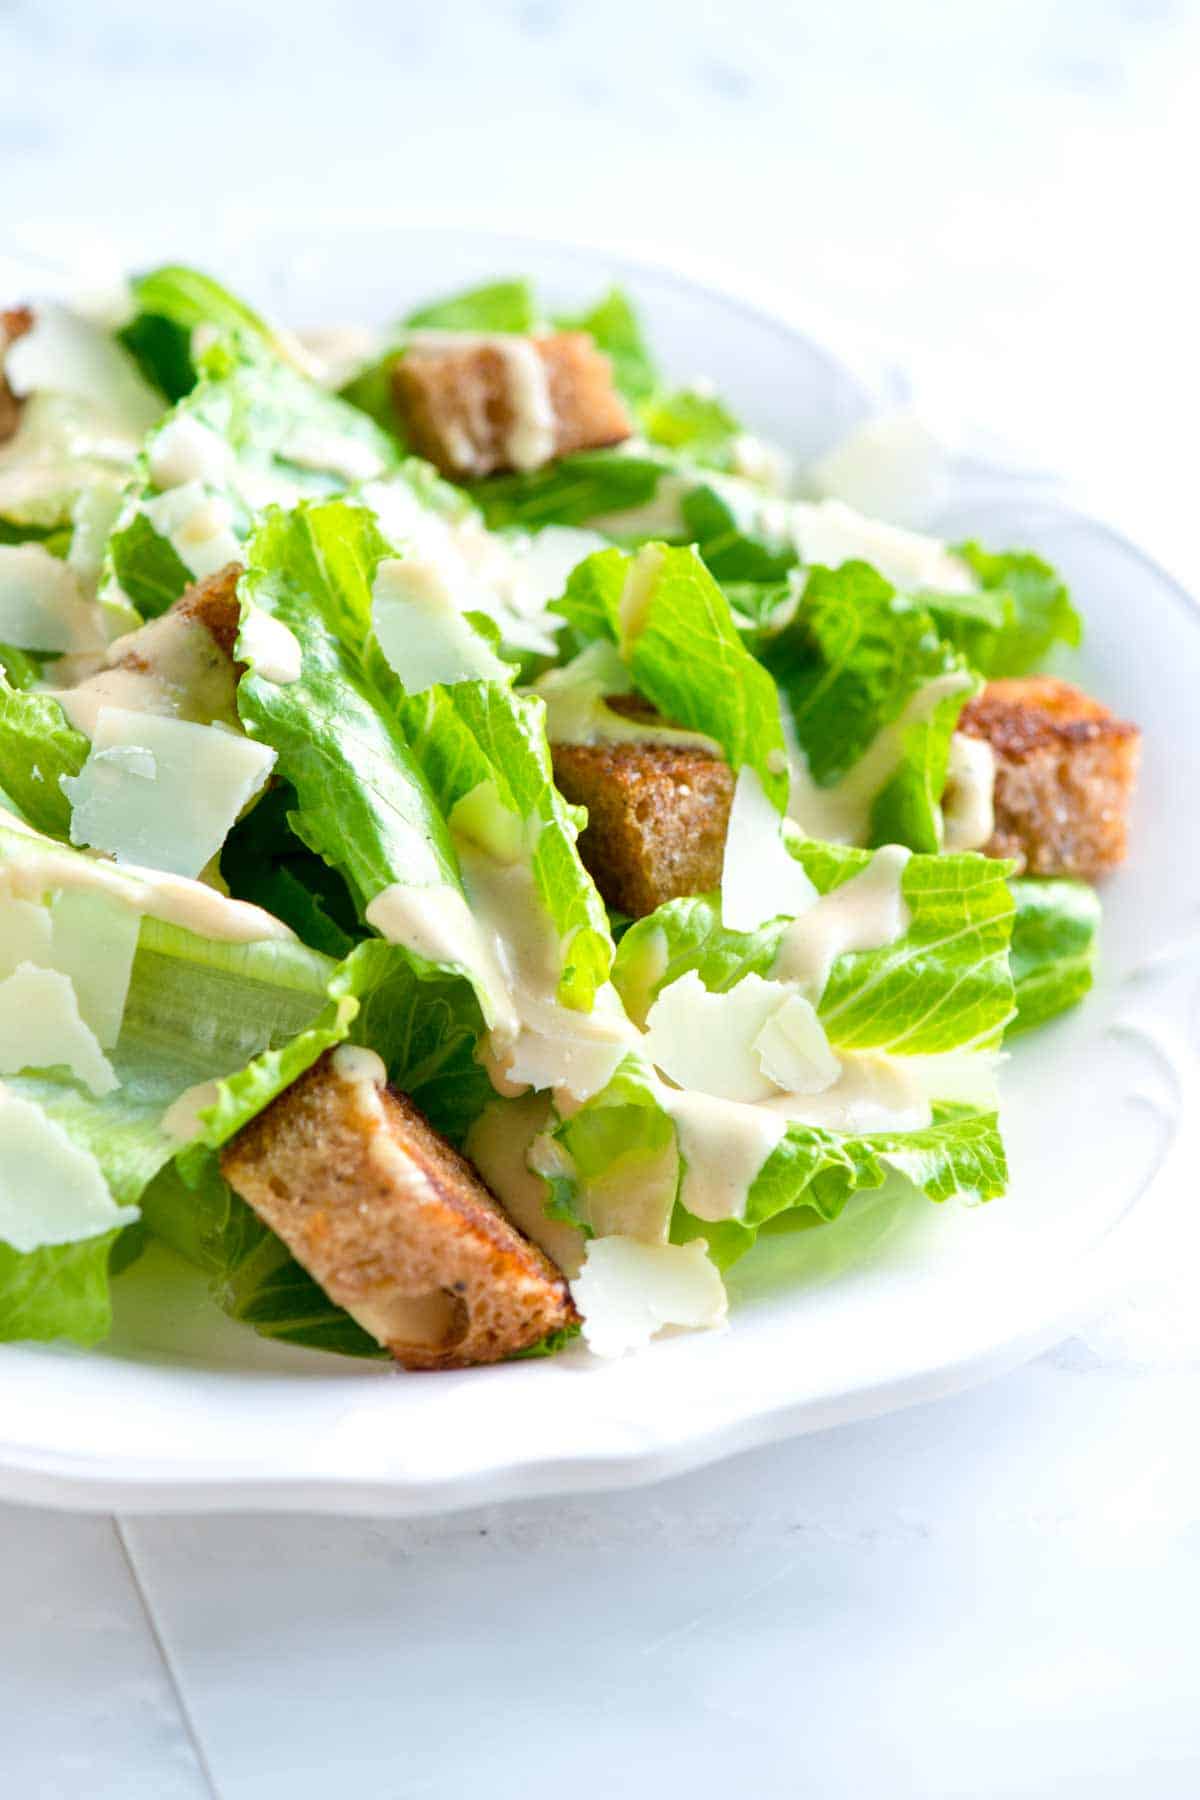
I love this simple Caesar dressing made without eggs or mayonnaise. Our eggless dressing is easy to make, light, and super flavorful!
You’ll love this egg-free Caesar dressing recipe. Instead of using egg yolk as our base to make the dressing creamy, we make a vinaigrette-style dressing with garlic, lemon, anchovy, parmesan, and olive oil. It’s delicious and still surprisingly creamy!
I love Caesar salad (especially chicken Caesar salad), and making your dressing at home is easy and tastes much better than store-bought. To see my classic dressing made with egg yolks, see this Caesar dressing.
Key Ingredients
Parmesan Cheese: I always add a handful of parmesan to my salad, but I also love adding a few tablespoons of grated parmesan to the dressing for extra flavor. I do the same when making my Italian dressing.
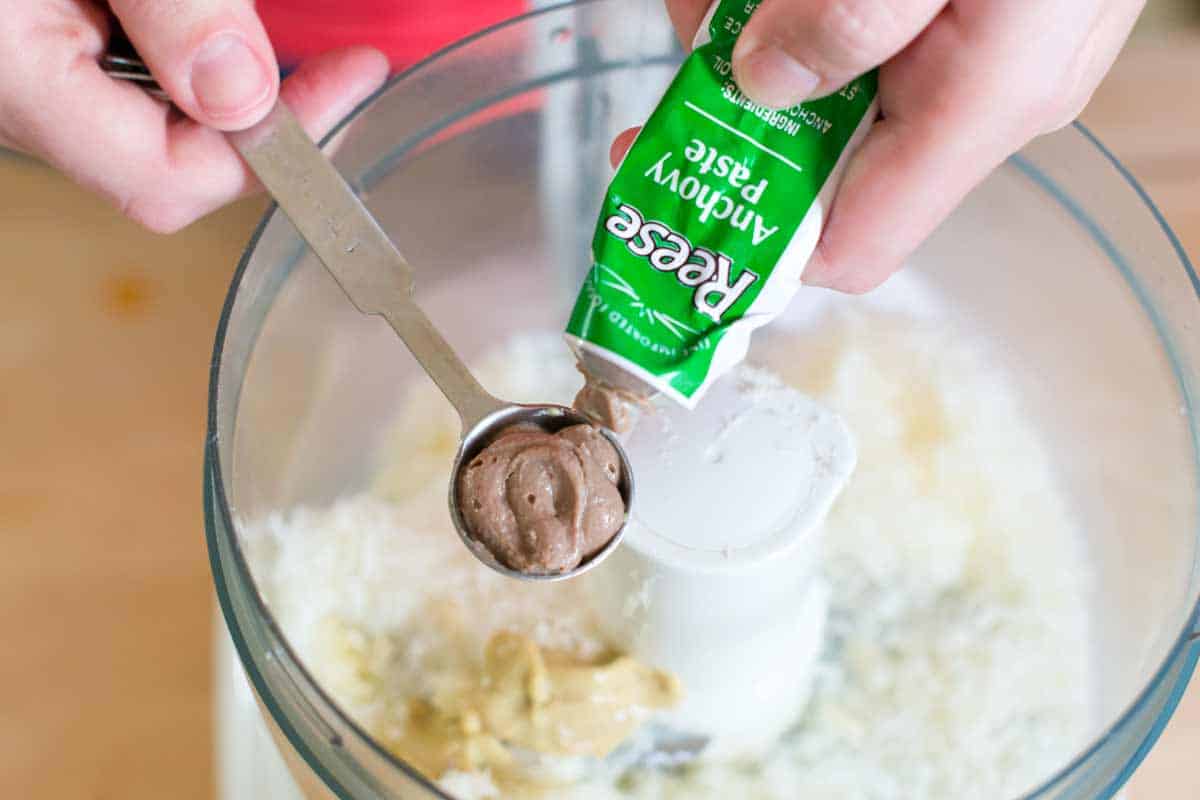
Anchovies: These little fish add a savory depth to the dressing we associate with classic Caesar salad. You can use whole anchovies or anchovy paste.
Olive Oil: I prefer a light and fruity olive oil for this simple dressing. Since you’ll be using 1/4 cup, choose one you really enjoy the taste of.
Garlic: I use one clove, which gives it a mild garlic flavor. You can adjust the amount depending on how much you love raw garlic.
Lemon: Fresh lemon juice cuts through the richness of the dressing and emulsifies with the olive oil to create a smooth vinaigrette.
Mustard and Worcestershire: Mustard acts as an emulsifier, helping to bind the ingredients together, while Worcestershire sauce adds a savory, umami flavor that we all associate with Caesar salad.
Sour Cream: This is optional but makes the dressing super creamy!
How to Make Eggless Caesar Dressing
You can make this dressing by hand, but a food processor blender makes it quick and creamy. To make it, add the parmesan, garlic, lemon juice, mustard, anchovy, and Worcestershire sauce and blend until smooth. Then, stream in the olive oil with the food processor running until you’ve got a thick and creamy dressing.
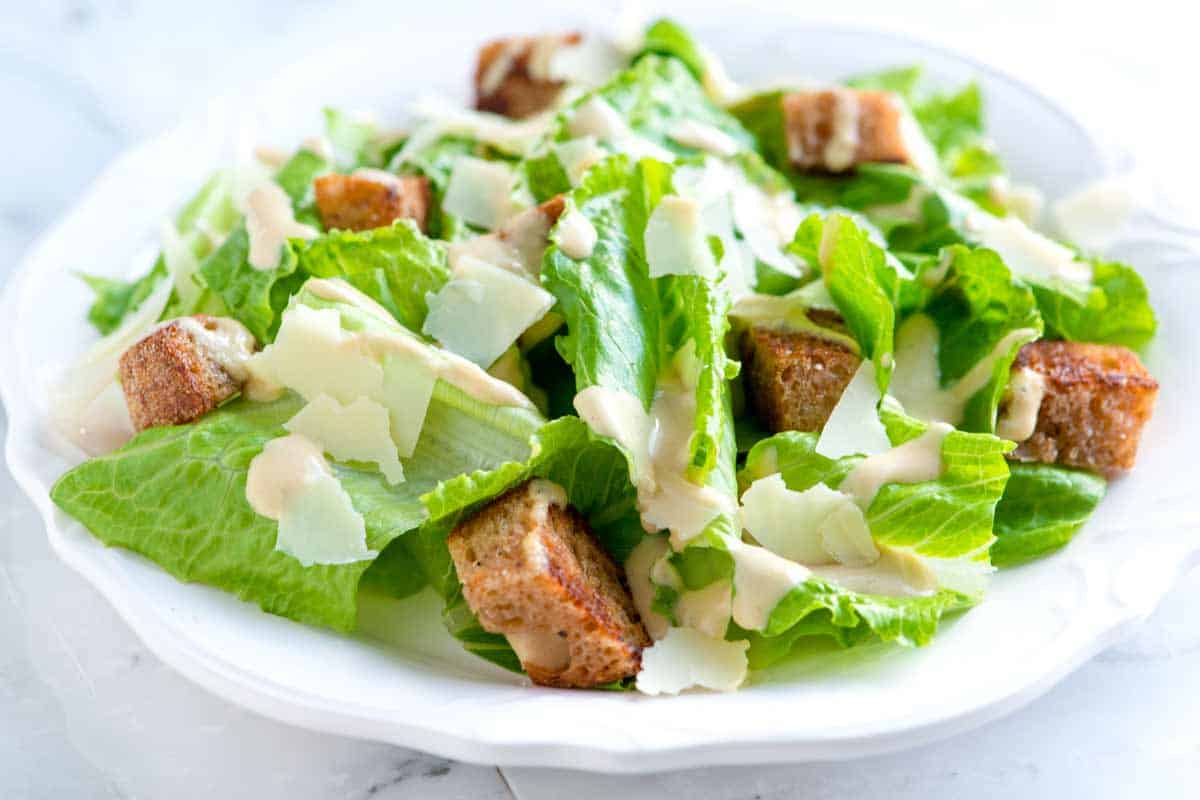
For extra creamy dressing, add a tablespoon or two of sour cream. (I always do this and love how creamy it makes the dressing.) Then, toss your eggless dressing with Romaine lettuce, add more cheese, and a handful of homemade croutons!
Easy Eggless Caesar Dressing
PREP
COOK
TOTAL
You can make this homemade egg-free Caesar dressing by hand, but it’s quicker and creamier when made in a food processor or blender. The sour cream is optional, but makes it extra creamy.
Makes 4 to 6 servings
You Will Need
1 cup (30g) finely grated parmesan cheese
1 garlic clove, peeled and finely chopped
2 tablespoons fresh lemon juice
1 teaspoon anchovy paste or 1 to 2 anchovies, smashed and minced
1 teaspoon Dijon mustard
2 teaspoons Worcestershire sauce
1/4 cup (60ml) extra-virgin olive oil
2 tablespoons sour cream, optional
Salt and fresh ground black pepper
Directions
Make Dressing
1Add the parmesan cheese, garlic, lemon juice, mustard, anchovy, and Worcestershire sauce to the bowl of a food processor or blender. Turn the machine on and let it run for 15 to 20 seconds.
2Scrape the sides with a spatula, turn the machine on, and let it run for 15 to 20 seconds.
3With the machine running, slowly drizzle in the olive oil.
4Add sour cream (if using) and season with salt and pepper. Let the machine run for 15 to 20 seconds until thick and creamy.
Adam and Joanne’s Tips
Storing: Eggless Caesar dressing will last up to 3 days in the refrigerator. Store it in an airtight jar or container. I do not recommend freezing this dressing. The emulsification will break as it thaws.
The nutrition facts provided below are estimates. We did not include additional salt.
Nutrition Per Serving Serving Size 1/6 of the recipe / Calories 147 / Total Fat 13.6g / Saturated Fat 4g / Cholesterol 11.3mg / Sodium 271.5mg / Carbohydrate 1.6g / Dietary Fiber 0g / Total Sugars 0.5g / Protein 5.4g
AUTHOR:
Adam Gallagher
We are Adam and Joanne Gallagher, the creators of Inspired Taste. Established in 2009, Inspired Taste grew from a childhood dream into one of the internet’s most trusted recipe sites with hundreds of reliable recipes, step-by-step videos, and expert tips.More About Us
This website may contain affiliate links and advertising so that we can provide recipes to you. Read my disclosure policy.
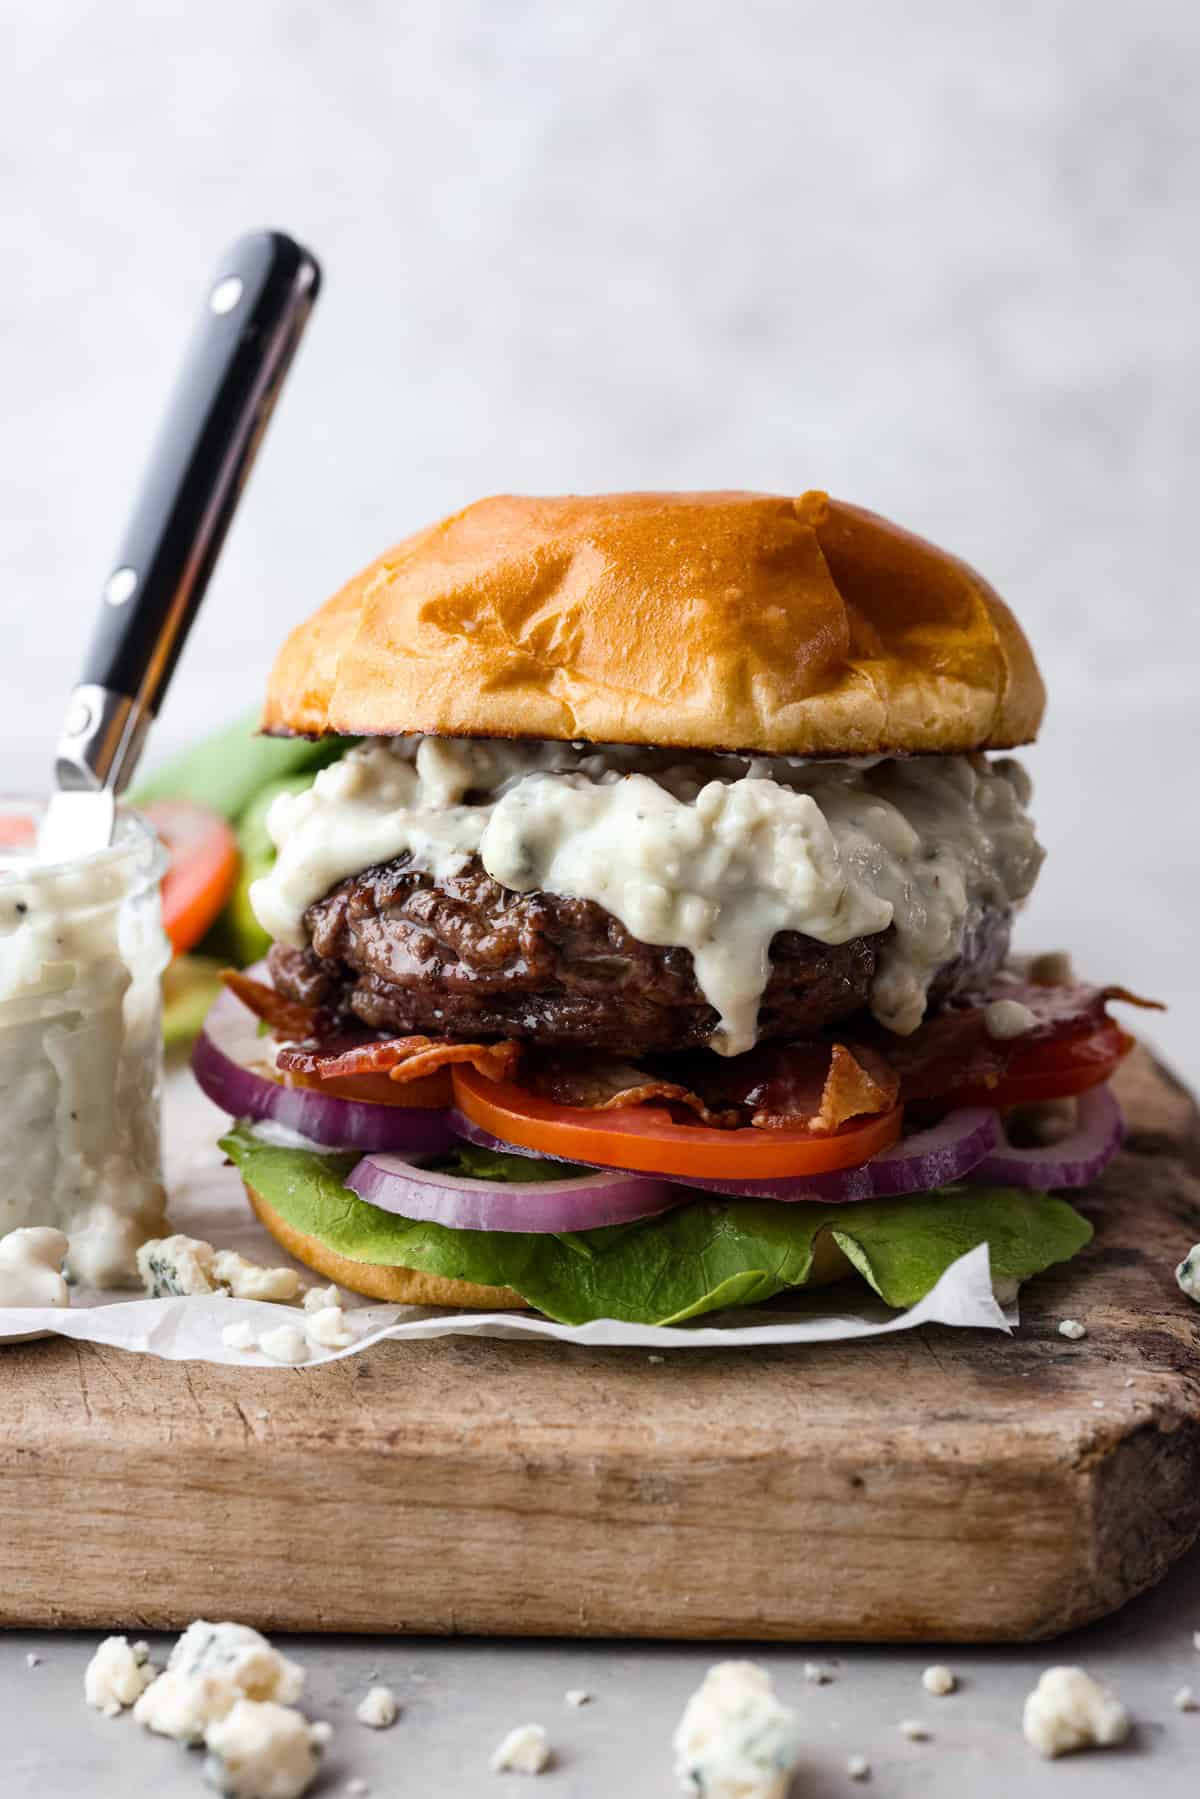
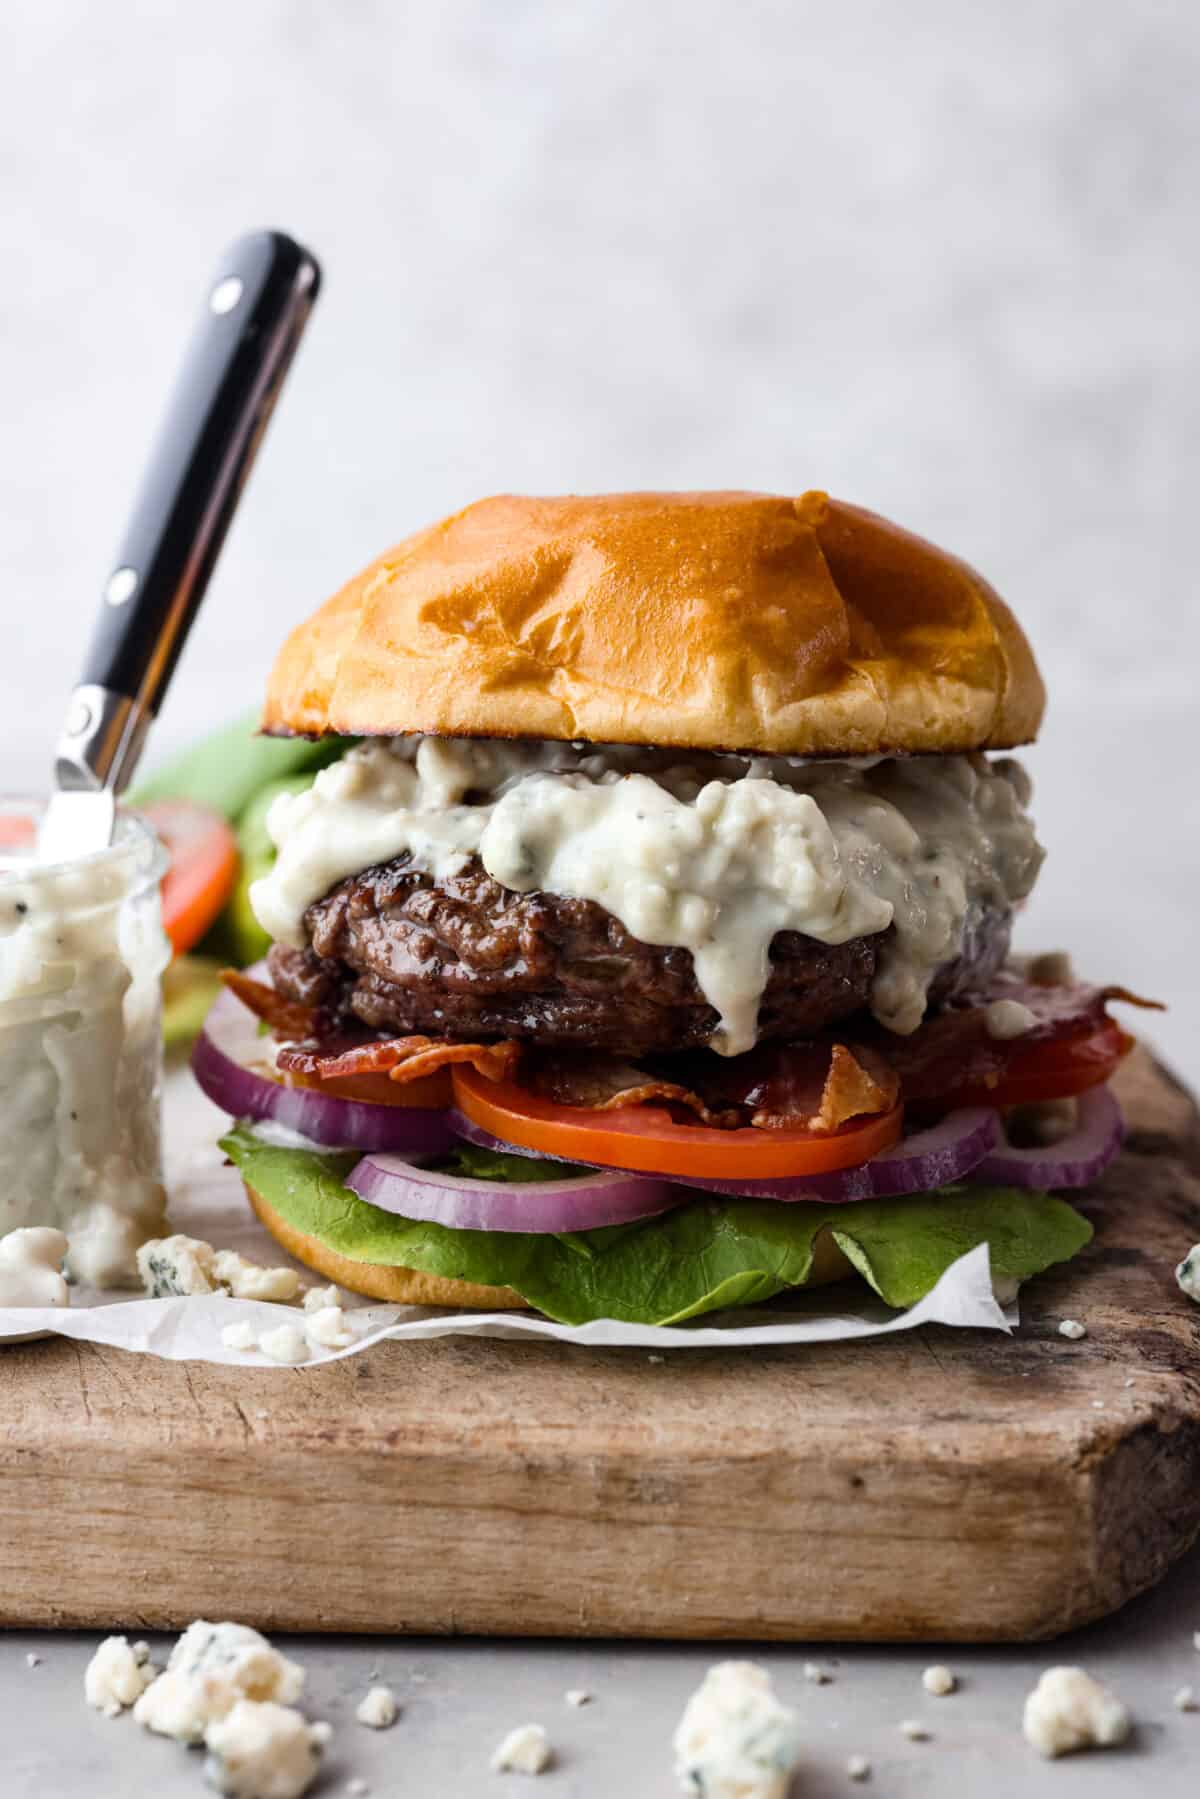
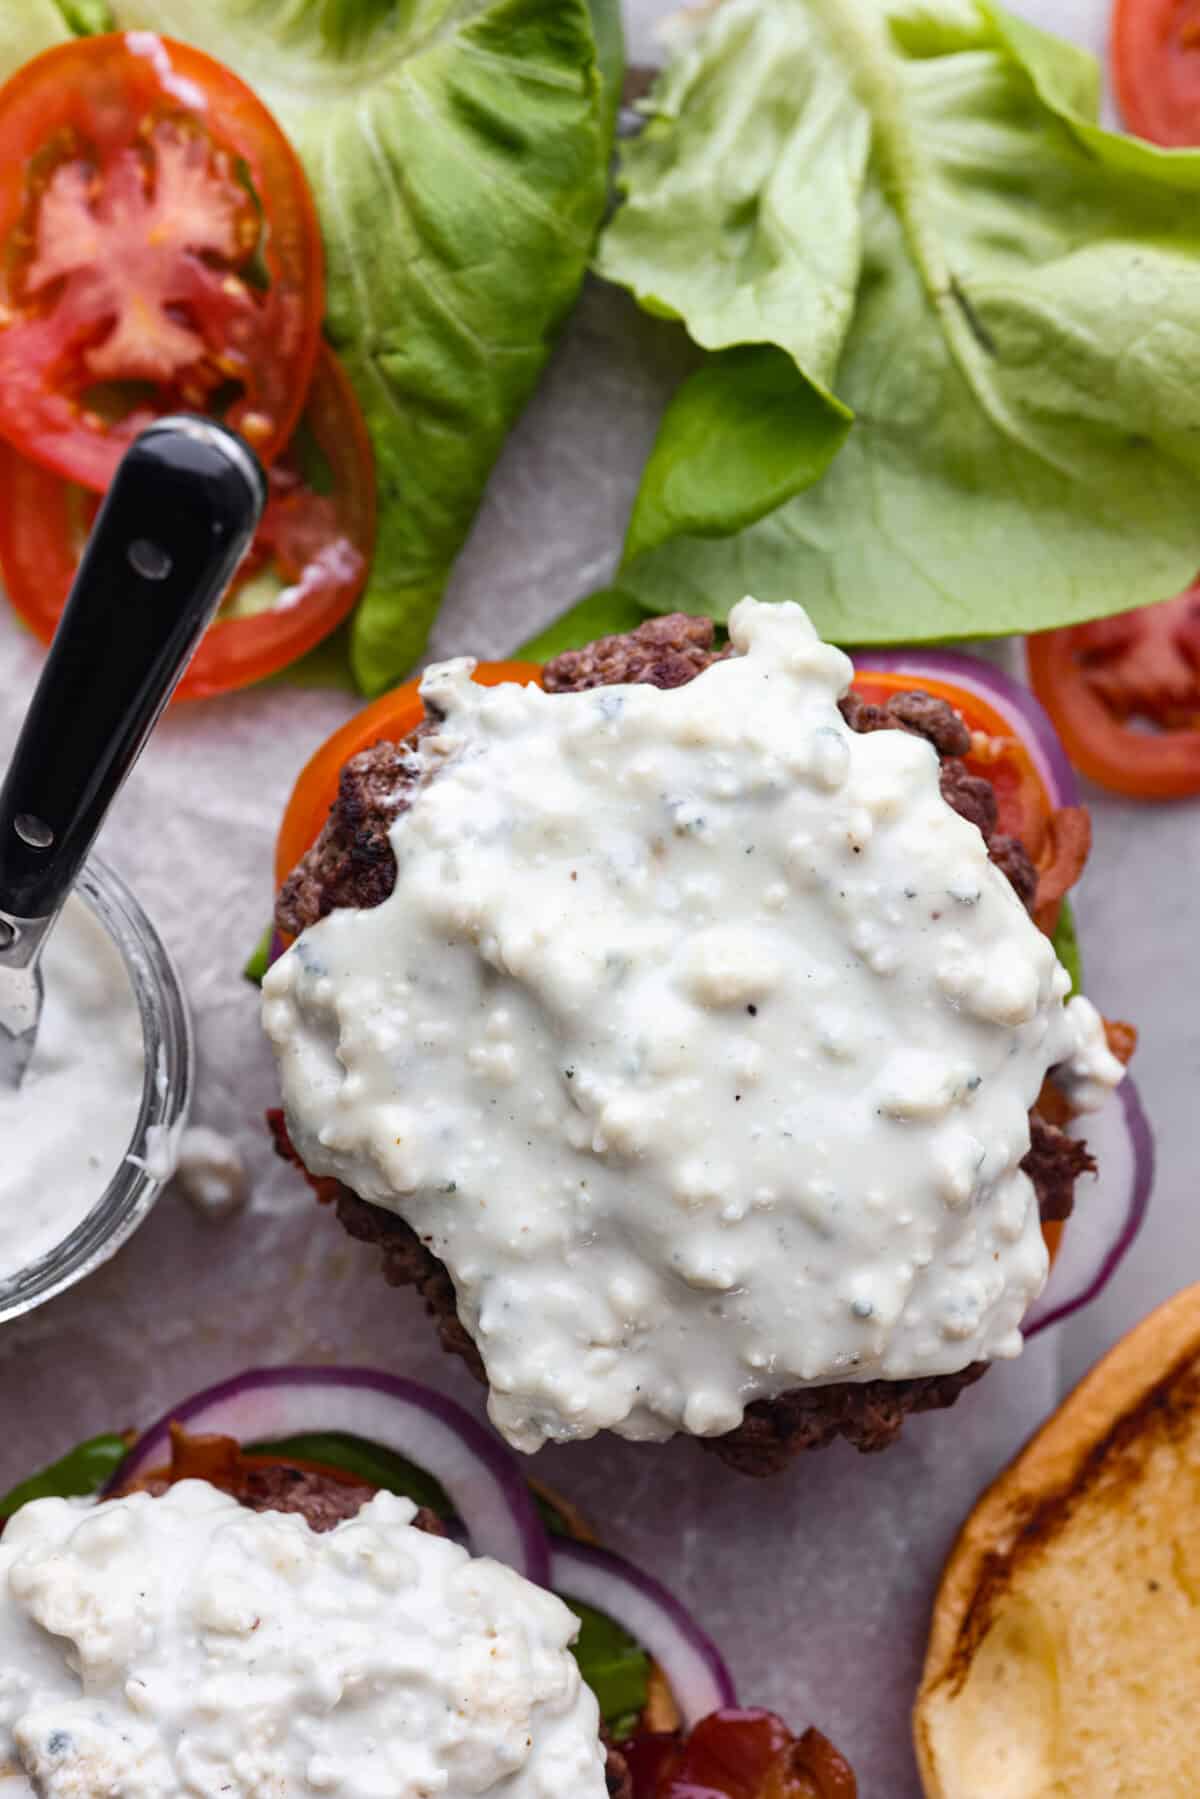
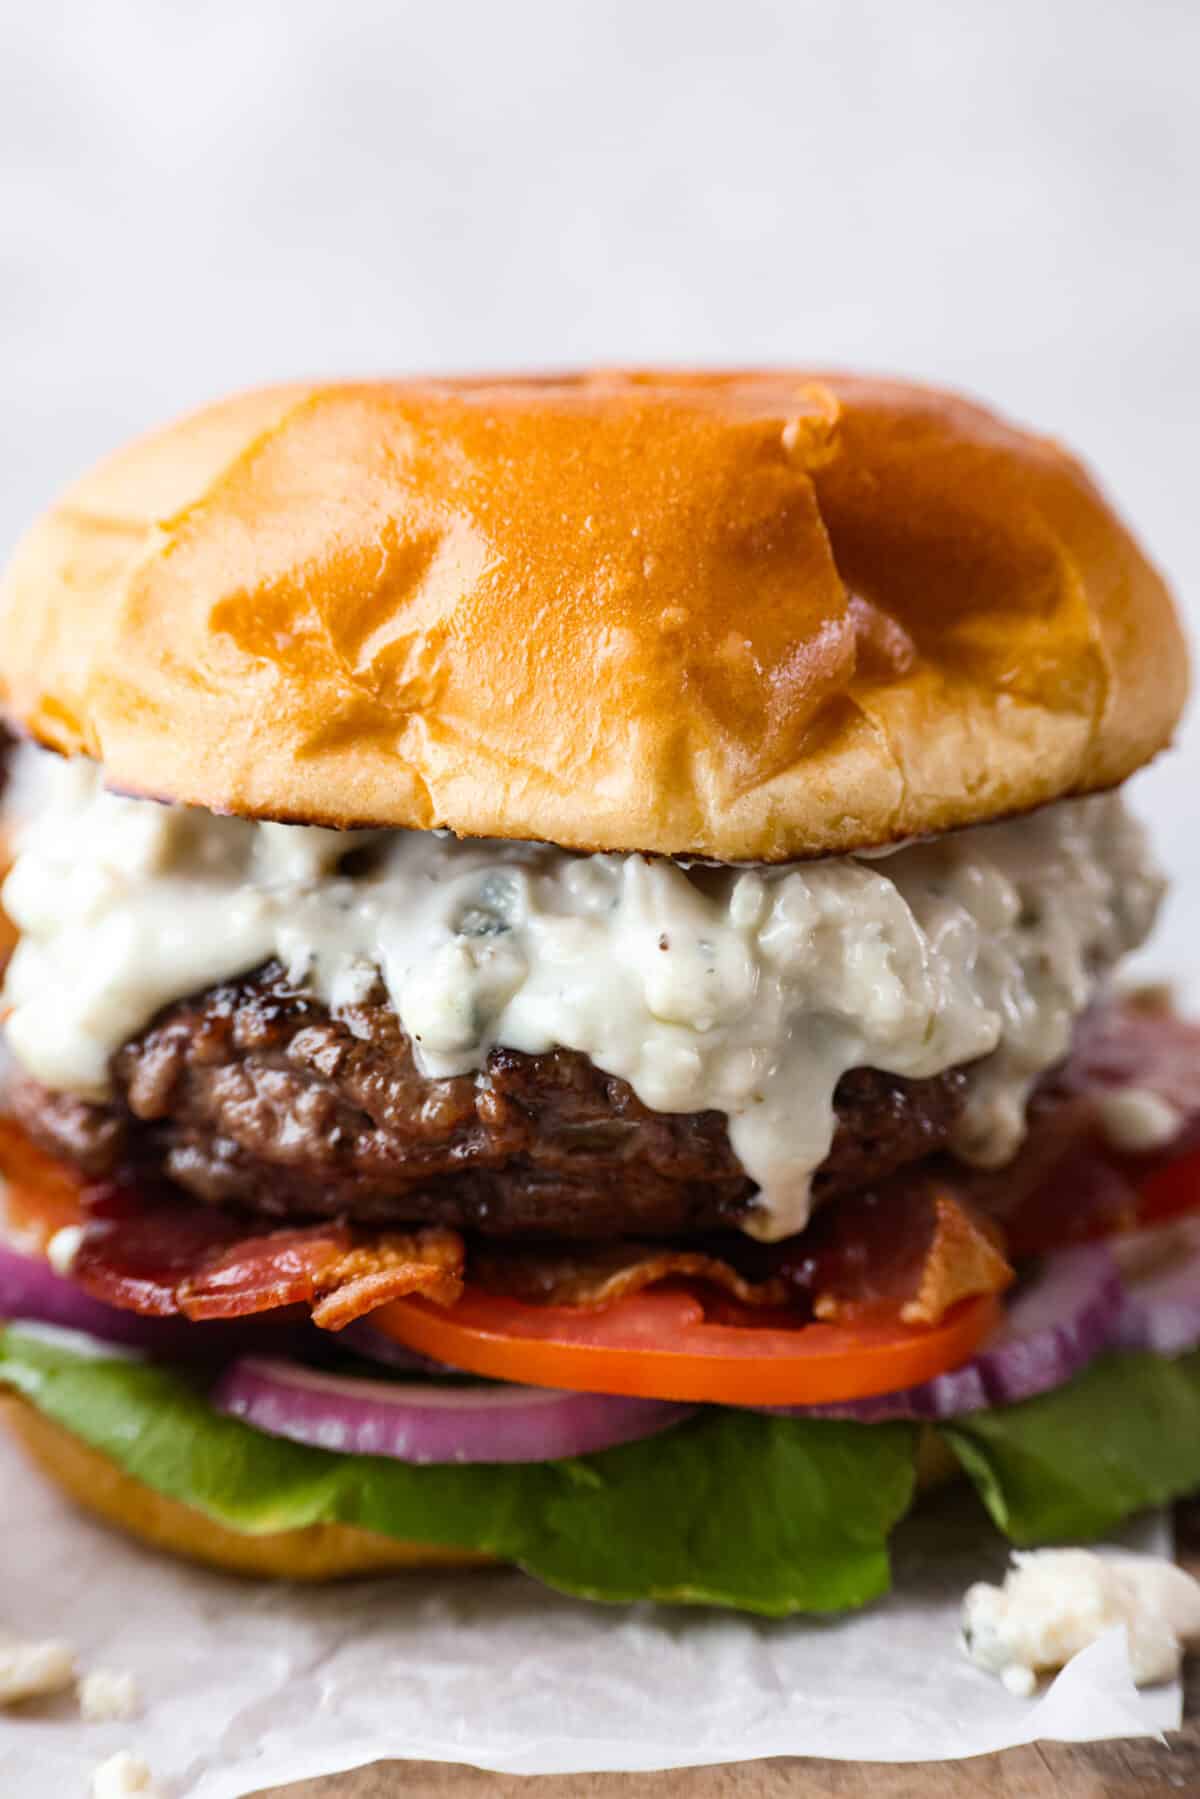
Get ready to be blown away by this Blue Cheese Burger! It’s thick, juicy, and filled with flavor. If you love blue cheese dressing, this recipe is for you! That unique tangy flavor is the perfect addition to the juiciest patty ever.
I love creating new and different burgers at home! They turn out even more delicious than what you can get at your local burger joint. If you’re looking to switch things up, try these recipes next: smash burgers, mushroom Swiss burgers, or Oklahoma fried onion burgers!
Reasons You’ll LOVE This Burger Recipe
So Delicious: The combination of creamy, tangy blue cheese with the savoriness of the bacon and hamburger patty is truly a match made in heaven.
Versatile: You can easily cook this on a skillet OR a grill! Enjoy these burgers, no matter what the season!
Quick and easy: These are so simple to make! You can have a hot, fat blue cheese burger ready in just about 30 minutes.
What You Need to Make Blue Cheese Burgers
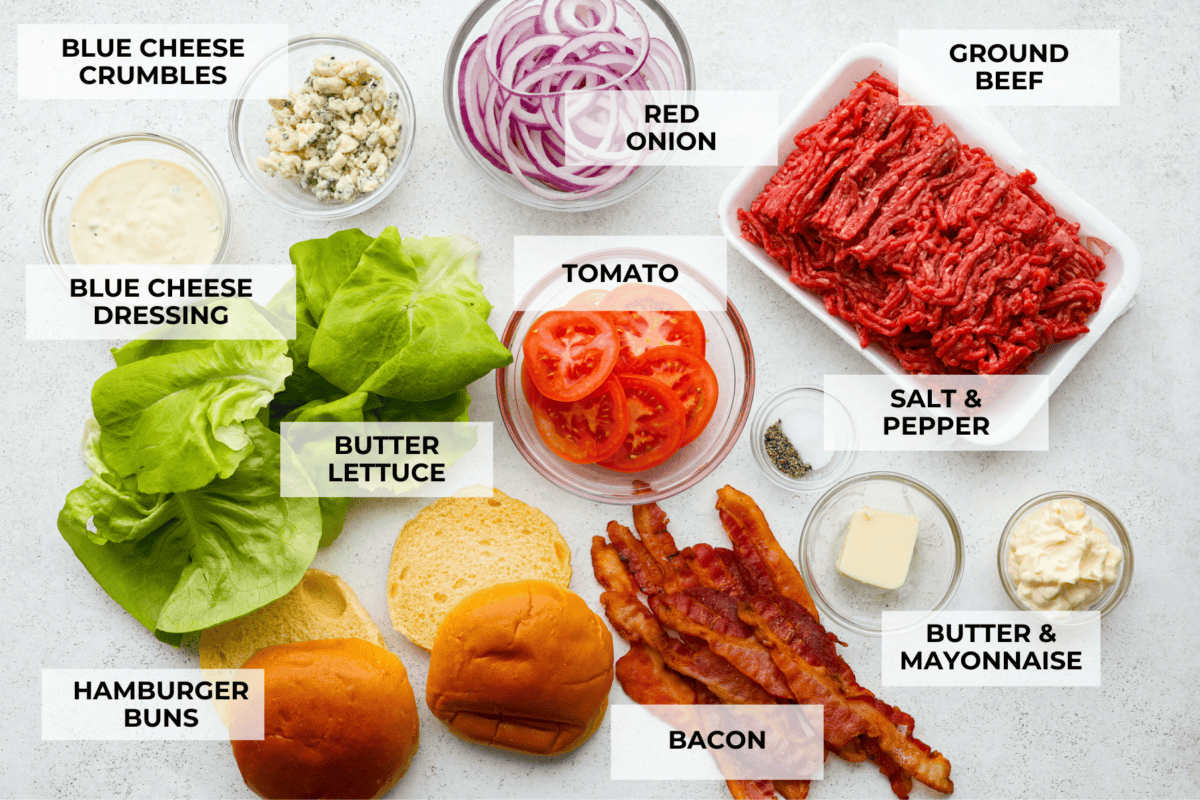
Here is everything you’ll need to make this amazing blue cheese burger recipe. Grab some basic ingredients like ground beef, blue cheese, bacon, buns and your favorite fixings. Serve them up with some In-N-Out Animal-Style Fries for a complete meal! You can find the exact measurements below in the recipe card.
Blue Cheese: The star of the show! Blue cheese dressing and blue cheese crumbles add a distinct, yet delicious tangy flavor.
Ground Beef: Use 80/20 ground beef to give these burgers maximum flavor!
Salt and Pepper: To enhance and bring out all of the flavors.
Buns: You can use regular hamburger buns, brioche buns, ciabatta or whole wheat buns.
Butter: For toasting the buns and making them deliciously buttery.
Butter Lettuce: Adds extra texture and freshness.
Red Onion: I like red onions best on burgers because they are milder and less pungent than white or yellow onions, plus they add a pop of color.
Tomatoes: Choose meaty large-sized tomatoes for burgers and slice them into rings.
Bacon: Salty and savory, crispy cooked bacon is so good on almost any burger!
How to Make Blue Cheese Burgers
These blue cheese burgers are super easy to make! Start by mixing the blue cheese topping, then cook the meat and assemble. Follow the simple step-by-step instructions and you’ll have juicy burgers in no time!
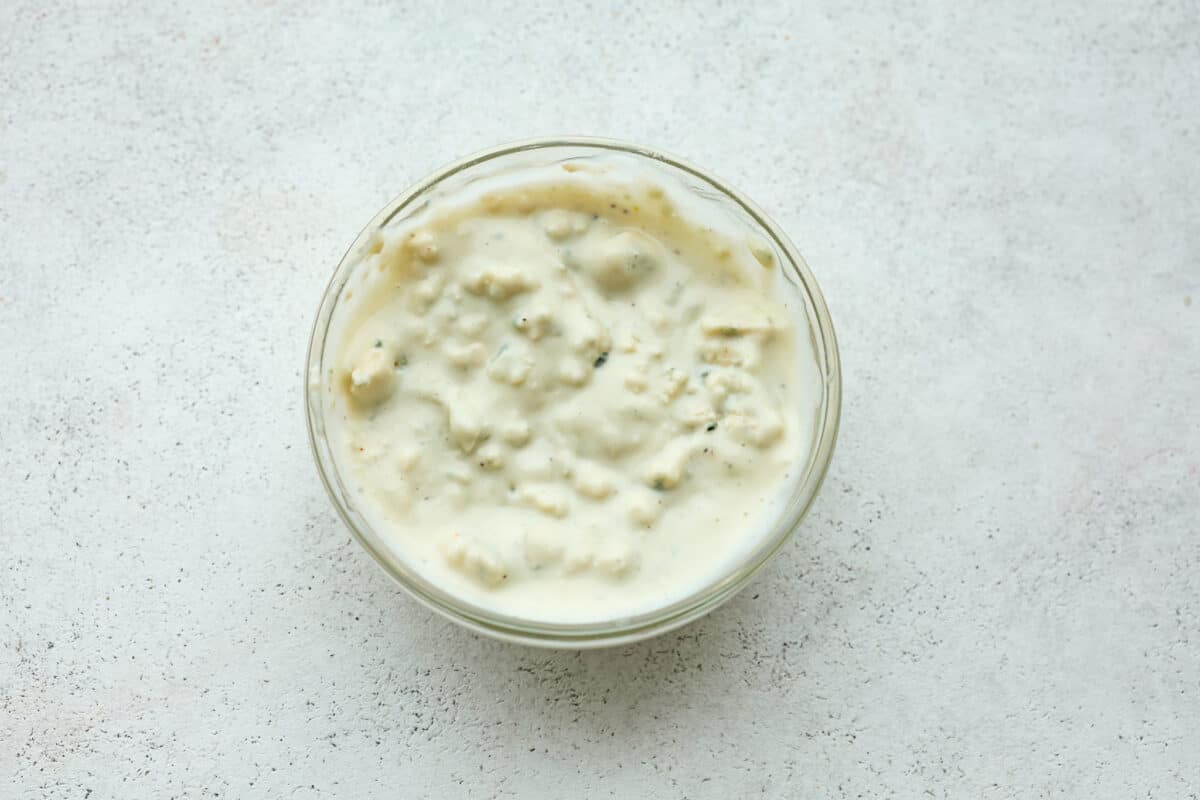
Make the Blue Cheese Mixture: In a small bowl, mix together the blue cheese dressing and the blue cheese crumbles, don’t break the crumbles down too much. Cover and place in the fridge while you prepare the rest of the burger.
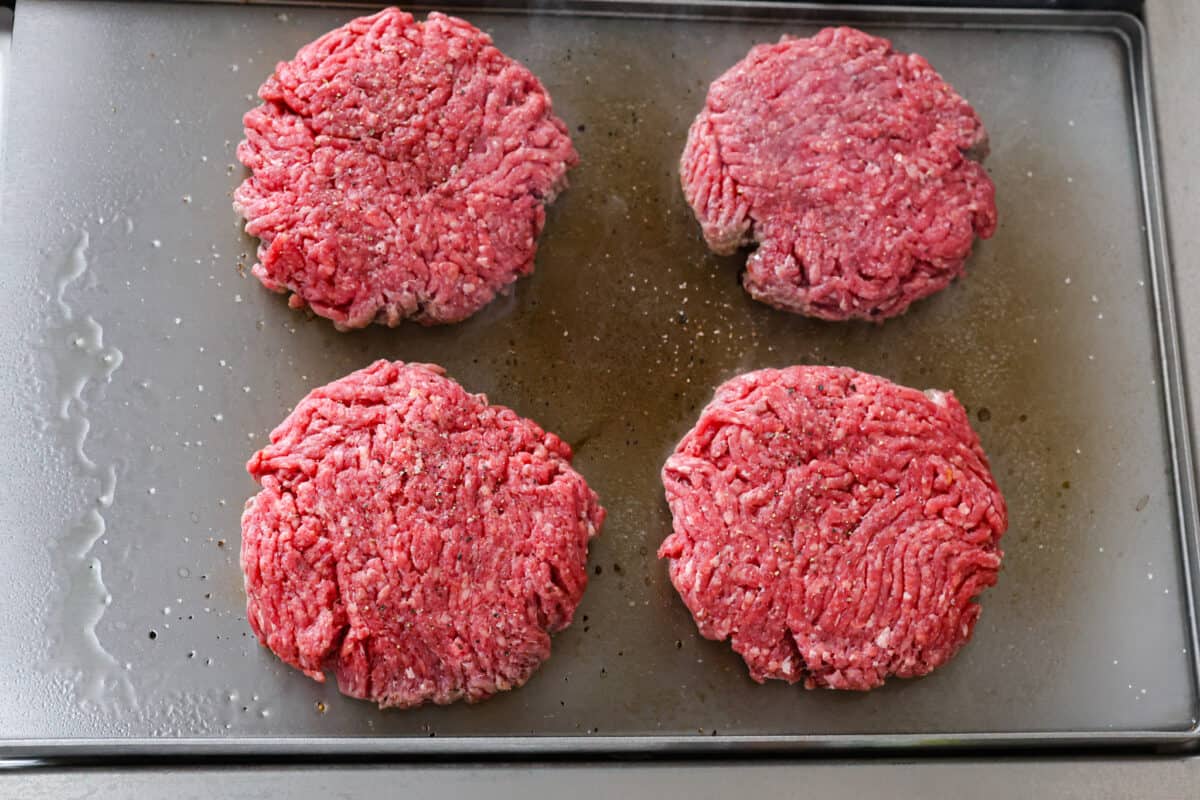
Prep: Divide the ground beef into 4 equal balls and shape into patties. Heat a griddle or cast iron skillet up to 400 degrees Fahrenheit.
Cook the Patties: Place two patties on the hot griddle or skillet and season with salt and pepper. You can cook all of the patties at the same time if they all fit on the griddle.
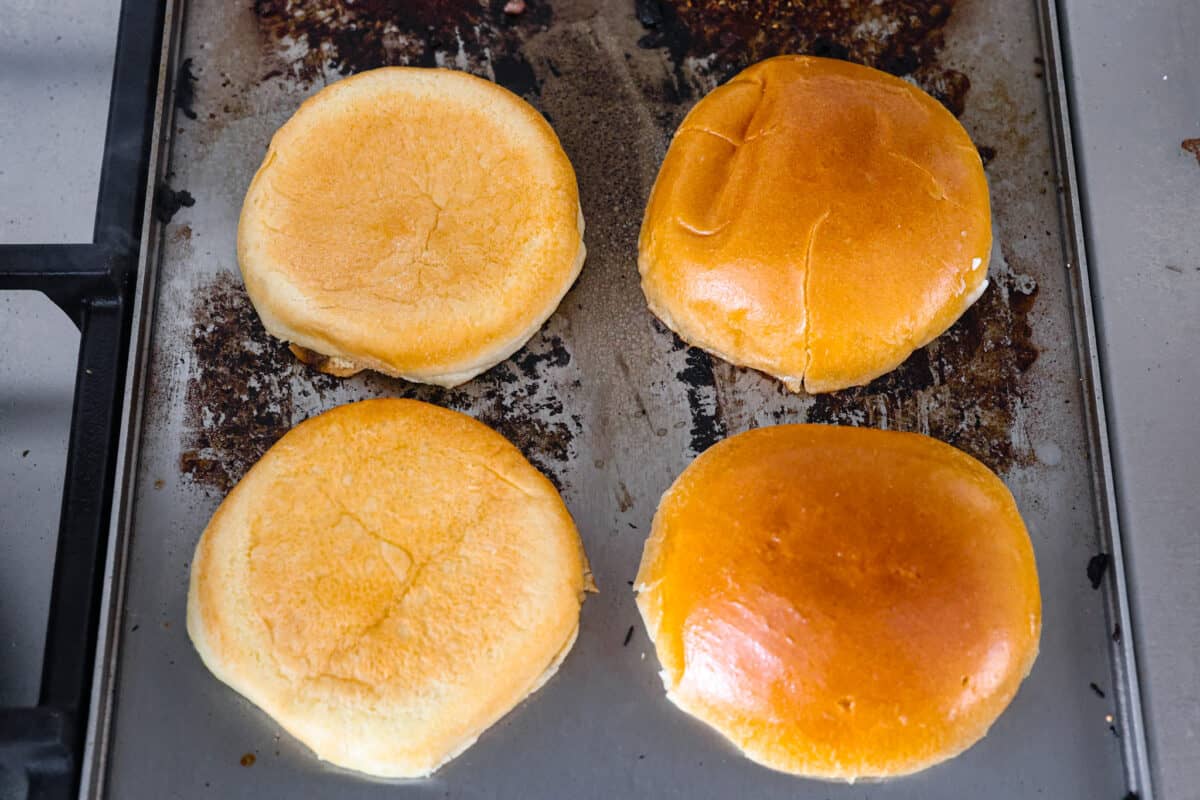
Prep the Buns: Cook the burgers 2-3 minutes on each side. Once the patties are cooked, butter and toast the buns on the same skillet.
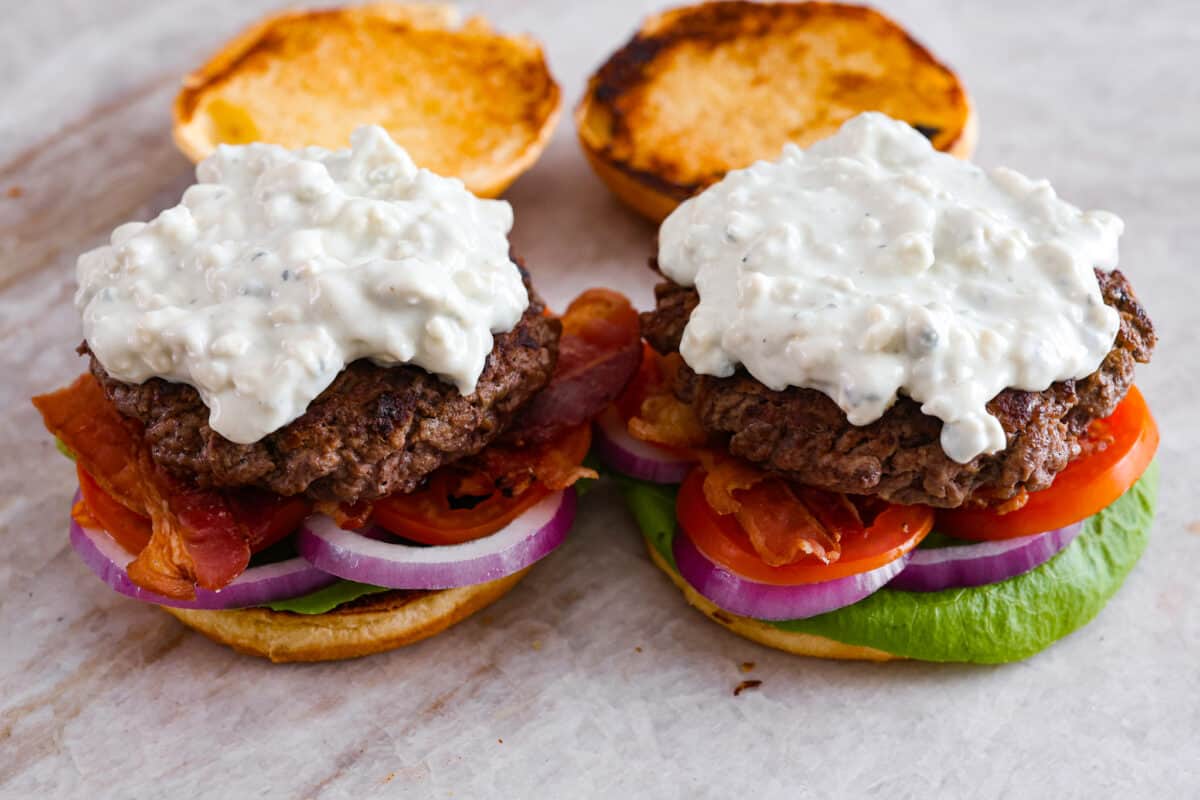
Assemble: Assemble from the bottom up; starting with a toasted bun spread the mayo, then lettuce, onion, tomato, bacon, hamburger patty, a generous helping of the blue cheese mixture, and the top bun.
Mix together the blue cheese dressing and blue cheese crumbles then refrigerate.Cook the burgers on a griddle or grill.Butter and toast the buns.Assemble the burgers.
Tips and Variations
Here are some tips to keep in mind when you are making blue cheese burgers, and also some ways to customize them to your taste preference.
Use a Different Patty: This recipe works great swapping the regular patty out for a turkey or veggie burger, for a vegetarian option just leave out the bacon and use a veggie burger.
Prep the Toppings: I recommend preparing the toppings before cooking the patties, so they are all ready to go as soon as the burgers are cooked.
Don’t Press: You might be tempted to press down on the patties while cooking, but this will squeeze out all of the juiciness that is meant to be inside the meat.
Let it Rest: Let the hamburger meat rest for 5-10 minutes after cooking to allow the juices to distribute throughout the patty.
Check for Doneness: The temperature of ground beef is ready to eat when it reaches 160 degrees Fahrenheit. You can check this by using a meat thermometer!
Storing Leftovers
These Blue Cheese Burgers obviously taste the best fresh, but it never hurts to have a few extra patties on hand to reheat and eat over the next few days!
Store the Ingredients Separately: Leftover patties and toppings should be stored in separate airtight containers in the fridge for up to 3 days.
In the Refrigerator: The bleu cheese mixture will keep for 1 week.
To Reheat Leftover Burgers: Reheat burgers over the stove on medium heat until warmed through or pop them in the oven for about 10 minutes at 350 degrees Fahrenheit, flipping halfway through the cooking time.
What to Serve With Your Burger
Blue cheese burgers are great on their own or just with a pickle and some chips on the side. However, if you really want to enhance your burger experience, try making some of these easy sides!
Bowls packed with teriyaki tofu that gets shredded and caramelized in a sweet and garlicky sauce! A fast and easy weeknight dinner that’s high in texture and flavor!
This Teriyaki Tofu Is A Weekly Event In My Life
Remember the tofu from the ramen bowls? I can’t stop making it. I shared this bowl combo on Instagram the other day and got lots of requests to write up the recipe, which brings us to this moment!
Lately what I’ve been doing is:
Plating up some steamed jasmine rice
Putting a scoop of that saucy, chewy tofu on it
Adding some steamed broccoli (or air fryer broccoli!)
Dolloping it all with a tangy, lightly spicy kimchi mayo
Finishing it off with green onions and/or togarashi or some kind of sesame-seedy sprinkle
If you do nothing else with this, just make the teriyaki tofu. That shreddy tofu is so good. It gets coated and caramelized with a teriyaki sauce (store-bought, no prob) and laced with just enough fresh garlic to make your house smell like a restaurant, so, yeah, I’m pretty into it.
It’s a high-flavor, fast and easy dinner recipe, topped with a creamy-mouthfeel-kinda sauce, that’s conveniently also packed with fiber and protein. I sound like a salesperson right now and if that’s my legacy for these teriyaki tofu bowls, so be it!
Bowls packed with teriyaki tofu that gets shredded and caramelized in a sweet and garlicky sauce! A fast and easy weeknight dinner that’s high in texture and flavor!
Teriyaki Tofu:
Kimchi Mayo:
Bowls:
Instructions
Prep Tofu: Drain and press the tofu with a few paper towels to remove some of the moisture. (I use the high protein tofu from Trader Joe’s and it needs almost no pressing!)
Grate Tofu: Gently grate the tofu on a box grater so you get medium shreds.
Fry Tofu: Heat the oil over medium high heat in a nonstick pan. Add shredded tofu and pan-fry for 10-15 minutes, stirring occasionally, until browned a little bit crisped.
Rice, Broccoli, and Sauce: The tofu takes a bit, so while it’s cooking, prep your rice and broccoli. Mix the kimchi and mayo to make a sauce. Season to taste.
Finish Tofu: Add the teriyaki sauce and grated garlic to the crisped tofu in the hot pan. Let it sizzle for a minute on medium heat. (It’ll smell amazing when the garlic hits!)
Serve: Serve the tofu over rice, with broccoli and a dollop of the kimchi mayo. I like to finish it off with green onions, more teriyaki sauce, and a spicy sprinkle like togarashi!
This website may contain affiliate links and advertising so that we can provide recipes to you. Read my disclosure policy.
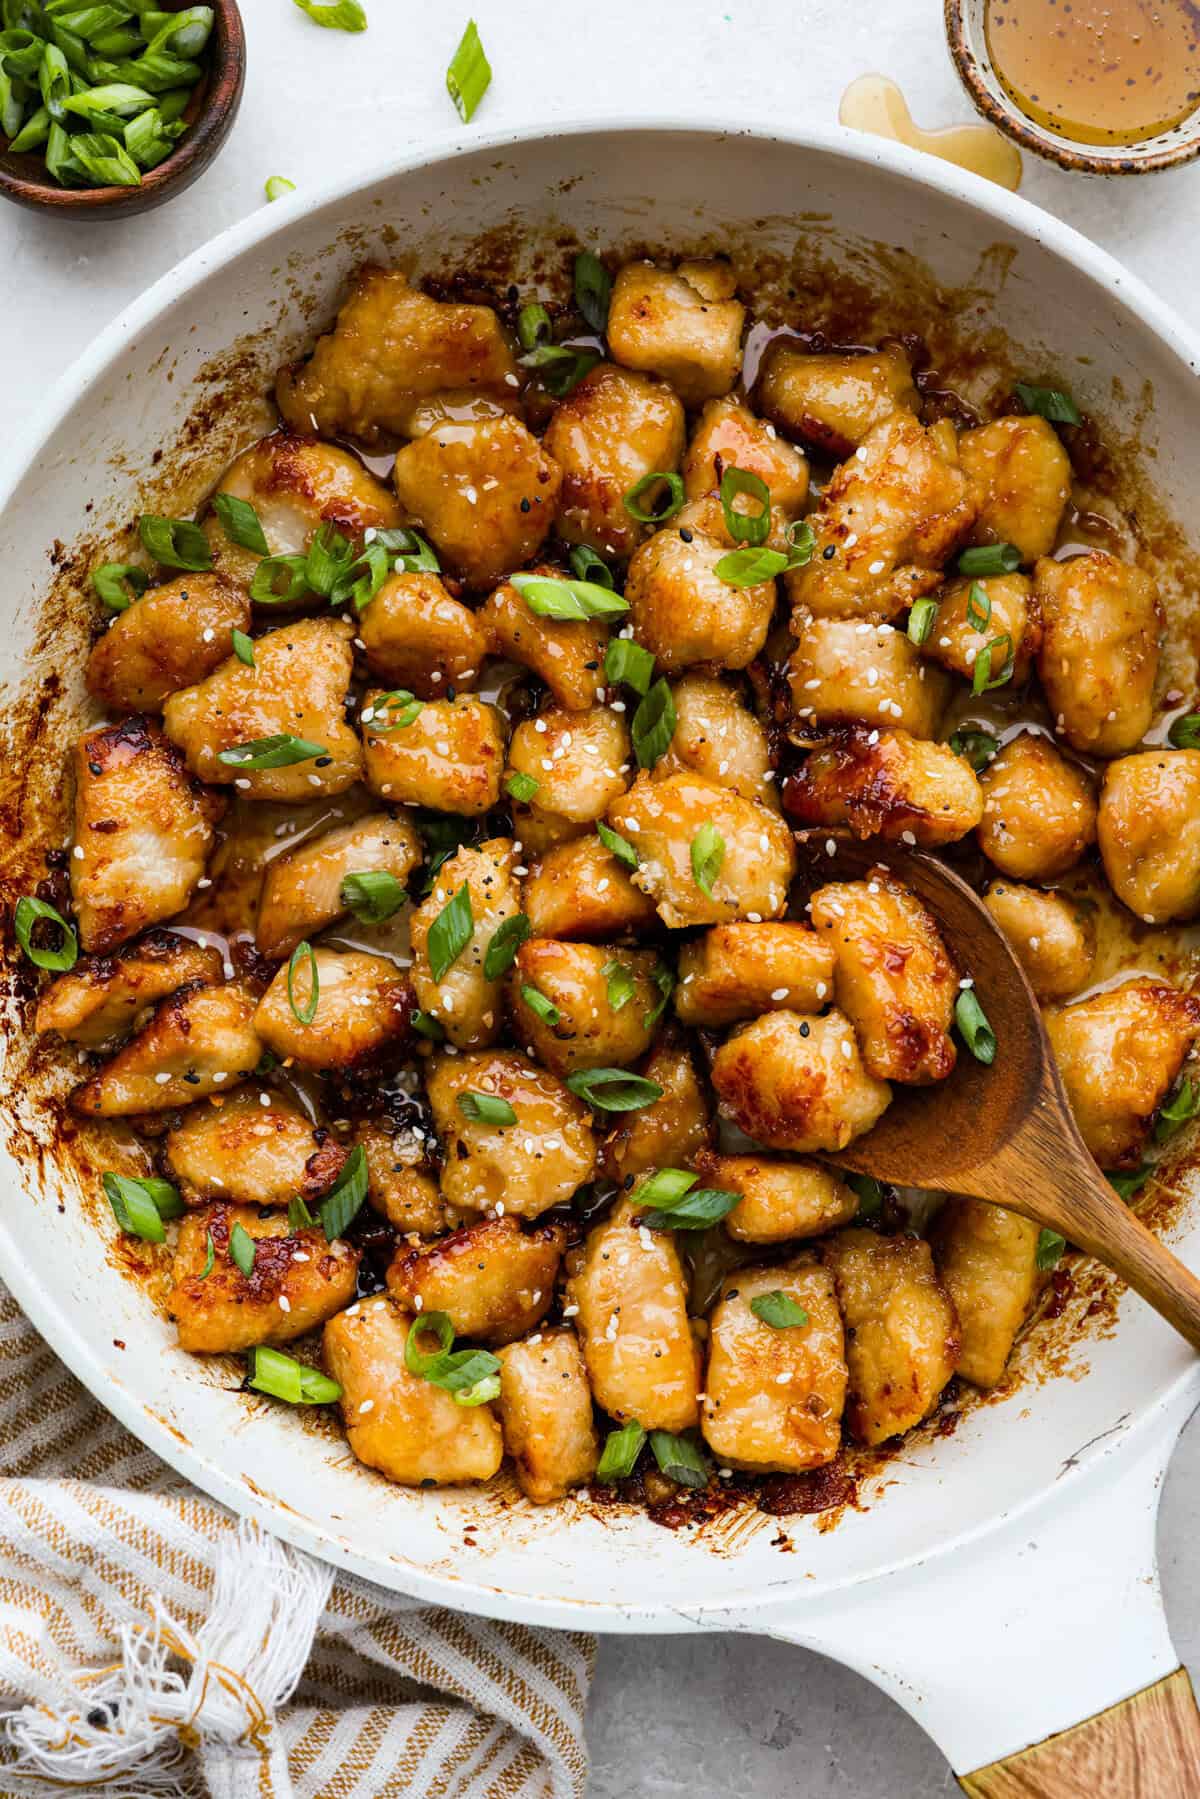
Sticky, sweet, and totally irresistible, this honey butter chicken brings golden brown perfection to your dinner table. One pan, picky-eater approved, and guaranteed to have everyone begging for seconds.
Why This Recipe Steals the Show
A True Weeknight Win: With simple steps and only 30 minutes, this is one of those rare meals that feels special without extra effort.
Crispy Without Deep Frying: A quick cornstarch coating gives the chicken that satisfying crunch using just a little oil, no messy frying required.
Kid-Friendly Meets Adult-Approved: Picky eaters love the sticky glaze, and adults appreciate the balance of sweet, savory, and tangy!
Honey Butter Chicken Ingredients
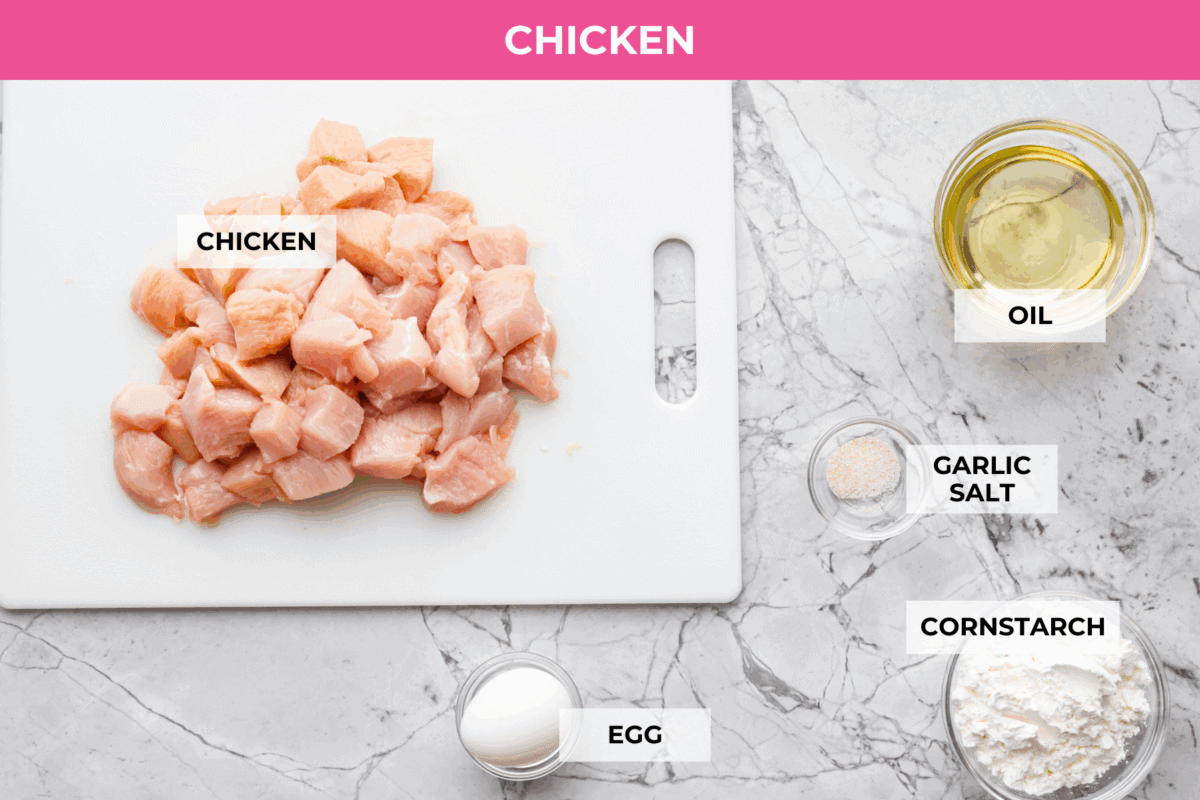
Chicken: You can use chicken tenders or boneless, skinless chicken thighs in this recipe!
Cornstarch: Some recipes call for flour, but I have found that cornstarch works best. It doesn’t clump, creates the perfect crisp texture, and keeps this recipe gluten-free!
How to Make Honey Butter Chicken
This honey butter chicken recipe is quick, easy, and packed with sticky, sweet goodness that clings to every crispy bite. Add a side of mashed potatoes or green beans for extra comfort food vibes.
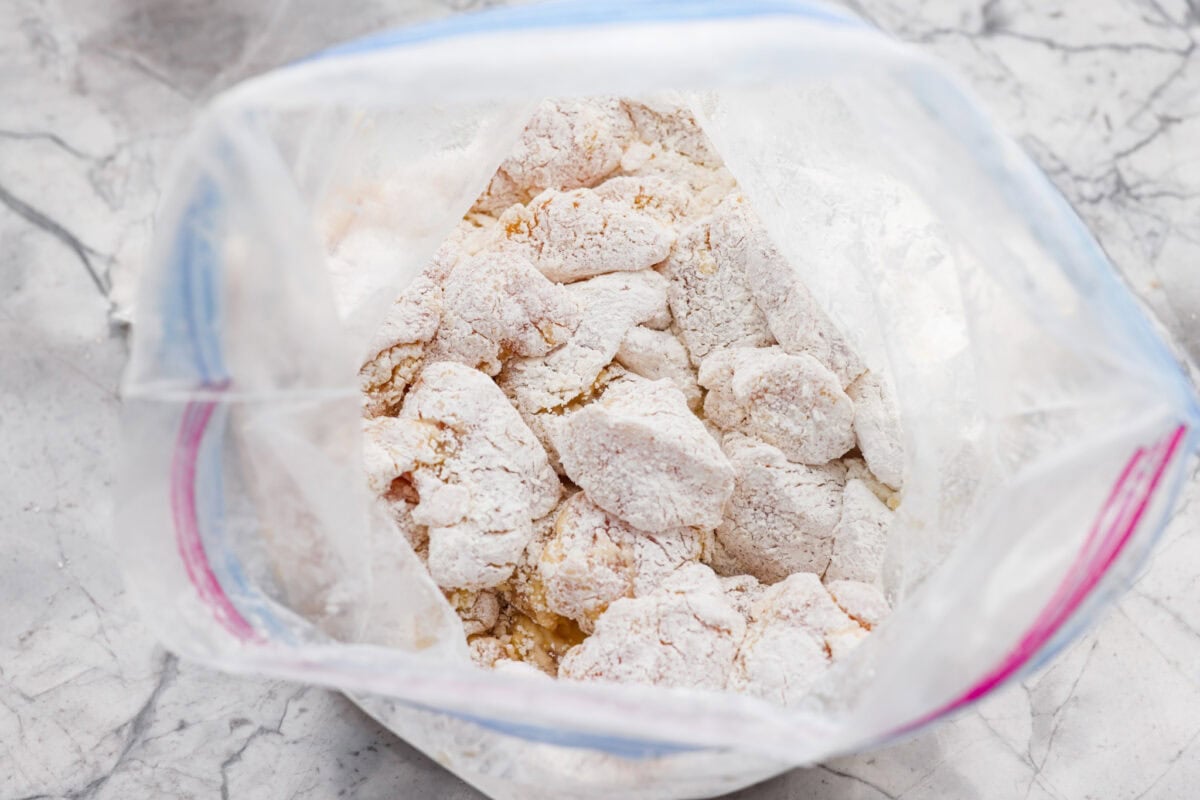
Coat the Chicken: Cut the chicken into bite sized pieces and place them into a large ziplock bag. Sprinkle the chicken with garlic salt, then crack an egg over the chicken, and massage it in with your hand. Add the cornstarch, then seal the bag and shake to coat the chicken well.
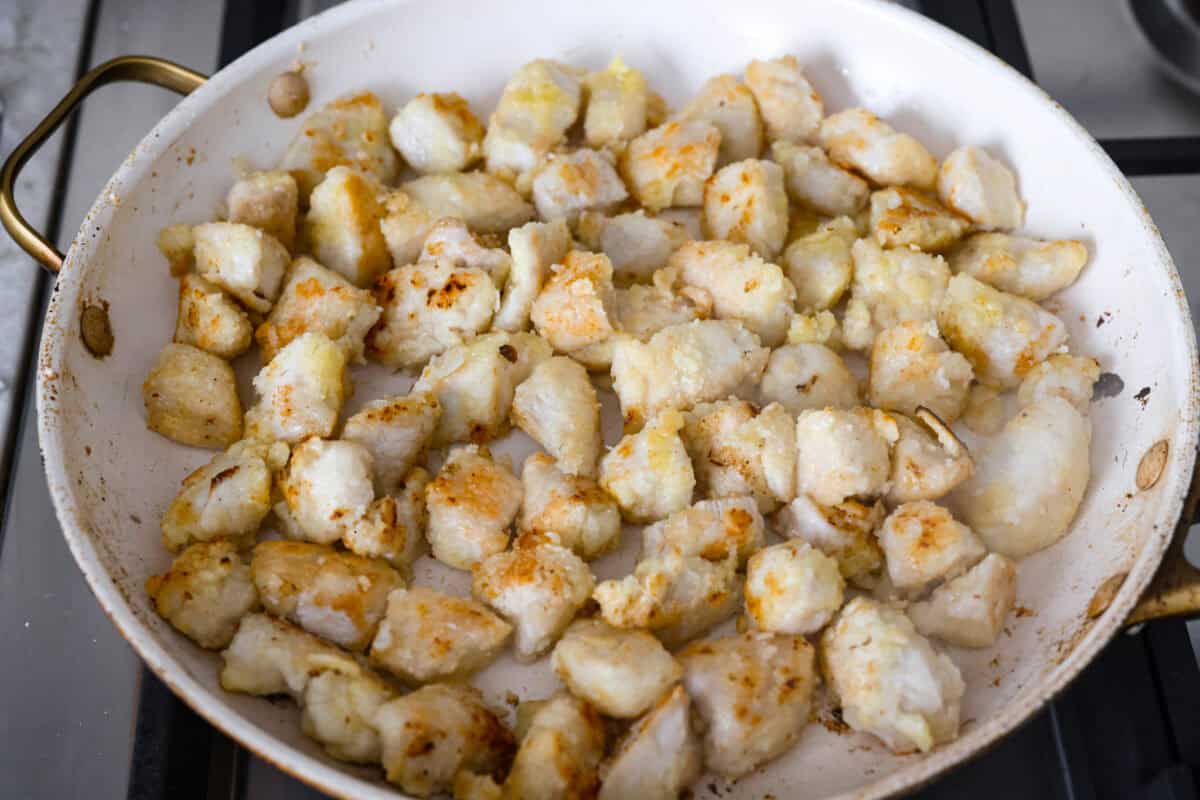
Cook the Chicken: In a medium sized skillet over medium high heat, add vegetable oil. Add the coated chicken and cook 7-8 minutes, or until cooked through and browned. Remove the chicken from the skillet, then set aside.
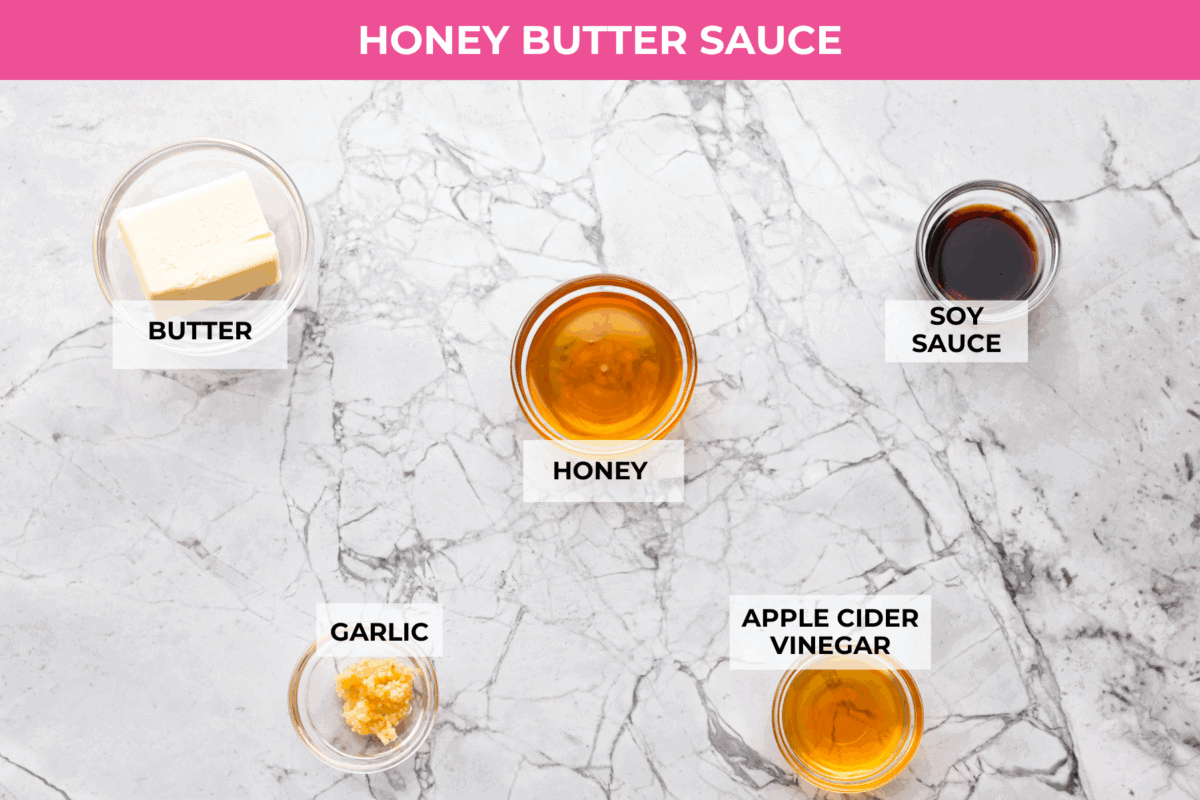
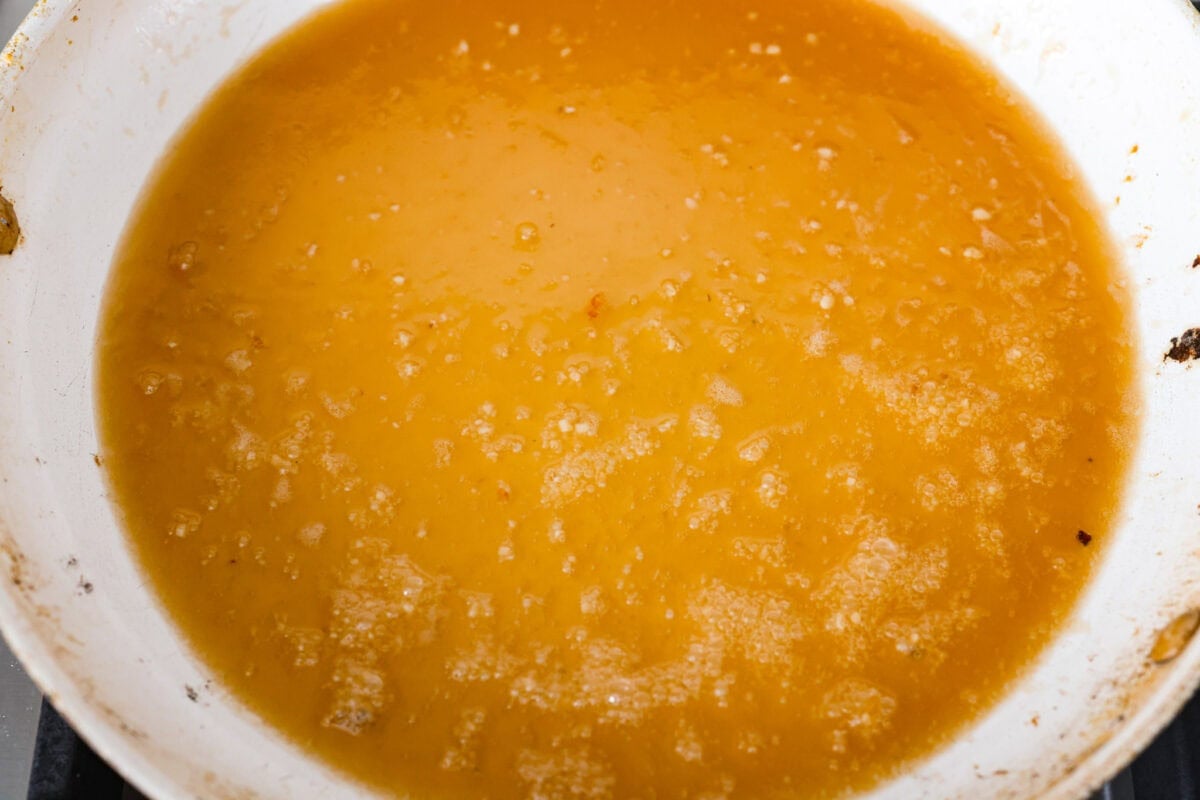
Make the Honey Butter Sauce: Add unsalted butter to the skillet and melt over medium heat. Then add honey, minced garlic, soy sauce, and apple cider vinegar. Whisk together and cook for a couple of minutes until the sauce is bubbly and starts to thicken.
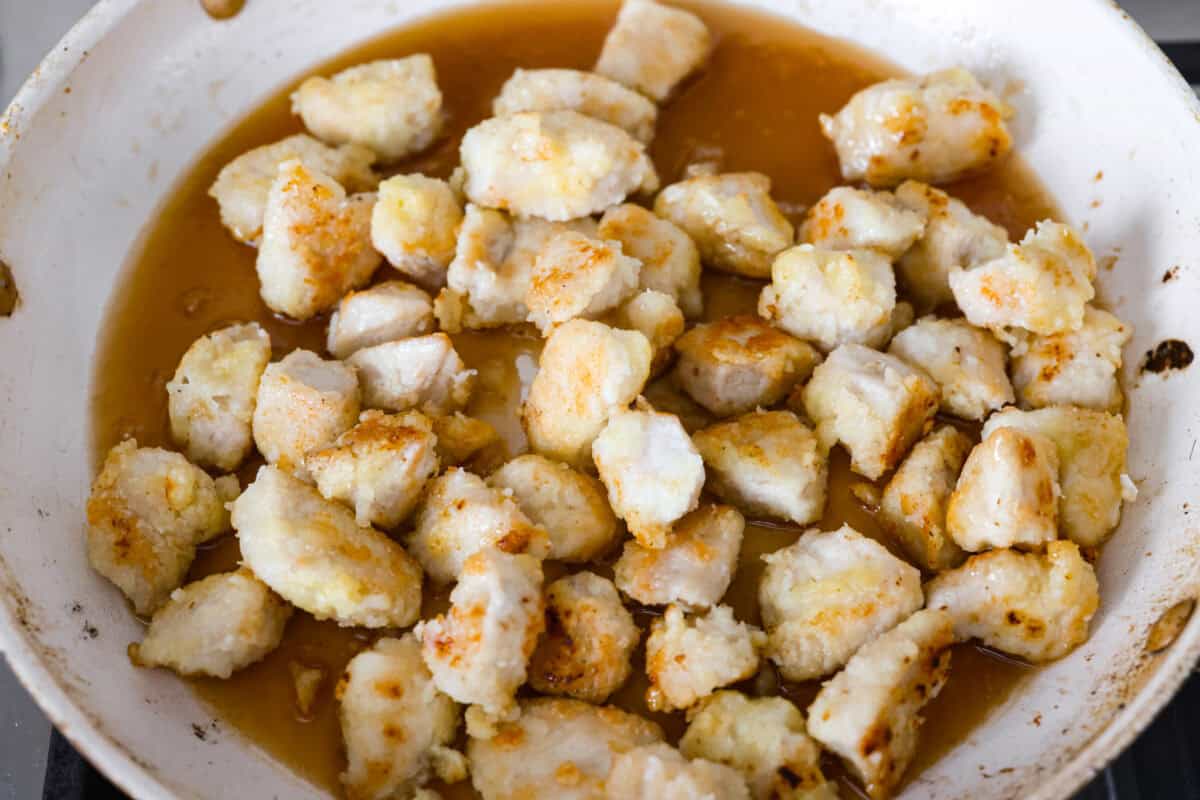
Toss Chicken in Sauce: Add the cooked chicken back to the skillet, then toss to coat with the sauce. Garnish honey butter chicken with sesame seeds and diced green onion, if desired. Serve over rice and enjoy!
Alyssa’s Pro Tip
Ziplock Bag Tip: Trust me on this! The BEST and easiest way to coat the chicken with cornstarch is with a ziplock bag. Shake well to separate and coat each piece of chicken.
Pin this now to find it later
Pin It
More 30-Minute Chicken Recipes
For a similar recipe with a little kick, try my sweet chili chicken next. Here are some more 30-minute chicken recipes!



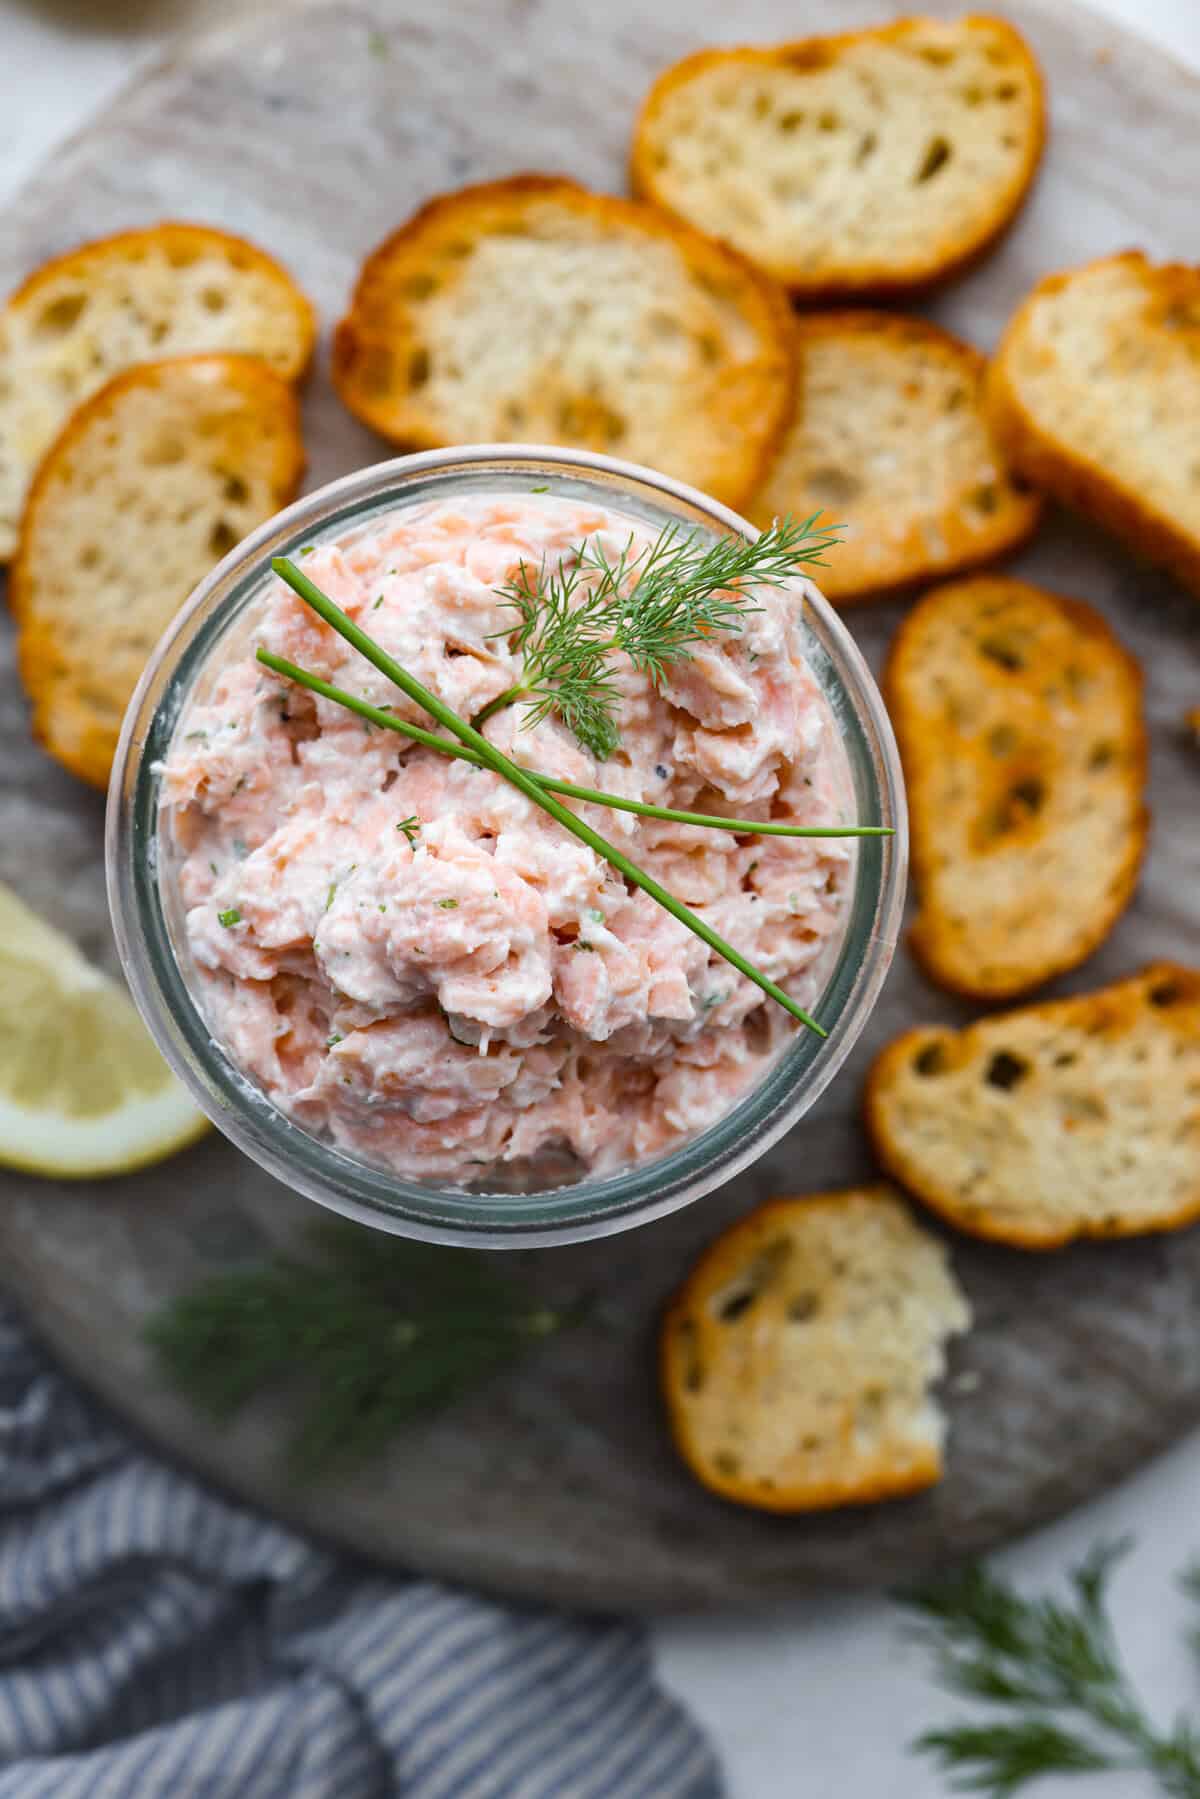

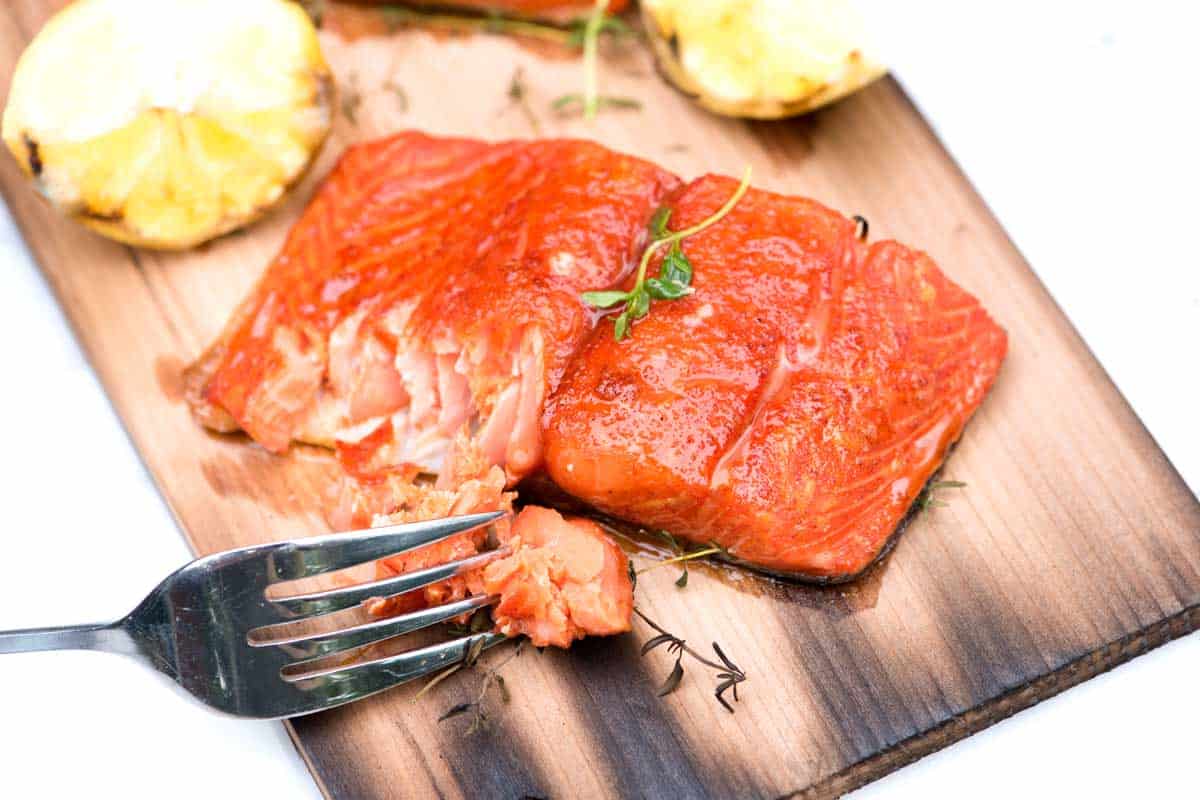 YOU MAY ALSO LIKE: Grilling salmon on a cedar plank is genius. If you haven’t tried it, let me tell you, you need to. Jump to the Sweet Citrus Cedar Plank Salmon Recipe.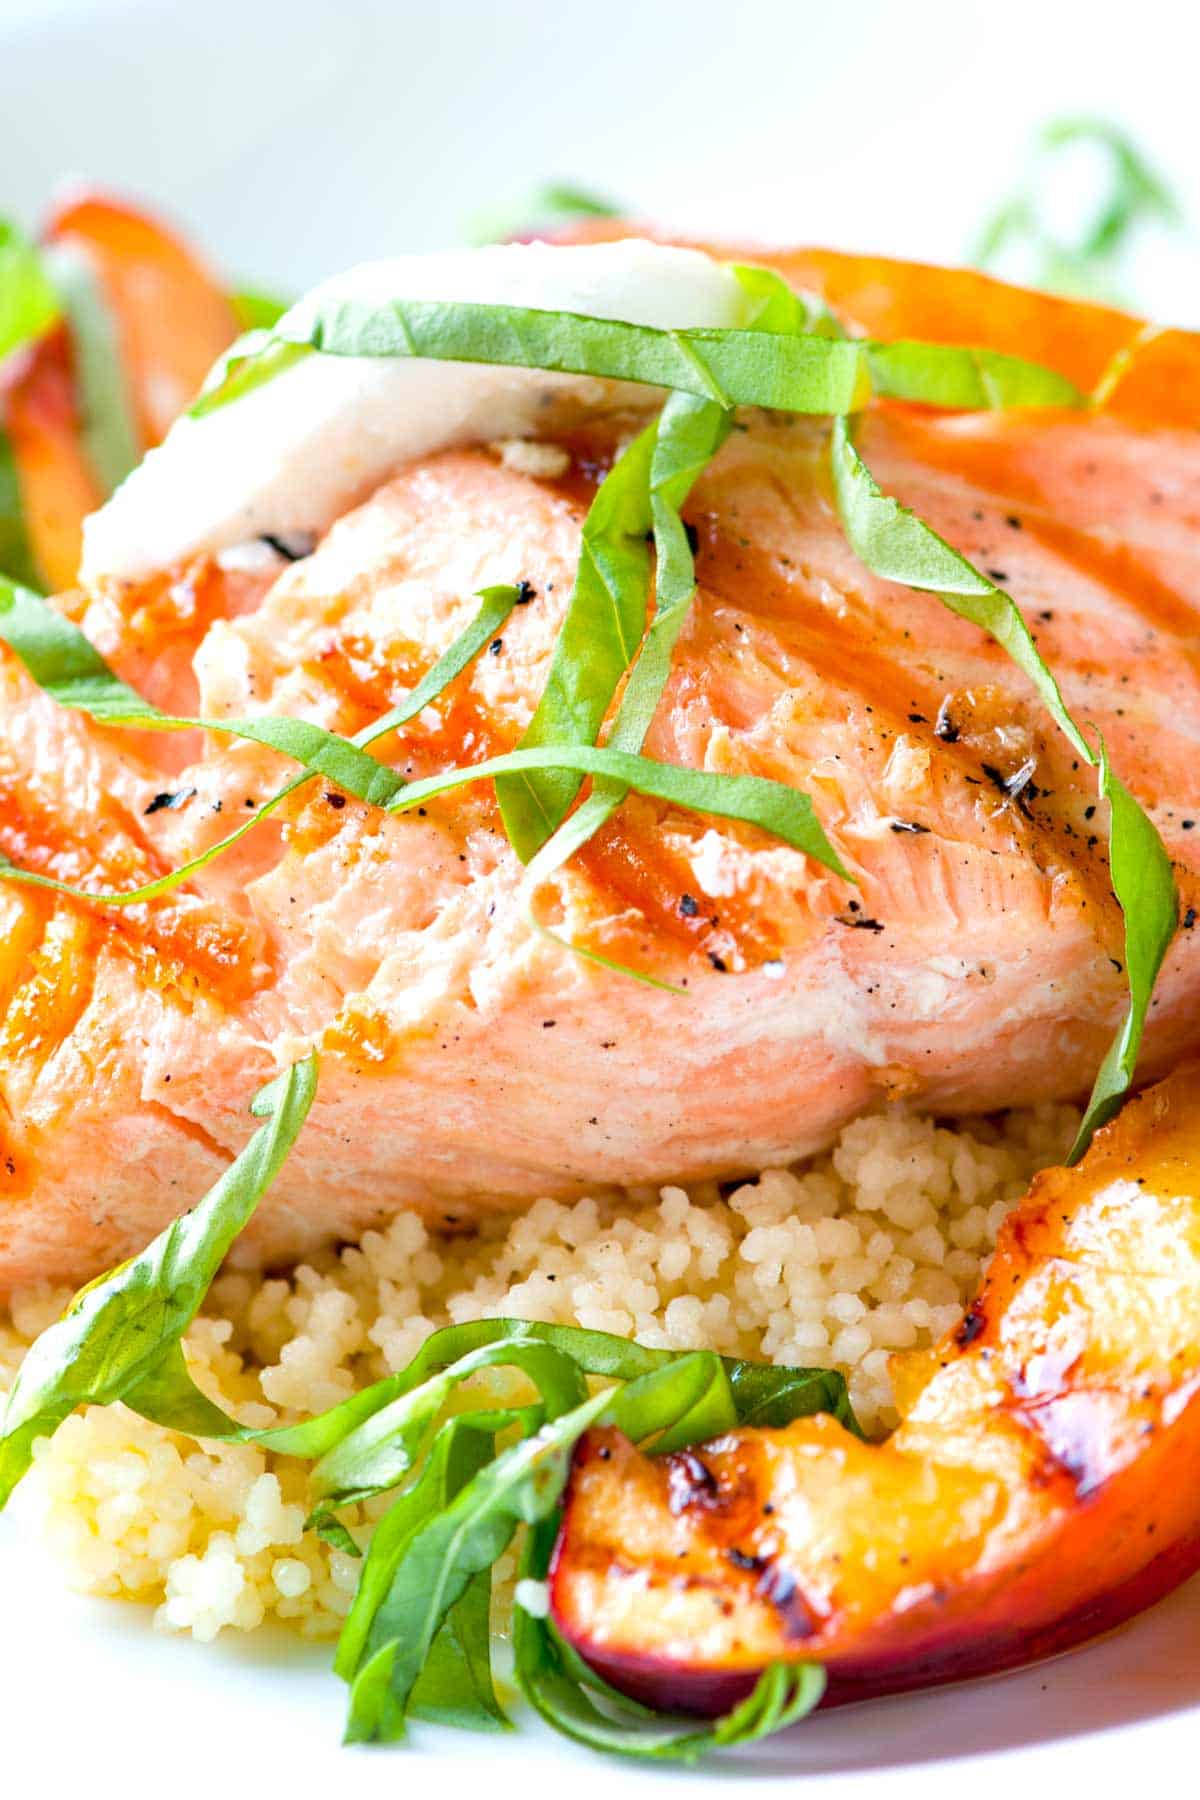

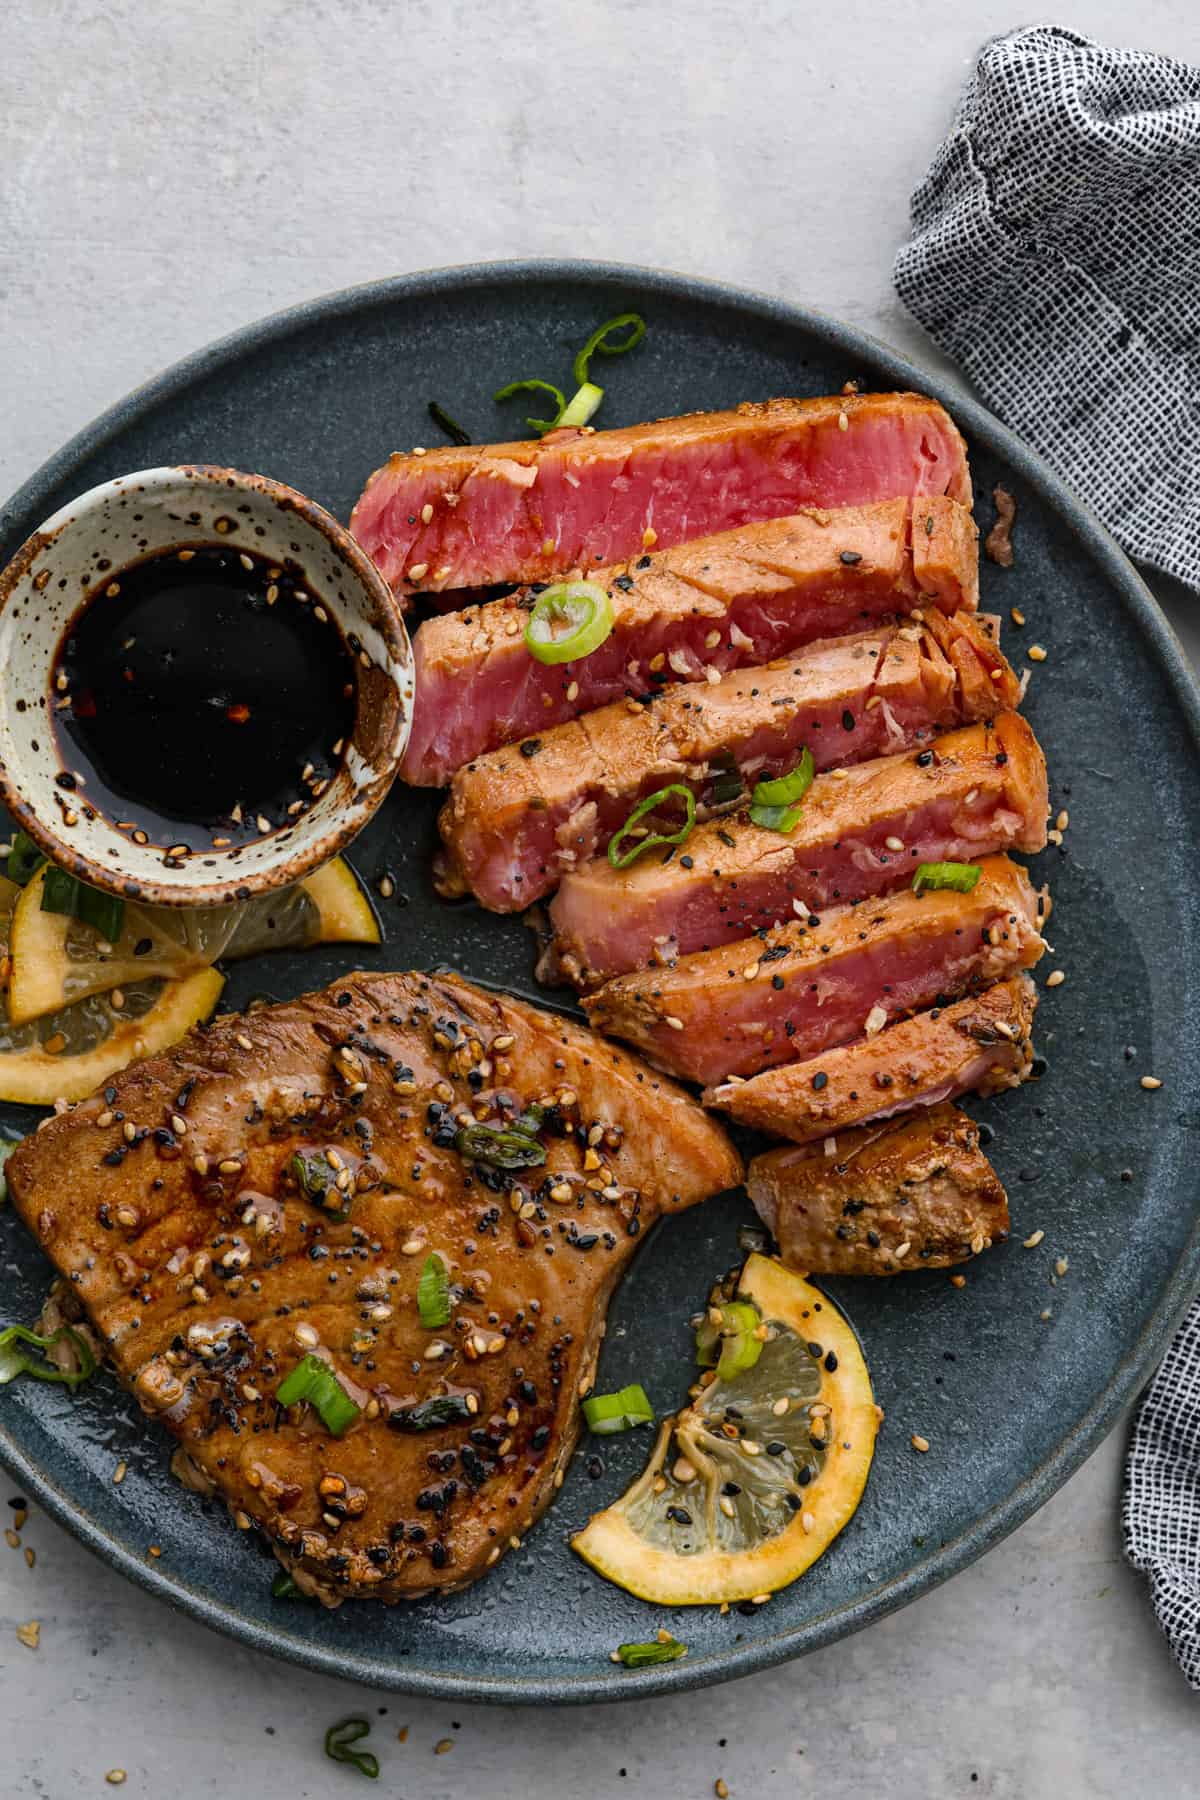
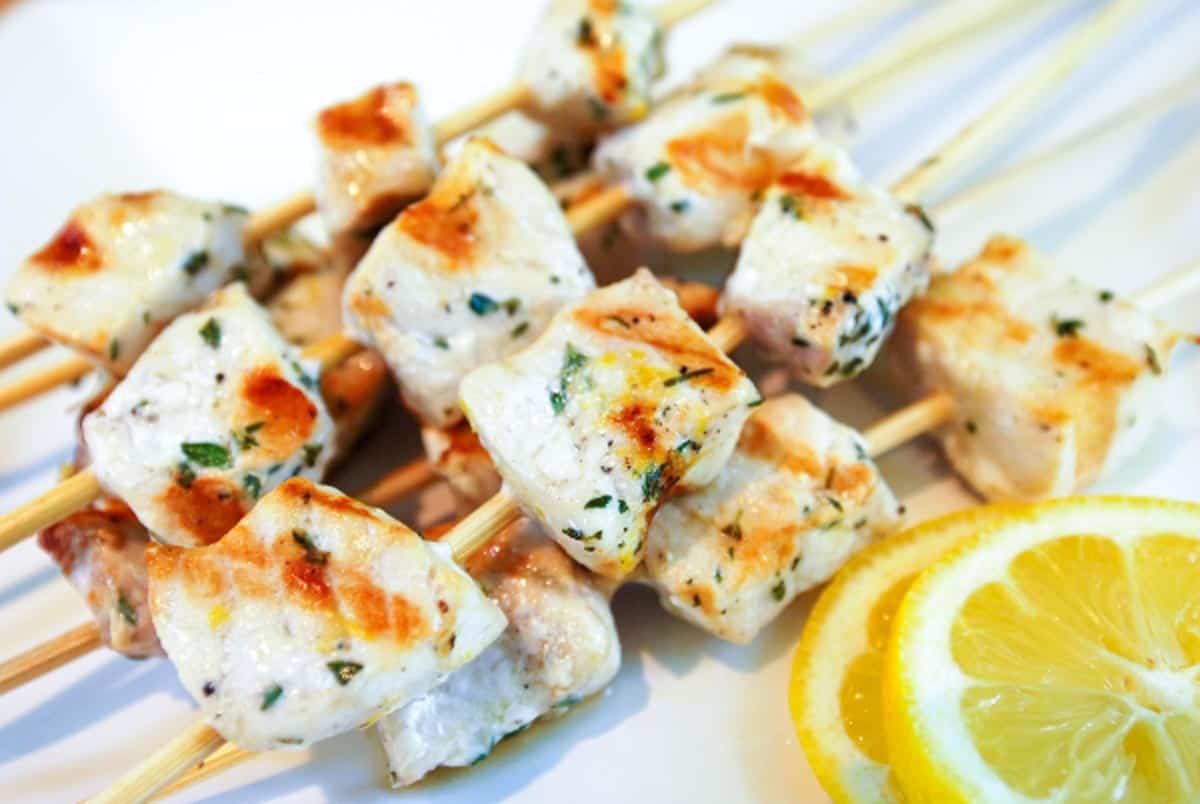 YOU MAY ALSO LIKE: How to make perfectly marinated and grilled swordfish kabobs with lemon, pepper and thyme. Jump to the Lemon Pepper Grilled Swordfish Kabobs Recipe.