Tag: Recipe

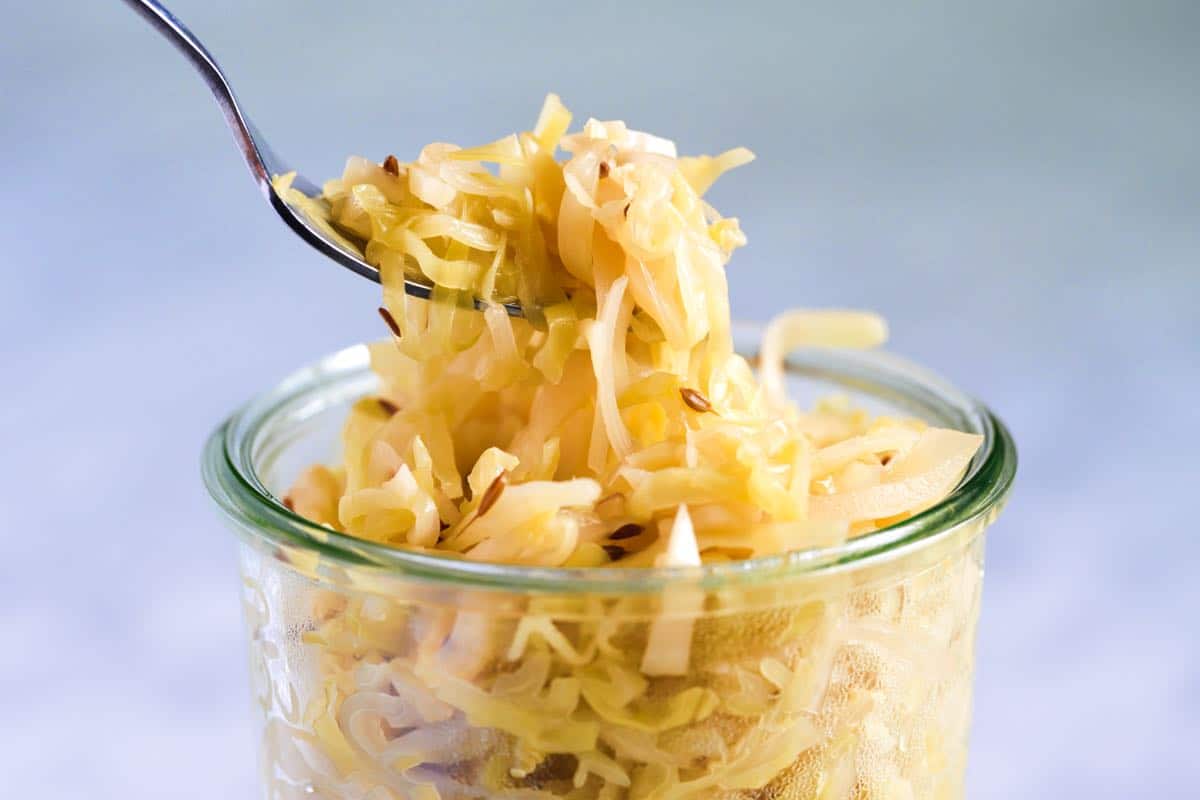
  • Quick Fresh Sauerkraut Recipe

    Quick Fresh Sauerkraut Recipe

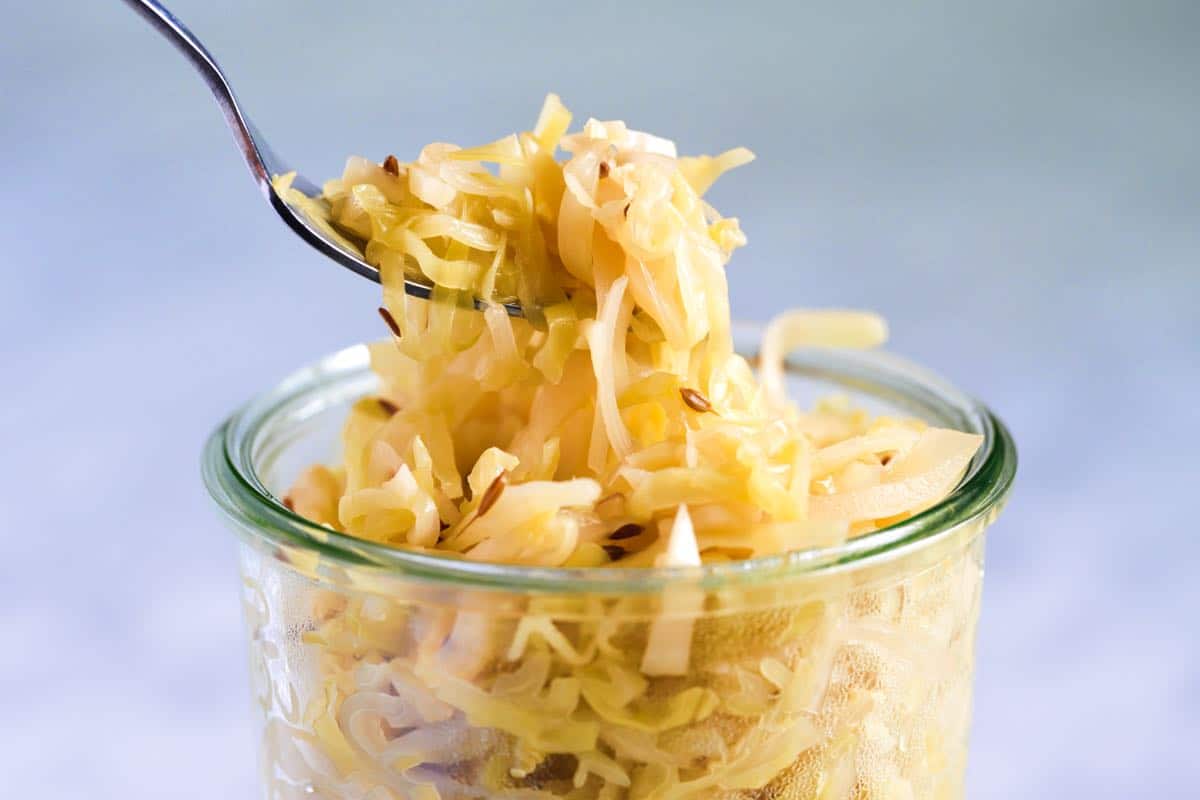
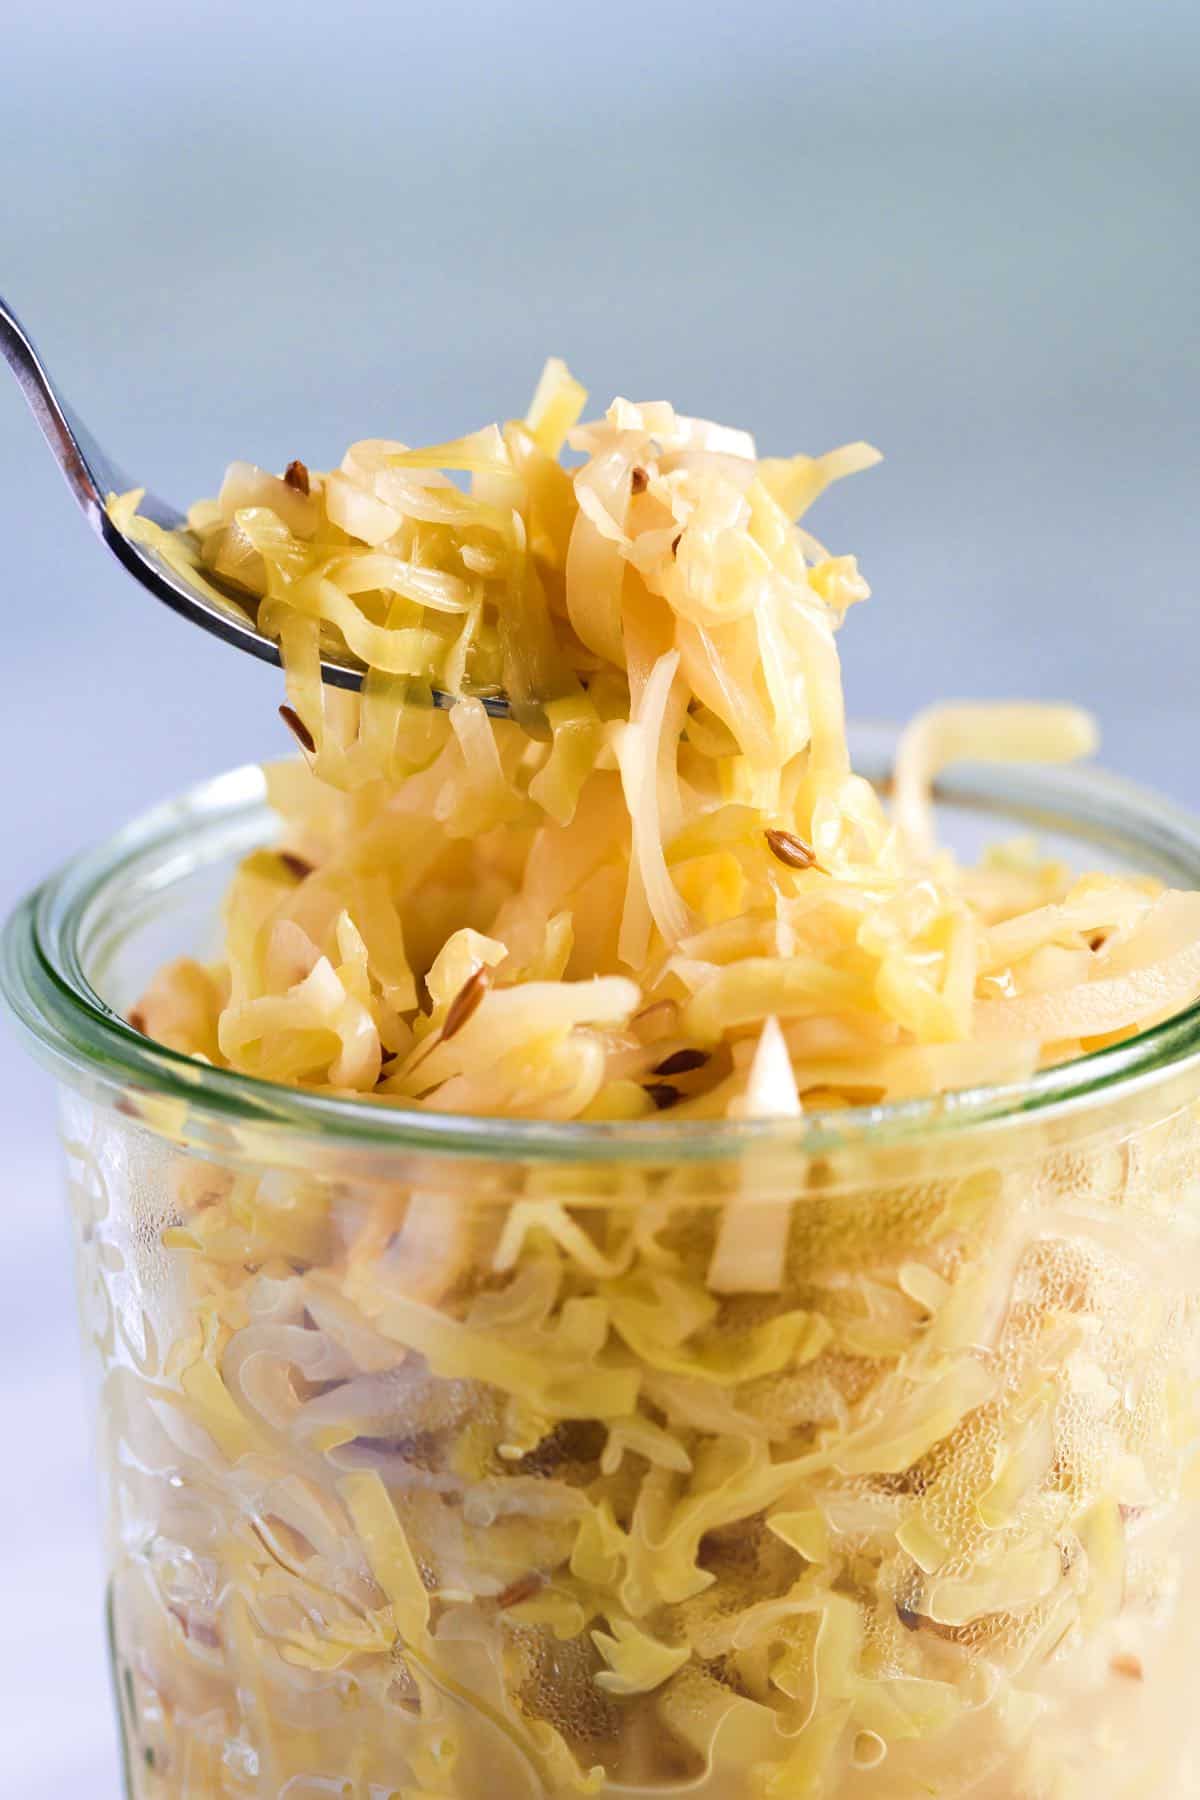
    When I’m in a pinch for time and crave the flavors of sauerkraut, this is the recipe I use. Our quick sauerkraut takes just over an hour, and it’s ready to eat!
    Quick Homemade Sauerkraut

    This easy sauerkraut, inspired by traditional German sauerkraut (which can take weeks), has a slightly sour taste and crunchy texture. I love fermented sauerkraut, but our quicker recipe is the solution for when you want to enjoy homemade sauerkraut today.

    We genuinely love it, and we hope you do, too. I love it with pork, especially my skillet pork chops, these apple-stuffed pork chops, or this pork tenderloin with apples.

    Key Ingredients

    • Green Cabbage: When choosing green cabbage, look for a head that feels heavy for its size and has a firm texture. Avoid any heads that look dried out or discolored. I love green cabbage for this recipe, but purple cabbage will work.
    • Onion: I love the onion since it almost melts into the cabbage. I use a yellow or sweet onion.
    • Salt and Spices: This is a German-inspired recipe, so we use salt, caraway seeds, a juniper berry, an allspice berry, and a bit of sugar (less than a teaspoon).
    • Apple Cider Vinegar and Apple Cider: These create the perfect balance of sweet and tangy. It’s the combination of apple cider and vinegar that makes this sauerkraut so delicious with pork recipes!

    Find the full recipe with measurements below.

    How to Make Quick Sauerkraut

    Tip 1: Massage with salt and spices. To make this taste like traditional sauerkraut, massage shredded cabbage with salt and spices and set aside for 30 minutes. We use classic spices like caraway seeds, juniper berries, and allspice. I love the caraway seeds in this recipe!

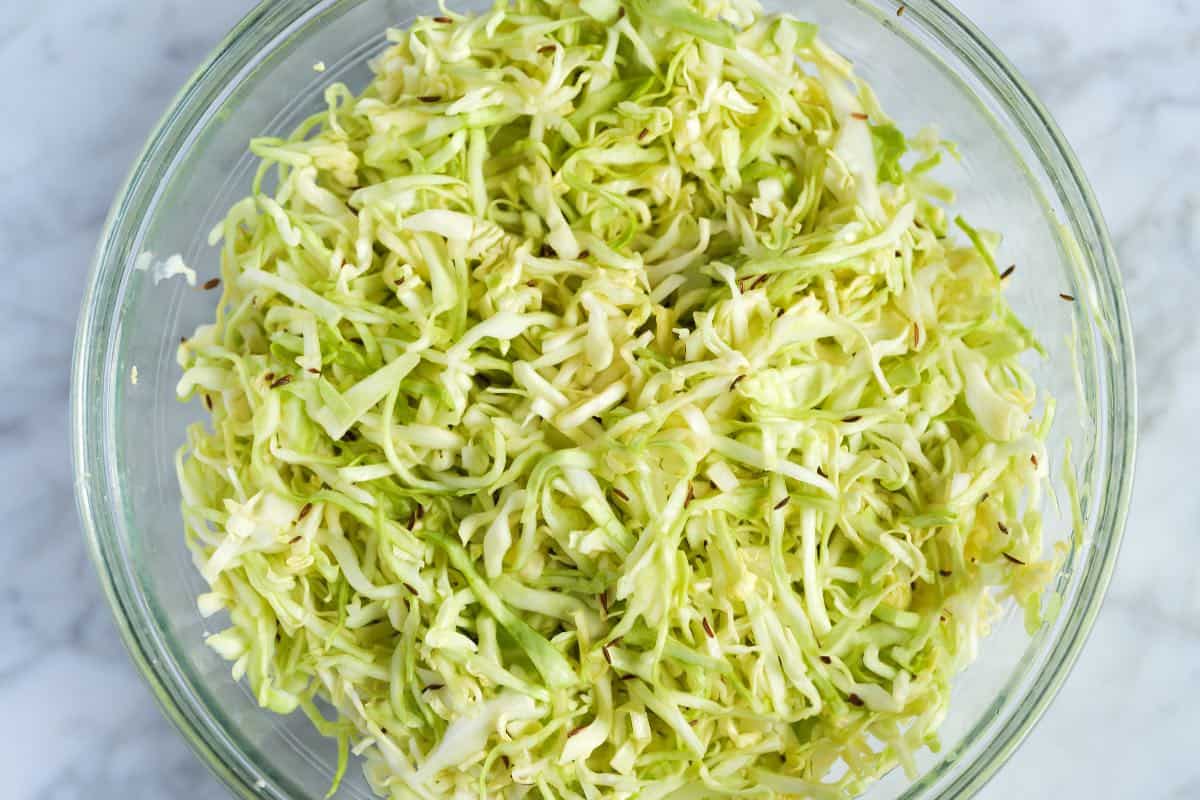
    After sitting with the salt and spices for 30 minutes, the cabbage releases some of its juices, wilts a bit, and looks floppy (see the second photo below).
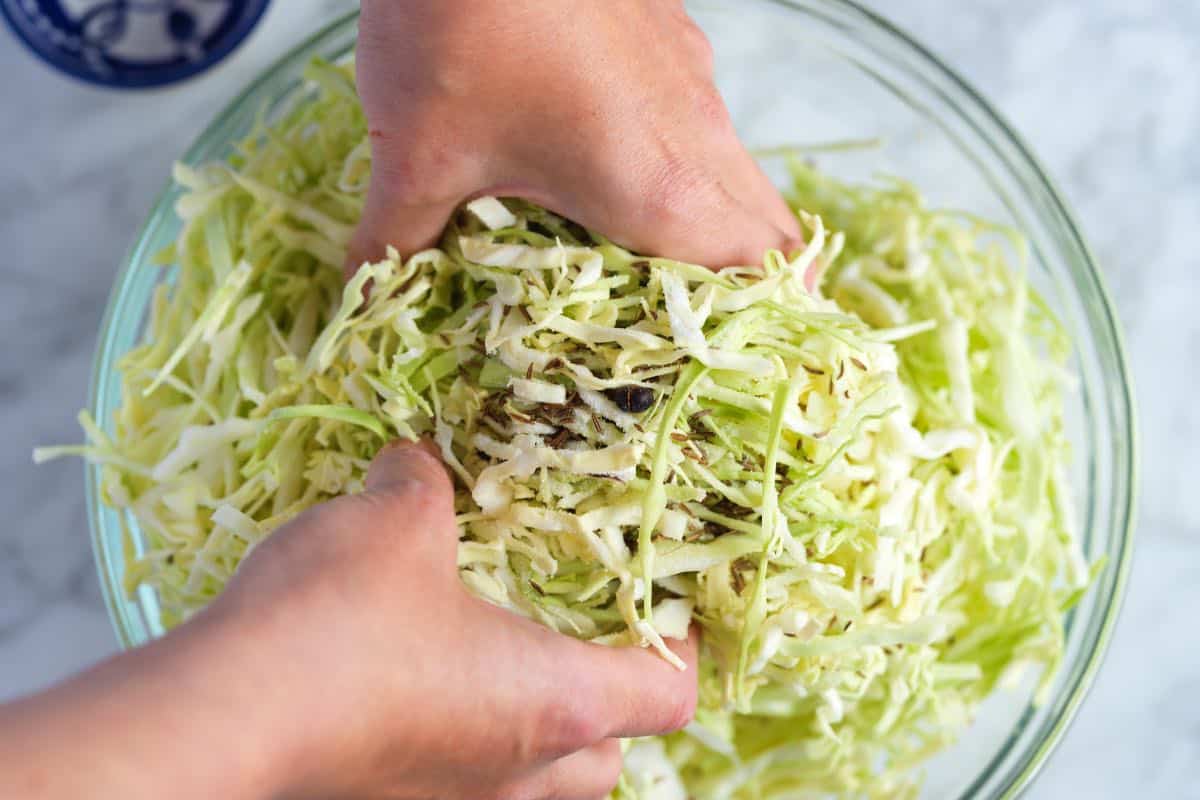
    How to Make Quick Sauerkraut: Massaging cabbage with salt and spices
    How to Make Quick Sauerkraut: The cabbage after 30 minutes of sitting with the salt

    Tip 2: Simmer the cabbage. Instead of fermenting, you will simmer the cabbage, all the juices from the bottom of the bowl, and spices with onions, apple cider vinegar, and apple cider for 30 minutes. This is why this recipe is so much quicker than fermenting (30 minutes vs. weeks).

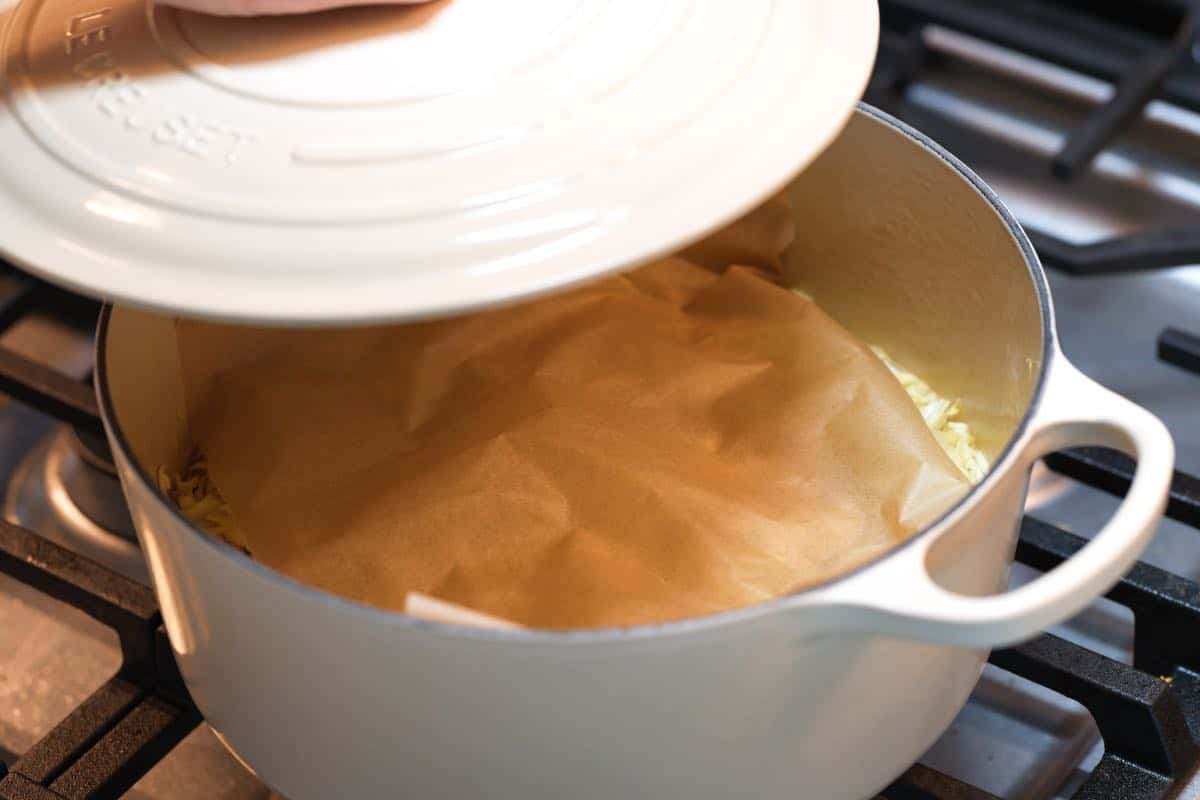
    Simmer the cabbage, covered with a lid for 30 minutes. If you have it, a piece of parchment paper set directly on top keeps the cooking environment nice and moist. It’s optional, but a great trick for the best texture.
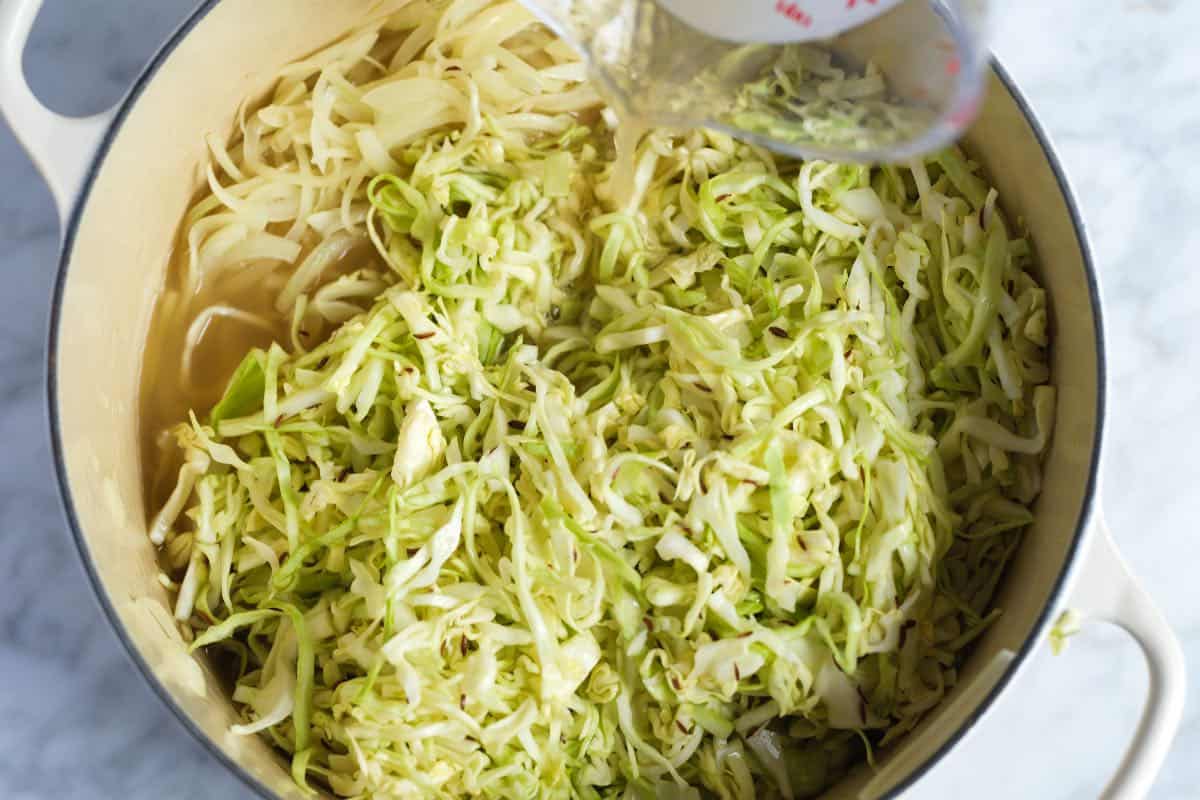
    How to Make Quick Sauerkraut: Cooking the cabbage with vinegar and apple cider
    How to Make Quick Sauerkraut: Cooking the sauerkraut

    Tip 3: Serve warm or chill. This is lovely served warm with sausages or pork dishes, like this pork tenderloin with apples. You can also let the sauerkraut cool and sit in the fridge for a few hours (or overnight) so that the flavors bloom. It lasts in the fridge for 2 weeks!

    Ways to Use It

    Use our quick and easy sauerkraut as you would use fermented sauerkraut. It keeps in the fridge for up to two weeks and gets better over time. I love adding it to sandwiches, salads, and on the side to pretty much anything. It’s great with baked pork chops, beer brats, and I use it to make this sauerkraut soup!
    Quick Fresh Homemade Sauerkraut

    Quick Fresh Sauerkraut

    • PREP
    • COOK
    • TOTAL

    This quick homemade sauerkraut recipe is the solution for when you want to enjoy sauerkraut today. Inspired by traditional German sauerkraut (which can take weeks), this fresh homemade sauerkraut takes just over an hour before it is ready to eat!

    Makes 5 to 6 cups

    You Will Need

    1 large head green cabbage, nearly 2 pounds

    1 medium yellow onion, thinly sliced, about 2 cups

    1 ¾ teaspoons fine sea salt

    2 teaspoons caraway seeds

    1 juniper berry, lightly crushed

    1 allspice berry, left whole, see notes

    1 tablespoon olive oil

    1/2 teaspoon sugar

    1 ¾ cups apple cider vinegar

    1/2 cup apple cider

    1/2 cup water

    Directions

    1Quarter and core the cabbage, then thinly slice crossways. You should have close to 12 cups (3 quarts) of sliced cabbage.

    2Add the cabbage to a large bowl with 1 ½ teaspoons of salt, the caraway seeds, juniper berry, and allspice berry. Massage the salt into the cabbage and let it stand for 30 minutes.

    3Five minutes before the cabbage is ready, heat the olive oil in a large pot over medium heat. Stir in the onions, and cook until translucent, about 5 minutes. Be careful not to brown the onions — if you notice that they begin to take on some color, reduce the heat slightly.

    4Add the cabbage, its liquid, and all the spices from the bowl to the pot with the onions. Stir in the sugar, apple cider vinegar, apple cider, and water.

    5Bring to a boil and cook for 5 minutes. Reduce the heat to a simmer and place a sheet of parchment paper on top of the cabbage. Cover the pot with a lid and simmer for 30 minutes. The parchment paper helps to maintain a moist environment for the cabbage. You can make this without it, but keep an eye that the liquid in the pot does not evaporate.

    6Season with the remaining 1/4 teaspoon of salt, and then allow to cool. Transfer to jars and refrigerate. Keep in the fridge for up to two weeks.

    Adam and Joanne’s Tips

    • Caraway seeds taste nutty with hints of anise and citrus. They are common in German dishes, such as sauerkraut. Find them in the spice aisle of most grocery stores.
    • Juniper berries have a piney taste with hints of citrus. Find them in the spice aisle of grocery stores or online.
    • Allspice berries taste like a combination of cloves, cinnamon, and nutmeg. We found whole allspice berries less common in the grocery spice aisle, but Chef Richard recommends buying a “pickling spice blend” instead. McCormick “Mixed Pickling Spice” contains allspice berries, which we purchased and picked out 3 berries for this recipe.
    • The nutrition facts provided below are estimates.

    Nutrition Per Serving
    Serving Size
    1/2 cup (assumed 5 cups total)
    /
    Calories
    59
    /
    Total Fat
    1.6g
    /
    Saturated Fat
    0.2g
    /
    Cholesterol
    0mg
    /
    Sodium
    369.4mg
    /
    Carbohydrate
    9.2g
    /
    Dietary Fiber
    3g
    /
    Total Sugars
    4.8g
    /
    Protein
    1.6g
    Source link

  • Seriously Good Baked Spaghetti Recipe

    Seriously Good Baked Spaghetti Recipe

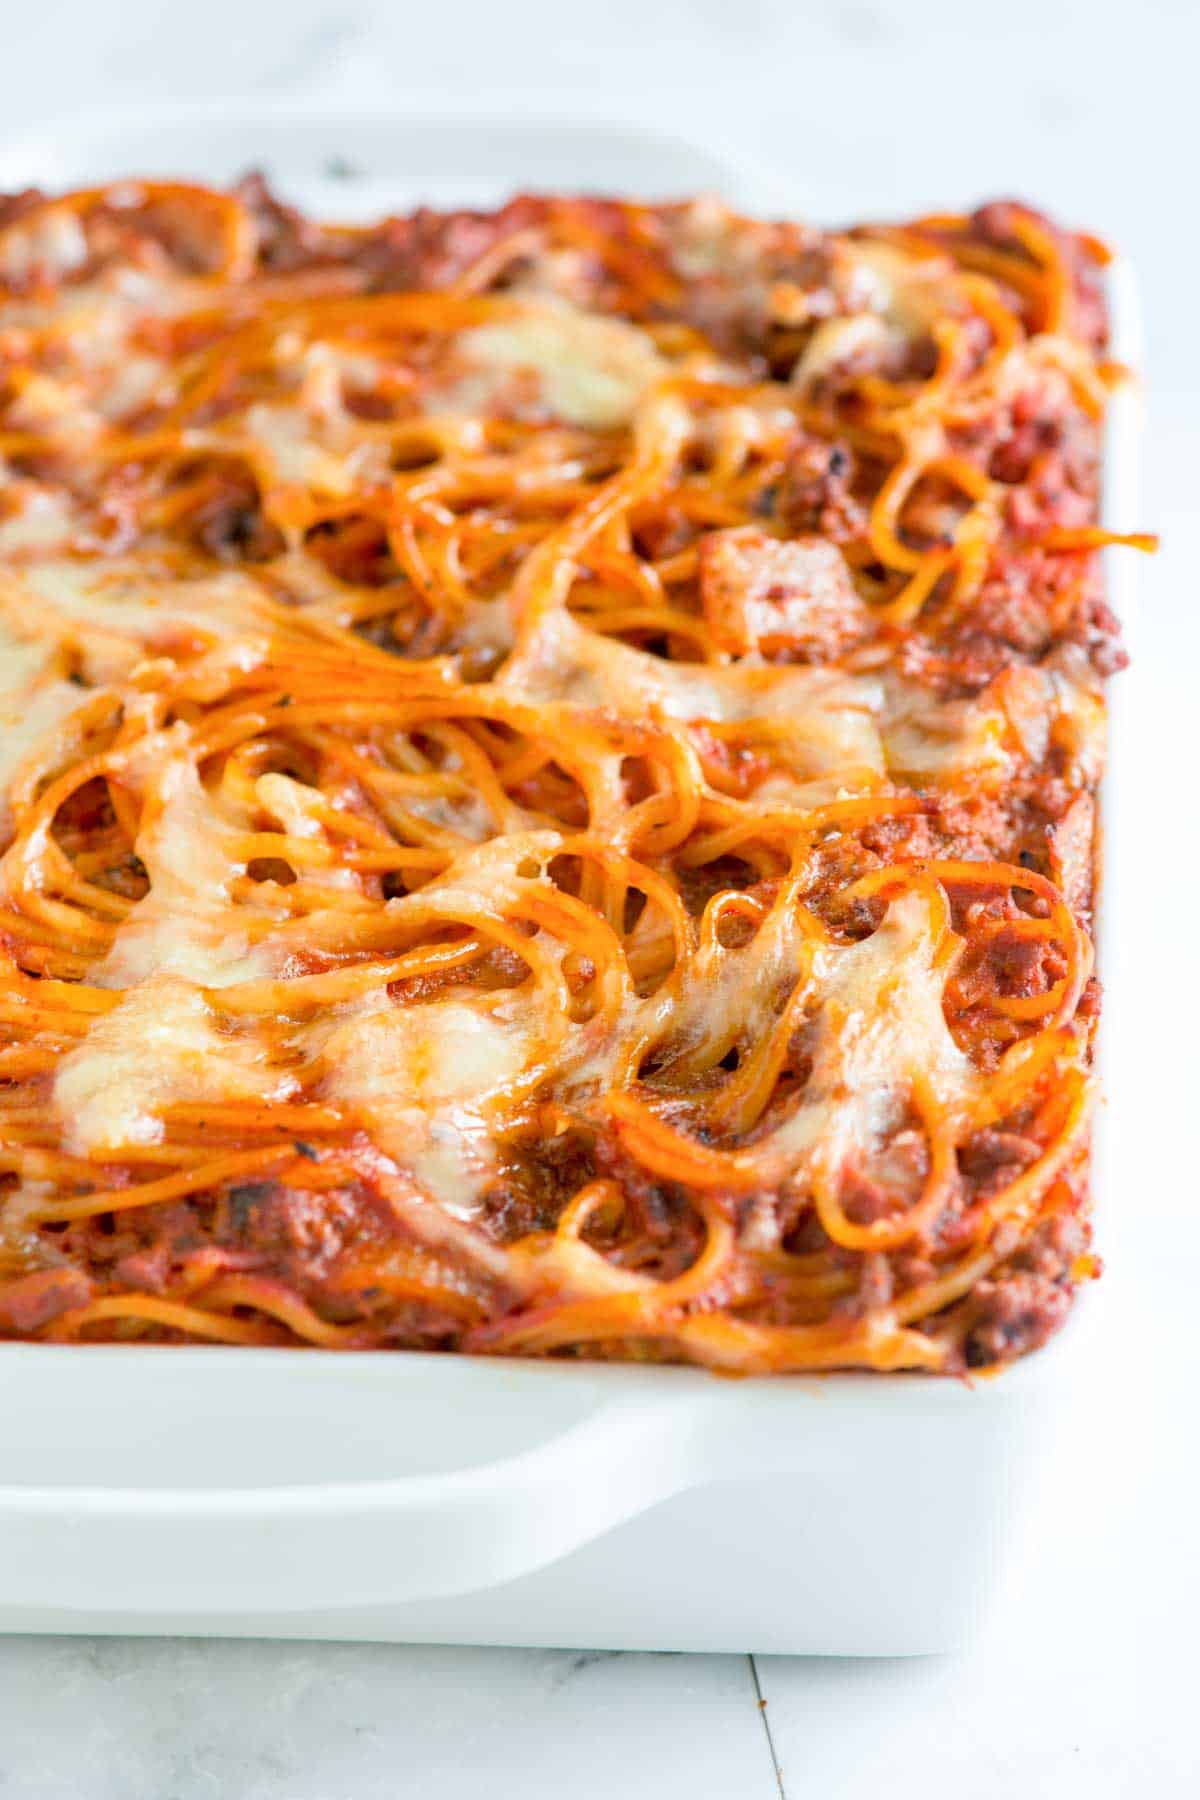
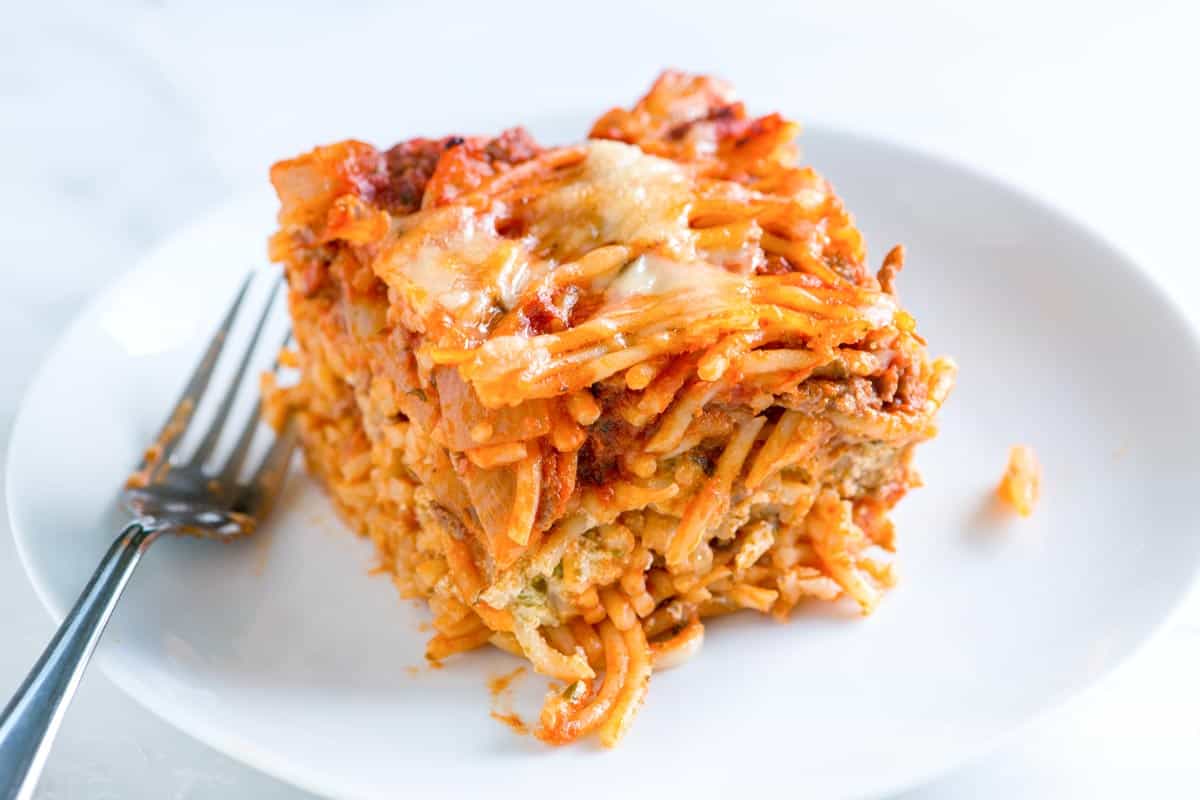
    My baked spaghetti recipe is easy and made with ground beef, marinara sauce, mozzarella cheese, and a hidden layer of creamy pesto sauce. Pure comfort!

    Baked Spaghetti

    This easy baked spaghetti has everything we love about baked pasta. It has noodles, a hearty meat sauce, and lots of cheese. For more spaghetti recipes I love, see our weeknight spaghetti recipe or this veggie spaghetti!

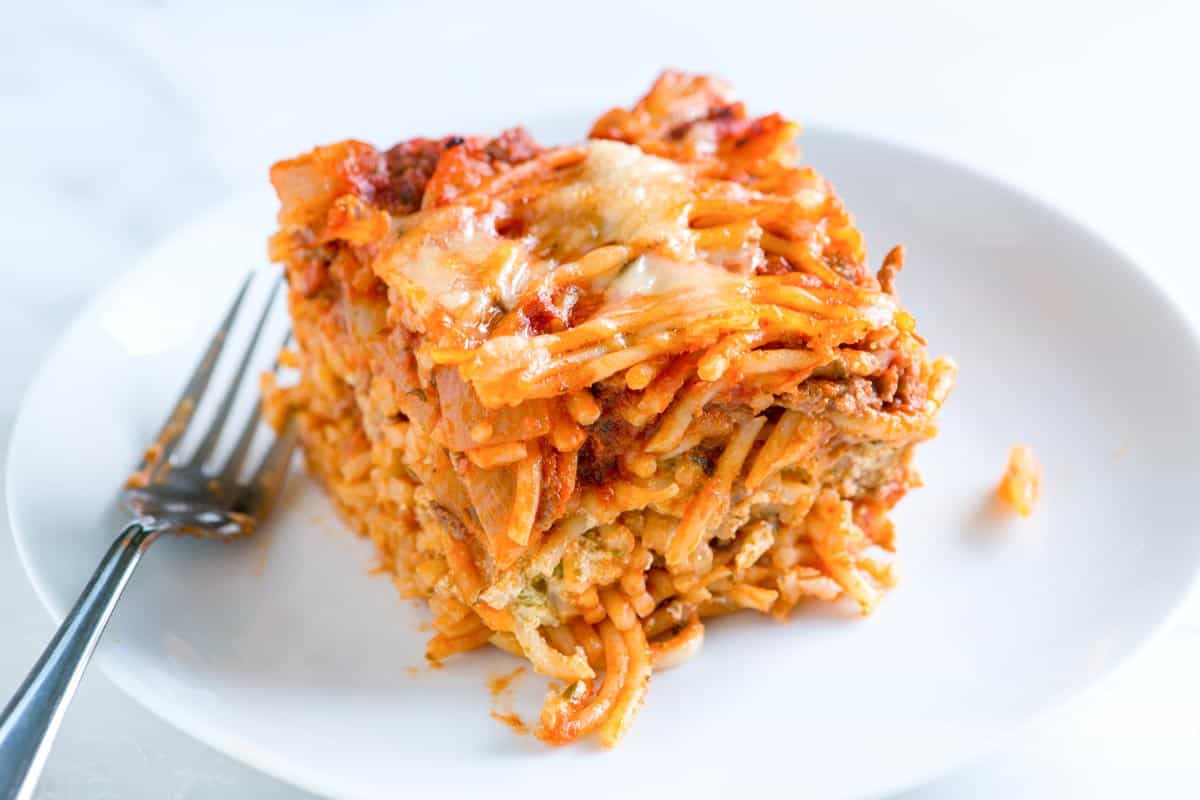
    My favorite part of this baked spaghetti is the creamy pesto layer in the middle. It’s ridiculously simple to make and makes this pasta dish so incredibly delicious!

    Key Ingredients

    • Spaghetti: I use plain spaghetti for this recipe, but other pasta shapes work great. Use what you have! I cook the pasta briefly before tossing it with the sauce and baking. Use the boxed directions as a guide, but cook the pasta for 2 to 3 minutes less. It will continue to cook in the oven.
    • Ground Beef: I usually use ground beef here, but ground sausage, chicken, and turkey are excellent. You can even leave the meat out and add a few extra veggies (see this vegetable spaghetti for suggestions).
    • Marinara Sauce: I use homemade marinara when I have it, but store-bought sauce works nicely in this recipe.
    • Sour Cream and Pesto: This is my favorite part of this baked spaghetti. I stir pesto into sour cream to create a creamy pesto sauce. Then, I add it as a creamy layer into the middle of the baked spaghetti. So good! Store-bought pesto is fine, but if you can, make homemade pesto (I love it!).
    • Cheese: Mozzarella is perfect, but any melty, mild cheese works.

    How to Make Baked Spaghetti

    When I’m not in the mood to assemble a lasagna, I make this baked spaghetti. The flavors are similar, but it’s much easier.

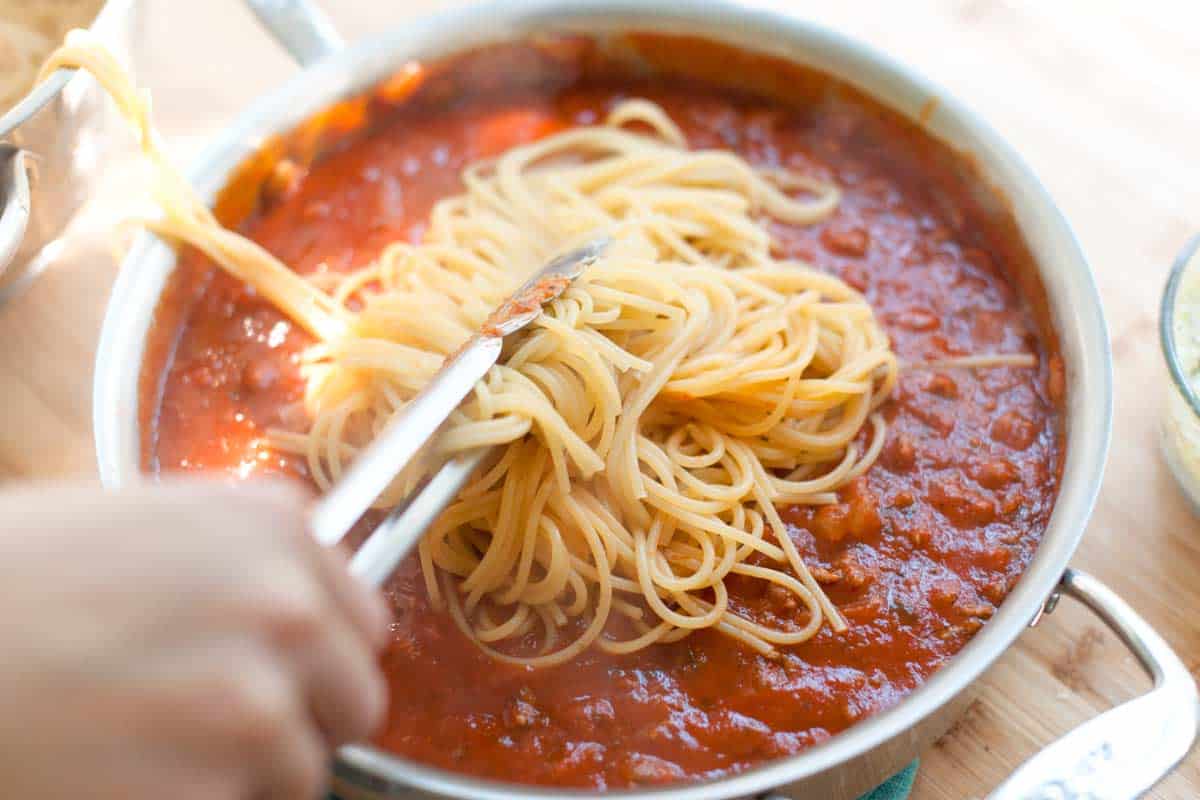
    For the sauce, I cook onions and ground beef, add the marinara sauce, and then toss with partially cooked spaghetti (by undercooking the pasta, it won’t become mushy after baking in the oven).

    How to Make Baked Spaghetti: Toss spaghetti with marinara sauce

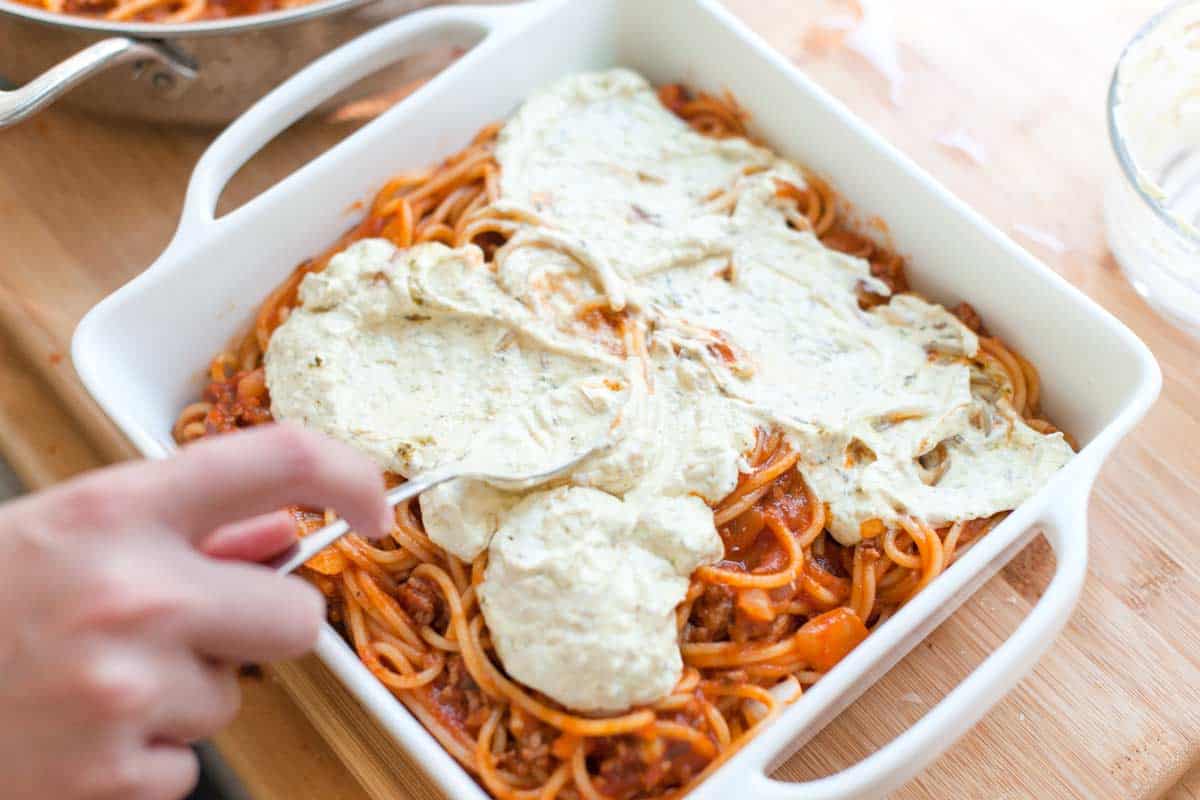
    You can add the spaghetti and meat sauce to a baking dish and top it with cheese, but to make it taste even better, add a creamy pesto layer to the middle.

    How to Make Baked Spaghetti: Add a creamy pesto layer to the middle

    It’s super simple. I mix sour cream with basil pesto. Then, I add about half of my spaghetti to the baking dish, spread a layer of creamy pesto, and layer the remaining spaghetti on top. I do the same when making our baked ziti with spinach, and I love it!

    Baked Spaghetti

    Seriously Good Baked Spaghetti

    • PREP
    • COOK
    • TOTAL

    Our baked spaghetti recipe involves baking spaghetti with a simple meat sauce of ground beef and marinara sauce. We also sneak in a layer of creamy pesto. If you are like us, this will become your new favorite meal! Feel free to swap the ground beef for bulk sausage, ground chicken, or ground turkey. To make this meatless, remove the meat (the spaghetti will still be delicious).

    8 servings

    You Will Need

    1 pound (450g) dry spaghetti

    1 pound (450g) lean ground beef

    1 tablespoon olive oil

    1 medium onion, chopped

    6 cups (1.4L) marinara sauce from 2 (26oz) jars, or see homemade marinara sauce

    3/4 cup (170g) sour cream

    1/4 cup (56g) basil pesto, see homemade basil pesto

    1 cup (113g) grated mozzarella cheese, 4 ounces

    Salt and fresh ground black pepper

    Directions

      1Preheat the oven to 350°F (177°C). Butter a 3-quart baking dish or spray with non-stick cooking spray.

      2Bring a large pot of salted water to the boil. Add the pasta and follow the package directions, but cook for 1 to 2 minutes less than the package calls for. Drain.

      3Meanwhile, make the sauce. Heat the olive oil in a large skillet with sides. Add onions and cook until translucent, about 5 minutes.

      4Add the ground beef and cook until browned, about 10 minutes. As the beef cooks, use a wooden spoon to break it up into small pieces in the pan. Season with 1/4 teaspoon of salt and a few grinds of black pepper. Drain excess fat from the meat.

      5Pour in the marinara sauce and cook until heated through. Take the pan off of the heat and add the cooked and drained pasta. Toss well, taste for seasoning, and adjust with salt and black pepper.

      6In a small bowl, stir sour cream and basil pesto until well blended.

      7Spoon half of the spaghetti into the baking dish. Spread the sour cream and pesto mixture over the pasta and scatter with half of the mozzarella cheese. Top with the remaining pasta, lightly press everything into the baking dish and then scatter the remaining mozzarella cheese.

      8Place the baking dish onto an aluminum-lined baking dish (just in case any sauce drips over the sides of the baking dish). Bake until the cheese has melted and the sauce bubbles, about 30 minutes. Let stand for 10 minutes before serving.

    Adam and Joanne’s Tips

    • Storing: Leftover baked spaghetti can be stored in an airtight container in the fridge for up to 3 days or frozen for up to 3 months. Thaw overnight in the fridge before reheating.
    • Make ahead tips: Assemble, cover with a sheet of parchment paper, and then cover the baking dish with foil. Refrigerate for up to 2 days before baking.
    • The nutrition facts provided below are estimates.

    Nutrition Per Serving
    Serving Size
    1/8 of the dish
    /
    Calories
    540
    /
    Total Fat
    17.8g
    /
    Saturated Fat
    6.4g
    /
    Cholesterol
    60.6mg
    /
    Sodium
    1194.8mg
    /
    Carbohydrate
    61.1g
    /
    Dietary Fiber
    6g
    /
    Total Sugars
    12.3g
    /
    Protein
    32.3g


    AUTHOR:

    Joanne Gallagher

    Adam and Joanne of Inspired Taste

    We are Adam and Joanne Gallagher, the creators of Inspired Taste. Established in 2009, Inspired Taste grew from a childhood dream into one of the internet’s most trusted recipe sites with hundreds of reliable recipes, step-by-step videos, and expert tips.More About Us

    Source link

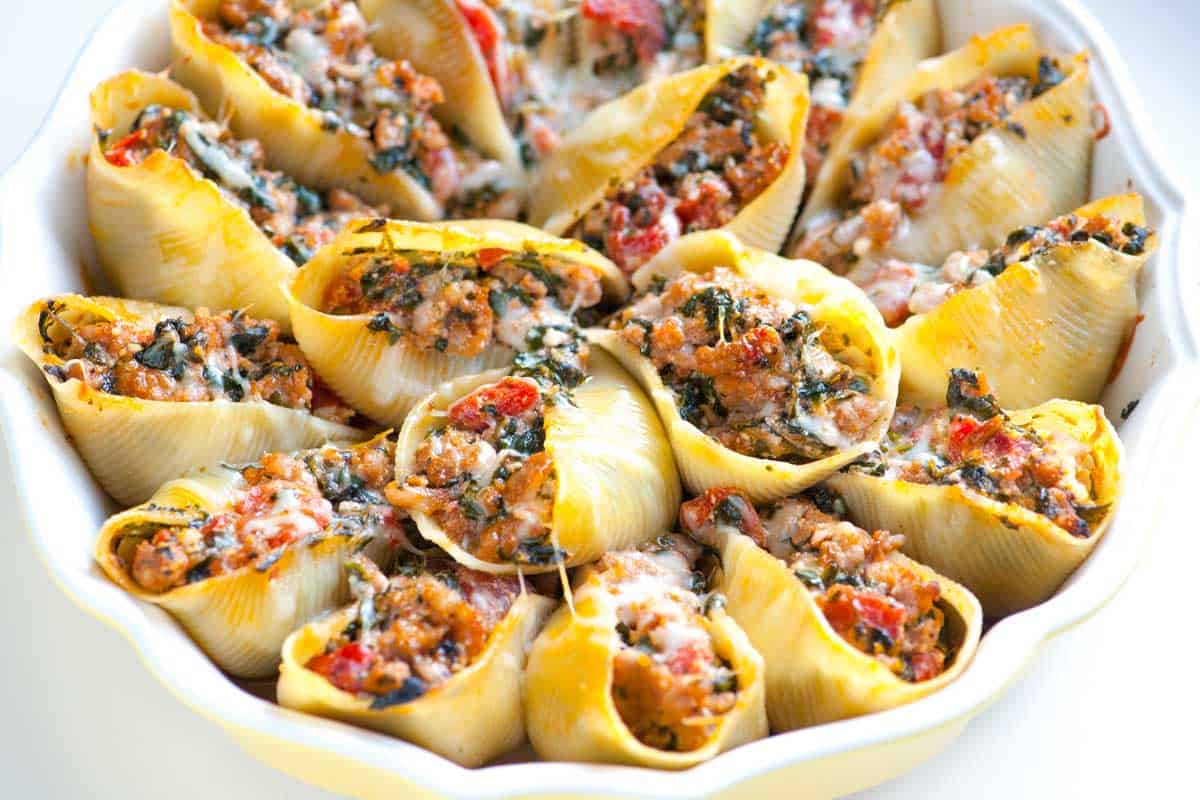
  • Sausage Stuffed Shells Recipe

    Sausage Stuffed Shells Recipe

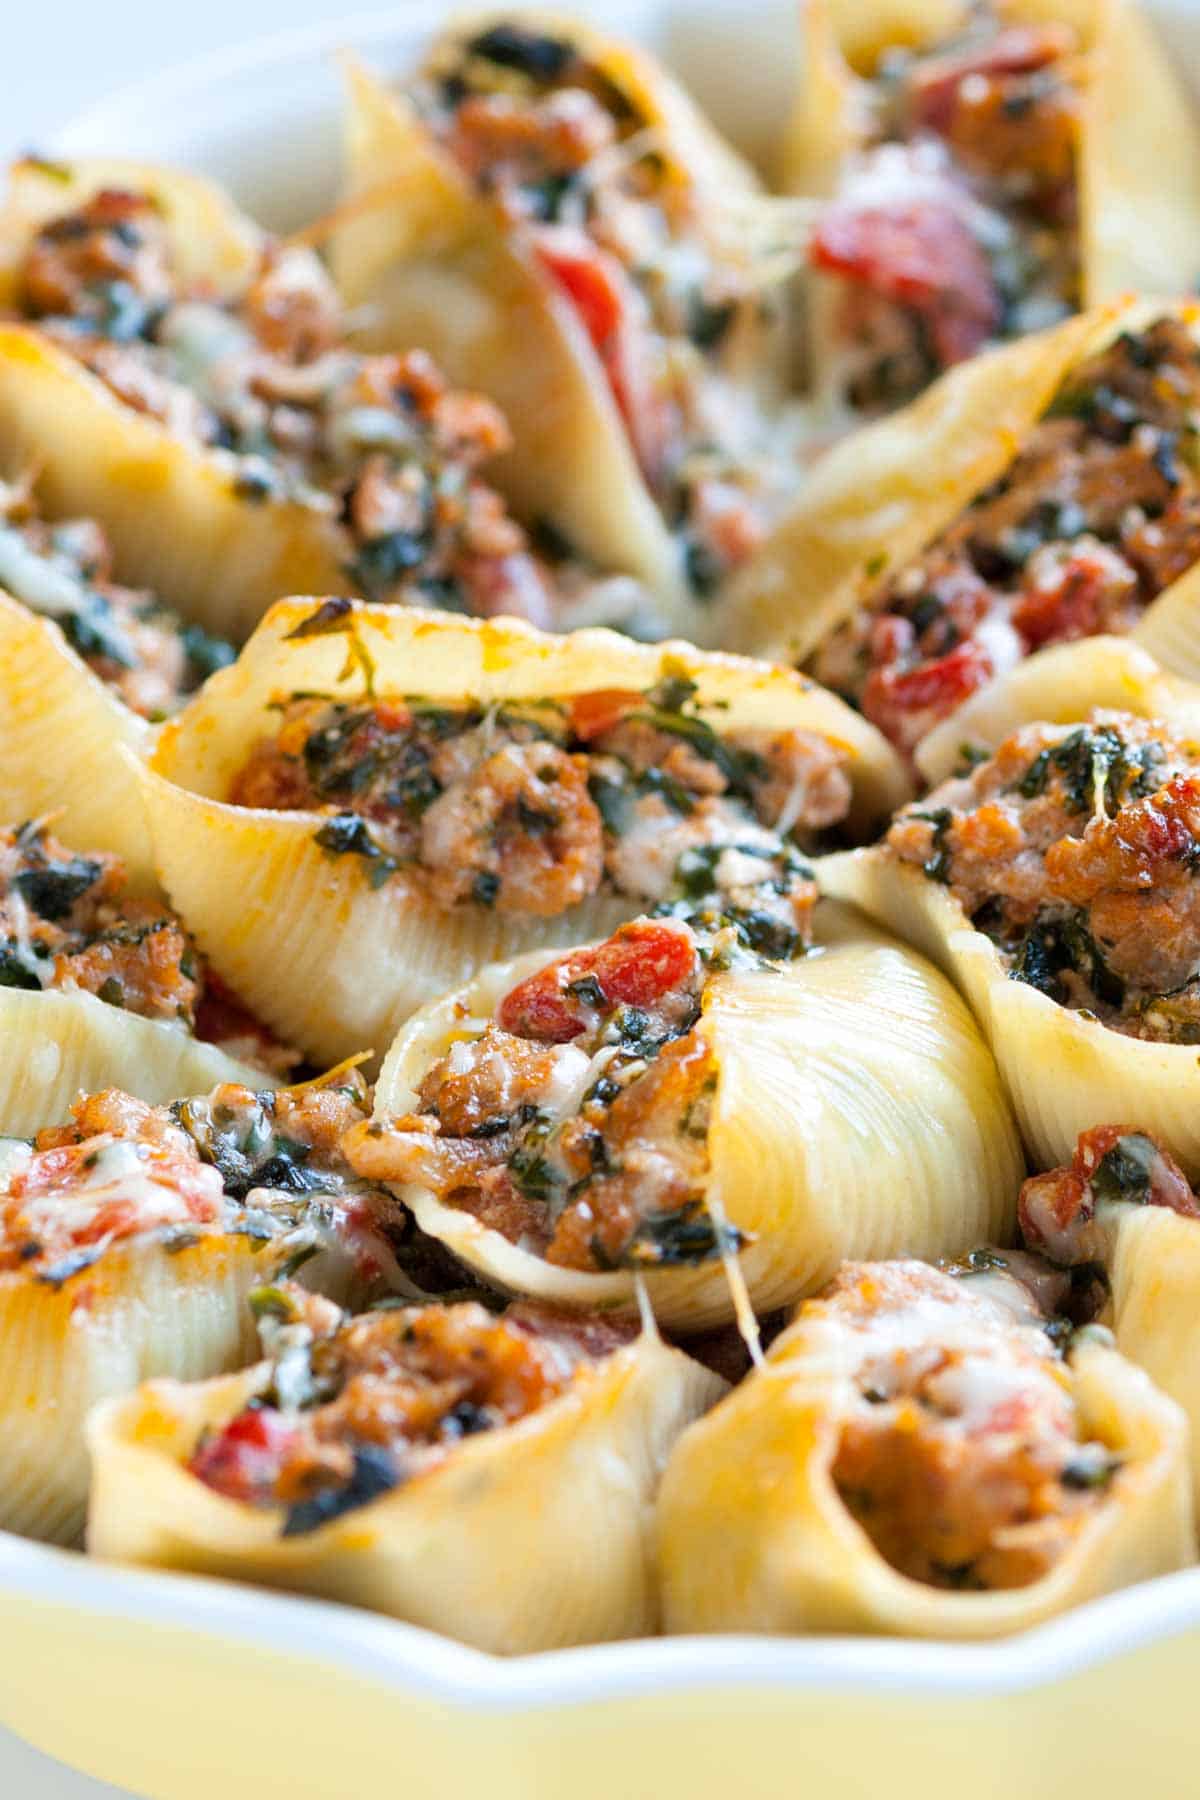
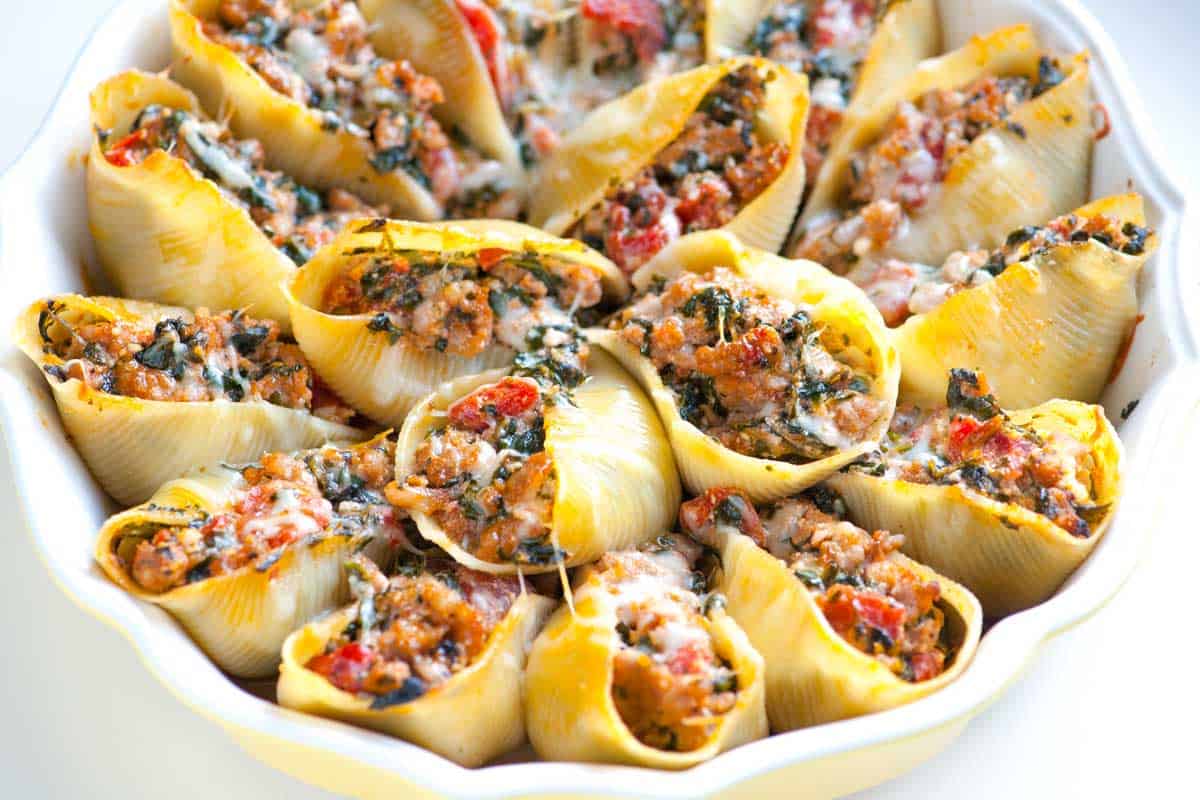
    Our family’s favorite sausage stuffed shells recipe has an incredibly flavorful filling made with sausage, ricotta, and spinach. It’s also surprisingly easy to make.

    Stuffed Shells with Sausage and Spinach

    Everyone I’ve shared these with has loved them. The cheesy, sausage filling tucked inside each shell makes this recipe hard to resist. The first time I made them, I stepped away from the table for just a minute and came back to find that Adam had already eaten half the pan.

    That’s when I knew this one was special. So many of our readers have fallen for these sausage and spinach stuffed shells, and I can’t wait for you to try them too.

    Key Ingredients

    • Pasta Shells: Use large dried pasta shells and cook them in boiling water until al dente before filling.
    • Sausage: Italian bulk sausage is my go-to, but fresh sausage links with the casings removed work just as well. For extra kick, try using hot or spicy sausage.
    • Tomatoes and Spinach: I use canned tomatoes and frozen spinach. Be sure to thaw the spinach and squeeze out any excess moisture before mixing it into the filling.
    • Ricotta and Mozzarella: I like whole-milk ricotta and shredded mozzarella for the creamiest filling. Cottage cheese is a great substitute for ricotta. It’s actually what I use in our popular manicotti recipe.
    • Marinara Sauce: You’ll bake the shells on a layer of marinara sauce. You can use homemade marinara, our easy pasta sauce, or your favorite store-bought pasta sauce.

    Find the full recipe with measurements below.

    How to Make Sausage Stuffed Shells

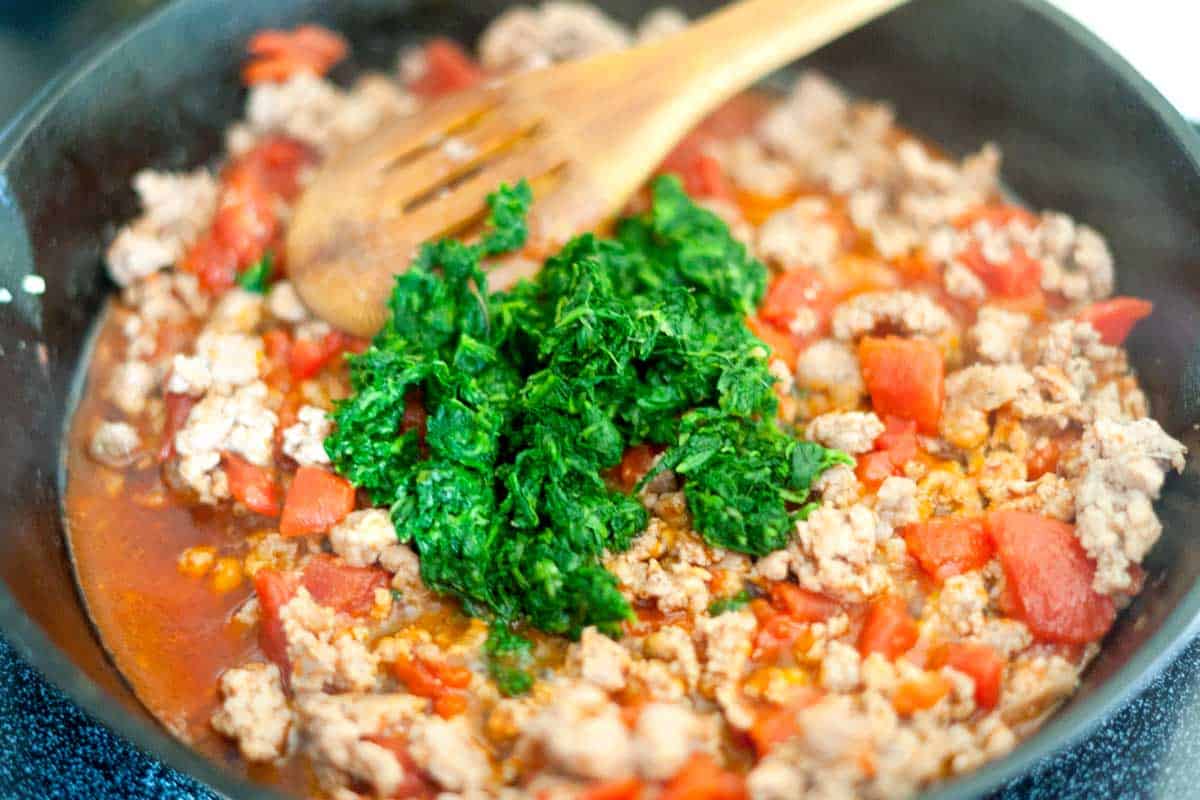
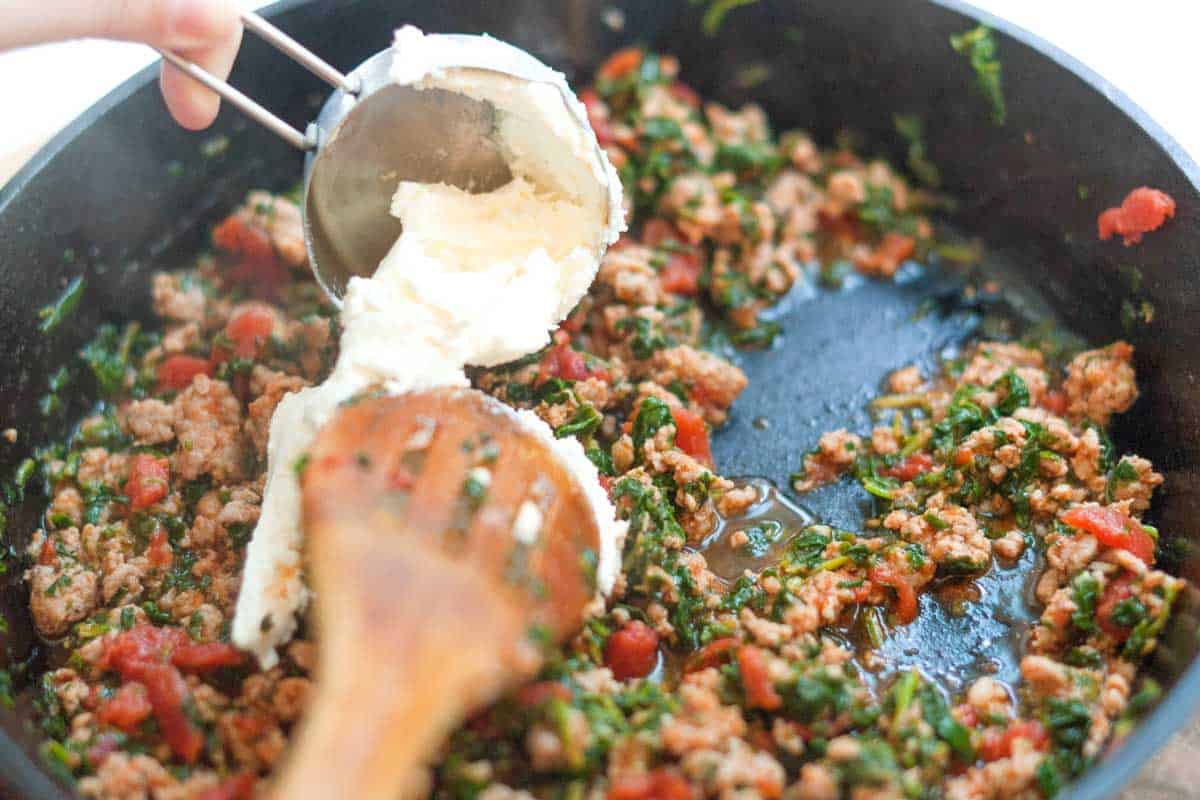
    Tip 1: Make the filling while the pasta shells cook. While the pasta shells cook in boiling water, I make the easy sausage filling. I brown the sausage, then stir in garlic, tomatoes, and spinach. Then, for my favortie part. To make it creamy, I mix in the ricotta cheese.

    Cooking sausage with tomatoes and spinach for the stuffed shells filling
    Adding ricotta cheese to the filling to make it creamy.

    Tip 2: Bake on a bed of marinara. I love how the shells turn a little golden and crisp on top as they bake. Placing them on top of the marinara sauce instead of covering them helps with this.

    I stuff the ricotta sausage mixture into the shells, set them on a bed of marinara, sprinkle cheese over the top, and bake until the edges begin to brown and the cheese melts.

    Serving Suggestions

    Serve these with a crisp green salad tossed in a simple vinaigrette, or go classic with our Caesar or Italian chopped salad. Add slices of cheesy garlic bread, homemade focaccia, or a crusty baguette on the side for soaking up the sauce. For a little extra veggies, roasted vegetables like broccoli, zucchini, or asparagus are perfect.

    More Stuffed Shells Recipes

    Stuffed Shells with Sausage

    Sausage Stuffed Shells

    • PREP
    • COOK
    • TOTAL

    The sausage and ricotta filling for these shells holds up beautifully, making them just as perfect for a cozy dinner as they are for serving as finger food. You can use any type of sausage you prefer. If you’re using a leaner sausage, add a drizzle of oil to the pan before browning to keep the filling rich and flavorful.

    When cooking the pasta, add a few extra shells to the pot, as some may tear during boiling. The filling in this recipe makes enough for about 16 filled shells.

    Makes 4 servings

    You Will Need

    20 jumbo dried pasta shells

    20 jumbo dried pasta shells

    1 pound fresh Italian pork sausage, casings removed (450g)

    3 medium cloves garlic, minced

    1 (14 ounce) can diced tomatoes

    1 (10 ounce) package frozen spinach, thawed and squeezed dry, 1 ¼ cups

    ½ cup ricotta cheese (113g)

    ½ cup shredded mozzarella cheese (56g)

    Salt and fresh ground black pepper

    2 cups marinara sauce (470ml)

    Directions

      1Prep: Preheat your oven to 350°F (177°C). Set aside a 3-quart baking dish.

      2Cook the shells: Bring a large pot of salted water to a boil. Add the pasta shells and cook according to the package directions until al dente. Drain and rinse under cold water to stop the cooking.

      3Make the filling: Meanwhile, heat a wide skillet over medium-high heat. Add the sausage and cook until browned, about 10 minutes, breaking it into small pieces with a wooden spoon as it cooks. Stir in the garlic, tomatoes, and the thawed, ringed-out spinach. Cook until heated through and the liquid has reduced by half, about 2 minutes. Remove the pan from the heat and stir in the ricotta cheese. Taste and season with salt and pepper.

      4Assemble: Spread about 1 cup of marinara sauce over the bottom of the baking dish. Fill each shell with the sausage mixture and arrange them in the dish. Sprinkle the top with mozzarella cheese.

      5Bake: Bake until the tips of the shells begin to brown and the cheese has melted, about 25 minutes. Warm the remaining marinara sauce and serve it alongside the shells.

    Adam and Joanne’s Tips

    • Storing: Leftover shells can be stored in an airtight container in the refrigerator for up to 3 days and about 3 months in the freezer.
    • Sausage with casing: If you cannot find bulk sausage, buy sausage formed into links, and then remove the casings by cutting a slit down the sausage and pulling the casing away from the meat.
    • Use fresh spinach: Cook 1 pound of fresh spinach until wilted, squeeze out excess moisture, and add to the filling.
    • The nutrition facts provided below are estimates.

    Nutrition Per Serving
    Calories
    625
    /
    Protein
    33g
    /
    Carbohydrate
    32g
    /
    Dietary Fiber
    7g
    /
    Total Sugars
    8g
    /
    Total Fat
    30g
    /
    Saturated Fat
    13g
    /
    Cholesterol
    86mg


    AUTHOR:

    Joanne Gallagher

    Adam and Joanne of Inspired Taste

    We are Adam and Joanne Gallagher, the creators of Inspired Taste. Established in 2009, Inspired Taste grew from a childhood dream into one of the internet’s most trusted recipe sites with hundreds of reliable recipes, step-by-step videos, and expert tips.More About Us

    Source link

  • Easy Roasted Cauliflower Soup Recipe

    Easy Roasted Cauliflower Soup Recipe

    This roasted cauliflower soup recipe is close to my heart. It’s rich and creamy, super easy to make, and tastes amazing!

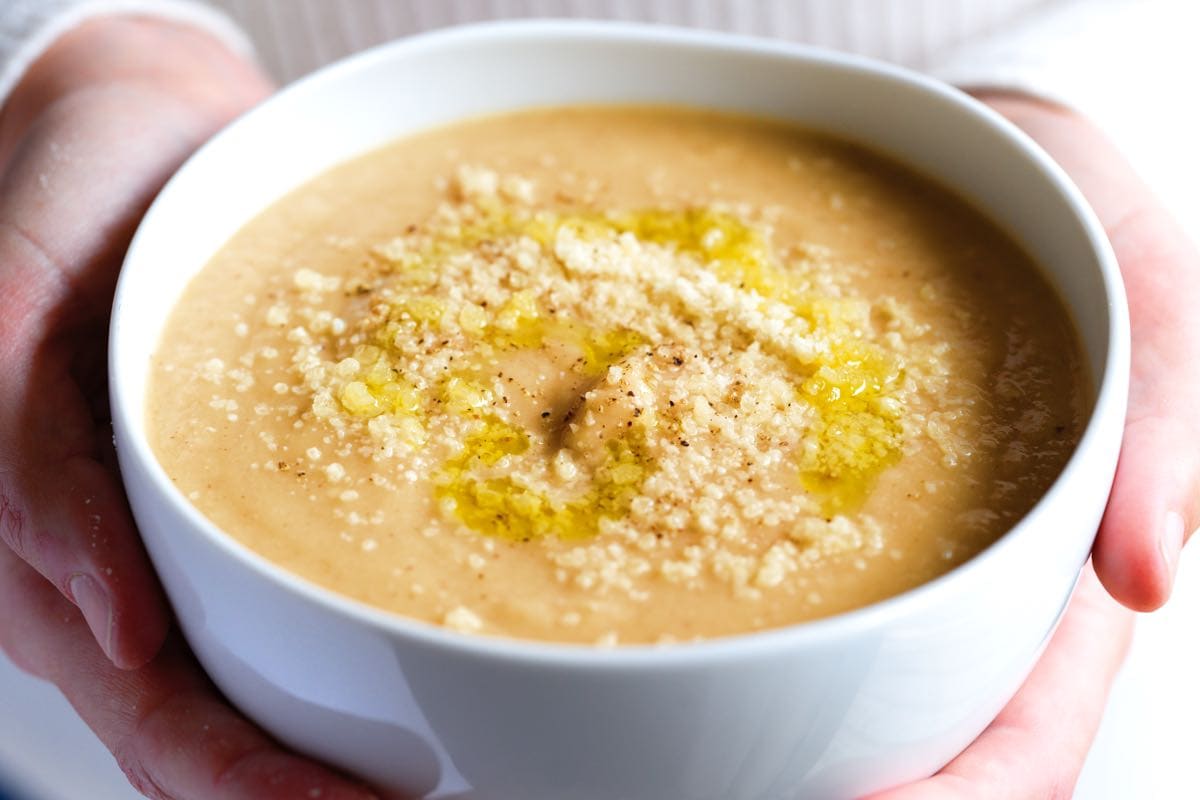
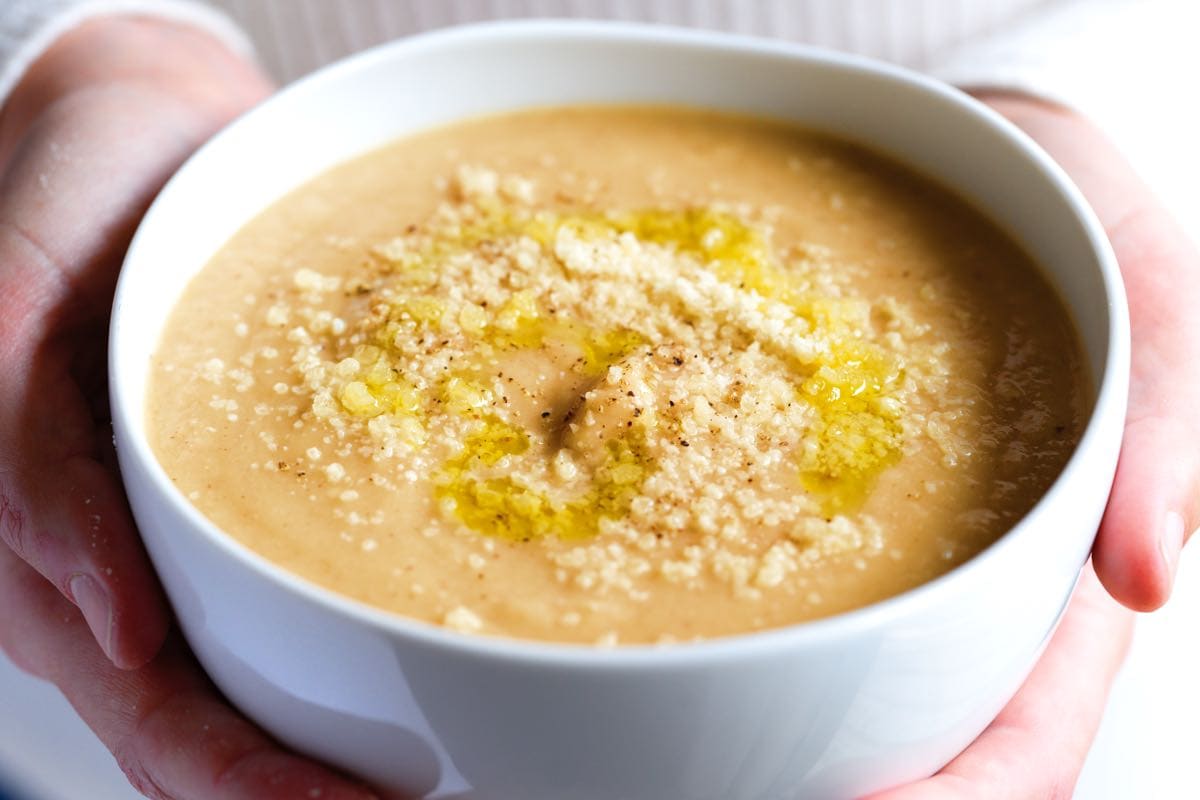
    Roasted Cauliflower Soup with parmesan on top

    For this easy cauliflower soup, we roast a whole head of cauliflower until golden brown and blend with onion, parmesan cheese, and broth until silky smooth.

    We have so many cauliflower recipes on Inspired Taste, and honestly, I love them all, but this soup is the one I go to when I need a little comfort. A big bowl of this soup makes the day melt away.

    Key Ingredients

    • Cauliflower: I use one large head of cauliflower for this soup, which means you’ll get 4 generous servings.
    • Garlic and Thyme: Since I roast the cauliflower for this soup, I take the opportunity to toss a few garlic cloves and fresh thyme onto the baking sheet. They add so much flavor!
    • Onion and Celery: Once the cauliflower has finished roasting in the oven, we cook onion and celery with a pinch of red pepper flakes and salt, adding more nutritious vegetables to the soup and flavor.
    • Broth: I love using a light broth so that the cauliflower shines. I especially love this easy chicken broth and this delicious veggie broth.
    • Butter: I don’t add cream to this cauliflower soup, but I do add butter. Use a good-quality European-style butter or your favorite plant-based butter.
    • Lemon Juice: A squeeze of fresh lemon juice brings this soup together. We highly recommend it.
    • Cheese: I love adding parmesan cheese, but you can substitute it for another kind of cheese or leave it out altogether.

    Find the full recipe with measurements below.

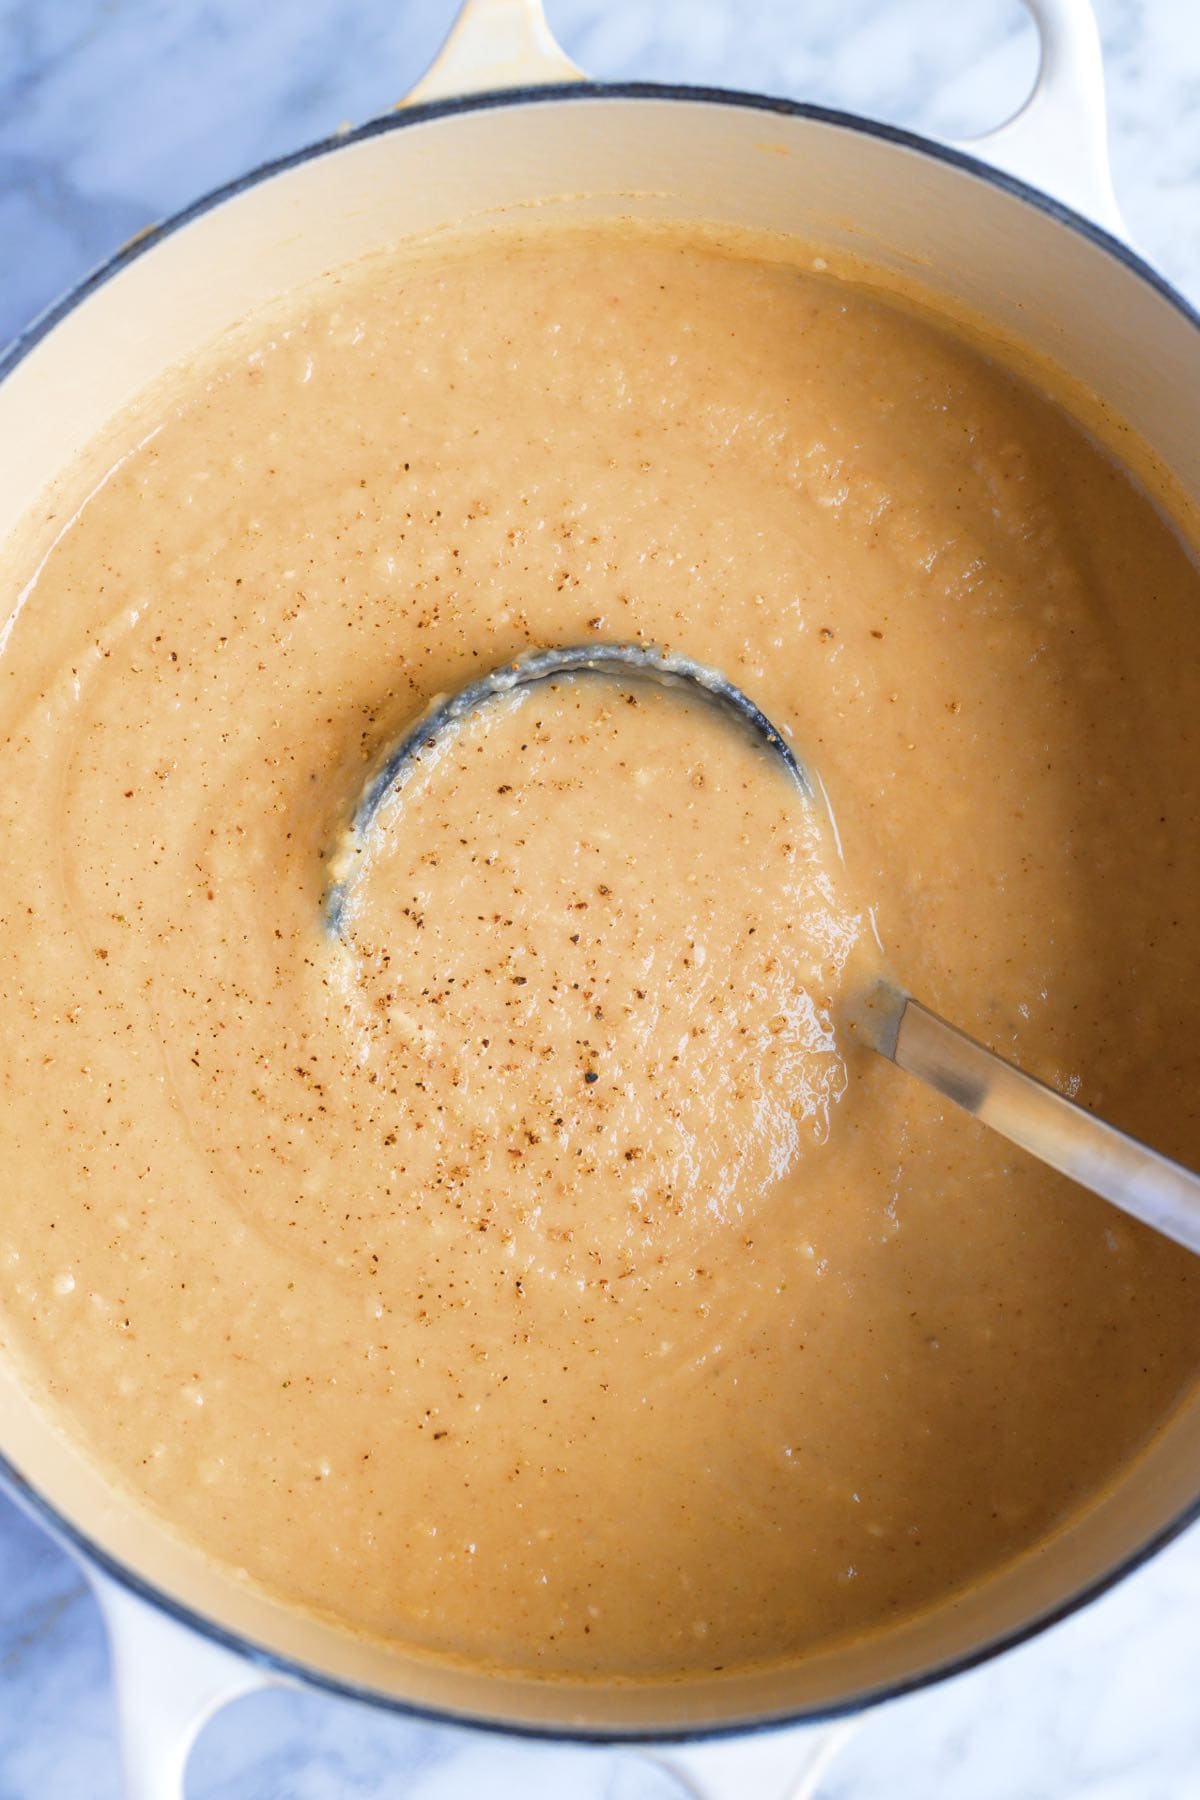
    A Pot of Creamy Cauliflower Soup

    How to Make the Best Roasted Cauliflower Soup

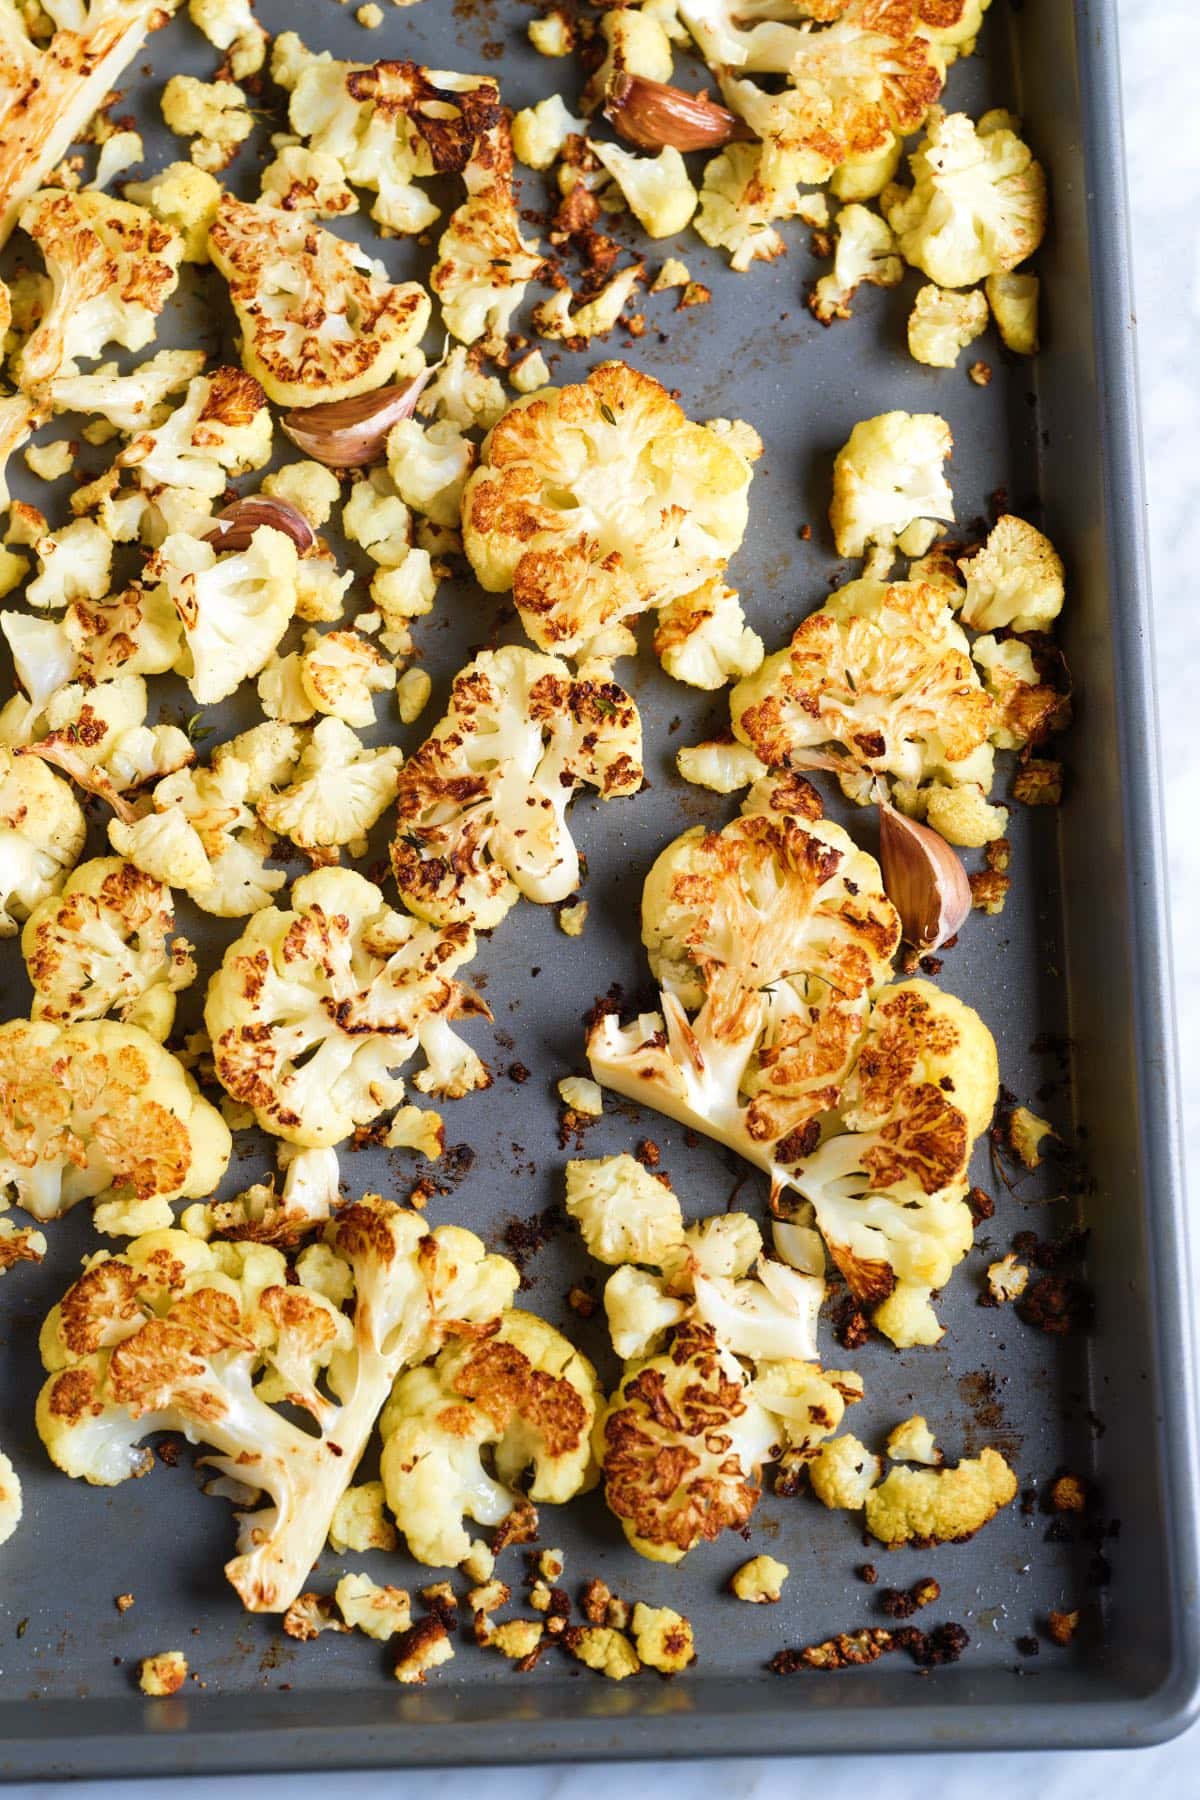
    Tip 1: Roast garlic and cauliflower. This cauliflower soup starts with roasting a whole head of cauliflower. I don’t pay too much attention to how well I chop the cauliflower. Slicing it into cauliflower steaks or slabs is the quickest way. Then we toss them with olive oil, salt, thyme, and whole garlic cloves (you can leave the peel on for now). As the garlic roasts in the oven, it softens and becomes sweet (like in our whole roasted garlic recipe)

    The cauliflower and garlic roast in a hot oven for 20 to 25 minutes, so it’s pretty quick. When it is nearly finished roasting, you can prepare the remaining ingredients.

    Roasted Cauliflower Ready for Cauliflower Soup

    Tip 2: Build flavors. Just as the cauliflower and garlic is finishing in the oven, in a soup pot, cook roughly chopped onion and celery in butter (or olive oil) until soft. The roasted garlic will have softened a lot, so you can easily squeeze the soft garlic cloves to the pot. Then, pour in broth and add the roasted cauliflower. I have two favorite homemade broths for this: veggie broth or chicken broth.

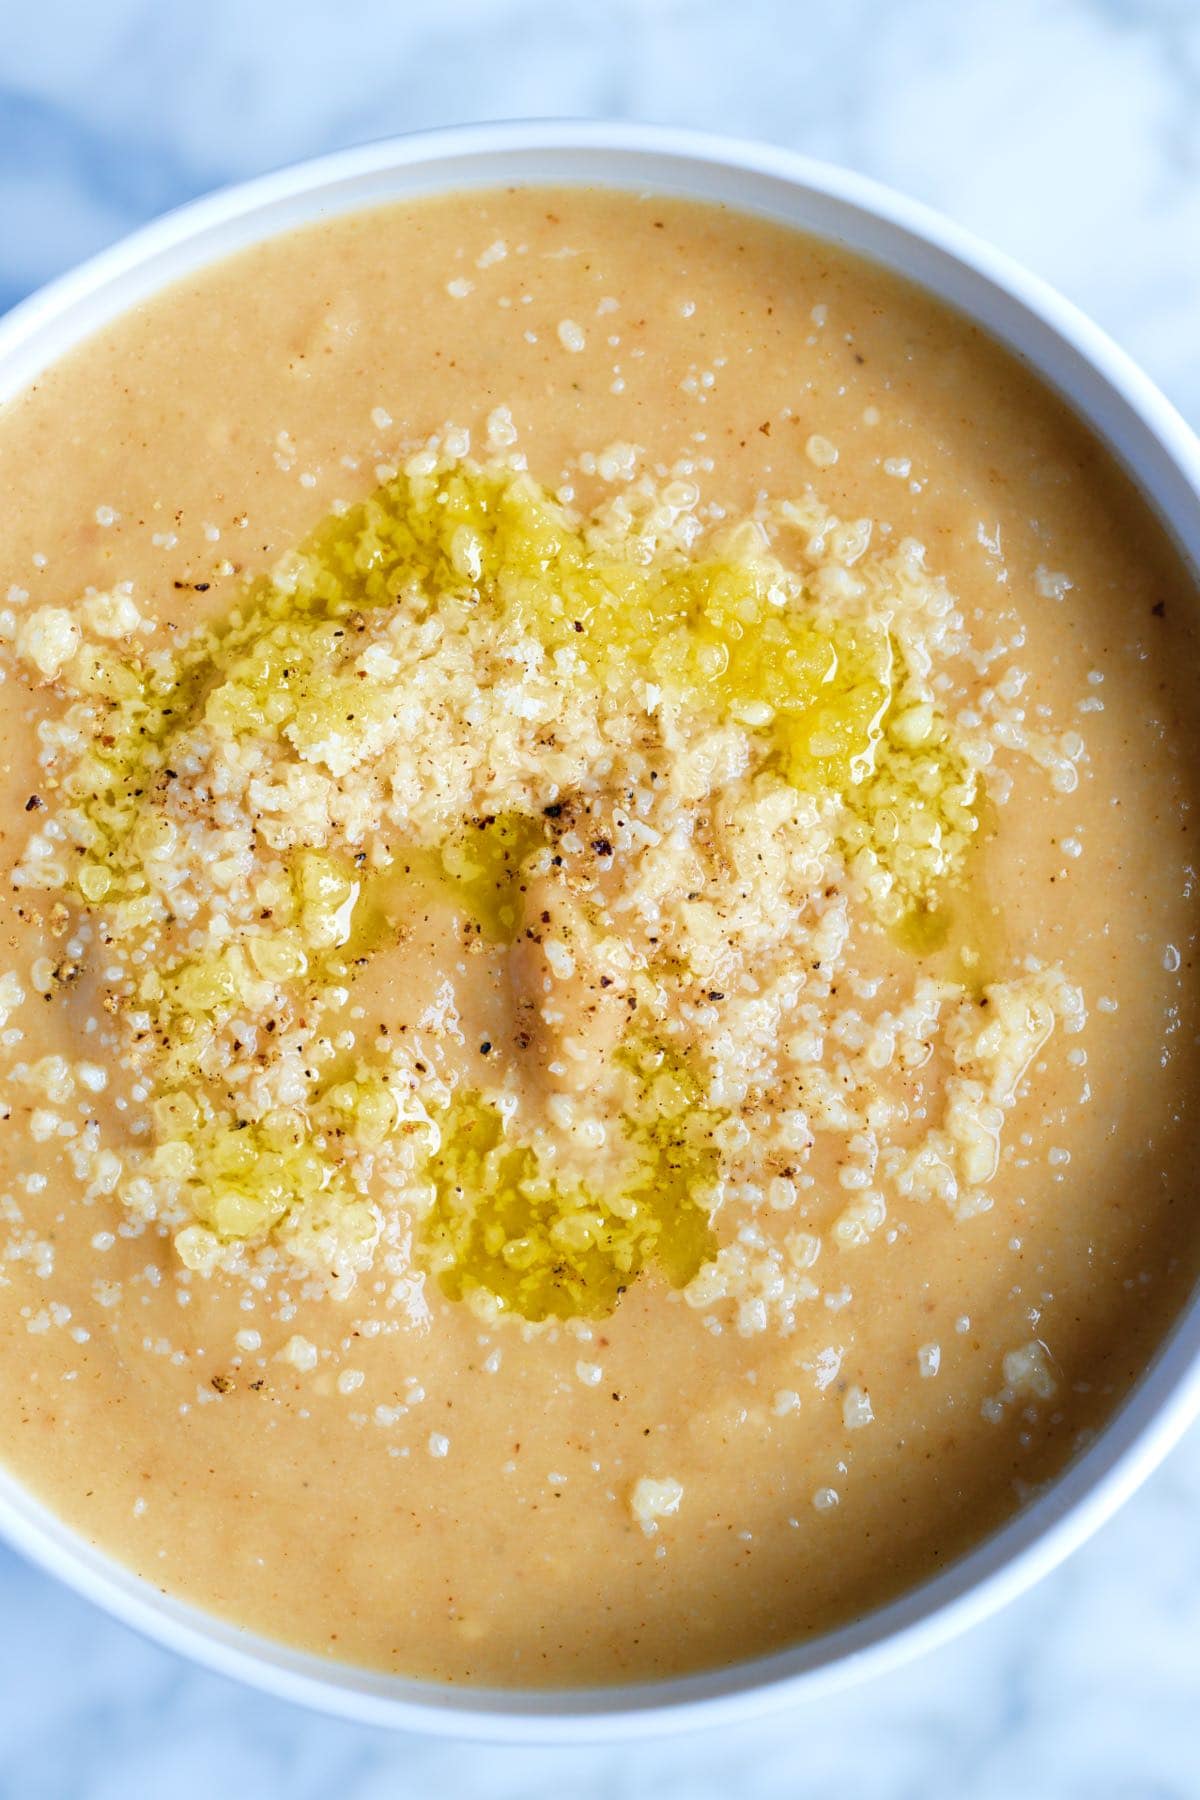
    Tip 3: Blend until creamy. Let the soup simmer for 10 minutes, then blend it into a smooth, decadent soup. I love adding some fresh lemon juice and parmesan cheese, but you can adjust the seasoning with fresh herbs, another kind of cheese, or leave it plain. You can see from the photos that the cauliflower soup is super creamy without having to add any cream!

    More Vegetable Soup Recipes

    More Cauliflower Recipes

    Roasted Cauliflower Soup

    Easy Roasted Cauliflower Soup

    • PREP
    • COOK
    • TOTAL

    For this easy cauliflower soup recipe, we roast a whole head of cauliflower until golden brown and then blend it with onion, parmesan cheese, and broth until silky smooth. This healthy soup is creamy, decadent, and delicious! For more crunch, try serving this soup topped with our homemade garlic croutons.

    4 Servings (makes 6 to 7 cups)

    Watch Us Make the Recipe

    You Will Need

    1 large head cauliflower, about 2 pounds

    4 tablespoons olive oil

    1 teaspoon fresh thyme leaves or 1/4 teaspoon dried thyme

    4 garlic cloves, left unpeeled

    1/2 large onion, chopped, about 1 ¼ cups

    1 celery stalk, chopped, about 1/2 cup

    Pinch crushed red pepper flakes, optional for heat

    4 cups (946ml) vegetable broth or chicken broth

    2 tablespoons butter

    1 tablespoon fresh lemon juice, or more if needed

    1/4 cup grated parmesan cheese, plus more for serving, optional (1/2 ounce)

    Directions

      1Preheat the oven to 425°F (220°C) and prepare a baking sheet. We roast the cauliflower directly on the baking sheet, but for easy cleanup, line it with parchment paper or a silicone baking mat.

      2Remove the larger leaves from the cauliflower and leave the core intact. (You can save the leaves to blend into the soup later.)

      3Slice the cauliflower in half and cut it into 3/4-inch thick slices.
      Drizzle two tablespoons of olive oil onto the baking sheet, then arrange the cauliflower on top of the oil.

      4Add the unpeeled garlic cloves (they will roast in their peels) and the thyme, then drizzle over two more tablespoons of olive oil. Move the cauliflower slices around so they each have a chance to touch some oil.

      5Roast for 20 minutes or until the bottom of each slice looks well browned. Flip each piece, and then roast for 5 minutes more.

      6Melt two tablespoons of butter in a deep soup pot over medium heat. Then, stir in the onions, celery, pinch of red pepper flakes, and 1/4 teaspoon salt. Cook until softened, about 5 minutes.

      7When they are cool enough to handle, squeeze the garlic from inside each clove and place it in the soup pot. Discard the garlic peel.

      8Transfer the roasted cauliflower to the pot and pour in the broth. If you saved any cauliflower leaves from earlier, add them to the pot. Bring to a simmer and cook for 10 minutes.

      9Turn off the heat, and add the cheese and two tablespoons of lemon juice.

      10Blend the soup until smooth. An immersion blender is the easiest, or you can use a blender. If you use a regular blender, it is best to blend in batches and fill the blender less than you usually would since the soup is so hot. We like to remove the lid’s center insert and cover it with a kitchen towel while blending. This helps to release some of the steam and prevents the blender lid from popping off (which can be a big, hot mess).

      11Taste the soup and add more lemon juice, salt, and pepper until the flavor pops (it should make you smile). Serve with more cheese, a few grinds of black pepper, and a drizzle of olive oil on top.

    Adam and Joanne’s Tips

    • Storing: This cauliflower soup lasts in your refrigerator for up to 5 days. It can also be frozen for up to one month, probably longer.
    • Soup is too thick: Add 1/4 cup to 1 cup of water. Add enough water to achieve your preferred thickness. The water will not water down the flavor of your soup, but if you are concerned or have more on hand, you can use stock or broth.
    • Vegetarian adaptations: Use vegetable broth, a vegetarian-friendly cheese or leave it out altogether.
    • Vegan adaptations: Use vegan broth, vegan butter and vegan cheese or a couple tablespoons of nutritional yeast instead (my preference).
    • The nutrition facts provided below are estimates.

    Nutrition Per Serving
    Serving Size
    1/4 of the recipe (1 of 4 servings)
    /
    Calories
    288
    /
    Total Fat
    23.2g
    /
    Saturated Fat
    7.5g
    /
    Cholesterol
    23.4mg
    /
    Sodium
    686.7mg
    /
    Carbohydrate
    18.1g
    /
    Dietary Fiber
    5.2g
    /
    Total Sugars
    7.5g
    /
    Protein
    6.8g


    AUTHOR:

    Joanne Gallagher

    Adam and Joanne of Inspired Taste

    We are Adam and Joanne Gallagher, the creators of Inspired Taste. Established in 2009, Inspired Taste grew from a childhood dream into one of the internet’s most trusted recipe sites with hundreds of reliable recipes, step-by-step videos, and expert tips.More About Us

    Source link

  • Sheet Pan Chicken Pitas with Tzatziki Recipe

    Sheet Pan Chicken Pitas with Tzatziki Recipe

    Part bowl, part salad, part sandwich folded up into any kind of bread you like, and I’m here for it in every form.

    Favorite thing I’ve been eating lately: these sheet pan chicken pitas.

    Er, can we call them pitas? They are part bowl, part salad, part sandwich folded up into any kind of bread you like including but not limited to pitas, and I’m here for it in every form.

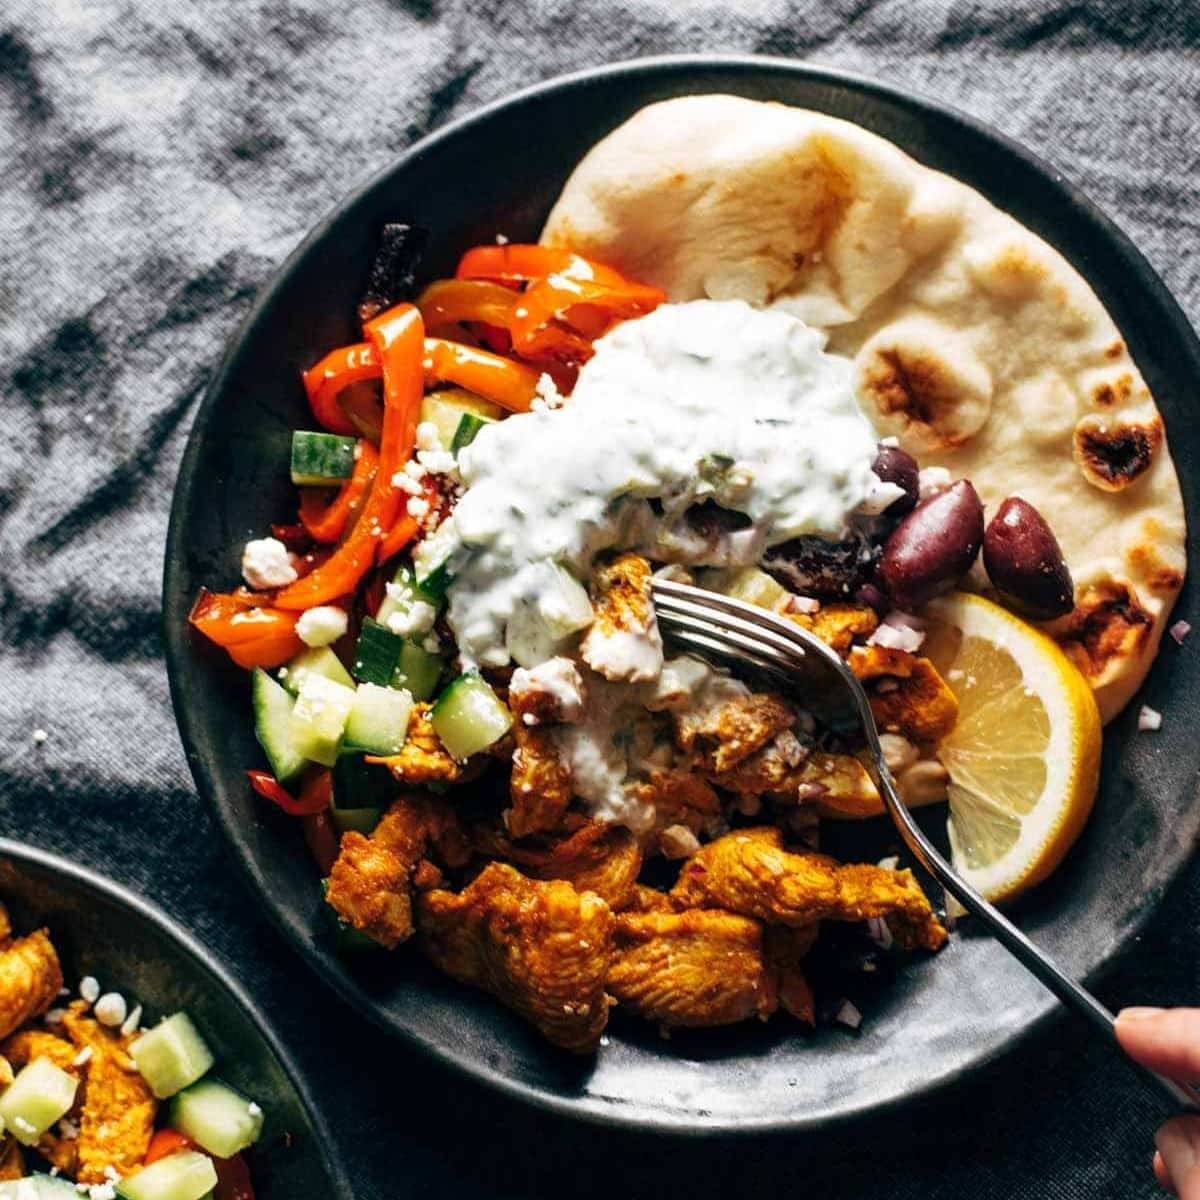
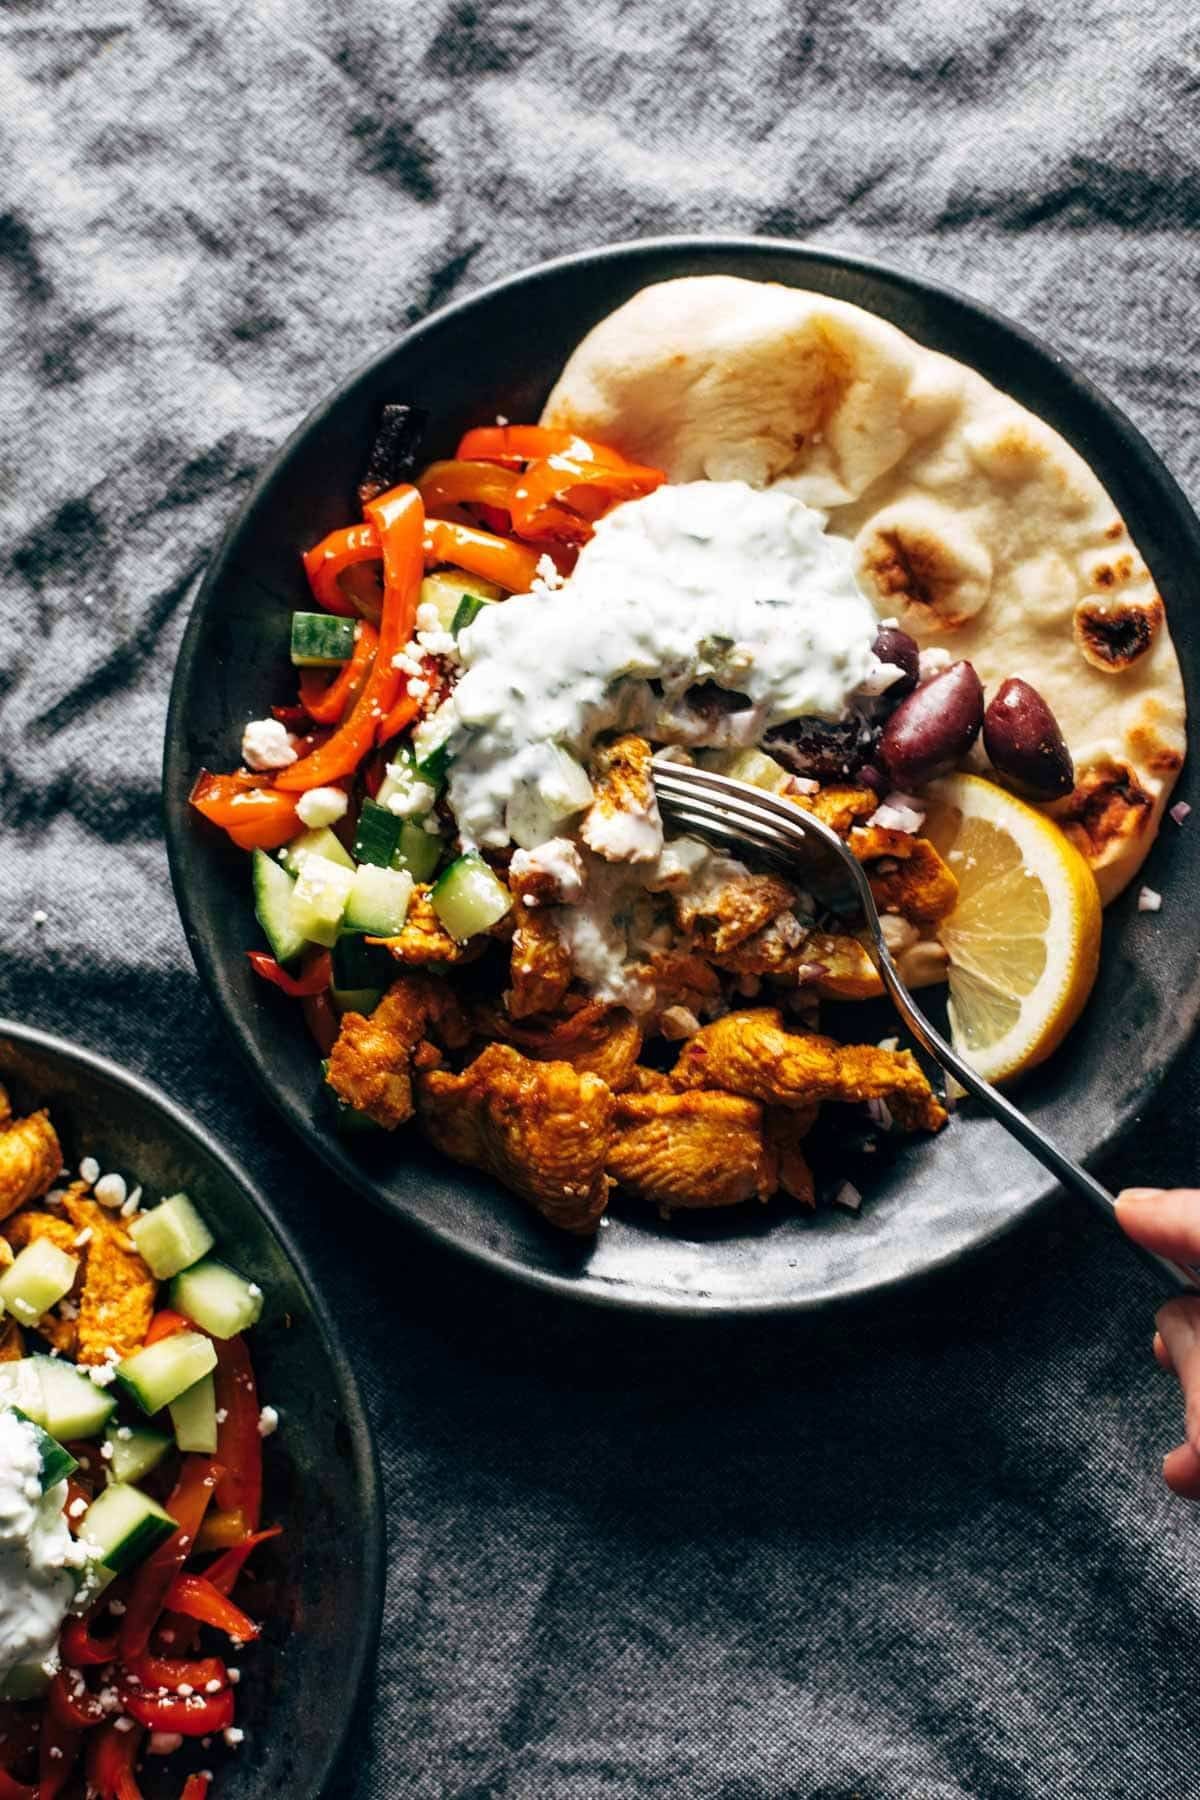
    Here’s our lineup:

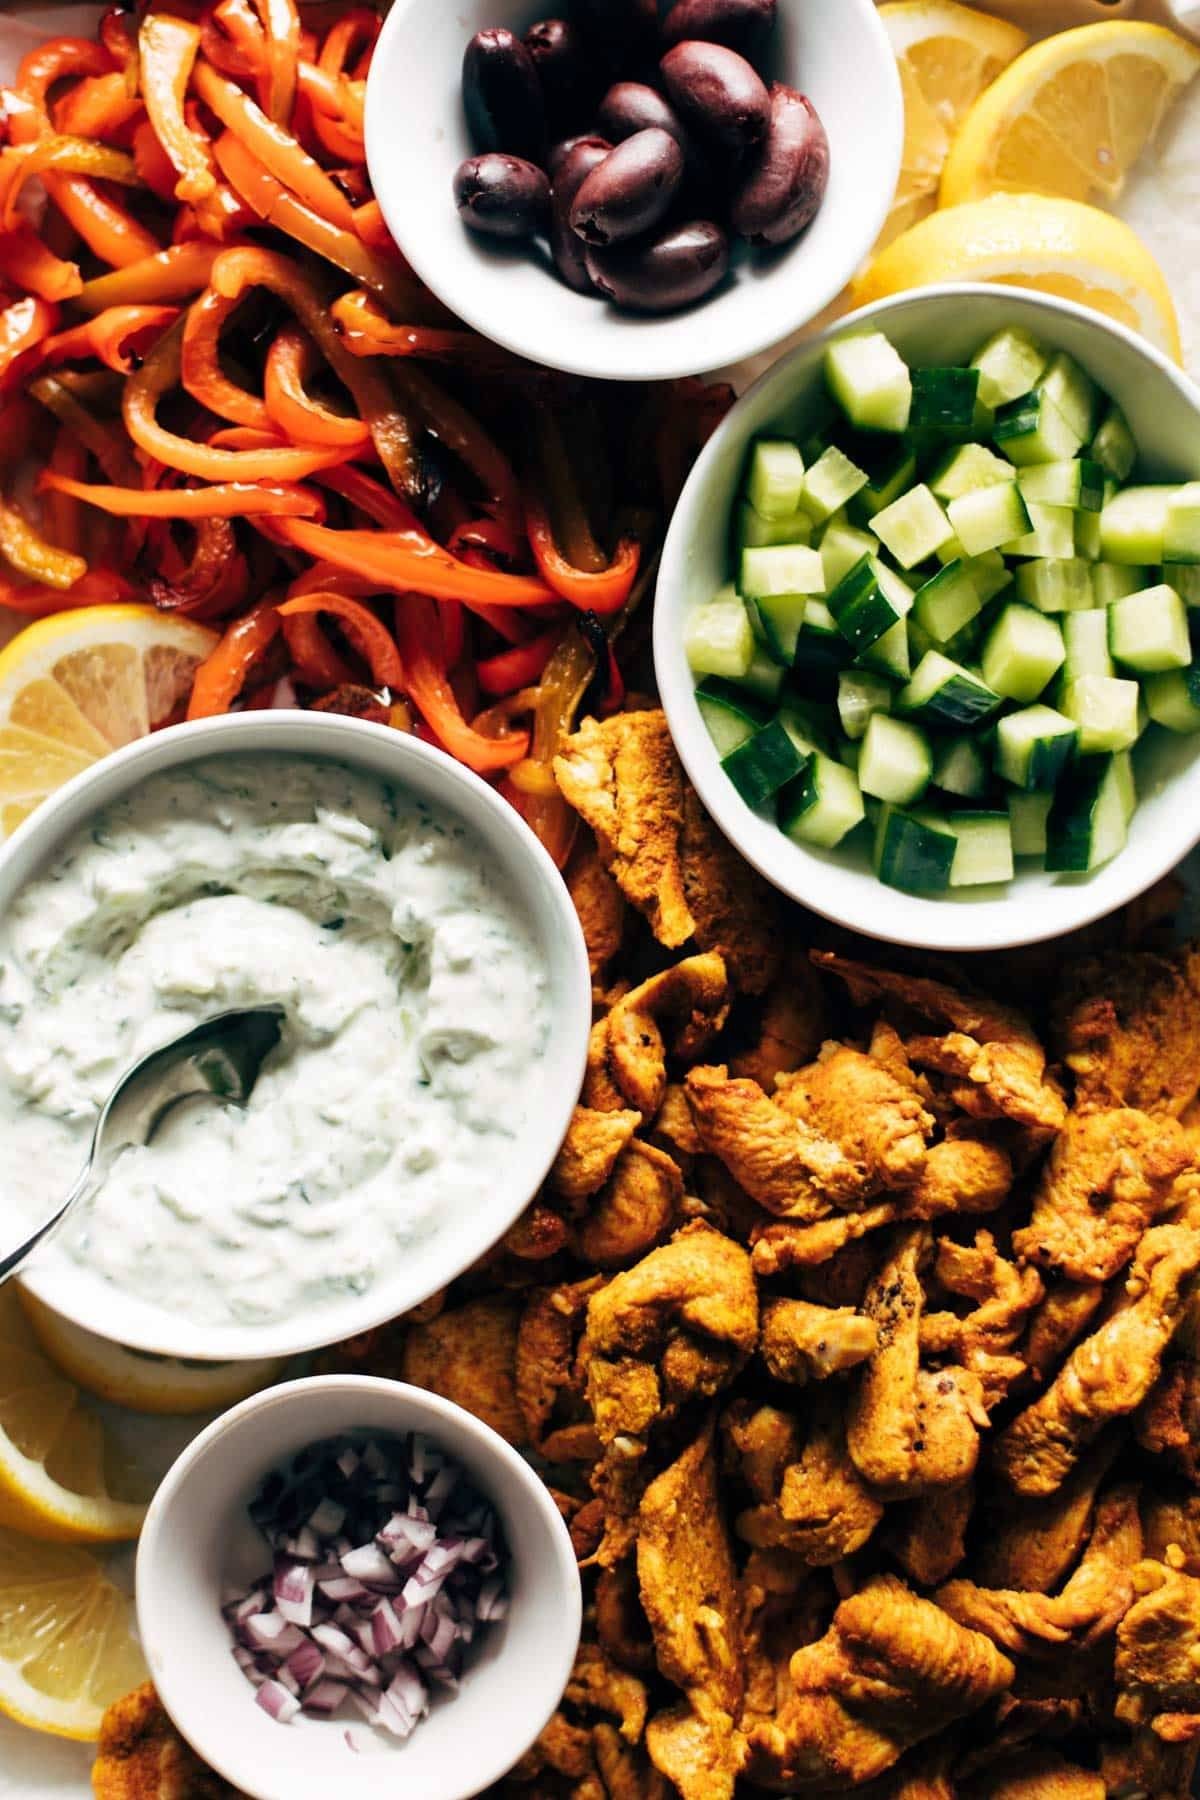
    • marinated, spiced, flash-roasted chicken
    • roasted bell peppers
    • diced fresh cucumber
    • kalamata olives
    • feta cheese
    • olive oil, salt, pepper, lemon juice
    • tzatziki (that yogurt dill sauce that crowns the plate)

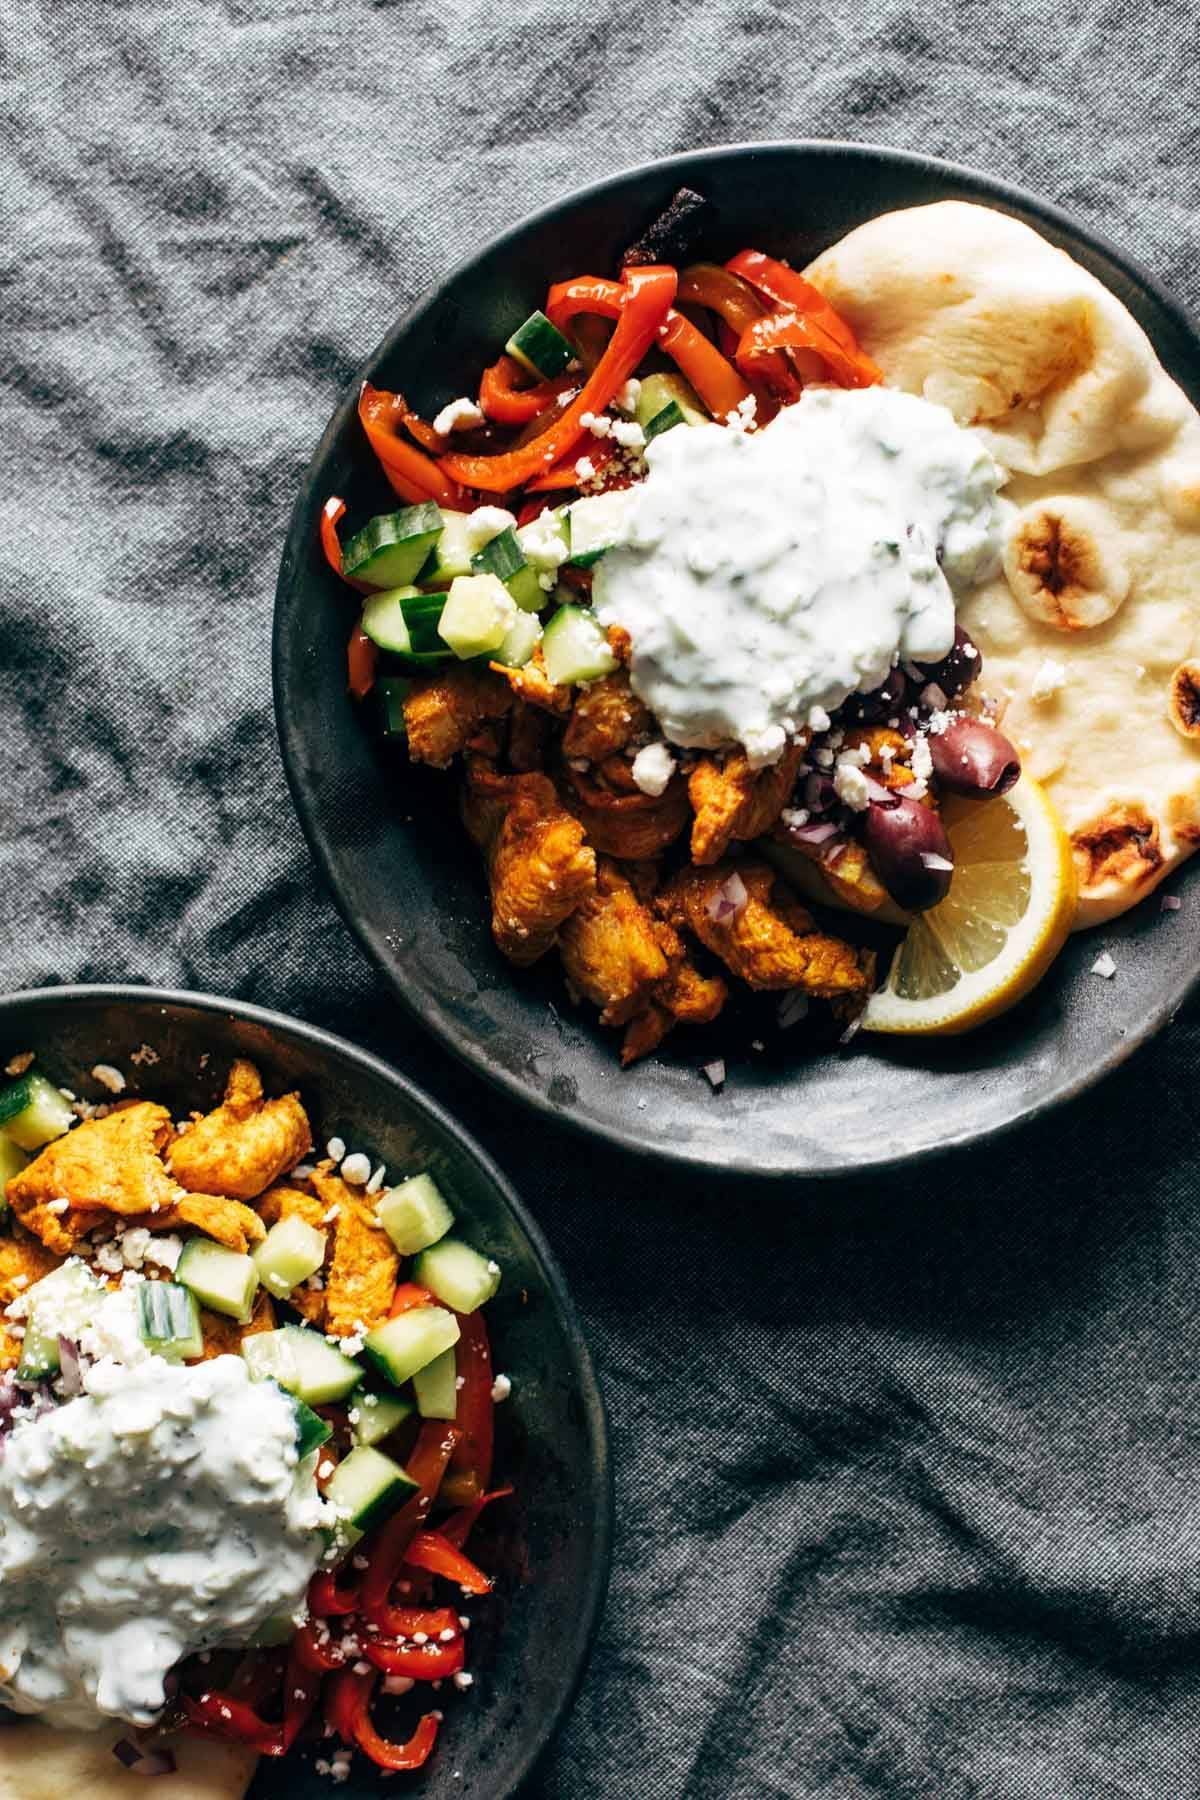
    Pile that on a plate and grab a fork – or grab a piece of warm, soft naan, or pita, or socca (YUM), and get to work. You’ve got the crunchy, and the cool-creamy, and the puckery-briney all happening in one big joyful bite.

    A plate of chicken, red bell peppers, cucumber, and tzatziki sauce with a lemon wedge.
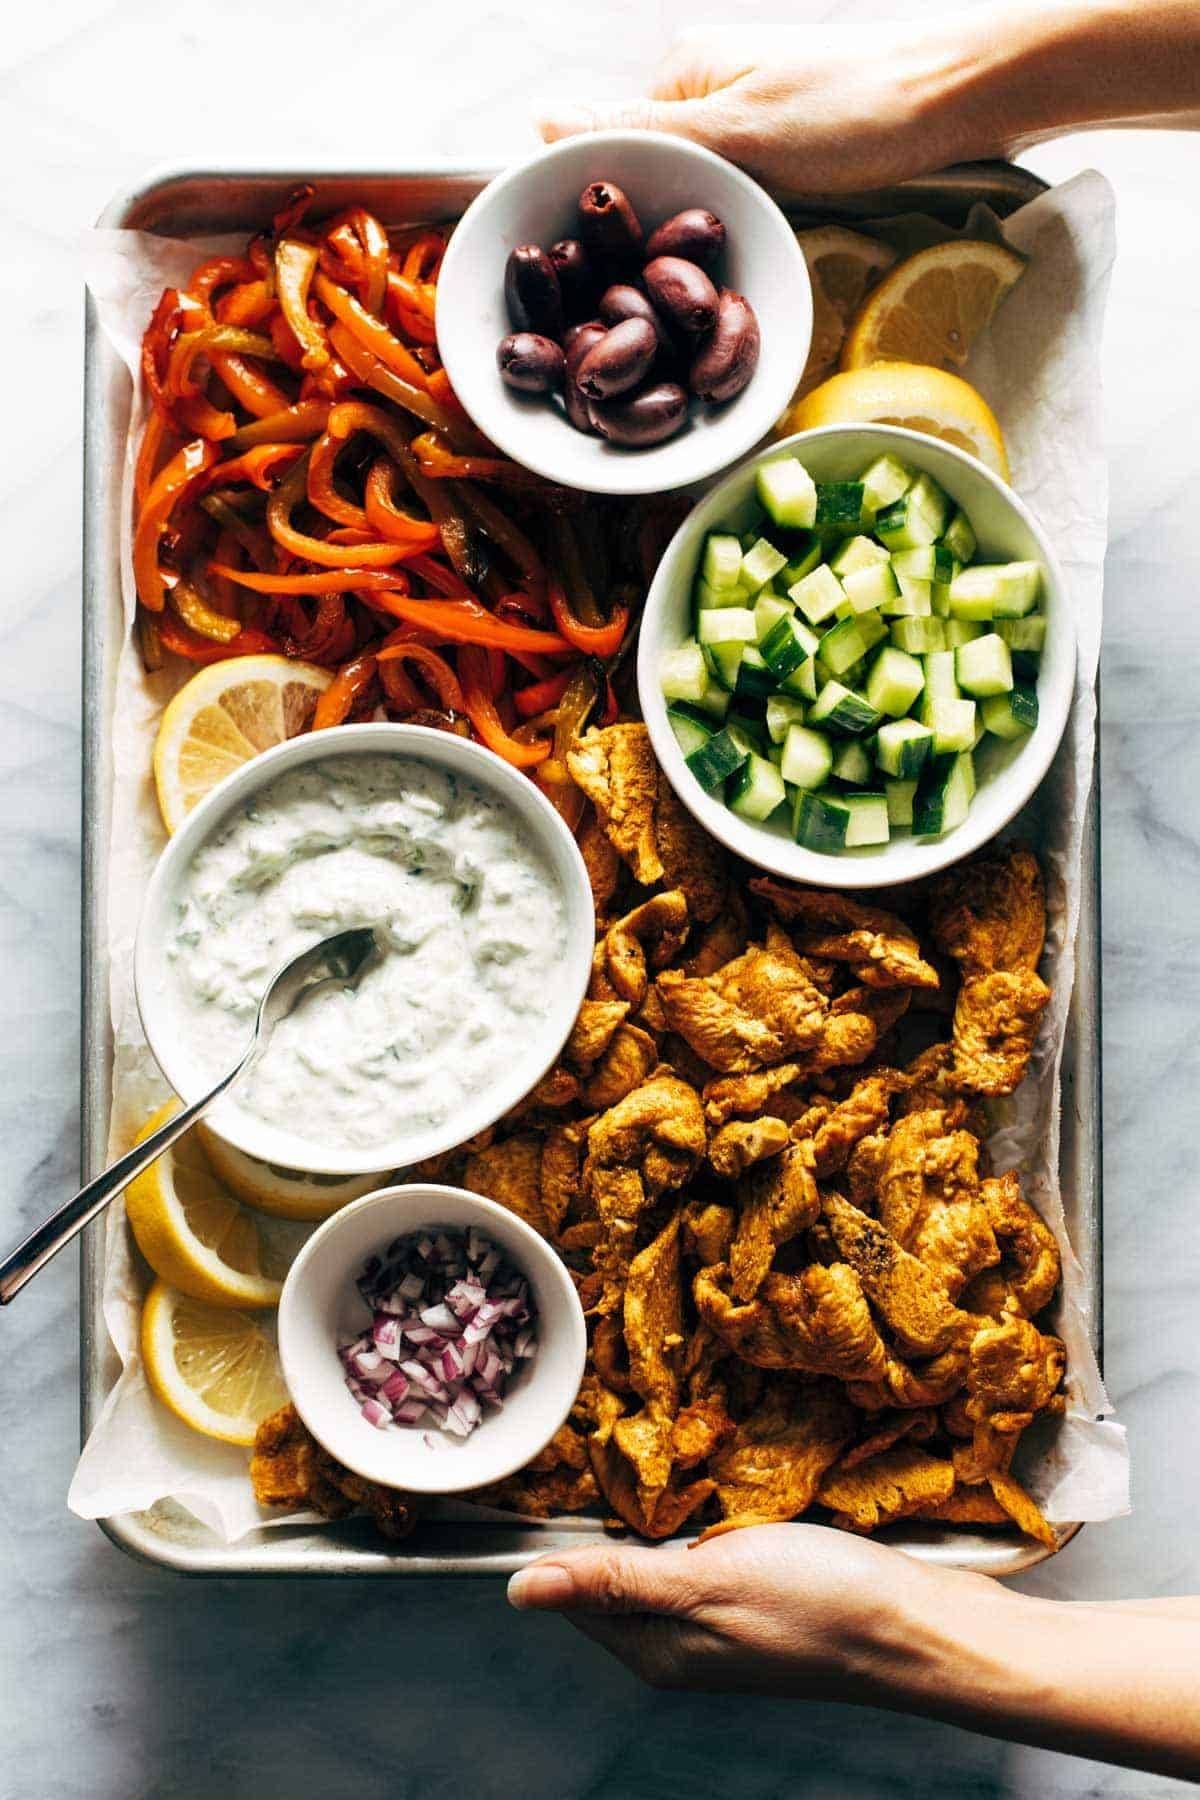
    Sheet pan chicken pitas served on a sheet pan.

    How To Serve Sheet Pan Chicken Pitas

    Here’s how I like to serve this: family style!

    Everything goes on a roasting pan, and you effortlessly carry your gourmet-looking roasting pan to the table, and you let your people feast.

    Sheet pan chicken pitas served on a sheet pan.

    It’s comforting and filling. But it’s also happy and crunchy and fresh, which is exactly what we need right now in the deep winter. Happy, fresh, filling, annnd go.

    Sheet pan chicken pitas in bowls.

    Check Out Our Video For How To Make Sheet Pan Chicken Pitas:


    Frequently Asked Questions For These Chicken Pitas

    How long will the tzatziki keep?

    The tzatziki will be best for about 3-4 days.

    Could you marinate the chicken for longer? Overnight?

    You can marinate the chicken for up to 24 hours in the fridge!

    How can I make this dairy-free?

    Omit the feta and use dairy-free Greek-style yogurt in the tzatziki (Kite Hill is a brand that makes this!).


    Print

    clock clock iconcutlery cutlery iconflag flag iconfolder folder iconinstagram instagram iconpinterest pinterest iconfacebook facebook iconprint print iconsquares squares iconheart heart iconheart solid heart solid icon

    Description

    Sheet Pan Chicken Pitas that are salty-briney-crunchy in all the right ways! Marinated chicken, roasted peppers, fresh cucumber, kalamata olives, feta cheese, and an easy homemade tzatziki.


    Chicken:

    Peppers:

    Tzatziki:

    Other:


    Notes

    Store bought tzatziki also works great in this recipe to save you a few steps!

    • Prep Time: 30 minutes
    • Cook Time: 15 minutes
    • Category: Dinner
    • Method: Bake
    • Cuisine: Mediterranean

    Keywords: sheet pan dinner, greek chicken, mediterranean chicken, chicken pitas, sheet pan chicken

    Three More Easy Sheet Pan Dinners

    Make It A Freezer Meal!

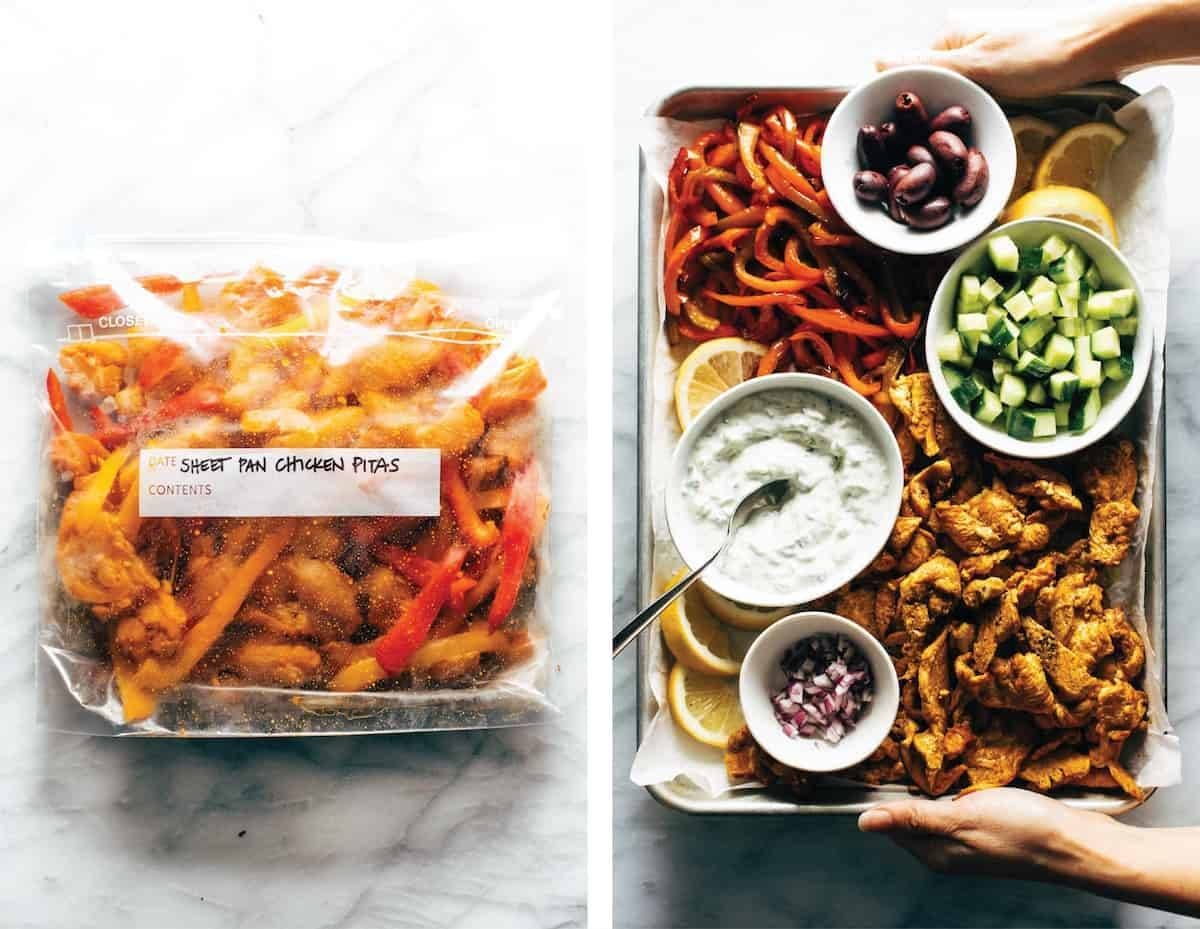
    Sheet pan chicken pitas in a freezer bag, and after cooking.

    Freeze Together:

    • 1 lb. boneless skinless chicken breasts, cut into very thin strips
    • 2–3 bell peppers, sliced
    • 3 cloves garlic, grated
    • 1 tablespoon olive oil
    • 1–2 tablespoons lemon juice
    • 1 teaspoon each: cumin, smoked paprika, kosher salt
    • 1/2 teaspoon curry powder
    • black pepper to taste

    FREEZE: Spread into a single layer on a parchment-lined baking sheet. Freeze until solid; transfer to a bag or container to store in the freezer. 

    To Cook:

    BAKE: From frozen, bake at 425 degrees for 20 minutes.

    FINAL STEP: Serve with pitas, tzatziki, hummus, cucumbers, tomatoes, feta, olives, red onion… sky’s the limit!

    View more healthy freezer meals here!


    One More Thing!

    This recipe is part of our collection of easy and delicious sheet pan dinners. Check it out!

    Source link

  • Breakfast Burger Recipe

    Breakfast Burger Recipe

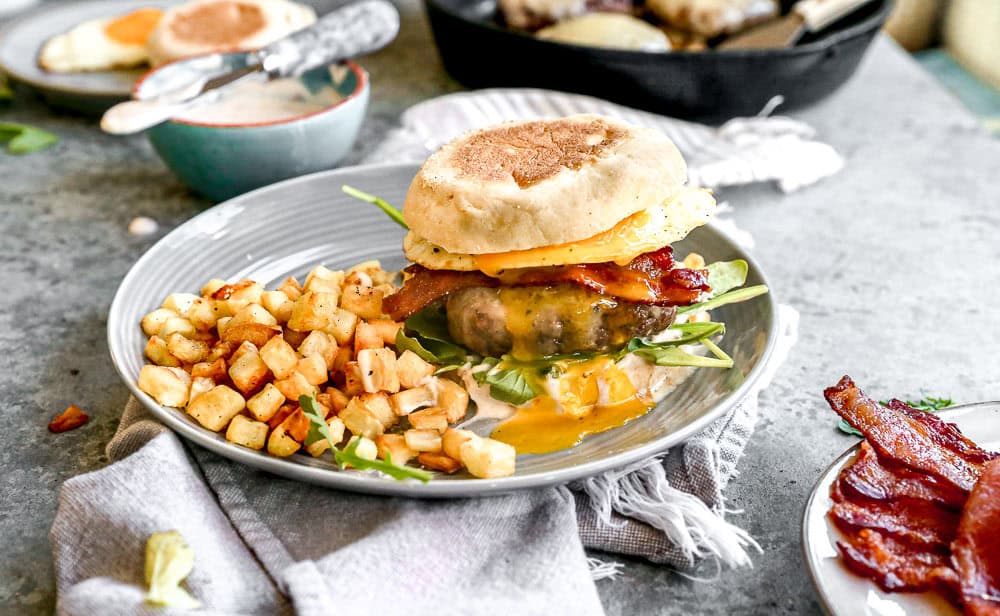
    Enjoy breakfast for dinner or dinner for breakfast with this over-the-top delicious Breakfast Burger recipe. Juicy beef-and-sausage patties are topped with bacon, melty cheddar, and a runny egg with creamy maple sriracha sauce on toasted brioche buns. It doesn’t get much better than this!

    Juicy burgers with brunch-y vibes.

    These breakfast burgers come fully loaded with some of the best burger fixin’s (ahem, bacon), and their flavor is downright addictive too.

    Even though its title is “breakfast burger,” this recipe is appropriate at all times of day. We had ours for “brinner” with a simple Arugula Salad. Since the breakfast burger patties are made with ground beef, they are a protein-packed meal, and the “extras” (bacon, that glorious egg) keep them indulgent enough for bonafide weekend brunch or afternoon cookout.

    • A TRUE Brunch. Brunch = breakfast + lunch, but usually it just means eating breakfast foods a little bit later in the morning. But these burgers truly combine the best of both meals into one epic bite.
    • Ultra-Juicy Patties. Beef and sausage keep the burgers tender, juicy, and flavorful.
    • Epic Toppings. To complement those juicy patties, we go all out with a creamy sriracha maple sauce, peppery arugula, melty sharp cheddar, crispy bacon, and a fried egg (I like ’em runny, but you do you).
    Breakfast burger on plate topped with fried egg.

    Key Ingredients

    You’ll find the full list of ingredients in the recipe card below, but here are some notes to keep in mind.

    • Bacon. Brings the salty (and the smoky) to these beauties.
    • Ground Beef. Or ground turkey, if you prefer.
    • Breakfast Sausage. Adds flavor and richness to the patties.
    • Maple Syrup. Gives these burgers that breakfast flair with a touch or sweetness.
    • Whole Grain Mustard. Adds some zip and bite to balance out the salty bacon and sweet maple syrup.
    • White Cheddar Cheese. My motto for cheese with these breakfast burgers is the sharper the better.
    • Brioche Buns or English Muffins. Or go bunless if that’s more your style.
    • Eggs. Cook your eggs however you please.
    • Arugula. I feel like every burger needs just a little green and I love the bold, peppery freshness the arugula adds.
    • Sauce. Made with mayo or Greek yogurt, maple syrup, and sriracha for a sauce that’s creamy, sweet, and spicy all at the same time.

    How to Make a Breakfast Burger

    Cook the Bacon. Oven Baked Bacon is my favorite method.

    Make the Sauce. Set aside.

    Form the Patties (photo 1). Mix the burger patty ingredients together and shape into four patties.

    Cook the Patties (photo 2). Cook the burgers, flipping once, until cooked through either outside on your grill or inside on a grill pan over medium-high heat.

    Make Them Cheesy (photo 3). Top with cheese, let it melt, and then remove the burger from the grill.

    Fry the Eggs. Cook them to your desired level of doneness.

    Assemble (photo 4). Layer the sauce, arugula, patty, bacon, and egg on the buns or English muffins. ENJOY!

    Breakfast burger topped with fried egg on plate.

    What to Serve with Breakfast Burgers

    This breakfast burger recipe is topped with bacon, sriracha maple sauce and fried eggs for a satisfying meal you can enjoy anytime of day!

    For the Burgers:

    • 6 slices bacon
    • 1 pound lean ground beef or turkey
    • ½ pound breakfast-style sausage in bulk or casings removed
    • 1 tablespoon pure maple syrup
    • 1 tablespoon whole grain mustard
    • 2 cloves garlic minced (about 2 teaspoons)
    • 1 teaspoon kosher salt
    • ½ teaspoon ground black pepper
    • 6 ounces freshly grated white cheddar cheese
    • 6 brioche burger buns or English muffins
    • 6 large eggs
    • Fresh arugula
    • Canola oil for cooking the burgers

    For the Sauce:

    • cup mayo or plain Greek yogurt I used yogurt
    • 1 tablespoon pure maple syrup
    • 1 tablespoon Sriracha

    • Preheat your oven to 400 degrees F. Line a large, rimmed baking sheet with foil, then place an ovenproof baking rack on top. Arrange the bacon in a single layer on the baking rack, then bake until crisp, about 15 minutes depending upon the thickness of your bacon. Remove from the baking rack to a paper towel-lined plate and lightly pat dry.
    • In a small bowl, stir together the sauce ingredients: mayo, maple syrup, and sriracha. Set aside.
    • In a large bowl, lightly combine the ground beef, sausage, maple syrup, mustard, garlic, salt, and pepper just until combined. Shape into 6 patties that are about 4 1/2 in in diameter, being careful not to compact the meat.
    • Heat a large skillet over medium-high heat. Once it’s hot, add a little oil to the skillet to prevent sticking. Add the burger patties then cook on the first side for 3 minutes. Flip, and continue cooking on the second side until the meat reaches 165°F on an instant read thermometer, about 3-4 minutes more. In the last few minutes of cooking, add the cheese and allow to melt. Transfer to a plate and cover to keep warm.
    • If desired, lightly toast the buns while the burgers cook.
    • Fry the eggs over medium heat in the same skillet you used to cook the burgers, either sunny side up or over easy, cooking the yolks to your desired level of doneness (I like mine fairly runny).
    • To assemble the burgers, top the bottom of each bun with a bit of the sauce, then add the arugula, burger patties, bacon, and fried egg. Place the second half of the bun on top. Enjoy immediately.
    • TO STORE: Place patties in an airtight storage container in the refrigerator for up to 2 days.
    • TO MAKE AHEAD: Uncooked and tightly wrapped burger patties can be stored in the refrigerator for 1 day or frozen for 1 month. Let thaw overnight in the refrigerator. Allow uncooked patties to come to room temperature prior to grilling.

    Serving: 1burgerCalories: 964kcalCarbohydrates: 45gProtein: 47gFat: 66gSaturated Fat: 27gPolyunsaturated Fat: 10gMonounsaturated Fat: 16gTrans Fat: 0.4gCholesterol: 452mgSodium: 1628mgPotassium: 520mgFiber: 0.2gSugar: 4gVitamin A: 1325IUVitamin C: 2mgCalcium: 300mgIron: 4mg

    Source link

  • Creamy Pea Soup Recipe with Basil

    Creamy Pea Soup Recipe with Basil

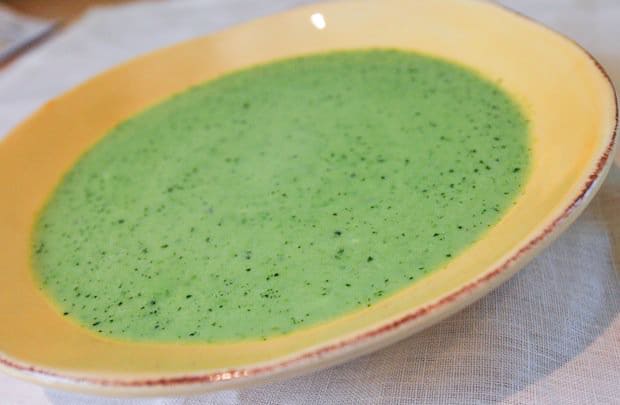
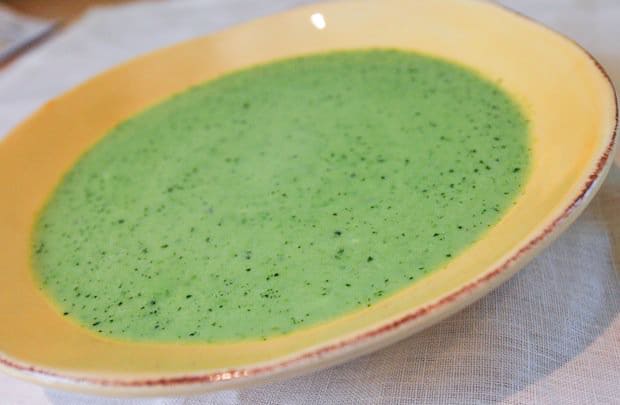
    How to make creamy pea soup with fresh basil. Jump to the Creamy Pea Soup Recipe or read on to see our tips for making it.

    Creamy Pea Soup Recipe with Basil

    This soup is perfect for spring and summer. We use frozen peas, but if you have access to them, fresh peas would be lovely.

    Just after blending, we stir in some cream. The soup is quite delicious without it, the cream just rounds out the flavors and makes it luxurious and creamy.

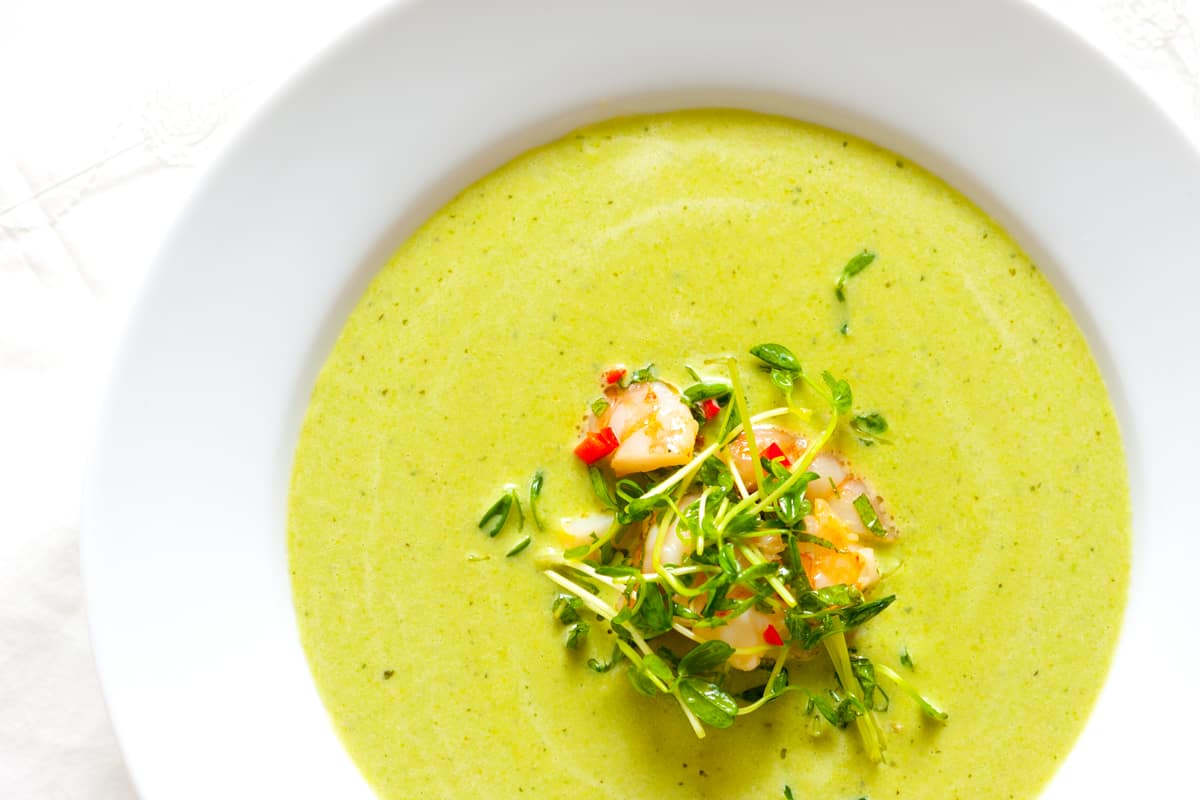
    Chilled Pea Soup Recipe with ShrimpYOU MAY ALSO LIKE: If you love chilled soups, try this soup with peas, creme fraiche and shrimp. Jump to the Chilled Pea Soup Recipe with Shrimp.
    Recipe updated, originally posted August 2009. Since posting this in 2009, we have tweaked the recipe to be more clear. – Adam and Joanne

    Creamy Pea Soup Recipe with Basil

    • PREP
    • COOK
    • TOTAL

    This simple pea soup is adapted from Giada De Laurentiis. We call for frozen peas, but if you are lucky enough to have fresh peas, use them. This is especially good when topped with a few crumbled of feta cheese or fresh goat cheese.

    Makes approximately 4 servings

    You Will Need

    2 tablespoons olive oil

    1 medium onion, chopped

    2 garlic cloves, minced

    1 teaspoon sea salt

    1/2 teaspoon fresh ground black pepper

    4 cups frozen peas (from two 10-ounce packages)

    3 cups chicken stock, see our homemade chicken stock recipe

    3/4 cup chopped fresh basil leaves

    1/2 cup cream

    Crumbled feta cheese or fresh goat cheese, for serving

    Directions

      1Heat the olive oil in a large soup pot or Dutch oven over medium heat. Add the onions and cook until softened, about 8 minutes. Stir in the garlic, salt and pepper then cook for 1 minute.

      2Add the peas and chicken stock then bring to a boil. Reduce the heat to medium-low and cook at a low simmer, uncovered, for about 5 minutes.

      3Remove the pot from the heat, add the basil and use an immersion blender to blend until smooth (or use regular blender). Stir in the cream, taste the soup and adjust with more salt and/or pepper. Divide between bowls and top with a little ricotta cheese or goat cheese crumbles.

    Adam and Joanne’s Tips

    If you make this recipe, snap a photo and hashtag it #inspiredtaste — We love to see your creations on Instagram and Facebook! Find us: @inspiredtaste


    AUTHOR:

    Joanne Gallagher

    Previous Post: Baked Ziti with Shrimp and Spinach
    Next Post: Rosemary Baked Chicken Drumsticks Recipe


    Source link

  • How to Boil Lobster | The Recipe Critic

    How to Boil Lobster | The Recipe Critic

    This website may contain affiliate links and advertising so that we can provide recipes to you. Read my disclosure policy.

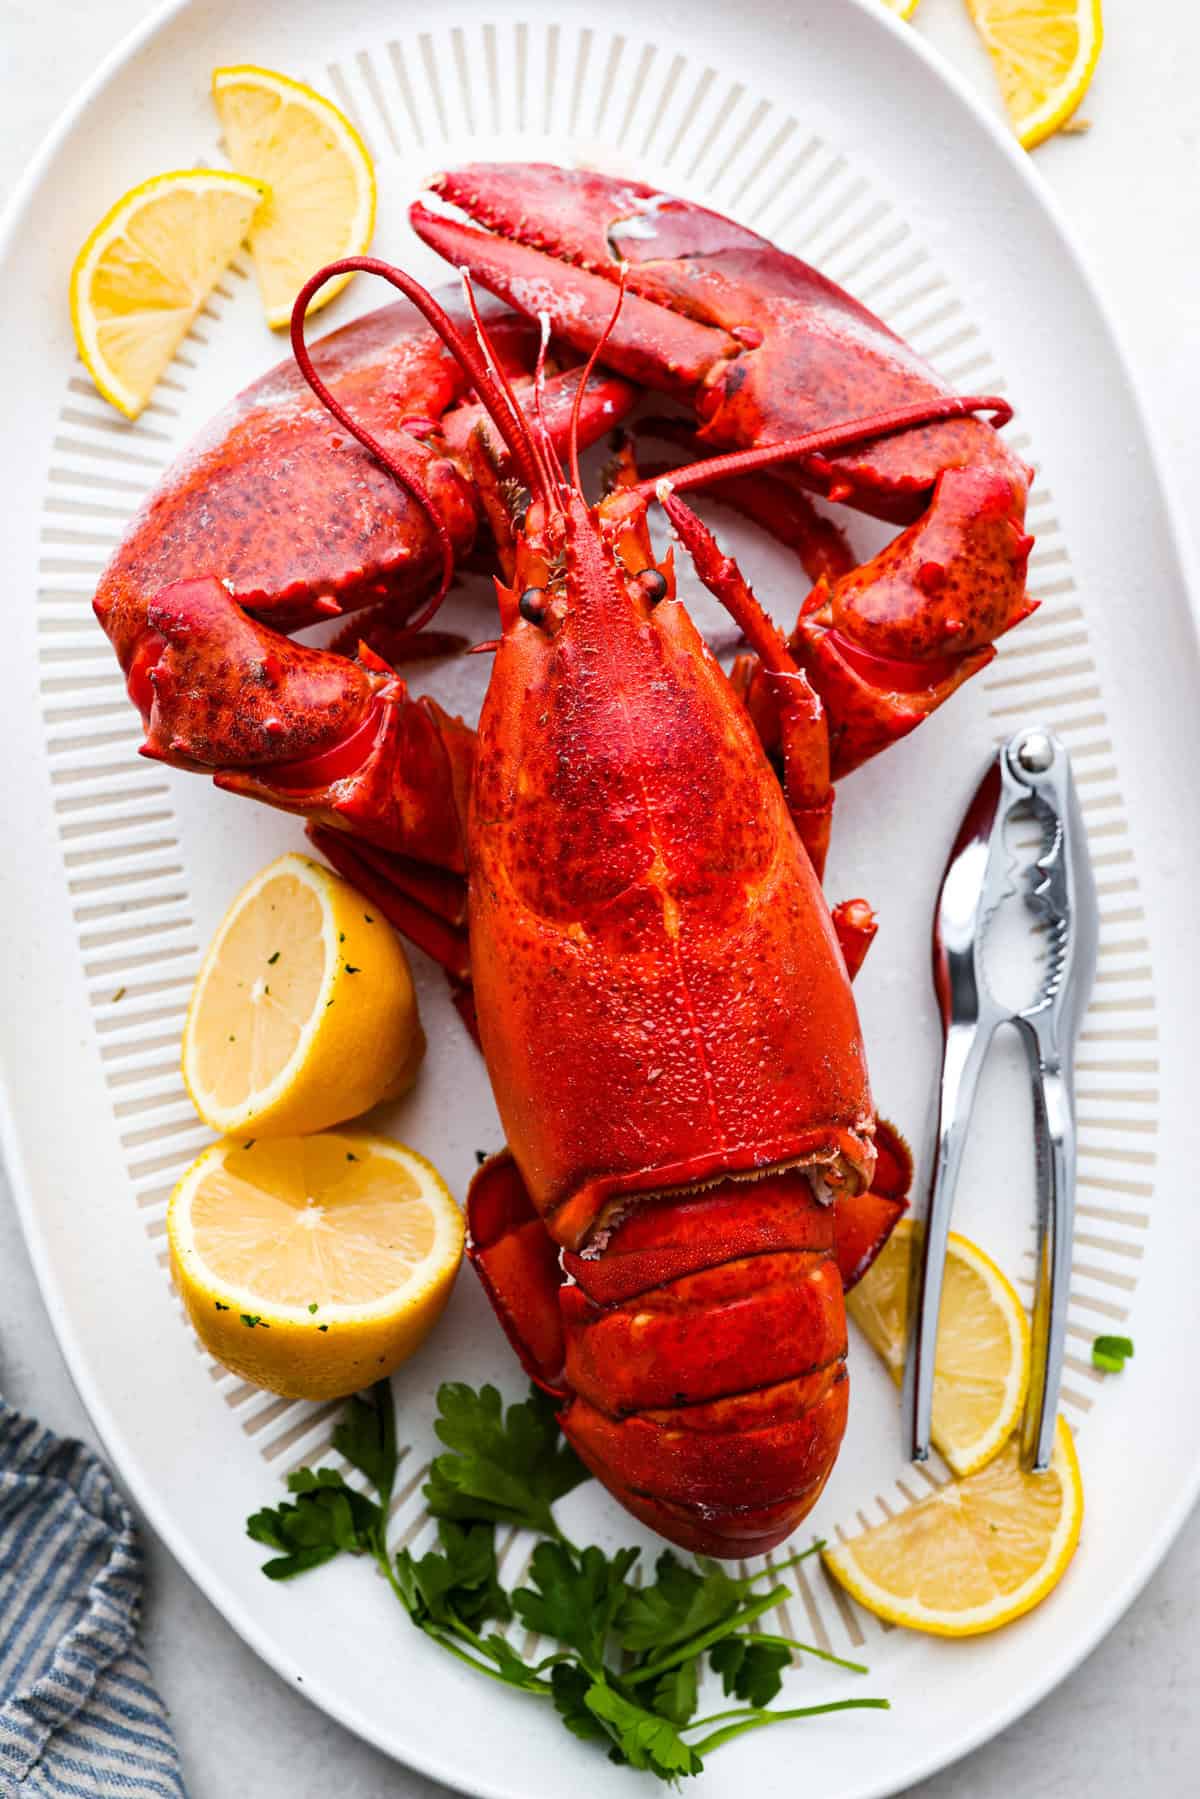
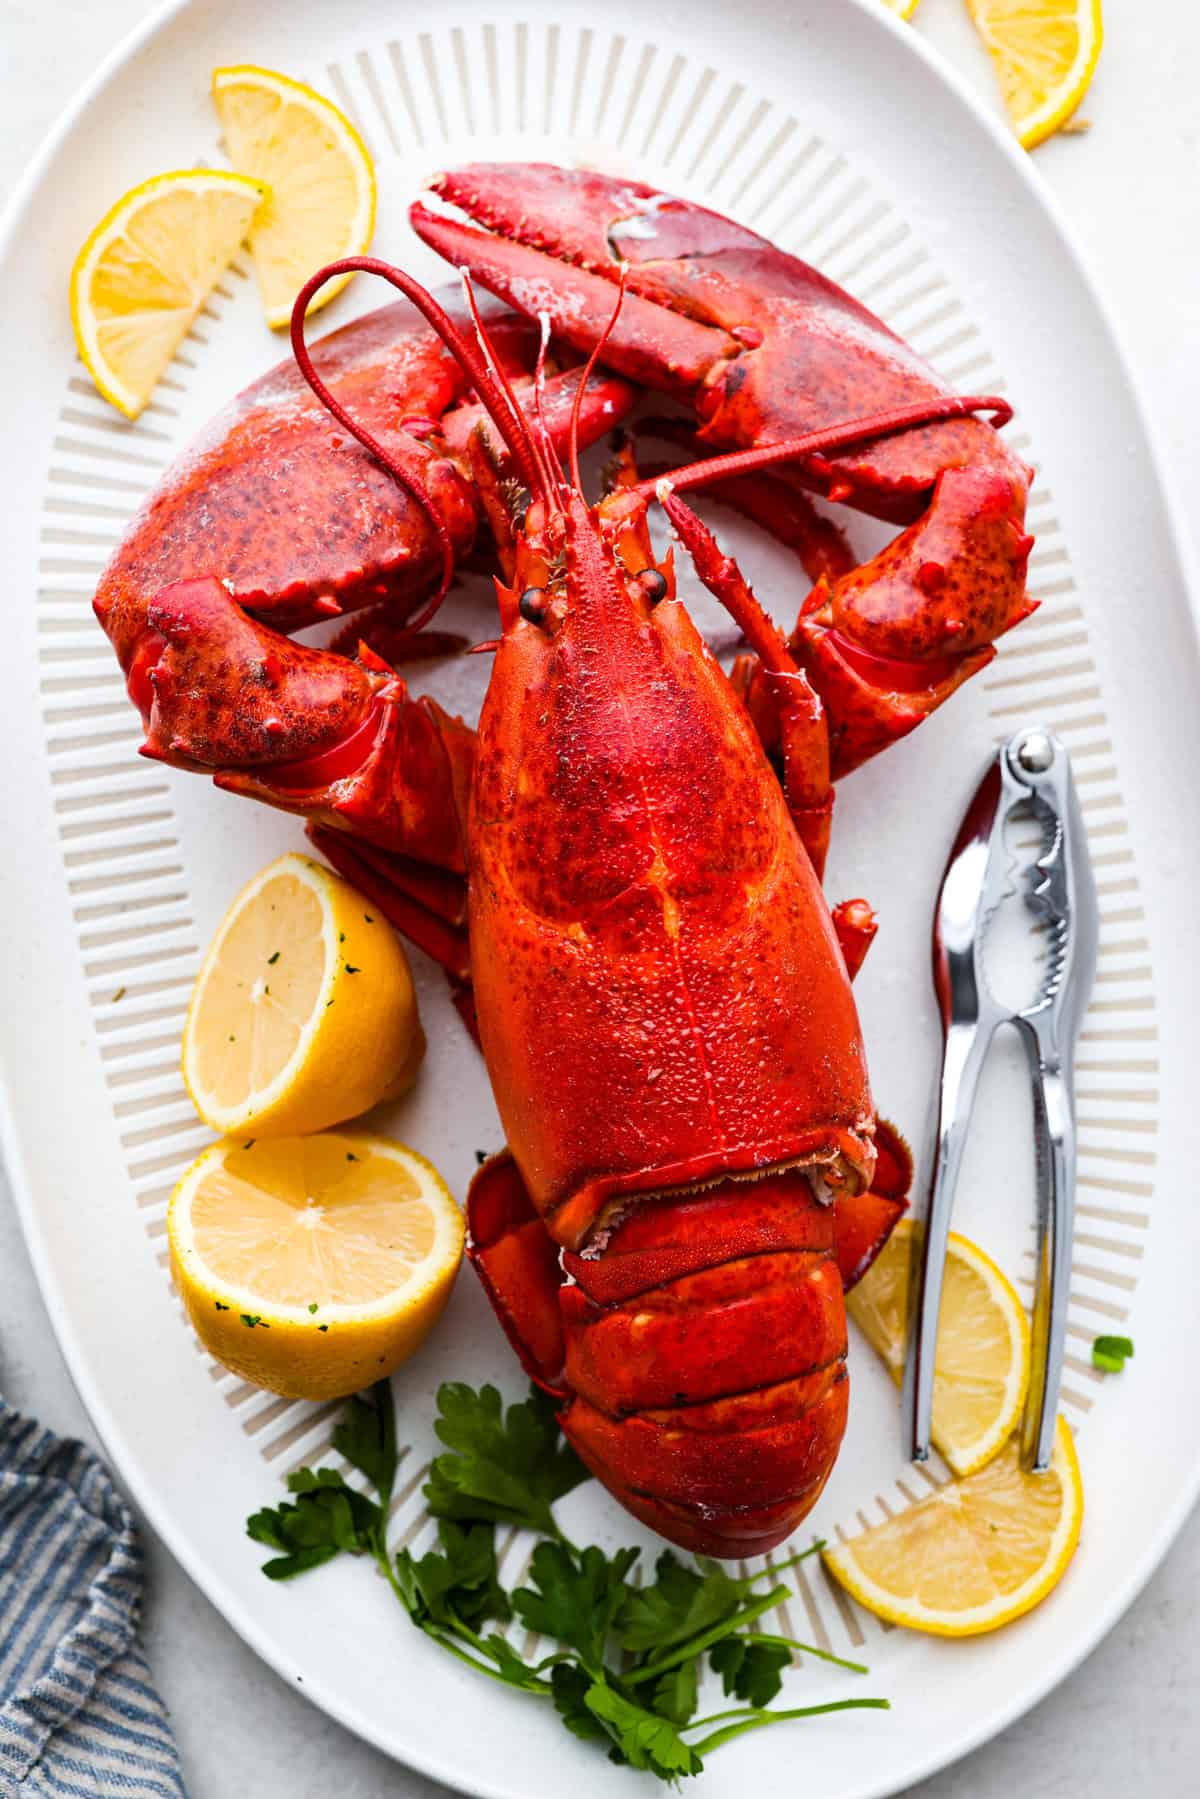
    Learn how to boil lobster and enjoy this simple and delicious seafood delicacy. With a few basic steps, you’ll have perfectly cooked, tender lobster in just 20 minutes! Serve it with melted butter and your favorite sides.

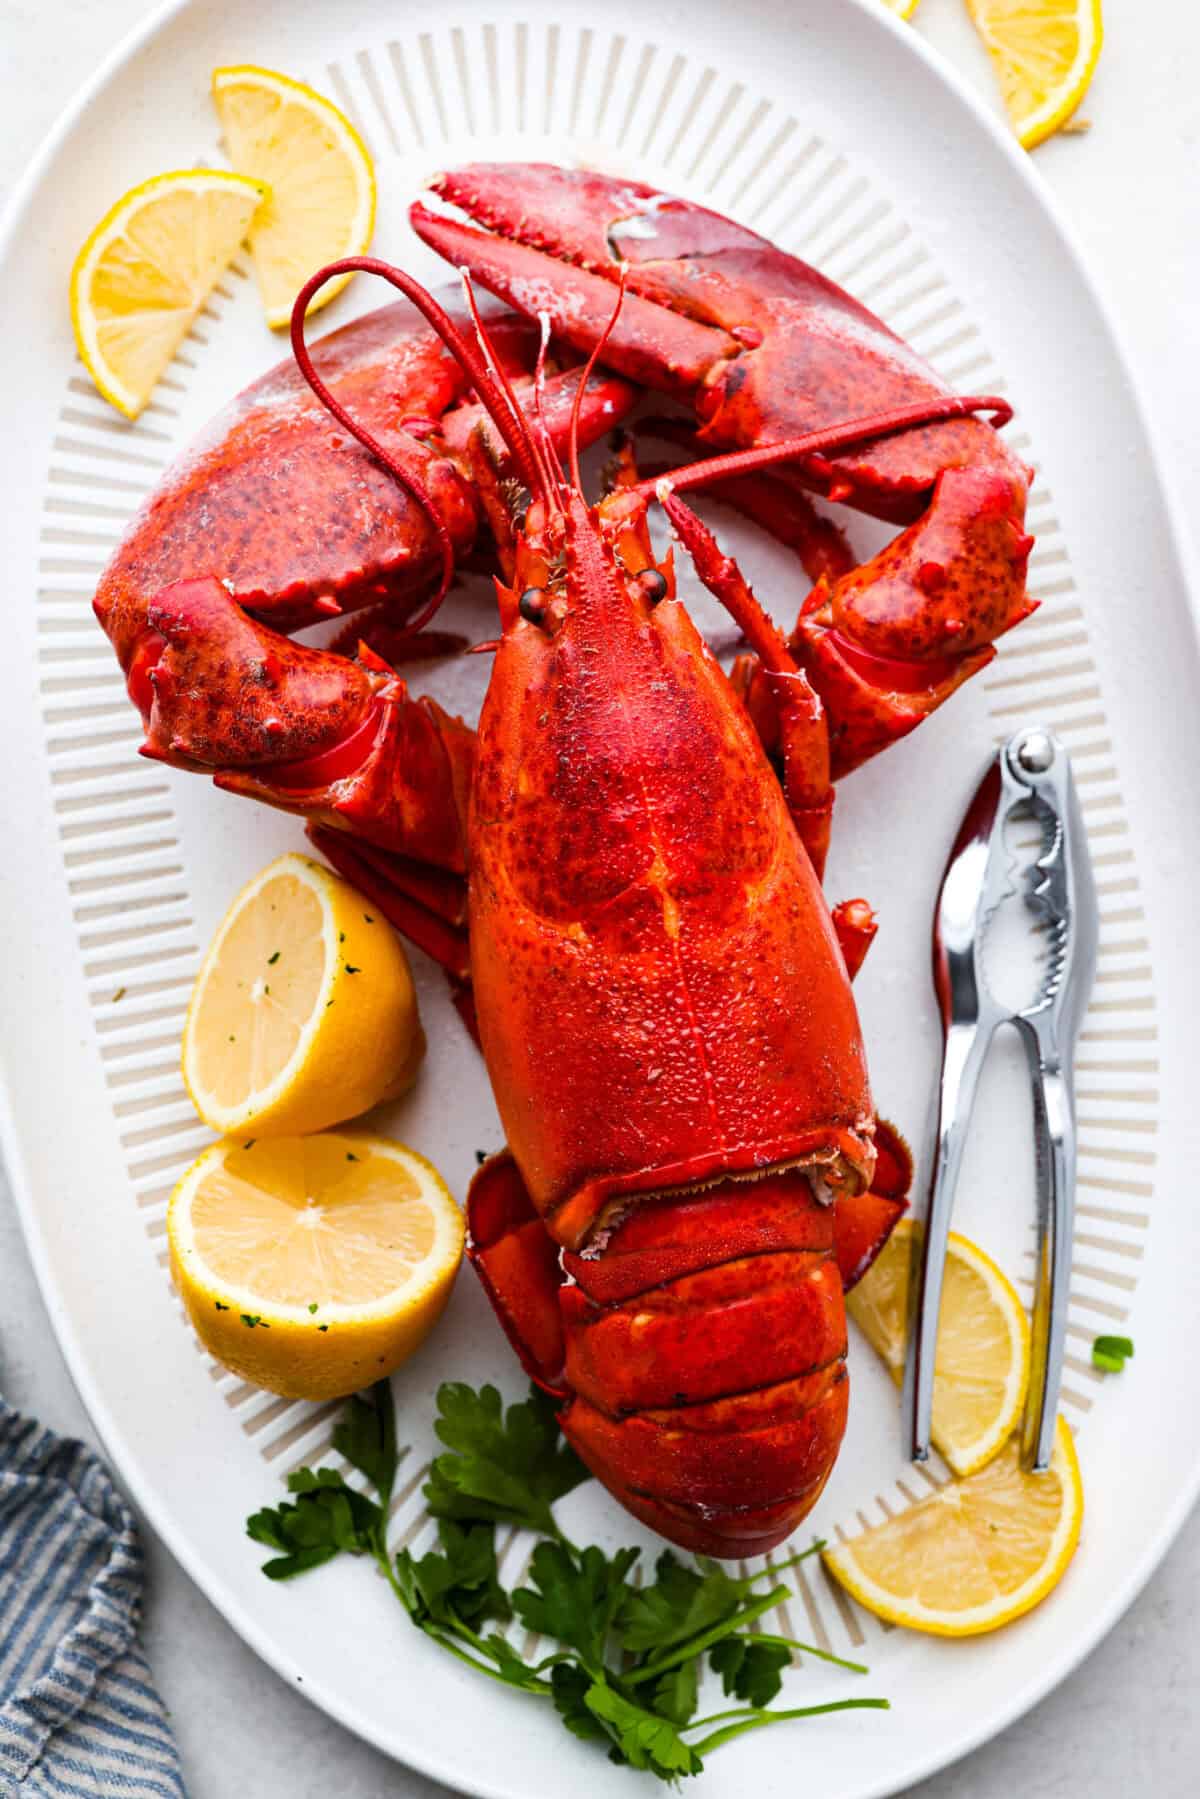
    Overhead shot of a whole, cooked lobster on a plate with lemon wedges and a lobster cracker. Overhead shot of a whole, cooked lobster on a plate with lemon wedges and a lobster cracker.

    Reasons You’ll Love This Recipe

    • Quick and Easy: Boiling lobster is a fuss-free cooking method that requires minimal effort and ingredients.
    • Tender and Juicy: The boiling process ensures the lobster meat stays moist and flavorful.
    • Versatile Serving Options: Perfect on its own with melted butter or as part of dishes like lobster rolls, salads, or pasta.
    • Perfect for Special Occasions: A restaurant-quality dish that’s a favorite for celebrations, romantic dinners, or whenever you want something that’s sure to impress. I love serving boiled lobster for Valentine’s Day dinner!

    Whole Lobster

    I remember going to the grocery store as a kid and seeing the live lobsters swimming around in a tank with their claws closed with rubber bands. I never understood why the grocery store had lobsters as pets! Ha ha! I remember eating lobster for the first time and understanding! It was so delicious, and I was hooked!

    Ingredients Needed to Boil Lobster

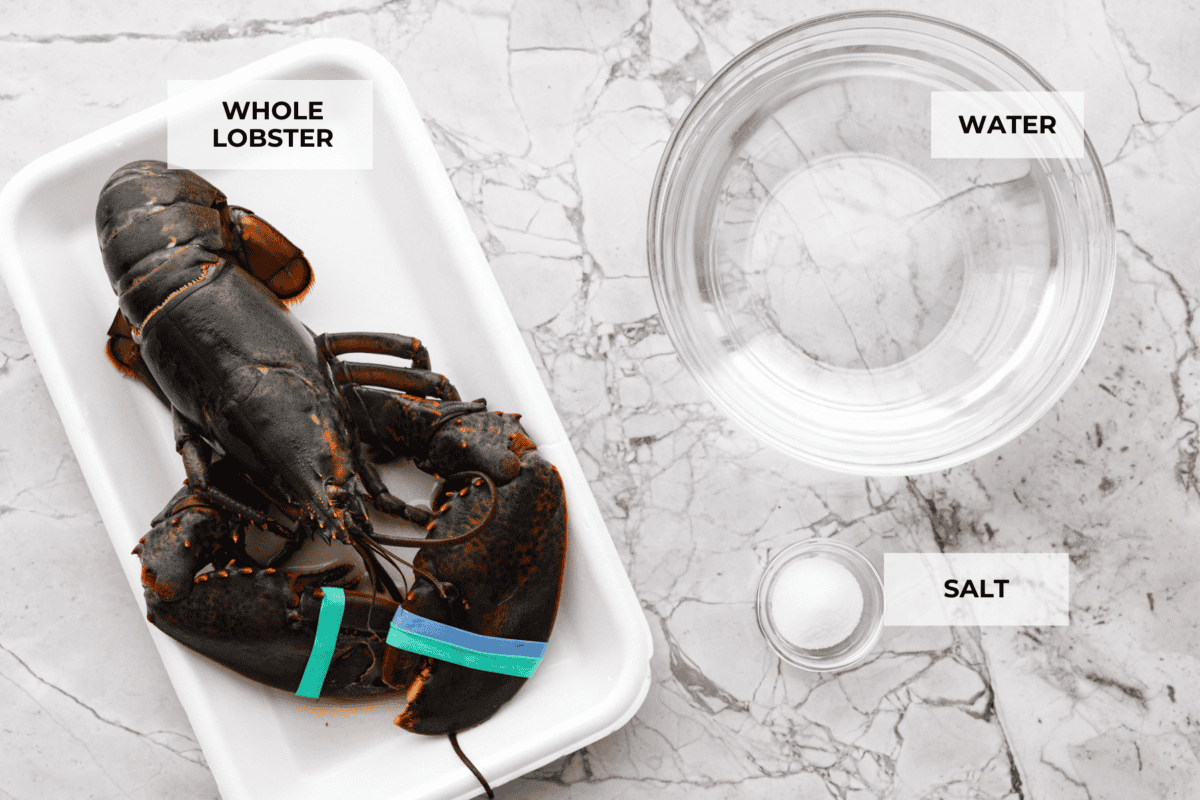
    Overhead shot of labeled ingredients.Overhead shot of labeled ingredients.

    How to Boil Lobster

    If you’ve been intimidated to make lobster, don’t be! It’s surprisingly easy and tastes just like something you’d order from a fancy restaurant. It pairs well with a ton of sides, and I especially love it with garlic butter pasta or mashed potatoes and smashed Brussels sprouts.

    1. Prep: Prepare the lobster by cutting and removing the rubber bands from the claws.
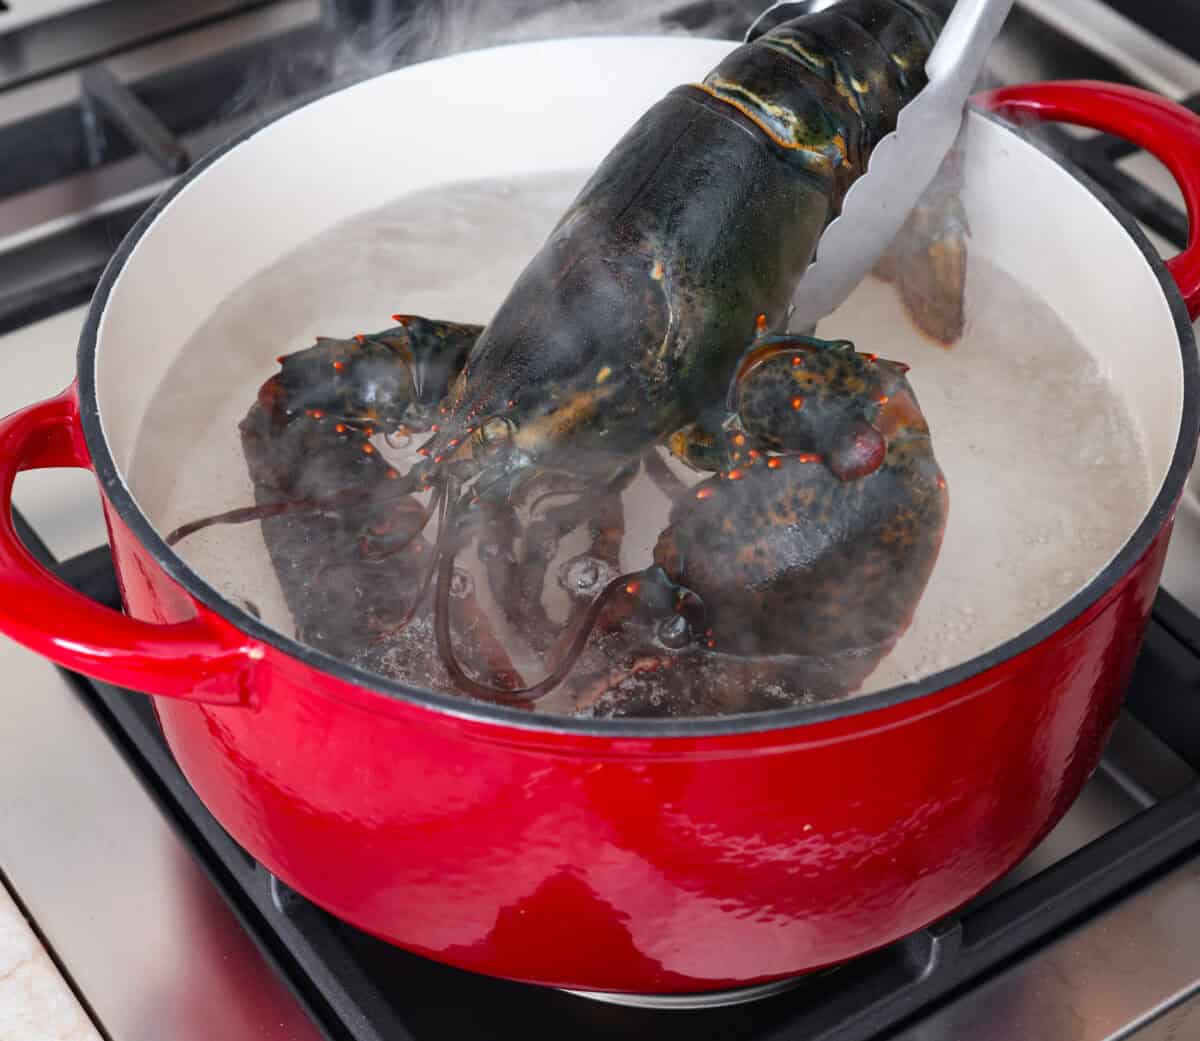
    2. Boil the Lobster: Bring the water and salt to a rolling boil in a large pot over medium-high heat. Carefully place the prepared lobster into the boiling salt water and cook for about 5 minutes per pound of lobster. I had a 3-pound lobster, and it took 15 minutes!
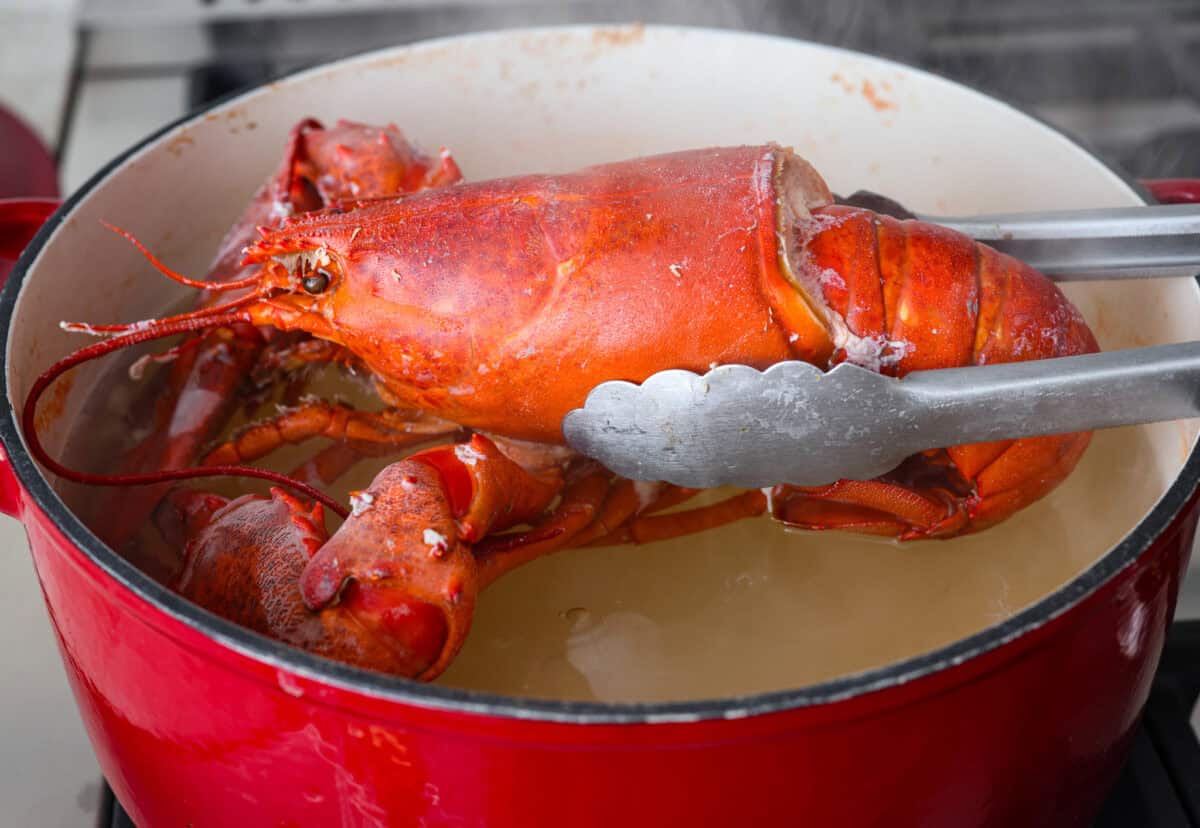
    3. Serve: Carefully remove the lobster from the water using tongs. Let it drain for a minute on a plate. Remove the meat from the lobster and dip in your favorite butter sauce!

    Tips for Boiling Lobster

    This lobster recipe could not be any easier! However, here are a few tips so it turns out perfect every time you make it.

    • Frozen Lobster: Whole lobster is easy to buy frozen! Simply thaw it in the fridge before boiling it. You can also use lobster tails for this recipe if you prefer.
    • Butter Sauce: Try my Garlic Butter Sauce recipe for dipping! You can season the flavor in the sauce to your liking. Try adding paprika or red pepper flakes for more flavor or spice!
    • Weight: It’s best to know the weight of your lobster, so you don’t over or undercook it. Remember to boil the lobster for 5 minutes per pound.
    • How do I know if my lobster is done? Cooked lobster should reach an internal temperature of at least 135 degrees Fahrenheit.

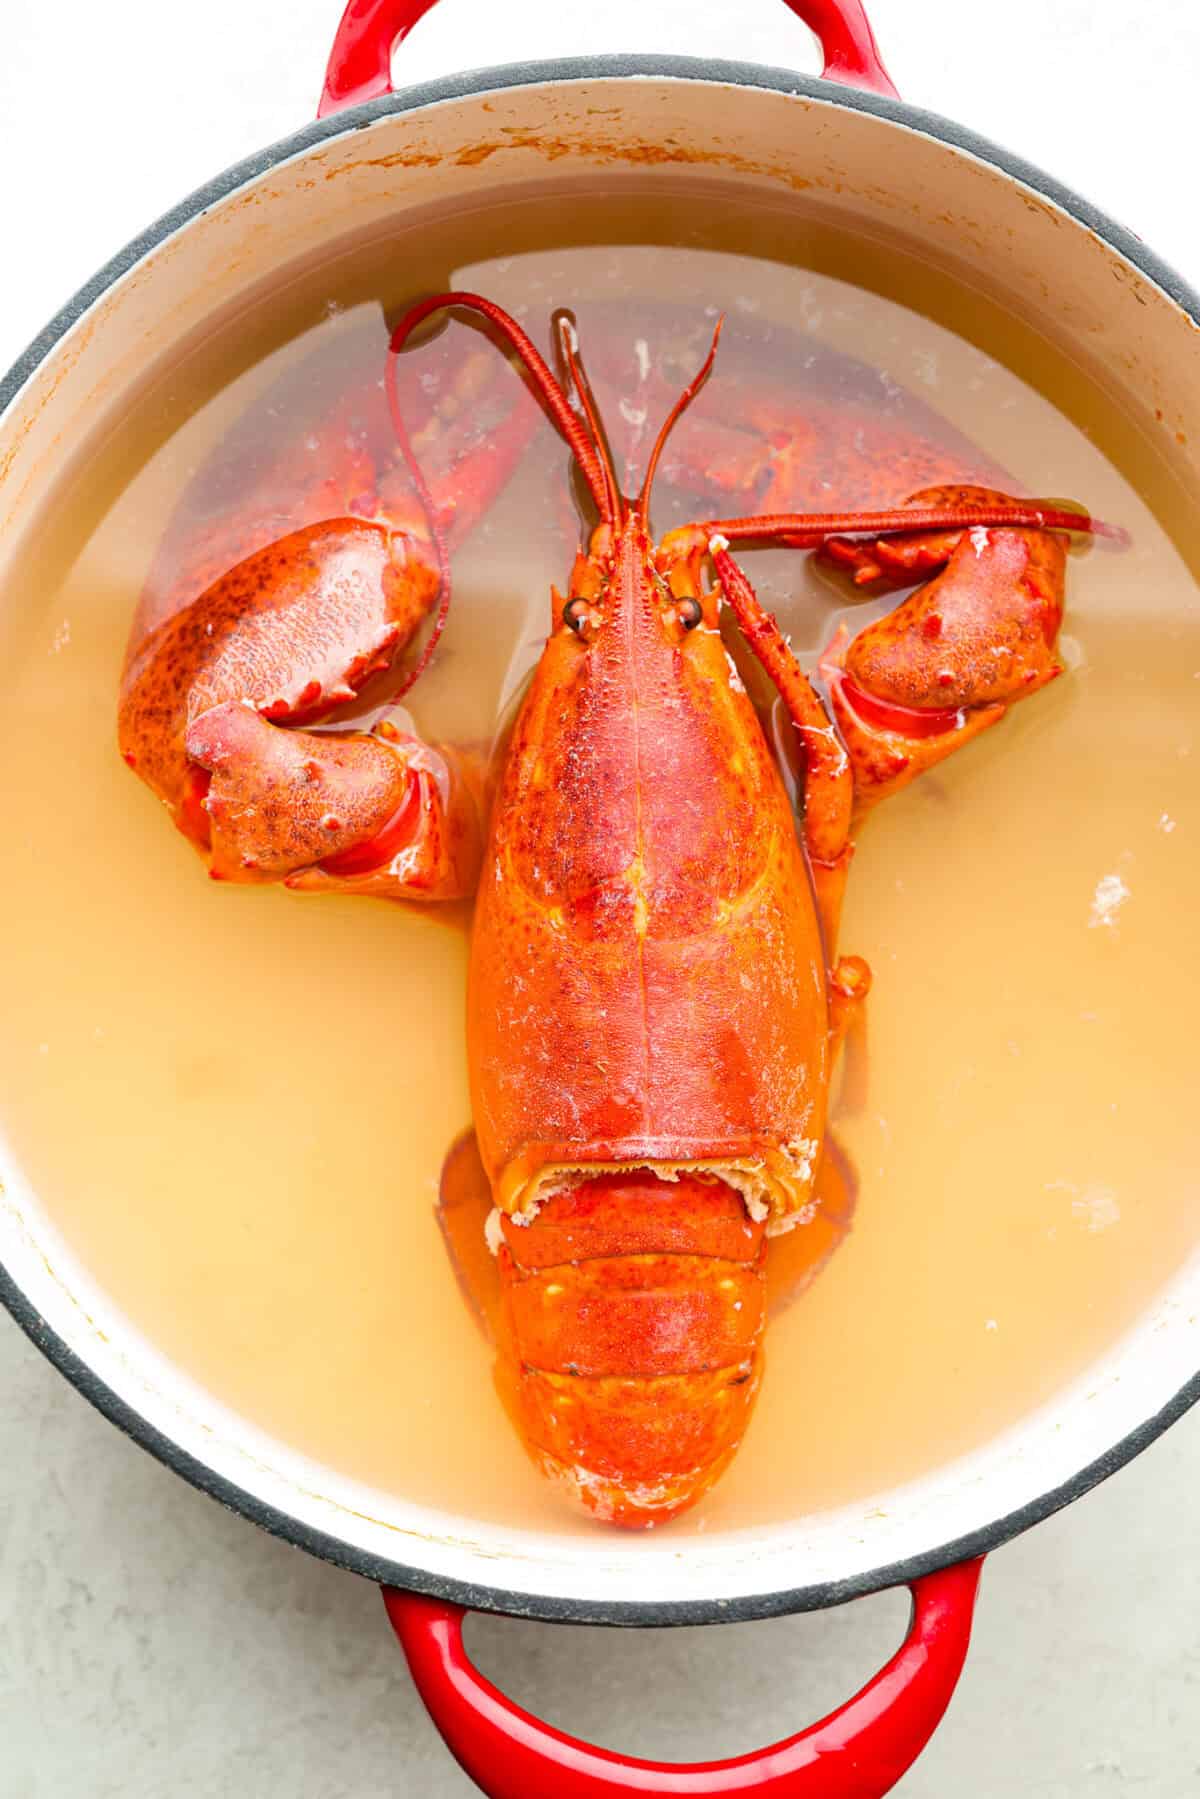
    Overhead shot of a cooked lobster inside a pot. Overhead shot of a cooked lobster inside a pot.

    Storing Leftovers

    Don’t let any of that precious lobster meat go to waste! Here’s how to store it so you can add the leftovers to eggs, pasta, or salads.

    • In the Refrigerator: Make sure to remove the lobster meat from the shell before storing it. Store any leftovers in the fridge for up to 3 days in an airtight container. 
    • In the Freezer: Boil and remove the lobster meat from the shell before freezing. Store in an airtight container for up to 6 months, although I recommend enjoying your lobster meat fresh!

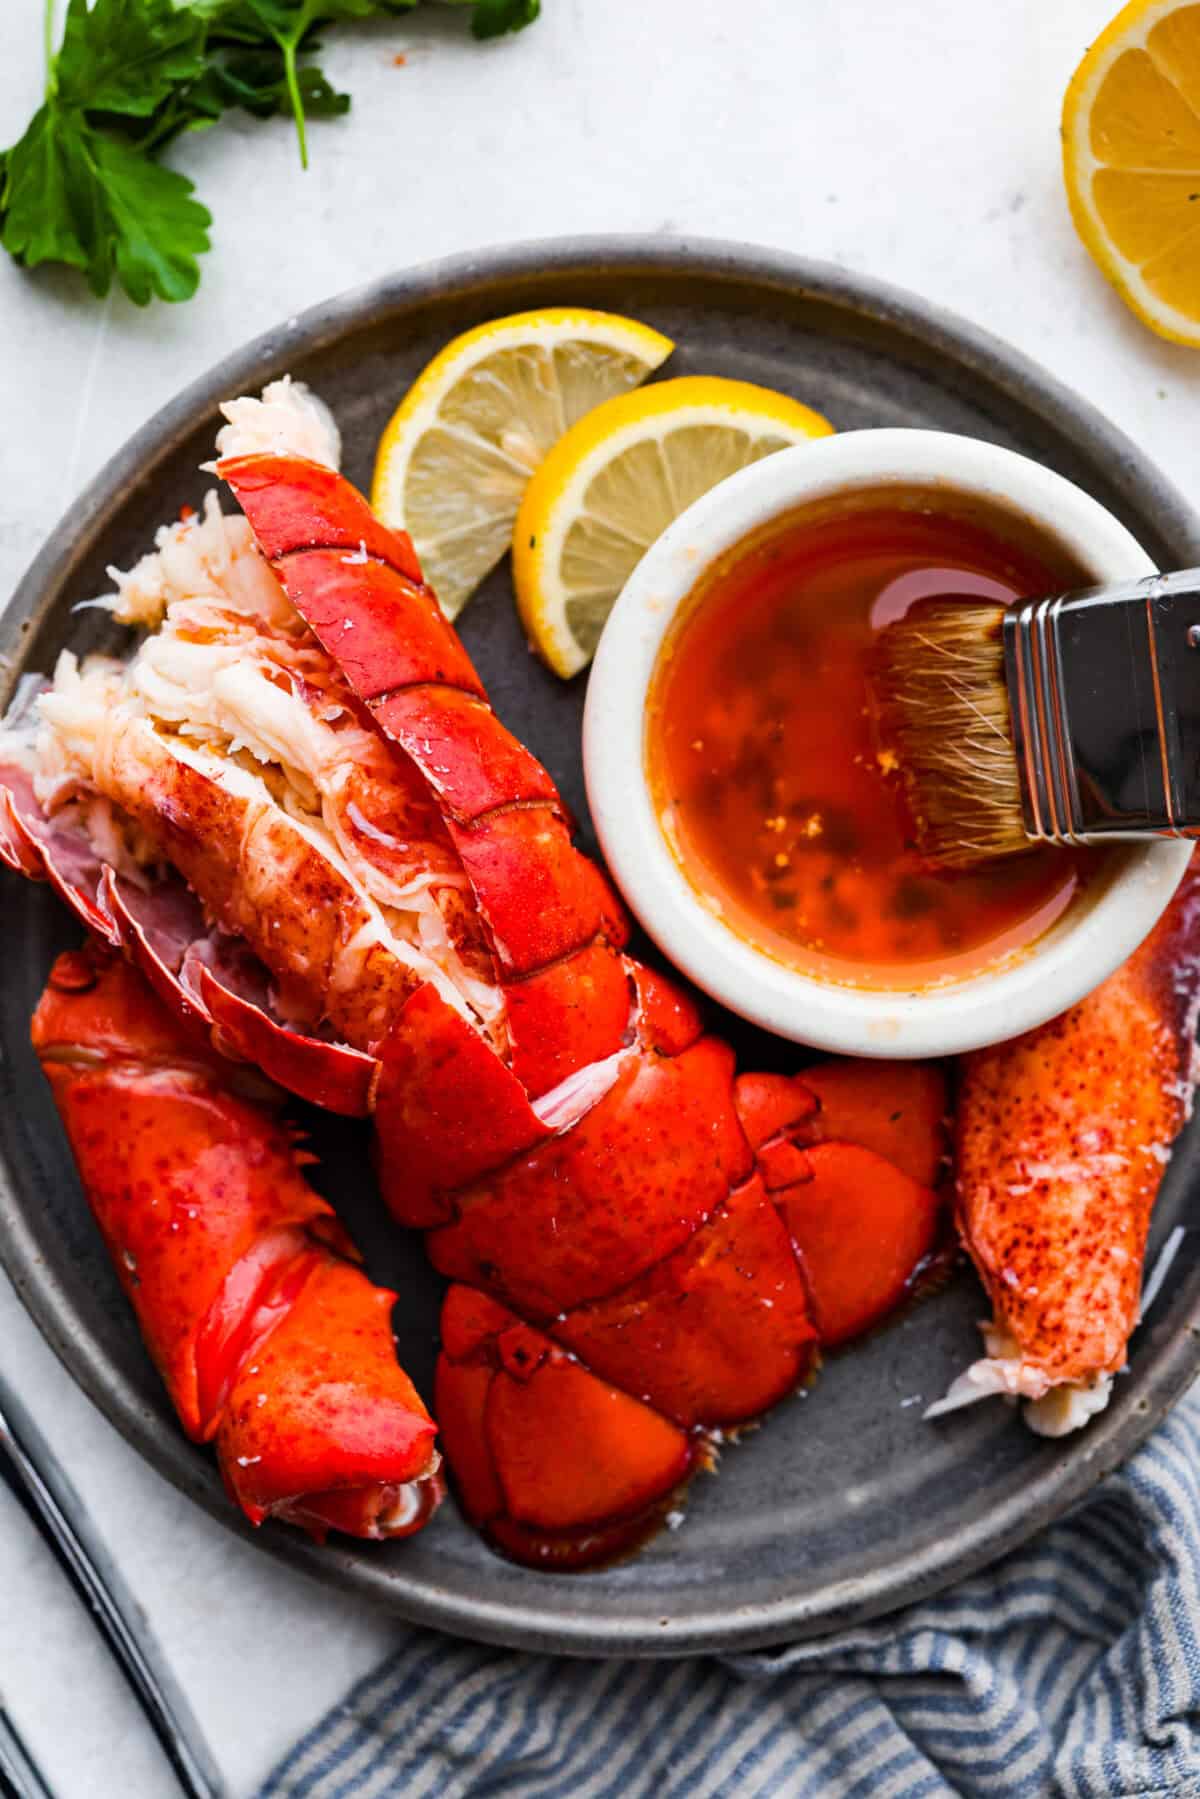
    Overhead shot of a lobster tail, meat from the claw and leg on a plate with a small bowl of melted butter. Overhead shot of a lobster tail, meat from the claw and leg on a plate with a small bowl of melted butter.

    More Lobster Recipes

    Pin this now to find it later

    Pin It


    Source link

  • The Best Vegetable Broth Recipe

    The Best Vegetable Broth Recipe

    This homemade vegetable broth recipe turns out so hearty, rich, and savory that you can sip it on its own. It’s so much better than store-bought!

    Vegetable Broth

    After trying our recipe for vegetable broth, you will never want to buy boxed broth again! It’s simple to make, takes much less time to make than chicken stock, and packs in so much flavor.

    This soothing and delicious veggie broth is perfect for all of your recipes. It’s also so flavorful that you can sip it like tea or bone broth. It’s simple to make, and I’m confident you’ll love it.

    Key Ingredients

    • Onion, Carrots, and Celery: This classic trio forms the aromatic base of the vegetable stock.
    • Tomatoes: They add both rich flavor and a beautiful color.
    • Garlic and Dried Mushrooms: These develop even more flavor. I love dried shitakki mushrooms, which I find in my local grocery store in the same aisle as international ingredients like specialty soy sauces.
    • Herbs: I go heavy on the herbs, using fresh parsley, thyme, and bay leaves.
    • Vegetable Scraps: This is the perfect time to use up those scraps you’ve been saving in the freezer, like kale stems, leek tops, carrot peels, and mushroom stems.
    • Salt and Filtered Water: I love sea salt for this, and make sure to use filtered water for the best flavor.

    Find the full recipe with measurements below.

    How to Make the Best Vegetable Broth

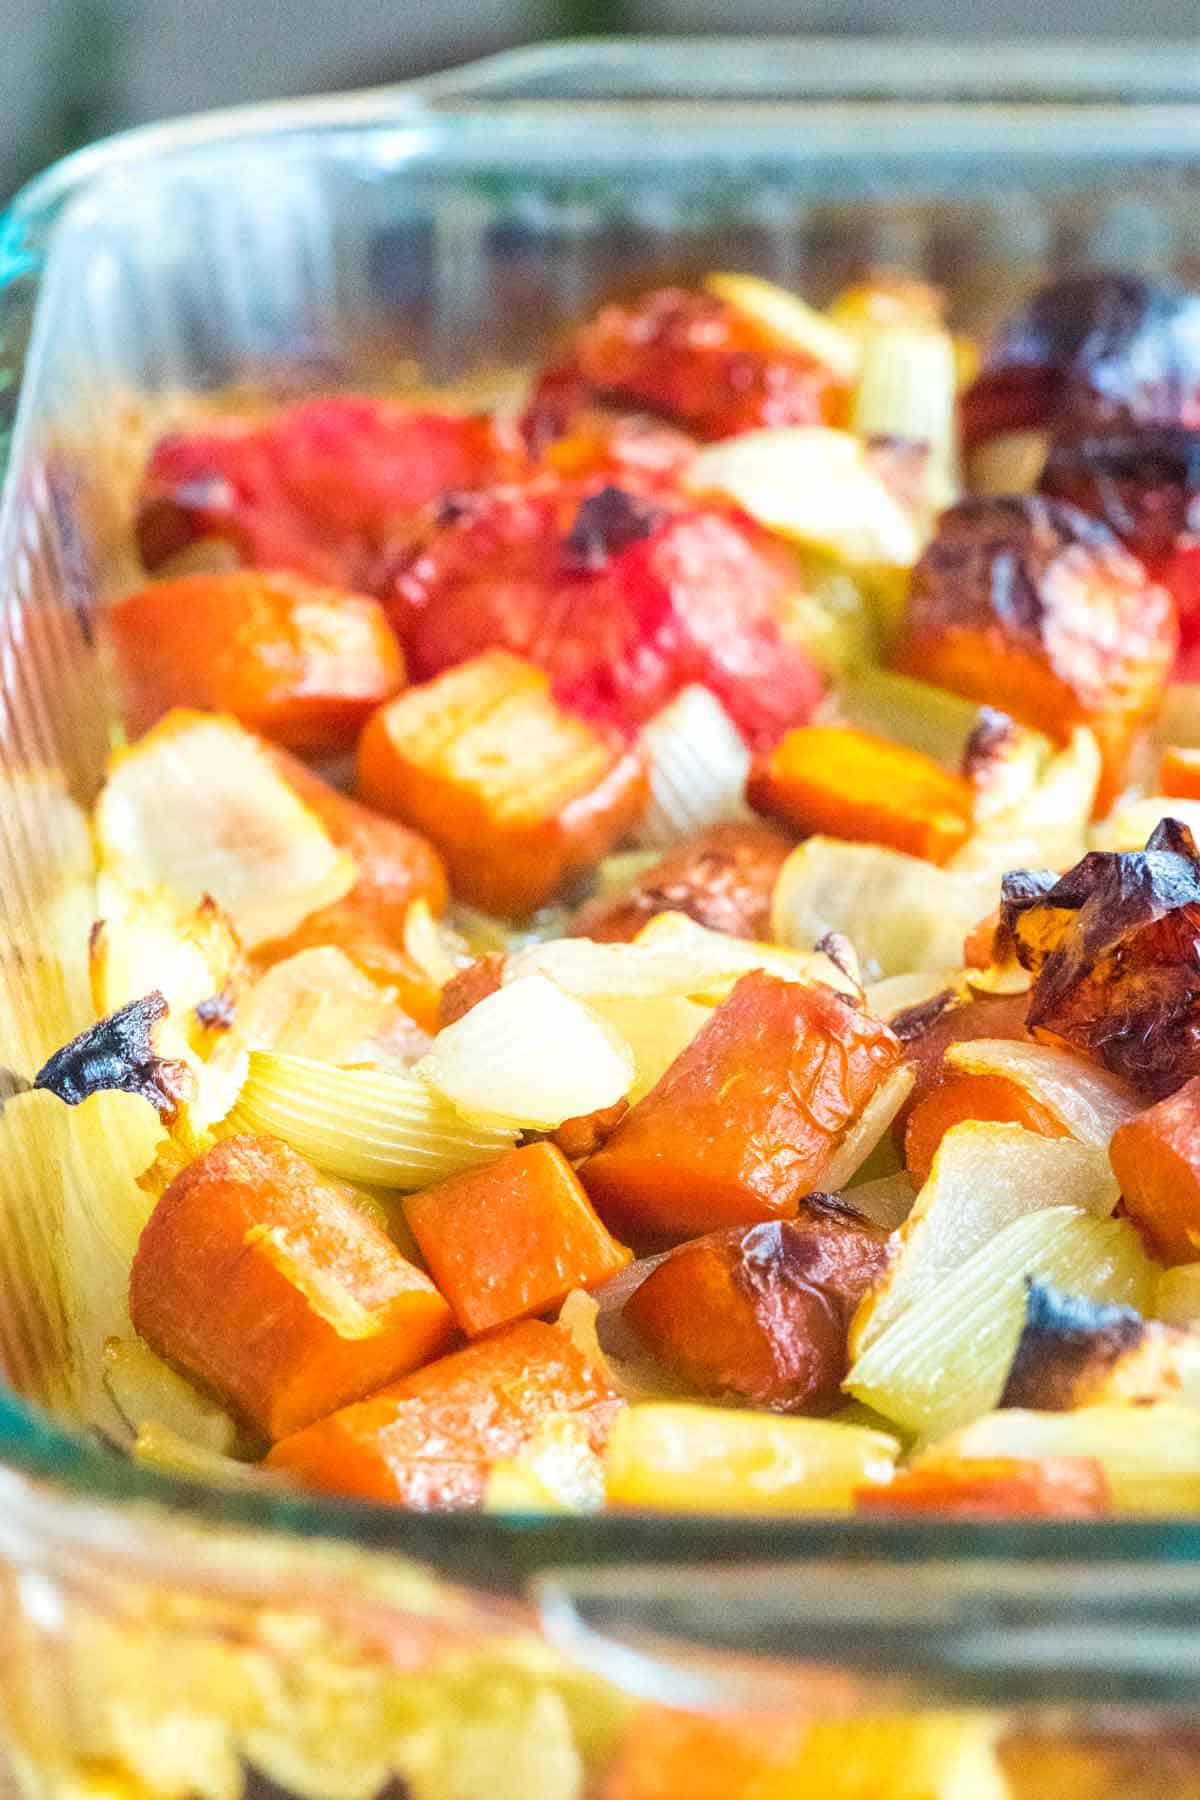
    Tip 1: Roast your vegetables. For the most savory and satisfying broth, roast the onion, carrots, celery, tomatoes, and garlic until nicely browned. This simple step intensifies the stock’s flavor and adds color.

    Roasting vegetables for vegetable broth.

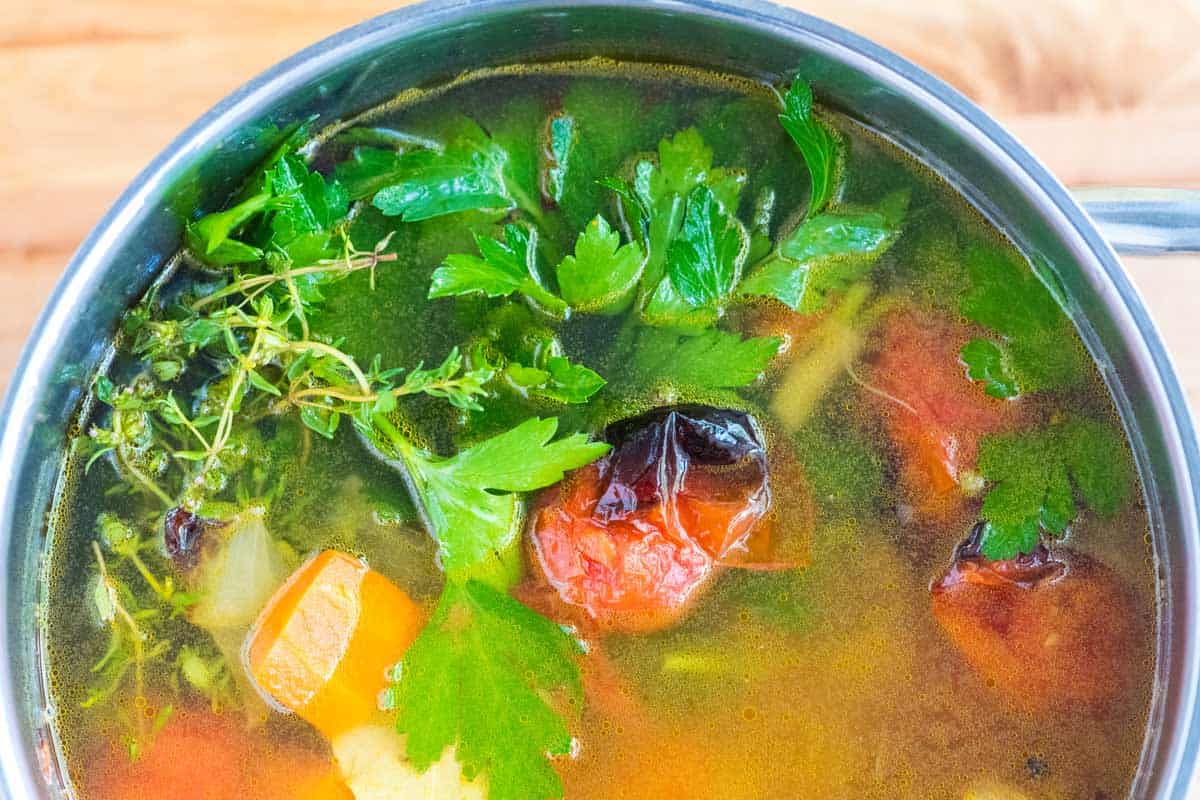
    Tip 2: Don’t leave out the tomatoes. Tomatoes add sweetness, color, and umami to this broth. Tomatoes are naturally high in glutamate, which means they contribute to that “fifth taste” or umami. Simply put, umami makes things taste good, adding that super delicious quality. Using tomatoes makes it rich and crave-worthy.

    Making veggie broth -- adding tomatoes for extra sweetness and umami.Making veggie broth -- adding tomatoes for extra sweetness and umami.

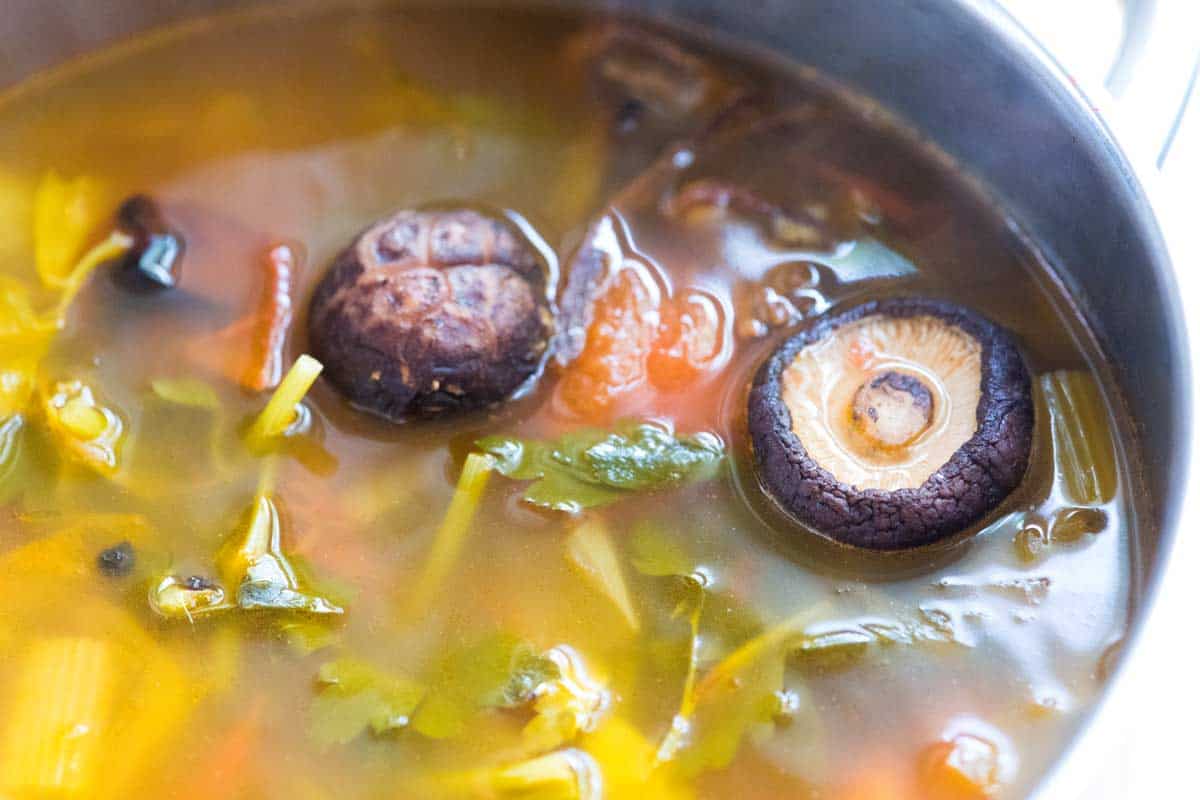
    Tip 3: Use dried mushrooms. Even though we didn’t add any bones or meat to this recipe, we still wanted some “meatiness” in the stock. Mushrooms are the solution. Just one ounce of dried mushrooms transforms this veggie broth from merely okay to something you wonder if it’s even vegetarian.

    Adding dried mushrooms to make homemade vegetable brothAdding dried mushrooms to make homemade vegetable broth

    Tip 3: Use it in your favorite recipes. This is perfect anytime a recipe asks for broth (even if it’s asking for chicken broth or beef broth). I often use it to make the soup recipes on Inspired Taste, like this potato soup, French onion soup, butternut squash soup, lemon turmeric lentil soup, and this veggie tortellini soup. It’s also great for cooking rice or quinoa. Use it in my quinoa recipe or to make this cilantro lime rice.

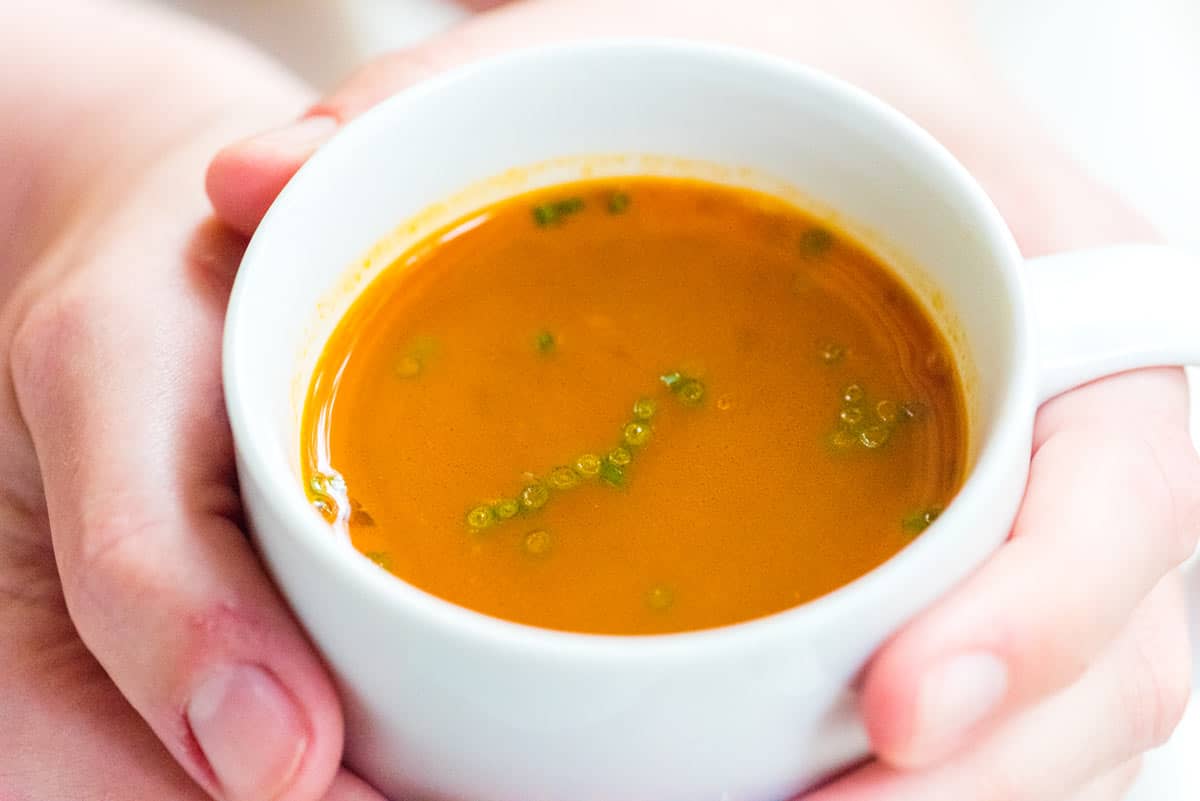
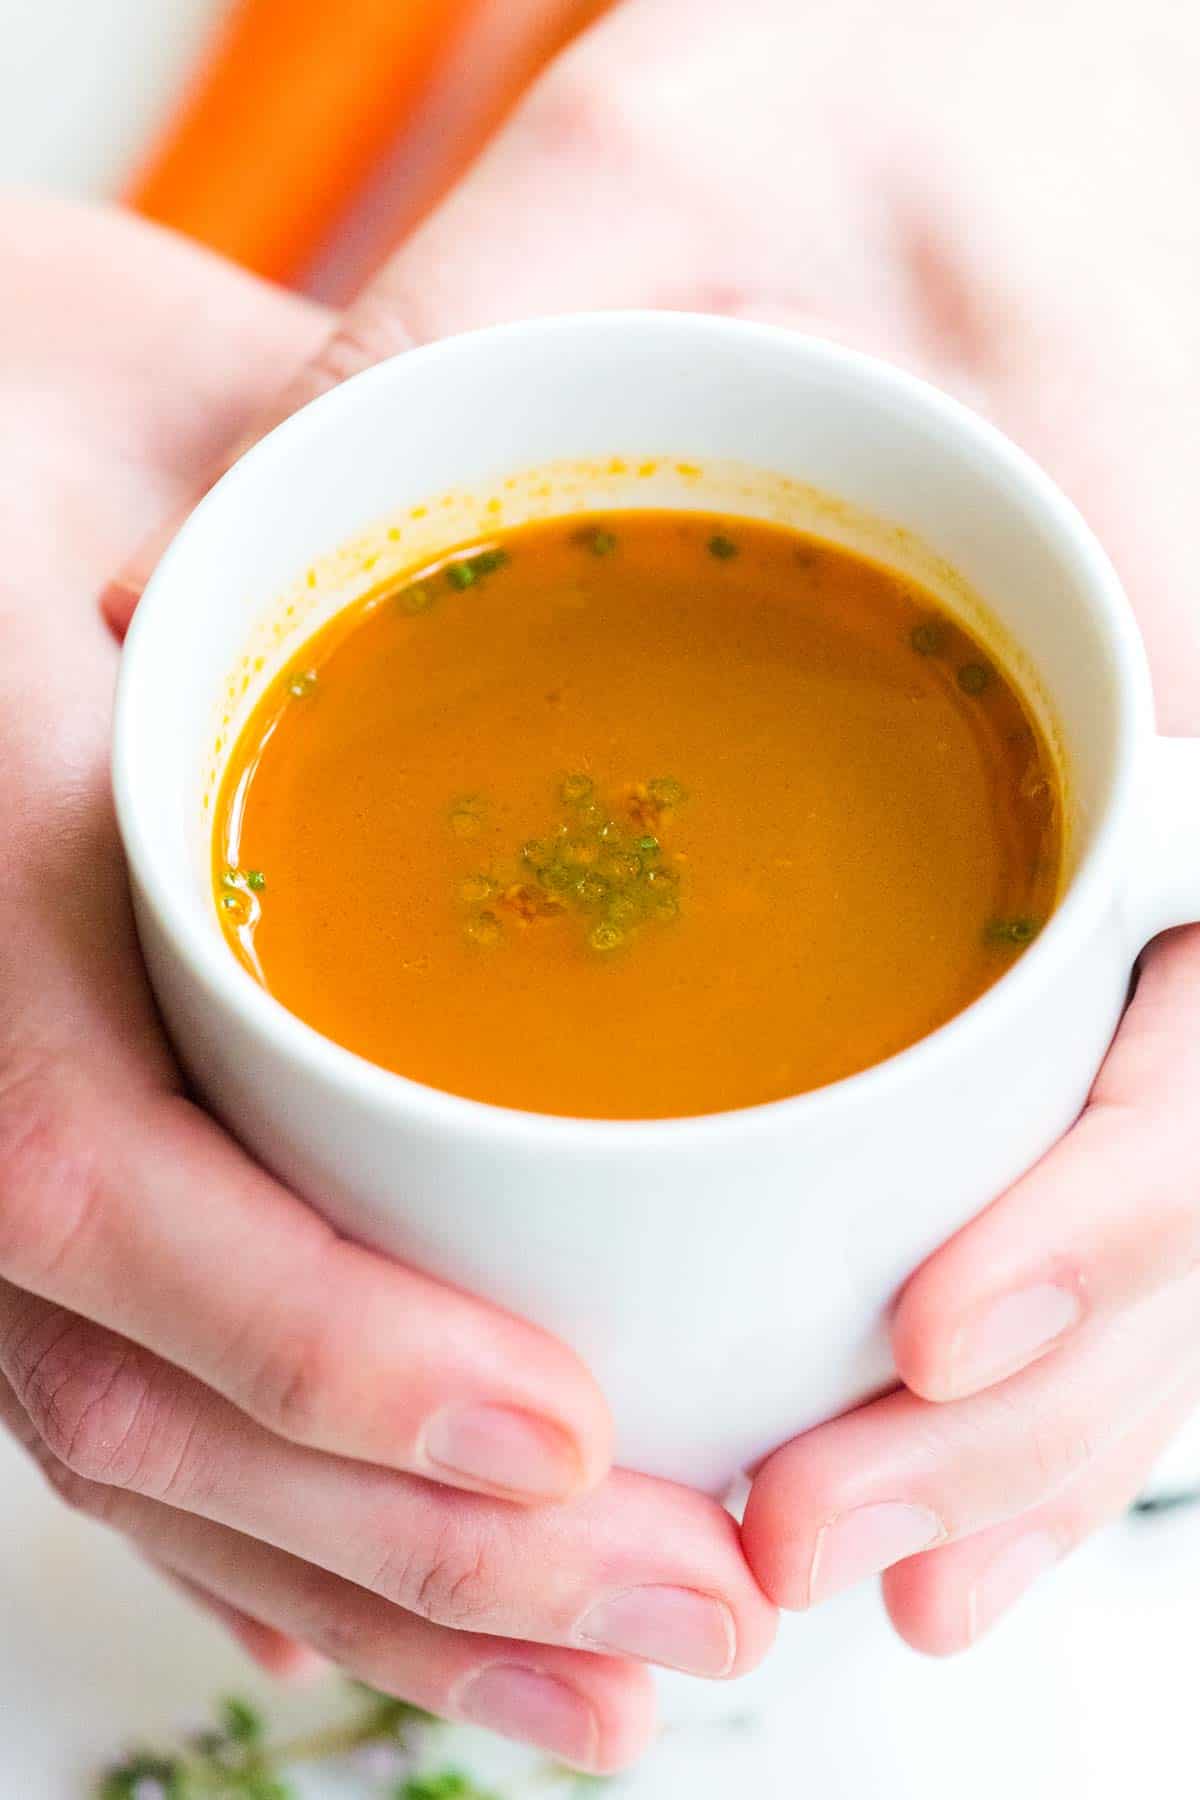
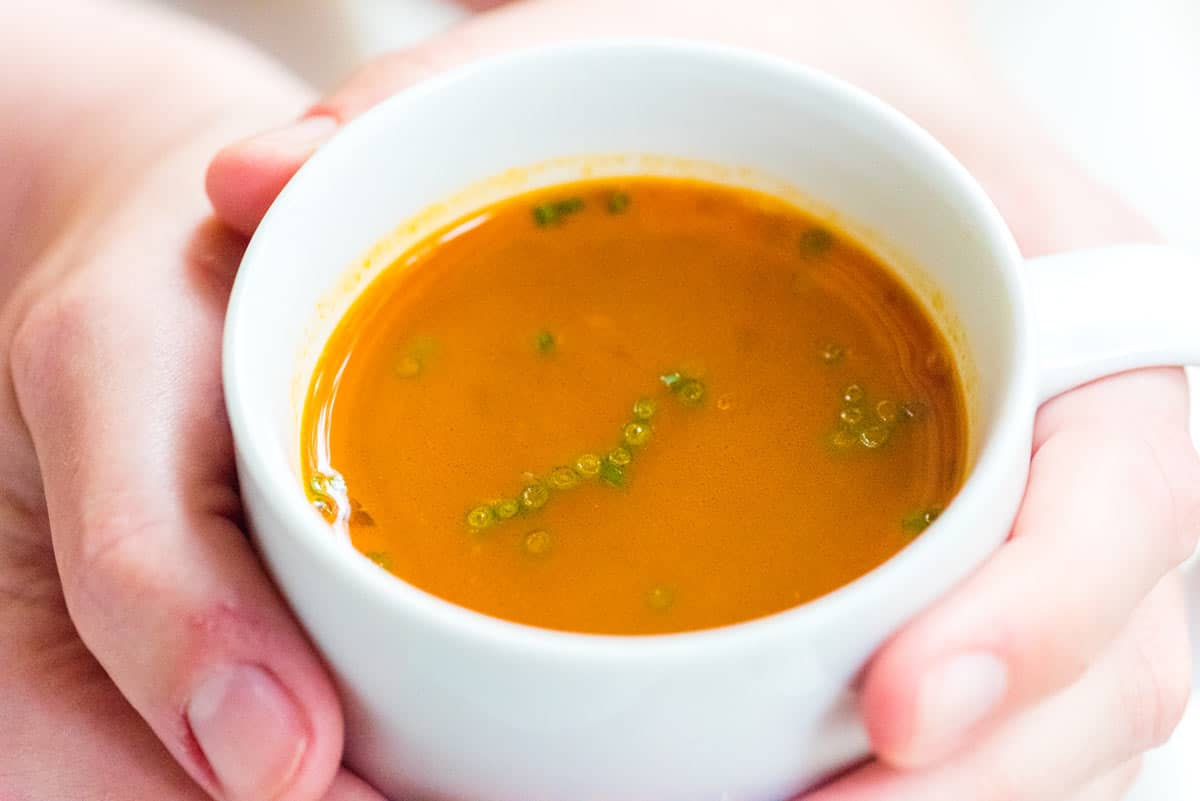
    Tip 4: Sip it like tea. This veggie broth has so much flavor, it’s lovely in a mug and sipped like tea. Any time I’m under the weather, I crave this broth. It’s so comforting. I highly recommend making a double batch of our broth and freezing some for a rainy day! It’s magic.

    Homemade Vegetable BrothHomemade Vegetable Broth

    The Best Vegetable Broth

    • PREP
    • COOK
    • TOTAL

    This homemade vegetable broth is hearty enough to enjoy alone as soup and perfectly replaces boxed stock in your favorite recipes. Roasting is the secret to rich and hearty veggie stock. When seasoned well, we find this veggie broth just as satisfying as bone broth.

    Think of this as a guide, and feel free to add any vegetable scraps in your fridge or freezer. Leeks, turnips, or mushroom scraps are all excellent. For even more richness, we add dried mushrooms, which pack a punch and add a “meatiness” to the stock.

    Makes 10 cups

    You Will Need

    1 pound onion, 2 medium (450g)

    1 pound carrots, 5 medium (450g)

    1/2 pound celery, 4 to 5 (225g)

    1 pound tomatoes, 3 medium (450g)

    4 garlic cloves, smashed and peeled

    2 tablespoons olive oil

    1/2 ounce dried mushrooms such as shiitake or porcini (14g)

    Half a bunch of fresh parsley

    3 sprigs fresh thyme

    2 bay leaves

    1 to 2 cups vegetable scraps from fridge or freezer, optional

    1 teaspoon sea salt, optional

    12 cups water, preferably filtered (2.8L)

    Directions

      • Roast Vegetables

    1Preheat the oven to 425°F (218°C). Set aside a large, rimmed baking sheet or a 9-inch by 13-inch baking dish for roasting the vegetables.

    2Peel the onion and roughly chop it into 1-inch chunks. Scrub the carrots and celery and cut them roughly into 1-inch chunks. Rinse the tomatoes, and if they are large, half or quarter them.

    3Add onion, carrots, celery, tomato, and garlic to the baking sheet. Toss with olive oil and roast for 15 minutes. Stir the vegetables and roast for another 15 minutes. Stir once more and roast until the vegetables are nicely browned and the tomatoes are caving in, another 10 minutes or so.

      • Make Vegetable Broth

    1While the vegetables roast in the oven, cover the dried mushrooms with 1/2 cup of cold water and set aside for 5 minutes.

    2Spoon the roasted vegetables into a tall stockpot. Add 1 cup of water to the baking sheet or pan, then stir it around, scraping up as much of the browned bits stuck to the bottom as possible. Pour over the vegetables in the stockpot.

    3Add the parsley, thyme, bay leaves, vegetable scraps, and salt (if using).

    4Add the partially rehydrated mushrooms, and then pour the water they sit in through a fine mesh strainer to catch any grit. Add the strained mushroom water to the pot with the vegetables.

    5Cover with 11 cups of water. Bring to a boil, then reduce to a simmer. Cook, partially covered, for 45 minutes.

    6Strain broth and use immediately, refrigerate for up to 3 days, or freeze for up to 3 months. When using, taste the broth and adjust the seasoning with additional salt or, if you are okay with using it, a few dashes of fish sauce.

    Adam and Joanne’s Tips

    • Dried mushrooms alternative: If you can’t find dried mushrooms, you can add mushroom scraps or chopped mushrooms to the onions and carrots when they roast. Dried mushrooms will taste stronger, but this will still make a delicious broth.
    • The nutrition facts provided below are estimates. We have omitted salt since you will need to add to your tastes.

    Nutrition Per Serving
    Serving Size
    1 cup
    /
    Calories
    70
    /
    Protein
    2 g
    /
    Carbohydrate
    10 g
    /
    Dietary Fiber
    3 g
    /
    Total Sugars
    5 g
    /
    Total Fat
    3 g
    /
    Saturated Fat
    0 g
    /
    Cholesterol
    0 mg

    Source link

  • Homemade Steak Sauce | The Recipe Critic

    Homemade Steak Sauce | The Recipe Critic

    This website may contain affiliate links and advertising so that we can provide recipes to you. Read my disclosure policy.

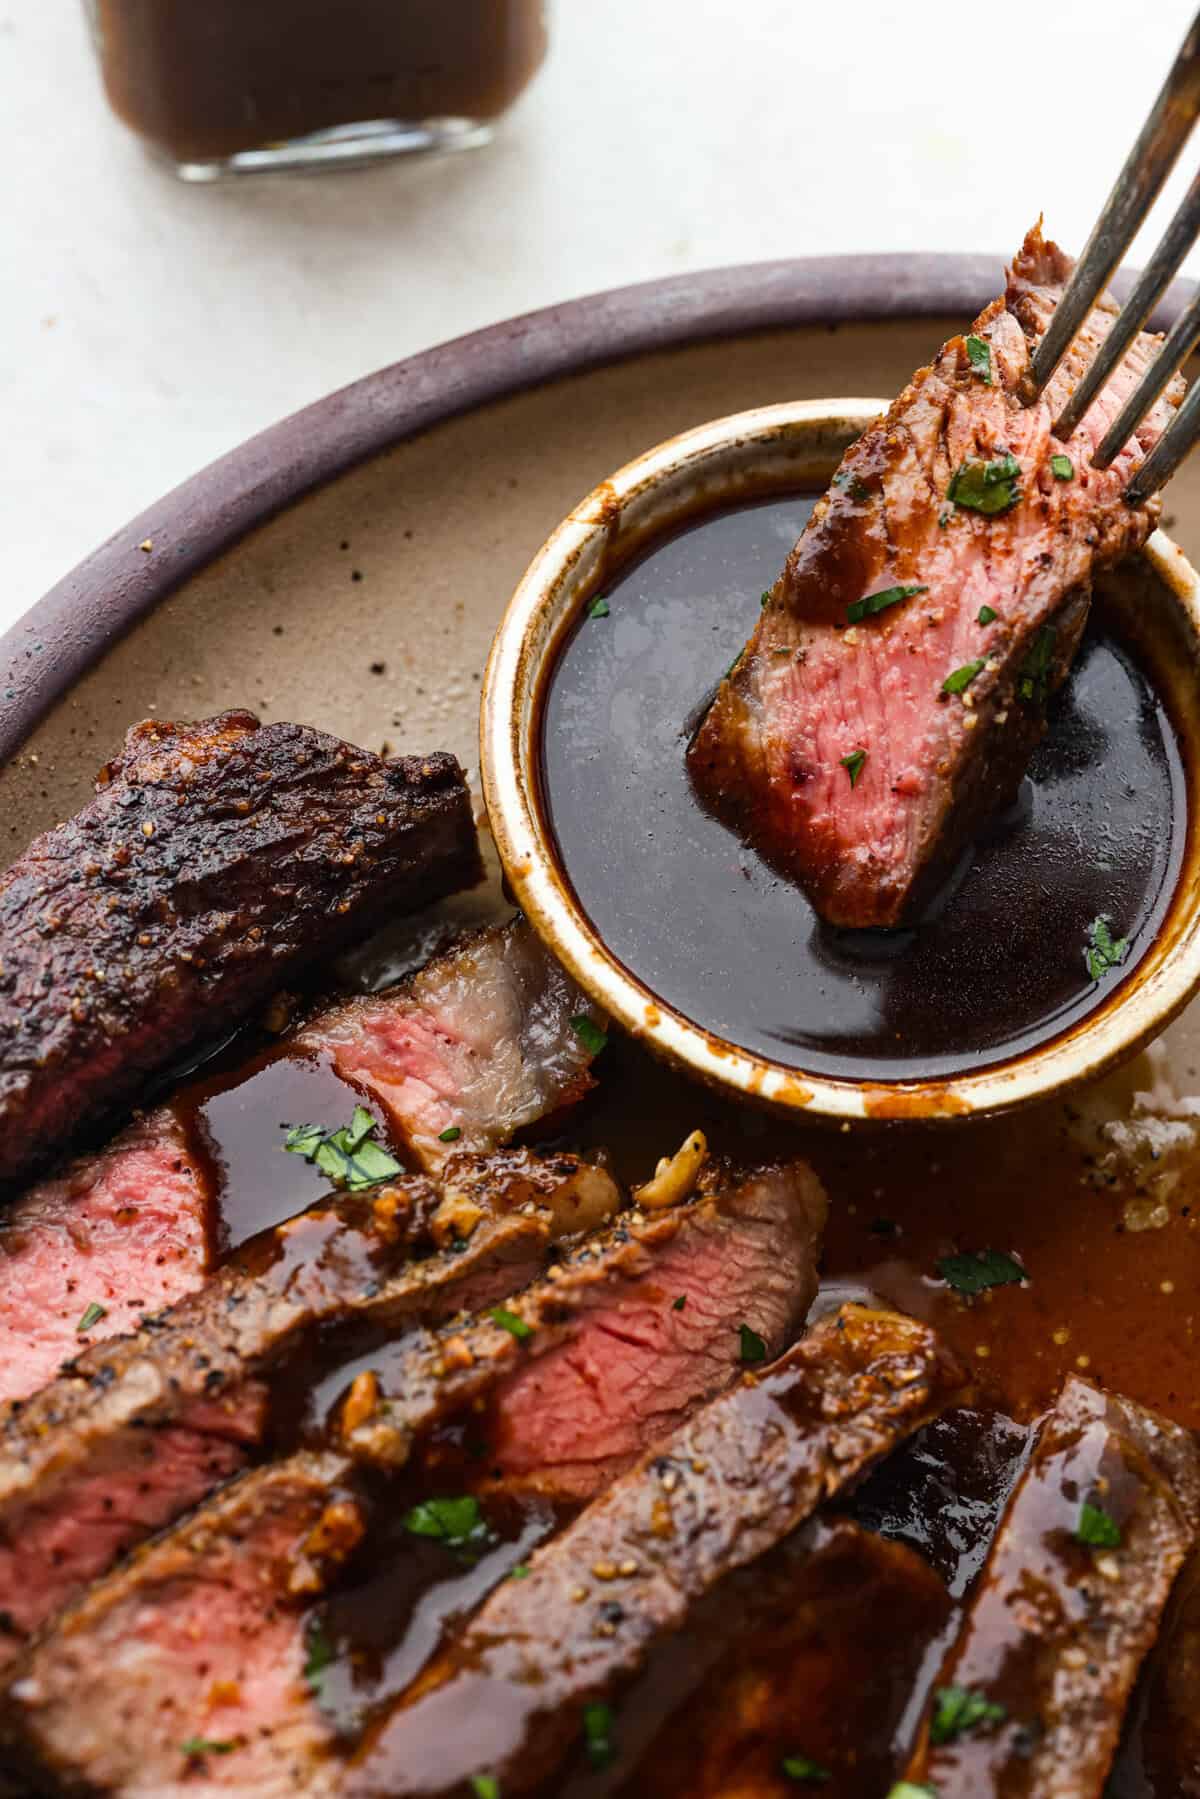
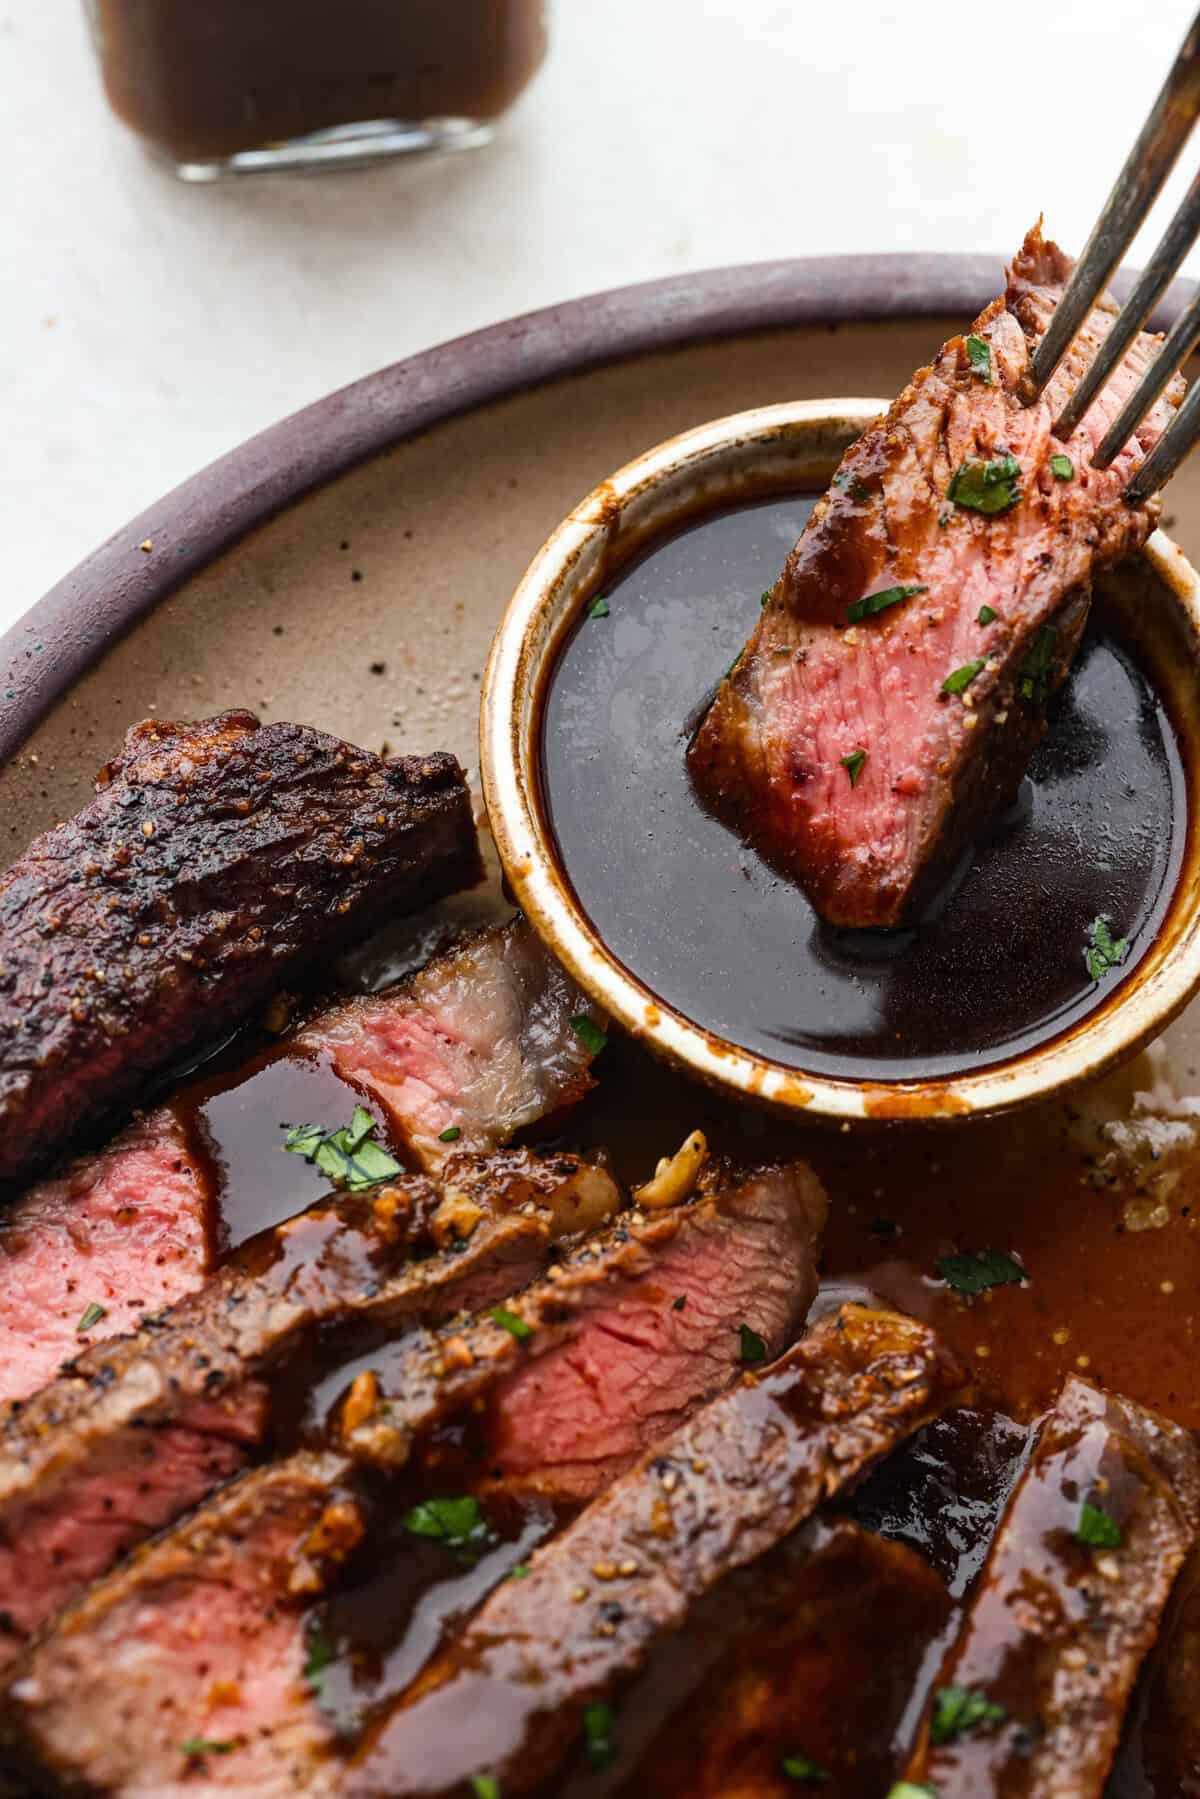
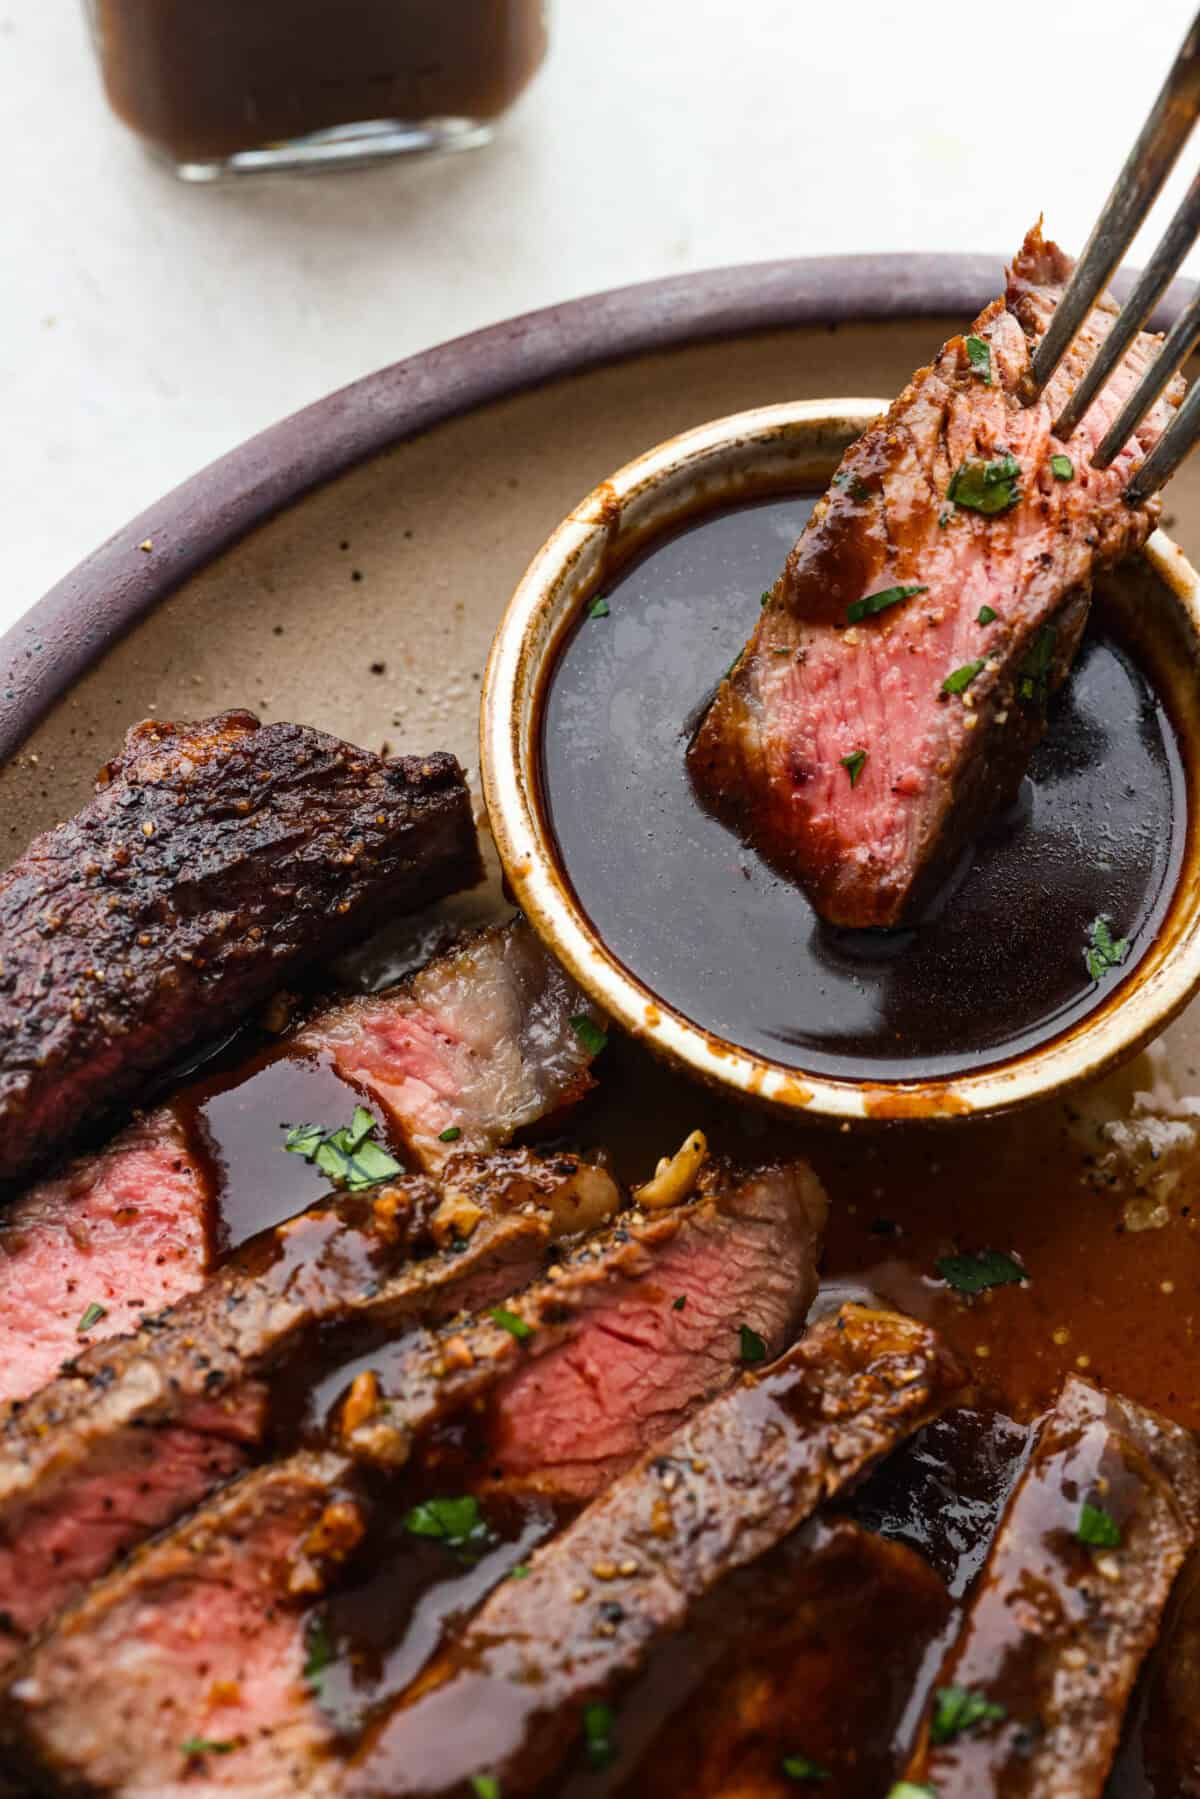
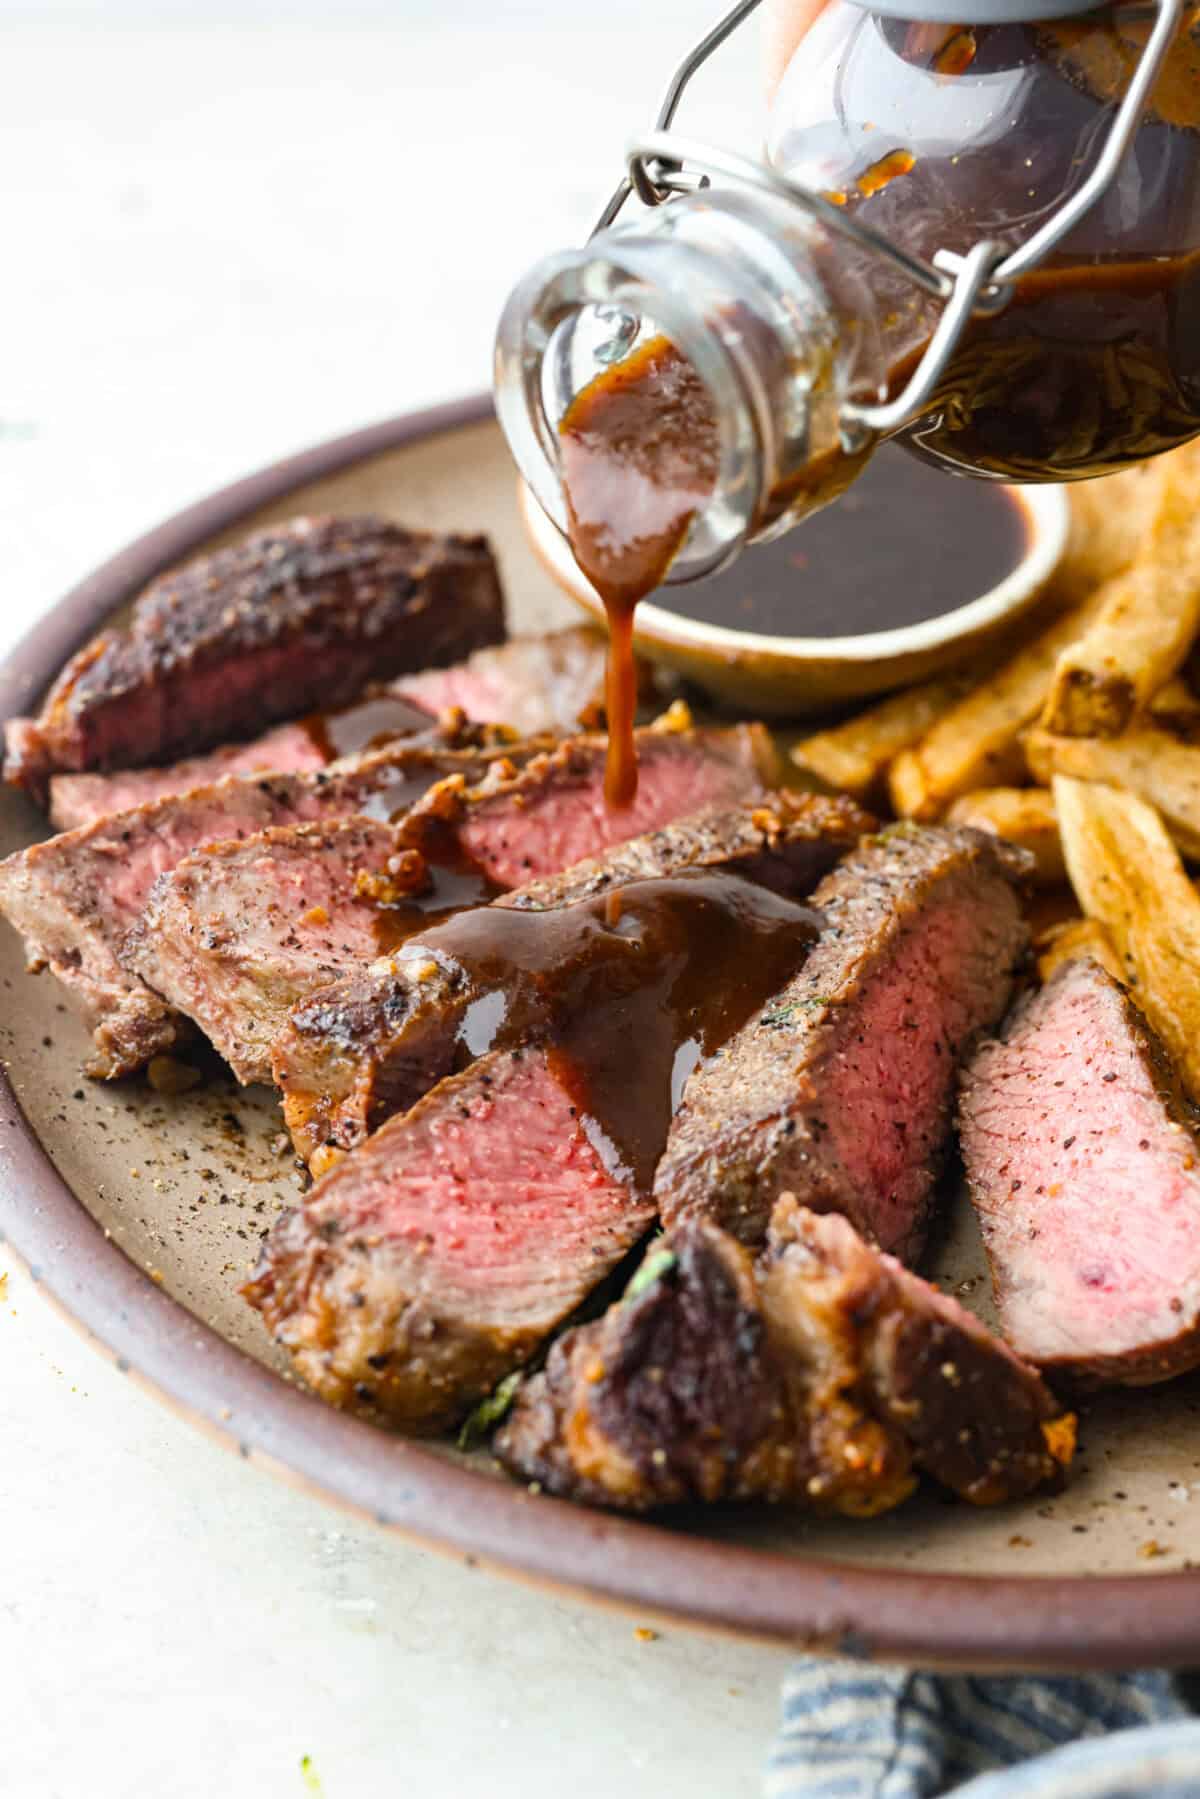
    This A-1 copycat homemade steak sauce recipe is slightly sweet with a delicious tang from the vinegar. It’s perfect for drizzling over your favorite cut of tender, juicy meat.

    Angle shot of someone dipping a piece of steak into the homemade steak sauce.

    Reasons You’ll Love This Recipe

    • Easy to Make: There are only a few simple ingredients that go into this amazing sauce, and you probably already have them in your pantry.
    • Customizable: You can easily adjust this homemade steak sauce recipe to suit your taste preferences.
    • Versatile: This sauce goes well with any steak you whip up, whether it’s a ribeye, T-bone, New York strip, skirt steak, or tuna steak.

    Rich, Bold, Savory Steak Sauce

    You will love the depth of flavor this homemade sauce gives any steak you make. If you like A-1, you will love this even more. It is similar, but will have ingredients you know and trust. Combined, they make the most incredible steaks taste even better! Trust me, you will want to have this on hand any time you make steaks!

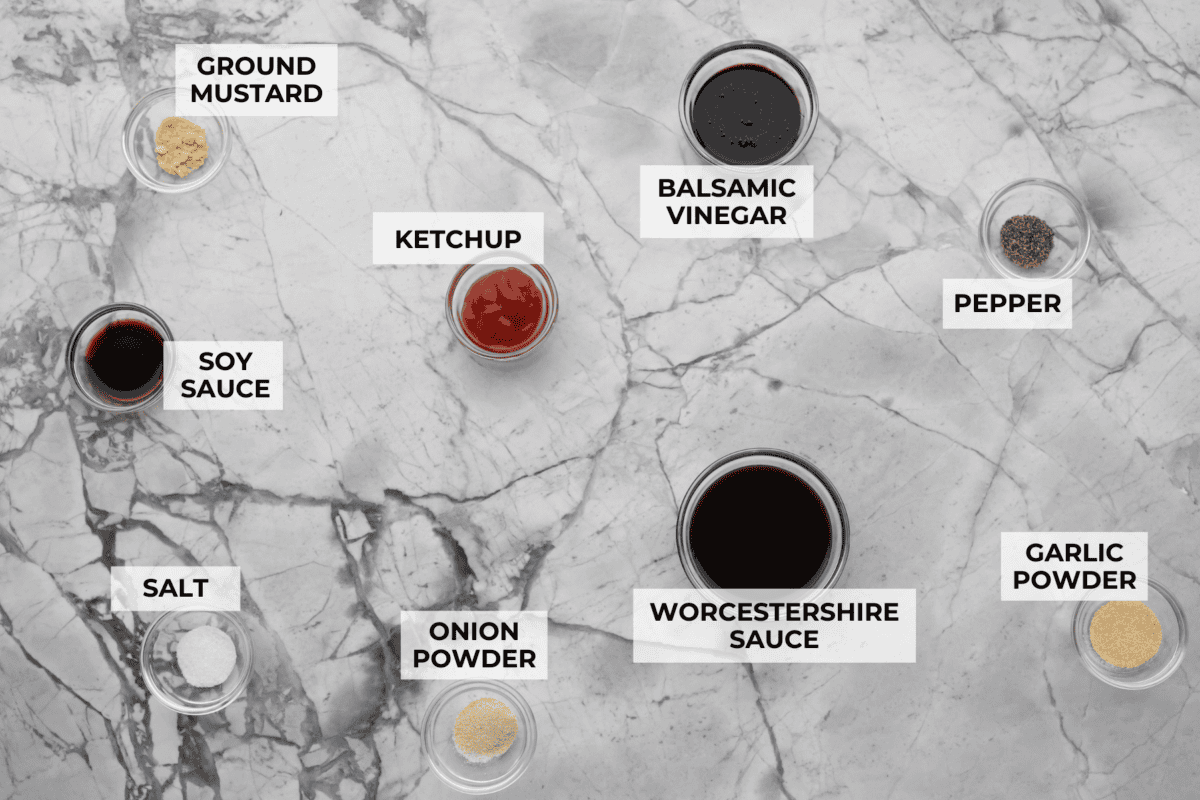
    Ingredients Needed

    How to Make Homemade Steak Sauce

    This steak sauce recipe is just as good or better than A-1 steak sauce. I love being able to adjust the ingredients to use more of what I like and make it taste exactly how I want.

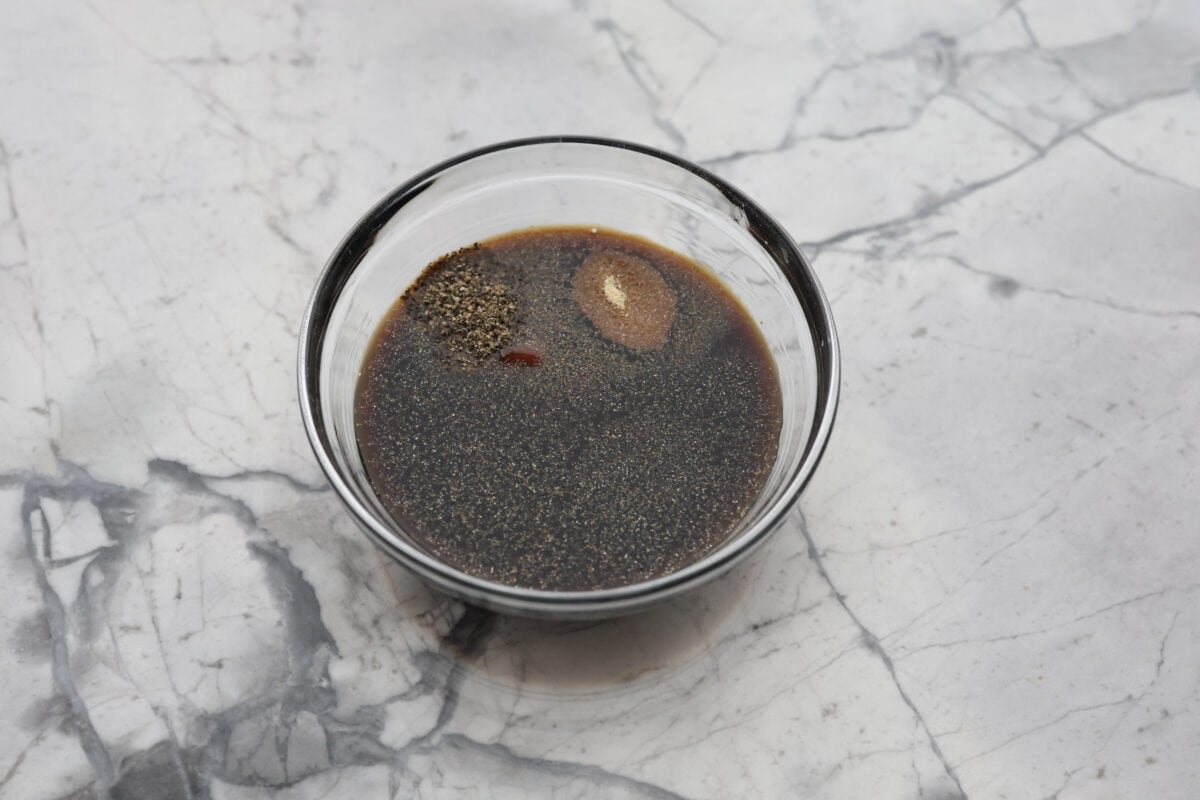
    1. Combine: In a mixing bowl, add the Worcestershire sauce, balsamic vinegar, ketchup, soy sauce, onion powder, garlic powder, mustard powder, pepper, and salt.
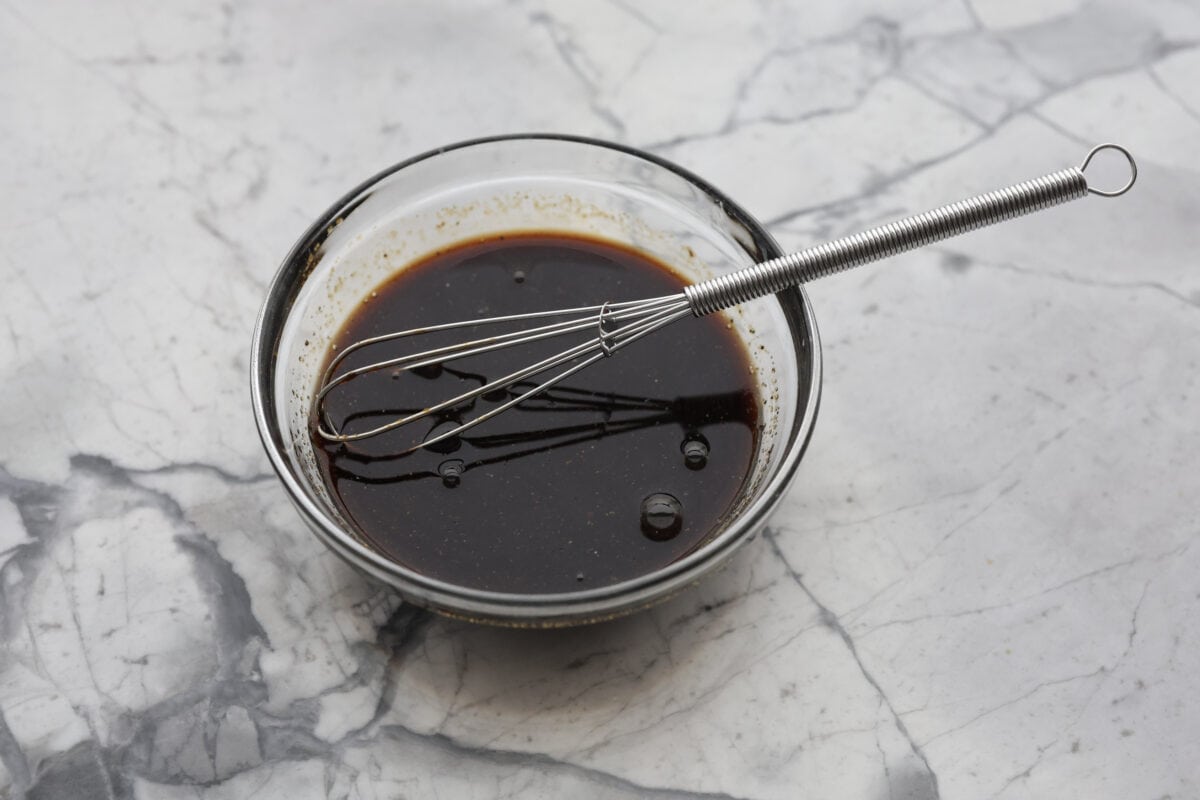
    2. Stir: Whisk everything together and then serve or store right away.
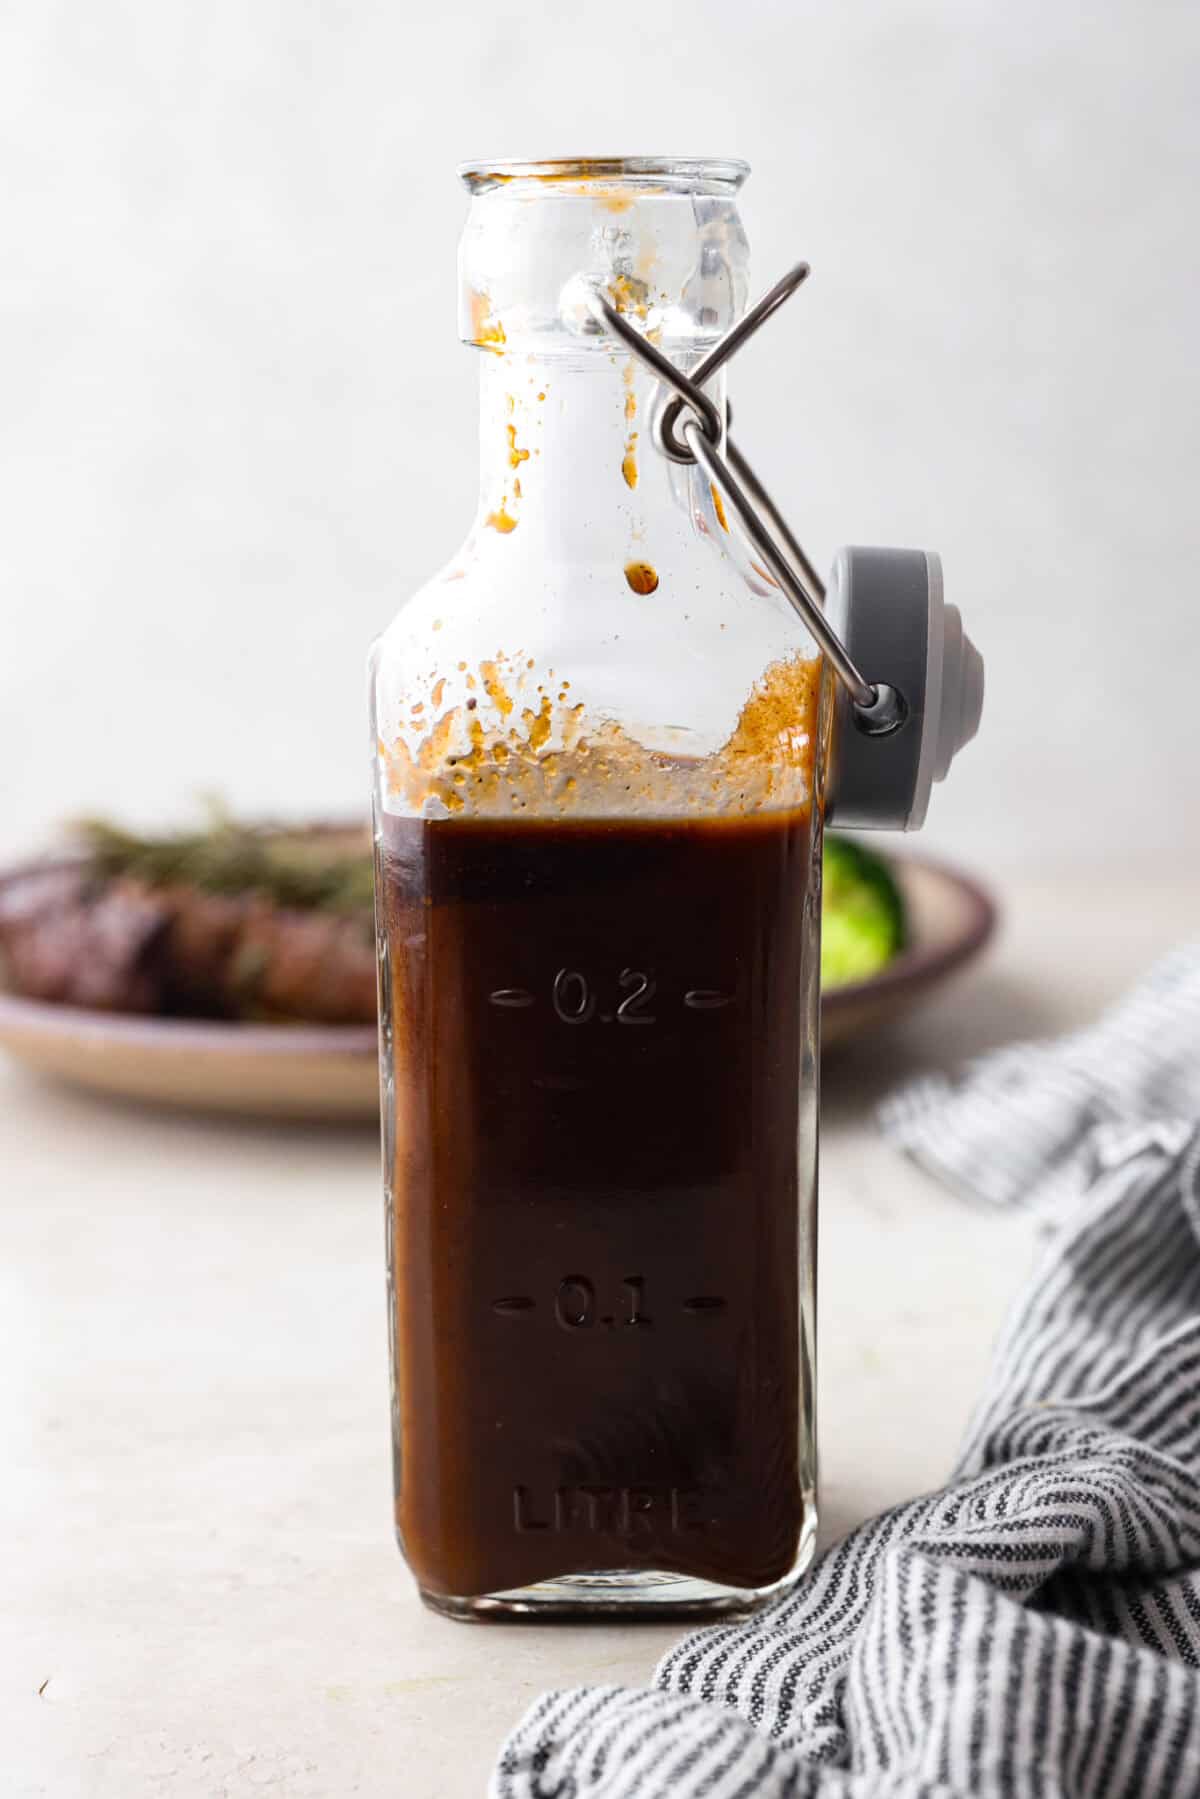
    Side shot of homemade steak sauce in a bottle.

    Tips and Variations

    This homemade steak sauce recipe is very straightforward. But you can always adjust something like this to make it suit your tastes. Here are some ideas to get you started.

    • Let it Sit: You can use this sauce right away, but I recommend letting it sit for a couple of hours to allow the flavors to meld together. Shake well before using. 
    • Make it Spicy: If you want to, you can add some spice to this sauce by adding cayenne pepper to it.

    Storing Steak Sauce

    The nice thing about this homemade steak sauce is that will last you a couple of months! Here are the instructions for how to give it the longest shelf life.

    • Fridge: You can store any leftovers in an airtight container in the fridge for up to 2 months. 
    • Freezer: I don’t recommend freezing this sauce, it keeps for a long time in the fridge and will be best kept there.

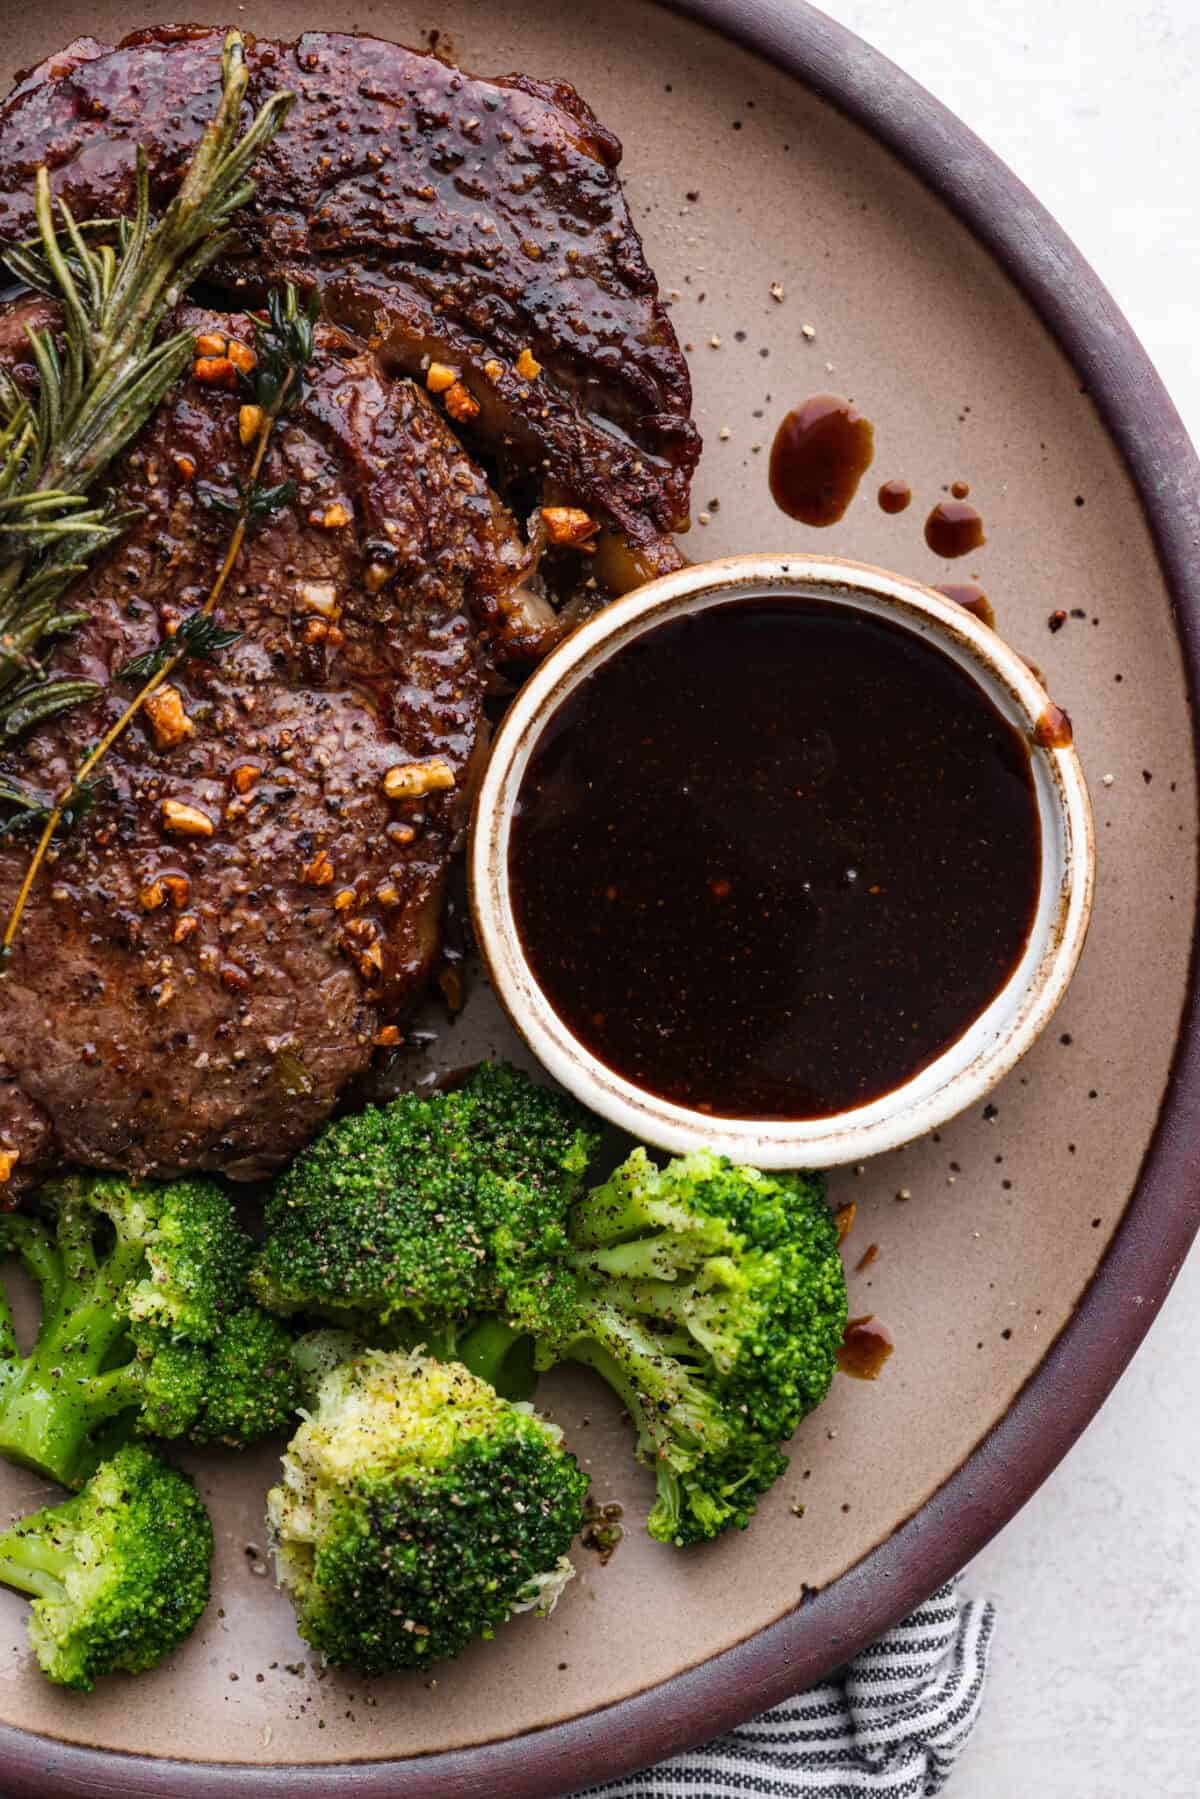
    Overhead shot of a plate with steak next to broccoli, and a small bowl of homemade steak sauce.

    More Steak Sauces and Marinades

    Most of the time, I like to make my steak with a simple marinade. But there are those special occasions when I like an incredibly flavorful sauce with my steak. Like when I make Steak Frites. Here are a few of my favorites!

    Bearnaise Sauce

    35 minutes

    Pin this now to find it later

    Pin It


    Source link