Tag: Recipe

  • Easy Fruit Dip Recipe

    Easy Fruit Dip Recipe

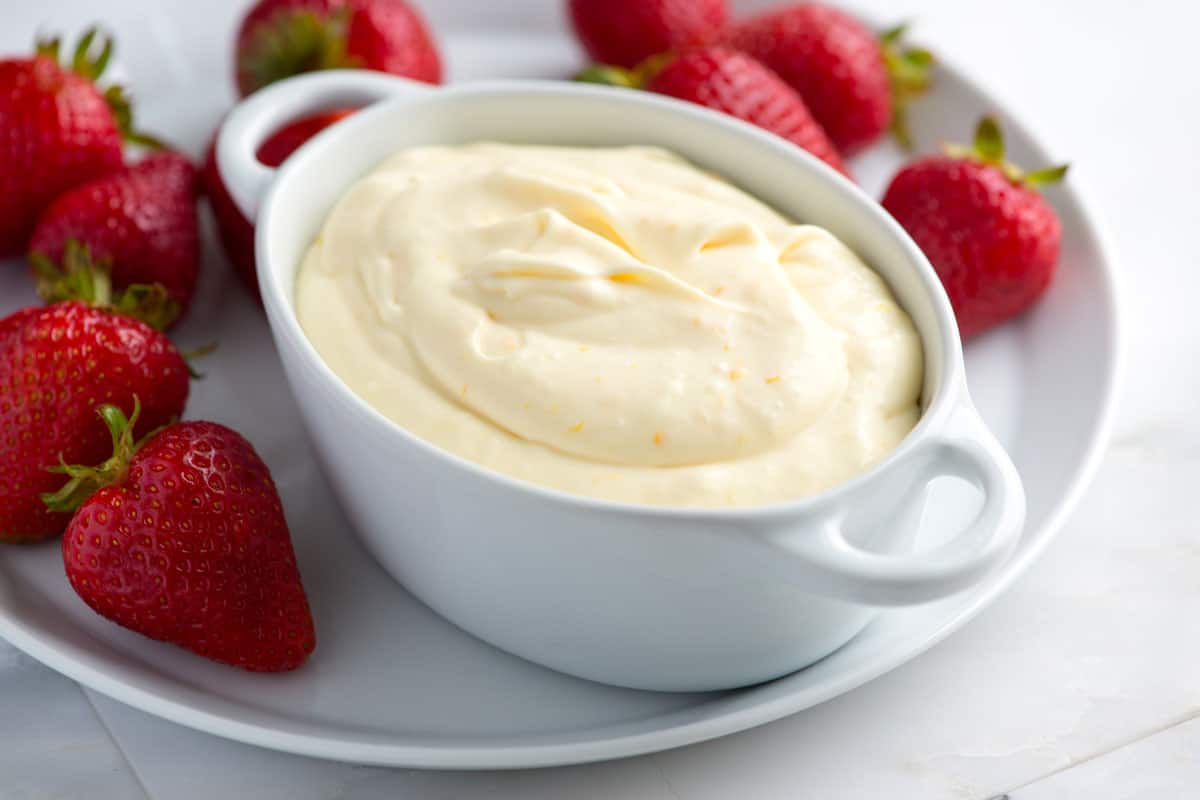
    Our 5-minute fruit dip recipe turns out incredibly delicious thanks to cream cheese, cream, and orange. It’s so good, and reminds me of an orange creamsicle.
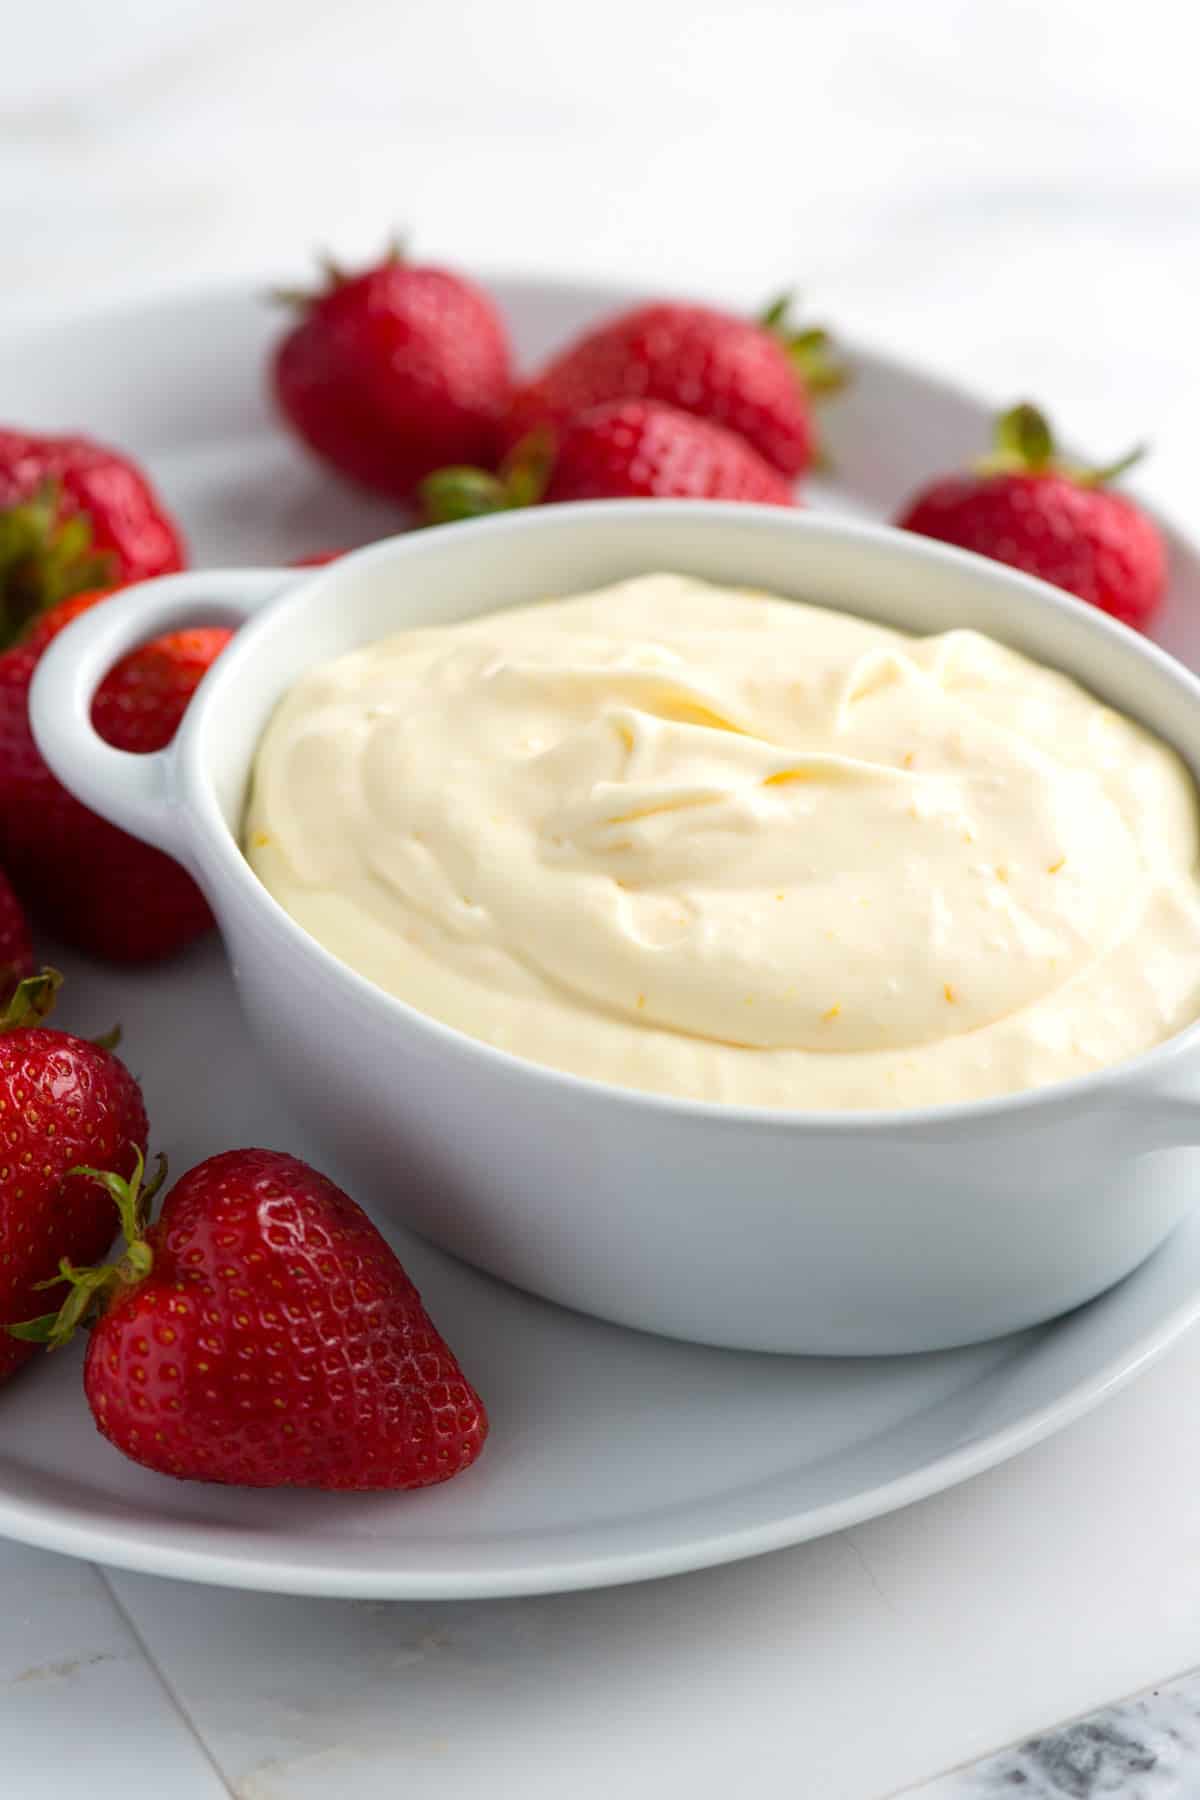
    Fruit Dip

    Imagine a party with a table filled with tempting treats. At one end, you see chocolate cupcakes. At the other end, there’s a bowl of this irresistible creamy fruit dip. Where will you find me? I’ll be hovering over the fruit dip, happily devouring it.

    This creamy dip is perfect with fresh fruit, but it works really well with other sweets like graham crackers, shortbread cookies, and biscotti. Although, to be honest, I hardly even need the fruit – this dip is so good that I could eat it with a spoon!

    Key Ingredients

    • Cream Cheese and Cream: I love the combination of cream cheese and heavy cream. I use the same base for the frosting of my favorite carrot cake. It’s so simple, yet so good! You will need softened or room-temperature cream cheese for this recipe, so plan ahead.
    • Orange: Fresh orange is best since it allows you to use some of the zest, which adds an extra pop of orange flavor.
    • Vanilla: Use your favorite vanilla extract or swap in vanilla bean paste.
    • Powdered Sugar: I like using just enough to make the dip slightly sweet, not overly so. If you find it needs a bit more, it’s easy to add to taste. Powdered sugar is best here, as it easily dissolves into the cream cheese mixture.

    Find the full recipe with measurements below.

    How to Make My Favorite Fruit Dip

    Tip 1: Use an electric or stand mixer. Think of this fruit dip as a slightly less-sweet, creamier version of cream cheese frosting. Just like when making frosting, an electric hand mixer or a stand mixer makes things really quick and easy.

    Combine the cream cheese, cream, vanilla, orange zest, orange juice, and powdered sugar in a bowl. Then use your hand or stand mixer to beat the ingredients until the dip is light, whipped, and creamy.
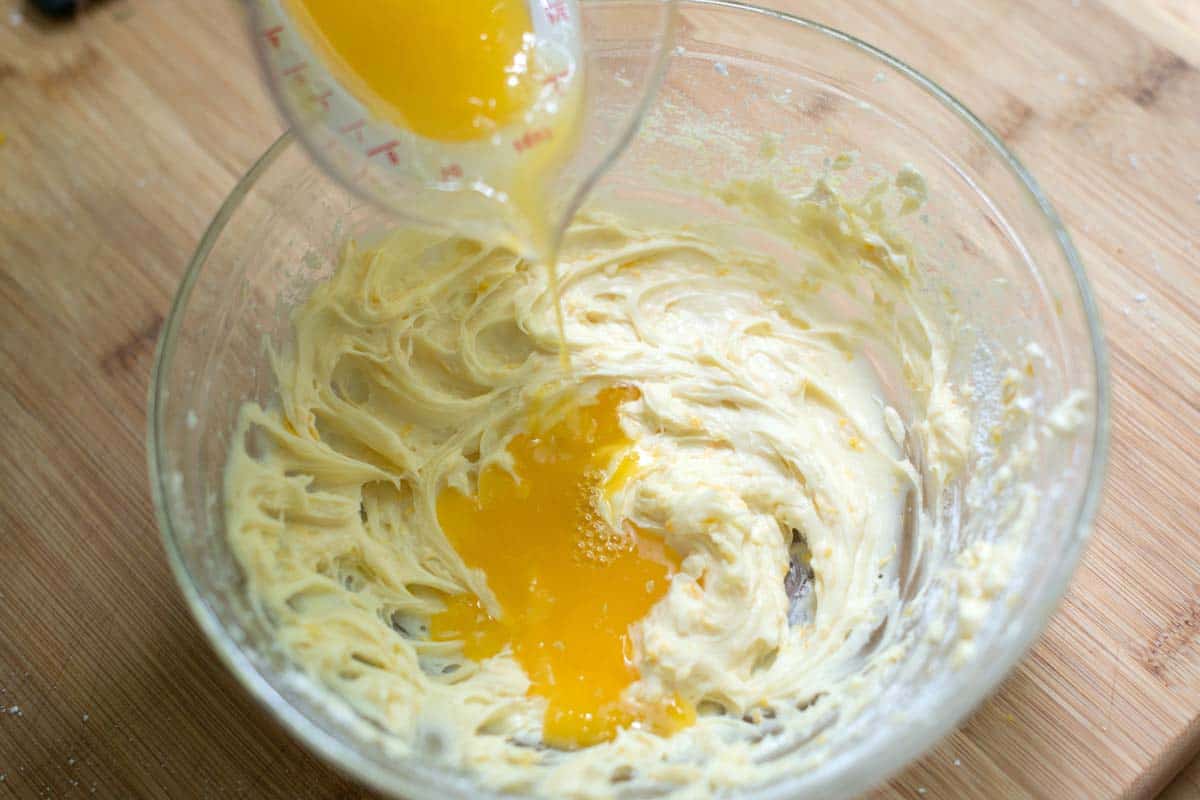
    Making fruit dip by adding orange juice to whipped cream cheese and cream

    Tip 2: Keep in mind that it firms up when cold. Just like buttercream or frosting, once this dip goes into the fridge, it firms up, which can make dipping a little more difficult. You can absolutely store this in the fridge for a few days. Just remember to take it out and set it on the counter for 20 to 30 minutes before you plan to serve it. Beating it a few times with a spoon softens it up more quickly, too.

    More Easy Desserts
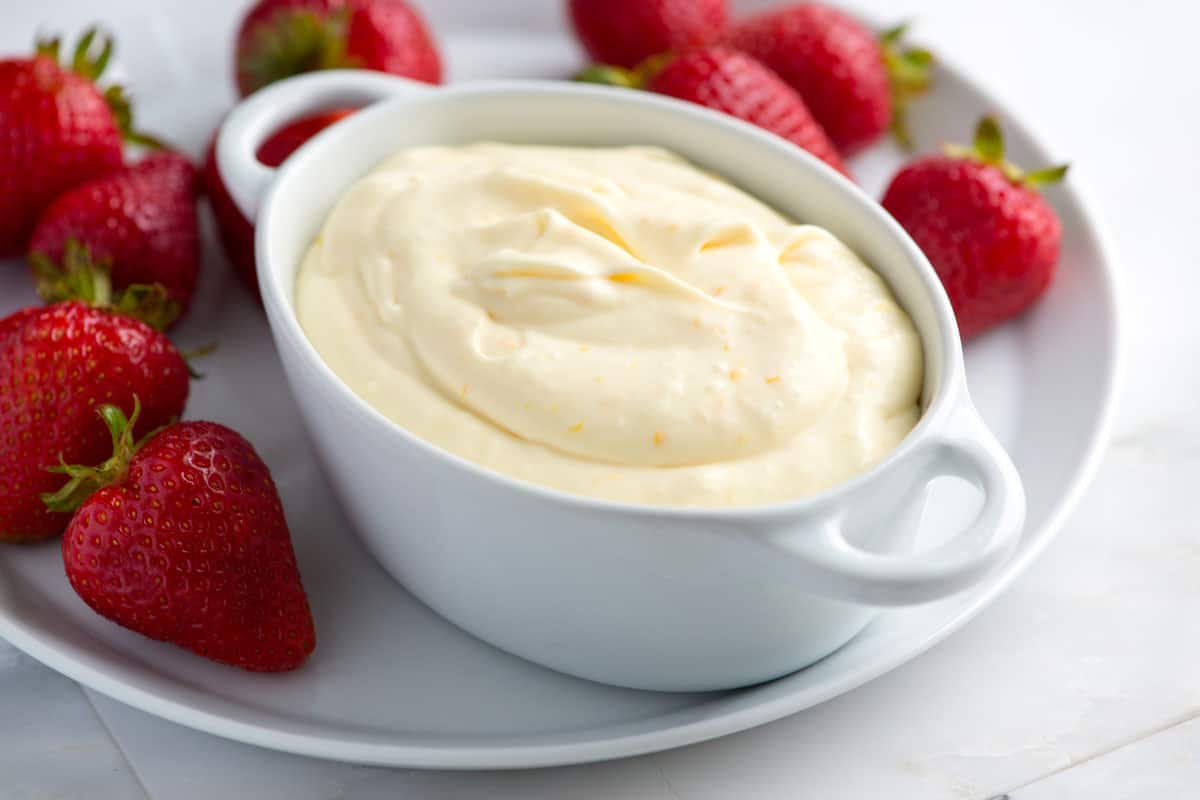
    Fruit Dip with Strawberries

    Easy Fruit Dip

    This super simple fruit dip is perfect served with fresh fruit, but it’s also incredible with cookies or graham crackers.

    Makes 1 1/4 cups

    You Will Need

    4 ounces cream cheese, at room temperature (113g)

    ½ teaspoon vanilla extract

    1 tablespoon orange zest

    ½ cup powdered sugar (55g)

    ¼ cup fresh squeezed orange juice (60ml)

    ¼ cup heavy cream (60ml)

    Directions

      1Add cream cheese, vanilla, and the orange zest to a medium bowl, then beat on medium speed with a hand mixer until smooth (or use a stand mixer with a paddle attachment).

      2Add powdered sugar a little at a time, mixing after each addition. Add the orange juice, then beat until smooth.

      3Pour in the cream and beat with the mixer until thick and creamy, about 1 minute.

    Adam and Joanne’s Tips

    • Storing: Keep tightly covered in the refrigerator for up to 3 days.
    • The nutrition facts provided below are estimates.

    Nutrition Per Serving
    Serving Size
    2 tablespoons
    /
    Calories
    86
    /
    Protein
    1 g
    /
    Carbohydrate
    7 g
    /
    Dietary Fiber
    0 g
    /
    Total Sugars
    7 g
    /
    Total Fat
    6 g
    /
    Saturated Fat
    4 g
    /
    Cholesterol
    21 mg


    AUTHOR:

    Joanne Gallagher

    Adam and Joanne of Inspired Taste

    We are Adam and Joanne Gallagher, the creators of Inspired Taste. Established in 2009, Inspired Taste grew from a childhood dream into one of the internet’s most trusted recipe sites with hundreds of reliable recipes, step-by-step videos, and expert tips.More About Us
    Source link

  • Easy Pickled Peppers Recipe

    Easy Pickled Peppers Recipe

    I’m obsessed with this pickled peppers recipe and find myself adding them to everything! They only take 20 minutes to prep and last in the fridge for a month.

    Pickled Peppers

    I’m convinced these pickled peppers make just about anything taste better. When I’m putting together a dish, I’m always surprised at how much a hint of tanginess (from lemon or vinegar) can take the flavor from simply okay to absolutely excellent. These are my secret for adding crunch and that perfect hint of tanginess to everything from taco recipes and sandwiches to my favorite salad recipes, homemade pizza, and so much more!

    For the photos, I’ve made a batch of sweet pickled peppers, but this recipe is easily adaptable to all sorts of peppers (even the hottest you can find). It truly depends on what you’re looking for! Feel free to experiment with different peppers or a combination of them to achieve the spice level you love.

    Key Ingredients

    • Peppers: I love pickled sweet peppers, but this recipe works with any variety of peppers. It depends on what you are looking for. For sweet peppers, we love using mini peppers (like what I used to make these sweet pepper poppers). They are thinner than regular bell peppers, which makes for a better texture in the end. You can use 100% sweet peppers or mix in some hotter varieties, such as banana peppers, cherry peppers, jalapeños, serrano peppers, or even hotter options like Fresno peppers.
    • Vinegar: We keep the brine for these peppers simple with regular distilled vinegar (5% acidity). It gives the pickles a clean, classic flavor, allowing the sweetness of the peppers and the garlic to come through (it’s also inexpensive!). Feel free to substitute with rice wine vinegar or white wine vinegar if you prefer.
    • Salt and Sugar: These are essential for balancing the brine. Without salt or sugar, our brine would taste too intensely like plain vinegar (we take this approach for most of the pickle recipes on Inspired Taste). For salt, I use sea salt or pickling salt (it’s best to avoid table salt here, as the added iodine can interfere with the pickling process). For the sugar, I use plain granulated sugar as my go-to. You can substitute brown sugar or honey, but this may cause your brine to appear slightly cloudy.
    • Garlic and Spices: For a classic flavor, we love adding sliced garlic to the jars (you can mince it, but be prepared for a slightly more intense garlicky flavor in your brine!). Then, for the spices, we keep it simple with an allspice berry (yep, one is enough) and whole peppercorns.
    • Optional Chile Pepper: When I use 100% sweet peppers, I like adding a hint of heat with a small dried chile (chile de Arbol is perfect). This is optional and won’t make the pickles spicy. They taste more warm than anything else. For more heat, increase to 2 or 3, or mix in some fresh hot peppers instead.

    How to Make Pickled Peppers

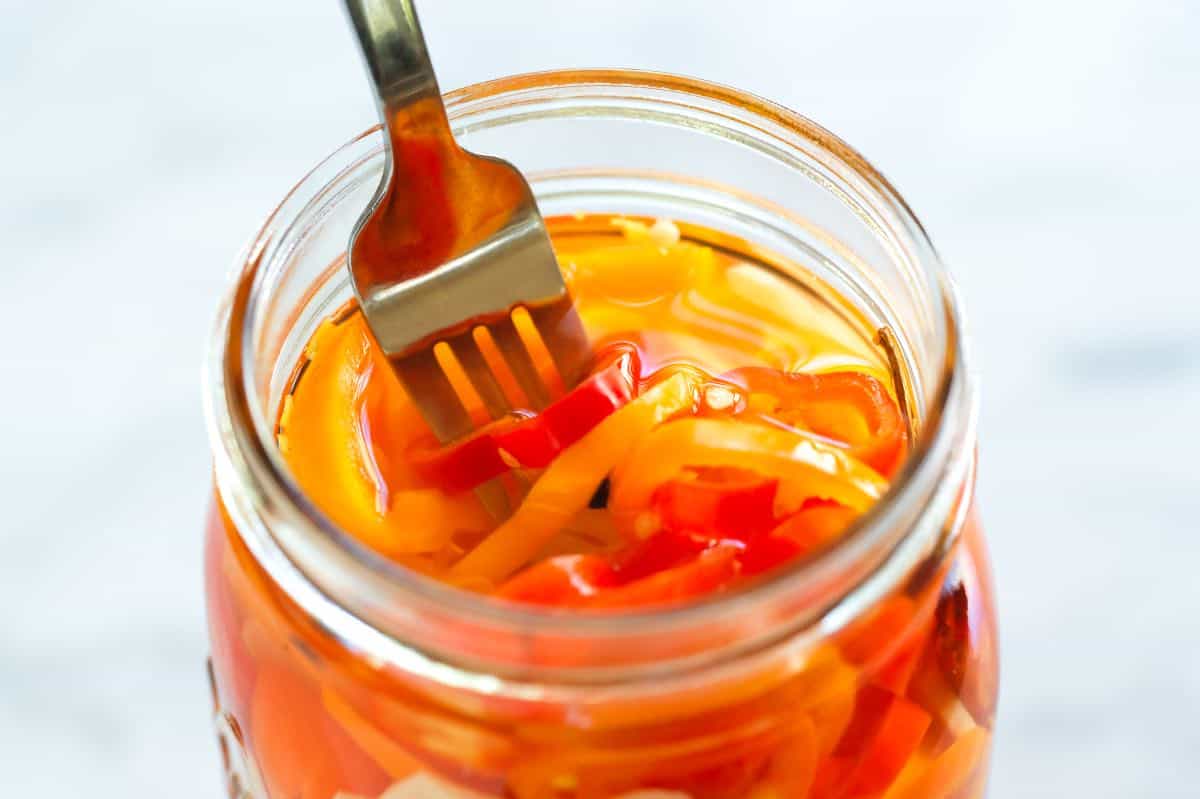
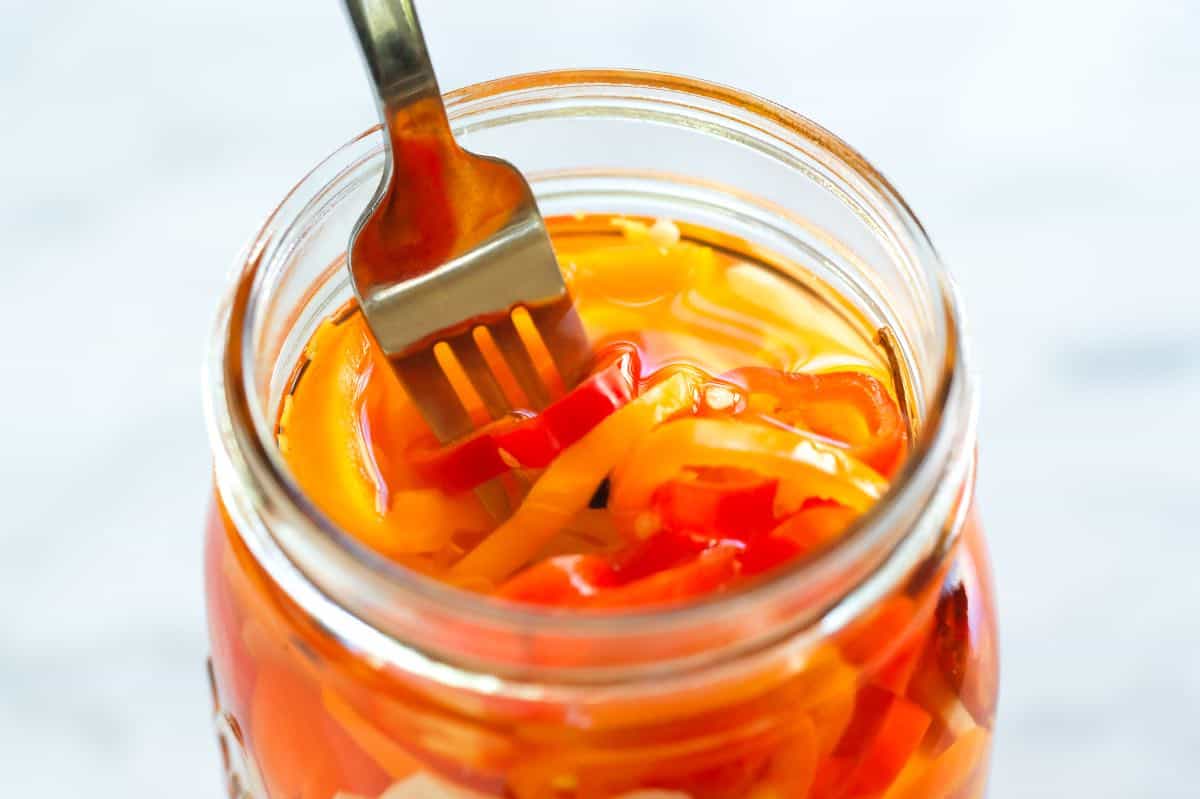
    These peppers get better over time. Pack your peppers into a jar, then pour the hot brine over them. Transfer them to the fridge once they’ve cooled to room temperature. As they sit overnight, they transform into incredibly crunchy, tangy peppers and continue to improve with each passing day, as the garlic has more time to infuse our brine with its flavor. I can’t wait for you to try them!

    More Quick Pickle Recipes

    Pickled Peppers

    Easy Pickled Peppers

    • PREP
    • TOTAL

    These crunchy, quick pickled peppers are a great snack, excellent on meat and cheese boards, added to sandwiches and wraps, scattered over cheese pizza, or used in any recipe where you would typically use bell peppers. They keep their crunch but take on a pickled, bright flavor, adding a nice pop of flavor to just about anything!

    Note: Just like other quick pickles (like our pickled carrots), these peppers are ready after a night in the fridge, but they continue to improve as they sit in the brine. They really light up around day 3!

    Makes One 1-quart jar, 8 Servings

    You Will Need

    1 pound mini sweet peppers

    2 cloves garlic, finely sliced

    1 dried chile de arbol, optional

    16 ounces (470ml) distilled vinegar, 5% acidity

    1 ½ teaspoons fine sea salt or pickling salt

    2 tablespoons granulated sugar

    1 allspice berry

    5 whole peppercorns

    Directions

      1Prepare the peppers: Cut the tops off of the peppers and scrape or tap out the seeds and most of the white membrane. Slice into rings. Place the pepper rings into a clean 1-quart jar.

      2Add the chile and garlic: Place the sliced garlic and chile de arbol (optional) around the peppers in the jar.

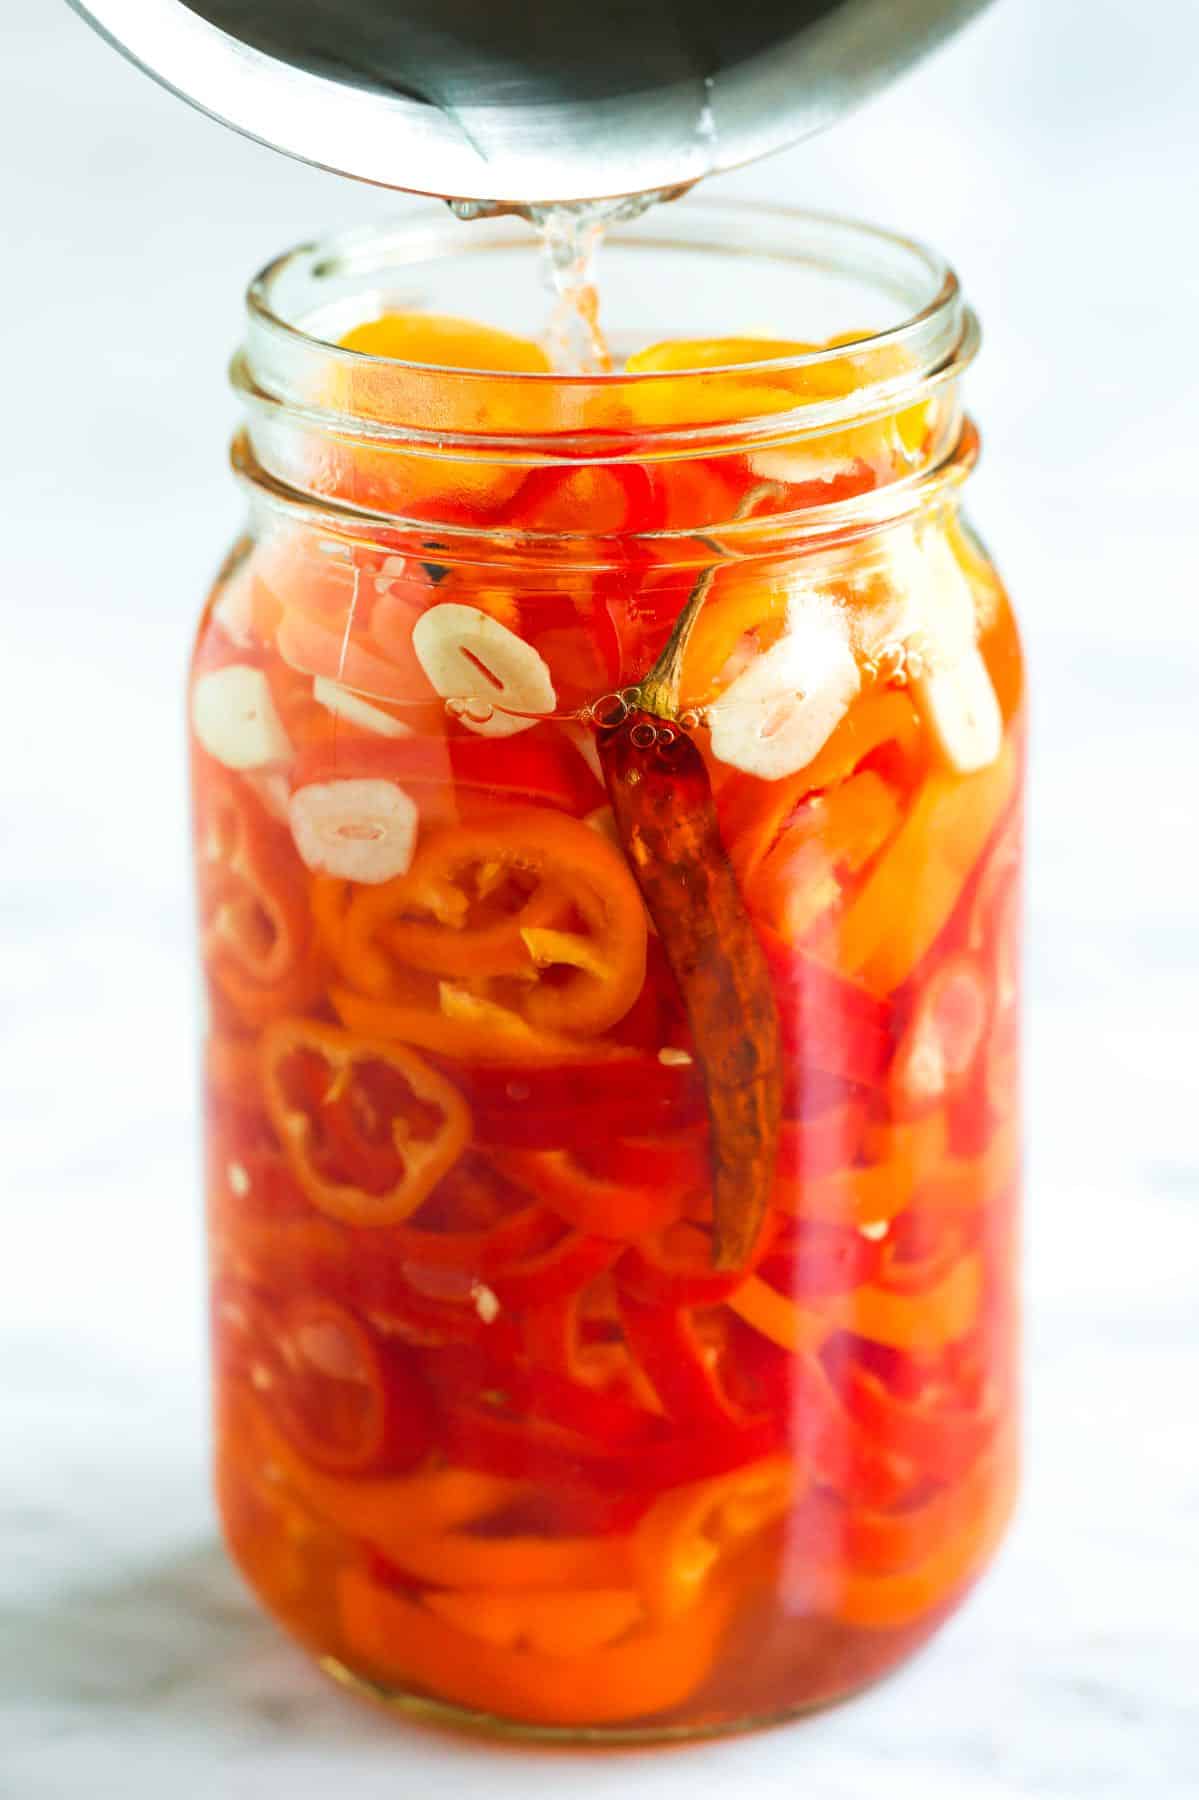
      3Make the vinegar brine: In a small saucepan, combine the vinegar, salt, sugar, allspice berry, and peppercorns. Bring to a simmer and cook until the salt and sugar dissolve.

      4Pour the brine into the jar: Pour the vinegar brine over the peppers. Make sure the brine completely covers all the peppers. Secure the lid on the jar until it’s “finger-tight” (meaning snug but not overly cranked).

      5Cool and refrigerate: Set the jar aside on your counter and let it cool completely to room temperature. Once cooled, transfer the jar to your refrigerator. For the best flavor, refrigerate pickled peppers overnight before enjoying them. If you can wait, they get even better after 2 to 3 days! These quick pickled peppers will last, covered in their brine, in the fridge for up to 1 month.

    Adam and Joanne’s Tips

    • The jar: We use a 1-quart wide-mouth mason jar (32 ounces or 946ml).
    • Peppers: We developed this recipe for sweet peppers (the mini, colorful peppers often sold in bags). The chile de arbol adds a little heat, but for more, feel free to use 2 to 3 of them or swap a portion of the sweet peppers for hotter peppers, such as jalapeños, Fresno, or serrano peppers.
    • Allspice berries: These taste like a combination of cloves, cinnamon, and nutmeg. We found whole allspice berries less common in the grocery spice aisle, but we recommend buying a “pickling spice blend” instead. McCormick’s “Mixed Pickling Spice” contains allspice berries, which we purchased and picked out 1 berry for this recipe. We also use it for making sauerkraut.
    • Canning: These pickled peppers have been specifically designed for the refrigerator and are meant to be kept in the fridge at all times. However, if you’re experienced in canning, you could adapt them for long-term shelf stability. This would involve using sanitized jars, new lids, and a pressure canner.
    • The nutrition facts provided below are estimates. Calculating how much salt is in the peppers is difficult, so we have included all of the brine in the calculations.

    Nutrition Per Serving
    Serving Size
    1/8 of the jar (about 2 ounces)
    /
    Calories
    42
    /
    Total Fat
    0.2g
    /
    Saturated Fat
    0g
    /
    Cholesterol
    0mg
    /
    Sodium
    449.3mg
    /
    Carbohydrate
    7.1g
    /
    Dietary Fiber
    1.4g
    /
    Total Sugars
    5.6g
    /
    Protein
    0.7g


    AUTHOR:

    Joanne Gallagher

    Previous Post: Our Favorite Giardiniera
    Next Post: Fluffy Saffron Rice

    Source link

  • Easy White Bean Soup Recipe

    Easy White Bean Soup Recipe

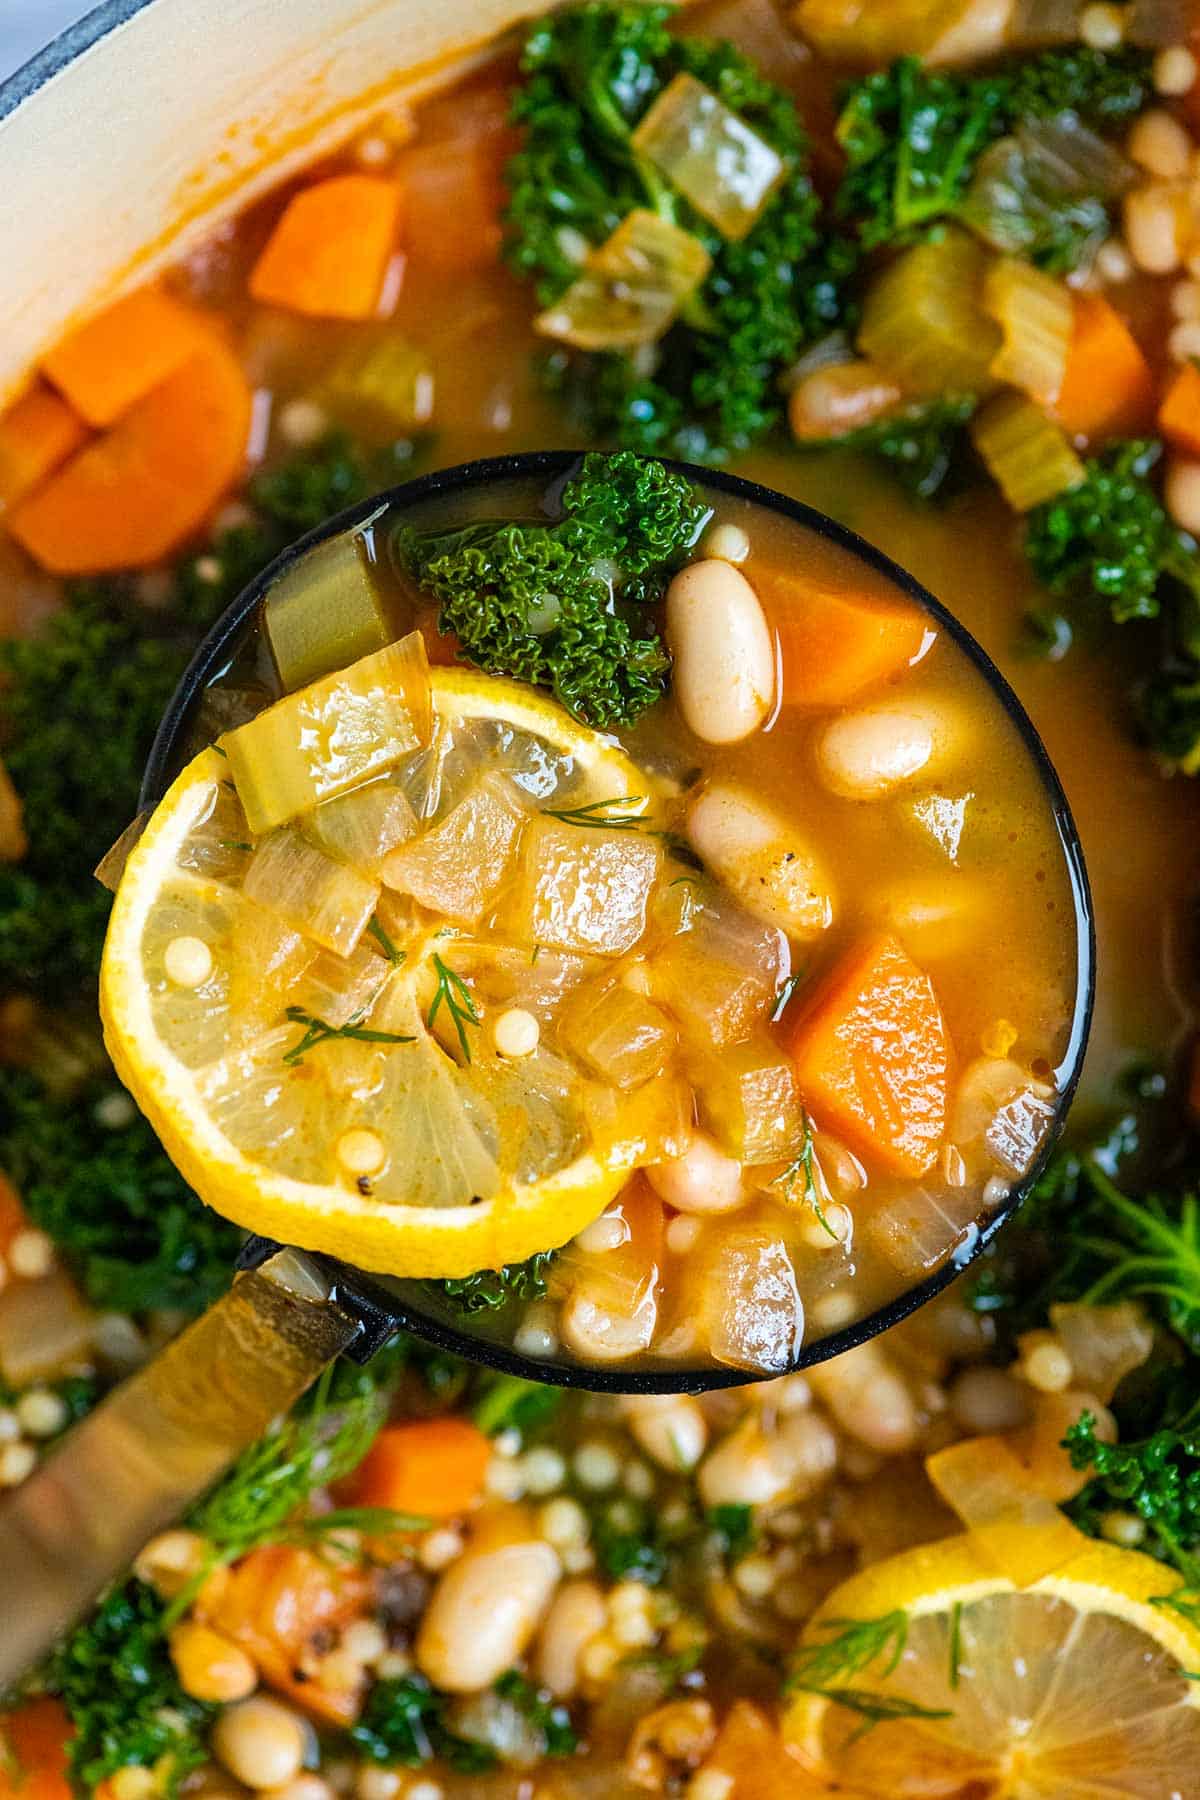
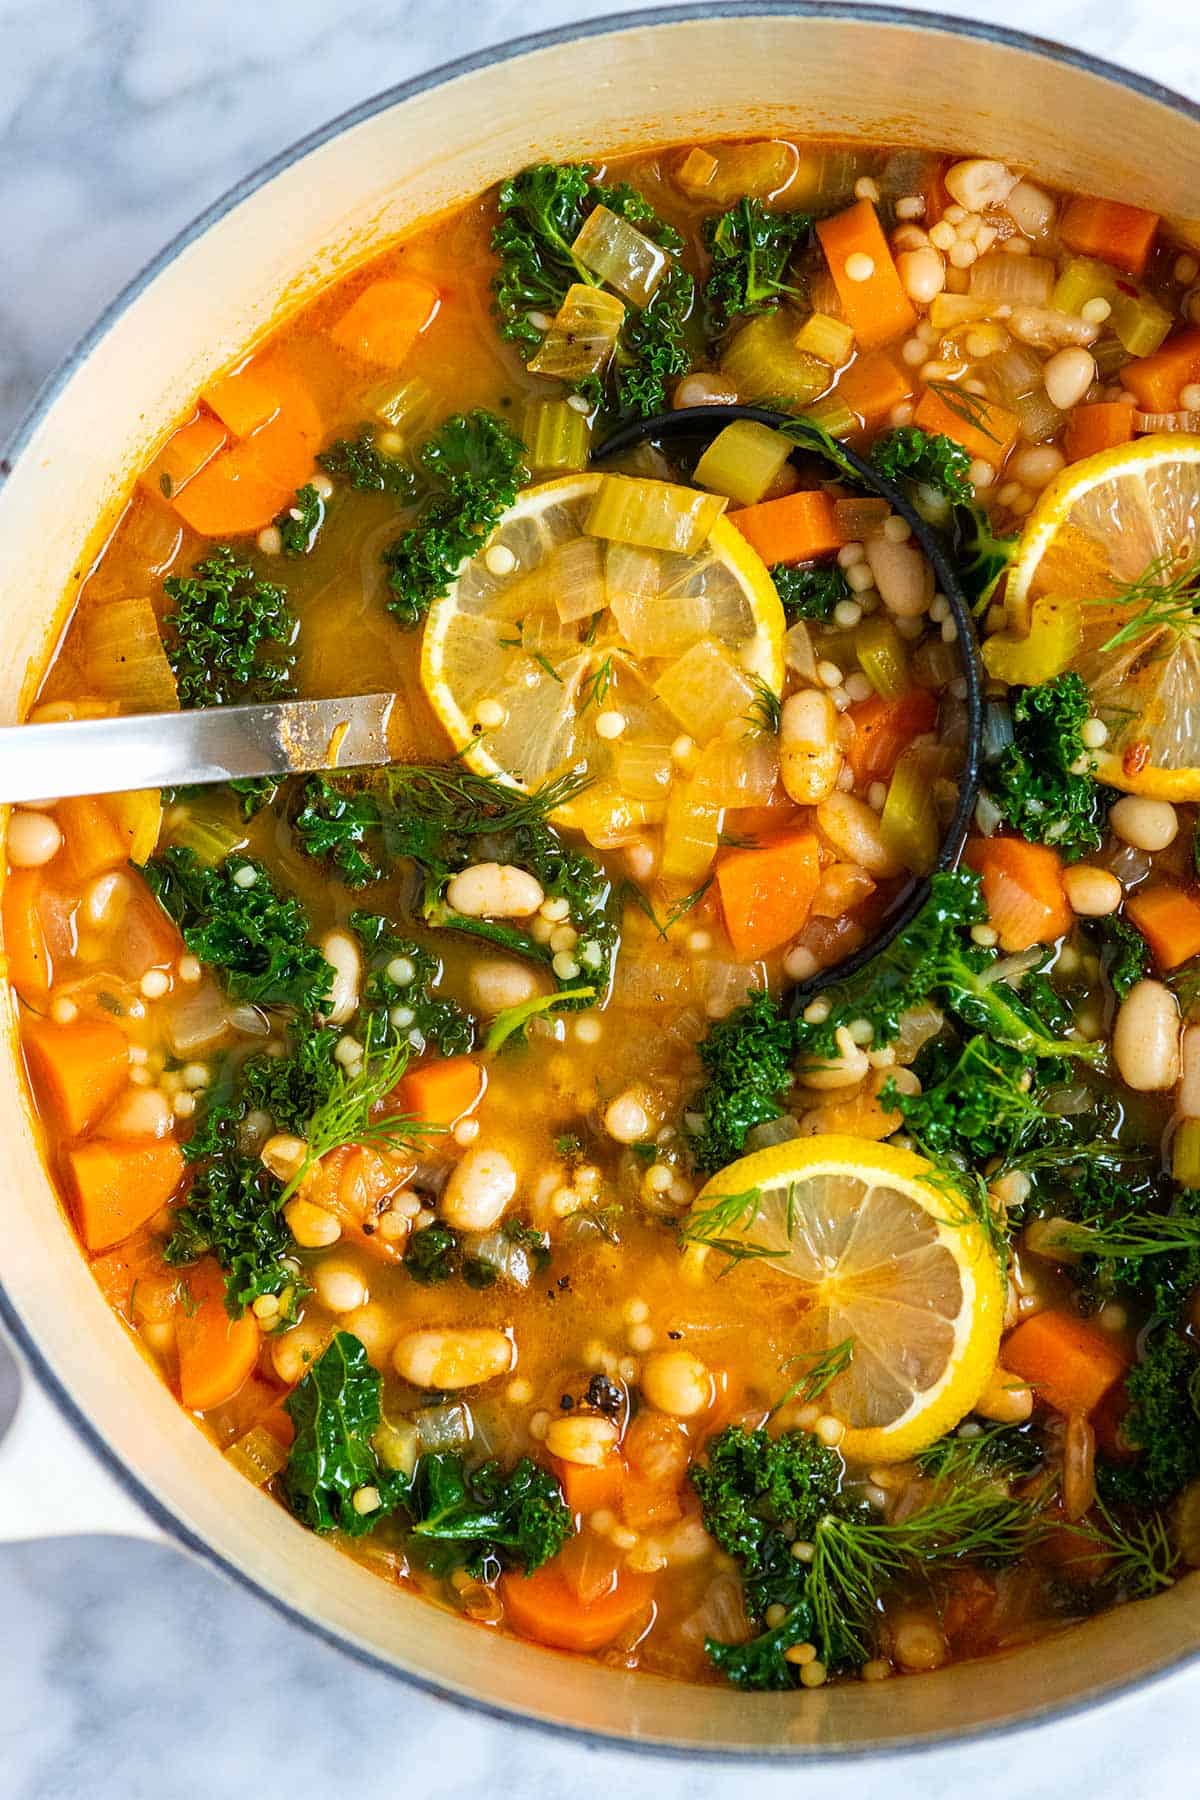
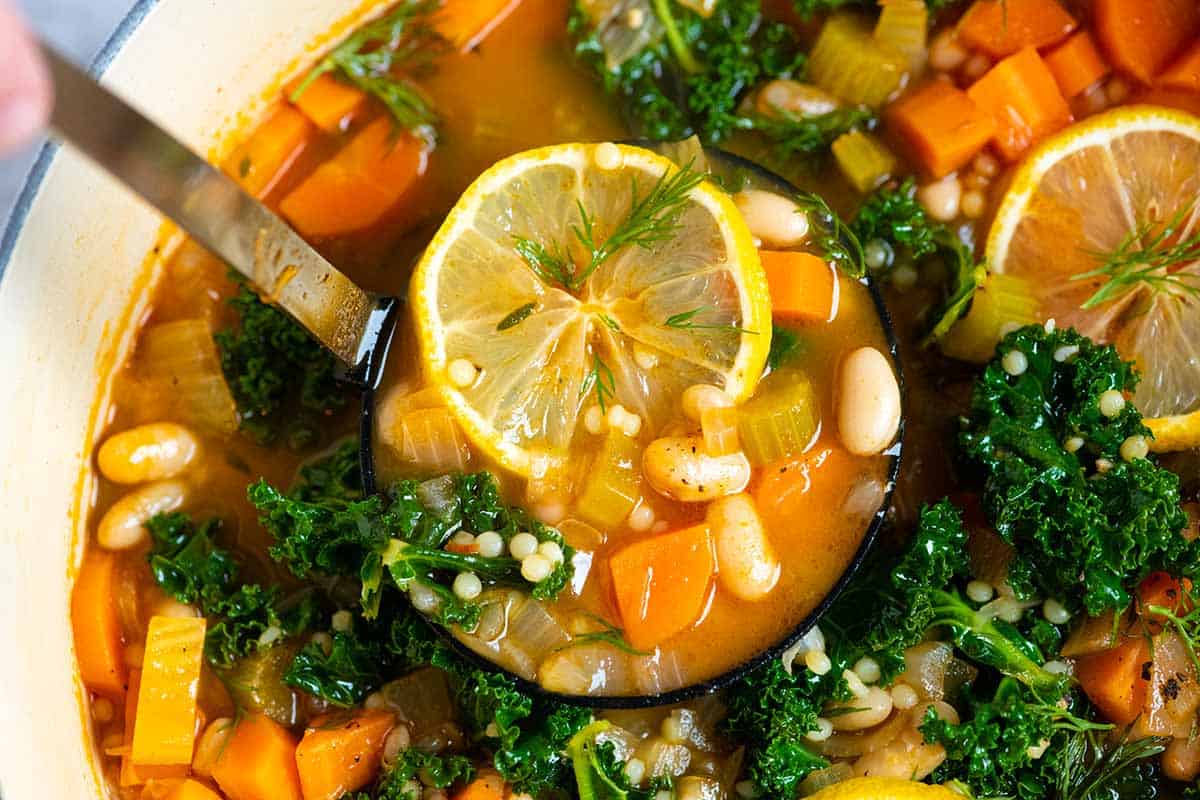
    This easy white bean soup recipe bursts with bright lemon flavor and is packed with protein and fiber. It’s the perfect quick and easy soup for a busy weeknight!

    Easy White Bean Soup

    I created this white bean soup on a chilly evening when I craved something comforting and nutritious but I was in a time crunch. Now it’s become one of our favorites!

    We also love this creamy white bean soup with rosemary and garlic, our white bean chicken chili, and this easy black bean soup. Another must try is our lentil soup, although lentils are not technically beans (still delicious, though!).

    Key Ingredients

    • White Beans: This recipe is one of my favorite white bean recipes. I usually use canned beans, but home-cooked beans would be great! Any variety of white bean will work nicely. I love navy beans, cannellini beans, and great northern beans. You can see how to cook black beans or how to cook chickpeas if you would like to cook the beans from scratch.
    • Veggies: To make this bean soup nice and hearty, I add onion, carrot, celery, garlic, and lots of greens (like spinach or kale).
    • Tomato Paste and Broth: I love the light tomato broth in this soup, which I make by cooking tomato paste in a bit of oil and then adding chicken broth or veggie broth.
    • Pasta: I love pasta in my soups, so I add a small amount of dried pasta about 10 minutes before serving. Use something small like orzo, Ancini di Pepe, or pearl couscous. Dried quinoa or another quick-cooking grain would work, too.
    • Spices: So the soup is well seasoned and spiced, I add salt, pepper, red pepper flakes, fresh thyme, and bay leaves.
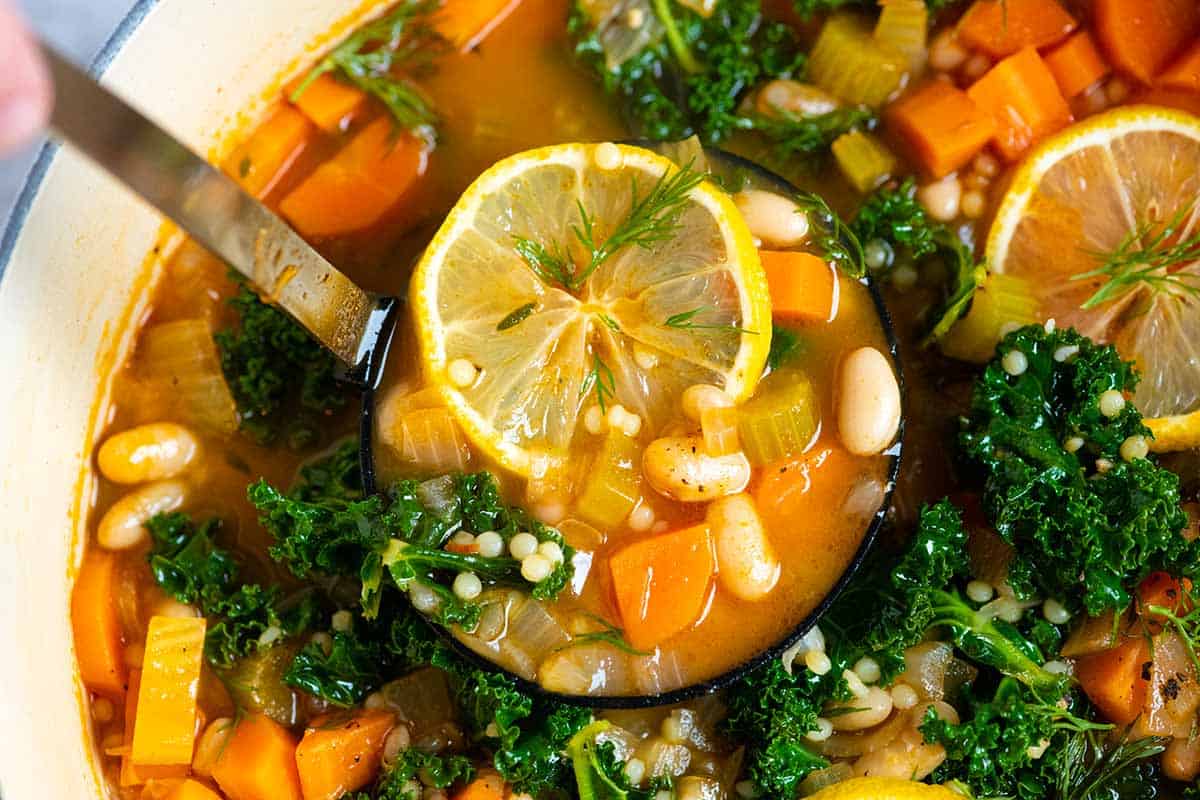
    • Lemon: Right before serving, I slide a few lemon slices into the soup, which brightens the flavors and looks really pretty. You don’t eat the lemon slices. They are there to steep like tea. I do the same in my lentil soup recipe.

    Find the full recipe with measurements below.

    White Bean Soup with vegetables and pasta

    How to Make the Best White Bean Soup

    Tip 1: Use one pot. Making this soup all happens in one pot! You’ll start with the onions, carrots, and celery. Cook them in olive oil and tomato paste until they begin to soften. Then add more flavor with garlic, red pepper flakes, and salt. Pour in your broth, add the beans, and toss in fresh thyme and bay leaves. Simmer everything until the veggies are tender (about 20 minutes), then stir in the pasta and cook until done.

    Tip 2: Serve with lemon slices and fresh herbs. Before serving, slide in a few lemon slices and stir in fresh herbs to perfume the soup. This adds extra flavor and doubles as a beautiful way to serve your soup. By the way, if you have some white beans leftover, try our lemony white bean salad!

    Easy White Bean Soup

    Easy White Bean Soup

    • PREP
    • COOK
    • TOTAL

    This hearty vegetable and white bean soup recipe is healthy, easy to make, and tastes fantastic. It’s also vegan when you use a vegan-friendly broth! Since vegetables vary by seasonality, feel free to swap or add different vegetables for the ones listed below. Both cooked and canned beans can be used in this recipe. When using canned beans, we prefer to drain and rinse them before adding them to the soup.

    4 to 6 Servings

    Watch Us Make the Recipe

    You Will Need

    3 tablespoons olive oil

    1 medium onion, chopped

    4 medium carrots, chopped

    2 celery ribs, chopped

    2 tablespoons tomato paste

    4 cloves garlic, minced, 4 teaspoons

    1/2 teaspoon ground black pepper

    1/2 teaspoon fine sea salt, plus more to taste

    1/8 teaspoon crushed red pepper flakes, optional for heat

    2 (15oze) cans white beans, drained and rinsed, or substitute 3 cups cooked beans

    6 cups (1.4L) chicken stock or vegetable broth

    3 stalks fresh thyme or use 1/2 teaspoon dried thyme

    2 bay leaves

    1/3 cup (127g) small dried pasta like Ancini di Pepe, orzo, or pearl couscous

    4 heaped cups baby spinach or torn kale leaves without stalks

    4 lemon slices

    Directions

      1Heat the oil in a stockpot or Dutch oven over medium heat. Add the onions, carrots, celery, and the tomato paste. Cook, stirring often, until the vegetables have softened and the onions are translucent, 8 to 10 minutes.

      2Add the garlic, black pepper, 1/2 teaspoon of salt, and the red pepper flakes. Cook, while stirring, for one minute.

      3Stir in the beans, broth, thyme, and bay leaves. Increase the heat to medium-high and bring the soup to a boil. Partially cover the pot with a lid, and then reduce the heat to maintain a low simmer.

      4Simmer for 20 minutes or until the vegetables are tender.

      5Add the pasta and cook for 5 minutes more. Then add the spinach or kale and cook until bright green and tender and the pasta is cooked, about 5 minutes more.

      6Take the pot off the heat and remove the thyme sprigs and bay leaves. Stir in the lemon slices. Taste and season with more salt and pepper. Serve. The lemon slices are not intended to be eaten but add a lovely lemon flavor to the soup.

    Adam and Joanne’s Tips

    • Storing: Leftover white bean soup can be stored in the refrigerator for up to 3 days and in the freezer for up to a month.
    • Creamy bean soup: Add a splash of cream, coconut milk, or dairy-free milk just before serving. Or, remove 1 cup of the soup (with some veggies and beans) and blend it until smooth. Stir the blended cup of soup back into the pot to thicken it and add some creaminess.
    • Lentils: When using lentils in this recipe, there is no need to cook them before adding them to the soup. Add them to the broth and cook until tender before adding the pasta, adding 10 minutes to the cooking time.
    • The nutrition facts provided below are estimates. Calculations included vegetable broth.

    Nutrition Per Serving
    Serving Size
    1 cup
    /
    Calories
    196
    /
    Total Fat
    6.4g
    /
    Saturated Fat
    0.8g
    /
    Cholesterol
    0mg
    /
    Sodium
    744.1mg
    /
    Carbohydrate
    30g
    /
    Dietary Fiber
    6.8g
    /
    Total Sugars
    8.1g
    /
    Protein
    6.9g


    AUTHOR:

    Joanne Gallagher

    Previous Post: Easy Sausage Potato Soup
    Next Post: Blue Cheese Salad with Blueberries

    Source link

  • Shrimp Egg Rolls Recipe | The Recipe Critic

    Shrimp Egg Rolls Recipe | The Recipe Critic

    This website may contain affiliate links and advertising so that we can provide recipes to you. Read my disclosure policy.

    These Shrimp Egg Rolls are beyond delicious! They’re packed with a mix of vermicelli noodles, sautéed veggies, shrimp, and plenty of seasonings, then fried till crunchy and golden brown. Serve them as an appetizer, a light main, or a party side dish!

    Overhead shot of a plate full of fried shrimp egg rolls.

    Reasons You’ll Love This Recipe

    • So easy to make! Prepare the simple filling, assemble the rolls, then fry to crispy perfection!
    • They keep for days: Leftovers store well for days and reheat wonderfully in an air fryer. They’re even freezer-friendly!
    • Great for any occasion: These are a crowd favorite! Make them for game day or a holiday party, they’ll disappear in a flash.

    Ingredients Needed to Make Shrimp Egg Rolls

    This shrimp egg roll recipe is made with fresh ingredients and loaded with authentic Asian flavors. The filling consists of sautéed vegetables, shrimp and plenty of flavorings. Serve them as appetizers or as the main course with fried rice, vegetable stir fry and/or this asian cucumber salad. They’re always a hit! Check out the recipe card at the bottom of the post for exact measurements.

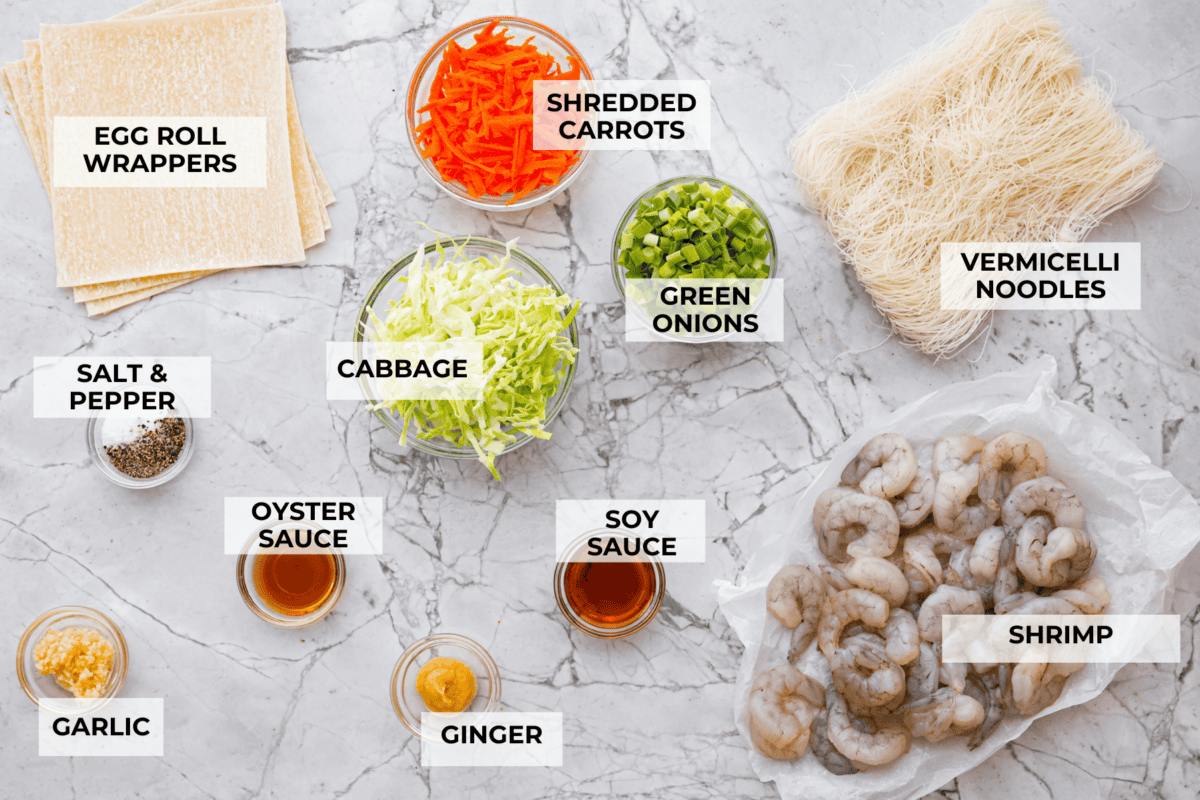
    • Vermicelli Noodles: Soft, thin rice noodles add heartiness to the filling.
    • Sesame Oil: For tossing the noodles, sautéing the vegetables and adding rich flavor.
    • Green Cabbage: Shredded cabbage adds crunch and a nice texture.
    • Carrots: Shredded carrots for additional crunch and hint of sweetness.
    • Green Onions: Chopped green onions add a mild onion flavor.
    • Garlic: Freshly minced garlic for extra flavor.
    • Ginger: Fresh ginger adds a slightly peppery, yet sweet taste.
    • Oyster Sauce: For a complex taste that is earthy, slightly sweet and salty.
    • Soy Sauce: Creates wonderful umami flavor.
    • Shrimp: The star protein of the recipe and what makes them super satisfying.
    • Salt and Pepper: To taste!
    • Egg Roll Wrappers: To hold all of the filling ingredients together and become crispy and golden brown on the outside when fried!
    Overhead shot of labeled ingredients. Overhead shot of labeled ingredients.

    How to Make Shrimp Egg Rolls

    Don’t be intimidated to roll the egg rolls, check out the visual guide below for step-by-step instructions. It’s actually super easy! Here’s how everything comes together:

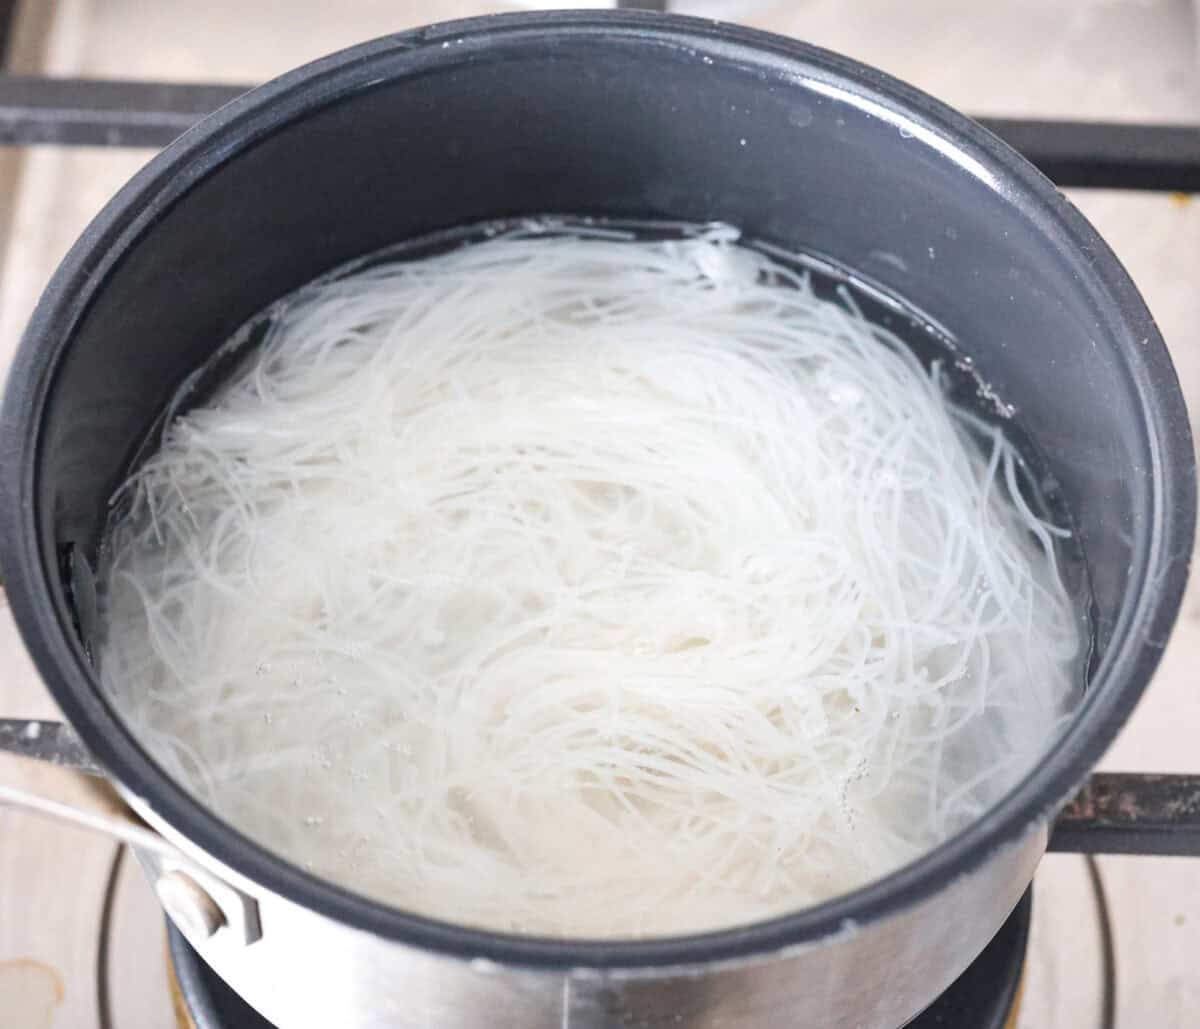
    1. Cook: Cook the vermicelli according to the package directions, rinse under cold water, then lightly toss in a little sesame oil to keep them from sticking together. Set aside.
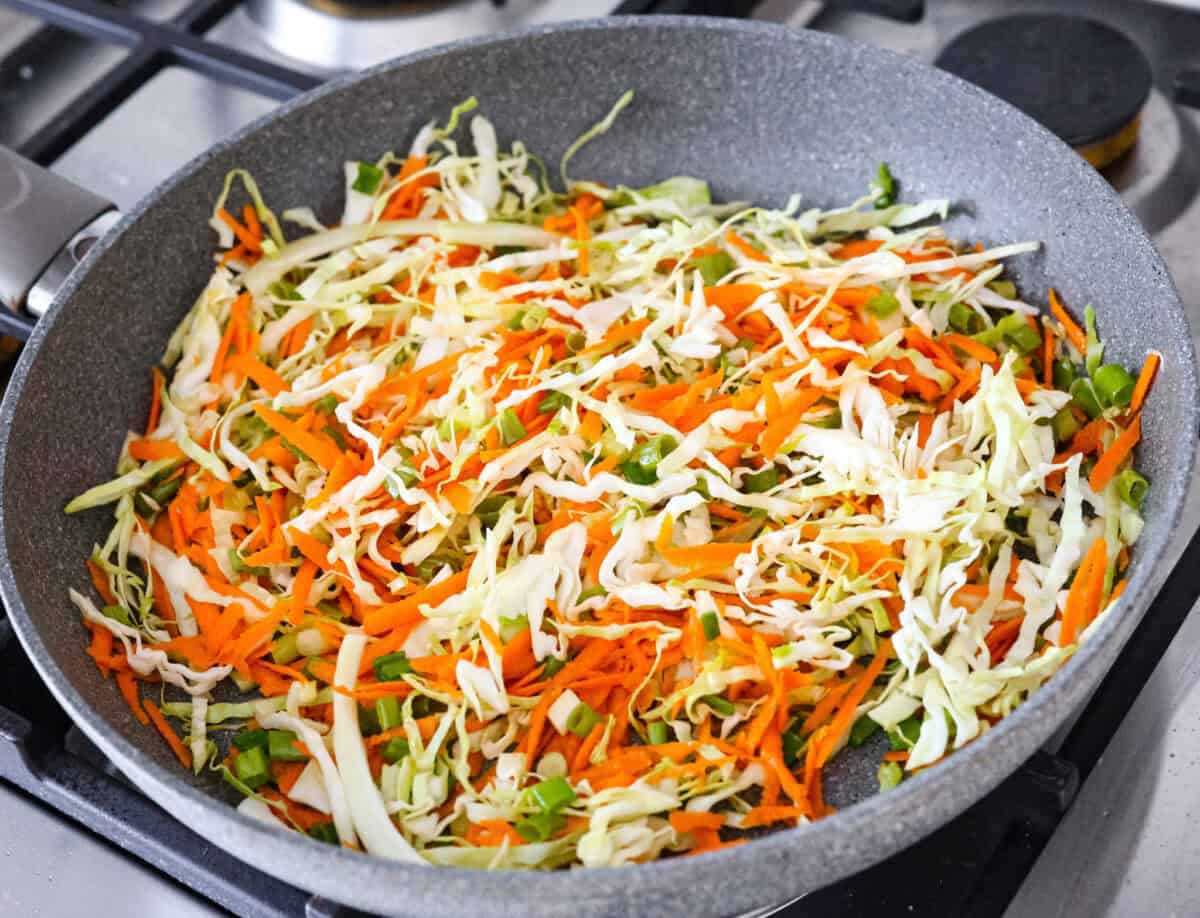
    2. Sauté: In a large skillet, heat the sesame oil over medium-high heat, then add the cabbage, carrots, and green onions to the skillet. Saute the vegetables until they become tender, about 5 minutes.
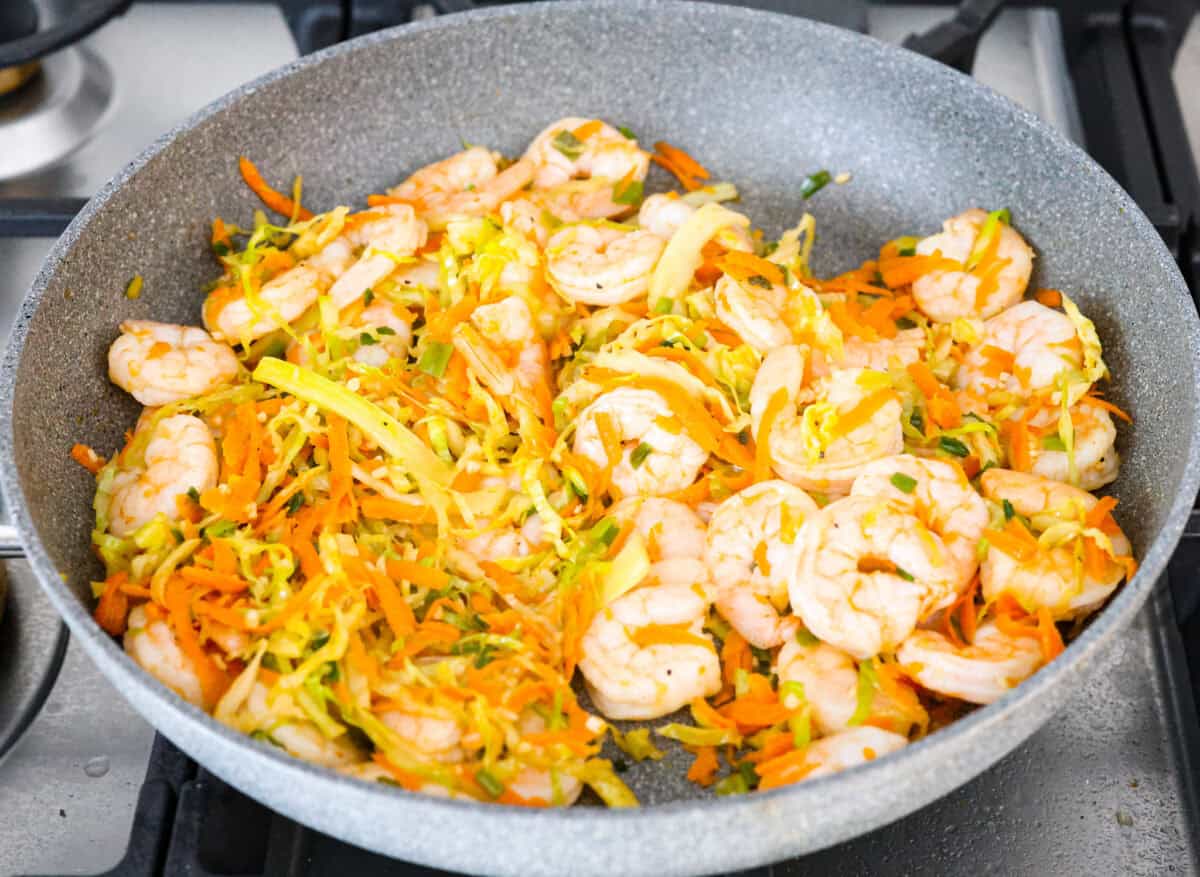
    3. Add: Add garlic, ginger, oyster sauce, soy sauce, shrimp, salt, and pepper. Saute everything together until the shrimp has turned pink and cooked through. Remove the shrimp and vegetable filling from the heat and set aside.
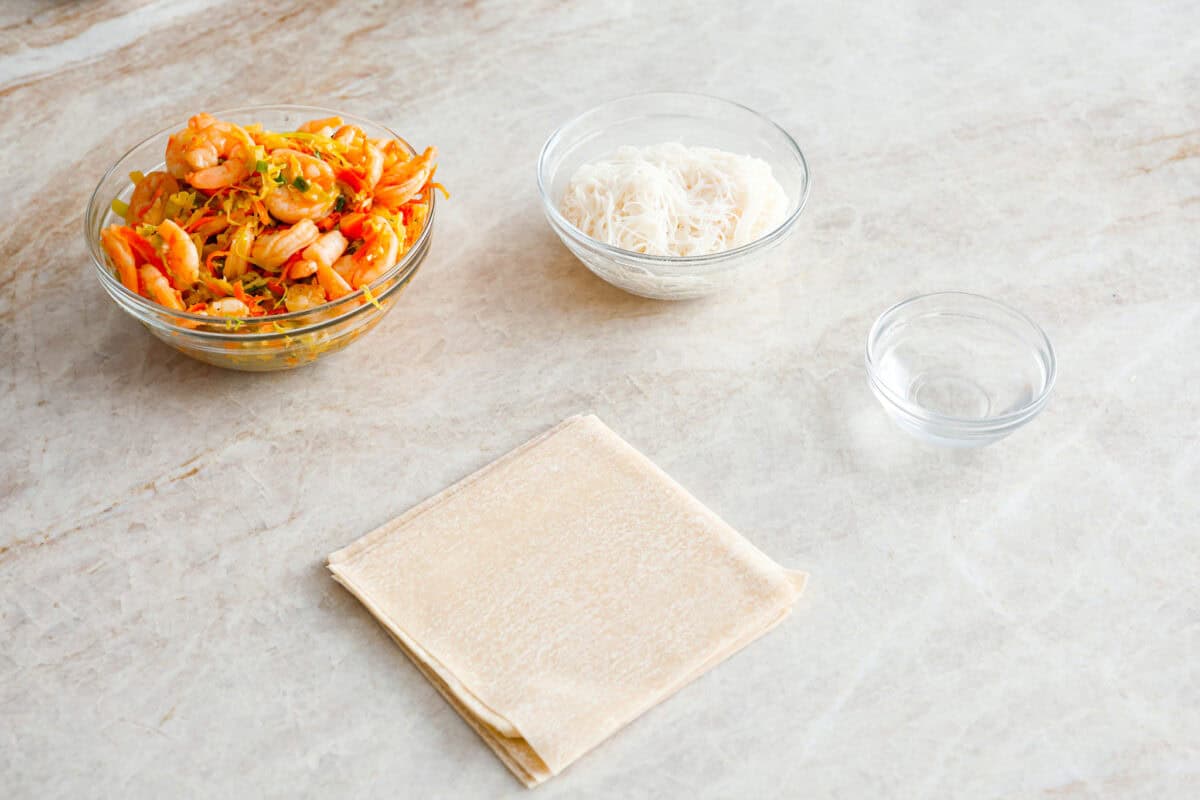
    4. Prep Work Station: Meanwhile, prepare a clean work surface with egg roll wrappers, a small bowl of water, the filling, and the vermicelli noodles.
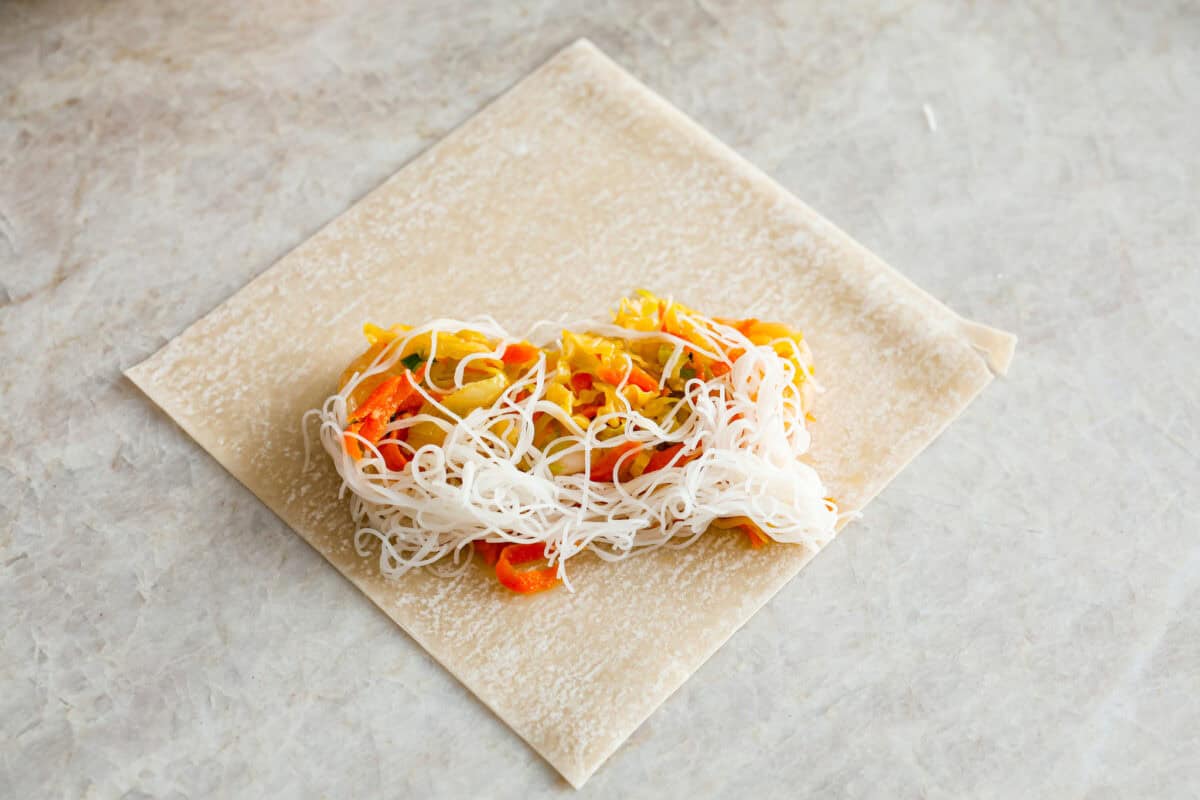
    5. Fill the Paper Wrappers: Working one at a time, place a wrapper with a corner facing you, then add some of the shrimp and vegetable filling along with some vermicelli noodles into the lower ⅓ of the wrapper.
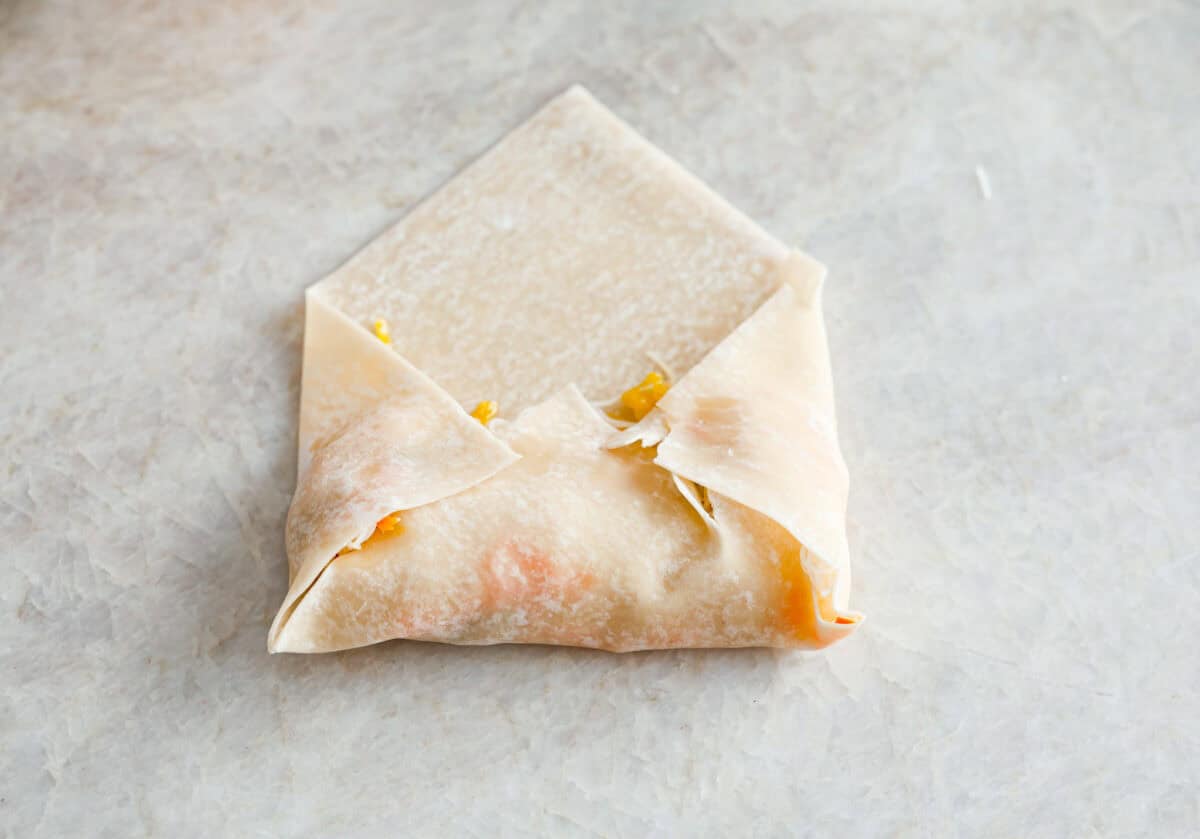
    6. Roll: Roll the corner up over the filling, fold the sides in, and continue rolling using a little water on the edge of the wrapper to seal it closed. While the egg rolls are being filled, heat 2 inches of oil in a large skillet over medium-high heat.
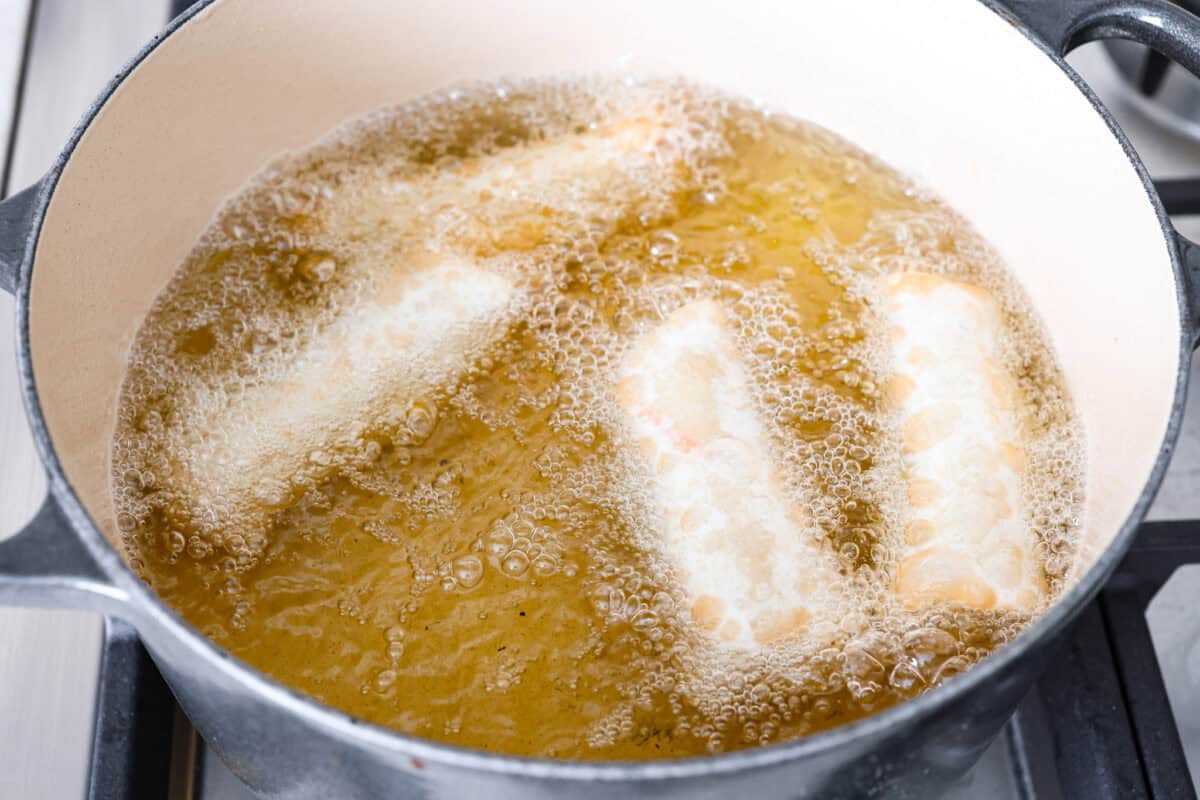
    7. Fry: Once all the egg rolls are filled, start frying them in batches. There should be space between all the egg rolls while they fry. Fry the egg rolls for 3-4 minutes until golden brown.
    8. Cool: Remove the fried shrimp egg rolls from the pan and set them aside on a paper towel-lined plate to cool while you fry the rest of the rolls.

    Tips for Making Shrimp Egg Rolls

    Here are my top tips for making shrimp egg rolls. They will turn out absolutely perfect every time you make them!

    • To Air Fry the Egg Rolls: Once all the egg rolls are filled, lightly spray or brush them with oil and place them in an even layer in the air fryer with space between. Set the air fryer to 375 degrees and fry them for 4-5 minutes on each side or until they are golden brown. 
    • Shrimp Size: I like to use shrimp that isn’t too big so I can get at least three pieces in each roll, using jumbo shrimp works if that is your preference, but you might only get 1 or 2 shrimps in each roll. 
    • Use Cooked Shrimp: You can use cooked shrimp in this recipe, just toss it in with the veggies and sauce at the end of cooking to coat it in flavor, don’t overcook the shrimp. 

    Side shot of egg rolls stacked on a plate with some of the rolls cut in half. Side shot of egg rolls stacked on a plate with some of the rolls cut in half.

    How to Store Leftovers

    • In the Refrigerator: Store leftovers in an airtight container in the fridge for up to 4 days. 
    • In the Freezer: Place cooled egg rolls into an airtight container and store them in the freezer for up to 2 months.
    • To Reheat: To make sure your leftovers are nice and crispy, cook them in the air fryer at 375 degrees Fahrenheit for approximately five minutes.

    Close up shot of someone dipping a shrimp egg roll in sauce. Close up shot of someone dipping a shrimp egg roll in sauce.

    More Delicious Egg Rolls to Try

    Homemade egg rolls can seem intimidating, but once you get the hang of using egg roll wrappers, you’ll see how easy they are to make! Plus, there are so many variations! From dessert cheesecake egg rolls to buffalo chicken egg rolls and even breakfast egg rolls, there are endless options! Here are some of our favorite recipes to try!

    Pin this now to find it later

    Pin It


    Source link

  • Easy Cherry Tomato Salad Recipe

    Easy Cherry Tomato Salad Recipe

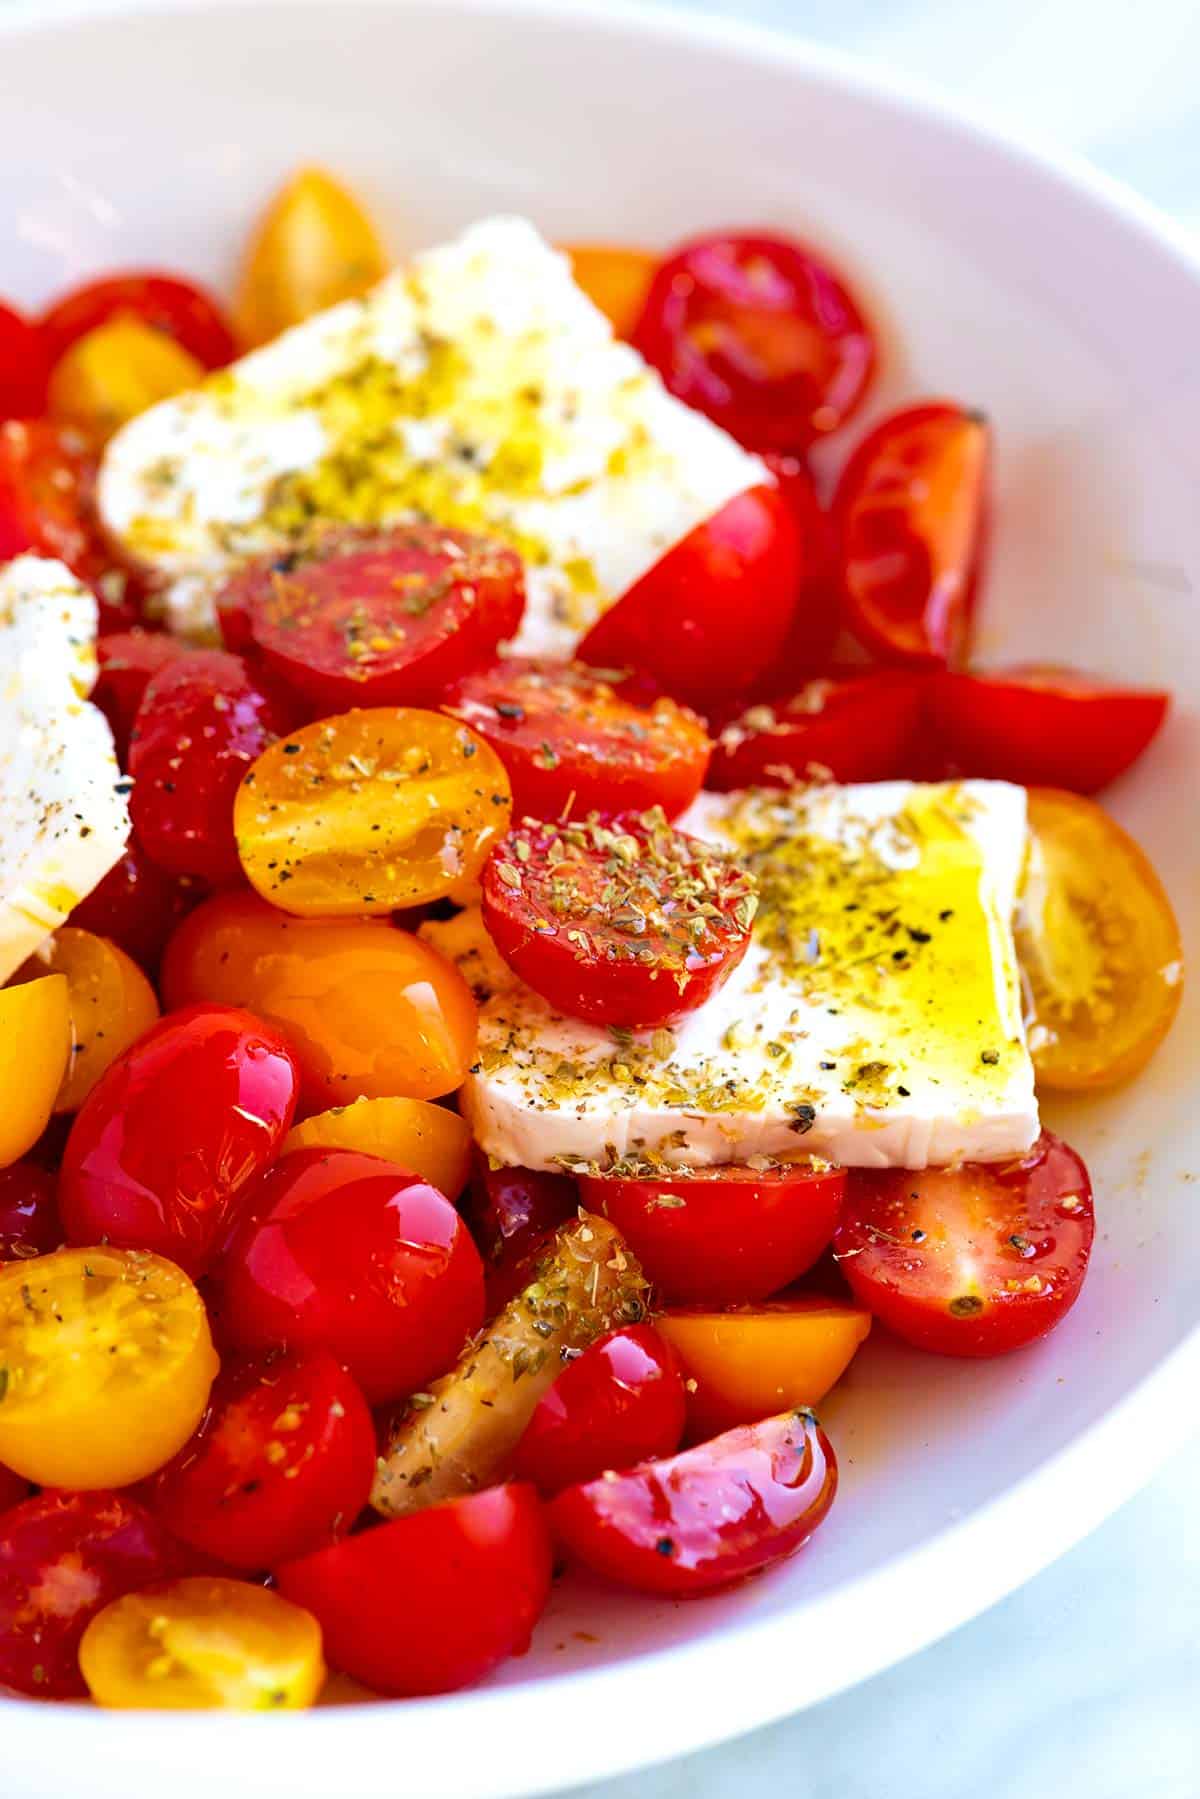
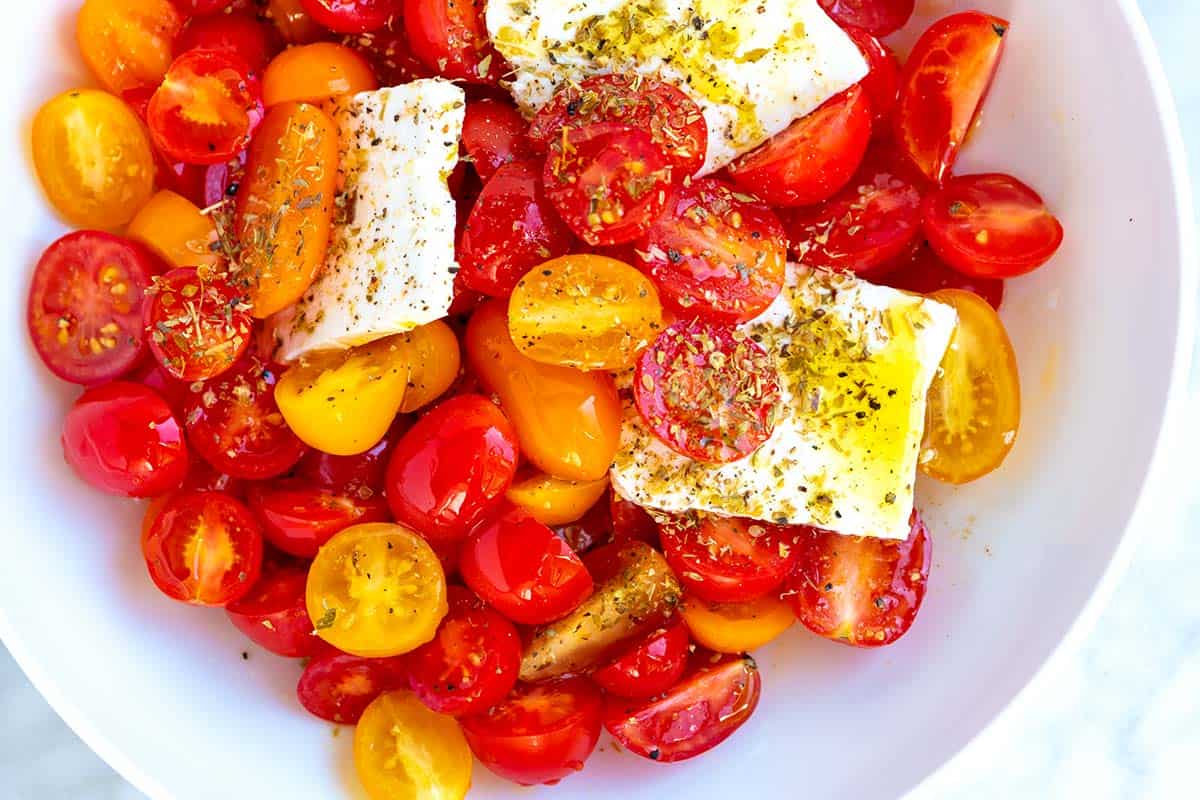
    My favorite cherry tomato salad is made with juicy cherry tomatoes, a simple olive oil dressing, and briny feta cheese! It’s super simple, absolutely delicious, and sure to be a hit!

    Easy Cherry Tomato Salad

    Whenever I have cherry tomatoes in the house, I save a handful to make this easy cherry tomato salad. It’s absolutely perfect. I love it so much that I could honestly eat it every day!

    The trick is quickly marinating the tomatoes in salt before adding the other salad ingredients. I use the same trick for this tomato mozzarella salad and our favorite caprese salad!

    Key Ingredients

    • Cherry tomatoes: We designed this as a cherry tomato salad, but you can use any variety of tomato. Make sure that they are ripe, sweet, and juicy.
    • Vinegar: Use red wine vinegar, white wine vinegar, champagne vinegar, or balsamic vinegar. They are all delicious!
    • Oregano: This cherry tomato salad is inspired by our Greek salad recipe, so I use a good amount of dried Oregano. I love it!
    • Olive Oil: Use your favorite kind. It will combine with the tomato juices to make a delicious dressing.
    • Salt and Pepper: The trick to the best tomato salad is to salt your tomatoes ahead of time. You’ll see me say the same thing on all the tomato salad recipes we’ve shared (this caprese salad being one example). The salt draws out the tomato juices, intensifying their flavor. Then, those juices mix with our olive oil to create a simple dressing.
    • Feta: I love adding big slabs of feta cheese to this salad. They crumble and mix into the salad as you push your fork into them. Mozzarella or burrata cheese is also excellent.
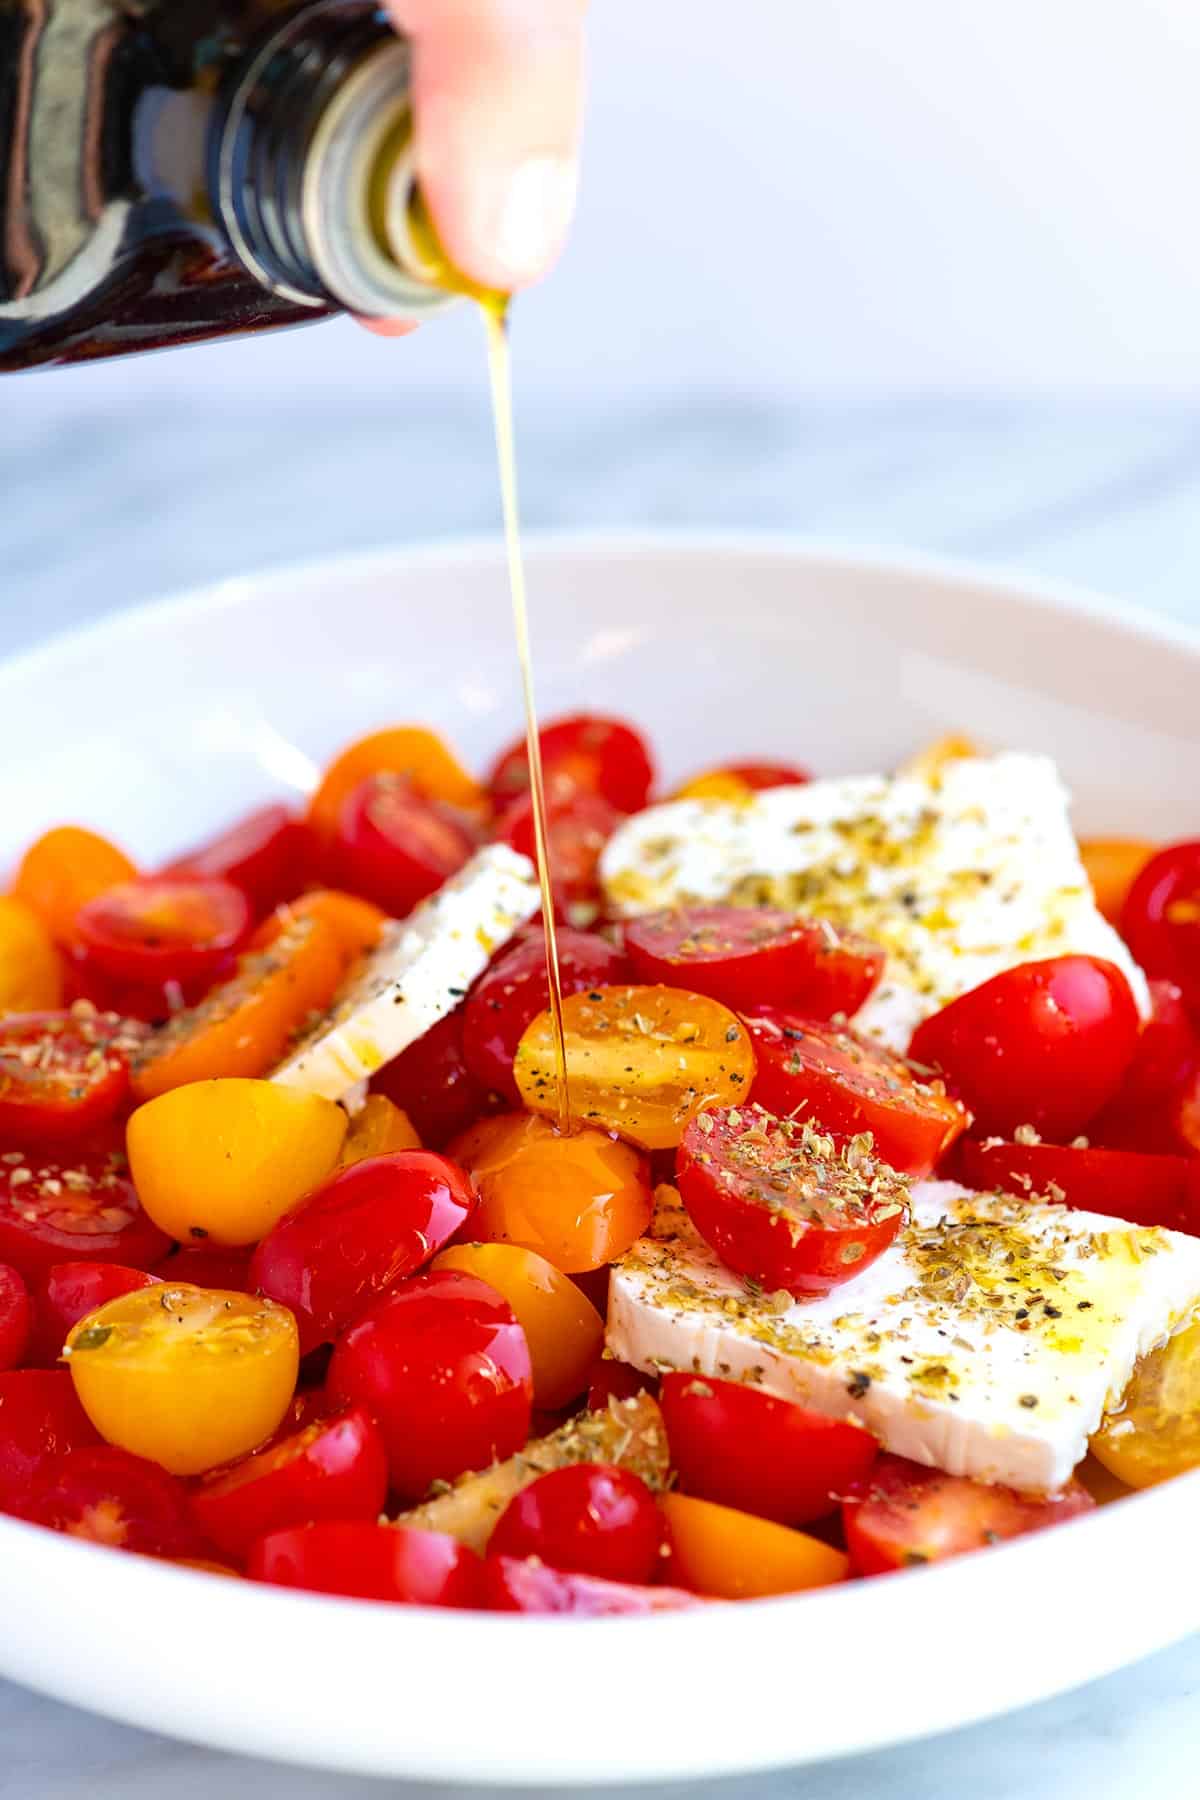
    Drizzling Olive Oil over Cherry Tomato Salad

    How to Make My Favorite Cherry Tomato Salad

    The key to this cherry tomato salad is giving the salt and tomatoes time together before adding anything else. They taste great by themselves, but they are incredible after I allow the tomatoes to marinate in a little salt for a bit. Their sweetness and flavor intensify. (I also use this tip for the best bruschetta!)

    When you’re ready to eat the salad, stir in a bit of acid. I’ve been obsessed with champagne vinegar lately, but red wine vinegar or balsamic vinegar are fantastic with cherry tomatoes.

    As a nod to Greek salad, I add a slab of feta cheese. Then I scatter some oregano and pepper on top and finish with a drizzle of high-quality olive oil. It’s easy, fresh, and delicious. Make this one soon. I know you’ll love it!

    Easy Cherry Tomato Salad

    Easy Cherry Tomato Salad

    • PREP
    • TOTAL

    This cherry tomato salad recipe is undeniably simple, but that doesn’t mean it won’t blow you away. Salting the tomatoes for at least 10 minutes intensifies their sweetness and flavor. We call for cherry tomatoes, but all varieties, large and small, work.

    Makes 2 servings

    You Will Need

    2 cups cherry tomatoes, about 10 ounces

    1/4 teaspoon fine sea salt

    1 teaspoon vinegar like red wine, balsamic or champagne vinegar or use fresh lemon juice

    2 ounces feta cheese, cut into large slabs

    1/4 teaspoon dried oregano

    Generous pinch of fresh ground pepper

    1 tablespoon extra-virgin olive oil

    Directions

      1Halve or quarter the tomatoes so they are a variety of shapes and sizes.

      2Add to a serving bowl, then toss with salt. Set aside for at least 10 minutes.

      3Stir in the vinegar, and then nestle the feta cheese slabs into the pile of tomatoes.

      4Scatter the oregano and black pepper on top.

      5Finish with a drizzle of olive oil.

    Adam and Joanne’s Tips

    • Storing: This is best eaten the day you make it, but will keep, covered in the refrigerator, for a day or two.
    • The nutrition facts provided below are estimates.

    Nutrition Per Serving
    Serving Size
    1/2 of the recipe
    /
    Calories
    169
    /
    Total Fat
    13.4g
    /
    Saturated Fat
    5.3g
    /
    Cholesterol
    25.3mg
    /
    Sodium
    560.4mg
    /
    Carbohydrate
    8.5g
    /
    Dietary Fiber
    2.3g
    /
    Total Sugars
    5.9g
    /
    Protein
    5.7g


    AUTHOR:

    Adam Gallagher

    Adam and Joanne of Inspired Taste

    We are Adam and Joanne Gallagher, the creators of Inspired Taste. Established in 2009, Inspired Taste grew from a childhood dream into one of the internet’s most trusted recipe sites with hundreds of reliable recipes, step-by-step videos, and expert tips.More About Us
    Previous Post: Easy Ham and Cabbage Soup
    Next Post: Homemade Red Curry Paste

    Source link

  • No Mayo Herb Potato Salad Recipe

    No Mayo Herb Potato Salad Recipe

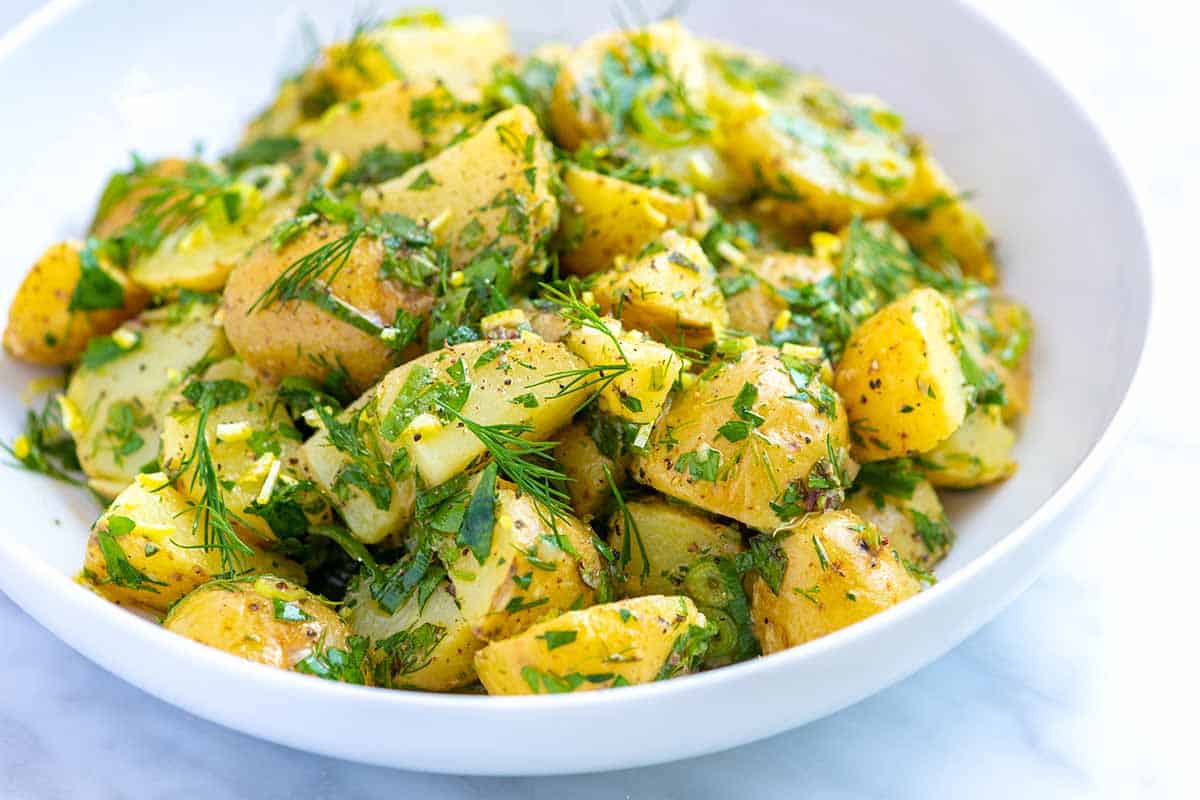
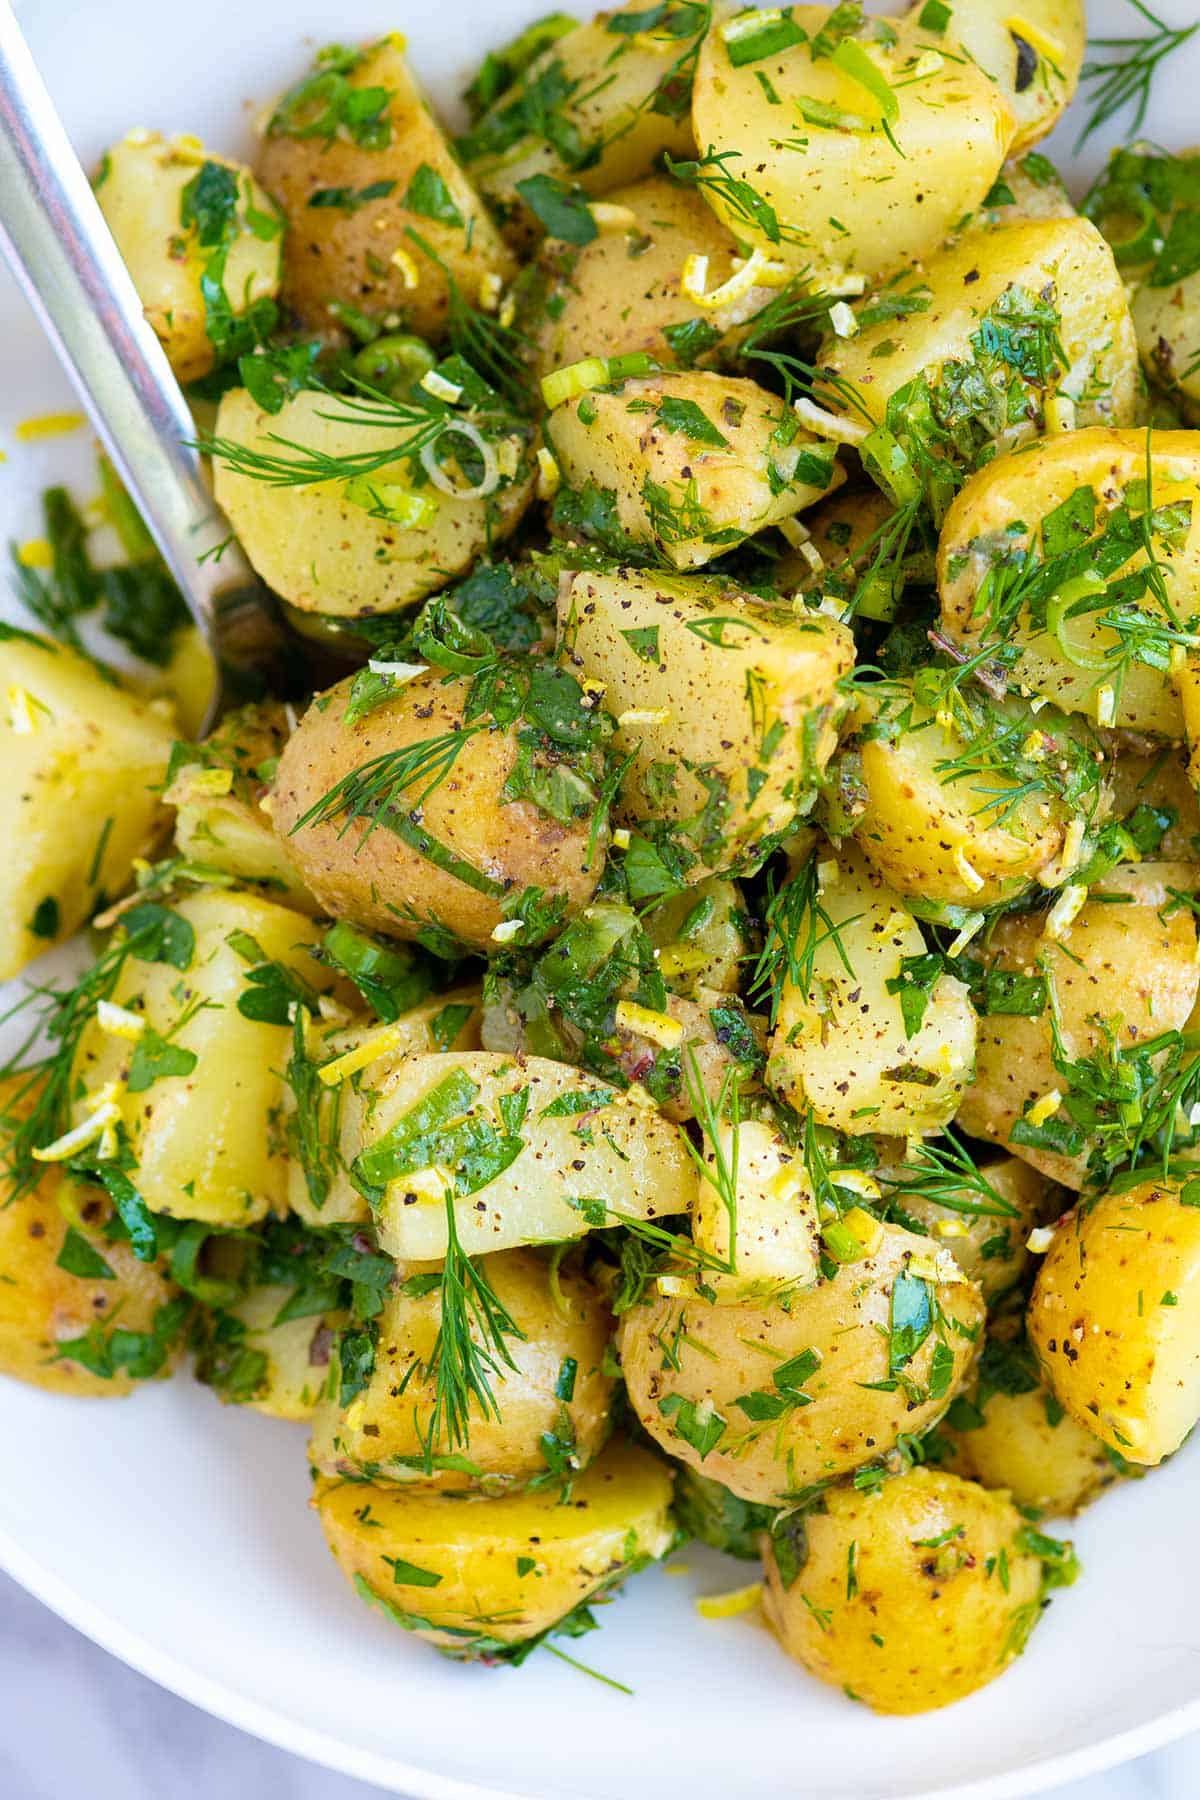
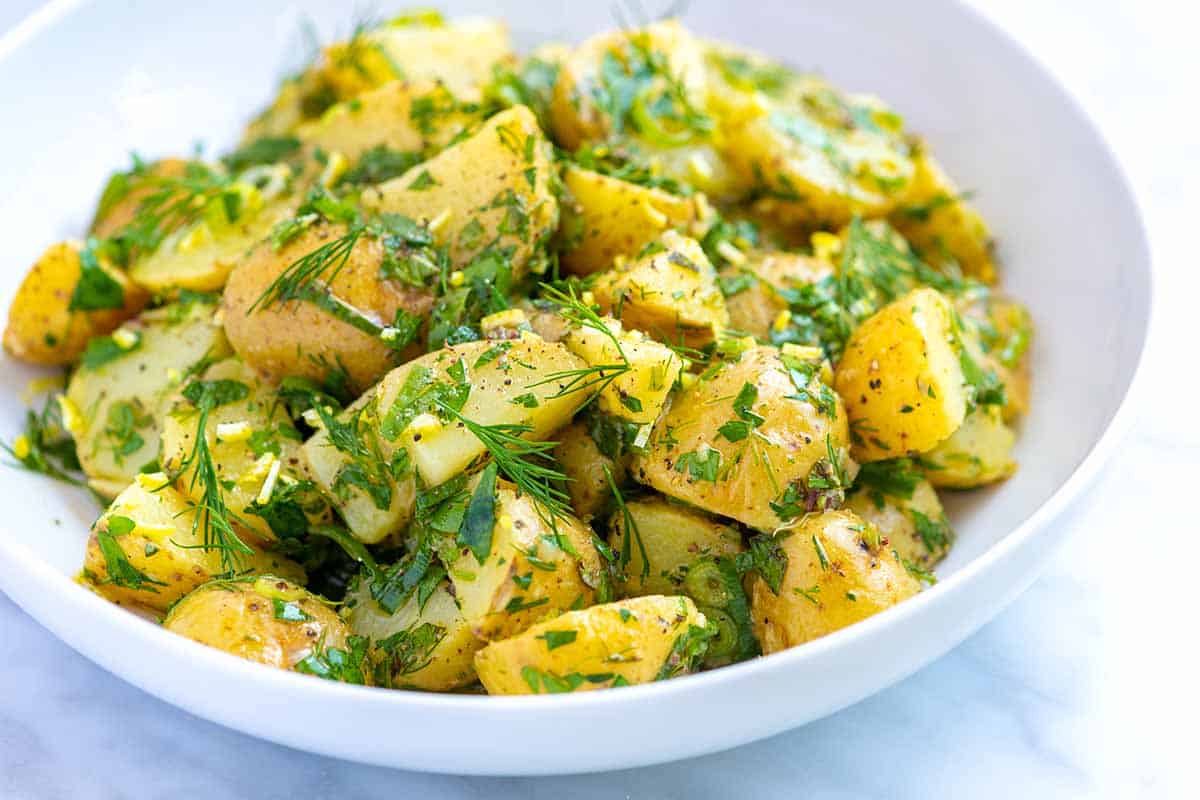
    My favorite no mayo herb potato salad recipe calls for lots of fresh herbs and swaps a creamy dressing for one made with lemon juice and olive oil.

    Herb Potato Salad (no mayo)

    In this salad, I toss warm potatoes with our zesty lemon Dijon vinaigrette. This salad is reminiscent of a French potato salad. Since the potatoes are warm, they absorb all the delicious flavors of the dressing.

    Our mayonnaise-free herb potato salad dressing is quick to make, a bit healthier, and tastes fantastic! If you prefer a more traditional creamy dressing, see our creamy potato salad.

    Key Ingredients

    • Potatoes: I love using small waxy potatoes for this herbed potato salad. Red bliss potatoes or fingerlings are also excellent options. The smaller the potatoes, the better since they cook quickly and don’t require extra time chopping.
    • Lemon and red wine vinegar: I love the combination of fresh lemon juice and red wine vinegar for the potato salad vinaigrette. You can use just one if you don’t have both in the kitchen.
    • Dijon mustard: I use Dijon mustard a lot when making salad dressings. It’s tangy and helps to make vinaigrettes creamy and emulsified.
    • Olive oil: Mayonnaise is a popular ingredient in classic American potato salad, but for this recipe, we leave the mayo out and make a simple olive oil dressing. The combination of olive oil and mustard helps to make it a creamy (dairy-free) vinaigrette.
    • Fresh herbs and scallions: This is my favorite part of this recipe. I’ve said it before, and I’ll say it again. When it comes to fresh salads, I honestly don’t think you can add too many herbs! I usually end up adding parsley, dill, and mint, but basil, chives, or tarragon would also be wonderful.

    Find the full recipe with measurements below.

    Tips for Making Our Herb Potato Salad

    Tip 1: Cook potatoes in salted water. I like to start cooking my potatoes in cold water and add about 1 tablespoon of salt to the water to help season the potatoes as they cook. When I can easily pierce them with a fork, I drain them and set them aside to cool down a bit. I cut the potatoes in halves or quarters when I can handle them.

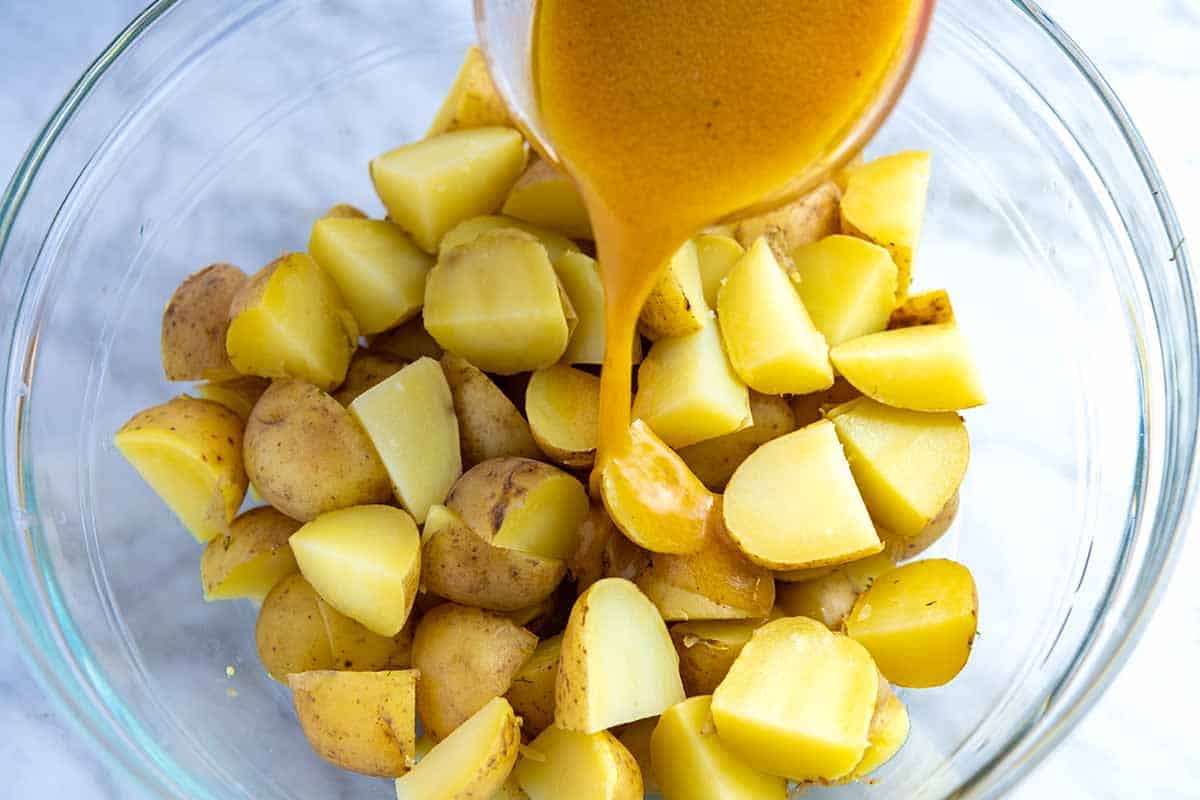
    Tip 2: Pour our dressing over warm potatoes. My olive oil dressing is quick and simple. I whisk lemon zest, lemon juice, red wine vinegar, Dijon mustard, a pinch of salt, pepper, and olive oil together until emulsified and creamy. Then, pour the dressing over the warm potatoes. The warm potatoes will soak up the dressing much better than cold potatoes.

    Add olive oil dressing to warm potatoes

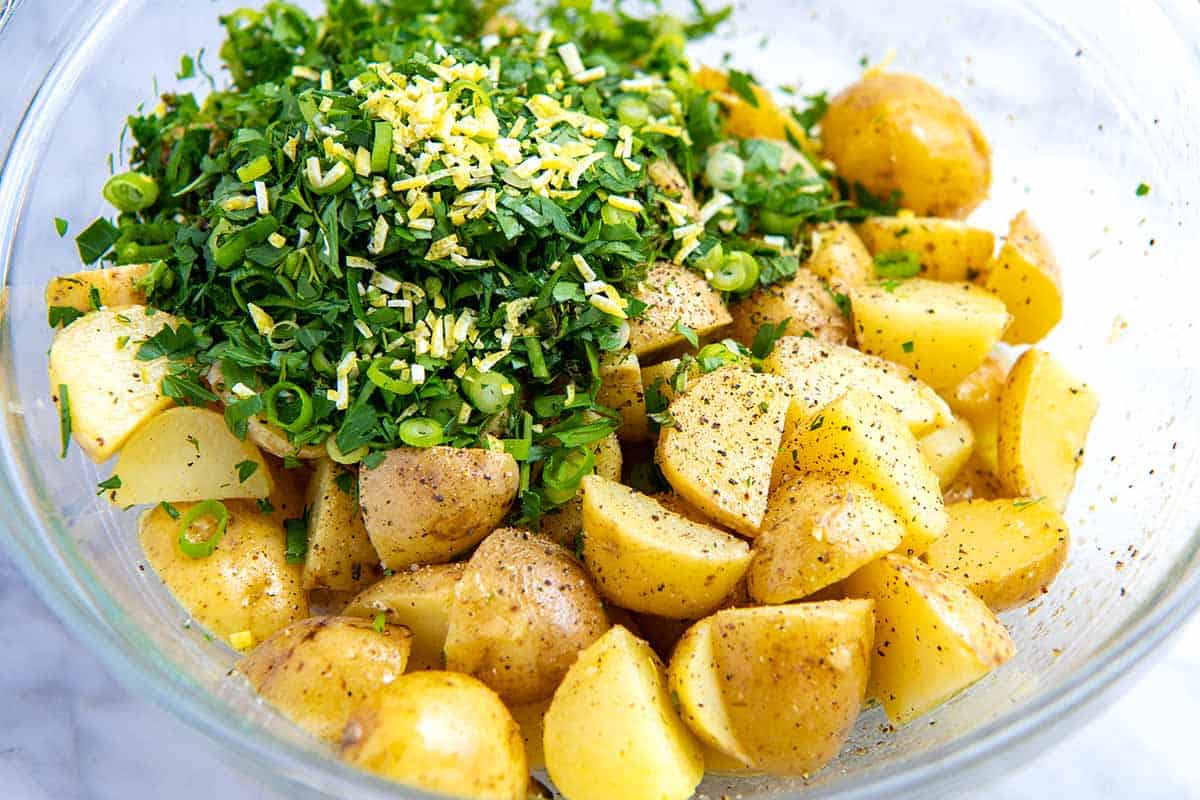
    Tip 3: Add fresh herbs and serve warm. Finally, I carefully toss the potatoes with lots of fresh herbs and scallions. I love serving this mayo-free potato salad warm or at room temperature. It’s delicious!

    Adding herbs to potato salad

    Serving Suggestions

    This no mayo potato salad works well for summer cookouts and picnics, but I really love it as a side dish for dinner. I especially love serving this herby salad next to my garlic caper baked salmon, this incredible shrimp scampi, and our perfectly roasted chicken. It’s also excellent served next to tuna steaks, tuna salad, and chicken salad.

    More Potato Salad Recipes

    Herb Potato Salad without Mayo

    No Mayo Herb Potato Salad

    • PREP
    • COOK
    • TOTAL

    Our no mayo herb potato salad is packed with flavor thanks to a simple olive oil vinaigrette, lots of fresh herbs, and lemon. We prefer to use small baby potatoes (sometimes labeled New Potatoes), fingerling potatoes, or Red Bliss potatoes for this salad.

    Makes 6 servings (side portions)

    Watch Us Make the Recipe

    You Will Need

    2 pounds (907g) small yellow or red potatoes

    2 teaspoons Dijon mustard

    1 ½ teaspoons finely grated lemon zest

    2 tablespoons fresh lemon juice

    2 tablespoons red wine vinegar or champagne vinegar

    6 tablespoons extra virgin olive oil

    3 medium green onions, thinly sliced

    1/4 cup chopped fresh parsley

    2 tablespoons chopped fresh mint

    2 tablespoons chopped fresh dill

    Salt and freshly ground black pepper, to taste

    Directions

      1Add the potatoes to a large stockpot and cover with water by 2 inches. Add 1 tablespoon of salt to the water and bring to a boil.

      2Reduce to a simmer and cook until the potatoes are fork tender, 15 to 20 minutes. Drain, then set aside to cool.

      3When the potatoes are cool enough to handle, cut them into bite-sized chunks or slice them into thin rounds. Add them to a large salad bowl.

      4Whisk the mustard, lemon zest, lemon juice, vinegar, and olive oil until creamy and emulsified. Season to taste with salt and pepper.

      5Pour all but 1/4 cup of the dressing over the potatoes and toss. Set the potatoes aside for five minutes to absorb the dressing (it will look like a lot at first, but the potatoes will soak it up).

      6Add the scallions and fresh herbs. Toss gently but thoroughly. If the potato salad seems dry, add a splash of the remaining dressing.

      7Serve warm or cover and refrigerate, and then serve cold.

    Adam and Joanne’s Tips

    • Storing: Store herb potato salad in an airtight container in the fridge for up to 3 days. As the herbs sit in the dressing, they will lose some color.
    • Make ahead: Since the herbs lose color over time, toss the potatoes with the dressing and store them in an airtight container in the fridge. When you are ready to serve it, toss in fresh herbs, scallions, and lemon zest.
    • The nutrition facts provided below are estimates.

    Nutrition Per Serving
    Serving Size
    1/6 of the recipe
    /
    Calories
    235
    /
    Total Fat
    14.5g
    /
    Saturated Fat
    2.1g
    /
    Cholesterol
    0mg
    /
    Sodium
    224.6mg
    /
    Carbohydrate
    25.4g
    /
    Dietary Fiber
    4.3g
    /
    Sugars
    2.2g
    /
    Protein
    3.1g


    AUTHOR:

    Joanne Gallagher

    Adam and Joanne of Inspired Taste

    We are Adam and Joanne Gallagher, the creators of Inspired Taste. Established in 2009, Inspired Taste grew from a childhood dream into one of the internet’s most trusted recipe sites with hundreds of reliable recipes, step-by-step videos, and expert tips.More About Us
    Source link

  • Creamy Vegan Queso Recipe

    Creamy Vegan Queso Recipe

    Our vegan queso recipe truly is a game-changer. It’s outrageously creamy texture is all thanks to the magic of cashews. Both vegans and non-vegans consistently rave about this dairy-free dip.

    Creamy Vegan Queso

    I’ve served this countless times to those who typically eat dairy, and they’re always blown away by how incredibly creamy and flavorful it is. With just about a minute in a blender, cashews transform into a velvety smooth cashew cream, forming the perfect base for this easy dip. It honestly rivals any traditional queso made with dairy cheese!

    It’s fantastic spooned generously onto tacos or tucked inside burritos for an extra layer of creamy goodness. Beyond that, I adore serving it simply with a big bowl of homemade tortilla chips for dipping. It also makes an amazing cheese replacement for our veggie quesadillas, a perfect addition to our spiced cauliflower burritos, and my absolute favorite topping for these veggie tacos.

    Key Ingredients

    • Cashews: These make the base of our queso. We add them along with some water to a blender and blend until smooth, creating what we call cashew cream. I use raw cashews and don’t find it necessary to soak them before blending, especially with my high-powered blender. If you prefer to soak your cashews, you can (I’ve shared how in the tips below our recipe).
    • Taco Seasoning: I use my favorite homemade taco seasoning here, and I just love it! However, if you prefer a store-bought blend, please feel free to use it. It’s all about getting that perfect flavor you love.
    • Nutritional Yeast: If you’re familiar with vegan recipes, I bet you already have nutritional yeast on hand. I’m a major fan and find myself sprinkling it over everything from popcorn to avocado toast! For our queso, it’s key for adding that distinct cheesy flavor as well as a hint of yellow color.
    • Canned Green Chilies: I absolutely love canned green chilies (Hatch is my favorite brand!). In the U.S., they are typically sold in 4-ounce cans and are available in both mild and hot varieties. I usually go for the mild, but if you love a super spicy queso, the hot might be more your style.
    • Pickled Jalapeños (optional): We almost always have a jar of pickled jalapeños in our fridge (thanks, Adam!). Our vegan queso tastes amazing with just a splash of the brine from the pickled jalapeños. I also love scattering a small handful of chopped jalapeños right over the top for extra flavor and a bit of a kick.

    Find the full recipe with measurements below.

    How to Make Vegan Queso

    Tip 1: Make the creamy base. Cashews are the base for this vegan queso. If you’ve not made it before, it’s incredibly straightforward. Toss cashews and hot water into your blender, hit blend, and watch as the nuts turn into a smooth, creamy consistency.

    Since you’ll be blending hot water, remember to remove the blender lid insert and cover the hole with a dishtowel. This will allow steam to escape and prevent too much pressure from building inside the blender. (I learned this the hard way in culinary school when I blended a hot soup without removing the lid insert. The blender pretty much exploded, and soup was everywhere!)

    Cashews and hot water inside a blender
    Blended cashews for the base of vegan queso

    Tip 2: Make it “cheesy.” Now that you have the creamy base, you can add lots of flavor with nutritional yeast, taco seasoning, chopped green chiles, and pickled jalapeño brine (if using them). Blend until smooth, then check the consistency. If it’s too thick (mine often is), add a tablespoon or two of water to thin.

    You can serve it however you like, but for a pop of heat, I love to add some chopped pickled jalapeños on top.

    Make Ahead Tips

    This lasts in the fridge for up to 5 days, but you’ll probably notice it thickens over time. I like to slowly reheat on the stove or microwave with a little splash of water or unsweetened dairy-free milk to get it back to its proper consistency. If it just doesn’t seem as blended or creamy as when you first made it, consider blending it again to bring it back to its super creamy, luxurious texture.

    More Vegan Recipes

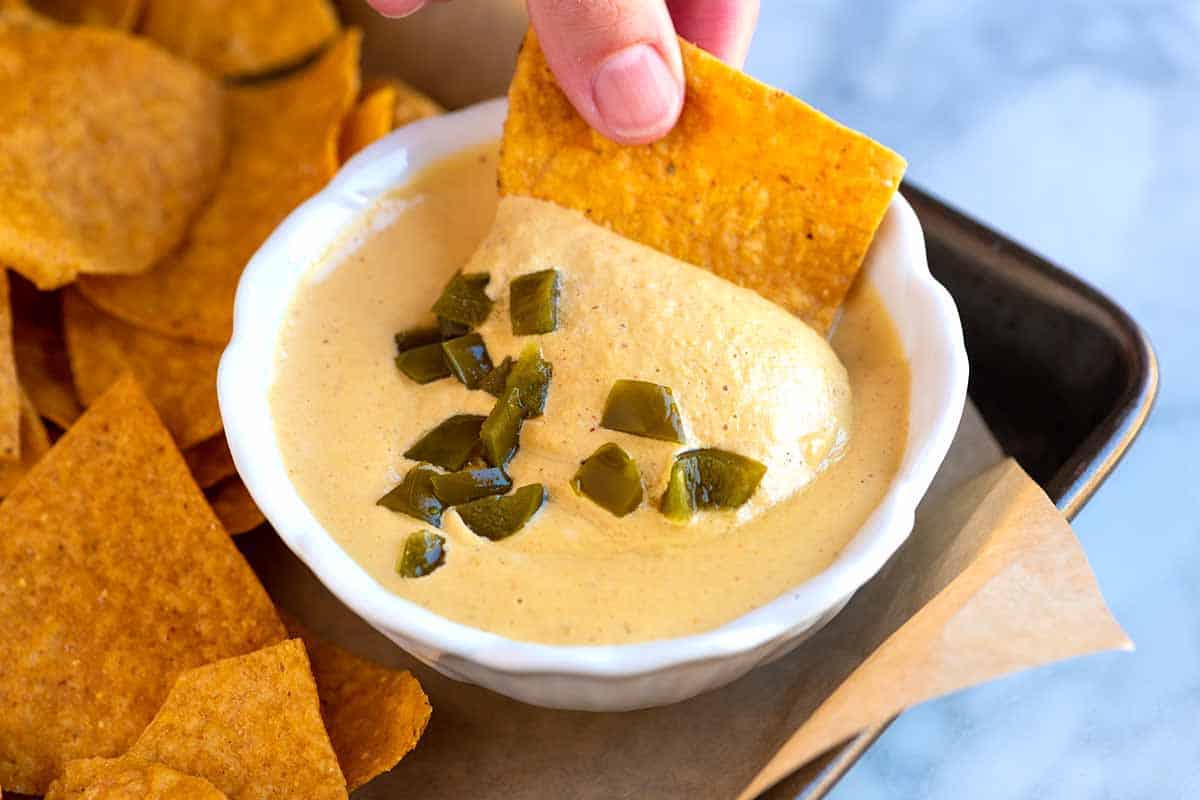
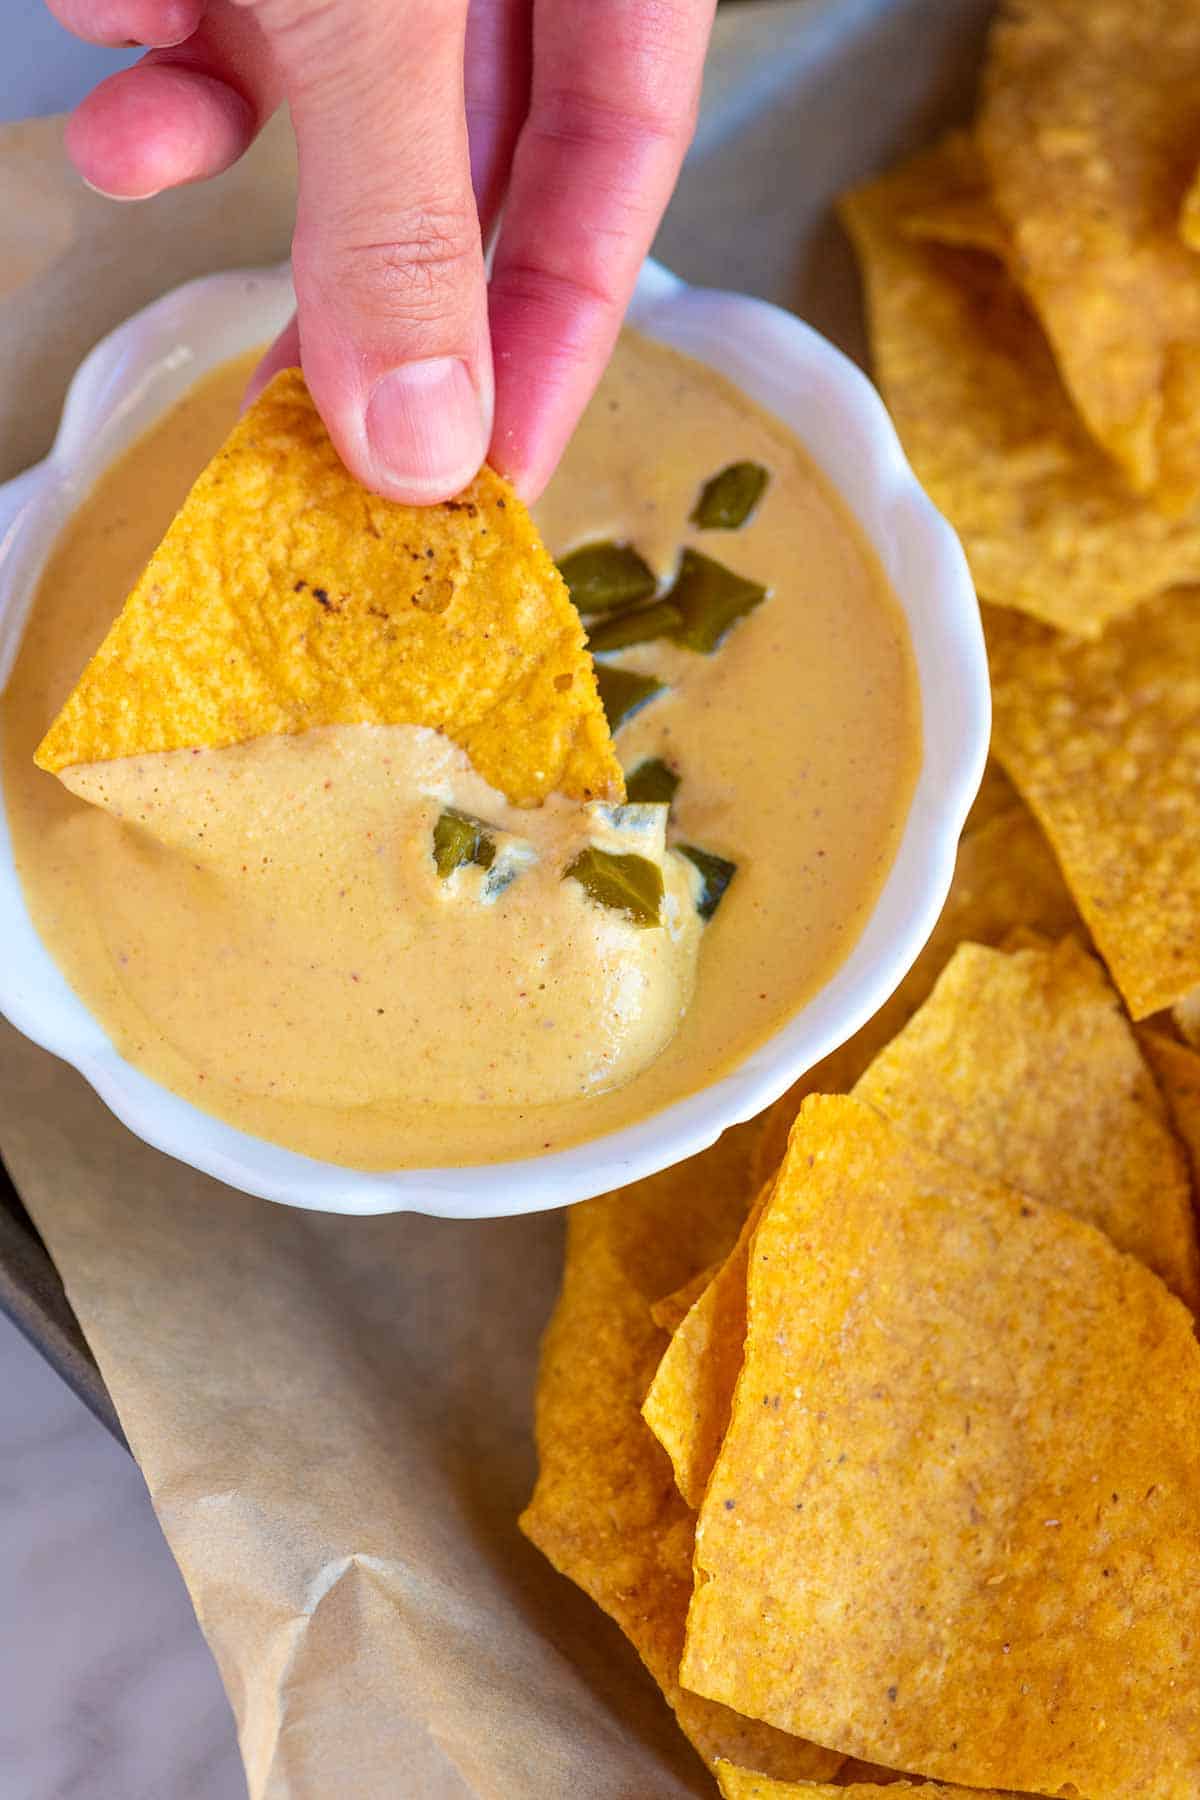
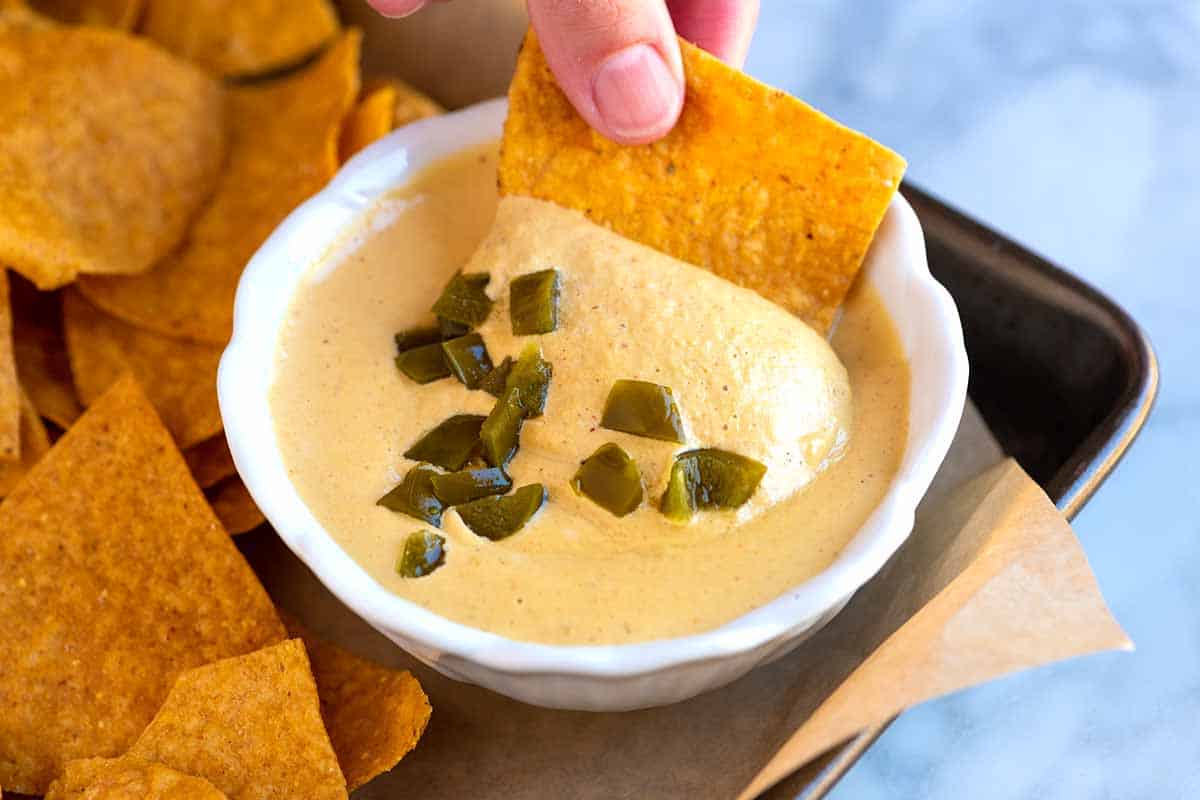
    Dipping a chip into Vegan Queso

    Creamy Vegan Queso

    • PREP
    • TOTAL

    Our favorite vegan queso recipe turns out incredibly creamy and flavorful, thanks to a base of cashews, nutritional yeast, and canned green chiles. If you have a high-powered blender, there is no need to soak your cashews before making the dip. However, if your blender is not very powerful, consider soaking the cashews for a smoother consistency (tips for this are below).

    I love this with homemade tortilla chips, used as a substitute for cheese in our veggie quesadillas, and added to these veggie burritos.

    Makes 1 ½ cups

    Watch Us Make the Recipe

    You Will Need

    1 cup raw cashews (140g or 5oz)

    ¾ to 1 cup hot water

    1 to 2 teaspoons taco seasoning, see our taco seasoning recipe

    3 tablespoons nutritional yeast

    1 (4-ounce) can chopped green chilies, mild or hot depending on preference

    1 tablespoon juice from jar of pickled jalapeños, optional

    1 tablespoon chopped pickled jalapeño, optional

    Salt to taste

    Chips for serving, try homemade tortilla chips

    Directions

      1Make cashew cream: Place the cashews and ¾ cup of hot water into your blender. Blend until it’s very smooth – we’re looking for a smooth, creamy consistency. For safety and to allow steam to escape, leave the top insert out and cover the opening with a clean dishtowel, holding it firmly in place with your hand.

      2Make vegan queso: To the cashew cream in your blender, add 1 teaspoon of taco seasoning, the nutritional yeast, chopped green chilies, and a tablespoon of jalapeño pickle juice. Blend again until everything is perfectly smooth and combined. If you find the queso is a bit too thick for your liking, blend in a little more water, a tablespoon at a time, until it reaches your desired consistency.

      3Serve: Taste it, and then season with salt or a bit more taco seasoning as needed. Spoon into a bowl. For an extra pop of flavor and a touch of heat, top it generously with chopped pickled jalapeños.

    Adam and Joanne’s Tips

    • Soaking cashews: This step can help soften them, making them easier to blend into a smooth cream. However, if you’re like me and have a high-powered blender, soaking isn’t even necessary. However, if you do want to soak them, I have a couple of quick methods: bring water to a boil, turn off the heat, add the cashews, and let them soak for about 30 minutes before draining. Alternatively, for a more hands-off approach, you can soak them in room-temperature water for 3 to 4 hours.
    • Storing: Store vegan queso in an airtight container in the fridge for up to 5 days or freeze for 1 to 2 months. Thaw overnight in the refrigerator (you may find it needs a good stir or quick blend to get back to the right texture).
    • The nutrition facts provided below are estimates.

    Nutrition Per Serving
    Serving Size
    About 1/2 cup
    /
    Calories
    145
    /
    Total Fat
    10.6g
    /
    Saturated Fat
    2.1g
    /
    Cholesterol
    0mg
    /
    Sodium
    105.1mg
    /
    Carbohydrate
    9.6g
    /
    Dietary Fiber
    1.8g
    /
    Total Sugars
    1.9g
    /
    Protein
    4.5g


    AUTHOR:

    Joanne Gallagher

    Adam and Joanne of Inspired Taste

    We are Adam and Joanne Gallagher, the creators of Inspired Taste. Established in 2009, Inspired Taste grew from a childhood dream into one of the internet’s most trusted recipe sites with hundreds of reliable recipes, step-by-step videos, and expert tips.More About Us
    Source link

  • Easy Sausage Potato Soup Recipe

    Easy Sausage Potato Soup Recipe

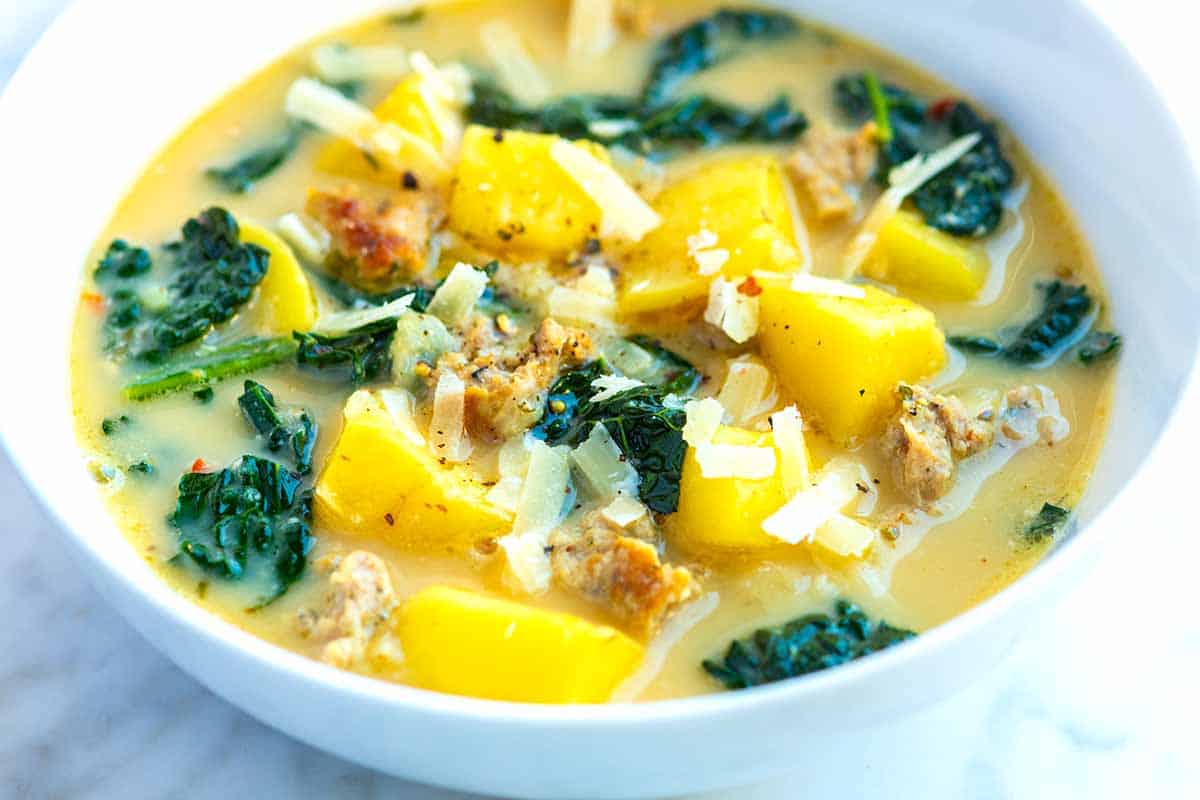
    My family loves this sausage potato soup recipe made with Italian sausage, potatoes, and kale. It reminds us of Olive Garden’s Zuppa Toscana, only lighter and just as delicious.

    Sausage Potato Soup

    This sausage and potato soup is a dream for busy nights. Thanks to flavorful Italian sausage, you only need a short list of ingredients, and it comes together quickly.

    Hearty, comforting, and incredibly flavorful this simple soup keeps well for leftovers the next day. For more like this, try our potato leek soup or creamy potato soup.

    Key Ingredients

    • Italian Sausage: Use sweet or hot Italian sausage. I usually reach for sweet Italian and then adjust the spice level with crushed red pepper flakes.
    • Potatoes: I highly recommend Yukon Gold potatoes for their buttery texture and how well they hold up in the broth. Baby red or white potatoes also work beautifully.
    • Onion and Garlic: These add so much flavor to the broth. I don’t add other veggies to keep the ingredient list short.
    • Spices: Italian sausage already brings flavor from fennel and other spices, but I like to add more spice with oregano, red pepper flakes (optional), a bay leaf, and fresh thyme.
    • Broth: Use a good-quality chicken stock or homemade broth. For store-bought, choose low-sodium and darker-colored stock for more flavor. Boxed bone broth is an easy shortcut that adds richness, or use homemade bone broth if you have it.
    • Kale: Kale adds color, texture, and a bit of nutrition. You can also substitute spinach, Swiss chard, or other hearty greens.
    • Cream and Parmesan Cheese: A splash of cream and some grated Parmesan stirred in at the end make the broth velvety and rich. Both are optional but add so much flavor.

    Find the full recipe with measurements below.

    How to Make Sausage and Potato Soup

    Tip 1: Brown the sausage. The secret to this soup’s flavorful broth is browning the sausage in the pot before adding any other ingredients. It brings out the flavor and helps render a bit of fat, which the onions and garlic will cook in a bit later.

    Tip 2: Soften the onions. So that they are sweet and tender, quickly sauté the onions and garlic in the pot with the browned sausage for a few minutes. This takes away their raw bite, making them really delicious in the soup.

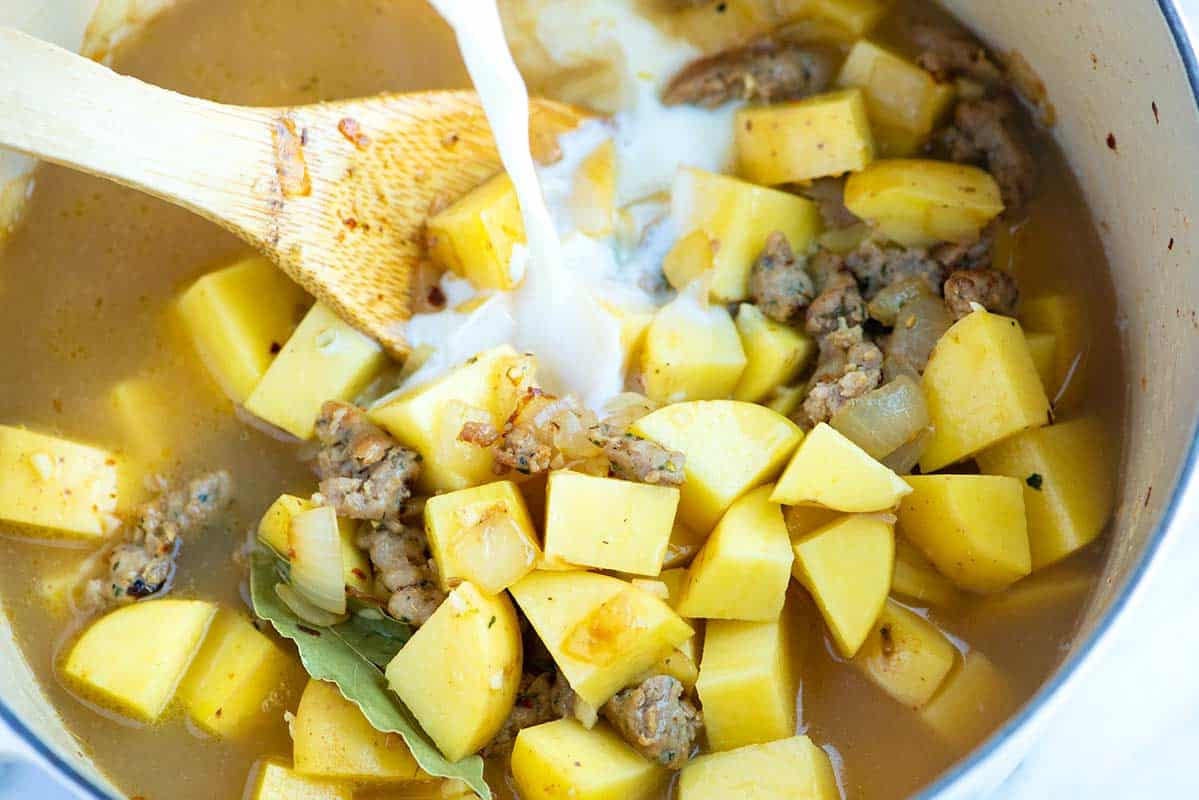
    Tip 3: Add spices, broth, and potatoes. Next comes the broth and potatoes. Simmer until the potatoes are tender. When they are, your soup is almost ready!

    Tip 4: Add kale and cream. When your potatoes are tender, stir in the kale and cream and allow it to cook for a few minutes until the kale is tender and bright green. The splash of cream makes the broth silky. It’s optional, but really delicious.

    How to Make Sausage Potato Soup: Adding the broth to the potatoes and sausage

    More Easy Soup Recipes

    Sausage Potato Soup

    Easy Sausage Potato Soup

    • PREP
    • COOK
    • TOTAL

    You will love this easy sausage and potato soup recipe. It is comforting and incredibly delicious. For the best texture, use Yukon Gold potatoes. They have thin skins, so you don’t need to peel them. The red pepper flakes are optional and add a bit of spice to the soup. If you use hot Italian sausage (spicy), you may not need them.

    4 to 6 Servings

    You Will Need

    8 ounces bulk Italian sausage or links with the casings removed (226g)

    1 tablespoon olive oil

    1 medium onion, chopped

    3 cloves garlic, minced, 1 tablespoon

    ¼ teaspoon dried oregano

    ¼ to ½ teaspoon crushed red pepper flakes, optional

    Salt and fresh ground black pepper

    1 bay leaf

    2 sprigs thyme

    1 ½ pounds Yukon Gold potatoes, cubed, 2 to 3 medium (680g)

    5 cups chicken stock (1182ml)

    ¼ cup heavy cream or half-and-half, or more to taste (60ml)

    4 cups chopped kale leaves with ribs removed or use baby kale

    ½ cup shredded parmesan cheese, optional, 1 ounce (28g)

    Pinch freshly grated nutmeg

    Directions

      1Brown the sausage: Heat the olive oil in a large pot or Dutch oven over medium heat. Add the sausage and cook, breaking it apart with a wooden spoon, until browned and slightly crispy, about 8 to 10 minutes.

      2Cook the onions: Add the onions and cook, stirring every few minutes, until they soften, 5 to 6 minutes.

      3Add garlic and spices: Stir in the garlic, oregano, crushed red pepper flakes, ½ teaspoon of salt, and ¼ teaspoon of freshly ground black pepper. Cook, stirring often, for about 1 minute until fragrant.

      4Add potatoes and stock: Add the bay leaf, thyme, and potatoes. Pour in the stock, then increase the heat to medium-high and bring the soup just to a simmer (avoid a full boil). Reduce the heat to medium-low, partially cover, and simmer until the potatoes are fork-tender, about 15 minutes, stirring occasionally.

      5Add cream, kale, and cheese: Uncover the pot and remove the bay leaf and thyme sprigs. Stir in the cream, kale, and parmesan cheese. Add a small pinch of nutmeg, then taste and adjust with more salt and pepper as needed. Reduce the heat to low, cover, and cook until the kale is tender and wilted, about 5 minutes more.

    Adam and Joanne’s Tips

    • Storing: Store in the refrigerator for up to 4 days or freeze for up to 3 months. Thaw overnight and reheat gently on the stovetop. Potatoes may soften slightly after freezing. The cream may separate when reheating, so do it over low heat or leave it out when freezing and add fresh after it has reheated.
    • Thick and creamy soup: For a creamier and thicker broth, grab a potato masher and mash some of the potatoes in the pot just before adding the kale.
    • Kale: The kale softens in the broth over time. If you like extra soft and tender kale, leave the lid on the pot and keep warm for 10 to 15 minutes more.
    • Lighter soup: For a lightened-up version, use chicken or turkey sausage and substitute the cream for additional stock.
    • The nutrition facts provided below are estimates.

    Nutrition Per Serving
    Serving Size
    1 cup of soup
    /
    Calories
    268
    /
    Total Fat
    11.5g
    /
    Saturated Fat
    3.9g
    /
    Cholesterol
    33.9mg
    /
    Sodium
    639.4mg
    /
    Carbohydrate
    26.2g
    /
    Dietary Fiber
    2.9g
    /
    Sugars
    9g
    /
    Protein
    15.2g


    AUTHOR:

    Adam Gallagher

    Previous Post: Easy Garlic Bread
    Next Post: Easy White Bean Soup

    Source link

  • Fried Calamari | The Recipe Critic

    Fried Calamari | The Recipe Critic

    This website may contain affiliate links and advertising so that we can provide recipes to you. Read my disclosure policy.

    Crispy, flavorful Fried Calamari is a delicious appetizer that tastes like something you would order in a fancy restaurant. The calamari is tenderized, breaded, and then fried to golden brown, crunchy perfection. Take it to the next level with marinara sauce for dipping!

    Overhead shot of fried calamari on a plate.

    Reasons You’ll Love This Recipe

    • Delicious Texture and Flavor: This fried calamari recipe uses simple seasonings to get the flavor just right. Plus, the ratio of ingredients for the breading results in the perfect crispy texture.
    • Two Methods for Cooking: I’m giving you instructions for deep frying and for the air fryer. Both methods will produce a crispy, crunchy appetizer that everyone will love.
    • Easy to Make at Home: Calamari is inexpensive and readily available at most grocery stores. I’ll walk you through the simple method, and you’ll be chowing down on this deliciousness in no time.

    What is Fried Calamari?

    You’ll find fresh calamari in the seafood department at most grocery stores. We love it so much that we always have to order it if we see it on the menu! It’s also easy to make at home.

    You can find fresh calamari at most grocery stores in the seafood department. You can also find frozen squid in the freezer aisle. The key to making sure your calamari is tender is to first soak it in a milk and lemon juice mixture. Then, you’ll bread it with a simple mix of flour, cornstarch, and seasonings. Fry it up in just minutes to a perfect golden brown. Its crispy goodness will have you coming back for seconds and thirds!

    Ingredients You’ll Need For Crispy Fried Calamari

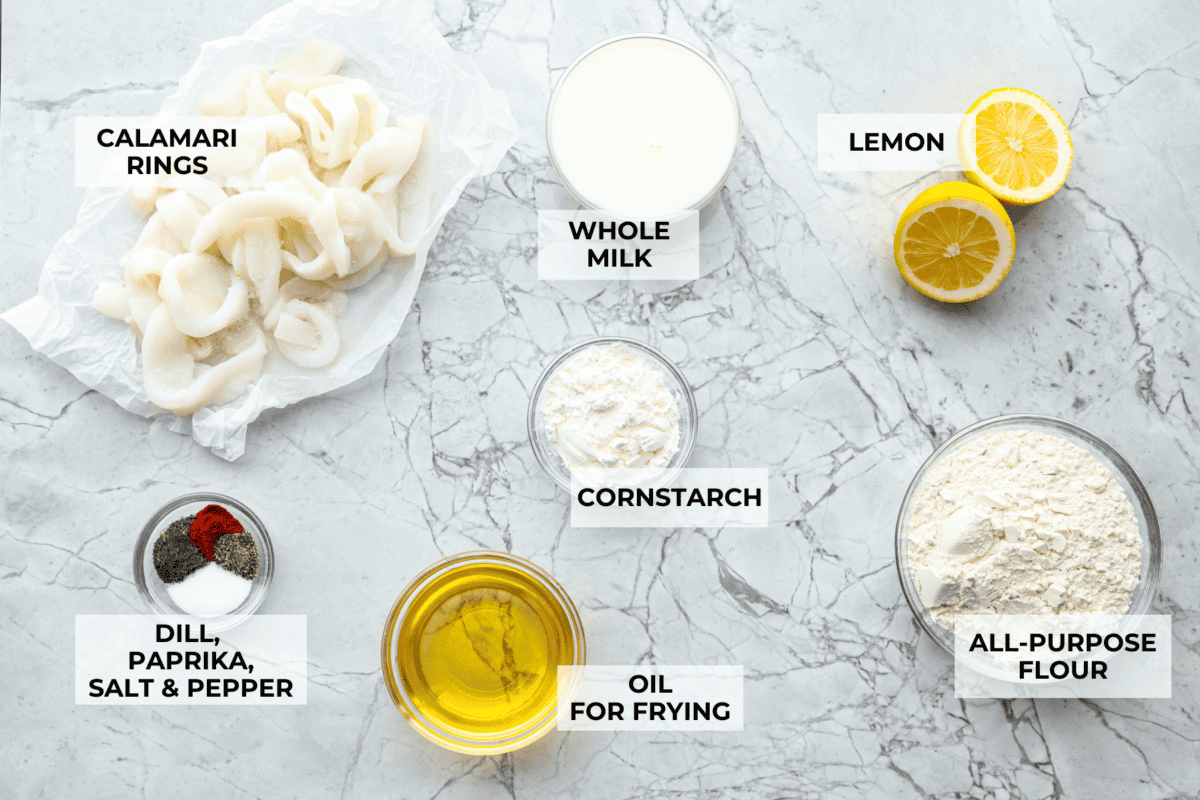
    The ingredients for this calamari recipe are simple. Other than the calamari, you probably already have what you need! It’s all about the ratio of flour to cornstarch to get that delicious crispiness. Exact measurements can all be found below in the recipe card.

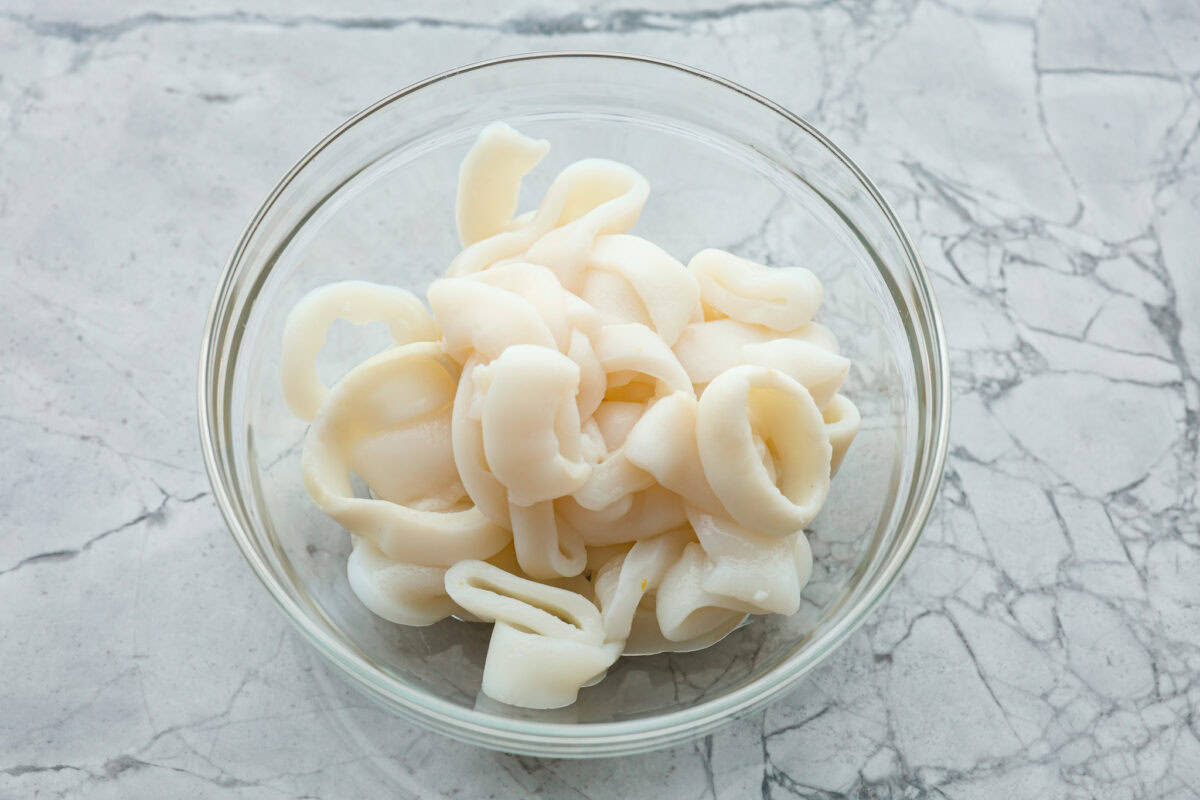
    • Calamari Rings: You can use either calamari rings that are sold already cleaned (seen below) or whole squid, which you cut into tubes before use.
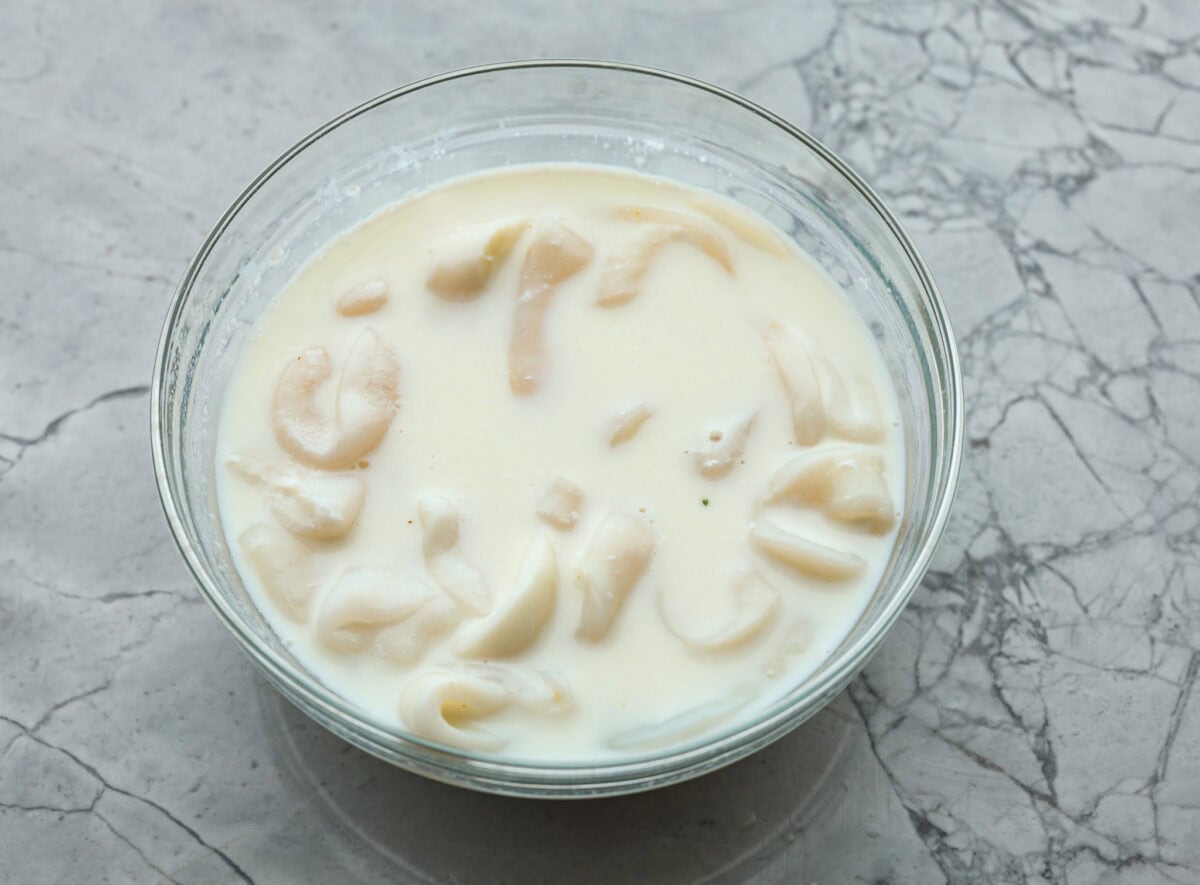
    • Milk and Lemon Juice: Soaking the calamari in a mix of whole milk and lemon juice will make it tender and also help the breading adhere to it.
    • Flour/Cornstarch: For the breading, you’ll need a mix of all-purpose flour and cornstarch for golden brown crispiness. The flour is what will fry up golden brown and the cornstarch will give the exterior that crispy crunch.
    •  Dried Dill: Gives the perfect complimentary flavor to the squid.
    • Paprika: Adds a nice peppery flavor that gives a bit of heat.
    • Salt & Pepper: To taste!
    • Oil: Vegetable oil for frying.
    • Lemon Wedges: Serve with lemon wedges to squeeze a bit of fresh lemon juice over the top for brightness in every bite.
    Overhead shot of labeled ingredients.Overhead shot of labeled ingredients.

    How to Make Fried Calamari

    Frying crispy calamari is much easier to make at home than you might think! The steps are simple, and the calamari only takes about 3 minutes to fry!

    1. Prep: Prepare the calamari rings by thawing them if they are frozen. Pat the rings dry and place them into a bowl.
    2. Coat with Milk and Lemon Juice: Pour the milk and lemon juice over the rings and stir to combine and coat the rings evenly in the milk mixture.
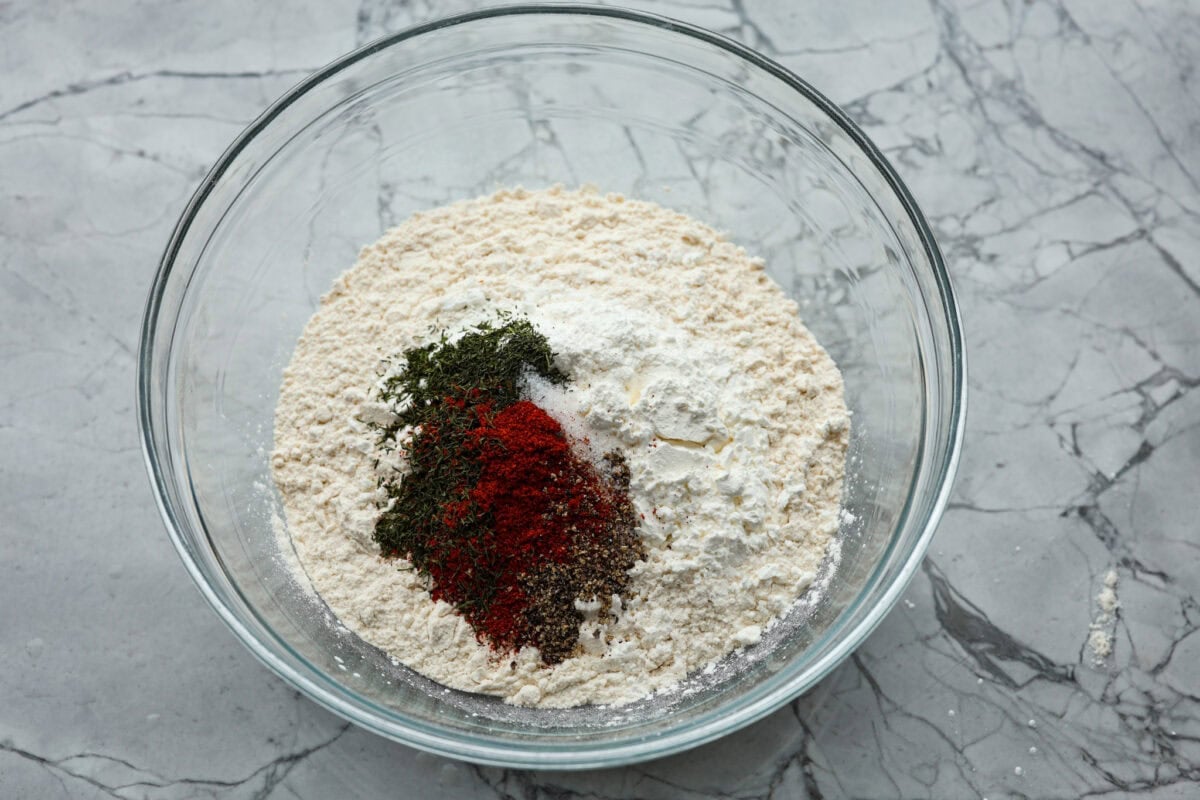
    3. Mix: In a separate bowl, whisk together the flour, cornstarch, salt, dill, paprika, and pepper.
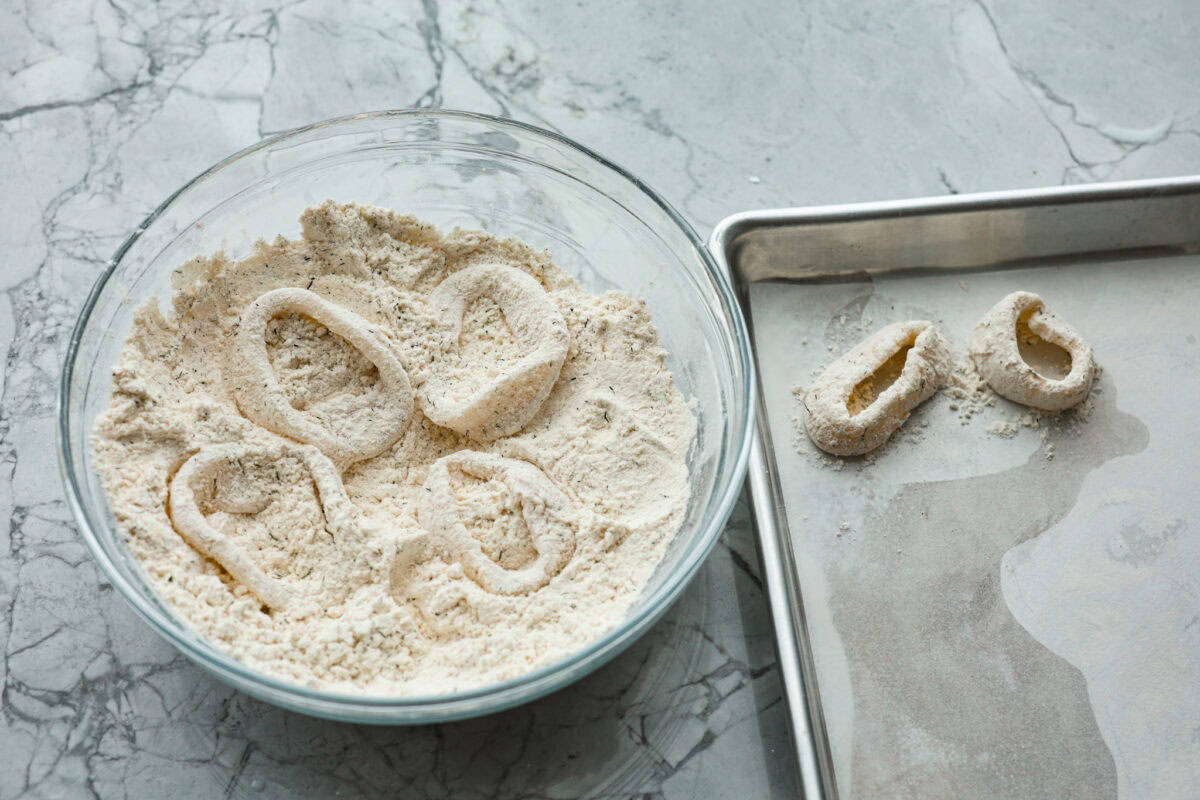
    4. Dredge in Flour Mixture: Remove the rings from the milk mixture, allowing excess liquid to drip off. Then, toss them in the flour mixture. Next, place the breaded calamari rings onto a plate or sheet pan. Meanwhile, prepare a second plate or sheet pan by lining it with paper towels.
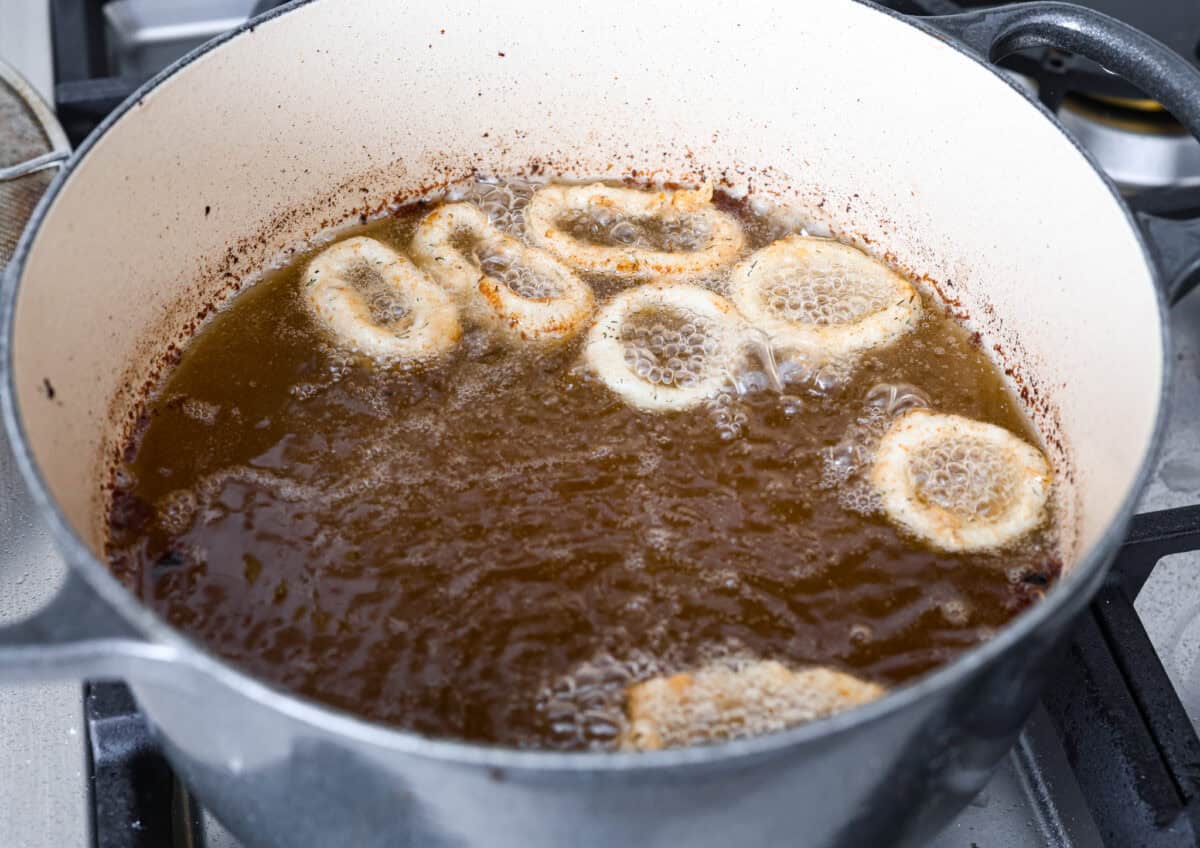
    5. Fry: Heat about an inch of oil in a large skillet over medium-high heat. When the oil is hot carefully place the battered calamari into the hot oil and fry them for about 3 minutes until they are golden brown.
    6. Finish Frying and Serve: Once you finish frying the calamari, place them onto a paper towel-lined plate or sheet pan. Work in batches until you’ve cooked all the calamari, then serve it fresh with lemon wedges.

    Tips for Making Fried Calamari

    Don’t be intimidated to fry your own calamari at home! This tasty appetizer is something that you can easily make in your own kitchen, and it will be even better than any you get in a restaurant! Here are a few tips and ideas to help you along the way:

    • Calamari to Use: You can use calamari tubes and cut them into rings for the calamari rings. You can also use mixes with tentacles for this recipe. Thaw the squid all the way before you start breading and frying for the best results.
    • Use the Air Fryer: To air fry, follow the steps up until you fry them. Instead, spray the breaded calamari with oil and place them into your air fryer basket. Air fry at 400 degrees Fahrenheit for 4-5 minutes. 
    • Serving Sauces: Calamari goes great with Marinara Sauce, Tartar Sauce, or Tzatziki Sauce. 
    • Thaw First: If you are using frozen calamari rings, thaw them completely before using them.

    Overhead shot of plated calamari with marinara sauce on the side.Overhead shot of plated calamari with marinara sauce on the side.

    How to Store Leftover Fried Calamari

    If you’re lucky enough to have any leftover calamari, here are my best tips for how to store them and reheat them to make sure they are crispy when you reheat them.

    • Refrigerate: Store leftovers in the fridge in an airtight container for up to 3 days. 
    • Reheat: I recommend baking or air frying the leftovers to get them crispy. To air fry, cook at 350 degrees Fahrenheit for 3-5 minutes. If using the oven, heat in the oven at 400 for 3-5 minutes.

    Side shot of someone dipping a fried calamari ring into marinara sauce. Side shot of someone dipping a fried calamari ring into marinara sauce.

    More Delicious Appetizers

    If you are like me, then you’ll agree that appetizers are the best part of the meal! They’re great for parties and entertaining, too! Below, you’ll find some of my most popular appetizer recipes that everyone loves.  

    Pin this now to find it later

    Pin It


    Source link

  • Salmon Tacos Recipe (My Whole Family Loves These!)

    Salmon Tacos Recipe (My Whole Family Loves These!)

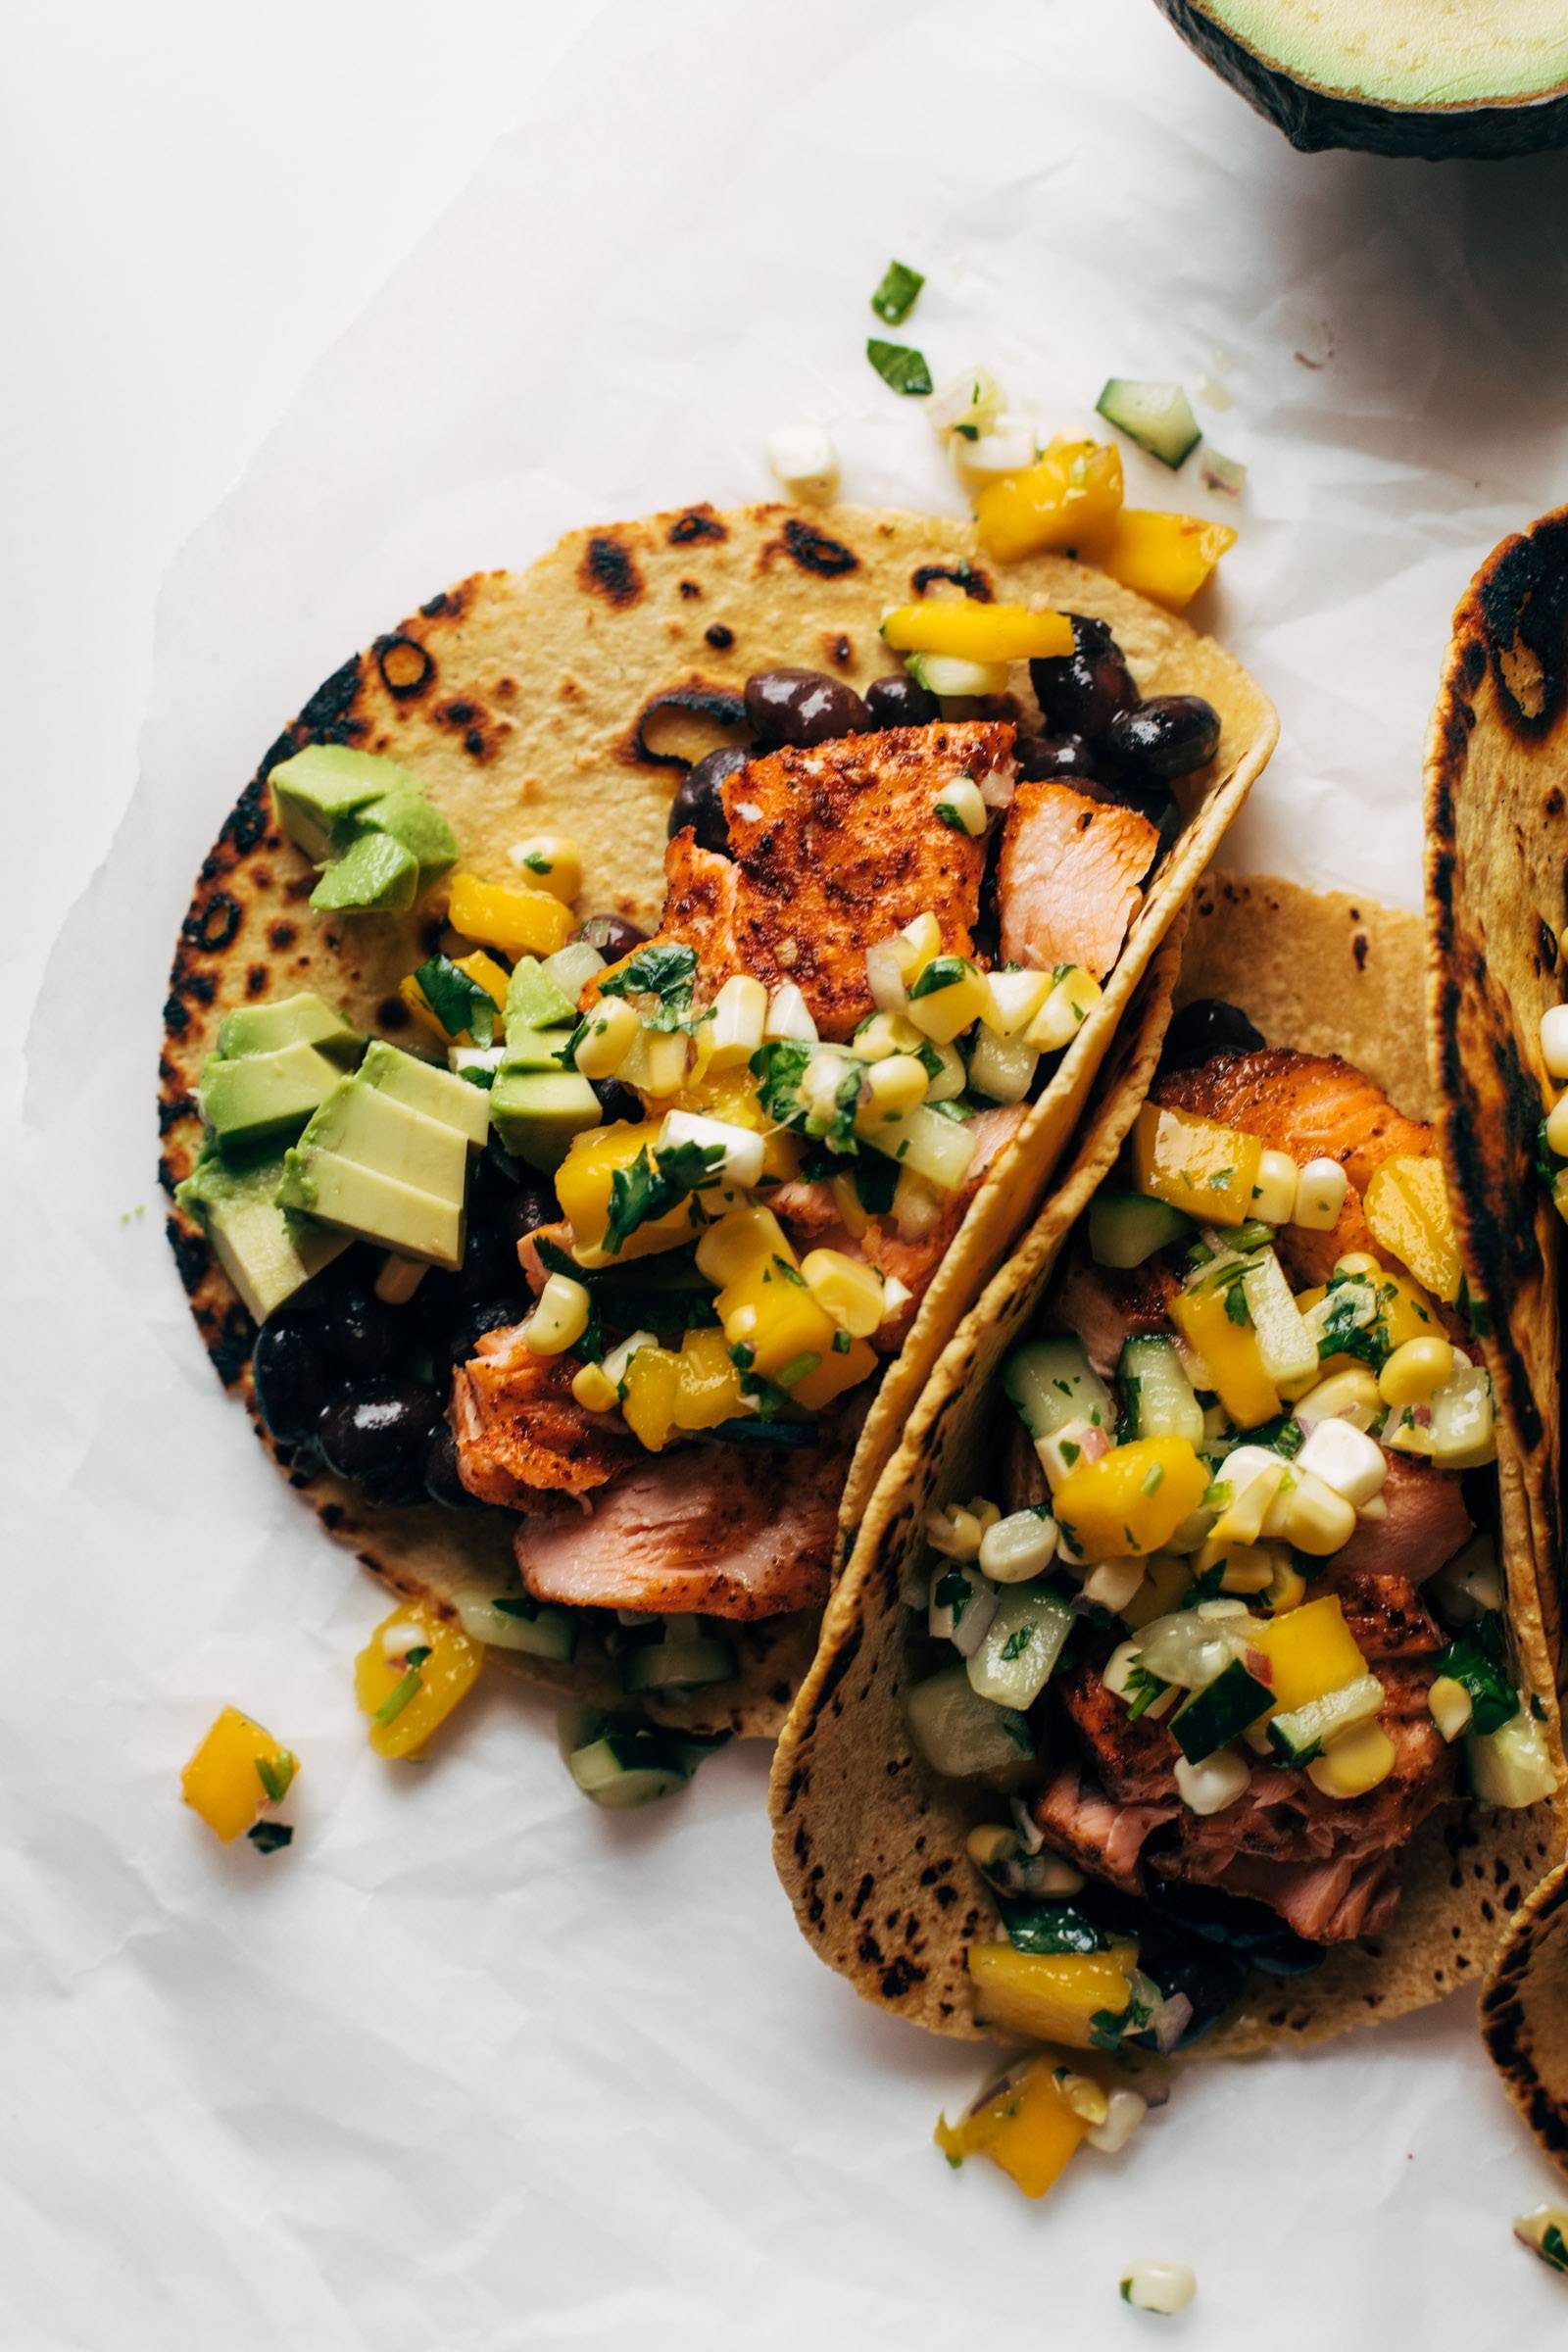
    Super easy salmon tacos loaded with a mango, sweet corn, and cucumber salsa!

    This is a brand new recipe that’s part of our Spring 2023 SOS Series – in other words, EASY recipes! View our full collection of SOS recipes here.


    In This Post: Everything You Need For Salmon Tacos


    Salmon Tacos Video


    Lindsay’s Notes

    These tacos are THE dinner for me right now!

    A few nights ago, I made them (again), and I set the sheet pan of salmon down on the table and my whole family literally descended upon it and started grabbing at the salmon with their hands and forks as I stood by watching in half shock, half pride. It was a feeding frenzy.

    Of course, we love salmon. It’s a great source of nutrition and protein and, when cooked well, it gently slides apart into buttery, juicy, delightful little flakes.

    But I’m not going to lie to you: the main event here is that mango corn salsa.

    The salmon itself is completely SOS (taco seasoning and THAT’S IT), which is why I think it makes sense to put all your effort and energy into the salsa. This salsa is also the thing that’s going to keep you sitting at the table long after you’re done eating tacos, just scooping some extra salsa bites all on its own and suddenly thinking of it as more of a salad? It can be a salad, right? I would totally eat this salsa on its own as a salad.

    In general, I’m a believer that salmon and mango are a match made in heaven.

    Each bite is extra crispy and unexpected from the raw sweet corn and cucumber with a little burst of juicy flavor. But it’s also mainstream enough with the mango that my two young kids are usually happy to devour it right along with us.

    I love a million sauces on my tacos (okay, fine, on every recipe). But with this one, all it needs is a bit of extra lime and honey to finish it off. Simple, minimal effort, max deliciousness.


    Looking For More Dinner Ideas?

    Check out our collection of 30+ top dinner recipes!


    Print

    clock clock iconcutlery cutlery iconflag flag iconfolder folder iconinstagram instagram iconpinterest pinterest iconfacebook facebook iconprint print iconsquares squares iconheart heart iconheart solid heart solid icon

    Description

    Super easy salmon tacos loaded with a mango, sweet corn, and cucumber salsa! Perfect with black beans or avocado tucked into a corn tortilla.


    Salmon Tacos:

    Mango Corn Salsa:

    Extras:


    1. Prep: Preheat the oven to 425 degrees. Line a baking sheet with parchment paper.
    2. Season the Salmon: Toss the salmon with the taco seasoning and avocado oil until well-coated – you can do this in a bowl or directly on the baking sheet. If your taco seasoning does not have salt, add some salt to the salmon.
    3. Bake the Salmon: Bake the salmon for 8 minutes, close to the top of the oven, or until it slips apart easily when pressed with a fork. 
    4. Make the Salsa: While the salmon is baking, chop up your salsa ingredients and toss together in a bowl. Season to taste.
    5. Soften the Tortillas: To soften the corn tortillas, I usually heat up some oil in a large skillet and then give the tortilla a very quick one-sided dip into the hot oil and transfer to a paper-towel lined plate. I stack them up as I go so the heat and oil kind of distributes between all the tortillas. You can also wrap the tortillas in a few damp paper towels and microwave for 30 seconds to steam them so they become more pliable and yummy to eat. 
    6. Assemble the Tacos: Mash avocado or spread refried beans on the bottom of the tortilla. Add a couple pieces of salmon; press to gently smash them. Top with a big scoop of the salsa. I often finish these with lime squeezes and a drizzle of honey!

    Notes

    Purchasing Salmon: For this recipe, I look for salmon fillets that are nice and thick so you can cube it! I usually cut the skin off and then cut into large cubes; I love the cube shape because they cook nice and evenly and make for a fun shape to squish apart in the taco. It’s also totally fine to just sprinkle your seasonings onto a thinner fillet and flake the fish apart to put into the tacos.

    Salmon Doneness: People cook salmon to varying degrees of doneness depending on your preferences and the quality of the salmon. I like to cook it to medium well, where everything is almost totally cooked through but it’s nice and soft and slips apart easily when you press it with a fork. Here’s a guide with more info on cooking salmon and how to tell when it’s done.

    Salsa Spiciness: As written, this salsa is not spicy at all, but a jalapeño would be a great addition! I keep it mild for my kids, but if that is not your journey, go for the heat!

    Tortillas: In the photos, I was using a thicker type of tortilla (corn and flour blend) that I charred in a dry cast iron skillet. When I usually make this, I use regular corn tortillas and I follow the recipe directions for softening them.

    Taco Seasoning: All brands are different, but if you’re using a mild one and you want more going on with your salmon, sprinkle it with some extra chili powder, onion powder, and garlic powder. *chef’s kiss*

    Air-Frying The Salmon: This would work well using this Air Fryer Salmon recipe. Just replaced the seasonings in that recipe with the taco seasoning in this one!

    • Prep Time: 15 minutes
    • Cook Time: 10 minutes
    • Category: Tacos
    • Method: Bake
    • Cuisine: Caribbean-Inspired

    Keywords: salmon tacos, salmon recipe, mango salsa

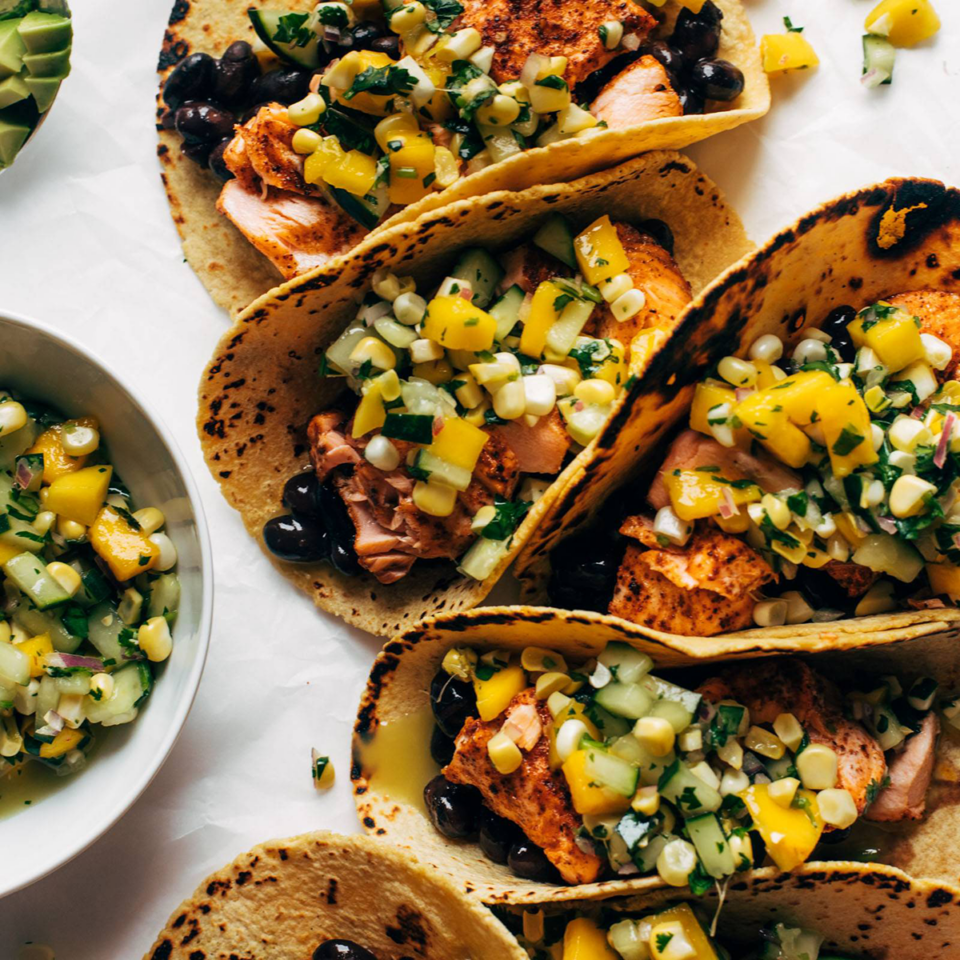
    Close-up of salmon tacos with salsa

    What Taco Seasoning Do You Like?

    Lately I’ve been using the one from Kowalski’s (a local grocery store) – that’s my favorite in this recipe right now.

    I also like the Siete brand mild taco seasoning (affiliate link) – the spicy one is a bit much for my kids, but the mild is great.

    What Tortillas Do You Like?

    In these photos, I’m using the La Tortilla Factory corn and flour blend tortillas! They are a bit thicker than your average tortillas and they hold up well, which is why I picked them for the photos.

    If I’m making these at home, no photos necessary, I usually use just a standard yellow corn tortilla.

    Can I Use Something Else Besides Salmon?

    Yes, this would be delicious with chicken or shrimp! Just adjust your baking time a bit – chicken needs more like 10-12 minutes (depending on the size of your pieces) and shrimp would be about 8 minutes.

    Can I Make This Vegetarian?

    I would roast up some cauliflower in place of the salmon, following the same method of coating it with the taco seasoning and increasing the roasting time to 25-30 minutes.

    If you’re looking for extra protein, tofu would also be good. Here’s our guide to cooking tofu – I would recommend the crispy baked method!

    Can I Make This Gluten-Free / Dairy-Free?

    It should be both gluten-free and dairy free as written!

    Double-check your taco seasoning and your corn tortillas for any added wheat or dairy; otherwise, all the other ingredients are good to go!

    How Does This Keep As Leftovers?

    I wouldn’t recommend this as a leftovers meal. The salsa gets a bit soggy and the salmon doesn’t do great reheated (everyone is different, but this is just my personal opinion).

    If you are cooking for one or two people, I would just keep the salsa ingredients separate and toss them before serving, and maybe even keep the extra salmon un-baked until right before serving.

    Can I Air-Fry The Salmon?

    Yes! And I highly recommend it! Here’s how to make air fryer salmon. I’d just replace the seasonings in that recipe with the taco seasoning in this recipe.


    More Tacos To Love

    Source link