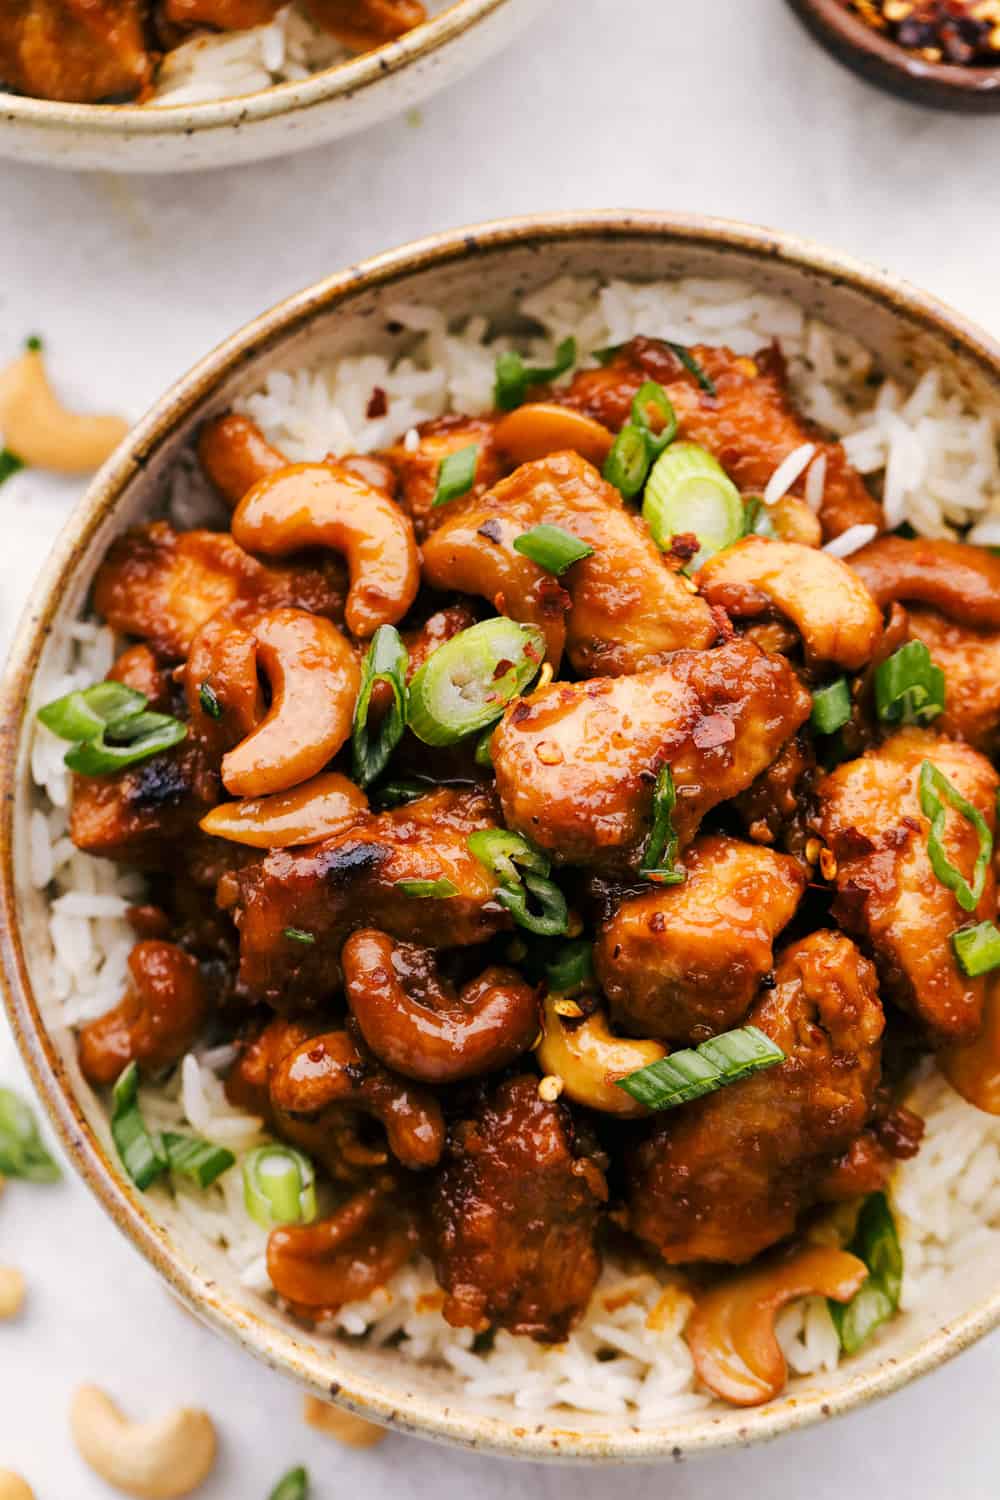
This website may contain affiliate links and advertising so that we can provide recipes to you. Read my disclosure policy.
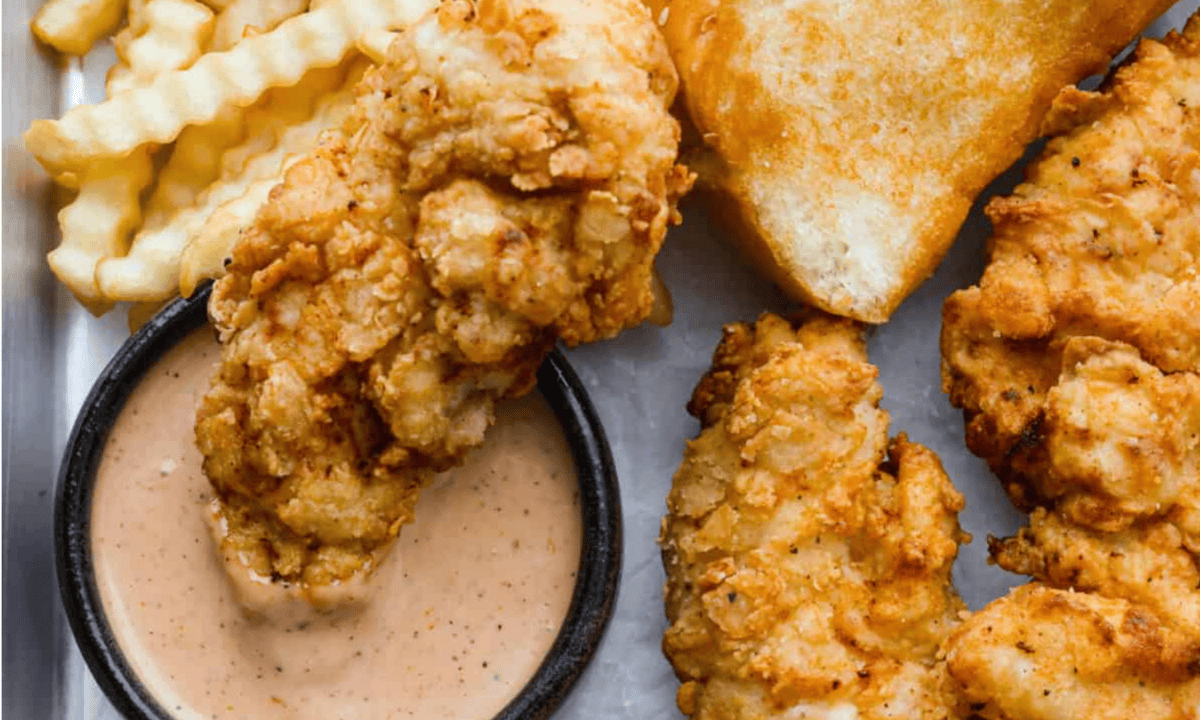
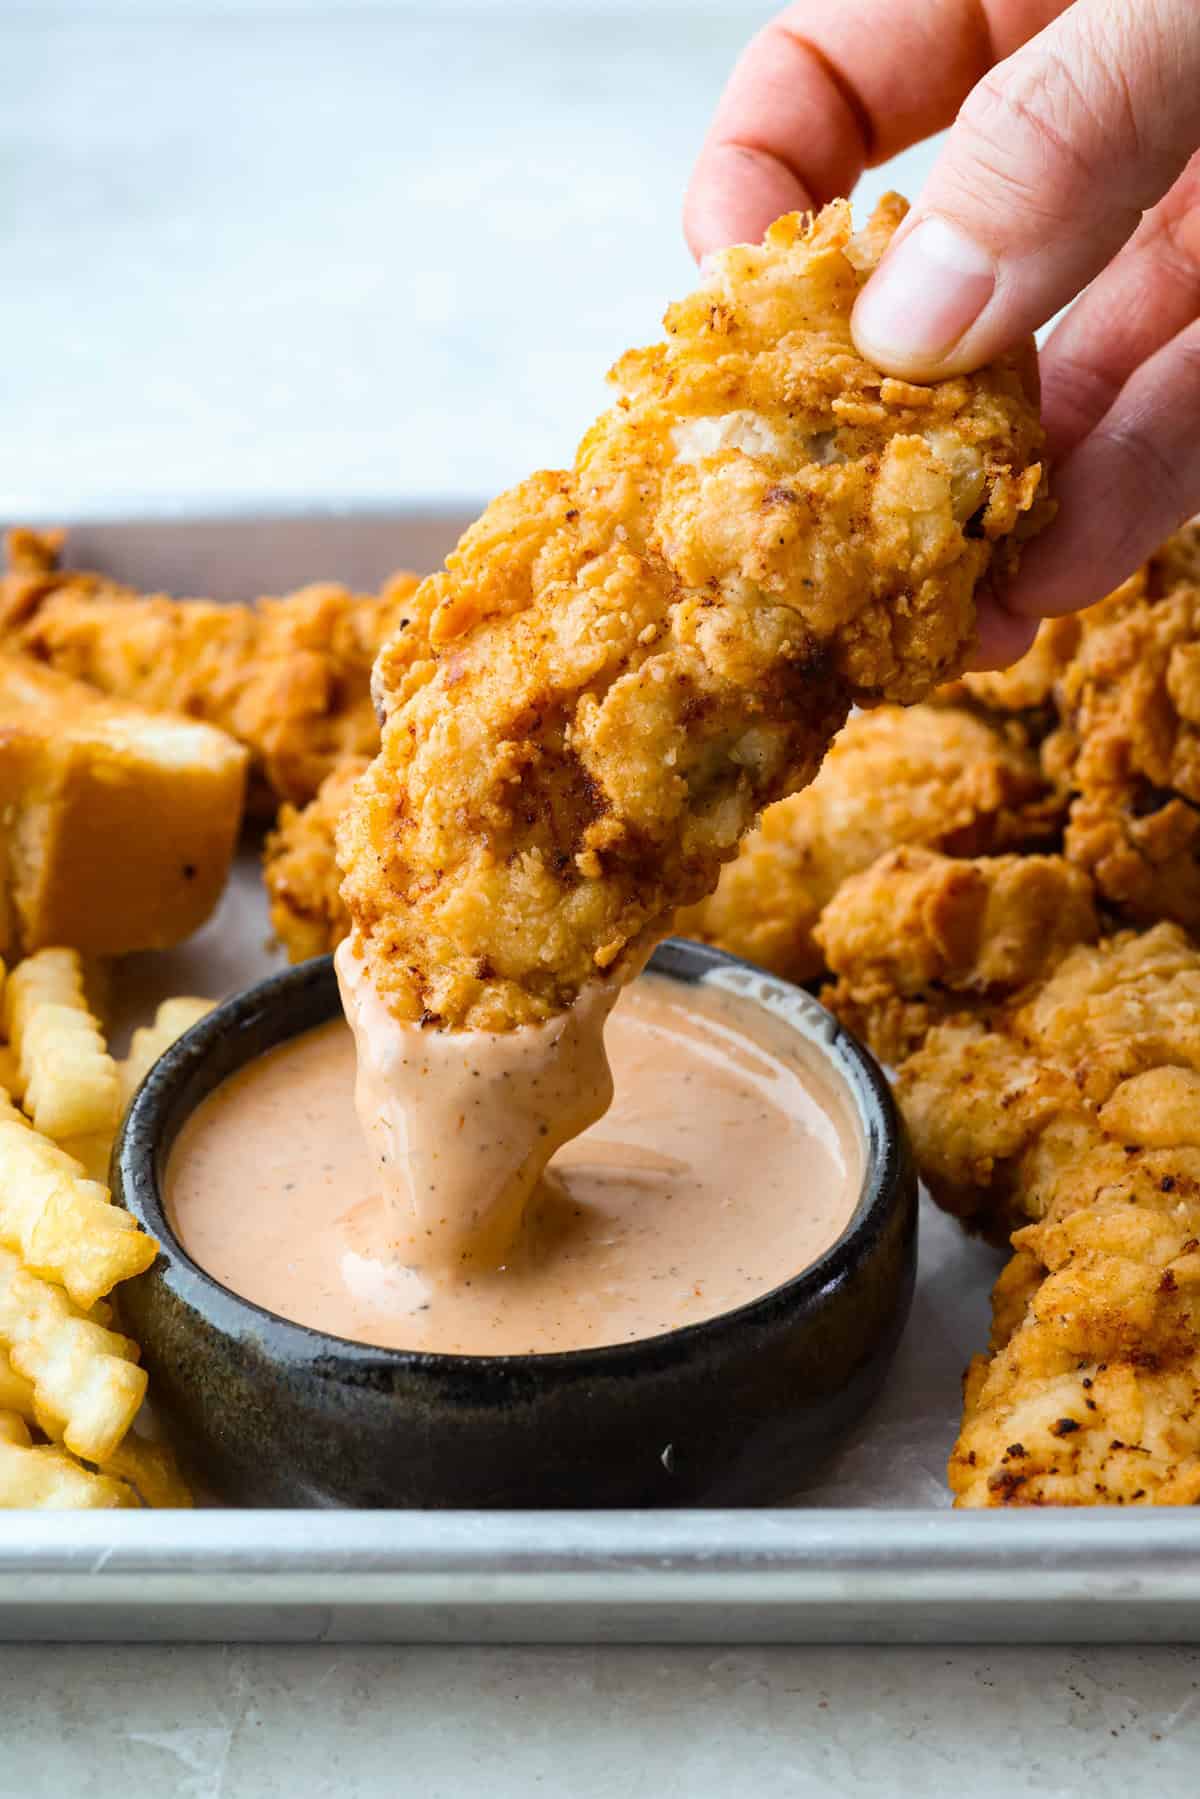
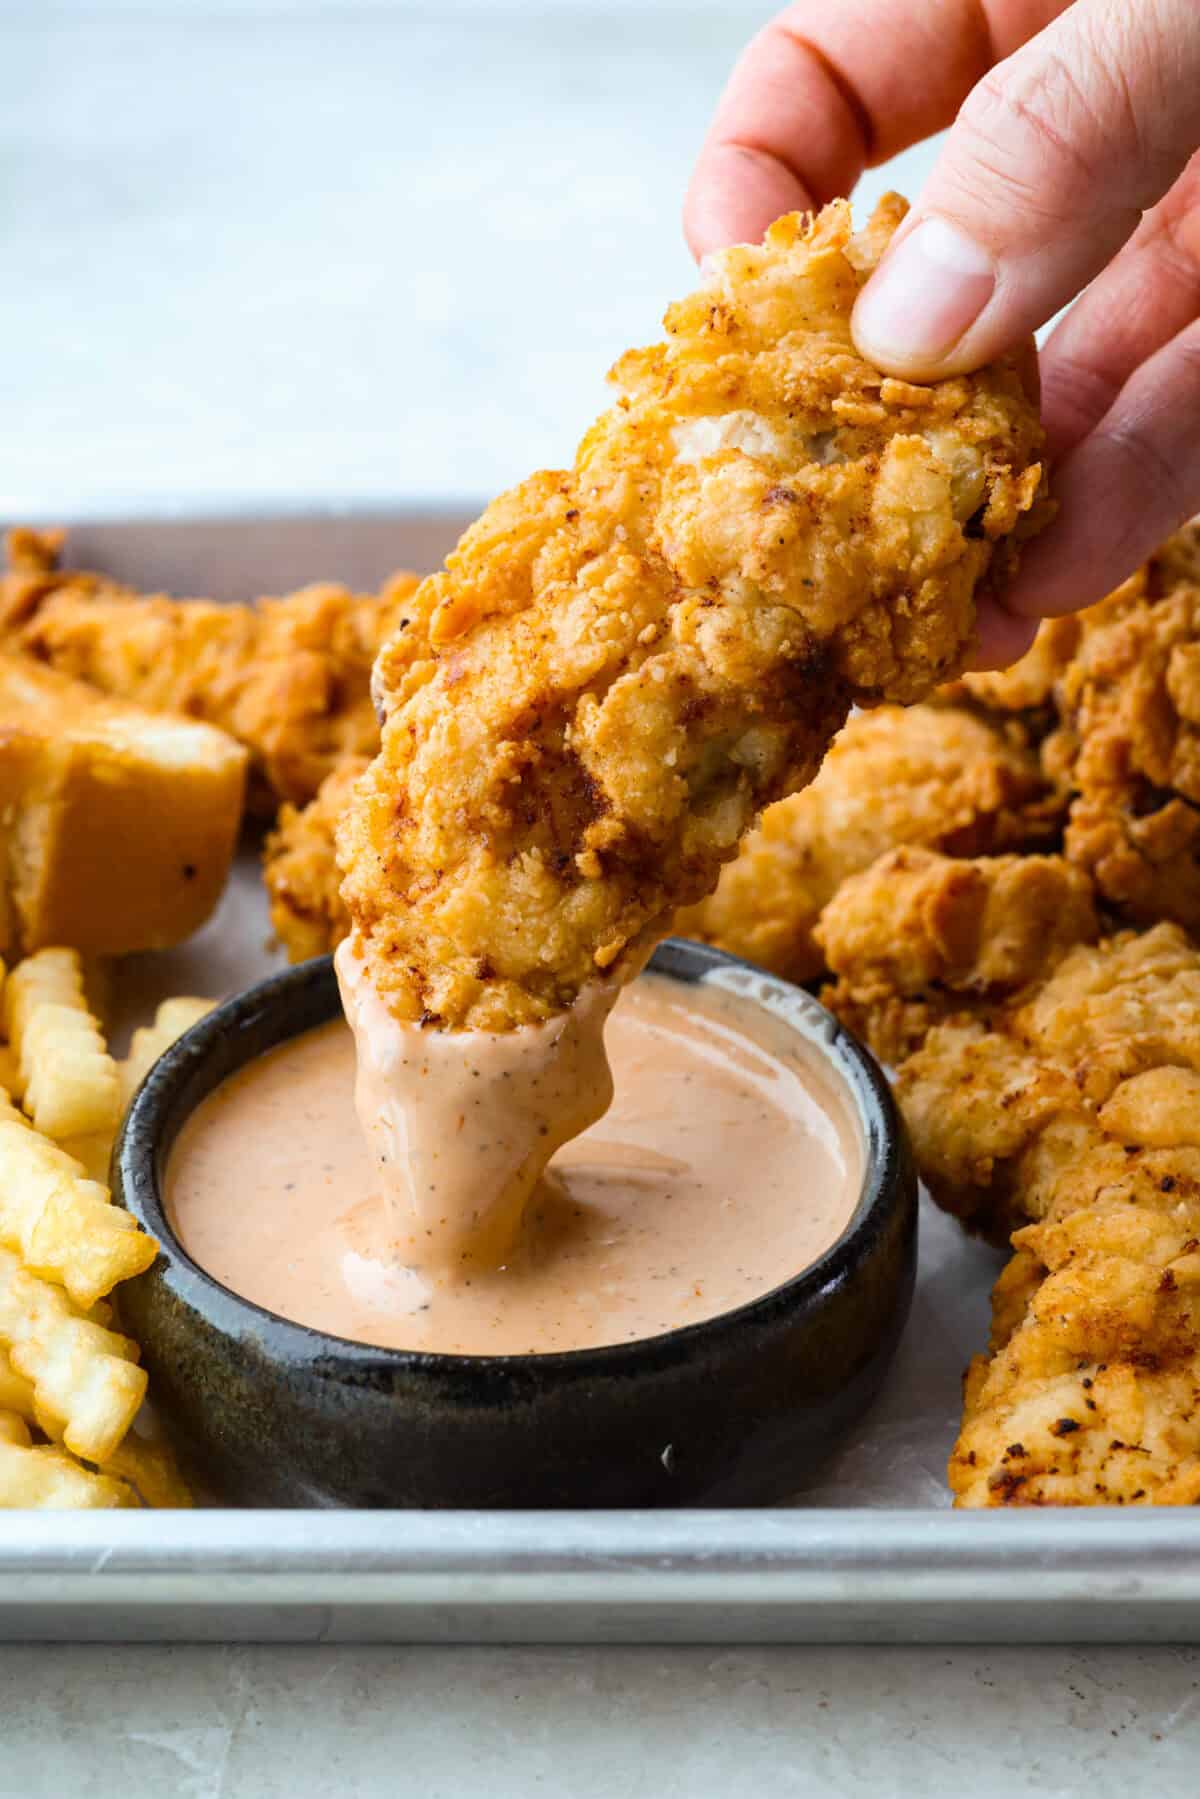
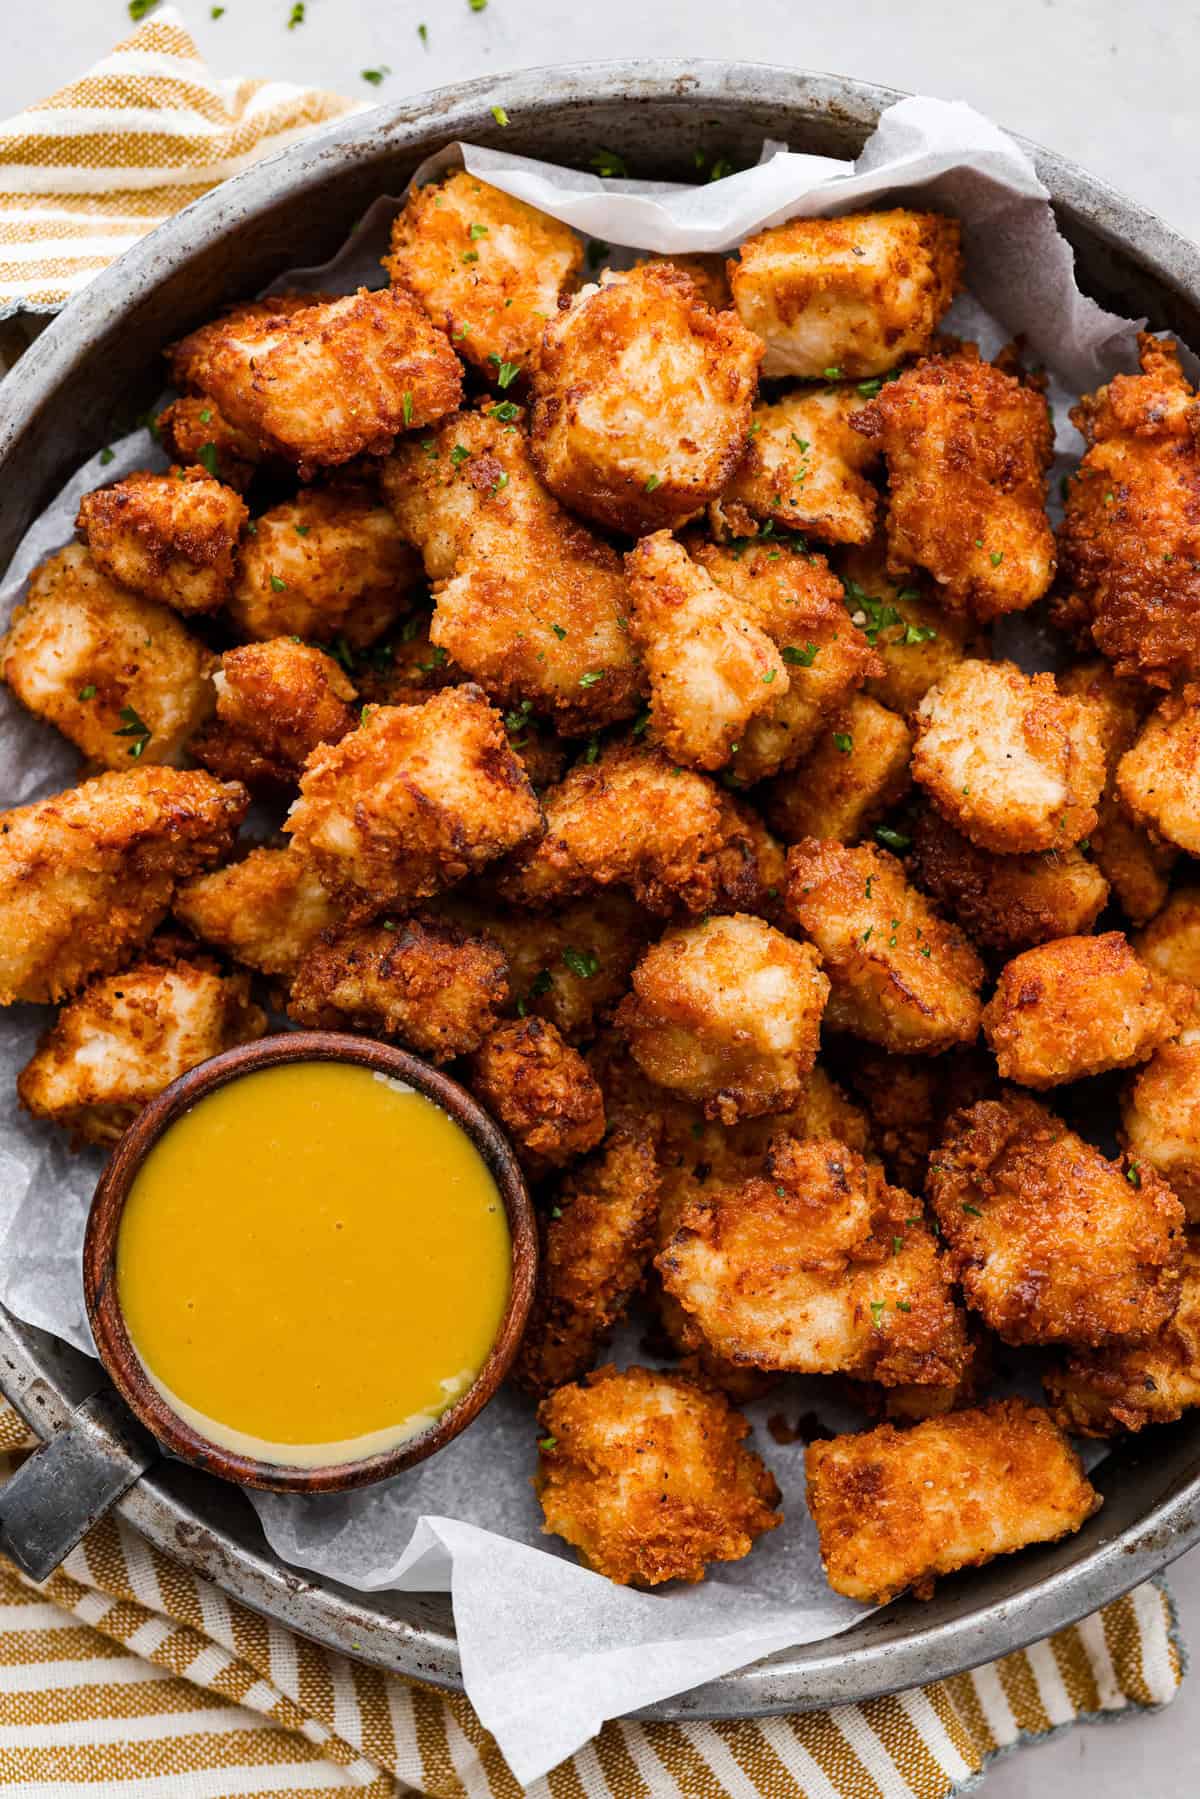
Make this copycat Raising Cane’s chicken tenders at home, no drive-thru required. An easy marinade, simple ingredients, and a quick fry give you crisp, light chicken and that unmistakable Cane’s sauce for a fraction of the cost.
The Magic Behind the Crunch and the Sauce
Double Crunch: My version uses a double coat of breading for that extra-loud crunch you expect from the real thing.
Air Fryer Friendly: Not into deep frying? No problem. I include air fryer directions that still give you a crisp finish.
Built-In Flavor: Spices go into both the marinade and the breading, so every bite hits with the same bold flavor you get at Cane’s.
Raising Cane’s Chicken Tenders Ingredients
Bring the Heat! Add 1-2 teaspoons of hot sauce to the marinade and a pinch or two of cayenne pepper to the breading for added heat.
Buttermilk: Don’t have buttermilk, make your own. It won’t be as thick, so the breading may not stick as well, but in a pinch, it can work.
Chicken: Remove the tendons from the chicken tenders before marinating, or use chicken breasts, sliced into even vertical pieces.
How to Make Raising Cane’s Chicken
If you’re craving Cane’s but don’t want to leave the house or pay the higher restaurant prices. You can make them at home, and it’s easier than you’d think!
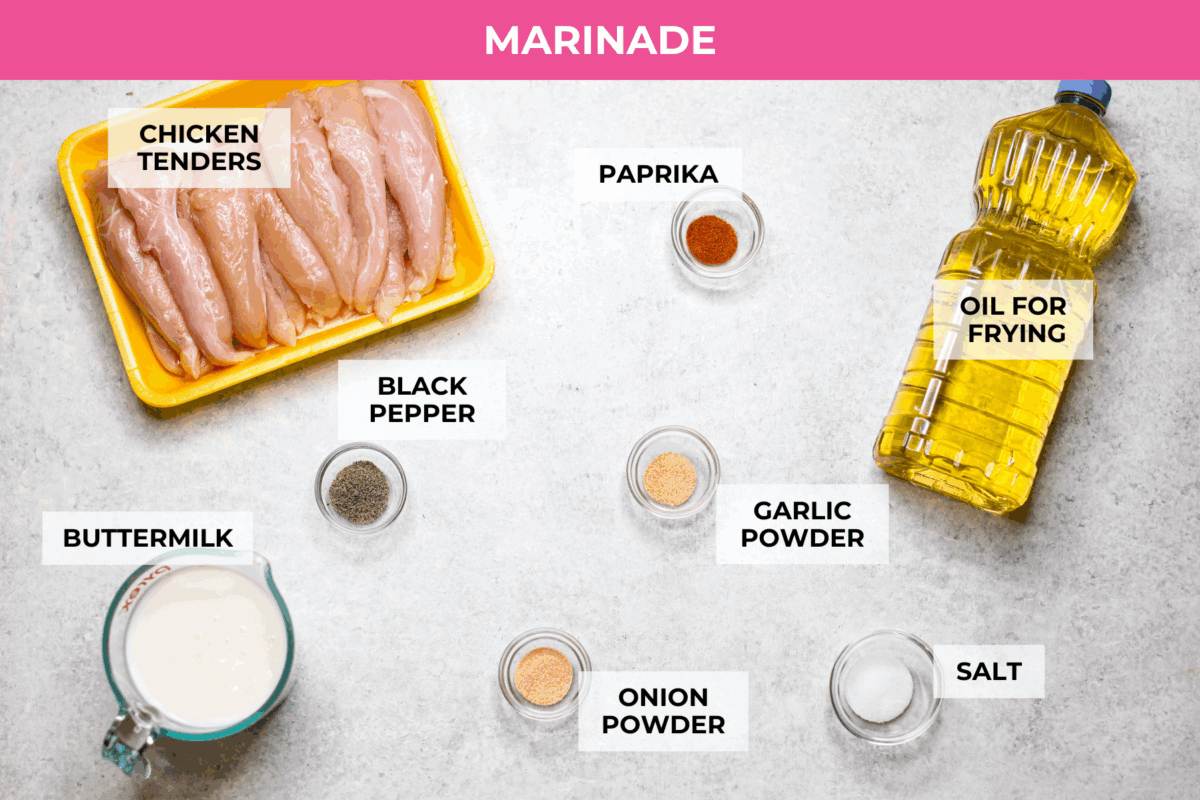
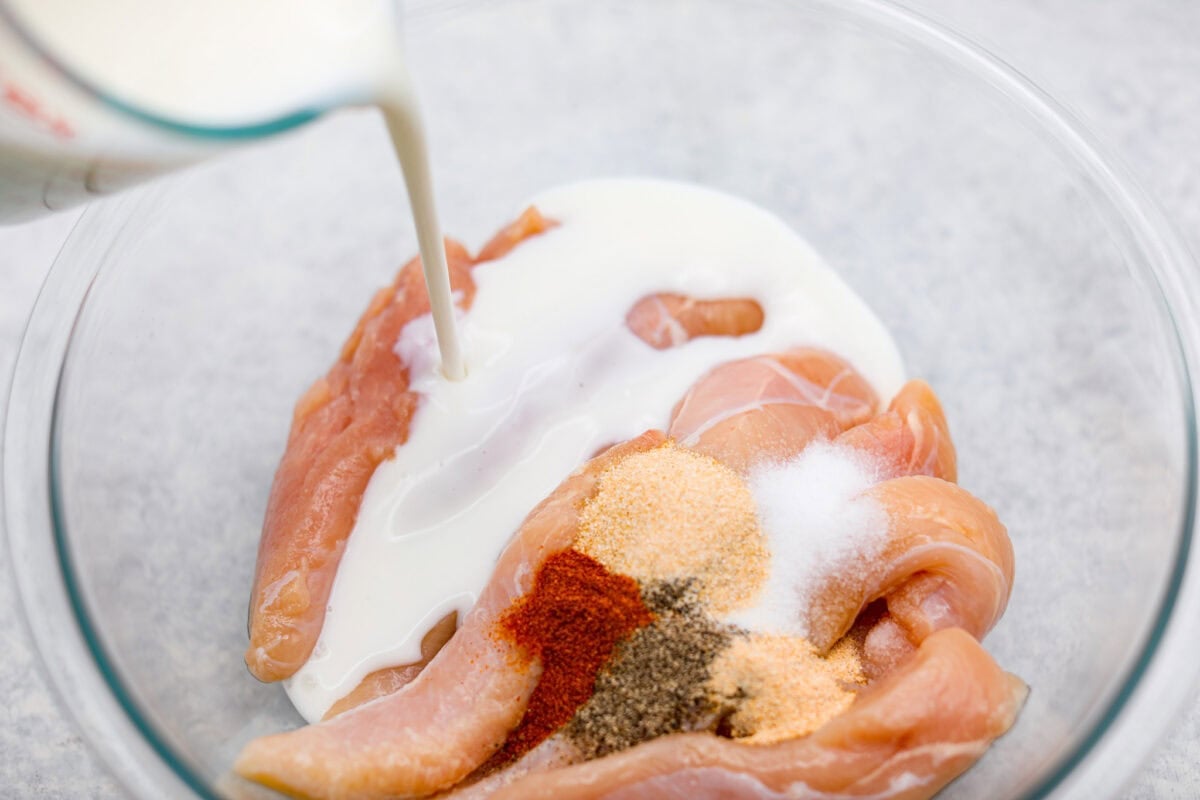
Trim & Season Chicken: Trim the chicken by removing the tendons. Add the chicken to a large bowl. Add the buttermilk, salt, pepper, onion powder, garlic powder, and paprika to the bowl with the chicken.
Marinate: Toss everything together until well combined and the chicken is fully coated. Let it marinate for at least 4 hours, or up to 24 hours.
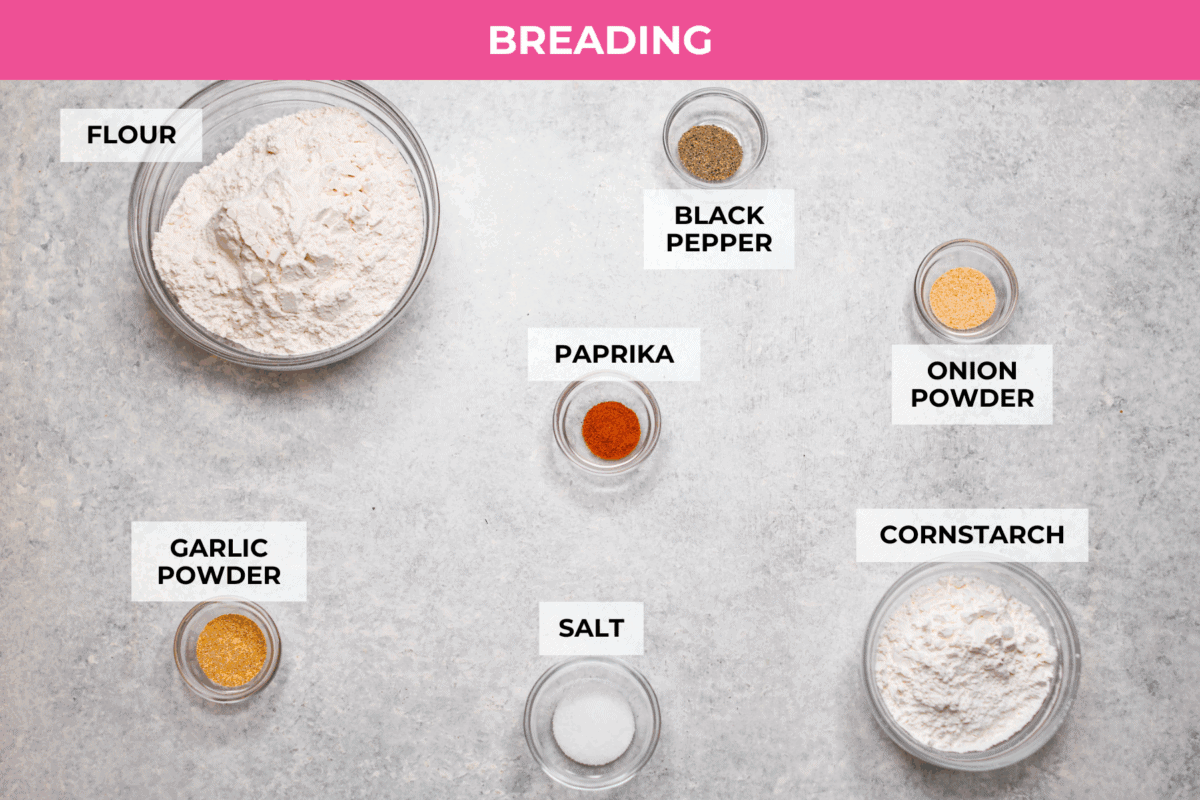
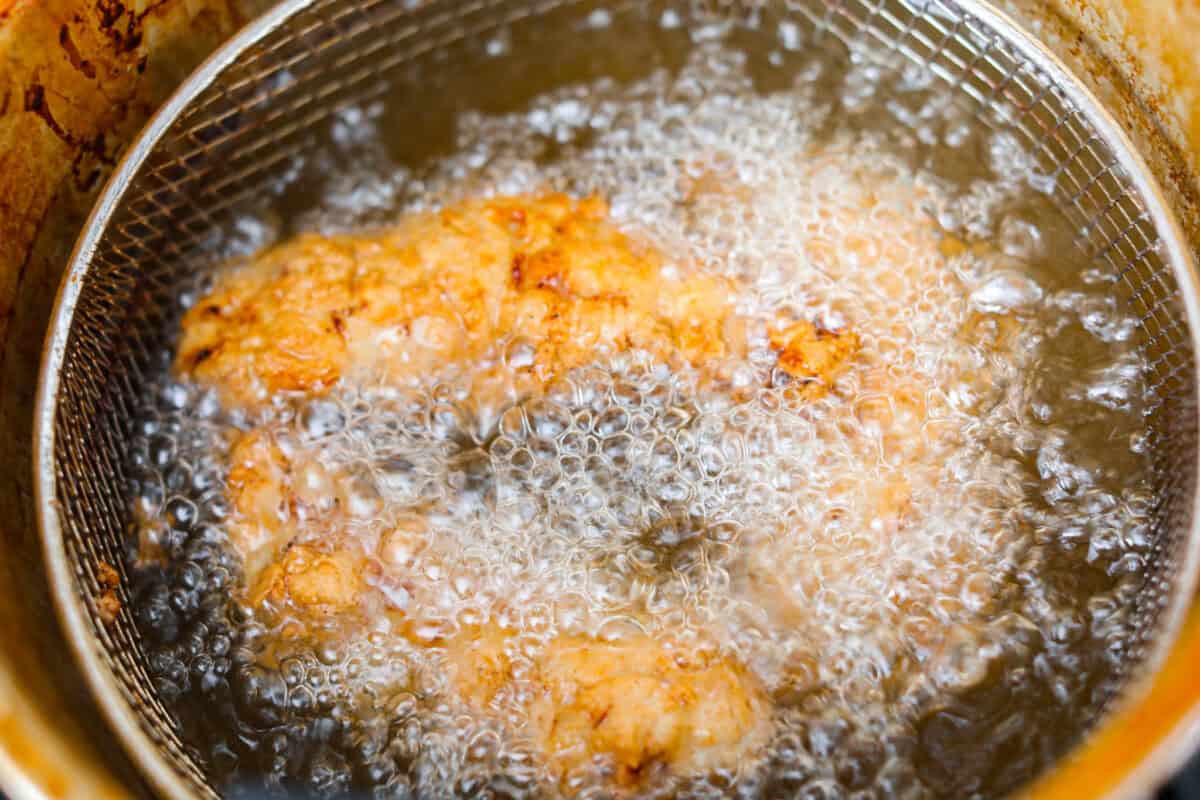
Heat Oil & Make Breading: When ready to fry, add 5-6 cups of vegetable oil to a large, deep pot until it is about 2 inches deep. Heat over high heat until it reaches 350°F. Meanwhile, combine the flour, cornstarch, salt, pepper, onion powder, garlic powder, and paprika in a large bowl.
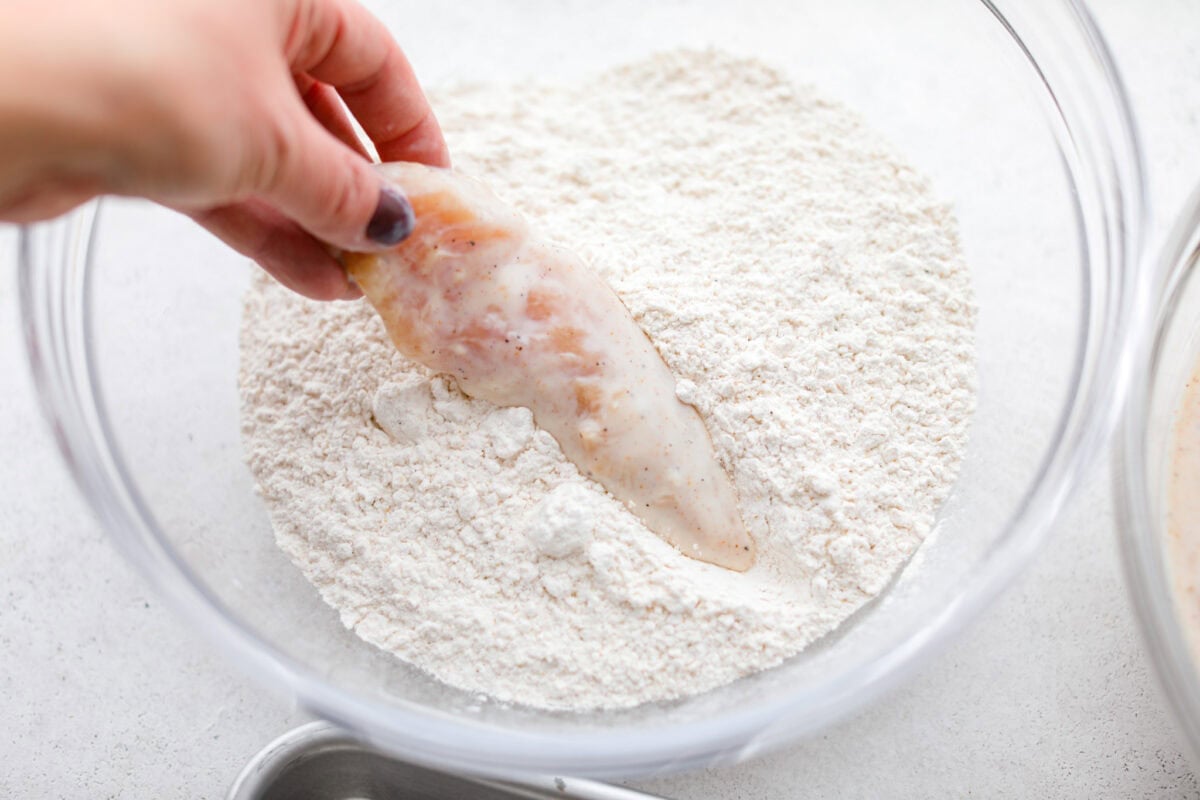
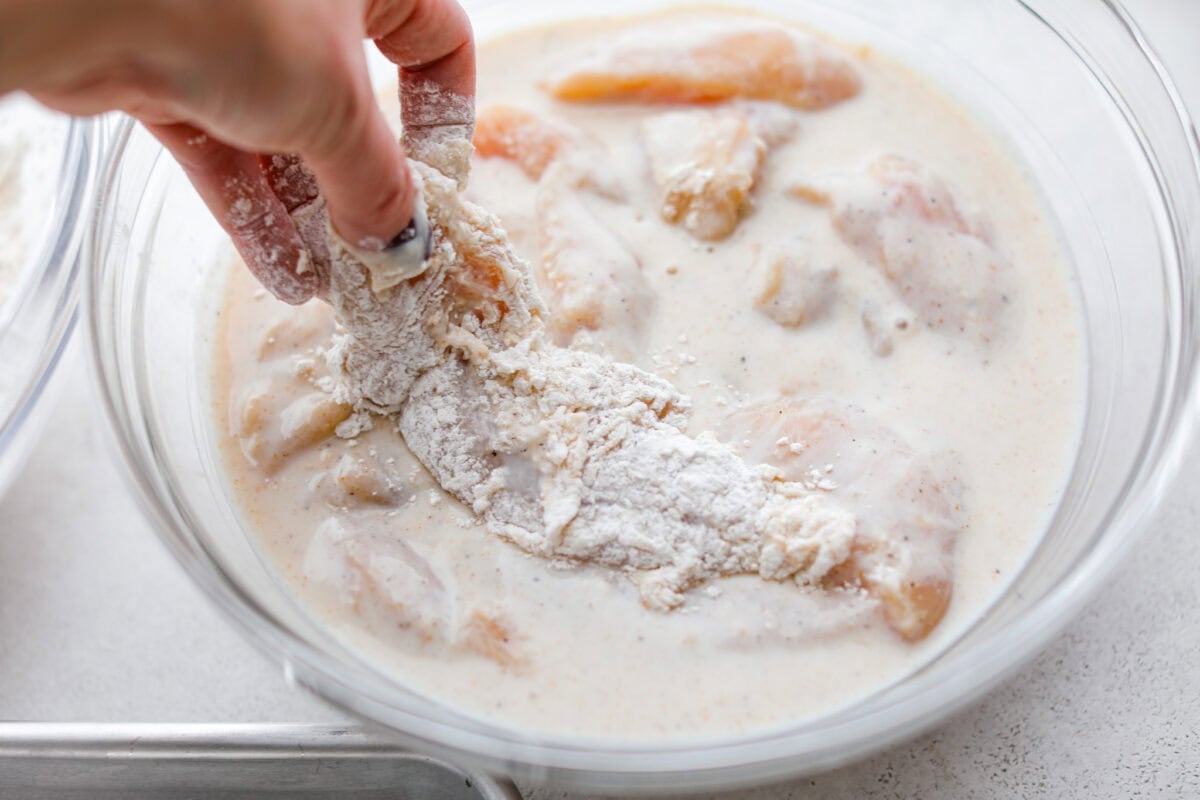
Dip Chicken In Breading: Remove the chicken strips from the marinade, one at a time, letting the excess marinade drip off before adding them to the breading mixture.
Double Dip: Coat each piece of chicken fully with the breading mixture. Press it onto the chicken with your hands, then dip it back into the marinade, then back into the flour mixture. This double-breading will give you an extra-flaky coating.
Fry & Drain: Fry the breaded chicken in batches for 5-7 minutes, flipping them halfway through, until the thickest part of the tenders reaches 165°F. Transfer them to a baking pan lined with paper towels or a wire rack to drain. Serve Raising Cane’s Chicken Tenders with crinkle-cut fries, coleslaw, and Cane’s Sauce
Air Fryer Option
Don’t want to Deep Fry? Air fry the breaded chicken tenders by spraying them with oil, then air fry at 400°F for 12 minutes, flipping halfway through and spraying them lightly with oil again.
Pin this now to find it later
Pin It
More Copycat Recipes To Try
If you loved this Copycat Raising Cane’s Chicken Tender recipe, you’ll love all of my other copycat recipes. What copycat recipe would you like me to try next?
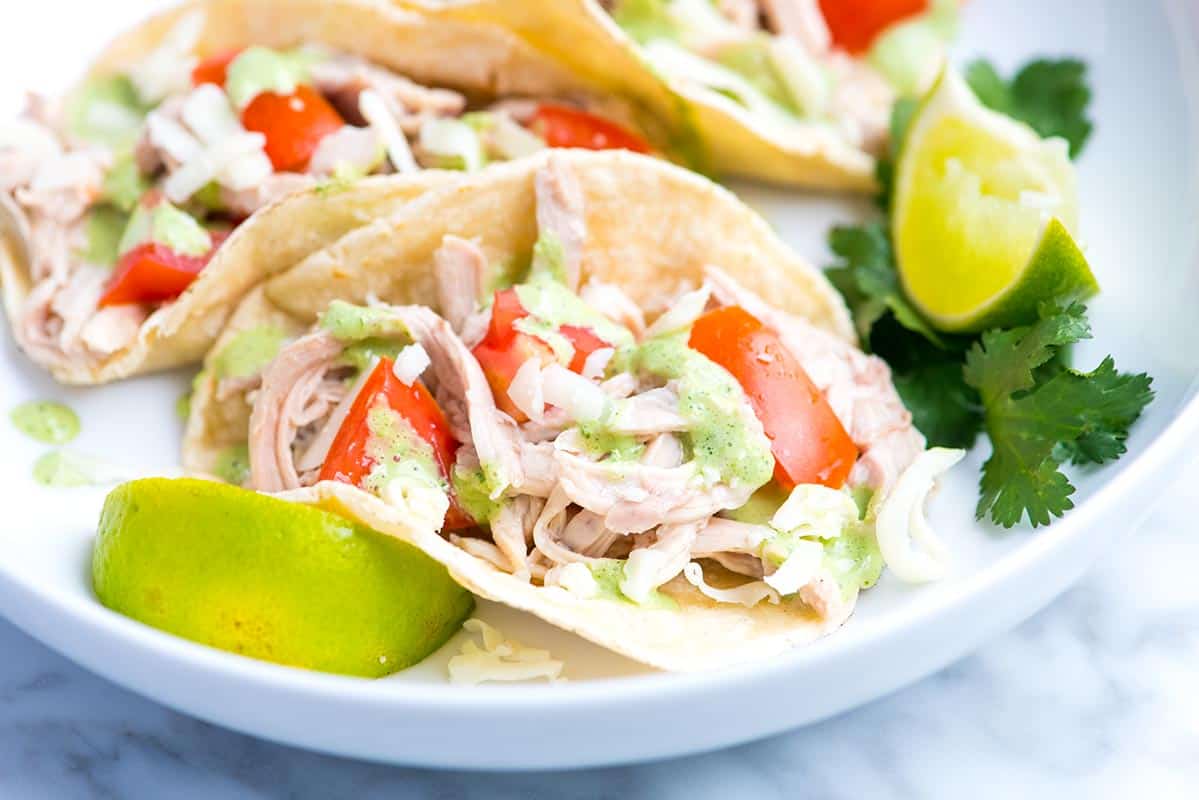
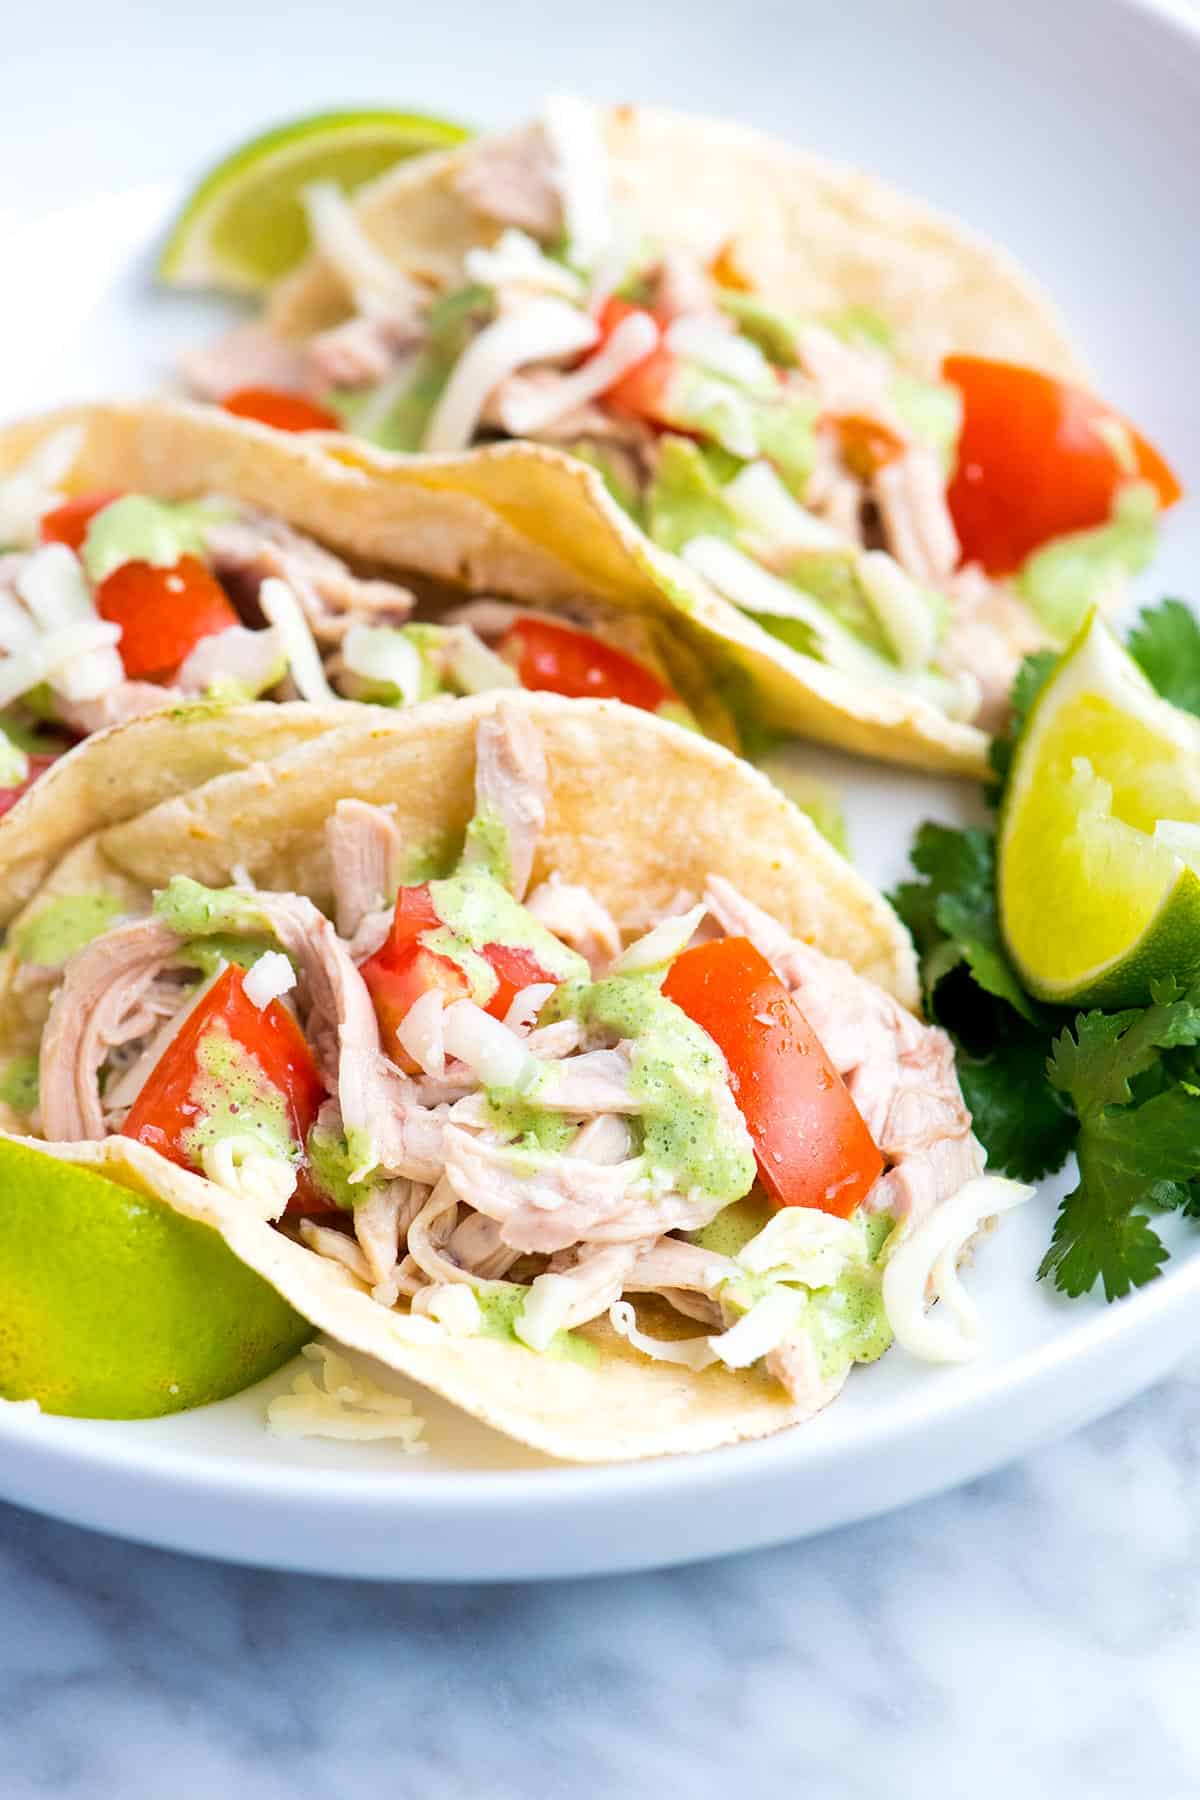
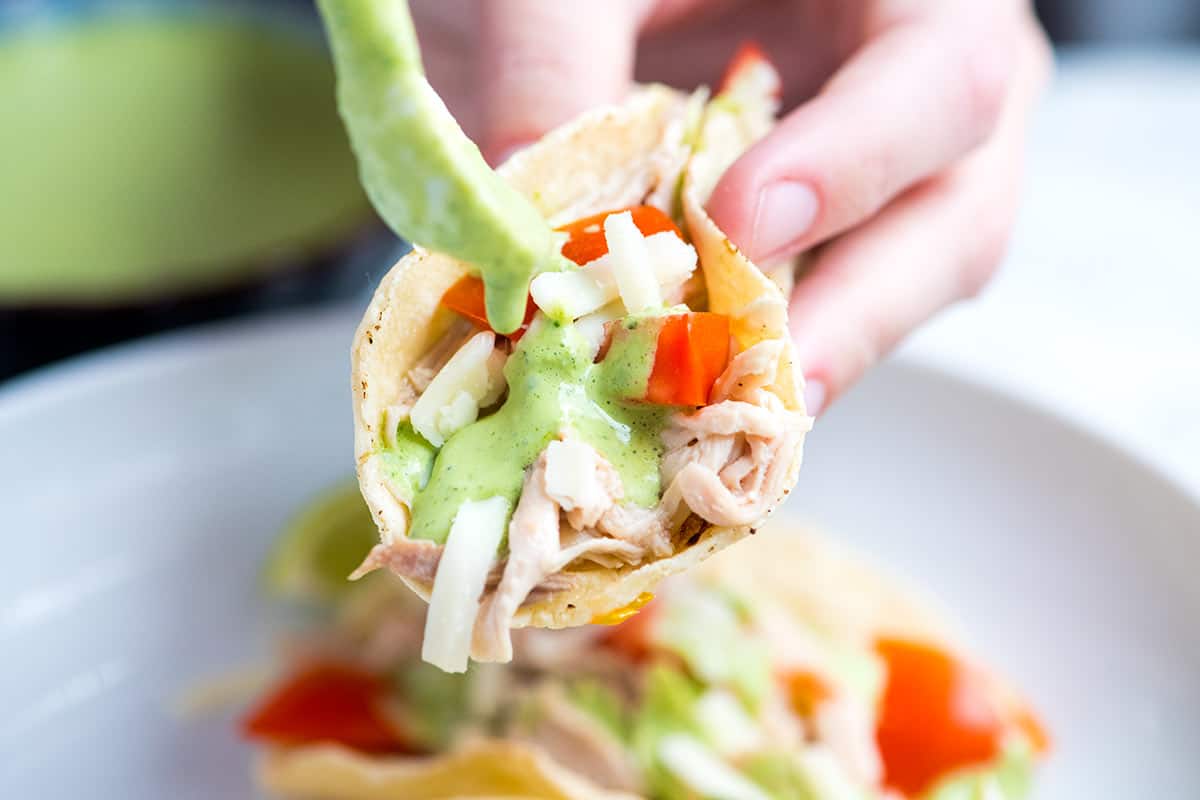
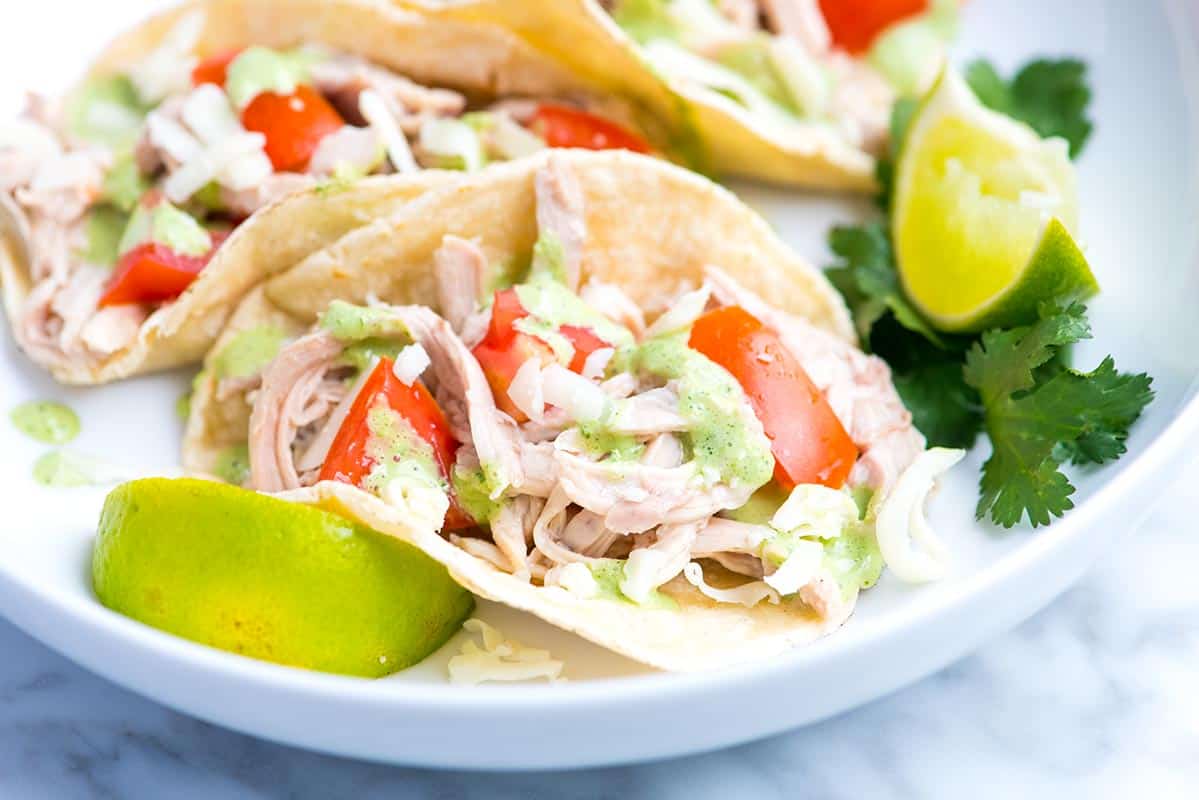
This easy shredded chicken tacos recipe is such an easy dinner! They’re fresh, flavorful, and the kind of easy dinner that never feels boring.
They’re a mash-up of two of our most-loved recipes on Inspired Taste: our tender shredded chicken and the creamy cilantro sauce from our veggie tacos. The combination makes every bite fresh, zesty, and absolutely delicious.
These tacos come together fast, making them ideal for busy nights. You can even prepare the chicken and sauce in advance, so dinner practically makes itself. For more like this, see our shredded chicken nachos.
Key Ingredients
Chicken: Make chicken for this, use leftover chicken, or use a rotisserie chicken. I love making the chicken by gently simmering chicken thighs or breasts with onion, garlic, bay leaf, cumin, salt, and pepper until they are tender and shreddable. You can do this on the stove, like in our stovetop shredded chicken, or in a slow cooker using our crockpot shredded chicken recipe.
Creamy Cilantro Sauce: I love drizzling our creamy cilantro lime sauce over the tacos, which I make with sour cream, lime juice, jalapeño, and cilantro. You can always substitute your favorite store-bought sauce or dressing, but it really does add a lot to the flavor of these tacos. I also use it for these veggie tacos. For more of a cilantro ranch, try this cilantro lime dressing, which I use for our taco salad.
Tortillas: Use your favorite tortillas. Corn or flour both work great. When I have the time, I love making my own using our recipes for soft flour tortillas or corn tortillas.
Extras: Finish your tacos with your favorite toppings. I love adding extra cilantro, chopped tomato, and crumbled queso fresco. You can also top them with guacamole, pico de gallo, or quick pickled onions for even more flavor.
Find the full recipe with measurements below.
How to Make Shredded Chicken Tacos
Tip 1: The best chicken for tacos. When making shredded chicken for tacos, I love using one of the recipes below. Since the chicken gently cooks in flavorful cooking liquid, it turns out incredibly tender and juicy. Depending on your day, you can choose the quicker stovetop version or the slow cooker option.
Tip 2: Seasoning the chicken. If you use one of the recipes above, the chicken will already be quite flavorful. For even more flavor, consider tossing it with red enchilada sauce or green enchilada sauce. You can buy them (I love Hatch), or make them with one of our recipes:
Tip 3: Make-ahead tips. This is one of those dishes I rely on during busy weeks, as it is incredibly easy to meal prep. The cooked chicken will keep in the fridge for up to 3 days and in the freezer for up to a month. The sauce will keep in the refrigerator for about a week.
Serving Suggestions
I’m happy with just tacos on my plate, but if you’d like to add a few more dishes, consider serving these alongside homemade refried beans and Mexican rice, or try this yellow saffron rice. A bowl of tortilla chips and homemade salsa or queso always goes down well, too!
Easy Shredded Chicken Tacos
PREP
COOK
TOTAL
These chicken tacos has been a lifesaver for my family. They are quick, delicious, and you can build your tacos however you want. I highly recommend the cilantro sauce, but feel free to customize your tacos with your favorite toppings.
4 Servings
You Will Need
Chicken Tacos
1 ½ pounds boneless chicken thighs or chicken breasts
1 medium onion, peeled and sliced
4 cloves garlic, peeled and lightly crushed
1 bay leaf
1 ½ teaspoons ground cumin
1 teaspoon salt
1/2 teaspoon ground black pepper
12 corn tortillas or flour tortillas
1 medium tomato, chopped
Cheese such as queso fresco for serving
1 lime, cut into wedges
Creamy Cilantro Sauce
½ cup sour cream
2 tablespoons fresh lime juice
½ jalapeño, seeds and membrane removed
½ cup packed cilantro leaves and tender stems
Salt to taste
Directions
1Cook the chicken: Combine chicken, onion, garlic, bay leaf, salt, cumin, and pepper in a large heavy-bottomed saucepan. Add just enough water to cover the chicken. Turn heat to high, bring to a boil, then remove any foam or scum that floats to the top.
2Adjust the heat so that the water simmers very gently around the chicken. Cook until chicken is very tender, about 30 minutes. Transfer chicken to a cutting board, and then when it is cool enough to handle, use two forks or your fingers to shred the meat.
3Reduce cooking liquid: After removing the chicken, boil the remaining liquid in the saucepan until it has reduced by one-third or until its flavor has concentrated. Spoon about 1 cup of the concentrated cooking liquid over the shredded chicken and toss to coat. Use within 2 to 3 days or freeze.
4Make the sauce: Add sour cream, lime juice, jalapeño, cilantro, and a pinch of salt to a blender. Blend until smooth. Taste, then add more lime juice or salt if needed. Refrigerate for up to a week.
5Warm tortillas: Wrap tortillas in two stacks with aluminum foil. Place into the oven for 10 to 15 minutes or until warm.
6Make tacos: Fill each warmed tortilla with chicken and tomatoes. Top with cheese and a drizzle of the cilantro sauce. Serve with extra sauce and lime wedges on the side.
Adam and Joanne’s Tips
Make-ahead tips: The shredded chicken will keep in the fridge for up to 3 days and in the freezer for up to a month. The sauce will keep in the refrigerator for about a week.
Double batch of chicken: To make a double batch, increase the chicken to 3 pounds then add more water to the pot. The onion, garlic, and spices do not need to change.
Skin-on chicken: We have made this recipe using boneless, skinless chicken thighs and chicken thighs with skin still attached. Both work very well. If you use chicken with skin, just remove and discard the skin before you shred the chicken. You may also find that you need to skim some of the fat from the cooking broth before spooning it over the chicken.
Leftover cooking liquid: You will have cooking liquid leftover. It is quite delicious on its own as a light soup. You can also use it as broth for other recipes. Or, if you’re keeping the chicken more than a day, add a spoonful or two to add a little moisture.
Slow cooker shredded chicken: add all the ingredients to the slow cooker then cook on LOW until the chicken is cooked and tender, 3 to 4 hours. Shred the chicken and transfer the broth to a saucepan. Simmer the broth until reduced by a third then spoon over the chicken.
The nutrition facts provided below are estimates.
Nutrition Per Serving Serving Size 3 small tacos / Calories 313 / Protein 23g / Carbohydrate 22g / Dietary Fiber 3g / Total Sugars 4g / Total Fat 15g / Saturated Fat 6g / Cholesterol 121mg / Sodium 801mg
AUTHOR:
Joanne Gallagher
We are Adam and Joanne Gallagher, the creators of Inspired Taste. Established in 2009, Inspired Taste grew from a childhood dream into one of the internet’s most trusted recipe sites with hundreds of reliable recipes, step-by-step videos, and expert tips.More About Us
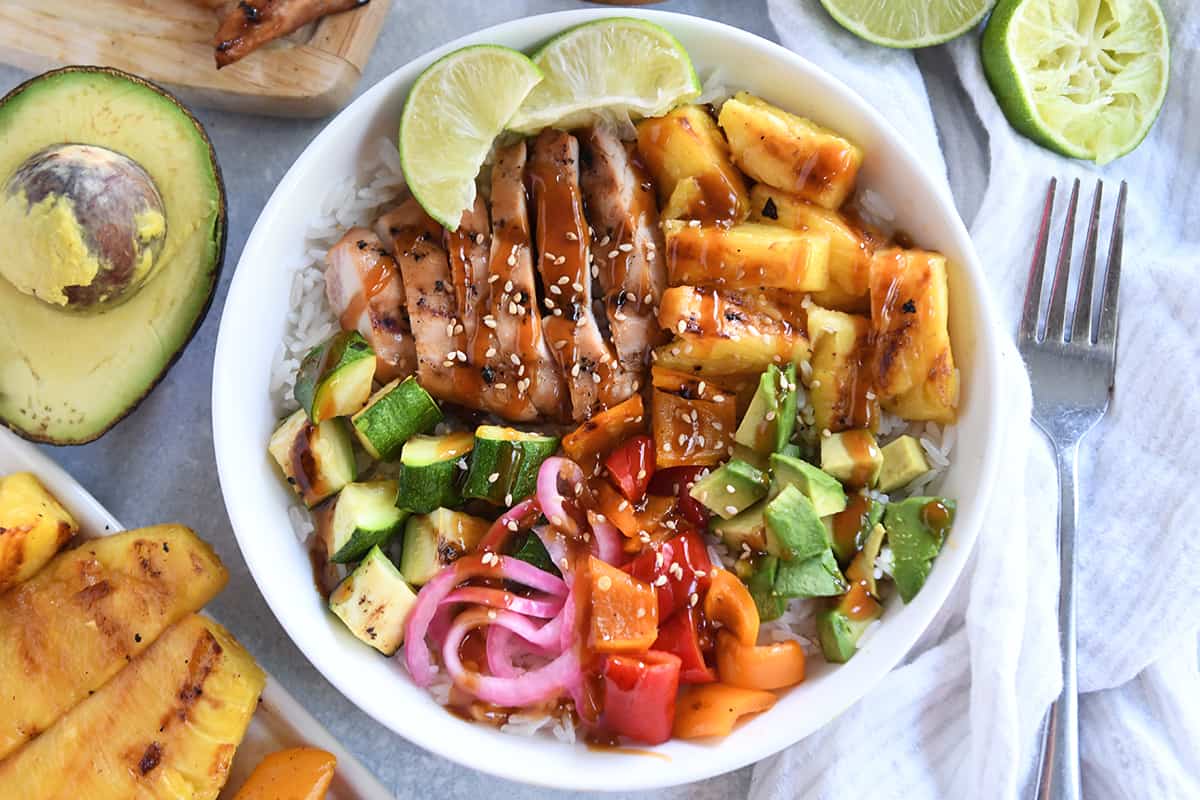
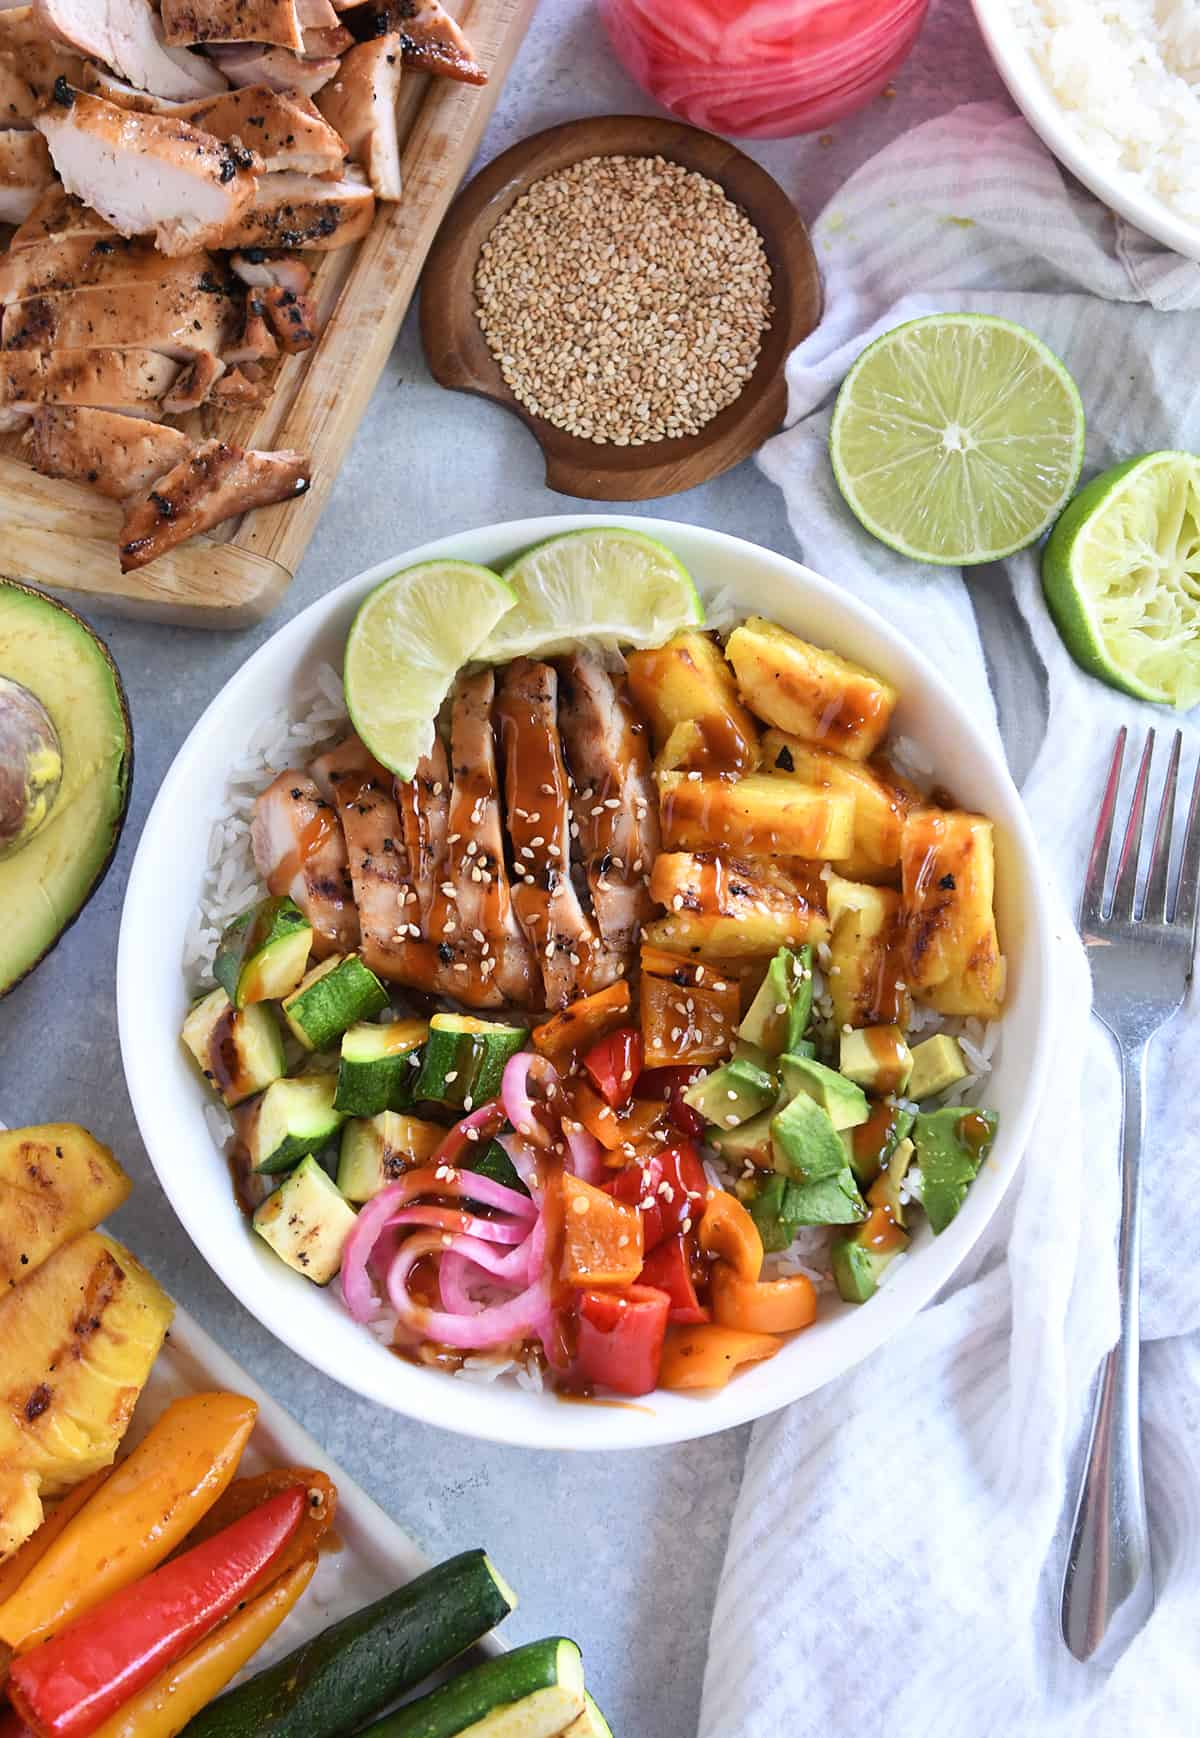
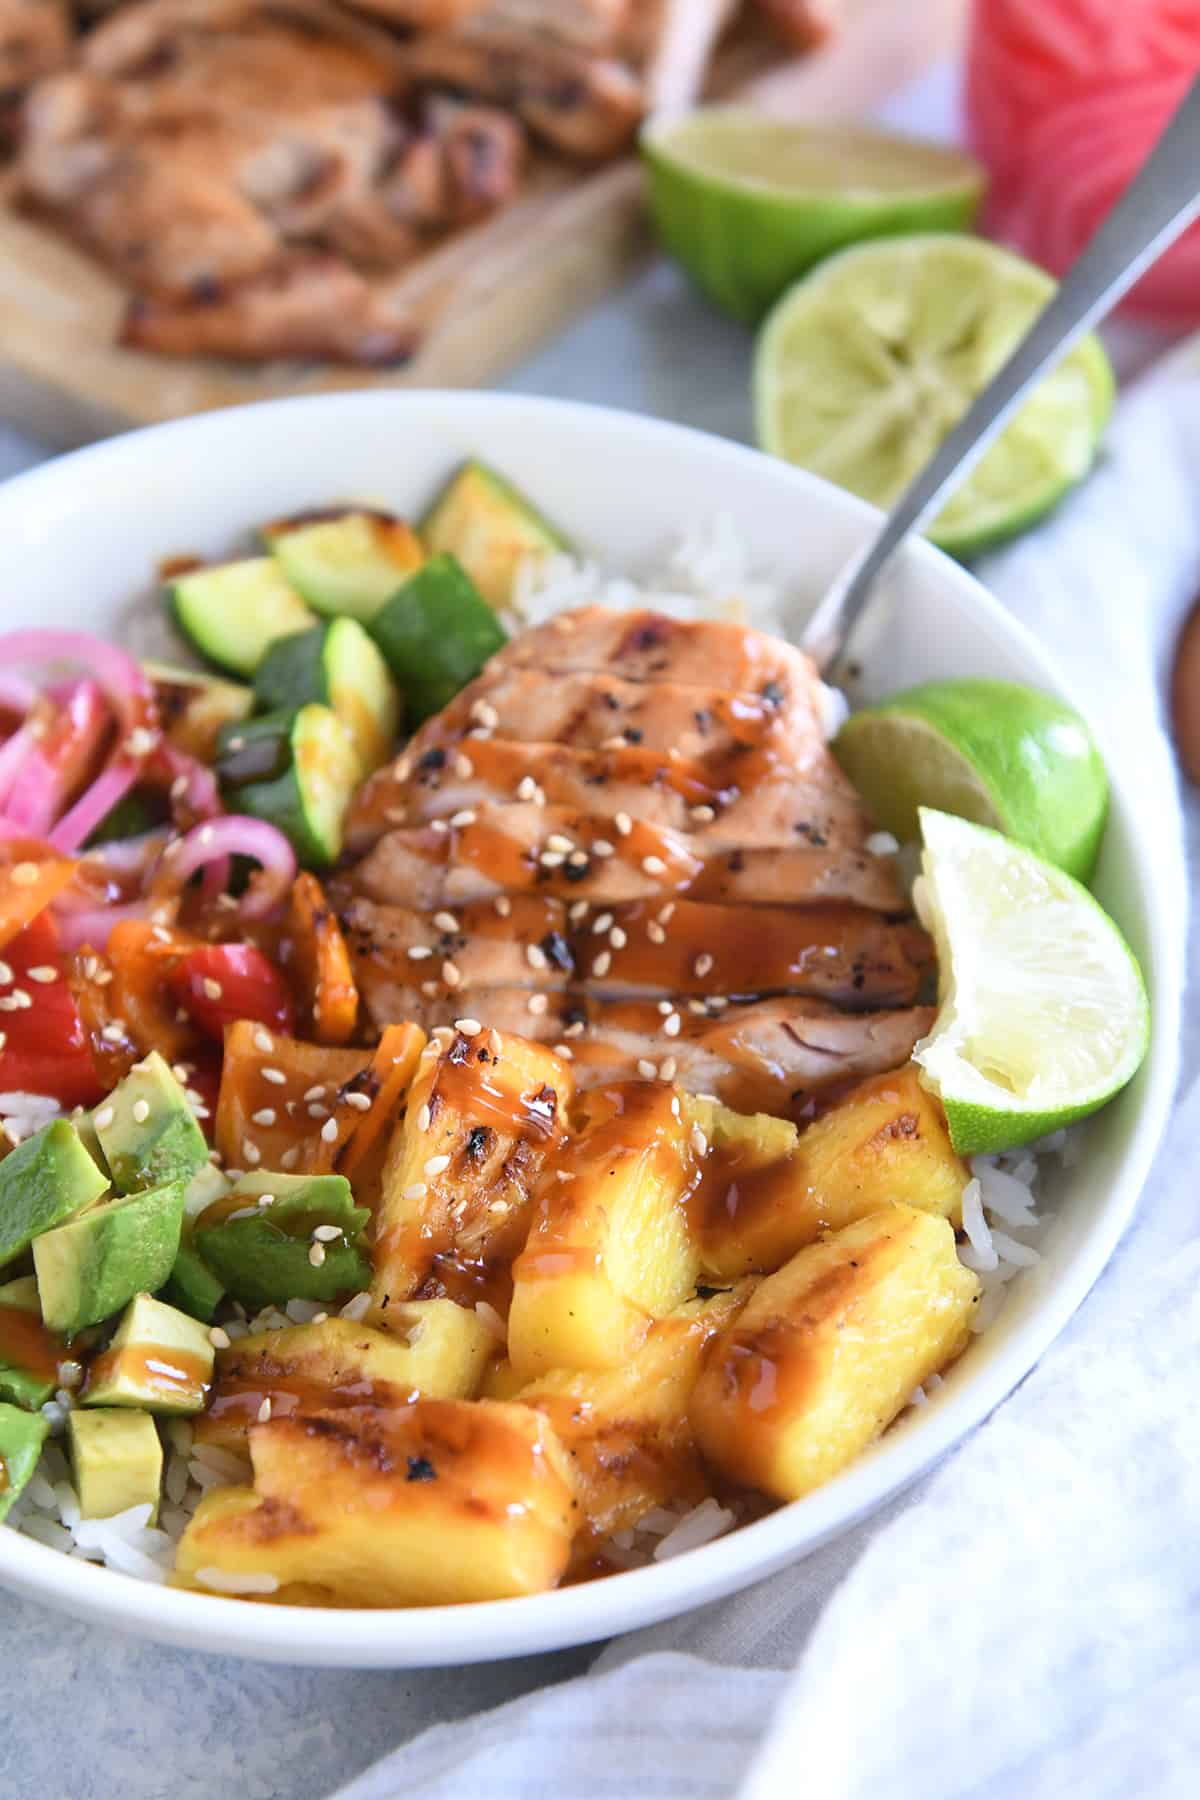
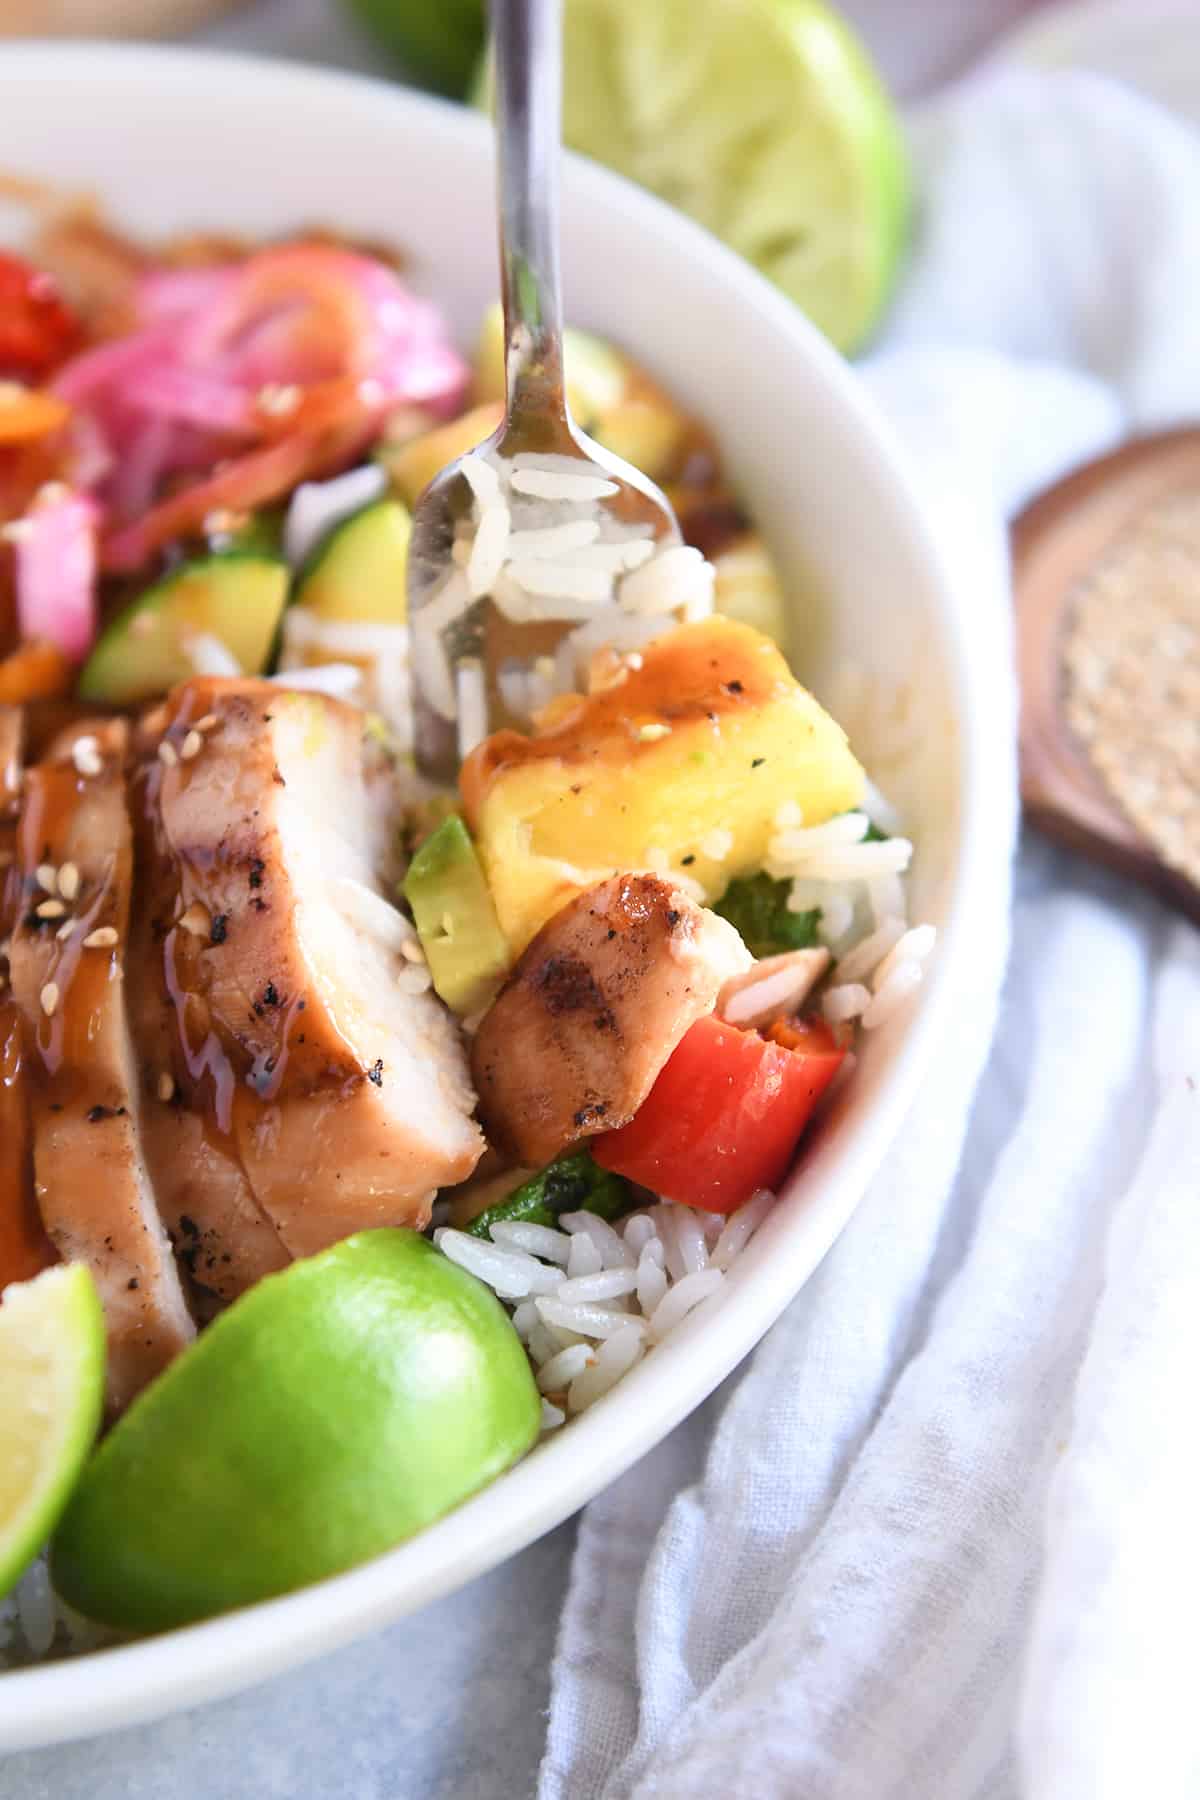
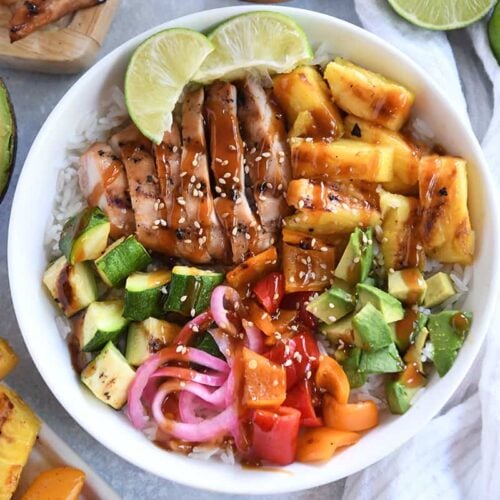
These Hawaiian chicken and veggie teriyaki bowls are loaded with so many delicious ingredients and fresh flavors. Easily customizable to your liking!
Please meet one of the best things I’ve eaten this year. This is the summer meal of my dreams! I could eat it every day for the rest of forever and still be wishing for more. IT IS SO AMAZING!
Hawaiian Chicken Marinade
I took two of my favorite recipes (this one and this one) and merged them to get the perfect marinade for this flavorful chicken.
Marinade ingredients:
soy sauce (I always use low-sodium)
pineapple juice
brown sugar
unseasoned rice vinegar
garlic
ginger
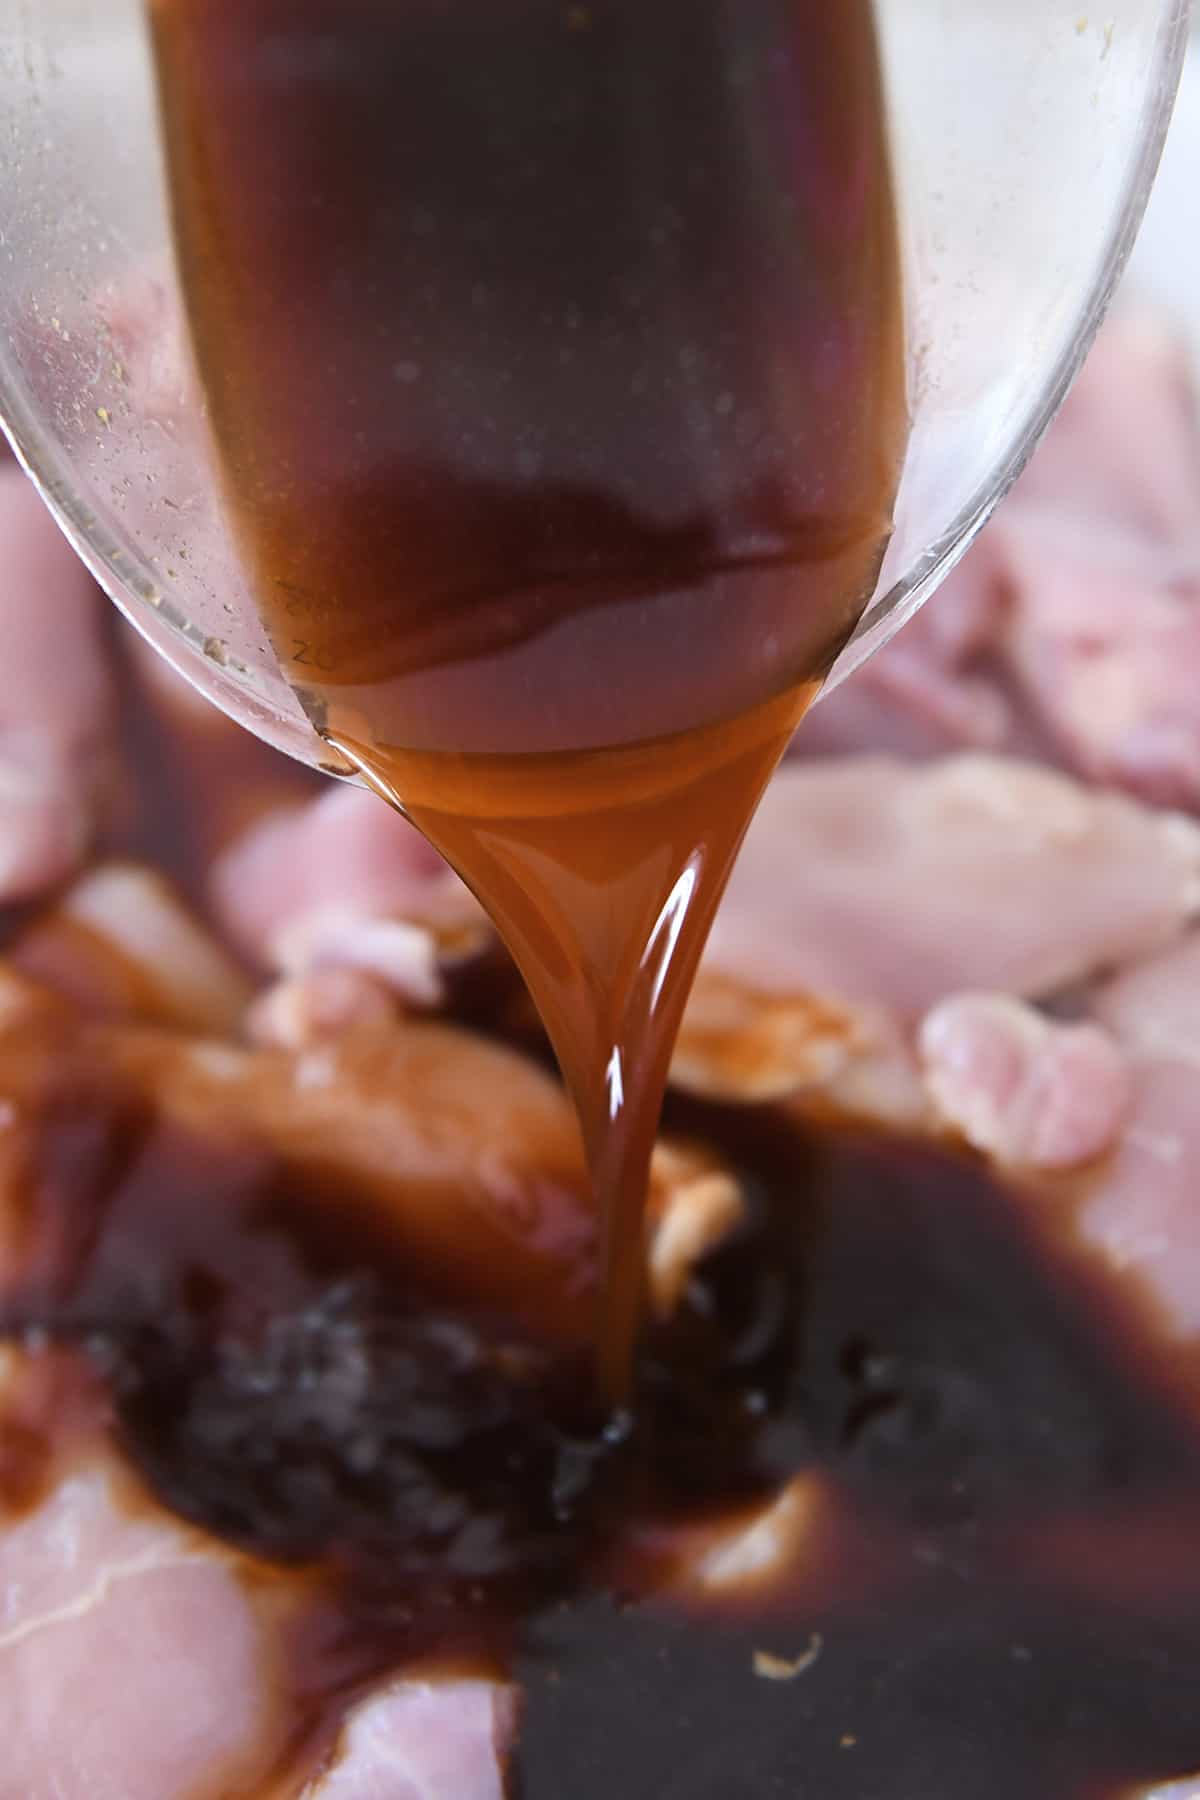
This marinade packs a punch of incredible flavor! Let the chicken marinate for at least one hour but preferably longer (up to 24 hours).
What Type of Chicken to Use
This recipe works great with boneless, skinless chicken thighs, chicken breasts or chicken tenders.
The cooking time will vary based on the type of chicken used, so keep a close eye on that. Cook until an instant-read thermometer registers 165 degrees F at the thickest part.
I use a pellet grill and preheat to 375 degrees F. for this recipe, but other cooking methods can be used as well:
air fryer
oven broiler (line a sheet pan with foil and grease with cooking spray)
indoor grill pan
Grilled Pineapple and Veggies
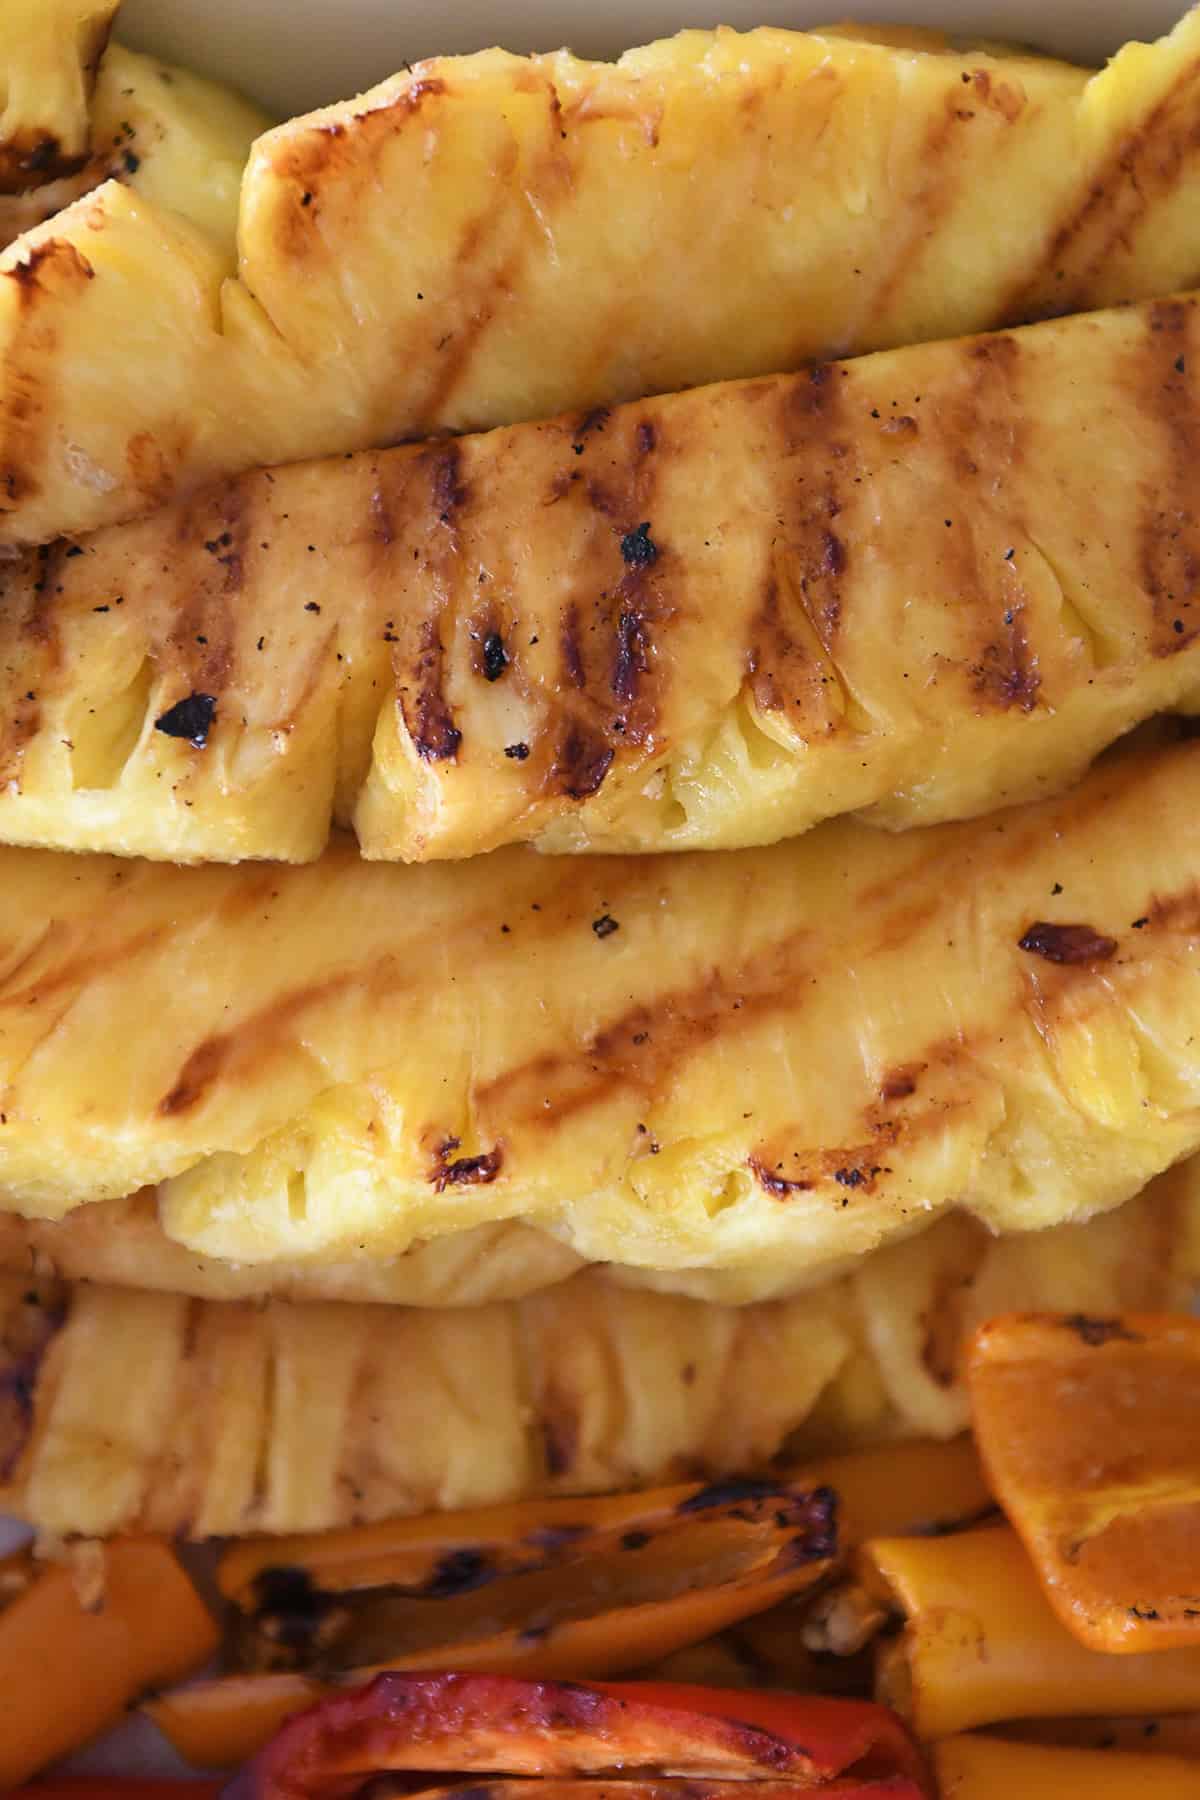
The real star of this recipe is the grilled pineapple. 😍 It might be the most delicious stuff on the planet.
Pineapple is incredibly delicious on its own, but when it is grilled, the natural sugars caramelize making it extra sweet, extra juicy, and extra yummy.
Bell peppers and zucchini are also grilled for this recipe, and lest they be forgotten in the shadows of the almighty pineapple, let it be known that they are lovely in their own right.
Cut the pineapple, zucchini and bell peppers in spears or thick strips for easier cooking (especially on the grill!).
The pineapple and veggies are brushed with reserved teriyaki marinade while grilling/cooking for an extra boost of flavor.
How to Assemble Hawaiian Chicken Teriyaki Bowls
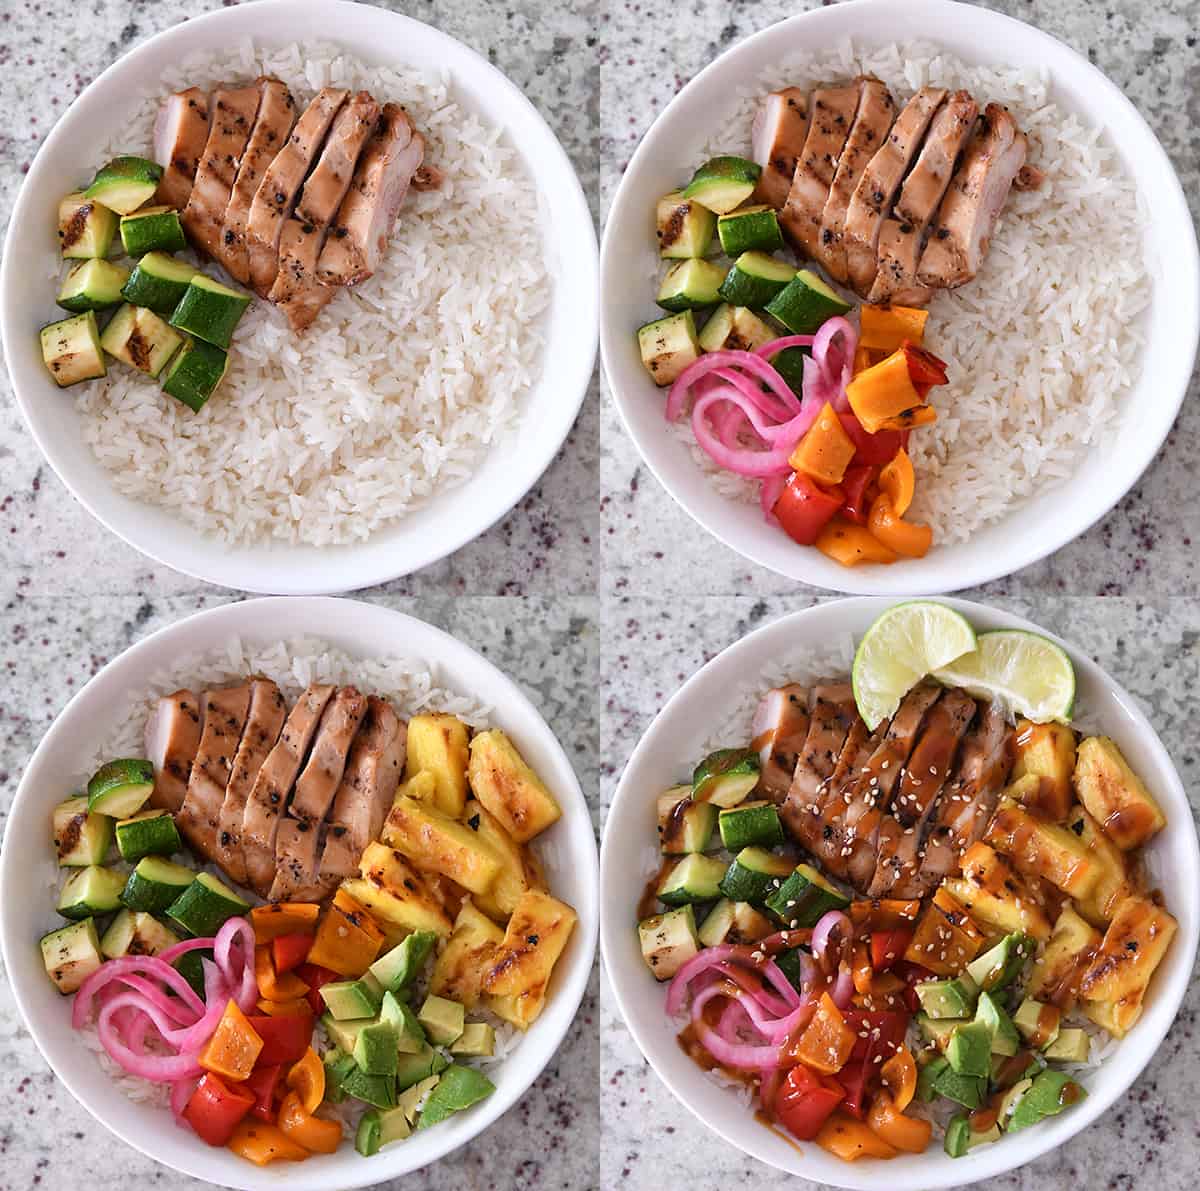
To assemble the bowls, first spoon in a bit of hot, cooked rice.
Brown or white rice can be used here – for a delicious variation, try cilantro lime rice or coconut rice.
After the rice, add:
grilled teriyaki chicken
grilled zucchini and bell peppers
pineapple
other add-ins like: red onion*, avocados, fresh lime wedges, extra teriyaki sauce, toasted sesame seeds, etc.
If using red onions, they can be cut into rounds and grilled with the other veggies, thinly sliced and served raw or easily pickled (details in the recipe notes!).
An Easily Customizable Meal
Like, how is this meal even legal??
It is gorgeous, yes. But more importantly, it is unbelievably and astoundingly delicious.
The beauty of these Hawaiian chicken and veggie Teriyaki bowls is how easy they are to customize to your taste preferences or what you have on hand.
This recipe could easily be made with extra veggies (mushrooms, asparagus, eggplant, yellow squash) or without the chicken, and the rice could also get nixed for a lower carb meal. The secret is in the flavorful marinade.
Everything about this meal speaks to my soul. I can’t wait for you to make it – and to make it your own!
It is a fantastic meal to serve when you need a build-your-own style meal for a crowd…or just for a family with varied taste preferences/picky eaters.
We do a lot of build-your-own meals for dinner, because it allows everyone to customize their own plate and avoids drama and speculation, like “how many veggies did you hide in this casserole, mom, and will I be able to pick them out?” 👀
I do hope even the pickiest eaters will give the grilled veggies and pineapple a chance, though. Even my hesitant-veggie kids agree that every part of this is delicious when smothered in extra teriyaki sauce. Enjoy!!
One Year Ago: Greek Pasta Salad Two Years Ago: Blueberry Muffin Bread Three Years Ago: Soft Peanut Butter Sugar Cookies with Chocolate Frosting {No Rolling or Cutting Out} Four Years Ago: Zucchini Banana Bread Five Years Ago: One Pot Creamy Tomato Basil Pasta Six Years Ago: Falafel Meatballs with Easy Tzatziki Sauce Seven Years Ago: Grilled Sesame Herb Chicken Eight Years Ago: Balsamic Beef {or Chicken} Kebabs Nine Years Ago: Sweet Corn Salad with Radishes, Jalapeno and Lime Ten Years Ago: Amazing Gluten-Free Chocolate Cake with Whipped Chocolate Frosting
Hawaiian Chicken and Veggie Teriyaki Bowls
Yield: 6-7 servings
Prep Time: 45 minutesmins
Cook Time: 15 minutesmins
Marinating Time: 1 hourhr
Chicken + Marinade:
1 ½ to 2poundsboneless, skinless chicken breasts, tenders or thighs
1cuplow-sodium soy sauce
1cuppineapple juice
½cuplightly packed light brown sugar
⅓cupunseasoned rice vinegar
1tablespoonfinely grated ginger (see note)
1tablespoonfinely minced fresh garlic (see note)
Veggies + Rice:
1smallpineapple, peeled and cut into wedges or thick spears
2 to 3mediumzucchini, cut into spears
2mediumbell peppers, any color, cored and cut into thick strips
3cupshot, cooked rice (see note)
Other: diced avocados, fresh or pickled onions, toasted sesame seeds, fresh lime wedges, extra teriyaki sauce.
Prevent your screen from going dark
Place the chicken in a shallow dish. Combine all the marinade ingredients and whisk until the sugar is mostly dissolved. Pour half of the marinade into a container to use later; cover and refrigerate. Pour the remaining marinade over the chicken. Toss to coat evenly. Cover and refrigerate for at least an hour or up to 24 hours.
Preheat an outdoor grill, indoor grill pan, air fryer, or oven broiler to medium or medium-high heat. I use a pellet grill and preheat to 375 degrees F.
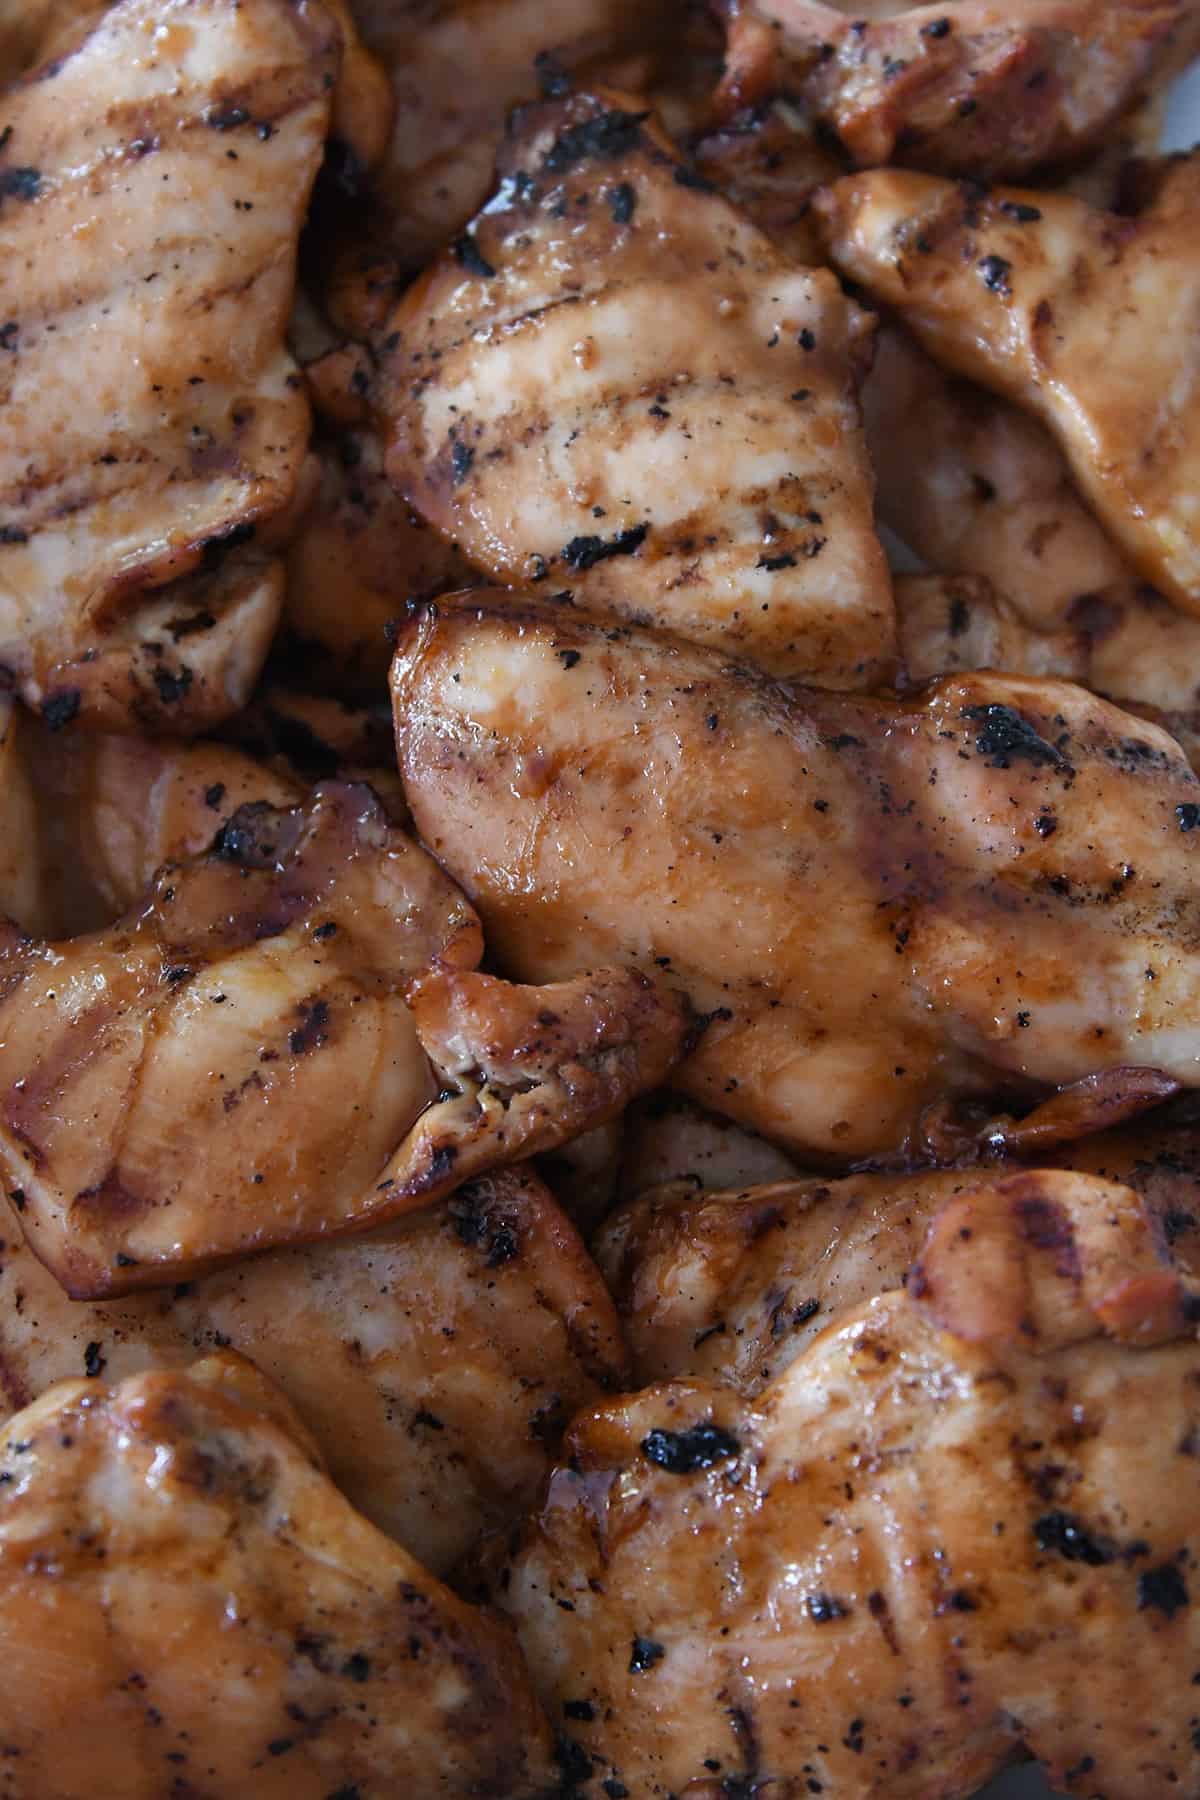
Cook the chicken until cooked through, flipping once and brushing with reserved marinade the last 1-2 minutes of cooking (discard the marinade used for the chicken). Exact cooking times will vary based on the thickness/type of chicken used; an instant-read thermometer should read 165 degrees F when inserted at the thickest part of the chicken. Remove the chicken, tent with foil, and let rest for 10 minutes while cooking the veggies.
Add the pineapple, zucchini, and bell peppers to the grill (can also use a grill pan or any of the aforementioned cooking methods in step #2). Brush with reserved marinade. Cook for 2-3 minutes, flip, brush with marinade, and continue cooking until crisp-tender, another 3-5 minutes. Remove to a pan.
If desired, pour the remaining marinade (that was used for brushing the chicken, pineapple and veggies) into a small saucepan and simmer for a couple of minutes until reduced slightly.
To serve, slice the chicken into strips. Chop the pineapple, bell peppers and zucchin into bite-size pieces.
Add a scoop of rice to a serving plate or bowl followed by chicken slices, pineapple, bell peppers, zucchini, and any other add-ins like diced avocados, red onion slices, fresh lime wedges.
Drizzle with remaining teriyaki marinade/sauce and toasted sesame seeds, if desired. Serve immediately.
Ginger + Garlic: if using fresh ginger, it works best to freeze the ginger (no need to peel) and then grate the frozen ginger on the small holes of a box grater or rasp grater (again, no need to peel). The frozen cubes of ginger and/or garlic from Trader Joe’s and other grocery stores work great in the marinade, too. I have not used dried/ground ginger or garlic for this recipe, but it might work – feel free to experiment. Rice: this recipe is fantastic with cilantro lime rice, coconut rice, or plain, cooked white or brown rice. The rice can easily be left out for a lower carb meal. Teriyaki Sauce: having a favorite storebought brand of teriyaki sauce on hand can help with the extra drizzle of sauce at the end if all the marinade was used for brushing chicken/pineapple/veggies. Pickled Onions: peel and thinly slice red onions. Pack them into a pint jar. Combine the following and heat through on the stovetop or in the microwave until sugar and salt are dissolved – 1/2 cup water, 1/2 cup unseasoned rice or apple cider vinegar (or a combo), 1 tablespoon granulated sugar, 2 teaspoons coarse, kosher salt. Pour the hot mixture over the onions. Cover. Refrigerate at least an hour but preferably up to 8 hours before serving. They keep in the fridge for several weeks.
Disclaimer: I am a participant in the Amazon Services LLC Associates Program, an affiliate advertising program designed to provide a means for me to earn fees by linking to Amazon.com and affiliated sites. As an Amazon Associate I earn from qualifying purchases.
These healthy chicken bites are like the snacky, protein-packed cousin of popcorn chicken—crispy, juicy, and baked or air-fried to golden perfection. Serve them as the main protein for dinner or use as a protein-rich snack or lunchbox addition.
Jump to: ℹ️ Overview | 🛒 Ingredients | 📷 How To Make | 📹 Watch The Video | 👩🍳 Recipe Tips | 🥗 Serving Suggestions | 📝 Full Recipe Card | 🍽 More Healthy Chicken Recipes
These tasty chicken bites remind me of popcorn chicken, but without the greasy aftermath. The chicken is marinated in spiced yogurt, which tenderises and adds big flavor, then coated in a seasoned flour blend for that addictive outer crunch. I tested this recipe both in the oven and the air fryer and they both come out golden and crispy, which tender chicken inside.
Each serving is high in protein, lower in fat, and great for both grown-ups and kids. They double up as a healthy weeknight dinner recipe and a protein-snack you can grab out of the fridge or add to your breakfast. Whether you’re meal prepping or snacking straight off the tray (guilty!), this one’s a reliable go-to. I often make these for my popcorn chicken bowls.
👩🍳 You might also like: Sriracha chicken bites, chicken karaage, air fryer bbq chicken wings, honey soy chicken meatballs, air fryer kielbasa, or my healthy chicken patties.
What You’ll Need
Here is what you’ll need for this chicken bites recipe. Find the full measurements in the recipe card below.
For the chicken marinade
Chicken breast – lean and tender. Thighs work too if you prefer something juicier.
Plain yogurt – tenderises and keeps the chicken moist. Greek yogurt also works.
All-purpose flour + cornflour – the combo makes them crispy and light. Cornflour is the real crunch MVP.
Spices: paprika, garlic powder, onion powder, black pepper – flavor all the way through.
Olive oil spray – helps everything get golden without actual frying.
How To Make Chicken Bites (Baked or Air-Fried)
Find the full recipe and nutritional information below. Here are some handy step-by-step photos for how to marinate and cook these chicken bites in the oven and in the air fryer.
Cut chicken into bite-sized pieces.
Mix yogurt and marinade spices in a bowl. Toss in the chicken and marinate for at least 30 minutes (overnight is even better).
Combine coating ingredients in a separate bowl.
Coat chicken using the “sandwich” method: spread some coating on a plate, add chicken, top with more coating, and toss gently.
Place on a lined tray or in air fryer basket. Spray with olive oil generously.
Baking: Preheat oven to 210°C / 410°F. Bake for 15 minutes, flip, spray again, then bake for 10 more minutes.
Air Frying: Preheat to 200°C / 400°F. Lightly oil the basket, place chicken in a single layer, spray with oil, and cook for 12 minutes, flipping halfway. Let rest for 5 minutes to crisp up fully.
Watch The Video
Recipe Tips
Make-ahead: Marinate the chicken the night before, or coat it and refrigerate until ready to cook.
Storage: Keep leftovers in an airtight container in the fridge for up to 3 days. Reheat in the air fryer or oven for best texture.
Freezer-friendly: Freeze after cooking. Reheat straight from frozen.
Extra crispy tip: Don’t overcrowd the pan or basket—that hot air needs room to work!
Add heat: A little cayenne or chili powder goes a long way if you like a kick.
Gluten-free? Use GF flour and potato starch instead.
Serving Suggestions
These are super versatile. Serve them with your favorite dip—healthy yogurt ranch dressing, aioli (sun-dried tomato or rosemary chili), bang bang sauce—or pile into a wrap, salad bowl, or lunchbox. I often serve them with air-fried chips or roasted sweet potatoes for a fun, high-protein dinner that doesn’t feel like “healthy food.” And of course, you must try my popcorn chicken bowls.
💬 If you’ve tried this chicken bites or any other recipe on the blog then don’t forget to rate the recipe and let me know how you got on in the comments below, I love hearing from you! You can also FOLLOW ME on Instagram, Facebook, Pinterest, YouTube, and or sign up to my Newsletter to see more of my delicious food.
Want to Save This Recipe?
Enter your email & I’ll send it to your inbox. Plus, get great new recipes from me every week!
By submitting this form, you consent to receive emails from Cooked & Loved
These healthy chicken bites are like the snacky, protein-packed cousin of popcorn chicken—crispy, juicy, and baked or air-fried to golden perfection. Find step-by-step photos and more recipe tips above.
Marinate: Mix yogurt, spices, and salt in a bowl. Add chicken and coat well. Cover and refrigerate for at least 30 minutes (or overnight).
Coating: Mix all coating ingredients in a bowl.
Coat: Spread half the coating on a plate, lay chicken on top, sprinkle remaining coating, and toss gently to coat.
Bake: Preheat to 210°C / 410°F. Line a tray, place chicken on it, and spray with oil. Bake for 15 minutes, flip, spray again, bake another 10 minutes.
Air Fryer: Preheat to 200°C / 400°F. Lightly oil the basket and spread chicken in a single layer. Spray with oil and air fry for 12 minutes, flipping halfway.
Let rest for a few minutes to finish crisping before serving.
Can I use chicken thighs? Yes! They’re juicier and just as delicious.
Can I prep this in advance? Definitely. Marinate overnight or coat in advance and store in the fridge.
Can I freeze it? Yes—cook first, then freeze. Reheat in the oven or air fryer until crisp.
Any sauce pairings? These go with everything: ranch, garlic aioli, spicy mayo, Romesco, you name it.
Can I double the recipe? Go for it! Just cook in batches if using an air fryer so everything crisps up properly.
Make-ahead: Marinate the chicken the night before, or coat it and refrigerate until ready to cook.
Storage: Keep leftovers in an airtight container in the fridge for up to 3 days. Reheat in the air fryer or oven for best texture.
Freezer-friendly: Freeze after cooking. Reheat straight from frozen.
Extra crispy tip: Don’t overcrowd the pan or basket—that hot air needs room to work!
Add heat: A little cayenne or chili powder goes a long way if you like a kick.
Gluten-free? Use GF flour and potato starch instead.
This website may contain affiliate links and advertising so that we can provide recipes to you. Read my disclosure policy.
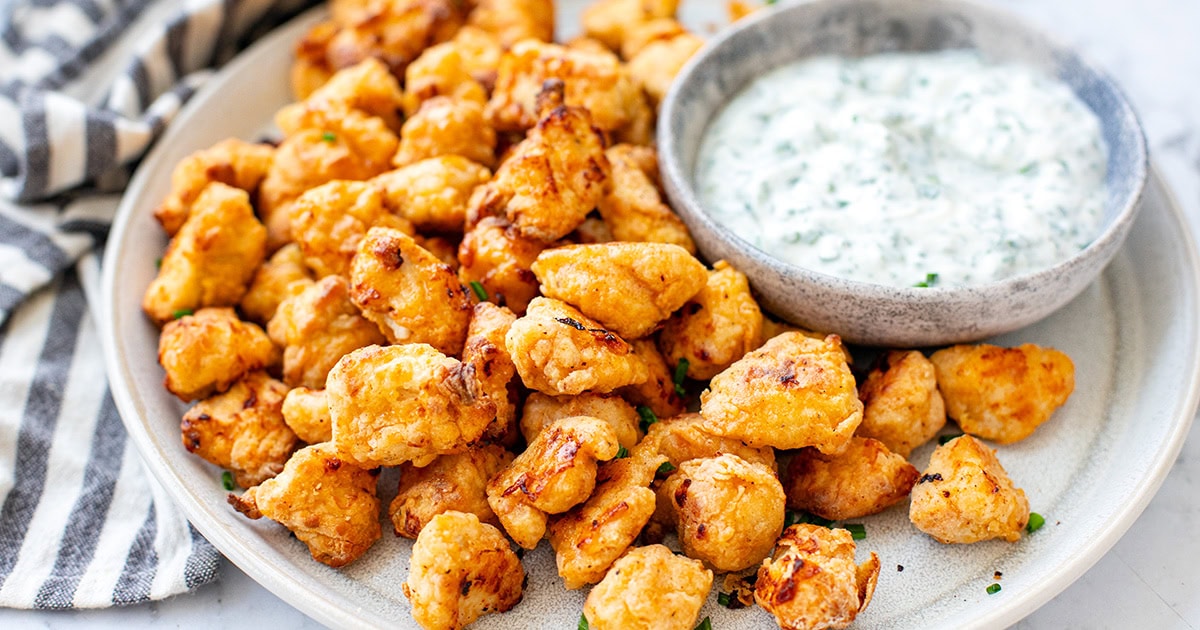
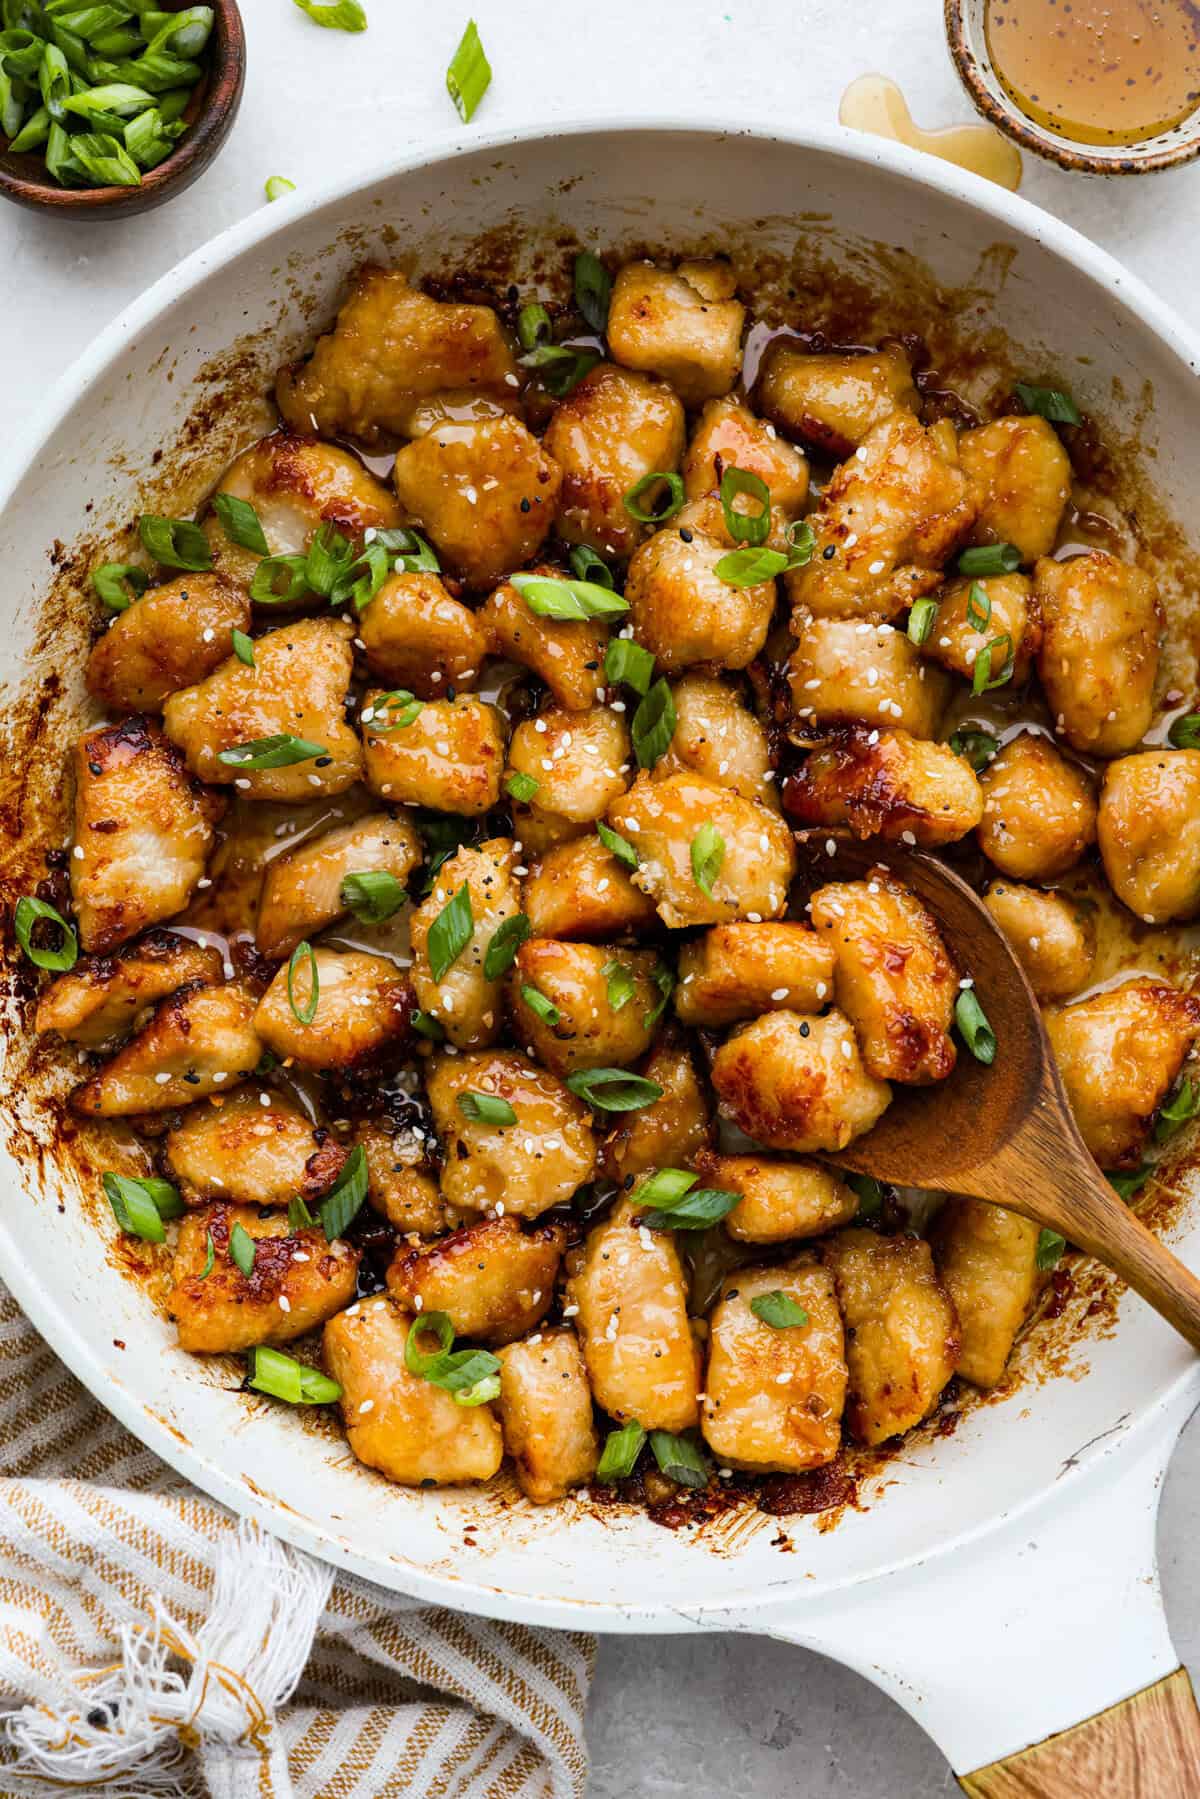
Sticky, sweet, and totally irresistible, this honey butter chicken brings golden brown perfection to your dinner table. One pan, picky-eater approved, and guaranteed to have everyone begging for seconds.
Why This Recipe Steals the Show
A True Weeknight Win: With simple steps and only 30 minutes, this is one of those rare meals that feels special without extra effort.
Crispy Without Deep Frying: A quick cornstarch coating gives the chicken that satisfying crunch using just a little oil, no messy frying required.
Kid-Friendly Meets Adult-Approved: Picky eaters love the sticky glaze, and adults appreciate the balance of sweet, savory, and tangy!
Honey Butter Chicken Ingredients
Chicken: You can use chicken tenders or boneless, skinless chicken thighs in this recipe!
Cornstarch: Some recipes call for flour, but I have found that cornstarch works best. It doesn’t clump, creates the perfect crisp texture, and keeps this recipe gluten-free!
How to Make Honey Butter Chicken
This honey butter chicken recipe is quick, easy, and packed with sticky, sweet goodness that clings to every crispy bite. Add a side of mashed potatoes or green beans for extra comfort food vibes.
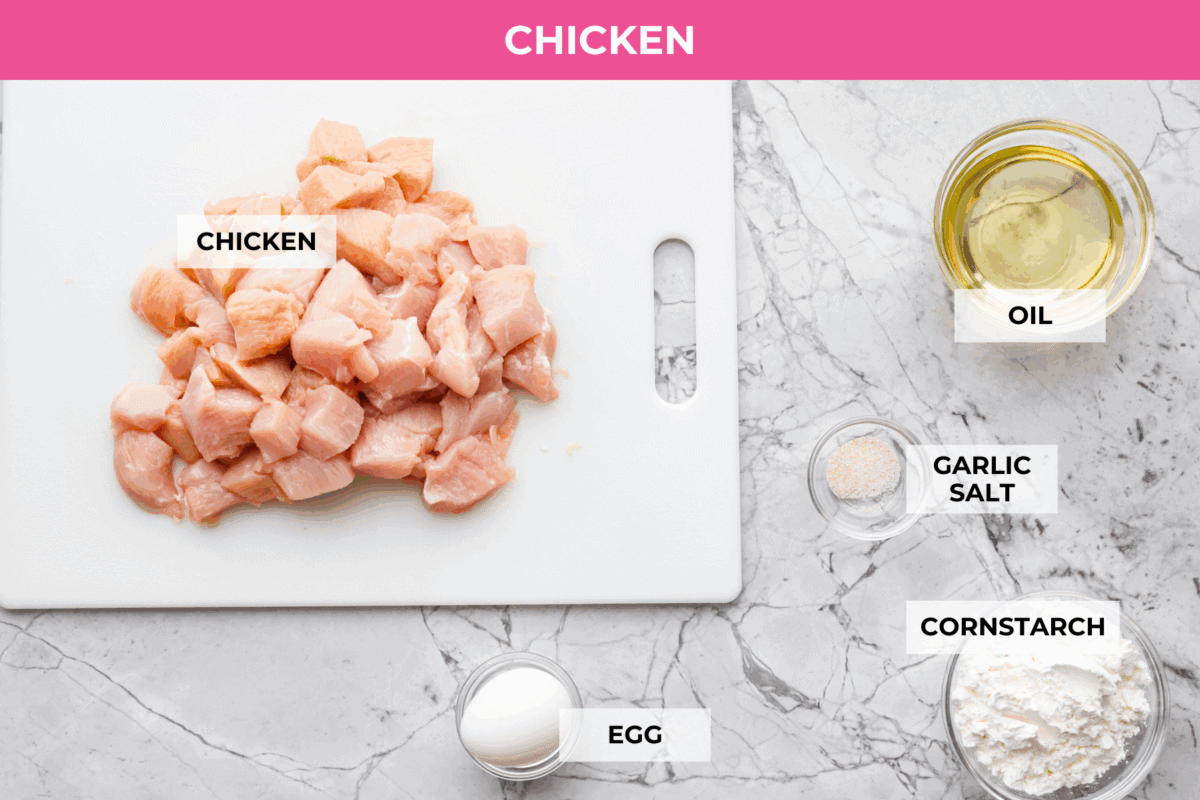
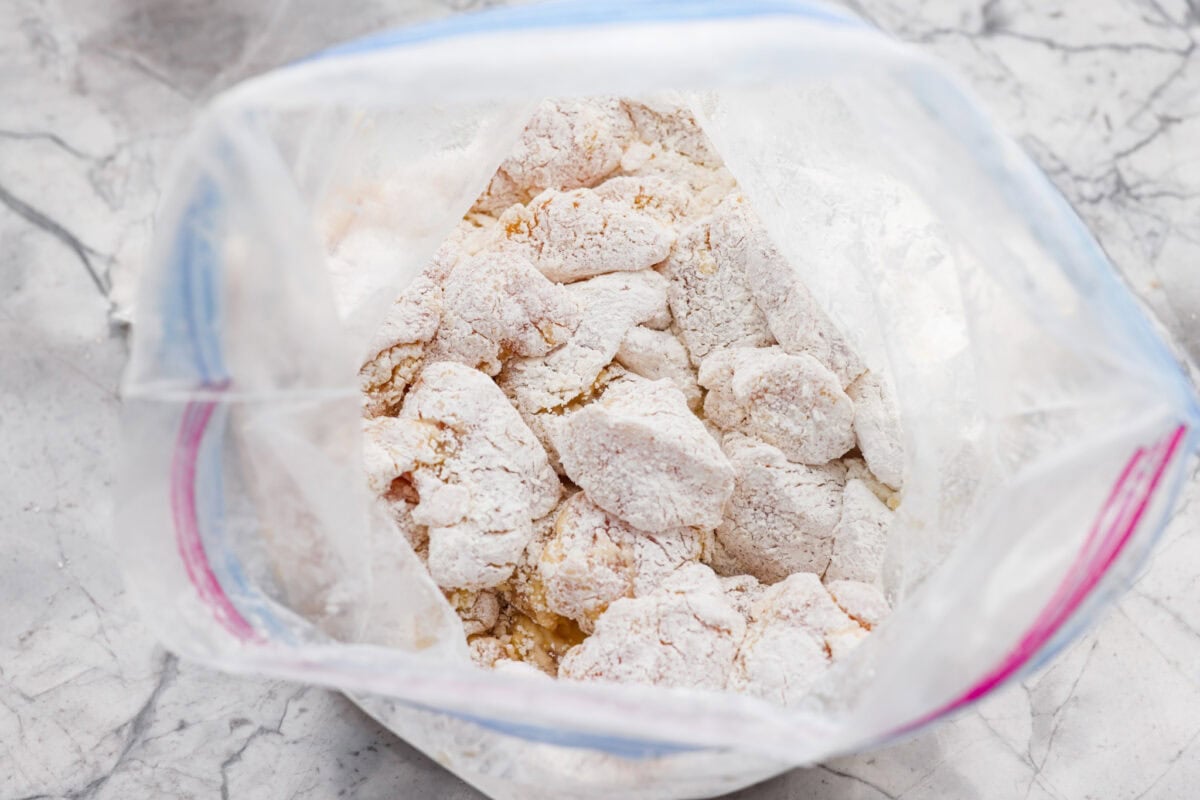
Coat the Chicken: Cut the chicken into bite sized pieces and place them into a large ziplock bag. Sprinkle the chicken with garlic salt, then crack an egg over the chicken, and massage it in with your hand. Add the cornstarch, then seal the bag and shake to coat the chicken well.
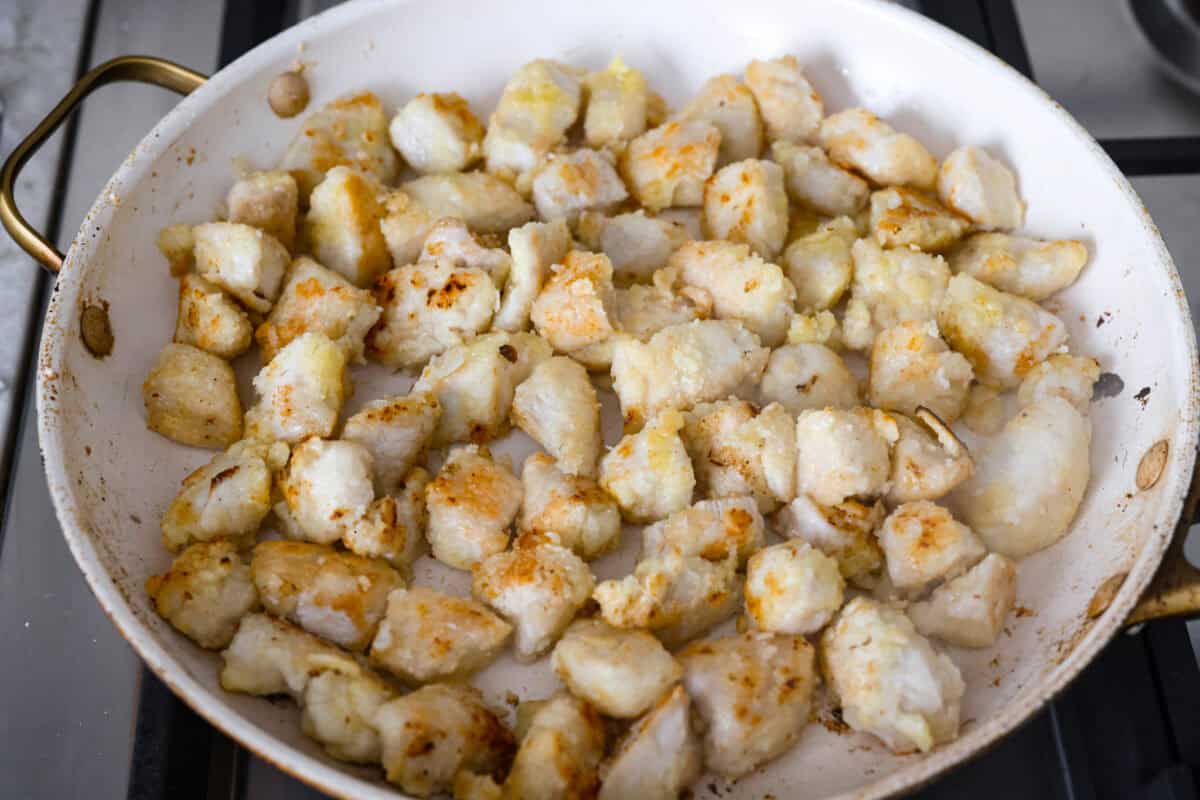
Cook the Chicken: In a medium sized skillet over medium high heat, add vegetable oil. Add the coated chicken and cook 7-8 minutes, or until cooked through and browned. Remove the chicken from the skillet, then set aside.
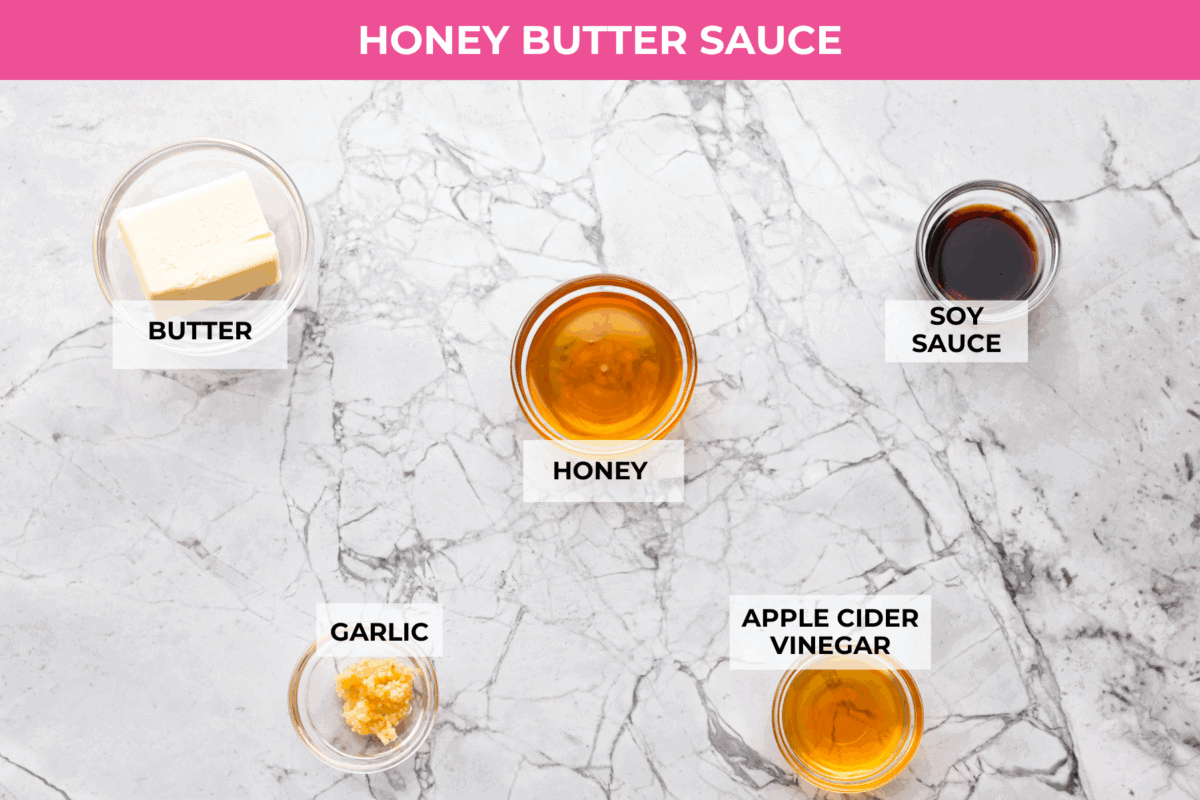
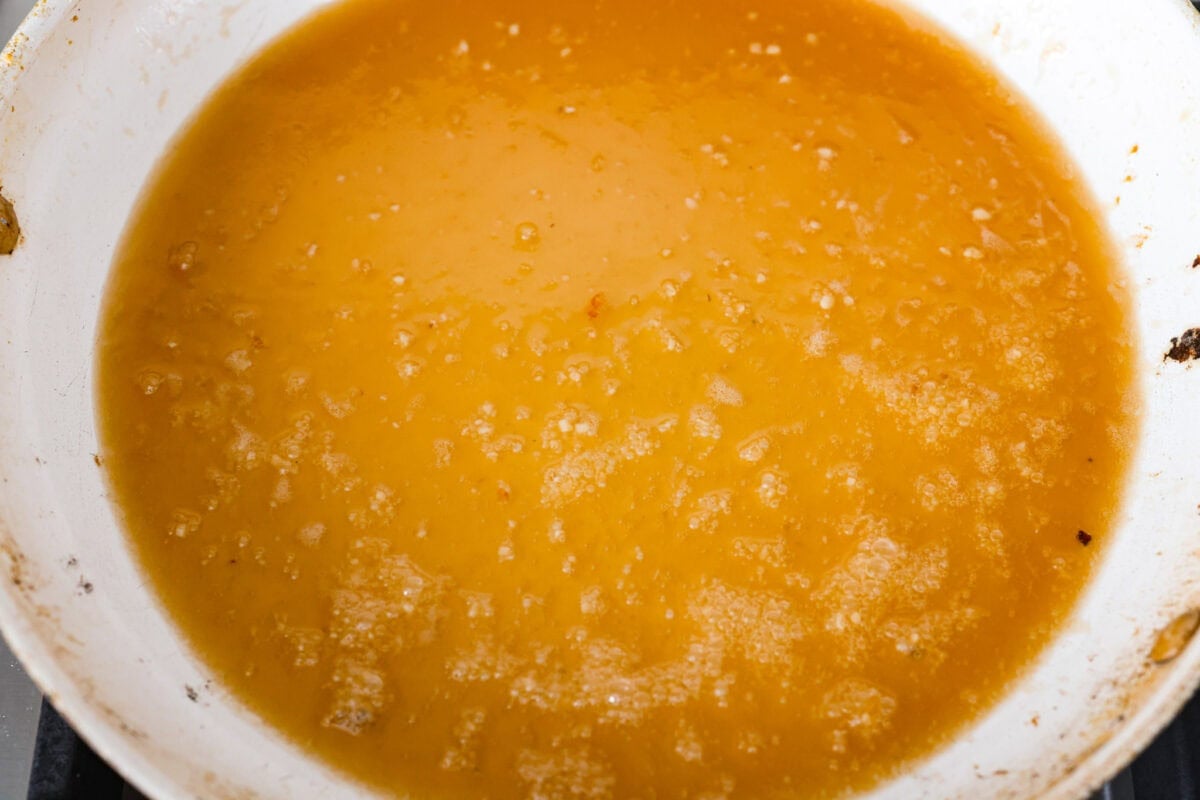
Make the Honey Butter Sauce: Add unsalted butter to the skillet and melt over medium heat. Then add honey, minced garlic, soy sauce, and apple cider vinegar. Whisk together and cook for a couple of minutes until the sauce is bubbly and starts to thicken.
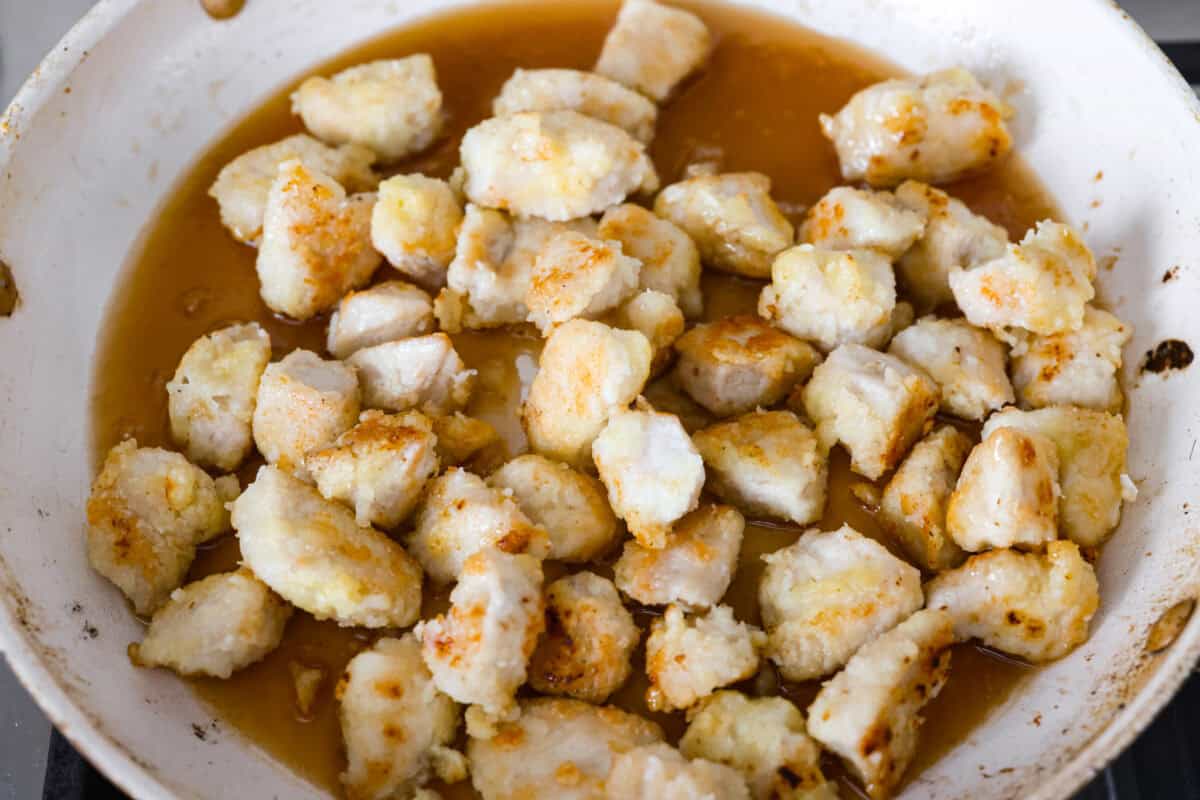
Toss Chicken in Sauce: Add the cooked chicken back to the skillet, then toss to coat with the sauce. Garnish honey butter chicken with sesame seeds and diced green onion, if desired. Serve over rice and enjoy!
Alyssa’s Pro Tip
Ziplock Bag Tip: Trust me on this! The BEST and easiest way to coat the chicken with cornstarch is with a ziplock bag. Shake well to separate and coat each piece of chicken.
Pin this now to find it later
Pin It
More 30-Minute Chicken Recipes
For a similar recipe with a little kick, try my sweet chili chicken next. Here are some more 30-minute chicken recipes!
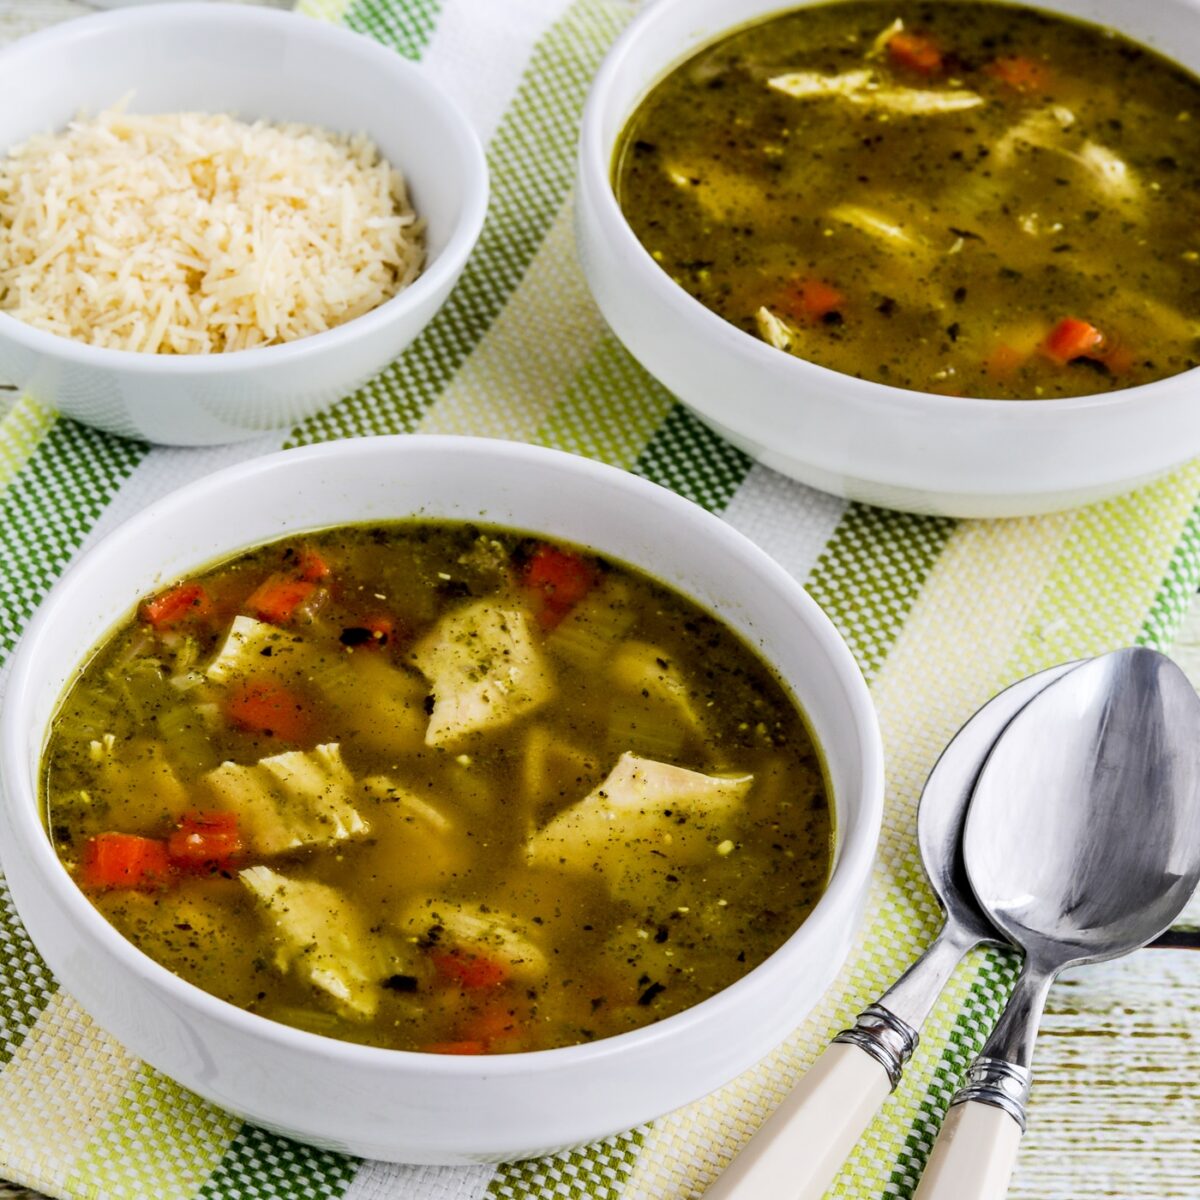
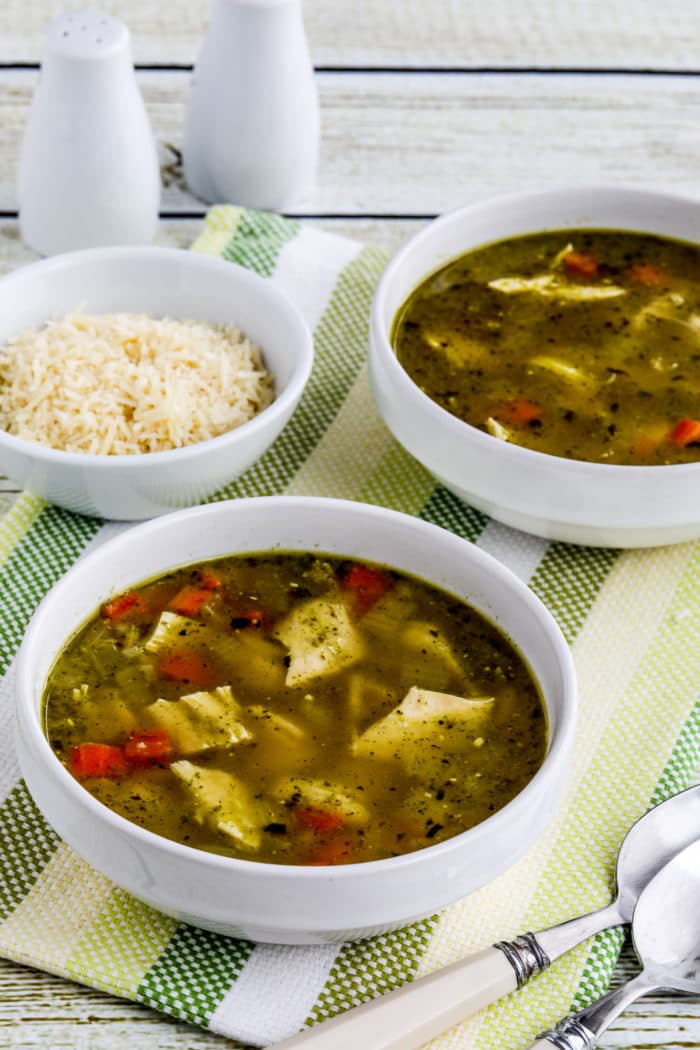
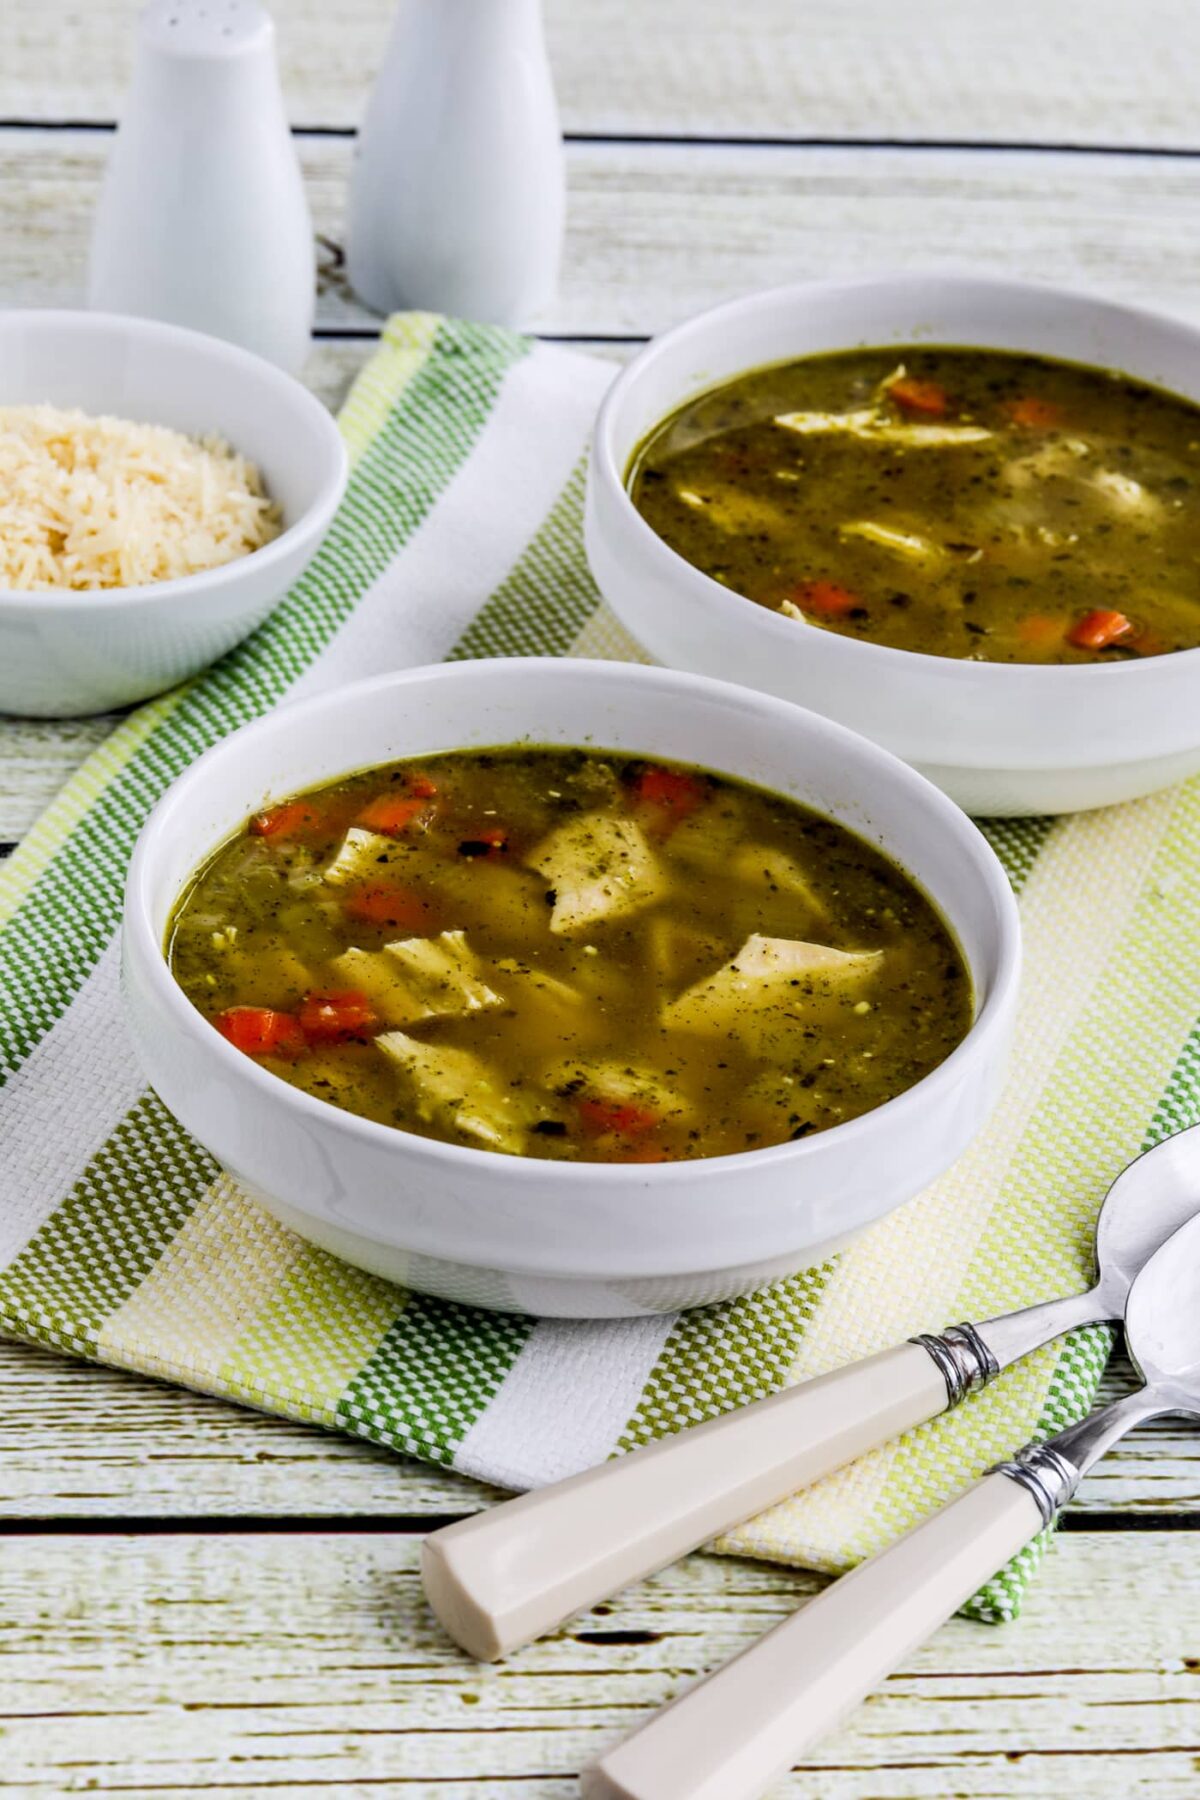
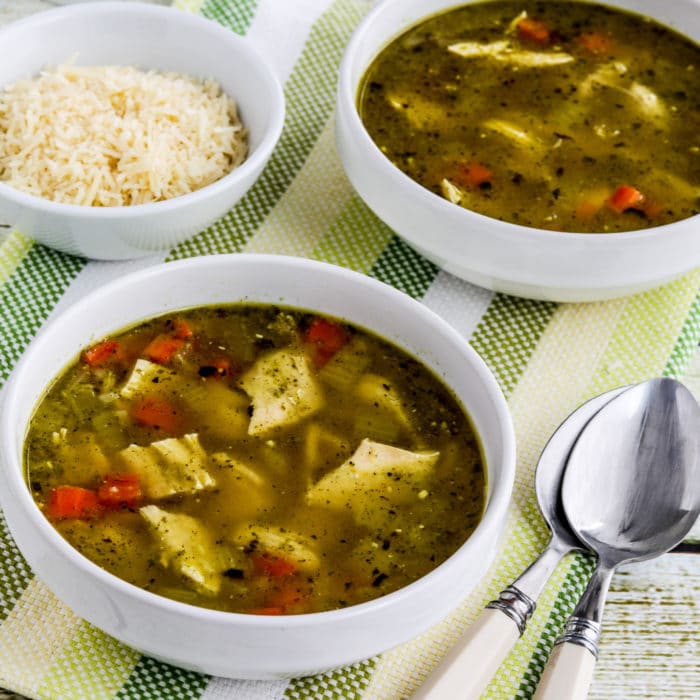
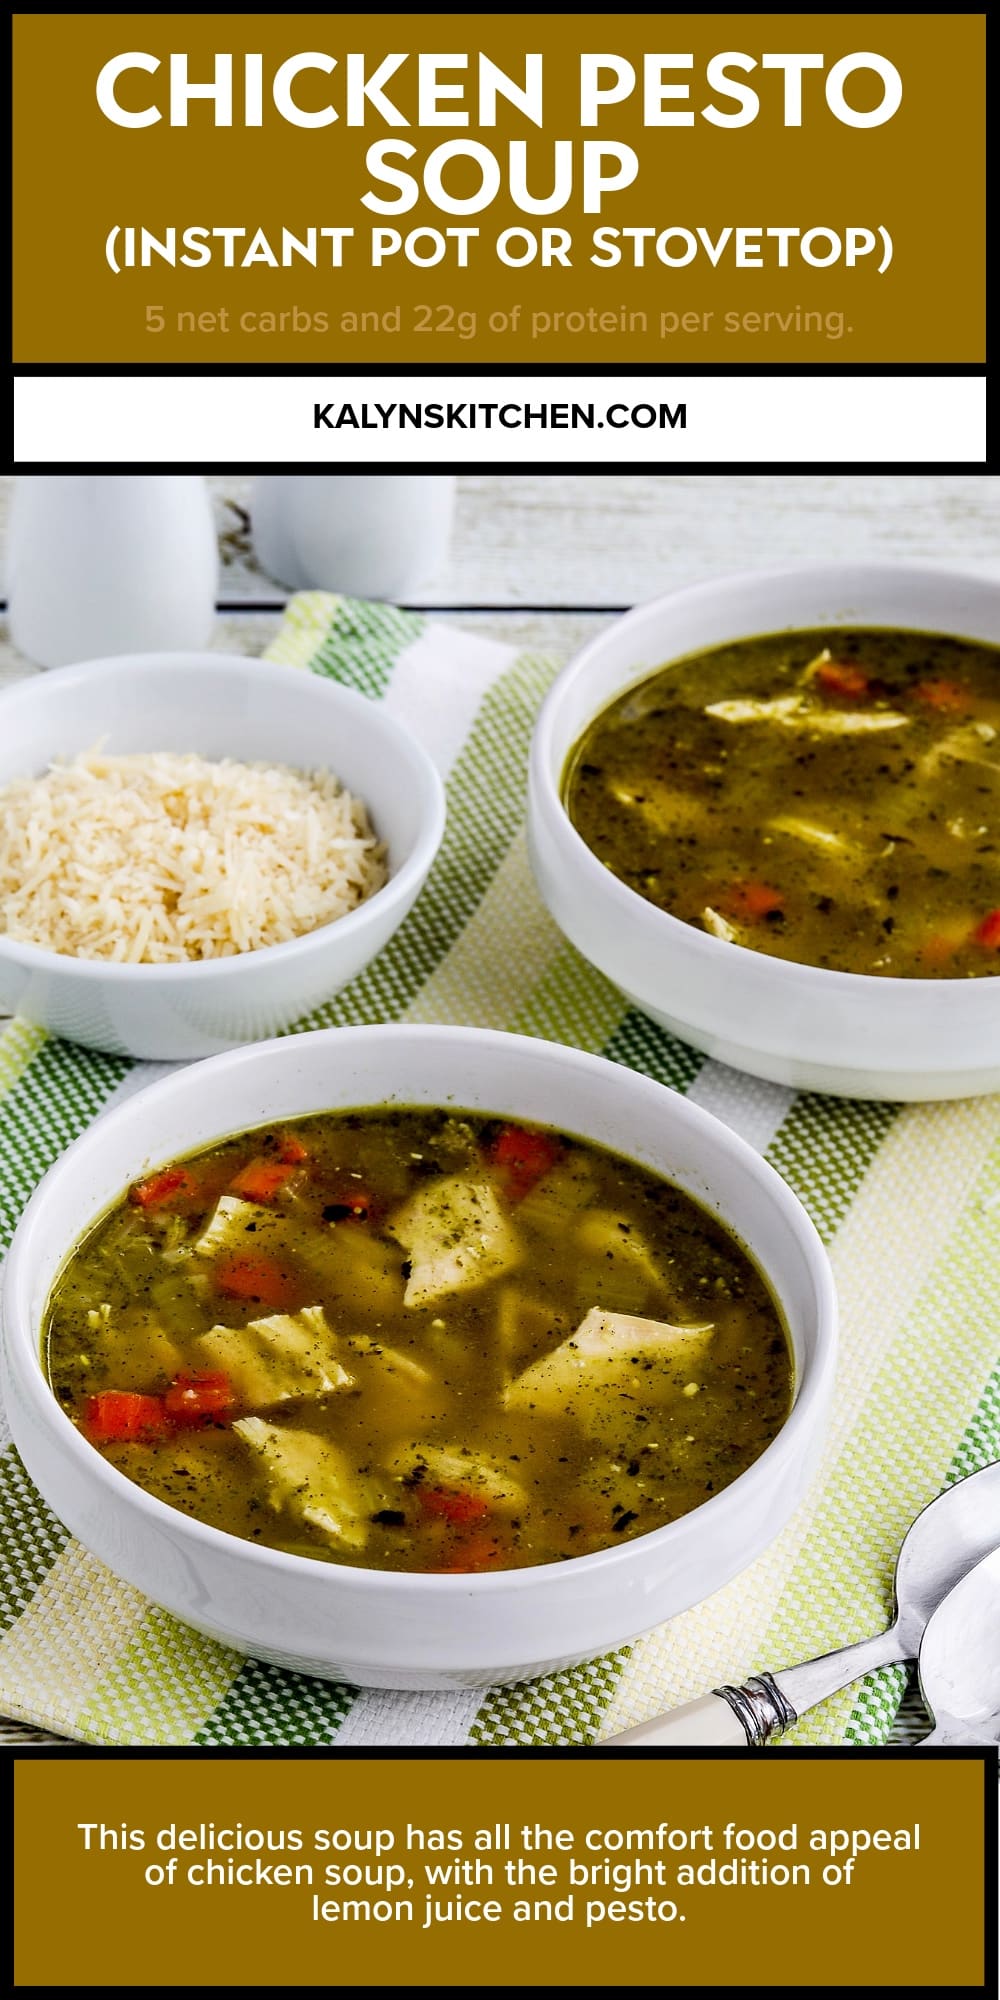
This extra-flavorful Chicken Pesto Soup has the comfort food appeal that makes chicken soup such a popular dish, plus pesto and lemon juice! And you can make this fun soup with chicken and pesto in the Instant Pot or on the stove!
PIN the Chicken Pesto Soup recipe to make it later!
Chicken Pesto Soup is a recipe I came up with when I was experimenting with a chicken soup with cauliflower rice! And I do know how people love chicken with pesto. So knowing the popularity of that combination probably influenced the impulse to add pesto to this tasty soup.
And the chicken soup with pesto and lemon was really a wow for me! I made this soup in the Instant Pot, which was quick and easy. But you can easily make it on the stove, and I’ll give instructions for that. No matter which version you prefer, I hope you make this interesting soup right away!
What ingredients do you need for this recipe?
(This is only a list of ingredients; please scroll down for complete printable recipe. Or if you use the JUMP TO RECIPE link at the top of the page, it will take you directly to the complete recipe with ingredient amounts.)
What pesto did I use for Chicken Pesto Soup?
I always use my Basil Pesto with Lemon if I have some in the fridge or freezer. But when I don’t have homemade pesto I love the Kirkland Basil Pesto (affiliate link) that’s sold at Costco or on Amazon.com.
How to make soup with pesto and keep the pot clean:
This is a simple recipe, but I want to give you one caution: Be sure to turn off the heat when you stir the pesto into the hot soup. If you add pesto and let the soup sit with the Instant Pot (or stove) still turned on, you’ll have melted cheese on the pot that will be a pain to scrub off. (I learned that the hard way, although it didn’t stop me from really enjoying the soup!) Another option to keep your Instant Pot or soup pot as clean as possible is stirring some pesto into each bowl of soup when you serve it
How low in carbs is this Chicken Pesto Soup?
This fun variation for chicken soup only has 5 net carbs and 22 grams of protein per serving!
Love your Instant Pot?
I use a 6 Quart Instant Pot for all my recipes made in the Instant Pot. Check out my growing collection of Instant Pot Recipes!
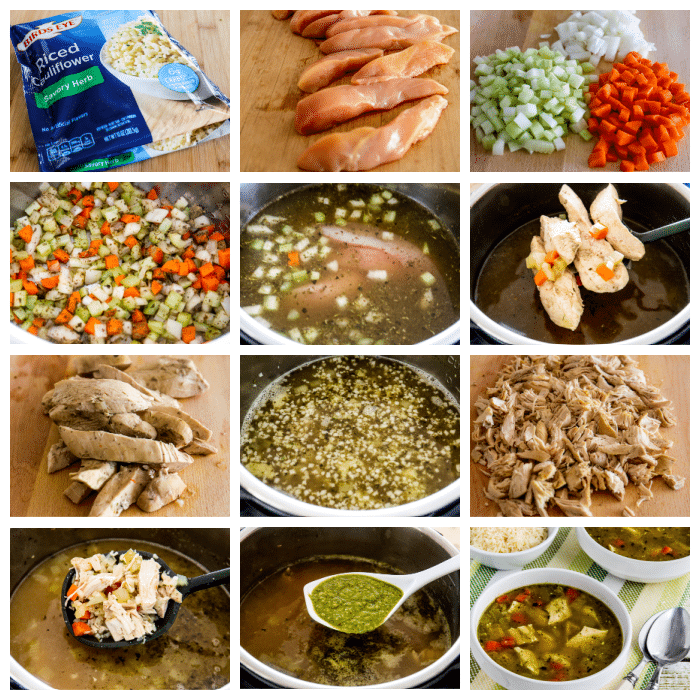
How to make Chicken Pesto Soup:
(This is only a summary of the steps for the recipe; please scroll down for complete printable recipe. Or if you use the JUMP TO RECIPE link at the top of the page, it will take you directly to the complete recipe.)
Take cauliflower rice out of the freezer and let it start to thaw.
Trim chicken breasts and cut lengthwise.
Finely chop onion, celery, and carrots.
Turn Instant Pot to SAUTE, HIGH HEAT, and melt butter; then add onion, carrots, and celery and cook 2-3 minutes.
Add Italian Herb Seasoning, sage, ground thyme, salt, and fresh-ground black pepper and cook a minute more.
Add chicken broth or stock, chicken breast strips, and soup base.
Lock the lid and set Instant Pot to MANUAL, HIGH, 6 minutes.
Let Instant Pot natural release 10 minutes; then release the rest of the pressure.
Remove cooked chicken pieces to cutting board.
Turn Instant Pot to SAUTE, LOW and add frozen cauliflower rice.
While cauliflower rice cooks, shred chicken apart.
After cauliflower rice has cooked about 5 minutes, add shredded chicken to the soup and cook about 3 minutes more.
Turn off the Instant Pot and stir in basil pesto and lemon juice.
Serve the Chicken Pesto Soup right away and enjoy! We served this with more Parmesan cheese to add at the table.
See the complete recipe below to find stovetop instructions for this recipe.
Make it a Low-Carb Meal:
One of these low-carb breads or muffins would taste great with the Chicken Pesto Soup:
Want More Low-Carb Instant Pot Soups?
Check out Low-Carb and Keto Instant Pot Soups for lots more tasty soup ideas.
Ingredients
1 small onion, chopped
2 small carrots, chopped
1 cup chopped celery
1 T butter
1 tsp. Italian Herb Seasoning
1/2 tsp. ground sage
1/2 tsp. ground thyme (see notes)
salt and fresh-ground black pepper to taste
8 cups chicken broth (see notes)
3 T chicken soup base
4 large boneless, skinless chicken breasts
10.5 oz. package frozen cauliflower rice (see notes)
1/4 cup basil pesto (see notes)
2 T fresh-squeezed lemon juice (see notes)
Instructions
Instant Pot Instructions:
Take cauliflower rice out of the freezer and let it start to thaw on the counter. (I used a 10.5 oz. package which was 2.5 cups of cauliflower rice.)
Trim chicken breasts and cut lengthwise into 2 or 3 strips each.
Finely chop onion, celery, and carrots. (You can use less carrot if you’d like to reduce the carbs even more.)
Turn Instant Pot to SAUTE, HIGH HEAT, and melt the butter. Then add the chopped onion, carrots, and celery and cook a couple of minutes.
Add Italian Herb Seasoning, sage, ground thyme, salt, and fresh-ground black pepper and cook a minute more.
Add chicken broth or stock, chicken breast strips, and soup base.
Lock the lid and set Instant Pot to MANUAL, HIGH, 6 minutes.
When time is up, let the Instant Pot natural release for 10 minutes; then carefully open the valve and release the rest of the pressure.
Remove cooked chicken pieces to a cutting board.
Turn Instant Pot to SAUTE, LOW and add the frozen cauliflower rice.
While cauliflower rice cooks, shred chicken apart.
After cauliflower rice has cooked at least 5 minutes, add shredded chicken to the soup and cook about 3 minutes more.
Turn off the Instant Pot and stir in basil pesto and lemon juice.
Serve right away and enjoy! We served this with more Parmesan cheese to add at the table.
Stovetop Instructions:
Thaw cauliflower rice, prepare vegetables, and prepare chicken same as above.
You will need at least another 1/2 cup chicken broth or stock for stovetop cooking.
Melt butter in a large soup pot and saute onion, carrots, and celery for a few minutes.
Then add Italian Herb Seasoning, sage, thyme, salt, and fresh-ground black pepper and cook a few minutes more.
Add chicken broth or stock, chicken breast strips, and soup base to the soup pot and turn heat to low.
Let soup simmer about 40 minutes on low, or until chicken is firm.
Remove chicken to cutting board and add cauliflower rice. Cook about 15 minutes more on low.
Shred chicken apart and add to soup pot when the cauliflower rice is done. Cook about 5 minutes more to be sure chicken is heated through.
Turn off heat, stir in basil pesto and lemon juice, and serve.
Notes
You can use dried thyme leaves, but they float on the top of the soup when it’s done so I prefer to use ground thyme for soup. You can grind the thyme in a Mortar and Pestle (affiliate link) if you have one.
If you have homemade chicken stock that will be delicious in this soup. If you use canned chicken broth, 8 cups is 4.5 cans. If you’re cooking on the stove use the whole 5 cans. I use Better than Bouillon Roasted Chicken Base (affiliate link), but any chicken soup base you like the flavor of will work.
The 10.5 oz. package of frozen cauliflower rice was 2.5 cups; you could use a bit more if you prefer a thicker soup.
Use more or less pesto and lemon juice to taste. If I had some of my Basil Pesto with Lemon in the freezer I’d definitely use that for the soup, but purchased basil pesto will also be delicious. I used my fresh-frozen lemon juice lemon juice.
Recipe created by Kalyn and perfected for the Instant Pot with help from Kara.
Nutrition information is automatically calculated by the Recipe Plug-In I am using. I am not a nutritionist and cannot guarantee 100% accuracy, since many variables affect those calculations.
Did you make this recipe?
Did you make this recipe? Please leave a star rating (under the PRINT button in the recipe) or share a photo of your results on Instagram! THANKS!
Low-Carb Diet / Low-Glycemic Diet / South Beach Diet Suggestions: Chicken Pesto Soup is a good dinner option for any low-carb diet, including Keto. It’s also great for any phase of the original South Beach Diet.
Find More Recipes Like This One: Use Instant Pot Recipes to find more soups like this one. Use the Diet Type Index to find more recipes suitable for a specific eating plan. You might also like to follow Kalyn’s Kitchen on Pinterest, on Facebook, on Instagram, on TikTok, or on YouTube to see all the good recipes I’m sharing there.
Historical Notes for this Recipe: This tasty soup with chicken and pesto was first posted in 2021. The recipe was last updated with more information in 2026.
We are a participant in the Amazon Services LLC Associates Program, an affiliate advertising program designed to provide a means for us to earn fees by linking to Amazon.com and affiliated sites. As an Amazon Associate, I earn from qualifying purchases.
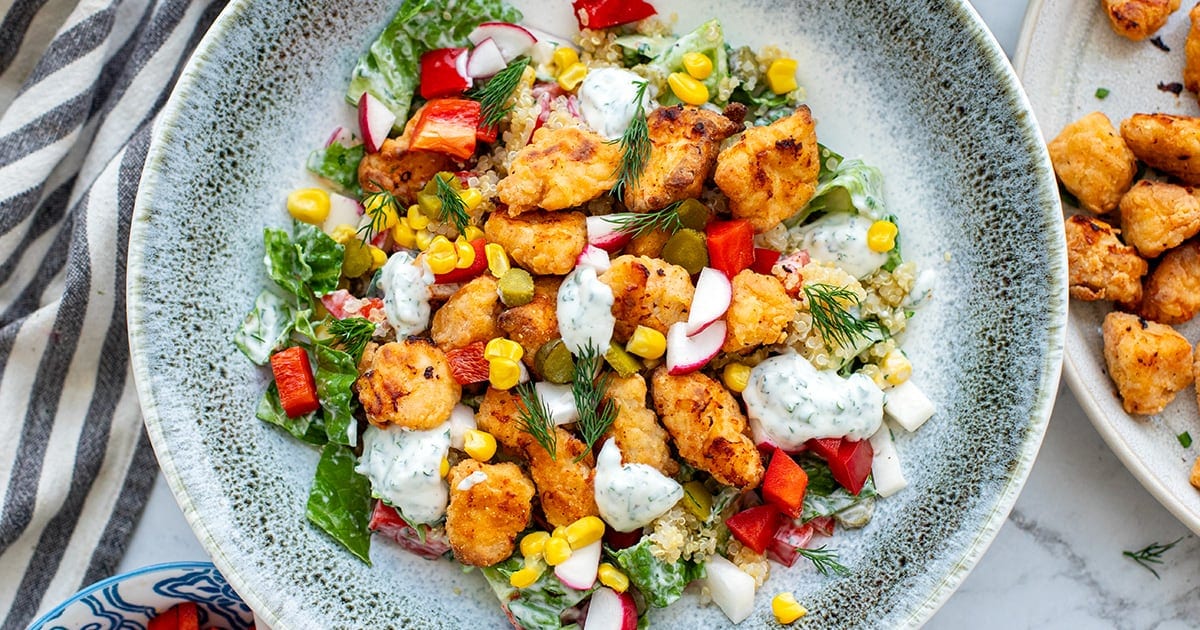
High-protein popcorn chicken bowls with crispy baked chicken bites, quinoa, salad, and yogurt ranch dressing. Great for meal prep, fresh and healthy!
Jump to: ℹ️ Overview | 🛒 Ingredients | 📷 How To Make | 📹 Watch The Video | 👩🍳 Recipe Tips | 🥗 Serving Suggestions | 📝 Full Recipe Card | 🍽 More Healthy Chicken Recipes
These popcorn chicken bowls are great for lunch or dinner and they hit all the notes: crispy, creamy, fresh, and filling. You get crunchy, golden baked popcorn chicken bites, tossed over a crisp lettuce salad loaded with colorful veggies, fluffy quinoa, and a zingy yogurt ranch dressing.
This is a light yet wholesome and satiating meal that’s packed with protein and fibre to keep you full and nourished. I often make a batch of chicken, quinoa, and dressing for meal prep and have it on repeat for lunches (seriously, I’m not sick of it yet and that’s saying something), and this recipe is equally good for dinner.
Each bowl is about 36 grams protein, 7 grams fiber, and 540 calories.
👩🍳 You might also like these recipes: Mediterranean chicken quinoa bowl, chicken quinoa salad with honey harissa and tahini yoghurt, BLT chicken salad, chipotle chicken Cobb salad, Buffalo chicken salad, or Asian chicken salad.
What You’ll Need
Here is what you’ll need for this popcorn chicken salad bowl recipe. Find the full measurements in the recipe card below.
For the chicken: Chicken breast – lean and high in protein. Chicken thighs can also be used.
For the marinade: Yogurt – tenderizes and adds tang, onion, garlic, paprika powders – flavourful trio, and salt – of course!
For the coating: All-purpose or gluten-free flour + cornflour – for that crunchy texture. More of the above seasoning – because bland chicken is not invited. Olive oil spray – makes it crispy without deep frying.
Yogurt-Mayo Ranch Dressing: Light yogurt + light mayo for creamy yet light base, pickle juice – a salty, tangy secret weapon that also helps to dilute the creamy ingredients, fresh herbs (chives, parsley, dill) – fresh and punchy, garlic and onion powder – to round it out, and extra optional water to thin – adjust to your liking.
Salad Bowl: Quinoa – high in fibre and protein (cook your own or get pre-cooked), lettuce, cucumber, cherry tomatoes, bell pepper – crunchy and hydrating, corn – sweet pop of flavour (I use frozen and defrost in boiling water), pickles for added tang and contrast. Optional: a little Sriracha drizzle on top and extra herbs for topping.
Swap Suggestions: Swap quinoa for rice or couscous. Use Greek yogurt for extra protein. No fresh herbs? Sub with dried, but use less. Skip homemade dressing and use store-bought ranch for shortcuts.
How To Make Popcorn Chicken Bowls
Find the full recipe and nutritional information below. Here are some handy step-by-step photos for popcorn chicken bowls.
Marinate the chicken: Mix yogurt and spices, coat chicken, and let it chill for 30 minutes or overnight.
Combine flour with spices and seasoning.
Coat the chicken: Toss with flour/cornflour mix until well coated.
Bake Chicken: Preheat oven to 410°F / 210°C. Line a baking tray and spray with oil. Arrange chicken in a single layer, spray tops with oil, and bake 15 minutes. Flip, spray again, and bake another 10 minutes until golden and crispy.
Air Fryer Option: Preheat air fryer to 400°F / 200°C. Arrange chicken without overcrowding. Spray and cook for 12 minutes, flipping and spraying halfway through.
Make the dressing: Chop the herbs finely. Whisk all ingredients until smooth.
Cook quinoa: According to packet instructions.
Prep veggies: Dice and chop while everything cooks.
Assemble bowls: Toss salad with dressing, add quinoa and chicken, top with more dressing and extras.
Watch The Video
Recipe Tips
Make-ahead: You can make the chicken popcorn bites ahead of time. Quinoa is also easy to store in the fridge for a few days. If you want to prep the whole the day before, just store store the dressing separately.
Storage: Store each component separately in the fridge for 3–4 days. Keep chicken crispy by storing without dressing.
Shortcuts: Use rotisserie chicken or frozen popcorn chicken if you’re in a rush.
Make it spicy: Add cayenne or chilli powder to the coating or a dash of hot sauce to the dressing.
Vegetarian option: Use crispy tofu or roasted chickpeas instead of chicken.
Serving Suggestions
Serve these bowls warm or cold—seriously, they’re good either way. I like to top mine with a bit of Sriracha for that spicy kick, and maybe a sprinkle of extra herbs if I’m feeling fancy. These bowls are perfect for work lunches, weeknight dinners, or prepping ahead for the week.
💬 If you’ve tried this popcorn chicken bowls or any other recipe on the blog then don’t forget to rate the recipe and let me know how you got on in the comments below, I love hearing from you! You can also FOLLOW ME on Instagram, Facebook, Pinterest, YouTube, and or sign up to my Newsletter to see more of my delicious food.
Want to Save This Recipe?
Enter your email & I’ll send it to your inbox. Plus, get great new recipes from me every week!
By submitting this form, you consent to receive emails from Cooked & Loved
High-protein popcorn chicken bowls with crispy baked chicken bites, quinoa, salad, and yogurt ranch dressing. Great for meal prep, fresh and healthy! Find step-by-step photos and more recipe tips above.
For the Chicken Marinade:
For the Yogurt-Mayo Ranch Dressing:
Marinate Chicken: In a bowl, mix yogurt with onion powder, garlic powder, paprika, and salt. Add chicken and toss to coat. Cover and marinate for at least 30 minutes (or overnight).
Coat Chicken: In a large bowl, combine all coating ingredients. Spread half the mix on a plate, lay chicken pieces on top, sprinkle remaining mix, and toss to coat well.
Bake Chicken: Preheat oven to 410°F / 210°C. Line a baking tray and spray with oil. Arrange chicken in a single layer, spray tops with oil, and bake 15 minutes. Flip, spray again, and bake another 10 minutes until golden and crispy.
Air Fryer Option: Preheat air fryer to 400°F / 200°C. Arrange chicken without overcrowding. Spray and cook for 12 minutes, flipping and spraying halfway through.
Make Dressing: Chop herbs and whisk together all dressing ingredients until smooth. Thin with water if needed.
Cook Quinoa: Cook according to package instructions, then fluff and let cool slightly.
Assemble Salad: Toss lettuce, tomatoes, cucumber, bell pepper, corn, and pickles with dressing. Divide into bowls. Top with quinoa and popcorn chicken. Finish with extra dressing or a drizzle of Sriracha if you like.
Can I use chicken thighs instead of breasts? Yes! Thighs will be juicier and slightly more forgiving if you overcook them. Just trim the excess fat.
Is the popcorn chicken crispy? Yes, especially if you don’t overcrowd the tray or air fryer. The cornflour is key for that crunch.
Can I make this ahead of time? Absolutely. Store everything separately and assemble just before eating for best texture. Marinate the chicken overnight.
Can I freeze the chicken? Yes! Freeze after baking and reheat in the oven or air fryer for best results.
Is this gluten-free? Not as written, but you can use gluten-free flour blends and double-check your cornflour and mayo.
Storage: Store each component separately in the fridge for 3–4 days. Keep chicken crispy by storing without dressing.
Shortcuts: Use rotisserie chicken or frozen popcorn chicken if you’re in a rush.
Make it spicy: Add cayenne or chilli powder to the coating or a dash of hot sauce to the dressing.
Vegetarian option: Use crispy tofu or roasted chickpeas instead of chicken.
This website may contain affiliate links and advertising so that we can provide recipes to you. Read my disclosure policy.
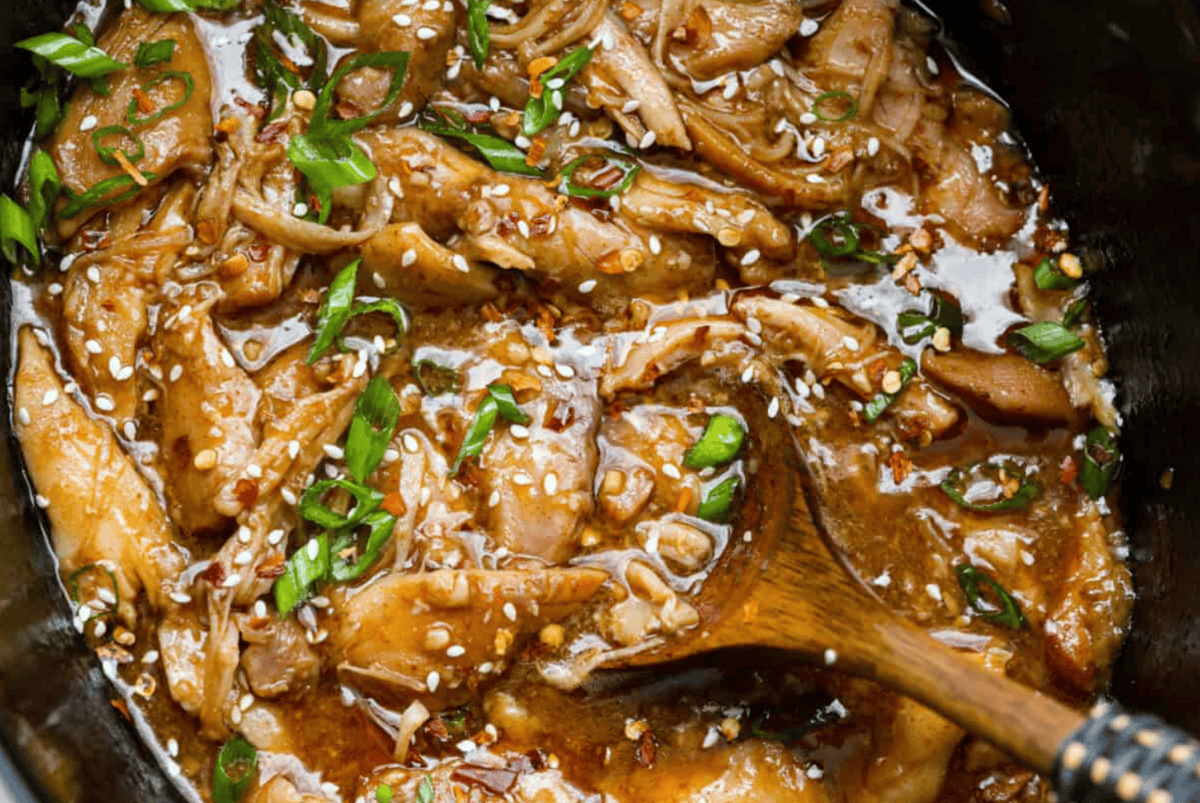
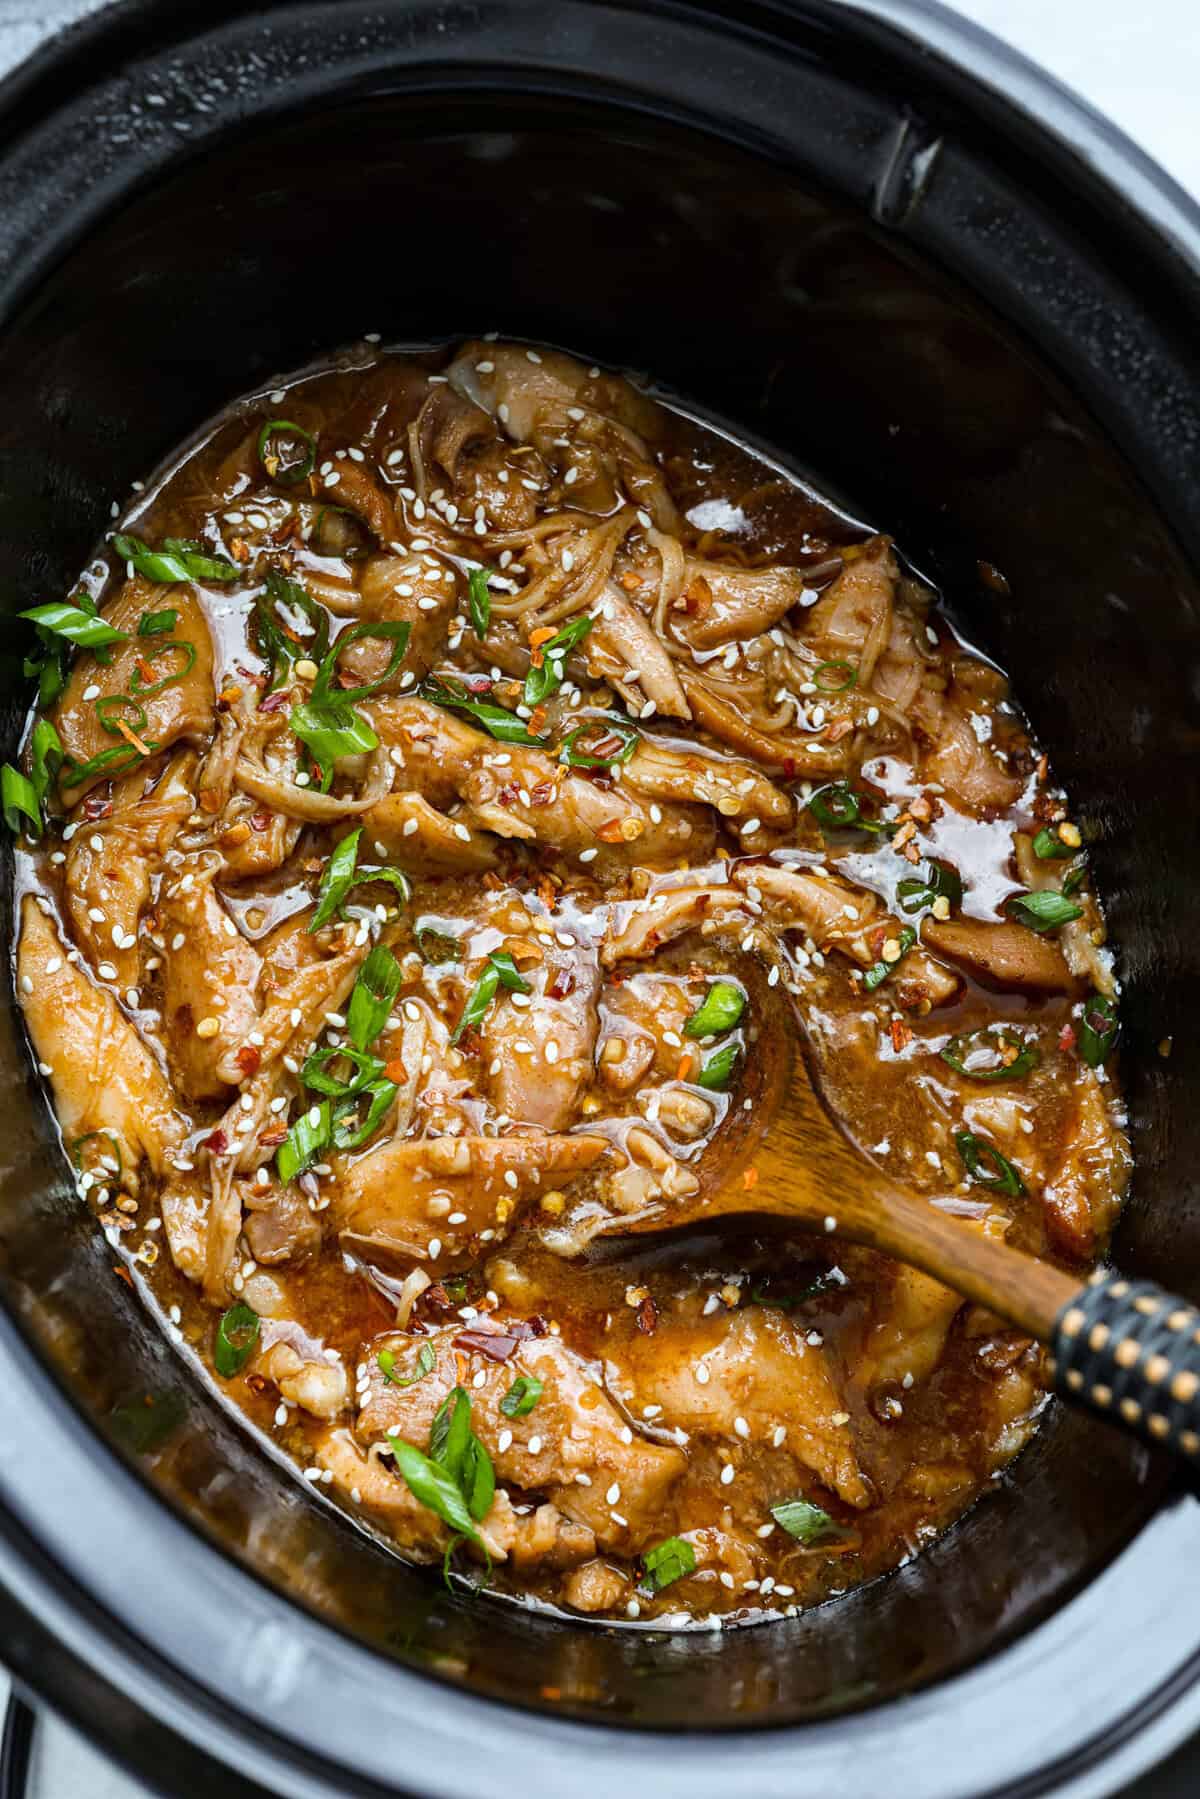
Set it and forget it! This slow cooker Korean BBQ chicken is sweet, savory, and just the right amount of spice. Perfect for tossing over rice, piling onto buns, topping a salad, or even making tacos. Weeknight dinner just got easier!
Why You’ll Keep Coming Back for More
Hands-Off Magic: Just toss it in the slow cooker and let the flavors meld while you go on about your day.
Tender Perfection: The low-and-slow cooking creates melt-in-your-mouth chicken every time.
Flavor Packed: Balanced sweet, savory, and spicy notes make each bite irresistible. Love Korean flavors? Make my Korean Short Ribs or Slow Cooker Korean Beef next.
Korean BBQ Chicken Ingredients
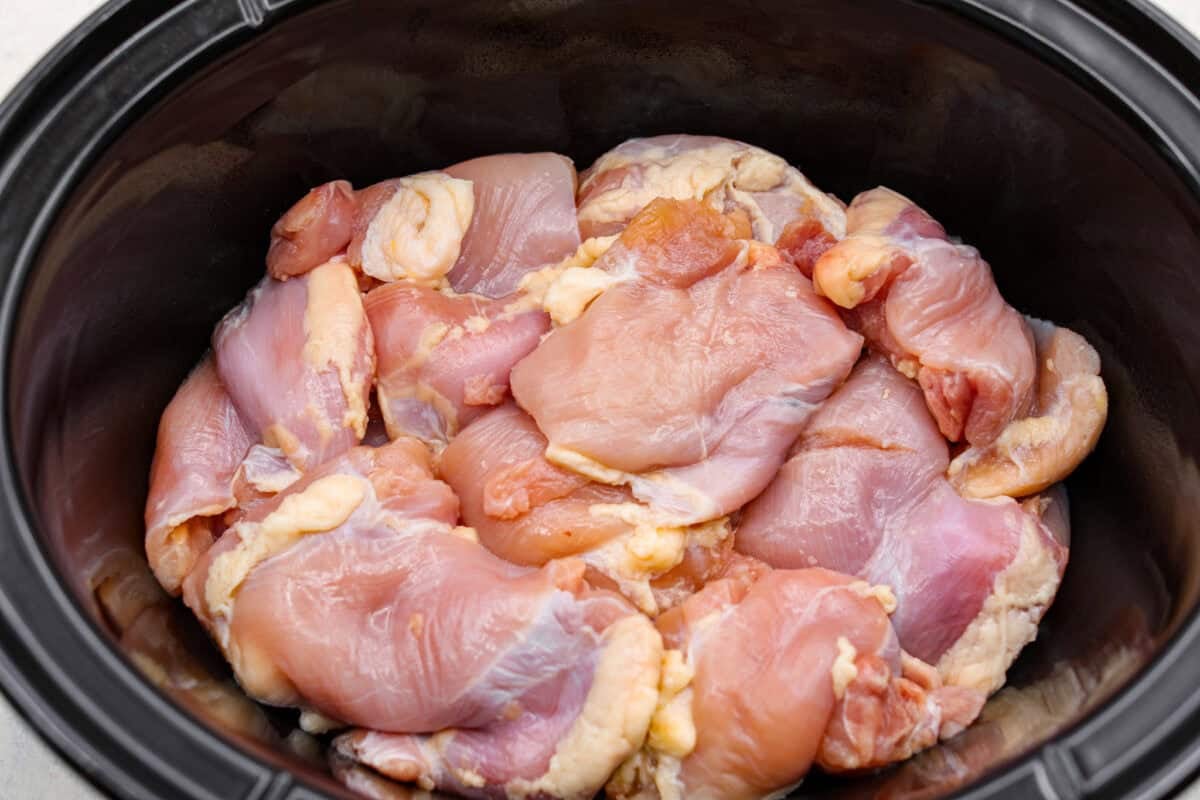
Chicken Choice: If you prefer, you can use chicken breasts, but they may dry out slightly. I prefer boneless, skinless chicken thighs because they stay juicy and tender in the slow cooker.
Ginger: Fresh ginger gives the best flavor, but ½ teaspoon ground ginger works if that’s what you have on hand.
Heat Level: Start small, then taste, and adjust to your preferred spice level.
Soy Sauce: If you are salt sensitive, use low-sodium soy sauce, or half regular soy sauce and half water.
How to Make Korean BBQ Chicken
With just a few simple ingredients and five minutes of prep, this slow cooker Korean BBQ chicken recipe comes together. The result is tender chicken with bold Korean BBQ flavor that everyone will love!
Add Chicken: Spray a 4 or 6-quart slow cooker with nonstick cooking spray, then add the chicken to the bottom.
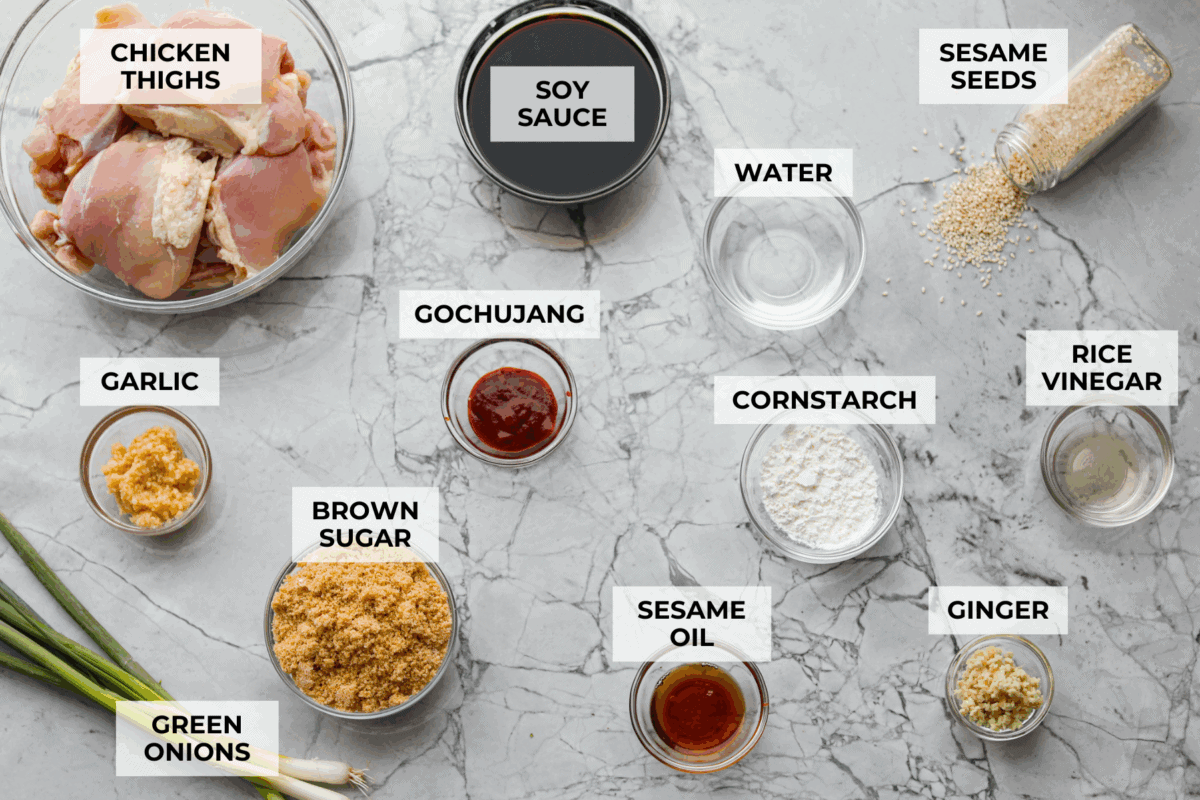
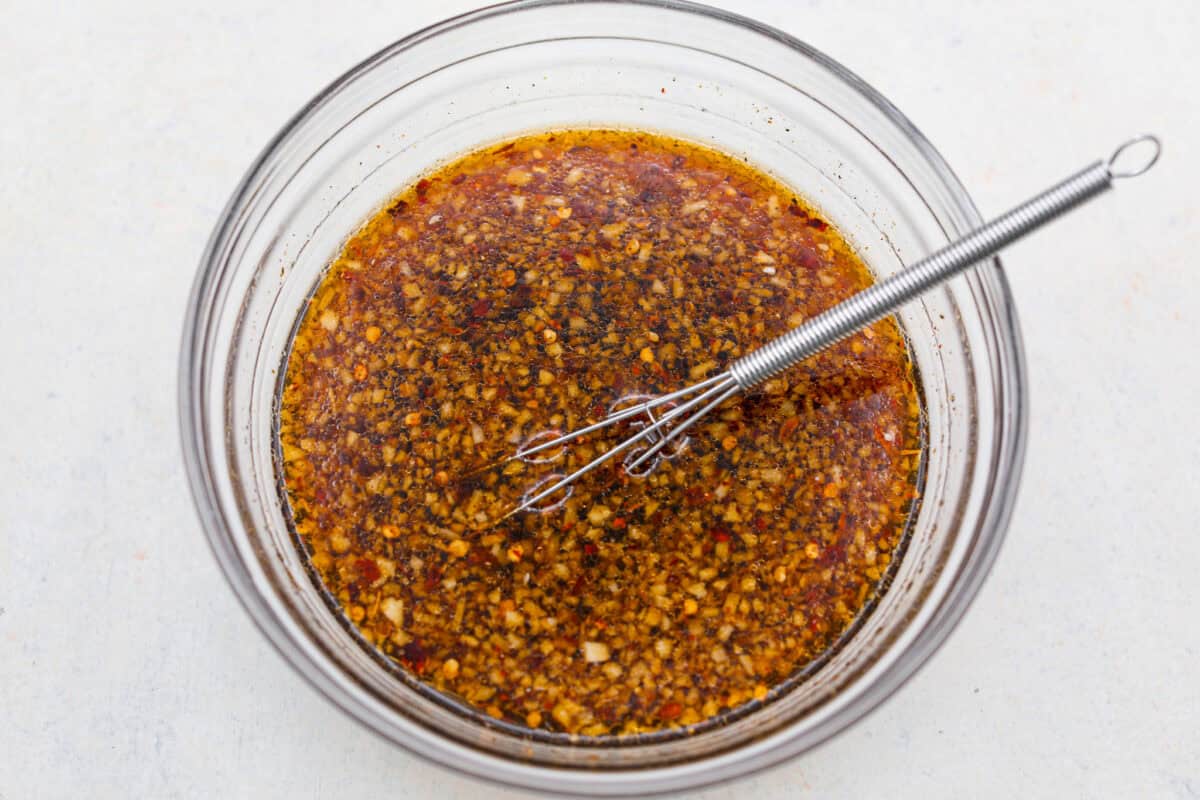
Make the Sauce: Whisk brown sugar, soy sauce, sesame oil, garlic, ginger, rice vinegar, and gochujang together in a medium bowl. (Click here for my Korean BBQ sauce recipe.)
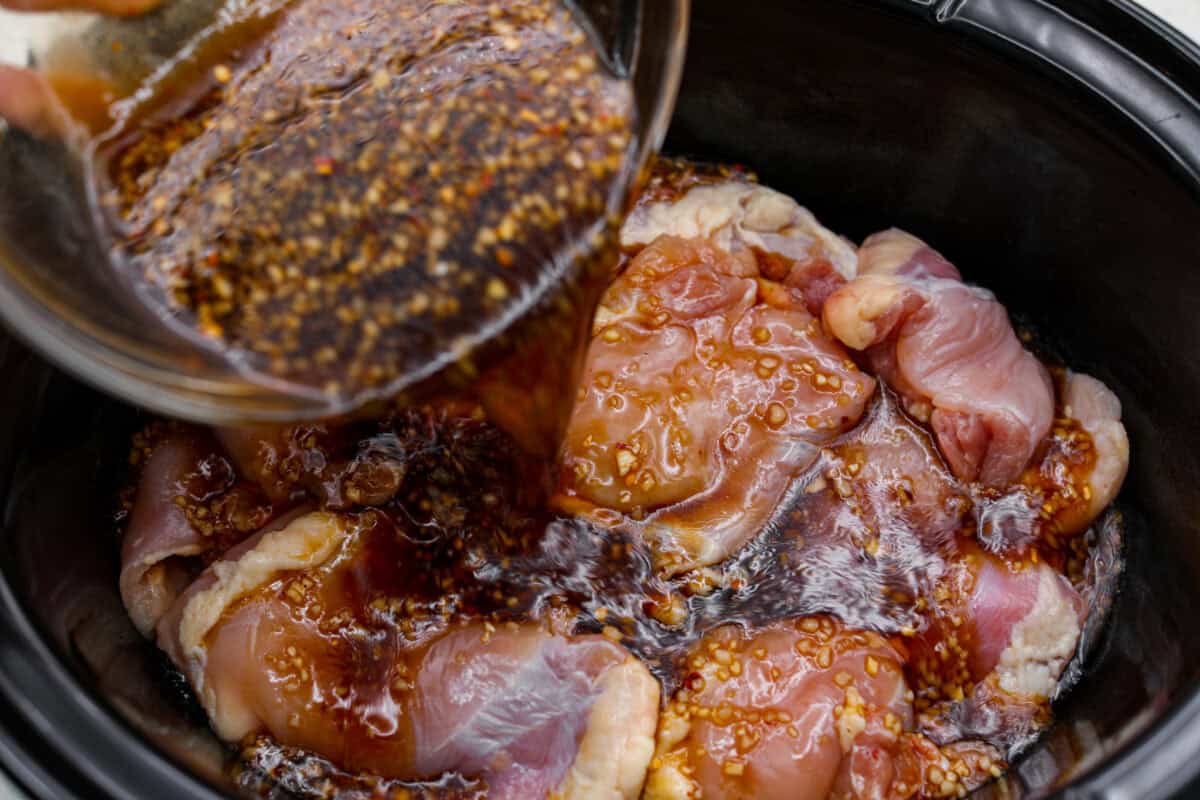
Cook: Pour the sauce over the chicken, then toss to coat the thighs. Cover, then cook on LOW for 4-5 hours or on HIGH for 3-4 hours.
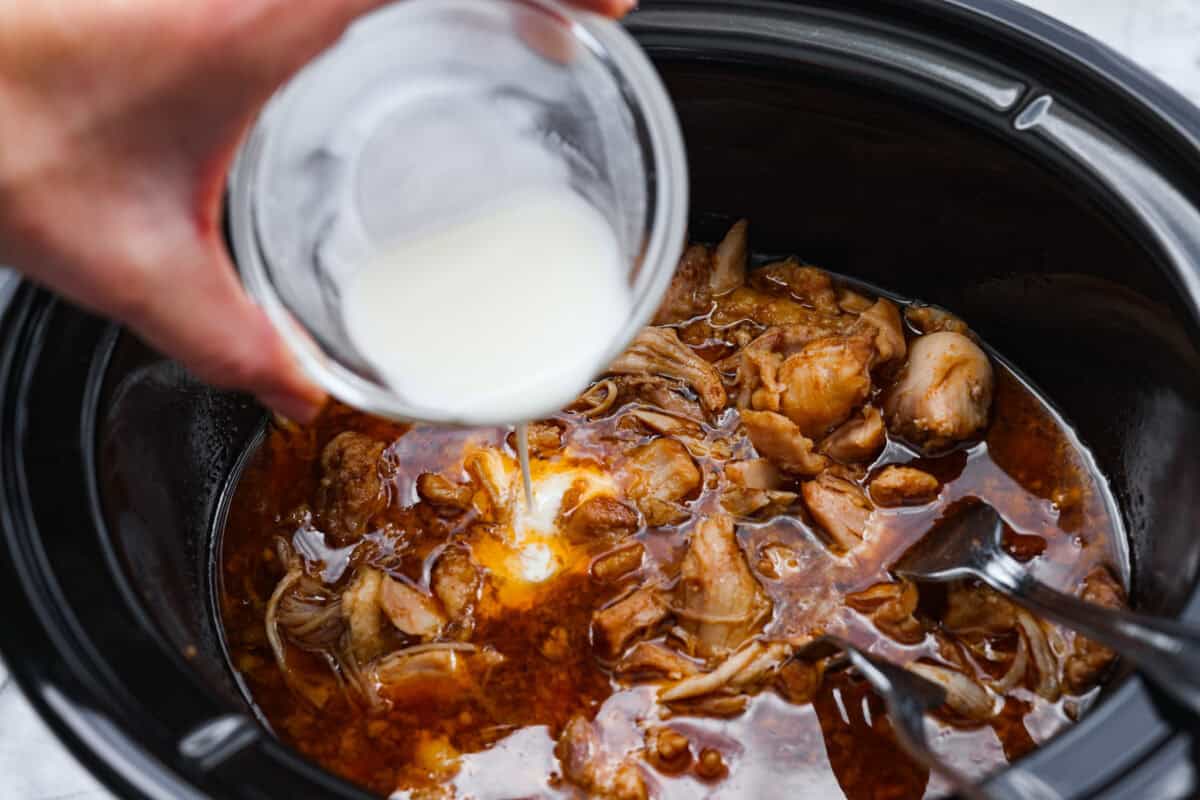
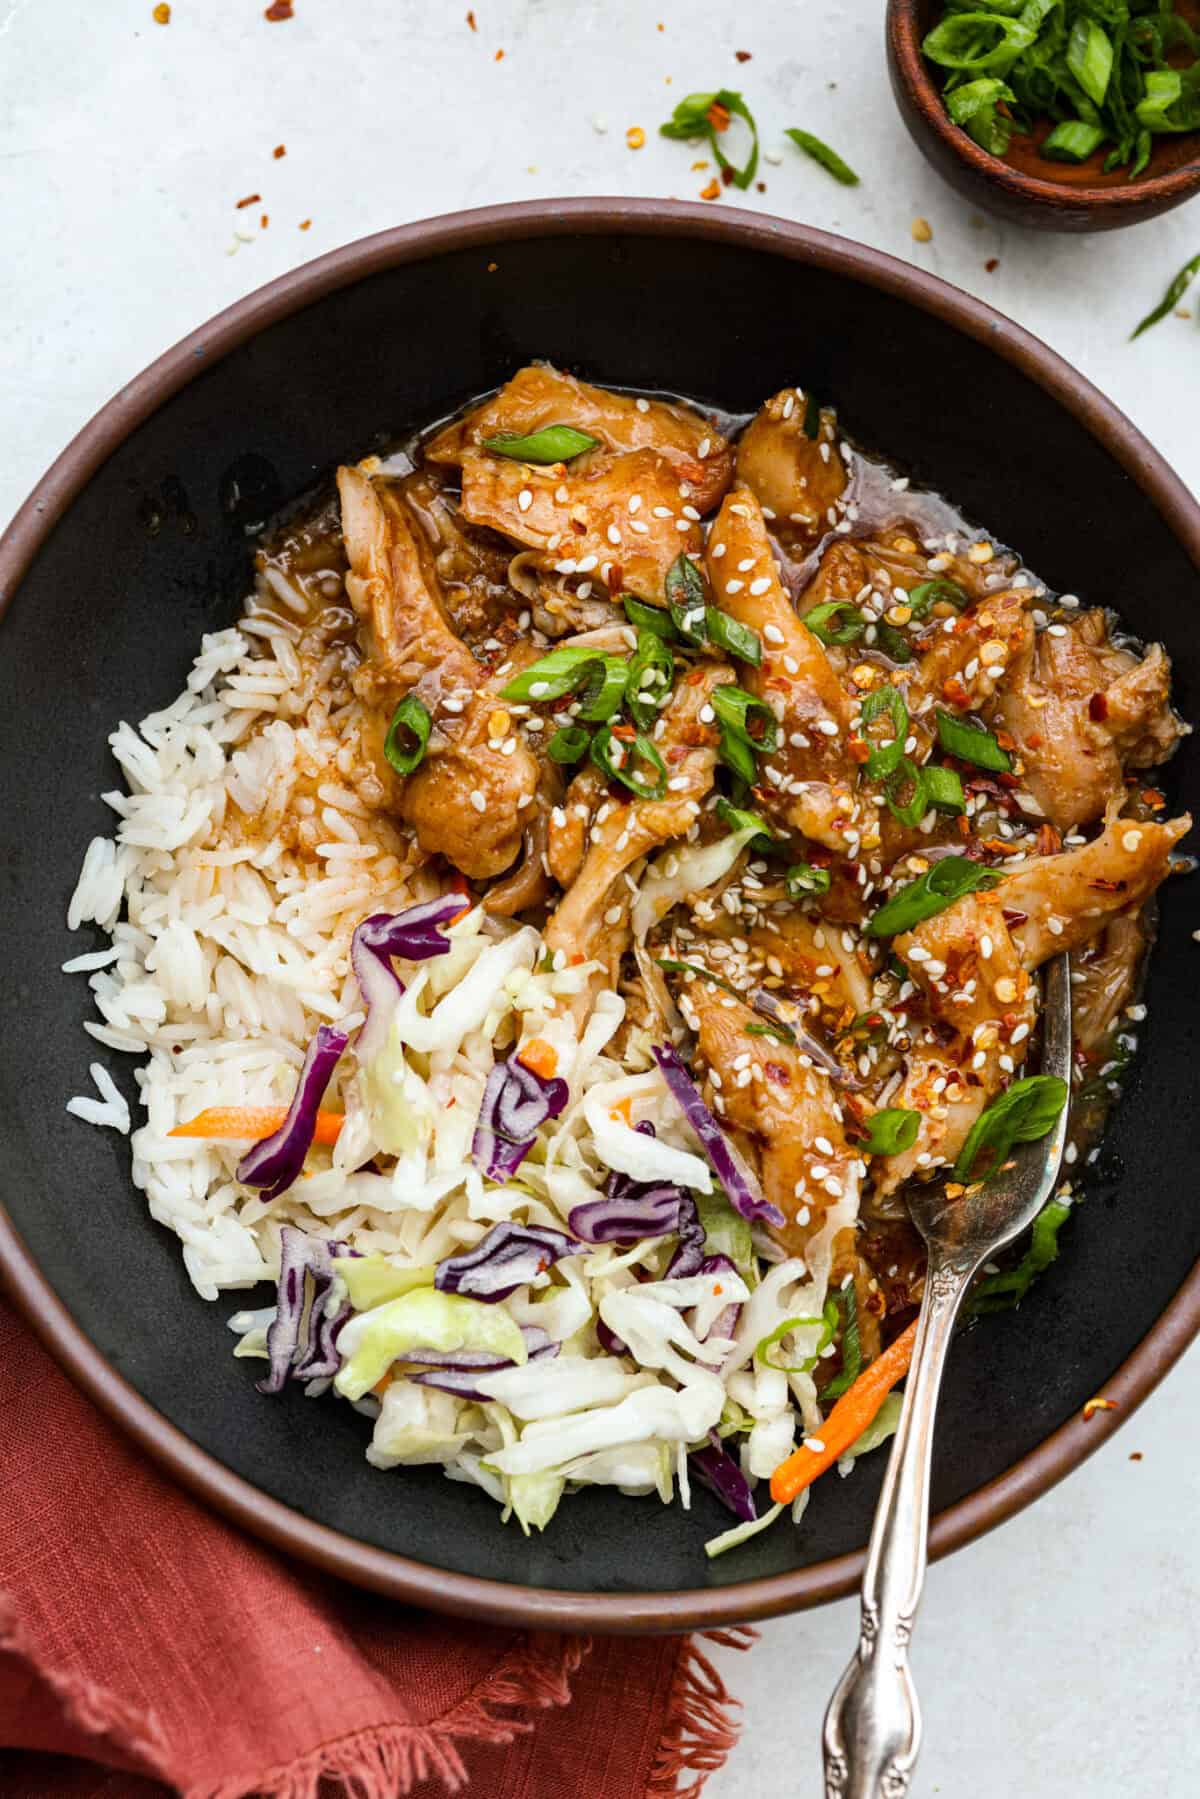
Shred the Chicken: Use two forks to shred the chicken in the slow cooker. Whisk together cornstarch and water in a small bowl, then add to the slow cooker and stir to incorporate. Cover and cook for 20-30 minutes, until the sauce thickens. Serve your crockpot Korean BBQ chicken over warm rice, and garnish with green onions and sesame seeds.
Alyssa’s Pro Tip
Serving Ideas: Enjoy this Korean BBQ chicken over salad, rice, or quinoa. Pile it on a bun or slider, or even in tacos. For extra flavor and crunch, pair it with my broccoli ramen salad, pickled carrots, or a refreshing cucumber salad.
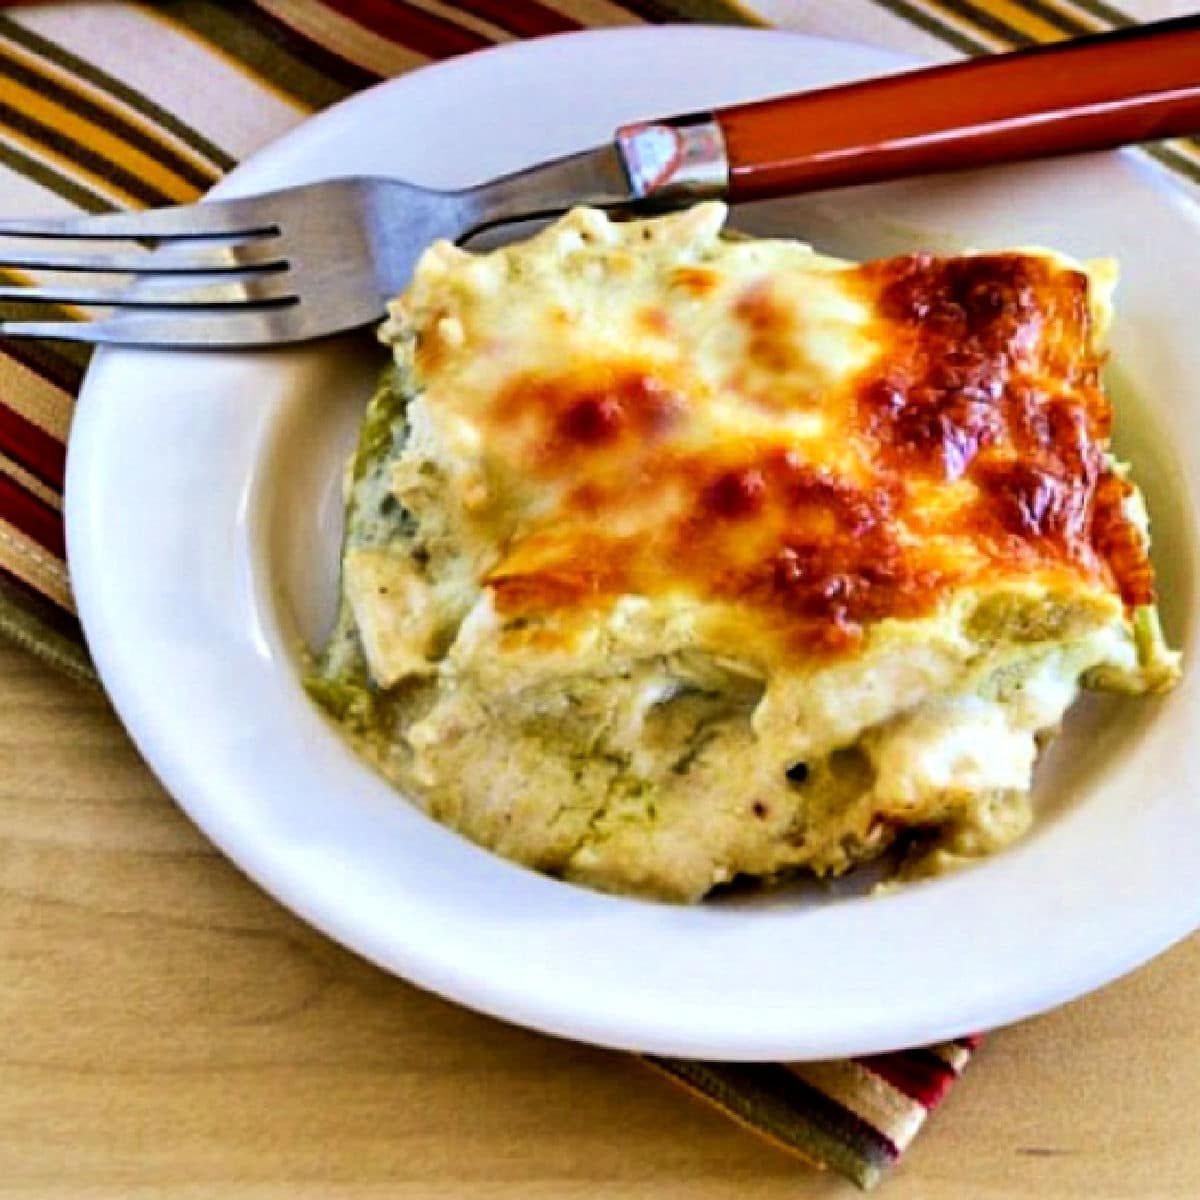
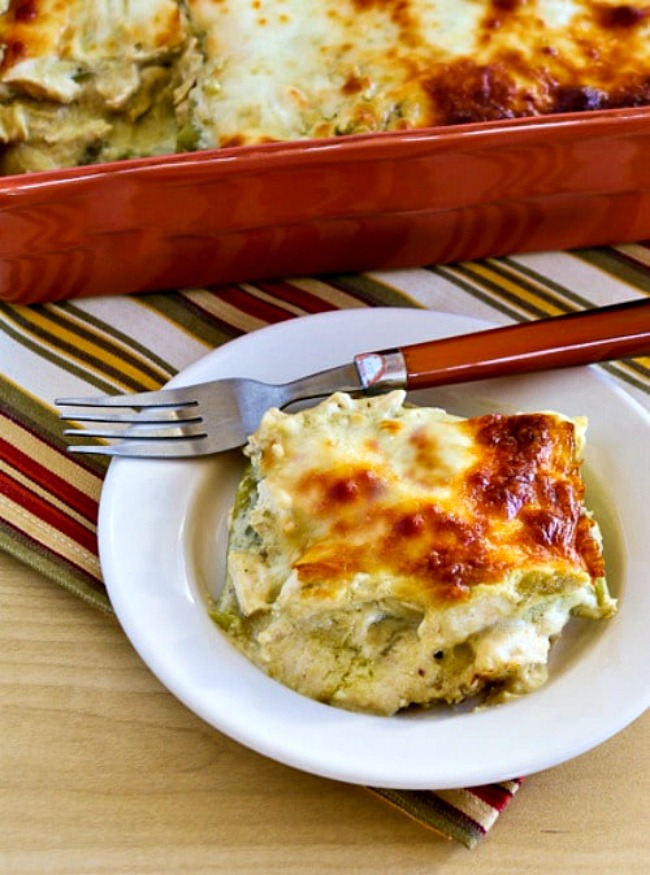
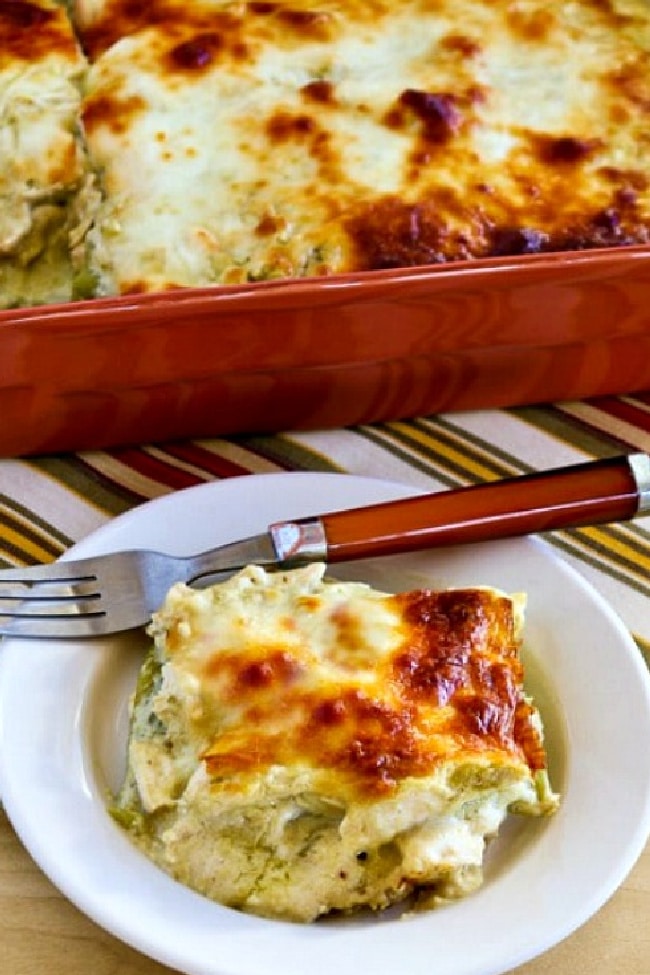
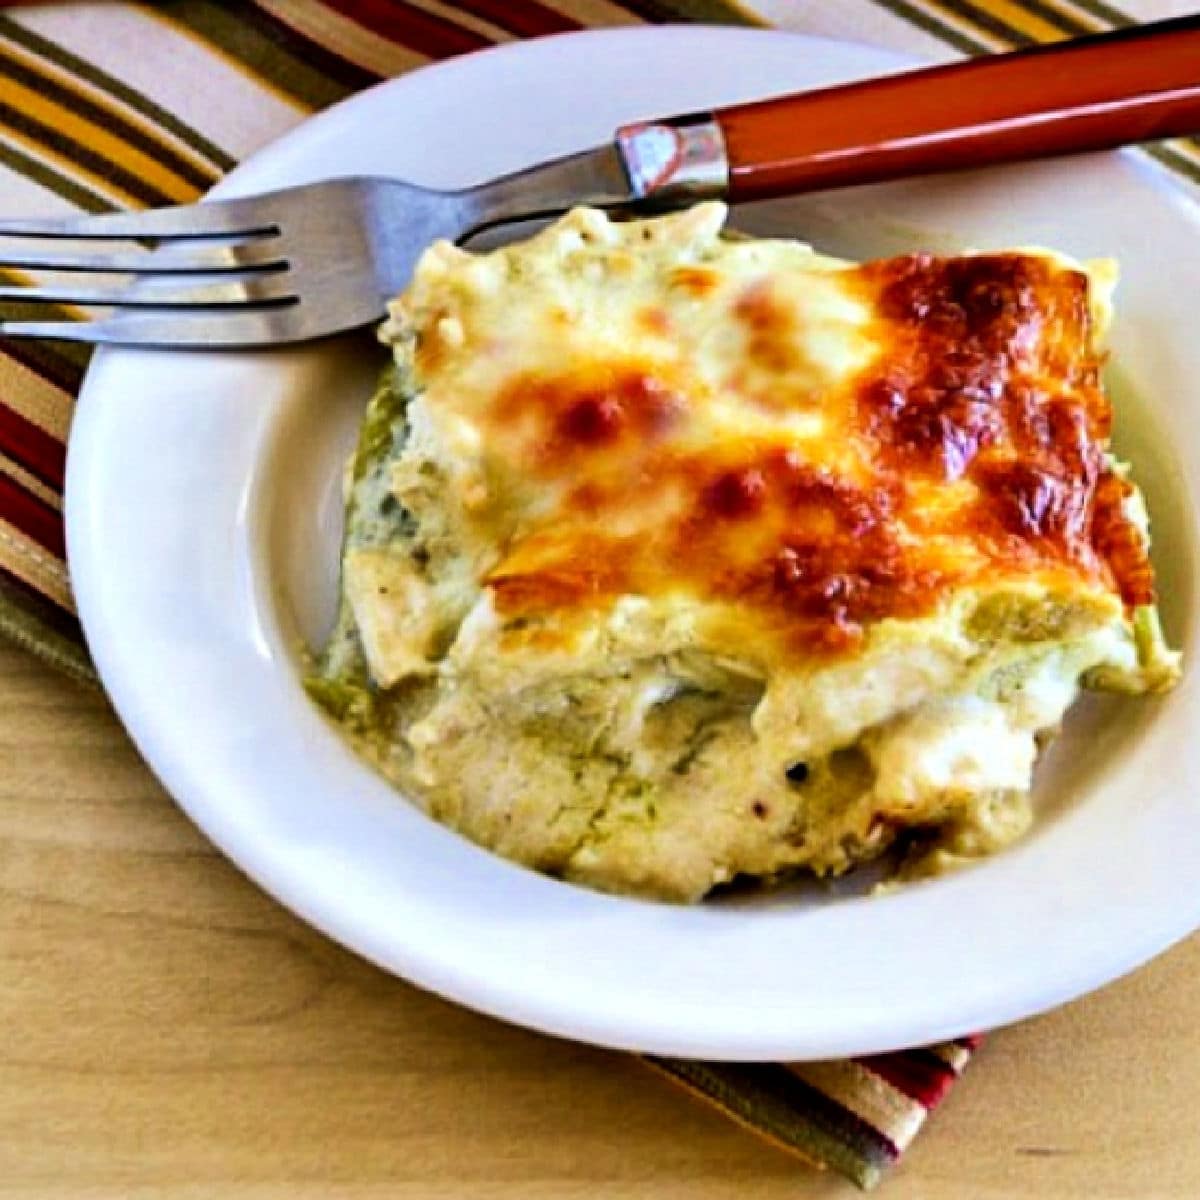
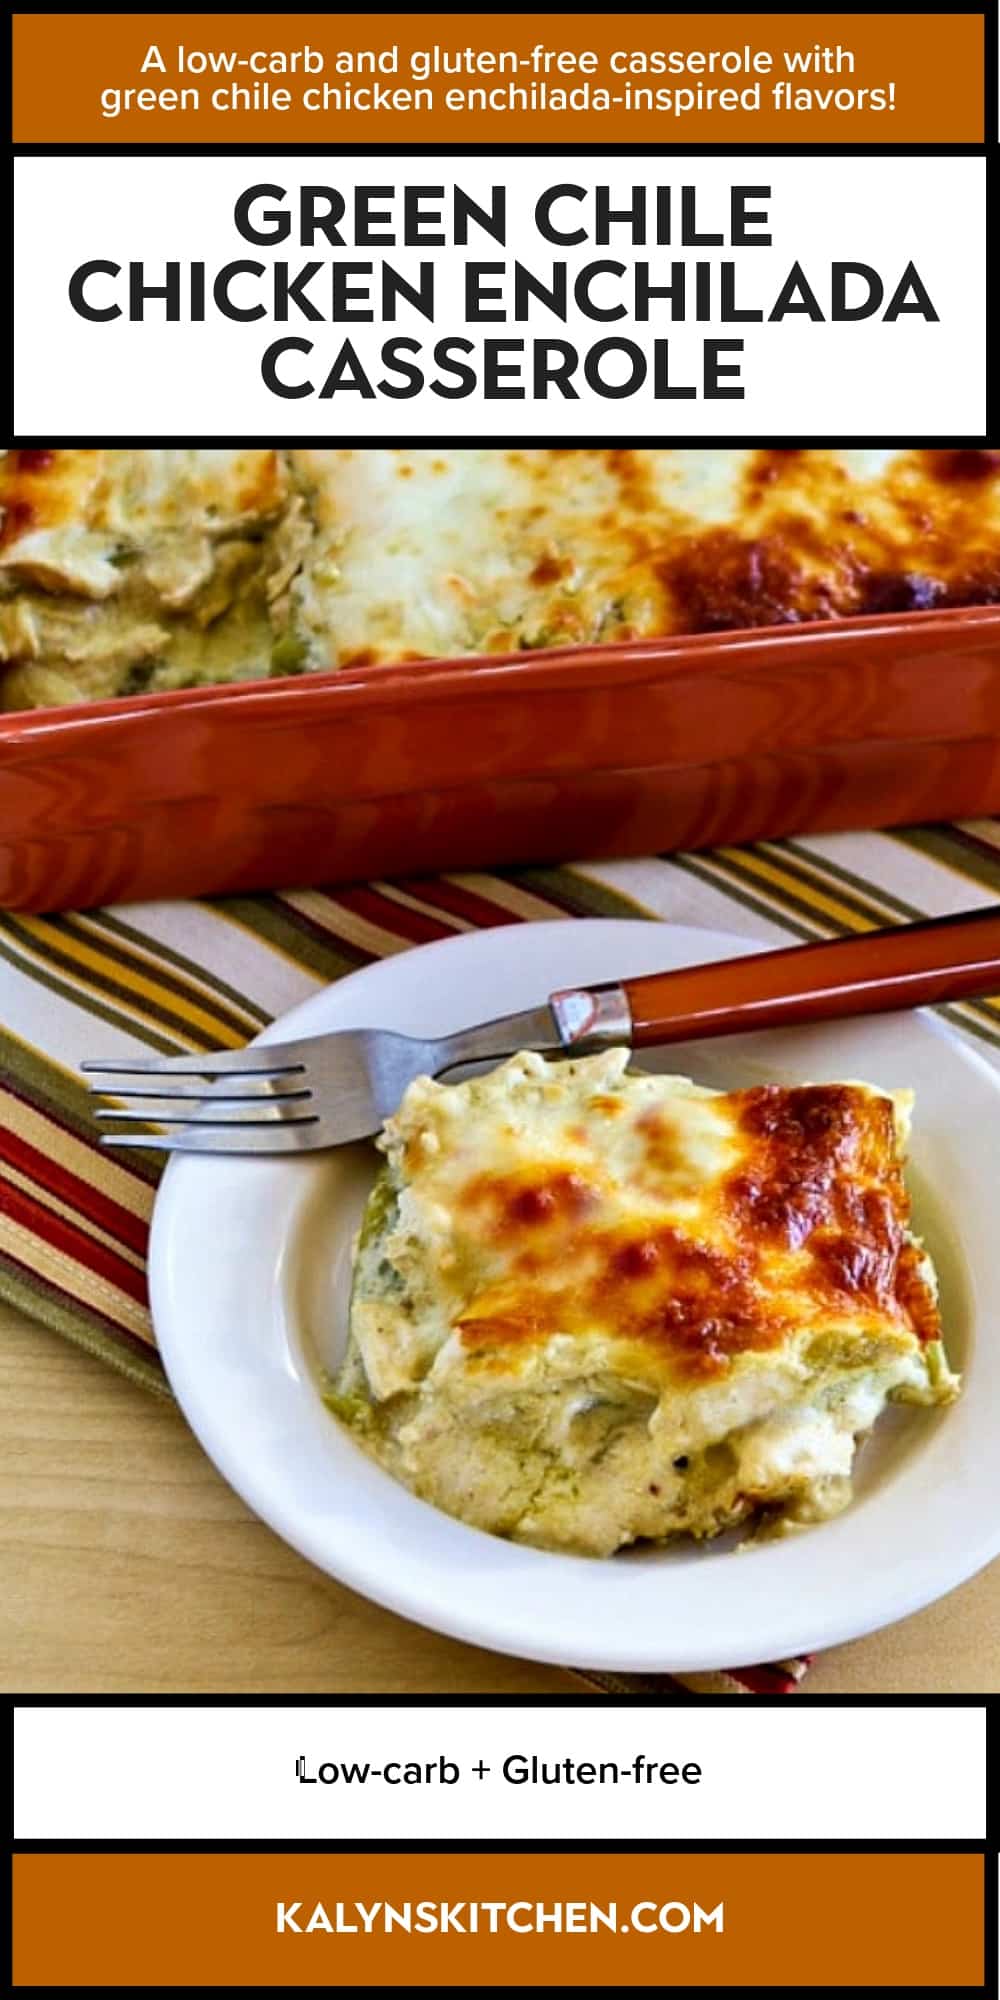
This Green Chile Chicken Enchilada Casserole has the flavors you love in green chile chicken enchiladas, minus quite a few of the carbs! In this mock enchilada recipe, whole roasted green chiles replace the tortillas to make it low in carbs and gluten-free!
PIN the Green Chile Chicken Enchilada Casserole to make it later!
Green Chile Chicken Enchilada Casserole is a tasty lower-carb dish that has all the flavors people love in Mexican enchiladas. And when Jake and I came up with the idea of using roasted green chiles in a chicken casserole with enchilada flavors, it was a winner. And in my huge extended family this recipe has been a favorite for years!
We replaced tortillas with layers of mild roasted green chiles from a can. We also used canned green chile enchilada sauce to make this easy to make. And when I first tested the Green Chile Chicken Enchilada Casserole with Jake, we loved the flavors. Hope you’ll try this soon if you also like Mexican flavors.
What ingredients do you need?
(This is only a list of ingredients; please scroll down for complete printable recipe. Or if you use the JUMP TO RECIPE link at the top of the page, it will take you directly to the complete recipe with ingredient amounts.)
Where can you buy whole roasted green chiles?
If you don’t live in the west, the hardest thing about this recipe might be finding big cans of roasted green chiles. If you have a Mexican market near you, that’s the best place to get a good price on 27 oz. cans of whole green chiles. But if that’s not an option you can buy 27 oz. cans of whole green chiles at Amazon.com (affiliate link).
Is Green Chile Chicken Enchilada Casserole low in carbs?
This casserole has about 11 net carbs in a serving and 28 grams of protein with the enchilada sauce I used. That should work for a nice carb-conscious dinner to enjoy when you’re craving Mexican food! I’m not tagging it Keto because and the green chile enchilada sauce has a small amount of cornstarch.
Is Green Chile Chicken Enchilada Casserole gluten-free?
I used Hatch Green Chile Enchilada Sauce (affiliate link) and that product is certified gluten-free. Every other ingredient in this recipe is naturally gluten-free.
How to make Green Chile Chicken Enchilada Casserole:
(This is only a summary of the steps for the recipe; please scroll down for complete printable recipe. Or if you use the JUMP TO RECIPE link at the top of the page, it will take you directly to the complete recipe.)
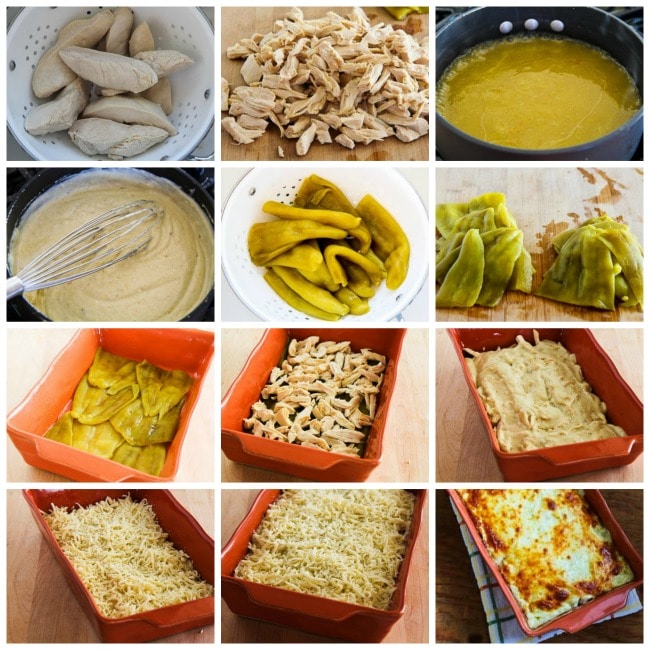
Trim chicken breasts and cut each one in half lengthwise. Put the chicken breasts in a pan, cover with water, and simmer over low heat until the chicken is cooked through.
As soon as the chicken is done, drain it in a colander and remove to a cutting board to cool.
When it’s cool enough to handle, shred the chicken apart into bite-sized pieces.
Simmer the green chile enchilada sauce until it’s thickened and reduced to 2 cups. (Look for the lowest sugar green chile enchilada sauce you can find.
When the enchilada sauce has reduced to 2 cups, turn off the heat and then whisk in the cream cheese and sour cream.
Put the colander back into the sink and drain the 27 oz. can of whole roasted green chiles (affiliate link).
Then use your fingers to split each green chile and remove the seeds, making them into two equal piles so you can make two layers of chiles in the casserole.
Spray a crockery or glass baking dish with non-stick spray and make a layer of green chiles.
Make a layer of shredded chicken over the green chiles.
Spread half the sauce over the chicken, then sprinkle half the cheese over the sauce.
Make another layer each of whole roasted green chiles, chicken, sauce, and cheese.
Bake uncovered at 375F/190C until the casserole is bubbling and the cheese on top is getting browned.
Let cool about 5 minutes, then cut and eat while it’s hot.
This Green Chile Chicken Enchilada Casserole will keep in the fridge for several days and can be reheated in the microwave, and it also freezes well.
Make it for a Low-Carb meal:
Most Mexican side dishes are NOT low in carbs! But you could serve No Mayo Vinegar Coleslaw, Tomato Salad with Cucumbers, Avocado, and Cilantro, or Kalyn’s Keto Coleslaw Recipe with this for a low-carb meal.
Want more low-carb Mexican food?
Check out Low-Carb Mexican Food Favorites for more recipe with Mexican flavors without too many carbs!
Weekend Food Prep:
This recipe for Chicken Enchilada Casserole made with green chile sauce has been added to a new category called Weekend Food Prep where you’ll find recipes you can prep or cook on the weekend and eat during the week!
Ingredients
4 boneless, skinless chicken breasts, trimmed and cut in half lengthwise into two pieces
2 15 oz. cans mild or medium green chile enchilada sauce (see notes)
1 27 oz. can whole roasted green chiles, (see notes)
4 oz. cream cheese, room temperature
1/2 cup sour cream
2 cups grated mozzarella
Instructions
Preheat oven to 375F/190 C. Spray a 9-inch x 13-inch casserole dish with non-stick spray. (I recommend using a glass or crockery casserole dish; any size that is close to that will work.)
Trim visible fat and other undesirable parts from chicken breasts and cut each one in half lengthwise. Put chicken into a small shallow pan, cover with water, and simmer over low heat until the chicken is done, about 15 minutes.
Drain chicken into a colander in the sink (you can rinse if there’s a lot of scum.) Remove to cutting board to cool.
Put the enchilada sauce into a small saucepan and simmer over low heat until the sauce has thickened and reduced to 2 cups, about 20 minutes. (I’m not that good at eyeballing it, so I put it in a measuring cup to measure when I think it’s getting close.)
Turn off the heat and stir in the cream cheese and sour cream
After you remove the chicken, drain the can of whole green chiles into the colander and let them drain for a few minutes. Then one at a time, use your fingers to split the chiles open and remove the seeds, piling them into two piles so you can make two equal layers in the casserole. (If chiles still seem wet, you can blot them with a paper towel, but I didn’t need to do that.)
When the chicken is cool enough to handle, shred apart into bite-sized pieces.
Layer half the green chiles into the bottom of the casserole dish, arranging them so the whole surface is covered as much as you can.
Over that make a layer of half the chicken, 1 1/2 cups of the sauce, and 1 cup of the grated cheese.
Make another layer each of green chiles, chicken, sauce, and cheese.
Bake uncovered until the casserole is bubbling and cheese is melted and browning on top, about 40 minutes.
Let sit about 5 minutes before cutting. Serve hot.
Green Chile Chicken Enchilada Casserole will keep in the fridge for several days and can be reheated in the microwave, and it also freezes well.
Nutrition information is automatically calculated by the Recipe Plug-In I am using. I am not a nutritionist and cannot guarantee 100% accuracy, since many variables affect those calculations.
Did you make this recipe?
Did you make this recipe? Please leave a star rating (under the PRINT button in the recipe) or share a photo of your results on Instagram! THANKS!
Low-Carb Diet / Low-Glycemic Diet / South Beach Diet Suggestions: Replacing tortillas with roasted green chiles makes Green Chile Chicken Enchilada Casserole a perfect dish for most low-carb eating plans or any phase of the original South Beach Diet. Most brands of green chile enchilada sauce do have a small amount of cornstarch as a thickener, so this isn’t suitable for people who are strictly following Keto or South Beach Diet Phase One, but the amount of carbs is still much lower than traditional enchiladas.
Find More Recipes Like This One: Use Casserole Recipes to find more recipes like this one! Use the Diet Type Index to find recipes suitable for a specific eating plan. You might also like to follow Kalyn’s Kitchen on Pinterest, on Facebook, on Instagram, on TikTok, or on YouTube to see all the good recipes I’m sharing there.
Historical Notes for this Recipe: The mock enchilada casserole with chicken and green chiles was first posted in 2014 and right away it became a hit in my extended family and on the blog. The recipe was last updated with more information in 2025.
Share This:
We are a participant in the Amazon Services LLC Associates Program, an affiliate advertising program designed to provide a means for us to earn fees by linking to Amazon.com and affiliated sites. As an Amazon Associate, I earn from qualifying purchases.
Crunchy, fresh, and full of flavor, this Asian carrot salad with chicken and edamame is a high-protein, high-fiber meal that’s perfect for a light but filling lunch.
Jump to: ℹ️ Overview | 🛒 Ingredients | 📷 How To Make | 📹 Watch The Video | 👩🍳 Recipe Tips | 🥗 Serving Suggestions | 📝 Full Recipe Card | 🍽 More High-Protein Salad Recipes
This Asian-inspired carrot salad is a fresh, crunchy bowl of goodness with just the right balance of sweet, tangy, salty, and spicy. You get tender slices of pan-seared chicken breast for lean protein, vibrant carrots shredded or sliced into ribbons, and little pops of edamame for a fiber boost. It’s all tossed in a garlicky soy-lime dressing with a hint of sesame and a drizzle of chili crisp, just enough heat to keep things interesting without breaking a sweat.
It’s inspired by that viral carrot salad all over social media, but let’s be real, if you’re going to make a salad, you might as well do more than carrots. By adding chicken and edamame, you turn a side dish into a fibre-rich, protein-packed and meal-prep-worthy main. It’s macro-friendly, naturally gluten-free (if you swap the soy sauce), and honestly, just super satisfying.
Nutrition per serving based on 3 servings (approx.): Calories: ~388 | Protein: 40 grams | Fiber: 5 grams (boost fibre by adding extra sesame seeds or extra edamame beans)
👉 This healthy carrot salad is part of my high-protein and fiber meals series. You might also like this baked chia oats recipe, my avocado cottage cheese toast, Asian cucumber tofu salad, or my high-protein butternut squash soup.
What You’ll Need
Here is what you’ll need for this Asian carrot salad with chicken and edamame recipe. Find the full measurements in the recipe card below.
Chicken breast – high in protein and super lean, plus a little olive oil for cooking and salt and pepper for seasoning.
Carrots – sweet, crunchy, and full of beta-carotene and fiber; I used pre-shredded carrot but you can thinly slice carrots or peel them into ribbons.
Edamame beans – packed with plant protein and fiber; I used frozen shelled edamame beans.
Green onion – adds a mild bite and freshness.
Cilantro (or coriander) – gives the salad a herby, citrusy finish.
Toasted sesame seeds – nutty crunch and visual flair.
For the Dressing:
Lime juice + zest – fresh and zingy.
Rice vinegar – adds tang and keeps it light.
Soy sauce – umami central; use tamari for gluten-free.
Sesame oil – for that toasty Asian flavor.
Garlic – adds punch.
Sugar – just enough to balance.
Chili crisp – customizable heat and crunch.
How To Make Asian Carrot Salad With Chicken & Edamame
Find the full recipe and nutritional information below. Here are some handy step-by-step photos for Asian carrot salad with chicken and edamame.
Season and pan-fry the chicken breast until golden and cooked through.
Let the chicken rest before slicing into bite-sized pieces.
Defrost or briefly cook the edamame in boiling water, then strain.
Mix all the dressing ingredients in a large bowl.
Add carrots, edamame, green onion, sesame seeds, cilantro, and chicken to the bowl.
Toss everything together until well coated.
Optional: top with extra chili crisp or crunchy noodles for fun.
Watch The Video
Carrots – sweet, crunchy, and full of beta-carotene and fiber.
Recipe Tips
Make-ahead? Yes! Store the salad and dressing separately for best texture. Or toss it all together and enjoy within 2 days—it’s still good the next day.
Swaps: Use rotisserie chicken if you’re in a rush. Sub edamame with chickpeas or cooked green peas for similar protein and fiber content.
Spice it up: Add more chili crisp or a splash of sriracha.
Storage: Keeps well in the fridge for 2-3 days. Not freezer-friendly.
Serving Suggestions
This is a meal on its own, but it also plays well with:
A side of steamed jasmine rice or vermicelli noodles if you’re extra hungry.
Lettuce cups for a fun, DIY wrap situation.
Crushed peanuts or cashews for added crunch.
💬 If you’ve tried this Asian carrot salad with chicken and edamame or any other recipe on the blog then don’t forget to rate the recipe and let me know how you got on in the comments below, I love hearing from you! You can also FOLLOW ME on Instagram, Facebook, Pinterest, YouTube, and or sign up to my Newsletter to see more of my delicious food.
Want to Save This Recipe?
Enter your email & I’ll send it to your inbox. Plus, get great new recipes from me every week!
By submitting this form, you consent to receive emails from Cooked & Loved
Crunchy, fresh, and full of flavor, this Asian carrot salad with chicken and edamame is a high-protein, high-fiber meal that’s perfect for a light but filling lunch. Find step-by-step photos and more recipe tips above.
Season chicken with salt and pepper. Heat oil in a skillet over medium-high heat. Cook chicken for 4–5 minutes each side until golden and cooked through. Let it rest, then slice into bite-sized pieces.
Mix the dressing ingredients in a large bowl.
Place frozen edamame in boiling water for 1–2 minutes. Strain and set aside.
Add carrots, green onion, edamame, sesame seeds, cilantro, and sliced chicken into the bowl with the dressing.
Toss everything together using hands or tongs until well coated.
Serve as-is or top with extra chili crisp, crushed peanuts, or crunchy noodles.
Can I use pre-cooked chicken? Absolutely—grilled or rotisserie chicken works great here.
What if I don’t like cilantro? Swap with fresh mint, parsley, or just leave it out.
How spicy is this? Not very—the chili crisp adds mild heat, but you can easily adjust the amount or skip it.
Can I make it vegetarian? Yes! Just skip the chicken and maybe add tofu or more edamame.
Make-ahead? Yes! Store the salad and dressing separately for best texture. Or toss it all together and enjoy within 2 days—it’s still good the next day.
Swaps: Use rotisserie chicken if you’re in a rush. Sub edamame with chickpeas or cooked green peas for similar protein and fiber content.
Spice it up: Add more chili crisp or a splash of sriracha.
Storage: Keeps well in the fridge for 2-3 days. Not freezer-friendly.
Macros per serving based on 3 servings: Calories: ~388 | Protein: 40 grams | Fiber: 4 grams Macros per serving based on 2 servings: Calories: ~580 | Protein: 59 grams | Fiber: 8 grams