Category: Sea Food

  • Easy Homemade Fish Sticks Recipe

    Easy Homemade Fish Sticks Recipe

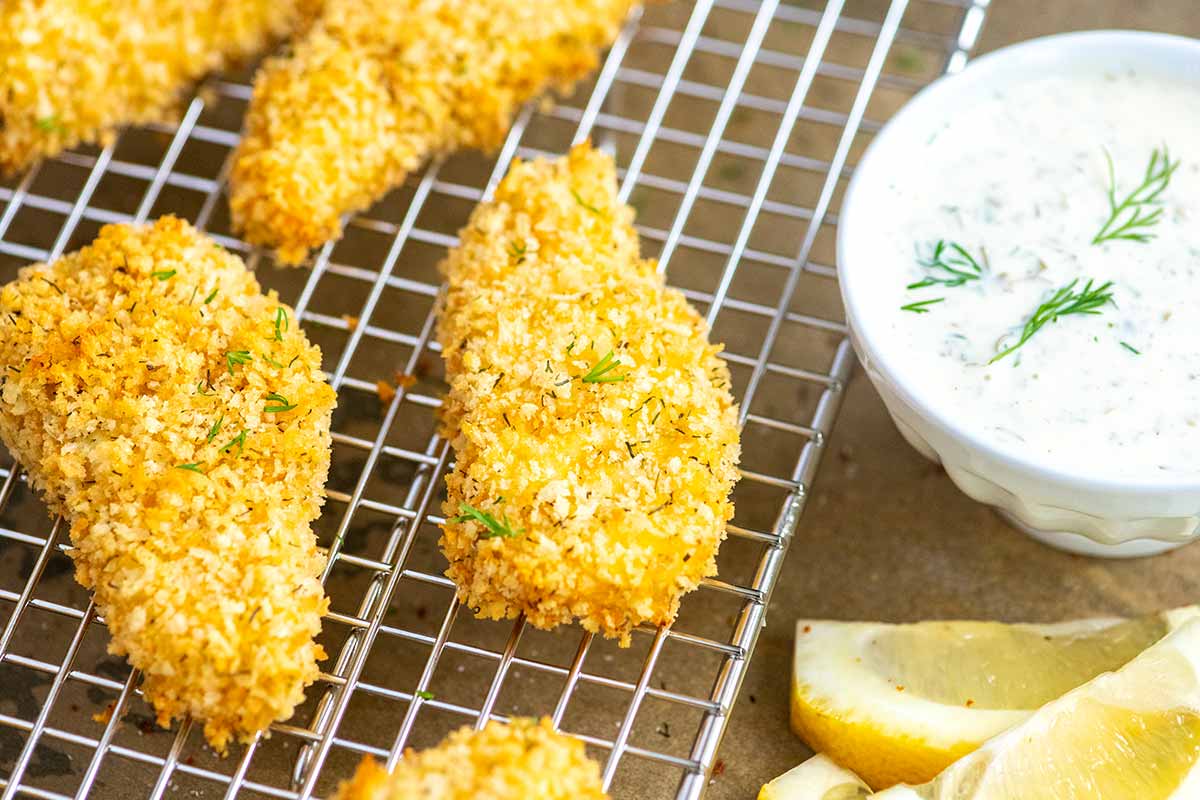
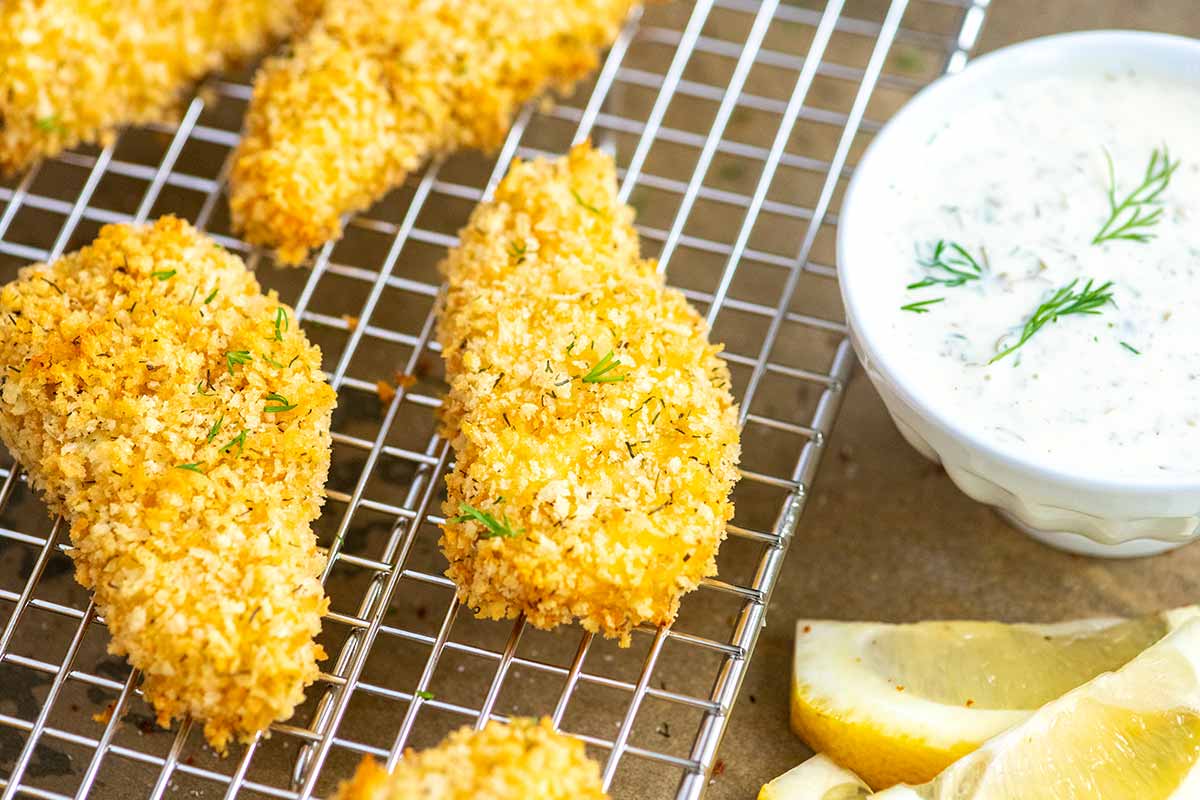
    Our family loves these homemade fish sticks! They are flaky and tender on the inside and crispy on the outside. These are baked, not fried, and call for a handful of real, simple ingredients.
    Homemade Fish Sticks

    These homemade fish sticks are way better than anything sold in the freezer section of your local grocery store. Just like our homemade chicken nuggets, adults and kids go crazy for them, thanks to our simple seasoning blend. Plus, since we bake them in the oven, they are healthier, too.

    I cannot wait for you to make these fish sticks. The ingredient list is simple, and you probably already have most of what you need in your kitchen! I love them served next to fresh lemon slices and homemade tartar sauce. We also love this homemade ketchup and our creamy honey mustard sauce!

    Key Ingredients

    • Fish: Use any firm white fish like Pacific cod, mahi-mahi, or tilapia. The trick is to cut the fish into similar sizes so the fish sticks all bake in the same amount of time.
    • Flour, Eggs, and Breadcrumbs: We use a three-part breading. First, all-purpose flour is mixed with spices. Second, beaten eggs and a little hot sauce, and third, breadcrumbs mixed with a little oil and dill. For gluten-free fish sticks, use gluten-free flour and crushed gluten-free certified cereal or potato chips for the breadcrumbs. For egg-free, try substituting the egg for cream (or a plant-based cream).

    How to Make Fish Sticks

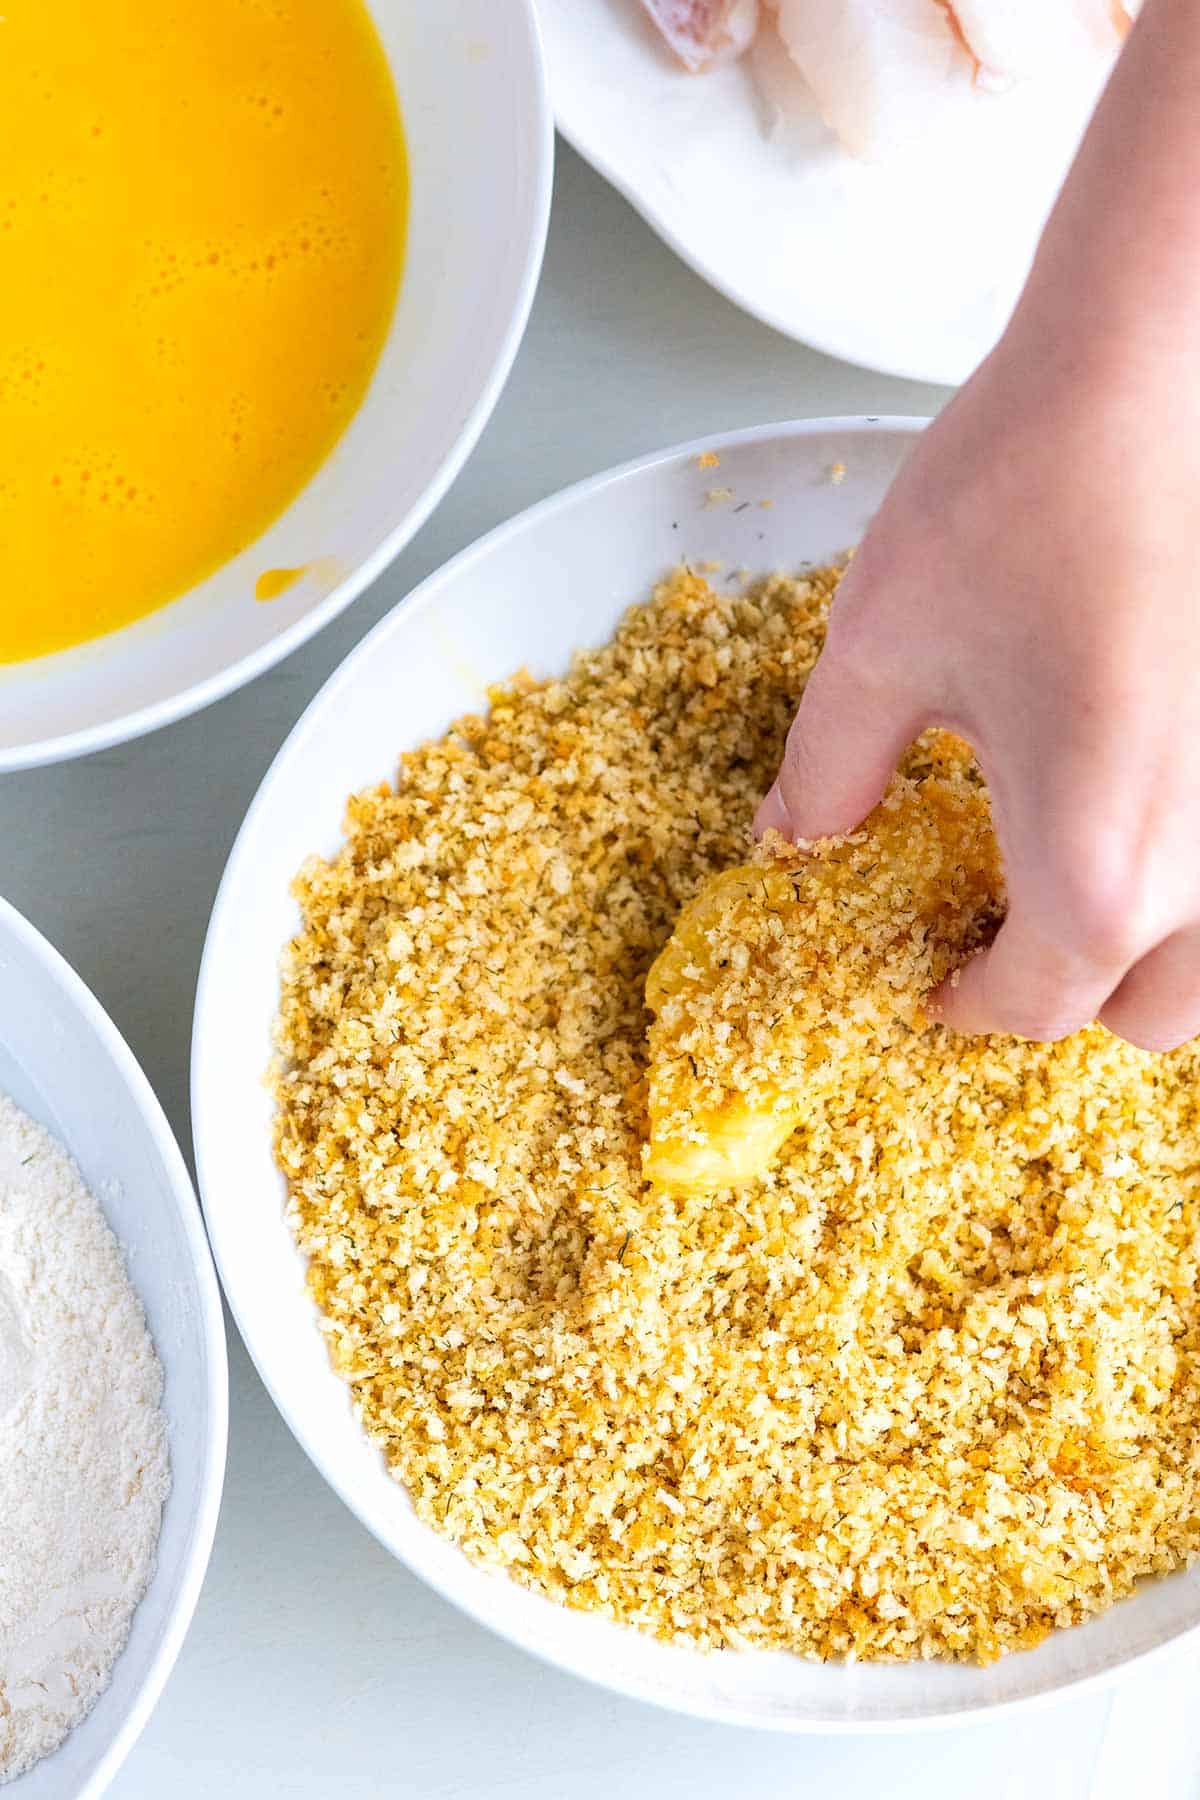
    To bread the fish, we use a traditional three-part breading process, which is the best way to make sure the breading stays on the fish and becomes crisp. It’s a simple process. Add flour and spices to one dish, beat eggs in a second dish, and then mix breadcrumbs and a few more seasonings in a third dish.

    After cutting the fish into thin strips, roll them into the flour, dip them into the egg, and then coat them in the breadcrumbs.
    How to Make Fish Sticks: Breading fish with flour, egg and breadcrumbs

    As I mentioned above, we bake our fish sticks. You can also fry them in a deep skillet with oil or use an air fryer (we haven’t tried this yet, but I bet they would be amazing).

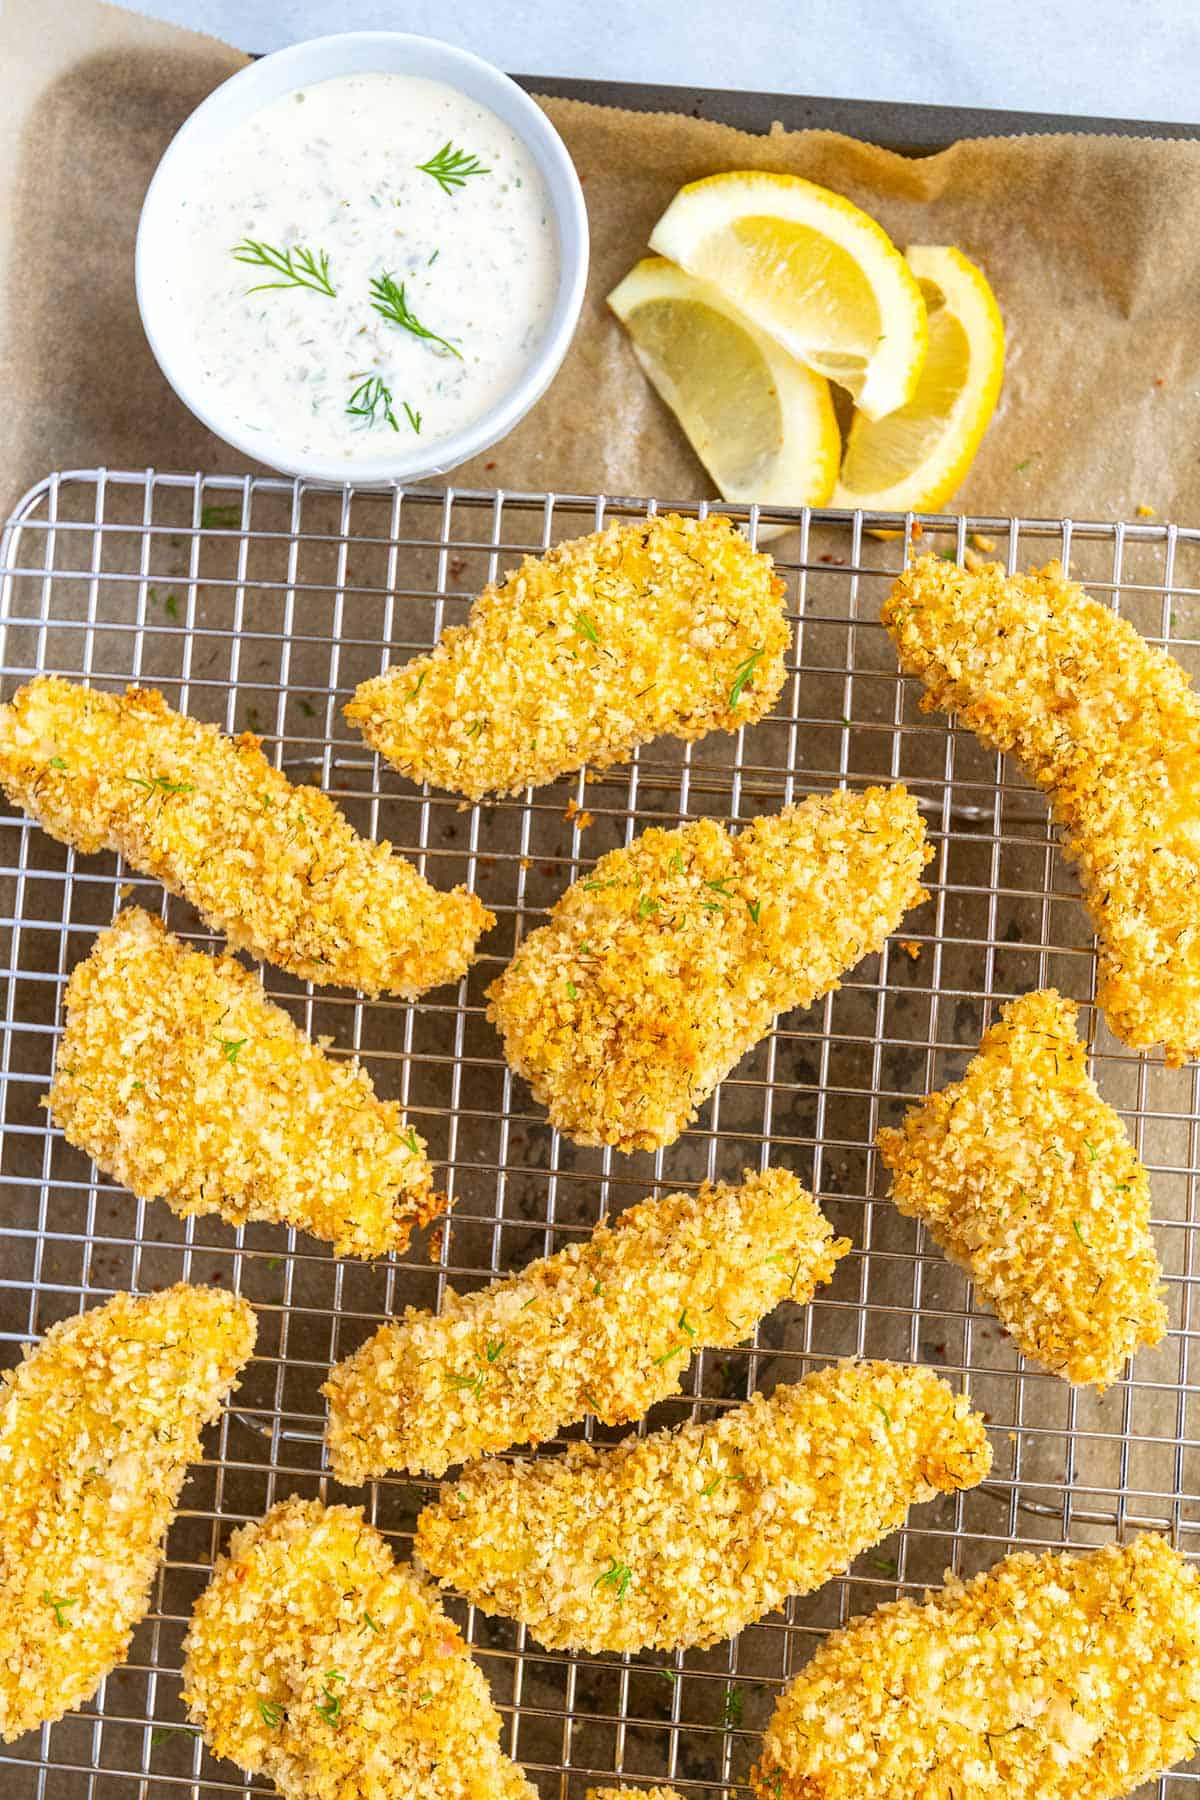
    You have two options when baking them: First, you can bake them directly on a parchment paper-lined baking sheet. You will need to flip the fish sticks halfway through baking. Or, follow my favorite method and bake them on an oven-safe wire rack set inside a rimmed baking sheet. The rack allows air to circulate around the fish, which makes them extra crispy.
    Homemade Fish Sticks

    Easy Homemade Fish Sticks

    • PREP
    • COOK
    • TOTAL

    Our family loves these homemade fish sticks! They are flaky and tender on the inside and crispy on the outside. We highly recommend baking the fish on top of an oven-safe rack inset into a rimmed baking sheet, which helps to make the fish sticks extra crispy. If you do not have one, bake the fish sticks directly on a baking sheet lined with parchment paper or a silicone baking mat and turn once during baking.

    4 Servings (about 16 fish sticks)

    You Will Need

    1 pound (450g) cod fillets, sliced crosswise into 1-inch strips

    1/3 cup (43g) all-purpose flour

    1 teaspoon onion powder

    1/2 teaspoon garlic powder

    2 large eggs

    2 to 3 dashes hot sauce, optional

    1 ⅓ cup (150g) panko breadcrumbs or homemade breadcrumbs

    1 teaspoon dried dill or 1 tablespoon chopped fresh dill

    Olive oil or non-stick cooking spray

    Salt and fresh ground black pepper

    Directions

      1Preheat the oven to 375°F (190°C) and line a baking sheet with parchment paper or a silicone baking mat. If you have one, place an oven-safe wire rack on the baking sheet and spray with nonstick cooking spray. This will make the fish sticks extra crispy.

      2Prepare three shallow bowls. Whisk the flour with onion powder, garlic powder, and 1/2 teaspoon salt in the first bowl. In the second bowl, whisk the eggs and hot sauce together until blended. In the final bowl, stir the breadcrumbs and dill together. Drizzle one tablespoon of olive oil over the breadcrumbs and mix well. (Or spray with nonstick cooking spray).

      3Pat the fish dry, then roll a piece of fish into the flour with one hand. Shake off excess flour and then dip into the egg mixture. Shake the excess egg off, and then with your other hand or a fork, roll the fish into the breadcrumbs and place onto the prepared baking sheet (or onto the rack). Repeat with the remaining pieces of fish.

      4Bake for 15 to 20 minutes, turning once during cooking. (If you are using a rack, turning it is unnecessary.) The fish sticks are done when the breading is golden brown, and the fish flakes easily with a fork.

      5Serve with a very light sprinkle of salt and fresh ground black pepper over the top.

    Adam and Joanne’s Tips

    • Gluten-free fish sticks: Substitute gluten-free certified flour blend or almond flour for the all-purpose flour and crushed gluten-free certified cereal or potato chips for the breadcrumbs.
    • Egg-free fish sticks: Cook’s Illustrated suggests using heavy cream as a substitute for eggs when breading fish, vegetables, and chicken. You can also try olive oil.
    • For even more golden brown color and crispiness, before breading the fish, toast the breadcrumbs mixed with a little olive oil until light brown. In a 375 degree oven, this will take a minute or two. Make sure you check on the breadcrumbs and stir every 30 seconds so that they do not burn. You can also toast the breadcrumbs in a skillet over medium heat.
    • The nutrition facts provided below are estimates.

    Nutrition Per Serving
    Serving Size
    4 fish sticks
    /
    Calories
    333
    /
    Total Fat
    8.1g
    /
    Saturated Fat
    1.7g
    /
    Cholesterol
    145.1mg
    /
    Sodium
    448mg
    /
    Carbohydrate
    35.4g
    /
    Dietary Fiber
    2.2g
    /
    Total Sugars
    2.5g
    /
    Protein
    29.1g


    AUTHOR:

    Joanne Gallagher

    Adam and Joanne of Inspired Taste

    We are Adam and Joanne Gallagher, the creators of Inspired Taste. Established in 2009, Inspired Taste grew from a childhood dream into one of the internet’s most trusted recipe sites with hundreds of reliable recipes, step-by-step videos, and expert tips.More About Us
    Source link

  • Perfect Lobster Mac and Cheese Recipe

    Perfect Lobster Mac and Cheese Recipe

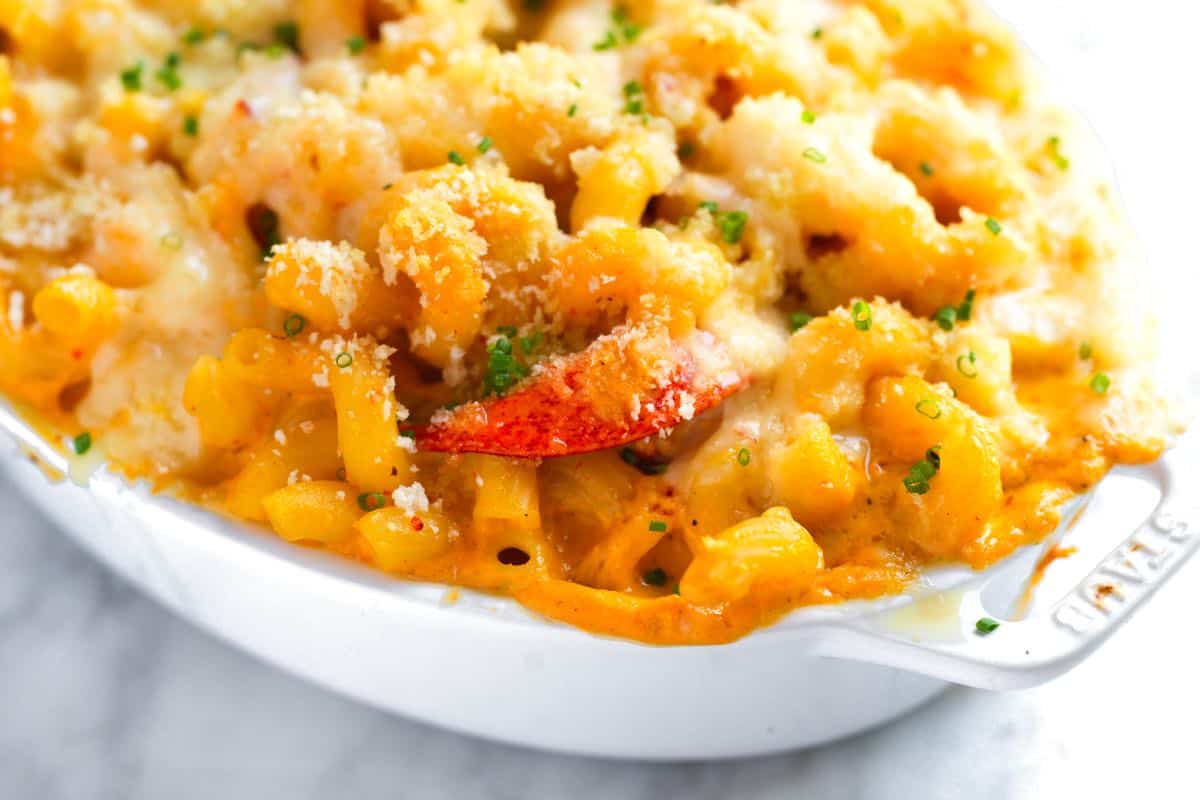
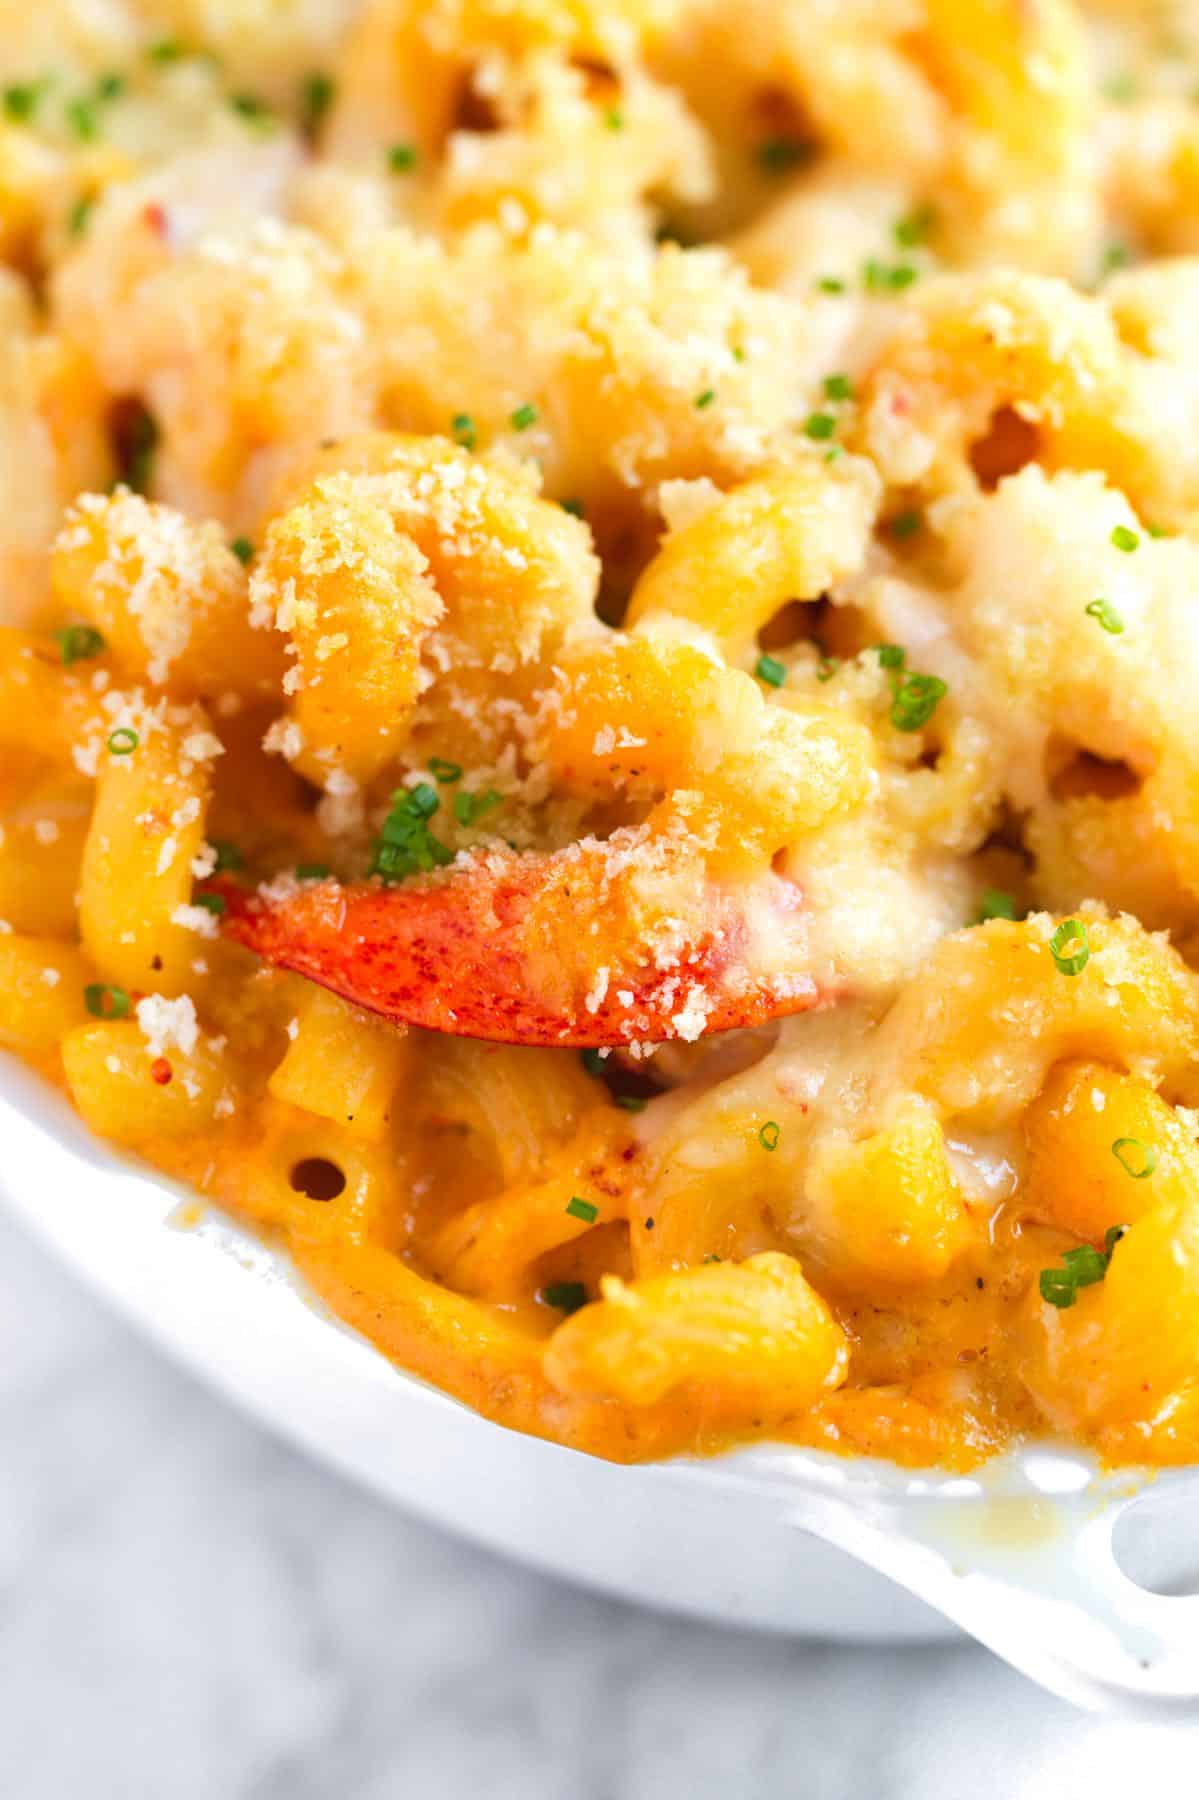
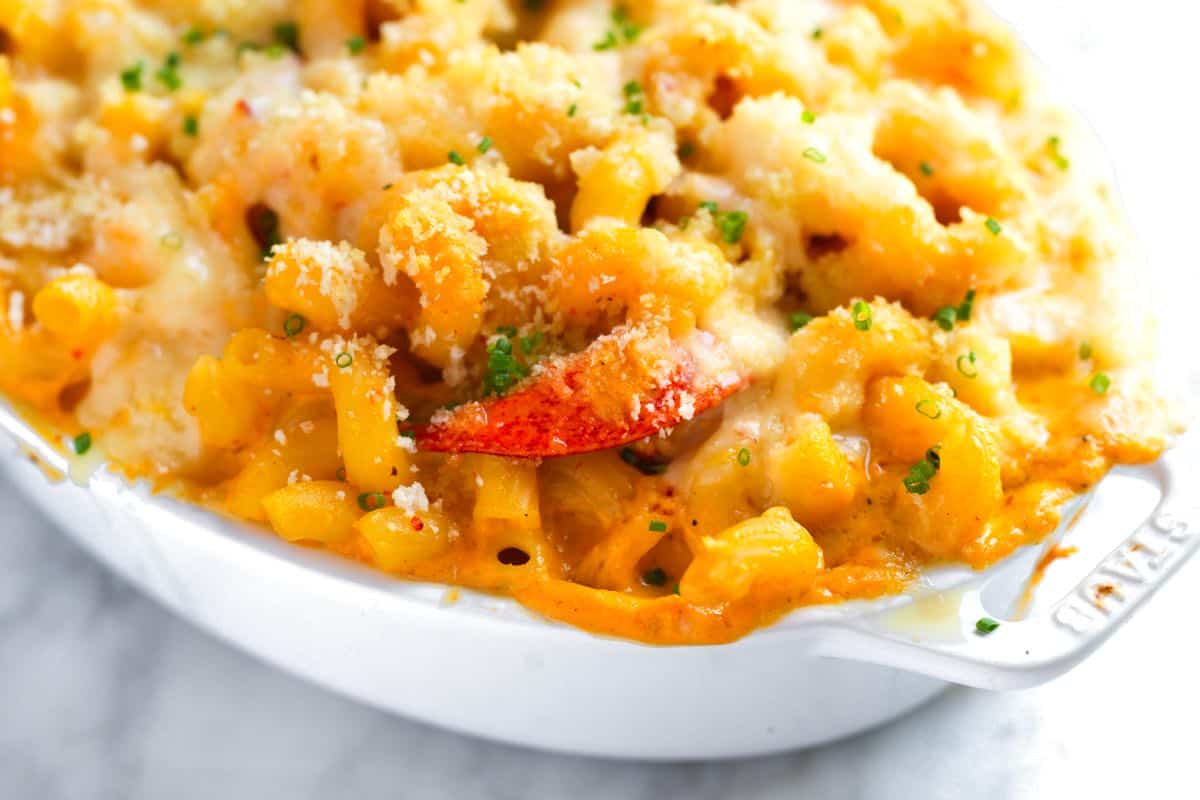
    This lobster mac and cheese is outrageously delicious! The rich lobster cheese sauce is the star of the show, packed with lobster flavor and perfect for any special occasion, from date night to the holidays.

    Lobster Mac and Cheese

    We don’t skimp on flavor in this lobster mac and cheese. Unlike other recipes that simply add lobster meat to a standard mac and cheese, we take it a step further. We create a deeply flavorful lobster cheese sauce using the lobster bodies, similar to how lobster bisque is made.

    This results in an intensely flavorful mac and cheese, so much so that adding lobster meat is entirely optional! The sauce itself delivers incredible lobster flavor. You can absolutely add cooked lobster meat if you wish, but you might prefer to save it for other delicious dishes like lobster rolls.

    Key Ingredients

    • Lobster: We will start with 2 live lobsters, then cook them so that you have perfectly cooked lobster meat and lobster bodies ready to make our cheese sauce. If you prefer, you can ask your local fishmonger to cook your lobster, but don’t forget to ask for the lobster bodies back (the main shells with the head and tiny legs attached), as this makes our lobster cheese sauce so delicious. Remember, adding lobster meat to the mac and cheese is up to you. The bodies in our sauce add plenty of rich lobster flavor, so you may prefer to use the meat for another lobster recipe instead.
    • Aromatics: Since this is a classy dish, we bring in a few more ingredients than our basic macaroni and cheese. We use onion, carrot, garlic, fresh thyme, bay leaf, and tomato paste in our sauce. When they are all soft and sweet, they are blended into the cheese sauce, adding lots of flavor.
    • Butter and Flour: These help thicken our sauce.
    • White Wine: A dry white wine like Pinot Grigio, Sauvignon Blanc, or unoaked Chardonnay adds complexity. For a non-alcoholic option, substitute vegetable broth.
    • Milk: For the creamiest sauce, use whole milk.
    • Cheese: A high-quality white cheddar, such as Beecher’s or English cheddar, is my favorite for this mac and cheese. Gruyère would also be lovely!
    • Pasta: Use your favorite short pasta shape. Since this is a special recipe, it can take a fancier shape like cavatappi or torchiette.

    How to Make Lobster Mac and Cheese

    Step one for lobster mac and cheese is to prepare your lobsters. I know working with live lobsters might sound overwhelming, but I walk you through everything you need to know in our recipe. You can also learn more about working with live lobsters in our lobster roll recipe!

    Our method for dispatching the lobster is quick and effective. Place the lobster on a cutting board and find the faint cross on its shell where the head and body connect. Quickly and firmly insert a large, sharp knife into this cross, pushing down through the head and between the eyes. This severs the spinal cord, killing the lobster instantly.

    From there, you can separate the bodies from the tail, claws, and legs. We want to keep the bodies uncooked, so we can use them to make our lobster cheese sauce. Then, we will cook the lobster meat in boiling salted water. Once cooked, you can pull the meat from the shells and save it for adding to our lobster mac and cheese or save it for another dish. It keeps in the fridge for up to 4 days.

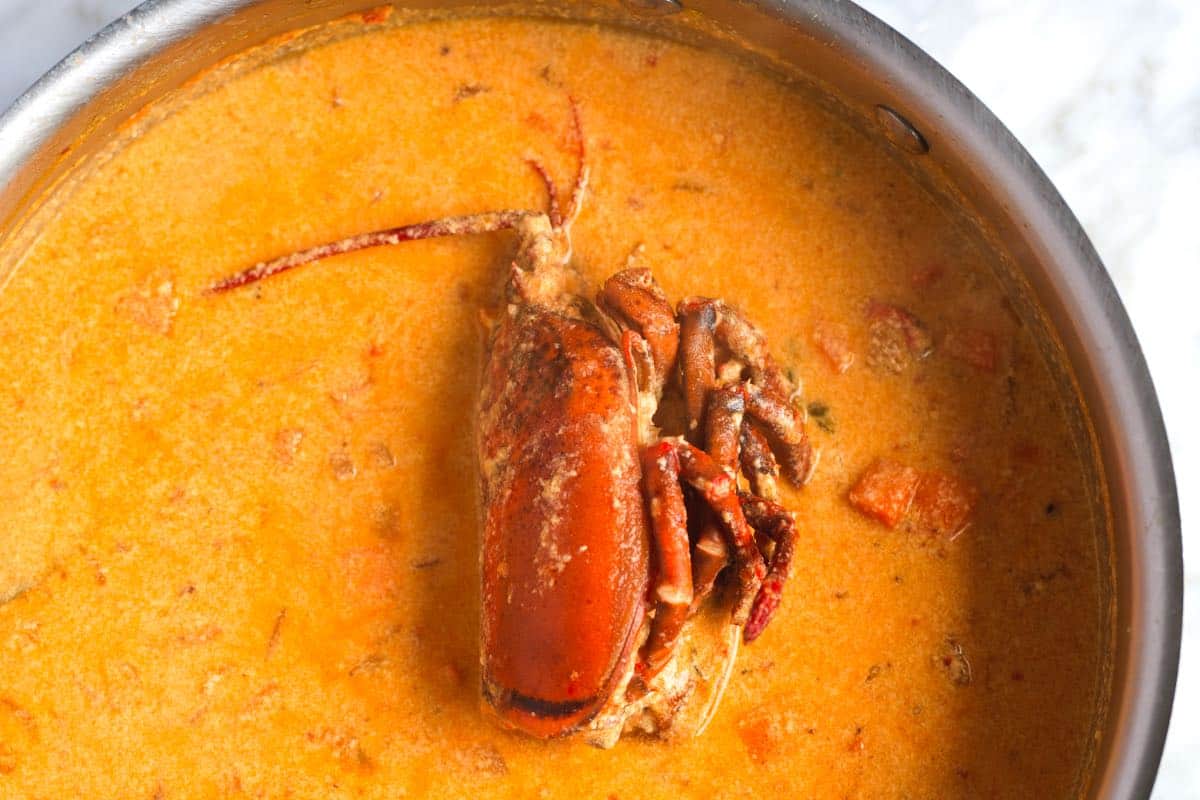
    How to Make Lobster Mac and Cheese: Simmering lobster bodies in our sauce

    The trick to the best lobster mac and cheese is to cook the lobster bodies with butter, aromatics, and milk for about 30 minutes. In this time, the bodies perfume the mixture with rich lobster flavor (more than any meat ever could). After 30 minutes, you’ll discard the bodies and blend your sauce with some cheese.

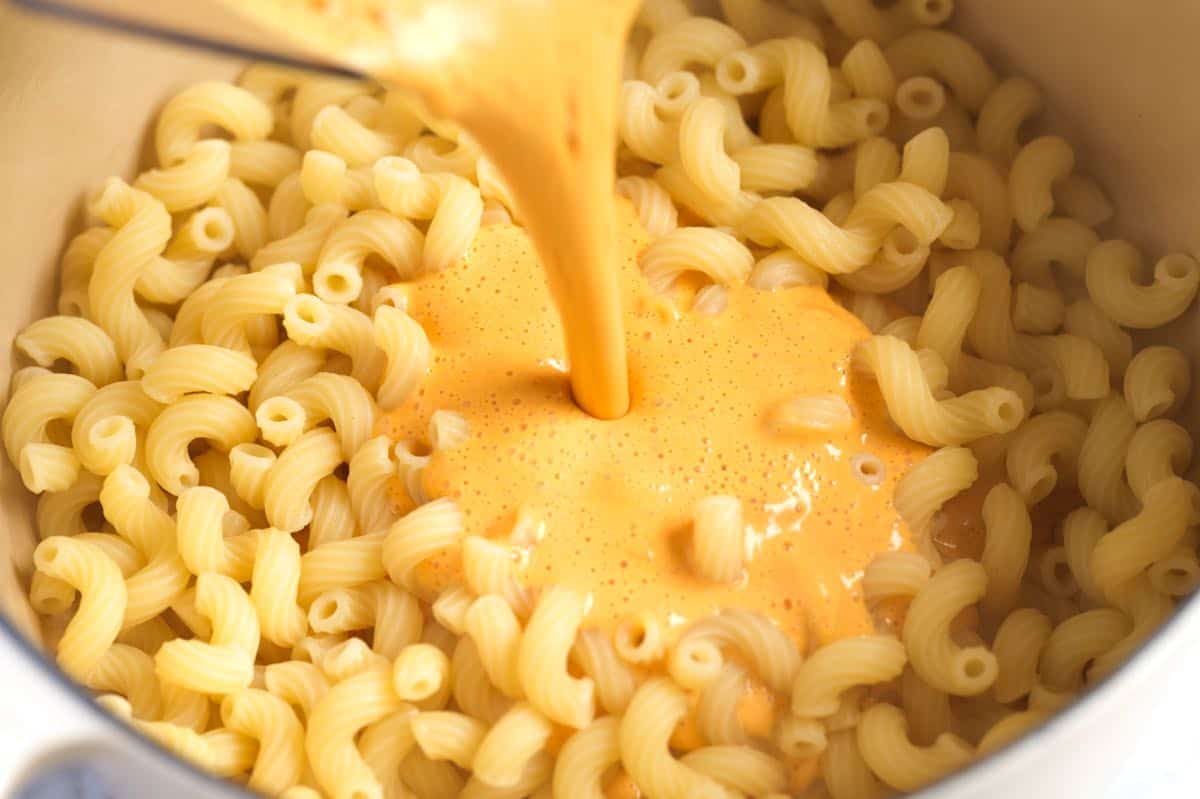
    How to Make Lobster Mac and Cheese: Tossing pasta with the lobster cheese sauce

    Finally, toss the sauce with cooked pasta, add optional lobster meat, and bake in a casserole dish until bubbly. It’s incredible!

    Lobster Mac and Cheese

    Perfect Lobster Mac and Cheese

    • PREP
    • COOK
    • TOTAL

    There are two ways to make lobster mac and cheese: with or without lobster meat. In both cases, you’ll use the lobster shells to create the signature lobster flavor in the sauce. We’ll guide you through each step, from humanely dispatching and cooking live lobsters to making the rich lobster cheese sauce. Then, you can decide whether to fold the cooked lobster meat into your mac and cheese or enjoy it separately (it’s fantastic with melted butter or in lobster rolls!). The lobster bodies (the main shells with the head and tiny legs attached) release a rich, savory lobster flavor into the sauce, making them essential for this recipe.

    Make Ahead Tip: Cooked lobster meat can be refrigerated for up to 3 days, meaning you can prepare the meat in advance. You can also freeze the lobster bodies for up to 6 months. This lets you prepare the lobsters, enjoy the meat in another meal, and save the bodies for later.

    4 to 6 Servings

    You Will Need

    2 whole lobsters, 1 ½ pounds each

    2 tablespoons butter

    Half a sweet onion, finely chopped, about 1 cup

    1 medium carrot, finely chopped, about ½ cup

    2 cloves garlic, roughly chopped

    2 sprigs thyme

    1 tablespoon flour

    1 tablespoon tomato paste

    1/2 cup (60ml) white wine

    2 cups (473ml) whole milk

    1 bay leaf

    12 ounces (340g) white cheddar cheese, grated, about 3 cups

    8 ounces (226g) short pasta like fusilli, cavatappi, or torchiette

    1/4 cup (28g) panko breadcrumbs

    Salt and fresh ground black pepper

    Directions

    • Prepare Lobsters
    • 1If starting with live lobsters, handle them with care. Hold a lobster firmly just behind its head and place it on a cutting board, using a clean kitchen towel to keep it steady. Look for a small, cross-shaped mark on the shell where the head joins the body. Using a large, sharp knife, swiftly and firmly insert the tip into this mark and cut downwards through the head, between the eyes. This method dispatches the lobster quickly. The legs might twitch a little afterward, but the lobster is dead.

      2Separate the lobster parts by size: tails in one pile, large claws in another, and finally, all the small claws together in a third pile. You will cook these in the next step for lobster meat.

      3The lobster bodies (the main shells, including the head and tiny legs) are essential for the sauce. Set them aside. You will use them in our lobster sauce to create its rich flavor.

      4Bring a large pot of water to a boil with two tablespoons of salt.

      5Cook the tails for five minutes and transfer them to a plate to cool. Next, cook the large claws for 5 minutes. Transfer them to a plate to cool, and finish by cooking the small claws for four minutes.

      6Remove the lobster meat from the shells when the tails and claws are cool enough to handle. For the tails, use kitchen shears to cut down the top of the tails, pull them open, crack the back slightly, and then pull out the meat. For the claws, use a knife or mallet to crack open the claws and then remove the meat. Use tweezers or chopsticks to remove smaller bits of meat from legs and knuckles. Store the lobster meat in an airtight container in the fridge. If you plan to add some to the mac and cheese, you will need about 1 cup, which means you will likely have some extra lobster meat, which is never a bad thing.

    • Make Lobster Mac and Cheese
    • 1For lobster mac and cheese, you’ll need 2 lobster bodies and, optionally, 1 cup of cooked lobster meat. Cut the lobster bodies in half with a heavy knife.

      2In a wide pan at least 3 inches deep, like a rondo, melt the butter over medium heat. Ideally, use a pan with a lid, as you will need the lid later on.

      3Add the lobster bodies, onion, carrot, garlic, and thyme to the pan. Cook for about 10 minutes, stirring occasionally. The goal is not to brown the vegetables, just soften them. The lobster bodies will also turn red.

      4Add the flour and stir it around the pan, then do the same with the tomato paste.

      5Pour in the white wine and stir well. Once it begins to stick to the bottom, add the milk and bay leaf. Season with salt and pepper, then cook at a low and gentle simmer, partially covered, for 30 minutes. During this time, check that the milk is not bubbling too much or sticking to the bottom of the pan. Turn the heat down if necessary. The milk may look slightly curdled, but in the next step, we will blend everything, which brings the sauce back together.

      6Remove the lobster bodies and discard them. Then, pour the liquid into a blender. Add 6 ounces of cheese (1 ½ cups), and puree until smooth.  Chill the sauce in the fridge until ready to toss with the pasta. Blending tip: for safety remove the blender lid center insert and hold a kitchen towel over the hole while blending. This releases steam and prevents messy splatters.

      7Bring a pot of salted water to a boil, then cook the pasta until al dente. Strain.

      8Preheat the oven to 350°F (177°C). Lightly grease a casserole dish, that holds at least 2 quarts.

      9In a mixing bowl, combine the hot pasta with the lobster sauce and half the remaining cheese (2 ounces or 1/2 cup). Stir well to combine. If you are adding lobster meat, fold it in.

      10Transfer the pasta mixture to the casserole dish.

      11In a small bowl, mix the panko bread crumbs with the remaining cheese, and then scatter it over the top of the mac and cheese.

      12Bake for 40 to 50 minutes, until the middle is hot and the top is golden brown.

    Adam and Joanne’s Tips

    • Storing: Store baked lobster mac and cheese in an airtight container for up to 4 days.
    • Precooked lobster: If you prefer, you can ask your local fishmonger to cook your lobster, but don’t forget to ask for the lobster bodies back (the main shells with the head and tiny legs attached), as this makes our lobster cheese sauce so delicious. Starting with uncooked bodies adds a bit more flavor to our sauce, but you can still make it with cooked lobster bodies.
    • Nutrition facts are estimates. We included 1 cup of lobster meat and 1/2 teaspoon salt.

    Nutrition Per Serving
    Serving Size
    1/6 of the recipe
    /
    Calories
    530
    /
    Total Fat
    26.5g
    /
    Saturated Fat
    14.8g
    /
    Cholesterol
    109.8mg
    /
    Sodium
    763.9mg
    /
    Carbohydrate
    42.5g
    /
    Dietary Fiber
    2.2g
    /
    Total Sugars
    7.9g
    /
    Protein
    26.4g


    AUTHOR:

    Joanne Gallagher

    Adam and Joanne of Inspired Taste

    We are Adam and Joanne Gallagher, the creators of Inspired Taste. Established in 2009, Inspired Taste grew from a childhood dream into one of the internet’s most trusted recipe sites with hundreds of reliable recipes, step-by-step videos, and expert tips.More About Us
    Source link

  • Honey Walnut Shrimp Recipe | The Recipe Critic

    Honey Walnut Shrimp Recipe | The Recipe Critic

    This website may contain affiliate links and advertising so that we can provide recipes to you. Read my disclosure policy.

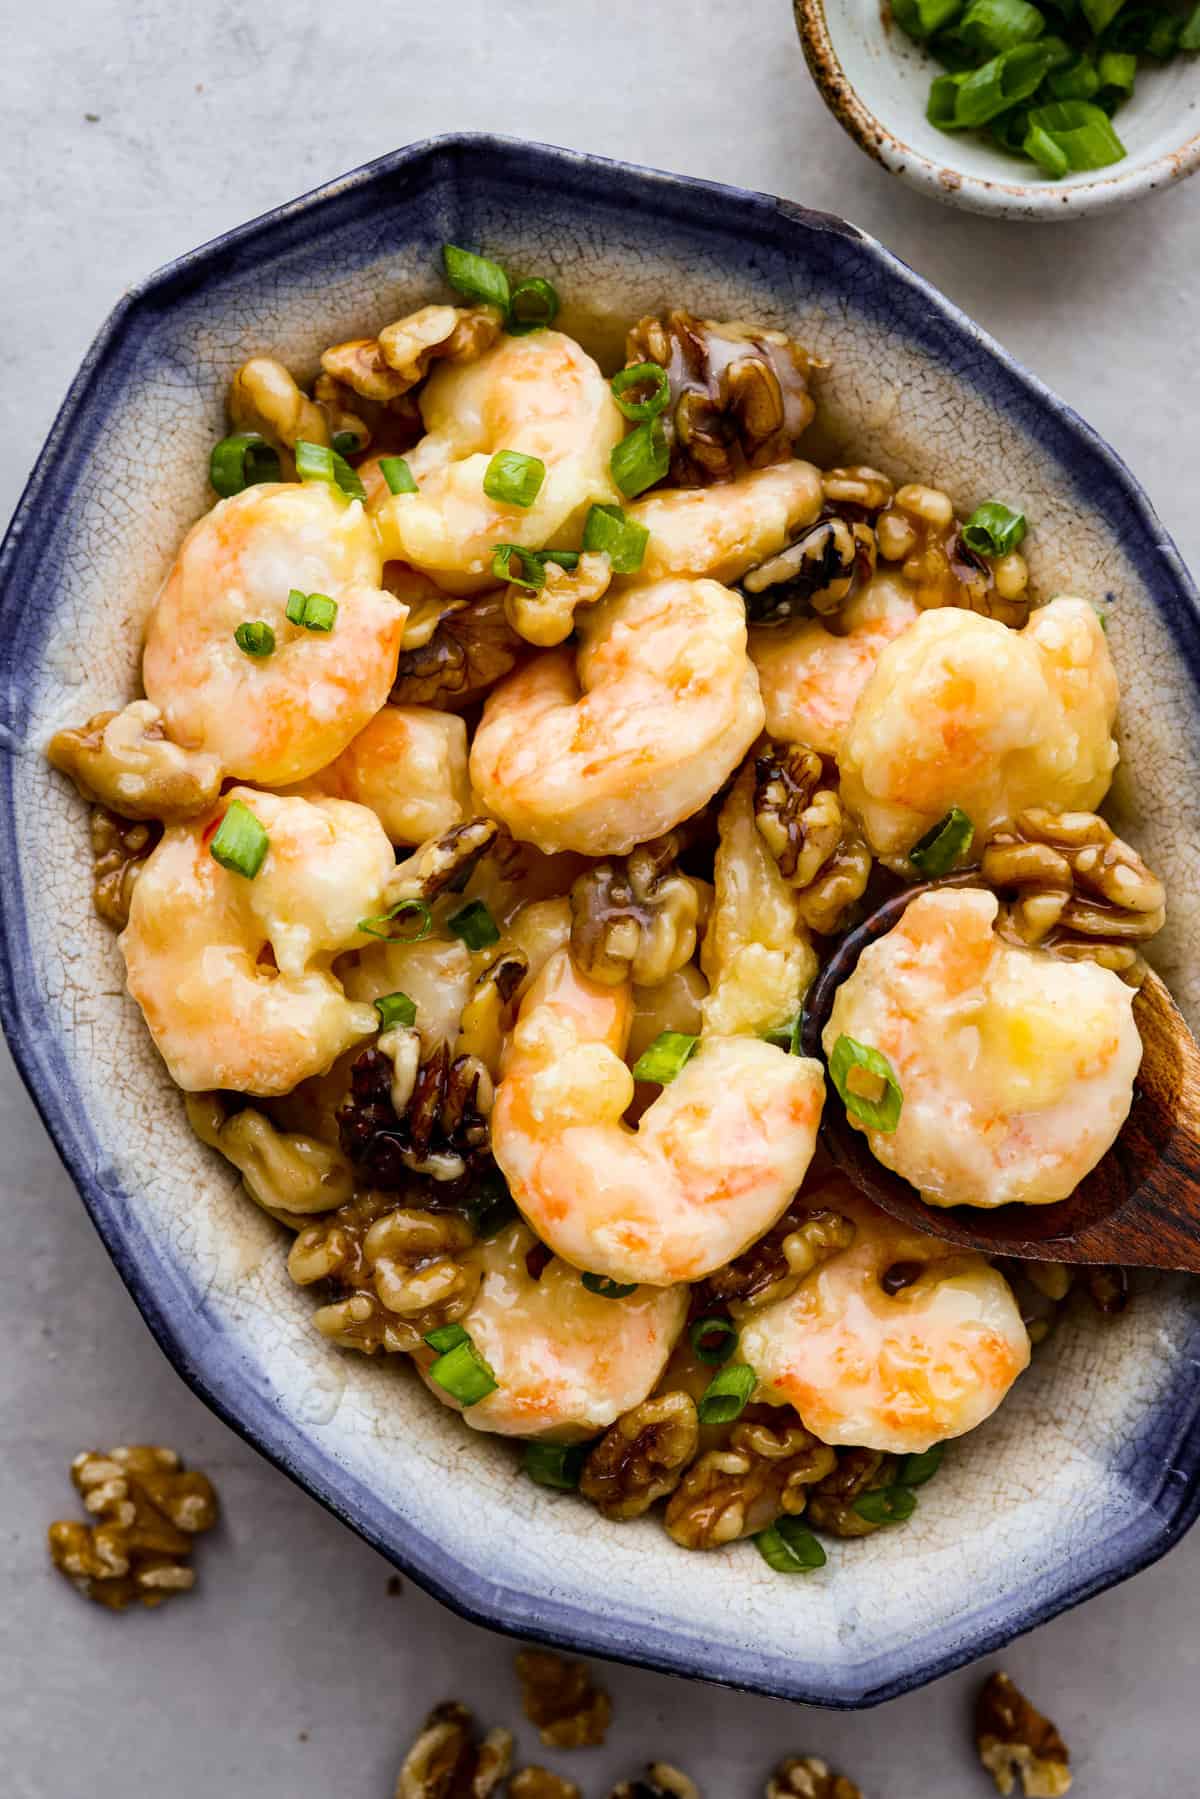
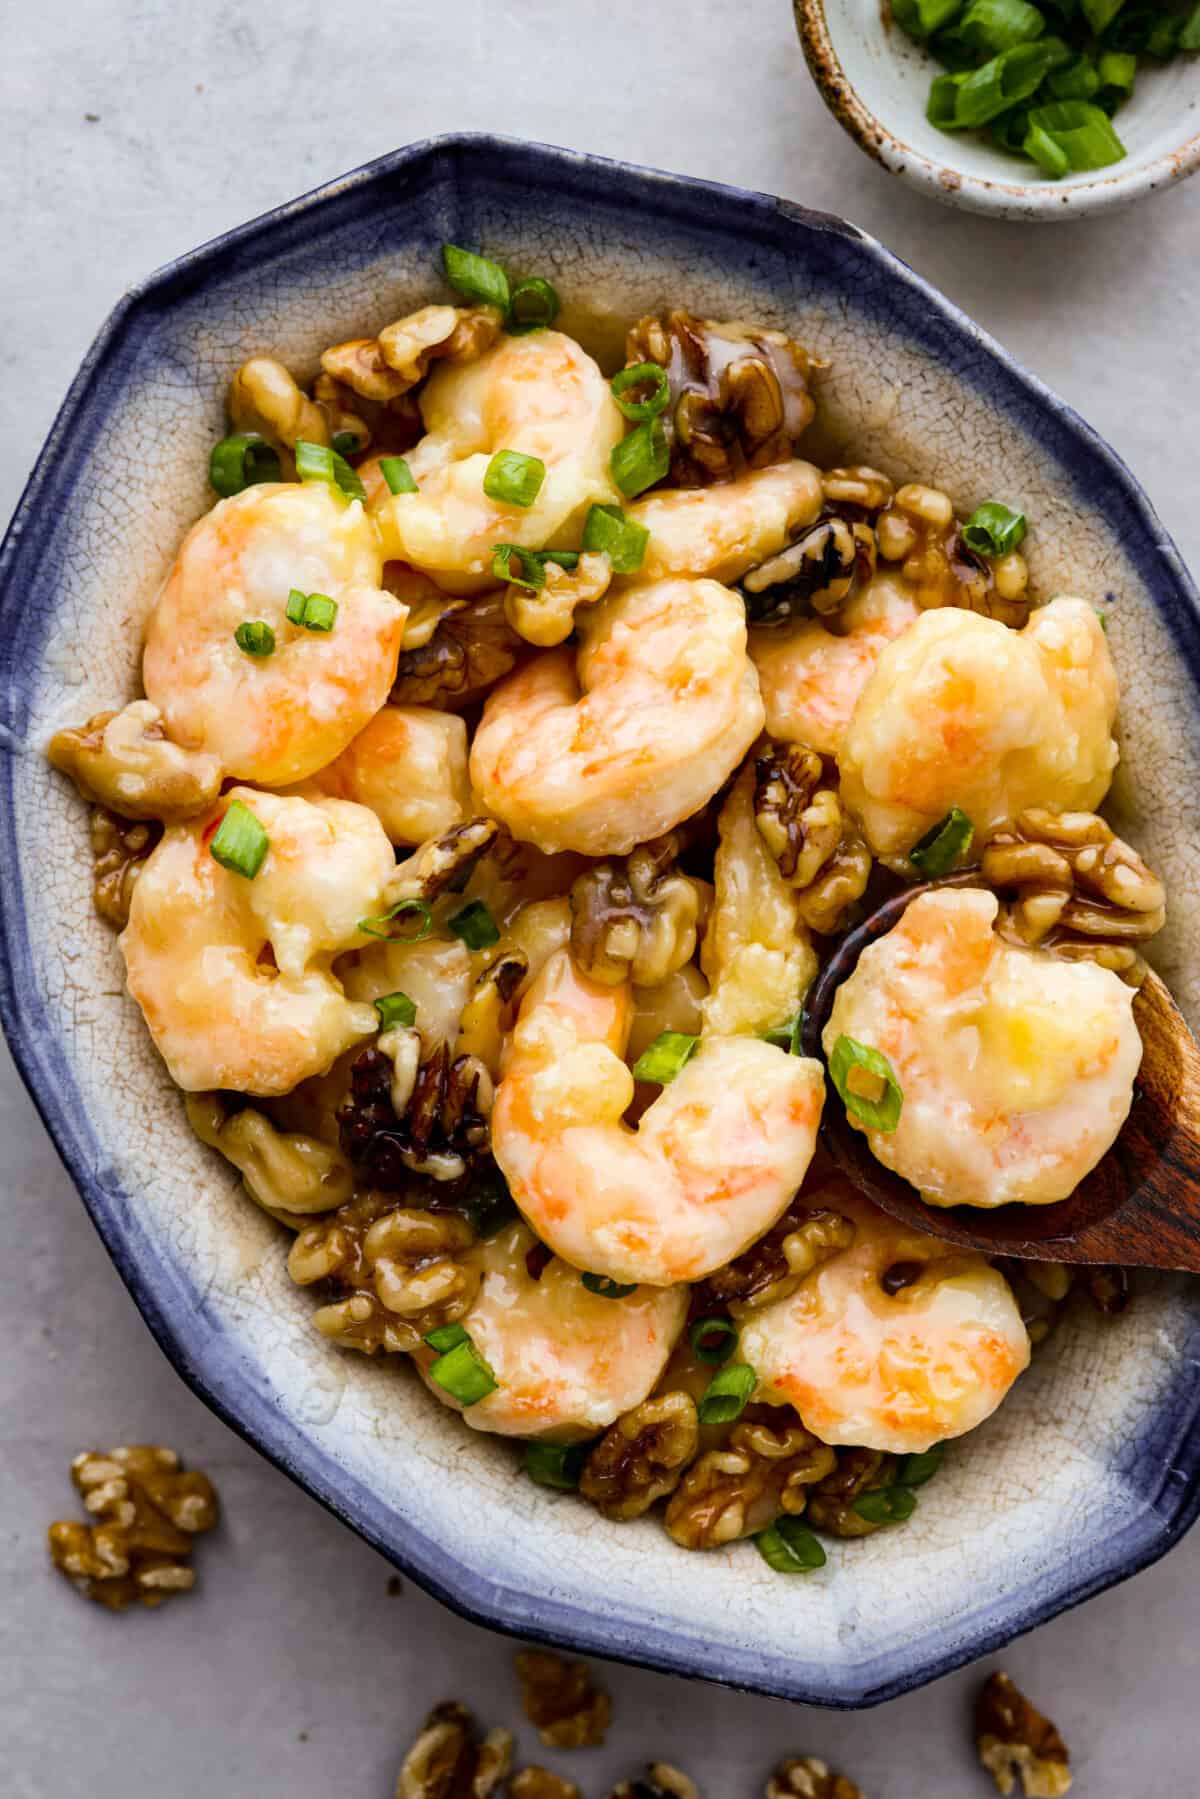
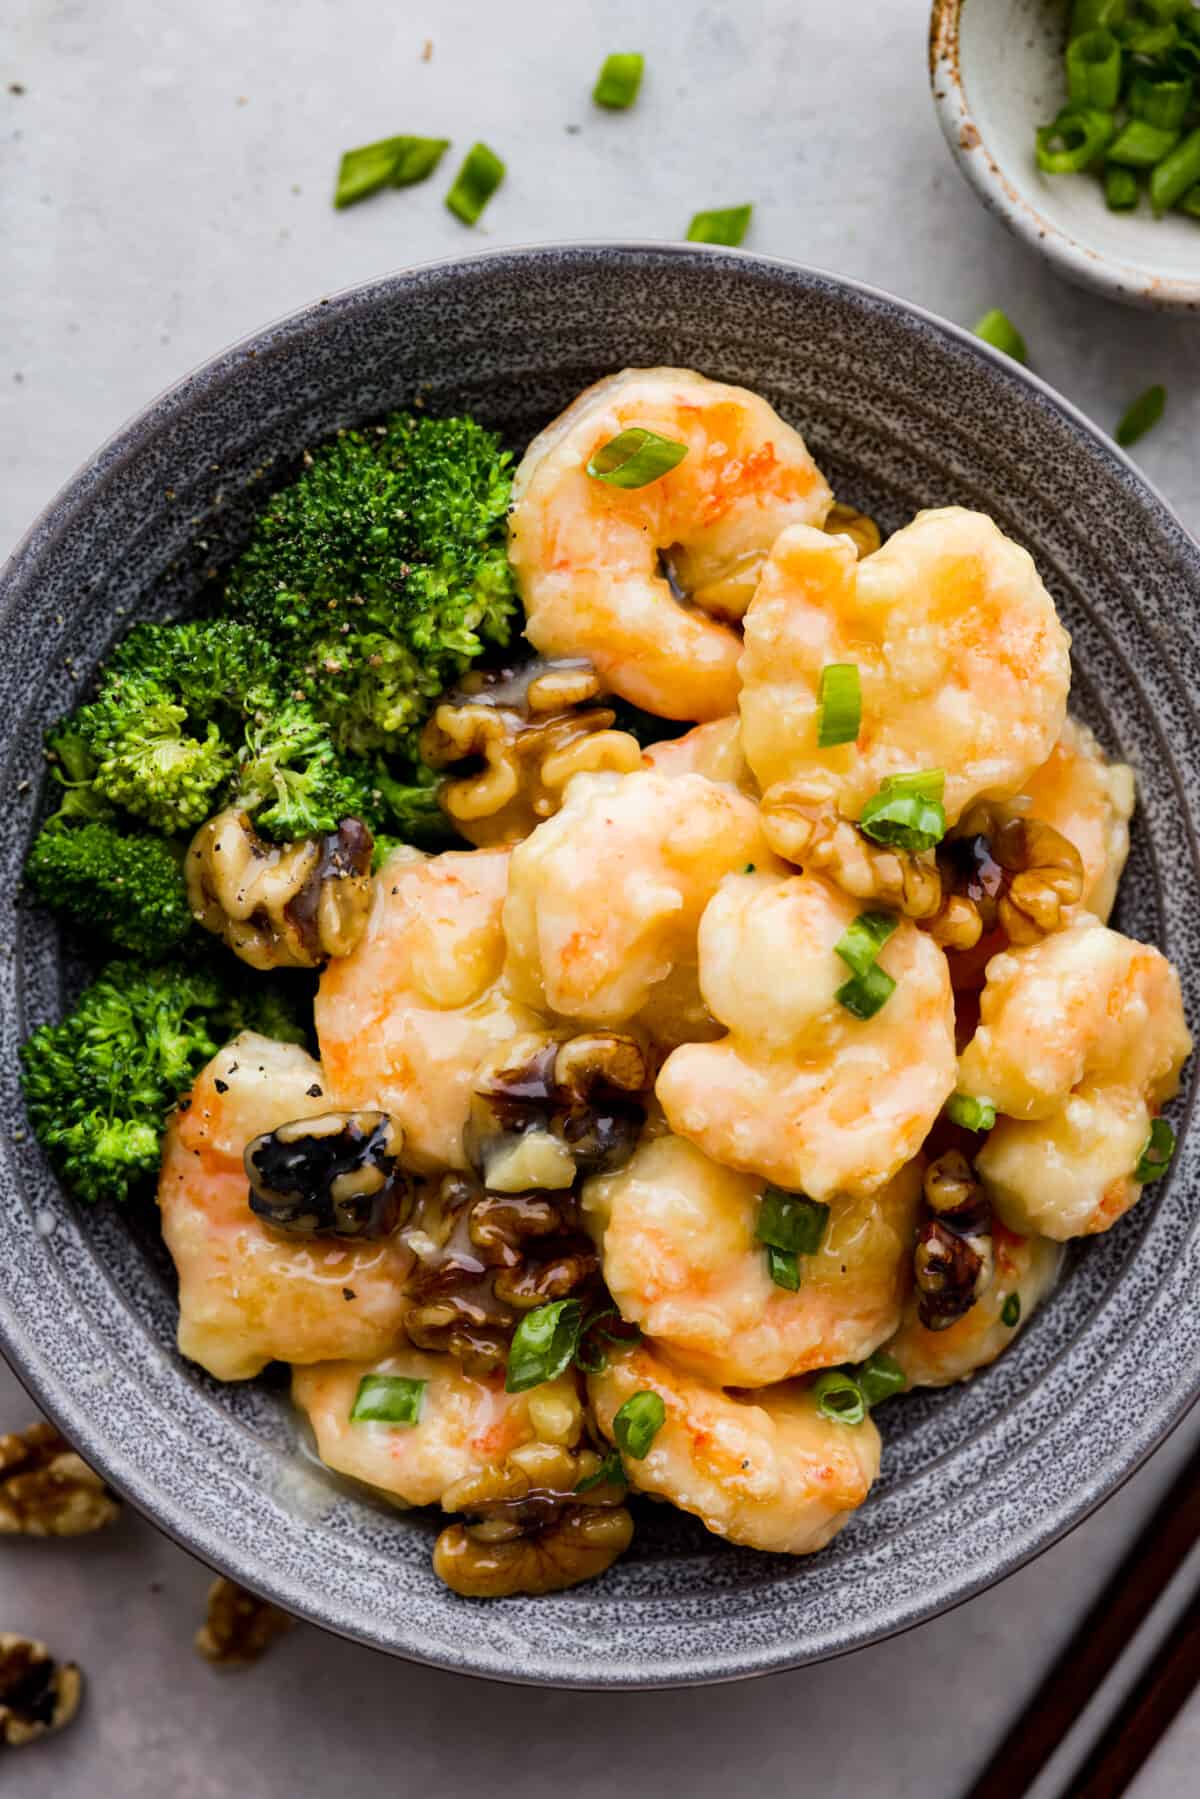
    Crispy shrimp tossed in a creamy sweet sauce with candied walnuts. This honey walnut shrimp is so much better than takeout and one of the best shrimp recipes that you will make!

    Calling all shrimp lovers! Here are more recipes you need to add to the dinner lineup: bang bang shrimp, dynamite shrimp, and Hawaiian-style garlic shrimp!

    Hero image of crispy walnut shrimp on a blue and white serving dish.

    A Reader’s Review

    Perfect and delicious! It turned out just as I was hoping, and really hits the mark for those craving the Panda Express version! Cannot recommend enough!

    Scott

    Honey Walnut Shrimp Recipe

    Let’s talk shrimp. Do you love it or hate it? My husband LOVES shrimp! He asks me to make it all the time. I wasn’t the biggest fan of it before, but I am a firm believer in giving things a second try. I’m so happy I did because shrimp is so delicious and versatile! Since honey walnut shrimp is such a popular dish, I decided to try recreating it at home with fresh, simple ingredients. No need to make a trip to Panda Express this time!

    This is a great recipe to start with if you aren’t a huge shrimp fan. (It will make you a believer!) First of all, the walnuts get a crunchy candied outside. Then, you pan fry the shrimp until the outside gets nice and crispy. But this honey glaze you guys… it is out of this world! It’s sweet, savory, creamy, and coats each piece of crispy shrimp perfectly. With honey walnut shrimp this good, you won’t be able to load enough onto your plate.

    Ingredients for Honey Walnut Shrimp

    The sauce is a combination of honey, mayonnaise, and sweetened condensed milk. Yes, you heard that right. Sweetened condensed milk! Just a little of this added to the sauce brings all of the flavors together and adds such a delicious and sweet glaze to the shrimp. And the candied walnuts throughout, so amazing!

    • Water: Adjusts the consistency of the honey glaze.
    • Sugar: Sweetens everything, making the walnuts sugary and giving a sweet taste to the shrimp.
    • Walnuts: Makes the dish crunchy and nutty when coated with sugar, which pairs nicely with the shrimp and sauce.
    • Vegetable Oil: Used to fry the shrimp, making them crispy and golden on the outside while keeping them soft inside.
    • Egg: Helps the cornstarch stick to the shrimp.
    • Cornstarch: The main coating for the honey walnut shrimp.
    • Shrimp: I used large deveined shrimp, but you can use any size you want. You may just need to adjust the cooking times a bit.
    • Mayonnaise: So the sauce is creamy and rich. Regular mayo and Japanese mayo (also known as kewpie mayo) both work!
    • Honey: Adds sweetness to the sauce, making it tasty and blending well with the walnuts.
    • Sweetened Condensed Milk: The secret ingredient! This adds a wonderful creaminess to the sauce.
    • Sliced Green Onions: Adds a little fresh onion taste and makes the dish look nice.

    Let’s Get Cooking!

    Honey walnut shrimp is the perfect 30-minute meal to impress your family with. Make a batch of my General Tso’s Chicken and Beef Chow Mein for the full takeout experience!

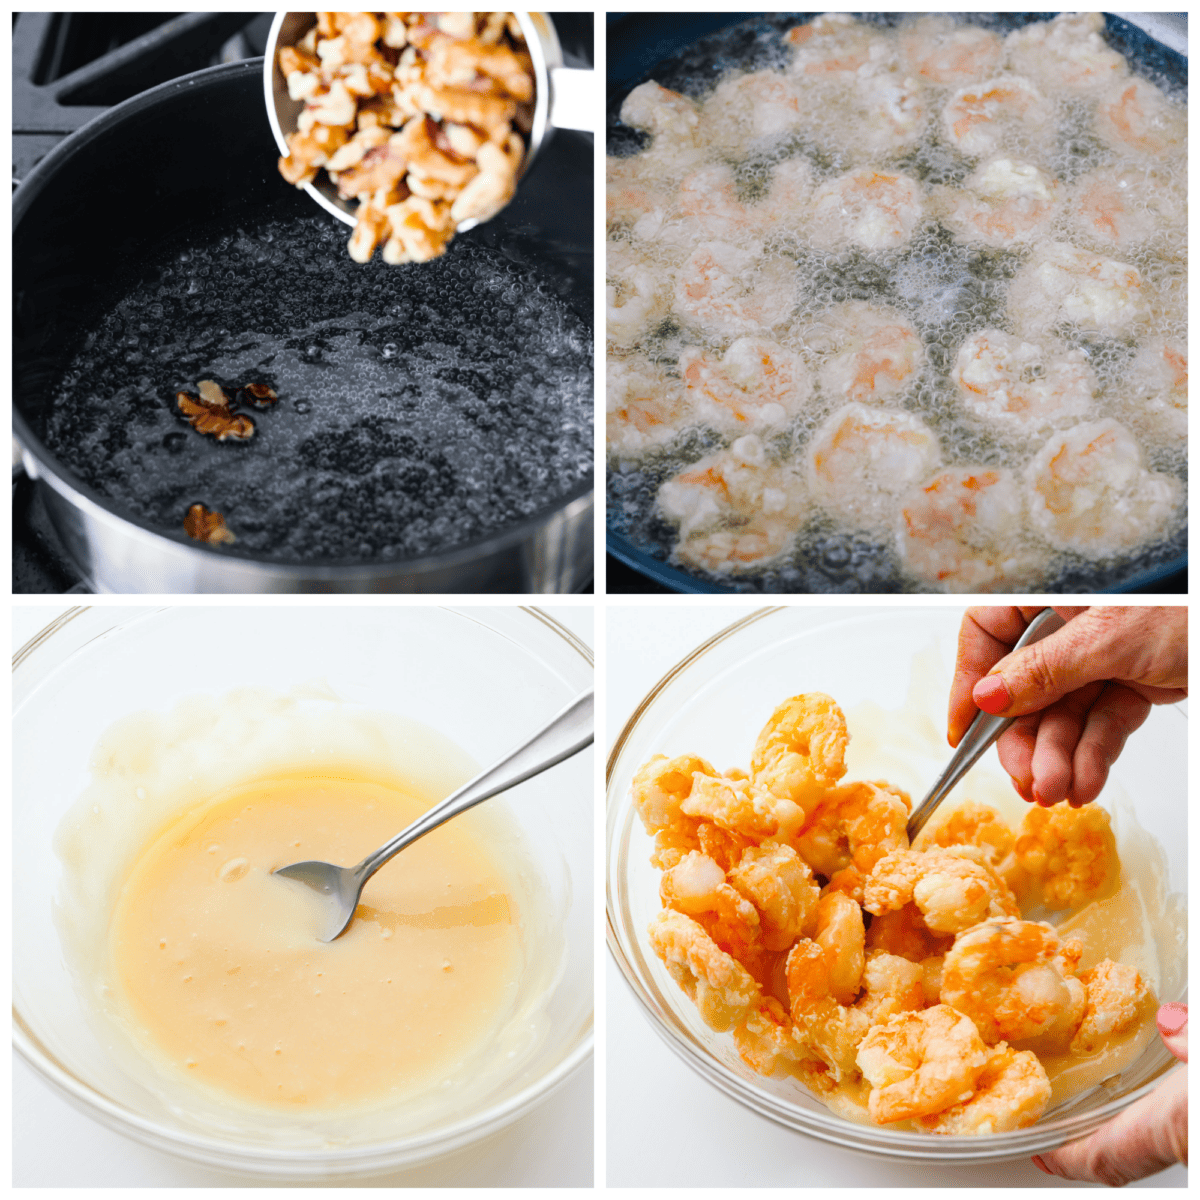
    1. Candy Walnuts: In a small saucepan stir together the water and sugar. Then bring to a boil and add the walnuts. Boil for about 2 minutes then drain and place on a cookie sheet to dry.
    2. Fry Shrimp: Heat the oil in a heavy deep skillet over medium high heat. In a small bowl whisk the egg. Then add the cornstarch to another small bowl. Dip the shrimp into the egg and then the cornstarch. Fry the shrimp for about 5 minutes or until they turn pink and the outside is golden brown. Remove with a slotted spoon and drain on a paper towel.
    3. Sauce Mixture: In a medium bowl whisk together mayonnaise, honey, and sweetened condensed milk. Add the fried shrimp and toss to coat. Sprinkle with candied walnuts and green onions. Serve honey walnut shrimp fresh with fried rice or any of your other favorite Chinese takeout recipes!
    4-photo collage of the shrimp being breaded and fried.

    Cooking Tips

    You are seriously going to love every single bite. Better-than-takeout recipes are the best! I promise that you are going to love this honey walnut shrimp just as much as my family does. Here are a few ways to make sure your dish turns out perfectly:

    • Candy the Walnuts First: Candy the walnuts early on, allowing them to dry properly on a cookie sheet. This ensures they’re crispy and sweet for the final dish.
    • Prep the Shrimp Well: Make sure to peel and devein the shrimp properly before coating with egg and cornstarch. This helps achieve crispy and evenly-coated shrimp.
    • Knowing When the Shrimp are Done: Fry the shrimp until they turn pink and have a golden brown exterior. Be careful not to overcook, as this can result in tough shrimp.
    • Fry Shrimp in Small Batches: To make sure each piece of shrimp gets cooked through properly, work in small batches and don’t overcrowd your skillet.
    • Drain Excess Oil: After frying, place the shrimp on a paper towel to drain any excess oil. No one likes soggy shrimp!
    • Create the Creamy Honey Sauce: Whisk the mayonnaise, honey, and sweetened condensed milk thoroughly to create a smooth sauce that coats the shrimp evenly.
    • Toss Shrimp Gently: When combining the shrimp with the sauce, toss them gently to ensure each shrimp is coated evenly without breaking that crispy outer texture.

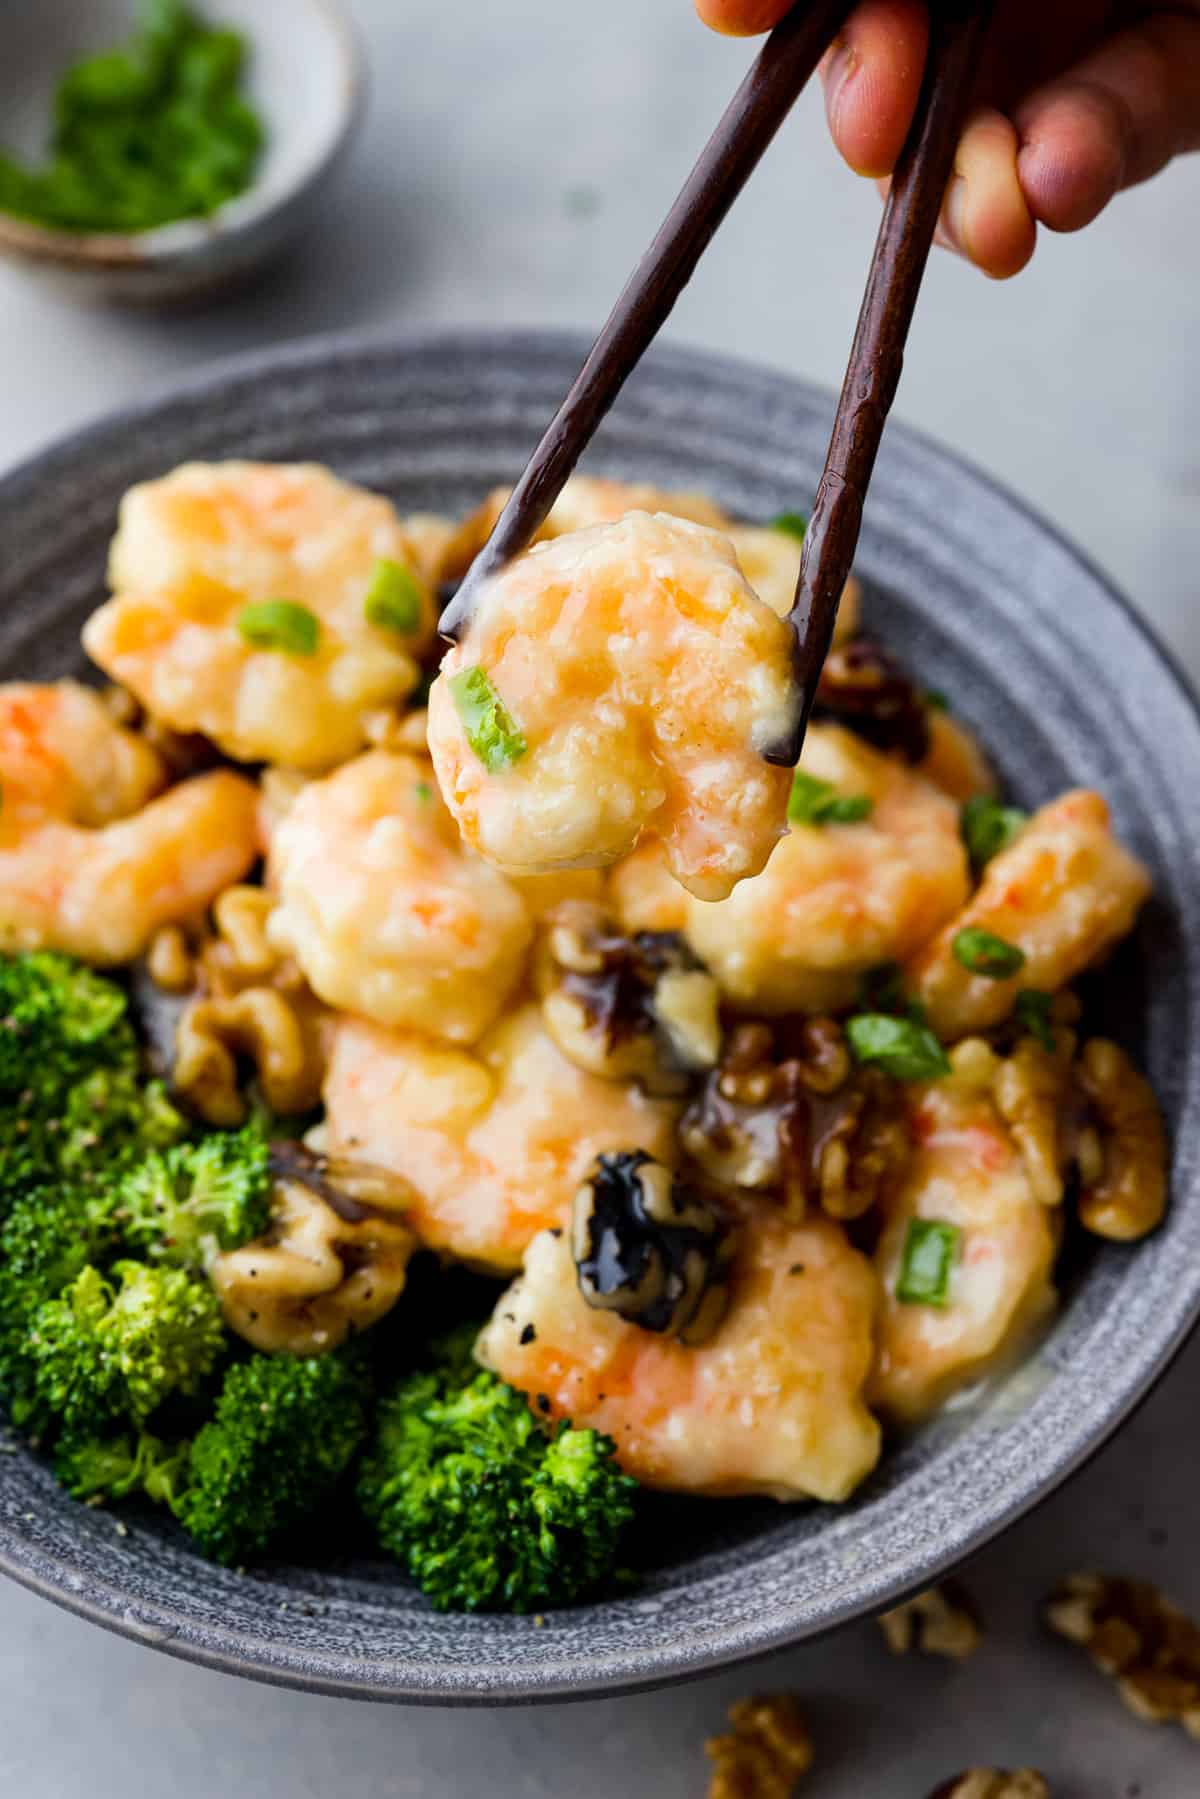
    Shrimp served with broccoli in a gray bowl.

    Storing Leftover Honey Walnut Shrimp

    If you have leftovers of this wonderful shrimp, here’s how to keep it fresh so you can enjoy it later.

    • In the Refrigerator: Transfer shrimp to an airtight container and store for 2-3 days.
    • Reheating: To make sure your shrimp stays crispy on the outside, I recommend reheating it in the oven. Add your honey walnut shrimp to a baking sheet and cook for about 10 minutes at 350 degrees Fahrenheit.

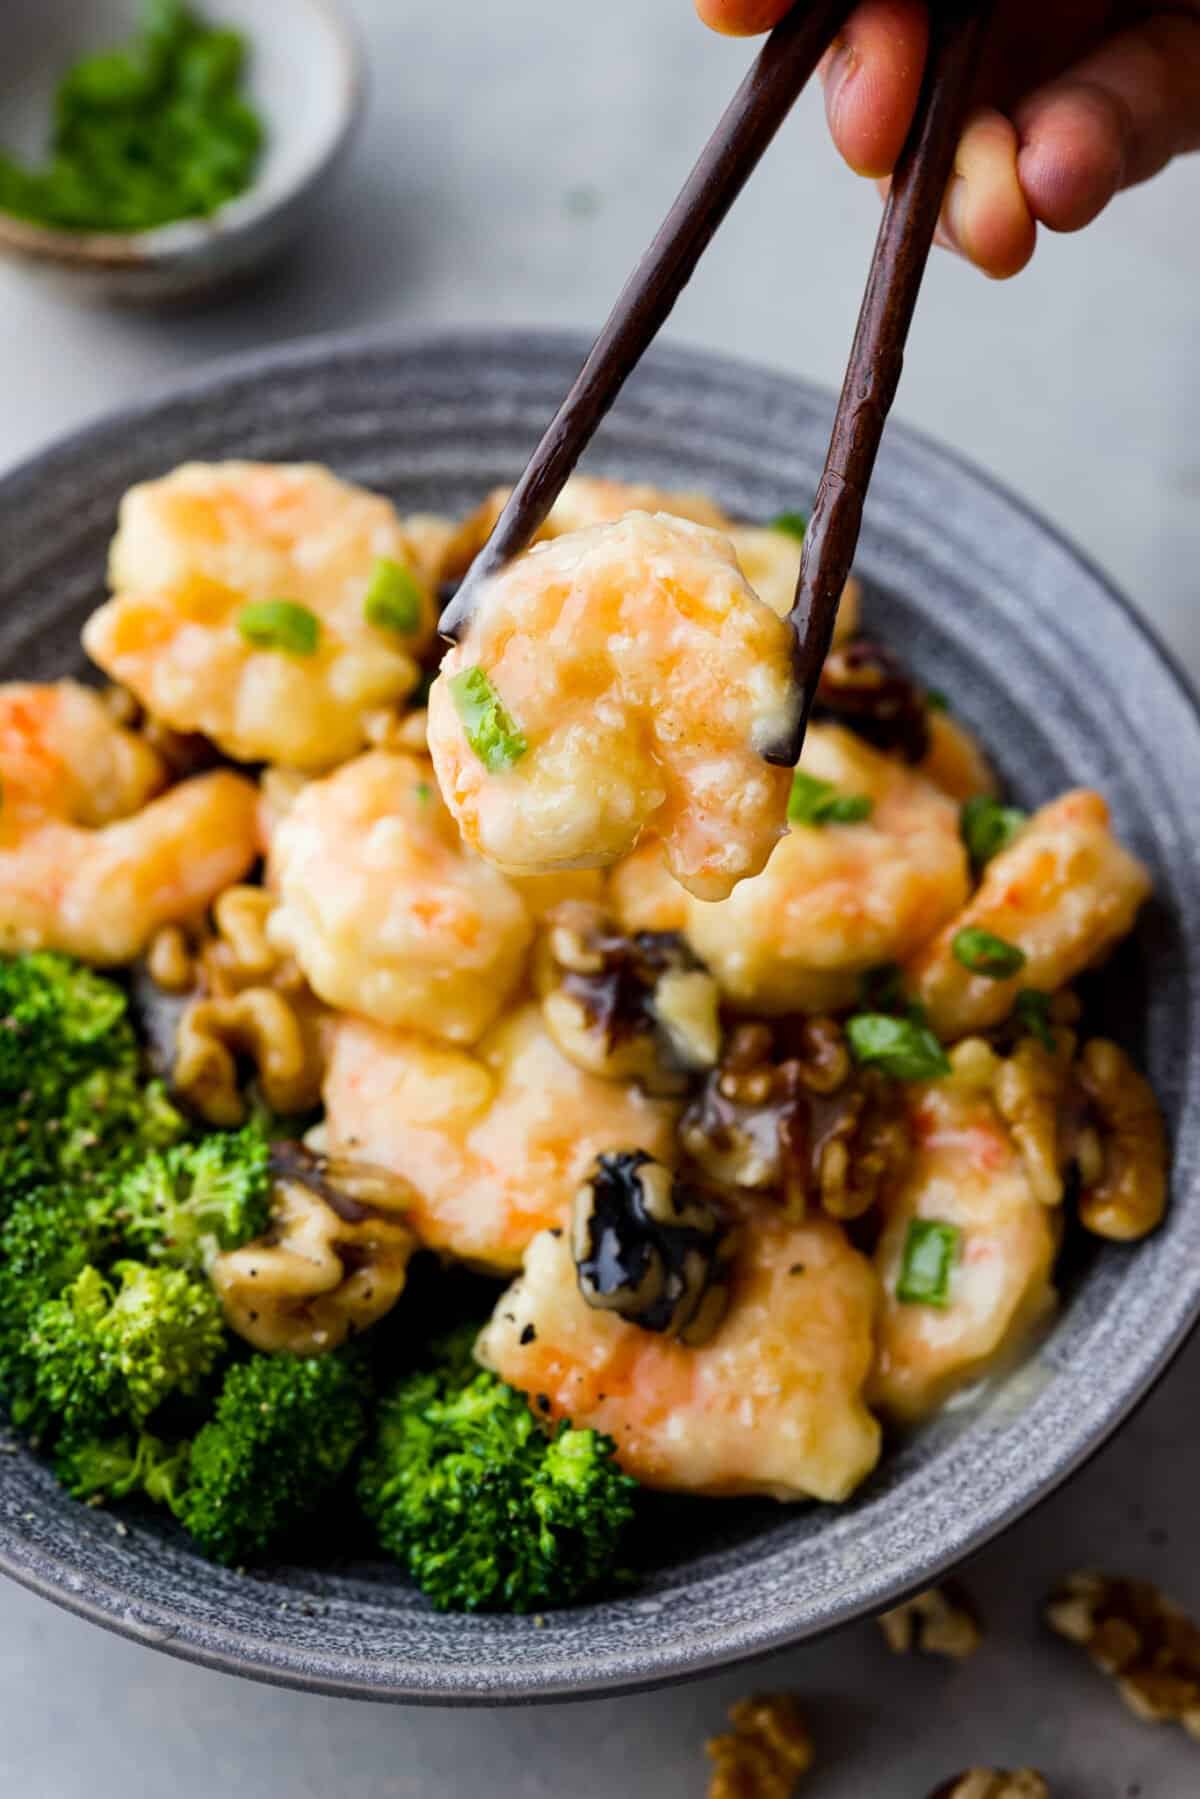
    Picking up a piece of honey walnut shrimp with chopsticks.

    More Better-Than-Takeout Recipes to Try:

    It’s so difficult to only choose four recipes here. I have so many favorites! If you love recreating your favorite Chinese dishes at home, you’ll have to check out my full list of recipes here for more dinner inspiration!

    Pin this now to find it later

    Pin It


    Source link

  • Easy Baked Wonton Cups Recipe

    Easy Baked Wonton Cups Recipe

    Our easy baked wonton cups are the perfect blank canvas for your favorite fillings! We show you how to transform wonton wrappers into crispy cups, plus delicious filling ideas for them.

    Easy Baked Wonton Cups

    Wonton wrappers are not just for dumplings! We love creating these fun and easy party appetizers using baked wonton cups as the shell. They’re perfect for a swanky cocktail party but easy enough for a casual get-together.

    We’ve been making baked wonton cups for years and have found many ways to fill them. I’ve listed our favorites below. You might also enjoy these chili lime shrimp wonton cups and our mini fish tacos which swap tortillas for baked wonton cups. I also use similar wrappers (just a bit larger) to make our crispy chicken spring rolls!

    Key Ingredients

    • Wonton Wrappers: I use square wonton wrappers to make little cups. Wonton wrappers generally come in a few different thicknesses. If you have the choice, go with thin or medium.
    • Oil: I brush my wonton wrappers with a little oil so they crisp and brown nicely in the oven. Avocado oil or olive oil is great.
    • Salt: This is optional, but I like lightly seasoning one side of the wrappers with a bit of salt.
    • Fillings: There are many options for what to serve inside wonton cups. I have shared a handful of fun and delicious ideas below.

    How to Make Wonton Cups

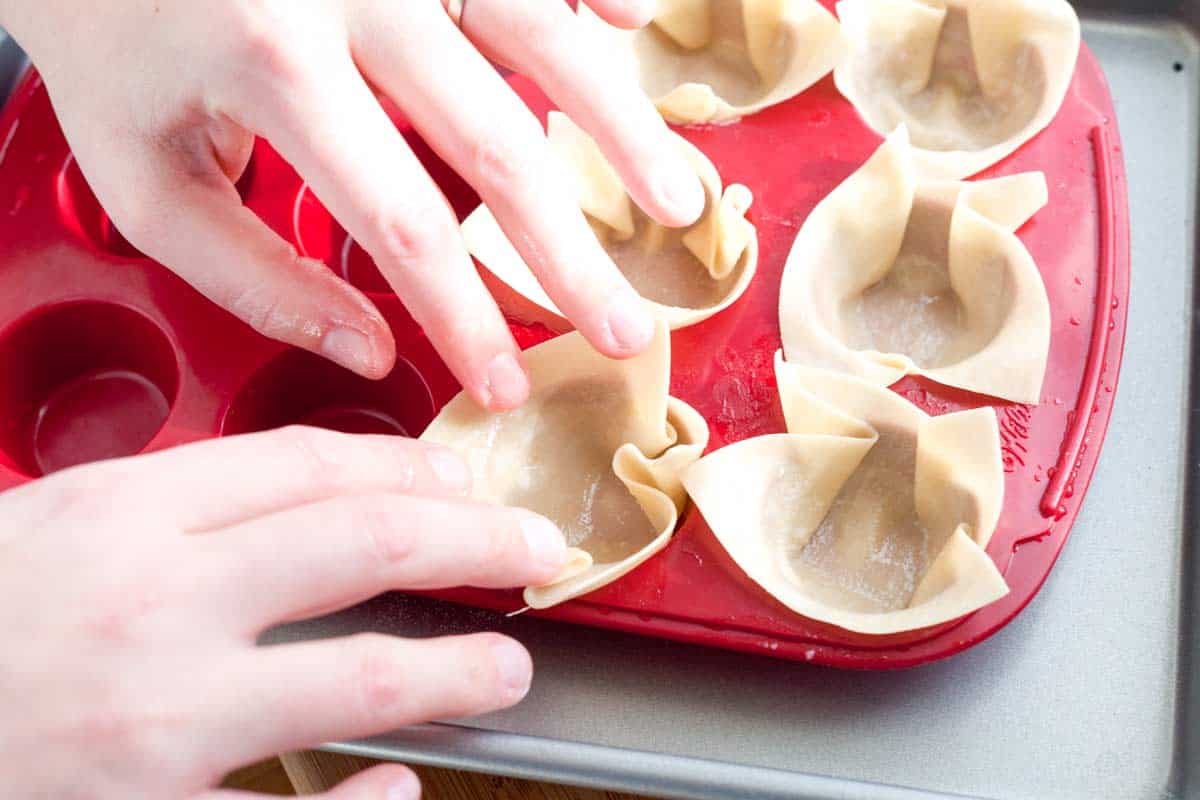
    It’s really easy to transform store-bought wonton wrappers into mini cups. To make the cups, brush wonton wrappers with oil, lightly season with salt, and then press into mini muffin cups. Bake them until golden brown and crisp. They take 8 to 10 minutes in a 350°F oven, but watch them closely as they will burn quickly.

    How to Make Wonton Cups: Pushing wontons into a mini cupcake pan.

    While the wontons bake, you can get the fillings ready. In addition to our mini fish tacos and these easy shrimp wonton cups, I have a few more suggestions for what to add to wonton cups:

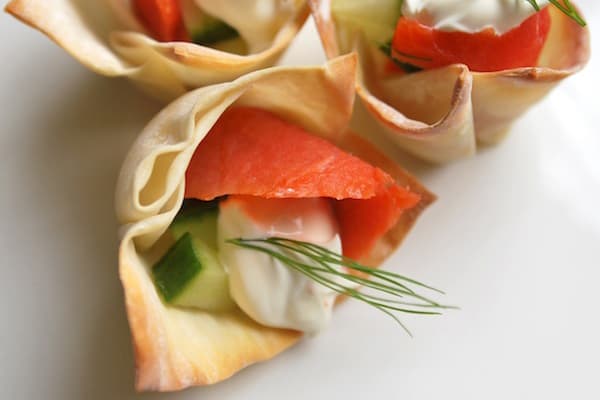
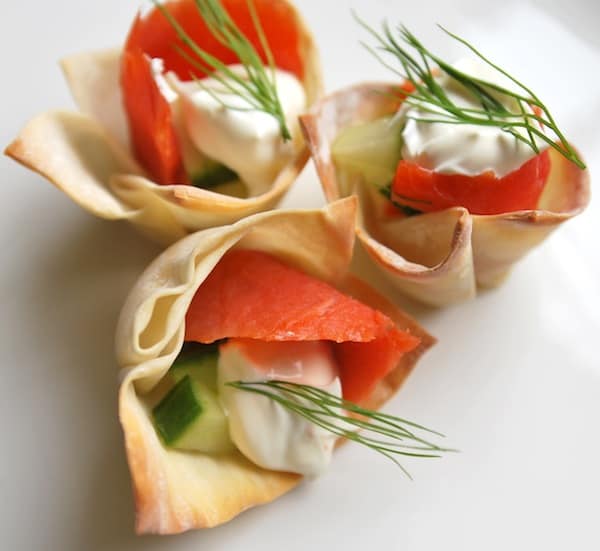
    • Smoked Salmon Wonton Cups: Fill your baked wonton cups with diced cucumber, a little fresh dill, a small spoonful of crème fraîche or sour cream, and smoked salmon.
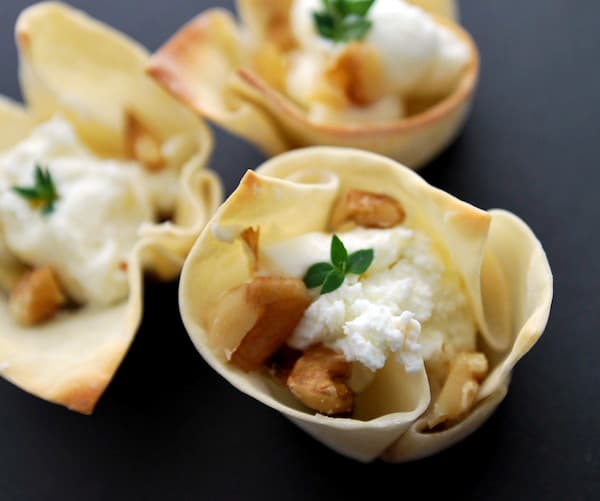
    • Goat Cheese Wonton Cups: Fill your baked wonton cups with whipped goat cheese, a little fig jam, toasted walnuts, and a leaf or two of fresh thyme.
    • Crab Rangoon Cups: Add a spoonful of the creamy filling from our crab Rangoon recipe made with cream cheese and crab meat.
    • Pulled Pork: Add some of our slow cooker pulled pork and then top it with my favorite coleslaw. Add one spinach leaf to the bottom of each cup to prevent the bottom from becoming soggy.
    • Carnitas: Fill them with these crispy carnitas and garnish with diced white onion and lime juice.
    • Spinach and Artichoke Dip: Add a spoonful of our easy spinach and artichoke dip. Since this has a lot of moisture, add one leaf of baby spinach to the bottom of the cup to prevent the bottom from becoming soggy.
    • Buffalo Chicken Dip: Add a spoonful of our hot buffalo chicken dip. Since this has a lot of moisture, add one leaf of baby spinach to the bottom of the cup to prevent the bottom from becoming soggy. You can do the same with our smoked salmon dip or this hot crab dip!
    • Guacamole and Shrimp: Add a spoonful of homemade guacamole to each cup, then top with a roasted shrimp.
    Easy Baked Wonton Cups

    Easy Baked Wonton Cups

    • PREP
    • COOK
    • TOTAL

    These baked wonton cups are the perfect blank canvas for your favorite flavors! To ensure you have enough cups for all your delicious fillings, bake a few extra wonton wrappers. Some may close up during baking, so it’s always good to have a few spares.

    Makes 20 wonton cups

    You Will Need

    24 wonton wrappers

    1 ½ tablespoons avocado oil or olive oil

    Salt

    Directions

      1Preheat oven to 350°F (177°C). Set aside a mini muffin pan.

      2Lightly brush wonton wrappers on both sides with oil. Lightly season one side with salt.

      3Press the wonton wrappers into the cups, spreading back the corners and pressing the bottoms to make a defined cup.

      4Bake until lightly browned, 8 to 10 minutes. Keep a close eye on them as they bake to make sure they are not over-browning.

      5Transfer to a rack and let cool.

    Adam and Joanne’s Tips

    • Storing: Baked wonton cups will keep, unfilled, in an airtight container for up to a week. For the best results, fill them right before serving.
    • Filling tips: If you have a wet filling, consider placing one baby spinach leaf on the bottom to act as a layer between the filling and the wonton cup. This prevents the moisture from making the bottom of the wonton cup soggy.
    • Nutrition facts are estimates.

    Nutrition Per Serving
    Serving Size
    1 wonton cup
    /
    Calories
    31
    /
    Total Fat
    1g
    /
    Saturated Fat
    0.1g
    /
    Cholesterol
    0.7mg
    /
    Sodium
    70mg
    /
    Carbohydrate
    4.6g
    /
    Dietary Fiber
    0.1g
    /
    Total Sugars
    0g
    /
    Protein
    0.8g


    AUTHOR:

    Joanne Gallagher

    Previous Post: Curried Chickpea Bowls
    Next Post: Chili Lime Cauliflower Tacos

    Source link

  • Crab Rangoon Dip  Recipe | The Recipe Critic

    Crab Rangoon Dip  Recipe | The Recipe Critic

    This website may contain affiliate links and advertising so that we can provide recipes to you. Read my disclosure policy.

    We are obsessed with this crab rangoon dip! It’s hot, creamy, cheesy and packed with crab and major flavor. It’s sure to become your go-to appetizer when you really want to impress!

    Warm dips are welcome at any party or gathering! If you agree, then you must try these tried and true favorites like this chicken alfredo dip, this spinach artichoke dip or this flavorful hot corn dip. I love them all so much!

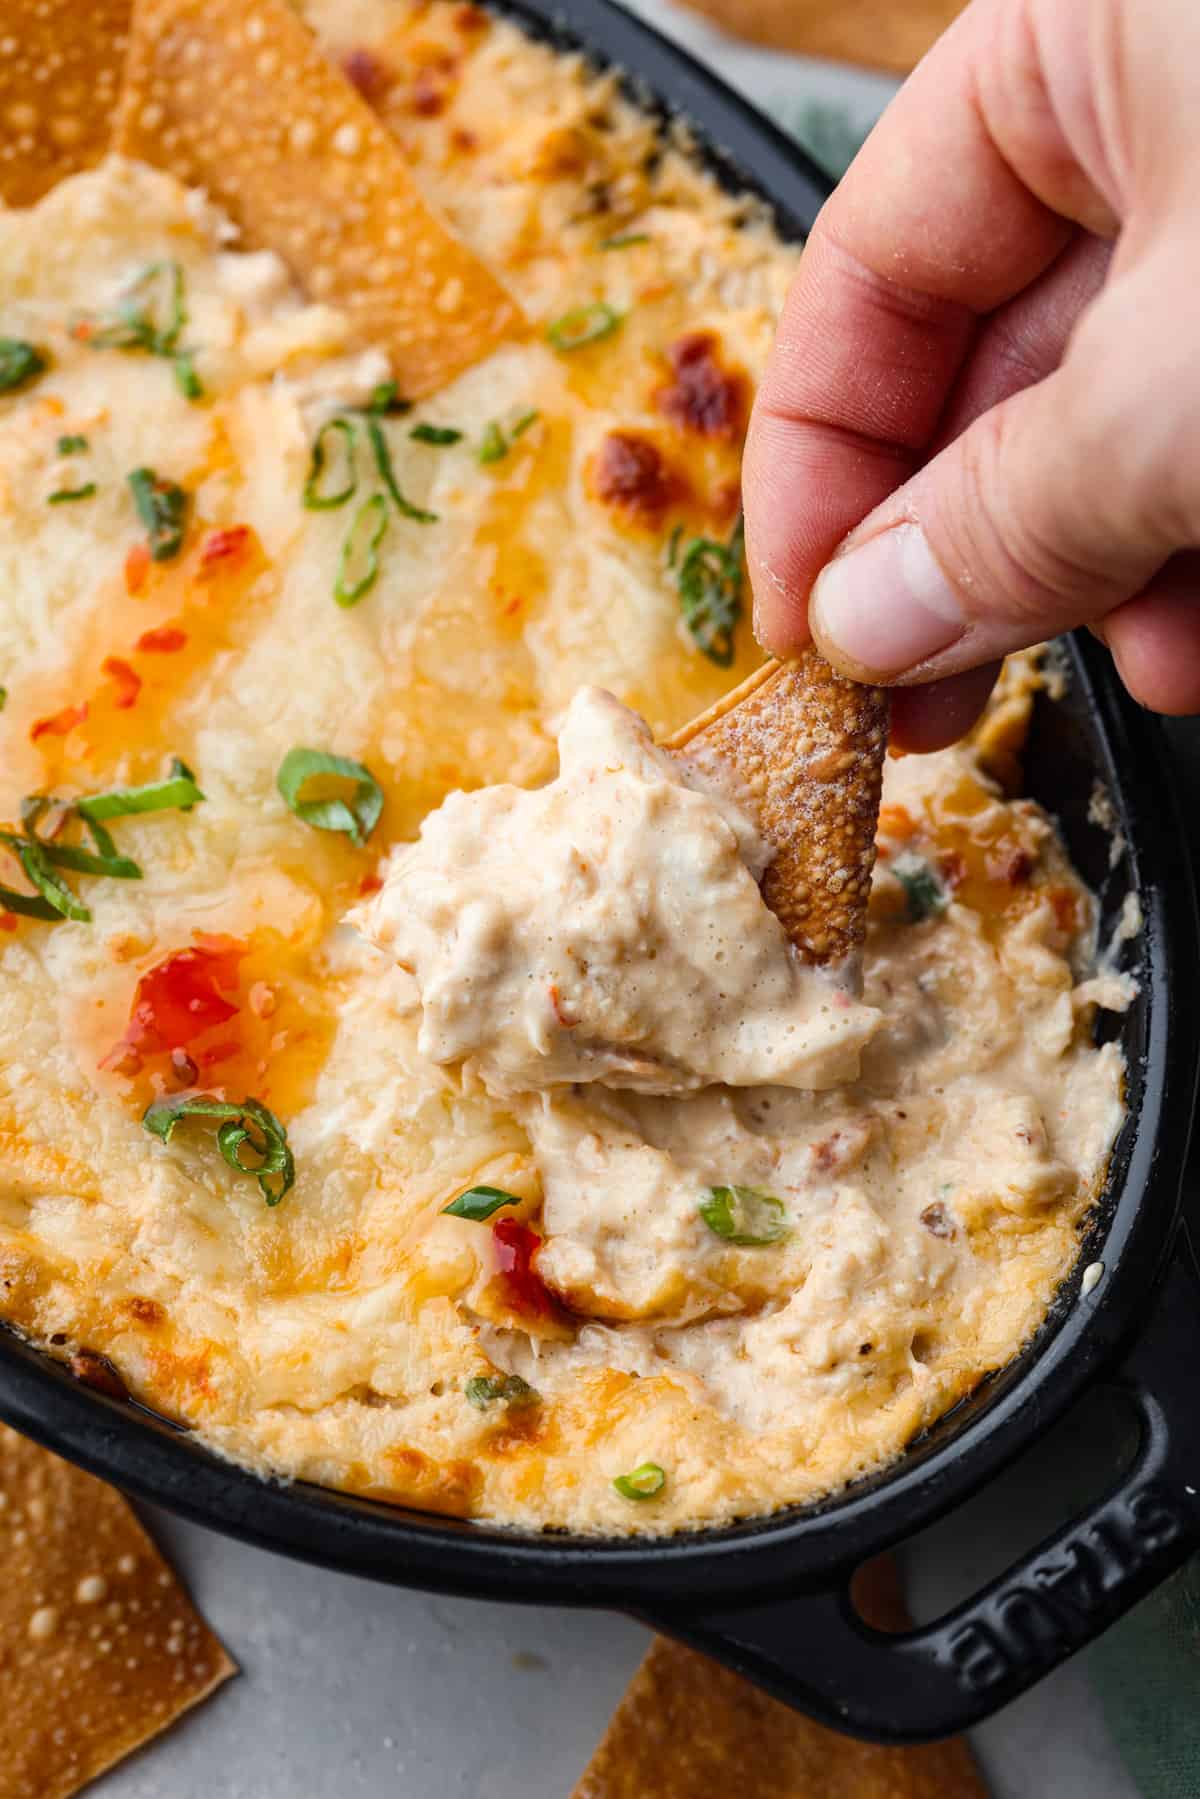
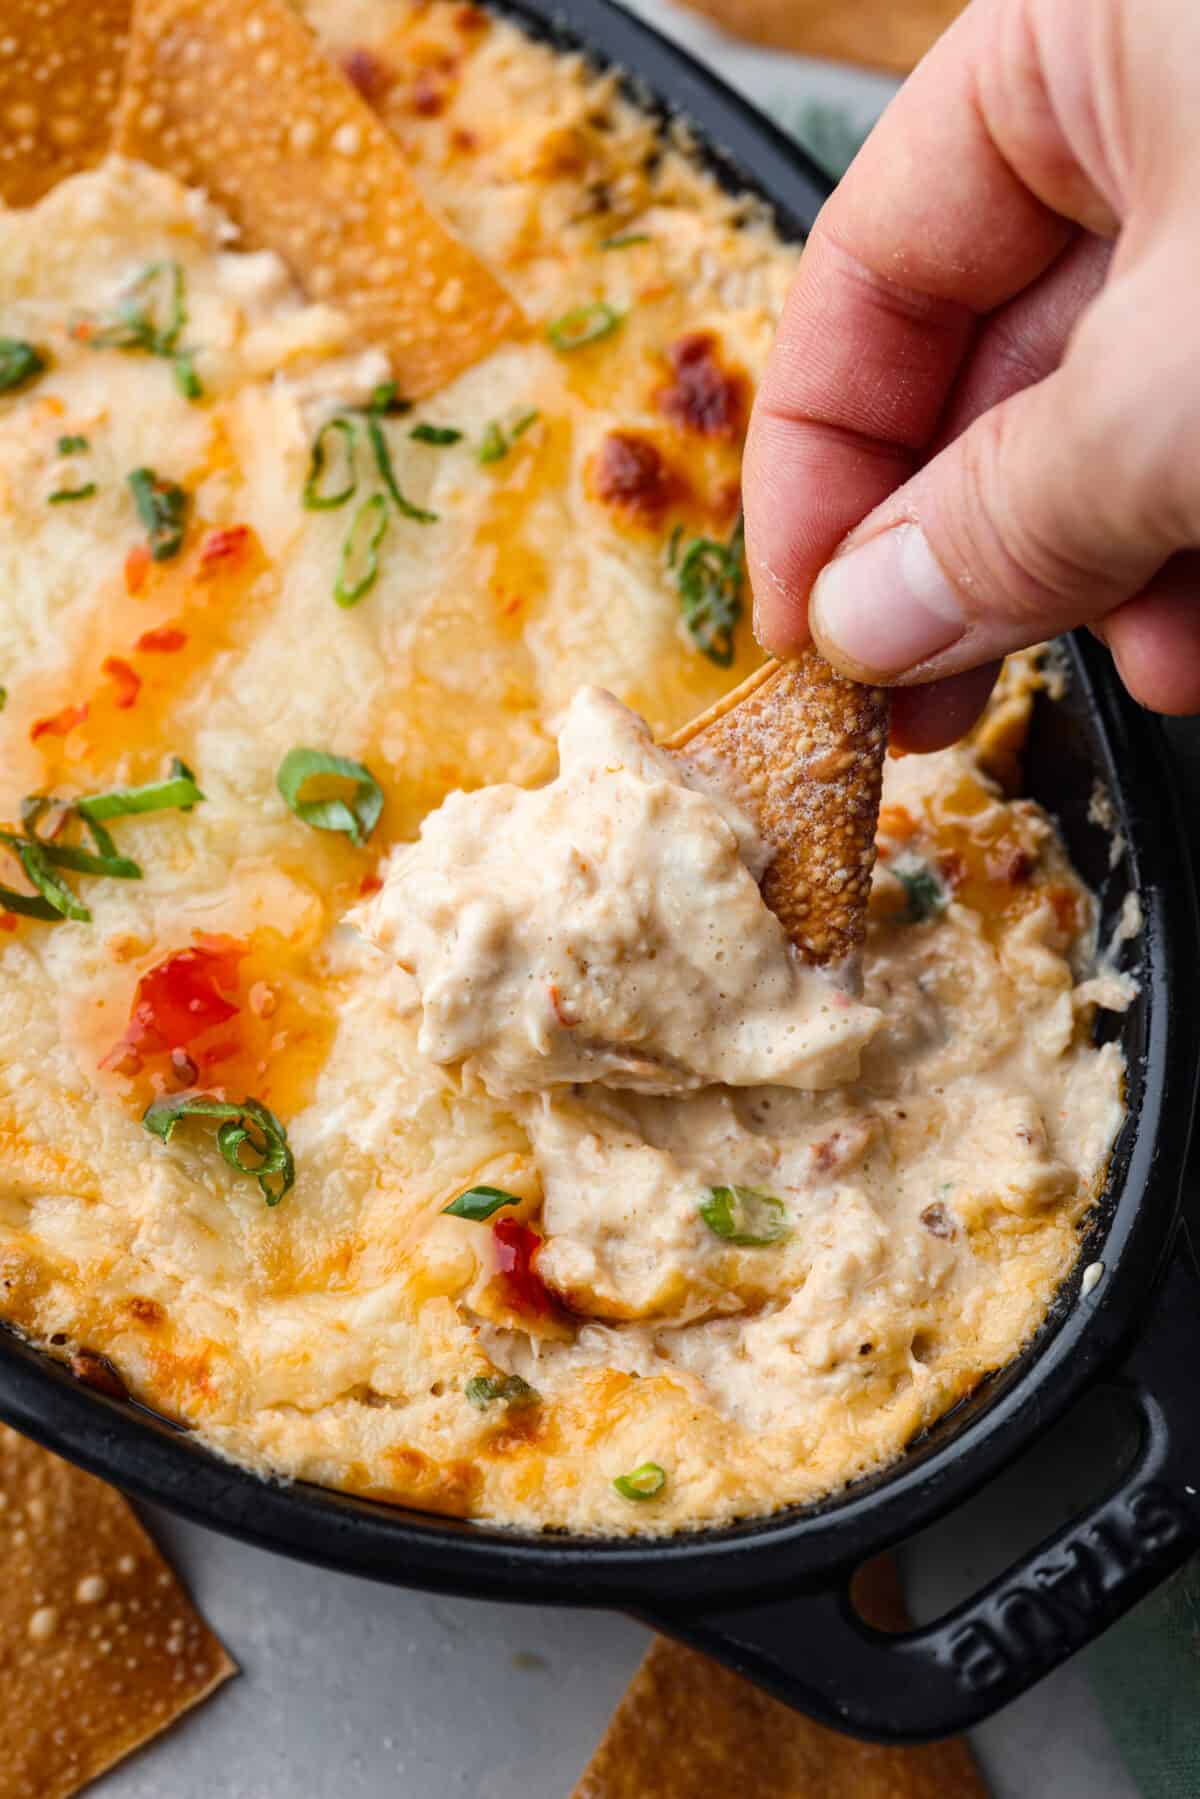
    Closeup of a fried wonton chip being dipped into the hot crab dip.Closeup of a fried wonton chip being dipped into the hot crab dip.

    What is Crab Rangoon Dip?

    Crab rangoon dip is one of the most addicting and delicious dips you could make! This is the ultimate warm, satisfying snack dip to serve at potlucks, family get togethers, game day, holiday celebrations, and parties. It’s easy to make with succulent crab meat, cream cheese, sour cream, mayo, shredded cheese, and a few simple pantry staples. Mix it all together, bake to golden, bubbly perfection, and it will be love at first bite! Love cheesy hot dips? Make my Hot Blue Cheese Dip next!

    Just 10 minutes of prep time is all it takes! You can even prepare it ahead of time, and then pop it in the oven before your big event. Super convenient if you’re hosting a party or other gathering. It’s fabulous with fried wonton chips, crackers, toasted bread or tortilla chips.

    What’s in Crab Dip?

    This crab rangoon dip recipe comes together so effortlessly with simple ingredients. Even though it’s easy to make, it’s super tasty and everyone will be asking for the recipe! See the recipe card at the bottom of the post for exact measurements.

    • Cream Cheese: Soften the cream cheese by leaving it at room temperature for about half an hour or take it out of the package and microwave it for 30 seconds. This will help it combine better with the other ingredients.
    • Sour Cream: Gives the dip a subtle tang and thins out the the thick cream cheese.
    • Mayonnaise: Adds extra creaminess and flavor!
    • Sweet Chili Sauce: For a sweet and sour taste that complements the other savory ingredients. Use my recipe to make your own.
    • Soy Sauce: Adds a rich umami flavor. I just used regular soy sauce, but you can also choose for low-sodium soy sauce.
    • Sriracha Sauce: So your dip has a hint of spice.
    • Garlic Powder: To season the dip with the perfect amount of garlic flavor.
    • Salt and Pepper: Makes everything taste so good!
    • Lump Crab Meat: Look for this in the canned meat aisle by the tuna.
    • Monterey Jack Cheese: If you have the time, shred this yourself directly from a block. It will melt better and have more flavor.
    • Green Onions: Adds freshness and color.
    • Wonton Wrappers: You can bake the wonton wrappers as instructed in this recipe, or make fried wonton chips.

    Let’s Make Some Dip!

    This tasty crab rangoon dip is easy to mix up and comes out of the oven deliciously warm and bubbly. It tastes so good served with crispy wonton chips! You can also pair it with toasty bread or crackers. Here’s how to make it:

    1. Prep: Preheat the oven to 350 degrees Fahrenheit. Prepare an 8X8 baking dish by spraying it with cooking spray, then set aside.
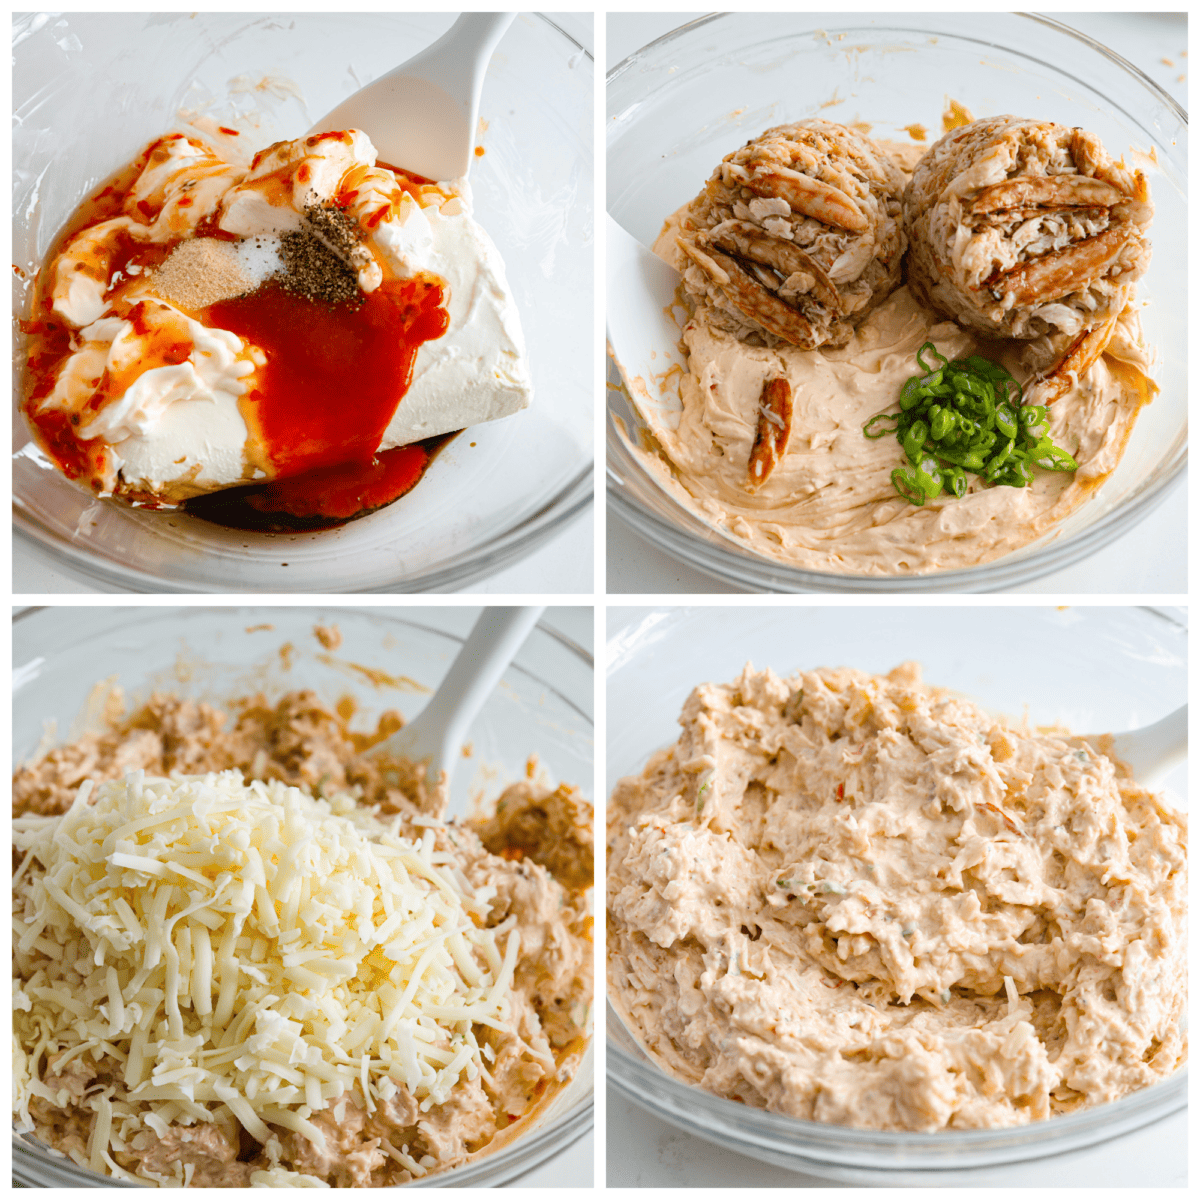
    2. Mix: In a large bowl cream together the cream cheese, sour cream, mayo, sweet chili sauce, soy sauce, sriracha, garlic powder, salt and pepper.
    3. Add Crab: Once the cream cheese mixture is well mixed, fold in the crab meat, ⅔ cup Monterey jack cheese, and 2 tablespoons of the green onions.
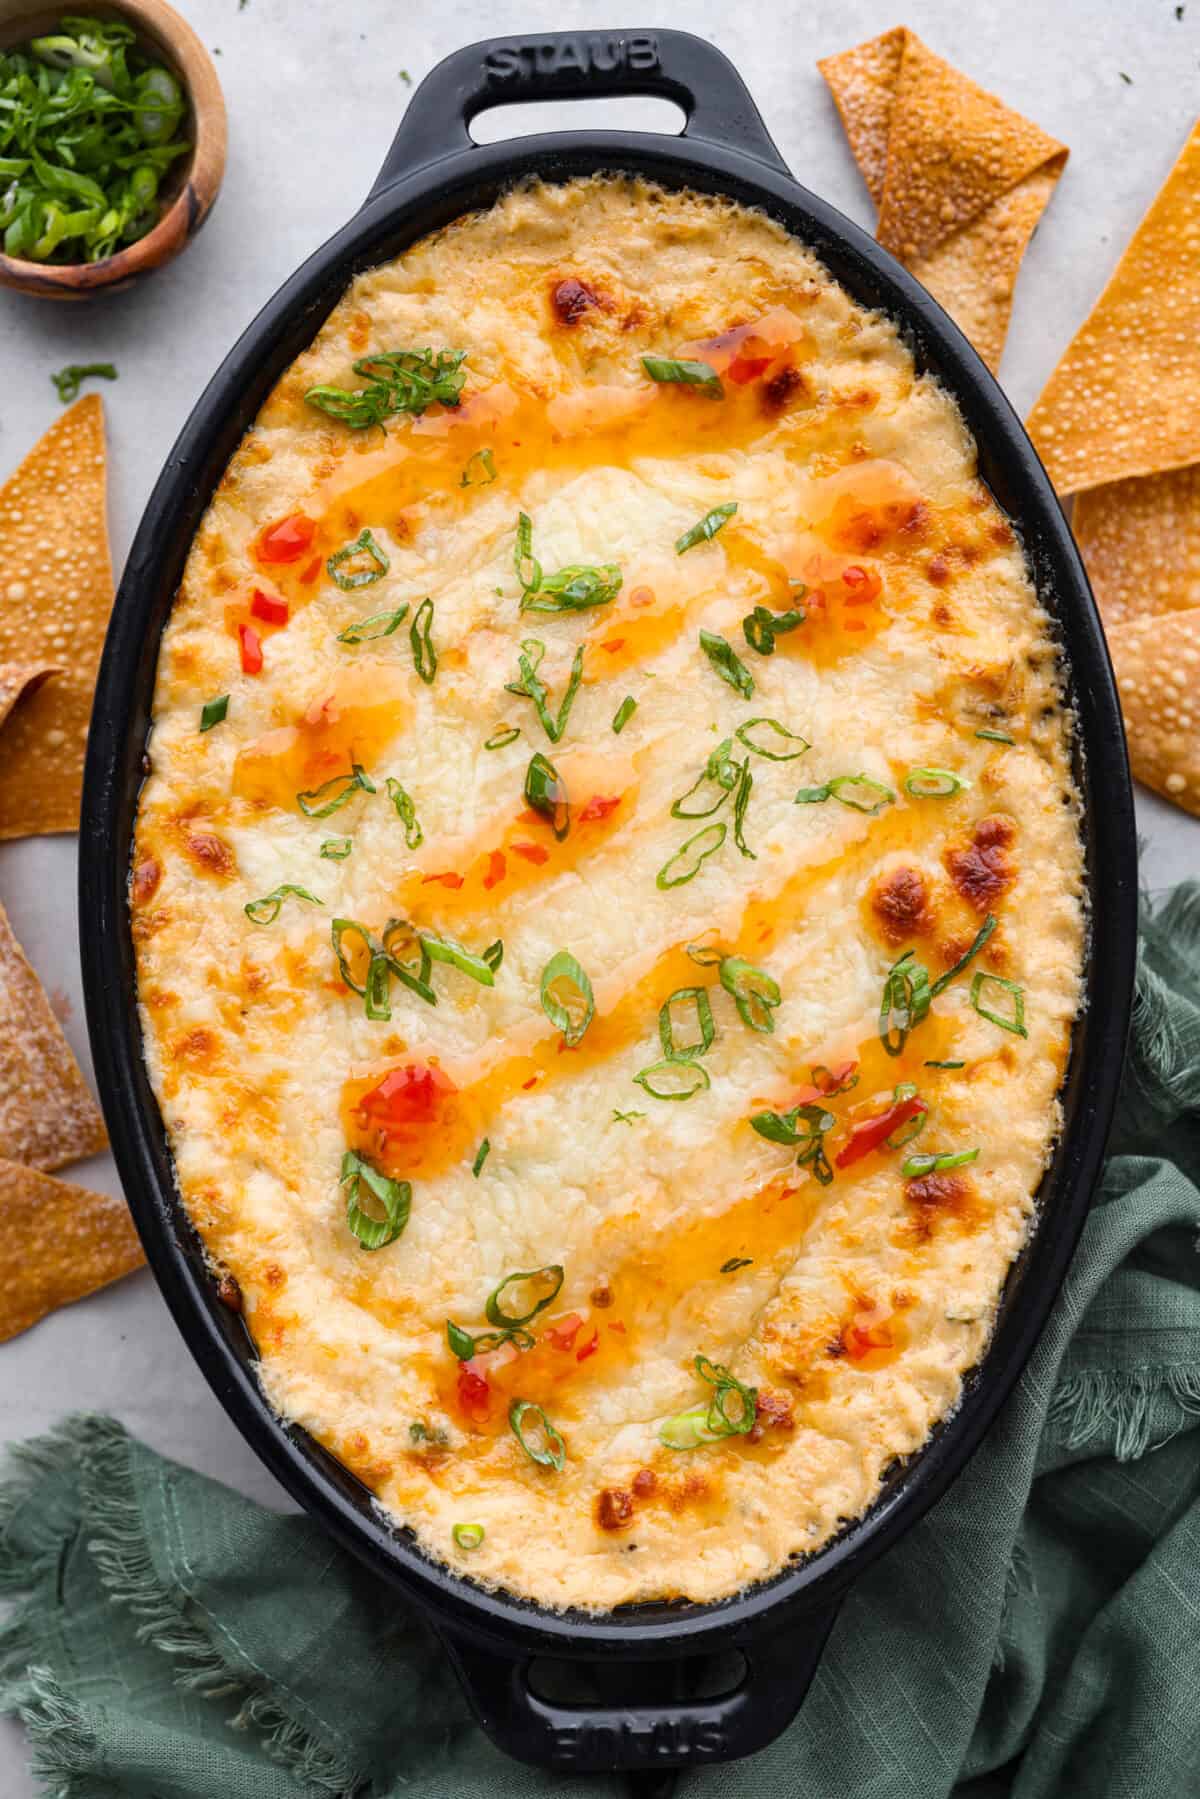
    4. Bake: Spread the crab rangoon dip evenly into the baking dish and sprinkle the top with the remaining ⅓ cup Monterey jack cheese. Then bake the dip for 20-25 minutes, the cheese should be bubbling and browning on the top.
    5. Garnish: Remove the hot dip from the oven, allow it to cool at room temperature for 5 minutes, spread some sweet chili sauce over the top of the dip and sprinkle the remaining green onions over the sauce.
    6. Bake Chips: To make the wonton chips, cut each wonton wrapper in half and brush or spray it with olive oil and sprinkle them with salt. Then lay the wrappers out evenly on a baking sheet lined with parchment paper and bake for 5 minutes at 350 degrees Fahrenheit.
    7. Serve: Dip the crispy wonton chips in the hot dip and enjoy!
    4-photo collage of the crab rangoon dip ingredients being mixed together.4-photo collage of the crab rangoon dip ingredients being mixed together.

    Tips for Making Crab Rangoon Dip

    This crab rangoon dip is always a hit, and no one will be able to stop dipping. Here’s some tips and ways to make it your own:

    • Make Ahead: To make this dip ahead, assemble everything into the baking dish, cover and keep it in the fridge until you are ready to bake it. 
    • Make it Spicy: Add more sriracha to taste for a spicier dish. 
    • Crab: You can use imitation crab in place of the canned crab. Fresh crab meat will also work great. It is typically sold in plastic containers over ice at the market. 
    • Wonton Tip: Depending on the size of your wonton wrappers you may want to quarter them.

    Top-down view of the baked dip in a casserole dish.Top-down view of the baked dip in a casserole dish.

    Storing Leftovers

    This hot crab dip is so good, you probably won’t have leftovers! However, if you do, here’s the best way to store them and reheat later!

    • In the Refrigerator: Store dip leftovers in the fridge in an airtight container for up to 5 days. Crispy wonton chips can be kept at room temperature in an airtight container for up to 5 days.
    • To Reheat: To warm this back up, place it in the oven at 350 degrees for 15 minutes. You can also microwave individual servings until heated.

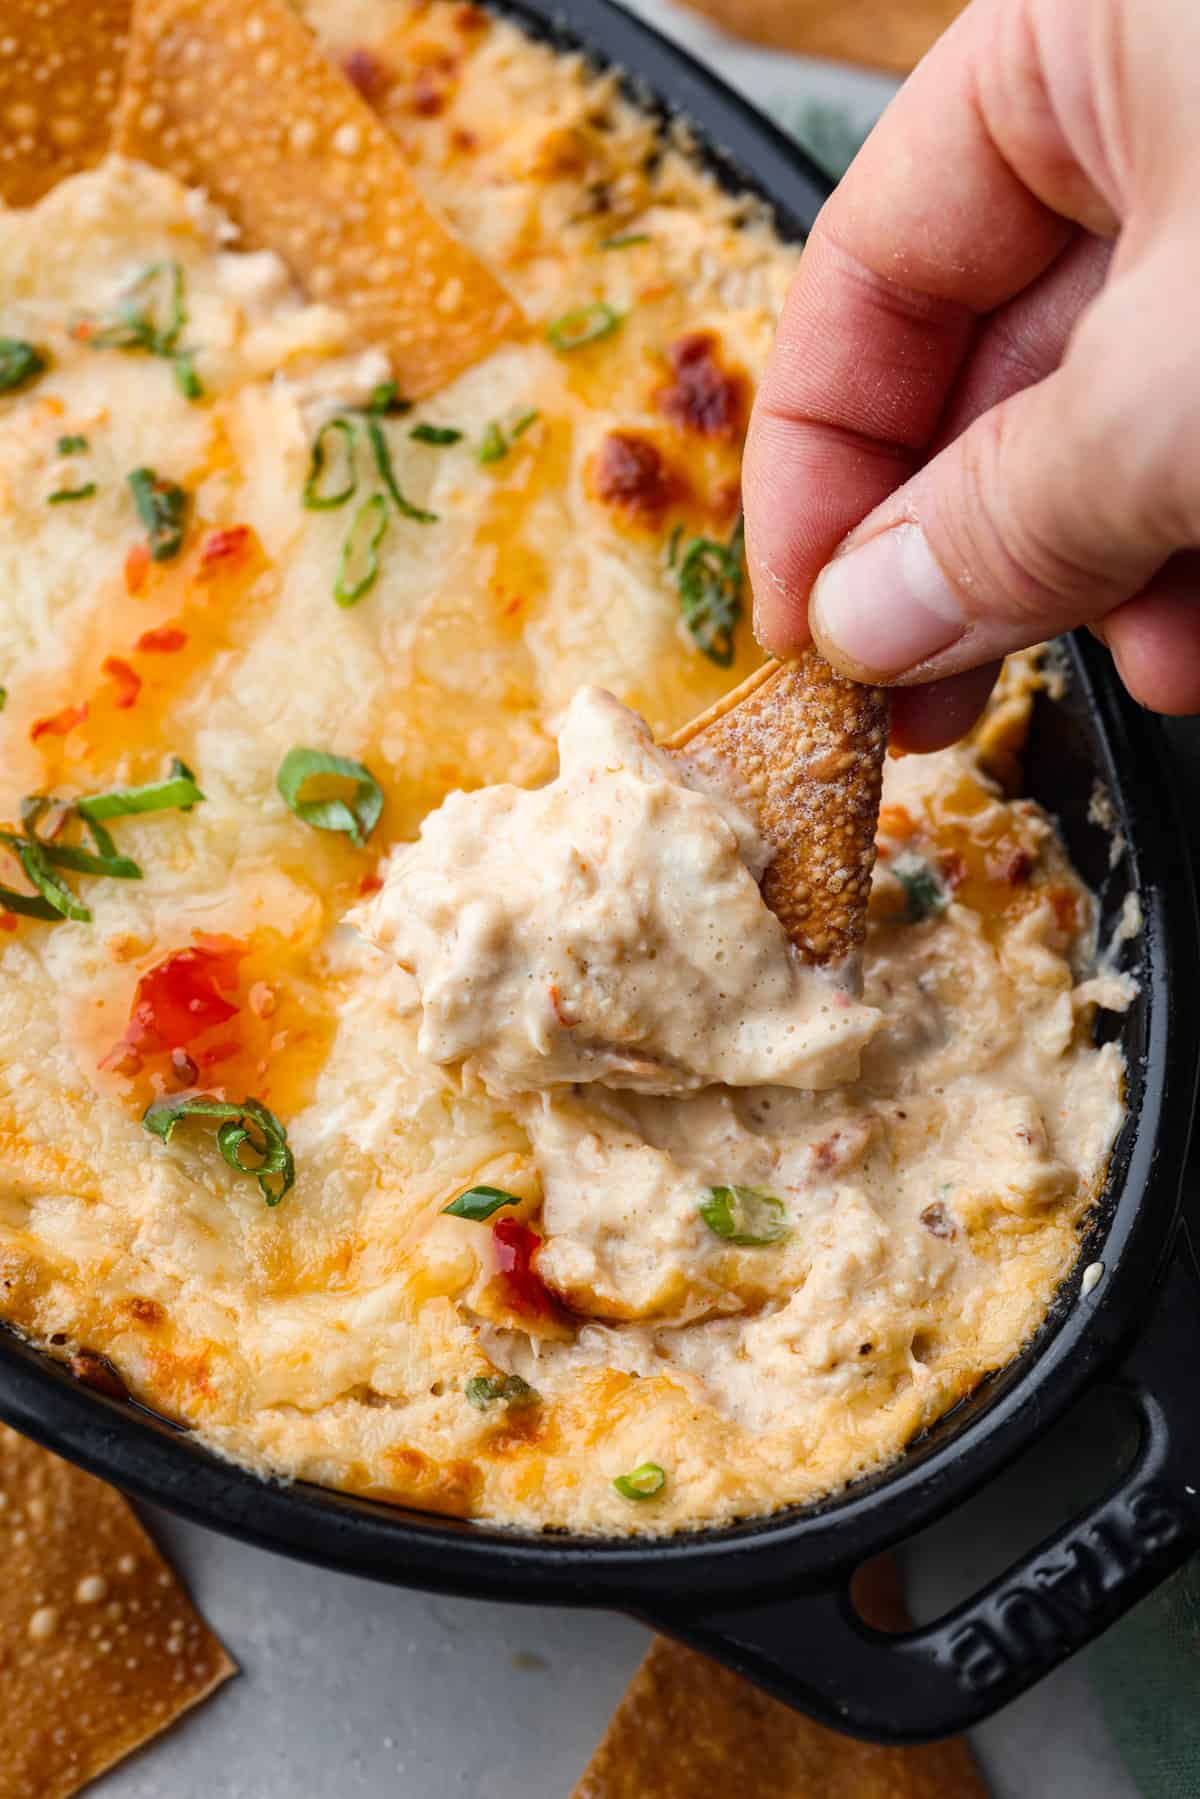
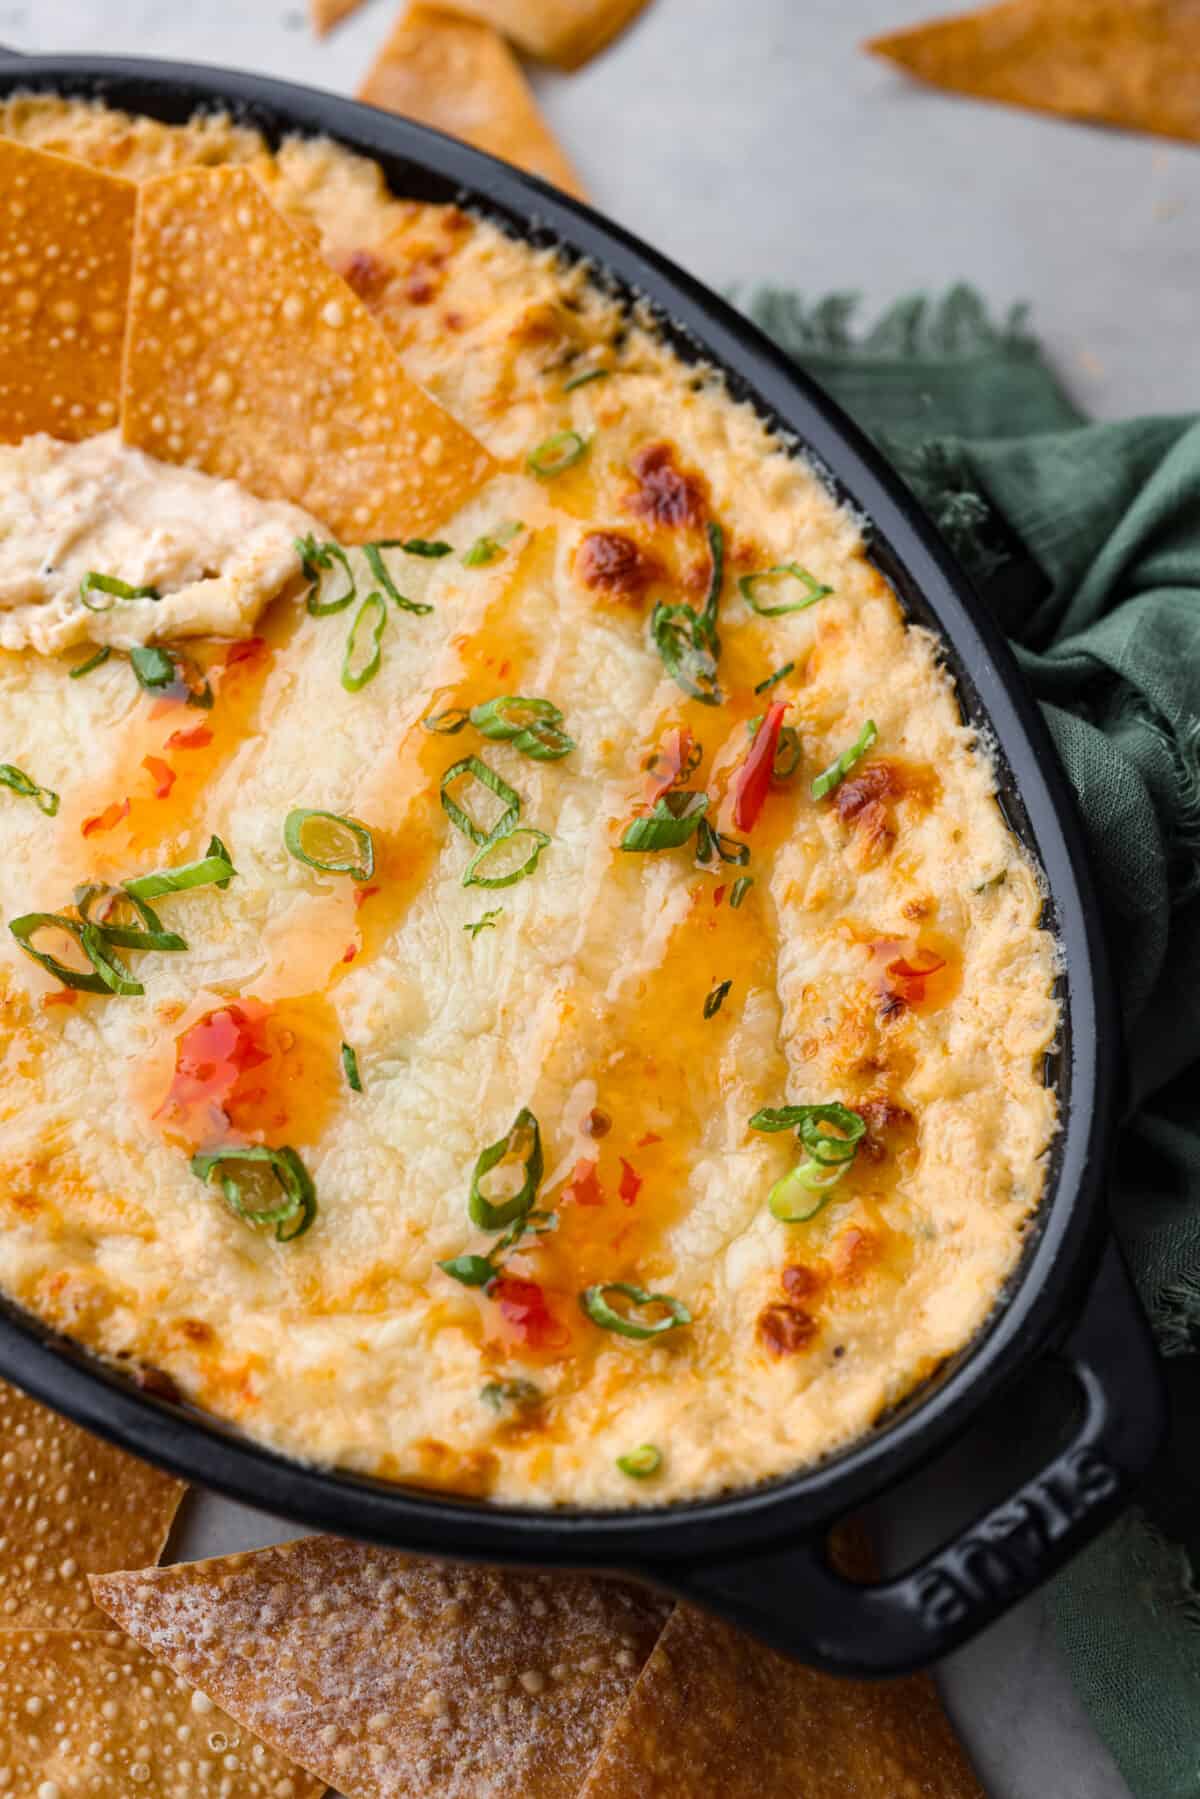
    Closeup of crab rangoon dip.Closeup of crab rangoon dip.

    More Delicious Appetizer Recipes

    With parties, holidays, and games to watch, it’s appetizer season! Make these appetizers for your next get together or just on a lazy weekend. Even if you don’t have a special occasion, all of these recipes are great to enjoy as a hearty snack when you are in the mood. Here are some of our favorite crave-able appetizers.

    Pin this now to find it later

    Pin It


    Source link

  • Hunan Shrimp Recipe (Better Than Takeout!)

    Hunan Shrimp Recipe (Better Than Takeout!)

    This website may contain affiliate links and advertising so that we can provide recipes to you. Read my disclosure policy.

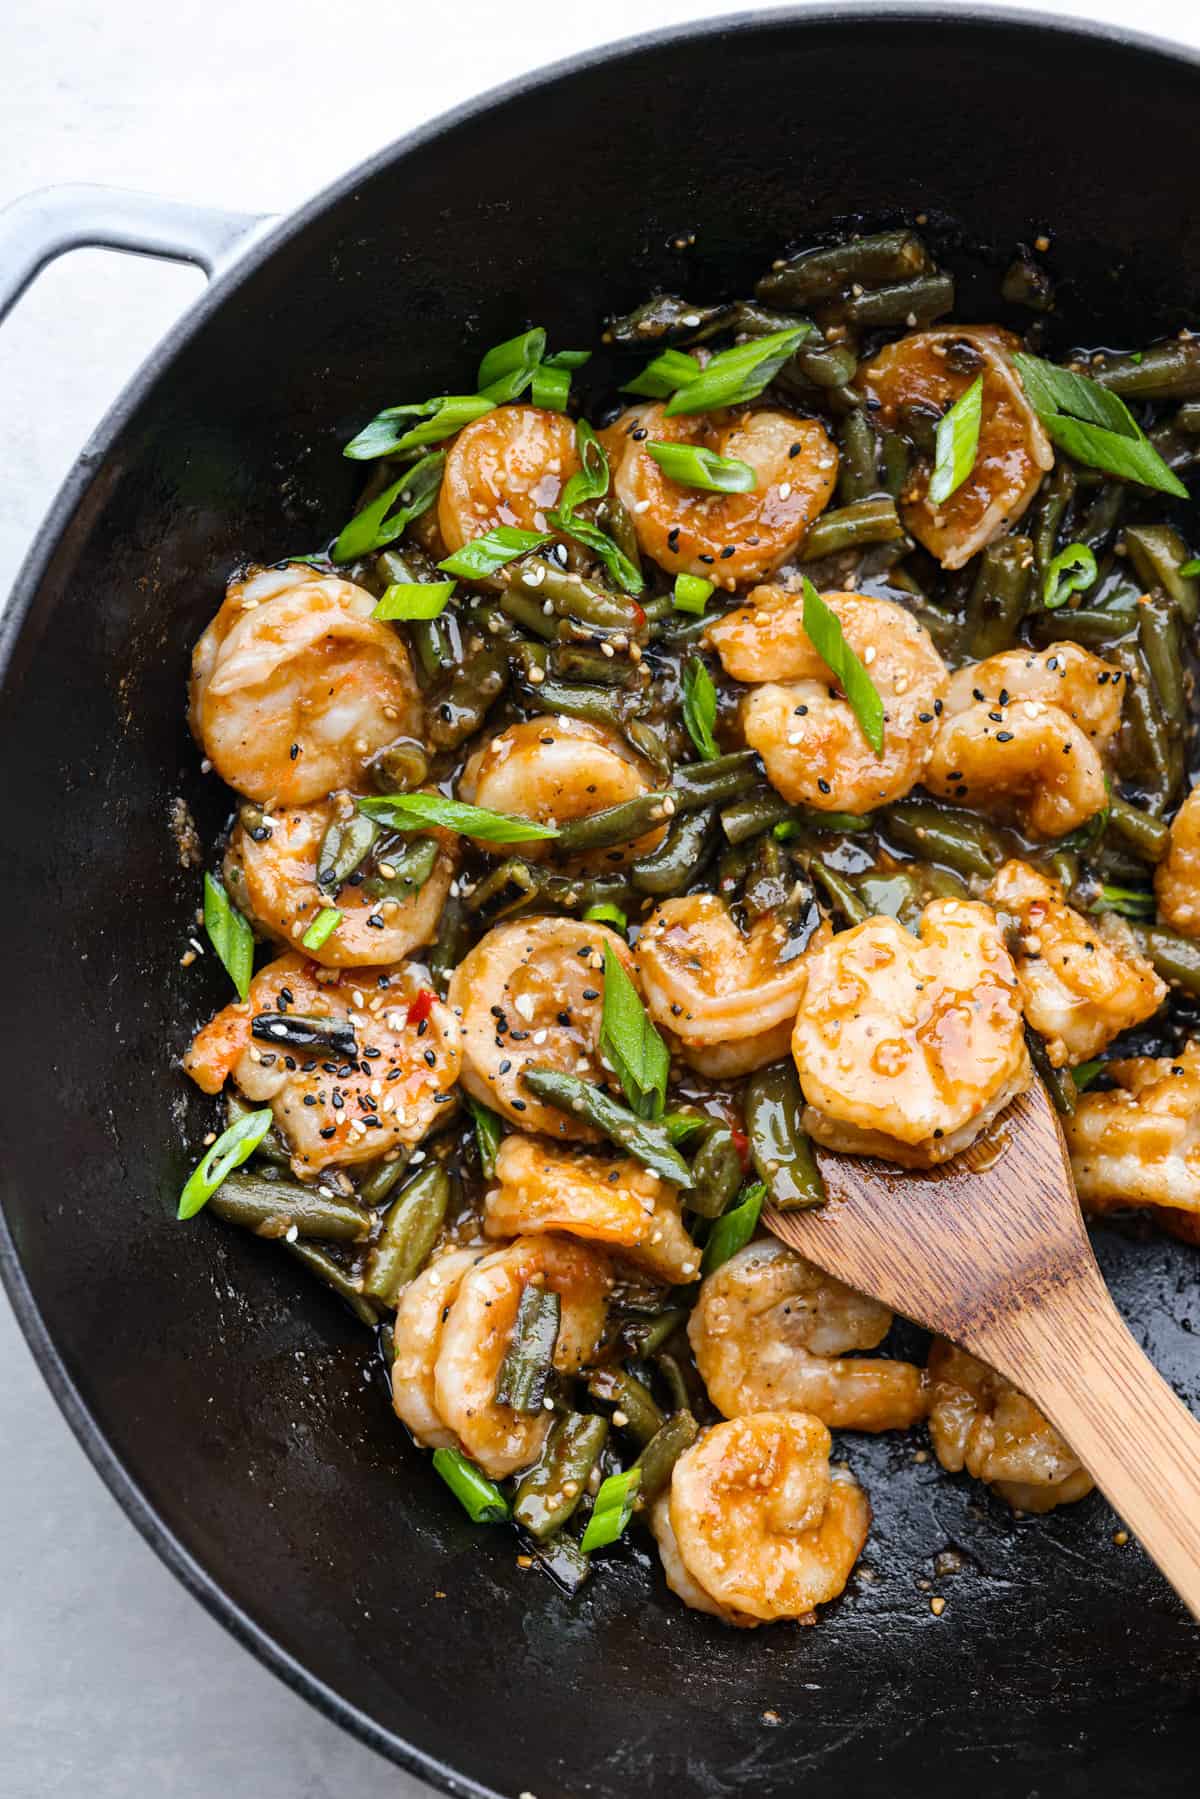
    Crispy coated shrimp gets pan-fried to golden perfection in this better-than-takeout recipe! Tossed with tender veggies in a savory-sweet sauce, Hunan Shrimp is sure to be a new favorite in your dinner rotation.

    Cooked Hunan shrimp and green beans in a black skillet.

    Reasons You’ll Love This Recipe

    • Flavor Explosion: Sweet honey meets spicy chili paste, combined with ginger and garlic, to coat the tender shrimp in the most amazing flavor.
    • Easy to Make: This fantastic recipe is so easy to throw together and only takes 30 minutes! It’s way faster than the time it takes for your takeout order to arrive.
    • Takeout at Home: Make it a complete meal similar to takeout with some crab rangoons and easy fried rice.

    Hunan Shrimp Sauce and Stir Fry Ingredients

    With this simple list of ingredients, you’re ready to stir-fry up some Hunan shrimp that’ll leave takeout in the dust. Check out the recipe card below for exact measurements.

    • Shaoxing Wine: Think warm, sweet rice wine. Not a fan? Extra broth works as well.
    • Soy Sauce: Our savory foundation, use low-sodium if you’re salt-conscious.
    • Chili Paste: Spice central! Gochujang or sambal oelek work. Adjust based on your heat tolerance.
    • Garlic & Ginger: Fresh is best, but powdered garlic works in a pinch. Ginger adds a citrusy kick!
    • Honey: A touch of sweetness to balance the heat. Honey also gives the sauce an amazing sticky texture that perfectly coats each shrimp piece.
    • Veggie Broth: To add moisture and flavor.
    • Cornstarch: It makes the sauce silky smooth and thickens it up, so mix it with water first to avoid lumps.
    • Shrimp: Any kind works; thaw and pat them dry before cooking. I like to use shrimp that has already been peeled and deveined for easy prep.
    • Green Beans: Adds crunchy green goodness; swap in broccoli or asparagus if you like.
    • Green Onions: Freshens things up and makes your Hunan shrimp photo-worthy (if it lasts that long!).

    Hunan Shrimp Recipe

    Heat up that wok and get ready to cook up some Hunan shrimp that will make everyone a seafood lover. It’s also great if you’re short on time! Same with my easy teriyaki shrimp recipe.

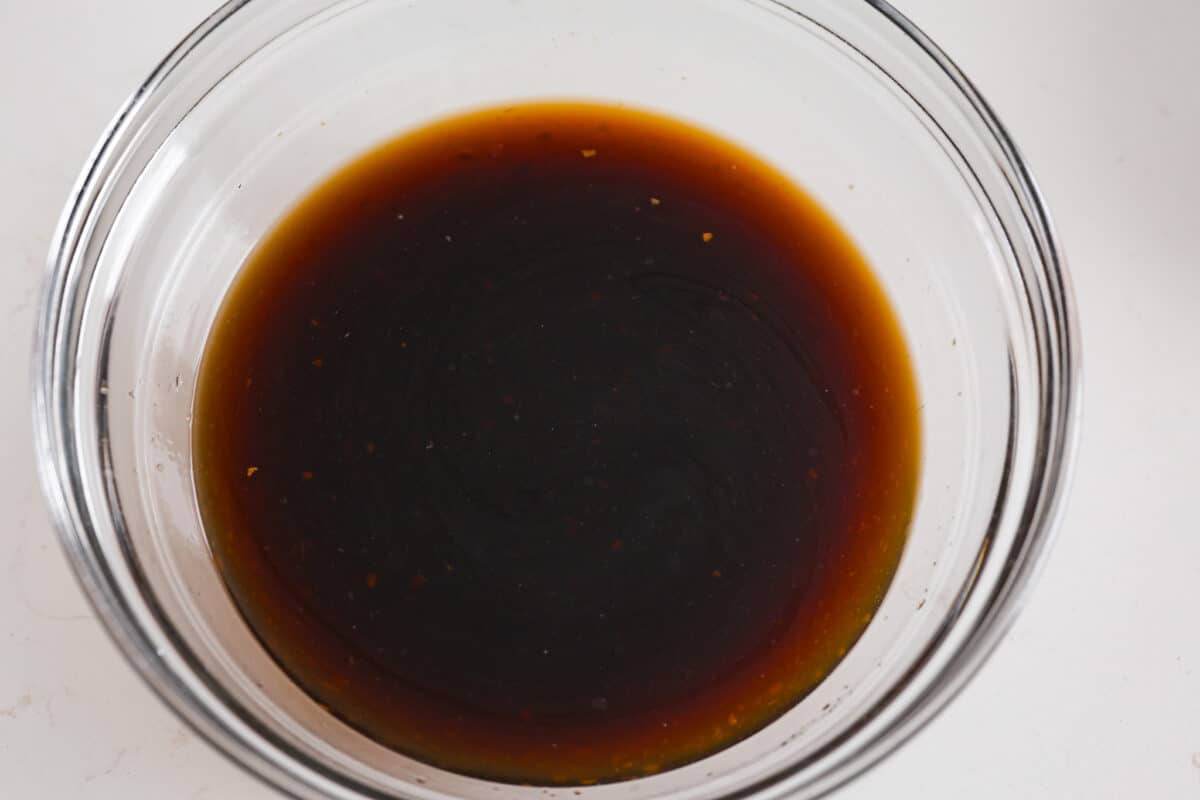
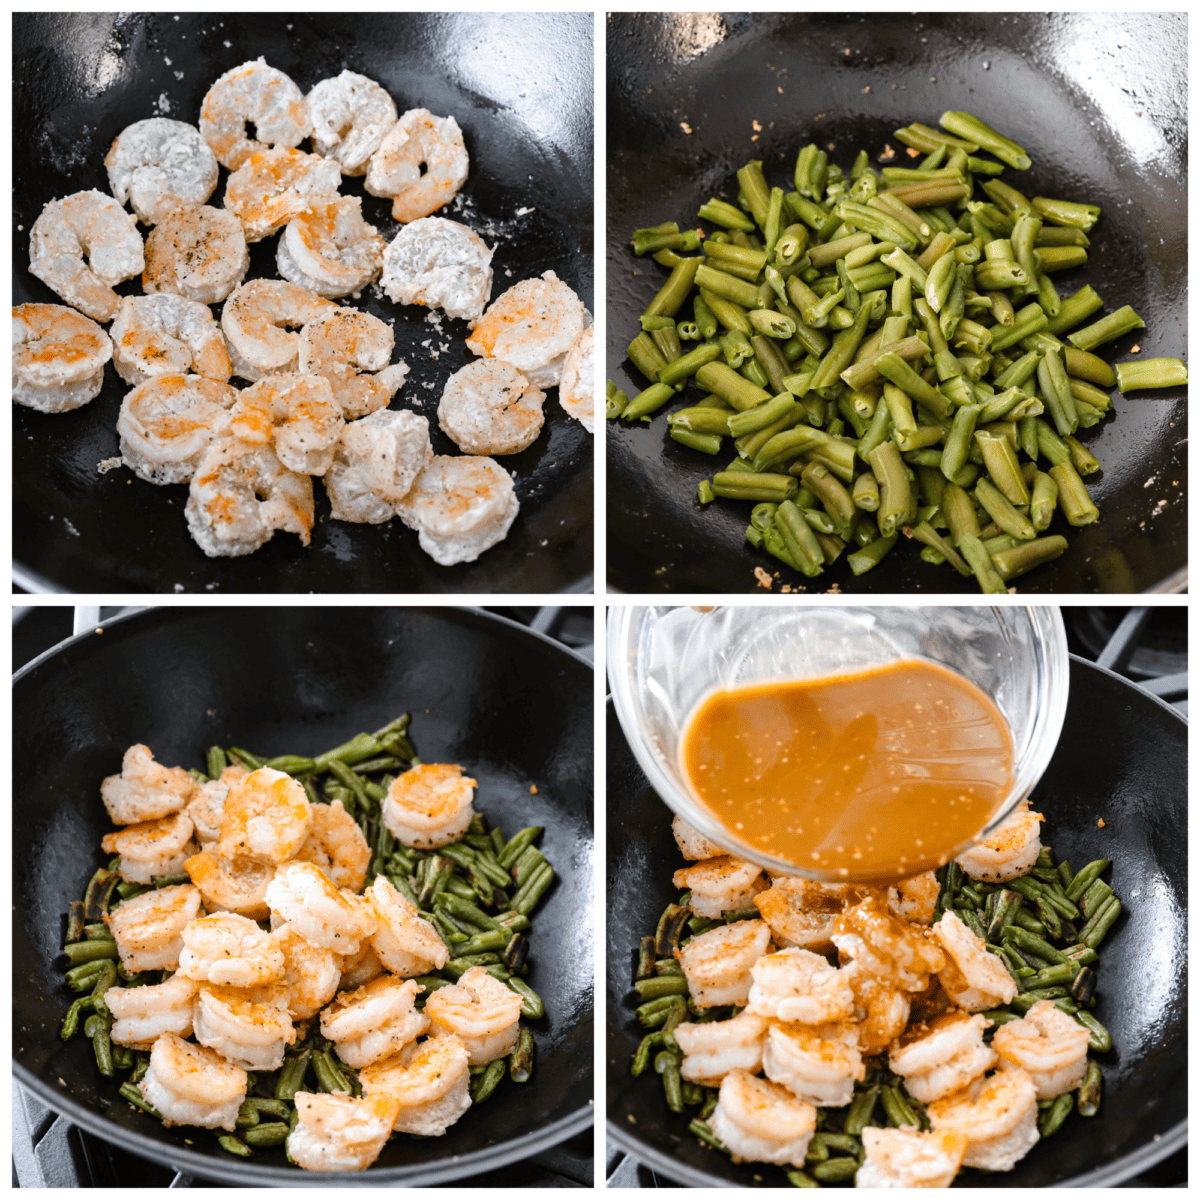
    1. Sauce: In a small bowl whisk together the shaoxing wine, soy sauce, chili paste, garlic, ginger, honey, vegetable broth, and cornstarch. Then set aside.
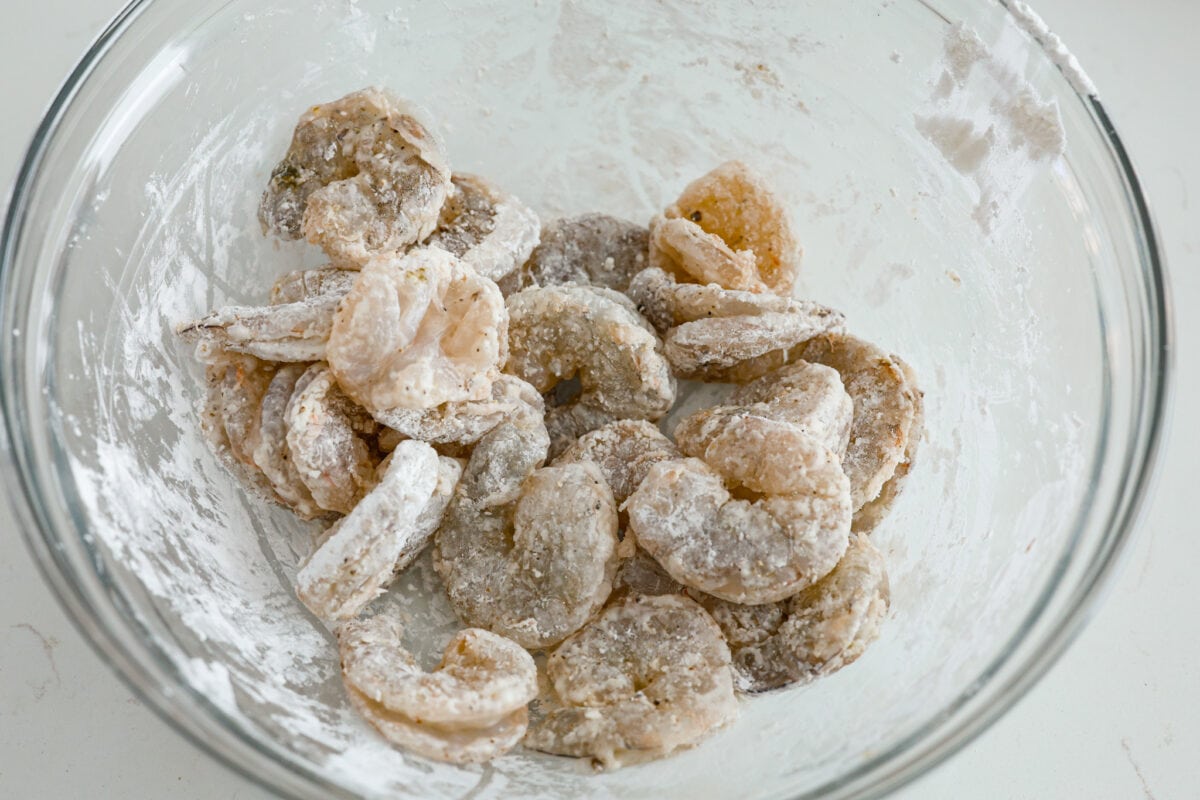
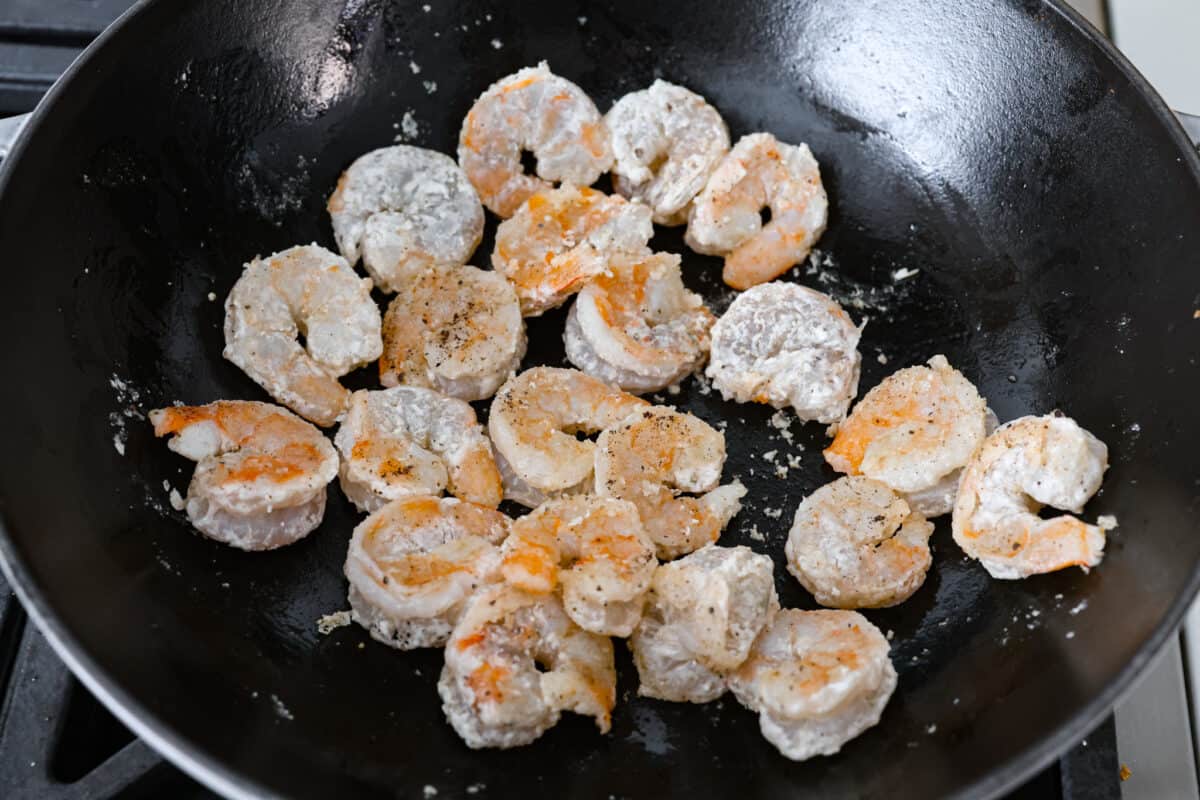
    2. Cook Shrimp: Pat the shrimp dry, then season with salt and pepper and toss in the cornstarch. Heat the vegetable oil in a wok or large frying pan over medium high heat. Then add the shrimp to the pan and fry for 2-3 minutes, tossing frequently to evenly cook.
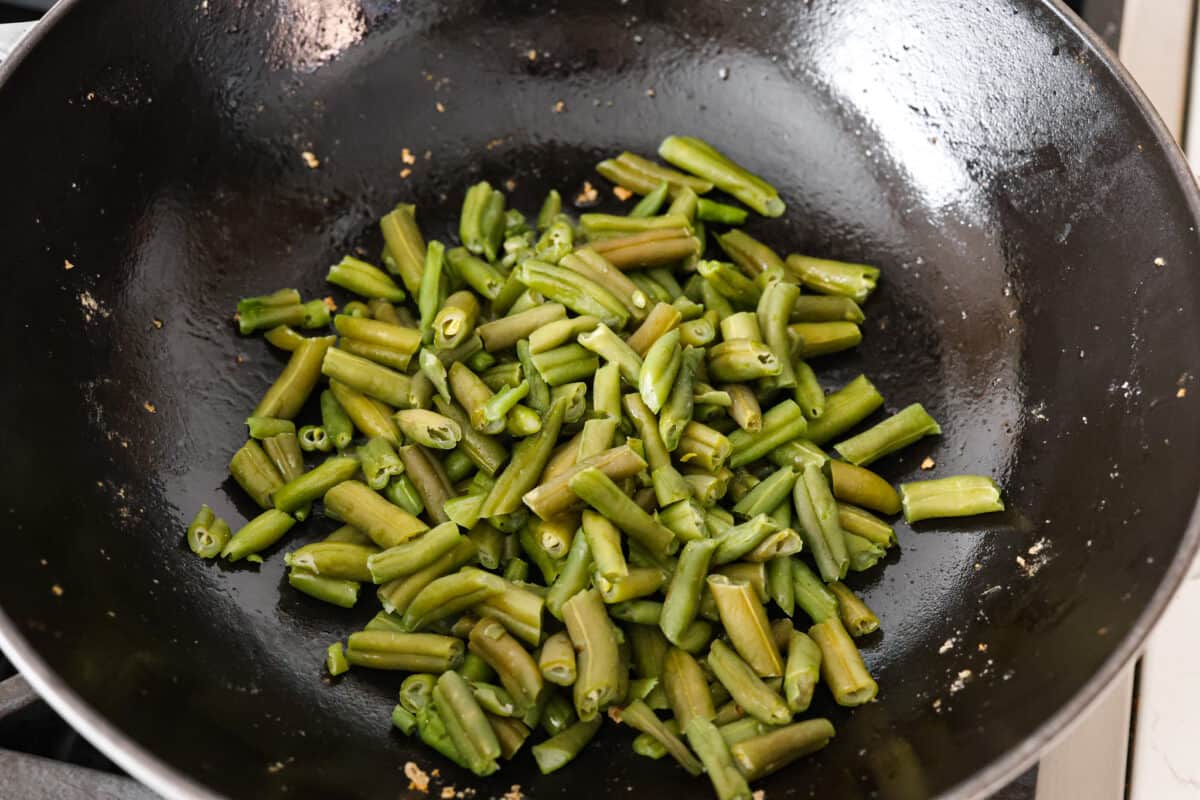
    3. Stir Fry Vegetables: Remove the shrimp from the pan and set aside. Add the green beans to the pan and cook them until they begin to soften and brown.
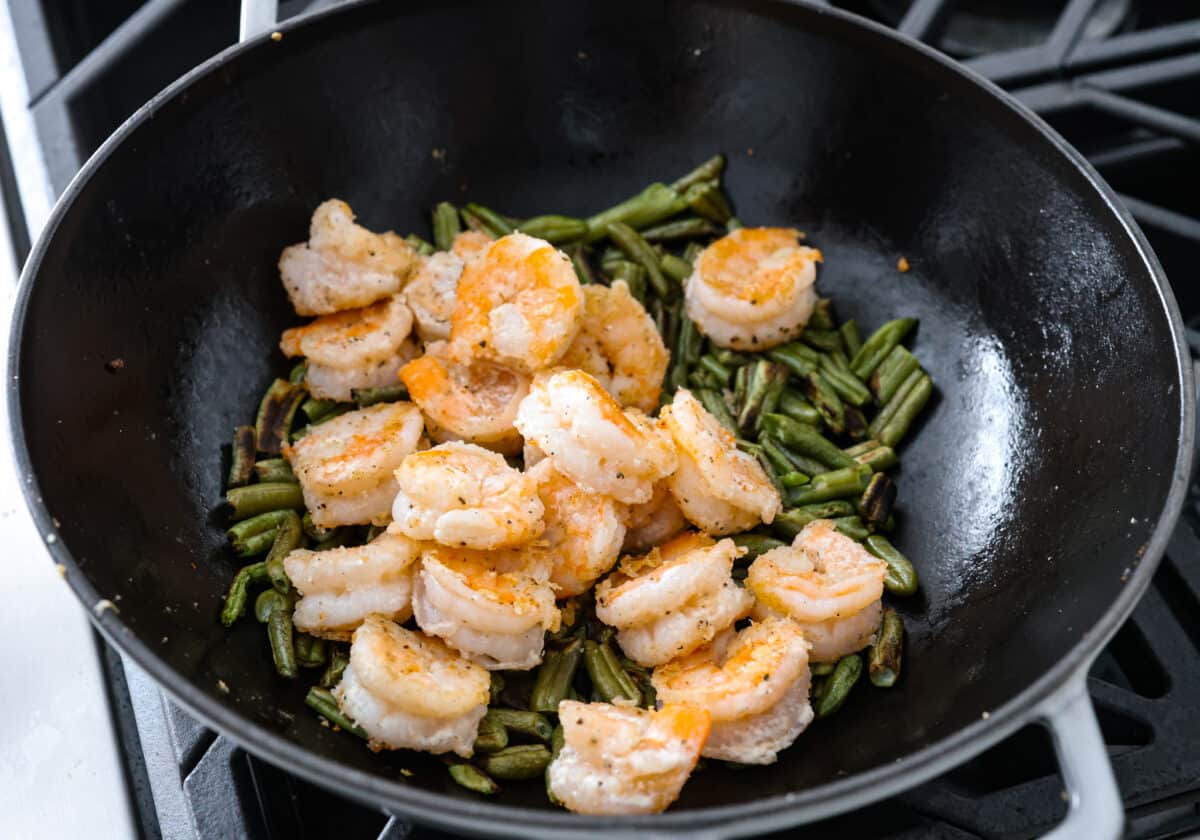
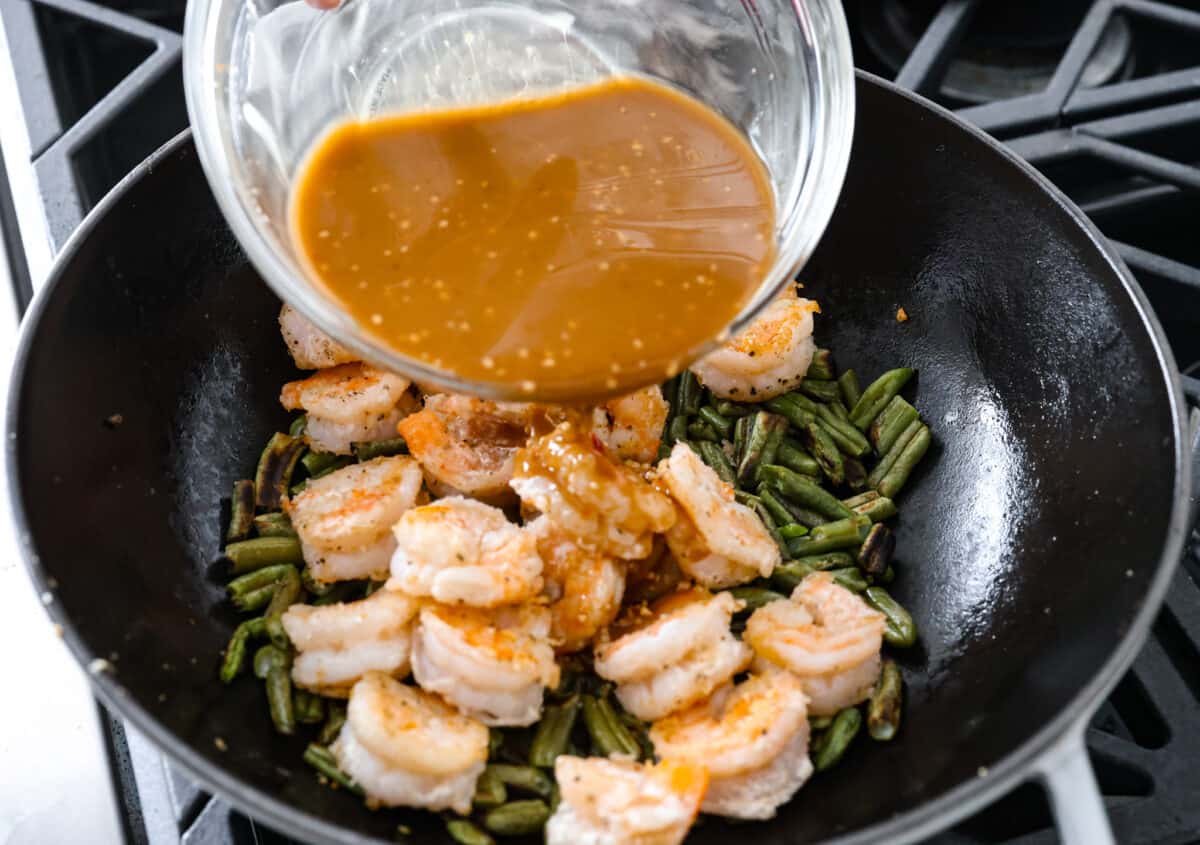
    4. Combine: Add the shrimp back to the pan along with the hunan sauce mixture and green onions. Continue to stir and cook until the sauce thickens.
    5. Enjoy: Serve the hunan shrimp with rice and additional green onions.
    4-photo collage of the shrimp and vegetables being cooked, then tossed in a homemade sauce.4-photo collage of the shrimp and vegetables being cooked, then tossed in a homemade sauce.

    Hunan Shrimp Tips for Success

    Use these extra tips and tricks to create Hunan shrimp worthy of your favorite takeout spot.

    • Pat Your Shrimp Dry: Wet shrimp = steamed shrimp, not the pan-fried, crispy goodness we’re after. Be sure to pat your shrimp dry with paper towels for maximum crispness.
    • High Heat is Your Friend: Get your wok or skillet nice and hot before adding the shrimp. They should sear instantly, locking in the juicy goodness and preventing a rubbery texture.
    • Don’t Crowd the Pan: Shrimp like their space! Add them in batches if your pan isn’t huge. Overcrowding leads to steaming, which we want to avoid for the best Hunan shrimp.
    • Adjust the Spice: Like it hot? Use more chili paste. If not, use less and then add more to taste if desired.

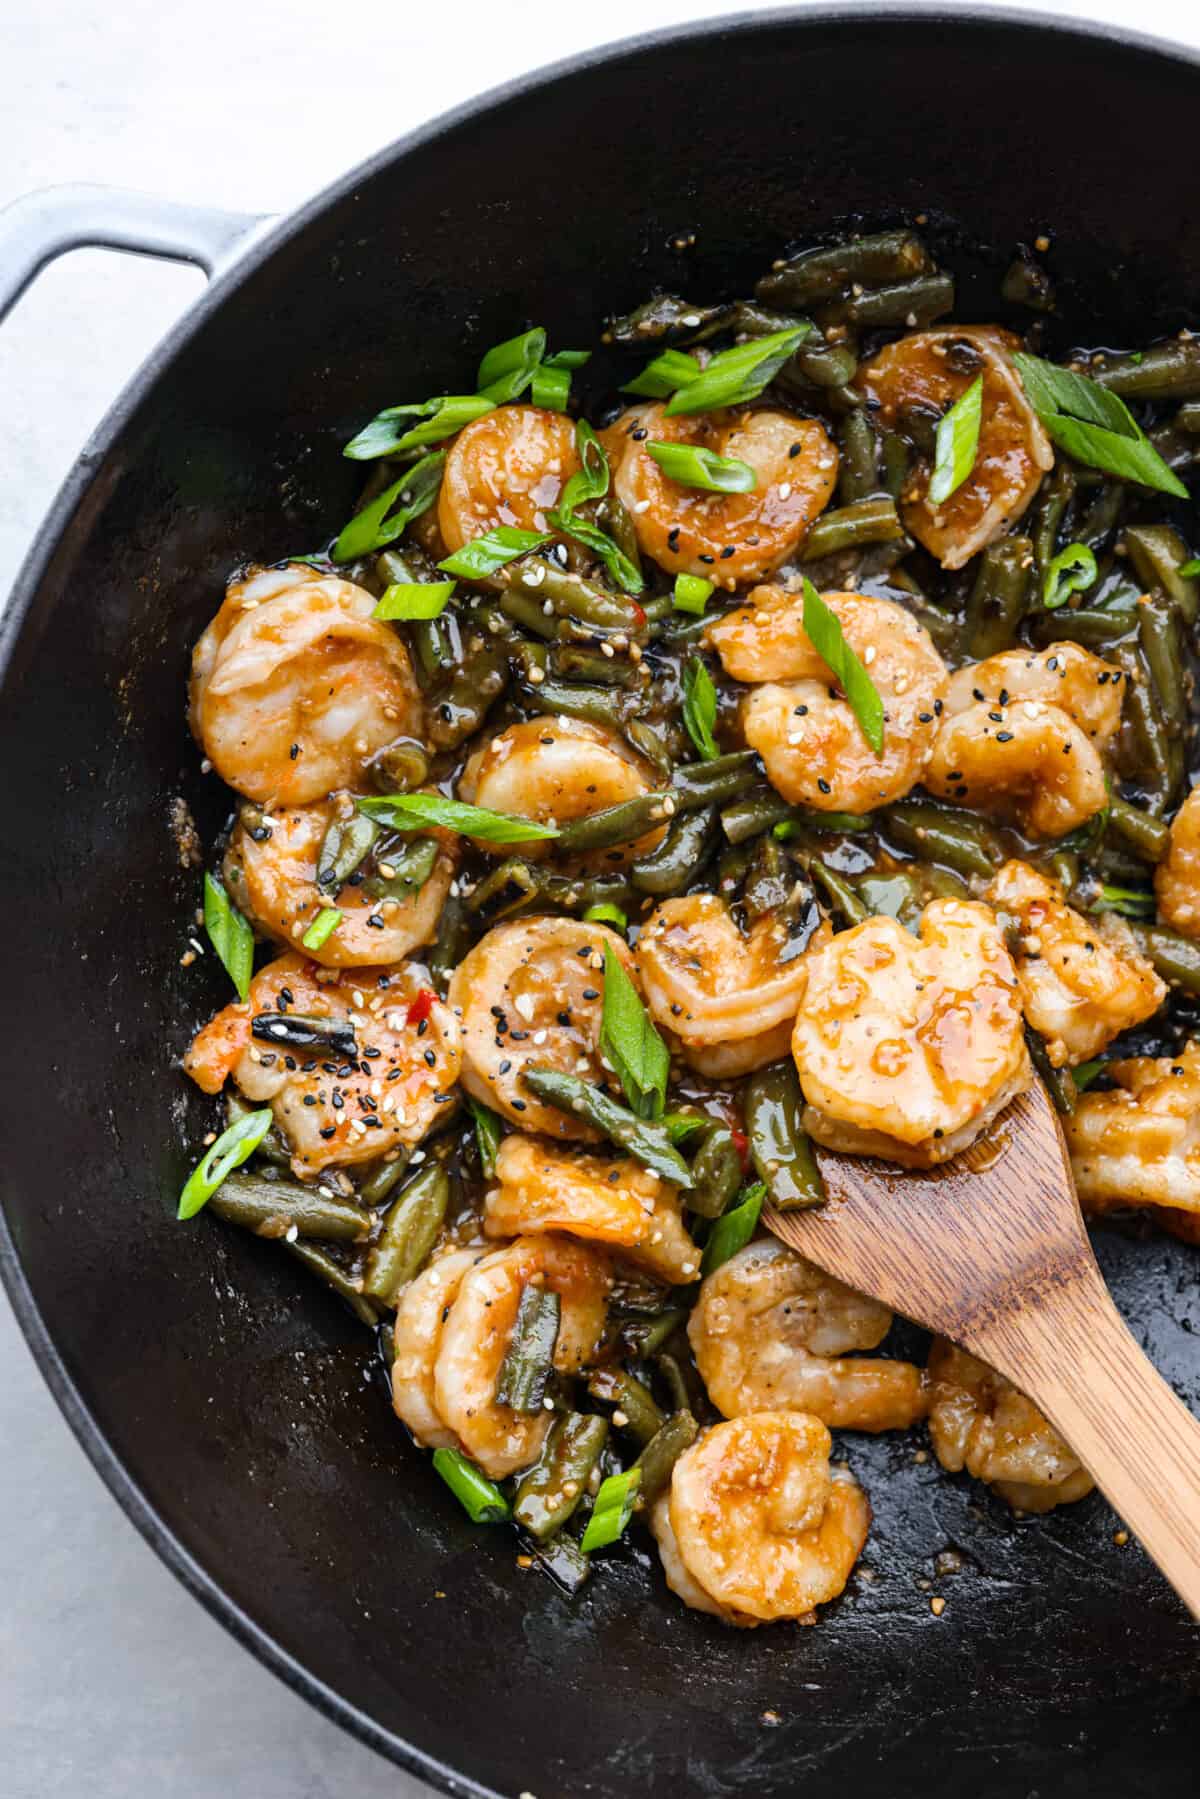
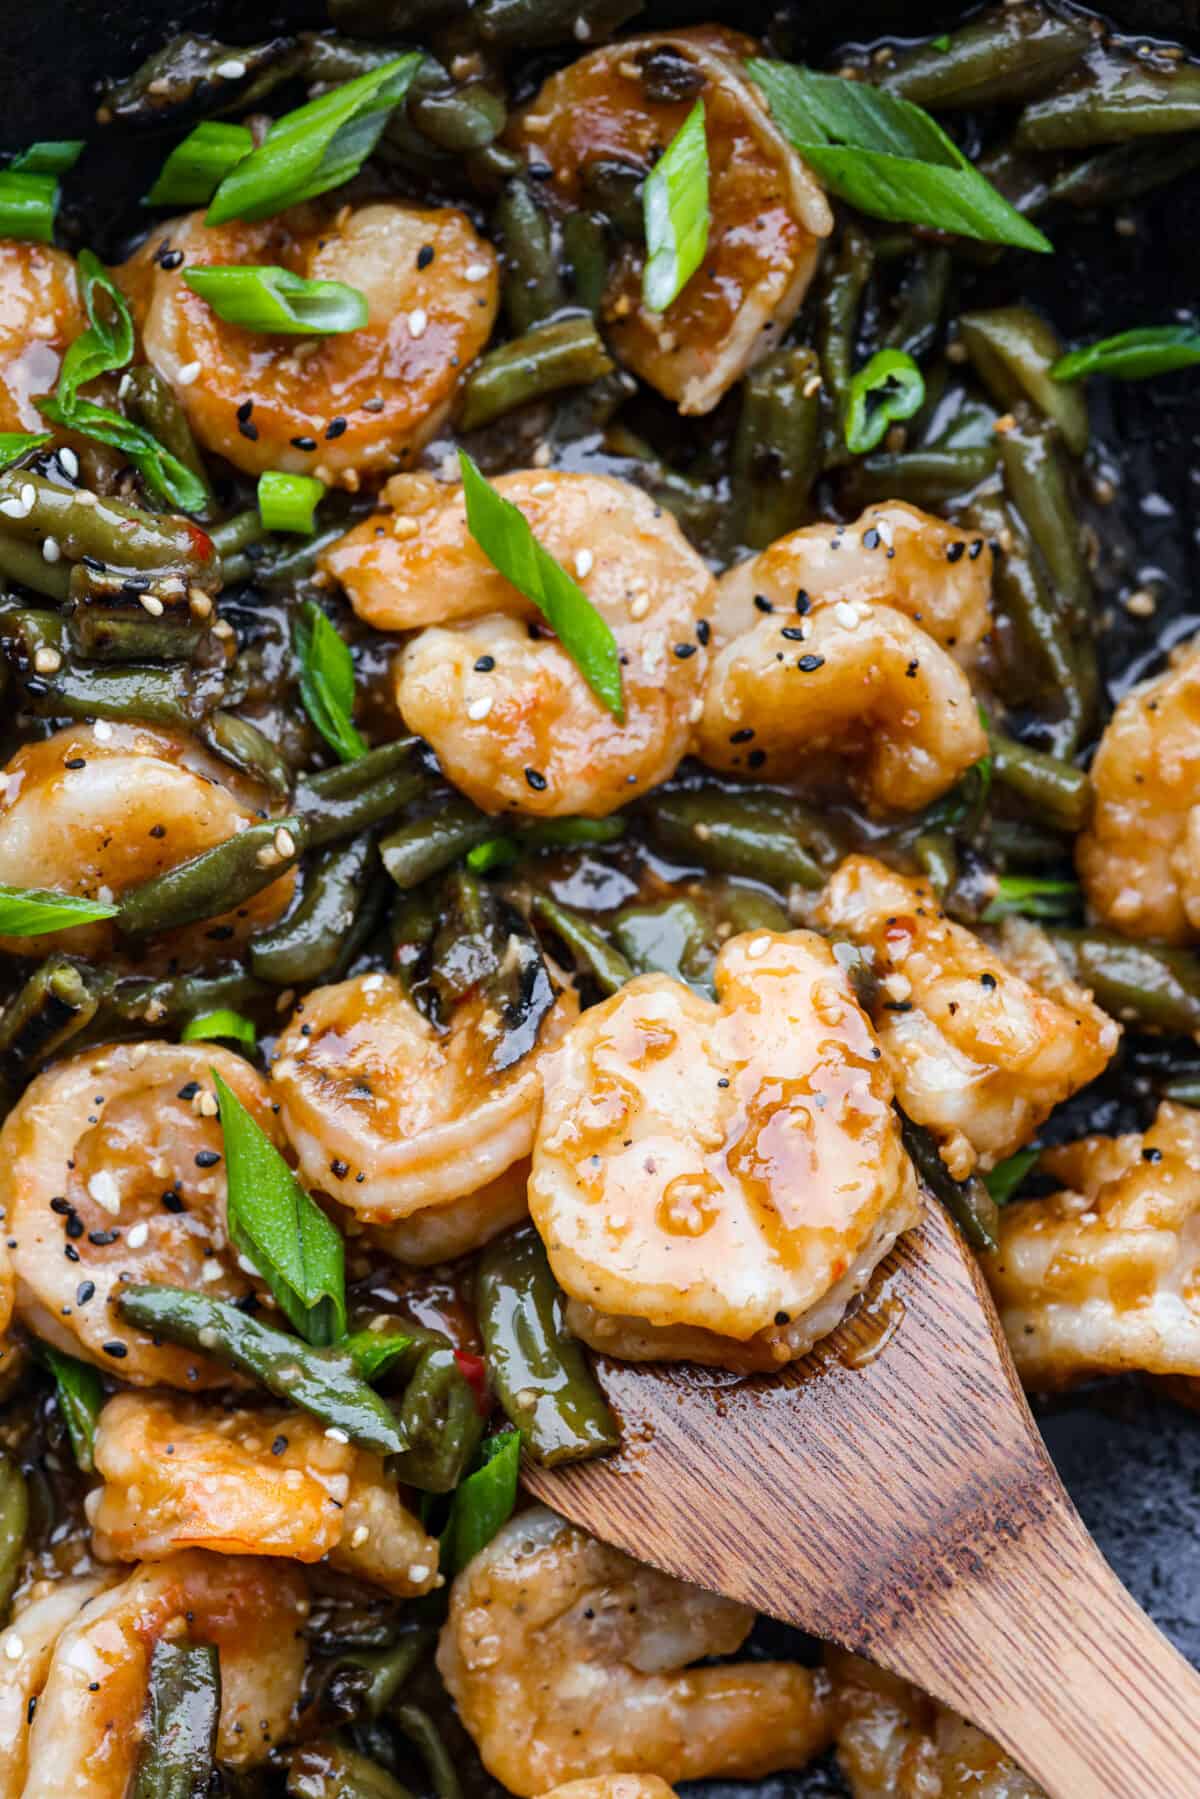
    Closeup of Hunan shrimp being stirred with a wooden spoon.Closeup of Hunan shrimp being stirred with a wooden spoon.

    How Long Does Hunan Shrimp Last?

    • Fridge: Store leftovers in an airtight container for up to 4 days.
    • Reheat: Toss some Hunan shrimp in a hot pan with a splash of water or broth. Stir-fry for a couple of minutes until warmed through, and serve over rice. A tasty meal in a snap!

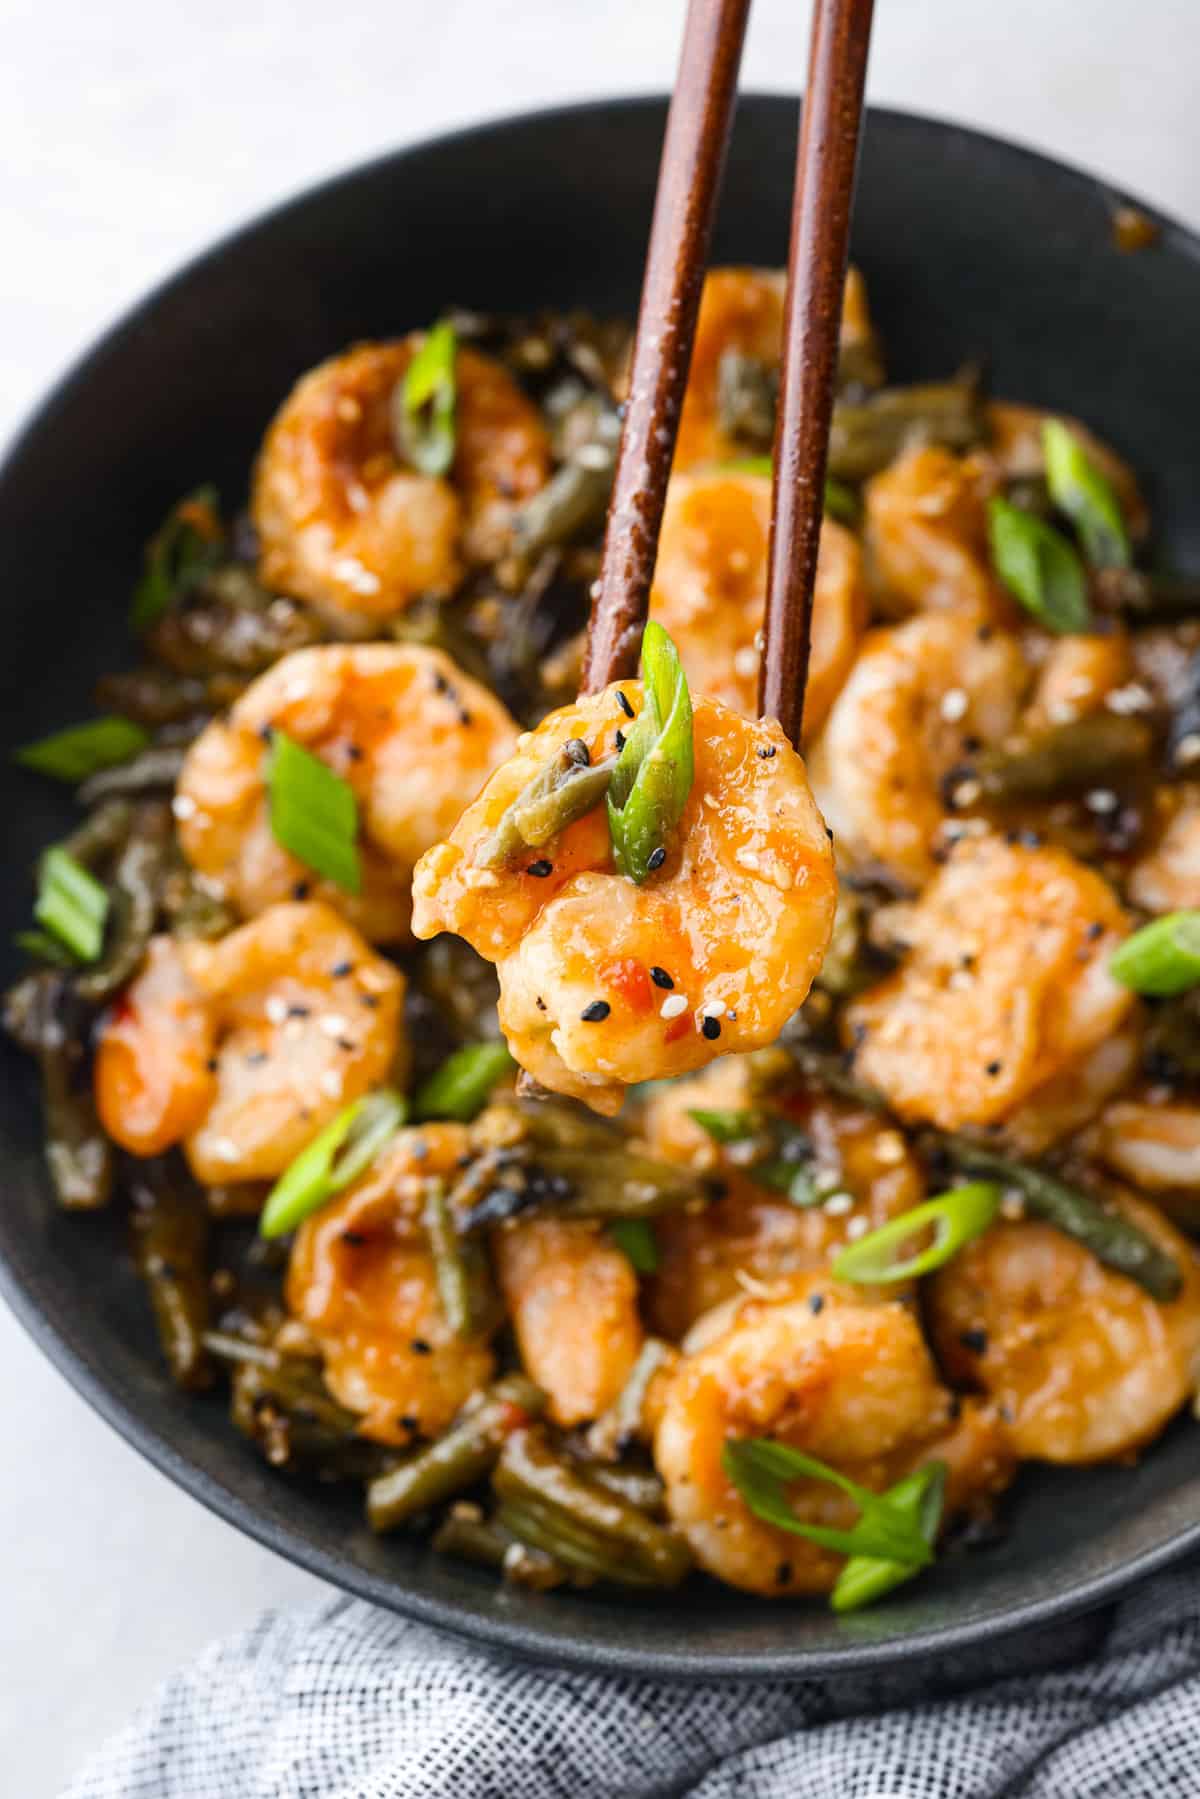
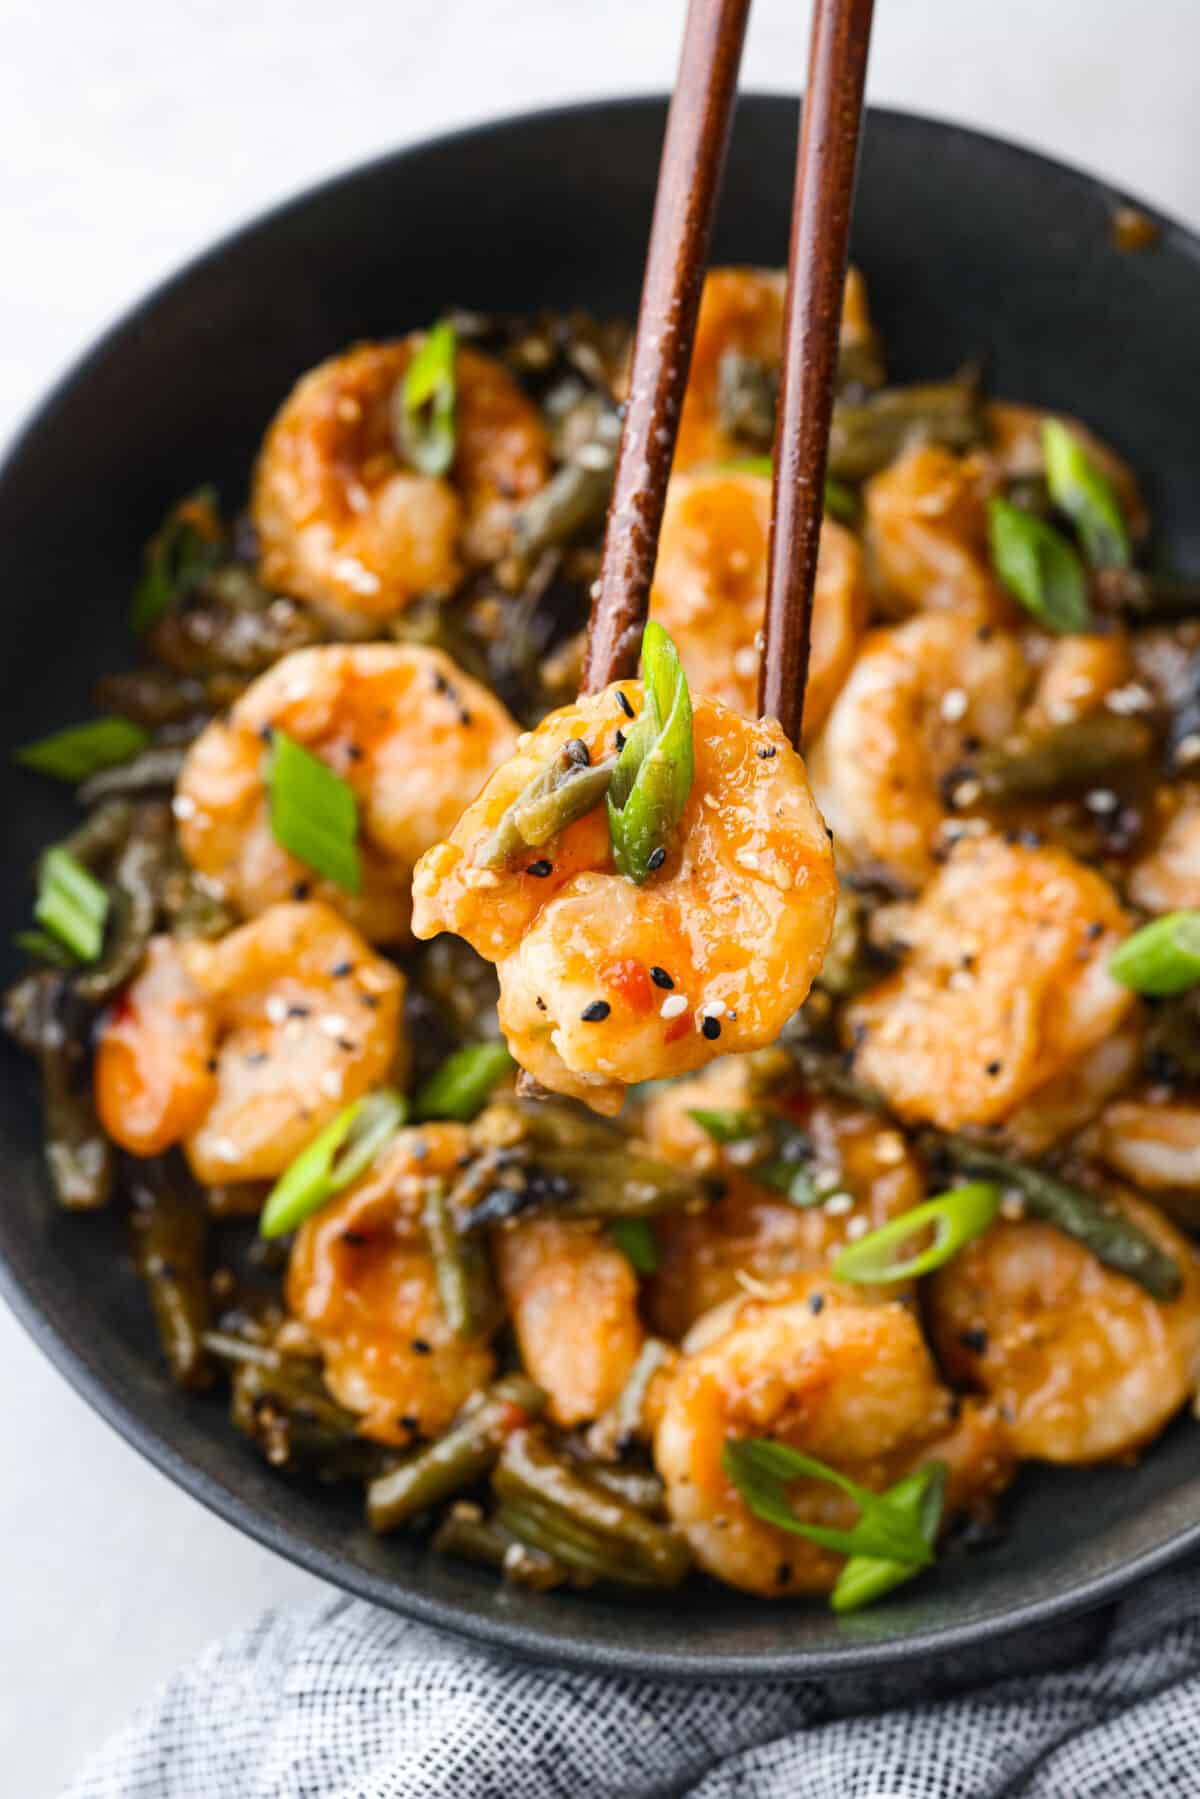
    Picking up a piece of shrimp with chopsticks.Picking up a piece of shrimp with chopsticks.

    Chinese Takeout, Made Fresh in Your Kitchen:

    Pin this now to find it later

    Pin It


    Source link

  • Bacon-Wrapped Shrimp Recipe

    Bacon-Wrapped Shrimp Recipe

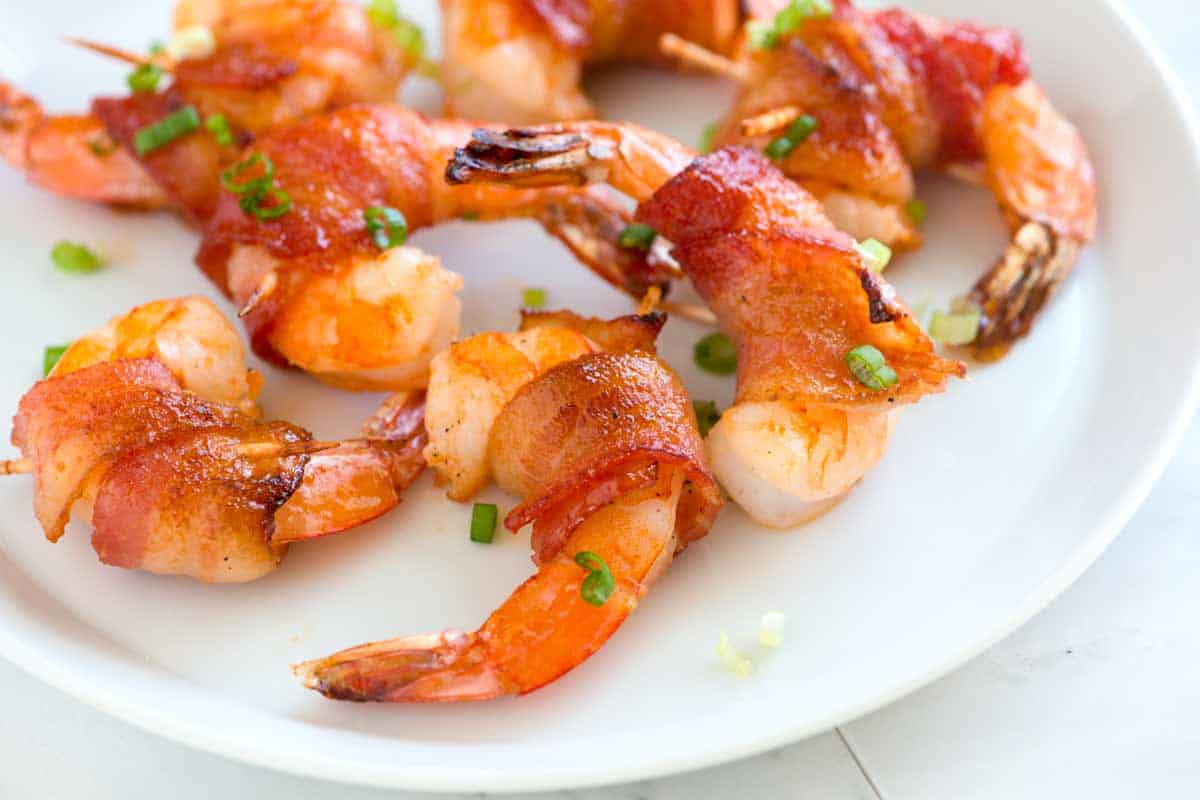
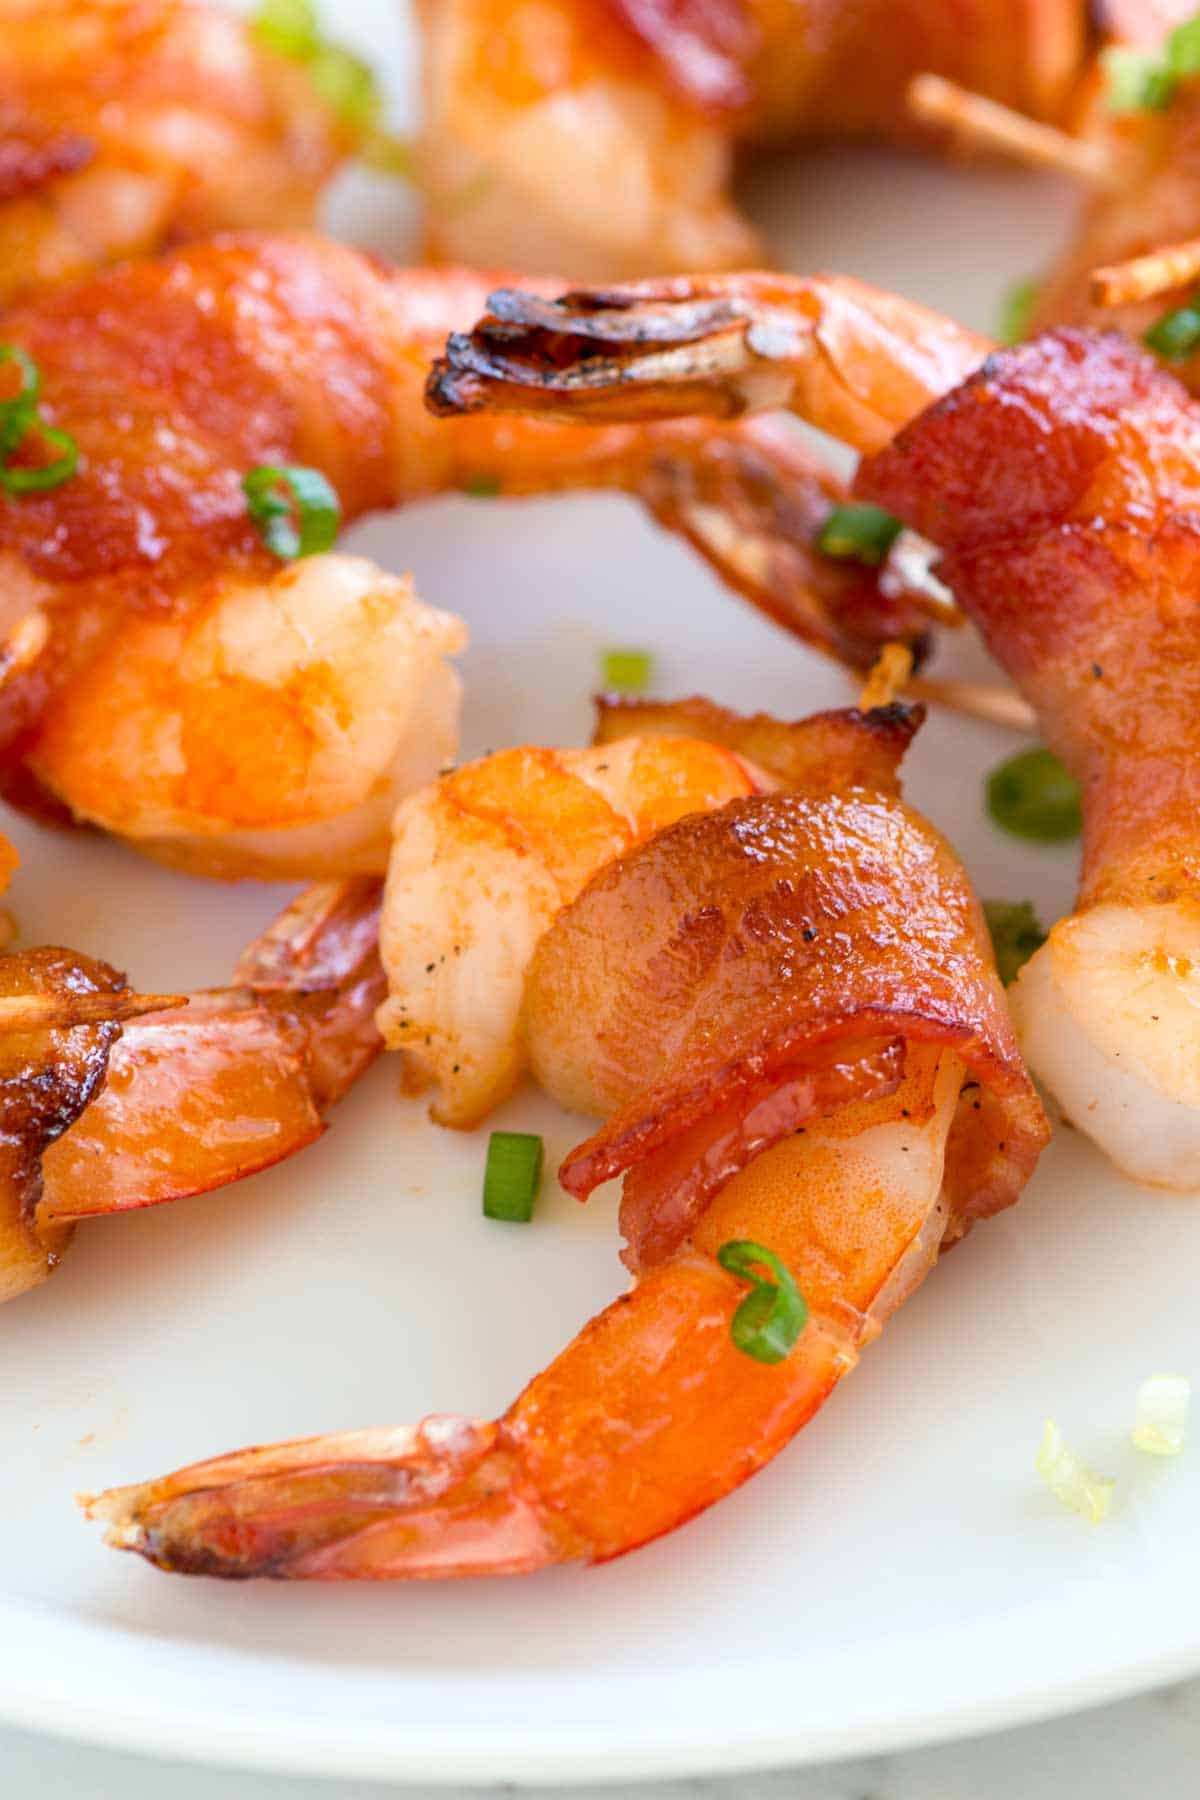
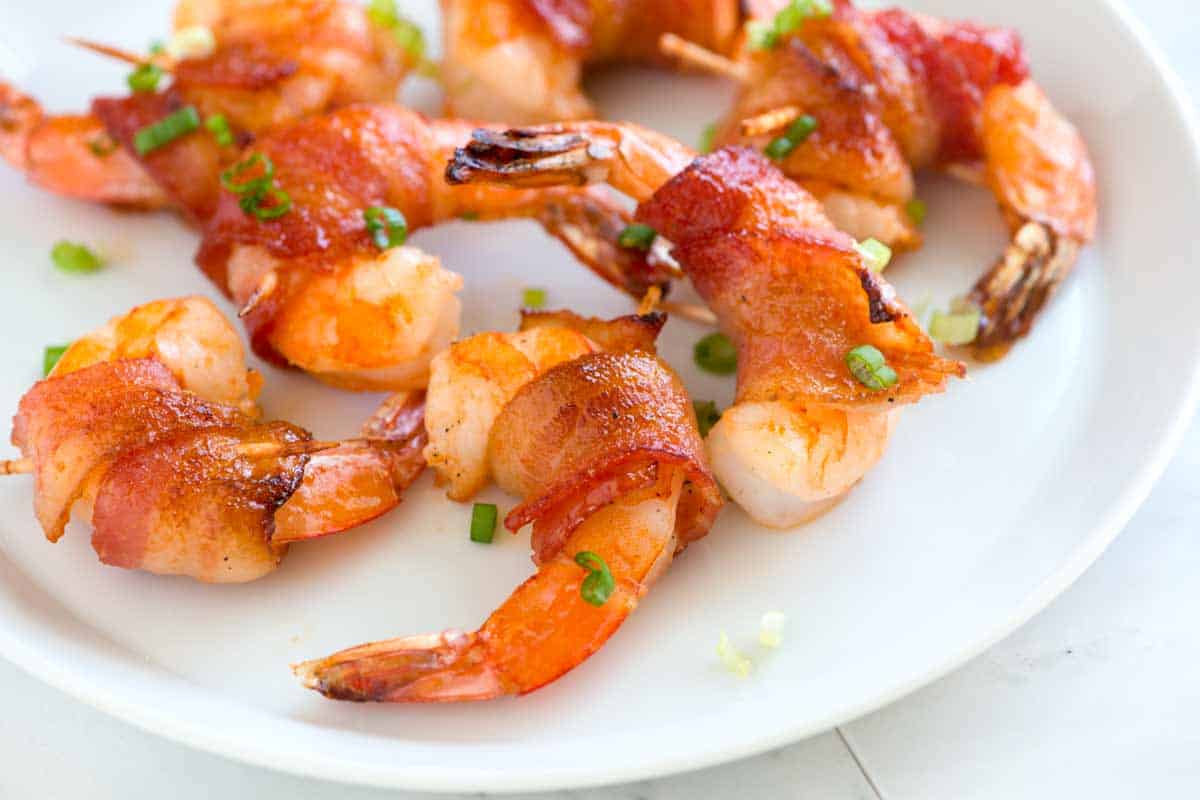
    This bacon-wrapped shrimp recipe is my go-to party appetizer. The spicy maple glaze, combined with a few simple tricks, makes them completely irresistible.

    Bacon Wrapped Shrimp

    There aren’t many things better than shrimp wrapped in bacon, especially when they’re coated in that sweet and spicy maple glaze. With my recipe, the shrimp turn out juicy and flavorful, and the bacon crisps up perfectly.

    Whenever I serve these to friends and family, they fly off the plate. People can’t get enough! For more bacon-wrapped goodness, see our easy jalapeño poppers.

    Key Ingredients

    • Shrimp: Use fresh, high-quality extra-large shrimp for the best flavor and texture. If using frozen shrimp, thaw them overnight in the fridge.
    • Bacon: I’m usually a thick-cut bacon kind of girl, but for bacon-wrapped shrimp, I prefer thin-cut bacon. It cooks more quickly and crisps up beautifully. Since shrimp cook fast, I like to par-cook the bacon before wrapping so it’s crisp by the time the shrimp are done.
    • Maple Syrup and Sriracha: These two ingredients combine to create a sweet and spicy glaze that makes this shrimp recipe so delicious. I also use this combo when making our baked ribs and BBQ chicken wings. If you don’t have Sriracha, Gochujang is an excellent substitute.
    • Skewers: Use wooden toothpicks or metal skewers to secure the bacon around the shrimp. If using wooden ones, soak them in water for about 30 minutes first to prevent burning in the oven.

    Find the full recipe with measurements below.

    How to Make Bacon-Wrapped Shrimp

    Tip 1: Salt, then rinse your shrimp. Before cooking, toss the shrimp with a bit of salt and let them sit in a colander for a few minutes. The salt firms up their texture and lightly seasons them. After rinsing, the shrimp taste cleaner, cook more evenly, and stay plump and juicy.

    Tip 2: Give the bacon a head start. Bake the bacon for about 10 minutes before wrapping the shrimp. Pre-baking the bacon allows some of the fat to render without fully crisping. The bacon should look partially cooked but still floppy. Let it cool slightly before handling.

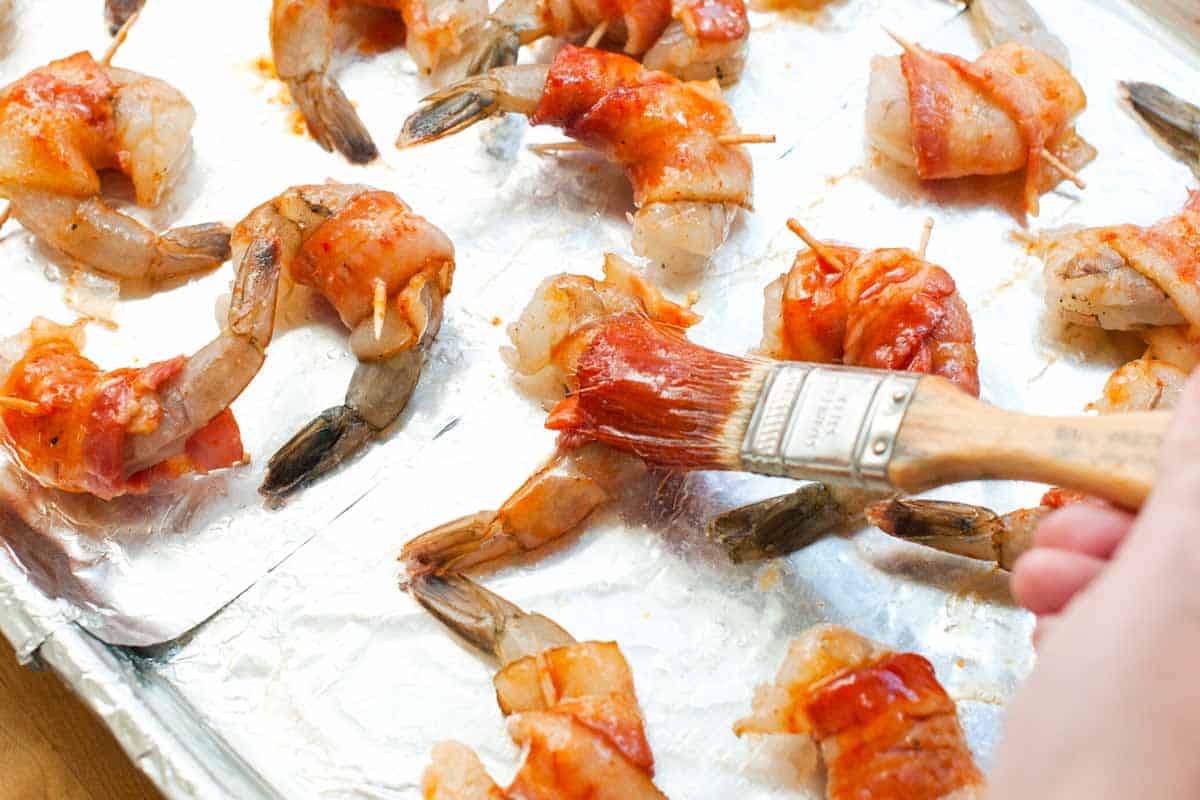
    Tip 3: Brush with maple glaze. Whisk together maple syrup and Sriracha (or Korean Gochujang) to make the sweet and spicy glaze (it’s so good!). Brush both sides of the partially cooked bacon with the glaze so that every strip is well coated. You’ll brush on more after wrapping the shrimp.

    Brushing par-baked bacon with spicy maple glaze before wrapping the shrimp

    Tip 4: Wrap, glaze, and bake. Wrap each shrimp with a piece of bacon and secure it with a toothpick. Brush a little more glaze on top, then bake for about 5 minutes. Switch the oven to broil for another 4 to 6 minutes, until the bacon is crisp and caramelized. Yum.

    Shrimp wrapped in bacon ready for the oven
    Brushing the spicy maple glaze on to the bacon wrapped shrimp before baking in the oven

    More Easy Shrimp Recipes I Love

    Easy Bacon Wrapped Shrimp

    Bacon-Wrapped Shrimp

    • PREP
    • COOK
    • TOTAL

    We love these bacon-wrapped shrimp with the most delicious spicy maple glaze! We par-cook the bacon before wrapping it around the shrimp so both cook perfectly (raw bacon would take too long to cook, and the shrimp will overcook).

    5 Servings (4 to 5 shrimp each)

    You Will Need

    20 extra-large shrimp, shelled with tails left on, about 1 pound

    10 strips thin-cut bacon

    ¼ teaspoon fine sea salt

    2 tablespoons pure maple syrup

    1 tablespoon Sriracha hot chili sauce

    Half a lemon, cut into wedges, for serving

    1 scallion, finely chopped, for serving

    Wooden skewers soaked in water for 30 minutes

    Directions

      1Prep: Preheat the oven to 400°F (200°C). Line a large baking sheet with aluminum foil or parchment paper.

      2Par-bake bacon: Place the bacon slices in a single layer on the baking sheet. Bake until the bacon has rendered some of its fat, is starting to brown on the edges, but is still floppy, about 10 minutes. Remove the bacon from the oven and transfer it to paper towels to drain excess fat. Discard any fat on the baking sheet, but leave the foil intact.

      3Prepare shrimp: Place the shrimp in a colander and toss with ¼ teaspoon salt. Let sit for 1 minute, then rinse and pat very dry with paper towels.

      4Make glaze: Stir the maple syrup and sriracha in a small bowl.

      5Glaze the bacon: Lightly brush both sides of the par-cooked bacon with the glaze, then cut it in half crosswise, making 20 half-strips of bacon.

      6Wrap the shrimp: Wrap each shrimp with a half-strip of bacon and use one of the soaked skewers to secure it in place. Place each shrimp onto the baking sheet. Then, brush or spoon the leftover glaze over the wrapped shrimp.

      7Bake: Bake the shrimp for 5 minutes. Turn the oven to broil, and then broil for 4 to 6 minutes, rotating the shrimp once until the bacon is crispy. Serve shrimp with lemon wedges on the side and scallions scattered on top.

    Adam and Joanne’s Tips

    • Storing: Store leftover bacon-wrapped shrimp in an airtight container in the refrigerator for up to 3 days. To reheat, place them on a baking sheet and warm in a 375°F oven for 5 to 7 minutes, or until the bacon is crisp and the shrimp are heated through. Avoid microwaving, as it can make the bacon chewy.
    • Make-ahead: You can also make them ahead of time by assembling the shrimp and par-baked bacon, then refrigerating for up to 24 hours before baking.
    • The nutrition facts provided below are estimates.

    Nutrition Per Serving
    Serving Size
    4 shrimp
    /
    Calories
    154
    /
    Protein
    16g
    /
    Carbohydrate
    6g
    /
    Dietary Fiber
    0g
    /
    Total Sugars
    5g
    /
    Total Fat
    7g
    /
    Saturated Fat
    2g
    /
    Cholesterol
    111mg


    AUTHOR:

    Adam Gallagher

    Adam and Joanne of Inspired Taste

    We are Adam and Joanne Gallagher, the creators of Inspired Taste. Established in 2009, Inspired Taste grew from a childhood dream into one of the internet’s most trusted recipe sites with hundreds of reliable recipes, step-by-step videos, and expert tips.More About Us
    Source link

  • Marry Me Lobster Pasta Recipe

    Marry Me Lobster Pasta Recipe

    This website may contain affiliate links and advertising so that we can provide recipes to you. Read my disclosure policy.

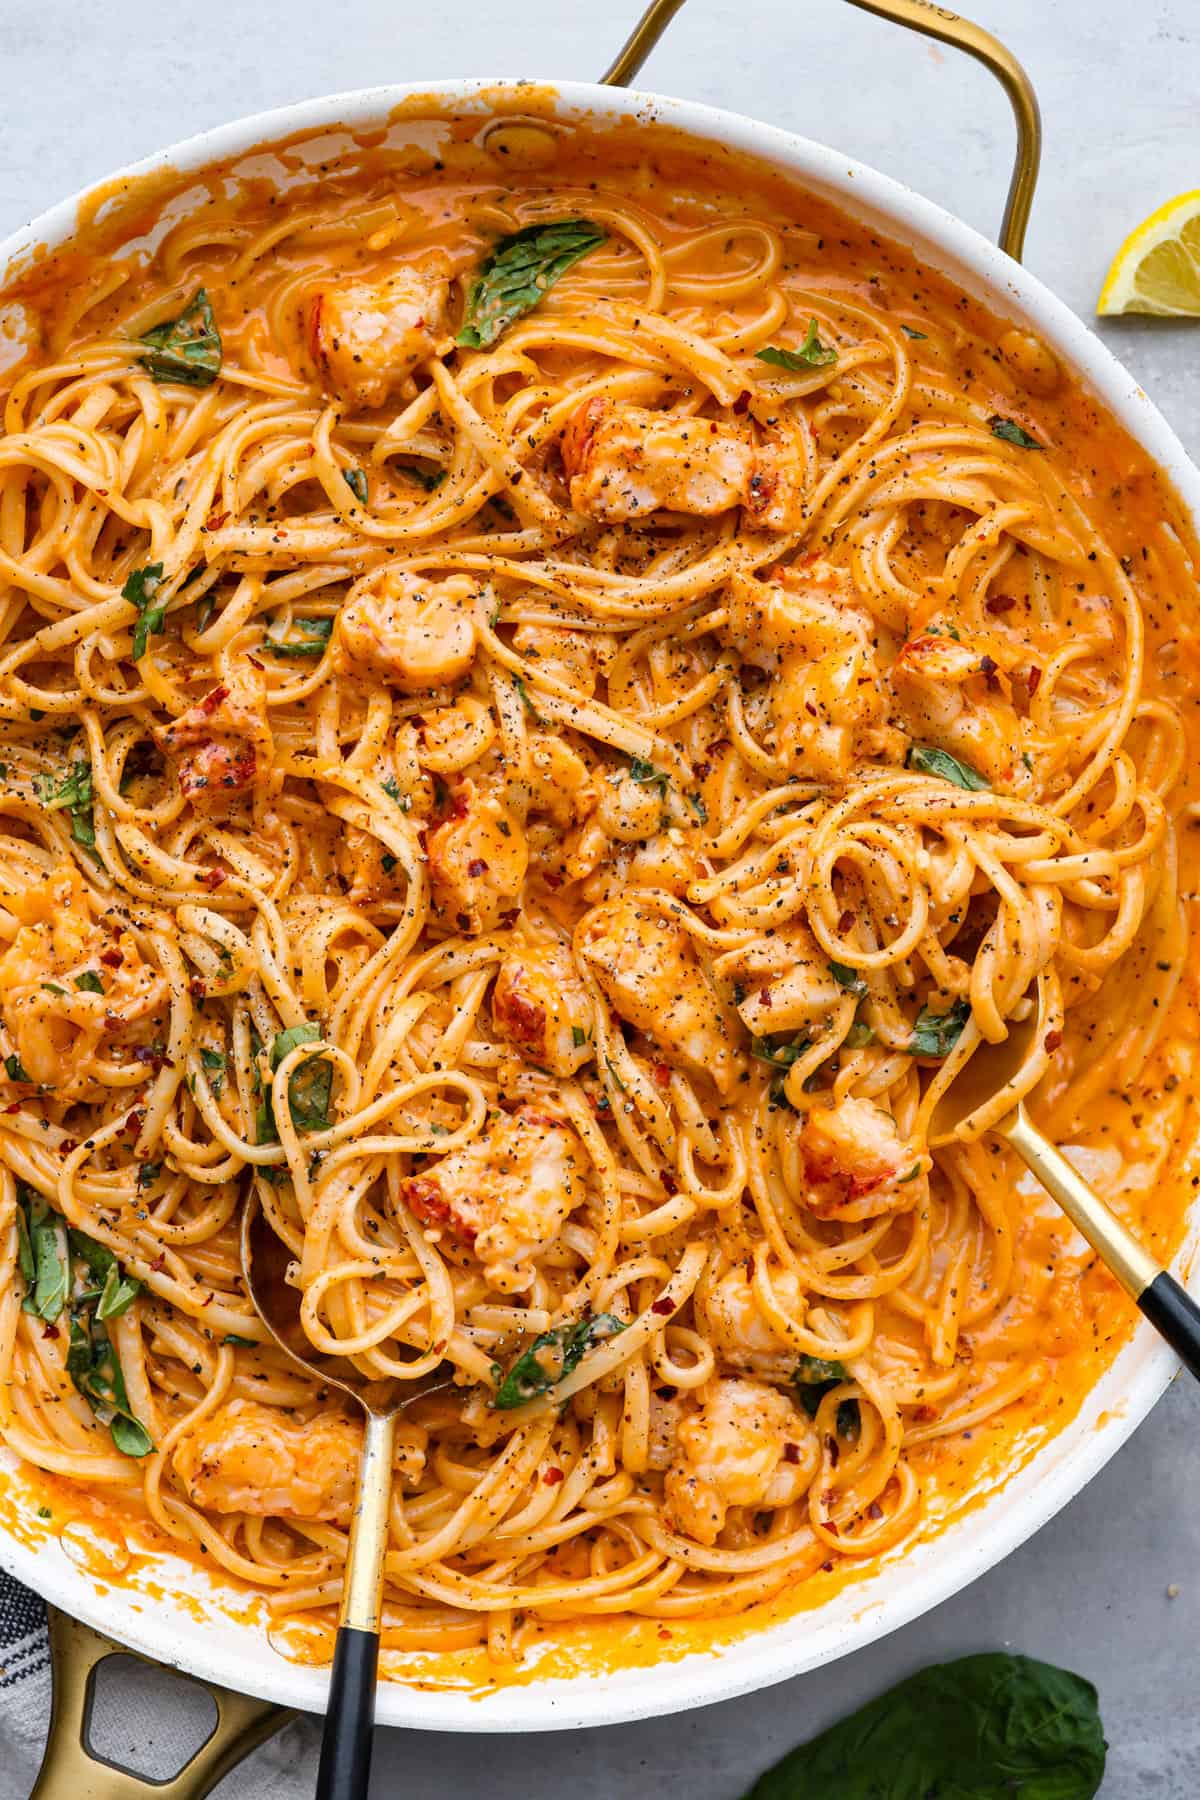
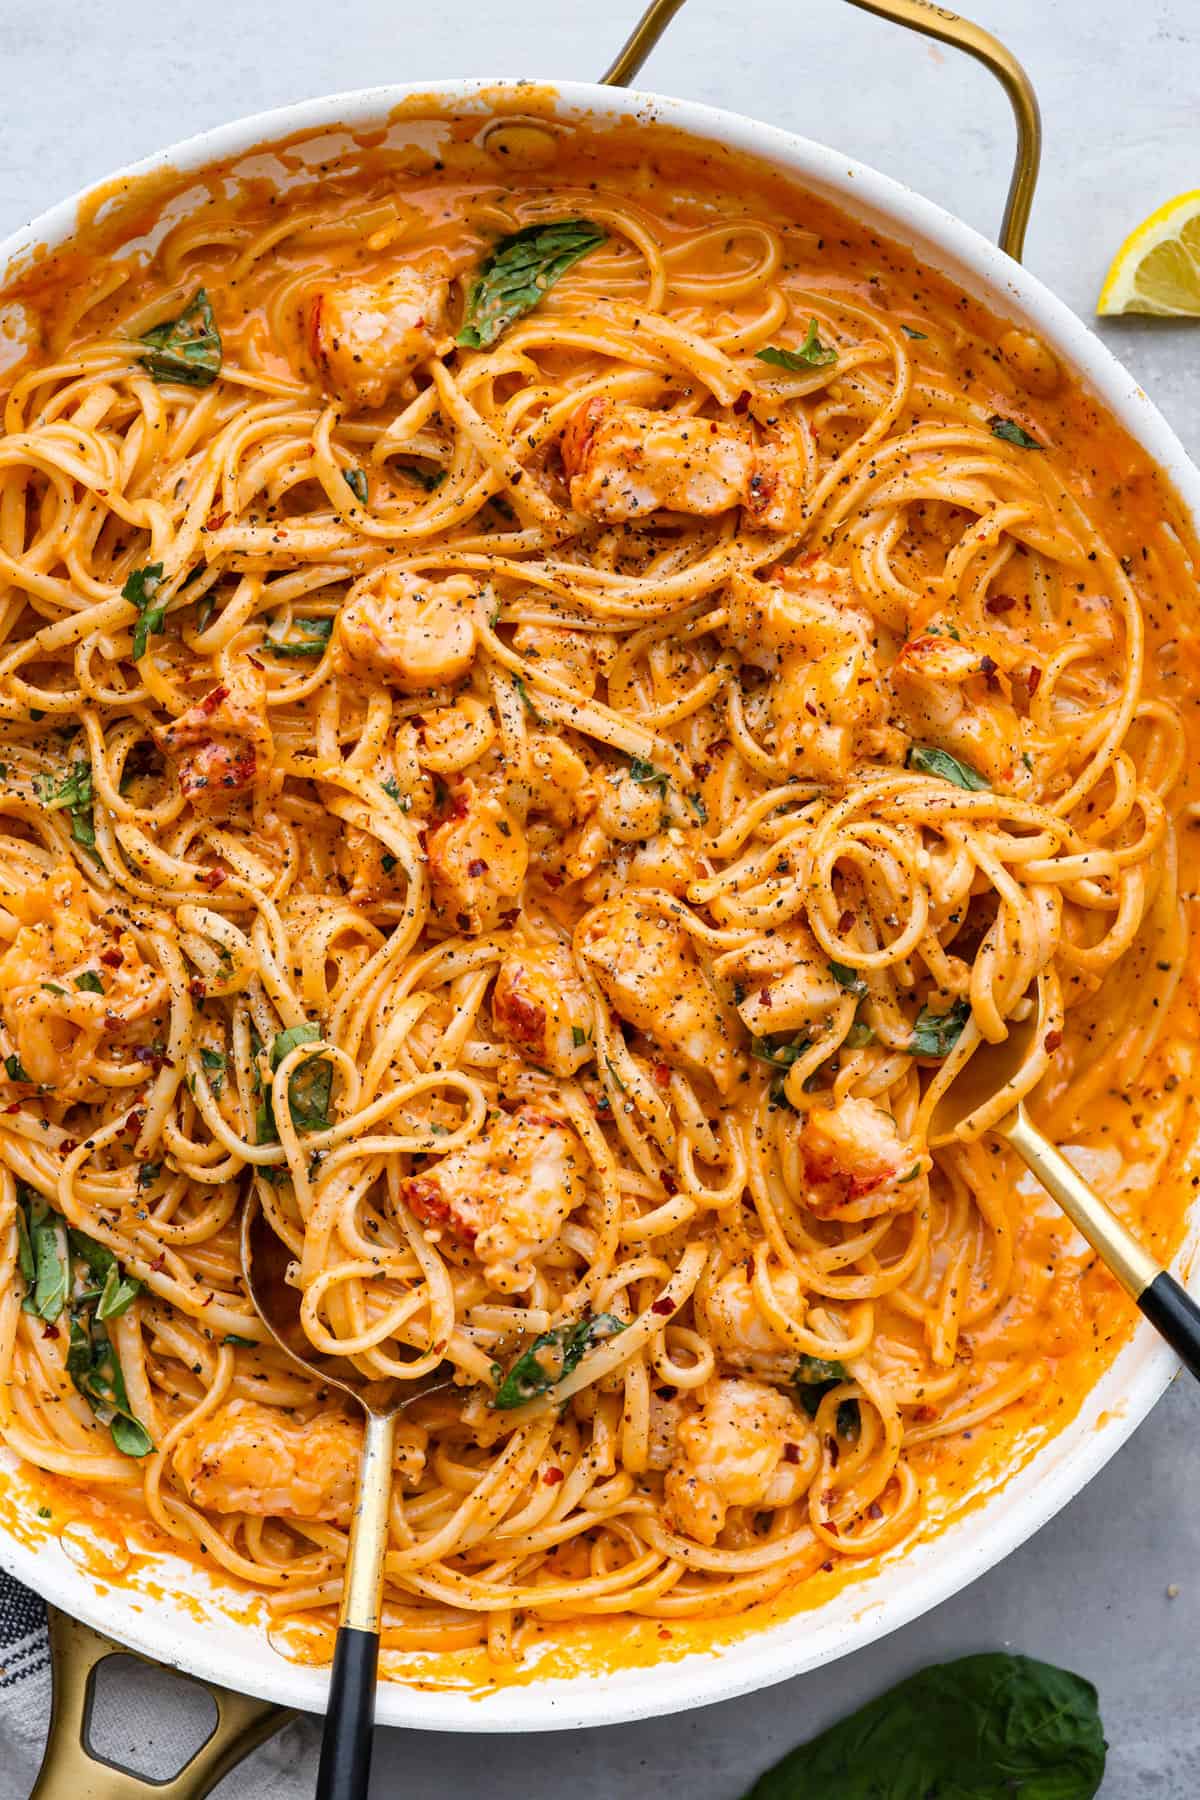
    Tender, juicy pieces of lobster tossed in a creamy tomato sauce with linguine noodles. Prepare to be amazed by this restaurant-quality lobster pasta- each bite is a dream!

    Calling all seafood lovers! If you love this lobster pasta, here are a few more recipes you need to add to the dinner lineup: lobster bisque, seafood lasagna, and reader-favorite lobster tail!

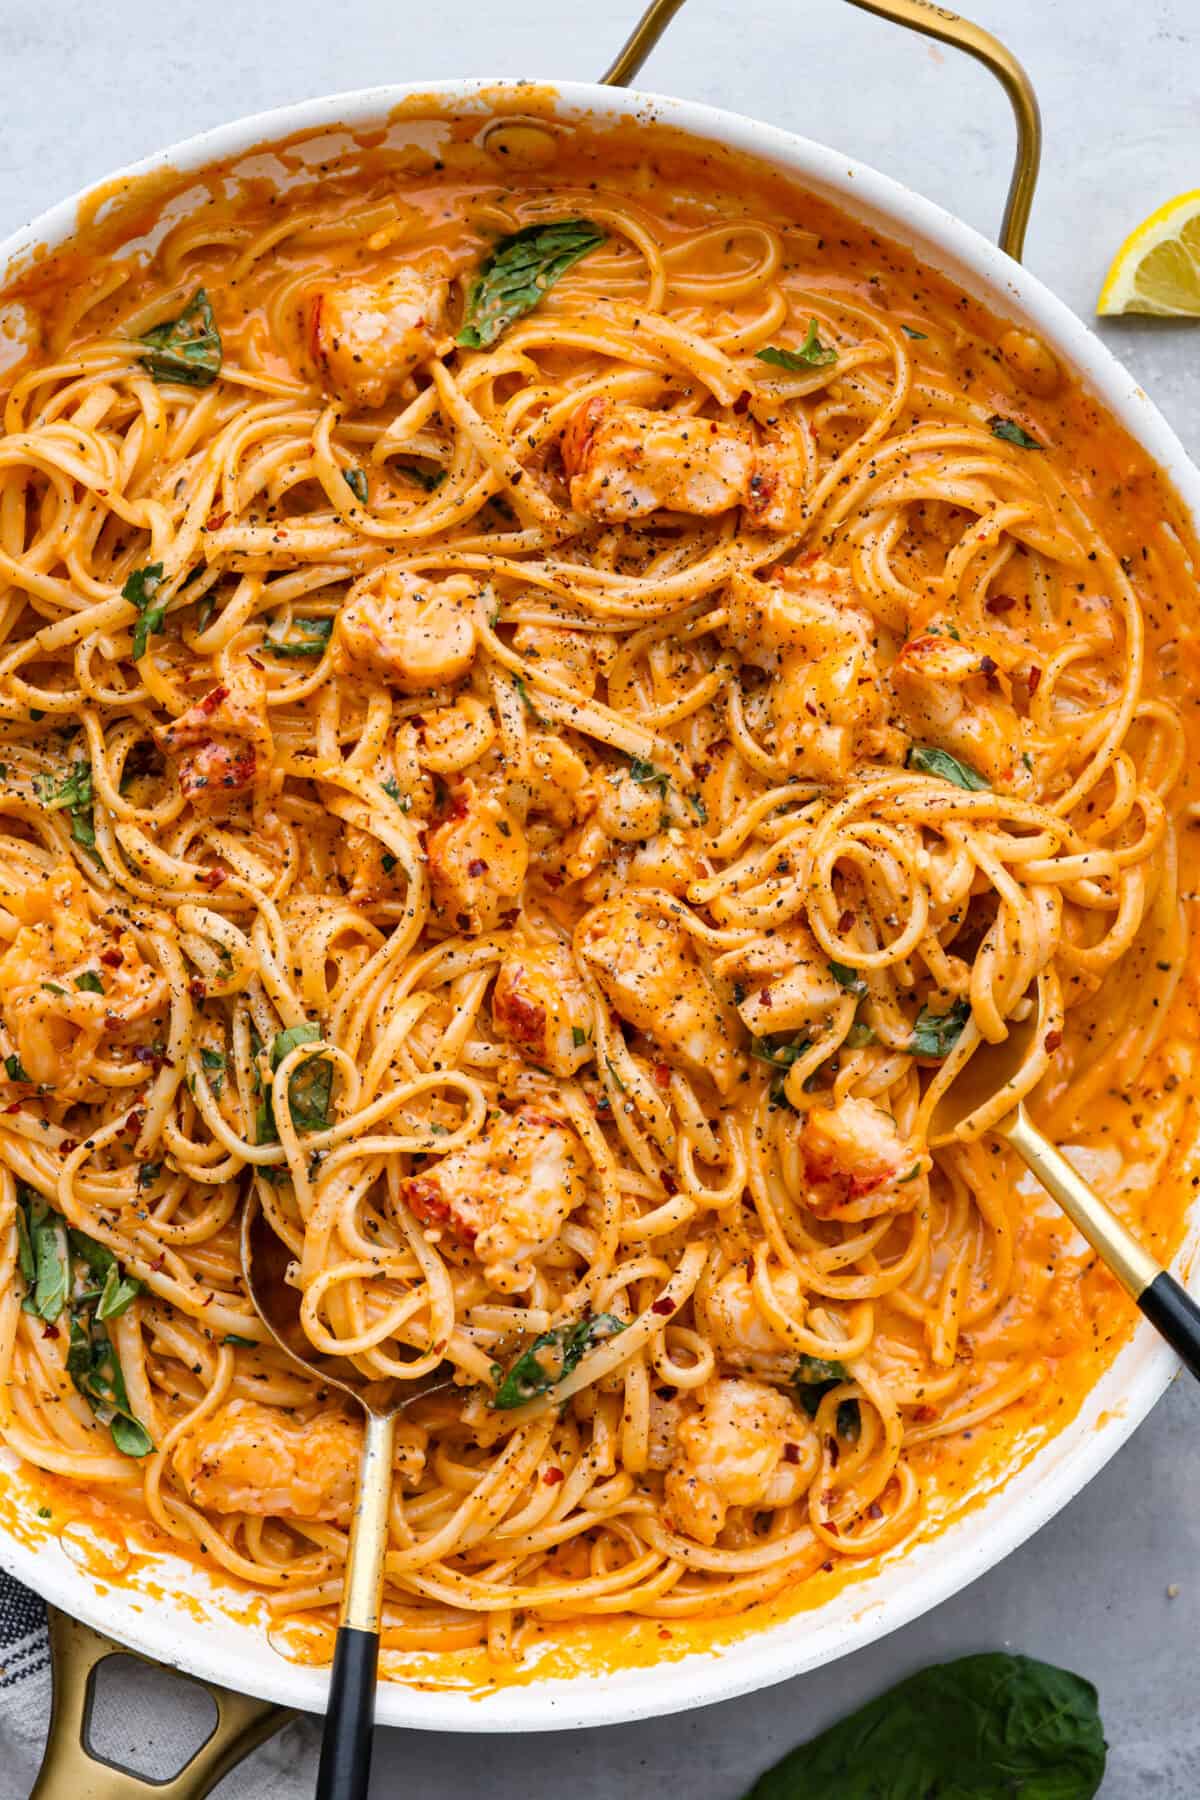
    Top-down view of lobster pasta in a white skillet.Top-down view of lobster pasta in a white skillet.

    Amazing Lobster Linguine

    This lobster pasta is comfort food at its finest. Fresh linguine, a creamy, cheesy tomato sauce, and tender lobster pieces all tossed together. What could be better than that? It’s a blend of flavors and textures that is absolutely dreamy.

    This restaurant-quality lobster pasta is fancy enough for special occasions or date night, but also simple enough to make for a weeknight dinner. Trust me, even the people that aren’t big seafood lovers in your family will be a fan! Words can’t describe how tasty this dish is. You’ve got to try it for yourself! Here is everything you’ll need:

    Ingredient List

    I love that this recipe uses so many simple ingredients, even though it tastes like something you would get from a fancy restaurant! Exact measurements for each can be found in the recipe card at the end of the post.

    • Linguine: This long, thin pasta helps catch the delicious sauce and lobster pieces. Cook it al dente for a perfect bite. Also, reserve some pasta water before draining for the sauce!
    • Lobster Meat: Cooked and cut into bite-sized pieces. Use cooked lobster tails, claws, or knuckles – any part works!
    • Unsalted Butter: Adds richness and depth of flavor.
    • Chopped Shallot: Adds a mild oniony flavor without overpowering the dish. Chop it finely so it’s evenly distributed.
    • Garlic Cloves: Because everything is better with garlic! Fresh minced garlic works best for adding flavor to every bite.
    • Tomato Paste: Concentrated tomato flavor base for the sauce.
    • Heavy Cream: Creates a luxurious, creamy sauce. Full-fat cream will give you the richest flavor, but half and half can also be used for something lighter.
    • Parmesan Cheese: So the sauce has delicious cheesy flavor.
    • Italian Seasoning: A blend of herbs like oregano, thyme, and basil. You can adjust the amount to your preference.
    • Salt and Pepper: For seasoning the lobster pasta to taste.
    • Reserved Pasta Water: This starchy water helps give the sauce a silky texture and also thins it out.
    • Fresh Basil and Red Pepper Flakes: Optional, but these add extra delicious flavor!

    Lobster Pasta Recipe

    Grab that skillet and get ready to make a dinner that everyone will be raving about. If you really want to take things up a notch, try serving it with garlic knots or homemade breadsticks! The sauce is too good not to dip.

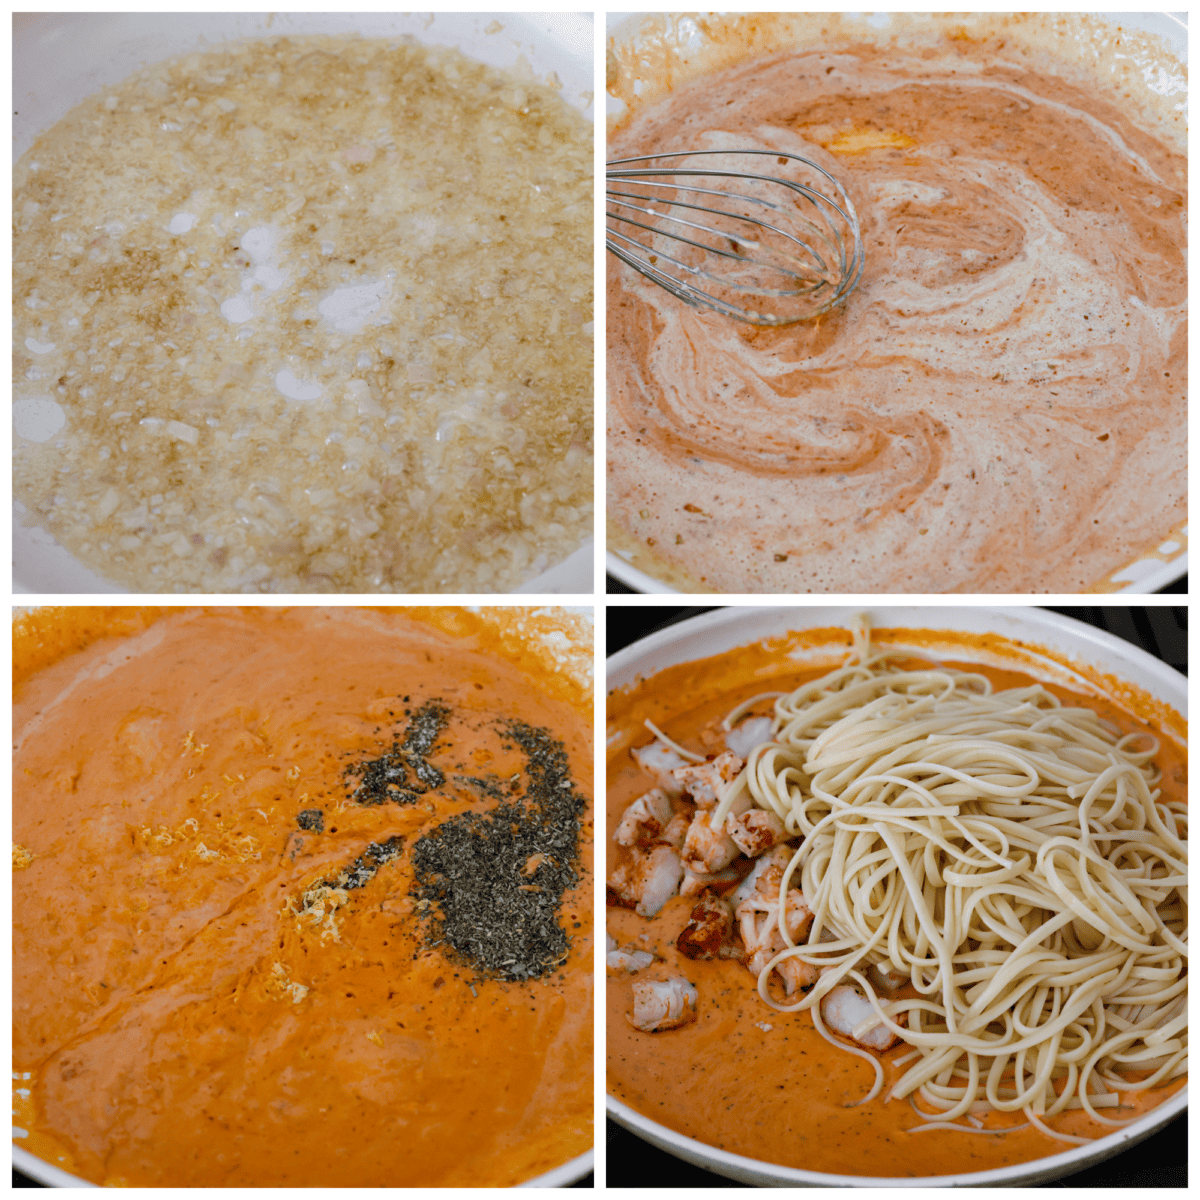
    1. Precook Pasta: Cook the pasta according to package instructions. Cook the pasta to al-dente. Before draining the pasta, save some pasta water for the sauce.
    2. Sauté Vegetables: Heat the butter in a large skillet over medium-high heat. Add the shallot and saute until translucent. Stir in the garlic and cook for another 30 seconds.
    3. Add Tomato Paste: Stir in the tomato paste and then cook for 1 minute.
    4. Mix in Cheese and Cream: Lower the heat and slowly add in the cream and parmesan cheese. Heat through and stir until the cheese is melted.
    5. Add Seasonings and Pasta Water: Add the salt, black pepper, and Italian seasonings, and lemon zest. Add 1/2 cup of pasta water to thin the sauce. Then taste the sauce and add additional seasoning to your liking.
    6. Combine: Add the cooked lobster meat and pasta. Toss to combine with the sauce. 
    7. Serve: Top the pasta with fresh basil, parmesan, and red pepper flakes if desired. Then serve immediately while it’s warm. Enjoy!
    4-photo collage of the creamy red sauce being prepared, and linguine and lobster being added to it.4-photo collage of the creamy red sauce being prepared, and linguine and lobster being added to it.

    Tips and Variations

    Use your imagination and what you have on hand to create this amazing creamy lobster pasta! You’re going to love how it turns out with any of these tips and variations.

    • Pasta: I love using pasta that can really soak up the sauce and hold it in its crevices. For this lobster pasta, you can use almost any pasta you like, even spaghetti if that’s what you have on hand.
    • Al Dente: Cook your pasta al dente. This means the pasta is tender but still chewy and holds its shape with a bit of firmness. This will allow the pasta to absorb the sauce and hold on to the flavor in every bite.
    • Lobster Substitutions: Not a fan of lobster? No problem! You can also use other protein options like chicken, bacon, or sausage.
    • Heavy Cream: You can use half and half instead of heavy cream to also cut a few calories but your sauce won’t turn out quite as rich.
    • Add-ins: Try adding a handful of fresh spinach or sun-dried tomatoes to this lobster pasta. Just stir them in when you add in the lobster. It would be delicious in this recipe!

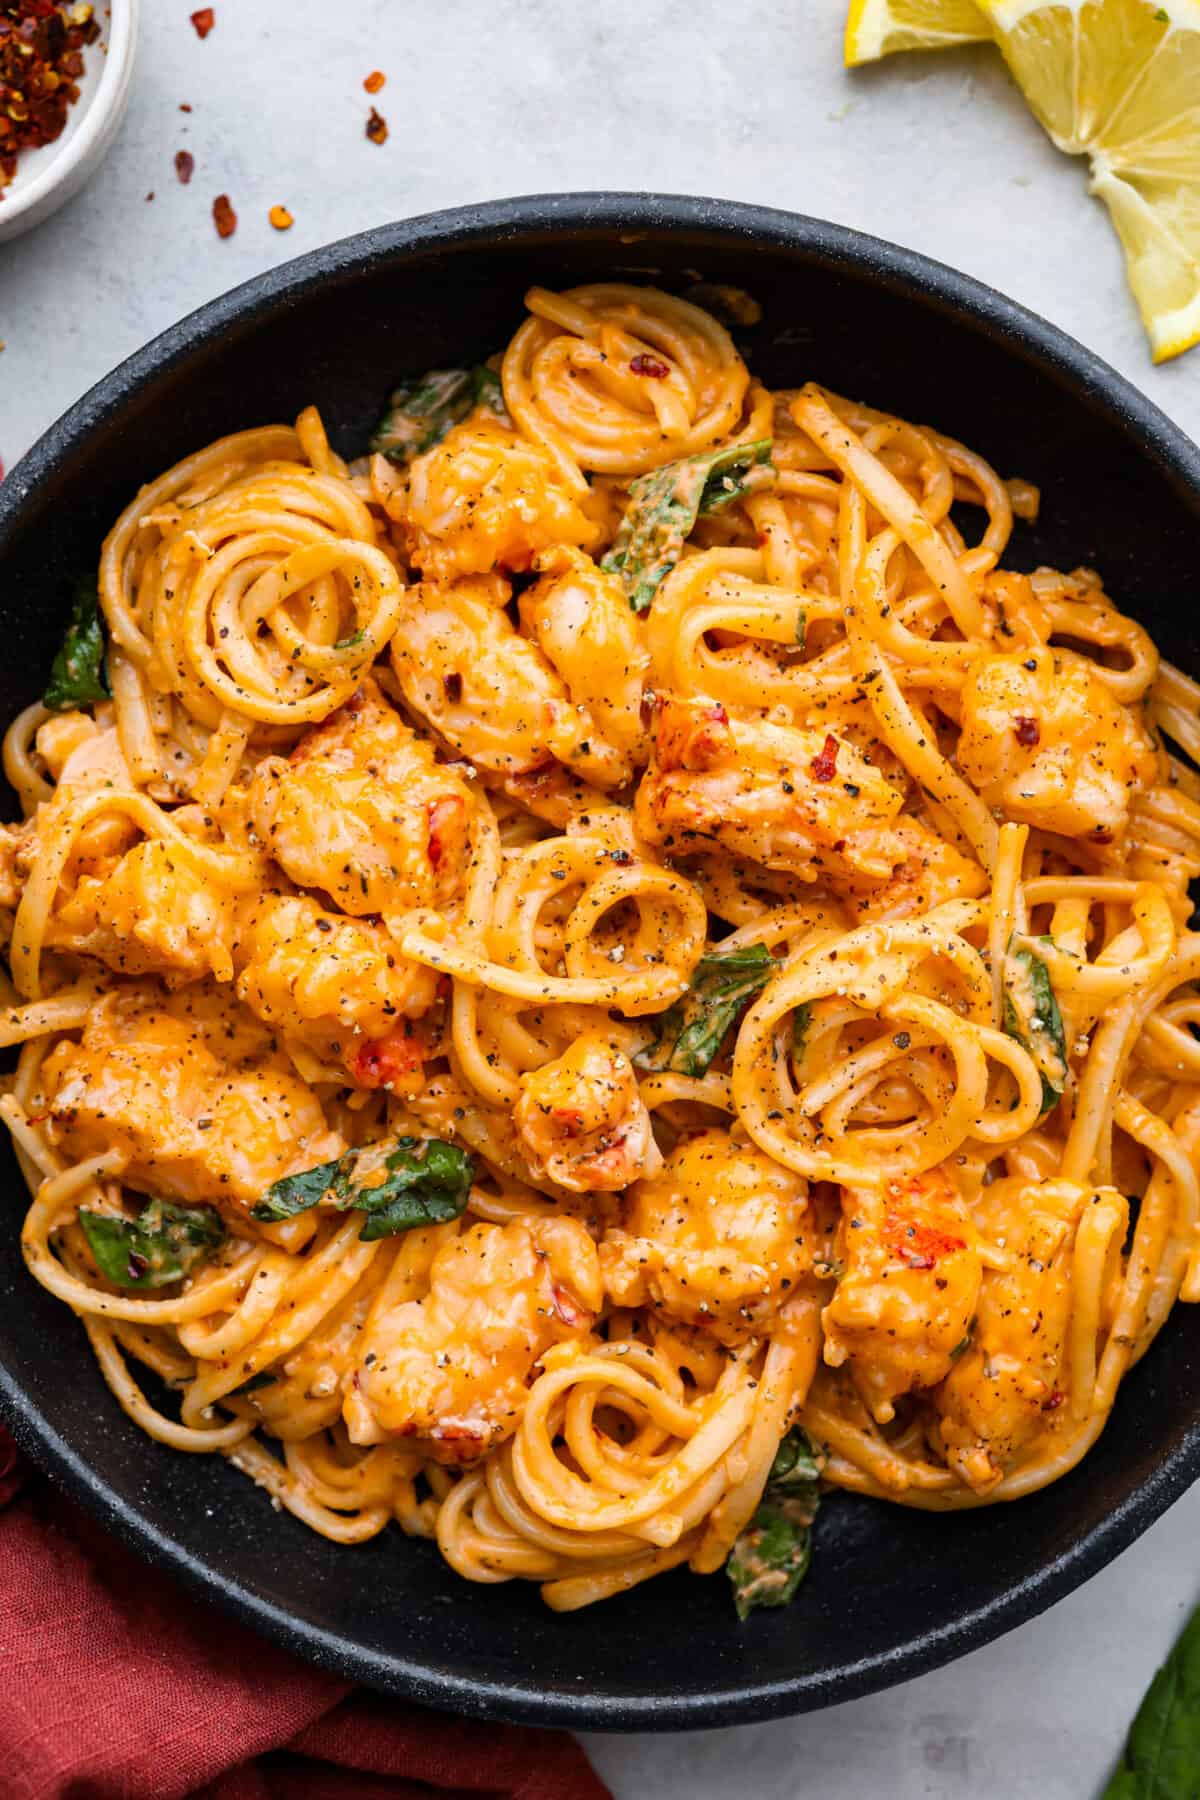
    A serving of lobster pasta in a black bowl.A serving of lobster pasta in a black bowl.

    Leftover Lobster Pasta

    This lobster pasta is so incredible the next day after the flavors have had time to meld together. Heat your leftovers so you have a quick and satisfying lunch!

    • In the Refrigerator: Keep leftovers tightly covered in an airtight container for up to 4 days.
    • To Reheat: Reheat in the microwave or on the stove. If it needs thinning add a splash of cream as it heats.

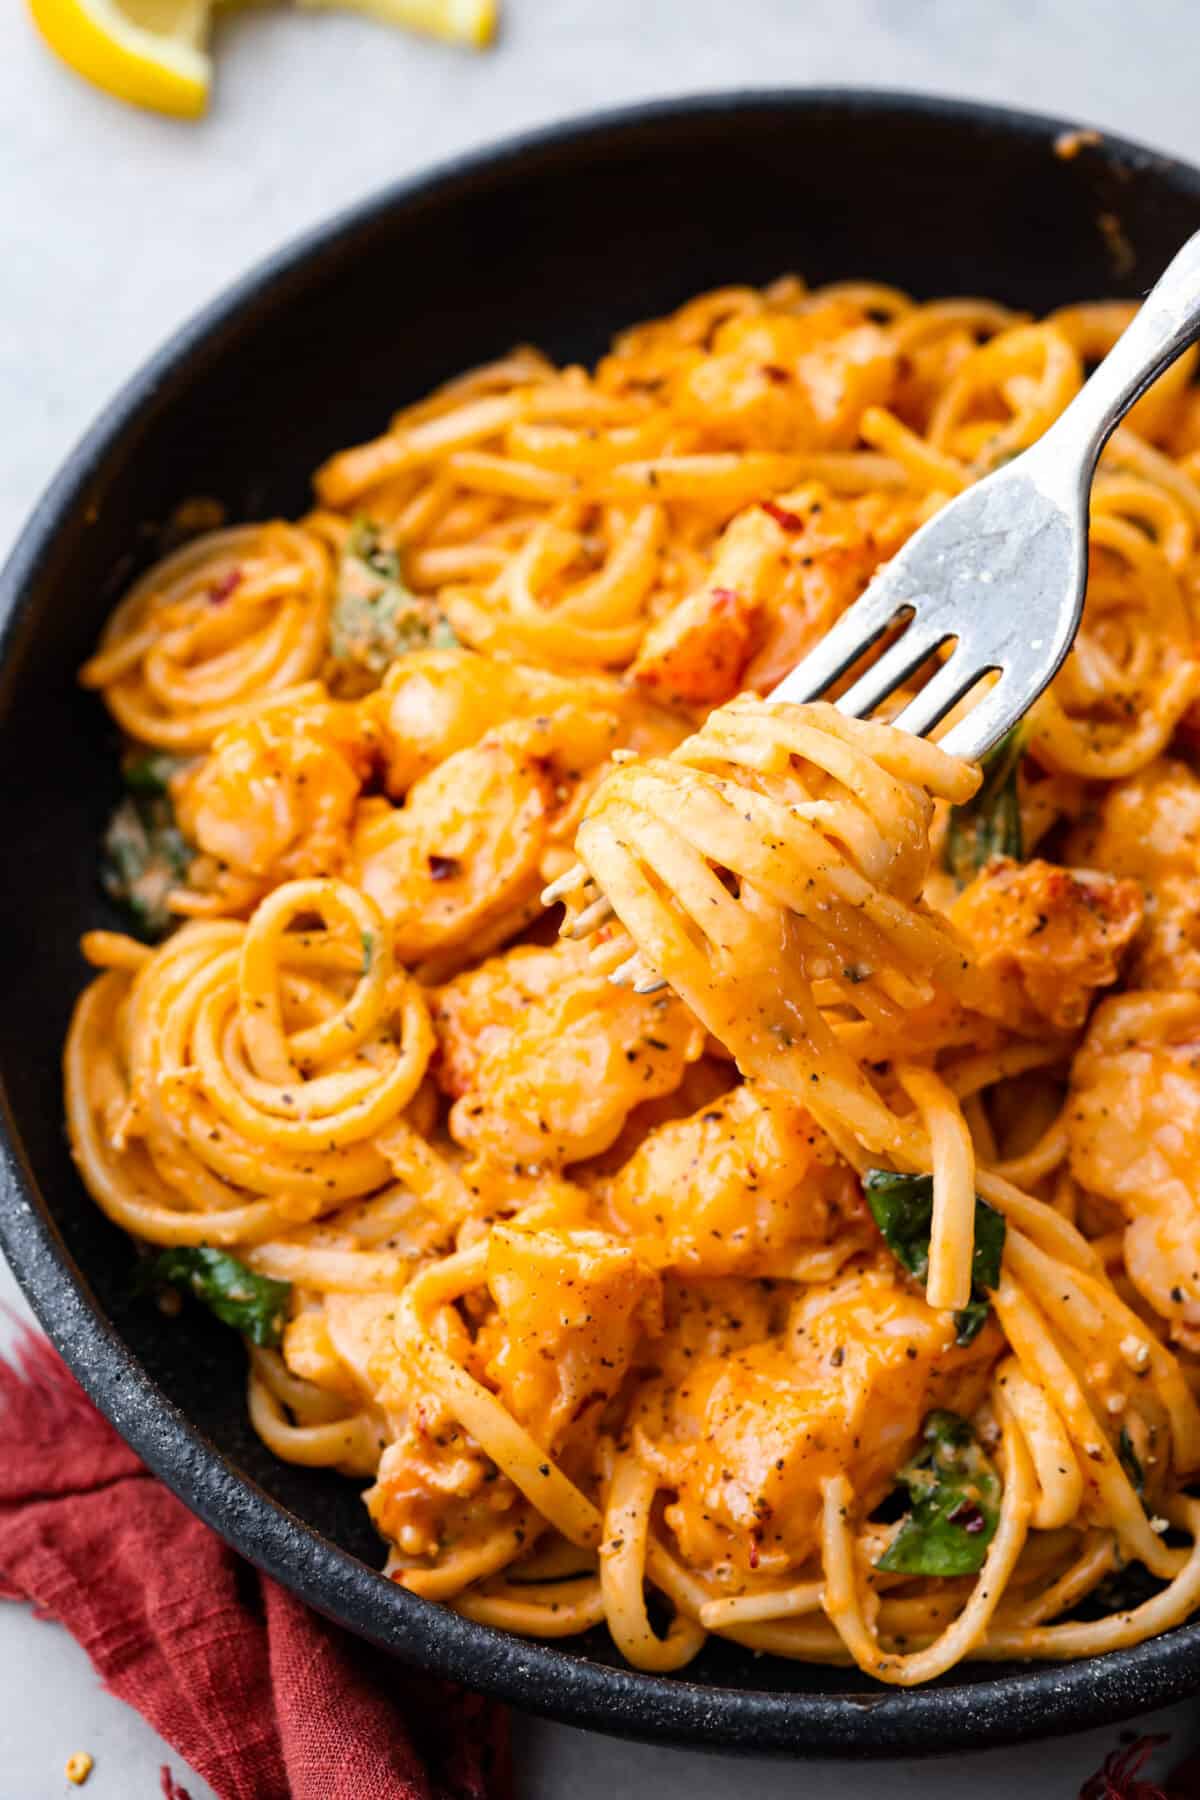
    A bite of pasta twirled around a metal fork.A bite of pasta twirled around a metal fork.

    More Amazing Pasta Recipes to Try

    Pin this now to find it later

    Pin It


    Source link

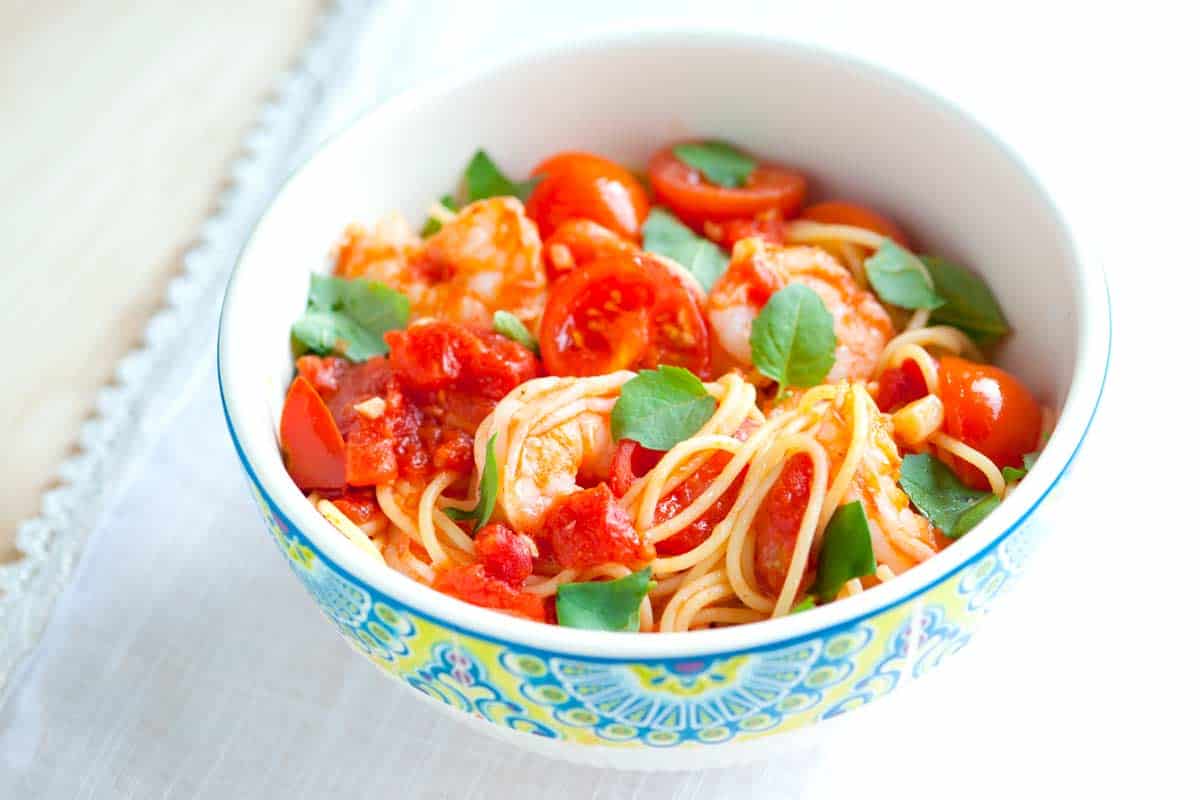
  • Tomato Shrimp Pasta Recipe

    Tomato Shrimp Pasta Recipe

    This tomato shrimp pasta recipe is incredibly easy, light, and comes together in the time it takes the pasta to cook.

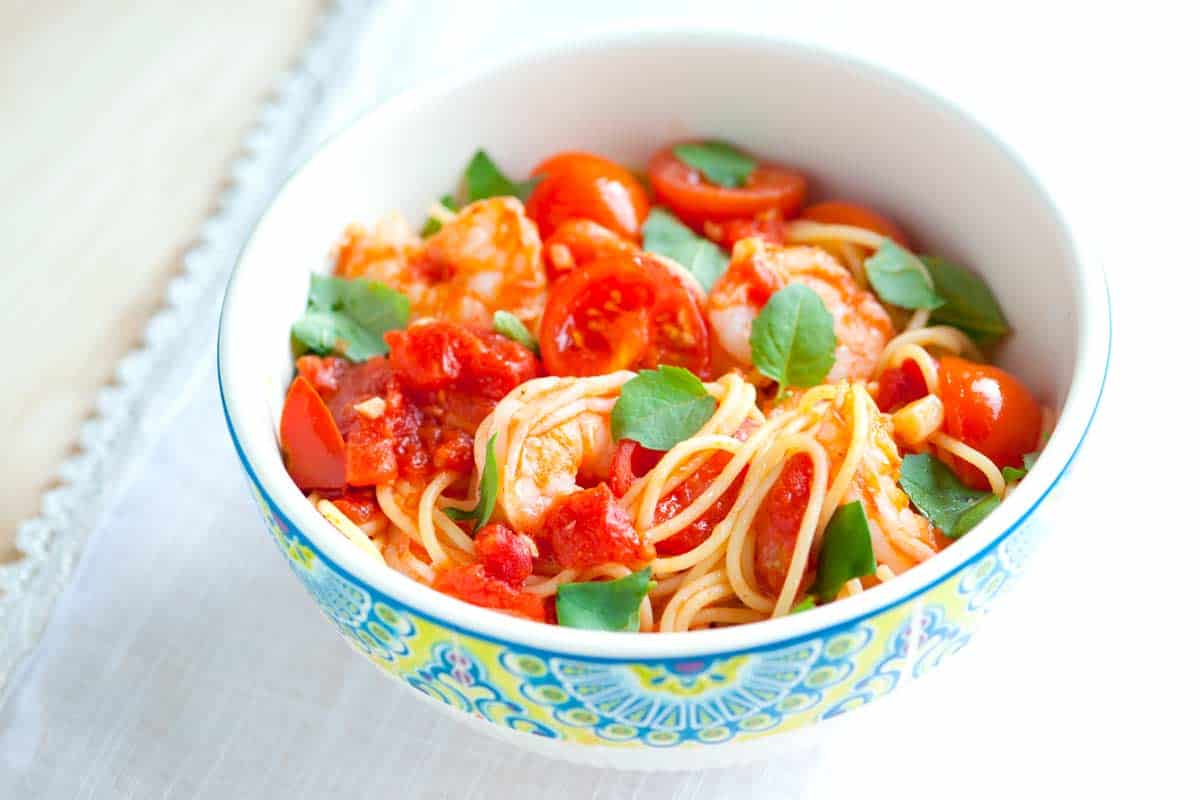
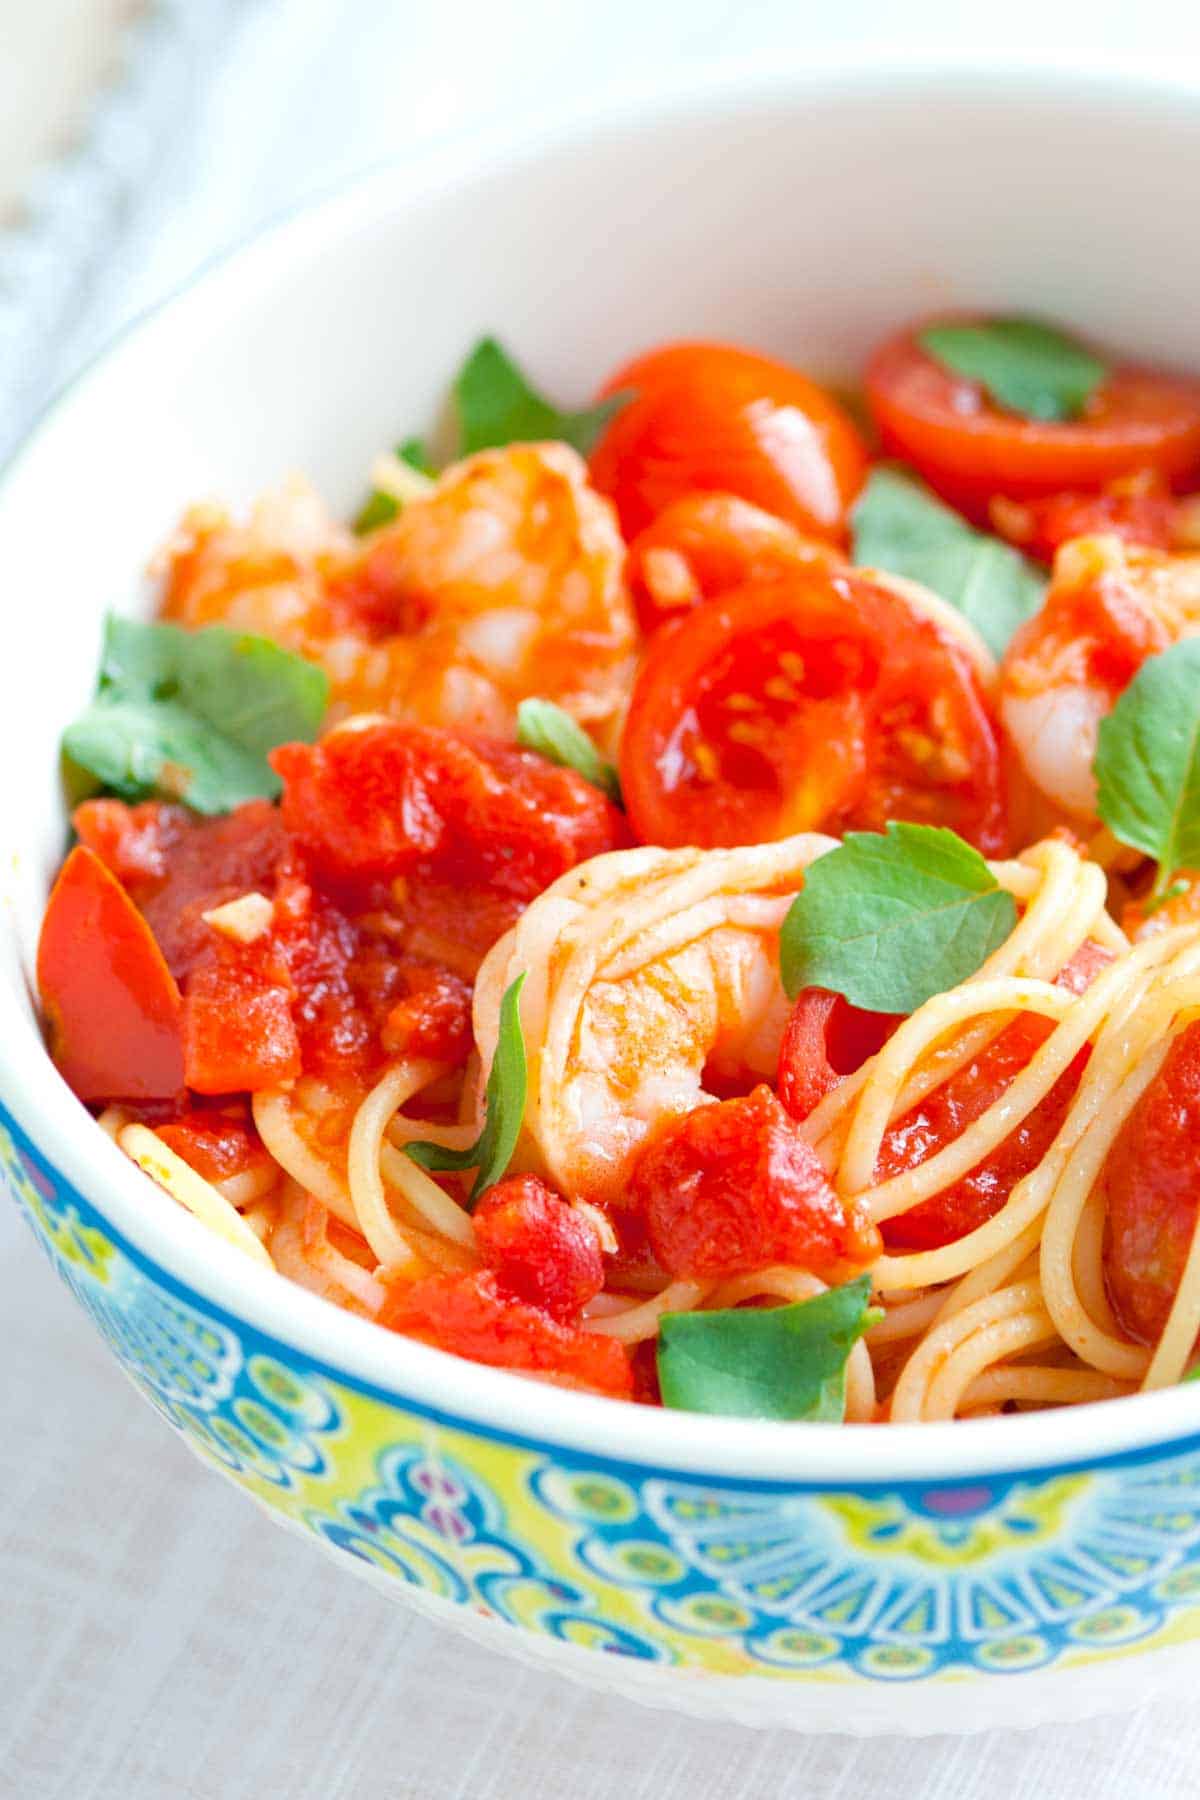
    Tomato Basil Shrimp Pasta

    This shrimp pasta is one of my go-to meals when craving something light, fresh, and flavorful. It comes together quickly and easily, making it perfect for busy weeknights.

    The combination of juicy shrimp, sweet tomatoes, and fragrant basil is simply irresistible! This dish truly screams summer. For more easy shrimp recipes, see our shrimp carbonara, shrimp scampi, shrimp ziti, and these sesame ginger shrimp.

    Key Ingredients

    • Pasta: While I love using thin pasta like angel hair or thin spaghetti for this dish, feel free to use your favorite shape. Any kind of pasta will work!
    • Shrimp: I recommend using large or jumbo shrimp for this recipe. They’re less likely to overcook and dry out in the sauce. When you’re buying shrimp, look for fresh ones that are firm to the touch and have a slightly sweet smell.
    • Garlic: This recipe uses 3 cloves of garlic for a bold garlic flavor. If you’re a garlic lover like me, you can even add more!
    • Tomatoes: This recipe combines canned tomatoes with fresh cherry tomatoes. The canned tomatoes create a flavorful sauce, while the cherry tomatoes add a burst of freshness.
    • Basil: To brighten up the dish and add another layer of fresh flavor, toss in a generous handful of fresh basil leaves just before serving.

    Find the full recipe with measurements below.

    How to Make Our Favorite Shrimp Pasta

    Tip 1: Cook shrimp while pasta cooks. Start by cooking your pasta. We love using angel hair or thin spaghetti, but any shape will work. While the pasta is cooking, make the shrimp. Cook garlic in olive oil in a skillet. When it becomes fragrant, add the shrimp.

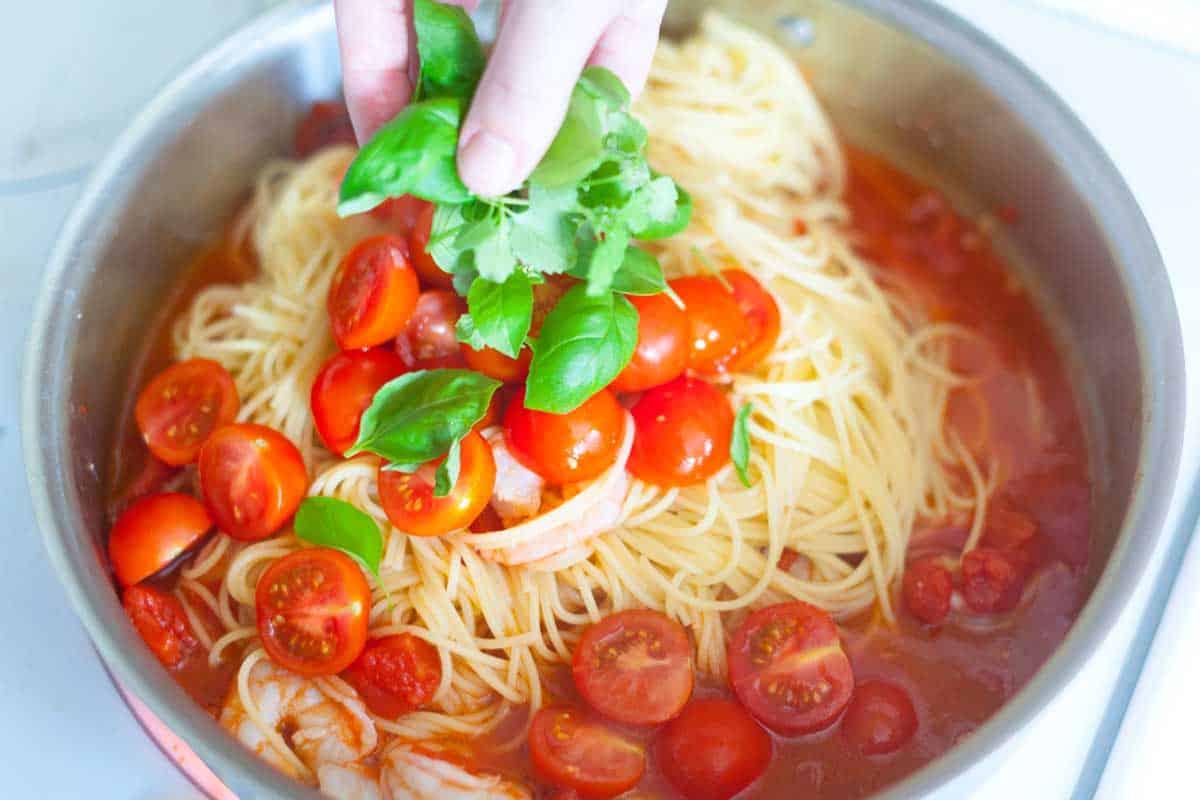
    Finishing the tomato basil sauce

    Tip 2: Add a lot of tomatoes. Add a whole can of diced tomatoes, and a handful of basil leaves as the shrimp turn translucent in the middle. Then toss in cooked pasta, fresh cherry tomatoes, and cook until coated. The pasta will absorb the sauce flavors, the basil will wilt, and the fresh cherry tomatoes will warm through.

    Tomato Shrimp Pasta

    Tomato Shrimp Pasta

    • PREP
    • COOK
    • TOTAL

    This light shrimp pasta comes together in minutes and is flavored with garlic, tomatoes and fresh basil. When you choose the pasta, go for something thin like angel hair or thin spaghetti.

    4 Servings

    You Will Need

    8 ounces dry pasta, like angel hair or thin spaghetti

    1 tablespoon extra-virgin olive oil, plus more for serving

    3 garlic cloves, minced

    1 pound large shrimp, peeled and deveined

    1 (16oz) can diced tomatoes

    1 cup cherry tomatoes, halved

    1/2 cup loosely packed basil leaves

    Salt and fresh ground black pepper

    Directions

      1Cook the pasta in boiling salted water until it is tender but not mushy. Drain.

      2Pat the shrimp dry then season with salt and pepper. Heat a large skillet over medium-high heat. Add the olive oil and garlic and cook until fragrant, about 1 minute. Add the shrimp in one layer then cook, flipping once, until they turn translucent in the middle, 2 to 3 minutes.

      3Stir in the canned tomatoes and use a wooden spoon to scrape any bits of garlic stuck to the bottom of the skillet. Cook until the juices from the tomatoes have reduced slightly, about 2 minutes. Taste the sauce and adjust with salt and/or pepper.

      4Add the cooked pasta, halved cherry tomatoes and half of the basil to the pasta. Toss well and cook until the cherry tomatoes are warmed through and the sauce begins to coat the pasta, another 2 to 3 minutes. Serve in bowls with basil and a drizzle of olive oil on top.

    Adam and Joanne’s Tips

    • The nutrition facts provided below are estimates.

    Nutrition Per Serving
    Serving Size
    1/4 of the recipe
    /
    Calories
    364
    /
    Total Fat
    5.2g
    /
    Saturated Fat
    0.8g
    /
    Cholesterol
    182.5mg
    /
    Sodium
    572.2mg
    /
    Carbohydrate
    48.6g
    /
    Dietary Fiber
    3g
    /
    Total Sugars
    4.8g
    /
    Protein
    31.3g


    AUTHOR:

    Joanne Gallagher

    Adam and Joanne of Inspired Taste

    We are Adam and Joanne Gallagher, the creators of Inspired Taste. Established in 2009, Inspired Taste grew from a childhood dream into one of the internet’s most trusted recipe sites with hundreds of reliable recipes, step-by-step videos, and expert tips.More About Us
    Source link

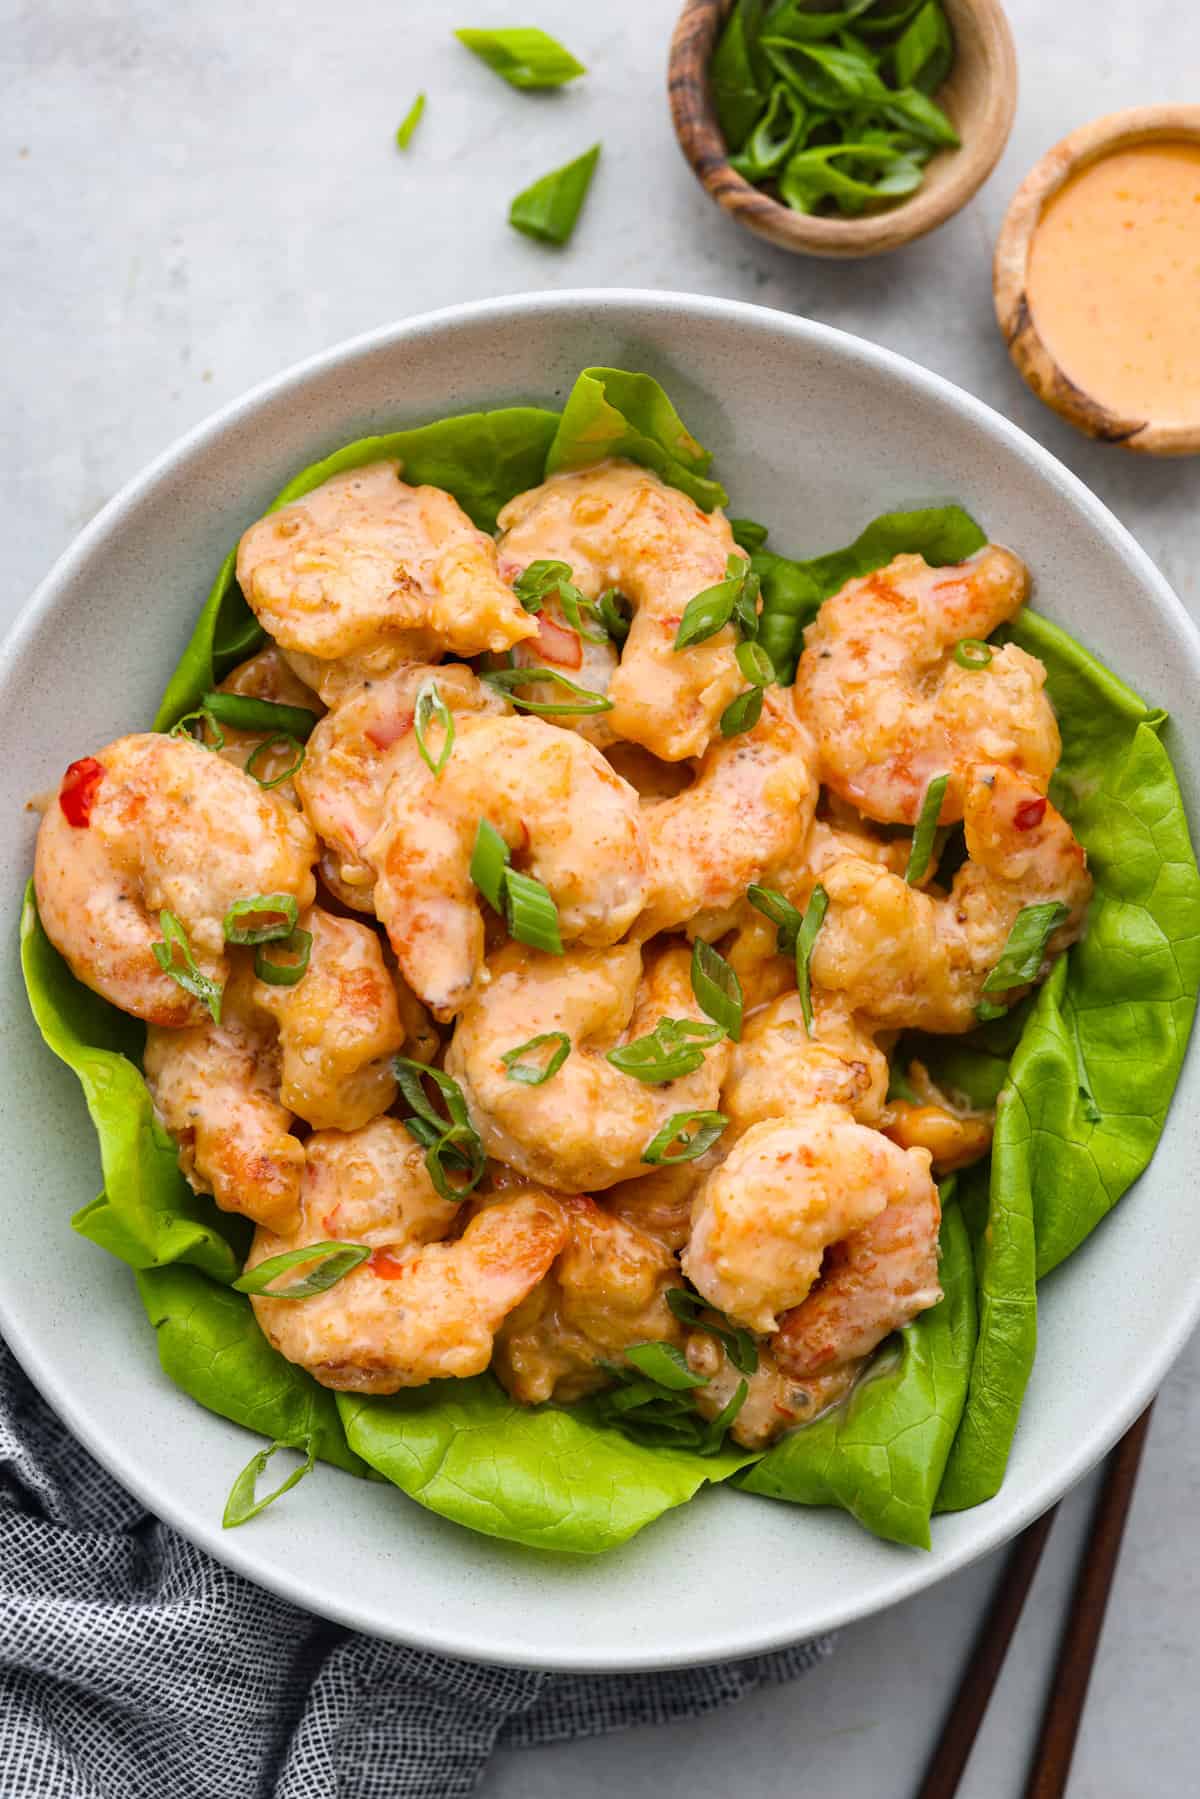
  • Bang Bang Shrimp (Copycat Recipe)

    Bang Bang Shrimp (Copycat Recipe)

    This website may contain affiliate links and advertising so that we can provide recipes to you. Read my disclosure policy.
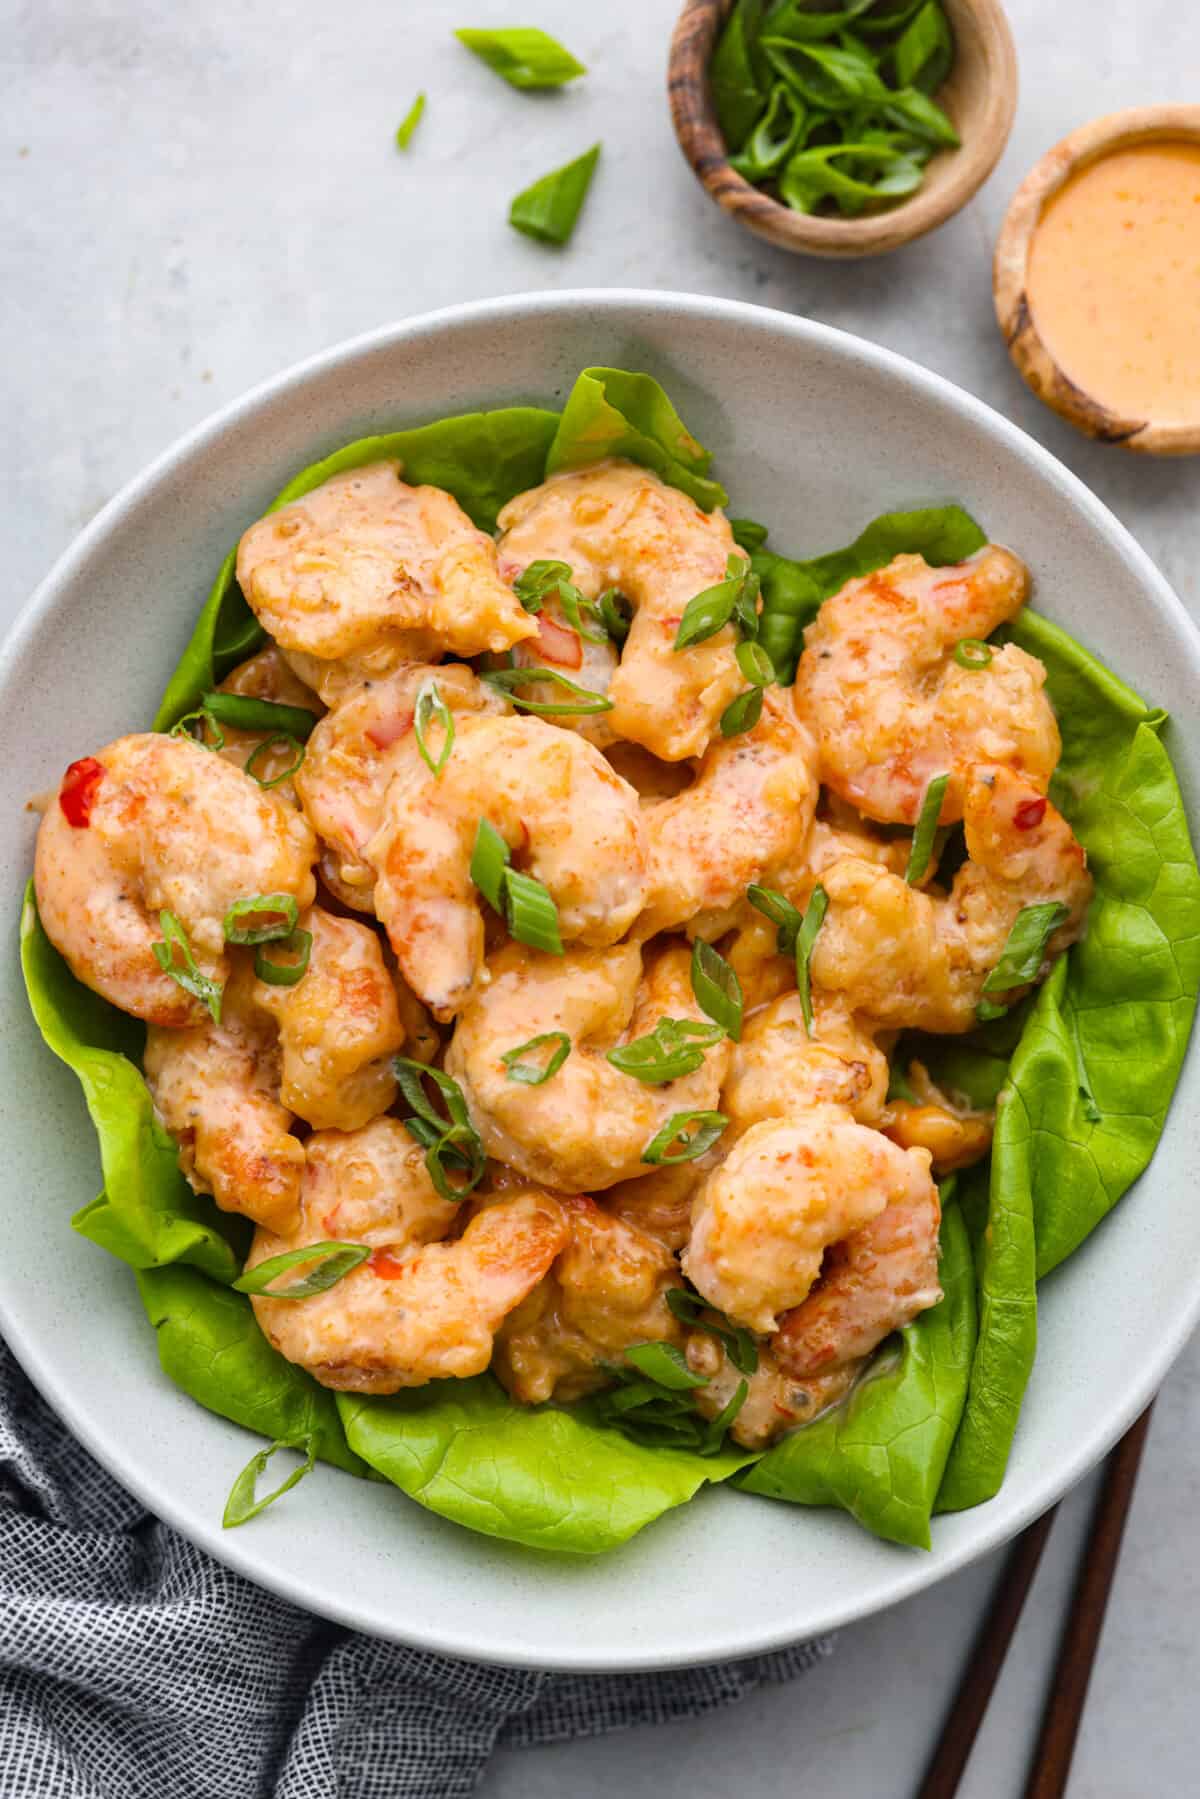
    This Copycat Bonefish Grill Bang Bang Shrimp is a replica of everyone’s favorite shrimp appetizer! Sweet shrimp are fried until crispy, then tossed in a spicy, creamy mayo, and topped with chives. Perfect for sharing!

    We love bite-sized apps, so be sure to check out these Crispy Cauliflower Fritters, Slow Cooker Honey Garlic Sriracha Wings, or this Sweet and Savory Bacon Wrapped Shrimp.

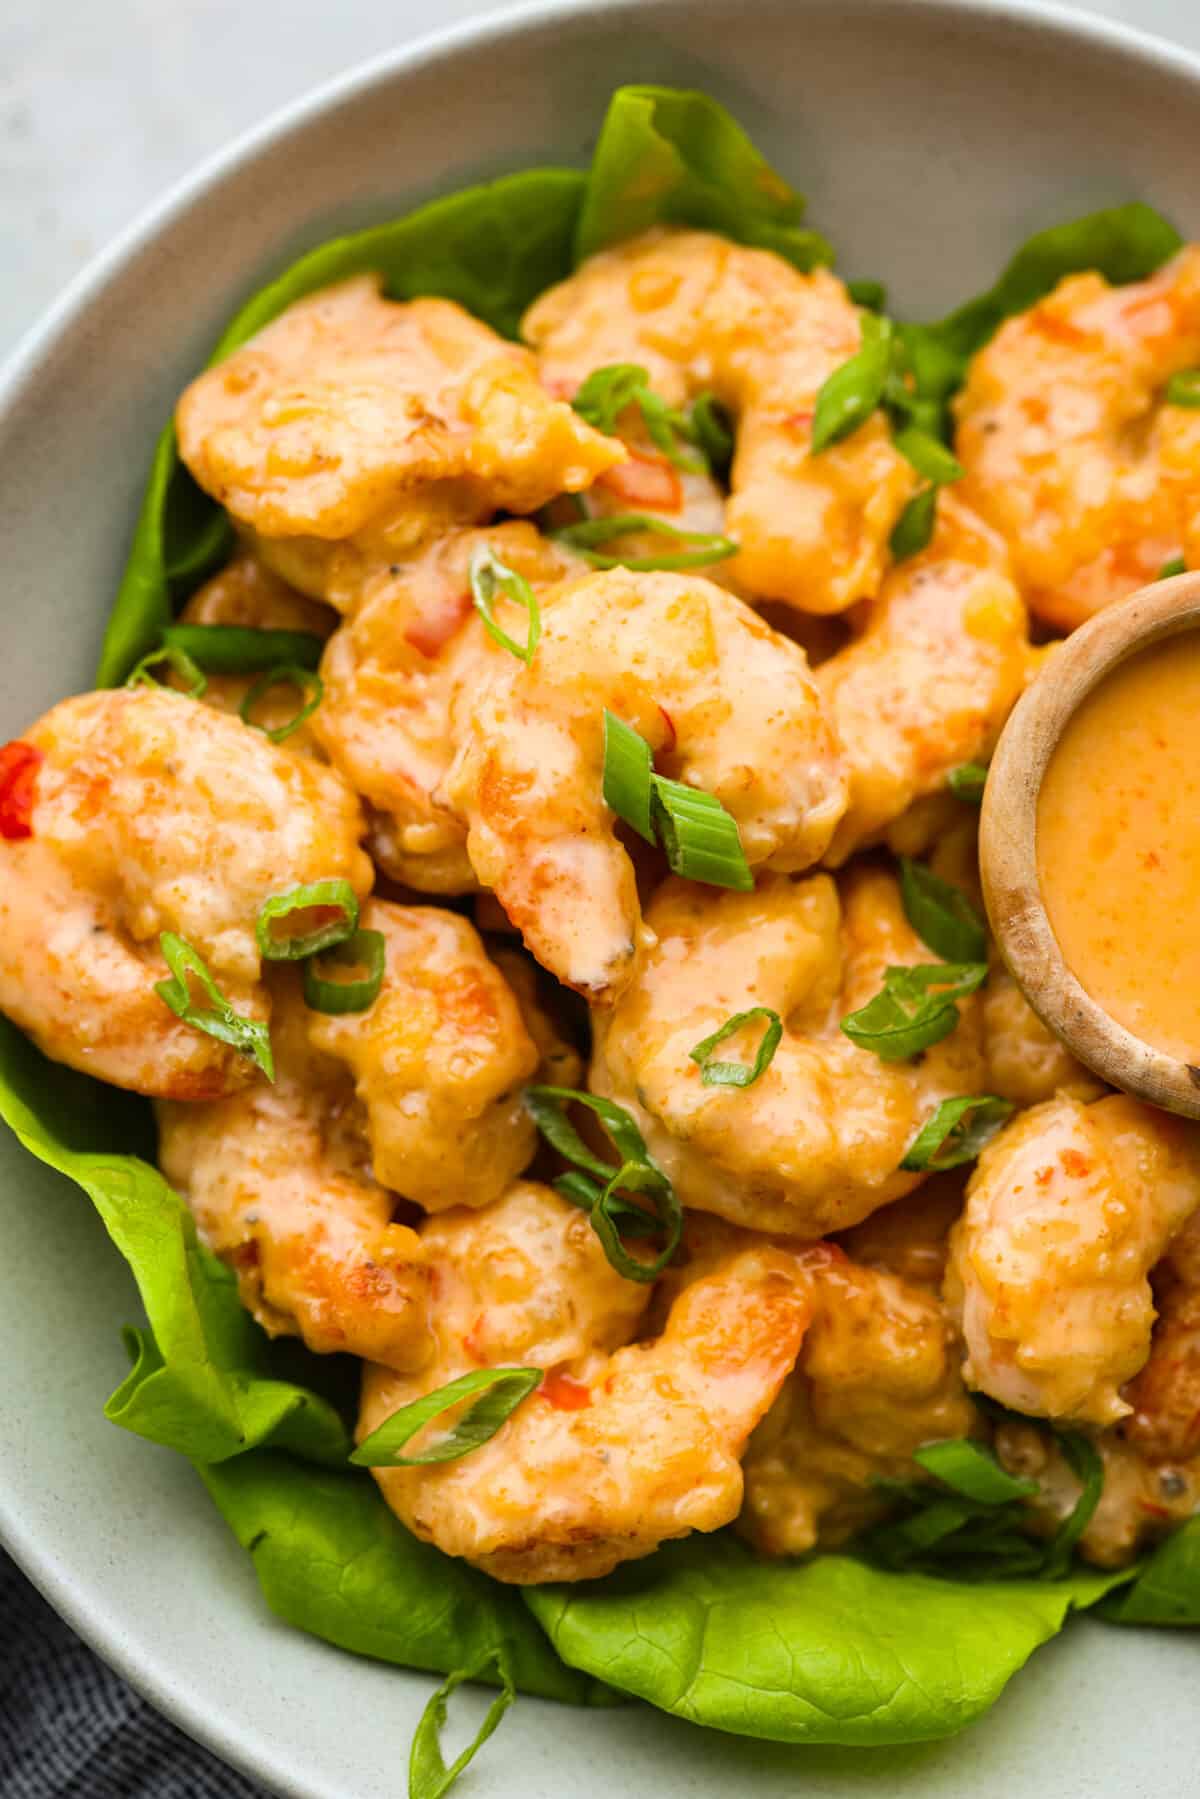
    Bang bang shrimp served over a bed of greens in a white bowl.Bang bang shrimp served over a bed of greens in a white bowl.

    Copycat Bang Bang Shrimp Recipe

    A copycat version of the popular appetizer from Bonefish Grill in Florida! If you’re not familiar, their signature appetizer consists of lightly breaded shrimp (fried of course) tossed in an addictively creamy and spicy mayo-based sauce. What I love so much about this appetizer is it’s not heavy at all. The shrimp are ever-so-slightly fried, with the most delicate coating. (SO good.)

    To achieve this, I used a combination of cornstarch and flour (and plenty of salt of course), which helps to get a super light crust in the end. Bang bang shrimp is always a win and I know you’ll love it as much as I do. It will make everyone in your family a shrimp fan! The flavor and texture of this dish is just too good to resist.

    Ingredients You’ll Need

    You really don’t need too many ingredients to achieve that classic ‘Bang Bang’ flavor. Just some sriracha and sweet chili sauce! You’ll likely have everything else on hand to whip it up.

    • Peeled and Deveined Shrimp: Choose large shrimp for a heartier bite. Make sure they’re peeled, deveined (that’s the dark vein running down the back), and with the tails removed for easy eating.

    What Size Shrimp Should I Use?

    Large or 31-count shrimp. This means there are about 30-33 shrimp per pound.

    Breading:

    • Salt and Pepper: Basic seasonings to add a little flavor.
    • Whole Milk: This helps the cornstarch coating adhere to the bang bang shrimp.
    • Large Egg: Also helps the cornstarch stick and adds a touch of richness.
    • Cornstarch: The corn starch creates a crispy, light coating when fried.

    Bang Bang Sauce:

    • Mayonnaise: The creamy base of the sauce.
    • Honey: For the perfect sweetness and sticky texture.
    • Thai Sweet Chili Sauce: The perfect blend of sweet and spicy! This is a must-add to get the sauce tasting just like Bonefish Grill.
    • Sriracha Sauce: So your sauce has some heat! Adjust the amount to your spice preference.
    • Salt: Enhances all the other flavors in the sauce.

    Let’s Get Cooking!

    Don’t let the frying intimidate you- bang bang shrimp is actually pretty easy to prepare and only takes 30 minutes from start to finish. A restaurant-quality appetizer in a snap? Yes please!

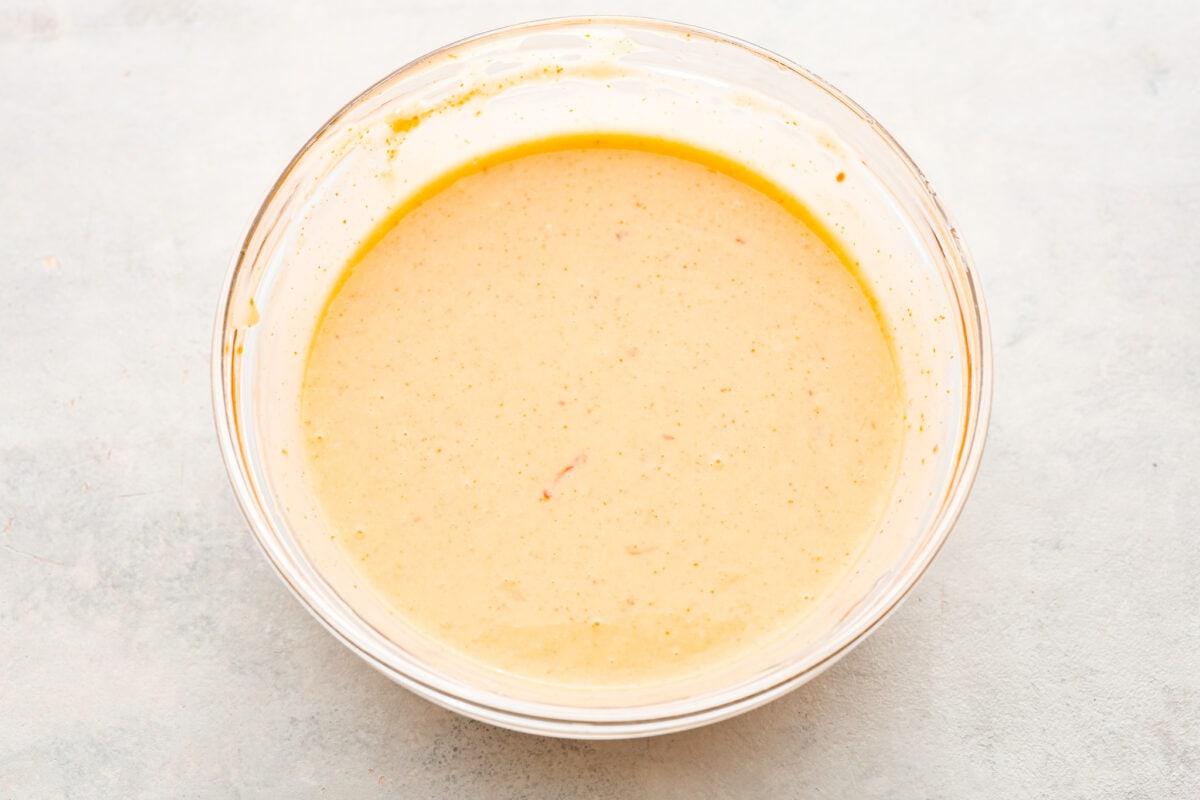
    1. Prepare the Bang Bang Sauce: Prepare the bang bang sauce by adding the mayonnaise, honey, sweet chili sauce, sriracha, and salt to a medium bowl. Whisk to combine and set aside.
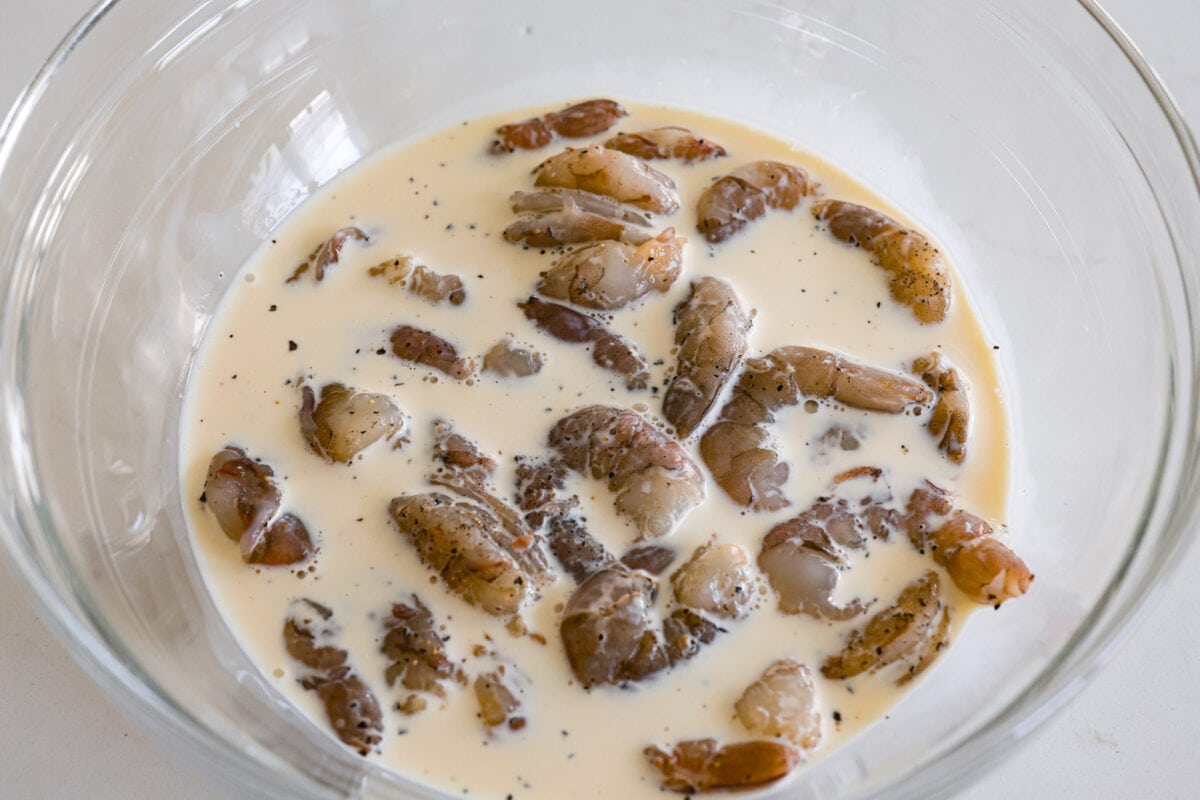
    2. Whisk Together the Milk and Egg: In a large bowl, whisk together the milk and egg.
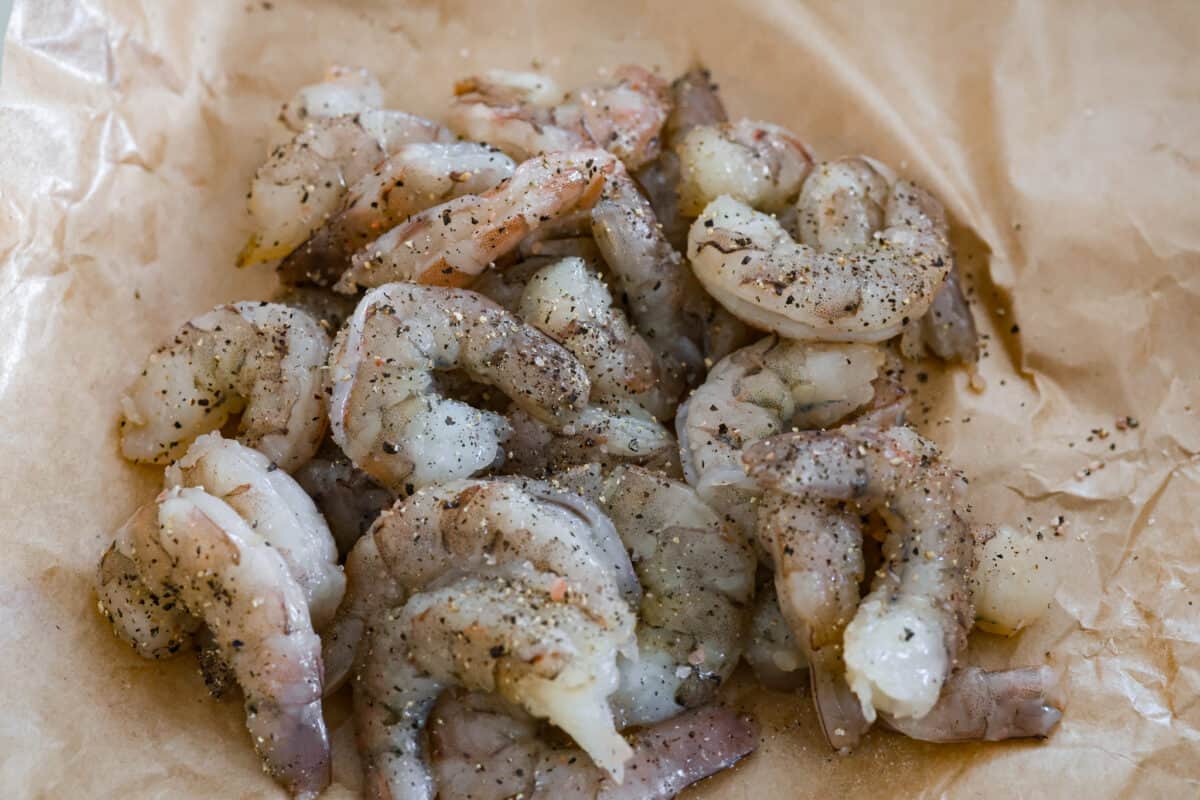
    3. Season and Coat the Shrimp in the Milk Mixture: Season the peeled and deveined shrimp with salt and pepper. Add the shrimp to the milk and egg mixture then toss to coat.
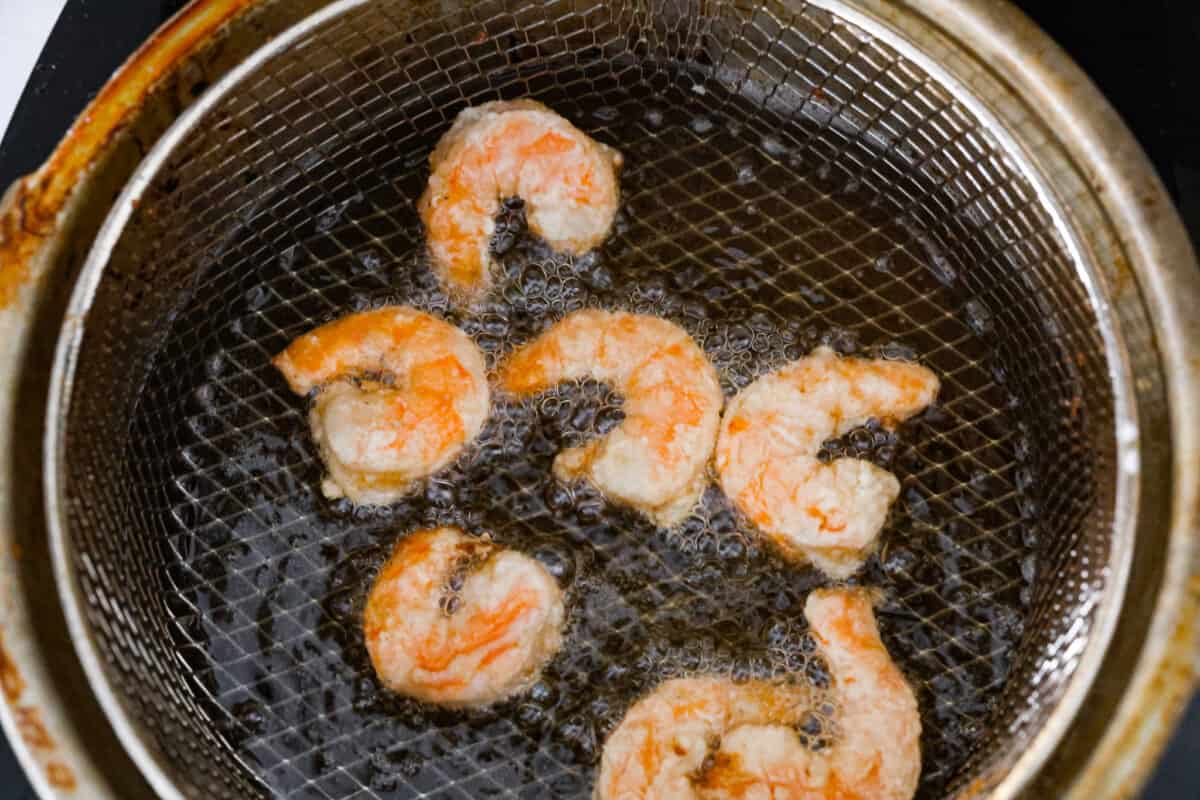
    4. Heat the Oil: Heat the oil in a heavy-bottomed deep pot. Add enough oil to come up about 5 inches. Heat to 375 degrees Fahrenheit.
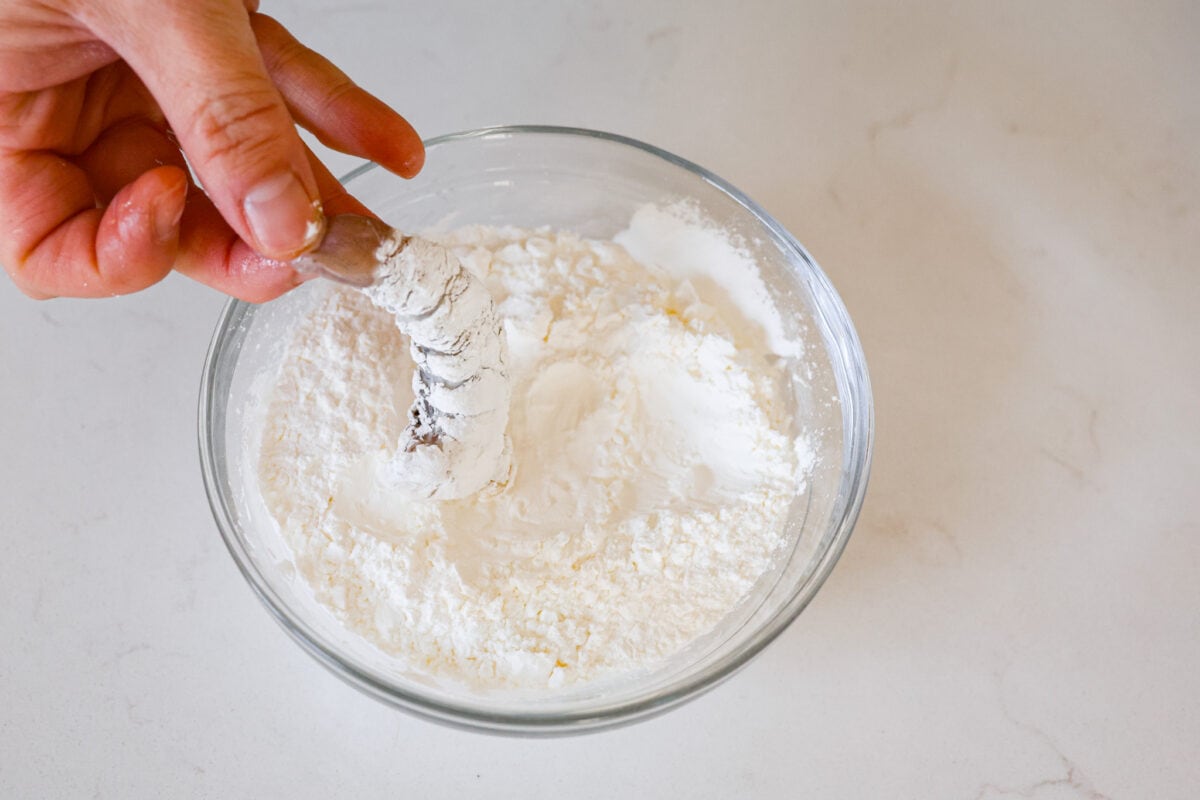
    5. Coat the Shrimp in Cornstarch: In a shallow bowl, add the cornstarch. Working in batches, use tongs to remove 1 shrimp from the milk mixture, letting any excess liquid drip off. Coat the shrimp in cornstarch then place in the hot oil.
    6. Fry the Shrimp: Fry until golden brown and cooked through, about 2-3 minutes. Remove the shrimp with a slotted spoon and then drain on paper towels. Repeat this process with the remaining shrimp.
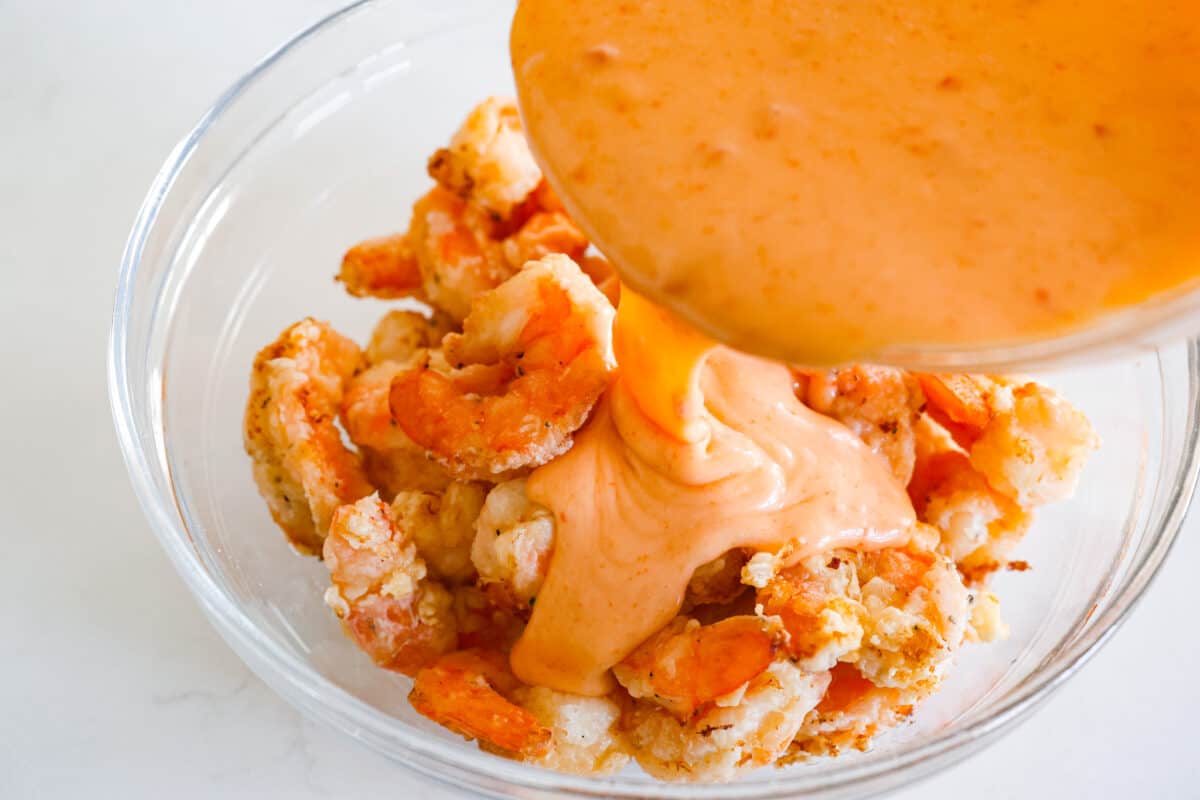
    7. Coat the Shrimp With the Bang Bang Sauce: Toss the fried shrimp with the bang bang sauce then enjoy!

    Bang Bang Shrimp FAQ

    A few extra things to keep in mind so your bang bang shrimp turns out perfectly! Your friends and family are going to go crazy over it.

    • Do I need to take the tails off of my shrimp? This is totally a personal preference. I like to the leave the tails on because it’s pretty, but it’s more practical to take them off, so you can just pop them into your mouth!
    • Can I use low-fat mayo? Absolutely! I actually encourage it. I don’t find there to be a big enough flavor or texture difference in full-fat mayo versus low-fat mayo, so I always suggest doing something that alleviates some of the extra fat and calories.
    • Can I use a mayo substitute? Yes! If you aren’t a fan of mayo, you can swap out the mayonnaise for plain Greek yogurt or sour cream.
    • How many people does this serve? As an appetizer, I would say this bang bang shrimp feeds four people, but if it’s more of an entree (which I completely encourage), then I’d say it feeds two people. I would recommend doubling it if you’re unsure about there being enough for everyone.

    Closeup of bang bang shrimpCloseup of bang bang shrimp

    Storing Leftover Bang Bang Shrimp and Sauce

    While I recommend enjoying your bang bang shrimp fresh, leftovers can be stored for up to 3 days in the fridge. The key here is to keep the shrimp separate from the sauce to prevent the breading from getting soggy.

    • In the Refrigerator: Let the shrimp cool completely, then store them in an airtight container in the refrigerator for up to 3 days. In an airtight container or jar, the sauce will last for up to 1 week.
    • Reheating: To reheat, skip the microwave and opt for an oven or air fryer to keep things crispy. Bake the shrimp for 10 minutes at 350 degrees Fahrenheit, or until heated through. Alternatively, use your air fryer at 320 degrees Fahrenheit for about 5 minutes. Warm up the bang bang sauce separately in the microwave if needed, and toss the shrimp in it just before serving.

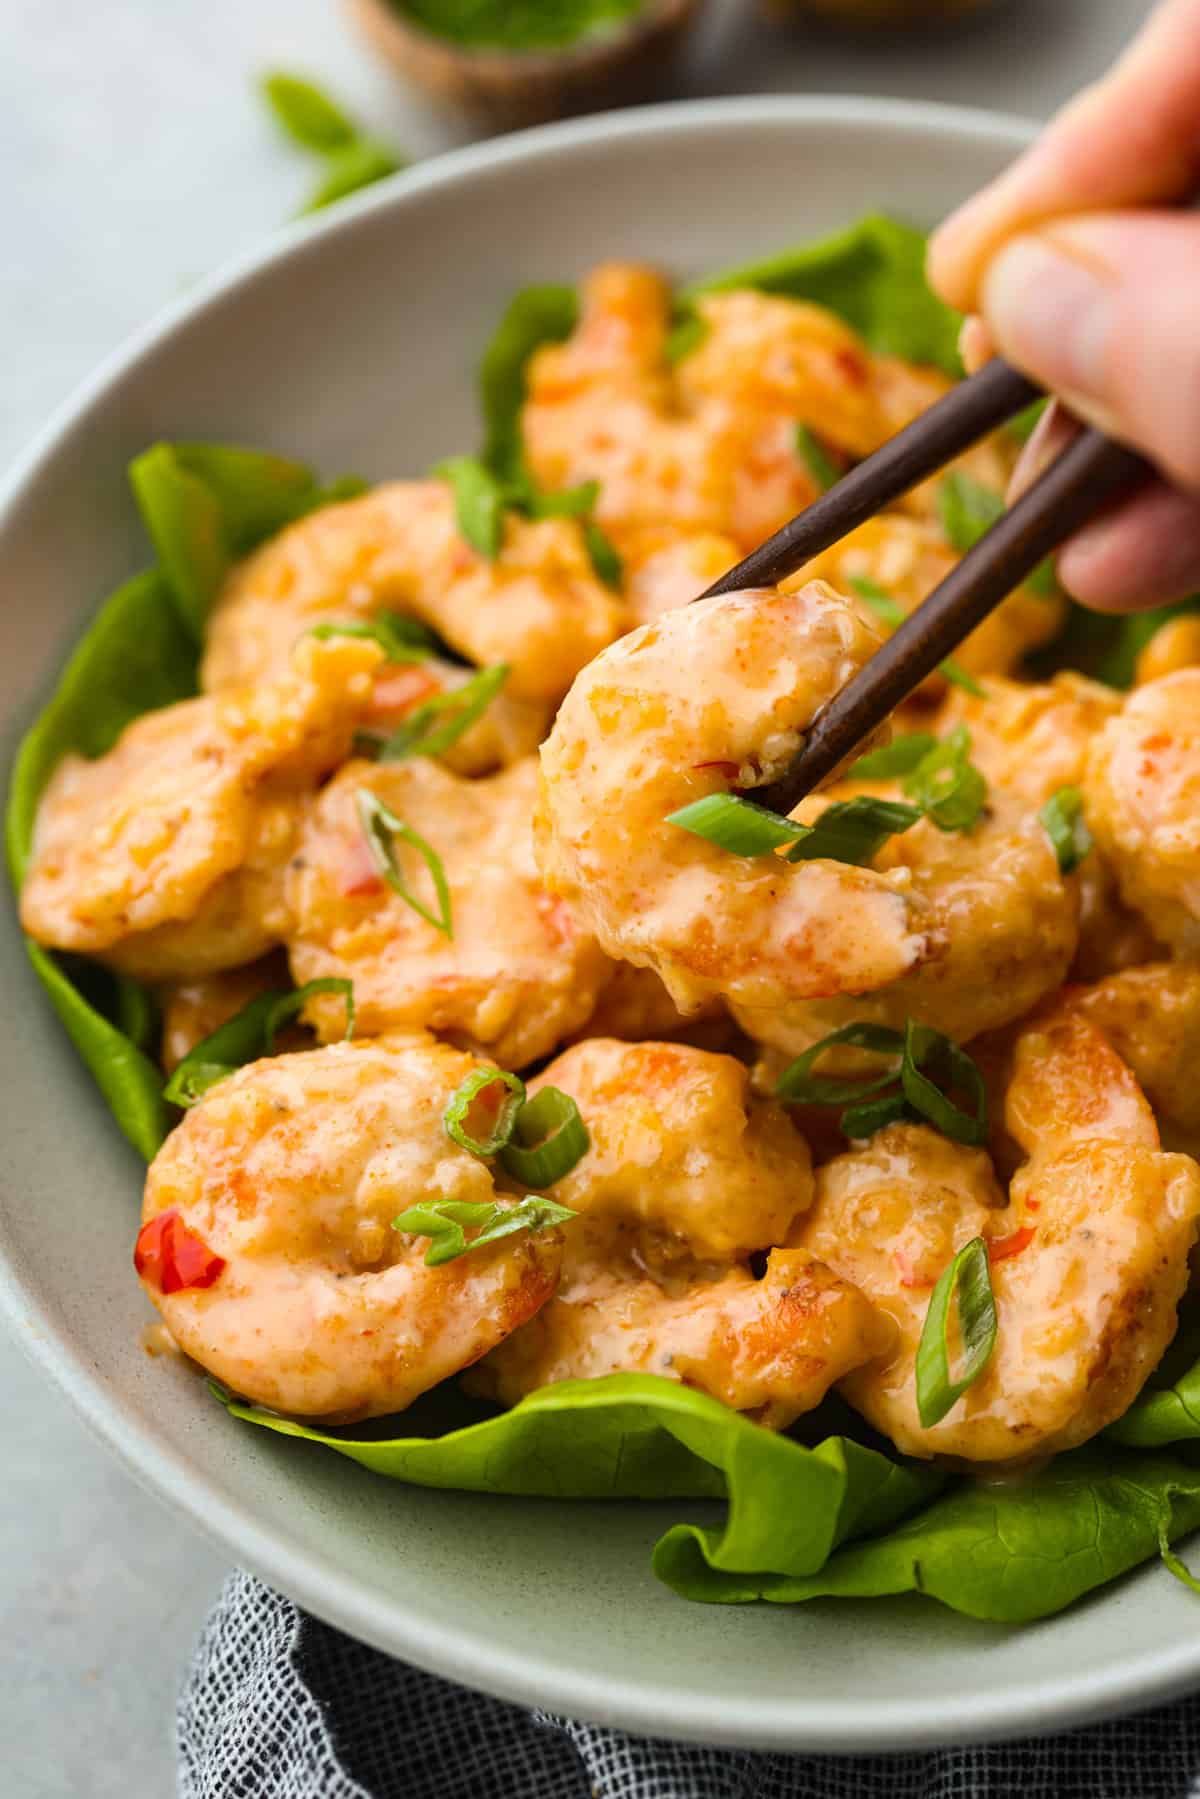
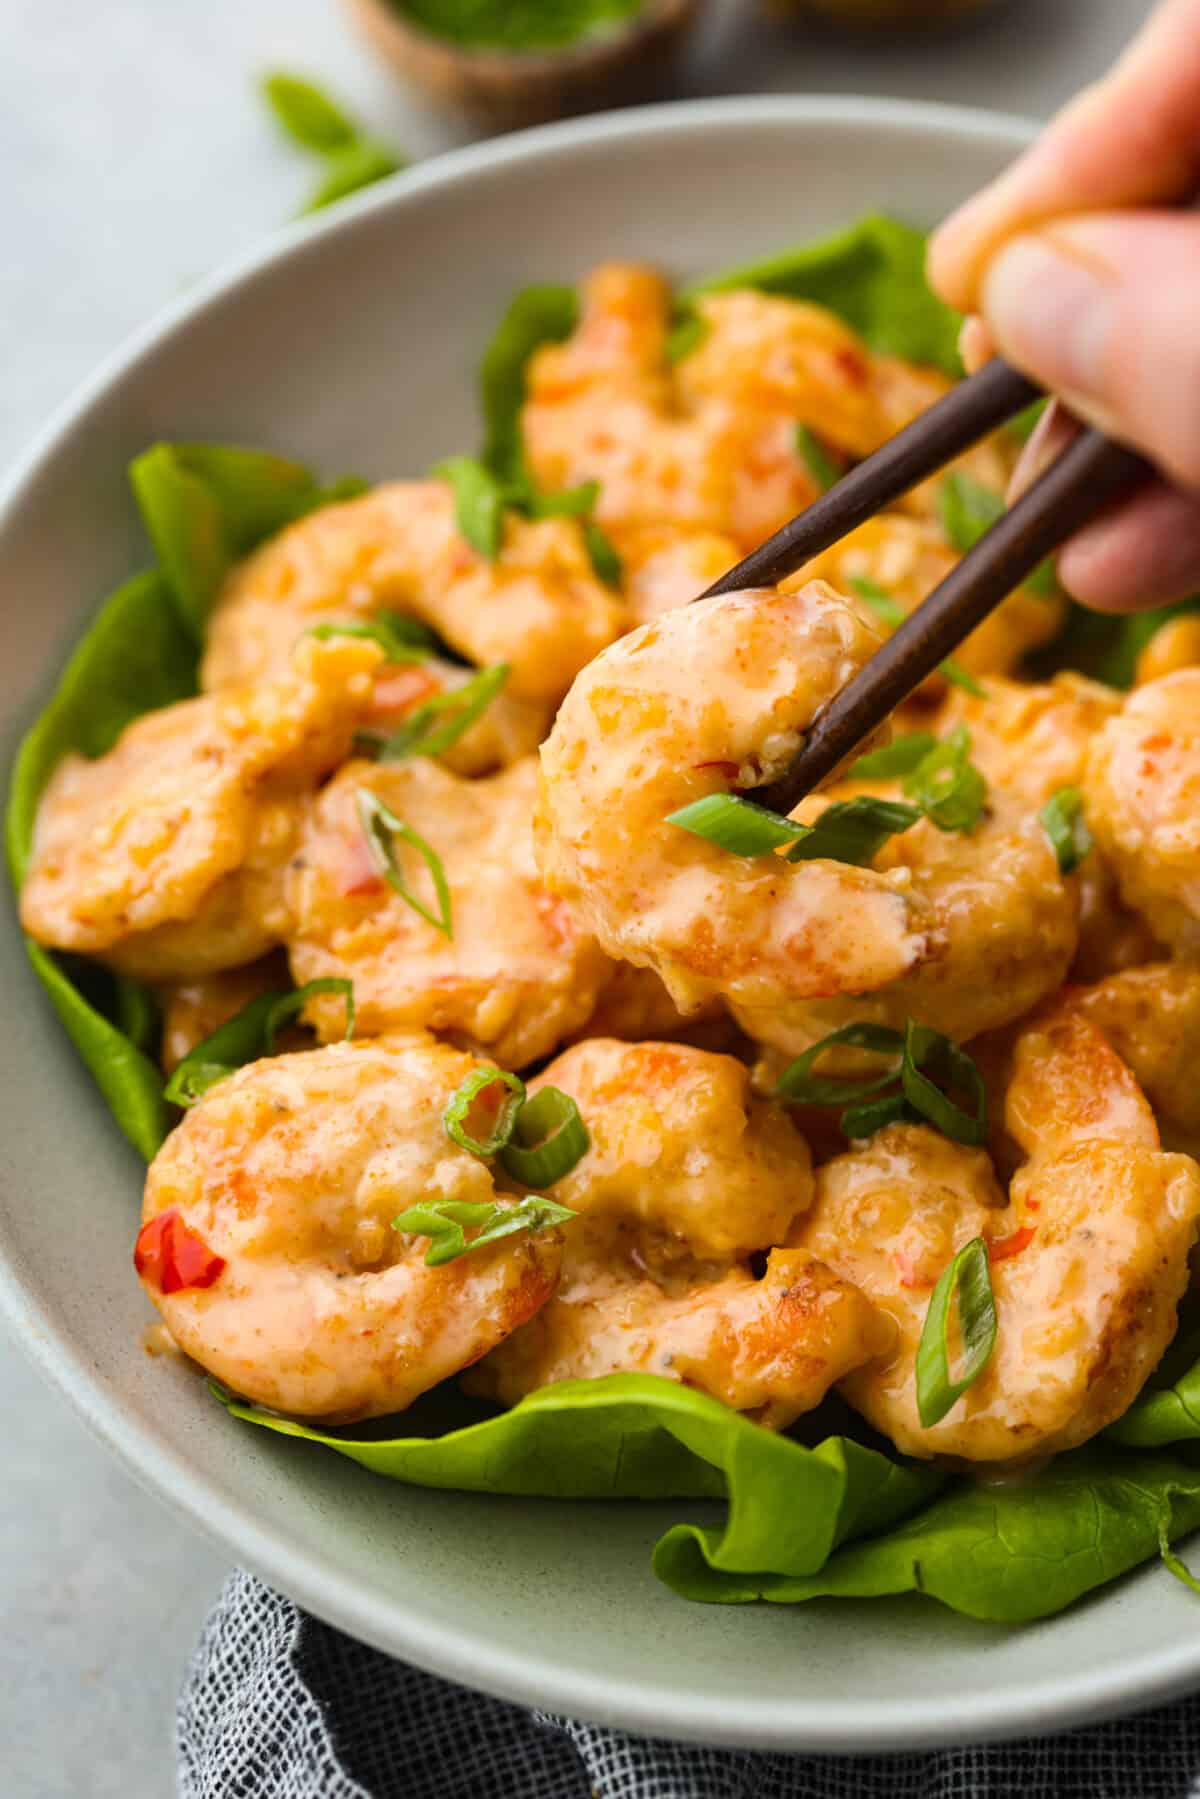
    Picking up a piece of shrimp with chopsticksPicking up a piece of shrimp with chopsticks

    More Irresistible Shrimp Recipes

    Pin this now to find it later

    Pin It


    Source link