This website may contain affiliate links and advertising so that we can provide recipes to you. Read my disclosure policy.
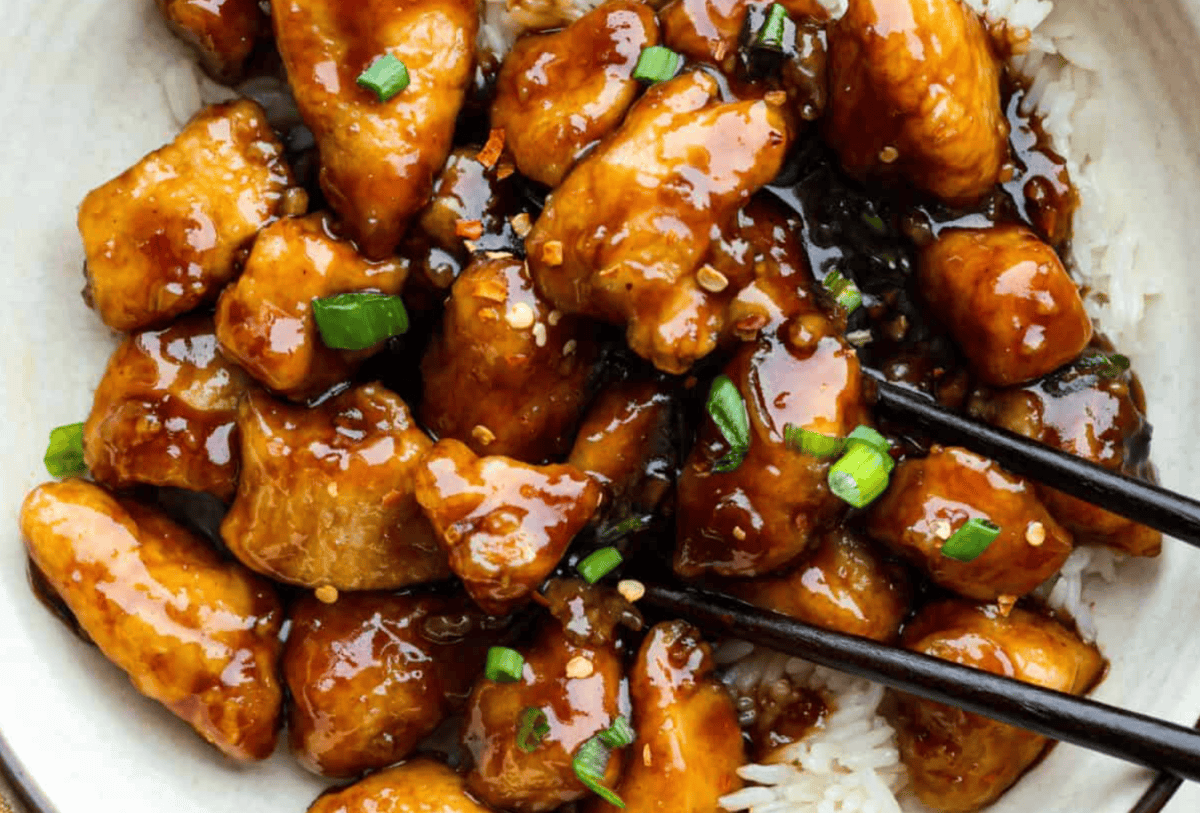
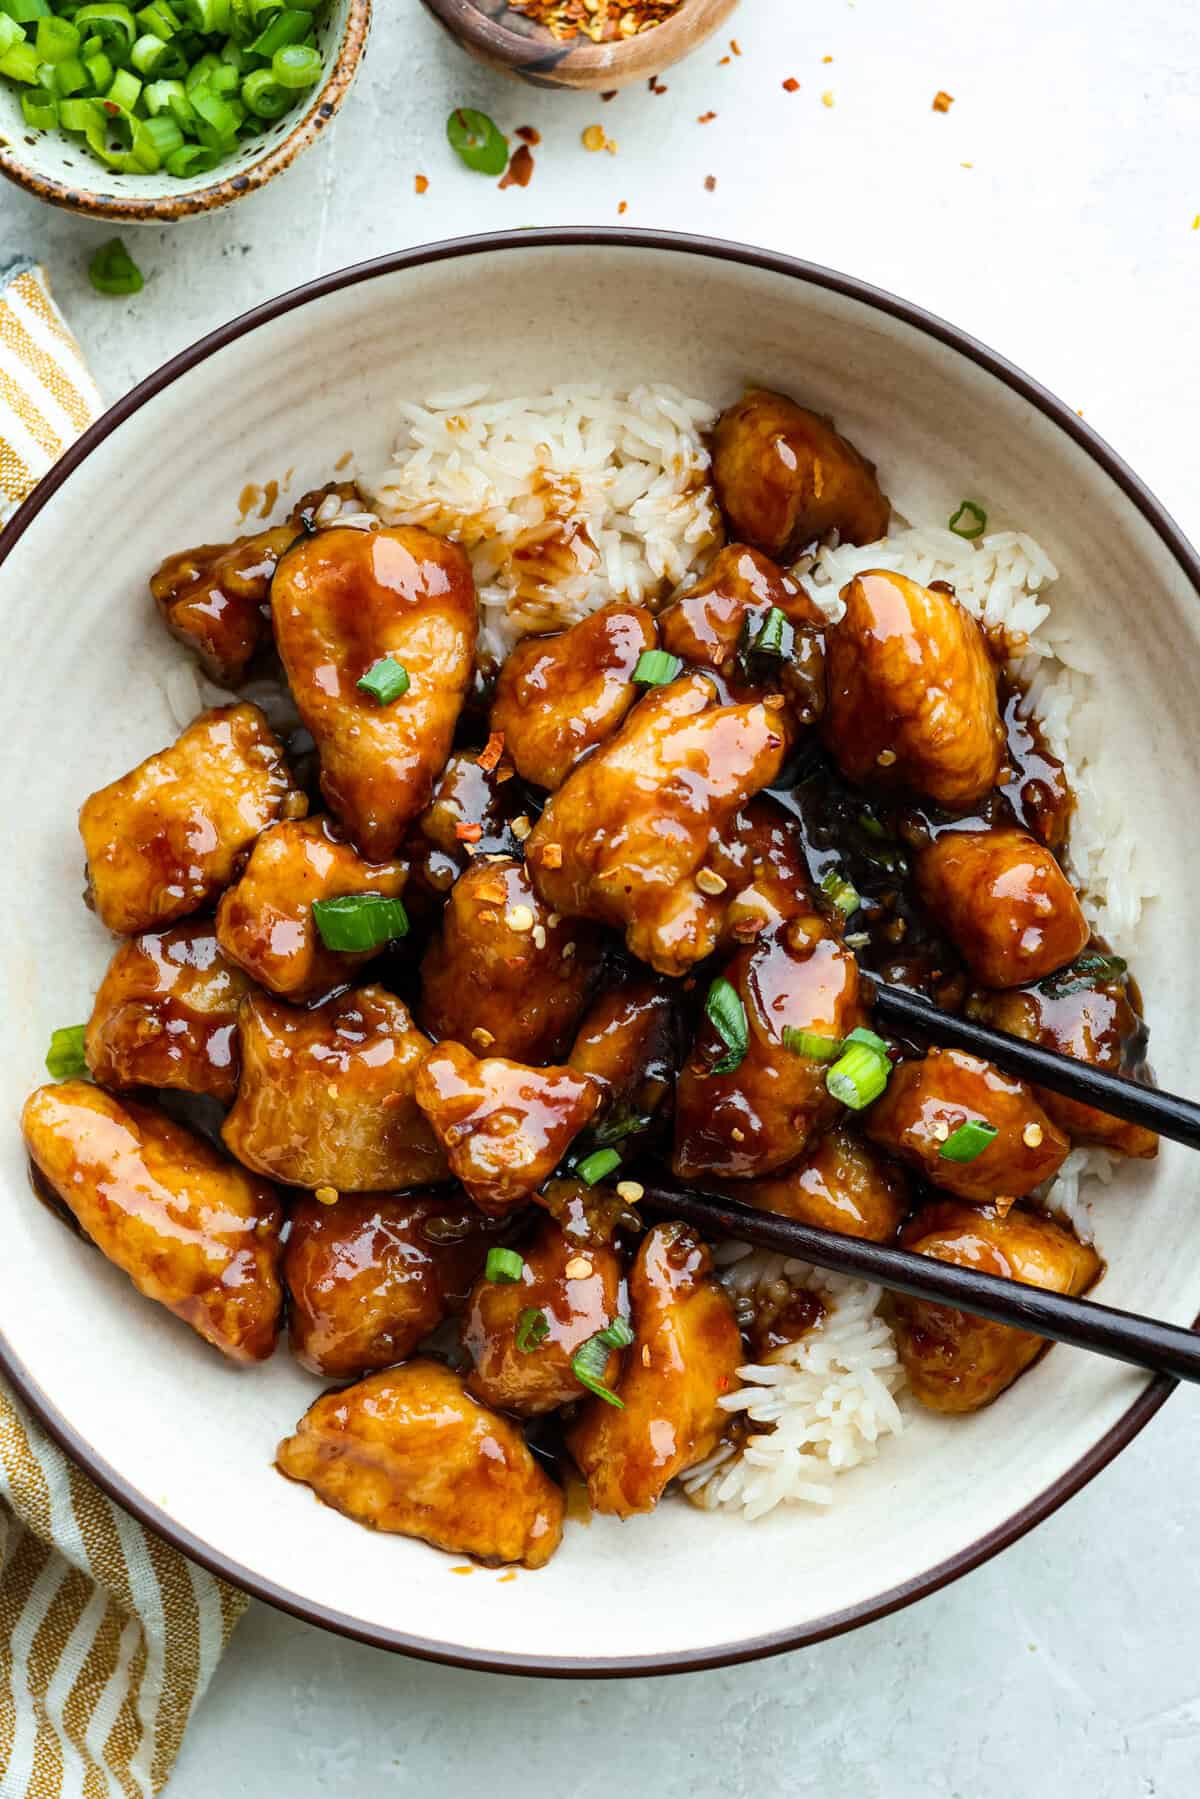
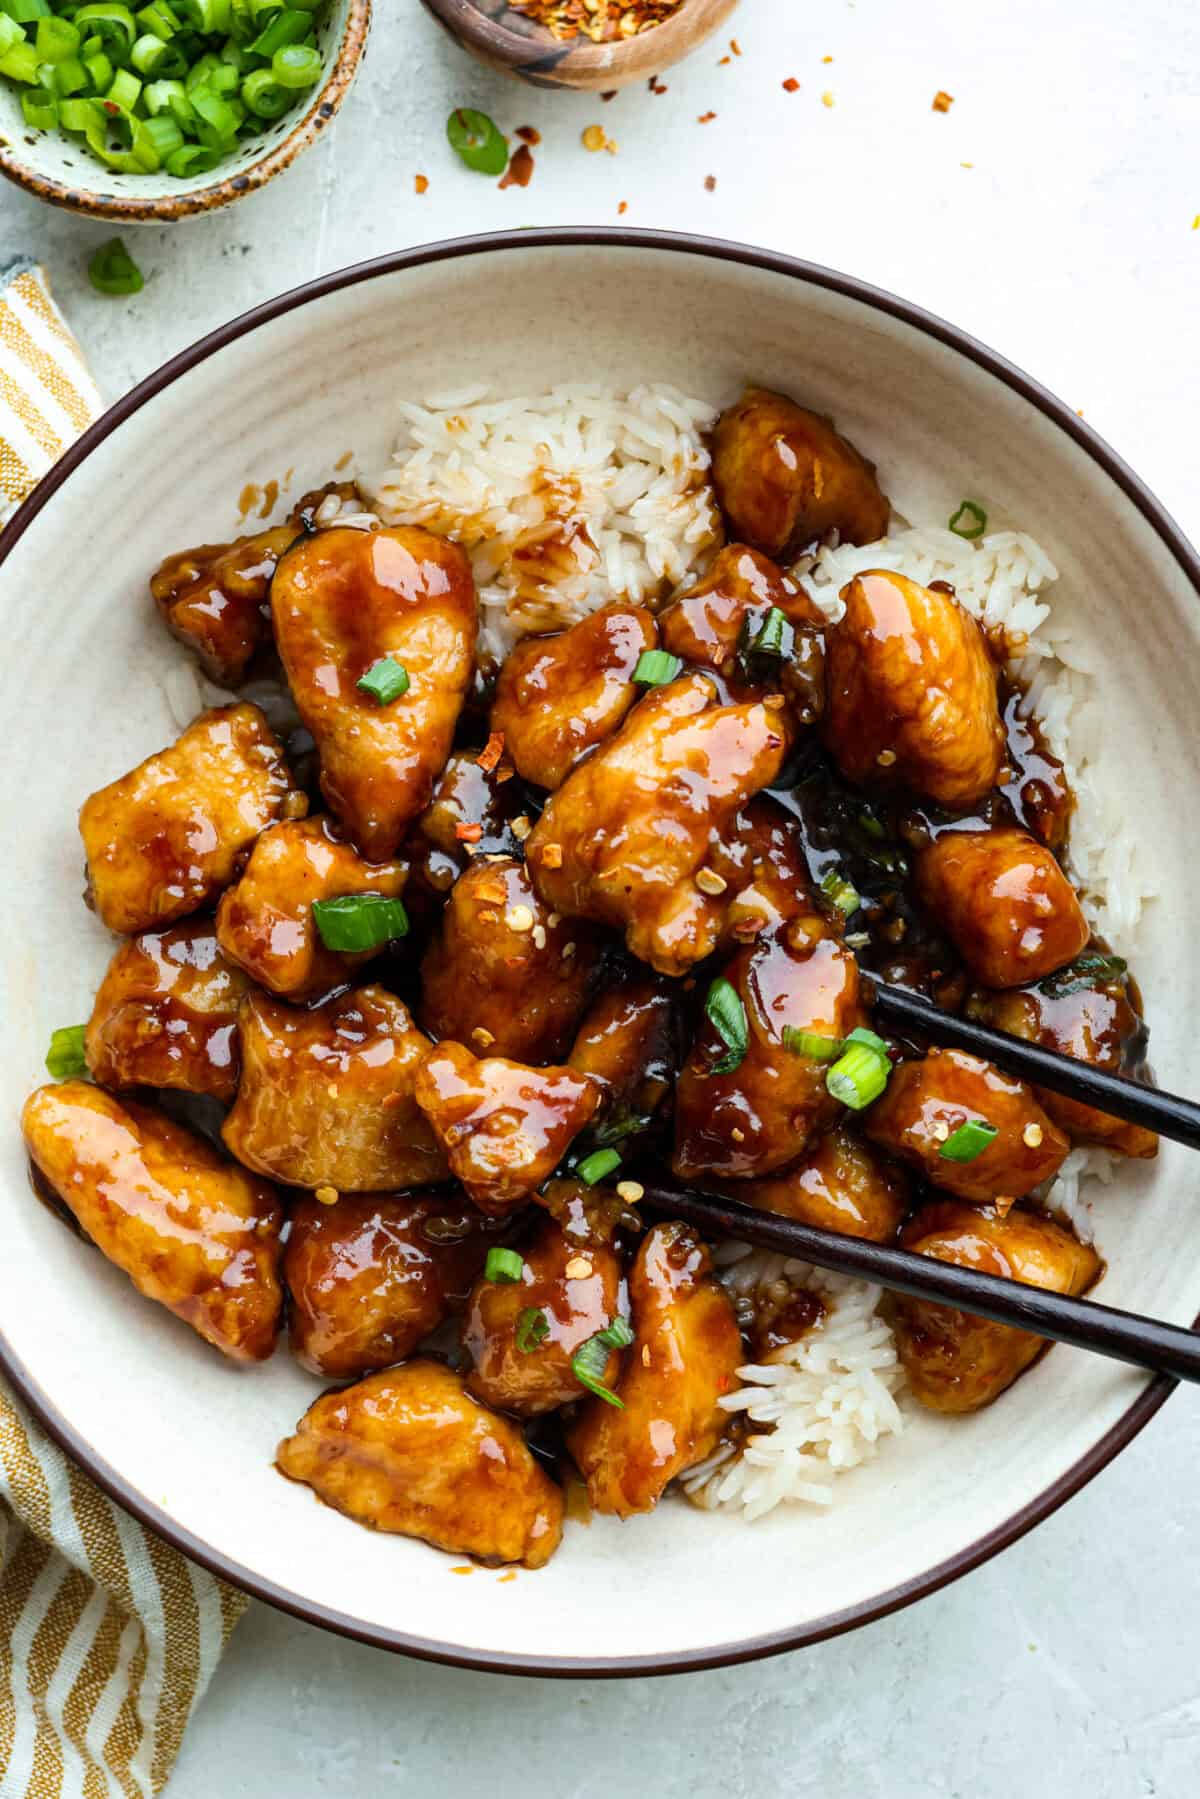
You love my baked General Tso’s chicken, so obviously, I had to make a faster one. This one pan General Tso’s chicken is sticky, saucy, and on the table in about 30 minutes.
Why This Recipe Belongs In Your Rotation
It’s actually one pan! Searing the chicken first, then adding the sauce in the same pan, means better flavor and fewer dishes!
30 Minutes! You read that right! You get restaurant-quality chicken in just 30 minutes!
Perfect Sauce! Sweet, savory, and a little tangy, with just enough heat. And it perfectly clings to the chicken.
One Pan General Tso’s Chicken Ingredients
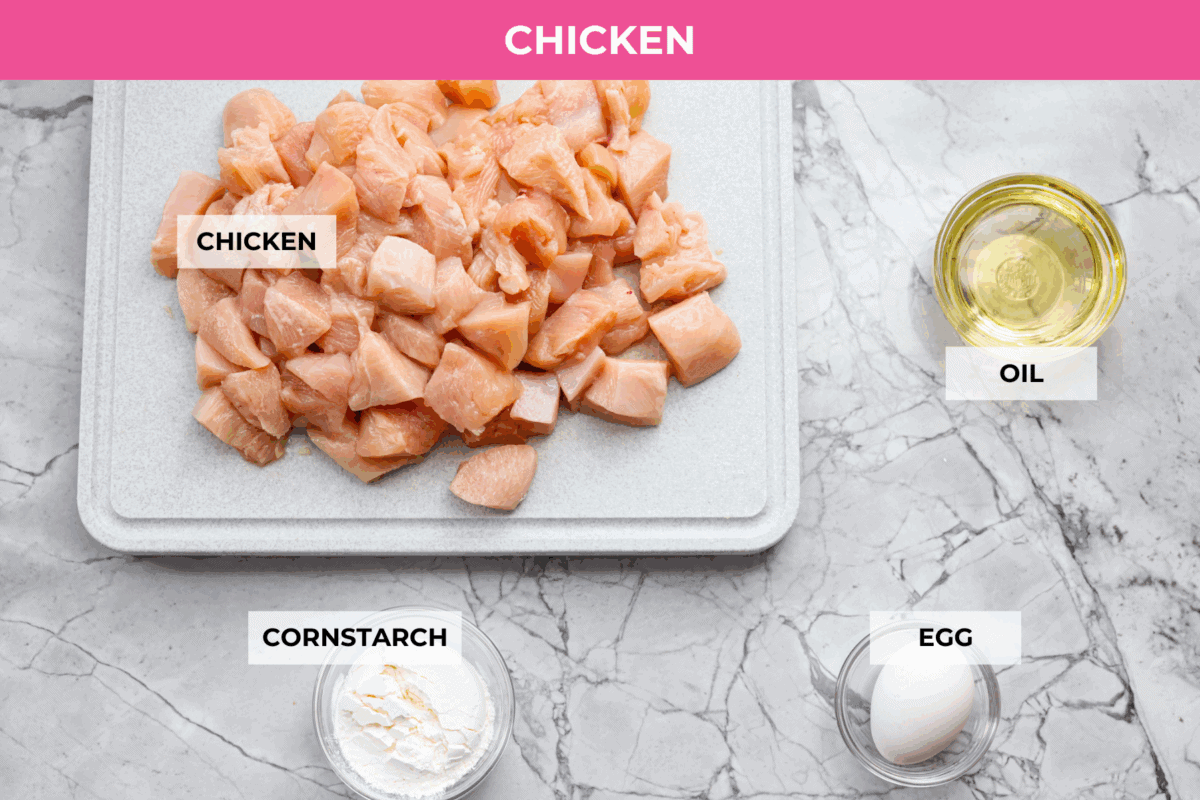
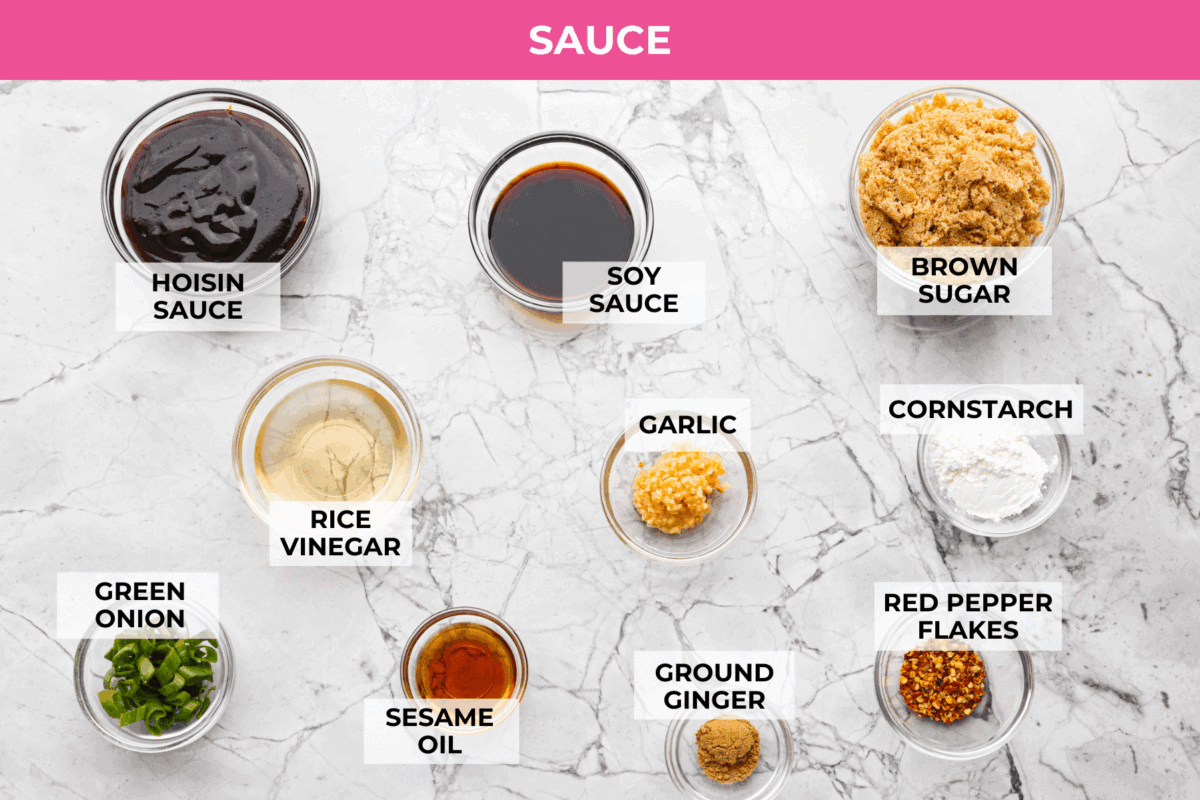
Cornstarch: Shake off any excess before browning the chicken.
Oil: Cooking the chicken in batches helps to ensure even cooking. Add more oil as needed throughout the cooking process.
Red Pepper Flakes: Add more or less to customize your spice level!
Rice Vinegar: Rice wine vinegar also works well in this recipe.
Cornstarch: Adding cornstarch to the sauce helps thicken it and coat the chicken.
How to Make General Tso’s Chicken
This one-pan General Tso’s chicken dish will be a lifesaver! No oven needed! You can serve it over rice or noodles, or keep it easy with fried rice or broccoli on the side!
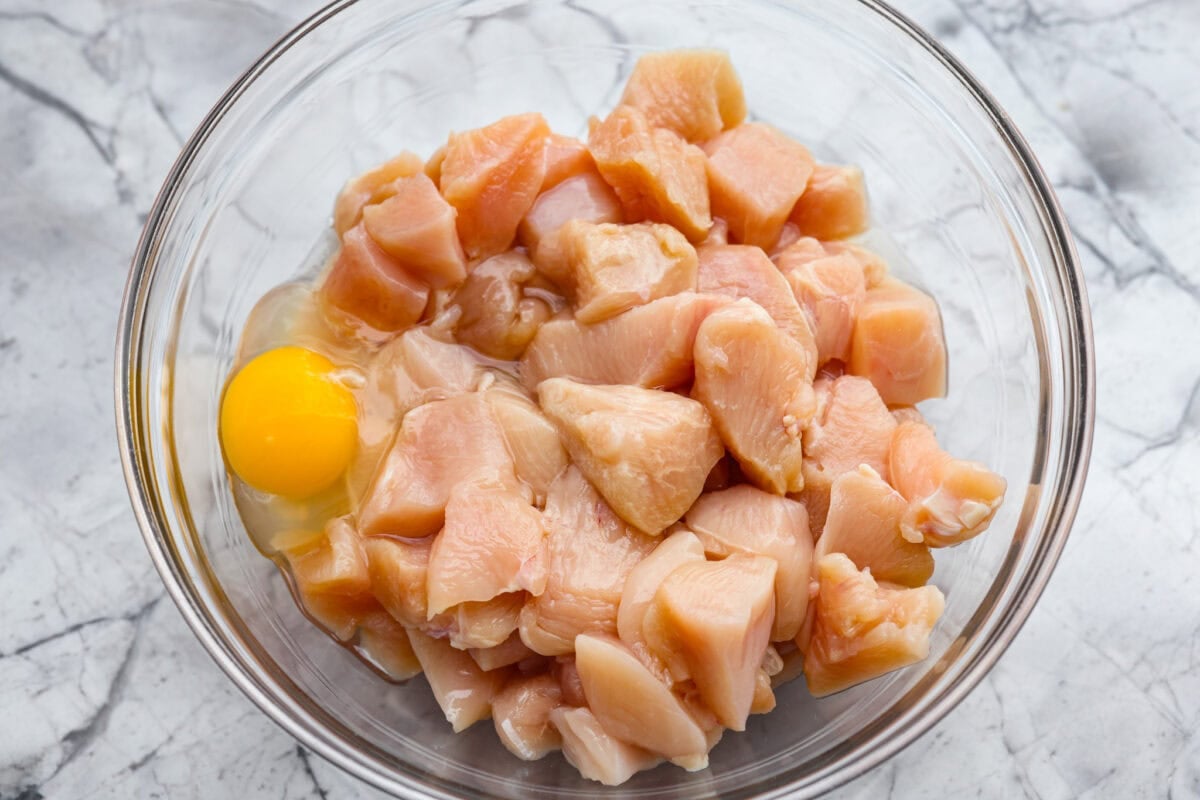
Coat the Chicken in an Egg: Cut the chicken breast into bite-sized pieces and place in a large bowl. Crack an egg on top of the chicken and massage it in with your hand to coat the chicken.
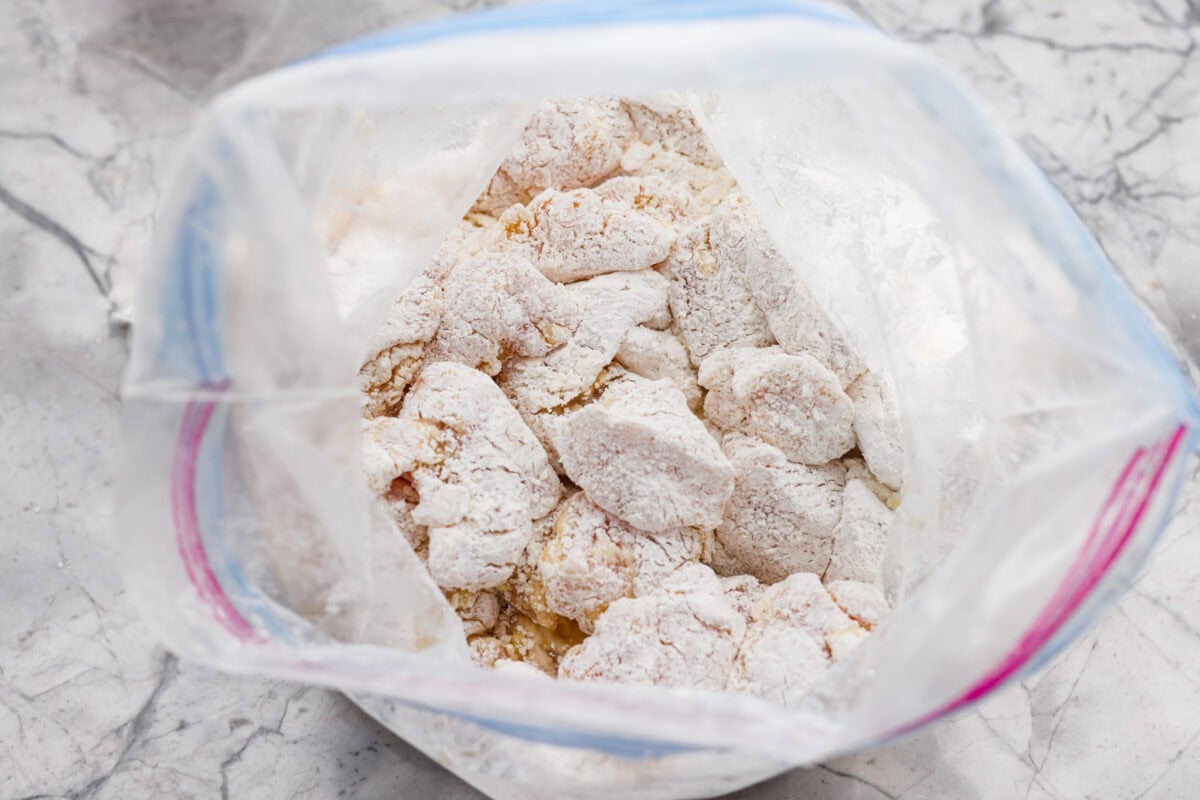
Coat with Cornstarch: Transfer the chicken to a ziplock bag, then add the cornstarch, seal the bag, and toss to coat each chicken piece well. Add cornstarch if needed.
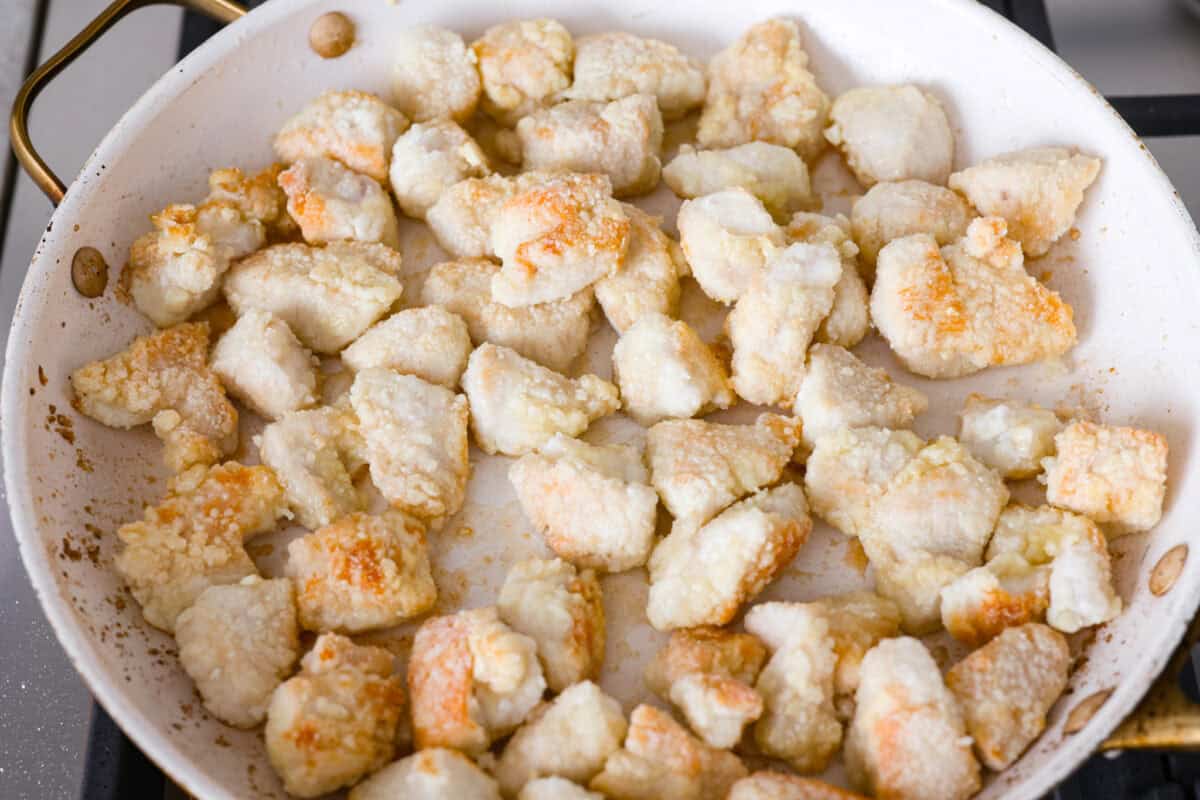
Cook: In a large skillet or wok over medium heat, add the vegetable oil. Working in batches, add the coated chicken and cook for 7-8 minutes until browned and no longer pink. Remove the chicken from the pan and set it aside.
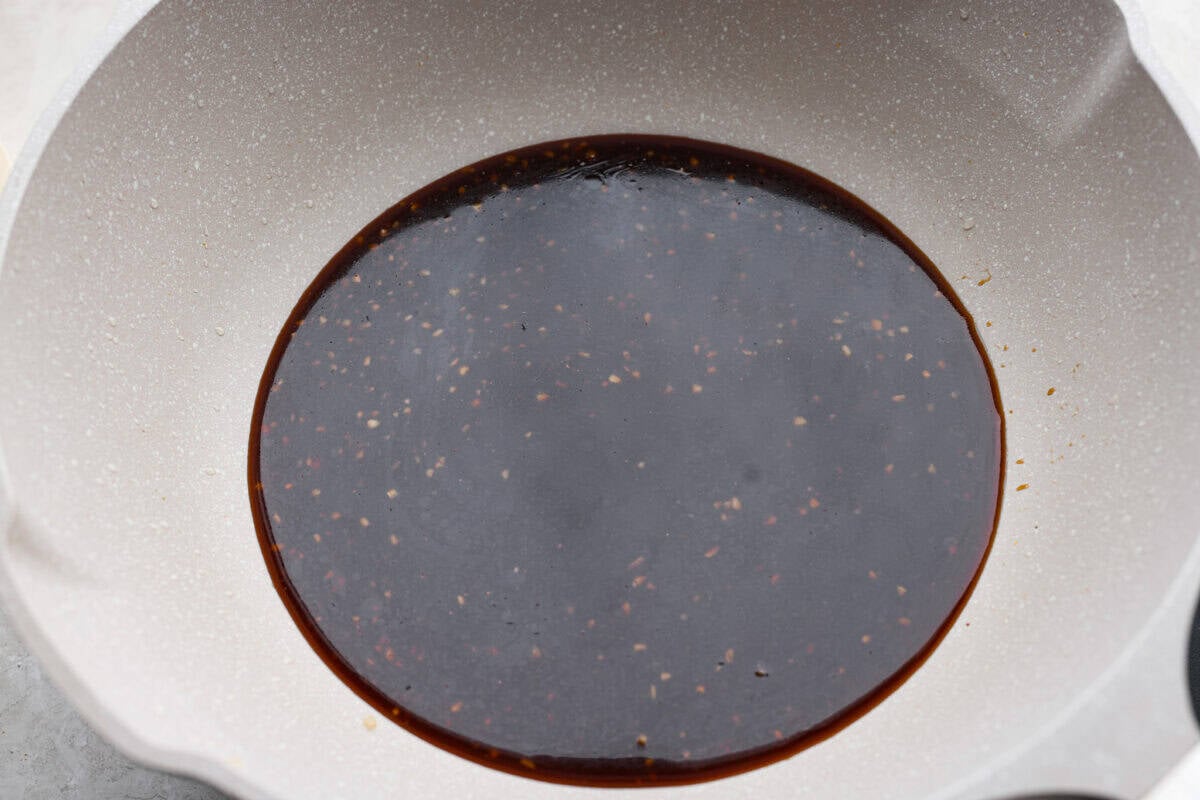
General Tso’s Sauce: In a medium bowl, whisk together the hoisin sauce, soy sauce, brown sugar, minced garlic, rice vinegar, sesame oil, ground ginger, and crushed red pepper.
Simmer the Sauce: Returning to the skillet or wok, add the sauce and bring it to a simmer while stirring. Let it simmer for 2-3 minutes to help slightly thicken the sauce. Stir occasionally.
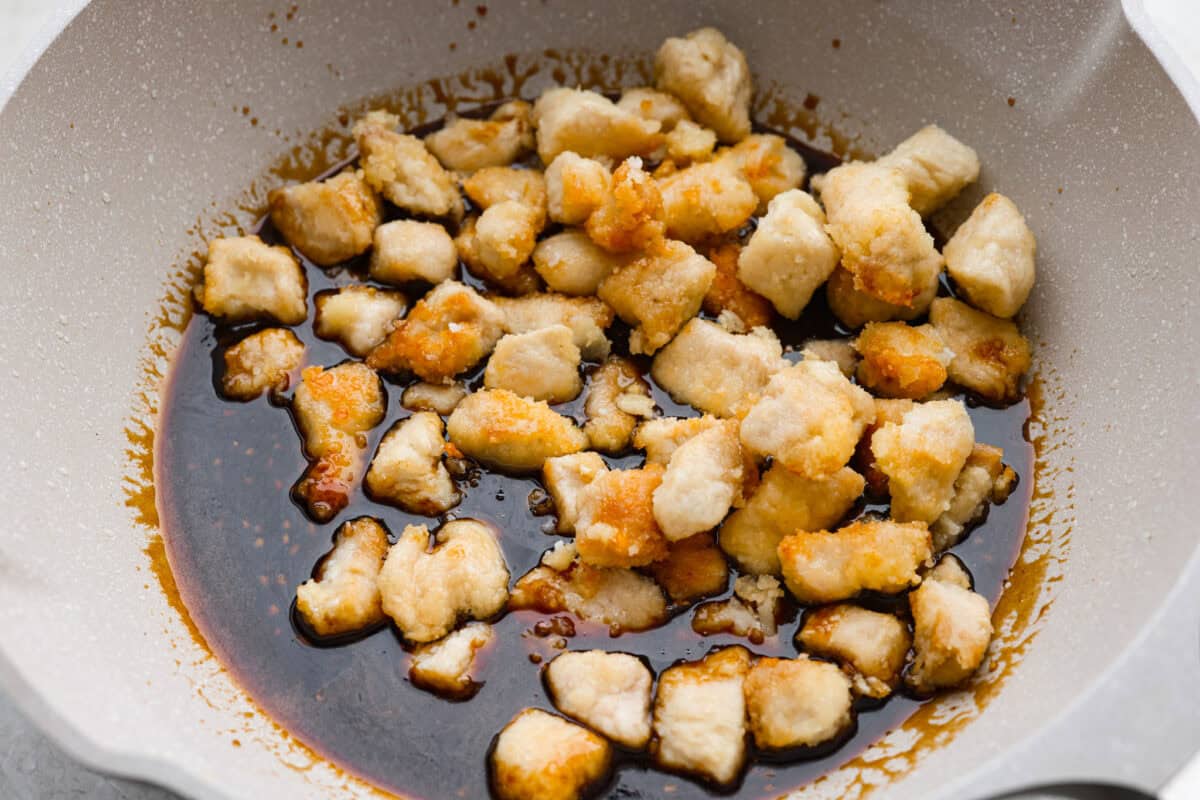
Combine the Chicken and Sauce: Add the chicken and toss to coat, then cook for 2-3 minutes and enjoy over rice! Garnish one pan of General Tso’s chicken with sliced green onions and additional red pepper flakes, if desired.
This website may contain affiliate links and advertising so that we can provide recipes to you. Read my disclosure policy.
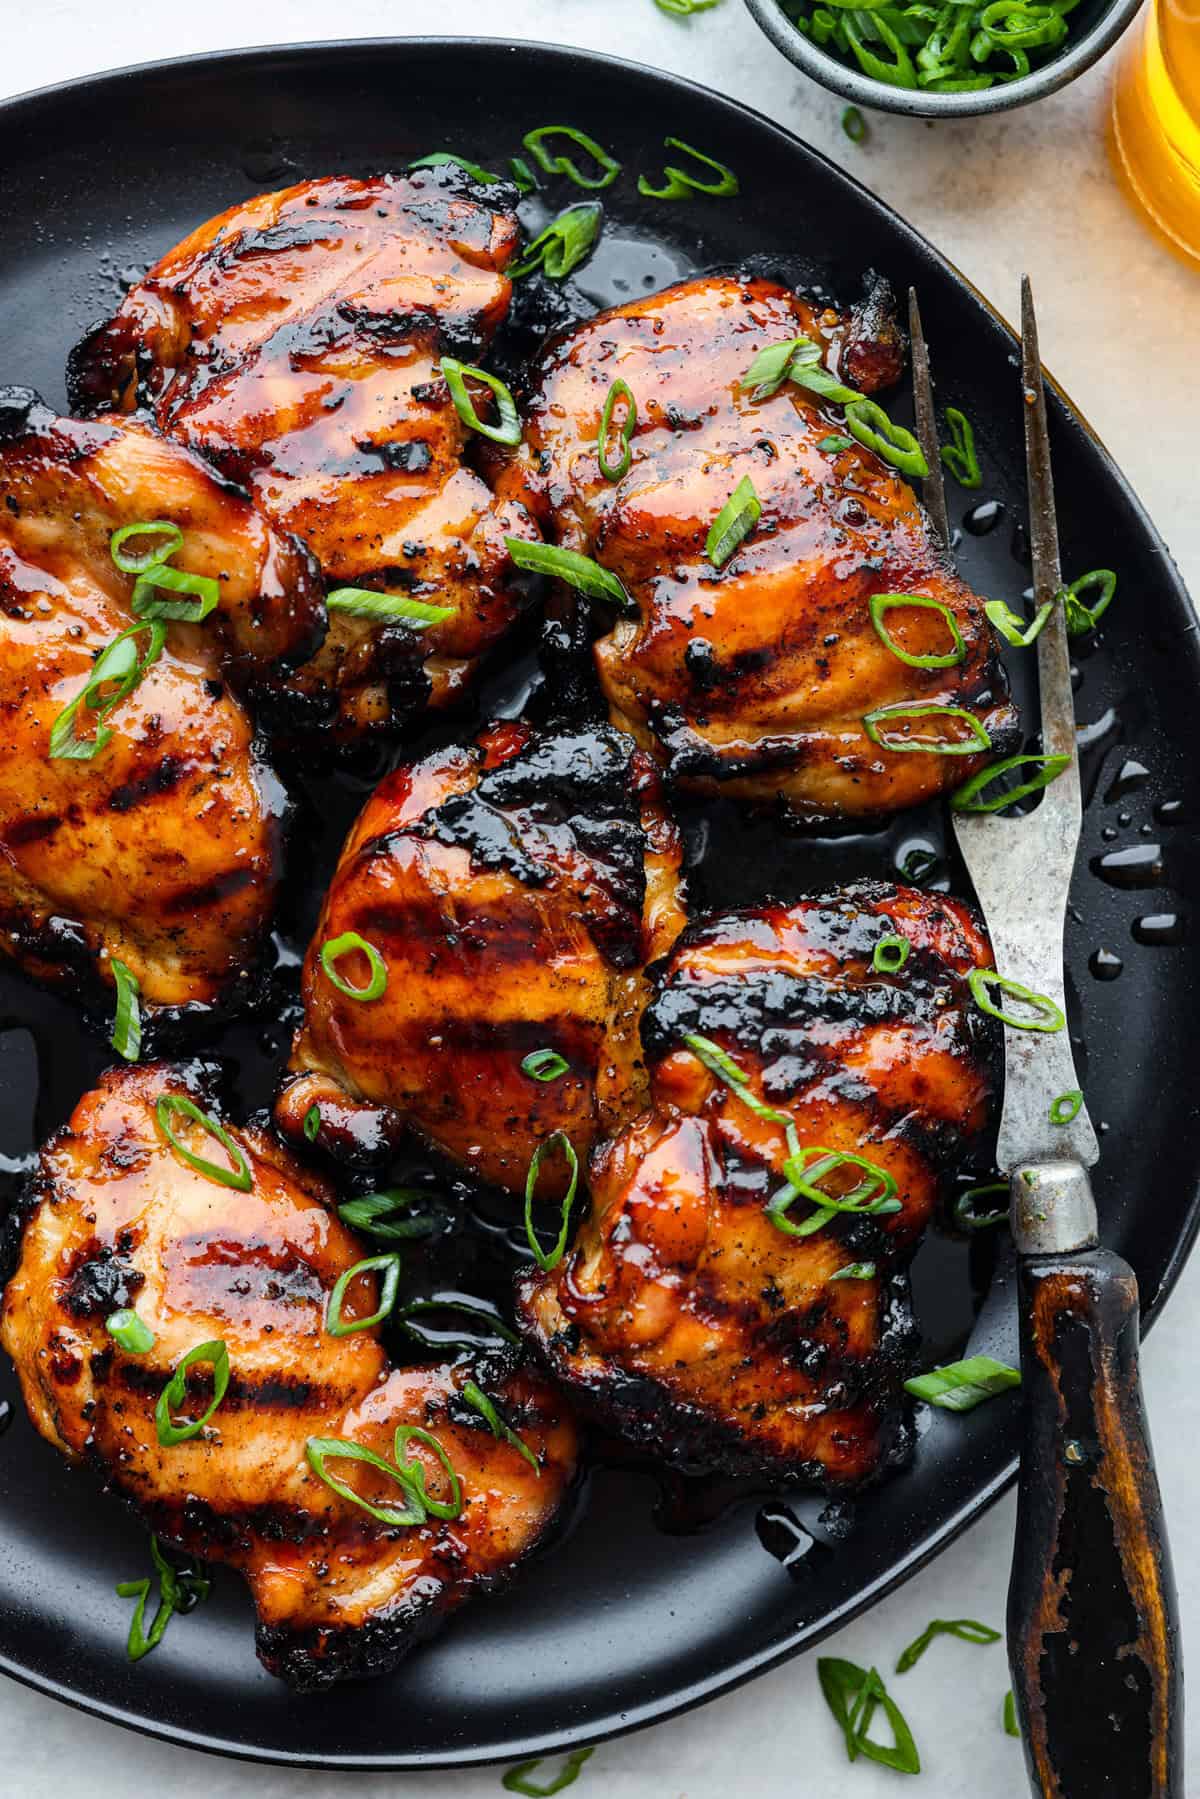
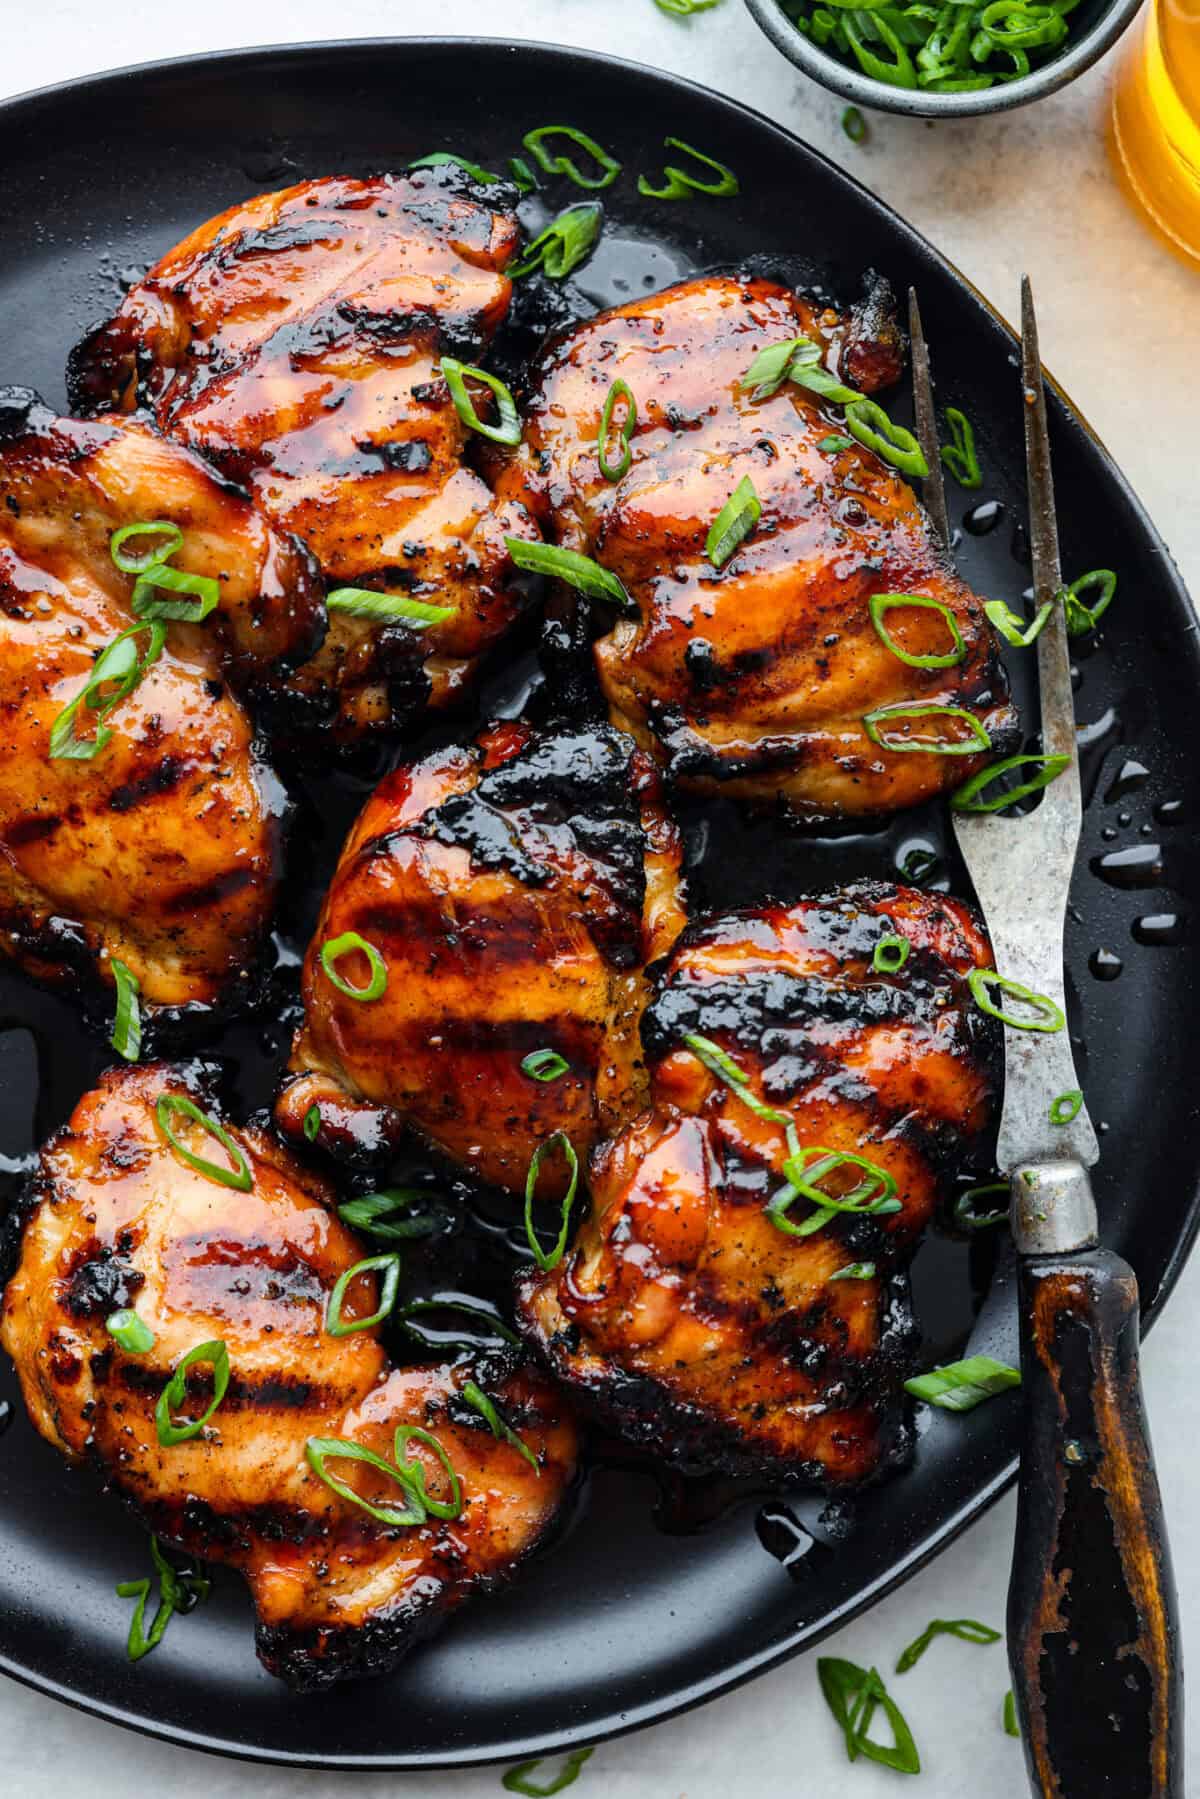
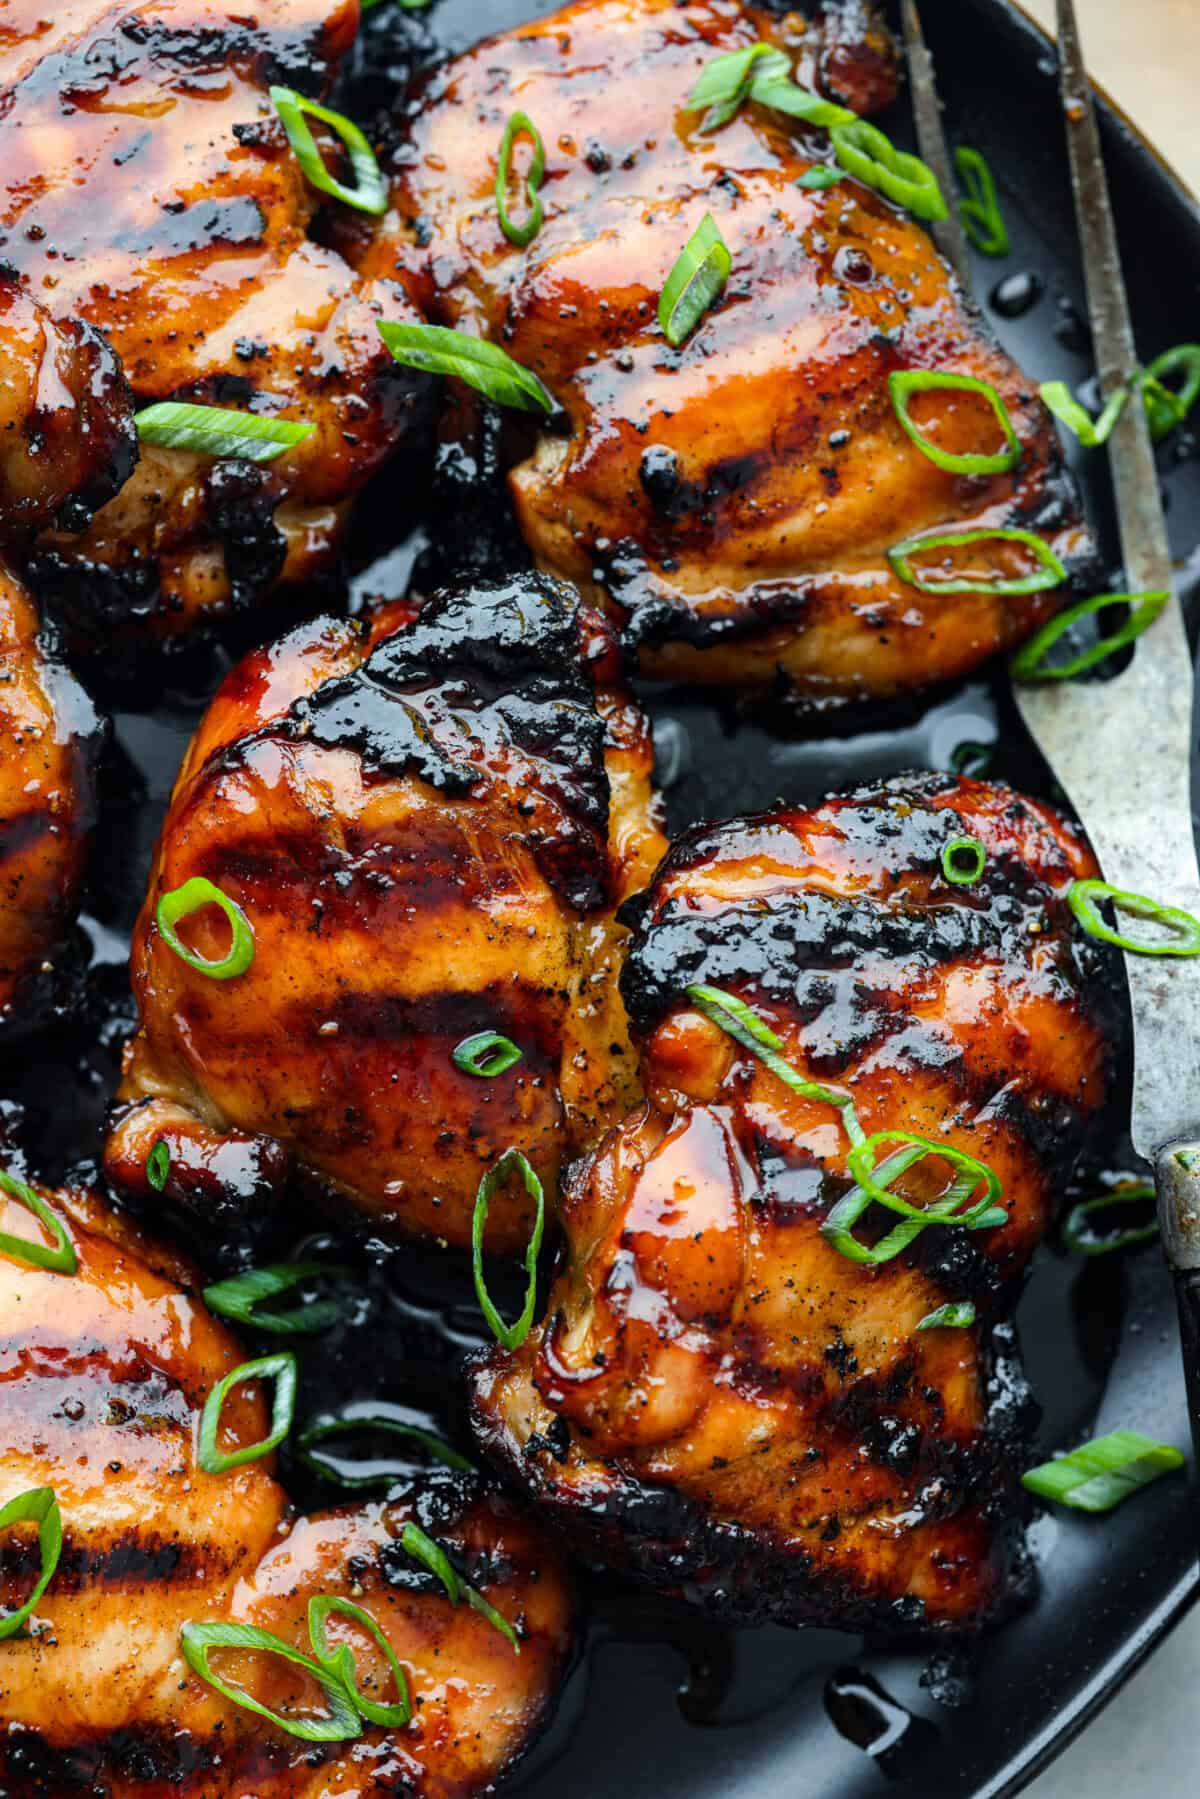
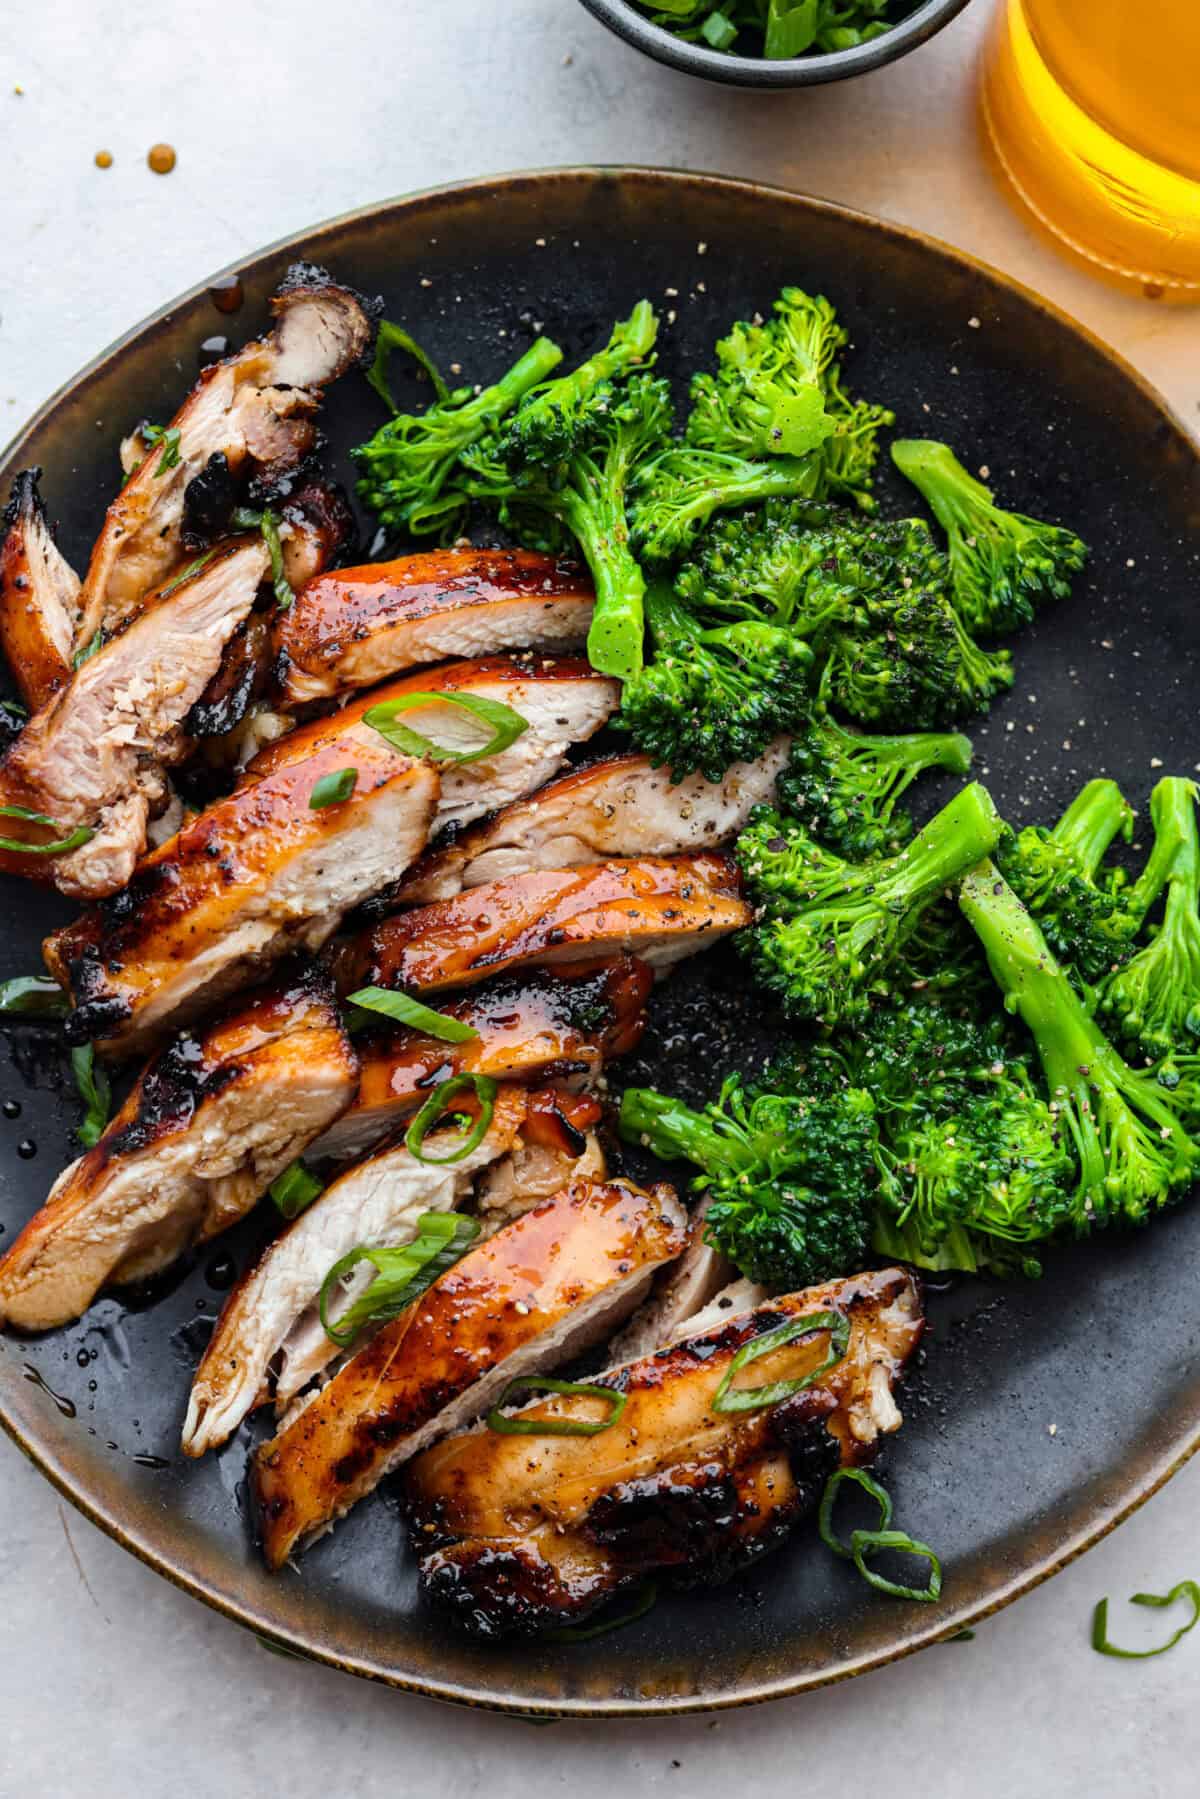
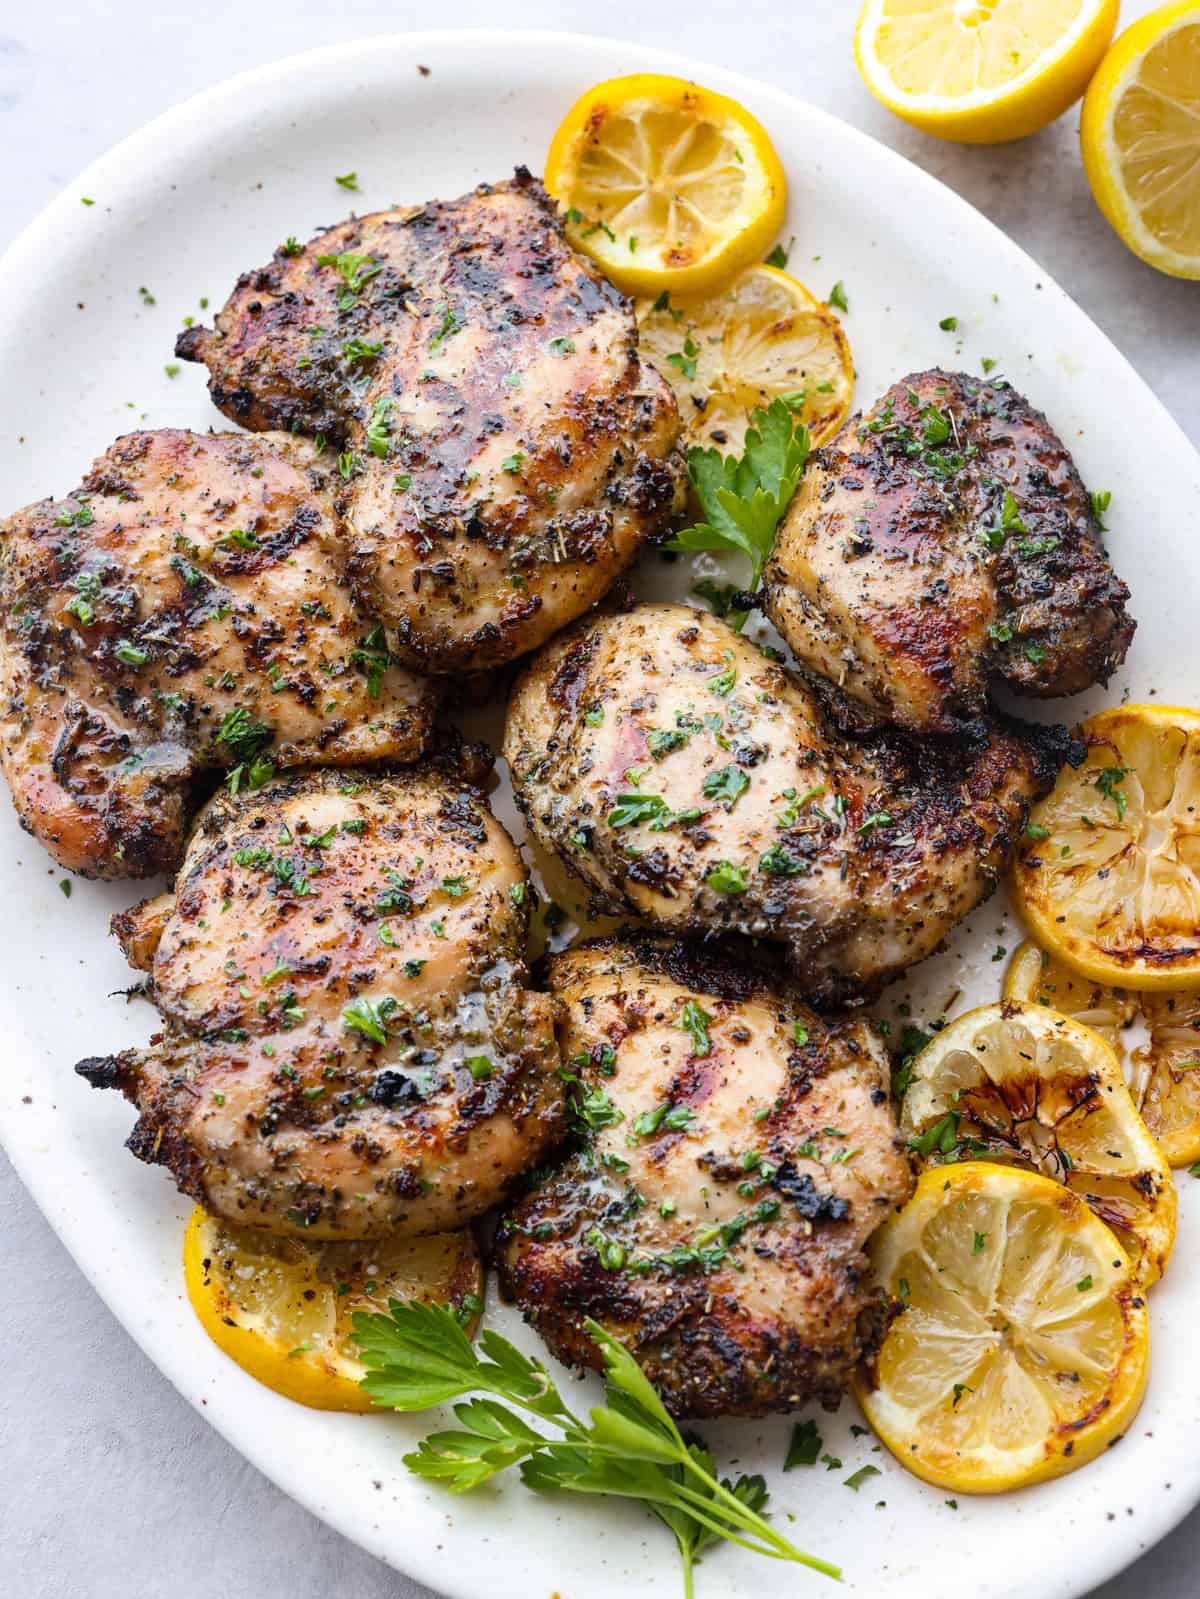
One bite of this grilled bourbon chicken and your tastebuds will be dancing with delight! It’s marinated in a flavorful homemade bourbon sauce that tastes amazing. You will be making it on the regular once you see what a huge hit it is!
Nothing tastes better on a warm summer day than something grilled to perfection. Try these other tried and true grilled recipes like grilled corn, Hawaiian chicken skewers and zucchini for your next BBQ.
Reasons this Grilled Bourbon Chicken is the BEST!
It uses chicken thighs (AKA it’s packed with flavor!): Not only does this make it more affordable, but the FLAVOR is to die for!
Tender and juicy: This marinade will tenderize the meat so that it’s so juicy and incredibly flavorful.
Sweet and tangy: Love both flavors? This recipe is for you! Even if you’re not a fan of drinking bourbon, you will LOVE the marinade with its perfectly balanced sweet, savory and tangy flavor!
Perfect for a BBQ: Serve this with a delicious summer salad, veggies, and some fruit for the perfect backyard BBQ meal!
Ingredients in Grilled Bourbon Chicken
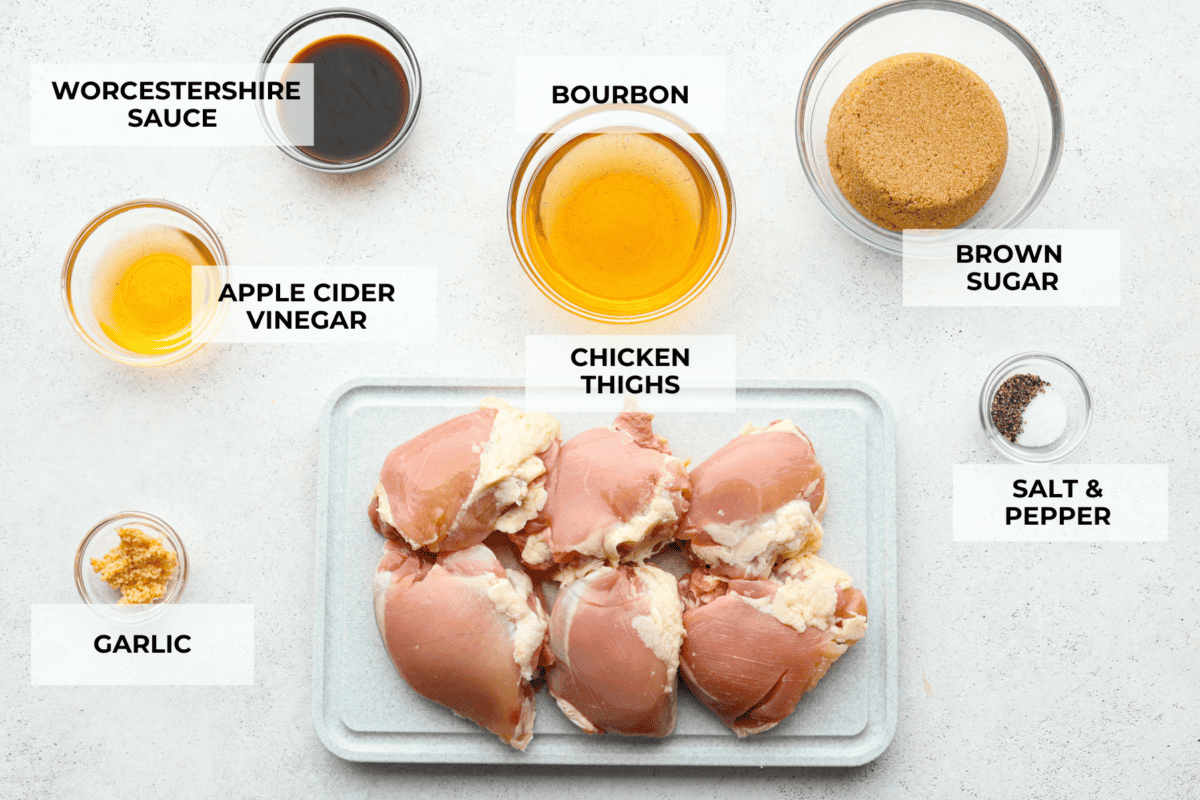
This grilled bourbon chicken recipe only requires a handful of simple ingredients. Once you whip up the marinade and let your chicken sit for about an hour, you’re on your way to juicy, flavorful chicken! Check out the recipe card at the bottom of the post for exact measurements.
Chicken: Boneless skinless chicken thighs will have a richer, more intense flavor than chicken breast, but either can be used.
Bourbon Whiskey: Any brand of bourbon works and will add wonderful flavor. It will also break down the enzymes in the meat, yielding tender, juicy chicken.
Brown Sugar: For a bit of sweetness and caramelization when grilled.
Apple Cider Vinegar: It’s important to include some acid in your marinade to tenderize the meat. Plus, apple cider vinegar has a bright flavor that mellows any harshness from the bourbon.
Worcestershire Sauce: Has a mix of vinegar, garlic, chiles, molasses and more to give the chicken an incredible umami taste.
Garlic: Freshly minced garlic for infusing the meat with wonderful savory flavor!
Salt and Pepper: To season the chicken.
How to Perfectly Grill Bourbon Chicken
Bourbon chicken is easy to make and packs a big punch of flavor! Plan ahead for the marinating time, and you will be eating a delicious meal in no time! Don’t have a grill? Make my bourbon chicken or shrimp in a skillet in no time!
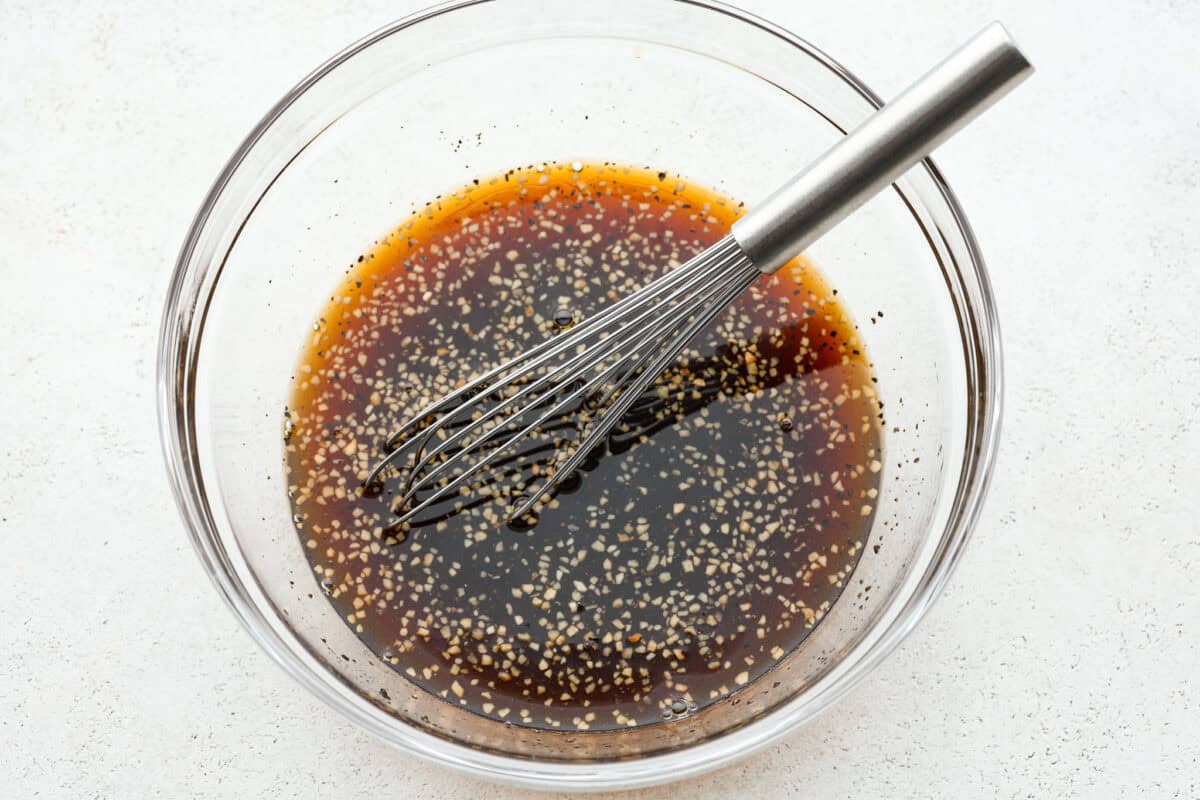
Make the Marinade: In a medium bowl, whisk together the whiskey, brown sugar, vinegar, Worcestershire sauce, garlic, salt, and pepper.
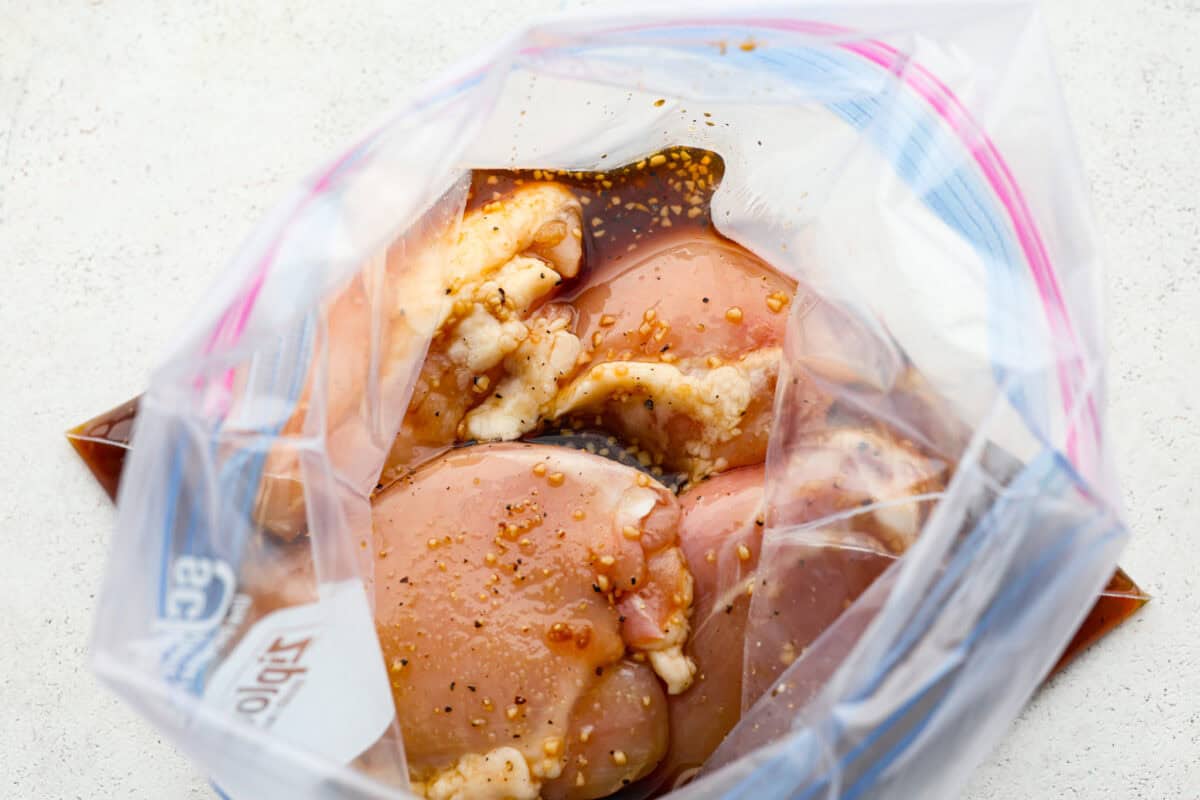
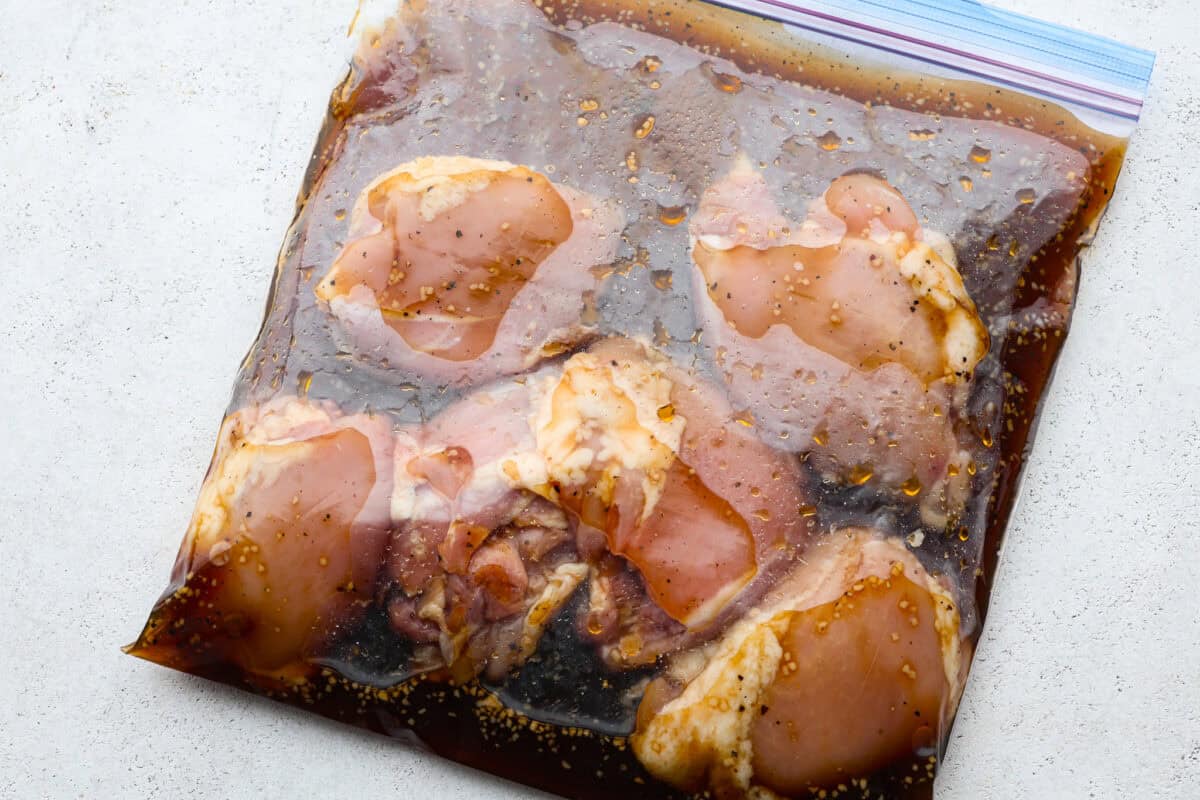
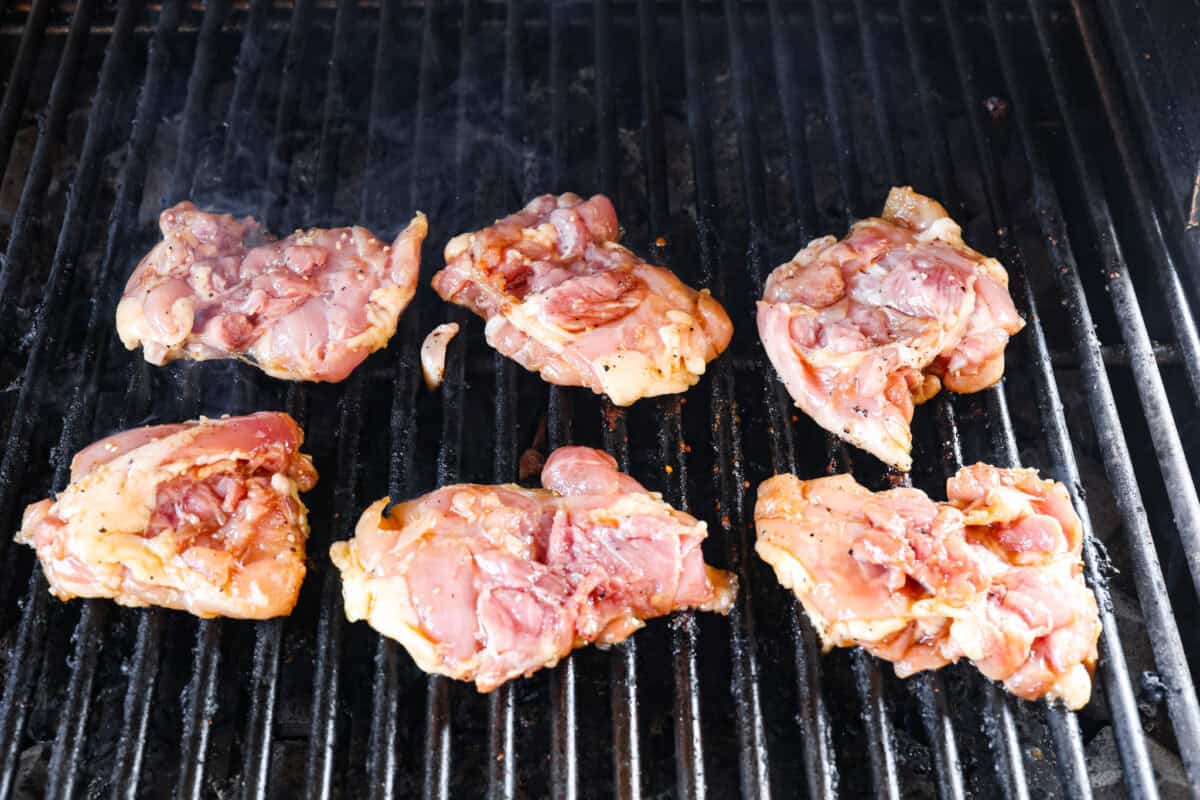
Marinate: Pour the marinade into a sealable bag, add the chicken thighs to the bag, and seal it shut. Allow the chicken to marinate for at least an hour.
Prep: While the chicken is marinating, heat a grill up to 400 degrees Fahrenheit. When the chicken is ready, remove it from the marinade and discard the marinade.
Grill: Brush the grill with oil and grill the chicken breasts for about 3-4 minutes per side. The internal temperature of the breasts should reach 165 degrees Fahrenheit, but don’t overcook the chicken.
Rest: Remove the grilled chicken from the grill and place on a clean plate to cool for at least 5 minutes before serving.
Whisk together the marinade.Add the chicken thighs and marinade to a Ziplock bag.Seal the bag and marinate for 1 hour or longer.Grill the chicken thighs for 3-4 minutes on both sides.
Tips and Variations
Here are some of our top tips for grilling bourbon chicken thighs, so that they’re juicy and cooked to perfection!
Use Chicken Breast: You can use boneless skinless chicken breasts for this recipe, or even chicken wings just be sure to adjust the grill time and make sure the chicken is cooked all the way through before enjoying!
Clean the Grill: We recommend cleaning your grill before starting. Heat it up, and then clean it off using a brush or a grill cleaning spray.
Be Patient: It’s best to leave the meat cooking in one place and then flip it over to finish cooking it through. If the meat is sticking to the grill, then leave it and it will unstick after it is finished cooking.
Don’t Press the Meat: When grilling it is tempting to lay the spatula on top of the meat and press it down. Avoid doing this because all the fat and juiciness that adds flavor will seep out.
Let it Rest: Once grilled, let the chicken rest for at least 5 minutes before cutting into it. This will allow all of the juices to distribute throughout the meat.
Check the Temperature: Use a meat thermometer to check the internal temperature of the chicken before you eat it. You can safely remove it from the grill once the internal temperature reaches anywhere from 155-157 degrees Fahrenheit. As it rests it will continue to cook and reach 160 to 165 degrees Fahrenheit.
Serving: This grilled chicken is perfect for dicing and adding to a salad like this Teriyaki Spinach Pasta Salad or serve it with your favorite sides like parmesan garlic grilled broccoli or our easy crockpot mashed potatoes and don’t forget the dinner rolls!
Storing Leftovers
If you have leftovers of this grilled bourbon chicken, it stores well and is great for quick lunches and dinners over the next few days! Place it in an airtight container and store it in the fridge for up to 4 days.
More Grilled Chicken Recipes
Grilling season is the best! Grilling adds such a wonderful flavor to foods and it is a great way to keep the heat out of the house! We enjoy grilling everything from steak to fruits and vegetables. Here are some of our other favorite grilled chicken recipes that we make all season long!
This website may contain affiliate links and advertising so that we can provide recipes to you. Read my disclosure policy.
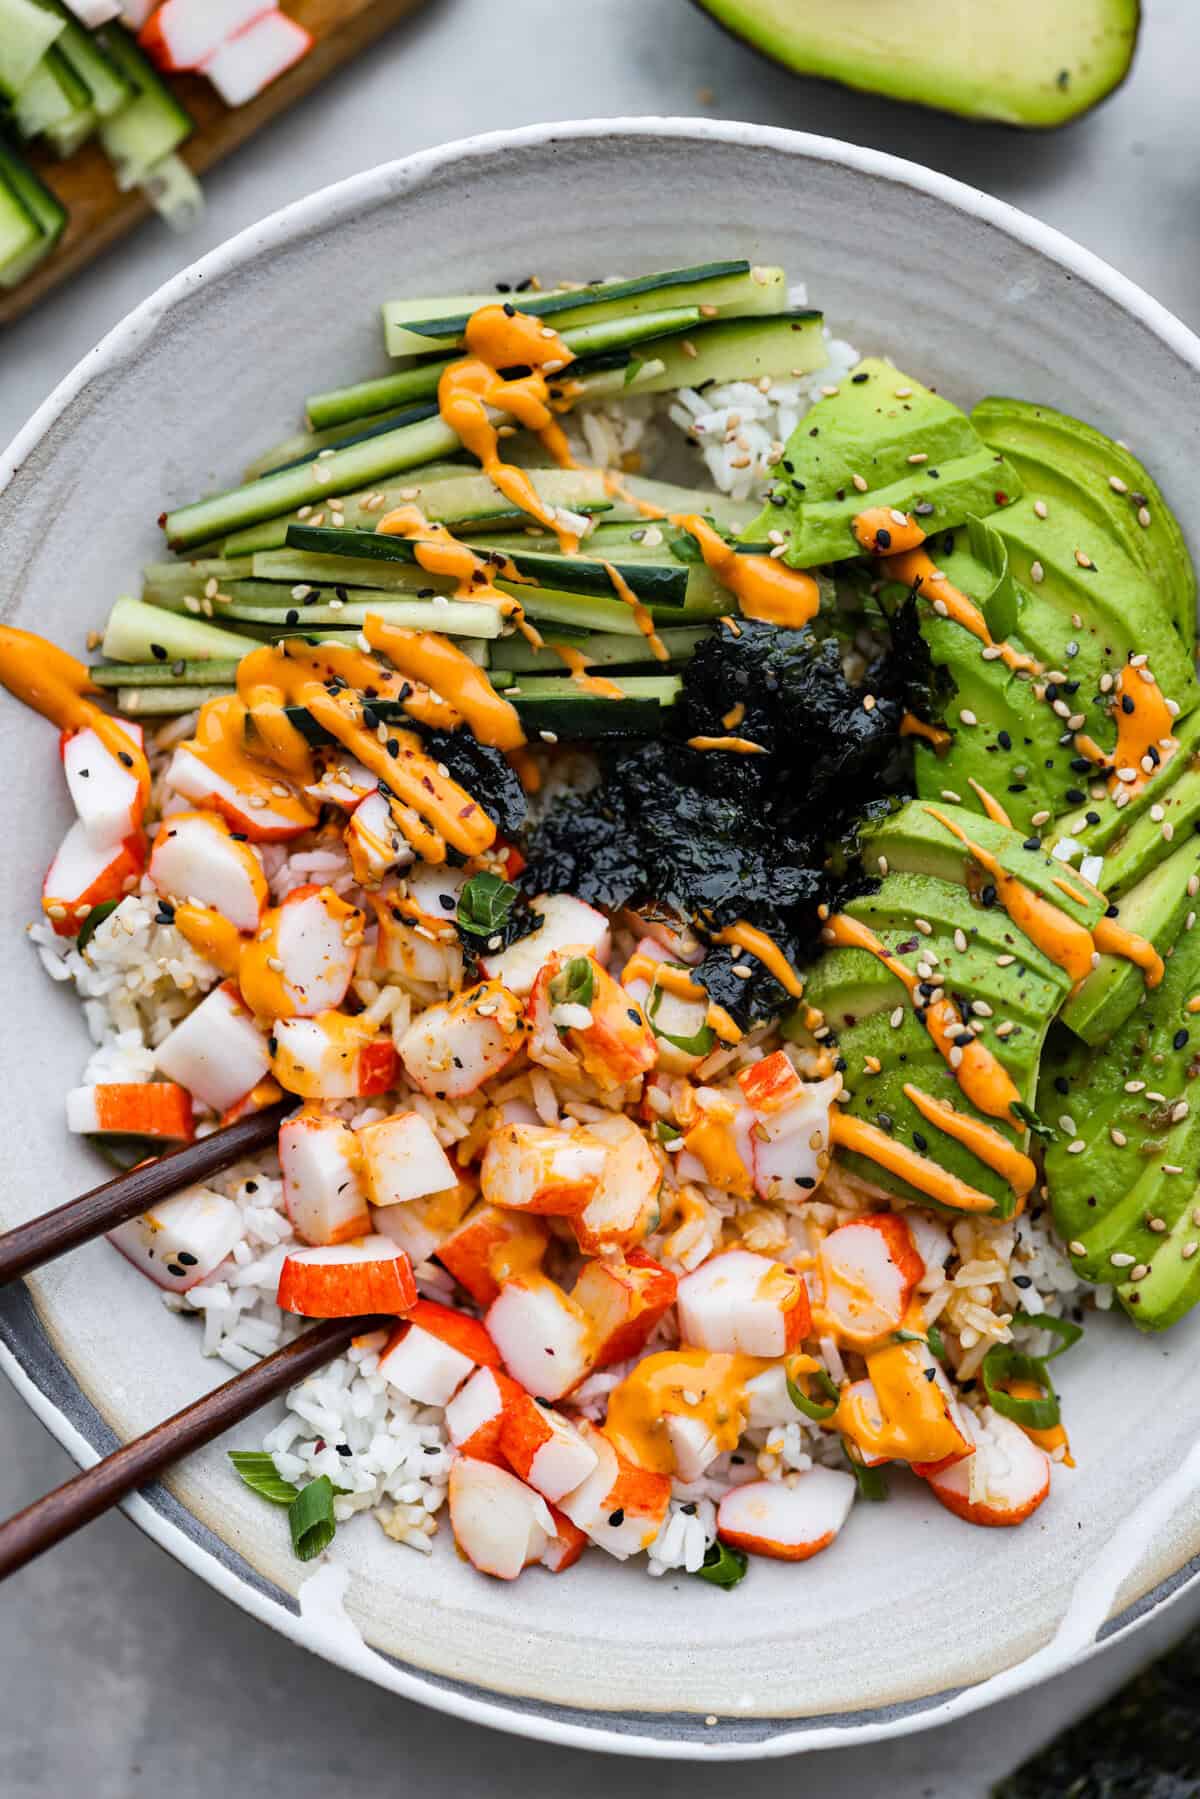
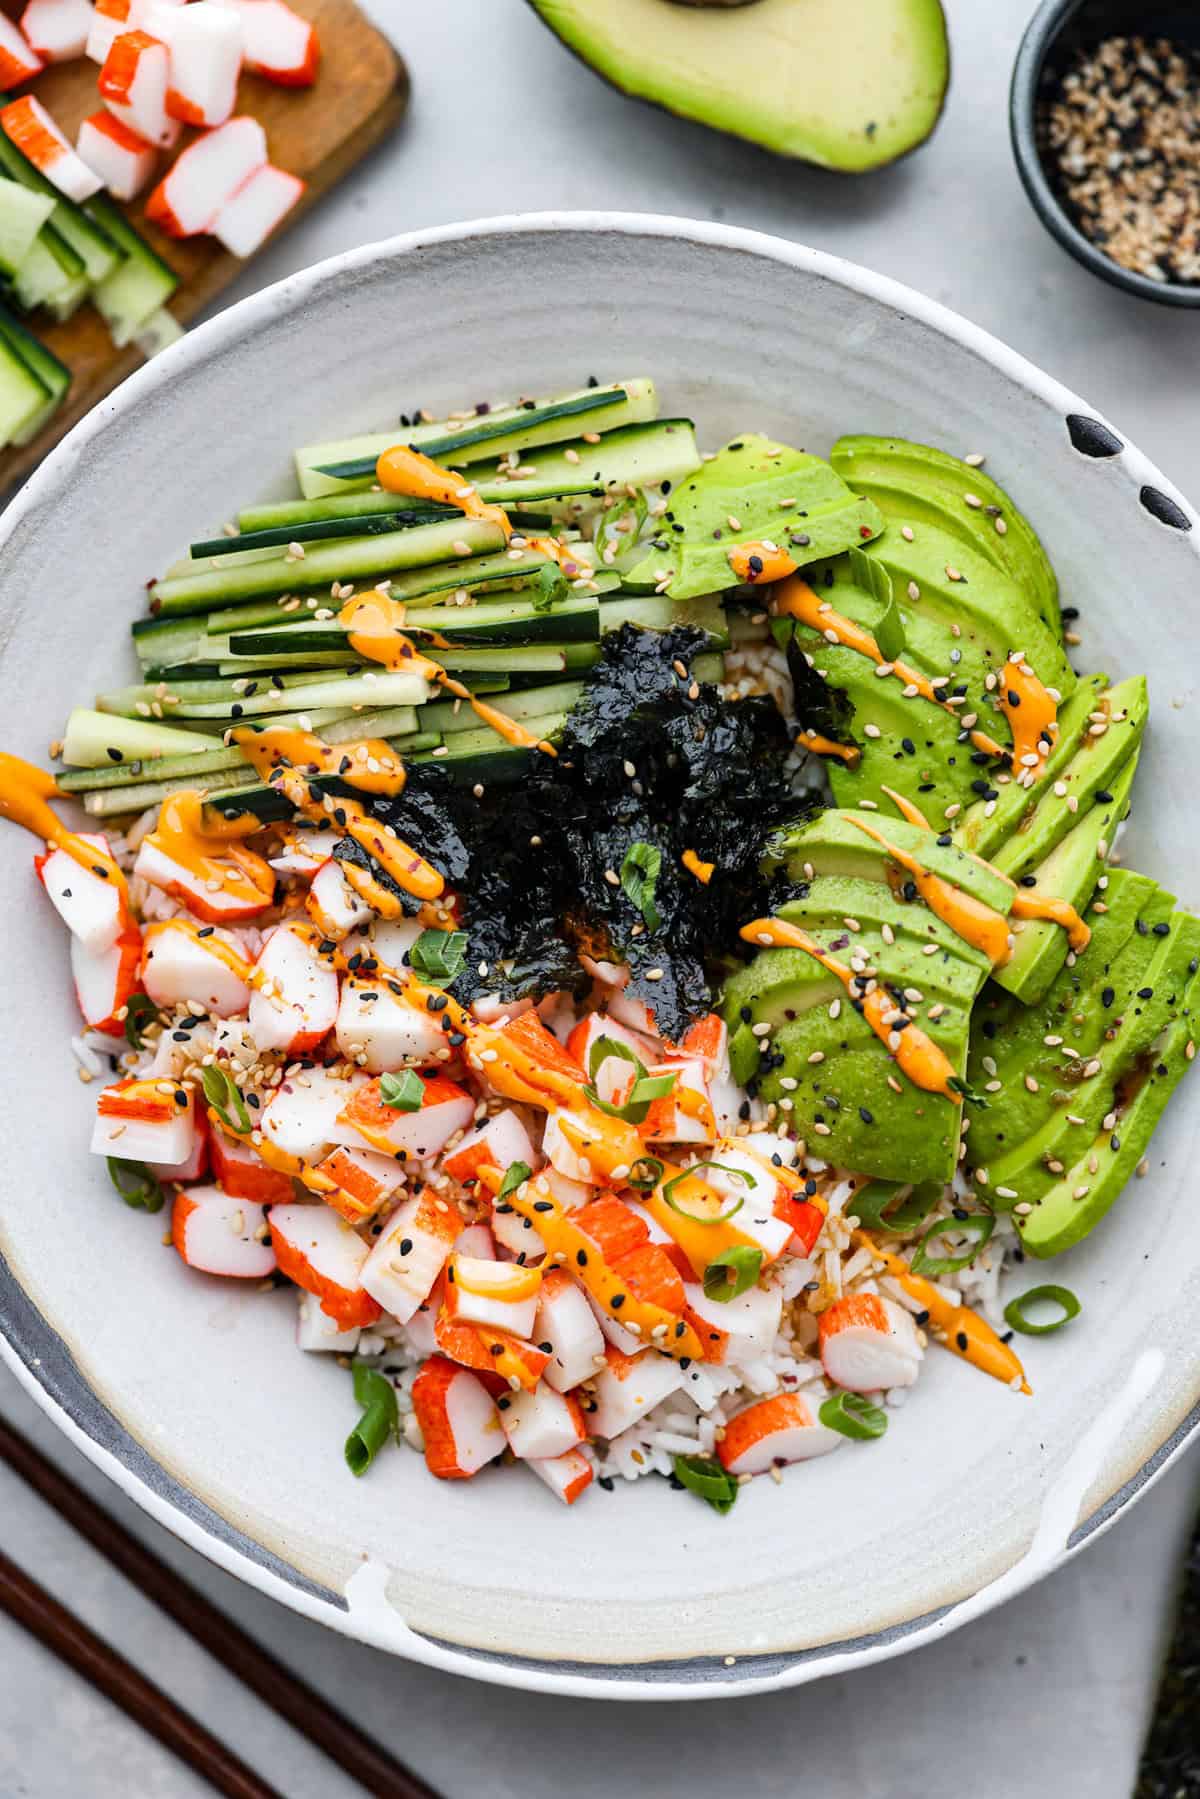
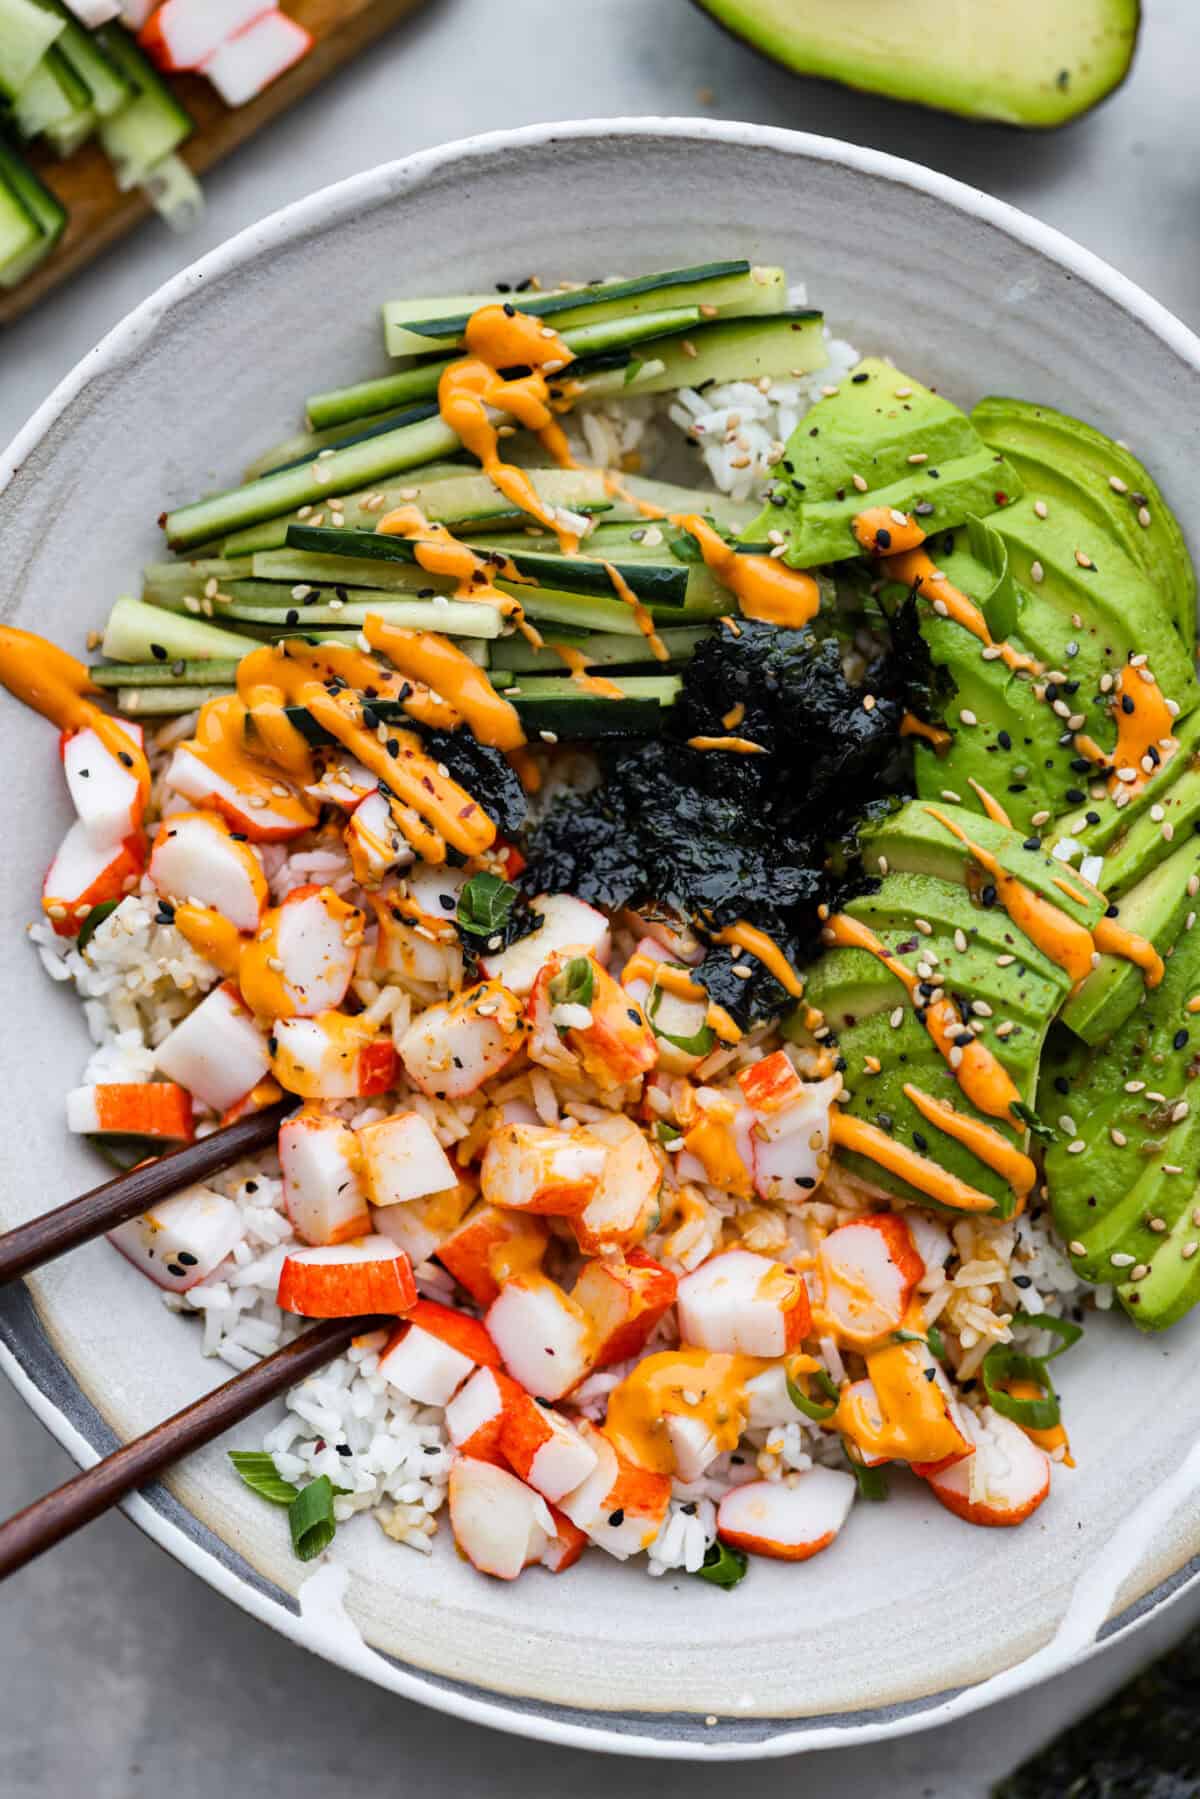
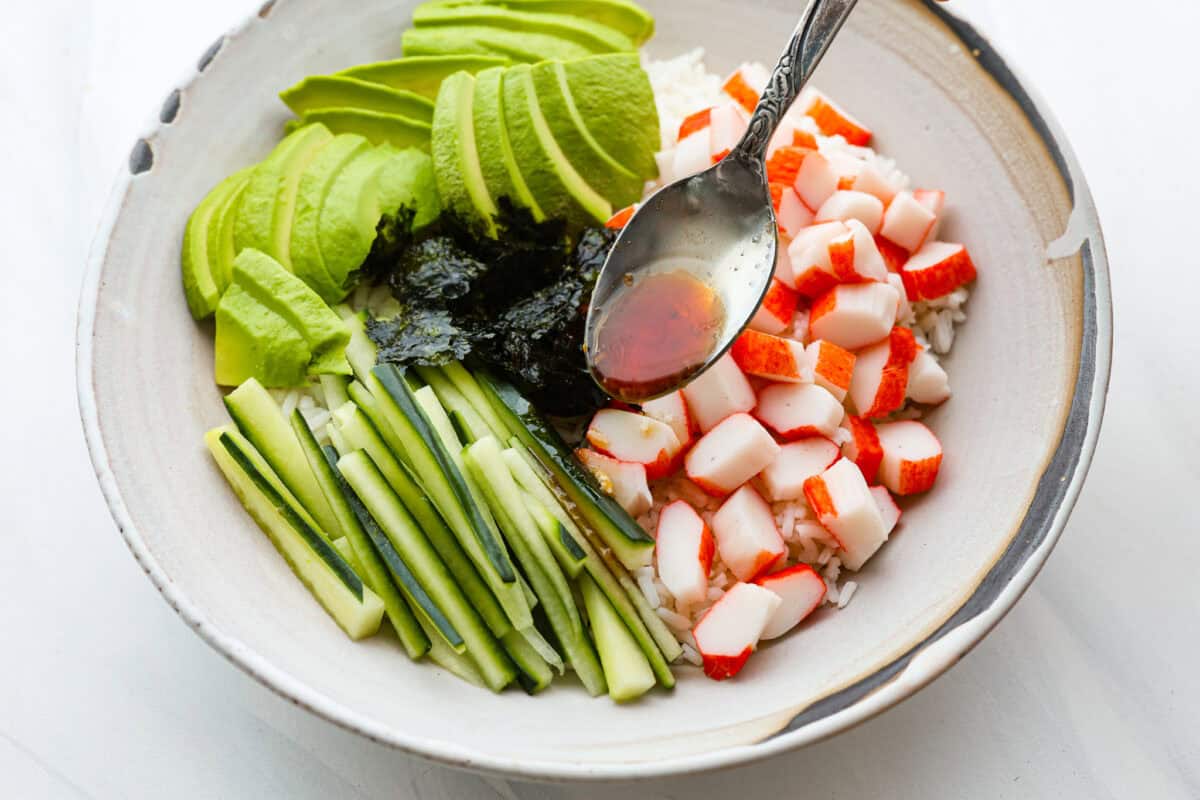
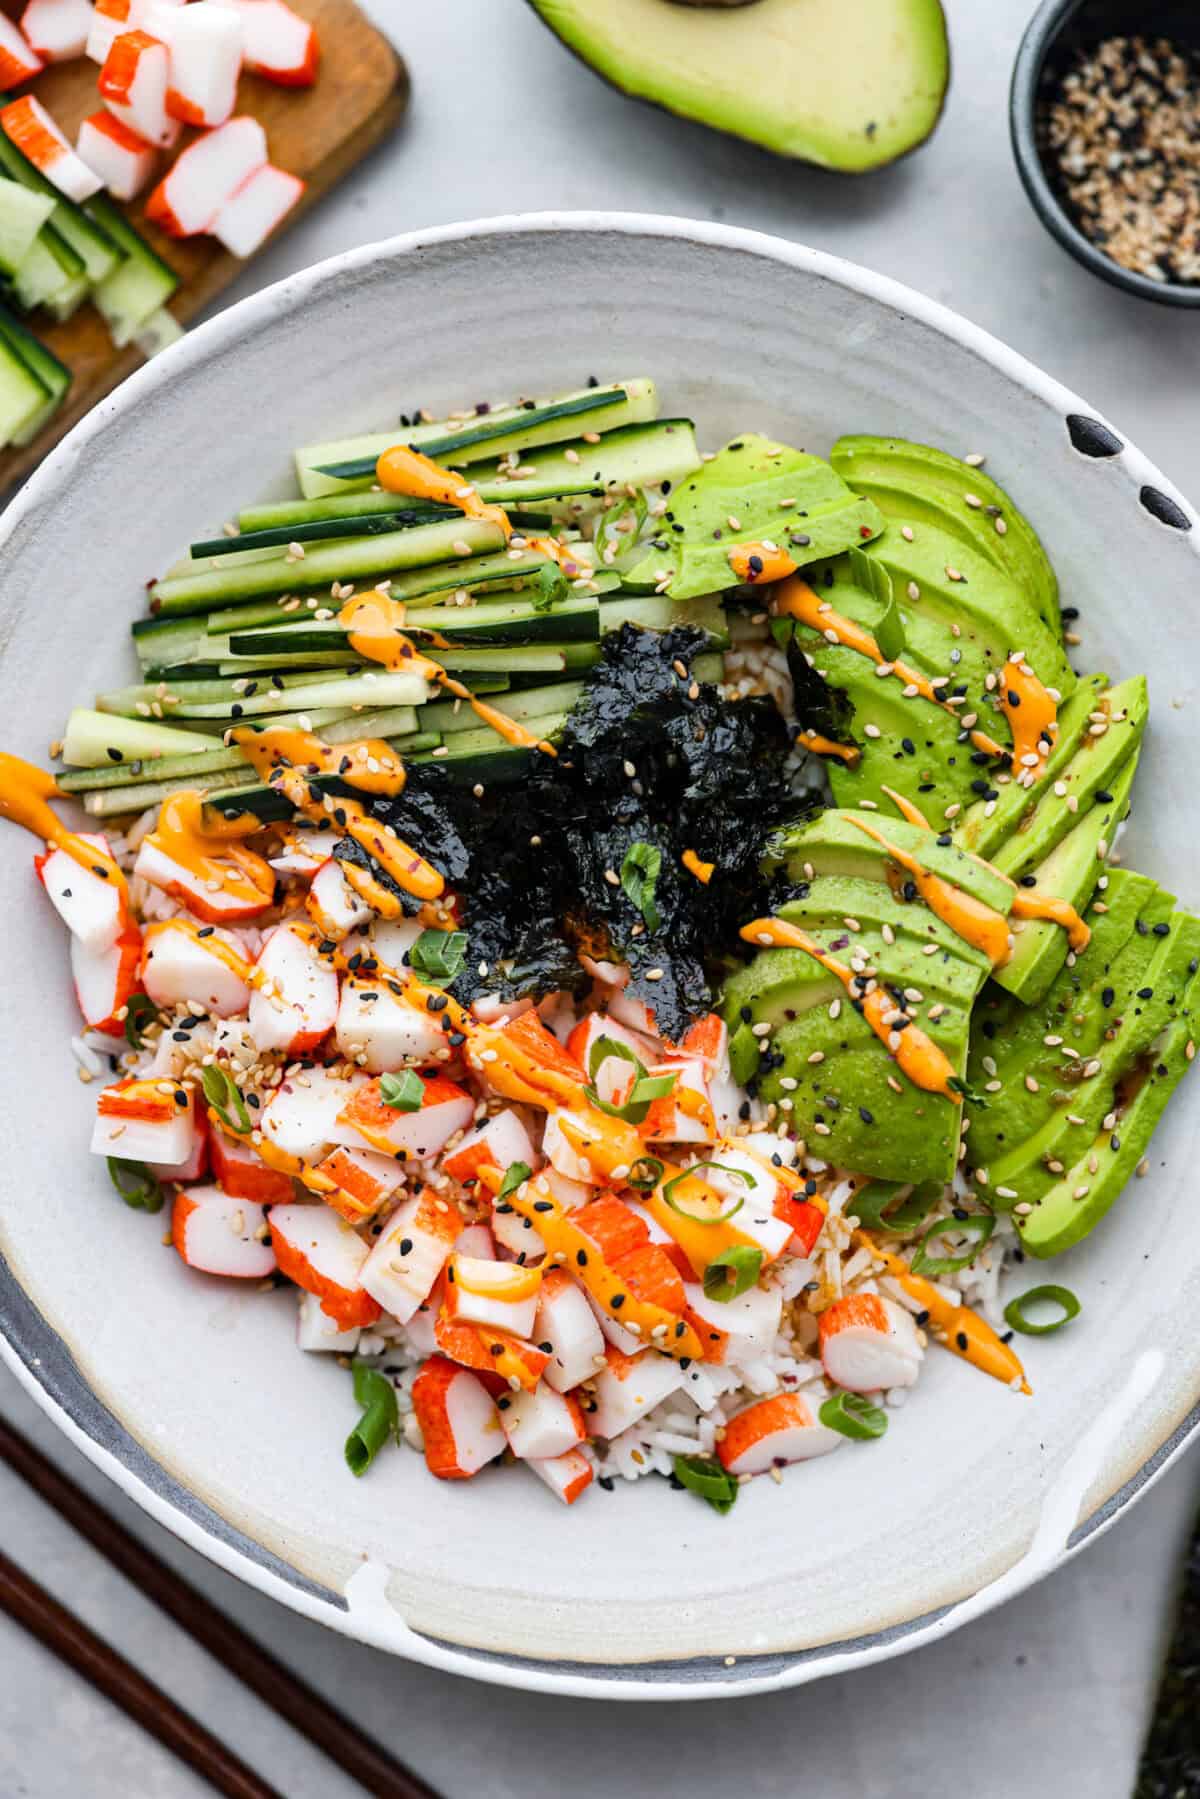
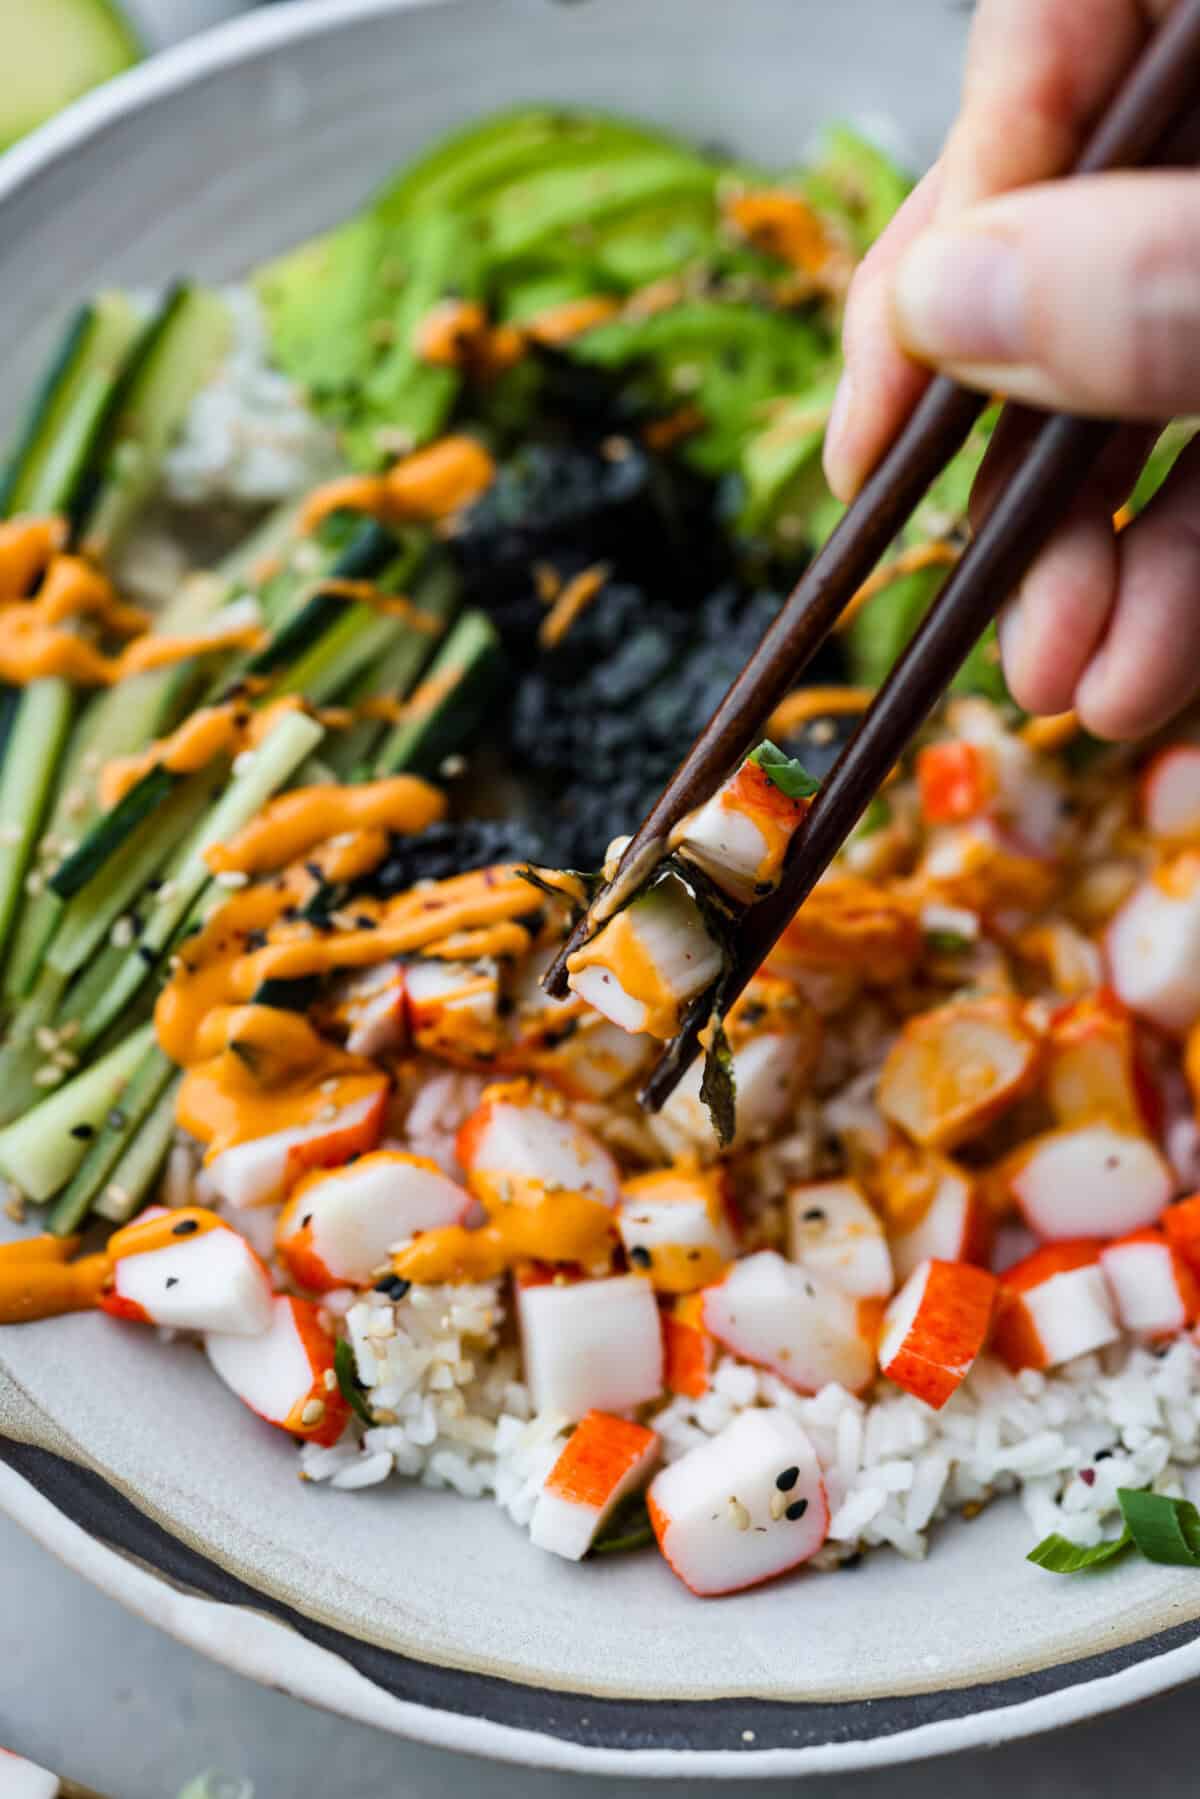
This sushi bowl is a deconstructed California sushi roll loaded with irresistible flavor and all of the best sushi ingredients. It’s layered with sushi rice, crab, cucumber, avocado, a tasty sauce, and more. It’s easy to make and ready to serve in just 20 minutes!
The flavors and textures in this bowl are some of my favorites! If you love them too, try our California rolls, and this sushi bake next!
Reasons to Love This Sushi Bowl
Quick & Easy: This sushi bowl recipe requires less hassle and effort than rolling sushi rolls, but it still delivers amazing flavor!
Versatile: The beauty of this dish is that it’s totally customizable. Want to use something other than crab? Try salmon. Not a fan of roasted seaweed? Leave it out.
Fresh flavor: This is the easiest and tastiest way to satisfy a sushi craving at home! You will love the combination of fresh ingredients paired perfectly with an incredible sauce.
What’s in a Sushi Bowl?
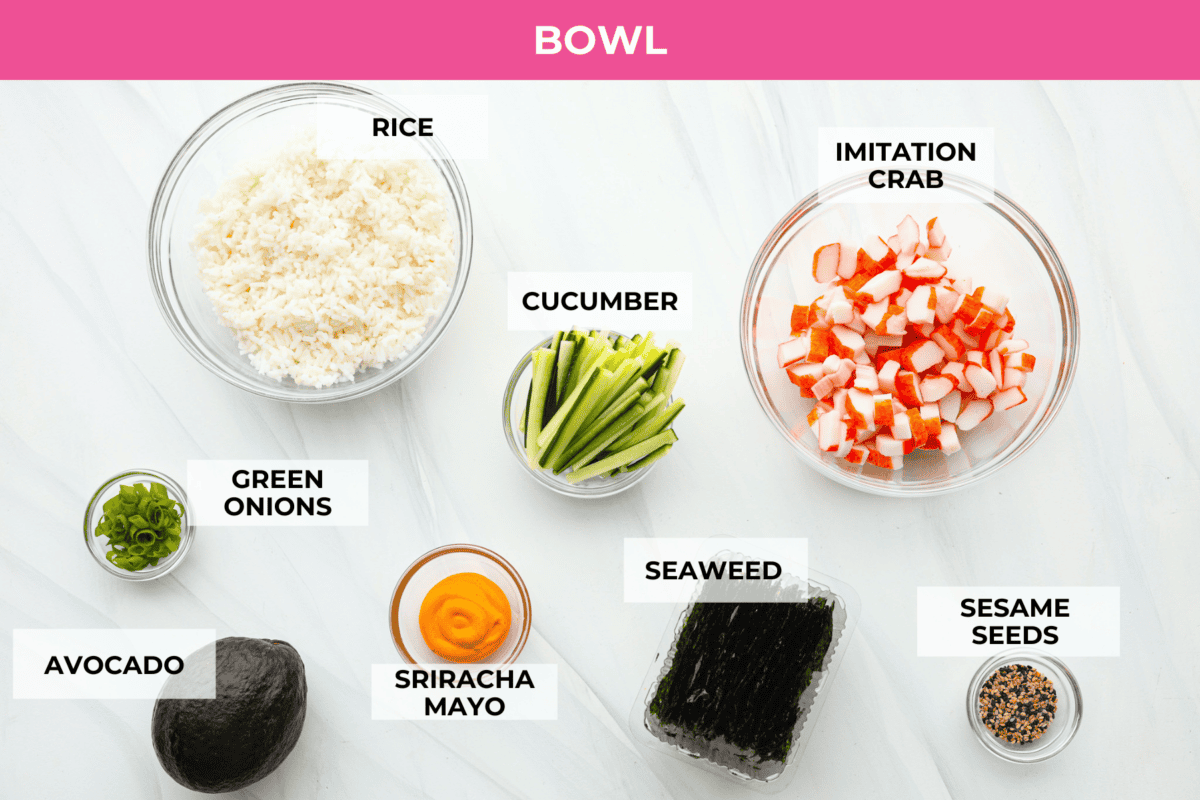
Here’s a list of everything you’ll need for this sushi bowl recipe! First, you can easily mix and match filling ingredients and use your favorite sauce. Moreover, being able to customize it is one of the best things about making it at home. For exact measurements, be sure to scroll to the recipe card below.
Bowl
Sushi Rice: My recipe for sushi rice is perfectly sticky and delicious!
Avocado: Adds a creamy richness to the bowl.
Imitation Crab Meat: Brings a meaty taste and texture to the bowl. You can also use fresh crab if you’d prefer! Or for a shrimp variation, make my Tempura Shrimp!
Cucumber: Adds a refreshing crunch. You can use English cucumber or whatever variety you like. To change things up, you can swap it with (or add in) carrot sticks, sliced radish, or bell pepper.
Roasted Seaweed: Nori sheets or roasted seaweed make this taste just like real sushi.
Toppings
Green Onions: To garnish and add mild onion flavor, plus extra color and texture.
Spicy Mayo: Try my homemade spicy mayonnaise to add creaminess and a kick of heat. Or simply squeeze on some sriracha
Sesame Seeds: Sprinkle some over the top of your finished bowl for texture and presentation.
Sauce
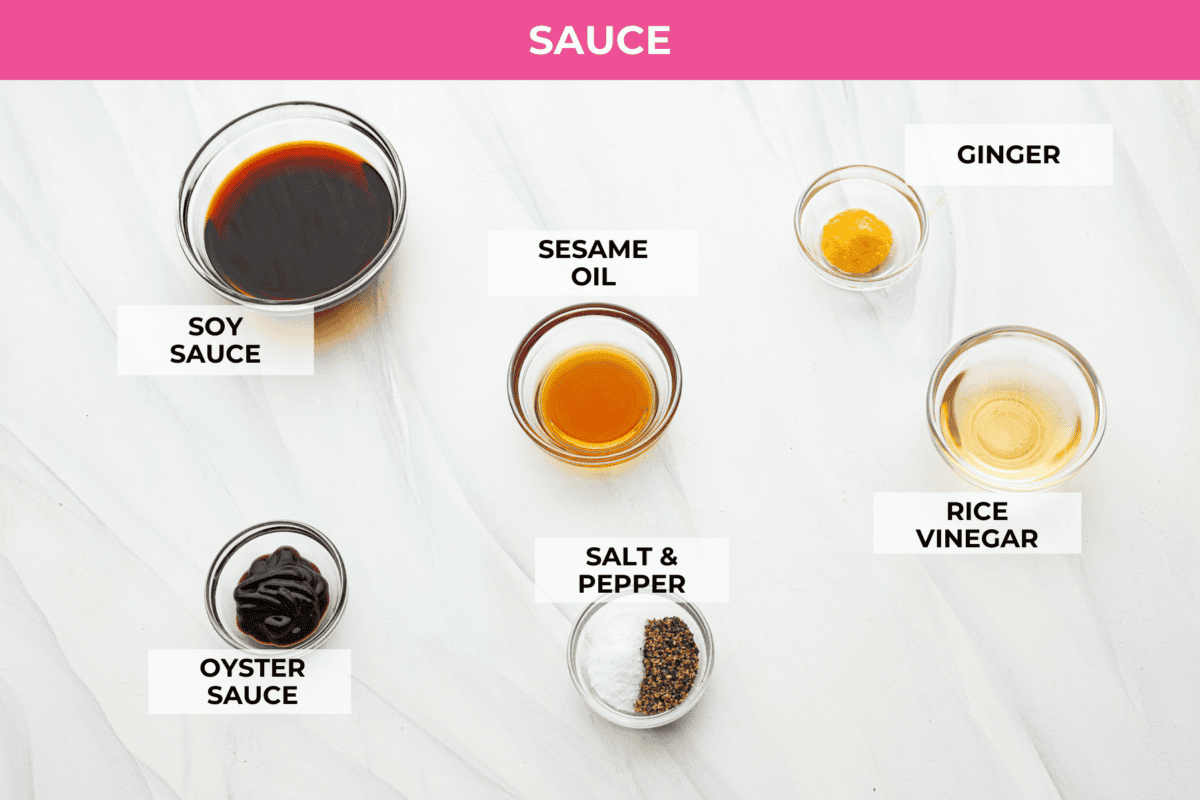
Soy Sauce: Loaded with umami flavor, this will add depth and richness to the sushi bowl sauce.
Oyster Sauce: This adds some brininess with a hint of sweetness but doesn’t taste fishy.
Sesame Oil: For nutty, earthy flavor.
Rice Vinegar: Brightens the flavor with a slight sweetness.
Fresh Ginger: Grated ginger adds a bit of a kick that balances out the other ingredients nicely.
Salt and Pepper: To taste and enhance all of the flavors.
How to Make This Recipe
You’ll love how quickly you can whip up this delicious sushi bowl! In fact, there’s no need to turn on the oven. It’s so refreshing and easy, and the result is irresistible!
Prep and Make the Sauce: Prepare all the ingredients for the bowls and set them aside. Then, in a small bowl, whisk together the soy sauce, oyster sauce, sesame oil, rice vinegar, ginger, salt, and pepper.
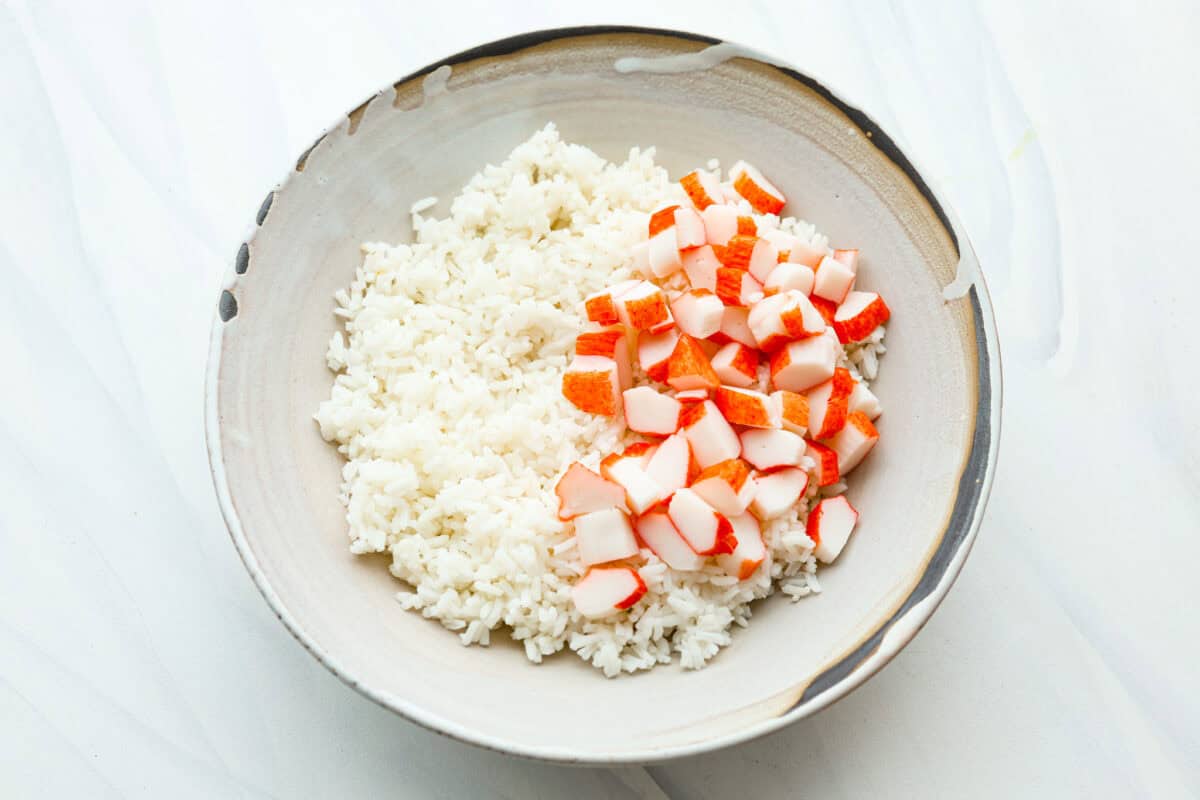
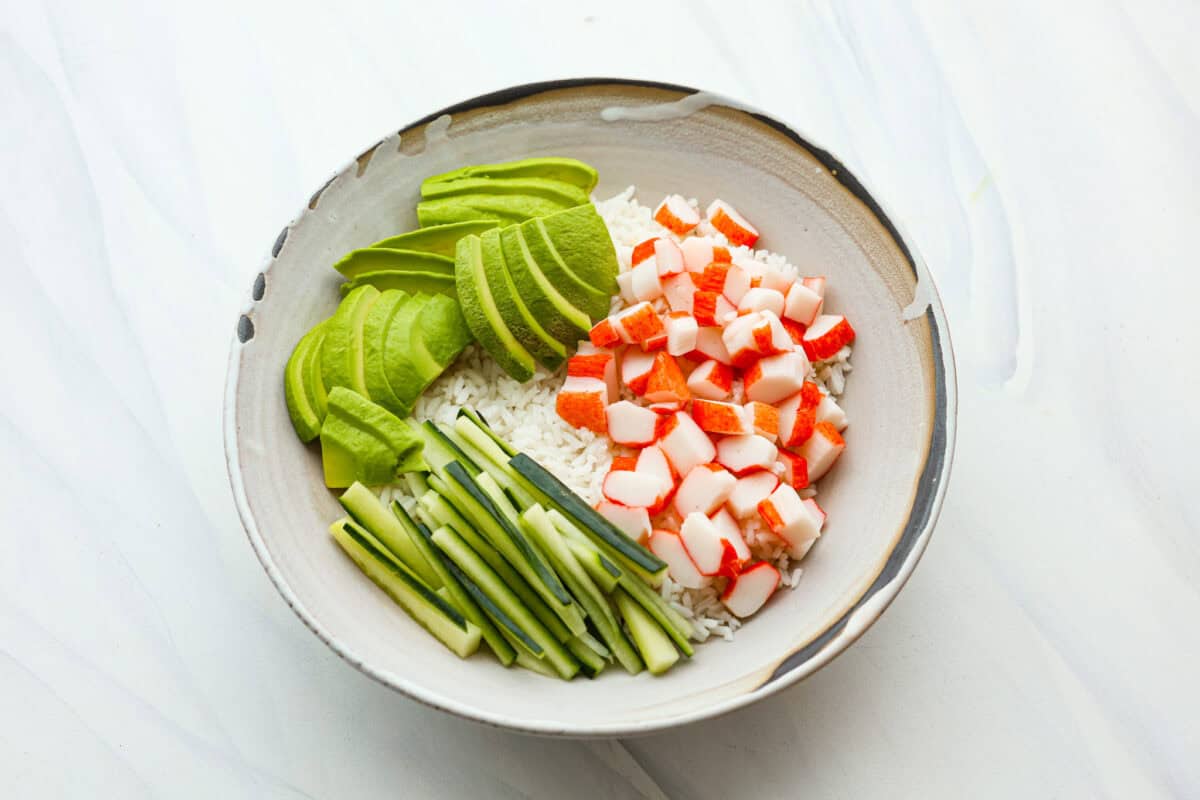
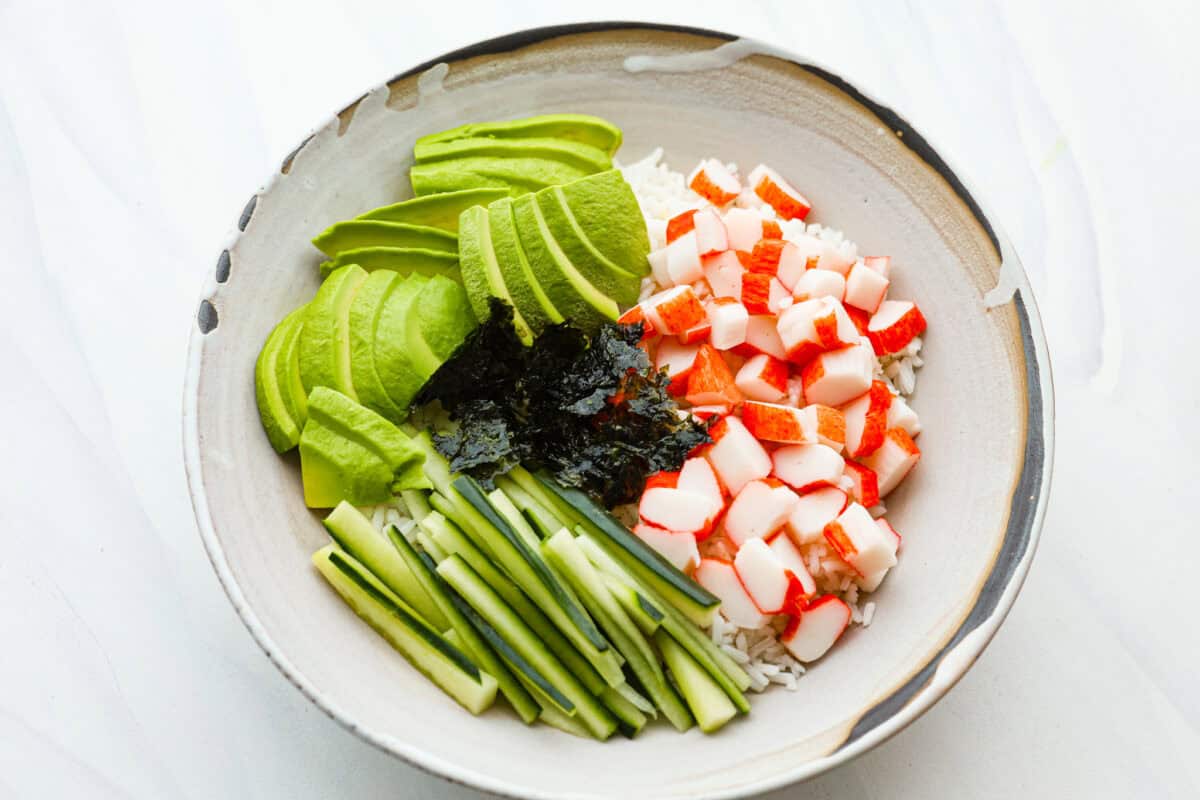
Assemble Bowls: Get two bowls and fill them with ½ cup rice each. Then, add half of the avocado you prepared to each bowl. Then, add ½ cup imitation crab and ¼ cup cucumber to each bowl. Finally, top each bowl with half of the seaweed.
Add Garnish and Mayo: Drizzle half of the sauce over each bowl, then top them with green onions, spicy mayo, and sesame seeds.
Serve: Enjoy fresh!
Add sushi and crab to a bowl.Nest, add avocado and cucumber.Add the seaweed.Drizzle on the sauce and toppings.
Sushi Bowl Suggestions
You can easily customize these California roll bowls based on the ingredients that you like best! Here are some suggestions:
Choose Your Toppings: You can leave off any of the toppings or add more to your liking! I like edamame, fresh lime, pickled carrots, and pickled ginger.
Change the Protein: Other great proteins for a sushi bowl include salmon, tuna, shrimp, and steak. However, if you plan to eat the fish raw, make sure you get sashimi-grade quality.
If you’re a fan of tuna, try this poke bowl next!
Swap the Rice: You can use short grain, calrose rice, or brown rice instead of white sushi rice.
Serving Size: This recipe makes 2 bowls. Feel free to double the recipe if you’re serving a family or more than 2 people.
Storing Leftover Sushi Bowls
I’m not sure if you will have any leftovers to store, but if you do, follow the instructions below.
Refrigerate: I recommend enjoying your sushi bowl fresh, but leftovers can be stored in the fridge in an airtight container for up to 3 days.
Separate: I like to store the individual ingredients separately to keep things from becoming soggy. This way, each component stays fresh and maintains its texture.
Assembly after storing: Additionally, separating the ingredients makes it easier to assemble the sushi bowl when you’re ready to eat, ensuring that every bite is as delicious as the first. Furthermore, this method allows you to customize each serving to your preference, adding or omitting ingredients as desired.
More Asian-Inspired Recipes
Asian dishes are some of my favorites. They have so many delicious flavors and are savory, sweet, and umami all at the same time. They’re also easy to make at home. If you liked this sushi bowl, here are a few of my favorite recipes that I know you’ll love!
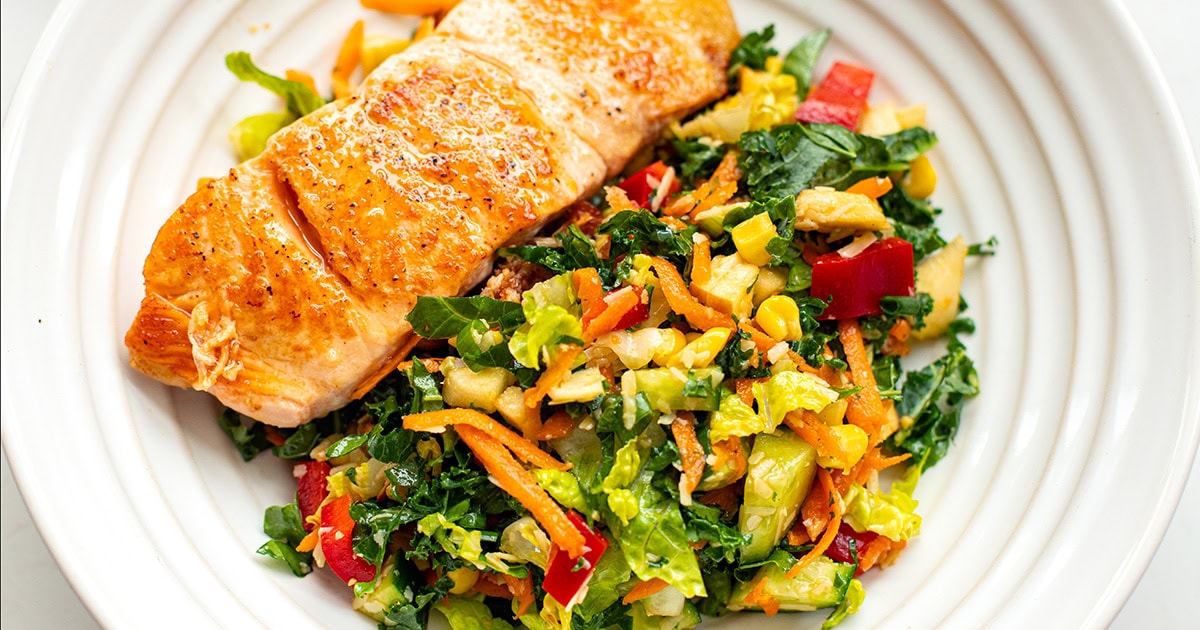
Grilled maple salmon salad with kale, corn, apple, and Parmesan. A high-protein, healthy dinner or lunch idea, ready in 30 minutes. It’s sweet, savory, and packed with crunch.
Jump to: ℹ️ Overview | 🛒 Ingredients | 📷 How To Make | 👩🍳 Recipe Tips | 🥗 Serving Suggestions | 📝 Full Recipe Card | 🍽 More Salmon Recipes And More Kale Recipes
This is a grilled maple salmon salad bowl I make on a regular basis because it’s equal parts yummy and good for you.
The salmon is simply pan-seared with a little maple syrup and lemon right at the end, so it gets this beautiful sweet-savory glaze that works so well with the rest of the bowl.
The salad itself is a crunchy, colorful mix of kale, lettuce, red peppers, cucumber, sweet corn, apple, and Parmesan. There’s a real balance of flavors here: creamy, tangy, sweet, salty, and a little umami from the cheese.
The first time I made this, it was one of those “what do I have in the fridge?” situations. I had a couple salmon fillets and a whole bunch of half-used produce: kale, corn, some crunchy lettuce, and half an apple. I tossed it all together, whipped up a quick dressing, and honestly… it was kind of magic. I loved the combo so much, I made it again a few days later—this time with grilled chicken—and it totally held up.
This is one of those meals that hits that sweet spot between being really satisfying but not too heavy thanks to the fiber-rich kale and veggies, plus the lean protein in salmon. It’s naturally gluten-free and high in both protein and fiber, which helps support gut health and keep blood sugar levels steady.
Nutrition (per serving): ~525 calories, 39 g protein and 6 g fiber.
👩🍳 This recipe is part of my high-protein and fibre meals, you might also like these: Mediterranean fish with white bean purée, spicy tuna salad bites, chicken shawarma with baked rice, smashed chicken tacos, or Italian chopped salad with ham. Check out more salmon dinner ideas here.
What You’ll Need
Here is what you’ll need for this grilled salmon salad with kale, corn & Parmesan recipe. Find the full measurements in the recipe card below.
Salmon fillets – I used salmon fillets with skin off. Great source of protein and omega-3s. Plus, live oil spray for cooking, salt and pepper for seasoning and maple syrup and lemon juice for that glossy, tangy sweet glaze finish.
For the Salad
Kale & lettuce – fiber-packed and crisp, the base of the salad. Swap kale for baby spinach or rocket if preferred.
Red pepper, cucumber, carrot, green onions – crunchy, colorful veg.
Apple – for a little sweet crunch that pairs surprisingly well with Parmesan.
Corn – adds sweetness and heartiness. I use frozen corn which I defrost in boiling water for a couple of minutes.
Freshly grated Parmesan – salty, umami, a must! Use feta instead of Parmesan for a tangier vibe. For dairy-free: skip the cheese or use a vegan option.
Add cooked quinoa or chickpeas to bulk it up.
For the Dressing:
Lemon juice, maple syrup – bright and balanced.
Dijon mustard & balsamic vinegar – tangy depth.
Olive oil – richness and body.
Salt, garlic powder, black pepper – classic seasoning blend.
How To Make Grilled Salmon Salad with Kale, Corn & Parmesan
Find the full recipe and nutritional information below. Here are some handy step-by-step photos for grilled salmon salad with kale, corn & Parmesan.
Prep the veggies: Massage kale, chop lettuce, dice all the veg and apple, grate the cheese.
Make the dressing: Whisk all dressing ingredients in a big salad bowl.
Toss the salad: Add veggies, corn, and Parmesan. Mix well.
Cook the salmon: Heat a non-stick pan or a skillet, spray with olive oil, season salmon with salt and pepper. Cook 3–4 minutes on one side, then flip for 2 minutes.
Glaze the salmon: Drizzle with maple syrup and lemon juice right at the end of cooking.
Assemble: Divide salad between bowls and top with salmon.
Recipe Tips/Variations
Make ahead: The dressing and chopped veggies (except apple) can be prepped a day ahead. Just toss fresh before serving.
Storage: Leftovers keep well in the fridge for up to 2 days, but store the salmon and salad separately for best texture.
Add crunch: Toasted seeds or croutons work great here.
Variations: Add a soft-boiled egg, avocado, or even swap the salmon for grilled chicken or tofu. You can swap veggies and leafy greens depending on what you like.
Serving Suggestions
This is a complete meal on its own, but if you want to stretch it out, serve with a slice of crusty sourdough or some roasted baby potatoes on the side. It’s also great cold the next day – perfect for lunch boxes!
You Might Also Like These Salmon Bowls
💬 If you’ve tried this grilled salmon salad with kale, corn & Parmesan or any other recipe on the blog then don’t forget to rate the recipe and let me know how you got on in the comments below, I love hearing from you! You can also FOLLOW ME on Instagram, Facebook, Pinterest, YouTube, and or sign up to my Newsletter to see more of my delicious food.
Want to Save This Recipe?
Enter your email & I’ll send it to your inbox. Plus, get great new recipes from me every week!
By submitting this form, you consent to receive emails from Cooked & Loved
Grilled maple salmon salad with kale, corn, apple, and Parmesan. A high-protein, healthy dinner or lunch idea, ready in 30 minutes. It’s sweet, savory, and packed with crunch. Find step-by-step photos and more recipe tips above.
Prepare the salad: Massage kale with a bit of olive oil or lemon juice to soften. Dice all other veggies and apple, grate the Parmesan.
Make the dressing: In a large salad bowl, whisk together all dressing ingredients.
Toss salad: Add kale, lettuce, chopped veggies, corn, and Parmesan to the bowl. Toss well to coat.
Cook the salmon: Heat a non-stick frying pan over medium-high heat. Spray with olive oil. Season salmon with salt and pepper. Cook for 3–4 minutes on one side, then flip and cook for another 2 minutes.
Glaze: Right at the end, drizzle each fillet with 1 teaspoon maple syrup and 1 teaspoon lemon juice. Let it sizzle for 30 seconds.
Assemble: Serve the salad in bowls and top with the warm maple-glazed salmon.
Can I use frozen salmon? Yes! Just make sure it’s fully thawed and patted dry before cooking.
What’s a good sub for kale? Spinach or rocket (arugula) work well – just skip the massaging step.
Is this good cold? Absolutely. It’s delicious as a cold salmon salad bowl for lunch the next day.
Can I bake the salmon instead? Totally. Bake at 400°F (200°C) for about 10–12 minutes, then glaze in the last 2 minutes.
Make ahead: The dressing and chopped veggies (except apple) can be prepped a day ahead. Just toss fresh before serving.
Storage: Leftovers keep well in the fridge for up to 2 days, but store the salmon and salad separately for best texture.
Add crunch: Toasted seeds or croutons work great here.
Variations: Add a soft-boiled egg, avocado, or even swap the salmon for grilled chicken or tofu. You can swap veggies and leafy greens depending on what you like.
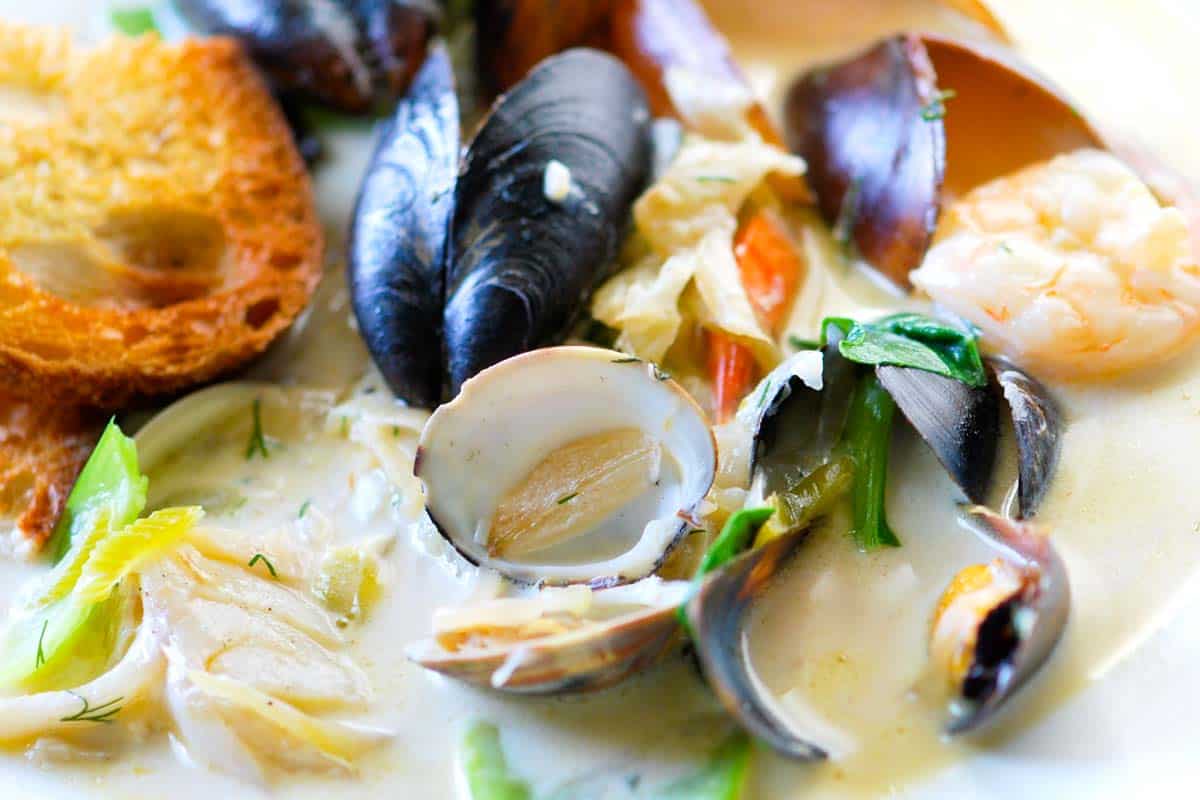
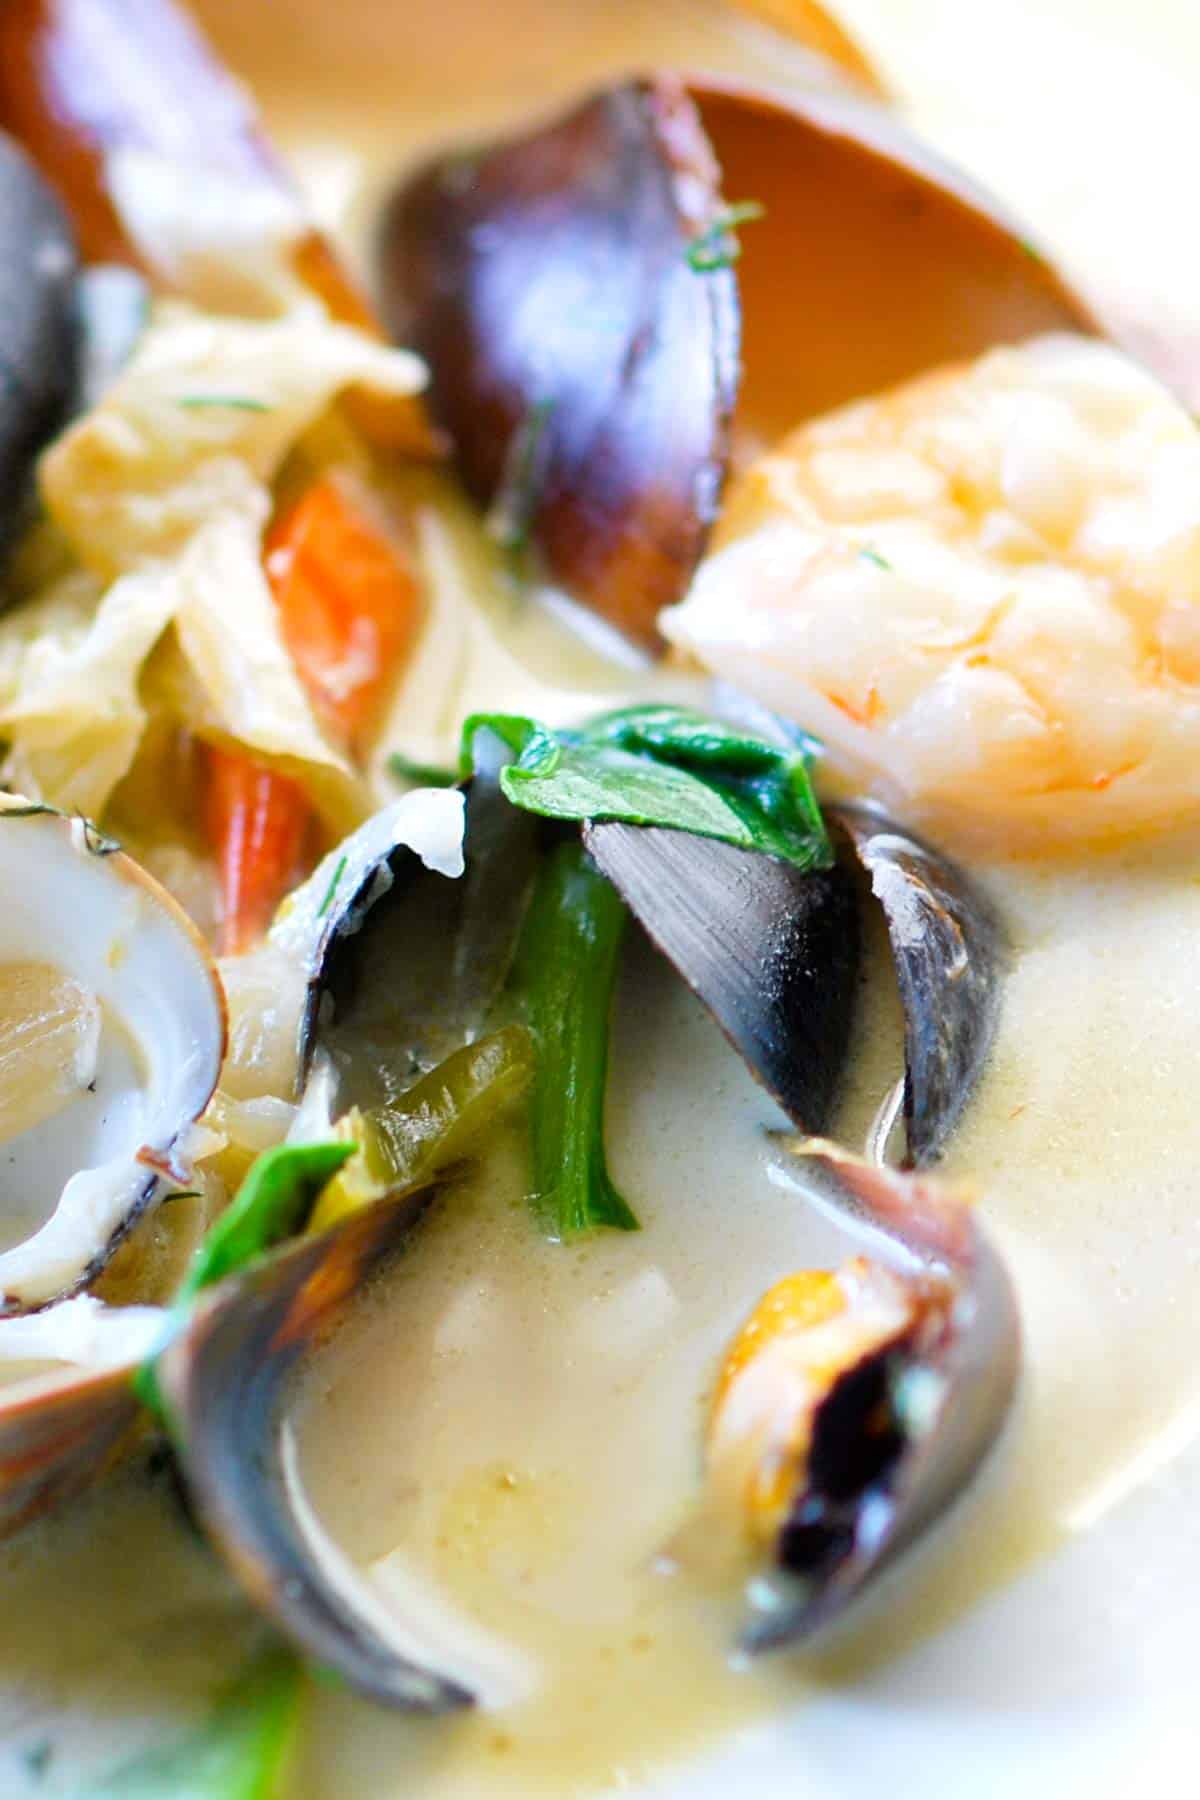
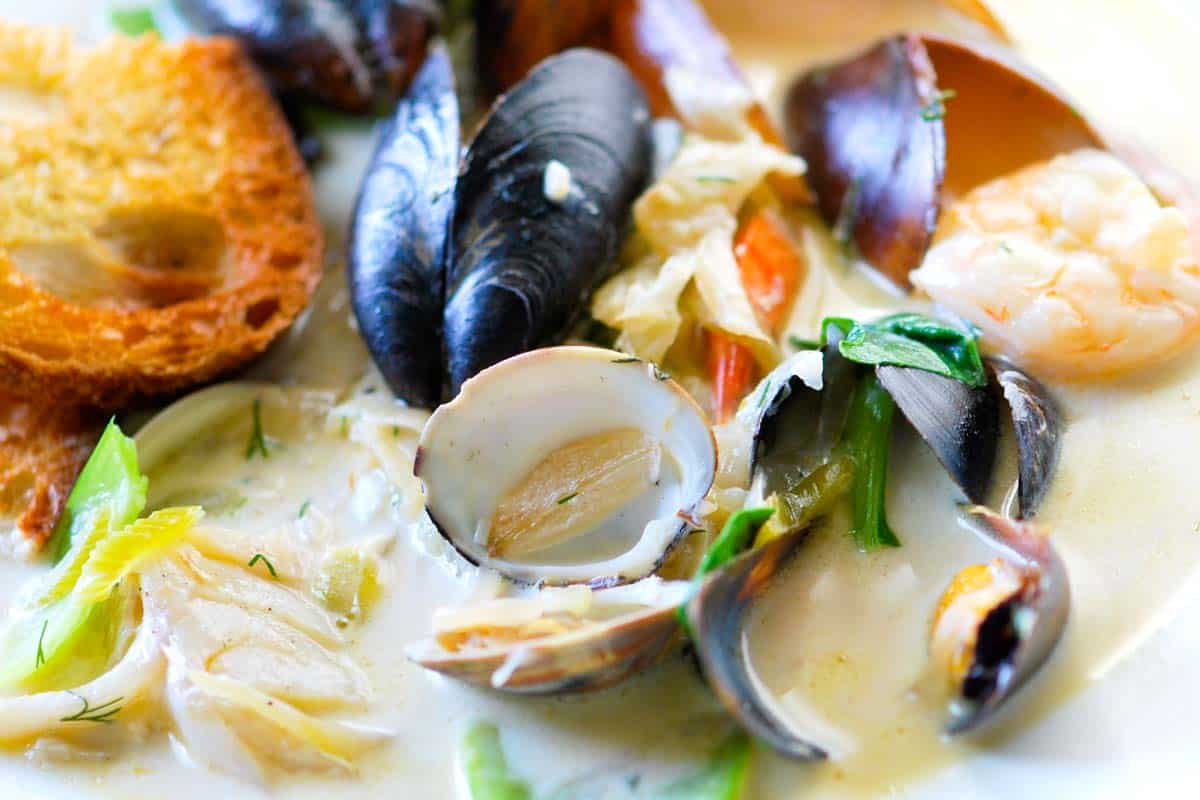
This seafood stew recipe is inspired by French bouillabaisse and has the a delicious light white wine and fennel broth.
If you are a seafood lover, there’s something special about a bowl of seafood stew with perfectly cooked seafood. Our version has no tomatoes and calls on white wine, garlic, and fennel. The broth is similar to our steamed mussels but calls on homemade seafood stock (it’s easy).
When serving this stew, you’ll want a few slices of crusty bread to go alongside so you can soak up all the delicious broth. Homemade focaccia bread would be amazing, too!
Key Ingredients
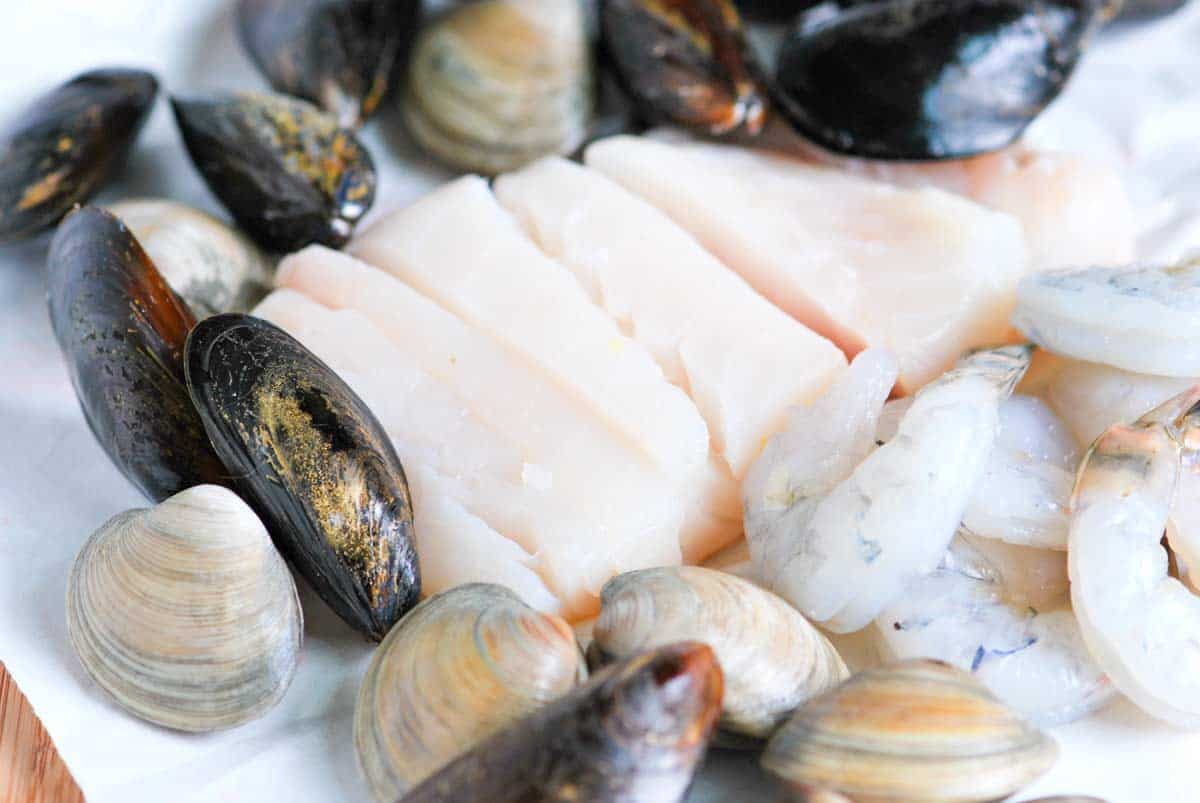
Fish: For this stew, I always choose flaky white fish like cod or halibut. They cook beautifully in the broth and add a delicate flavor.
Shellfish: I love a combination of shrimp, mussels, and clams. I leave the tails on the shrimp and scrub the mussels and clams before cooking them. If they have not already been removed, you will also need to remove the beards from the mussels (see more about that in our steamed mussels recipe).
Aromatics: My go-to aromatics are shallot, fennel, celery, and garlic. This classic combination creates a really delicious base. These are almost identical to my aromatics for poached salmon!
Seafood Stock: While you can certainly buy seafood stock, I prefer making my own. It’s surprisingly easy, and the flavor is unbeatable! You’ll find the instructions below in our recipe. The base is fish bones and the shells from our shrimp. Fish bones are inexpensive and readily available at most seafood counters.
White Wine: I use white wine when making my homemade seafood stock. If you use store-bought stock, check the tips section to see when to add a splash of white wine to the stew. Use a dry white wine like Pinot Grigio, Sauvignon Blanc, or unoaked chardonnay.
Spinach or Kale: Just before serving, I like to stir in some baby spinach or kale. They wilt quickly in the hot broth and add some nice color.
Cream: Though optional, a splash of cream at the end adds richness and mellows out the flavors of the broth. I love it!
Find the full recipe with measurements below.
How to Make Seafood Stew
Tip 1: Make homemade fish stock (it’s easy). Store-bought stock works, but if you want extra flavor, making fish stock is simple and takes about 45 minutes. Ask your seafood counter for fish bones (they usually have them).
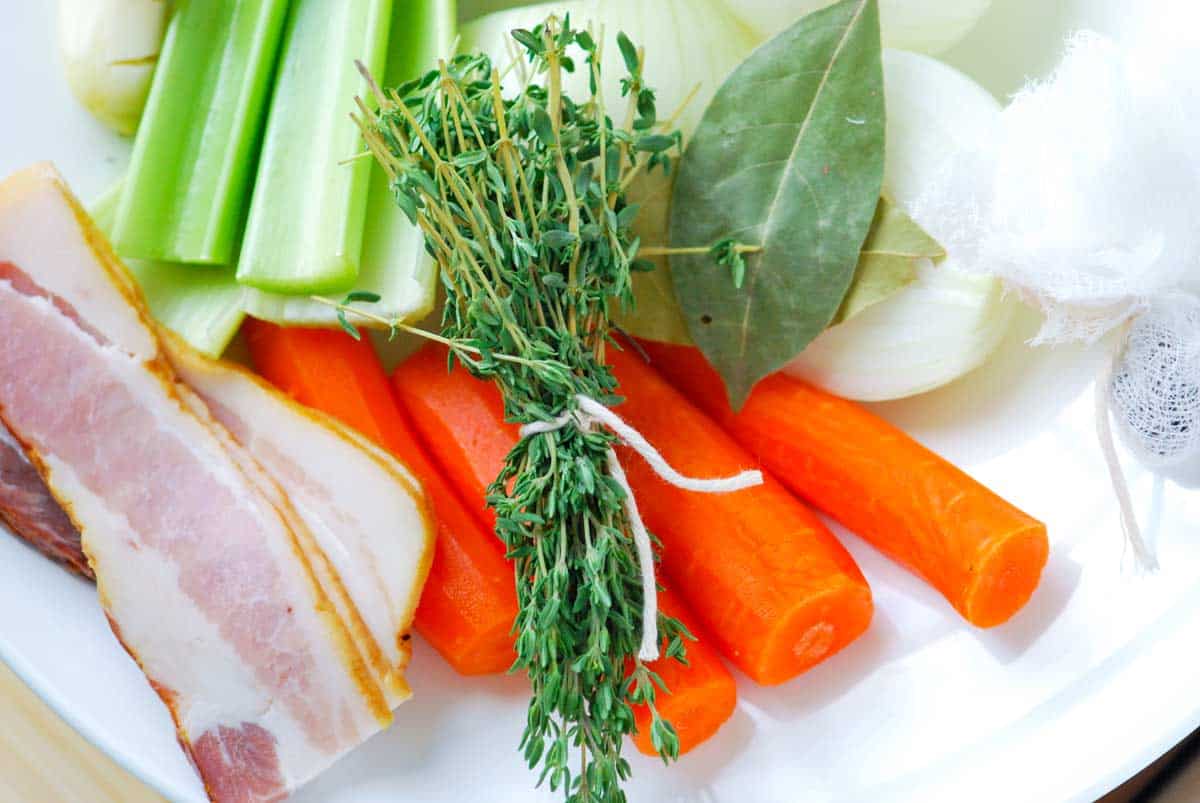
I cook a little bacon in my pot first, then use the rendered fat to sauté shallot, carrots, and celery until soft. Add the fish bones, any shrimp shells from prepping your shrimp, and a few herbs. Cover with water, simmer for about 30 minutes, then strain. Use this stock as the base of your stew. (Snack on the bacon while you cook.)
Tip 2: Build the stew in layers. Start by softening the aromatics: shallot, fennel, celery, and garlic. Stir in the wine and your seafood stock, and bring to a simmer. Add the clams first since they take the longest to open. Then add the shrimp and mussels, and finally the fish, which cooks quickly. Finish by adding greens and swirling in a bit of cream to make the broth luxurious and silky.
More Easy Seafood Recipes
White Wine Seafood Stew
PREP
COOK
TOTAL
We love this simple, light fennel-infused stew with fish and shellfish. If you have the time, make your seafood stock. It’s much quicker than chicken stock and makes this stew extra special. Our homemade fish stock below makes about 10 cups. You will need 4 cups for the stew. The stock can be made in advance and refrigerated for up to 2 days or frozen for several months.
4 to 6 Servings
You Will Need
For the Stew
3 tablespoons butter
1 large shallot, thinly sliced
1 fennel bulb, thinly sliced
2 ribs celery, thinly sliced
1 garlic clove, thinly sliced
1 pound small clams, cleaned
1/2 pound large shrimp, shelled, use the shells for seafood stock
1 pound mussels, cleaned
1 pound flaky white fish like cod or halibut, cut into 4 portions
1 cup dry white wine
4 cups seafood stock, try homemade (recipe below)
1 pound baby spinach or kale
1/4 cup heavy cream
Salt and fresh ground black pepper
Baguette, sliced and toasted for serving
Lemon wedges for serving
Homemade Seafood Stock (Optional)
2 pounds white fish bones
Shells from 1/2 pound of shrimp
2 slices thick-cut bacon
2 large shallots, chopped
2 medium carrots, chopped
2 ribs celery, chopped
2 crushed garlic cloves
4 sprigs fresh thyme
2 bay leaves
10 black peppercorns
Directions
Make Seafood Stock (Optional)
1In a large soup pot or Dutch oven, cook the bacon over medium heat until the fat renders and the bacon is crisp. Transfer the bacon to a plate, but leave the fat. (You can use bacon in another recipe or as a cook’s snack.)
2Add the chopped onion, carrots, and celery to the bacon fat. Cook, stirring often, until the onions soften, 3 to 5 minutes. Stir in the garlic and cook for 1 minute. Add the wine and cook for 5 minutes, then add the fish bones, shrimp shells, thyme, bay leaves, peppercorns, and 10 cups of water.
3Bring to a simmer. Cook at a low simmer for 30 minutes, removing any scum that rises to the top. Strain, then use immediately or refrigerate in a tightly covered container for up to 2 days or in the freezer for 3 months.
Make Stew
1Melt the butter in a wide pot or Dutch oven over medium heat. Add the onion, fennel, and celery. Add a pinch of salt and cook, stirring often, until softened and sweet, 3 to 5 minutes. Add the garlic and cook for 1 minute, then add the wine and cook for 5 minutes.
2Pour in 4 cups of seafood stock and bring to a simmer. Add the clams, cover, and cook for 3 minutes.
3Meanwhile, season the shrimp and fish with salt and pepper.
4Add the shrimp and mussels. Arrange the fish on top of the stew and scatter the greens around the pot. Cover and simmer until the shellfish opens and the fish and shrimp are firm and opaque, about 5 minutes more.
5Remove the pot from the heat, and then stir in the cream. Taste for seasoning and adjust with more salt and pepper. Serve divided between bowls with bread for dipping and lemon wedges on the side.
Adam and Joanne’s Tips
Stock: Our homemade stock takes 45 minutes and uses the shells from peeling the shrimp and fish bones. I buy fish bones at the seafood counter (they are inexpensive). You can substitute store-bought stock or light chicken broth.
The nutrition facts provided below are estimates.
Nutrition Per Serving Serving Size 1/6 of the recipe / Calories 377 / Total Fat 12g / Saturated Fat 5.7g / Cholesterol 161.9mg / Sodium 1321.3mg / Carbohydrate 13.5g / Dietary Fiber 3.2g / Total Sugars 2.6g / Protein 47.5g
AUTHOR:
Adam Gallagher
We are Adam and Joanne Gallagher, the creators of Inspired Taste. Established in 2009, Inspired Taste grew from a childhood dream into one of the internet’s most trusted recipe sites with hundreds of reliable recipes, step-by-step videos, and expert tips.More About Us
I love this easy Paloma mocktail recipe, made with fresh grapefruit, lime, maple syrup, and sparkling water.
A mocktail is a non-alcoholic drink, usually with a similar flair to popular cocktails. I love a good mocktail and expect it to be as delicious and exciting as a traditional cocktail.
This sparkling mocktail is my go-to non-alcoholic drink to make at home. It’s really easy to make and tastes great. For more mocktail recipes, see our ginger hibiscus mocktail.
Key Ingredients
Grapefruit: I love the fresh taste of freshly squeezed grapefruit juice! One large grapefruit should provide enough juice for 3 refreshing mocktails. As a bonus, adding a grapefruit slice to each glass makes the drink smell amazing.
Lime: This mocktail is inspired by the classic Paloma, which always features fresh lime juice. We’ll follow suit and add a squeeze of lime to this mocktail.
Maple Syrup: For sweetness, I prefer using maple syrup. It adds a lovely, toasty flavor that complements the other ingredients. If you don’t have maple syrup, use homemade simple syrup instead.
Green Tea (Optional): This sounds unusual, but trust me, chilled green tea adds a subtle depth to the mocktail. It provides a bit of backbone, similar to tequila in a traditional Paloma.
Sparkling Water: I usually opt for plain sparkling water or club soda (which has a touch of salt). Feel free to use your favorite type of sparkling water to create your perfect mocktail.
Find the full recipe with measurements below.
How to Make a the Best Paloma Mocktail
Tip 1: Making for one. This really could not be any easier to make. All you need to do is combine fresh grapefruit juice, lime juice, maple syrup, and chilled green tea if you have it. Next, add some ice and top the drink off with sparkling water.
Tip 2: Making for a crowd. You can mix grapefruit, lime, maple syrup, and green tea in advance, making this a quick and easy non-alcoholic drink for parties. Keep the mixture in the fridge for up to 3 days. When you are ready to serve, add the mix to glasses filled with ice and top with sparkling water.
Grapefruit Paloma Mocktail
I love this Paloma mocktail, made with grapefruit, lime, maple syrup, and sparkling water! Think of it as a non-alcoholic version of the Paloma cocktail. It’s refreshing, pretty, and delicious. The green tea is optional but gives the drink a backbone and makes it taste more like a cocktail.
Serves 1
You Will Need
1 ounce (2 tbsp) strong green tea, chilled, optional, see tips
2 ounces (1/4 cup) freshly squeezed grapefruit juice
1 ounce (2 tbsp) fresh lime juice
1/2 ounce (1 tbsp) maple syrup, or more to taste
Sparkling water
Directions
1Combine one ounce of green tea, grapefruit juice, lime juice, and maple syrup in the bottom of an 8-ounce (or larger) glass. Taste and add more maple syrup if the drink needs it.
2Add ice cubes, and then top with sparkling water. Serve with lime slices or grapefruit slices as a garnish.
Adam and Joanne’s Tips
Green tea: This mocktail is delicious without green tea, but if you have some on hand, strong green tea adds a lovely backbone to the drink in the same way strong liquor would. I brew green tea and allow it to cool to room temperature or store it in the refrigerator for up to a week. For strong green tea, we use two tea bags.
To make a pitcher for 6: Combine 6 ounces (3/4 cup) strong green tea, 12 ounces (1 ½ cups) grapefruit juice, 6 ounces (3/4 cup) fresh lime juice, and 3 ounces (6 tbsp) of maple syrup. Chill, and then divide into glasses and top with sparkling water when serving.
The nutrition facts provided below are estimates. We included 1/2 ounce of maple syrup.
Nutrition Per Serving Serving Size 1 Mocktail / Calories 55 / Total Fat 0.1g / Saturated Fat 0g / Cholesterol 0mg / Sodium 2.3g / Carbohydrate 14.3g / Dietary Fiber 0.1g / Total Sugars 6.5g / Protein 0.4g
AUTHOR:
Joanne Gallagher
Previous Post: Greek Pasta Salad Next Post: Easy Egg Salad
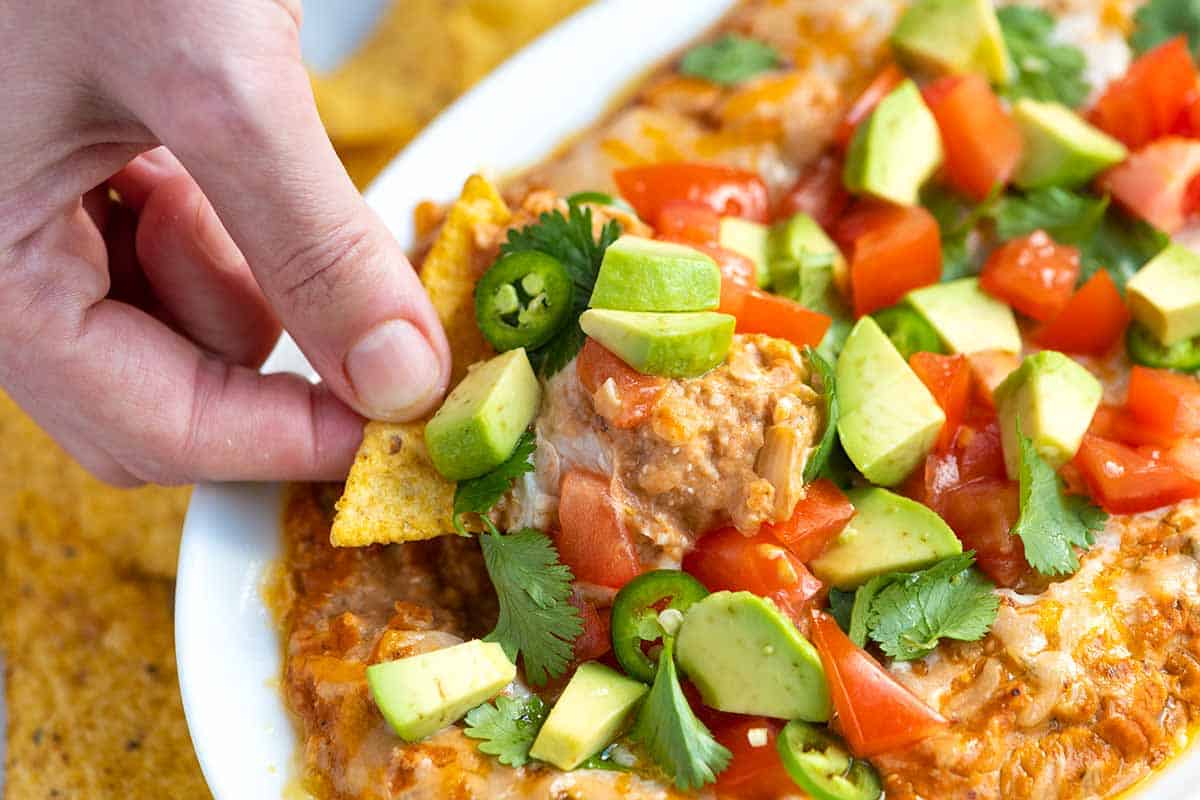
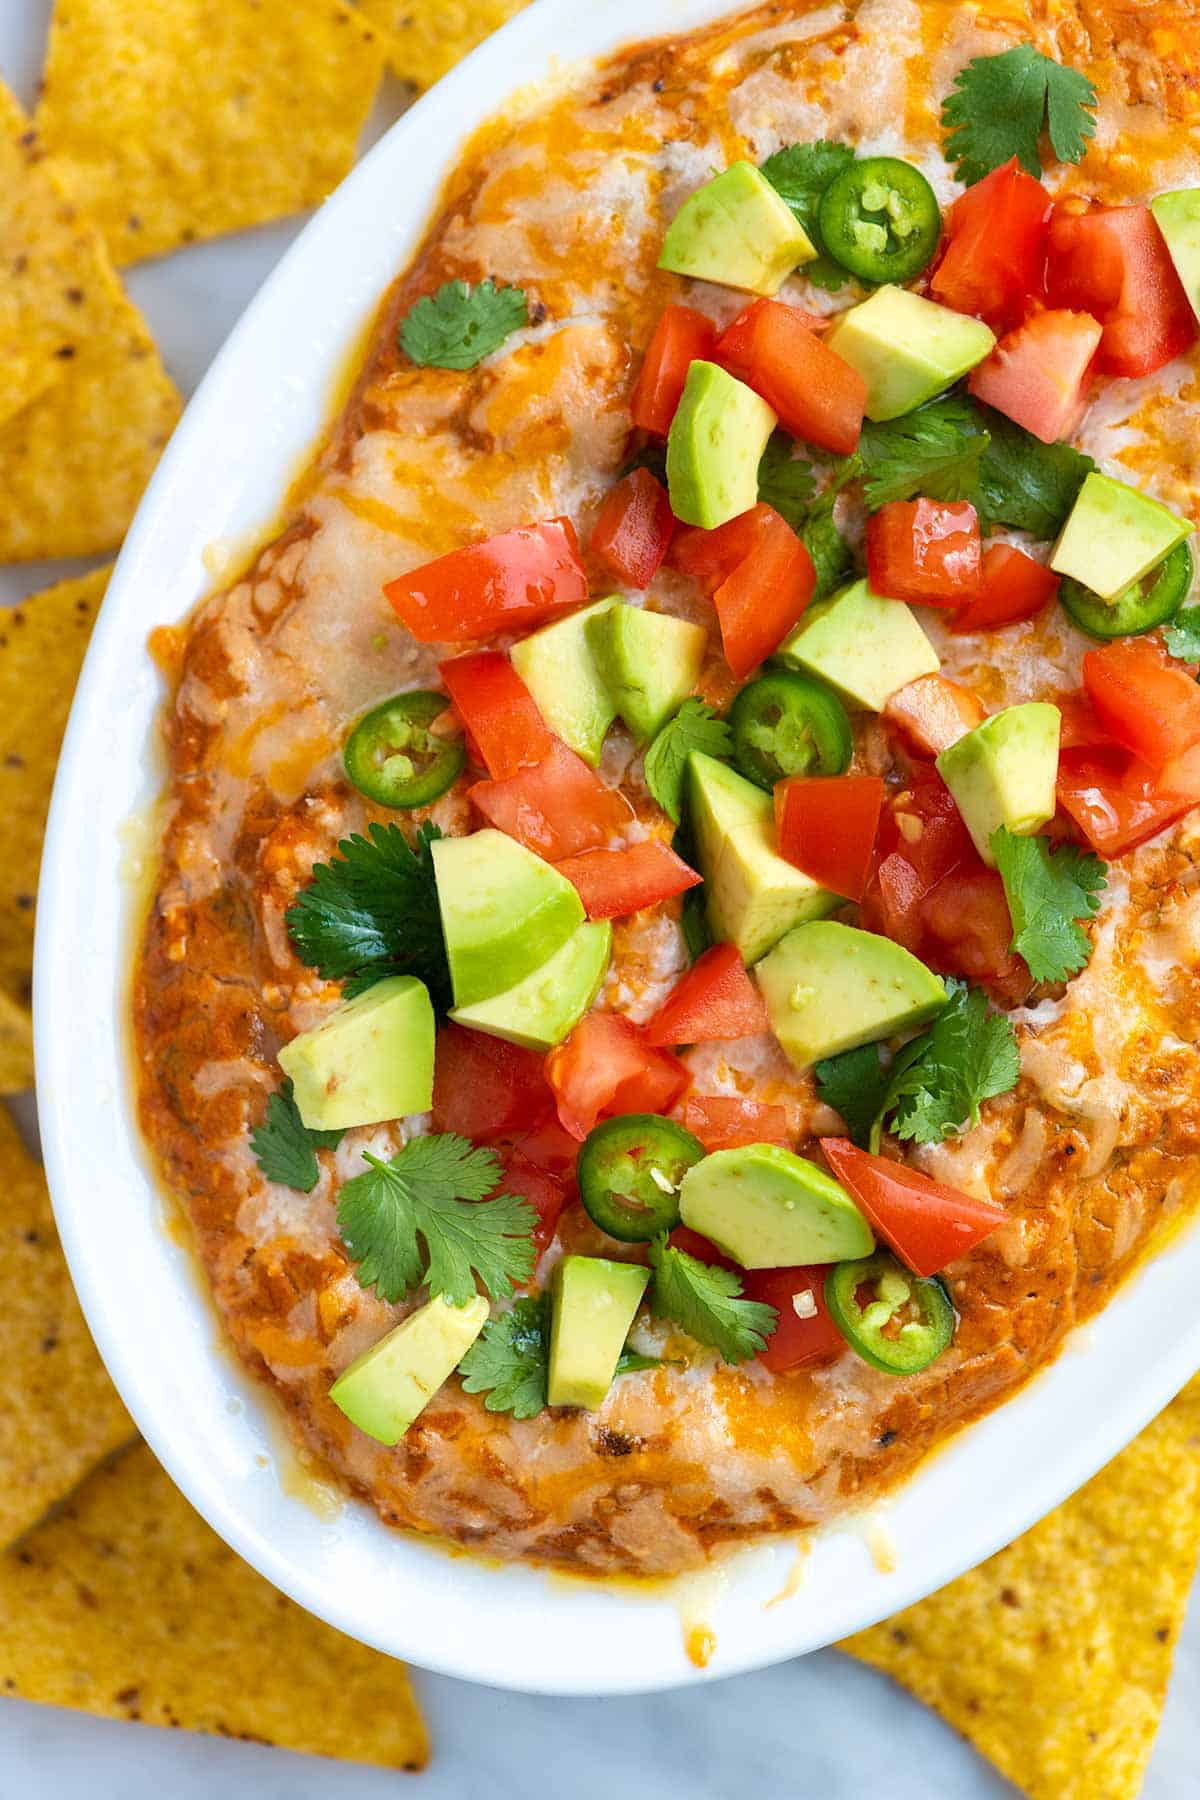
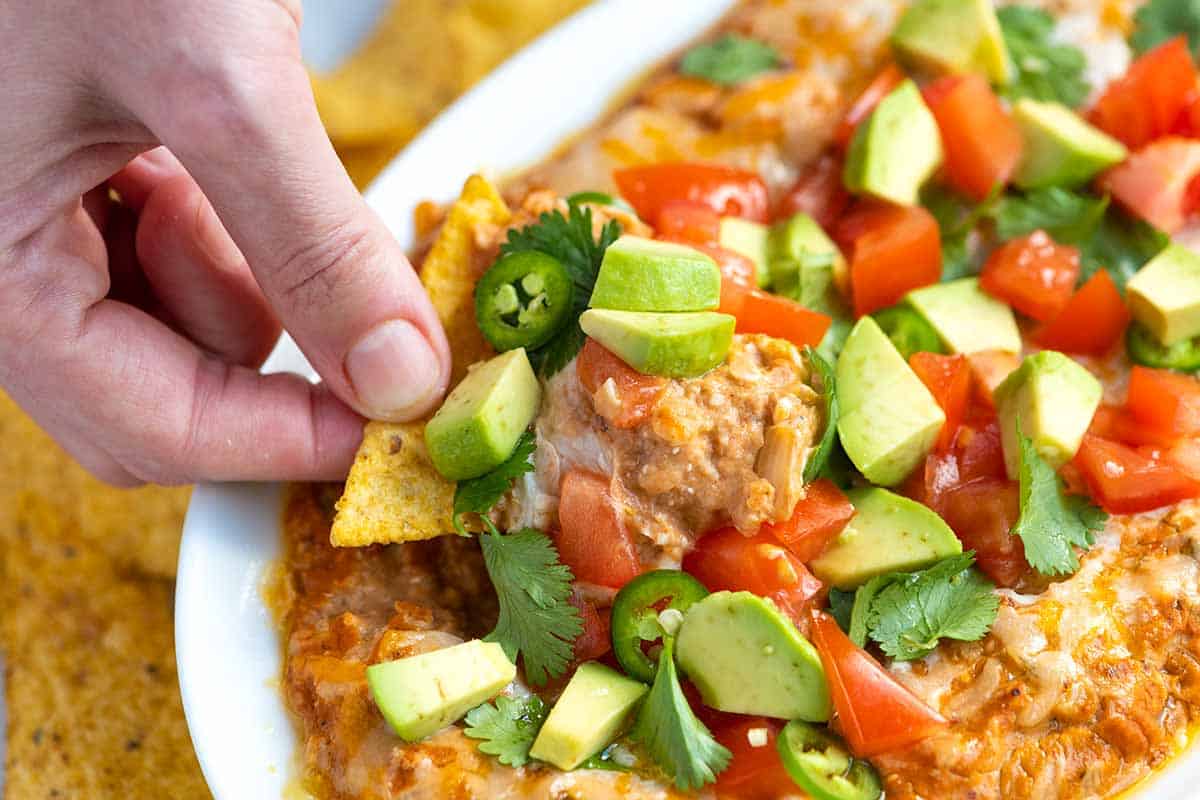
Our bean dip recipe combines refried beans, sour cream, the perfect blend of spices, and melty shredded cheese. It’s hot, bubbly, cheesy, and really delicious!
Serve this easy bean dip with tortilla chips, toasted bread, or veggies! It’s basically my new go-to party appetizer (well, this and our infamous onion dip). It’s excellent with homemade refried beans, but you can absolutely use canned for ease.
This is perfect with chips, especially homemade tortilla chips. It never lasts long.
Key Ingredients
Refried Beans: Canned works perfectly fine, but I love making our refried beans from scratch when I have the time.
Onion, Garlic, and Spices: You’ll cook these in a bit of oil before adding our spices. We combine chili powder (I love ancho chili powder or homemade chili powder), cumin, smoked paprika, and coriander.
Salsa: Use your favorite store-bought salsa or make your own. I love this roasted tomato salsa or this quicker restaurant-style salsa.
Green Chiles: I use canned green chiles in quite a few of our recipes and love them! They are sold in small (4-ounce) cans near salsas and hot sauce. When buying them, look for either “mild” or “hot” on the can and choose whichever you prefer based on how spicy you want the dip. Other recipes where I use them include homemade queso, this white chicken chili, and our weeknight taco soup.
Cream Cheese and Sour Cream: These make our dip extra creamy. I love full-fat versions of each for the best flavor. To make this dip vegan, you can substitute your favorite dairy-free versions.
Melty Cheese: This dip has two layers of melted cheese (on top and in the middle), so when you dig in with a tortilla chip, you are guaranteed to get some cheese. Use something that melts well, like cheddar, Monterey Jack, or my favorite, Oaxaca melting cheese, which I buy in a local Mexican grocery store.
Find the full recipe with measurements below.
How to Make Our Cheesy Bean Dip
Tip 1: Cook the onions with spices. You want your onions to turn soft and sweet, so cook them in a bit of oil wth the garlic. When they smell sweet, stir in the dried spices and let them toast in the pan to really bring out their flavor.
Tip 2: Bring everything together. Once your onions are ready, you’ll stir them with the other dip ingredients (refried beans, salsa, chilies, cream cheese, and sour cream). It doesn’t look like much, but wow, does it turn out delicious.
Tip 3: Add two layers of cheese. Instead of adding all the shredded cheese to the top of your dip. Spread about half of the bean dip mixture into a baking dish, then cover with cheese, add the remaining dip mixture, and top with more cheese. Layering the cheese like this guarantees a cheesy dip every time you go in for more.
Tip 4: Bake until hot. You are looking at about 25 minutes in the oven. Then you want to serve it hot. If you aren’t quite ready to bake, cover the dip and refrigerate until you are. It can sit in the fridge up to 3 days, and then be baked for serving.
Tip 5: Add some toppings. The dip is lovely as is, but you can make it even better by adding a sprinkle of your favorite fresh toppings like diced avocado, chopped tomatoes, onions, or cilantro.
More Favorite Party Appetizers
Cheesy Bean Dip
PREP
COOK
TOTAL
Perfect for parties, watching the game, and family gatherings, this easy bean dip comes together in no time. Start with canned refried beans, or use homemade refried beans to make it. I love serving this with homemade tortilla chips!
12 Servings (4 cups)
Watch Us Make the Recipe
You Will Need
1 (15-ounce) can of refried beans or 1 ¾ cups homemade refried beans
1 tablespoon avocado oil or olive oil
¾ cup finely chopped onion, half a medium onion
1 tablespoon minced garlic, 3 cloves
¾ teaspoon ancho chili powder or homemade chili powder
¾ teaspoon ground cumin
½ teaspoon smoked paprika
½ teaspoon ground coriander
½ cup mild or medium salsa, like homemade roasted tomato salsa
1 (4-ounce) can of diced green chilies
½ cup cream cheese (113g or 4oz)
½ cup sour cream (113g or 4oz)
¾ cup shredded cheese like cheddar, Monterey Jack, or Oaxaca cheese (85g or 3oz)
Salt and fresh ground black pepper
Pinch cayenne or hot sauce, optional for spicy dip
Optional toppings: lime juice, diced avocado, guacamole, chopped tomatoes, sliced jalapeño, fresh cilantro, extra hot sauce
Directions
1Prep: Preheat the oven to 350°F (180°C). Set aside a small (1 to 1 ½ quart) baking dish or 8-inch cast iron skillet.
2Cook the onions and garlic: Heat 1 tablespoon of oil in a small skillet over medium heat. Add the onions and garlic, then cook, stirring occasionally, until the onions are soft, translucent, and smell sweet, about 5 minutes. Stir in 3/4 teaspoon chili powder, 3/4 teaspoon cumin, 1/2 teaspoon smoked paprika, and 1/2 teaspoon coriander.
3Prepare the bean dip: In a medium bowl, stir the refried beans, salsa, diced chilies, cream cheese, and sour cream. When they are ready, stir in the cooked spiced onions and garlic.
4Taste the dip, and then adjust with salt and pepper as needed. To make it spicy, add a pinch of cayenne pepper or a few dashes of hot sauce.
5Bake the bean dip: Transfer half of the dip to a small baking dish. Top with half of the shredded cheese. Then, spread the remaining bean dip over the cheese and finish with the rest of the shredded cheese.
6Bake until hot throughout, and the cheese melted, for 20 to 25 minutes. Serve warm with a spritz of fresh lime juice and any optional toppings.
Adam and Joanne’s Tips
Make-ahead: Make the dip as directed in our recipe below, and then add the dip and cheese to a baking dish. Cover the dish, then refrigerate for up to 3 days until you are ready to bake.
Diced green chilies: Small 4 ounce cans are sold at the supermarket. We love the Hatch brand and usually purchase mild.
Vegan adaptations: Use vegan refried beans, vegan sour cream, and vegan cream cheese (a combination of or use just one), as well as vegan shredded cheese or substitute with 4 to 5 tablespoons of nutritional yeast for sprinkling in the middle and on top.
Slow cooker version: Cook the onions, garlic, and spices as directed in the recipe below, and then add them along with the remaining ingredients to your slow cooker. Stir until well combined, then cook on LOW for 2 to 3 hours or until the cheese melts and the dip is heated throughout.
The nutrition facts provided below are estimates.
Nutrition Per Serving Serving Size 1/3 cup / Calories 127 / Total Fat 8.8g / Saturated Fat 4.4g / Cholesterol 22.4g / Sodium 296.8mg / Carbohydrate 7.9g / Dietary Fiber 2.1g / Total Sugars 1.7g / Protein 4.6g
AUTHOR:
Joanne Gallagher
We are Adam and Joanne Gallagher, the creators of Inspired Taste. Established in 2009, Inspired Taste grew from a childhood dream into one of the internet’s most trusted recipe sites with hundreds of reliable recipes, step-by-step videos, and expert tips.More About Us
This chicken sausage soup recipe is a lifesaver on busy nights. It’s hearty, packed with healthy greens, tastes incredible, and is ready in about 30 minutes!
We devour this chicken sausage soup every time we make it. I think I’ve even caught Adam with the ladle and not a regular-size spoon. I’m not judging (I did the same thing when he wasn’t looking).
Store-bought cooked chicken sausage is the trick to this soup. Since the sausage is already cooked, it’s just about getting everything into your soup pot and heating through. In addition to sausage, we add hearty potatoes, making this soup recipe even more satisfying. For another soup like this one, see our sausage potato soup inspired by Zuppa Toscana!
Key Ingredients
Chicken Sausage: I use cooked chicken sausage with something sweet added (like maple syrup or apples), but use your favorite! I love the sweet sausage with the savory base of the soup.
Onion, Garlic, and Potatoes: Onion and garlic make our base, and potatoes turn this into a hearty, satisfying soup. Any variety of potato works, but I especially love Yukon Gold as they hold their shape in the soup after cooking (Russet potatoes break down a little more).
Tomato: I love chopping one tomato and adding it to this soup. It adds color, a little extra flavor, and some sweetness.
Chicken Broth: Use store-bought or homemade chicken stock. Or, to bump up the protein content of this soup, use bone broth.
Greens: We stir kale and spinach into our soup. I love the combination of textures but feel free to use just one or substitute your favorite greens.
Cream or Coconut Milk: I love adding a splash of something creamy just before serving. Cream is great, or for a dairy-free option, try coconut milk, which adds a lovely faint coconut flavor, too.
Find the full recipe with measurements below.
How to Make Chicken Sausage Soup
Tip 1: Make the soup in one large pot. We cook onions in a bit of oil, then add garlic and a pinch of red pepper flakes. After slicing the sausage, we stir it in. It’s already cooked, so it makes things extra easy. From there, we follow up with chicken stock, kale, potatoes, and tomatoes. So easy!
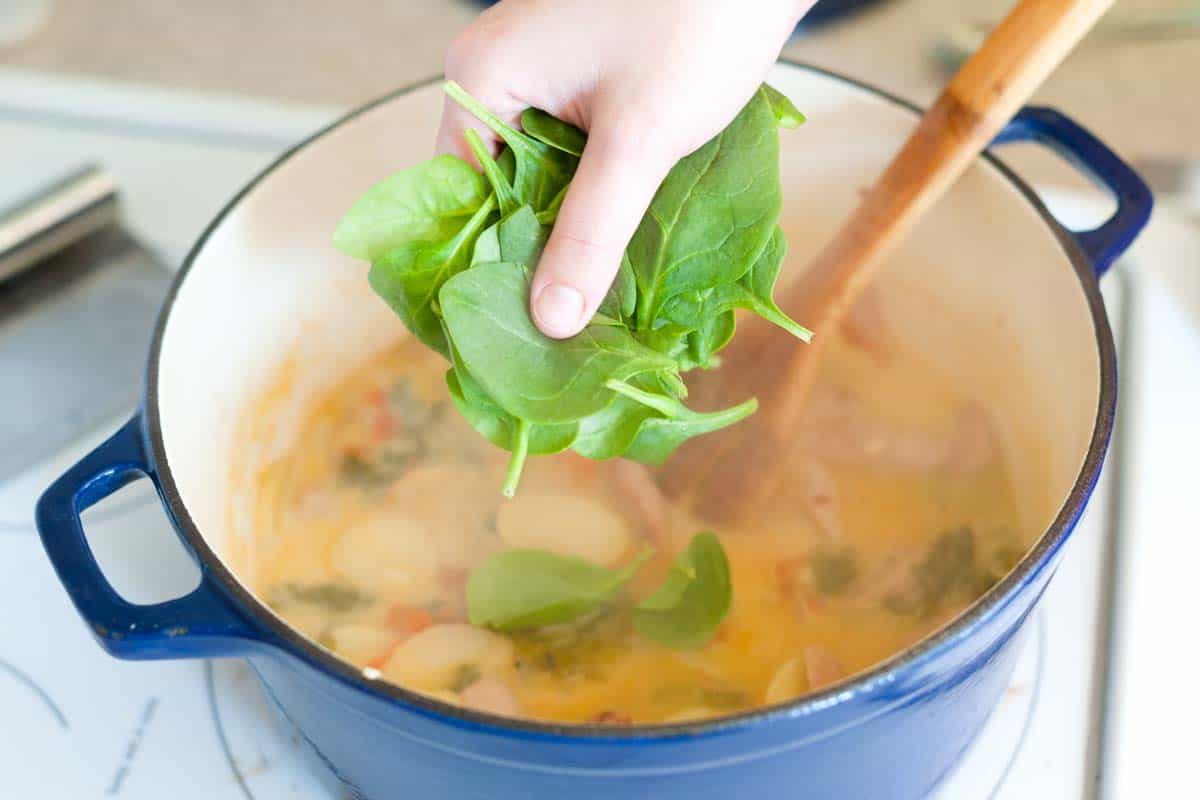
Tip 2: Finish with splash of cream. When the potatoes are tender, we turn off the heat and stir in some spinach and a splash of cream (or coconut milk). And that’s it! Hearty, simple sausage soup with potatoes and greens. It’s one of our favorites.
More Easy Soup Recipes
Easy Chicken Sausage Soup
PREP
COOK
TOTAL
We love this quick and easy chicken sausage soup. Cooked sausage makes this fast. I love using sausage with maple or apple, which works nicely with this soup’s savory base. I add kale and spinach to this soup, but you can use one or the other (4 cups is perfect).
4 Servings
You Will Need
1 ½ tablespoons extra-virgin olive oil
1 medium onion, thinly sliced into half-moons
2 cloves garlic, minced
1/4 teaspoon red pepper flakes
1 (8oz) package cooked chicken sausage, cut into bite-size pieces
4 medium Yukon Gold potatoes, cut into 1/4-inch slices
1 large tomato, roughly chopped
4 cups (946ml) chicken stock
2 cups torn kale leaves, rinsed with ribs and stems removed
2 cups packed fresh spinach leaves
1/4 cup (60ml) cream or coconut milk
Salt and fresh ground black pepper
Directions
1Heat the olive oil in a large pot over medium heat. Add onions and cook until translucent, about 3 minutes.
2Stir in the garlic, red pepper flakes, and chicken sausage, then cook until the sausage begins to brown, about 2 minutes.
3Add the potatoes, tomatoes, and chicken stock. Bring to a simmer and cook for 5 minutes, then add the kale and cook another 10 minutes until wilted and the potatoes are tender.
4Turn the heat off, then stir the spinach leaves and cream. Cover with a lid for 5 minutes, stir again, and then season to taste with salt and pepper.
Adam and Joanne’s Tips
Storing: Refrigerate in an airtight container for 3 to 4 days. Or freeze for up to 3 months. As the soup sits, the potatoes soak up the broth. When you reheat, add a splash of extra broth or water.
Seasoning the soup: If you feel the soup is missing some zing, add a bit more salt. You can also add a pop of flavor with a dash of fish sauce (we often use this trick for store-bought stocks and broths) or Worcestershire sauce.
Using raw sausage: Before cooking the onions, cook the sausage in the olive oil, breaking it up with a spoon until it’s browned. Remove the cooked sausage from the pan, set it aside, and cook the onions in the rendered fat left at the bottom of the pan. Add the sausage back with the garlic.
The nutrition facts provided below are estimates.
Nutrition Per Serving Serving Size 1/4 of the recipe / Calories 334 / Total Fat 15.7g / Saturated Fat 4.4g / Cholesterol 58.1mg / Sodium 858.1mg / Carbohydrate 29g / Dietary Fiber 3.7g / Total Sugars 7.3g / Protein 19.9g
AUTHOR:
Joanne Gallagher
We are Adam and Joanne Gallagher, the creators of Inspired Taste. Established in 2009, Inspired Taste grew from a childhood dream into one of the internet’s most trusted recipe sites with hundreds of reliable recipes, step-by-step videos, and expert tips.More About Us
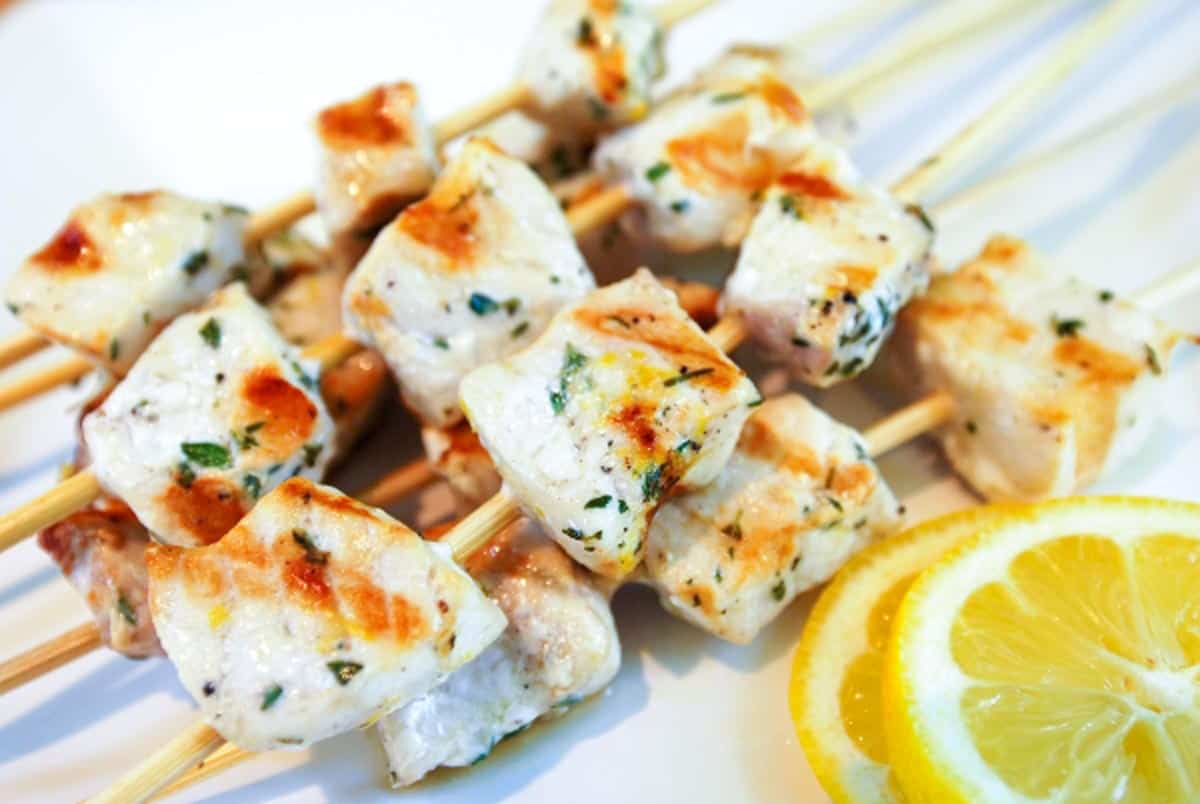
These incredible grilled swordfish kebobs are super flavorful and so easy! With our recipe, you’ll quickly marinate swordfish in a lemon pepper marinade, thread them onto skewers, and grill them to perfection.
My family loves these quick and easy swordfish kabobs! Our simple lemon pepper marinade adds fresh flavor, and thanks to the swordfish’s natural fattiness, you don’t have to worry about it drying out on the grill. Plus, since they’re cut into bite-sized pieces, they cook up in just a few minutes!
Serve these fish kabobs with rice, like our Mexican rice, or on top of a salad, like this homemade Caesar salad. For more swordfish recipes, see our grilled swordfish with coriander and lime.
Key Ingredients
Swordfish: This meaty, fatty fish can be cooked just like a steak and is great grilled. Since it’s more firm than other fish, it’s easy to cut into cubes for kabobs. You can use mahi-mahi, salmon, or tuna if you don’t have swordfish.
Lemon and Pepper: I use the zest from a lemon and then serve the swordfish with fresh lemon wedges to squeeze over the cooked fish. For the pepper, use a pepper grinder on a course setting, so that you see it on the fish.
Anchovy Paste and Thyme: These round out my marinade. I marinate swordfish cubes with olive oil, lemon zest, pepper, anchovy paste, and thyme before skewering and grilling them. The marinade is simple but makes the swordfish taste incredible. If you’d prefer, use finely minced anchovies instead of anchovy paste.
How to Make Grilled Swordfish Kabobs
This swordfish recipe is so simple. It starts with my easy marinade of olive oil, lemon zest, black pepper, anchovy paste, and thyme.
Cut your swordfish steaks into cubes (so they cook quickly and are easy to skewer), and then toss them into the marinade. Let the fish marinate for 30 minutes to an hour (more if you’d like).
While the fish marinate, soak wooden skewers in water so they don’t burn when you are grilling.
When the fish is ready, heat your grill (or a grill pan), slide the swordfish cubes onto your skewers, and then grill. Since you’ve cut them into cubes, they will only need a few minutes on each side. Then, serve with fresh lemon.
Lemon Pepper Grilled Swordfish Kabobs
PREP
COOK
TOTAL
My family loves these quick and easy swordfish kabobs! Marinating the swordfish adds so much flavor. We recommend marinating for 30 minutes. You can marinate for longer, but no longer than 4 hours.
4 Servings or 8 Kabobs
You Will Need
2 swordfish steaks, about 6 ounces each, 1-inch thick
2 tablespoons olive oil
2 teaspoons lemon zest
1/2 teaspoon freshly ground black pepper
1 ½ teaspoons anchovy paste or minced anchovies
1 tablespoon chopped fresh thyme
8 wooden skewers
2 lemon wedges for serving
Directions
1Cut swordfish into 1-inch cubes and add them to a resealable plastic bag.
2Add the olive oil, lemon zest, black pepper, anchovy paste, and thyme to the bag and seal. Gently massage the bag until the marinade is well mixed and the fish is coated. Place the bag onto a plate and refrigerate for 30 minutes.
3Meanwhile, submerge the skewers in water so they soak.
4After 1 hour, heat a grill to medium-high heat (or place a grill pan over medium heat).
5Divide the swordfish cubes between each skewer, then grill until just cooked through, for about 2 minutes per side.
6Transfer to a serving plate and serve with lemon wedges.
Adam and Joanne’s Tips
Swordfish alternatives: You can use mahi-mahi, salmon, or tuna if you don’t have swordfish. I love checking Monterey Bay Aquarium Seafood Watch to see the best options when buying seafood!
The nutrition facts provided below are estimates.
Nutrition Per Serving Serving Size 2 skewers (8 total) / Calories 185 / Total Fat 12.8g / Saturated Fat 2.4g / Cholesterol 56.7mg / Sodium 74mg / Carbohydrate 0.3g / Dietary Fiber 0.2g / Total Sugars 0g / Protein 16.9g
AUTHOR:
Adam Gallagher
We are Adam and Joanne Gallagher, the creators of Inspired Taste. Established in 2009, Inspired Taste grew from a childhood dream into one of the internet’s most trusted recipe sites with hundreds of reliable recipes, step-by-step videos, and expert tips.More About Us
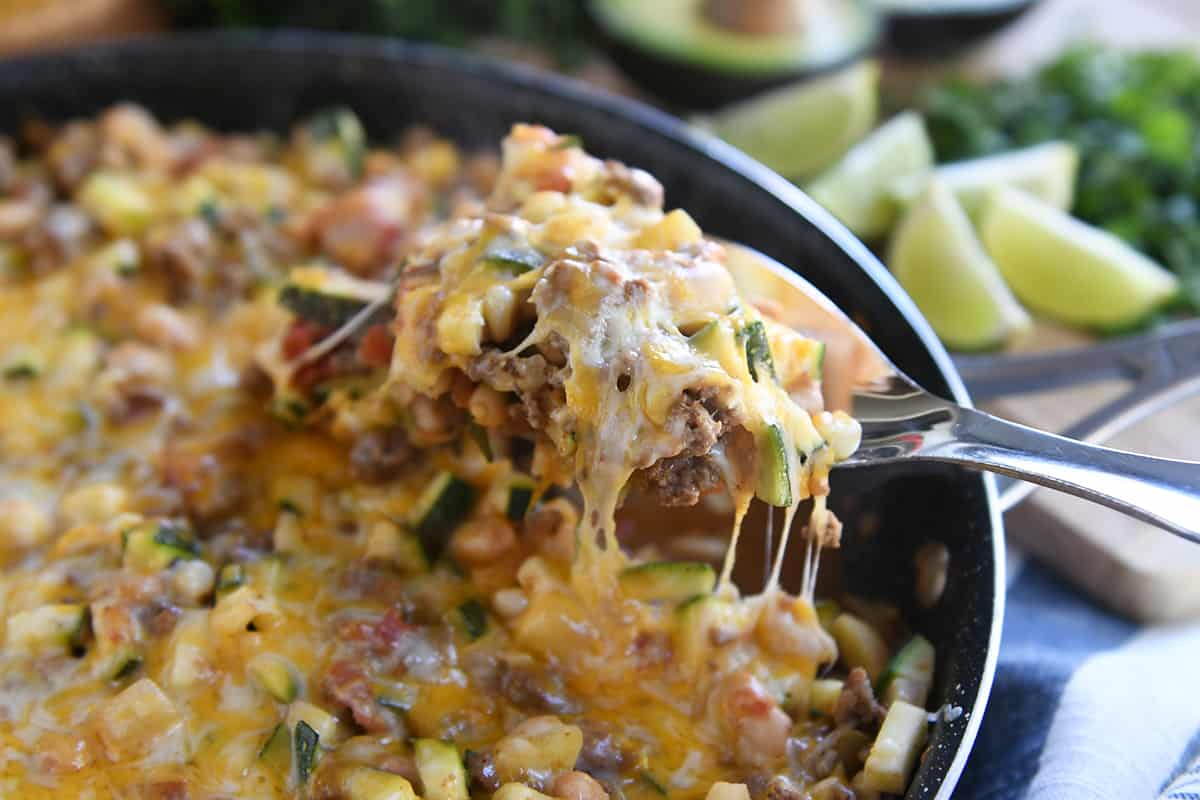
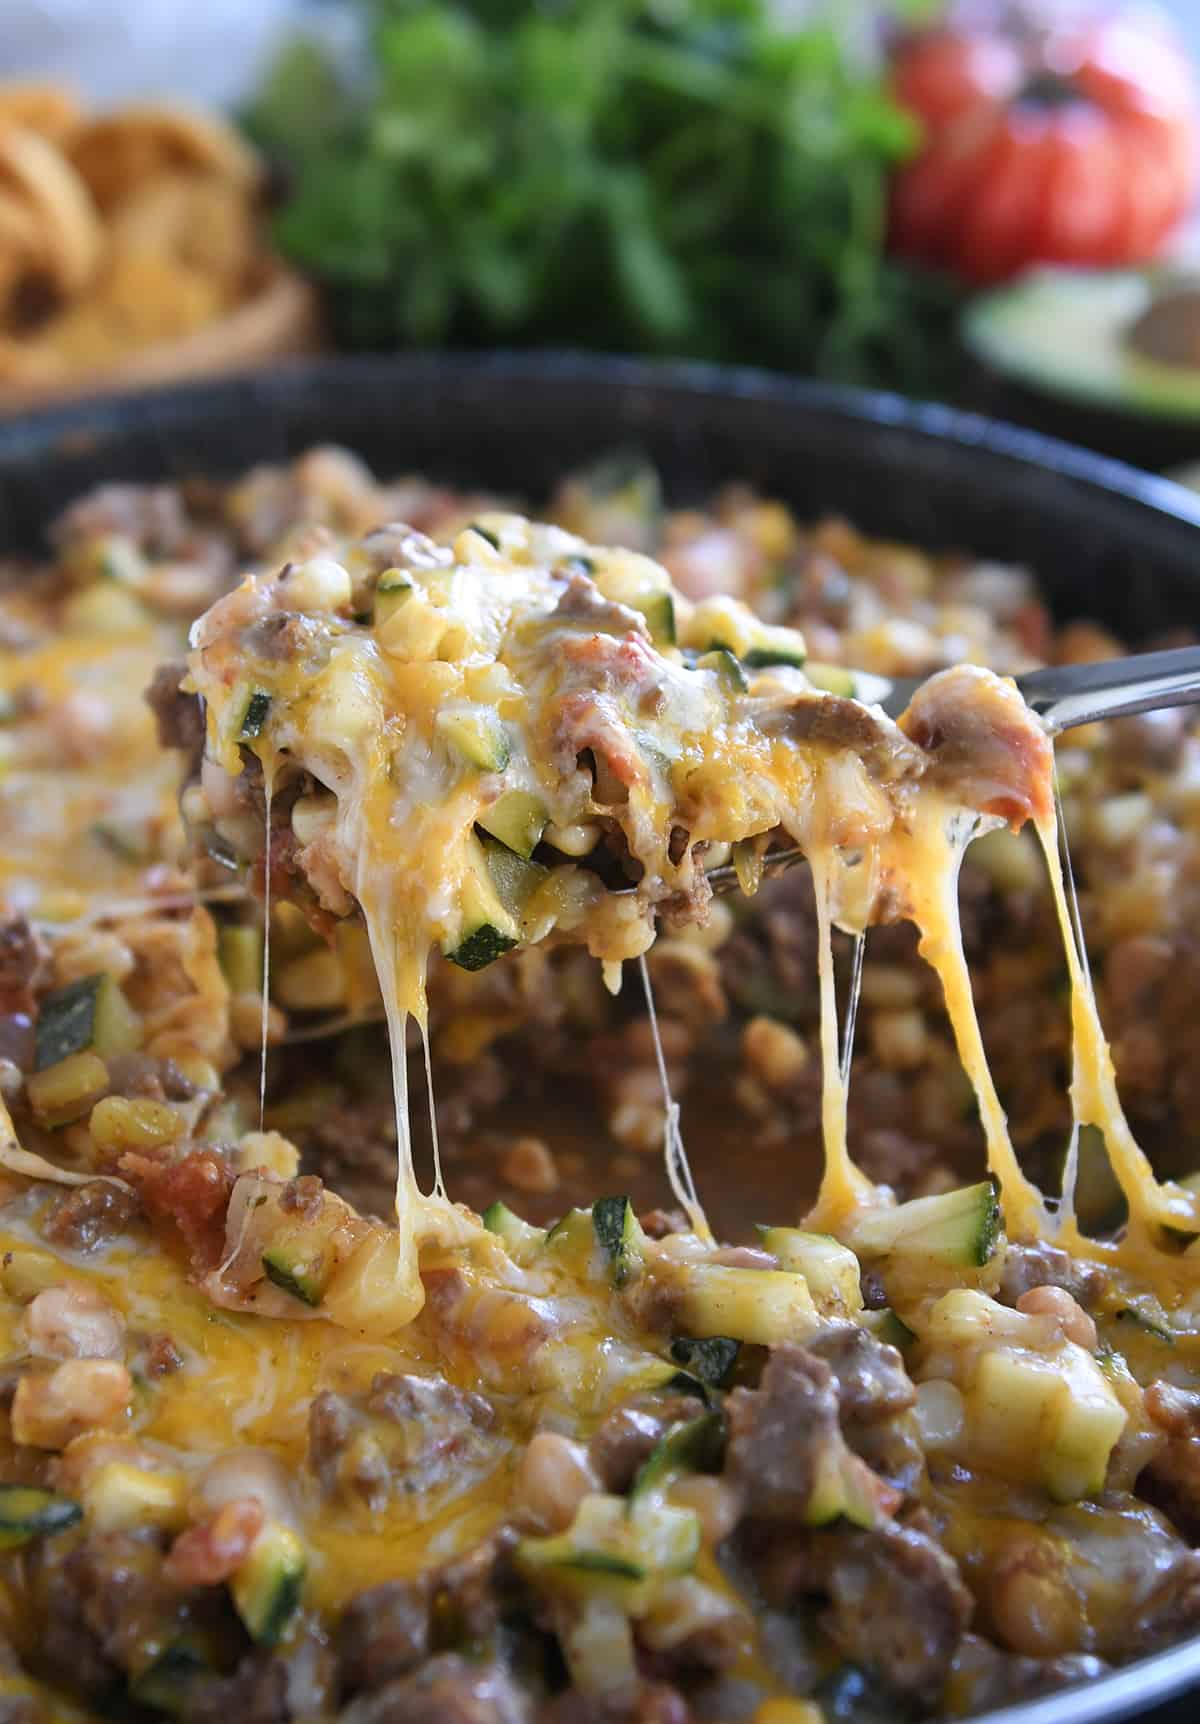
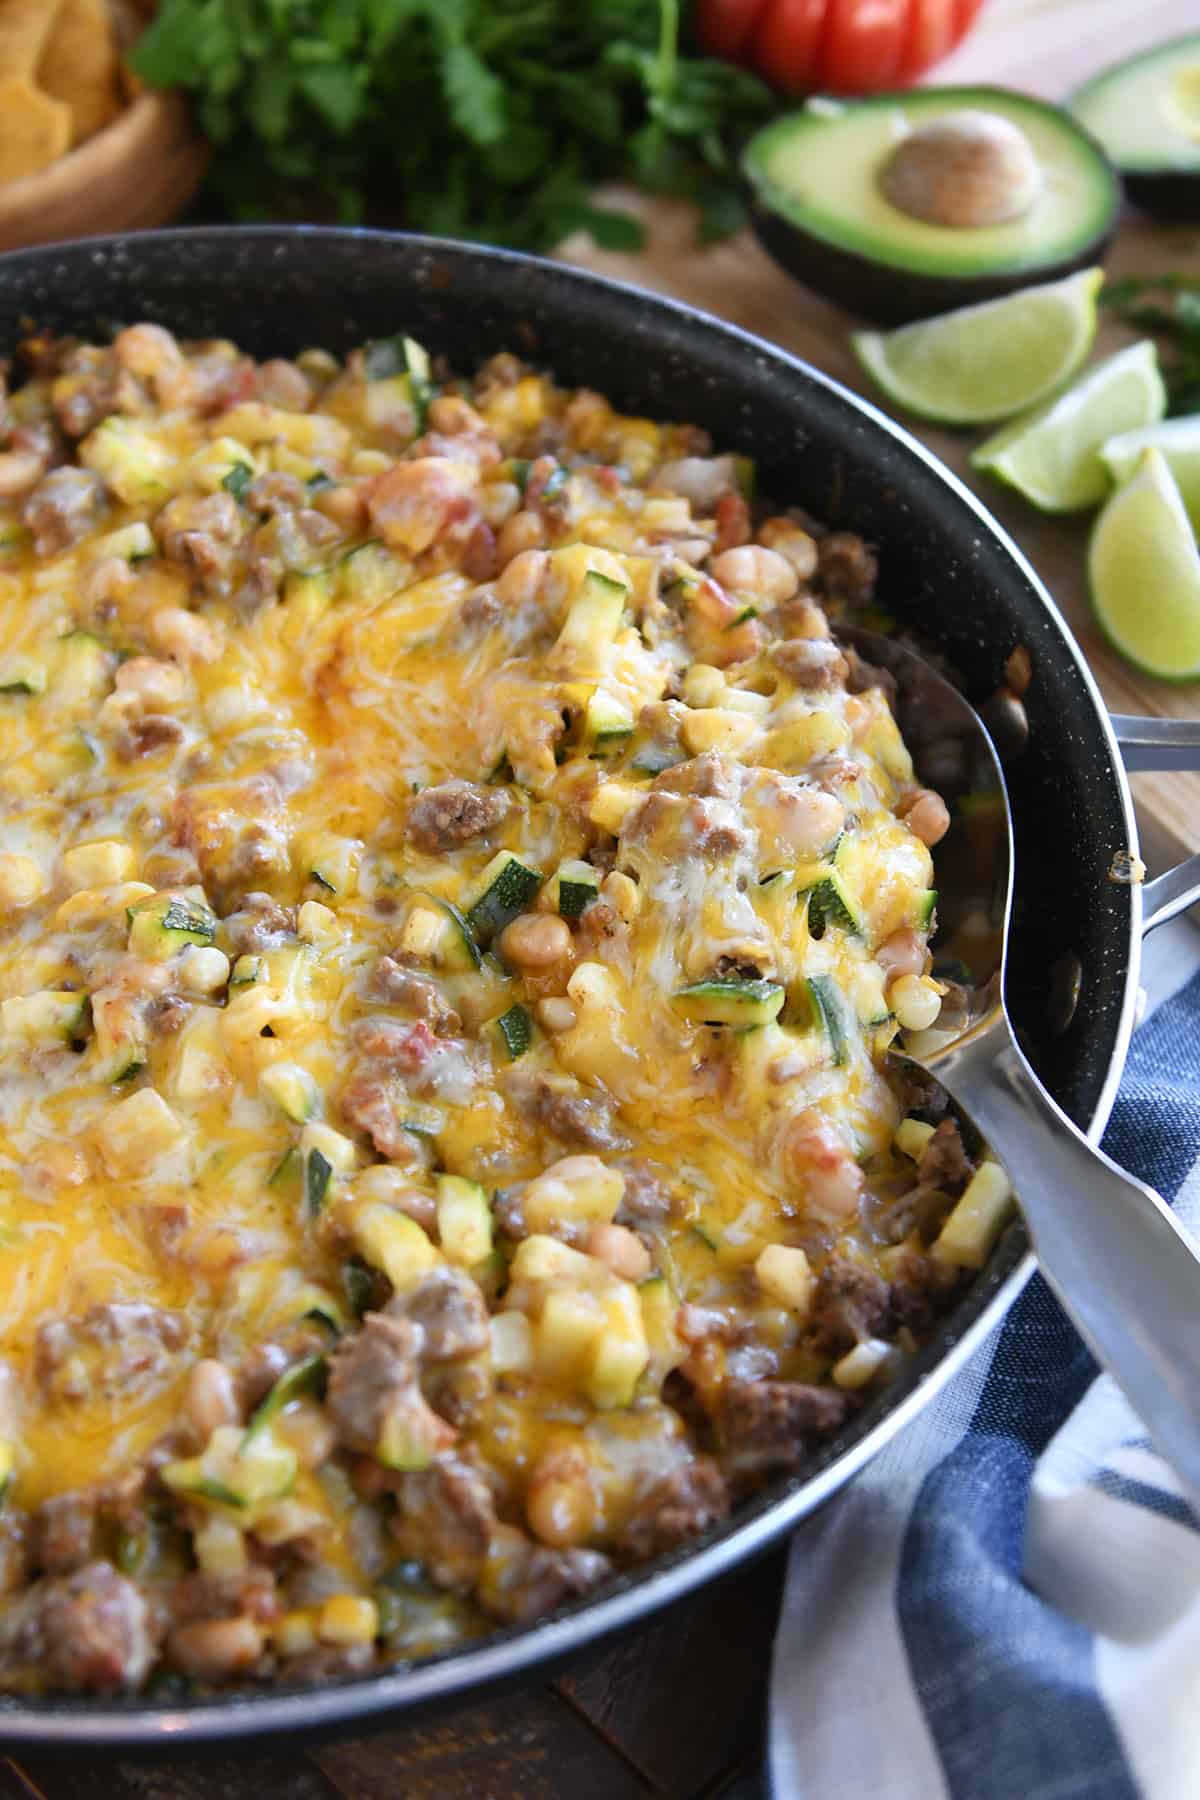
This cheesy tex-mex zucchini skillet is a fantastic way to use zucchini! Quick and easy, it’s packed with flavor and hearty ingredients. So yummy!
Looking for ways to use up that garden zucchini?
This one-skillet zucchini meal is the perfect solution! It’s hearty and healthful, and it comes together fast! Bonus: all.the.cheese.
Tex-Mex Zucchini Skillet Meal
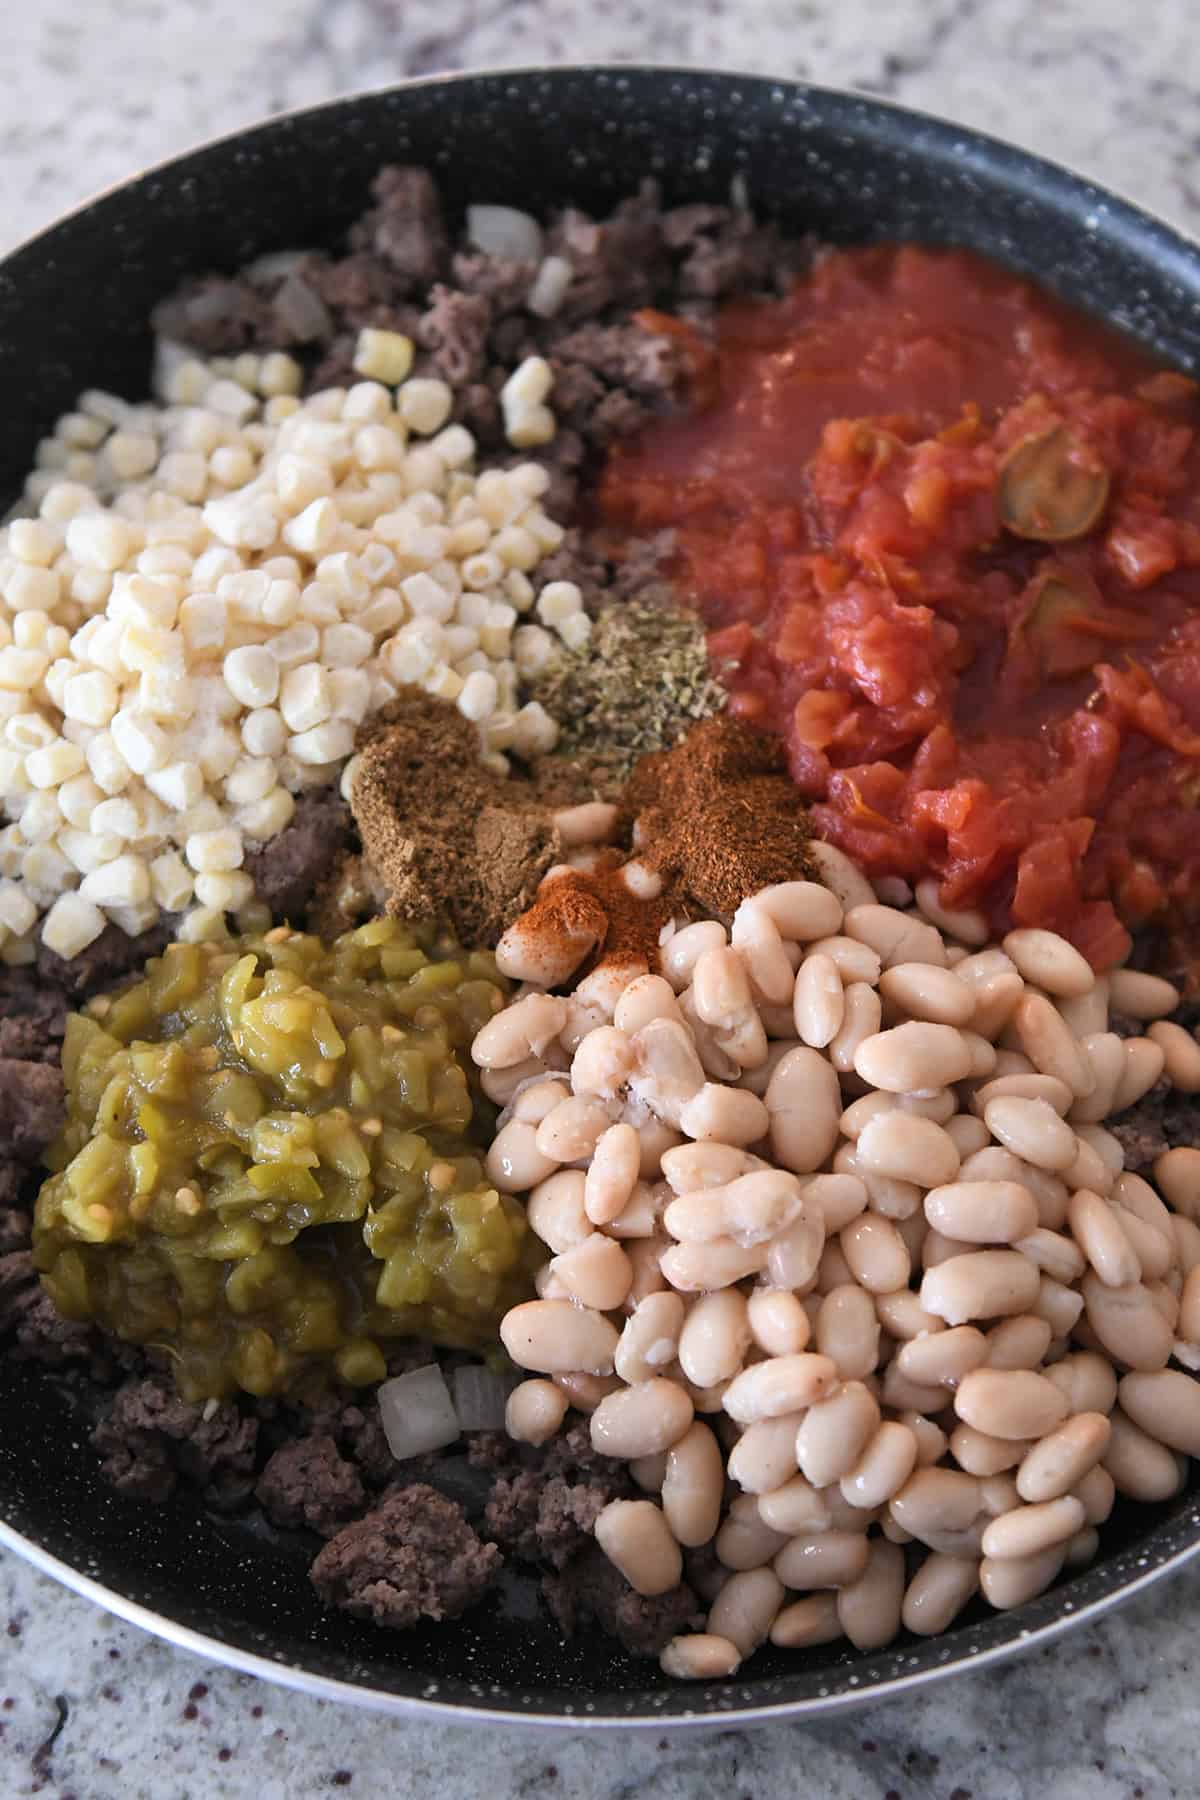
This simple recipe starts with browning lean ground beef (or ground turkey) with onions and garlic, and then adding:
corn
beans
green chiles
diced tomatoes
cumin, chili powder, oregano and paprika
All those ingredients get a good, efficient little stir to mix everything together.
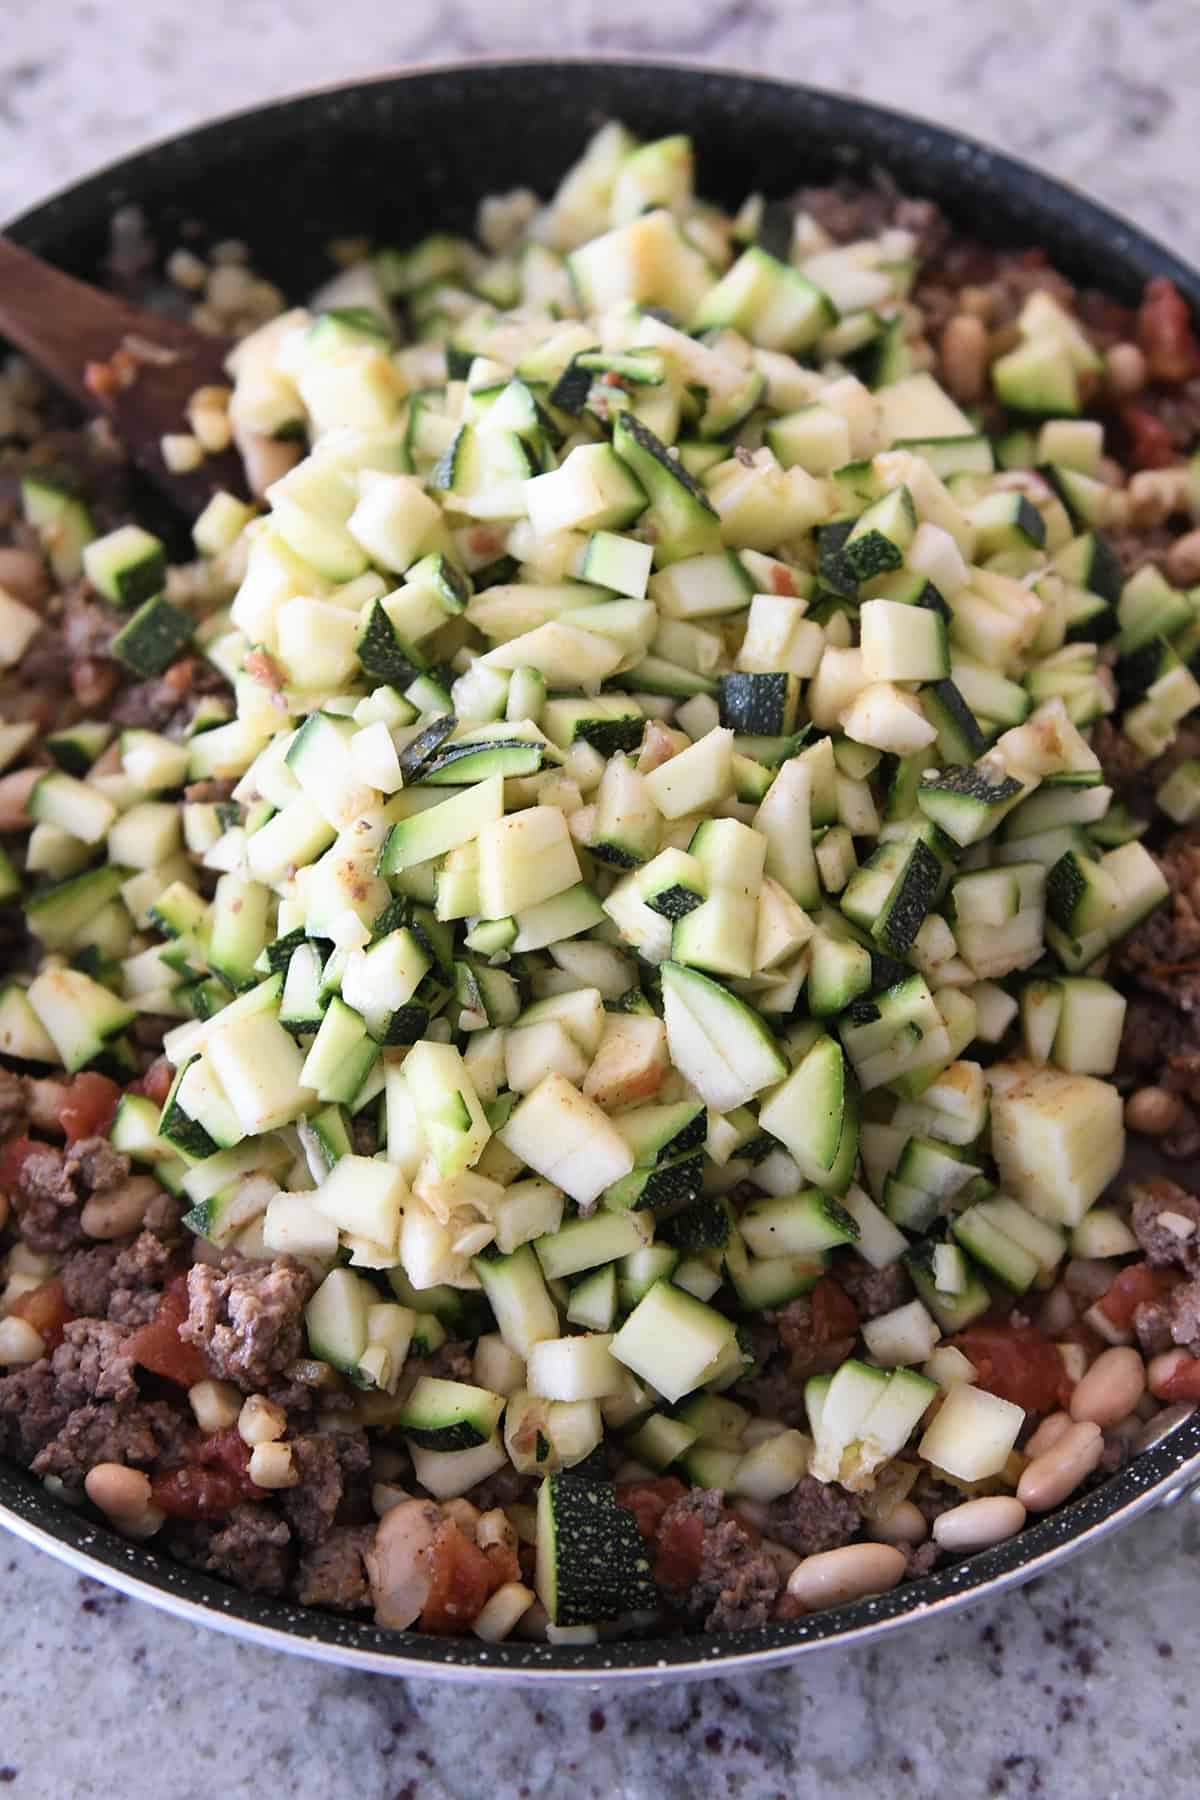
And then the star of the show is added! ZUCCHINI.
And lots of it. Four cups to be exact.
The important part here is to dice the zucchini into small pieces (I use this handy food chopper – aff. link). It allows the zucchini to blend in delightfully well with the other ingredients rather than large chunks of zucchini totally stealing the show.
Not only does this make the overall dish just *work* better, but it’s also easier on the potential squash haters in the bunch. I would know. I have 2 1/2 of them.
Al Dente Zucchini
Can I share a potentially shocking opinion?
I don’t think zucchini needs to be cooked very long (or at all). Mushy zucchini is the literal absolute worst. And I’ve found that in savory dishes, I like zucchini pieces (or zucchini noodles) cooked for just a few minutes so they stay a bit al dente.
Sometimes I even leave zucchini noodles uncooked, and they are delicious.
However, you do you when it comes to the zucchini in this recipe. If you like softer zucchini, that’s totally fine. I’ll never know if you decide to cook the guts out of it.
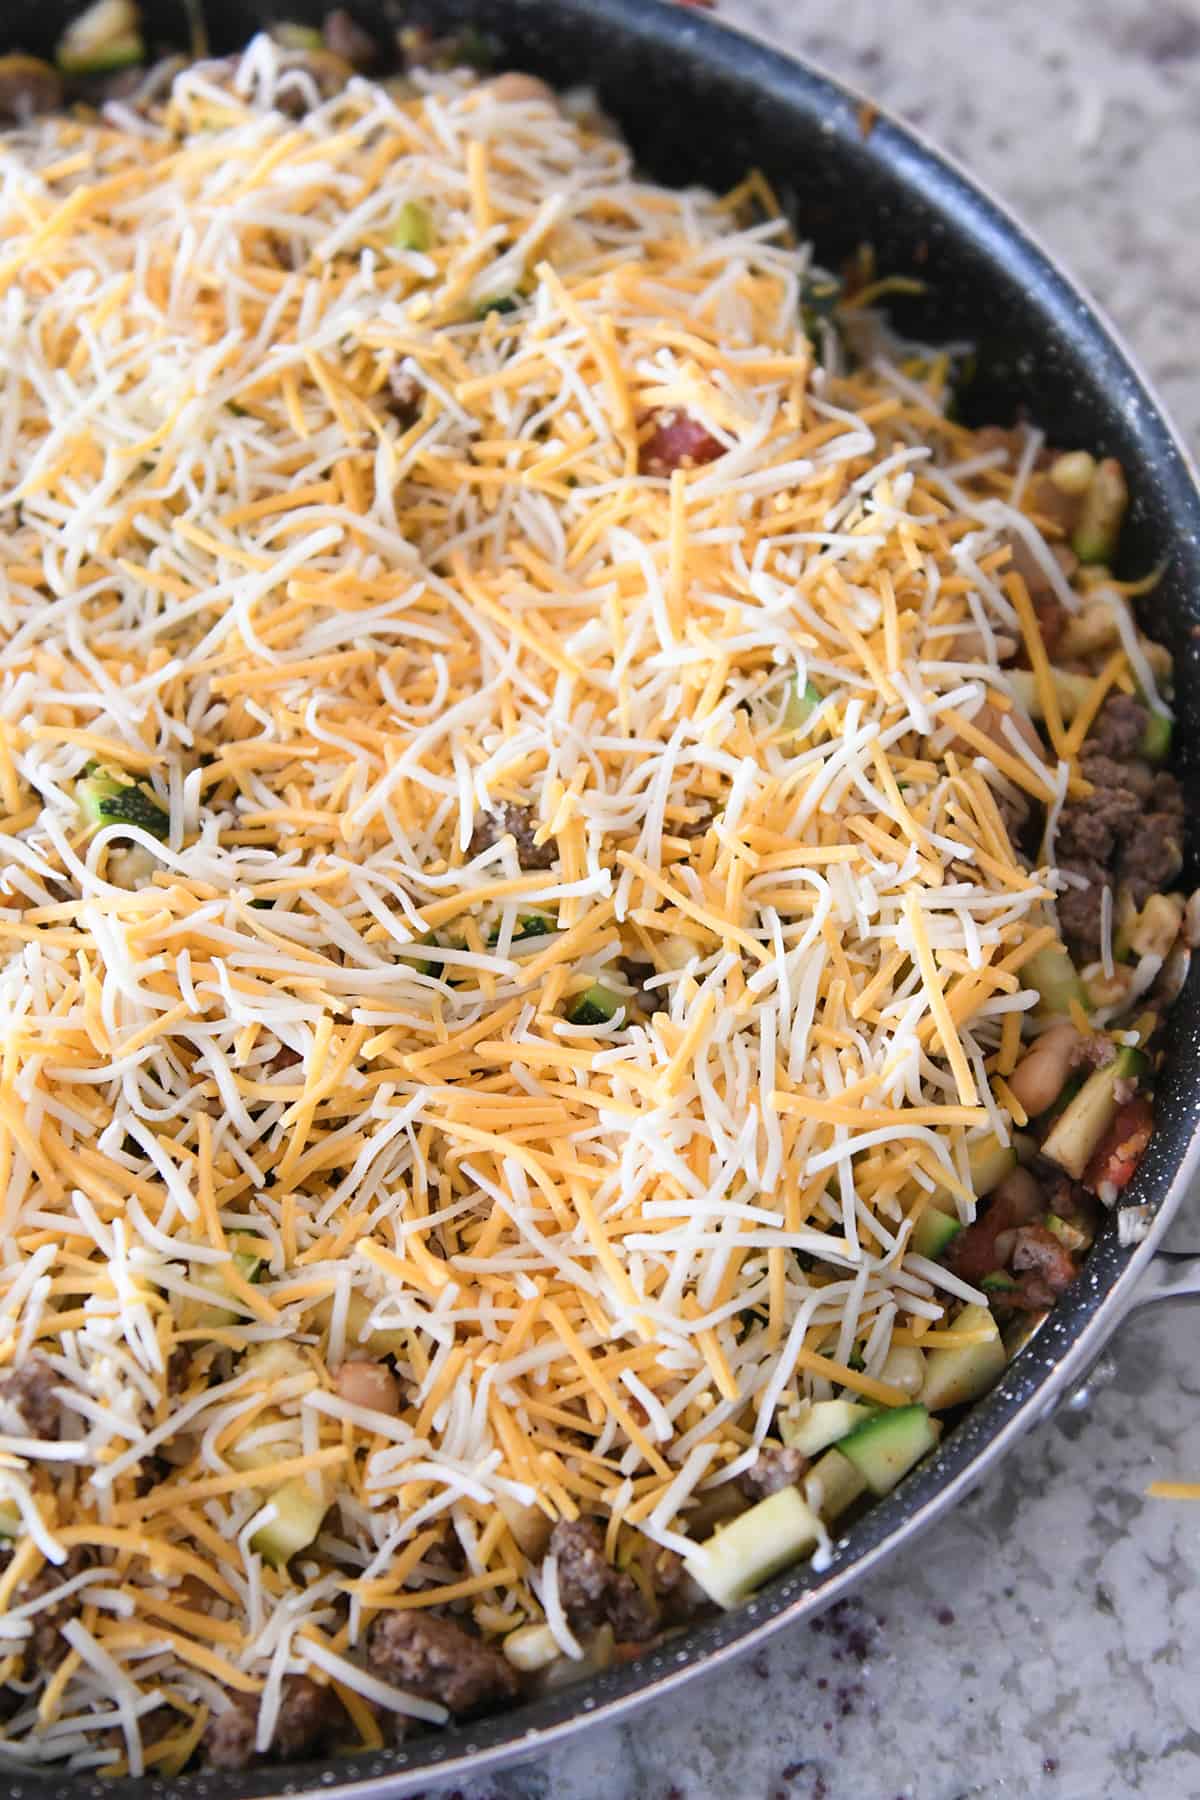
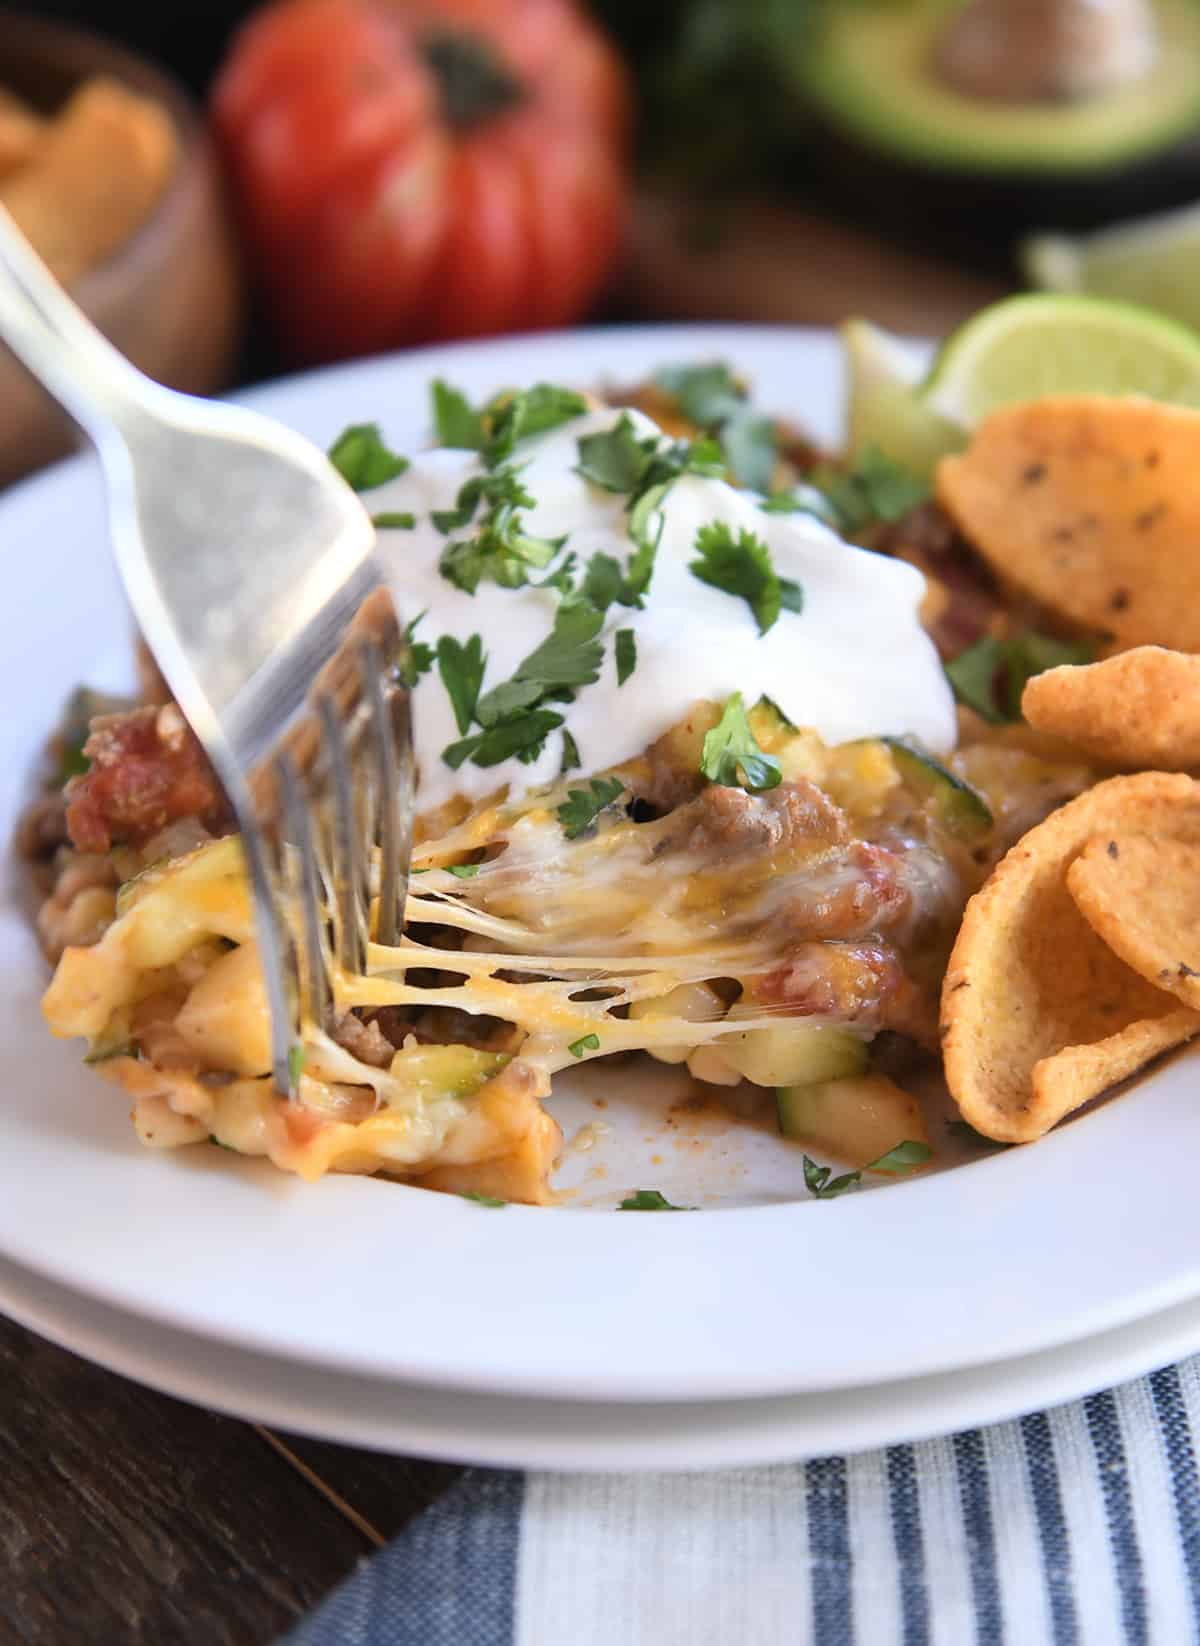
Just promise me you’ll cover it all in a lot of cheese. A.Lot.Of.Cheese.
You can get all fancy and broil the cheese-covered skillet in the oven.
Or you can be lazy like me and cover the skillet with a lid, keep it over low heat, and let it sit there for a couple minutes until the cheese is melty and perfect.
A Versatile Meal
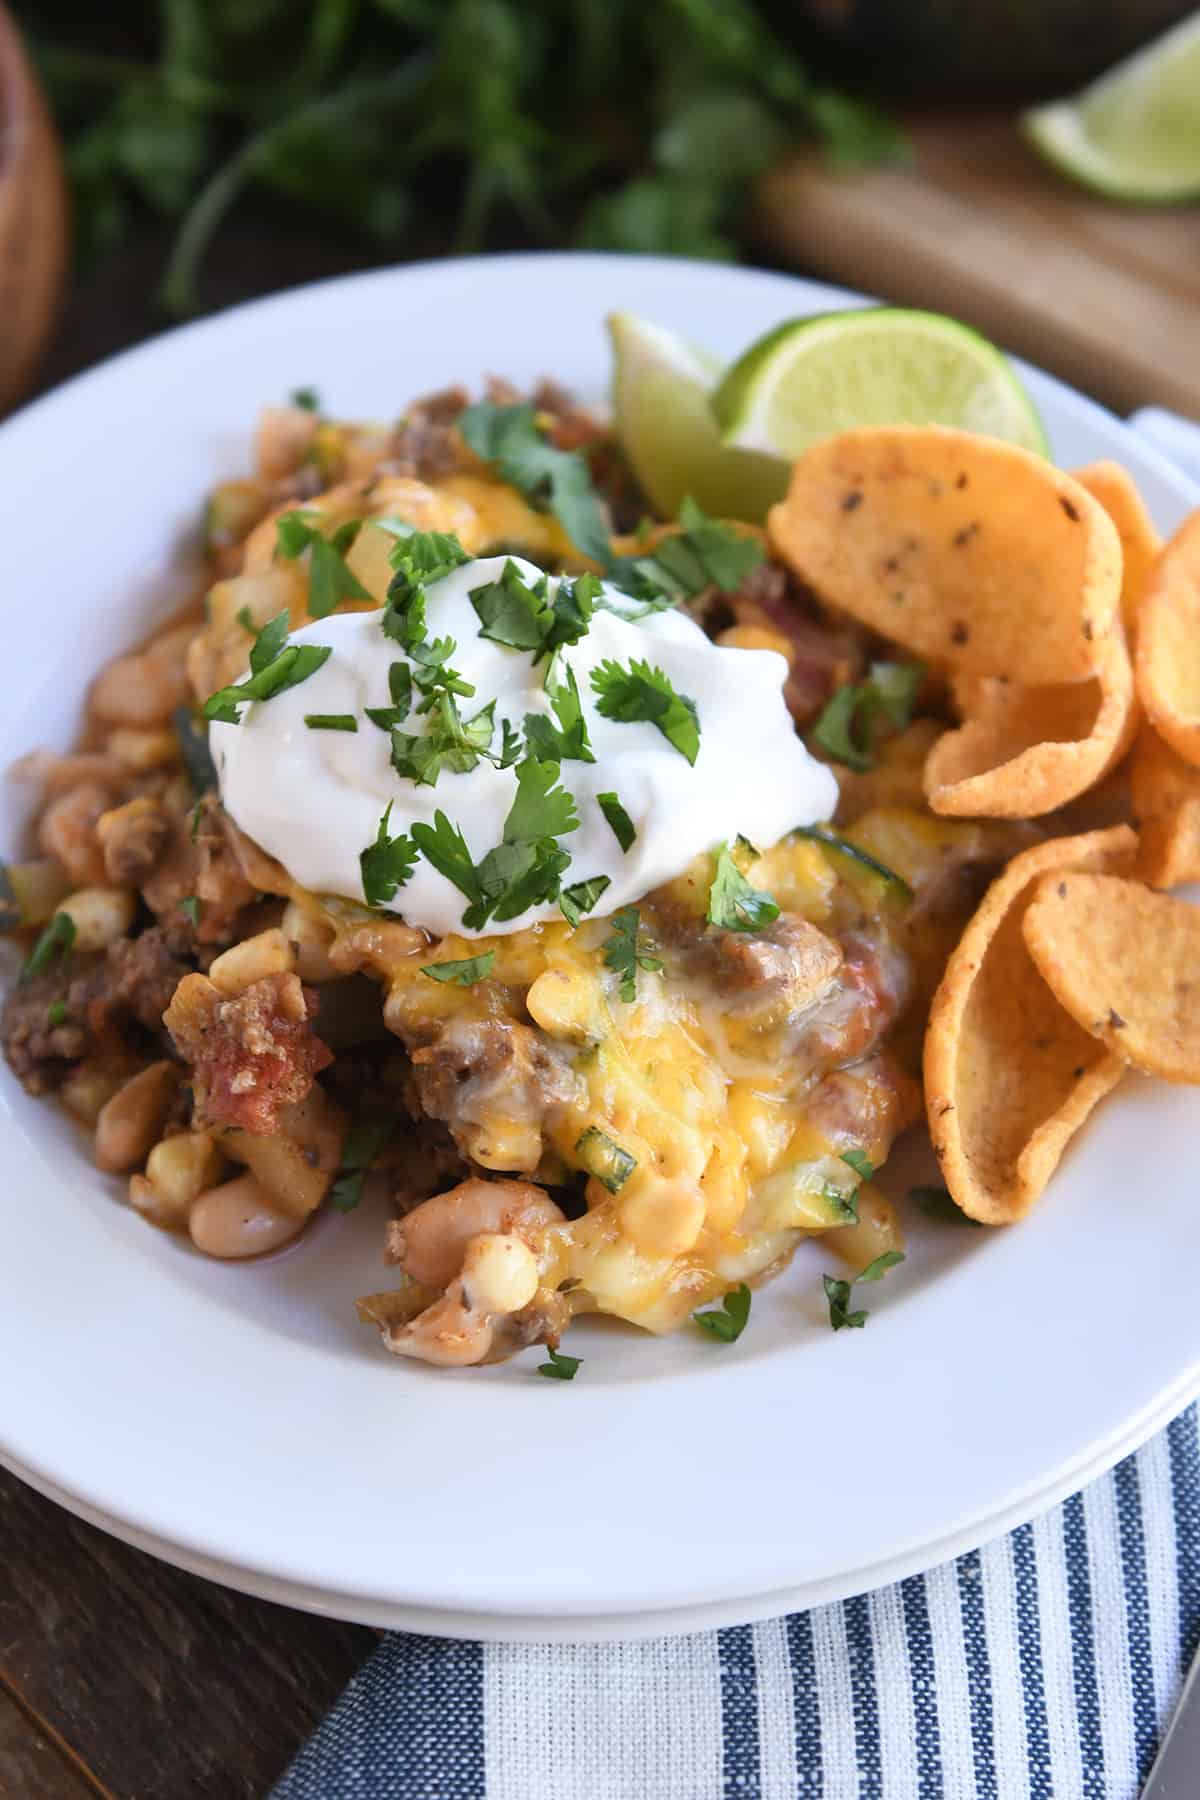
This cheesy Tex-Mex zucchini skillet meal is so tasty! The flavors are amazing, and you can serve it a million different ways.
Over rice.
Loaded with toppings.
With chips.
I have several kids who give me serious side-eyes when it comes to squash in any form. I about fell over when my oldest child, who is One of Them, devoured this and declared it “crazy amazing” even knowing it was loaded with zucchini.
Of course the hefty helping of cheese and sour cream on his portion didn’t hurt matters, but he even went back for seconds, and that has never happened with any dish that involves the Z-word.
This zucchini skillet recipe is really adaptable. Play around with the ingredients and see what you come up with!
It’s such a great way to use up the humble, beloved, green, garden veggie. I hope you love it!
One Year Ago: Blueberry Muffin Bread Two Years Ago: Soft Peanut Butter Sugar Cookies with Chocolate Frosting {No Rolling or Cutting Out} Three Years Ago: Frozen Strawberry Lemonade Pie Four Years Ago: One Pot Creamy Tomato Basil Pasta Five Years Ago: The Best Zucchini Bread Six Years Ago: The Best Chocolate Zucchini Cake Seven Years Ago: Triple Chocolate Zucchini Cookies Eight Years Ago: Frozen Mint Lemonade Slush Nine Years Ago: Tappan Hill Brownies Ten Years Ago: Summer Couscous Salad
1can(15-ounces) black, pinto, or white beans, drained and rinsed
1can (4-ounces) green chiles (mild or spicy), drained
1teaspooncumin
1teaspoonchili powder
½teaspoonsoregano
¼teaspoon paprika, smoked or sweet
4cupsfinely chopped zucchini (about 2 medium zucchinis)
1 to 2cupsshredded Mexican-blend cheese
Toppings:
Tortilla or corn chips
Sour cream
Fresh, chopped cilantro
Avocados
Salsa
Olives
Prevent your screen from going dark
In a large, 12-inch nonstick skillet (it will be very full by the end, so don’t use a smaller size) over medium heat, brown the ground beef, onion, garlic, salt and pepper. Break the meat into small pieces and cook until no longer pink. Drain grease.
Add corn, tomatoes, beans, chiles, cumin, chili powder, oregano and paprika. Stir to combine.
Add the zucchini and stir until evenly combined. Bring the mixture to a gentle simmer over medium heat and cook, stirring often, until the ingredients are heated through and the zucchini is tender (I only cook for a few minutes so the zucchini stays al dente; cook longer if you want the zucchini softer).
Season to taste with additional salt and pepper, if needed.
Turn the heat to low. Pat the zucchini mixture into a mostly even layer, sprinkle with cheese, cover with a lid or loosely with foil, and let rest on the heat until the cheese is melted, 3-4 minutes.
Serve warm with toppings of choice: chips, sour cream, cilantro, olives, avocados, salsa, etc.
Disclaimer: I am a participant in the Amazon Services LLC Associates Program, an affiliate advertising program designed to provide a means for me to earn fees by linking to Amazon.com and affiliated sites. As an Amazon Associate I earn from qualifying purchases.