Tag: Easy

  • Easy Green Smoothie Recipe

    Easy Green Smoothie Recipe

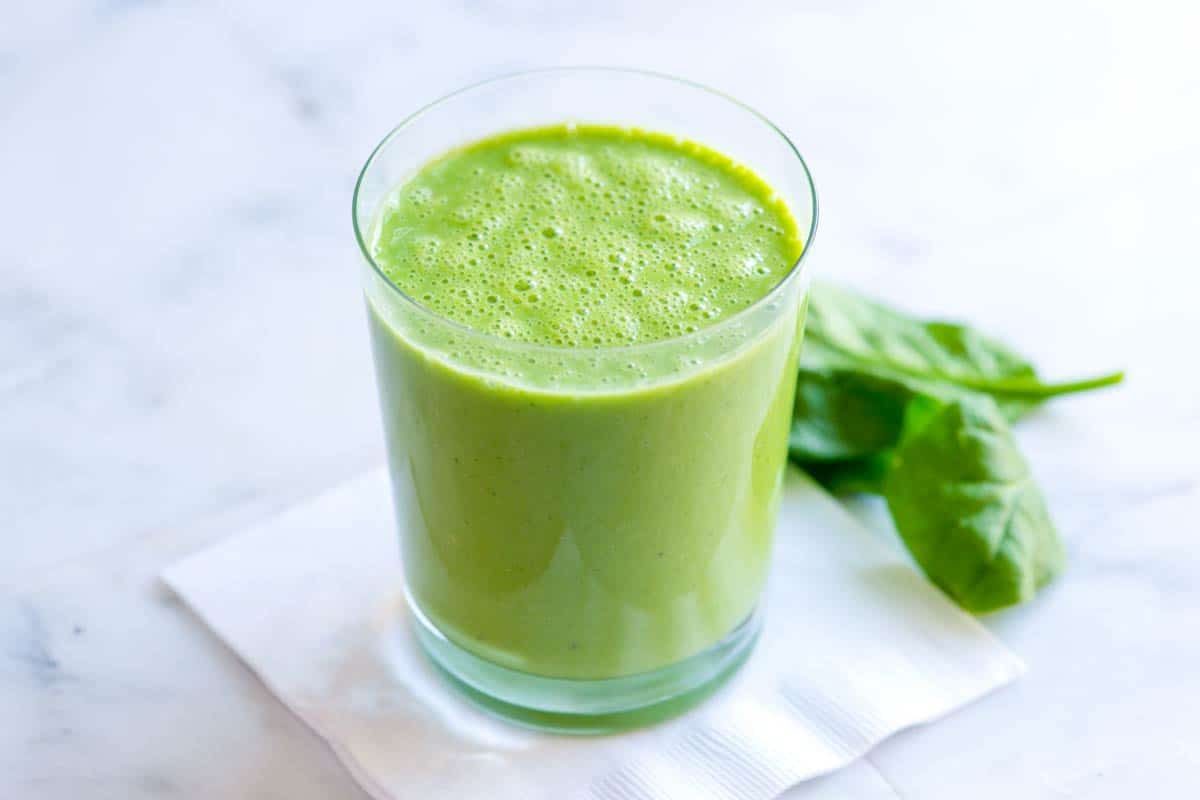
    I love this simple green smoothie recipe, which blends together spinach, banana, and Greek yogurt for added protein. It is naturally sweetened with fruit and tastes incredible!
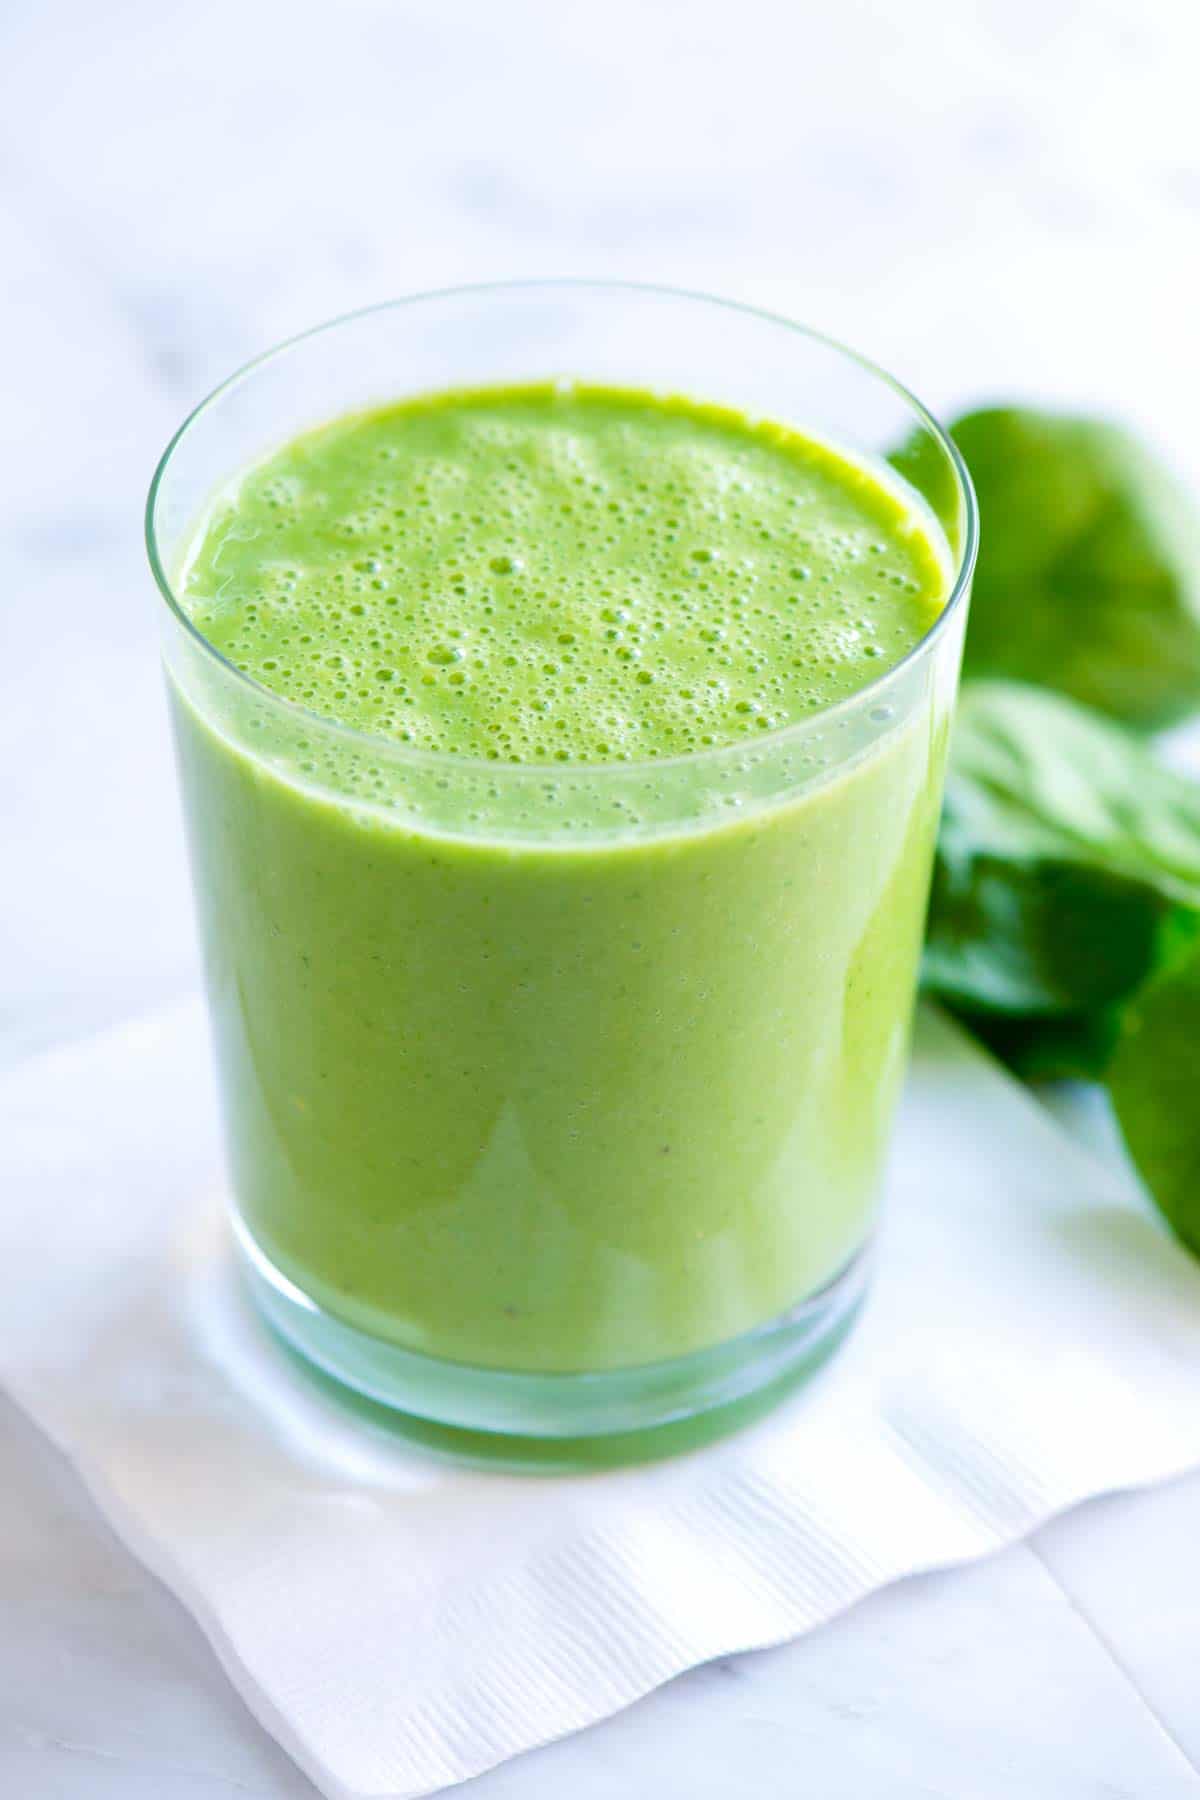
    Easy Green Smoothie

    When it comes to smoothies, simple is best. I can’t keep up with lots of extra ingredients, and if I am going to make something daily, I need it to be quick with ingredients I already have on hand. This green smoothie is perfect!

    Inspired by our popular banana smoothie, you can make this easy green smoothie in 5 minutes or less! It’s easy, healthy, and delicious. For more super simple smoothie recipes, see our blueberry smoothie and strawberry smoothie. You may also enjoy our homemade green juice!

    Key Ingredients

    • Spinach: I blend in 2 cups of baby spinach to make this super green. Even with so much spinach, you won’t really taste it. In fact, this is my son’s favorite smoothie, and he’s pretty sensitive to the taste of spinach. Other greens, like kale, are great, too, but you might taste them a bit more than baby spinach.
    • Banana: I use one banana to make one large or two smaller kid-size smoothies. For the best smoothie, use a ripe banana. For the creamiest smoothie, use frozen banana slices. I’ve shared how I freeze bananas for smoothies in my banana smoothie recipe.
    • Half an Orange: When I have oranges in the house, I love adding them to my morning smoothie. They add extra vitamin C and tropical flavor. You can substitute oranges with other fruits like mango, pineapple, or berries (but remember that berries will change the smoothie’s color).
    • Greek Yogurt: I love adding a spoonful for extra creaminess and protein. If you want more protein, use plain high-protein yogurt or a scoop of your favorite vanilla protein powder.
    • Milk: You need a bit of liquid to thin things out. I love milk or dairy-free milk, but even water will do the trick.
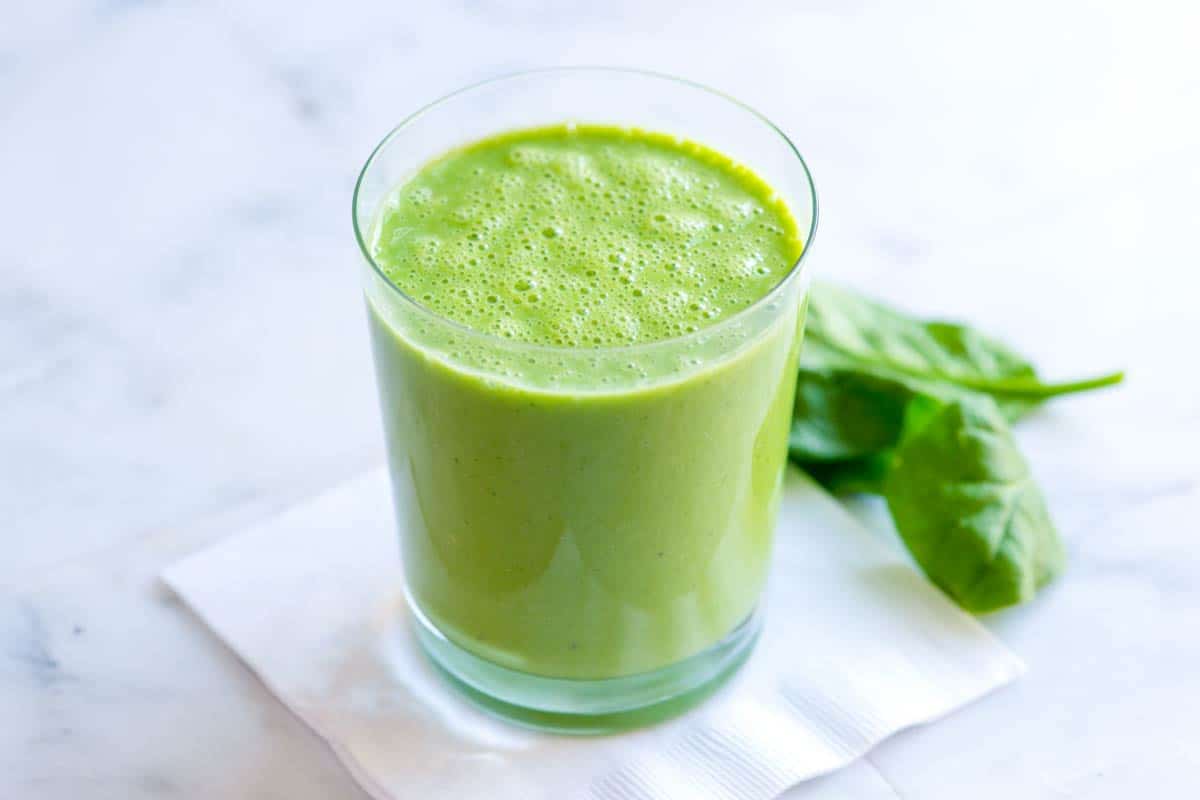
    Easy Green Smoothie

    Easy Green Smoothie

    This creamy, protein-packed green smoothie is simple and only takes a few minutes. We’ve shared a basic recipe below with optional ingredients after that. If you are looking for a substitute for Greek yogurt, leave it out or replace it with more fruit. For an extra boost of protein, add 1 to 2 scoops of your favorite protein powder.

    Makes 2 kid-size smoothies or 1 large

    You Will Need

    Basic Green Smoothie

    1 medium banana, peeled

    1/2 medium orange, peeled and quartered

    1/3 cup plain Greek yogurt

    1/4 cup milk or non-dairy milk

    2 cups fresh spinach


    Optional

    1 tablespoon flaxseed meal or shelled hemp hearts

    1 tablespoon peanut butter or almond butter

    1 to 2 teaspoons pure honey

    1/2 cup mixed frozen berries

    Adam and Joanne’s Tips

    • Using a frozen banana makes this really refreshing and thick.
    • This smoothie tastes best fresh, but it can be frozen for later. To save the smoothie for later, add to a food-safe resealable plastic bag or container and freeze. Then 45 to 60 minutes before needing the smoothie, take out from freezer.

    Nutrition Per Serving
    Serving Size
    1 smoothie (large)
    /
    Calories
    240
    /
    Total Fat
    6.1g
    /
    Saturated Fat
    2.4g
    /
    Cholesterol
    12.3mg
    /
    Sodium
    128.8mg
    /
    Carbohydrate
    38.2g
    /
    Dietary Fiber
    5.5g
    /
    Total Sugars
    22.4g
    /
    Protein
    12.4g


    AUTHOR:

    Joanne Gallagher

    Previous Post: Hibiscus Ginger Beer Mocktail
    Next Post: Honey Roasted Chickpeas
    Source link

  • Easy Smoked Salmon Dip Recipe

    Easy Smoked Salmon Dip Recipe

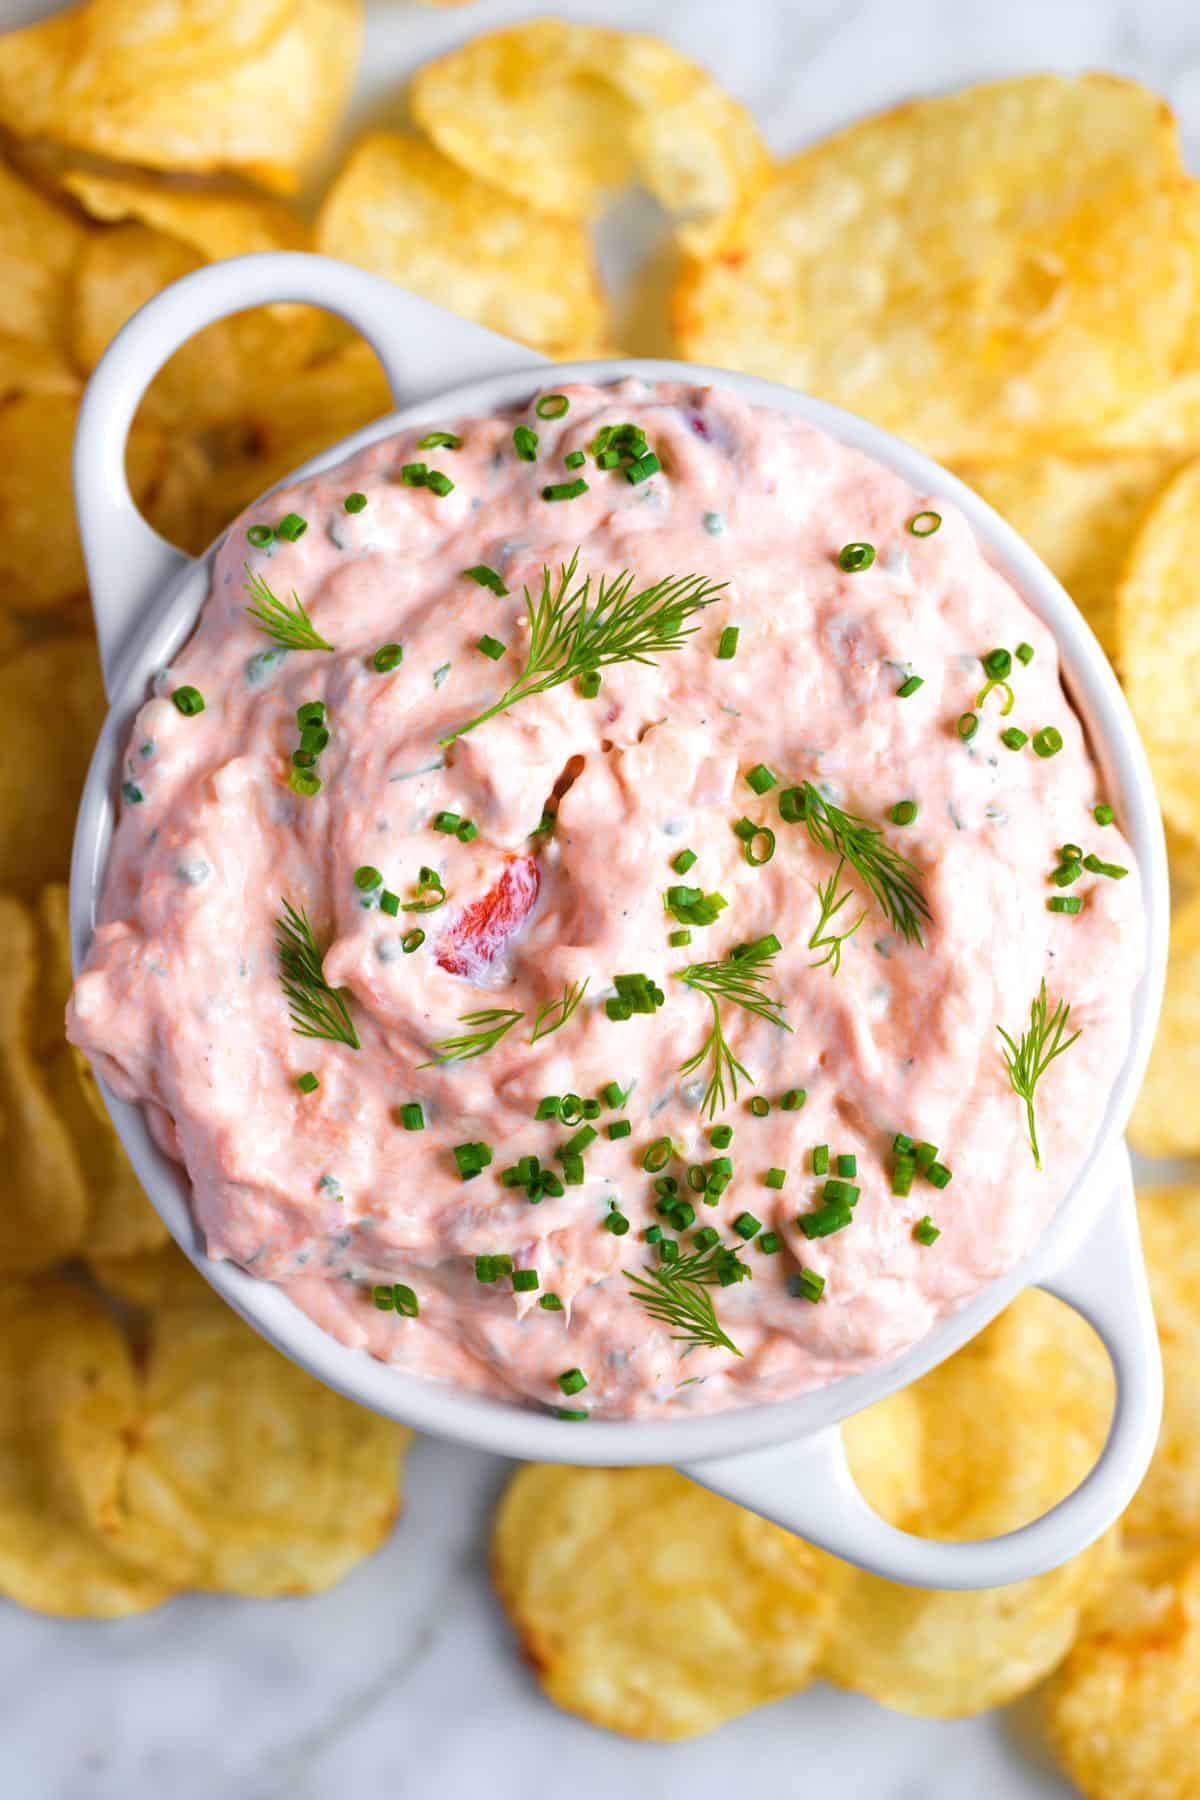
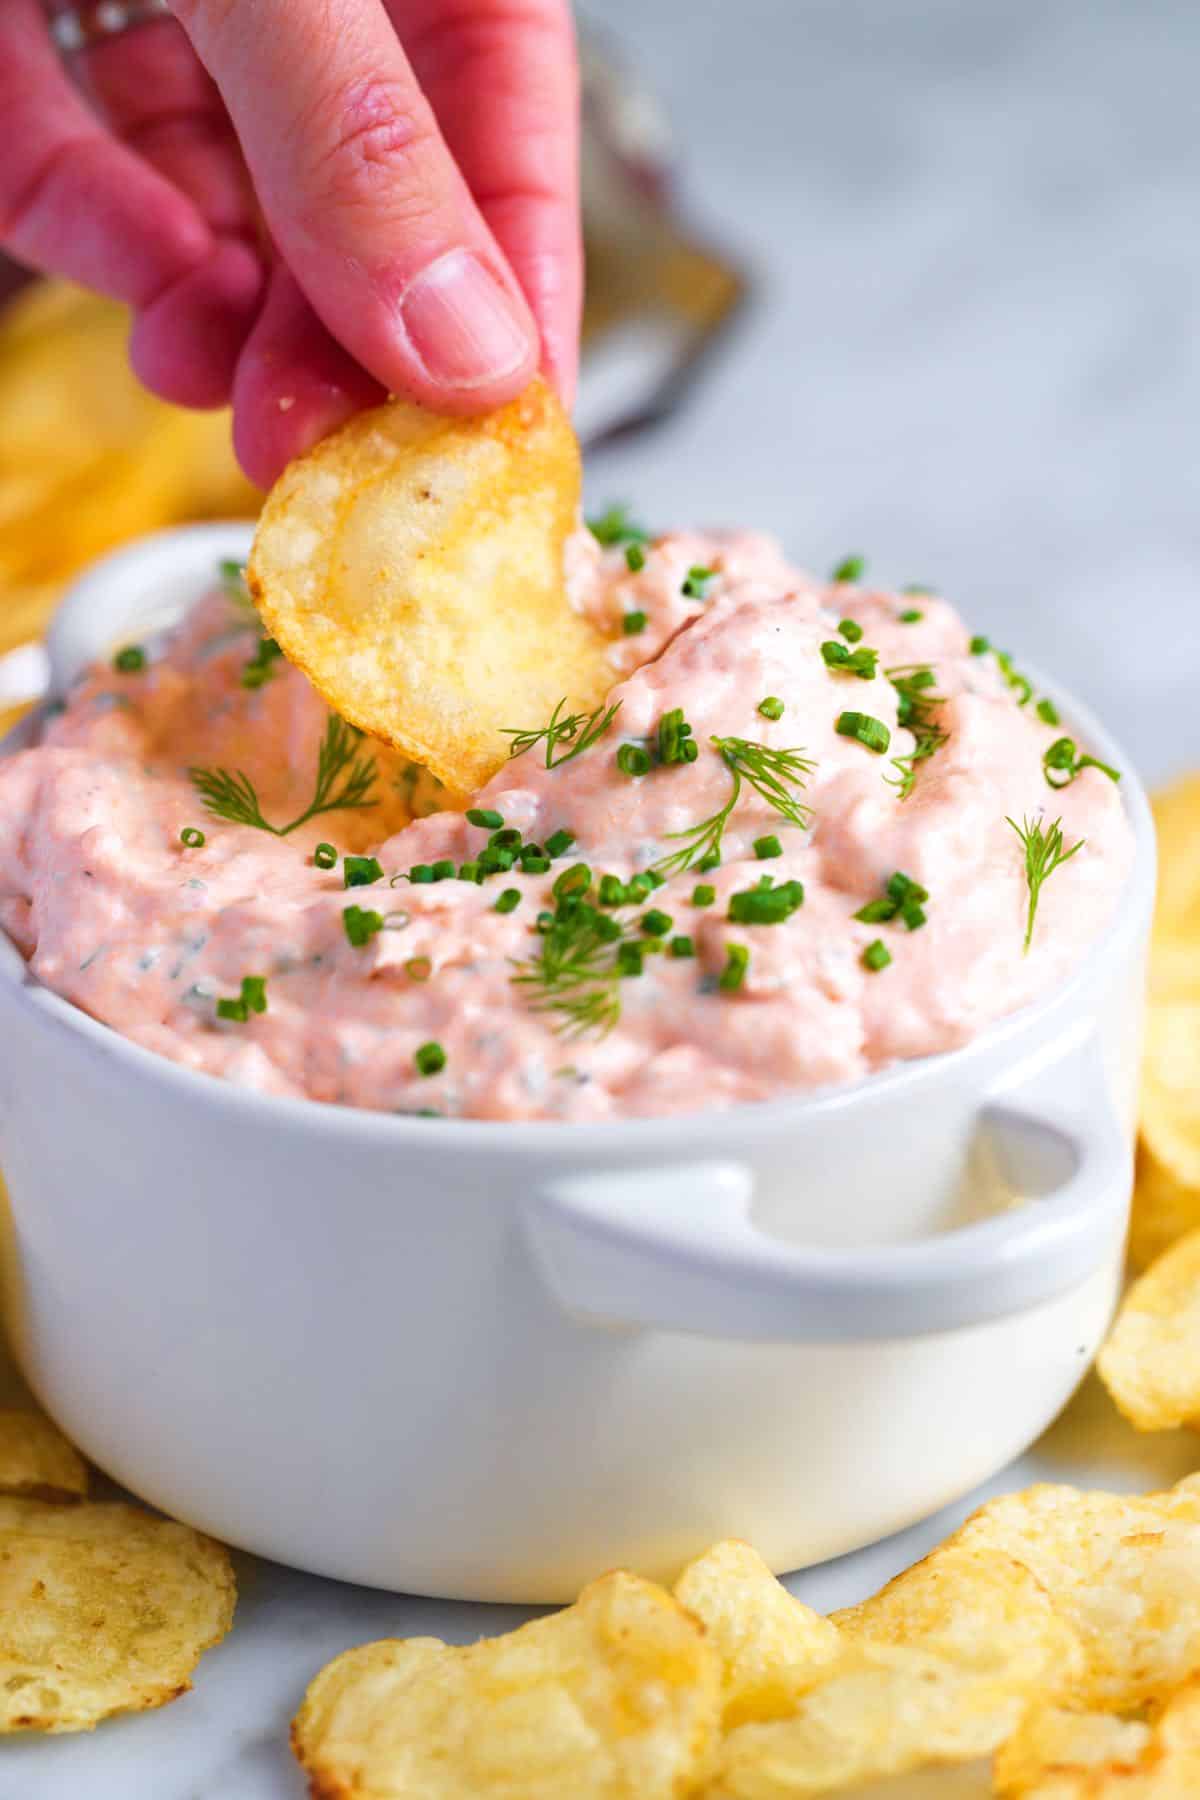
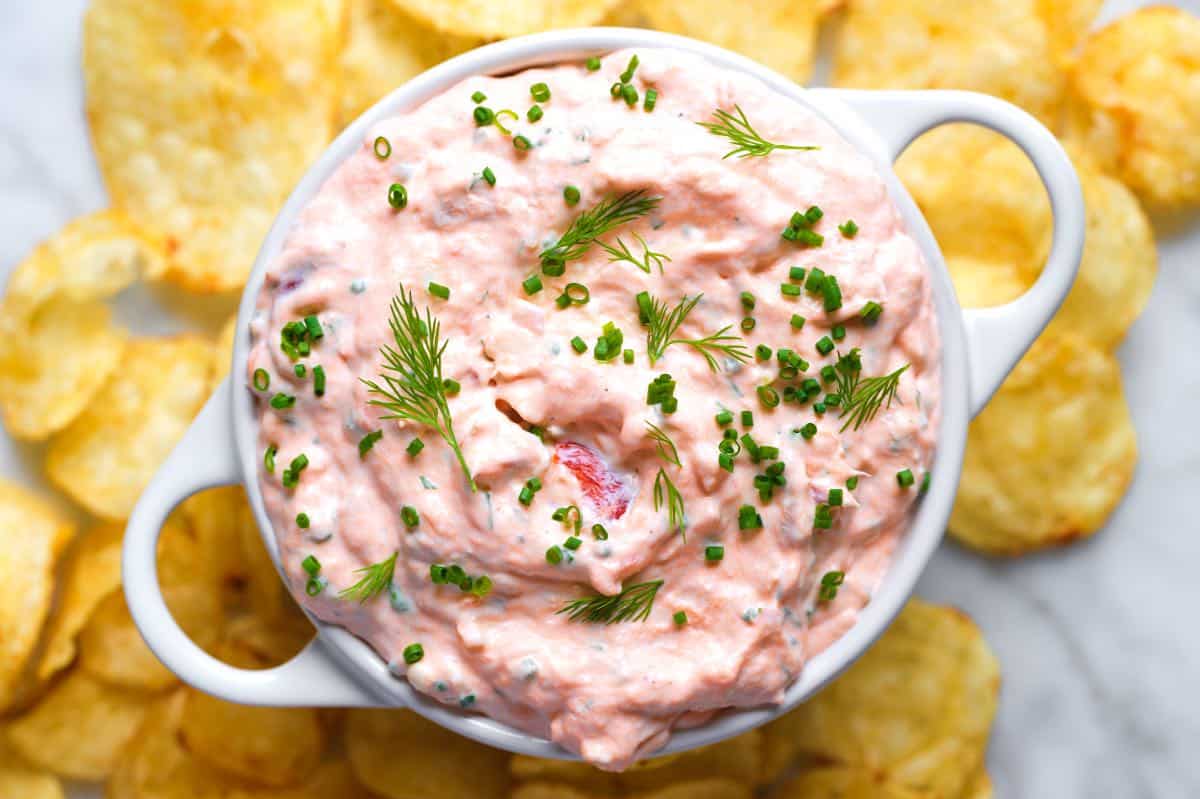
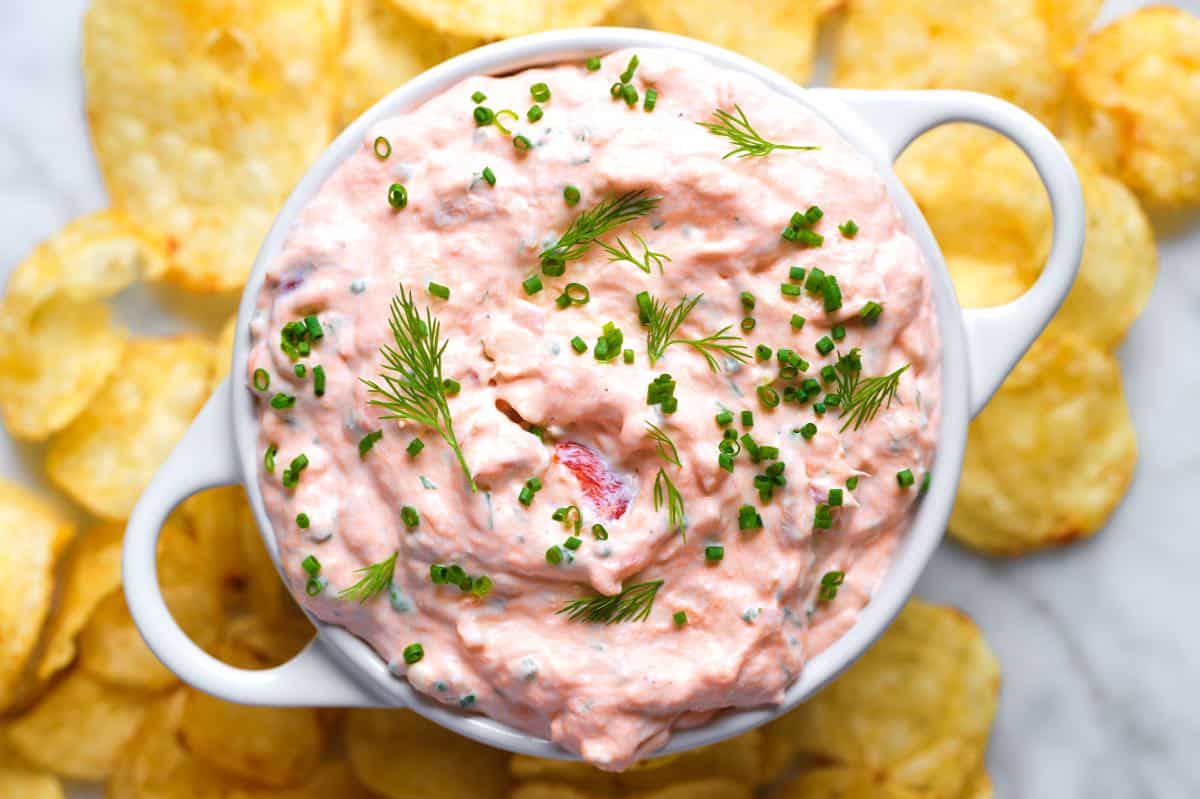
    Our smoked salmon dip recipe is incredibly creamy and delicious. I love serving it with thick potato chips, crackers, sliced bread, or even spread onto bagels.

    Smoked Salmon Dip

    We love smoked salmon and are always looking for more ways to use it. This salmon dip has quickly turned into one of my favorite recipes! It’s a knockout appetizer and works just as well for brunch with bagels!
    This never disappoints at celebrations and get-togethers, and honestly, it’s usually one of the first things to go! Get ready for everyone to ask you for the recipe. For another seafood dip, try our incredible homemade crab dip, which is just as delicious served hot as it is served cold.

    Key Ingredients

    • Hot Smoked Salmon: This is my go-to for this recipe, but you can use cold smoked salmon or gravlax (lox). It has a firm, flaky texture, and the smoky flavor pairs perfectly with the cream cheese base.
    • Cream Cheese: I use full-fat block cream cheese because it makes the dip so delicious.
    • Sour Cream and Mayonnaise: These add flavor and creaminess while lightening the texture of the cream cheese. I love using homemade mayo when I have it in the fridge. For a lighter dip, you can try substituting some of the sour cream for Greek yogurt (although, I do really love the sour cream in this recipe).
    • Shallot and Fresh Herbs: I love the light onion flavor of shallot in this dip, but use your favorite fresh herbs. I love using chives and dill, which complement the salmon well.
    • Lemon: This cuts through the heaviness of the cream cheese, sour cream, and mayo.
    • Worcestershire Sauce: This adds another layer of flavor. A little bit makes creamy dips and sauces so much better. I also use Worcestershire sauce when making homemade ranch.

    Find the full recipe with measurements below.

    Homemade Smoked Salmon Dip

    How to Make Our Favorite Smoked Salmon Dip

    Tip 1: Use hot-smoked salmon. You can make this dip with hot-smoked, cold-smoked, or cured salmon (such as gravlax or lox), but I prefer the rich, smoky flavor of hot-smoked salmon. It pairs beautifully with the creamy ingredients, adding a smoky, sweet flavor that makes this dip irresistible.

    Hot smoked salmon ready to be turned into dip

    Tip 2: Use an electric mixer. For a light, fluffy texture, whip the cream cheese with an electric hand mixer or stand mixer. This step gives our salmon dip a smooth, whipped consistency that’s perfect for dipping or spreading.

    Tip 3: Add the salmon last. Once the cream cheese is whipped, light, and fluffy, gently fold in the salmon. Mix just enough to combine. Over-mixing will break the salmon into tiny pieces, rather than leaving those delicious, flaky bits throughout the dip.

    Adding smoked salmon to stand mixer for salmon dip

    More of My Favorite Dips

    Easy smoked salmon dip with chips

    Easy Smoked Salmon Dip

    • PREP
    • TOTAL

    This is lovely served with thick potato chips, pita bread, crostini, bagel chips, veggies, and spread onto bagels. For the most flavorful, smoky dip, use hot smoked salmon, as we do in the video. For a more mild, creamy dip, use cold smoked salmon (or cured salmon). If you use cold smoked or cured salmon, finely chop the salmon into tiny bits before mixing it into the dip.

    For the most creamy and whipped texture, use a stand mixer or large mixing bowl with an electric hand mixer.

    Makes 2 1/2 cups

    Watch Us Make the Recipe

    You Will Need

    8 ounces hot smoked salmon (225g)

    1 cup (8oz) cream cheese, softened, see notes

    ½ cup sour cream (120g)

    ½ cup mayonnaise, try homemade mayo (120g)

    Heaped tablespoon minced shallot, from half a small shallot

    1 ½ teaspoons fresh lemon juice

    1 teaspoon Worcestershire sauce or Pickapeppa sauce

    5 twists fresh ground black pepper

    ⅛ teaspoon fine sea salt

    2 tablespoons finely chopped fresh chives, plus more for garnish

    1 tablespoon finely chopped fresh dill, plus more for garnish

    Directions

      1Beat the cream cheese: In a stand mixer or a large mixing bowl with an electric hand mixer, beat cream cheese on medium-low speed until creamy, 30 seconds to 1 minute.

      2Make the dip: Scrape the bottom and sides of the bowl, then add the sour cream, mayonnaise, shallots, lemon juice, Worcestershire sauce, pepper, and salt. Mix on low speed until blended.

      3Add the salmon: Flake in the salmon (do not use the skin). Mix on low speed until blended. If using cold-smoked or cured salmon, finely chop the salmon before adding it to the dip.

      4To finish: Scrape the bowl’s sides and bottom, then scatter over the chives and dill. Mix in on the lowest speed so the herbs don’t bruise. Remove from the mixer and serve with a few extra herbs sprinkled on top. We love this salmon dip served immediately, but it is even better after a night in the refrigerator.

    Adam and Joanne’s Tips

    • Storing: This will last up to 4 days in the fridge. We recommend storing it in an airtight container. Stir the dip well before serving, and consider letting it sit out for 20 minutes to warm up so it is dippable and spreadable. We do not recommend freezing salmon dip.
    • Hot smoked salmon vs. cold smoked salmon: Hot smoked salmon is smoked at a high temperature, while cold smoked salmon is cured in salt for several days. Hot smoked salmon has a firm and flaky texture and is usually sold in 4 to 8 ounces fillets. On the other hand, cold smoked salmon has a silky and delicate texture and is sold sliced, similar to gravlax.
    • Softened cream cheese: For best results, use room-temperature cream cheese to ensure it mixes well.
    • The nutrition facts provided below are estimates.

    Nutrition Per Serving
    Serving Size
    1/4 cup (about 10 servings total)
    /
    Calories
    258
    /
    Total Fat
    20.3g
    /
    Saturated Fat
    7.5g
    /
    Cholesterol
    66.7mg
    /
    Sodium
    196.3mg
    /
    Carbohydrate
    3.4g
    /
    Dietary Fiber
    0.4g
    /
    Total Sugars
    1.1g
    /
    Protein
    16.3g


    AUTHOR:

    Joanne Gallagher

    Adam and Joanne of Inspired Taste

    We are Adam and Joanne Gallagher, the creators of Inspired Taste. Established in 2009, Inspired Taste grew from a childhood dream into one of the internet’s most trusted recipe sites with hundreds of reliable recipes, step-by-step videos, and expert tips.More About Us

    Source link

  • Easy Honey Teriyaki Chicken Recipe

    Easy Honey Teriyaki Chicken Recipe

    This delicious honey teriyaki chicken recipe is naturally sweetened with fresh orange and honey, and comes together in under 30 minutes!

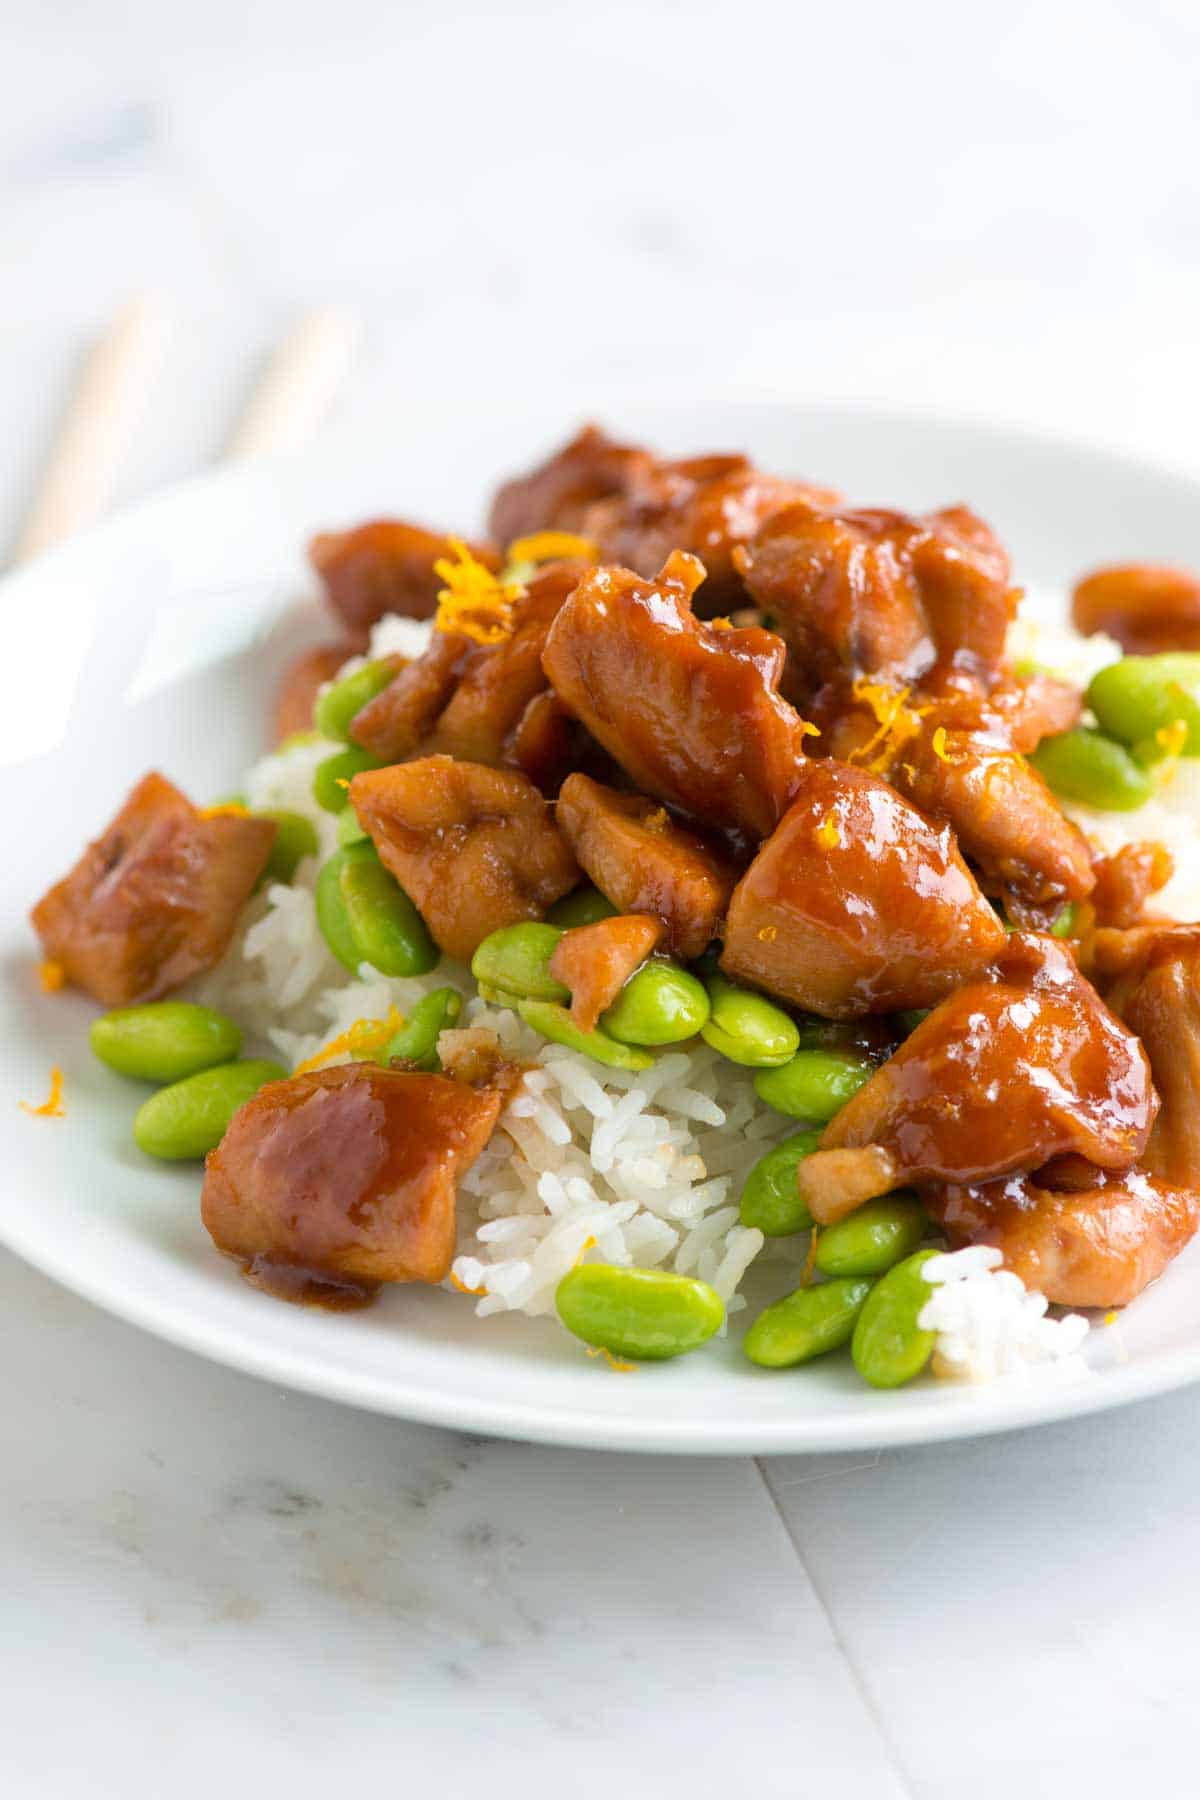
    Honey Teriyaki Chicken served over rice.

    I’m always looking for quick chicken recipes bursting with flavor, and this recipe delivers! We’ve already shared our homemade teriyaki sauce and this sticky teriyaki chicken, so if you liked those recipes, you are sure to love this spin. The sauce does double duty as a quick marinade and requires only 6 simple ingredients.

    I love serving this dish over plain white rice or, my personal favorite, coconut rice. It’s also fantastic paired with veggies like our sautéed bok choy, roasted green beans, or roasted broccoli.

    Key Ingredients

    • Chicken: I love boneless, skinless chicken thighs for this recipe. They cook quickly and turn out so juicy and tender. Feel free to substitute chicken breasts.
    • Honey: I usually use plain sugar for my homemade teriyaki sauce, but in this recipe, I swap the sugar for honey, adding a floral, sweet flavor.
    • Soy Sauce: Use light soy sauce or light tamari. Dark soy sauce or tamari will make the sauce taste too rich.
    • Orange: Another change from authentic teriyaki is using fresh orange juice to add an extra layer of flavor. Fresh squeeze is best as it usually has more of a tart flavor profile, while store-bought is typically a bit more sweet.
    • Ginger: Honey, orange, and ginger work so well that I add a tablespoon of finely grated ginger to this recipe. It makes the dish smell and taste incredible.
    • Mirin: This sweet Japanese rice wine adds flavor and gives the teriyaki sauce a beautiful luster. You can usually find it in the international aisle of larger grocery stores or Asian markets. If you can’t find it, substitutes include dry sherry, sweet marsala wine, dry white wine, or rice vinegar. You may need to add a touch more honey to the sauce when using a substitute.
    • Sesame Oil: I use toasted sesame oil, which adds a lovely, nutty aroma to the sauce.

    Find the full recipe with measurements below.

    How to Make Teriyaki Chicken

    Tip 1: Start by marinating. Whisk the marinade ingredients in a bowl (soy sauce, honey, orange juice, ginger, mirin, and sesame oil). Then, cut the chicken into bite-size pieces and toss them into the marinade. Let the chicken soak up all that flavor for 10 to 15 minutes, then move to the stove to cook it.

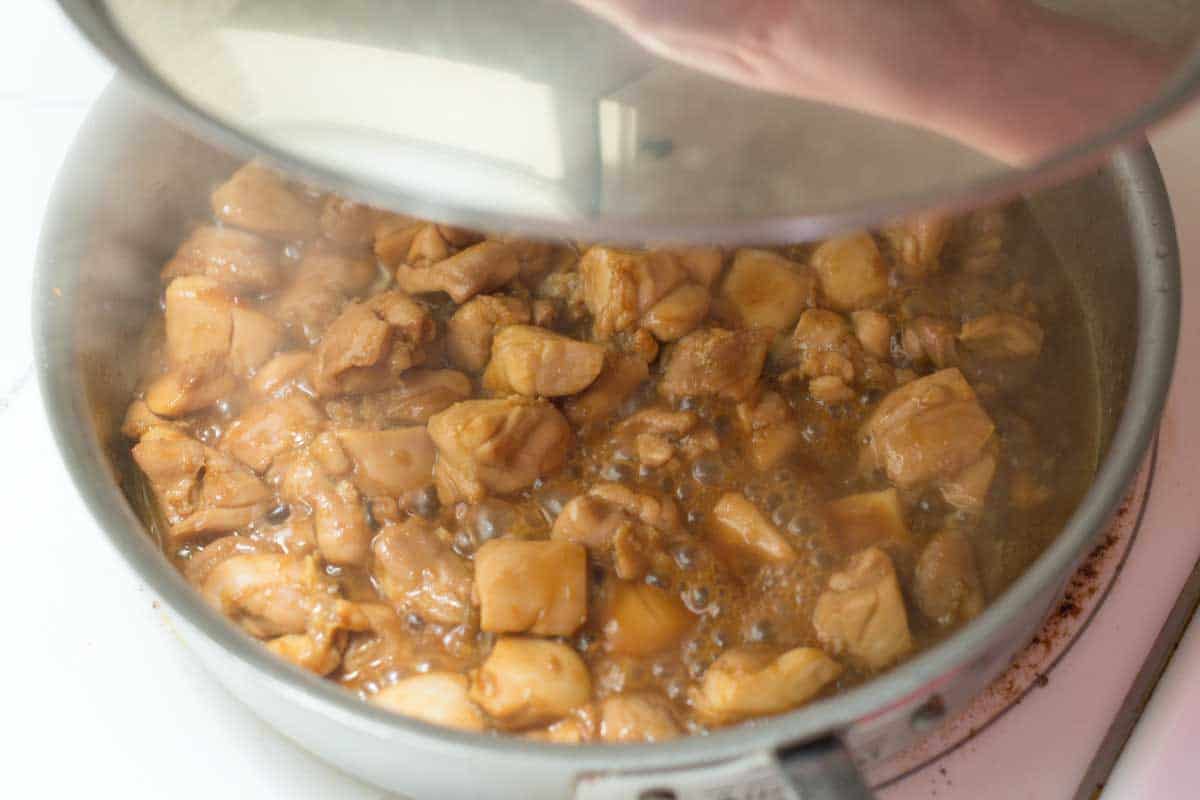
    Tip 2: Our marinade doubles as sauce. Our marinade doubles as our sauce as it cooks down, thickens, and sticks to the chicken. Use a slotted spoon to add the marinated chicken to hot oil in a pan, then cook until browned on all sides. Pour in the marinade and let everything simmer until the chicken is cooked through and the marinade thickens and clings to the chicken. Serve your chicken however you like. I especially love it over rice!

    Cooking the chicken so the honey teriyaki sauce thickens and sticks to the chicken

    More Asian-Inspired Recipes

    Honey Teriyaki Chicken

    Easy Honey Teriyaki Chicken

    • PREP
    • COOK
    • TOTAL

    You will love this quick and easy honey teriyaki chicken! The sauce is so simple and comes together in minutes. Plus, since we cut the chicken into pieces, it cooks quickly, so you can have dinner ready in no time!

    4 Servings

    You Will Need

    1/4 cup (60ml) low-sodium soy sauce

    1/3 cup (80ml) fresh squeezed orange juice, from 2 to 3 oranges

    3 tablespoons pure honey

    1 tablespoon finely grated ginger, 1-inch piece fresh ginger

    2 tablespoons mirin, see tips

    1 teaspoon toasted sesame oil

    1 1/2 pounds (680g) boneless skinless chicken thighs

    1 tablespoon avocado oil or vegetable oil

    2 teaspoons orange zest, optional

    Directions

      1Combine the soy sauce, orange juice, honey, ginger, mirin, and sesame oil in a medium bowl.

      2Cut the chicken thighs into 1-inch pieces, then add them to the marinade. Let marinade for 10 to 15 minutes.

      3Heat the oil in a large skillet or wok with a lid over medium-high heat. When the oil is hot, use a slotted spoon to remove the chicken from the marinade and place it into the pan. Save the marinade for later.

      4Cook the chicken for 2 to 3 minutes per side or until lightly browned.

      5Turn the heat to medium-low, pour in the reserved marinade, and cover the pan with a lid. Cook for 5 minutes. Remove the lid and continue to simmer until the sauce thickens and the chicken is cooked though, about 5 minutes more.

      6Serve over rice sprinkled with orange zest.

    Adam and Joanne’s Tips

    • Ginger: To grate ginger, use a fine microplane. If you don’t have one, mince the ginger very finely.
    • Mirin: This sweet Japanese rice wine adds flavor and gives the teriyaki sauce a beautiful luster. You can usually find it in the international aisle of larger grocery stores or Asian markets. If you can’t find it, substitutes include dry sherry, sweet marsala wine, dry white wine, or rice vinegar. You may need to add a touch more honey to the sauce when using a substitute.
    • The nutrition facts below are estimates.

    Nutrition Per Serving
    Serving Size
    1/4 of the recipe
    /
    Calories
    336
    /
    Total Fat
    11.7g
    /
    Saturated Fat
    2.4g
    /
    Cholesterol
    159.8mg
    /
    Sodium
    626.6mg
    /
    Carbohydrate
    21.1g
    /
    Dietary Fiber
    0.1g
    /
    Total Sugars
    18.8g
    /
    Total Protein
    34.8g


    AUTHOR:

    Adam Gallagher

    Adam and Joanne of Inspired Taste

    We are Adam and Joanne Gallagher, the creators of Inspired Taste. Established in 2009, Inspired Taste grew from a childhood dream into one of the internet’s most trusted recipe sites with hundreds of reliable recipes, step-by-step videos, and expert tips.More About Us

    Source link

  • Easy Creamy Chicken Noodle Soup Recipe

    Easy Creamy Chicken Noodle Soup Recipe

    This easy creamy chicken noodle soup recipe is ready in just 40 minutes, incredibly delicious, and turns out perfectly creamy!

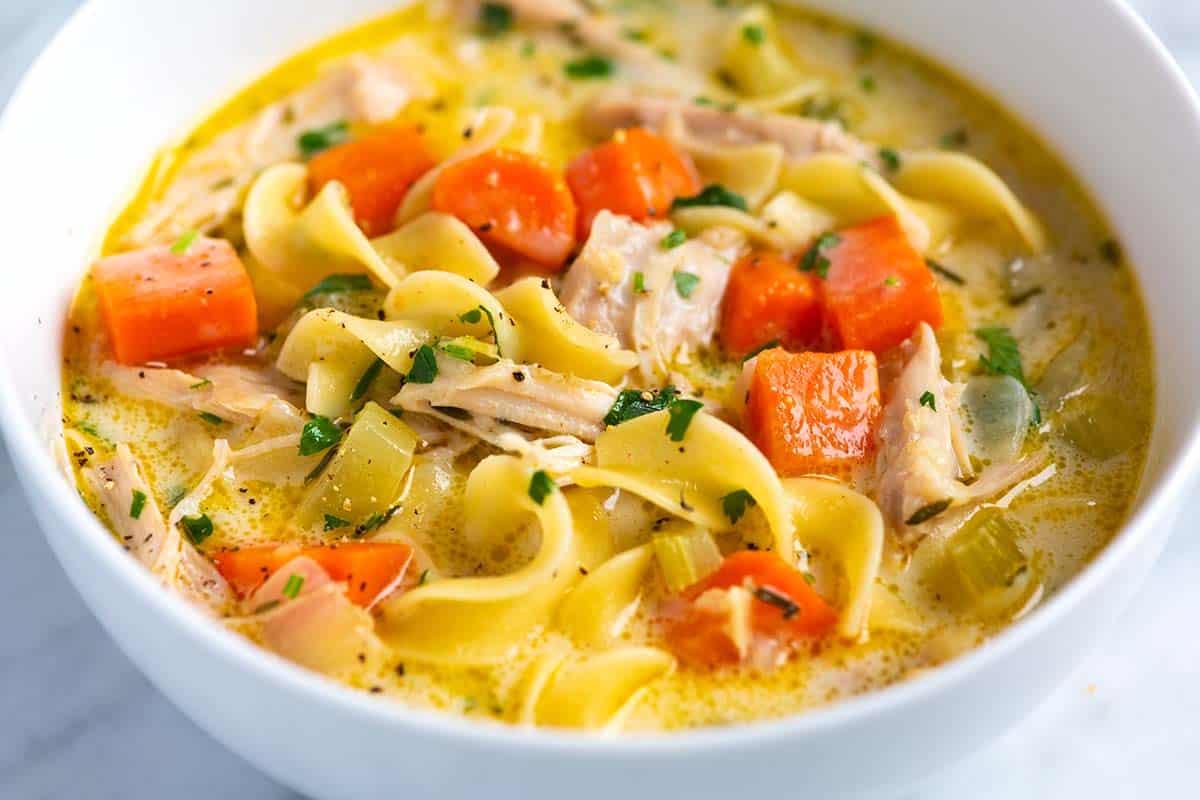
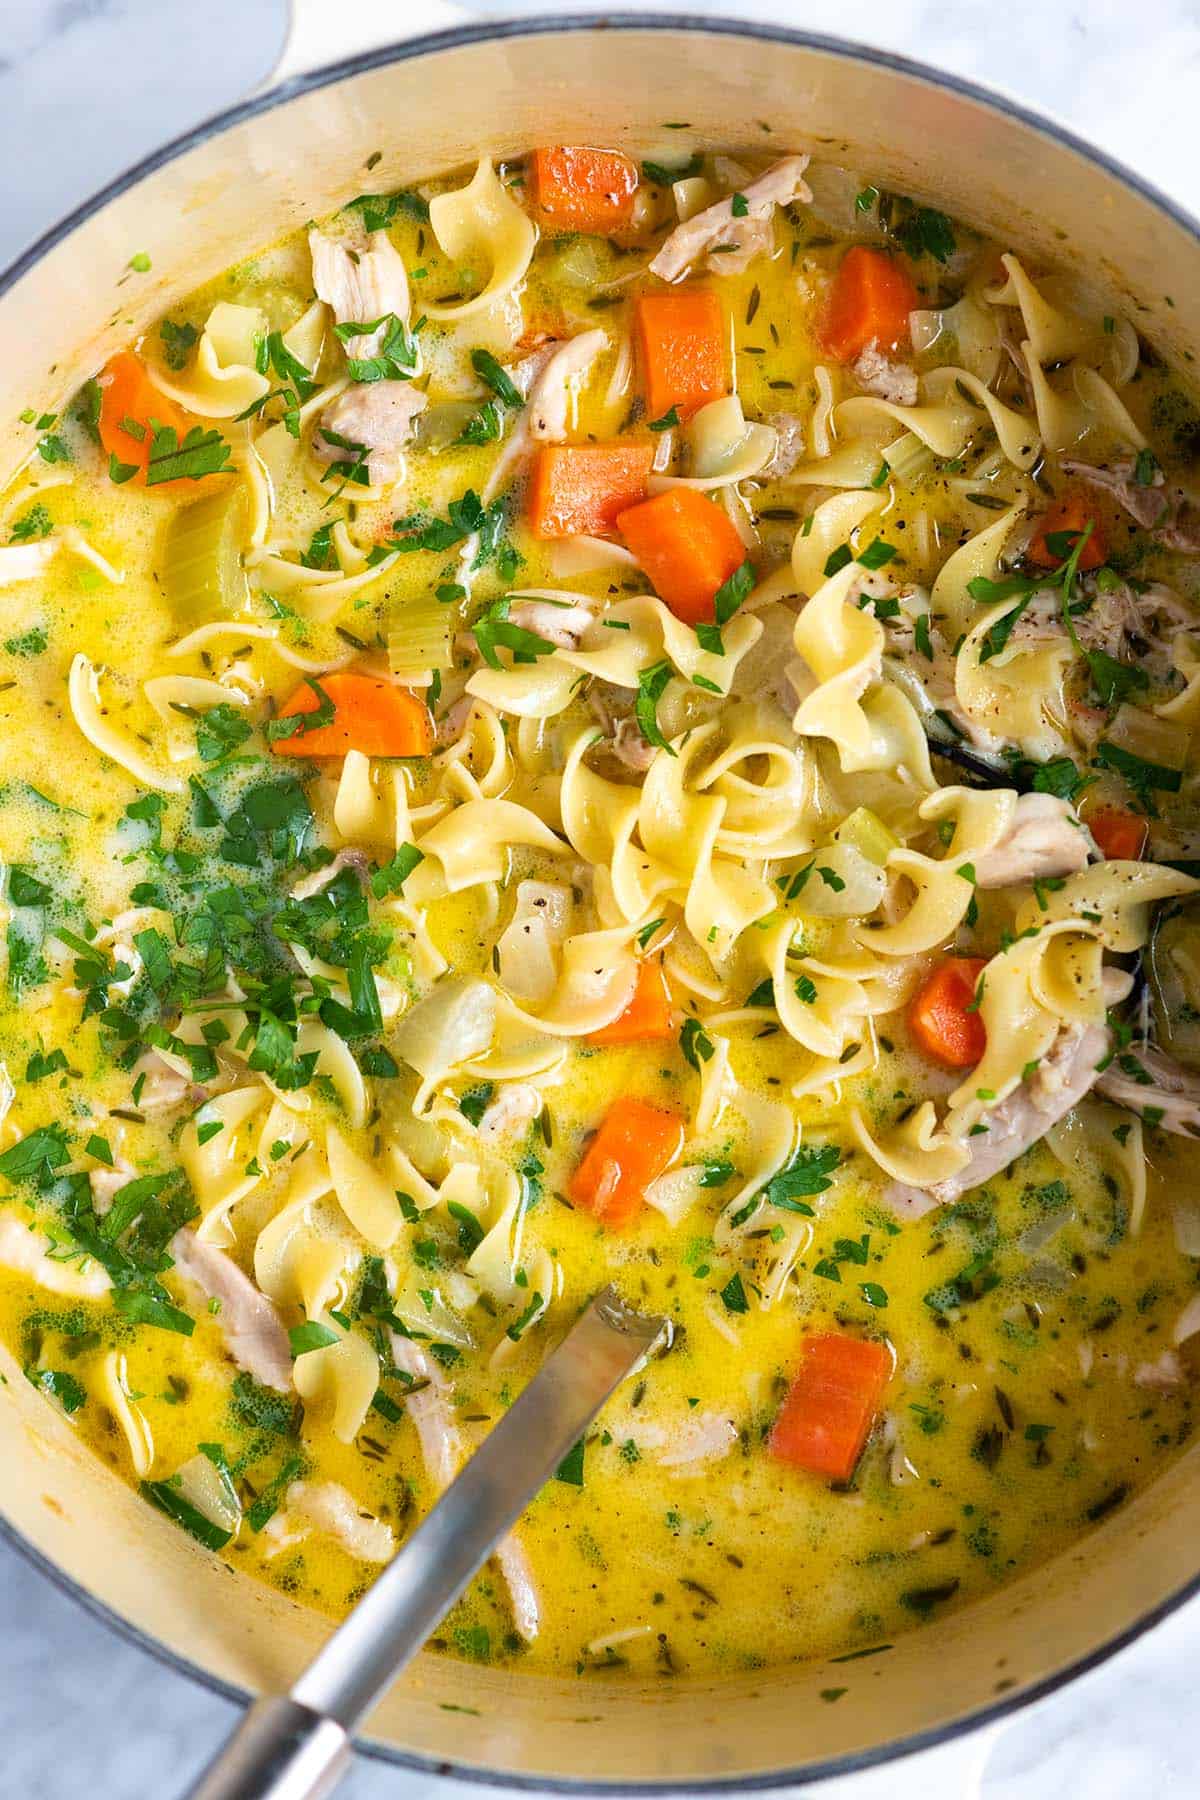
    Homemade Creamy Chicken Noodle Soup

    This is the creamy version of our popular chicken noodle soup, and it walks the line of being super silky without being too thick.

    Just like our classic, the secret to this ridiculously flavorful broth is chicken thighs, which guarantee a delicious result in under 40 minutes, with most of that time being hands-off. I usually make a double batch of this homemade creamy chicken noodle soup because it’s that good!

    Key Ingredients

    • Chicken Thighs: These are my secret for the best creamy chicken noodle soup. They have more fat and flavor than chicken breast and are almost impossible to overcook as they simmer, guaranteeing a tender texture.
    • Chicken Broth: While I recommend homemade chicken stock, store-bought chicken broth works great too. When shopping, look for darker broths or bouillon, as they typically have a richer flavor. Bone broth is a great option as well!
    • Flour and Cream: A bit of flour helps thicken the soup, while a splash of cream adds richness and creaminess. Don’t substitute milk for the cream. I learned the hard way that milk can curdle and won’t give you the same richness. Half-and-half is the next best option if you’re out of cream.
    • Egg Noodles: I love them, but feel free to substitute your favorite pasta.
    • Veggies: I keep it simple and classic with onion, celery, carrots, and garlic. The same combination we use when making chicken pot pie.
    • Herbs: Thyme, bay leaves, and parsley are all classic flavors for chicken soup.

    Find the full recipe with measurements below.

    A Pot of Homemade Creamy Chicken Noodle Soup

    How to Make the Best Creamy Chicken Noodle Soup

    Tip 1: Start your veggies in butter. I always sweat my veggies in butter before adding any broth. I’m not looking to brown them. I want to give them a head start before adding the broth, so they are sweet in the soup.

    Tip 2: Use flour to thicken the soup. I don’t really enjoy thick soup, but I love using a little bit of flour (just 3 tablespoons) to make the broth more silky. It works like a charm!

    Tip 3: Poach the chicken in the broth. Instead of starting with a whole chicken, we use chicken thighs, which flavor our soup and turn out soft and tender when cooked. When you are happy with the broth, add the chicken thighs. Then, gently poach them in the broth. It takes about 20 minutes! This is the same method I use when making shredded chicken.

    Tip 4: Finish with the noodles and cream. To prevent your noodles from overcooking, add them towards the end of the cooking process. Then finish with a generous splash of cream and plenty of fresh parsley.

    More Creamy Soup Recipes

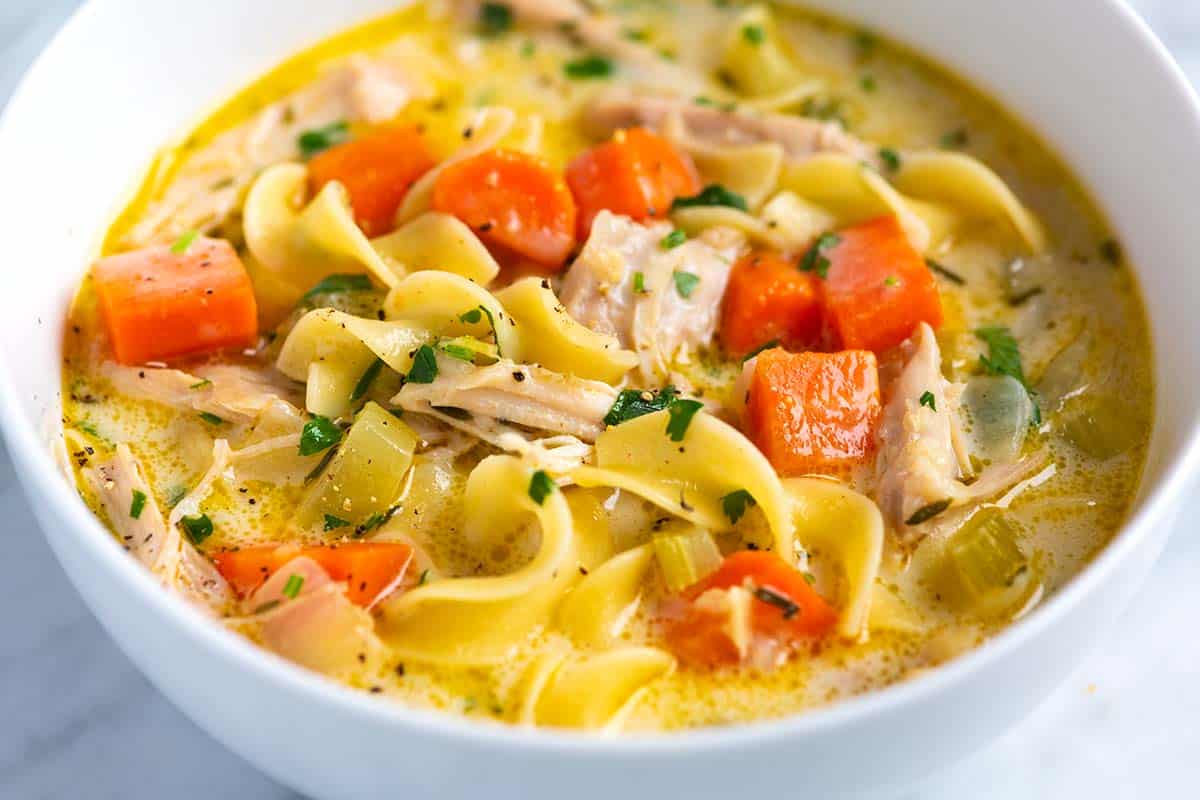
    A Bowl of Creamy Chicken Noodle Soup

    Easy Creamy Chicken Noodle Soup

    • PREP
    • COOK
    • TOTAL

    This creamy chicken noodle soup is easy to make and ready in under 45 minutes. My family loves this soup because it’s so incredibly delicious and perfectly creamy without being too thick. For the original, see our Classic Chicken Noodle Soup.

    4 to 5 Servings

    Watch Us Make the Recipe

    You Will Need

    1 pound skinless, boneless chicken thighs (450g)

    3 tablespoons butter, chicken fat, or olive oil (42g)

    1 large onion, chopped

    2 large carrots, chopped

    2 ribs celery, chopped

    Heaped tablespoon minced garlic, 4 cloves

    3 tablespoons all-purpose flour

    2 bay leaves

    3 sprigs fresh thyme or use 1/2 teaspoon dried thyme

    6 cups chicken stock, try homemade chicken stock

    5 ounces egg noodles

    1/4 cup heavy cream, plus more as needed (60ml)

    1/4 cup fresh parsley, finely chopped

    Salt and pepper, to taste

    Pinch or two crushed red chili peppers, optional for heat

    Directions

      1Cook veggies: Melt butter in a large pot or Dutch oven over medium heat. Add the onions, carrots, celery, and garlic. Cook, stirring every few minutes, until the vegetables begin to soften, 5 to 6 minutes.

      2Make a roux: Stir in the flour and cook, stirring it around the pan, for about 2 minutes.

      3Prepare the broth: Add the thyme and bay leaves, then continue to stir while pouring in the chicken stock. Bring the soup to a low simmer, then taste it and adjust the seasoning with salt and pepper as needed. Depending on the stock used, you may need to add one or more teaspoons of salt.

      4Poach the chicken: Submerge the chicken thighs in the soup so that the broth covers them. Bring the soup back to a low simmer, then partially cover the pot with a lid and cook, stirring occasionally, until the chicken thighs are cooked through and tender, about 20 minutes. Transfer the cooked chicken to a plate to cool for a minute. If the broth seems low, add a bit more stock or use water and reduce the heat a little.

      5Add the noodles: Stir the noodles into the soup and cook until done, 6 to 10 minutes, depending on the type of noodles used.

      6Shred the chicken: While the noodles are cooking, shred the chicken into strips or dice it into cubes.

      7Finish and serve: Slide the chicken back into the pot. Add the cream and parsley, then taste the soup once more. Adjust with more salt and pepper, as needed. We enjoy this soup with a generous amount of pepper or a pinch of crushed red peppers stirred in.

    Adam and Joanne’s Tips

    • Leftovers: Store in an airtight container in the fridge for 3 to 4 days. The noodles soak up the soup broth as it sits. When reheating, add a splash of extra chicken stock or water if you don’t have any.
    • Freezing: Freeze for up to 3 months. The noodles don’t fare too well when frozen. If you plan on freezing the soup, remove the portion you plan to freeze before adding the noodles. Freeze the broth, chicken, and vegetables. When you are ready to reheat the soup, add dried noodles to it and simmer until done.
    • Seasoning: If you feel the soup lacks some zing, add more salt. You can add flavor with a dash of fish sauce (we often use this trick for store-bought stocks and broths) or Worcestershire sauce.
    • Gluten-free option: Skip the flour altogether. At the end of the recipe, just before you stir in the chicken, parsley, and cream, whisk 1 tablespoon cornstarch with 2 tablespoons water and then whisk into the soup. Bring the soup to a simmer, and when it has thickened slightly, continue with the recipe as normal and add the chicken, cream, and parsley.
    • The nutrition facts provided below are estimates.

    Nutrition Per Serving
    Serving Size
    1/5 of the recipe
    /
    Calories
    381
    /
    Total Fat
    18.8g
    /
    Saturated Fat
    5.1g
    /
    Cholesterol
    129.3mg
    /
    Sodium
    719.3mg
    /
    Carbohydrate
    22.2g
    /
    Dietary Fiber
    2.6g
    /
    Total Sugars
    3.8g
    /
    Protein
    32.3g


    AUTHOR:

    Joanne Gallagher

    Adam and Joanne of Inspired Taste

    We are Adam and Joanne Gallagher, the creators of Inspired Taste. Established in 2009, Inspired Taste grew from a childhood dream into one of the internet’s most trusted recipe sites with hundreds of reliable recipes, step-by-step videos, and expert tips.More About Us

    Source link

  • Easy Italian Pasta Salad Recipe

    Easy Italian Pasta Salad Recipe

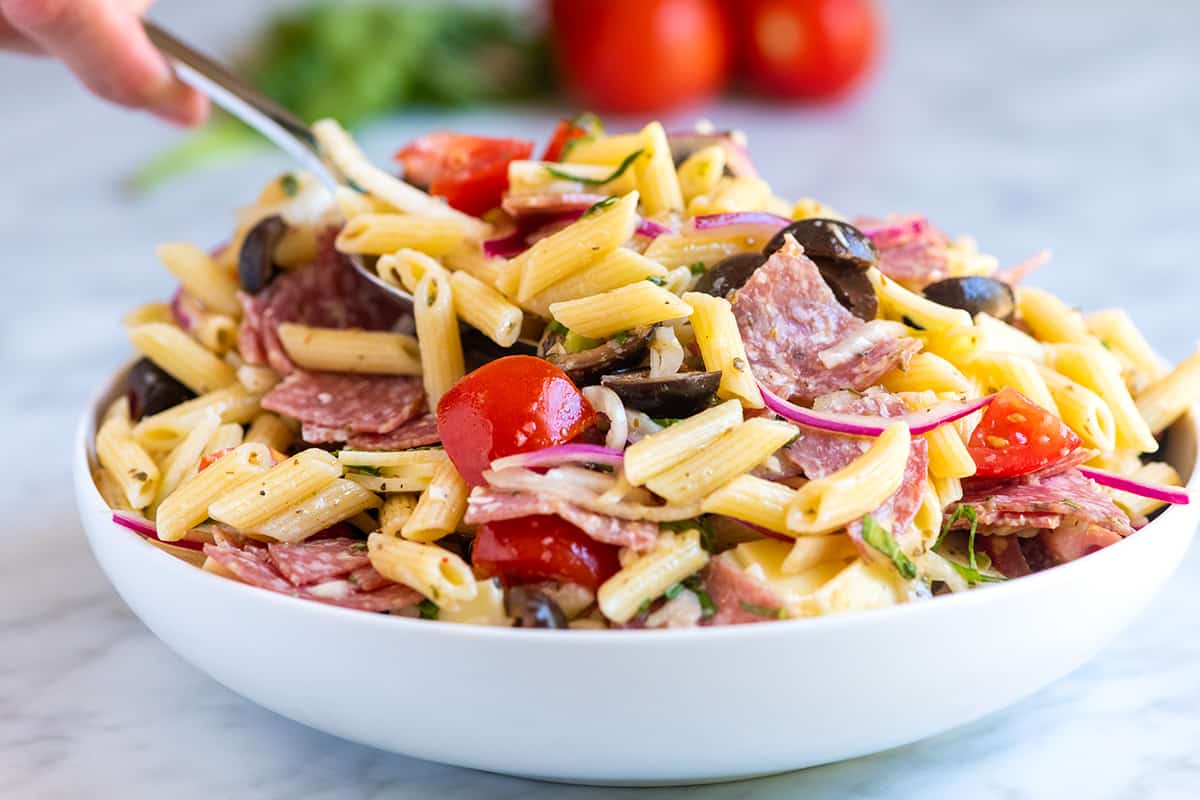
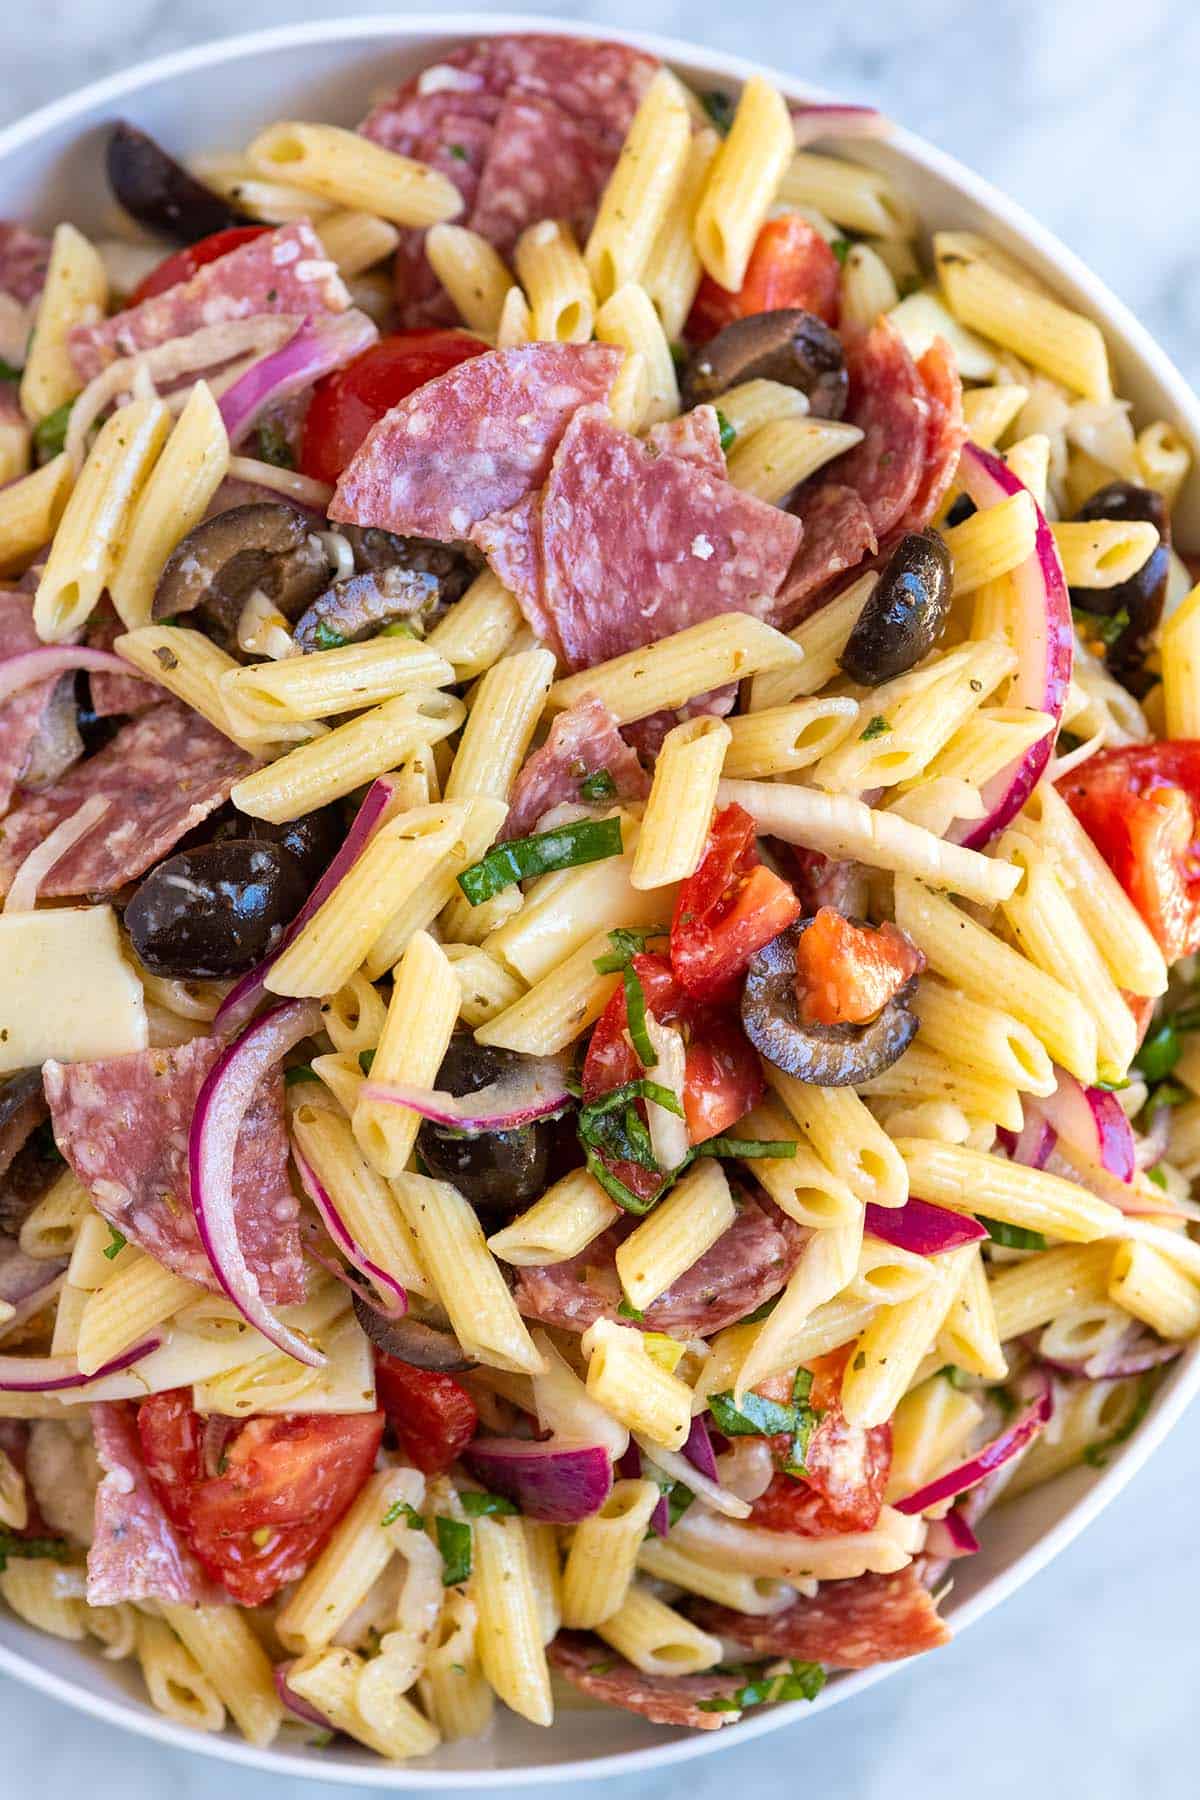
    Our Italian pasta salad recipe has a fresh and flavorful dressing, two kinds of cheese, salami, olives, and the perfect blend of Italian herbs. Take one bite, and you won’t be able to stop!

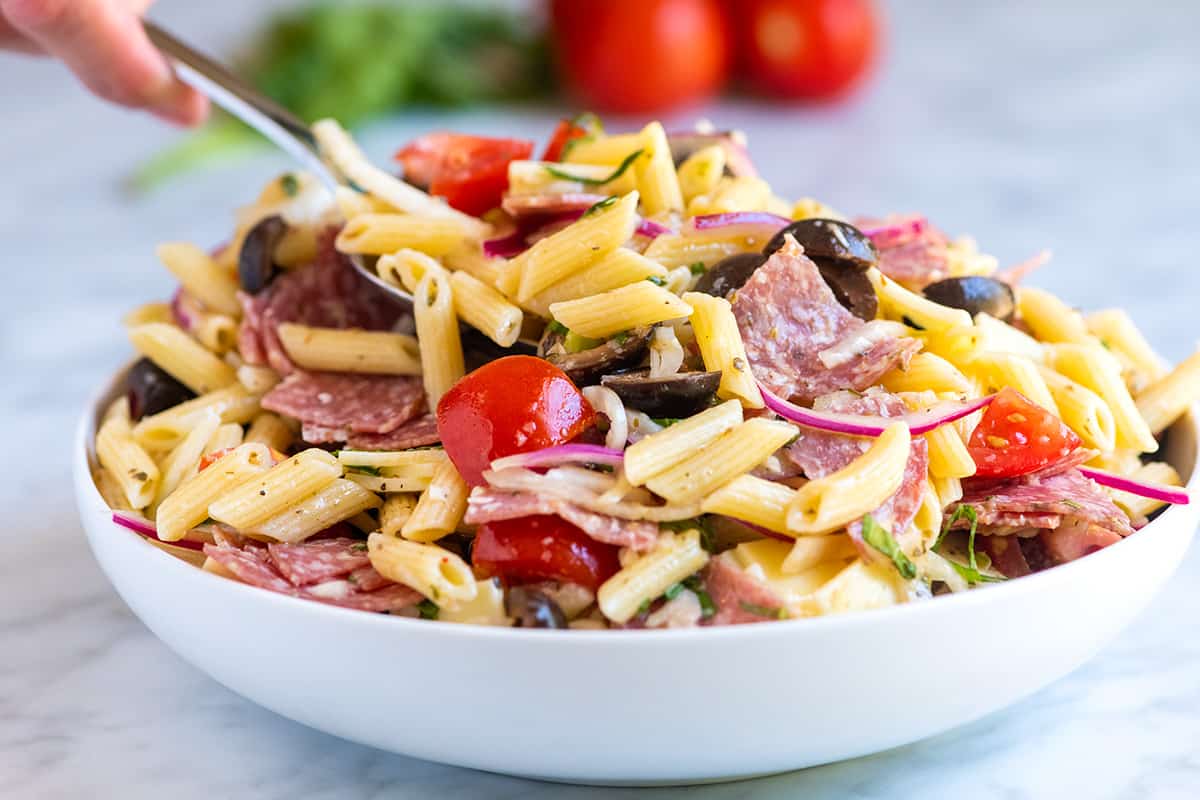
    A bowl of Italian pasta salad

    Just like our easy pasta salad, we pack in as many textures and flavors to this Italian-inspired salad as we can. There’s not one, but two kinds of cheese, salami, briny olives, fresh tomatoes, and a generous handful of fresh basil. (If you love briny salads, take a look at this briny Greek pasta salad made with the brine from a jar of pepperoncini peppers.)

    The dressing is a winner, too. It’s not all that different from the dressing we use for the other pasta salad, with the exception of an extra pop of flavor from lemon juice, Dijon mustard, and minced garlic.

    Key Ingredients

    • Pasta: Choose hearty pasta shapes like penne, fusilli, rotini, and farfalle (bow tie). They also have the advantage of lots of nooks and crannies, which trap the dressing and bits of cheese.
    • Red Onion, Tomatoes, and Basil: I love red onion for its bite and tomatoes and basil for their freshness.
    • Salami and Cheese: I love a sweeter salami in this, but for a spicy option, use pepperoni. For the cheese, use shredded parmesan and provolone. The parmesan is salty and the provolone is creamy.
    • Olives: I used black olives in the photos, but feel free to substitute green olives or Kalamata olives. They all add a salty, briny flavor.
    • Italian Salad Dressing: This pasta salad’s dressing is inspired by our homemade Italian dressing. It’s bright, herby, and much better than anything you can buy at the store.

    How to Make Italian Pasta Salad

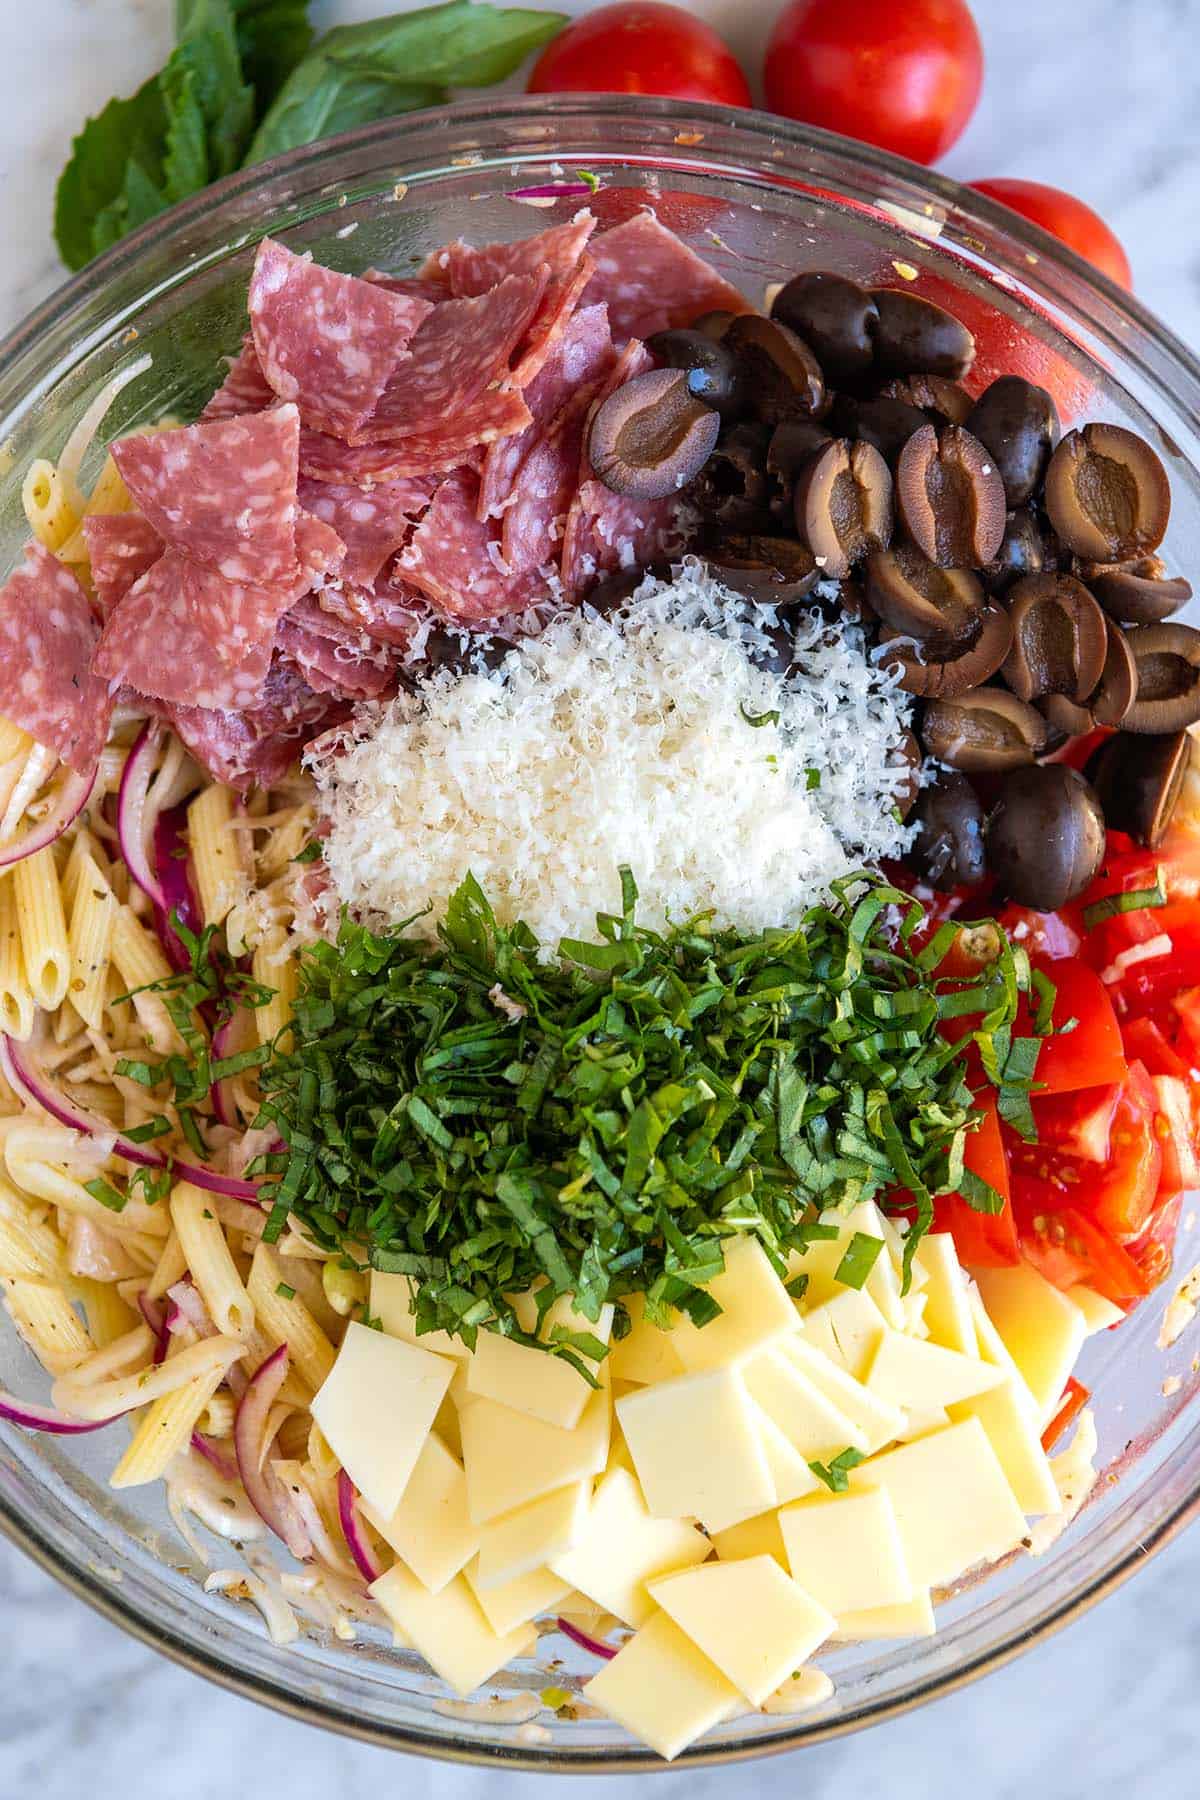
    We’ve got a few pasta salad recipes already on Inspired Taste so you might be wondering why we needed another one, but trust me, this hearty salad with salami and cheese is a keeper. It’s super simple to make, too! Whisk the dressing ingredients together in the bottom of a big serving bowl, then pile in everything else.

    Italian Pasta Salad Ingredients -- Pasta, cheese, basil, tomatoes, onions, olives

    Letting the salad sit in the dressing for a while makes a huge difference in flavor. We take the same approach when making potato salad. Make pasta salad and keep it in the fridge for up to 5 days.

    Italian Pasta Salad with salami, tomatoes, and cheese

    Easy Italian Pasta Salad

    • PREP
    • COOK
    • TOTAL

    Italian pasta salad made with a fresh and flavorful dressing, two kinds of cheese, salami, olives, and the perfect blend of Italian herbs. Take one bite of this pasta salad, and you won’t be able to stop.

    Start with a hearty pasta shape that has nooks and crannies to hold onto the dressing like penne or rotini. We love adding parmesan cheese, which melts into the dressing as well as provolone cheese and salami, but you can always adjust the ingredient list based on your favorite Italian cheeses and meats.

    6 Servings

    You Will Need

    Pasta Salad

    8 ounces dried pasta like penne, fusilli or rotini

    1/2 medium red onion, thinly sliced

    4 ounces sliced provolone cheese, cut into 1-inch pieces

    1/3 cup finely grated parmesan cheese

    4 ounces Italian-style salami, sliced and quartered

    6 ounces tomatoes, chopped, about 1 cup

    1 cup olives, pitted and halved

    1/4 cup fresh basil leaves, chopped


    Salad Dressing

    1/4 cup (60ml) extra-virgin olive oil

    1/4 cup (60ml) fresh lemon juice

    2 tablespoons (30ml) red wine vinegar

    1 small garlic clove, finely grated or minced, about 1/2 teaspoon

    1 teaspoon Dijon mustard

    1 teaspoon honey

    1 teaspoon dried oregano

    1 teaspoon chopped fresh thyme or use 1/4 teaspoon dried thyme

    1/2 teaspoon fine sea salt plus more to taste

    1/2 teaspoon fresh ground black pepper

    Directions

      1Place the sliced onion into a small bowl and cover with cold water. Set the bowl aside for 10 minutes so that the raw flavor on the onion calms a little. Drain, and then rinse the onions before adding them to the salad.

      2Bring a large pot of salted water to a boil. Add pasta and cook until tender, 6 to 10 minutes (check the package for recommended cook time). Drain and rinse well under cold water.

      3While the pasta cooks, in the bottom of a large bowl, make the dressing. Whisk the olive oil, lemon juice, red wine vinegar, garlic, mustard, honey, oregano, thyme, salt, and black pepper together until well blended.

      4Add the drained and rinsed pasta to the dressing and mix well.

      5Stir in the drained and rinsed red onion, provolone cheese, parmesan cheese, salami, tomatoes, olives, and basil.

      6Taste for seasoning and adjust with salt and pepper as needed. Serve or for the best results, cover and refrigerate for at least 30 minutes and up to 5 days.

    Adam and Joanne’s Tips

    • Pasta salad gets better and better over time so making it a day in advance is a great idea.
    • The nutrition facts provided below are estimates.

    Nutrition Per Serving
    Serving Size
    1/6 of the recipe
    /
    Calories
    424
    /
    Total Fat
    24.4g
    /
    Saturated Fat
    7.8g
    /
    Cholesterol
    33.3mg
    /
    Sodium
    743.5mg
    /
    Carbohydrate
    37.1g
    /
    Dietary Fiber
    2.7g
    /
    Total Sugars
    4.6g
    /
    Protein
    14.9g


    AUTHOR:

    Joanne Gallagher

    Adam and Joanne of Inspired Taste

    We are Adam and Joanne Gallagher, the creators of Inspired Taste. Established in 2009, Inspired Taste grew from a childhood dream into one of the internet’s most trusted recipe sites with hundreds of reliable recipes, step-by-step videos, and expert tips.More About Us

    Source link

  • Easy Sautéed Brussels Sprouts Recipe

    Easy Sautéed Brussels Sprouts Recipe

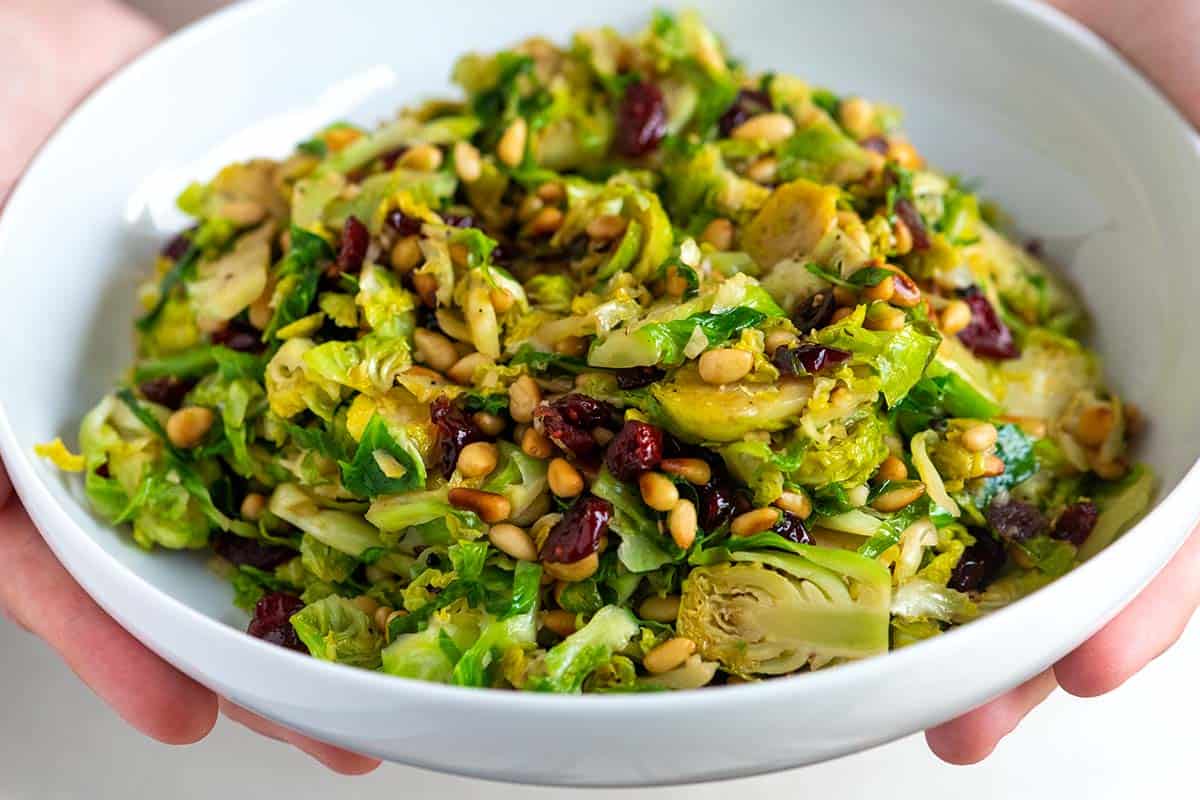
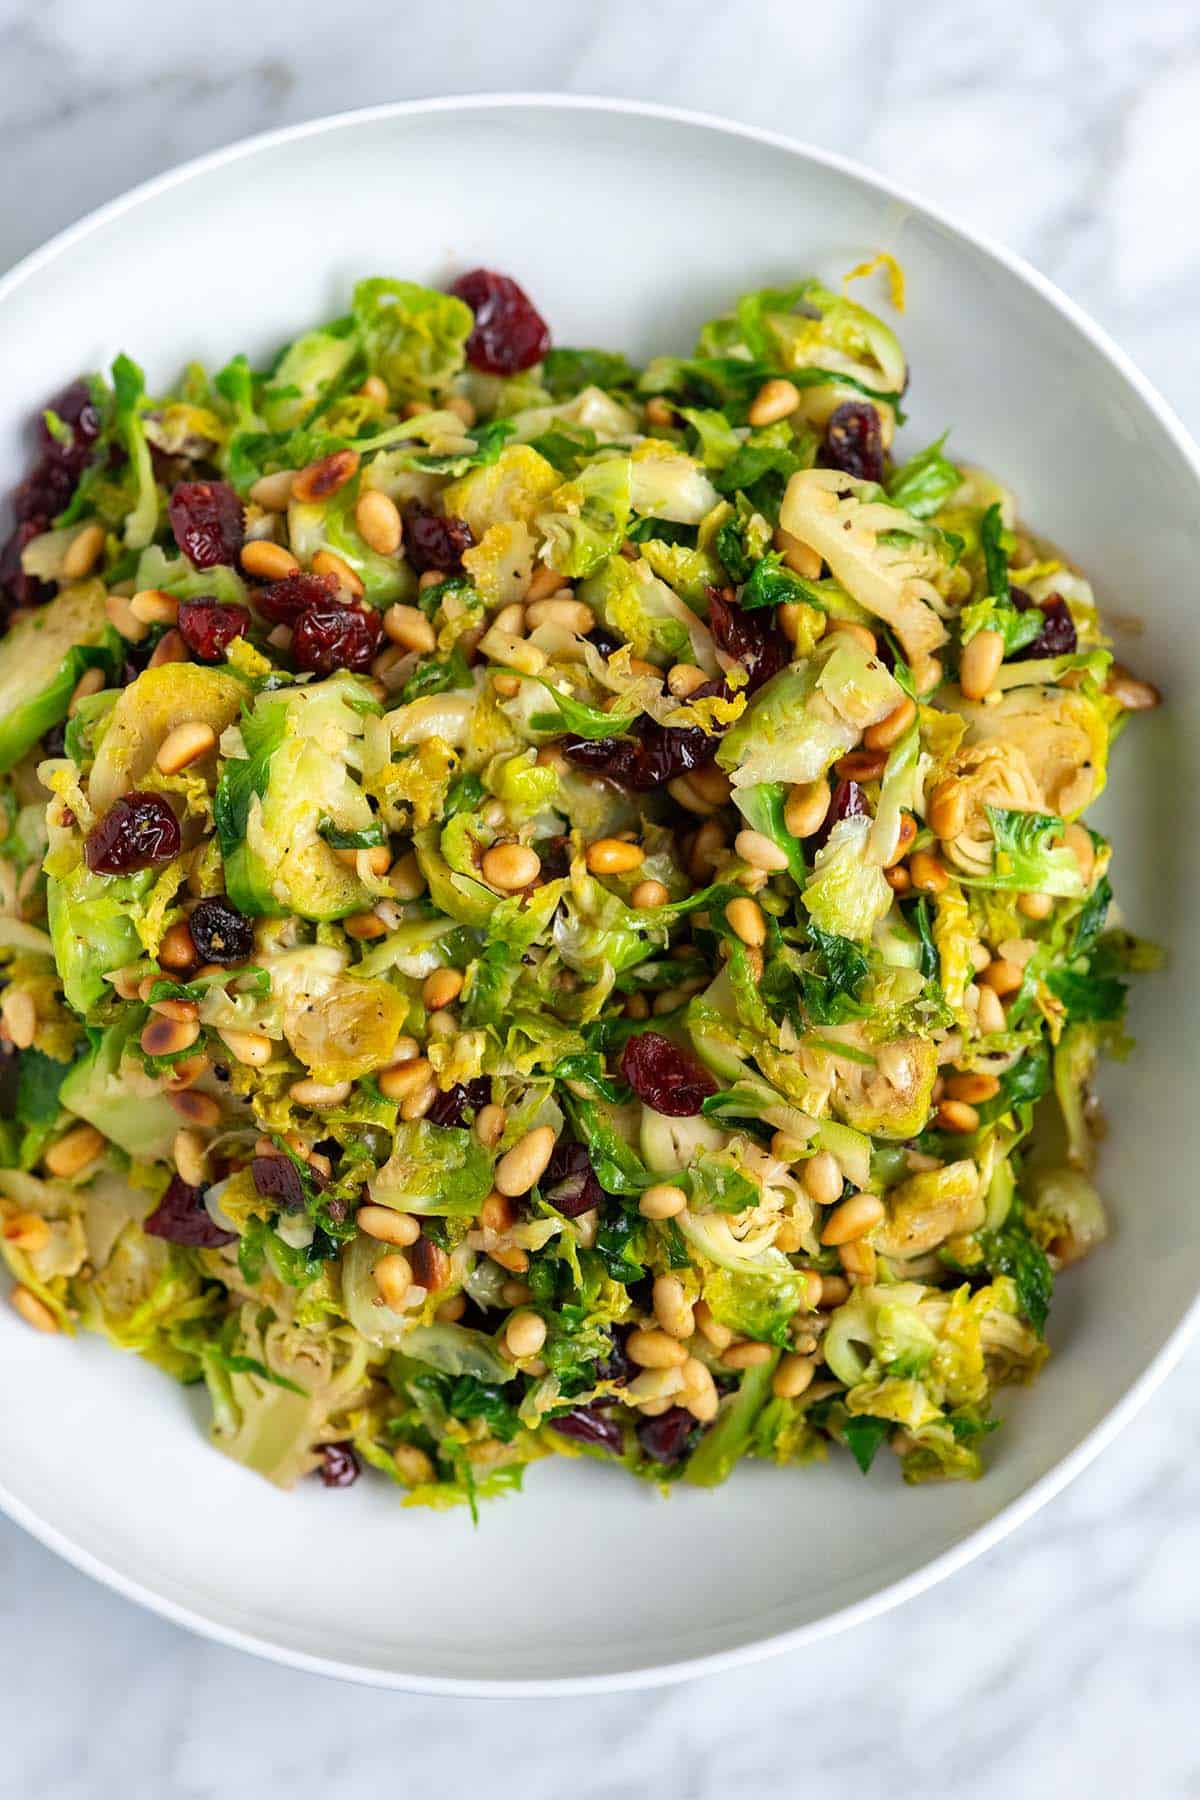
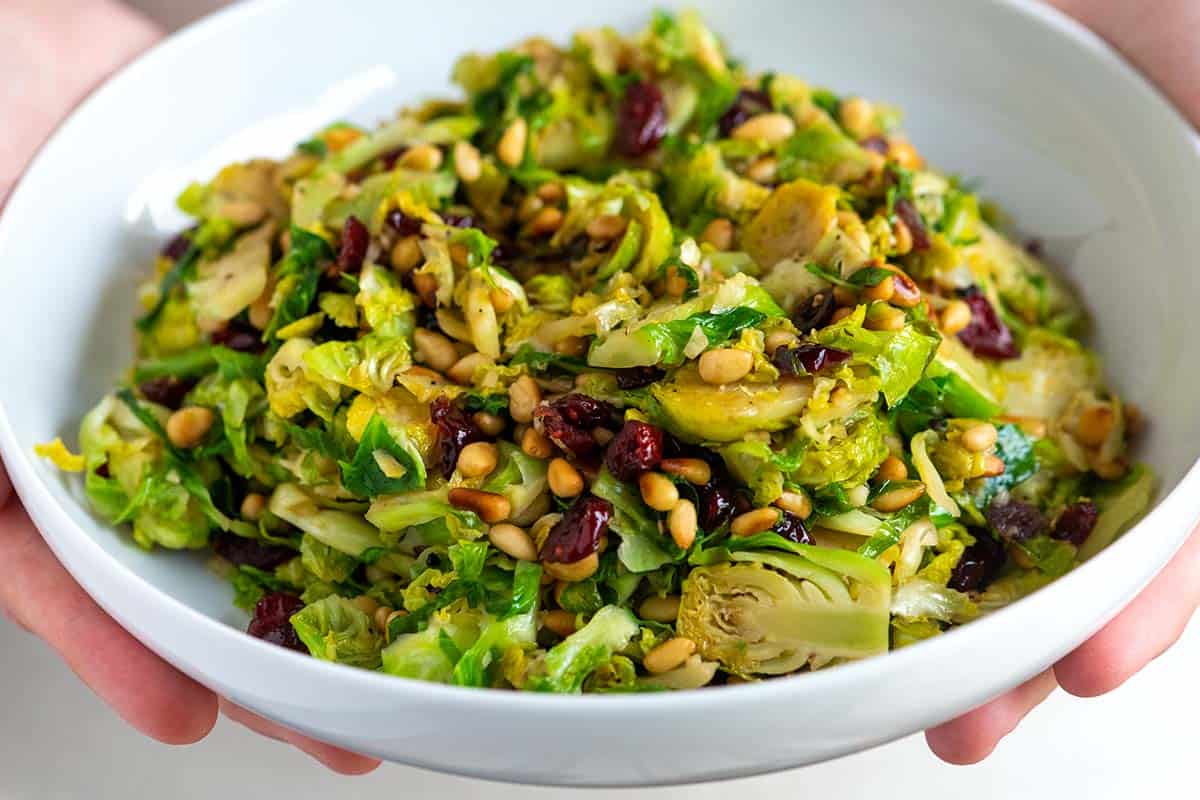
    This is one of my favorite recipes for Brussels sprouts! This sautéed Brussels sprouts recipe with balsamic and garlic is quick, easy, and incredibly delicious.

    Sautéed Brussels Sprouts

    If you’ve never tried sauteing Brussels sprouts, you’re in for a treat. Shredding them helps them cook quickly in the pan, making them tender and sweet. Then, we’ll take them to the next level with garlic, balsamic vinegar, dried cranberries, and toasted nuts. The combination is irresistible!

    Looking for more ways to enjoy Brussels sprouts? Check out our roasted Brussels sprouts. It’s another family favorite!

    Key Ingredients

    • Brussels Sprouts: Look for firm sprouts with vibrant green, tightly packed leaves. Avoid any with yellowing or wilted leaves. You can use loose sprouts, those still attached to the stalk, or even pre-shredded bags for convenience.
    • Olive Oil or Butter: I love using butter for this recipe, but you can substitute it with your favorite cooking oil if you prefer.
    • Garlic: I’m pretty generous and use 3 cloves, but feel free to decrease or increase depending on your taste.
    • Balsamic Vinegar: Look for good-quality, thick balsamic vinegar, as we will drizzle it over the shaved sautéed sprouts just before serving.
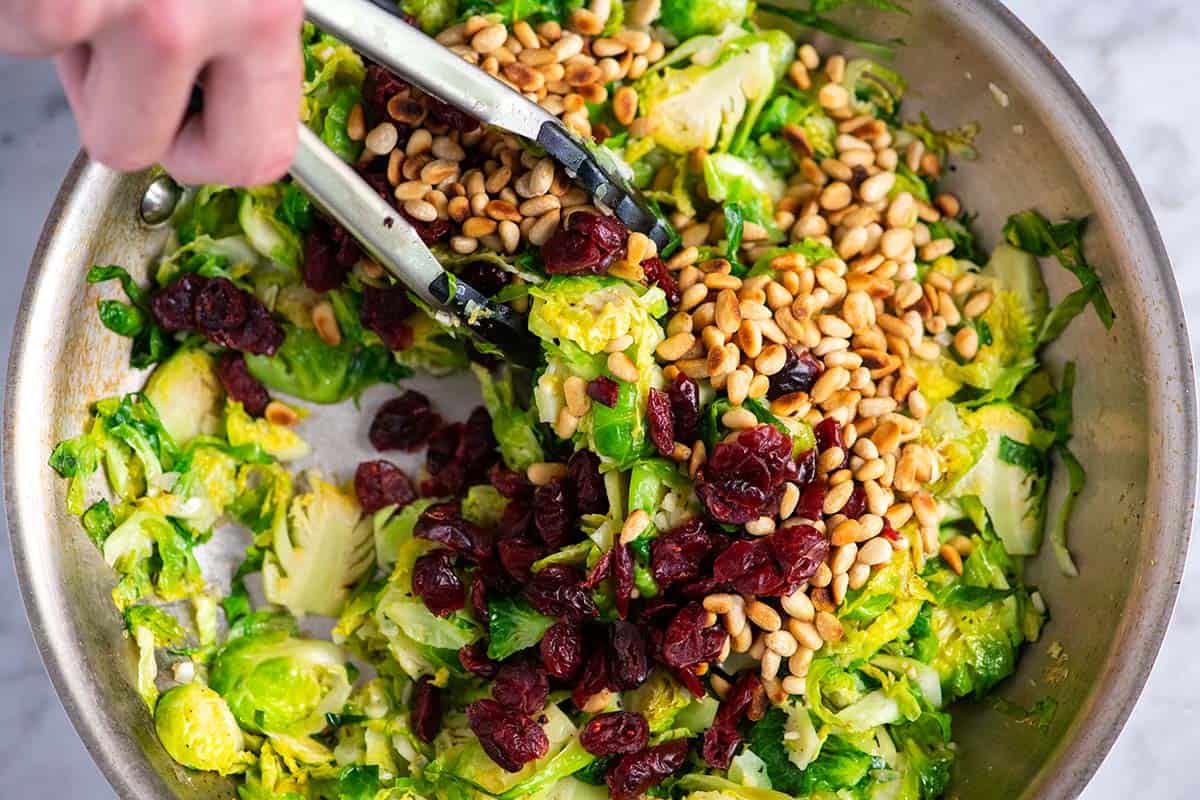
    • Dried Cranberries and Nuts: I love the chewy texture and sweetness that dried fruit adds to this dish. Dried cranberries and pine nuts are pictured, but feel free to get creative! Dried cherries, chopped apricots, or golden raisins would all be delicious. Toasted pine nuts are my go-to, but pecans, walnuts, or almonds would be fantastic. Toasted sunflower or pumpkin seeds make a great substitute if you need to keep the dish nut-free.

    Find the full recipe with measurements below.

    How to Make Sautéed Brussels Sprouts

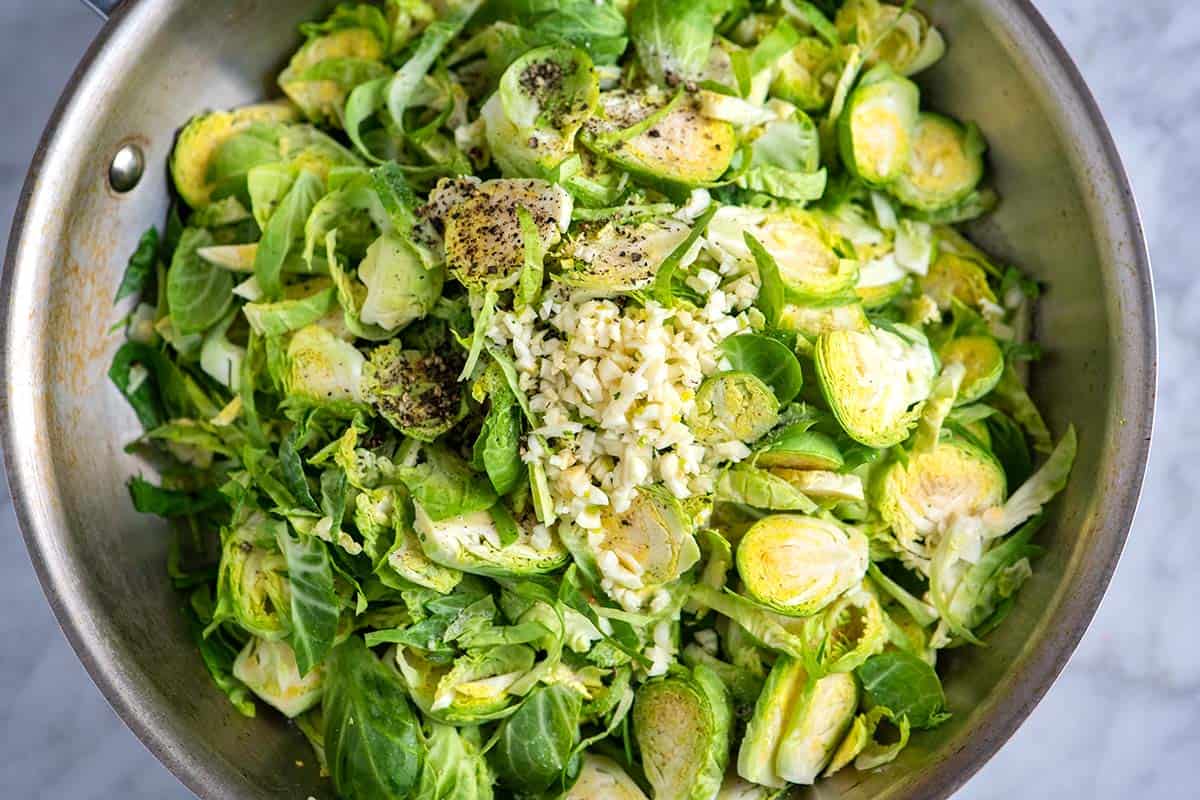
    Tip 1: Shred your sprouts. This recipe is incredibly versatile! It is easy enough for a weeknight dinner and doubles as one of my favorite holiday side dishes. I love shredding them because they cook quickly and evenly, like when I make our popular sautéed cabbage.

    To shred them, remove any tattered, tough, or bruised outer leaves. Then, you have two options: either slice the sprouts into thin discs or cut them in half lengthwise and then slice them crosswise.

    Cooking shredded Brussels sprouts with garlic and butter.

    Tip 2: Cook in butter. Heat your favorite cooking fat (I’m partial to butter) in a large skillet over medium heat. Add the shredded sprouts, minced garlic, and a pinch of salt and pepper to the pan.

    Tip 3: Caramelize your sprouts. As they cook, stir them occasionally until they become wilted, tender, and slightly caramelized. At first, it might look like there’s too much in the pan, but don’t worry! The sprouts will wilt down significantly, just like when sautéing spinach.

    Tip 4: Add some texture. When the sprouts are vibrant green, and a few shreds have started to turn light brown, toss in the balsamic vinegar, dried fruit, and nuts.

    Stirring in dried cranberries and pine nuts

    Serving Suggestions

    If you’re a fan of sautéed veggies, be sure to explore some of our other delicious recipes! Our easy sautéed zucchini is garlicky and perfect for a quick weeknight meal. For a simple and elegant side dish, try our garlic butter sautéed green beans. And don’t miss our easy sautéed kale.

    Sautéed Brussels Sprouts with balsamic vinegar and garlic

    Easy Sautéed Brussels Sprouts

    • PREP
    • COOK
    • TOTAL

    This easy recipe is delicious. As the sprouts cook in the pan, they wilt down, turn tender, and become sweet. We love a combination of dried cranberries and pine nuts for this, but other dried fruit and nuts (or seeds) work.

    *Use a good-quality, thick balsamic vinegar or a balsamic glaze for this recipe.

    4 to 6 Servings

    You Will Need

    1 pound (450g) Brussels sprouts

    2 tablespoons butter or olive oil

    3 medium garlic cloves, minced, 1 tablespoon

    1/2 teaspoon fine sea salt or more to taste

    1/2 teaspoon fresh ground black pepper

    1 tablespoon good-quality, thick balsamic vinegar

    1/2 cup (57g) dried cranberries

    1/2 cup (70g) pine nuts, lightly toasted

    Directions

      1Remove any tattered, tough, or bruised outer leaves. To shred the Brussels sprouts, cut each sprout in half lengthwise, then place them cut-side-down and thinly slice them.

      2Melt the butter in a large skillet over medium-high heat. Add the shredded Brussels sprouts, garlic, pepper, and salt. It might seem too much for the pan, but the sprouts will wilt down as they cook.

      3Cook, stirring occasionally, until the Brussels sprouts are bright green, tender-crisp, and lightly browned on the edges, 4 to 6 minutes.

      4Turn the heat to low, and then stir in half of the balsamic vinegar, all of the cranberries, and all of the pine nuts. Taste, and then season with more balsamic vinegar, salt, and pepper as needed.

    Adam and Joanne’s Tips

    • Storing: Store in an airtight container in the refrigerator for up to 4 days.
    • The nutrition facts provided below are estimates.

    Nutrition Per Serving
    Serving Size
    1/6 of the recipe
    /
    Calories
    180
    /
    Total Fat
    10.7g
    /
    Saturated Fat
    3.5g
    /
    Cholesterol
    10.2mg
    /
    Sodium
    222.5mg
    /
    Carbohydrate
    20.9g
    /
    Dietary Fiber
    4.8g
    /
    Total Sugars
    11.8g
    /
    Protein
    4g


    AUTHOR:

    Joanne Gallagher

    Adam and Joanne of Inspired Taste

    We are Adam and Joanne Gallagher, the creators of Inspired Taste. Established in 2009, Inspired Taste grew from a childhood dream into one of the internet’s most trusted recipe sites with hundreds of reliable recipes, step-by-step videos, and expert tips.More About Us

    Source link

  • Easy Teriyaki Sauce Recipe

    Easy Teriyaki Sauce Recipe

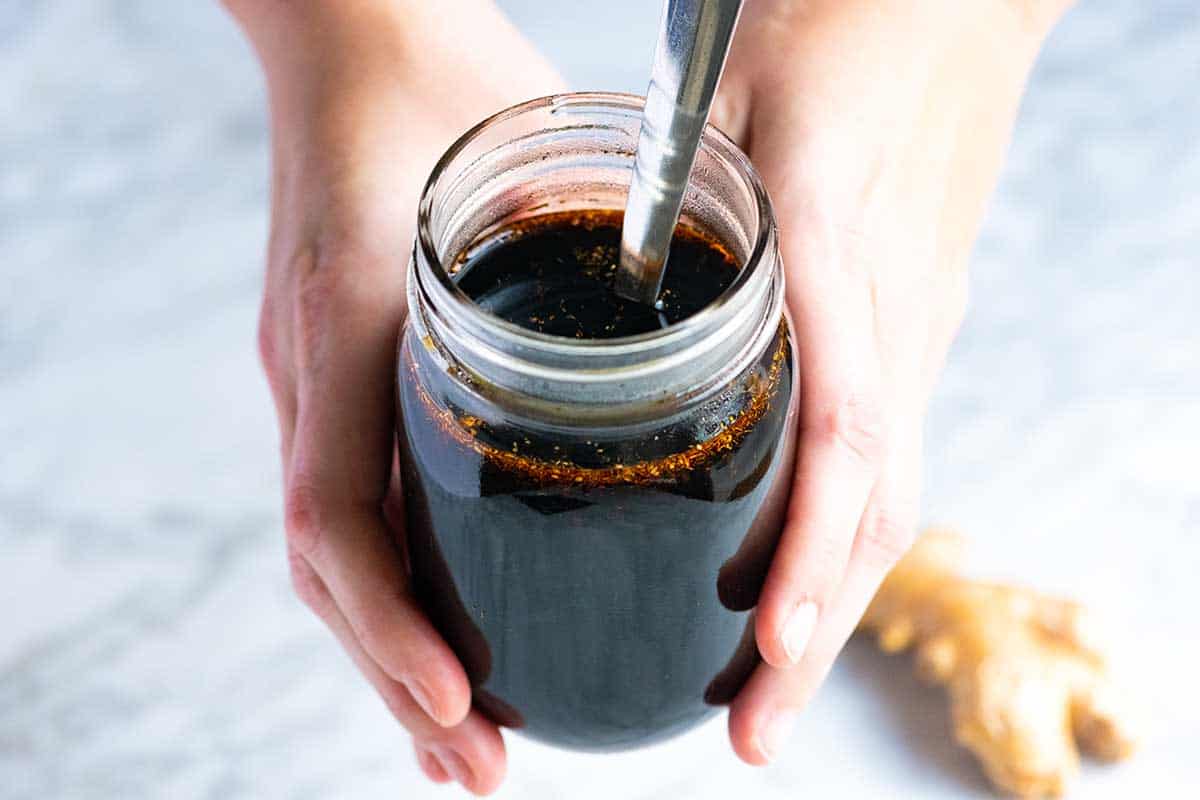
    This 5-ingredient homemade teriyaki sauce recipe is so easy and delicious, you’ll never buy store-bought again. Use as a marinade, sauce, or glaze!

    Homemade Teriyaki Sauce

    When I learned how to make teriyaki sauce, the days of buying store-bought sauce were over. I’m kicking myself for using the store-bought stuff for so long!

    It’s the perfect one-stop solution for all your teriyaki recipes, whether you’re making teriyaki chicken, salmon, or using it as a glaze for veggies.

    Key Ingredients

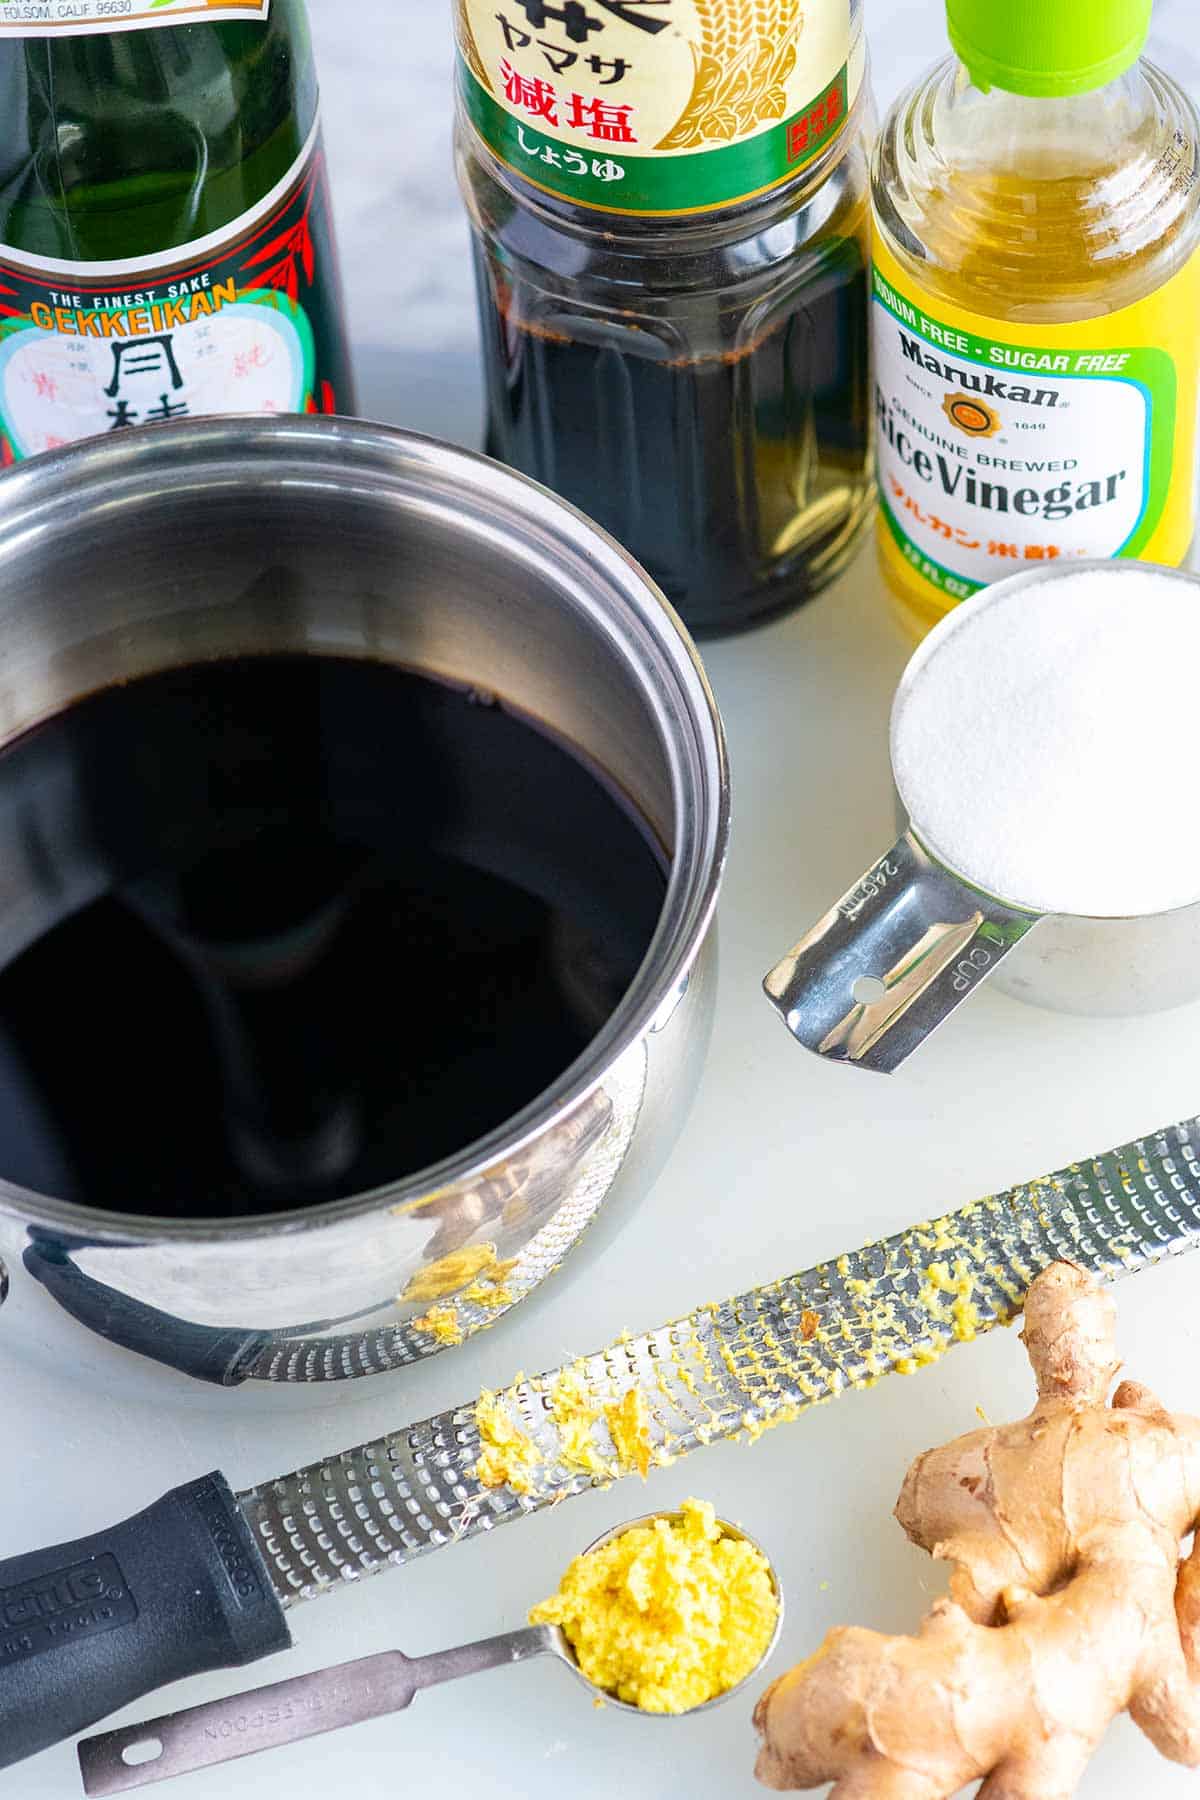
    • Soy Sauce: I use low-sodium soy sauce or low-sodium tamari for the base of this sauce. It might seem salty, but trust me, it’ll blend beautifully with the other sauce ingredients.
    • Sugar: To sweeten the sauce and balance the soy sauce, you need a bit of sugar. I use granulated sugar, which helps make the teriyaki sauce thick and glossy once cooked. Feel free to experiment with brown sugar, coconut sugar, or even honey, but remember that these might make the sauce taste sweeter. If you love honey, you may enjoy this honey teriyaki chicken!
    • Sake: Don’t stress about buying expensive sake for this sauce! Use something you’d enjoy drinking, but it doesn’t need to be top-shelf. If you can’t find sake, mirin (a sweeter rice wine) works really well too. You can swap it in directly, or if you find it too sweet, slightly reduce the sugar in the recipe.
    • Rice Vinegar: This adds a little zing to the sauce. You can usually find it near other vinegars at the grocery store. For substitutes, try white wine vinegar or plain white vinegar. Don’t worry if the sauce seems a bit strong after adding the vinegar, as the flavors will mellow as it cooks.
    • Fresh Ginger: This is optional, but really tasty. I like to grate it finely with a microplane so it melts into the sauce.

    Find the full recipe with measurements below.

    Tips for Making the Best Teriyaki Sauce

    Tip 1: Make the basic sauce. Add your teriyaki sauce ingredients to a saucepan set over medium heat, then heat, swirling the pan around until the sugar dissolves. At this point, you’ll have a delicious sauce that’s perfect for marinades or as a sauce for cooking with veggies or proteins.

    Tip 2: Turn this into a teriyaki glaze. Prepare the sauce as usual, but simmer it for an additional 5 to 10 minutes to achieve a thicker, glossy consistency, ideal for glazes.

    Teriyaki Sauce Ingredients

    Ways to Use This Sauce

    Use as a marinade: This sauce is the perfect one-and-done marinade for a wide range of dishes. In general, the longer you marinate, the better the flavor. However, be mindful of the maximum marinating times to avoid affecting the texture of your food.

    • Meats: Marinate cuts of chicken, beef, and pork for at least 30 minutes for great flavor. For a richer flavor, you can marinate them for up to 4 hours. Tougher cuts of beef, though, can benefit from a longer soak of up to 24 hours to help tenderize them.
    • Seafood: Seafood is more delicate and absorbs flavors very quickly. Marinate salmon, shrimp, or other fish for no longer than 15 to 30 minutes. The ingredients in the sauce can begin to break down the proteins, which can make the seafood mushy if left for too long.
    • Veggies and Tofu: Marinate tofu or your favorite vegetables for at least 30 minutes to a maximum of 4 hours. This allows the sauce to fully penetrate without making the texture too soft. I especially love substituting the soy sauce for teriyaki sauce in this baked tofu recipe.

    Use as a glaze: Thanks to the sugar in our sauce, you can simmer it down to a glossy, thick glaze. Brush it over meats, poultry, tofu, or vegetables during the last few minutes of grilling, or use it to baste chicken, salmon, and pork while baking or broiling (as we do for this maple soy glazed salmon).

    Add to stir-fries: Instead of using a stir-fry sauce, try this teriyaki sauce in your favorite stir-fry recipe. Consider these recipes as a starting point, but replace the sauce in each recipe with this teriyaki sauce: chicken stir-fry, veggie stir-fry, and chicken broccoli stir-fry.

    Make teriyaki burgers: Brush teriyaki sauce over your burgers. We love this juicy burger recipe, turkey burger recipe, and these black bean burgers, which would all be amazing with this sauce.

    Teriyaki Sauce

    Easy Teriyaki Sauce

    • PREP
    • COOK
    • TOTAL

    Use our teriyaki sauce for marinating, stir-fries, or simmer it a little longer and make a glaze for chicken, seafood, and meats. Sake creates the best flavor, but if you cannot find it, mirin is a great substitute.

    2 Cups

    You Will Need

    1 cup low-sodium soy sauce (235ml)

    1 cup granulated sugar, see notes for lowering sugar (200g)

    1/2 cup sake Japanese rice wine (120ml)

    1/4 cup rice vinegar (60ml)

    1 heaping tablespoon finely grated ginger, optional

    Directions

      1Combine ingredients in a saucepan over medium heat and cook, stirring, until the sugar dissolves.

      2For a thick and shiny sauce, bring the teriyaki sauce to a simmer and cook for an extra 5 to 10 minutes. Cool.

    Adam and Joanne’s Tips

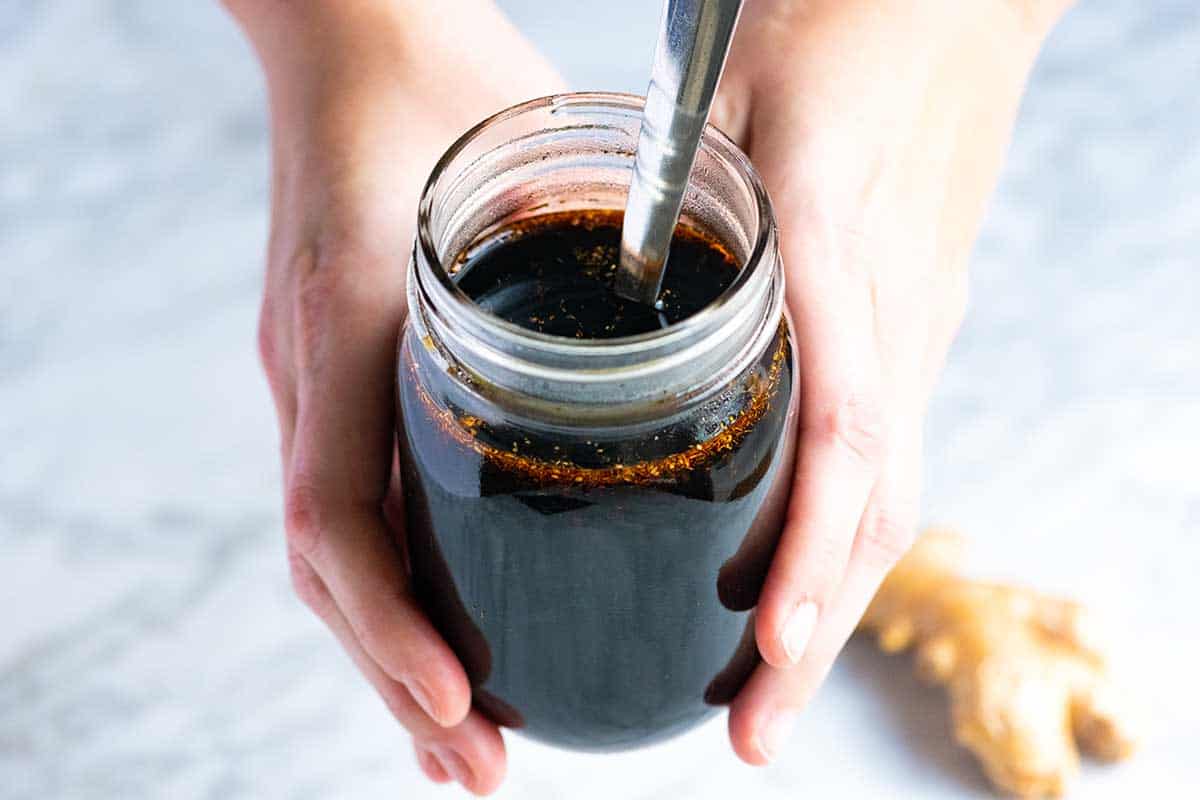
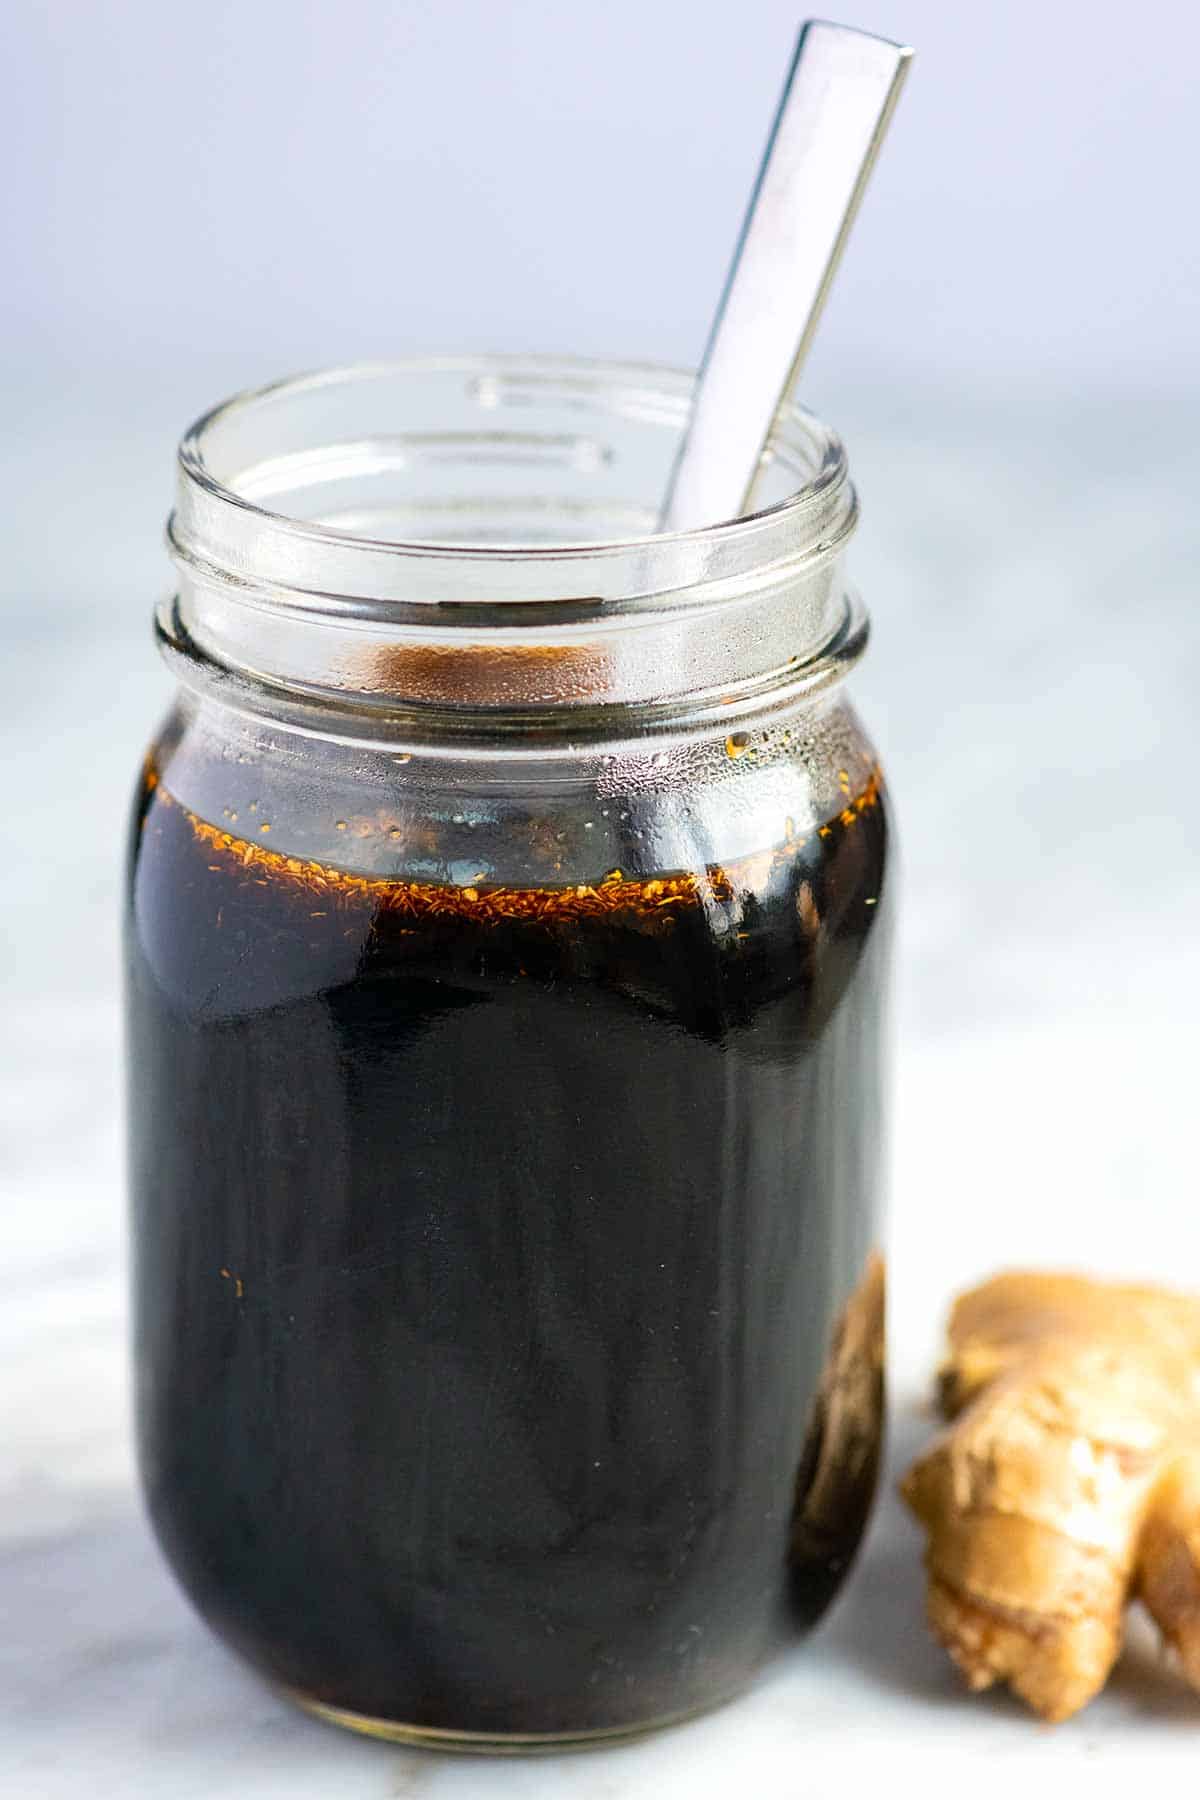
    • Storing: Store this sauce in a mason jar or airtight container in the refrigerator for several weeks. You can also freeze it for up to three months. If it ever seems too thick, thin it with a tablespoon or so of water.
    • Make a smaller batch: This recipe yields 2 cups of sauce – more than enough to keep in your fridge for weeks! If you prefer a smaller batch, use the following ratio: 1 part soy sauce, 1 part sugar, 1/2 part sake, and 1/4 part rice vinegar.
    • Substitute for sake: We love the delicate flavor of sake for teriyaki sauce, but if you cannot find it, there are some alternatives. Mirin is a sweeter version of sake. You can either swap it for the sake and leave the sugar amount as is or pull back on the amount of sugar slightly to accommodate the extra sweetness (Try 3/4 cup of sugar instead of 1 cup). Dry vermouth or dry sherry can also work as a substitute.
    • Can I reduce the sugar: The 1:1 ratio of sugar to soy sauce makes a nicely balanced sauce similar to great teriyaki restaurants and bottled sauces. It’s delicious, but if you are concerned with the amount of sugar, you can get away with reducing it. Reducing the sugar from 1 cup to 3/4 cup or even 1/2 cup should work. Since the sauce does not need to cook long, you can taste it as you go. Start with 1/2 cup, taste, and then increase the sugar until you are happy with the balance of salt and sweet.
    • Ginger: We use a Microplane rasp grater for the ginger, which helps it “melt” into the sauce. You can finely mince it, but you will be left with bits of ginger in the sauce.
    • Cornstarch: We omit cornstarch in our recipe. Some recipes call for a bit of cornstarch mixed with water added to the saucepan to thicken the sauce. We find that an extra few minutes of simmering thicken the sauce enough for us, but you can include it if preferred.
    • The nutrition facts provided below are estimates.

    Nutrition Per Serving
    Serving Size
    1 tablespoon
    /
    Calories
    32
    /
    Total Fat
    0g
    /
    Saturated Fat
    0g
    /
    Cholesterol
    0mg
    /
    Sodium
    209.7mg
    /
    Carbohydrate
    7.4g
    /
    Dietary Fiber
    0g
    /
    Total Sugars
    6.7g
    /
    Protein
    0.6g


    AUTHOR:

    Joanne Gallagher

    Adam and Joanne of Inspired Taste

    We are Adam and Joanne Gallagher, the creators of Inspired Taste. Established in 2009, Inspired Taste grew from a childhood dream into one of the internet’s most trusted recipe sites with hundreds of reliable recipes, step-by-step videos, and expert tips.More About Us

    Source link

  • Easy Oven Baked Trout Recipe

    Easy Oven Baked Trout Recipe

    Learn how to cook moist, flaky trout in the oven. This incredible baked trout recipe is easy and works for rainbow trout but can easily be adapted for larger varieties like steelhead.

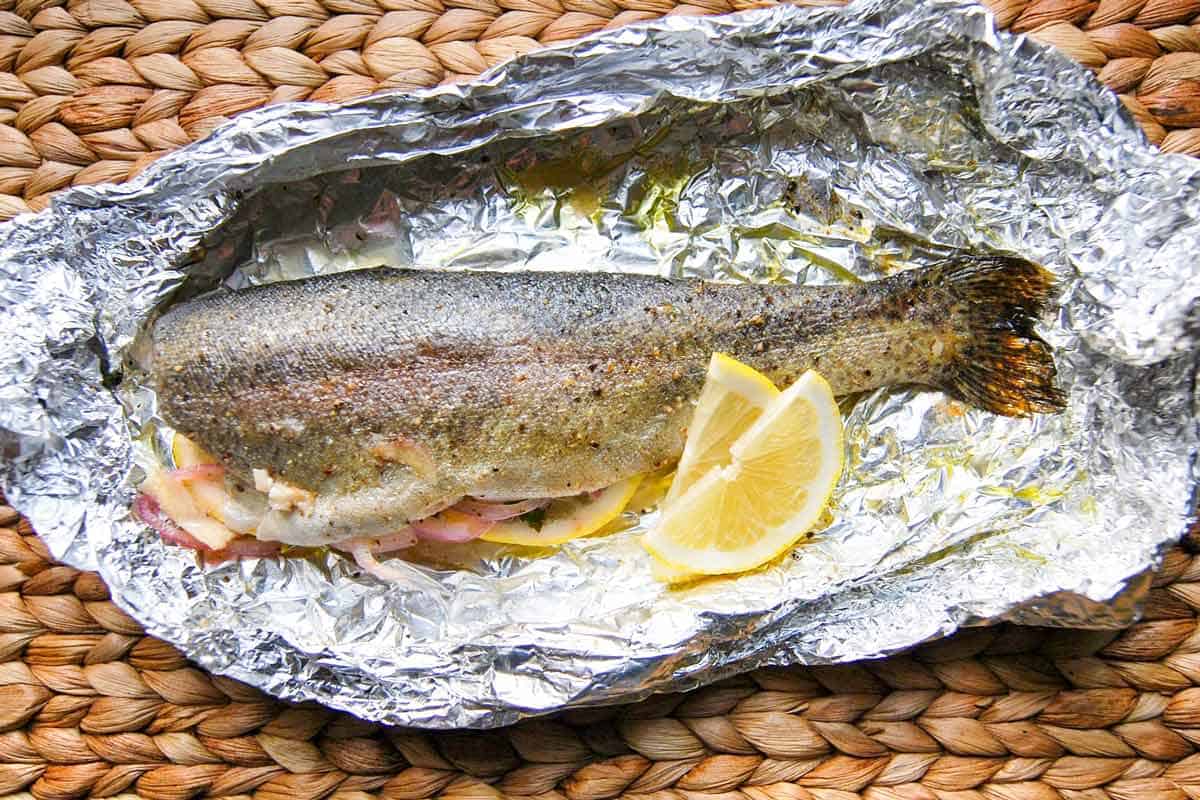
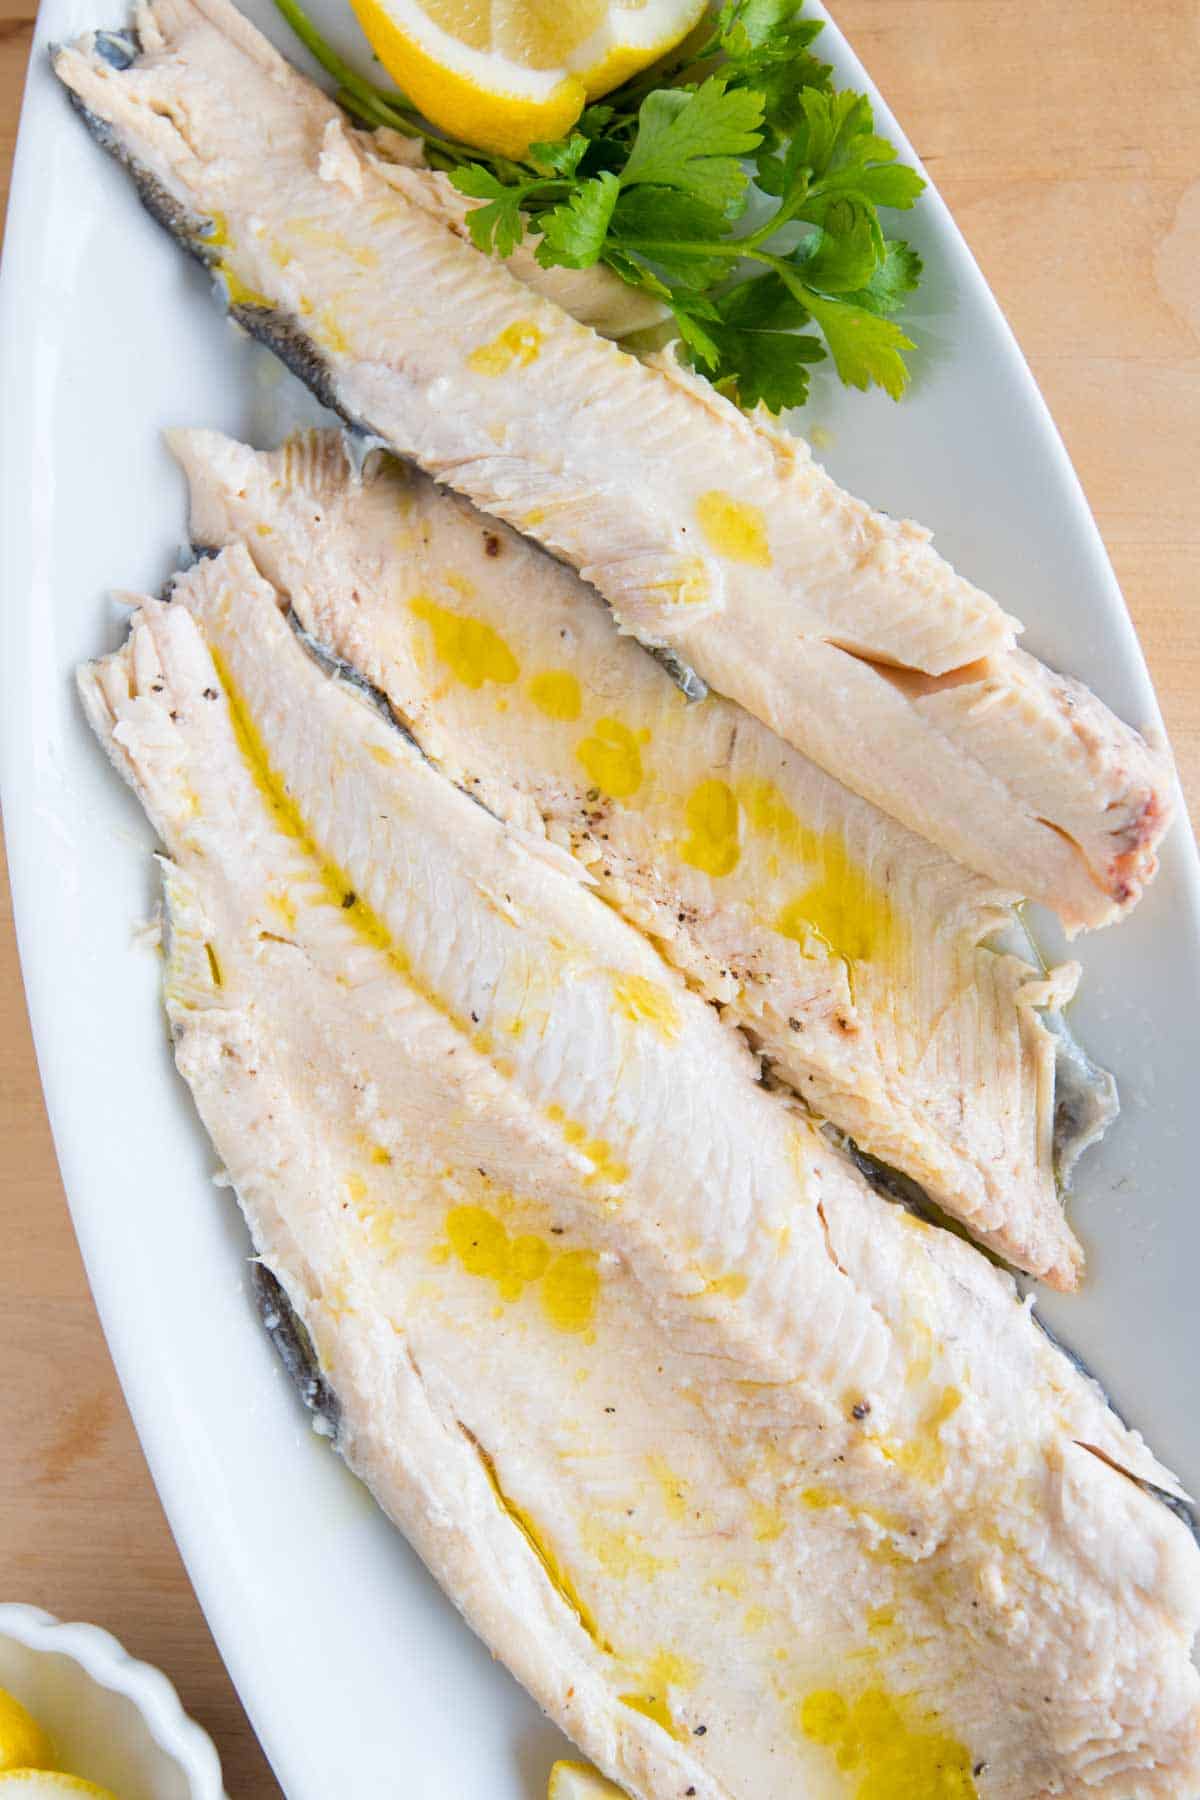
    Baked Trout on serving plate

    Baking whole trout in the oven is genius, especially when you do it in foil or parchment paper packets (called fish cooked en papillote or “paper”). With our easy recipe, your trout stays super moist and dinner will be on the table in about 20 minutes. This truly is one of my favorite trout recipes!

    After sharing this easy baked trout recipe with friends, some were nervous about cooking the whole fish (with the skin, tail, and head still attached). So, if your on the same wavelength, I promise it’s easy and delicious!

    Key Ingredients

    • Trout: You can buy trout as whole fish that has been gutted and cleaned (like in our photos) or as fillets. For this recipe, we’re using whole trout. Look for cleaned and butterflied whole trout. By butterflied, I mean that the fish is slit down the middle but still has the halves attached. I’ve used rainbow trout in our photos, but this recipe works well for larger, saltwater varieties like arctic char, steelhead trout, and even salmon. Check my tips in the recipe for adjusting cooking time.
    • Lemon and Fresh Herbs: Since we use butterflied trout, we can sneak a few aromatics into the middle to infuse the fish while it bakes. I love lemon slices and a handful of fresh herbs like parsley, cilantro, or dill. Thinly sliced garlic or onion are also lovely.
    • Seasoning: I use olive oil, salt, and pepper to season my trout, but you can always use your favorite seafood seasonings instead. I’ve also made a Cajun spiced trout before and loved it. Try my Cajun seasoning if that sounds like something you’d enjoy.

    Find the full recipe with measurements below.

    How to Cook Whole Trout

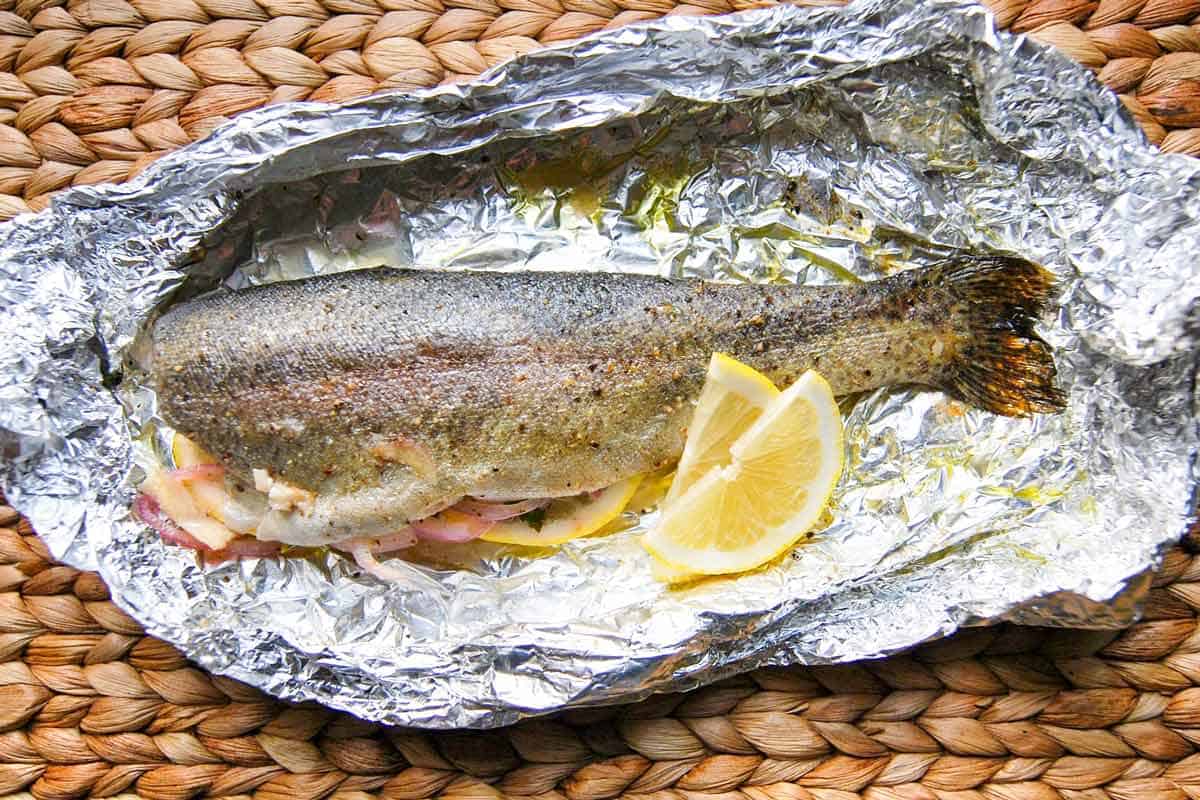
    Tip 1: Bake your fish in packets. We love baking our trout in packets. We used foil in the photos, but parchment paper is a also great option. Place your trout down onto the foil, lightly drizzle with oil, and season the fish inside and out with salt and pepper (note, you can use your favorite seafood seasoning instead).

    Tip 2: Stuff your fish with lemon and herbs. We love stuffing the trout with lemon slices and fresh herbs. Sliced onions are tasty, too! Fold the sides of the packet to secure it and bake the trout in the oven until the flesh flakes easily with a fork.

    Stuffing trout with lemon and herbs

    Tip 3: Bake at the right temperature. The cooking time for your trout will vary depending on how large the fish is and the variety of fish you are baking. A small trout, like the one pictured in our photos, takes about 15 minutes in a 400°F oven. You can serve the fish as-is in the packets or remove them and remove the fillets from the bones.

    How to Debone Trout

    Watch our video to see me debone our baked trout. I’ve also shared my tips below for filleting cooked trout, which I find much easier than when the fish is raw. It’s a simple process. I use a spoon and butter knife to do it. Here are the basic steps I follow. I highly recommend watching the video:

    1. Pull away all the fins. Since the fish is cooked, they come away easily.
    2. Press the knife into the soft flesh just before the head and cut up to the bone. Repeat this with the soft flesh just before the tail.
    3. Use the knife to follow the line down the middle of the trout (this follows the spine). Just cut up to the bone.
    4. Following the line you just made down the spine, use a spoon to carefully pull/push the top and bottom fillet away from the bones.
    5. Pull the tail up and away the fish. By doing this the spine and bones will come away with it.
    6. Clean all the fillets of small bones and transfer to a plate for serving.

    Serving Suggestions

    I love serving this with a Caprese salad or a simple green salad tossed in my favorite balsamic vinaigrette or honey mustard dressing. It’s also excellent alongside red potato salad, corn salad, or creamy mashed potatoes.

    For finishing touches, a drizzle of olive oil is lovely over the trout, or try it with homemade tartar sauce or our garlic aioli.

    More Simple Fish Recipes

    Oven Baked Trout

    Easy Oven Baked Trout

    • PREP
    • COOK
    • TOTAL

    This is the best way to cook trout! I love baking whole trout in packets in the oven (see tips for doing this on the grill). The baked trout turns out succulent and flavorful. While your fish bakes, juices form at the bottom of the packet, which are delicious when spooned over the cooked trout. Other ingredients to consider adding to the middle of the fish are thinly sliced garlic, onion, or greens (like spinach). If you have larger varieties of fish like steelhead trout or even salmon, you can still use our method, but the bake time will be longer.

    2 Servings

    Watch Us Make the Recipe

    You Will Need

    2 small rainbow trout, cleaned and butterflied (opened up with the halves still attached), about 1 pound

    Olive oil

    1 lemon, sliced

    Fresh herbs, such as parsley, dill, tarragon, and thyme

    Salt

    Fresh ground black pepper

    Directions

      1Preheat the oven to 400°F (204°C). Cut two sheets of heavy-duty aluminum foil larger than your fish, or use parchment paper.

      2Place the trout, skin side down, on each piece of foil. Drizzle both sides with olive oil, then season both sides, inside and out, with salt and pepper.

      3Place two parsley (or dill) sprigs and two lemon slices down the middle of each fish.

      4Fold the foil by grabbing at the edges and crimping it together to make a packet.

      5Place the packets of fish onto the baking sheet.

      6Bake, checking one packet after 10 minutes. Depending on the size of your fish, it will take 15 to 25 minutes. When ready to come out of the oven, the flesh will be opaque and flake easily with a fork.

      7Place each packet on a plate. Carefully open the foil packets, taking care not to let the steam burn you.

      8Slide the fish away from the packet and onto the plate, pouring the juices over it. Serve with more fresh herbs and lemon slices.

    Adam and Joanne’s Tips

    • Parchment paper: If you do not have heavy-duty foil, use two sheets of regular foil to make each packet.
    • How to make grilled trout: Follow the directions in the recipe above to make each packet. Heat the grill to medium-high heat. Place the packets over indirect heat. Grill for 10 minutes, check one packet for doneness, and then continue to cook until it is cooked through.
    • The nutrition facts provided below are estimates.

    Nutrition Per Serving
    Calories
    285
    /
    Protein
    32 g
    /
    Carbohydrate
    1 g
    /
    Dietary Fiber
    0 g
    /
    Total Sugars
    0 g
    /
    Total Fat
    16 g
    /
    Saturated Fat
    4 g
    /
    Cholesterol
    87 g


    AUTHOR:

    Adam Gallagher

    Adam and Joanne of Inspired Taste

    We are Adam and Joanne Gallagher, the creators of Inspired Taste. Established in 2009, Inspired Taste grew from a childhood dream into one of the internet’s most trusted recipe sites with hundreds of reliable recipes, step-by-step videos, and expert tips.More About Us

    Source link

  • Easy Tomato Broth Recipe

    Easy Tomato Broth Recipe

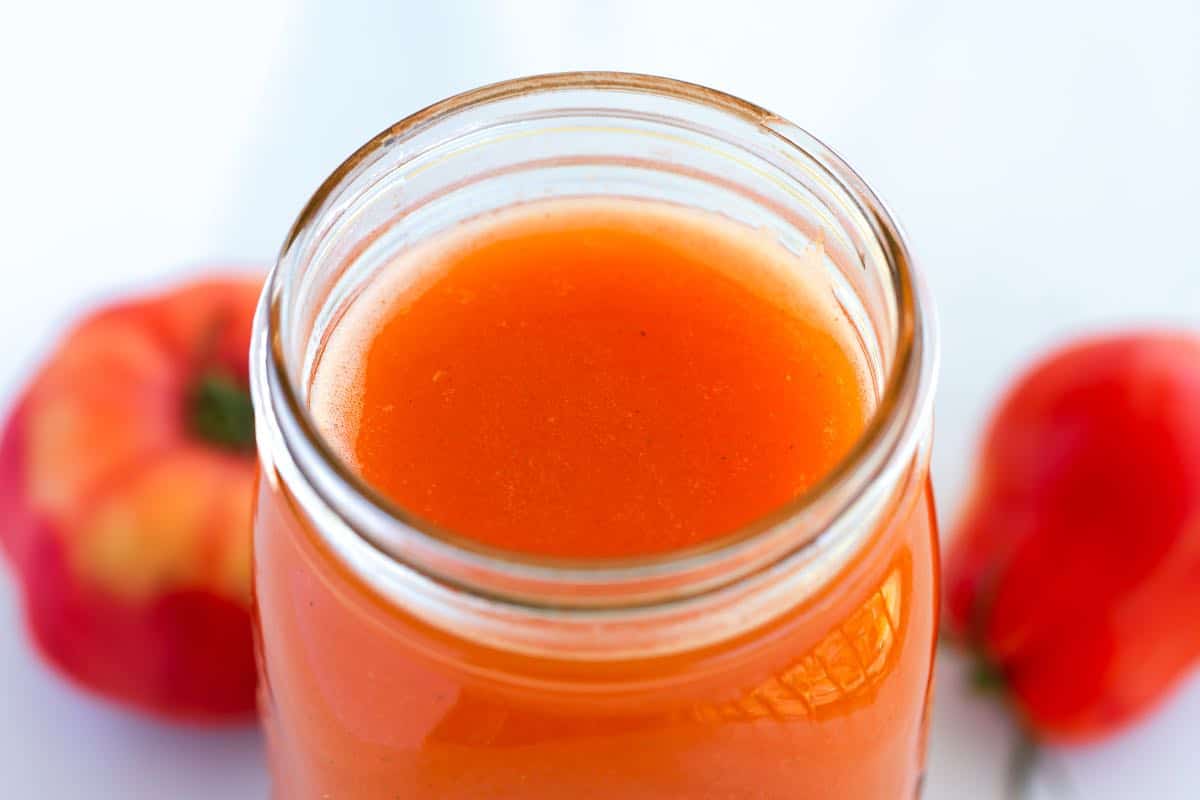
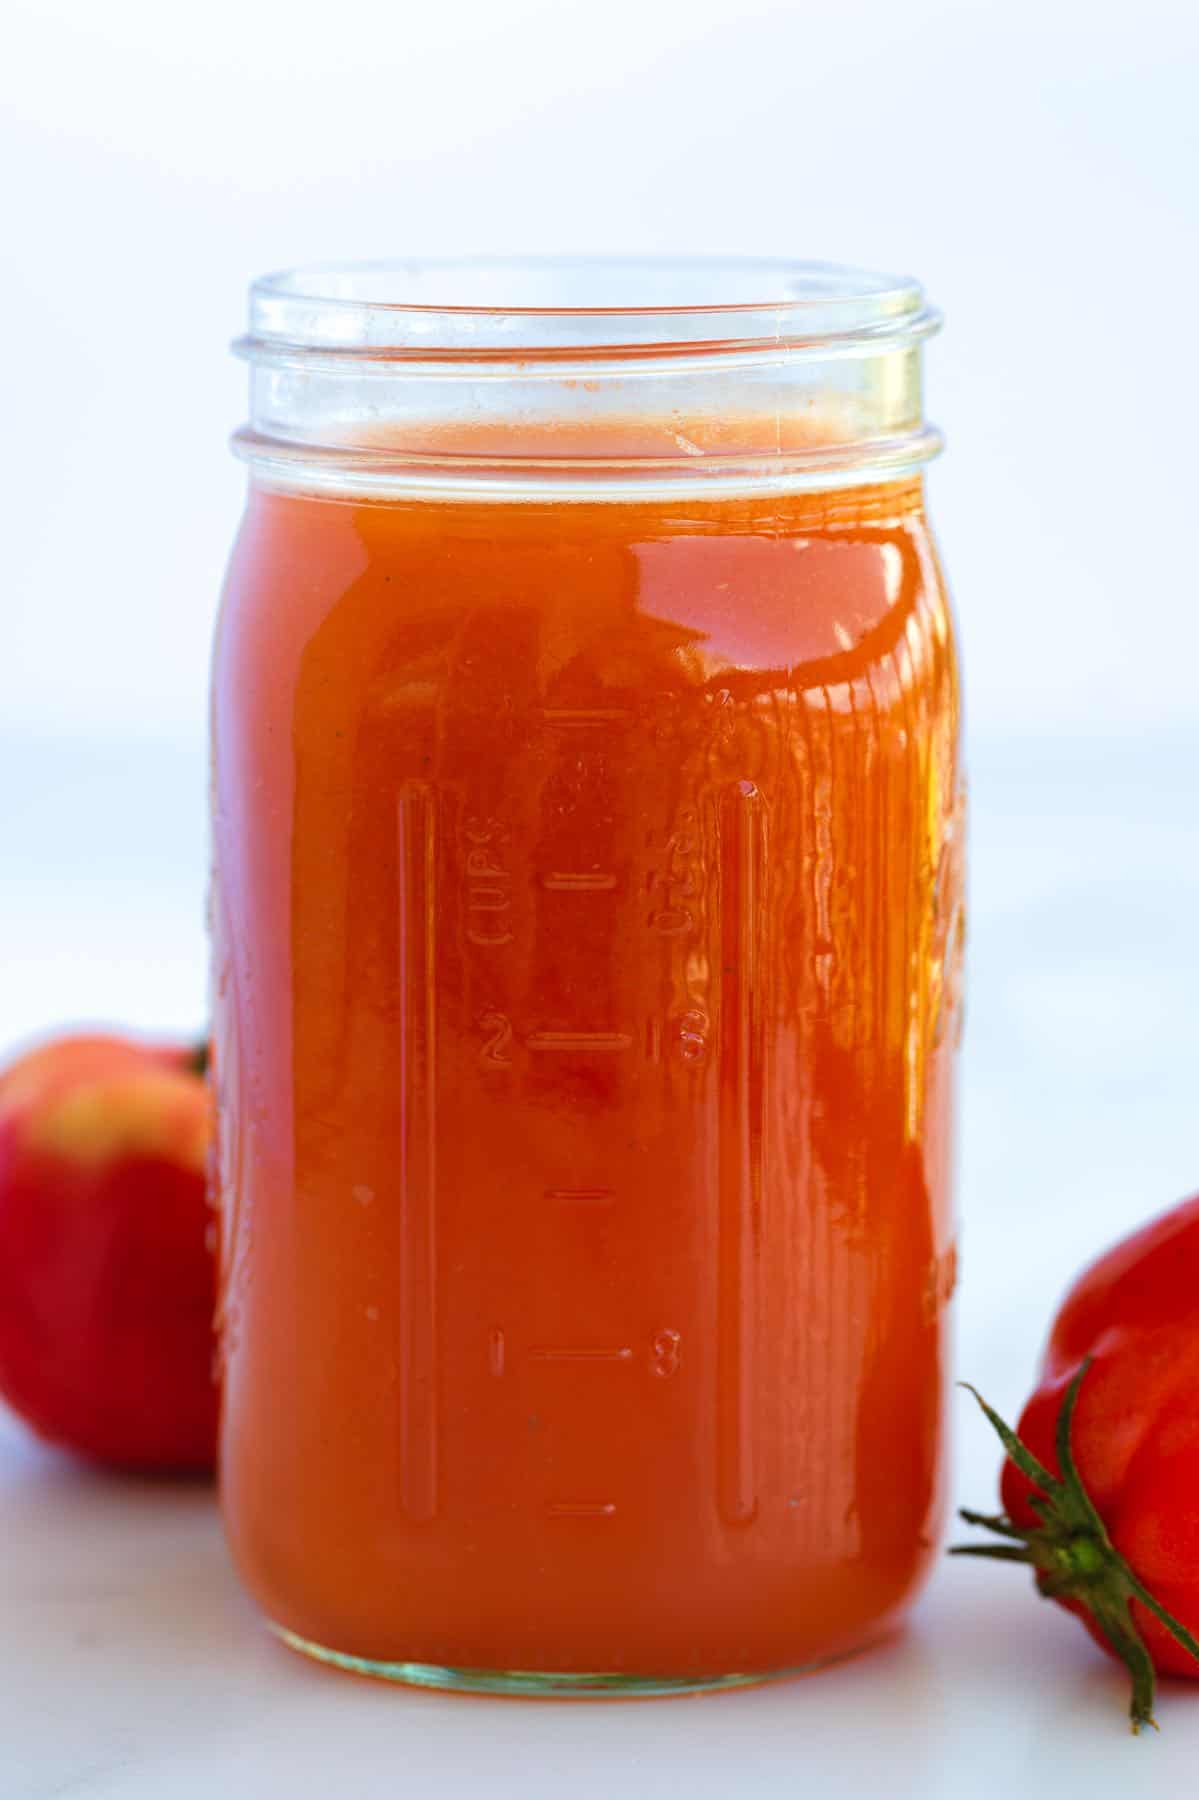
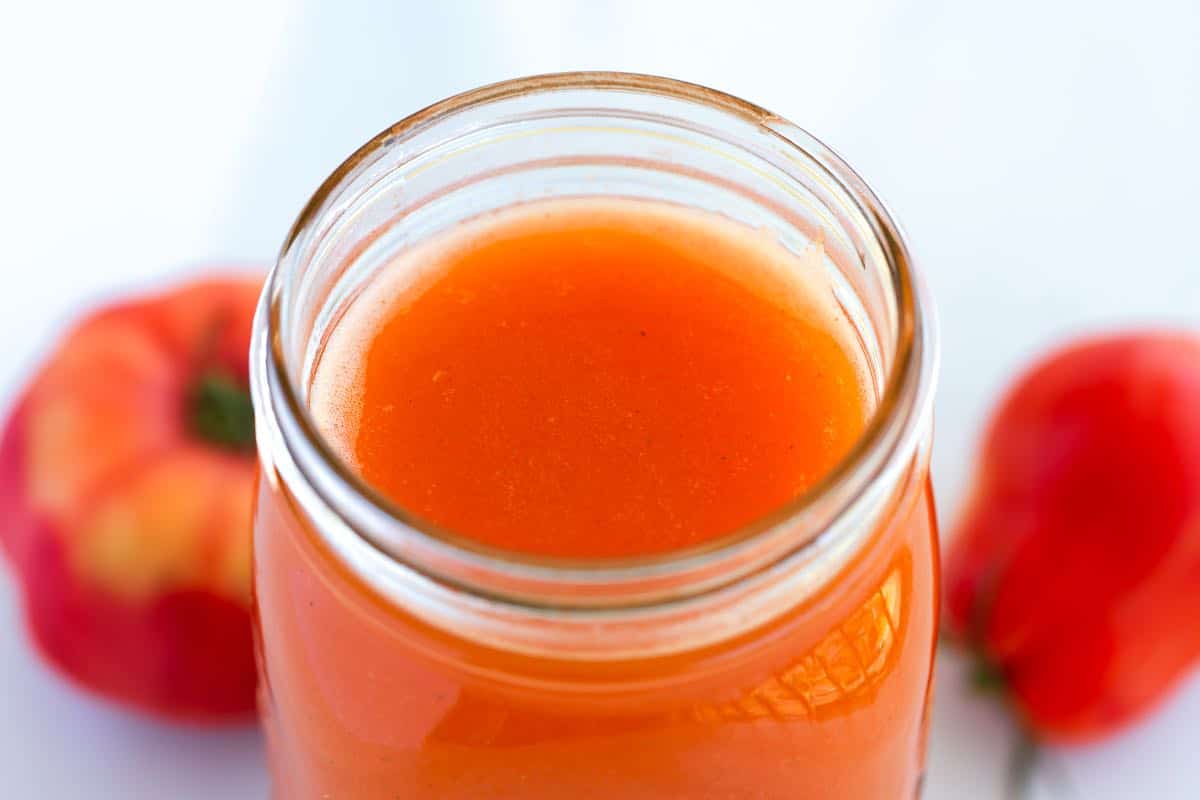
    We love this homemade tomato broth made from fresh tomatoes, bell pepper, and smoked paprika. It’s flavorful and a little smoky, making it perfect for using as a base for vegetable dishes. Use this tomato broth for soups, stews, and rice dishes like risotto.

    Homemade Tomato Broth

    We have a few broths and stocks on Inspired Taste. I especially love this vegetable broth recipe with carrots, onions, and mushrooms. It’s rich and satisfying. This tomato stock is the answer when I want something lighter and more summery.

    Our tomato broth recipe combines fresh tomatoes, bell peppers, garlic, and spices. It’s vegetarian, takes about 30 minutes to make, and is easy!

    How to Make Tomato Broth

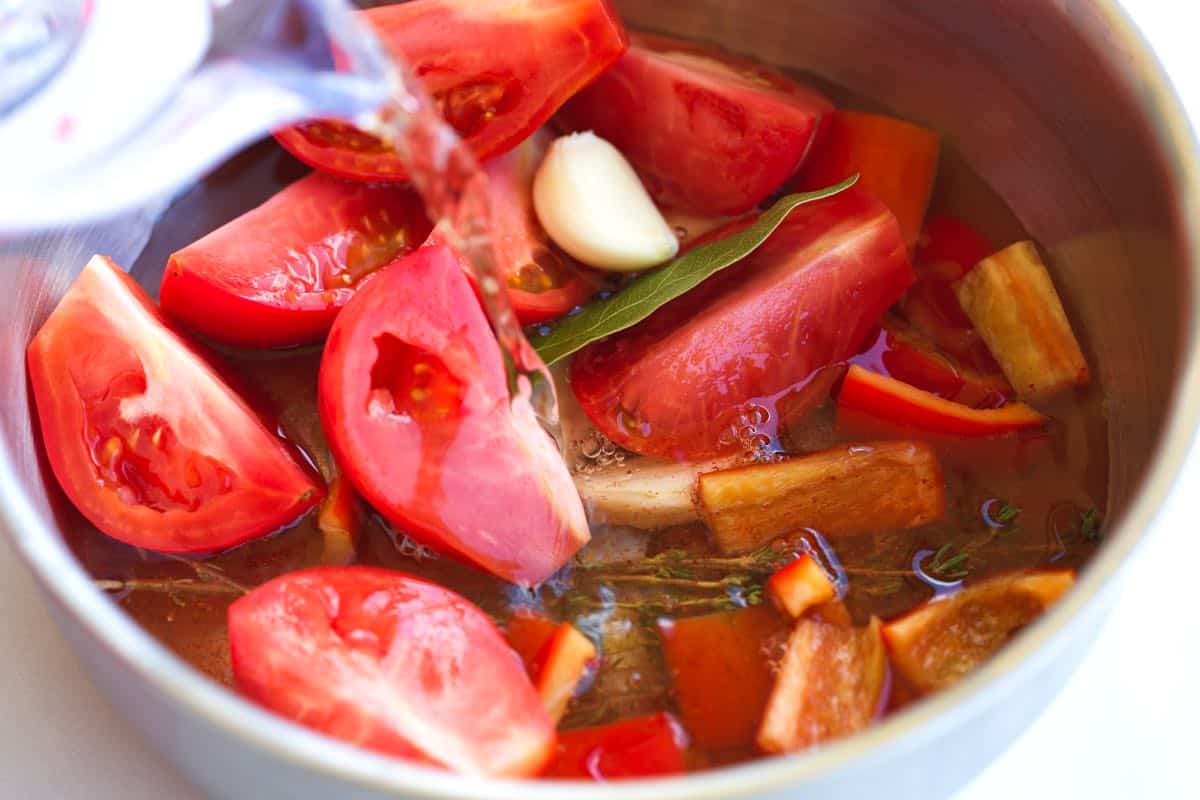
    To make tomato broth, throw quartered tomatoes and chopped bell pepper into a pot. Add salt, smoked paprika, thyme, a bay leaf, and water. Bring to a simmer, and then cook, covered for 30 minutes (it smells great!).

    Making tomato broth with fresh tomatoes

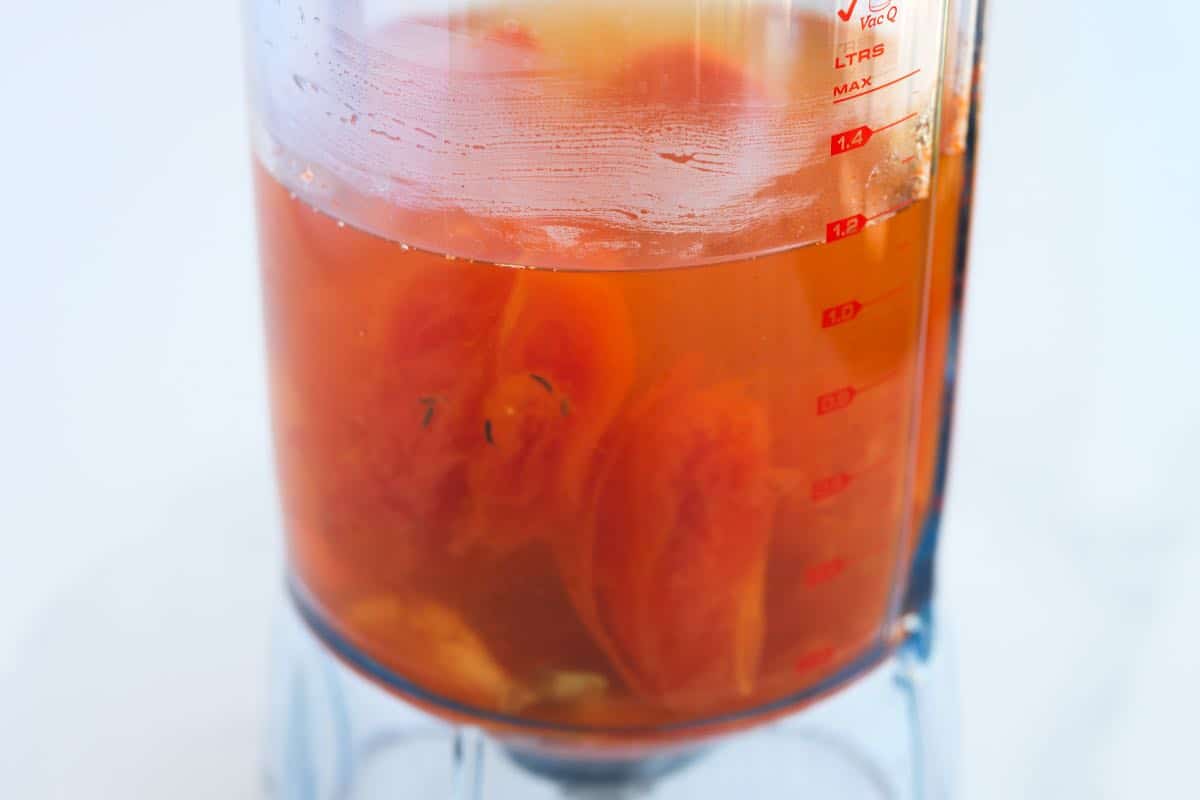
    Throw away the thyme stems and bay leaf, then blend the broth until smooth. Pour it through a mesh strainer to remove any bits of tomato skin, and you are done!

    Blending tomato broth

    We use this broth for soup — like this tomato soup — and especially love it when making our summery vegetable risotto.

    Homemade Tomato Broth

    Easy Tomato Broth

    • PREP
    • COOK
    • TOTAL

    We love this tomato broth made from fresh tomatoes, bell pepper, and smoked paprika. It’s flavorful and a little smoky, perfect for using as a base for lighter vegetable dishes. We especially love this broth when making our summer vegetable risotto.

    Makes 6 cups

    You Will Need

    8 ounces tomatoes, quartered, 2 medium

    1 red bell pepper, roughly chopped

    4 cloves garlic, smashed

    1 ½ teaspoons fine sea salt

    1/2 teaspoon smoked paprika

    4 thyme sprigs

    1 bay leaf

    6 cups water

    Directions

      1Add quartered tomatoes, bell pepper, garlic, salt, smoked paprika, thyme, bay leaf, and 6 cups of water to a medium saucepan. Cover with a lid, and bring to a simmer. Simmer for 30 minutes, adjusting the heat so that it does not bubble over.

      2Remove the thyme and bay leaf. Puree the broth using an immersion or regular blender, then strain. Measure the broth and add enough water to bring the liquid up to 6 cups. Store in in the refrigerator for up to 4 days and freeze for up to 3 months.

    Adam and Joanne’s Tips

    • Nutrition facts: The nutrition facts provided below are estimates. We have used the USDA database to calculate approximate values.

    If you make this recipe, snap a photo and hashtag it #inspiredtaste — We love to see your creations on Instagram and Facebook! Find us: @inspiredtaste

    Nutrition Per Serving
    Serving Size
    1 cup
    /
    Calories
    18
    /
    Saturated Fat
    0.2g
    /
    Saturated Fat
    0g
    /
    Cholesterol
    0mg
    /
    Sodium
    594.2mg
    /
    Carbohydrate
    3.8g
    /
    Dietary Fiber
    1.1g
    /
    Total Sugars
    2.1g
    /
    Protein
    0.7g


    AUTHOR:

    Joanne Gallagher

    Adam and Joanne of Inspired Taste

    We are Adam and Joanne Gallagher, the creators of Inspired Taste. Established in 2009, Inspired Taste grew from a childhood dream into one of the internet’s most trusted recipe sites with hundreds of reliable recipes, step-by-step videos, and expert tips.More About Us


    Source link

  • Easy Bread and Butter Pickles Recipe

    Easy Bread and Butter Pickles Recipe

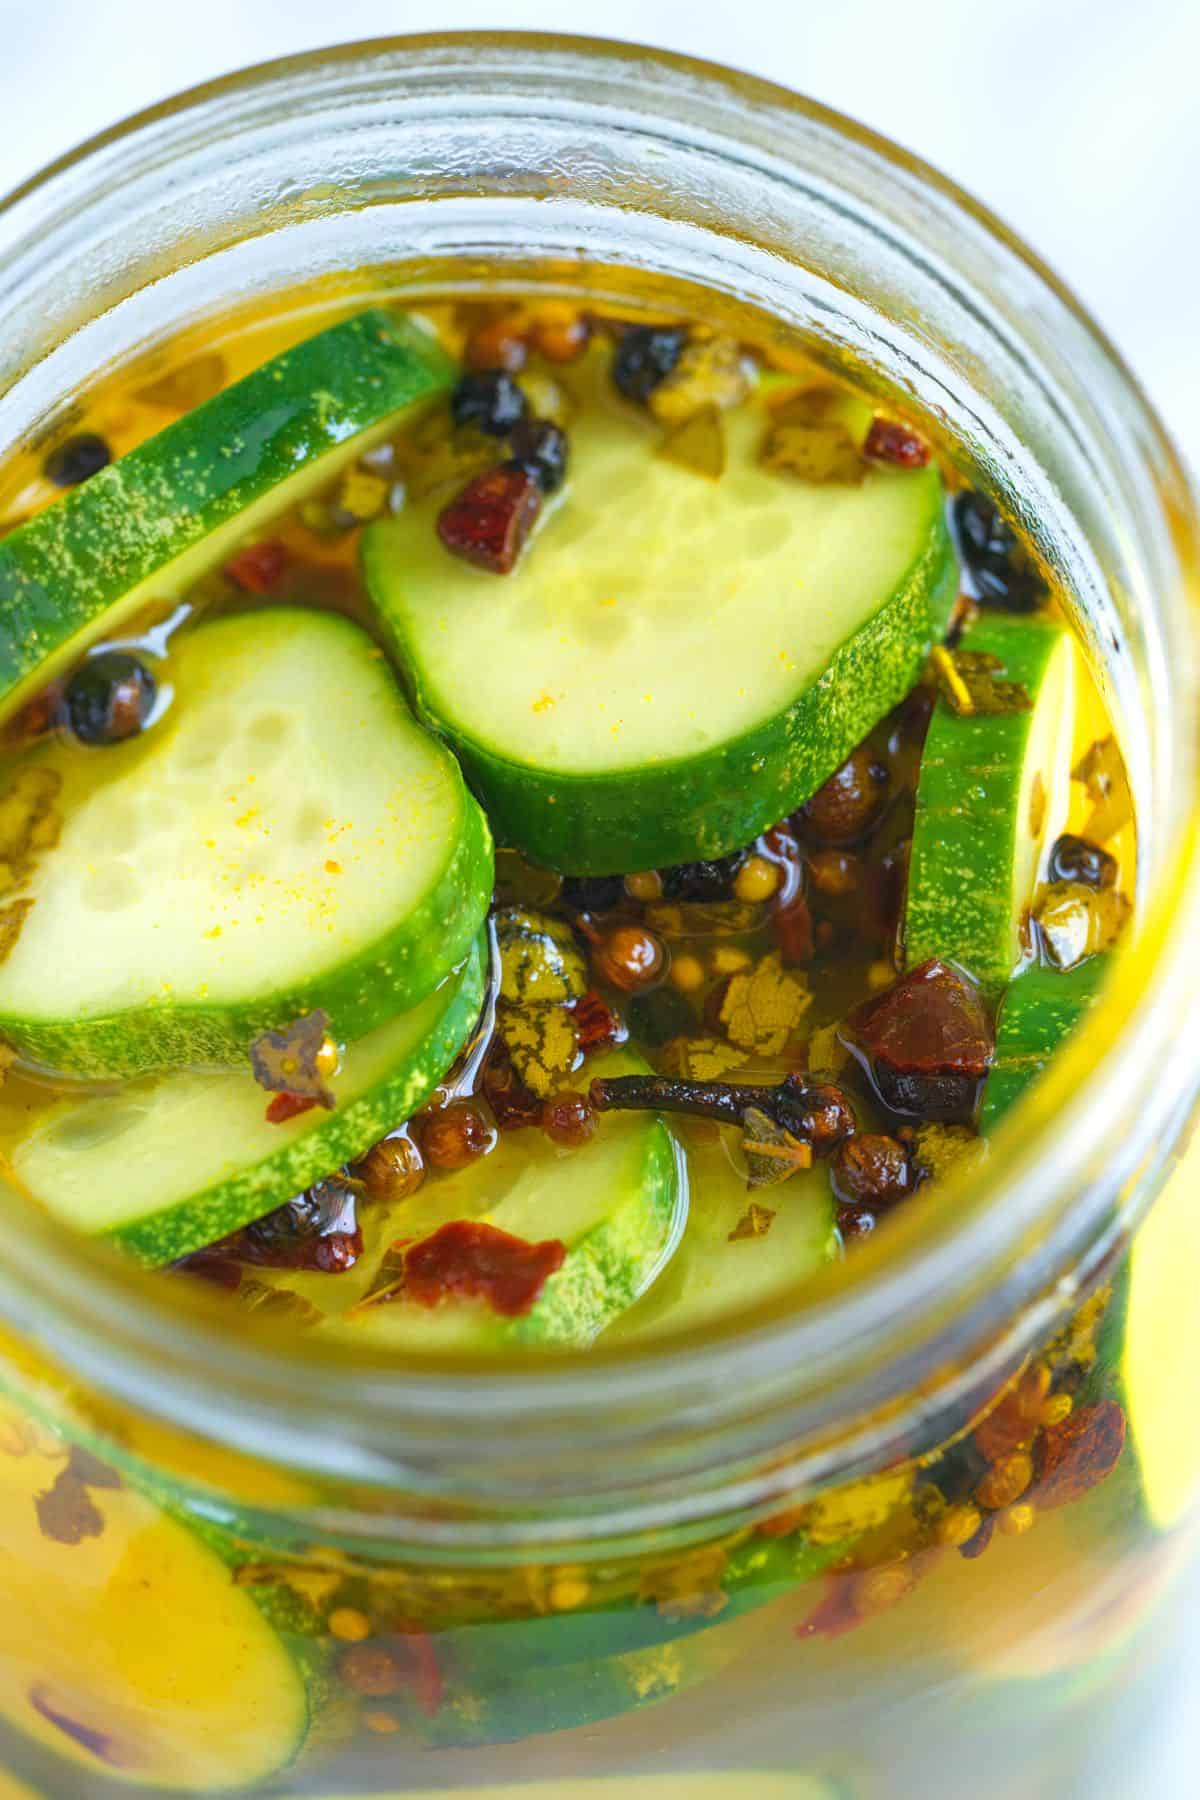
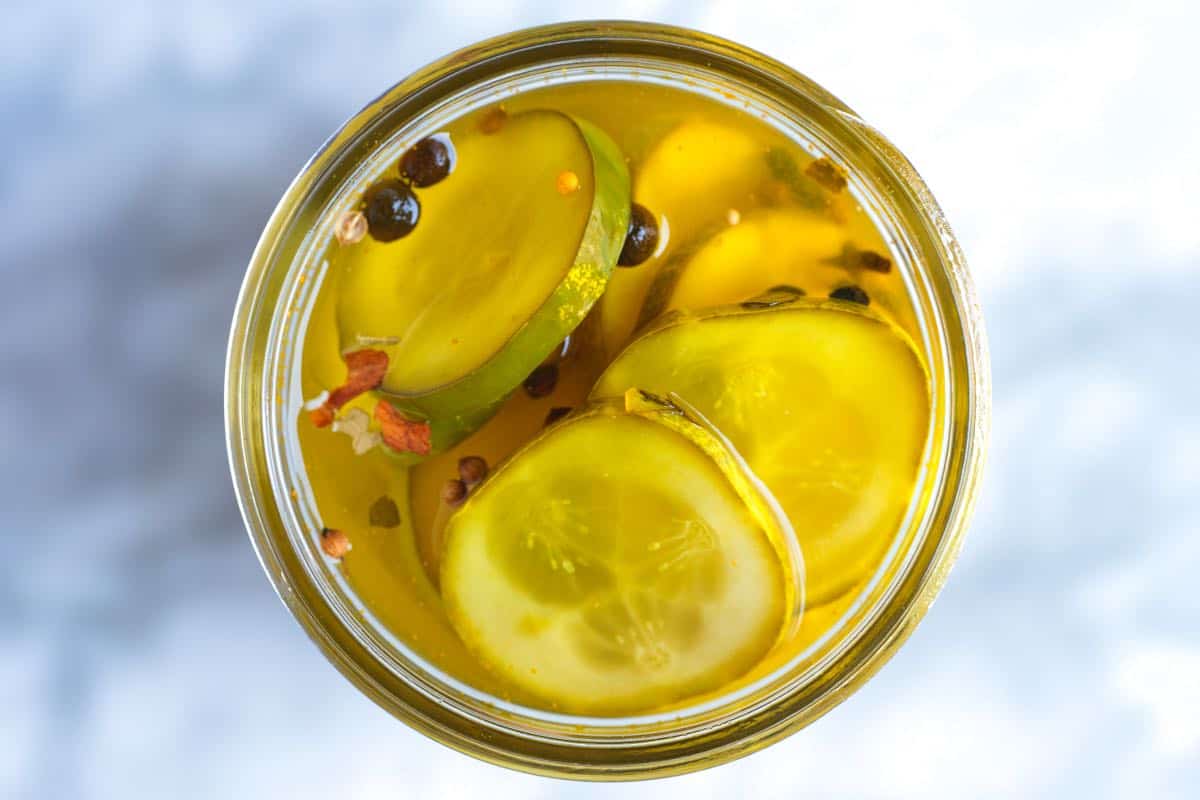
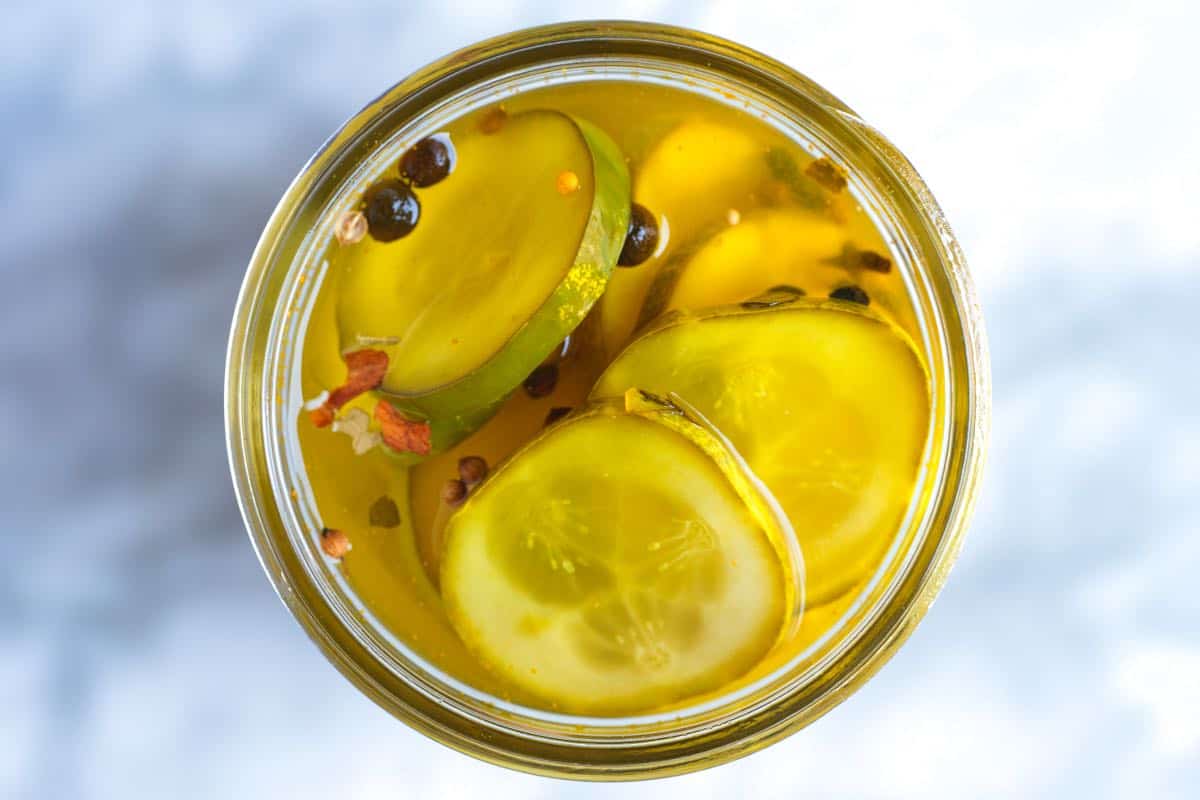
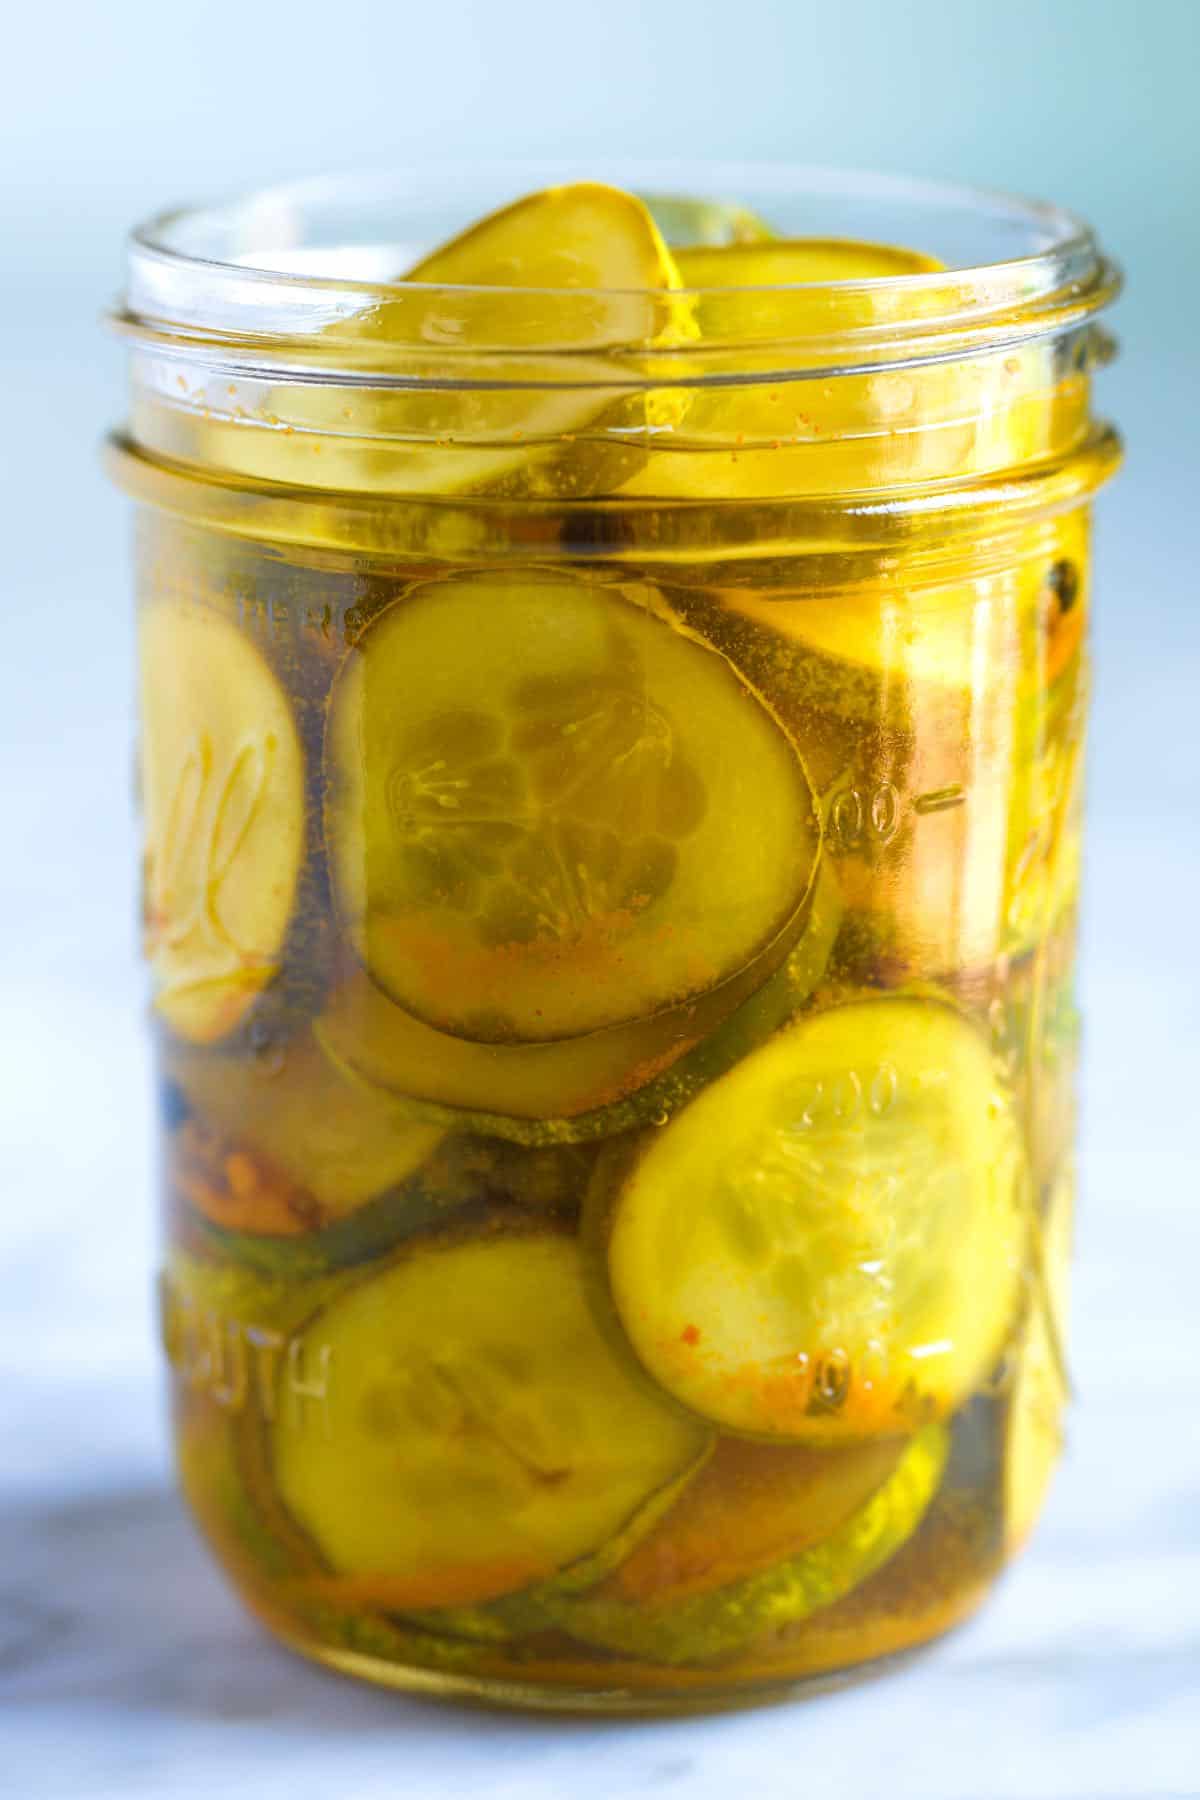
    My easy homemade refrigerator bread and butter pickles recipe has the perfect balance of sweetness and tanginess!

    Homemade Bread and Butter Pickles

    I grew up with bread and butter pickles and love them! They are a type of pickled cucumber with the most delicious sweet and tangy flavor. These are seriously so good!

    I make them with vinegar, salt, sugar, and the perfect blend of pickling spices. The result is a sweet, tangy, crisp, and colorful pickle! For more easy pickle recipes, see our homemade dill pickles, delicious pickled beets, quick pickled carrots, or these easy pickled red onions.

    Key Ingredients

    • Cucumbers: I recommend using Kirby cucumbers, Boston pickling cucumbers, or other pickling-specific varieties. They stay crisp in the brine and make delicious pickles. If these aren’t available, smaller Persian cucumbers are a good alternative.
    • Vinegar: Look for distilled vinegar labeled with “5% acidity” on the bottle.
    • Salt and Sugar: For bread and butter pickles, I use pickling salt or sea salt, and granulated sugar for sweetness.
    • Spices: I’m a big fan of store-bought pickling spice, and my go-to is McCormick’s blend (you’ll spot it in almost any grocery store). It has cinnamon, allspice, mustard seed, coriander, bay leaves, ginger, clove, red pepper, black pepper, cardamom, and mace. Then, I add some extra peppercorns and ground turmeric, adding color and flavor.

    Find the full recipe with measurements below.

    Sliced cucumbers with hot brine to make bread and butter pickles

    How to Make the Best Bread and Butter Pickles

    It’s all about having a balanced brine. The magic behind these pickles lies in their simple brine. Just like my pickled beets or these easy dill pickles, these bread and butter pickles are refrigerator pickles and only require two simple steps:

    1. Slice the cucumbers into coins and place them into a jar.
    2. Cover the cucumbers in the jar with my sweet and tangy vinegar brine.

    Let them cool. Let them cool to room temperature, refrigerate the jar, and enjoy your delicious bread and butter pickles!

    Bread and Butter Pickles

    Easy Bread and Butter Pickles

    • PREP
    • COOK
    • TOTAL

    Simple homemade refrigerator bread and butter pickles made using vinegar, salt, sugar, and the perfect blend of pickling spices. These pickles have the most delightful balance of sweetness and tanginess!

    For a more classic flavor, try our dill pickles!

    1-quart (1 liter) jar

    You Will Need

    1 pound (454g) pickling cucumbers, like Kirby, sliced into coins, 3 to 4 cucumbers

    1 ½ cups (355ml) vinegar (5% acidity)

    3/4 cup (150g) sugar

    1 tablespoon pickling spice, see notes

    1/2 teaspoon ground turmeric

    1/2 teaspoon peppercorns

    1 ½ tablespoons (23g) pickling salt or sea salt, recommend using weight, see notes

    Directions

      1Combine the vinegar, sugar, pickling spice, turmeric, peppercorns, and salt in a small saucepan over medium heat. Let the mixture come to a simmer and continue cooking until the sugar and salt completely dissolve.

      2Pack the sliced cucumbers into a 1-quart (1 liter) jar.

      3Carefully pour the hot pickle brine over the cucumbers. Leave about 1/8-inch of space between the top of the brine and the lid of the jar.

      4Allow the jar to cool down to room temperature. Then, securely tighten the lid with your fingers and place it in the refrigerator.

      5Let the pickles sit undisturbed overnight before enjoying them. For the first night, position the jar upside down in a bowl and flip it right-side-up the next day.

      6The pickles will last in the fridge for up to one month.

    Adam and Joanne’s Tips

    • Picking spice blend: There are quite a few brands that sell pickling spice blend, we use  McCormick “Mixed Pickling Spice”
    • Are these shelf stable? These pickles have been specifically designed for refrigeration storage. They are meant to be kept in the fridge at all times. However, if you’re experienced in canning, you could potentially adapt them for long-term shelf stability. This would involve using sanitized jars, new lids, and a pressure canner.
    • Different salts can be used for pickling. Pickling salt is best, but you can also use Morton’s kosher salt or sea salt. Avoid table salt due to additives. If using Diamond Crystal salt, you may need to adjust quantity as it’s larger than pickling salt. We recommend measuring by weight for pickles. If you are measuring by volume (like tablespoons), you will need about 50% more Diamond Crystal salt.
    • Nutrition facts: The nutrition facts provided below are estimates. We have used the USDA database to calculate approximate values. It is difficult to calculate how much salt and sugar are in the pickles, so we have included all of the brine in the calculations (which is why salt and sugar is higher).

    If you make this recipe, snap a photo and hashtag it #inspiredtaste — We love to see your creations on Instagram and Facebook! Find us: @inspiredtaste

    Nutrition Per Serving
    Serving Size
    1/10 of the jar
    /
    Calories
    74
    /
    Total Fat
    0.1g
    /
    Saturated Fat
    0g
    /
    Cholesterol
    0mg
    /
    Sodium
    560mg
    /
    Carbohydrate
    17.3g
    /
    Dietary Fiber
    0.5g
    /
    Total Sugars
    15.8g
    /
    Protein
    0.4g


    AUTHOR:

    Joanne Gallagher

    Previous Post: Perfect Mojito
    Next Post: Easy Tuna Salad


    Source link