Tag: Easy

  • Easy Cajun Crab Dip Recipe

    Easy Cajun Crab Dip Recipe

    This website may contain affiliate links and advertising so that we can provide recipes to you. Read my disclosure policy.
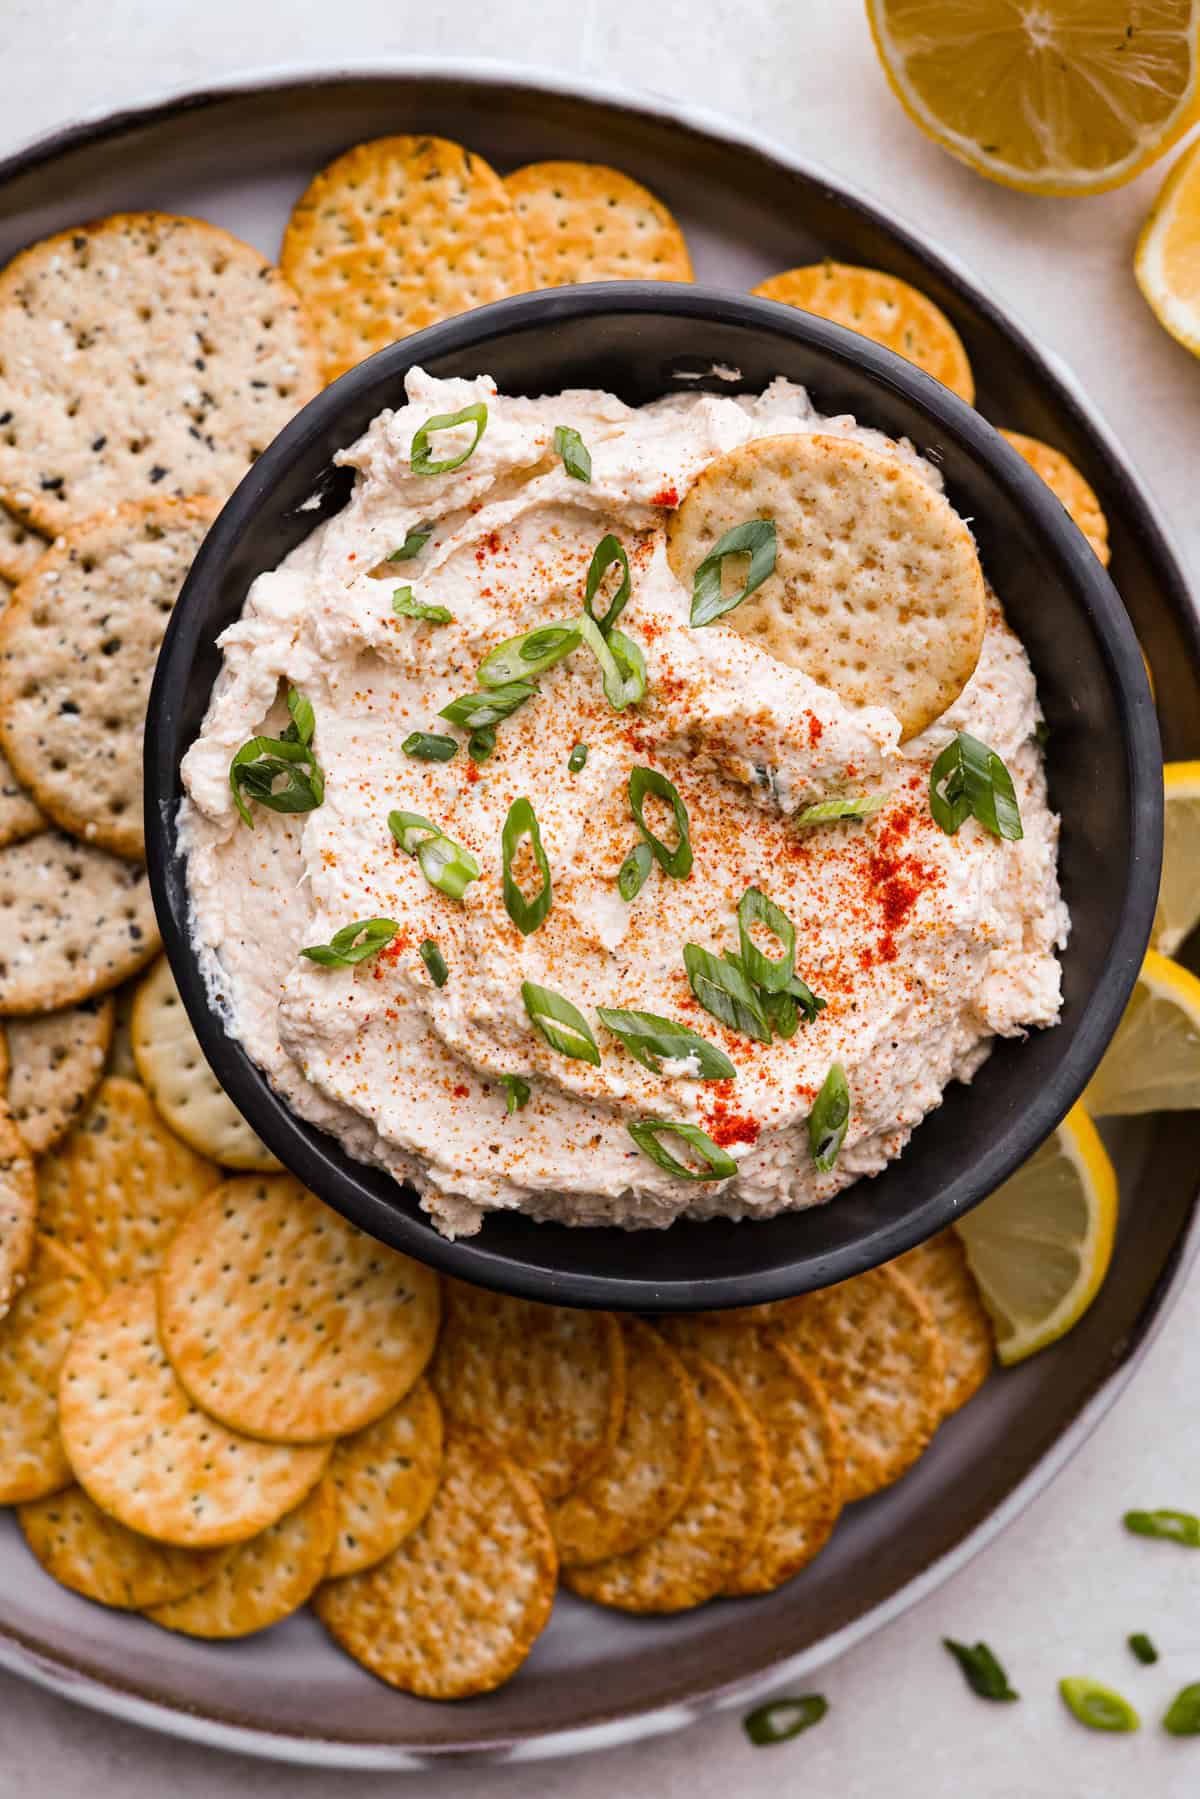
    Spice up your appetizer game with Cajun Crab Dip! Packed with tender crab meat, bold Cajun seasoning, and a luscious, creamy base. This dip is irresistibly rich and full of flavor. Serve this at your next gathering with your favorite crispy crackers!
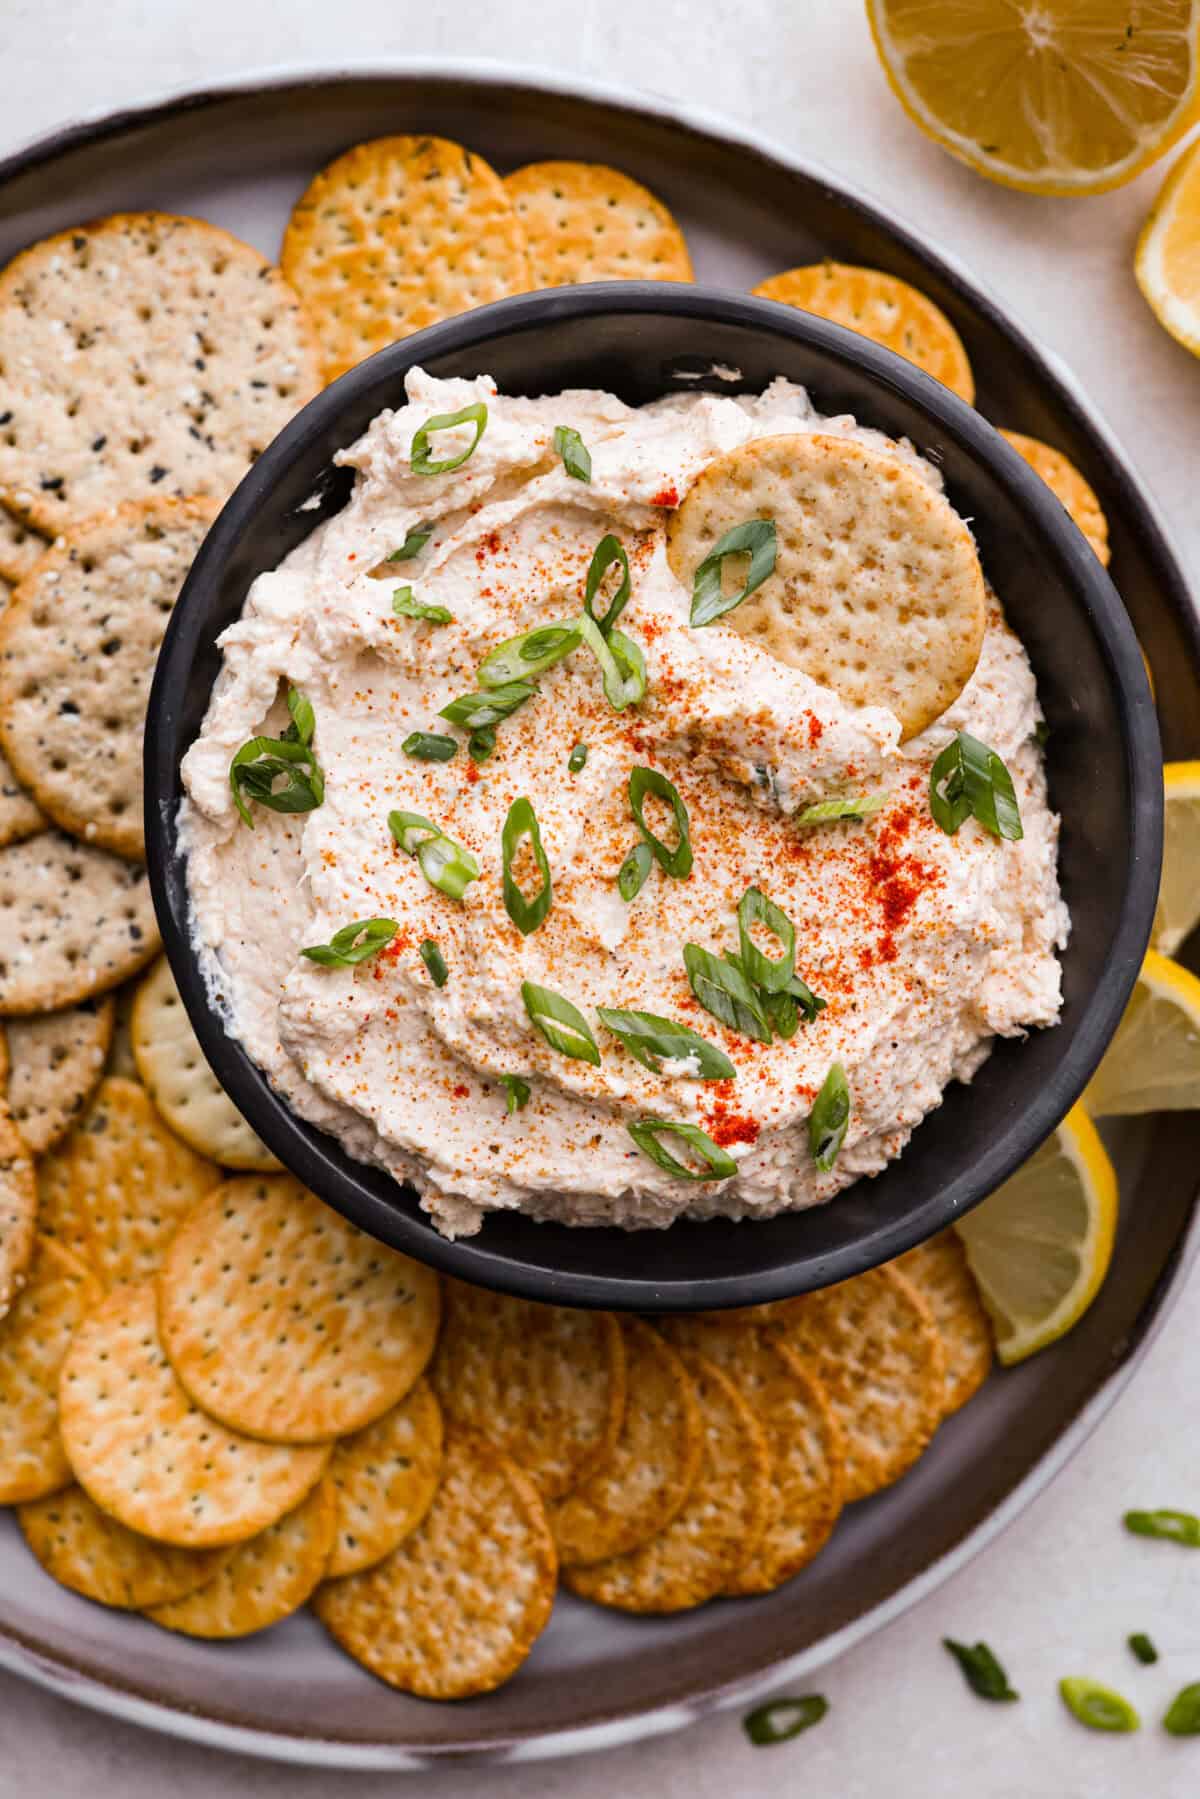
    Overhead shot of cajun crab dip in a bowl on a serving platter full of crackers.

    Reason You’ll Love This Recipe

    • Bold & Flavorful: You will love the combination of cajun spices, creaminess, and flaky crab for the perfect kick.
    • Quick & Easy: Simple ingredients and just 5 minutes of prep make this Cajun crab dip a breeze to whip up.
    • Crowd-Pleaser: Always a hit at parties, game days, and gatherings. Pair it with other fun appetizers like my bacon crackers, kielbasa bites, and stuffed mushrooms.

    Ingredients Needed
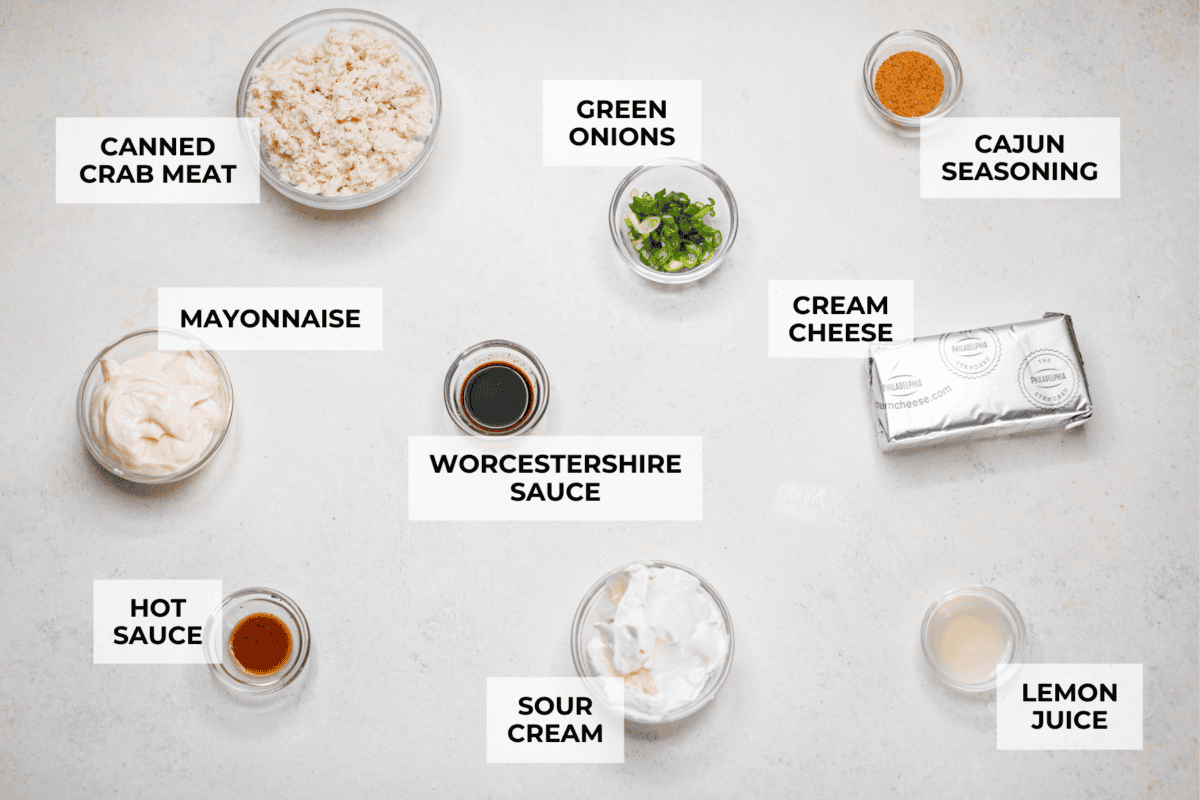
    Overhead shot of labeled cajun crab dip ingredients. Overhead shot of labeled cajun crab dip ingredients.

    How to Make Cajun Crab Dip

    This Cajun crab dip is one of the easiest, most flavorful appetizers you can make! Just mix a few simple ingredients, chill or bake, and it’s ready to serve. If you love crab dips, you’ll also want to try my Crab Rangoon Dip!

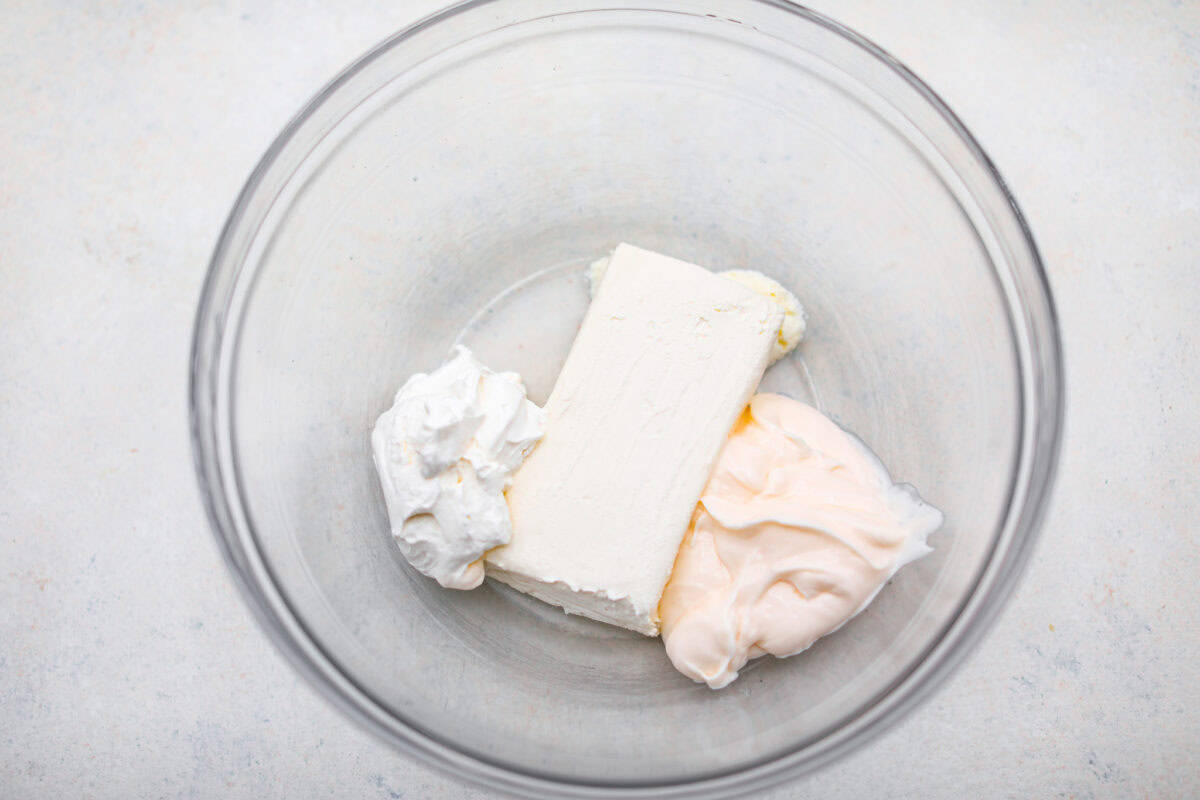
    1. Make the Creamy Base: Add the cream cheese, mayo, and sour cream to a large bowl and beat with a hand mixer until smooth. 
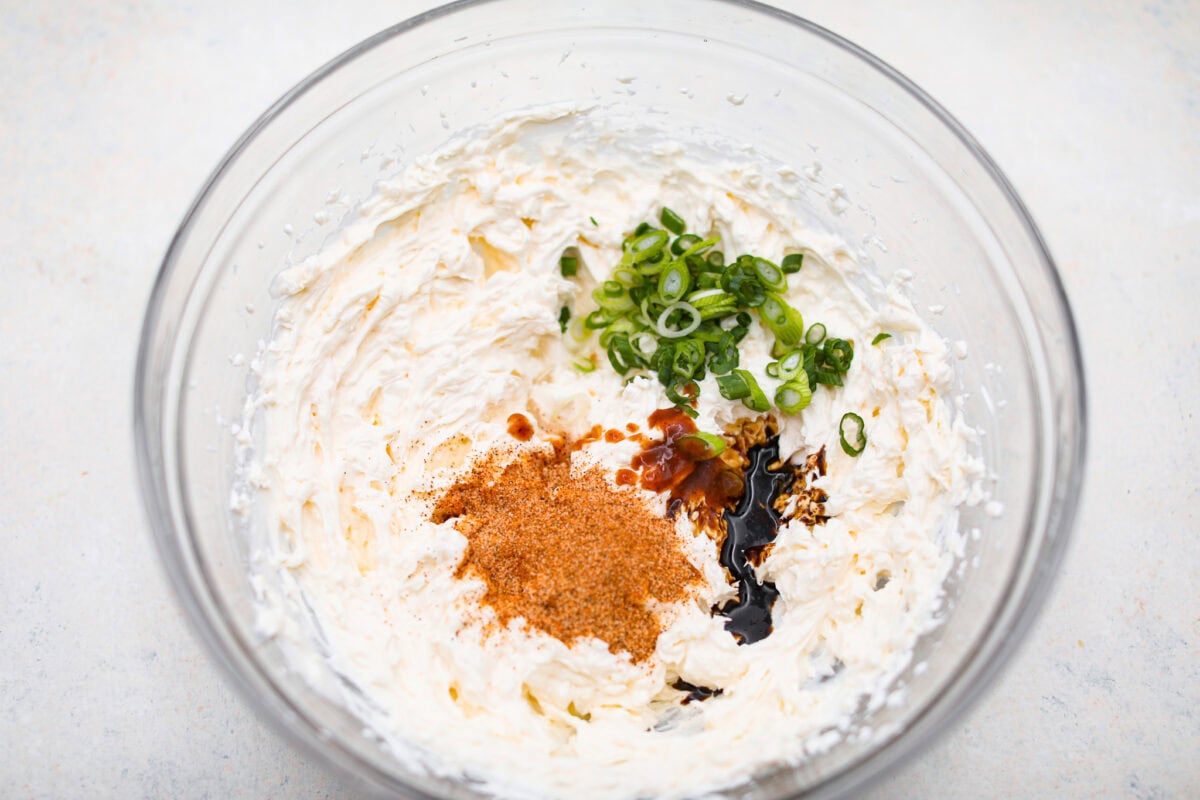
    2. Mix in the Flavorings: Add the green onion, lemon juice, Cajun seasoning, hot sauce, and Worcestershire sauce and mix until combined. 
    3. Stir in the Crab and Serve: Add the drained crab and mix until combined. Taste and add more Cajun seasoning or hot sauce if you want it spicier and to your preference. Transfer to a serving bowl, then serve with your choice of crackers or crusty bread.
    Cajun Crab Dip Tips and Variations

    This delicious seafood dip is super easy to switch up and make it how you like. Here are some ideas to get you started.

    • Use Room Temp Cream Cheese! I highly recommend you use room-temperature cream cheese for the smoothest, creamiest dip. I like to set it on the counter for up to 2 hours before I prepare the dip to allow it to soften.
    • How well do I need to drain the crab? Drain the crab very well! Otherwise, the dip may end up soupy. I used the lid of the can to press down on the crab while it was still in the can until no more liquid would come out. If it’s still dripping liquid when you squeeze it, it’s not drained well enough!
    • Can I Use Imitation Crab Meat? You can substitute canned crab for imitation crab if you would like! Shred it well, chop it into fine pieces, and use it in place of the canned crab.
    • Make it spicy! Add more hot sauce to spice up the cajun crab dip to your liking.
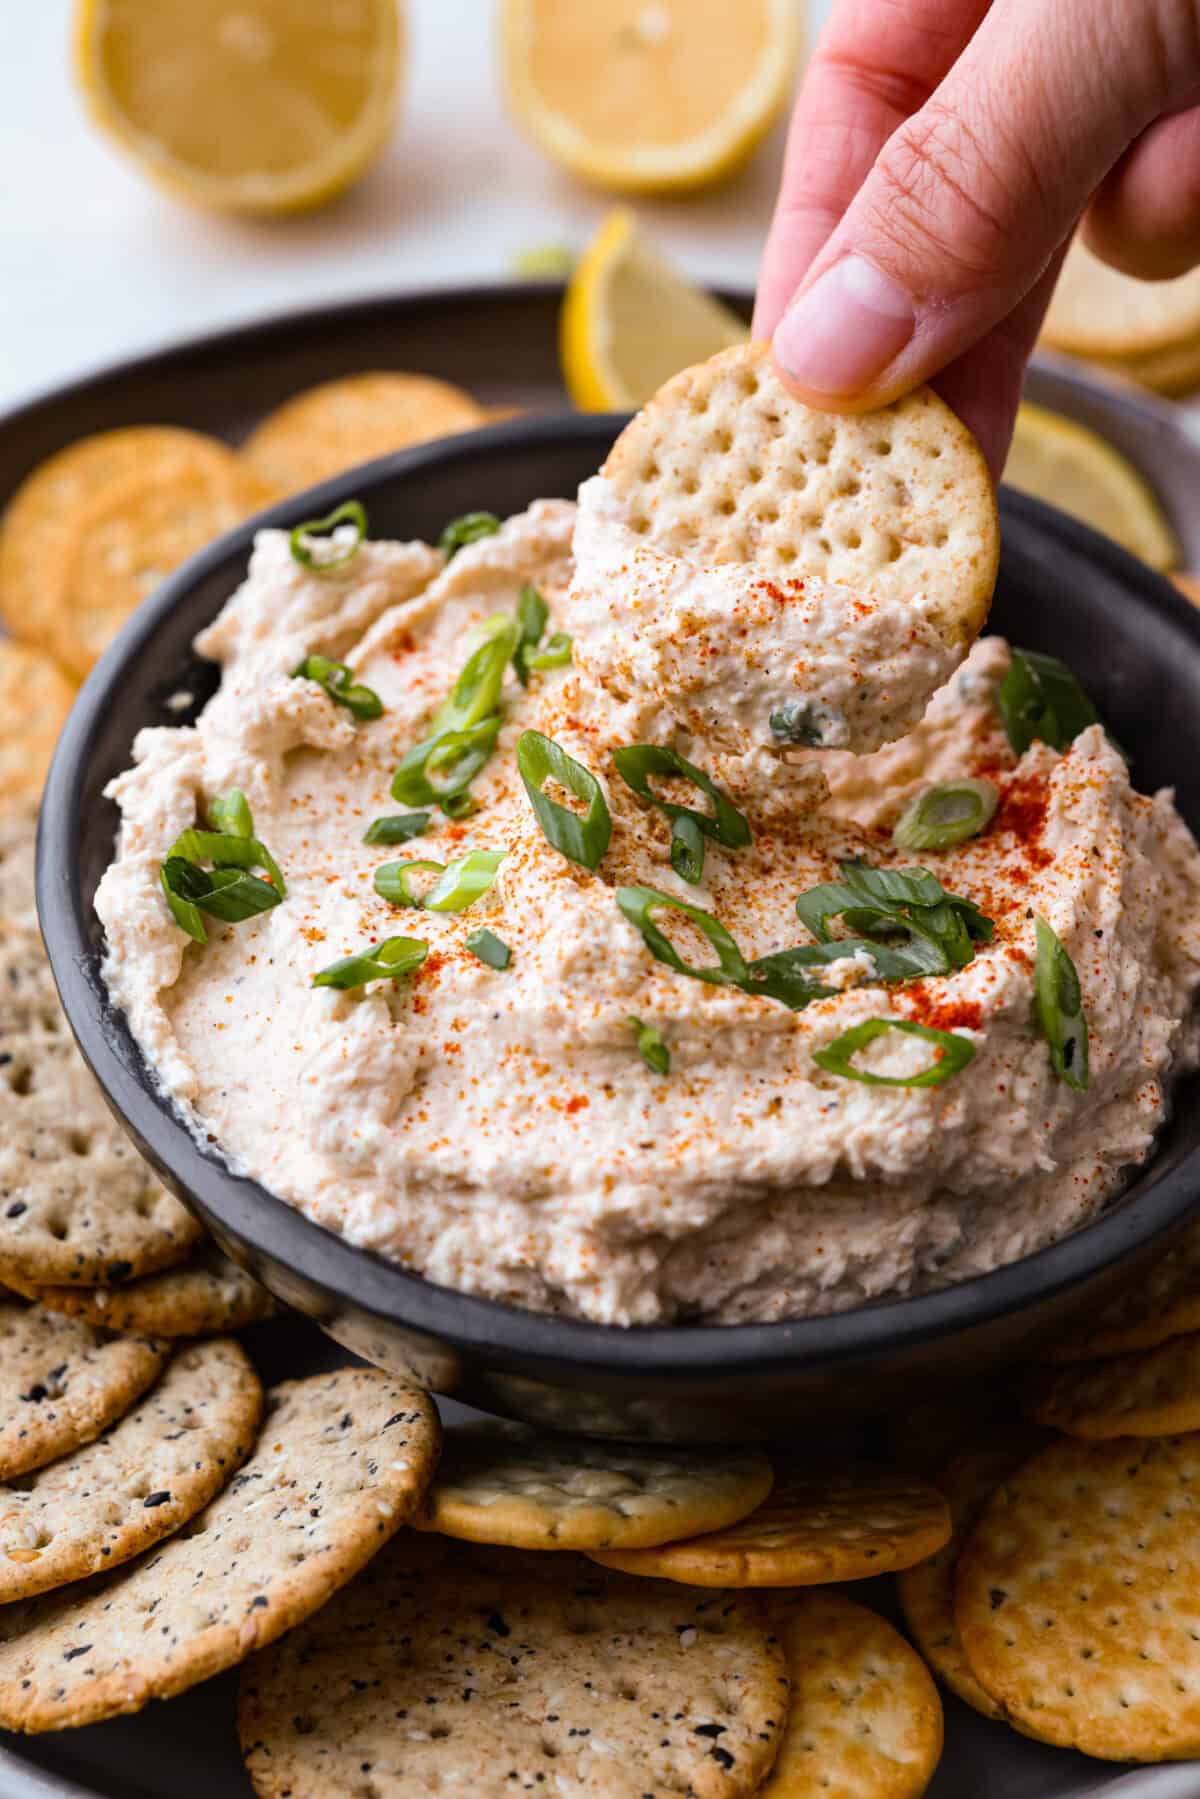
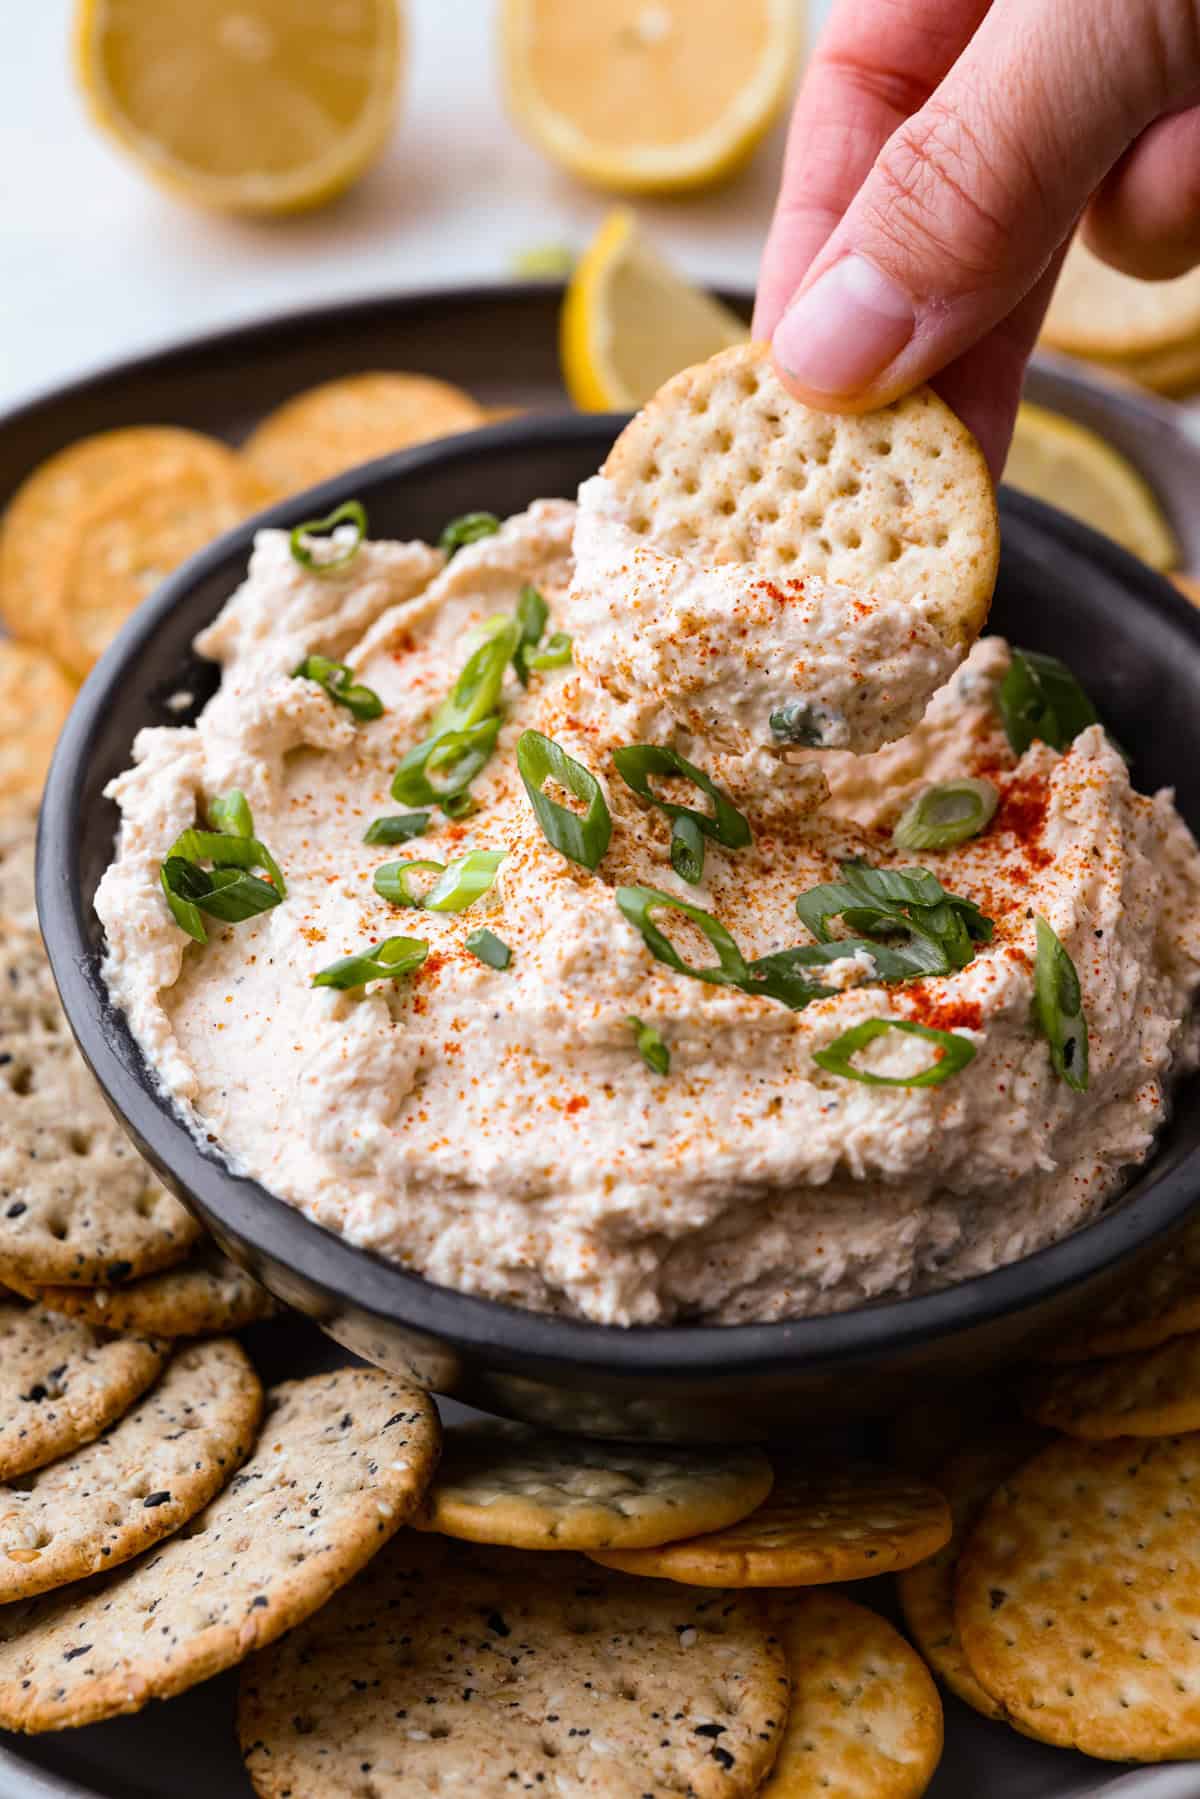
    Angle shot of someone dipping a cracker into the cajun crab dip. Angle shot of someone dipping a cracker into the cajun crab dip.

    How to Store Leftover Crab Dip

    Cajun crab dip stores beautifully, making it perfect for enjoying over several days. The flavors meld together even more over time, so this easy appetizer will taste even better the next day!

    • In the Refrigerator: Store in the fridge in an airtight container or covered tightly with plastic wrap for up to 5 days.
    • Make Ahead: You can prepare this cajun crab dip beforehand, as long as it is served and discarded after the 5th day.

    More Easy Dip Recipes

    If you love how simple and delicious Cajun crab dip is, you’ll definitely want to try my addictive crack dip! Dips are perfect for parties, game days, or just snacking at home. Here are a few more to try next!
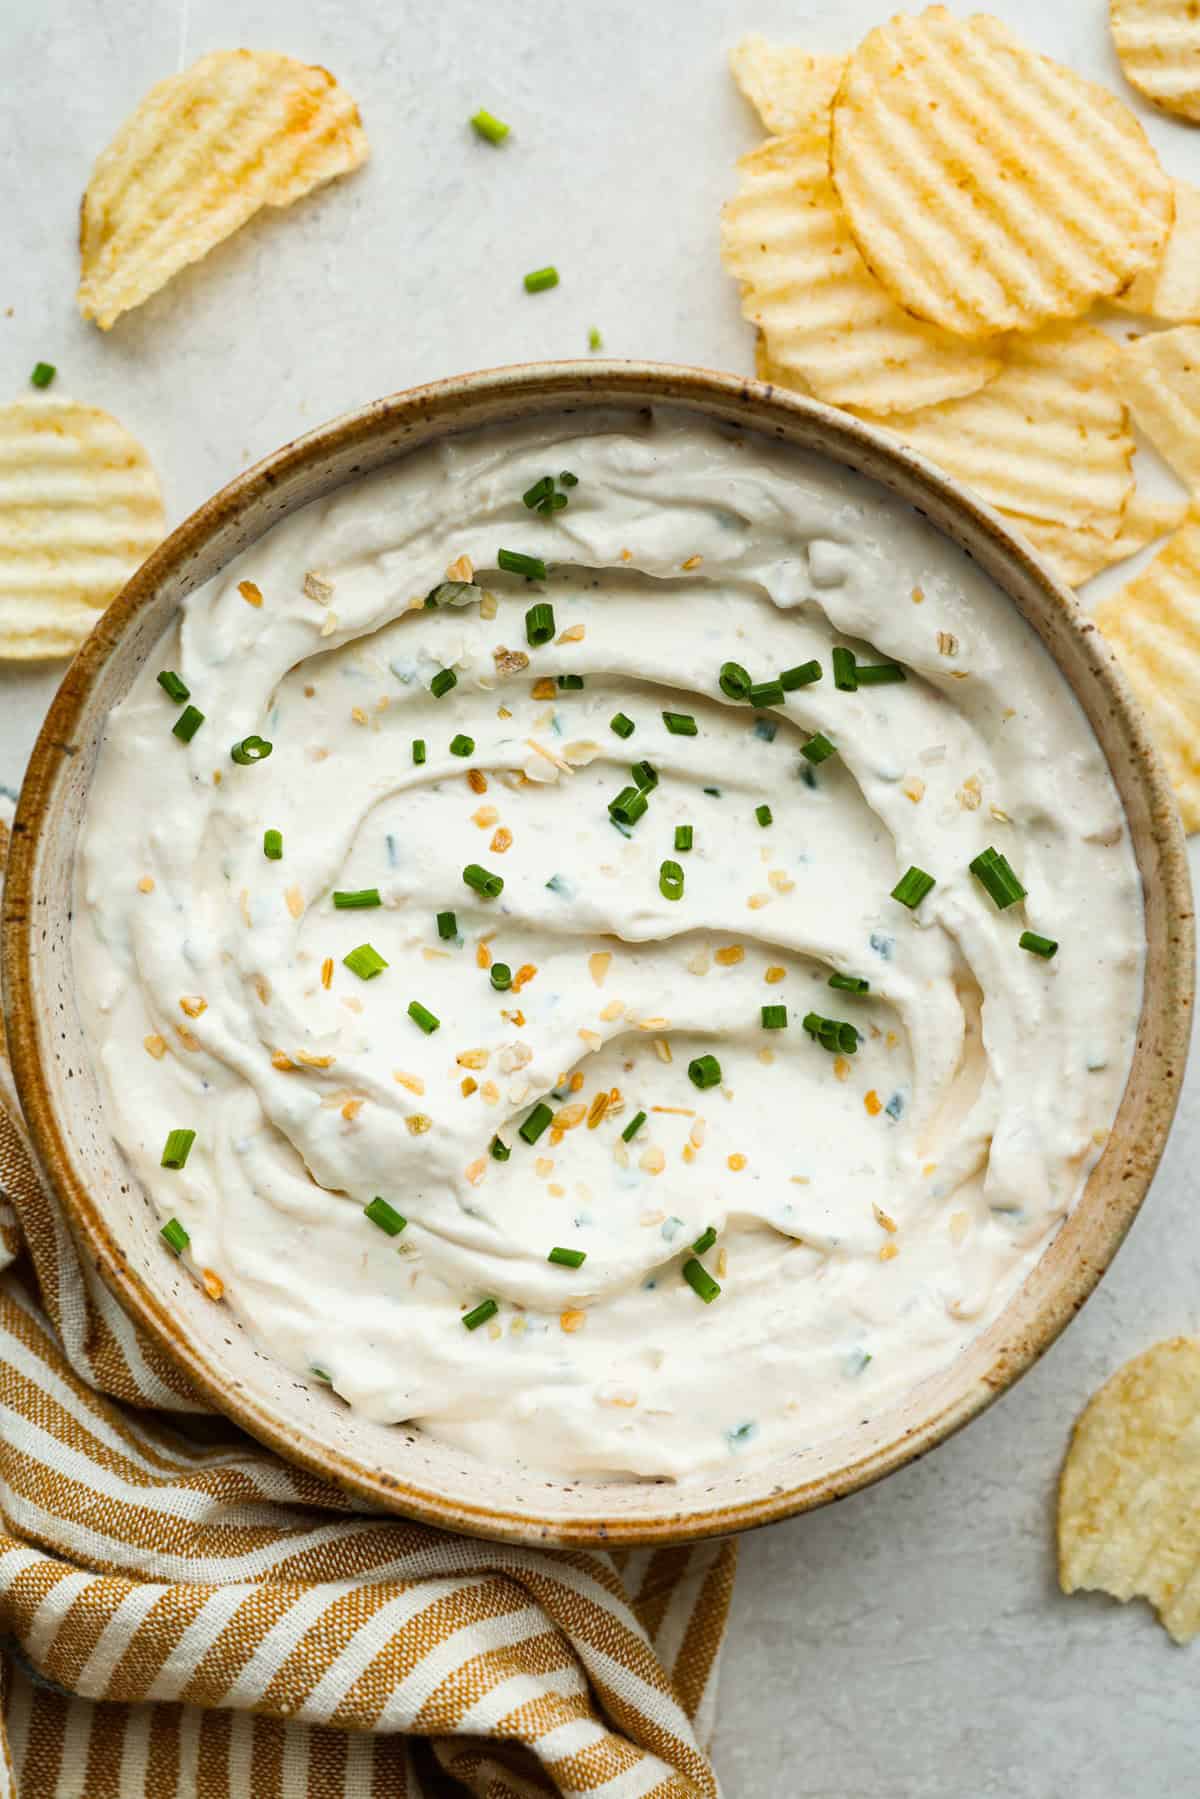
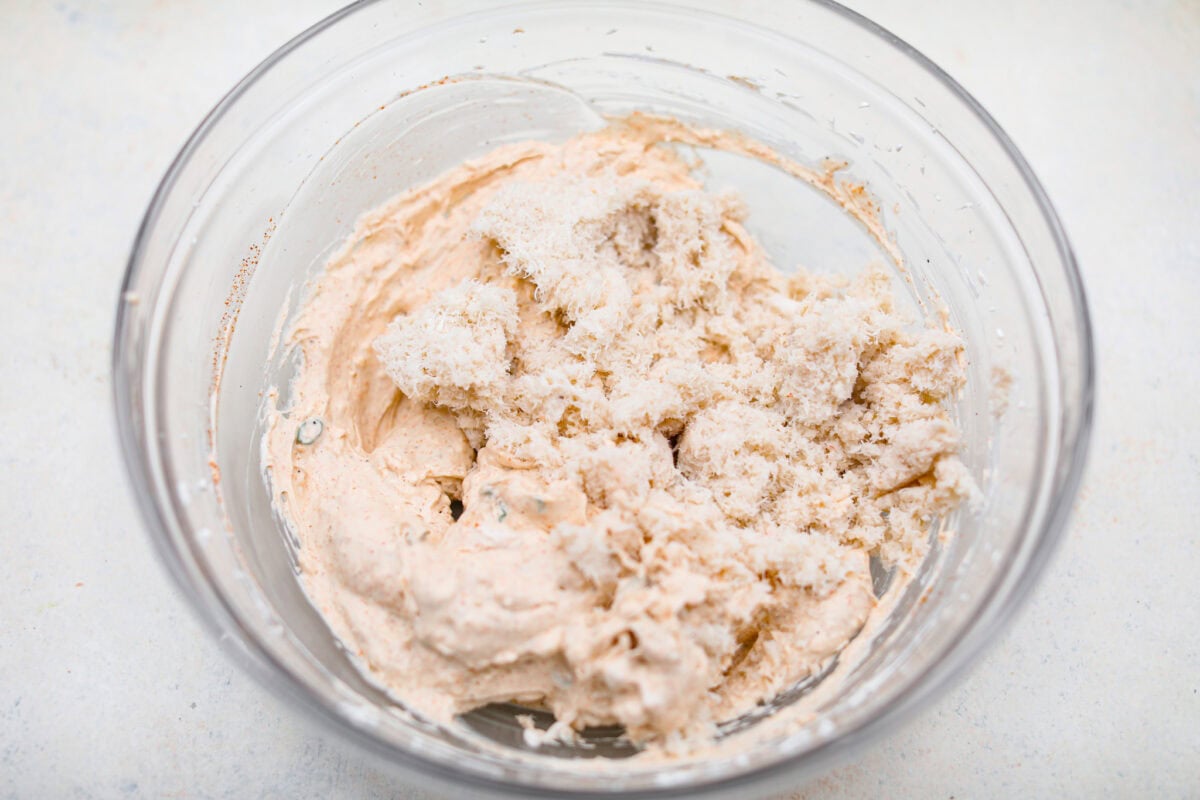
    Sour Cream and Onion Dip

    35 minutes

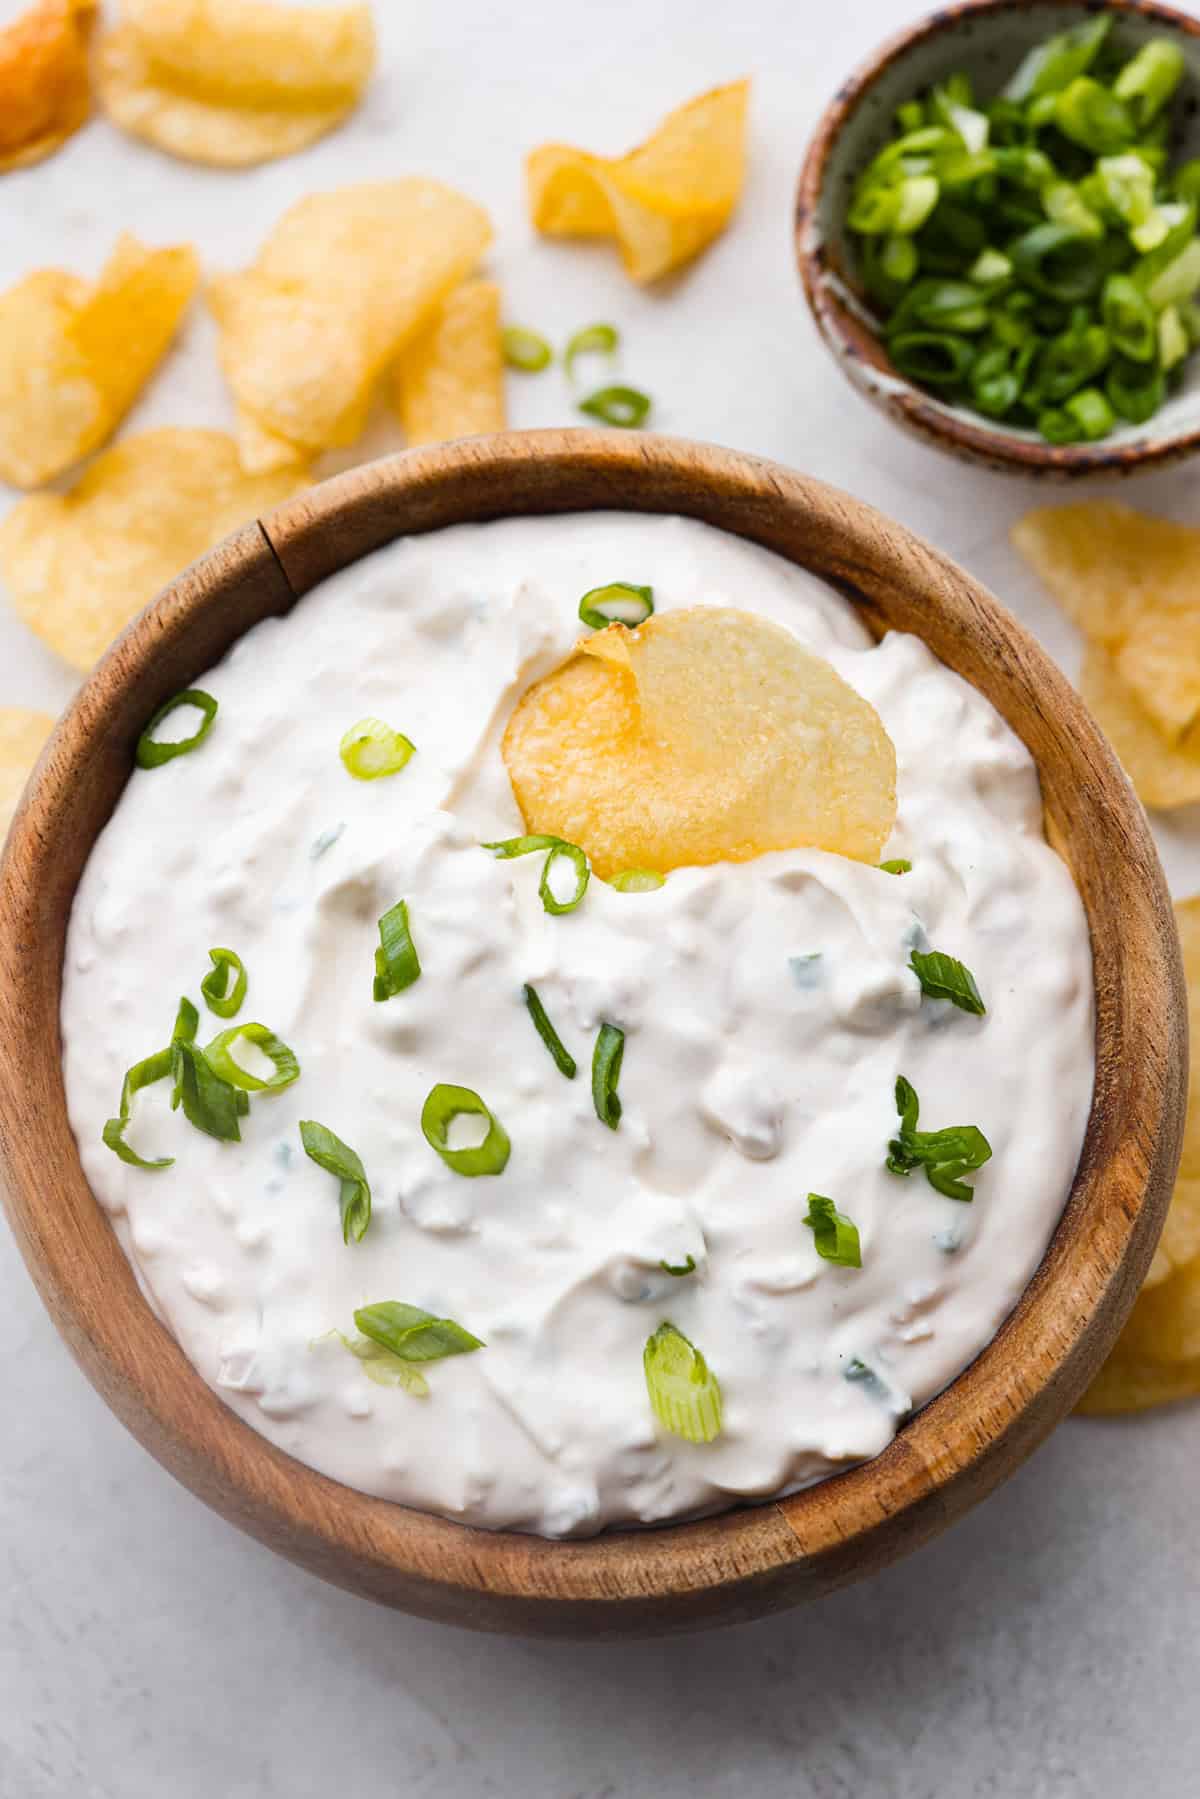
    Clam Dip

    5 minutes

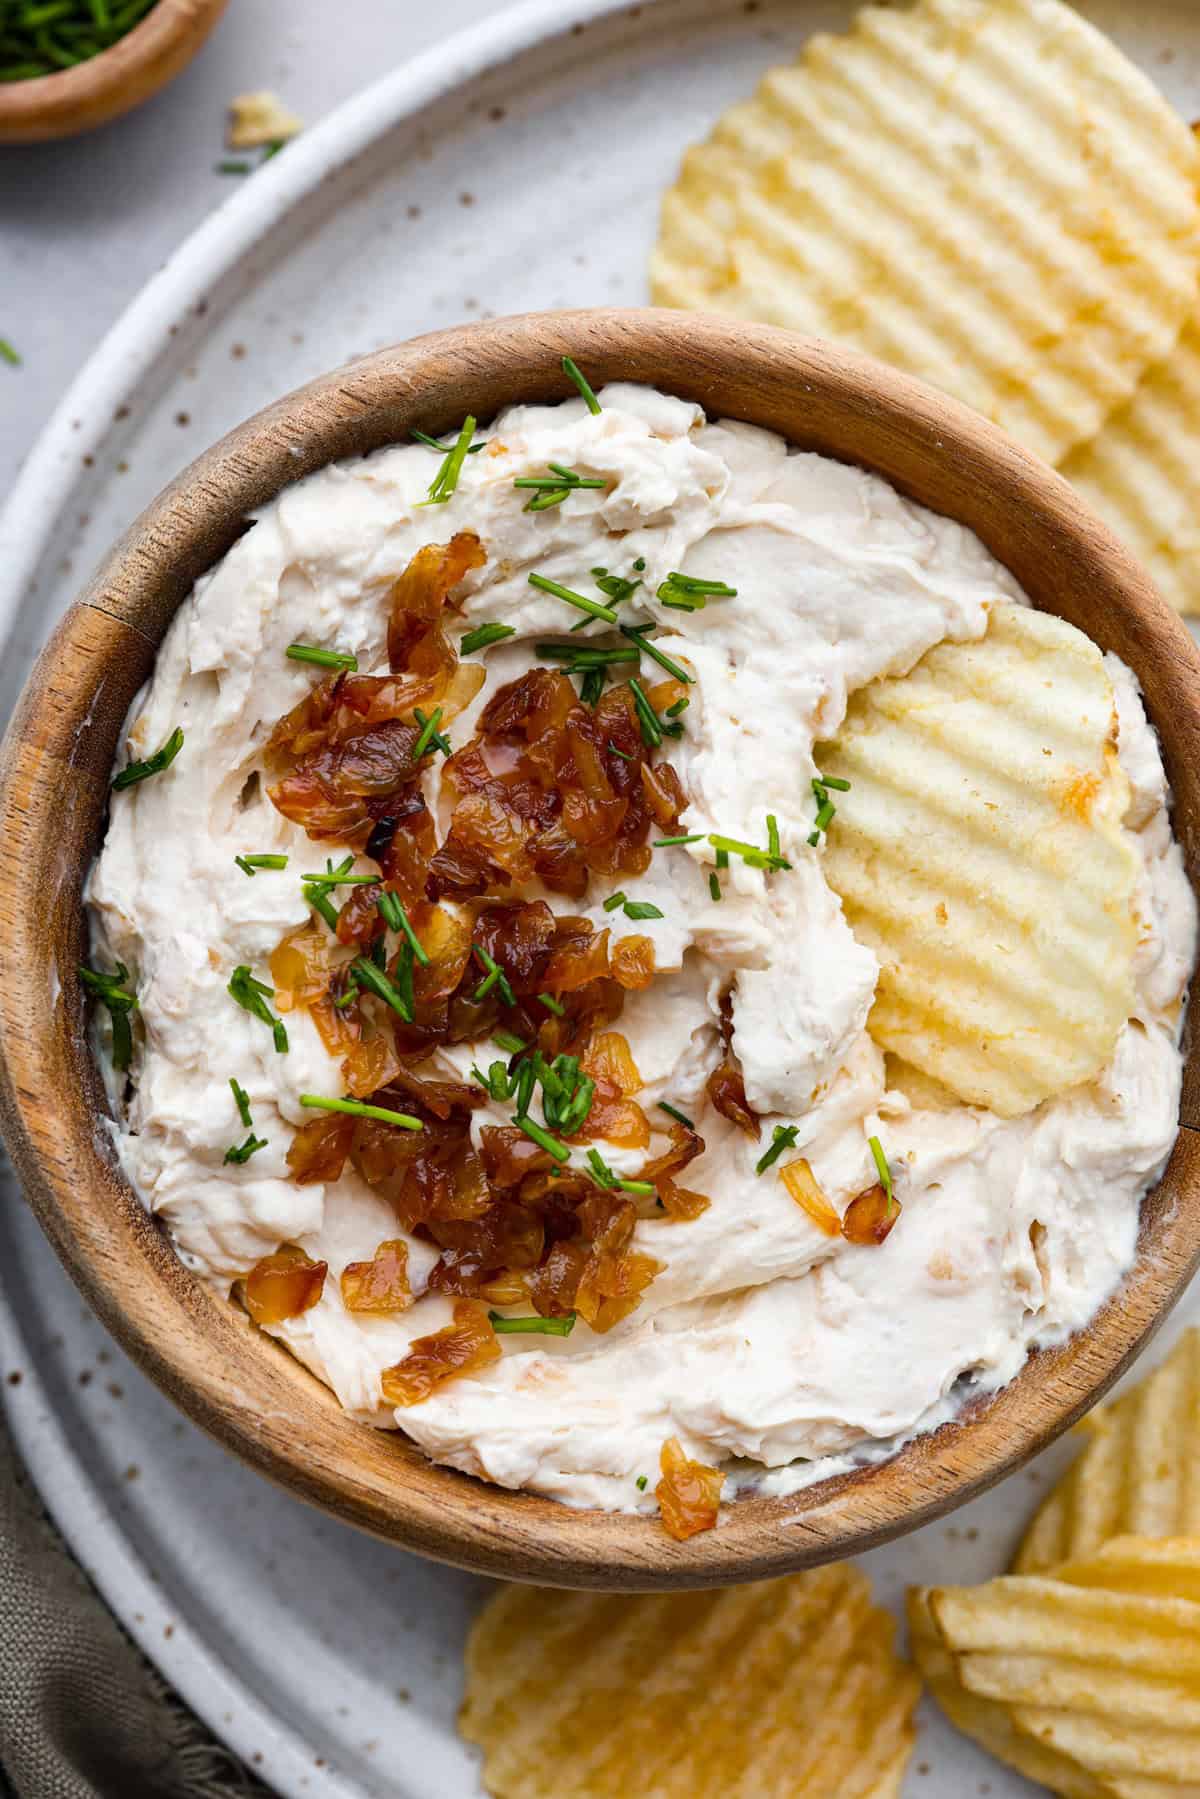
    The Best French Onion Dip

    40 minutes

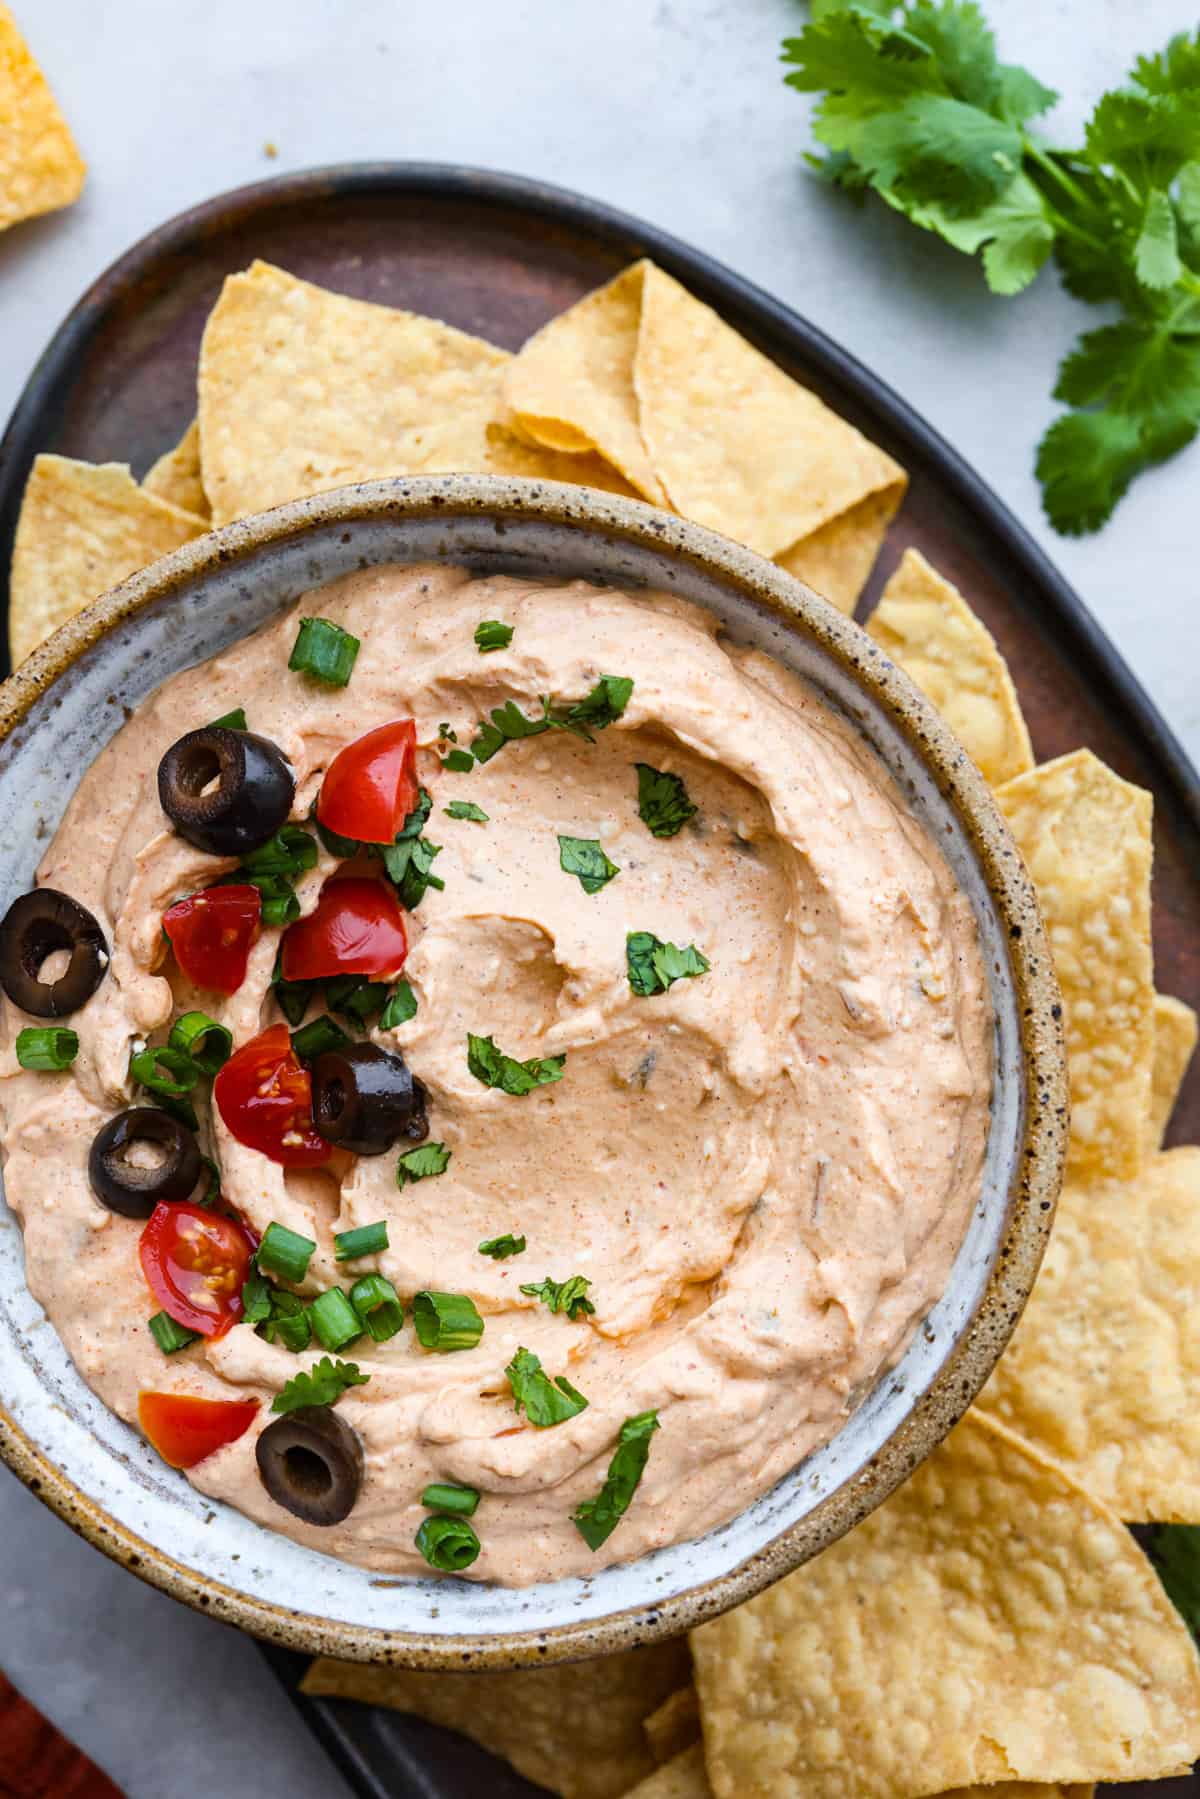
    Taco Dip

    5 minutes

    Pin this now to find it later

    Pin It


    Source link

  • Easy Chicken Burrito Bowls

    Easy Chicken Burrito Bowls

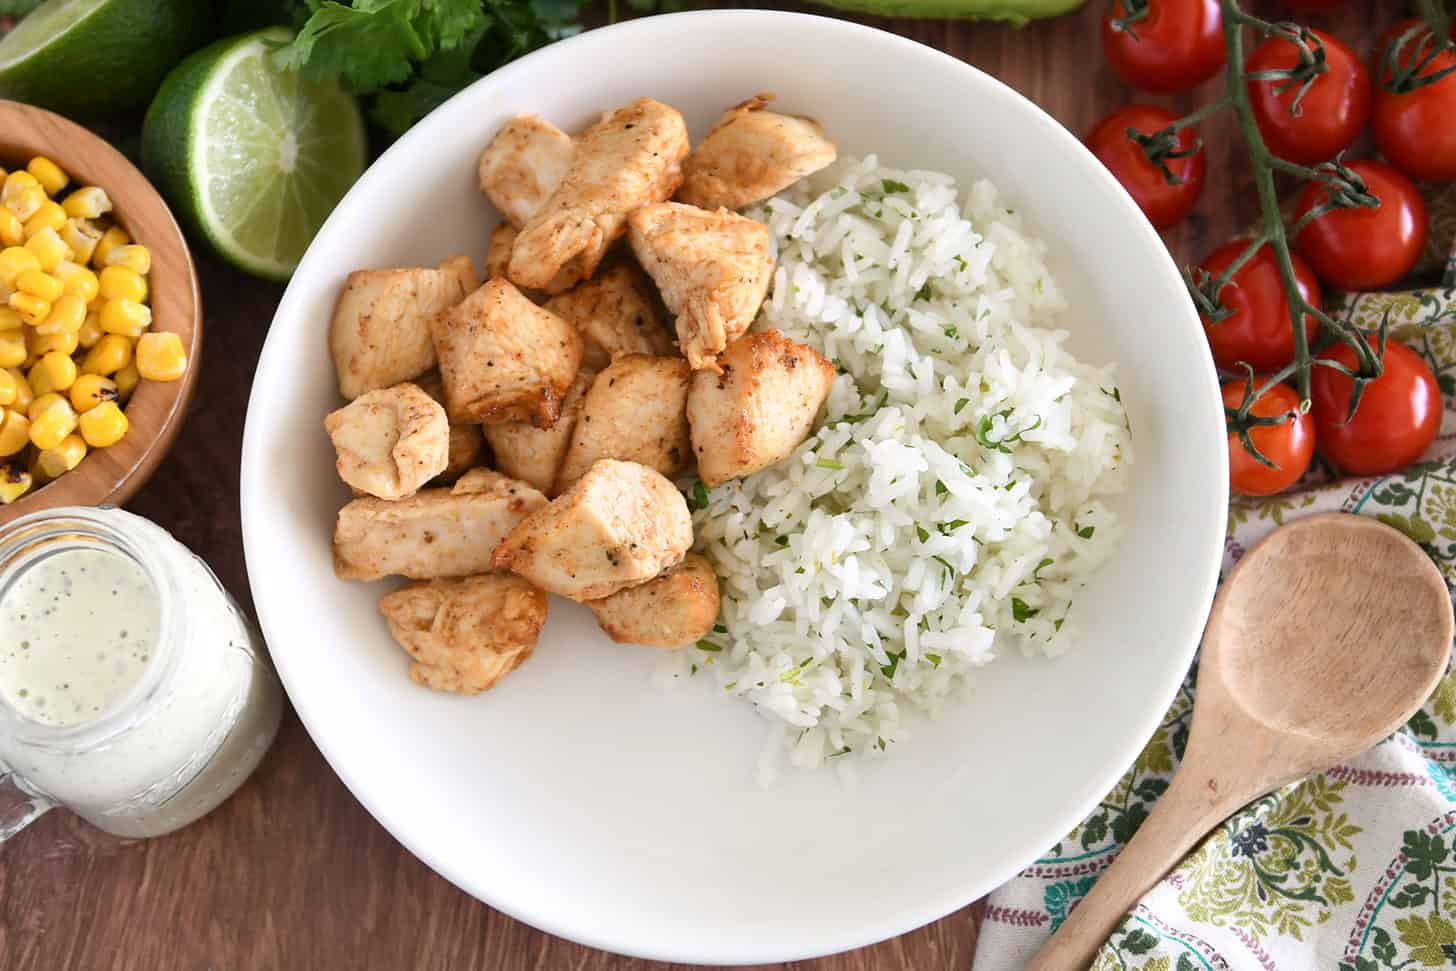
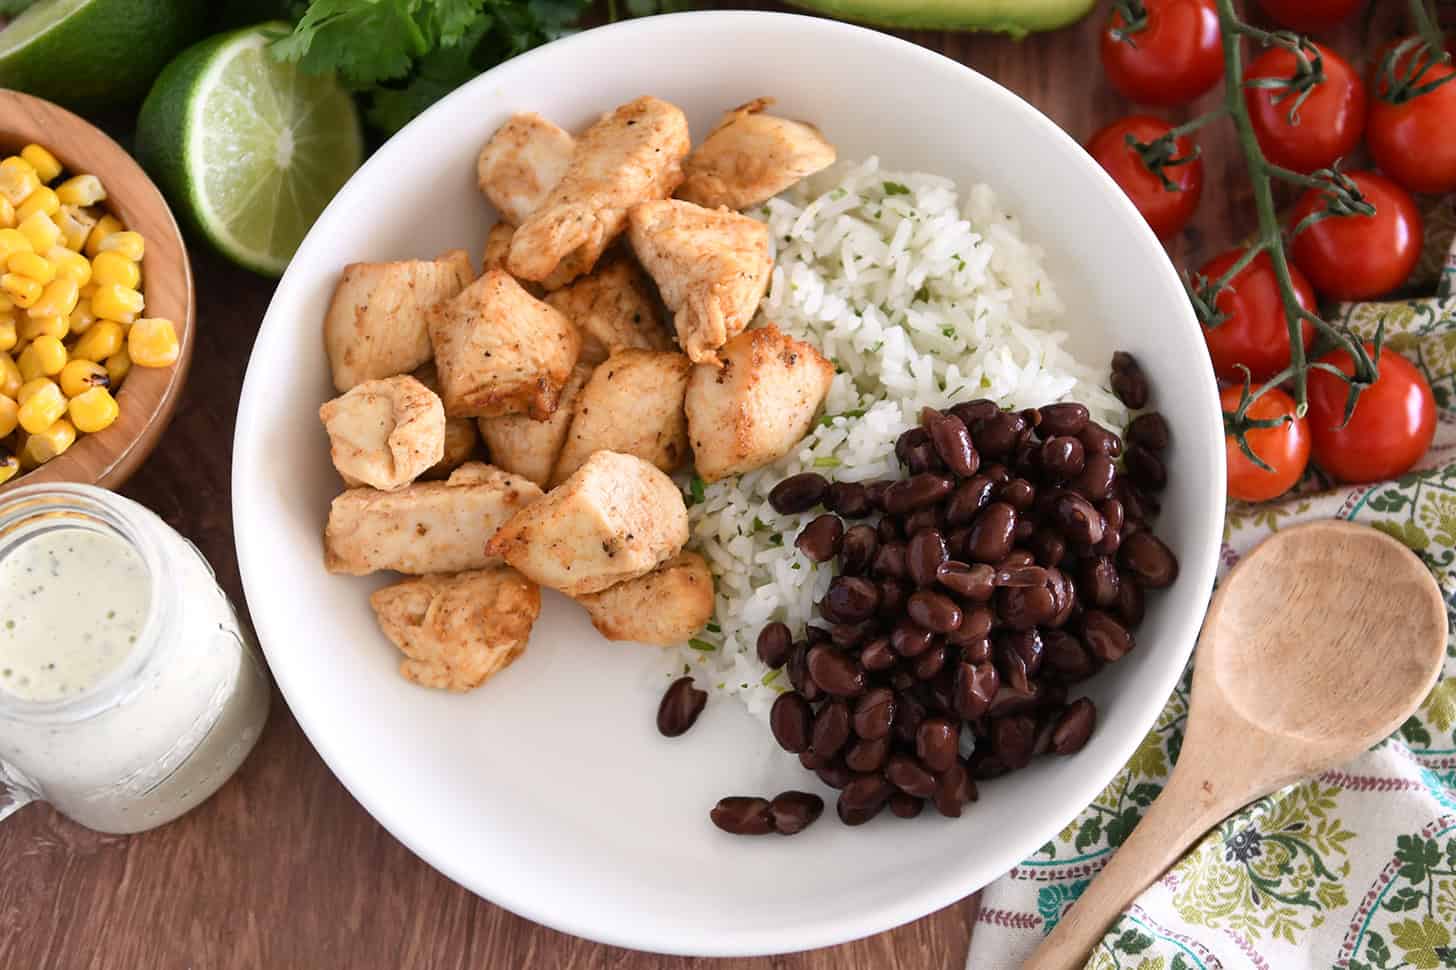
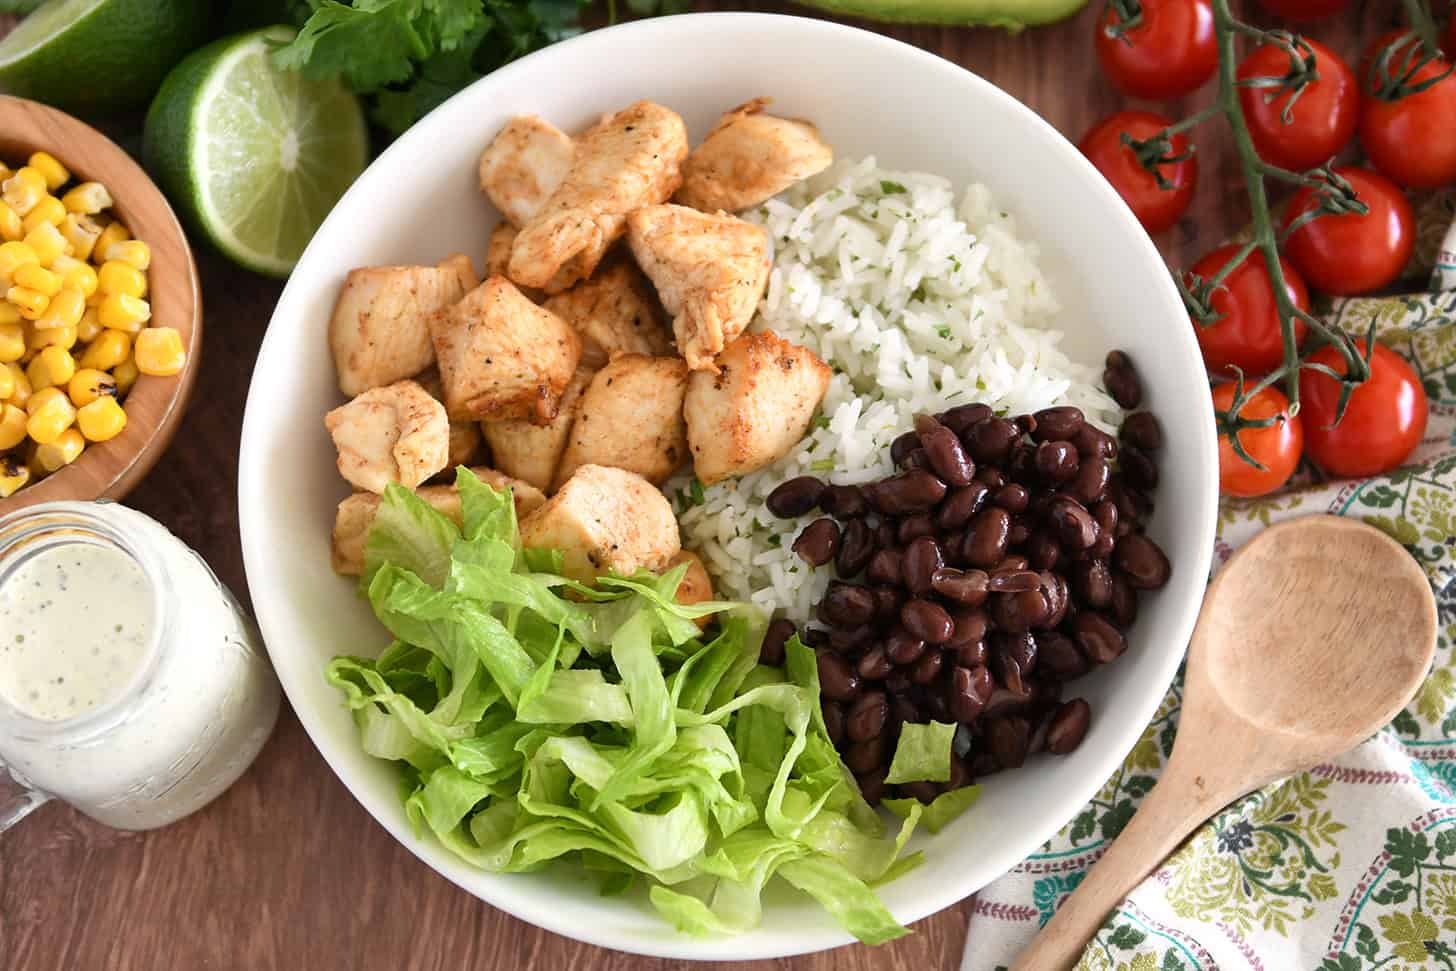
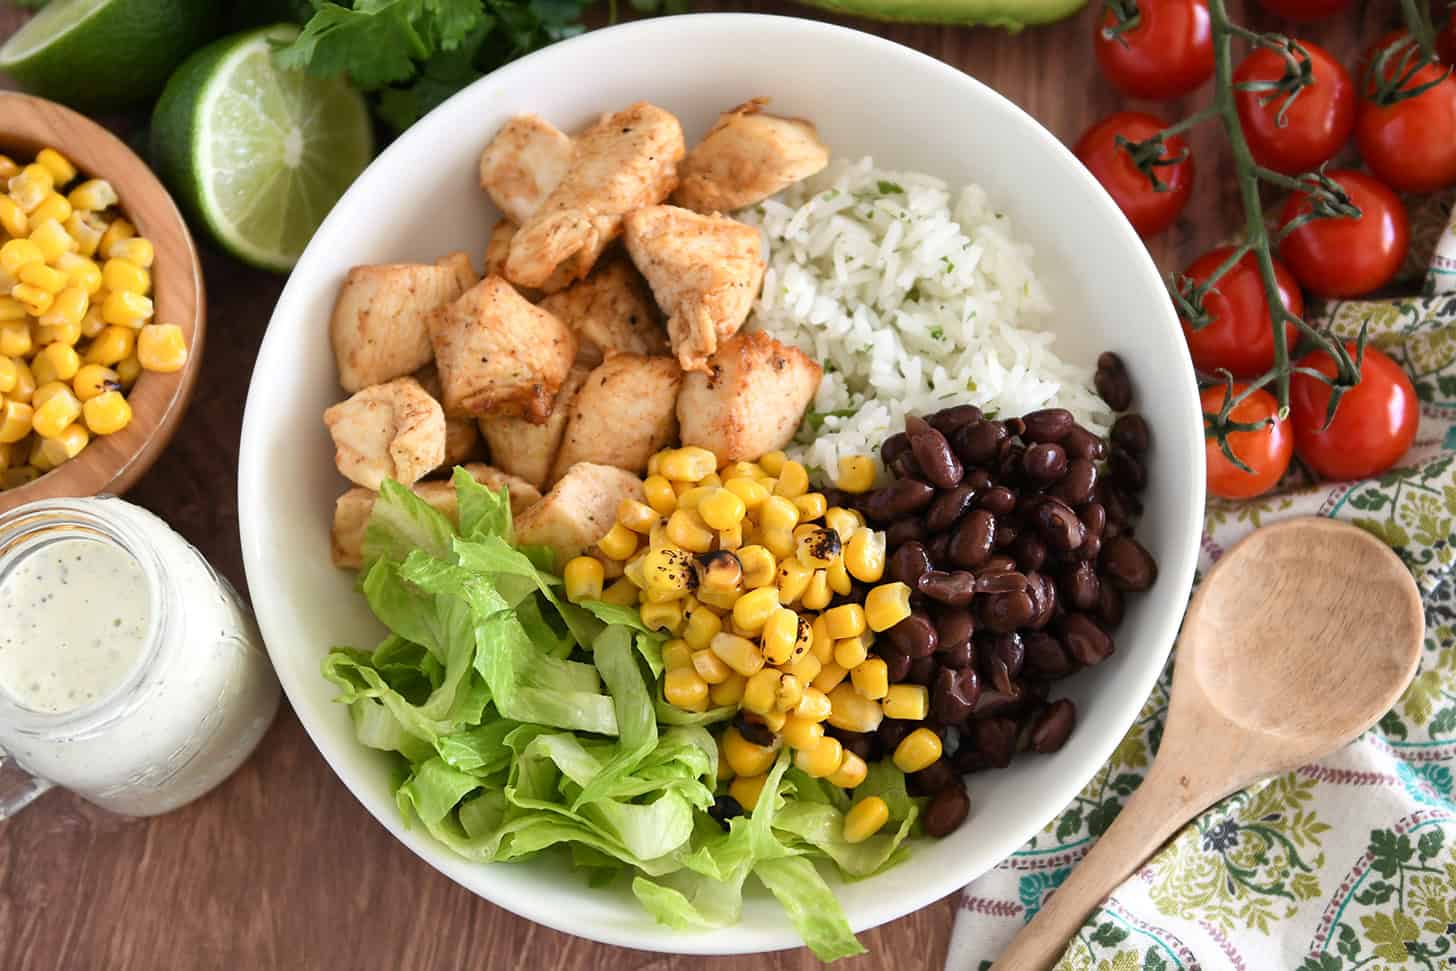
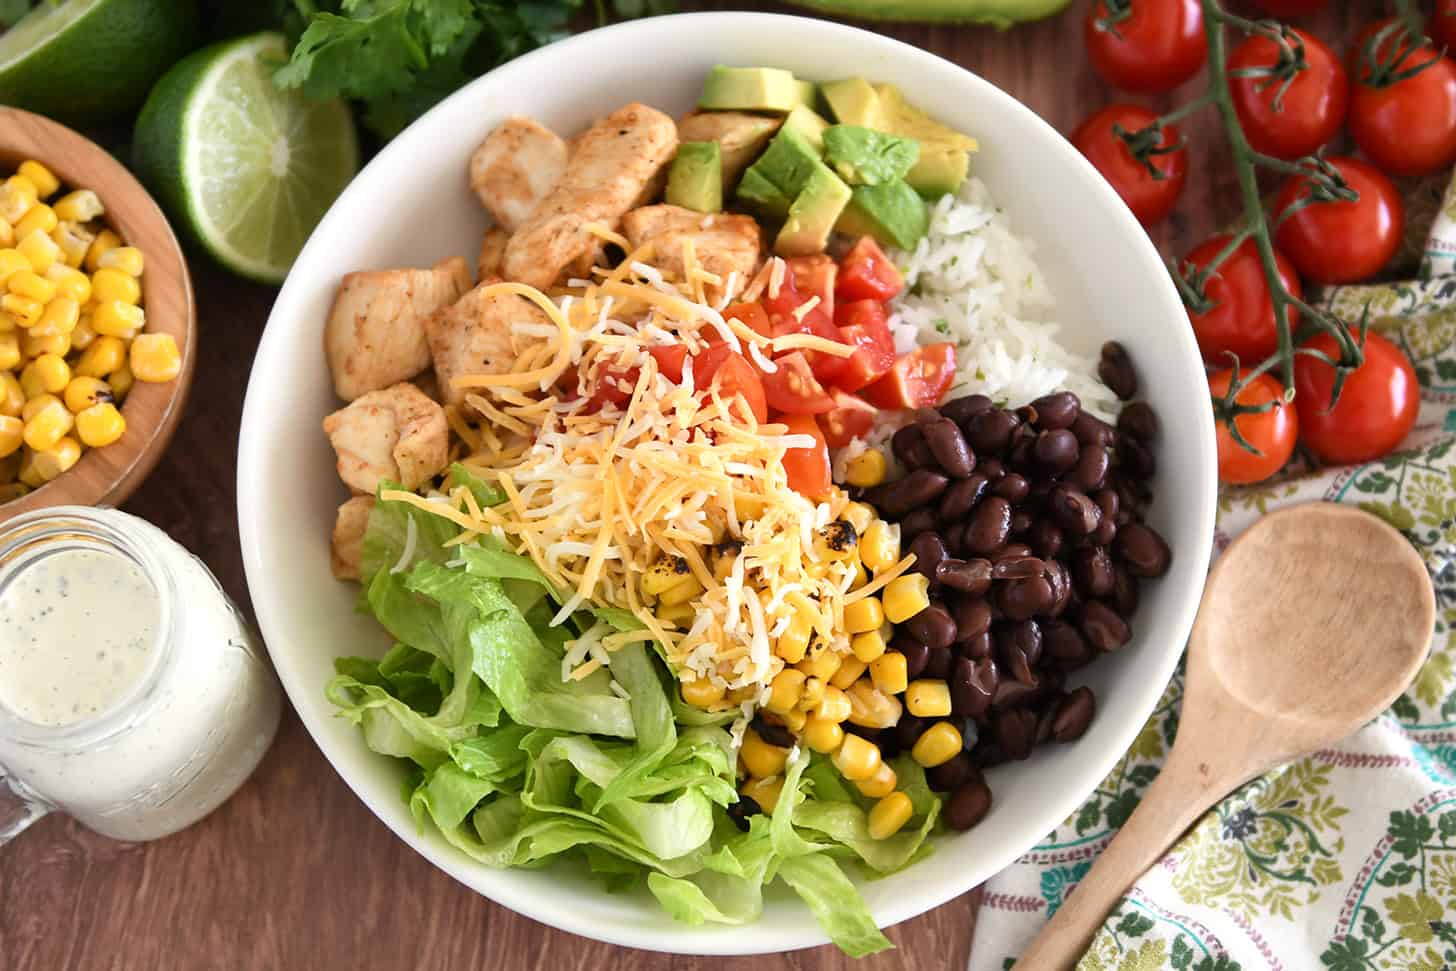
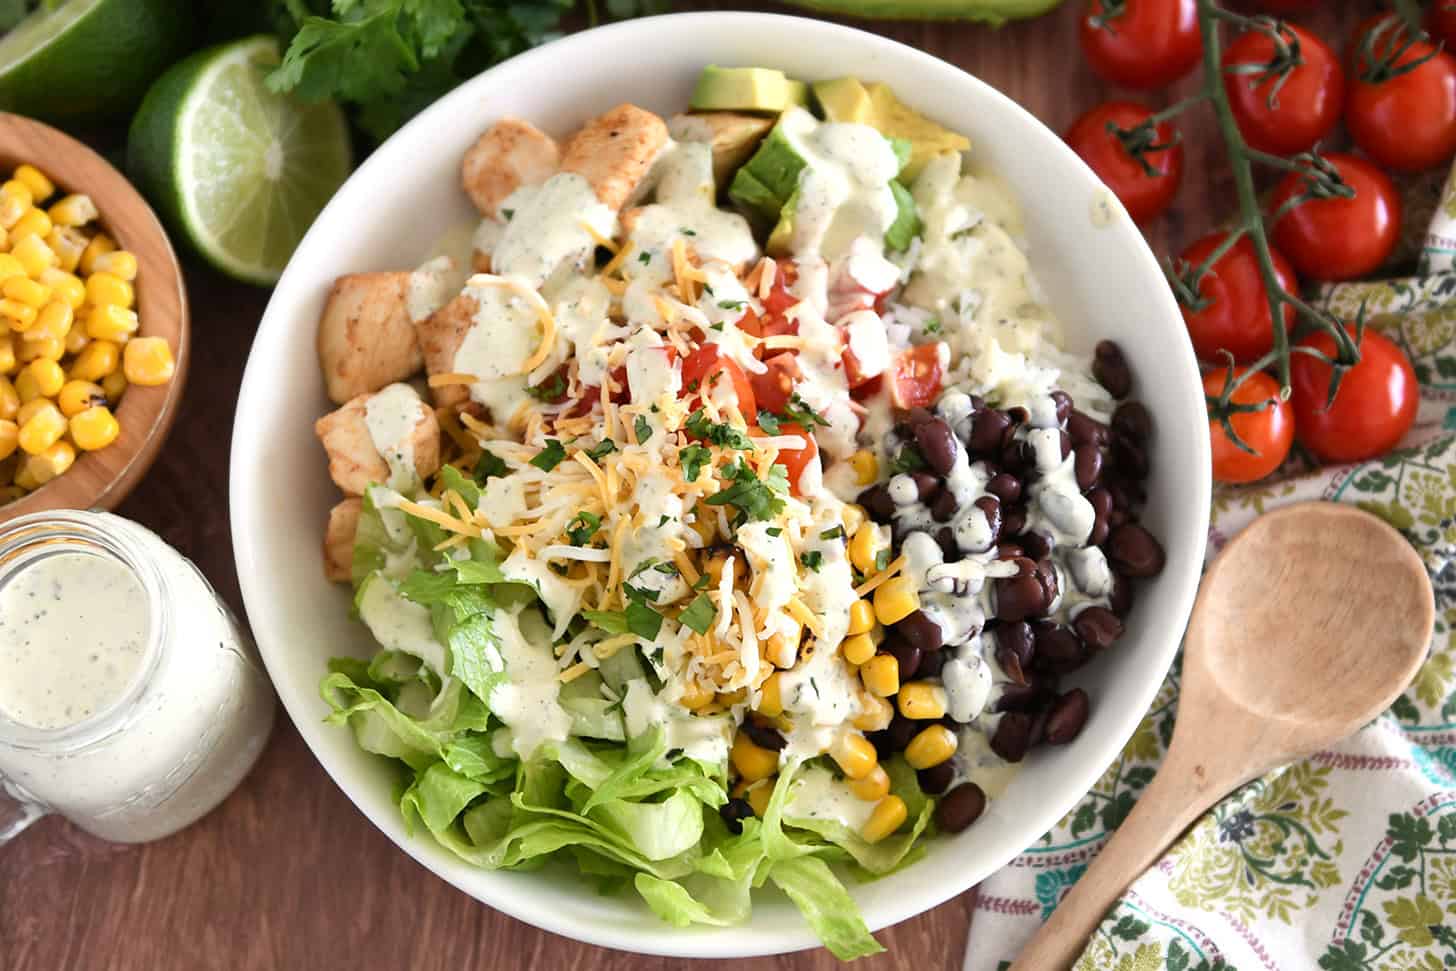
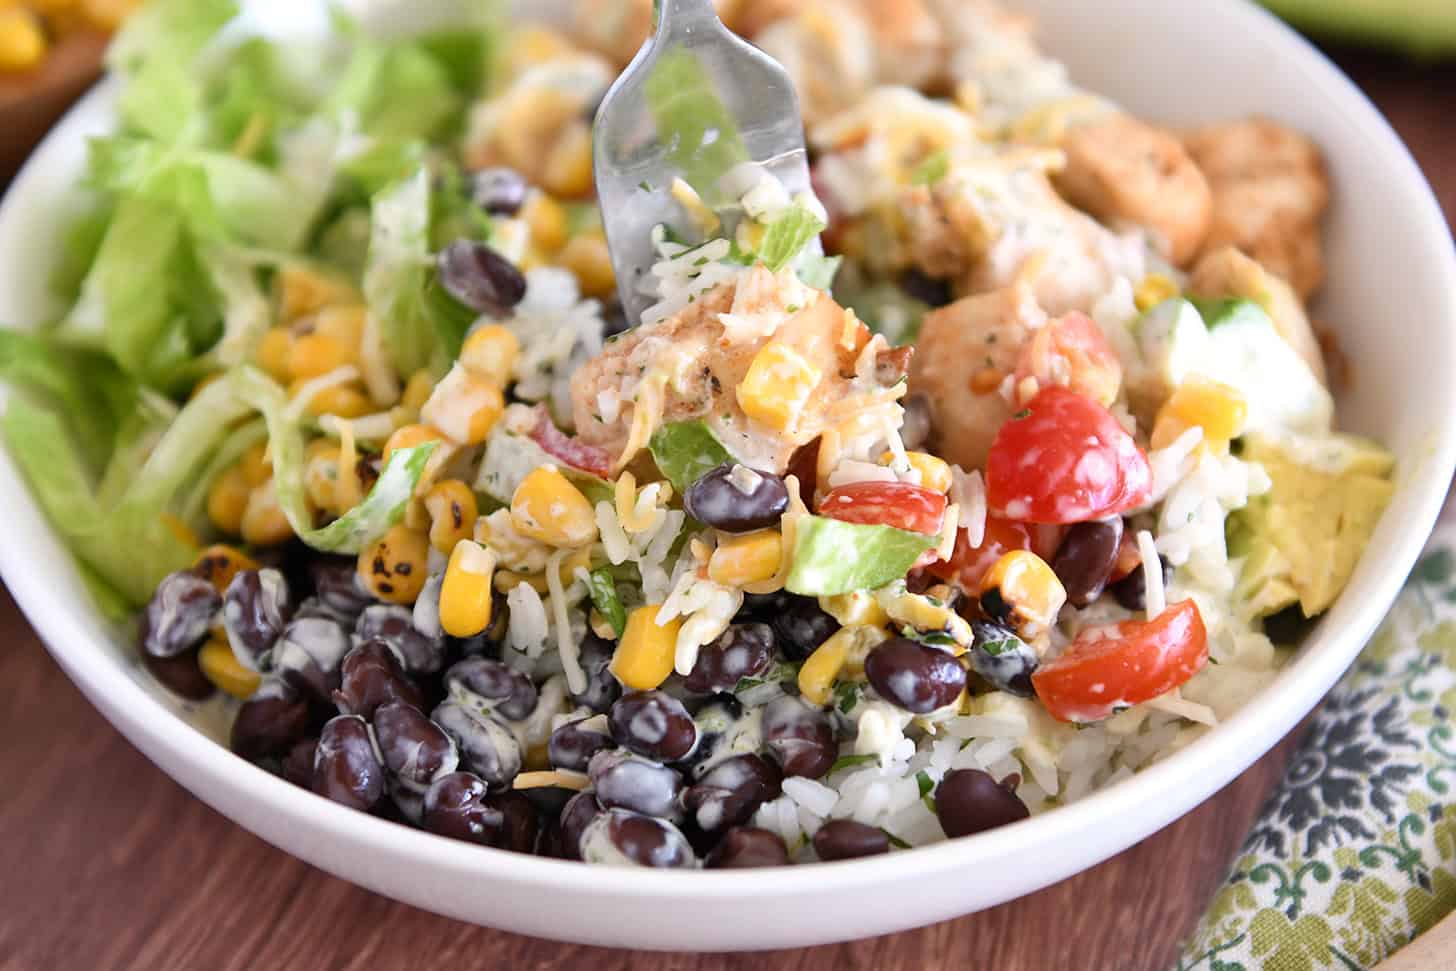
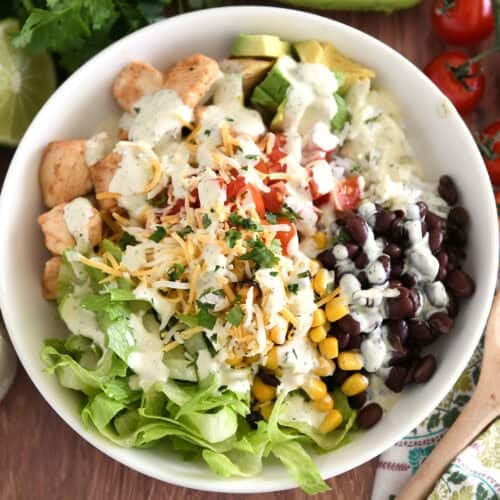
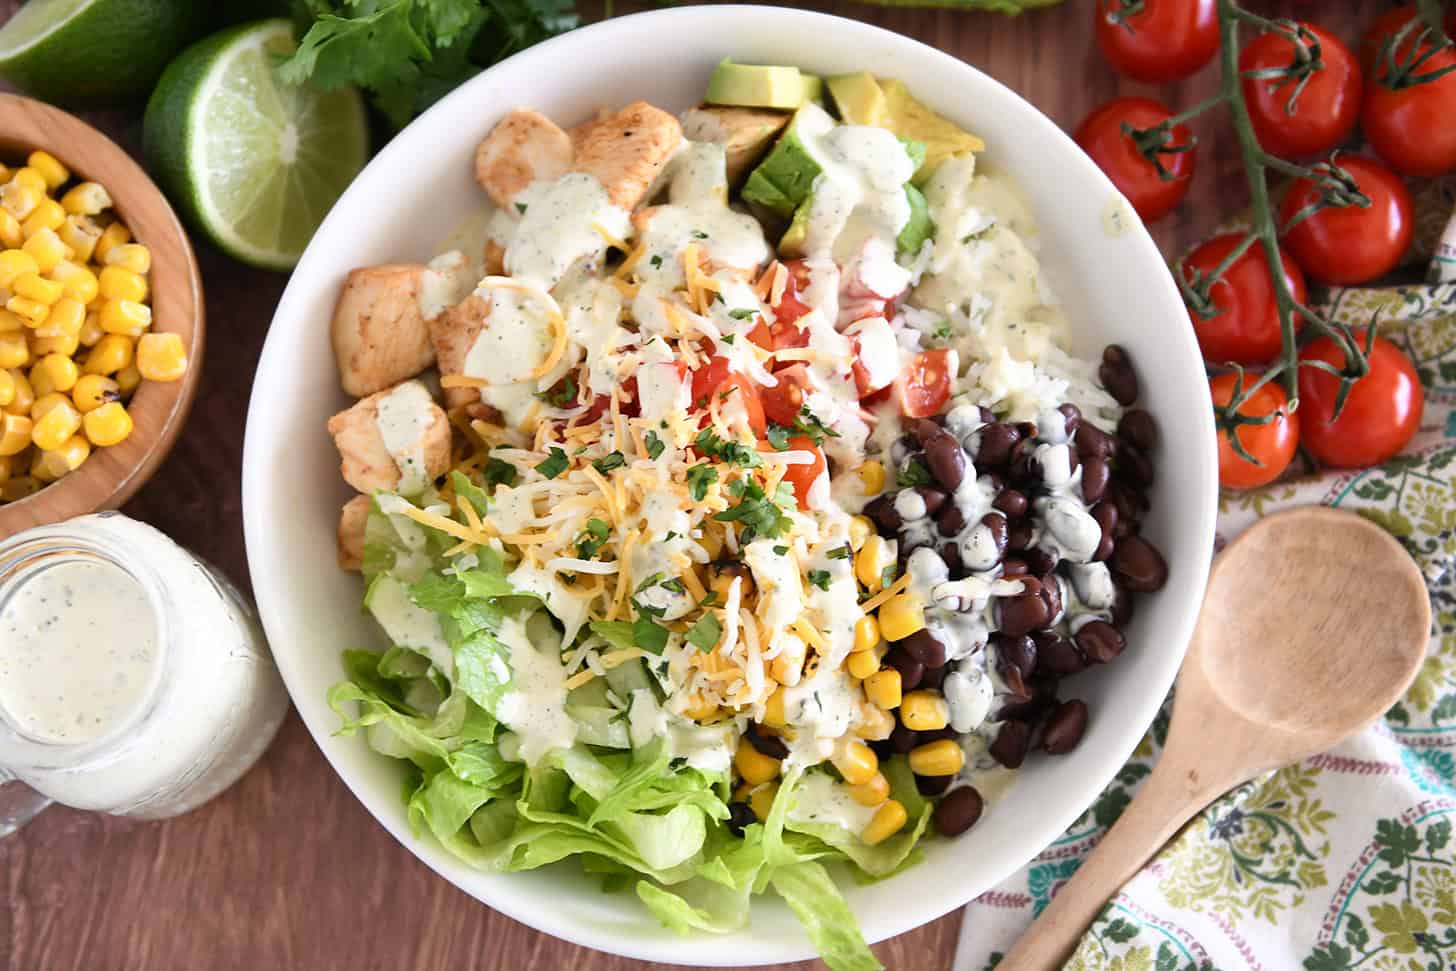
    These easy chicken burrito bowls are piled high with cilantro lime rice, roasted corn, flavorful chicken, black beans and all the toppings your heart desires.

    This quick and simple meal has become one of our go-to weeknight dinners! Best part? Everyone can customize their own plate (which is perfect for picky eaters!).

    Why These Chicken Burrito Bowls are So Easy

    These burrito bowls are a perfect weeknight meal! Many of the components can be prepped ahead of time making it even easier.

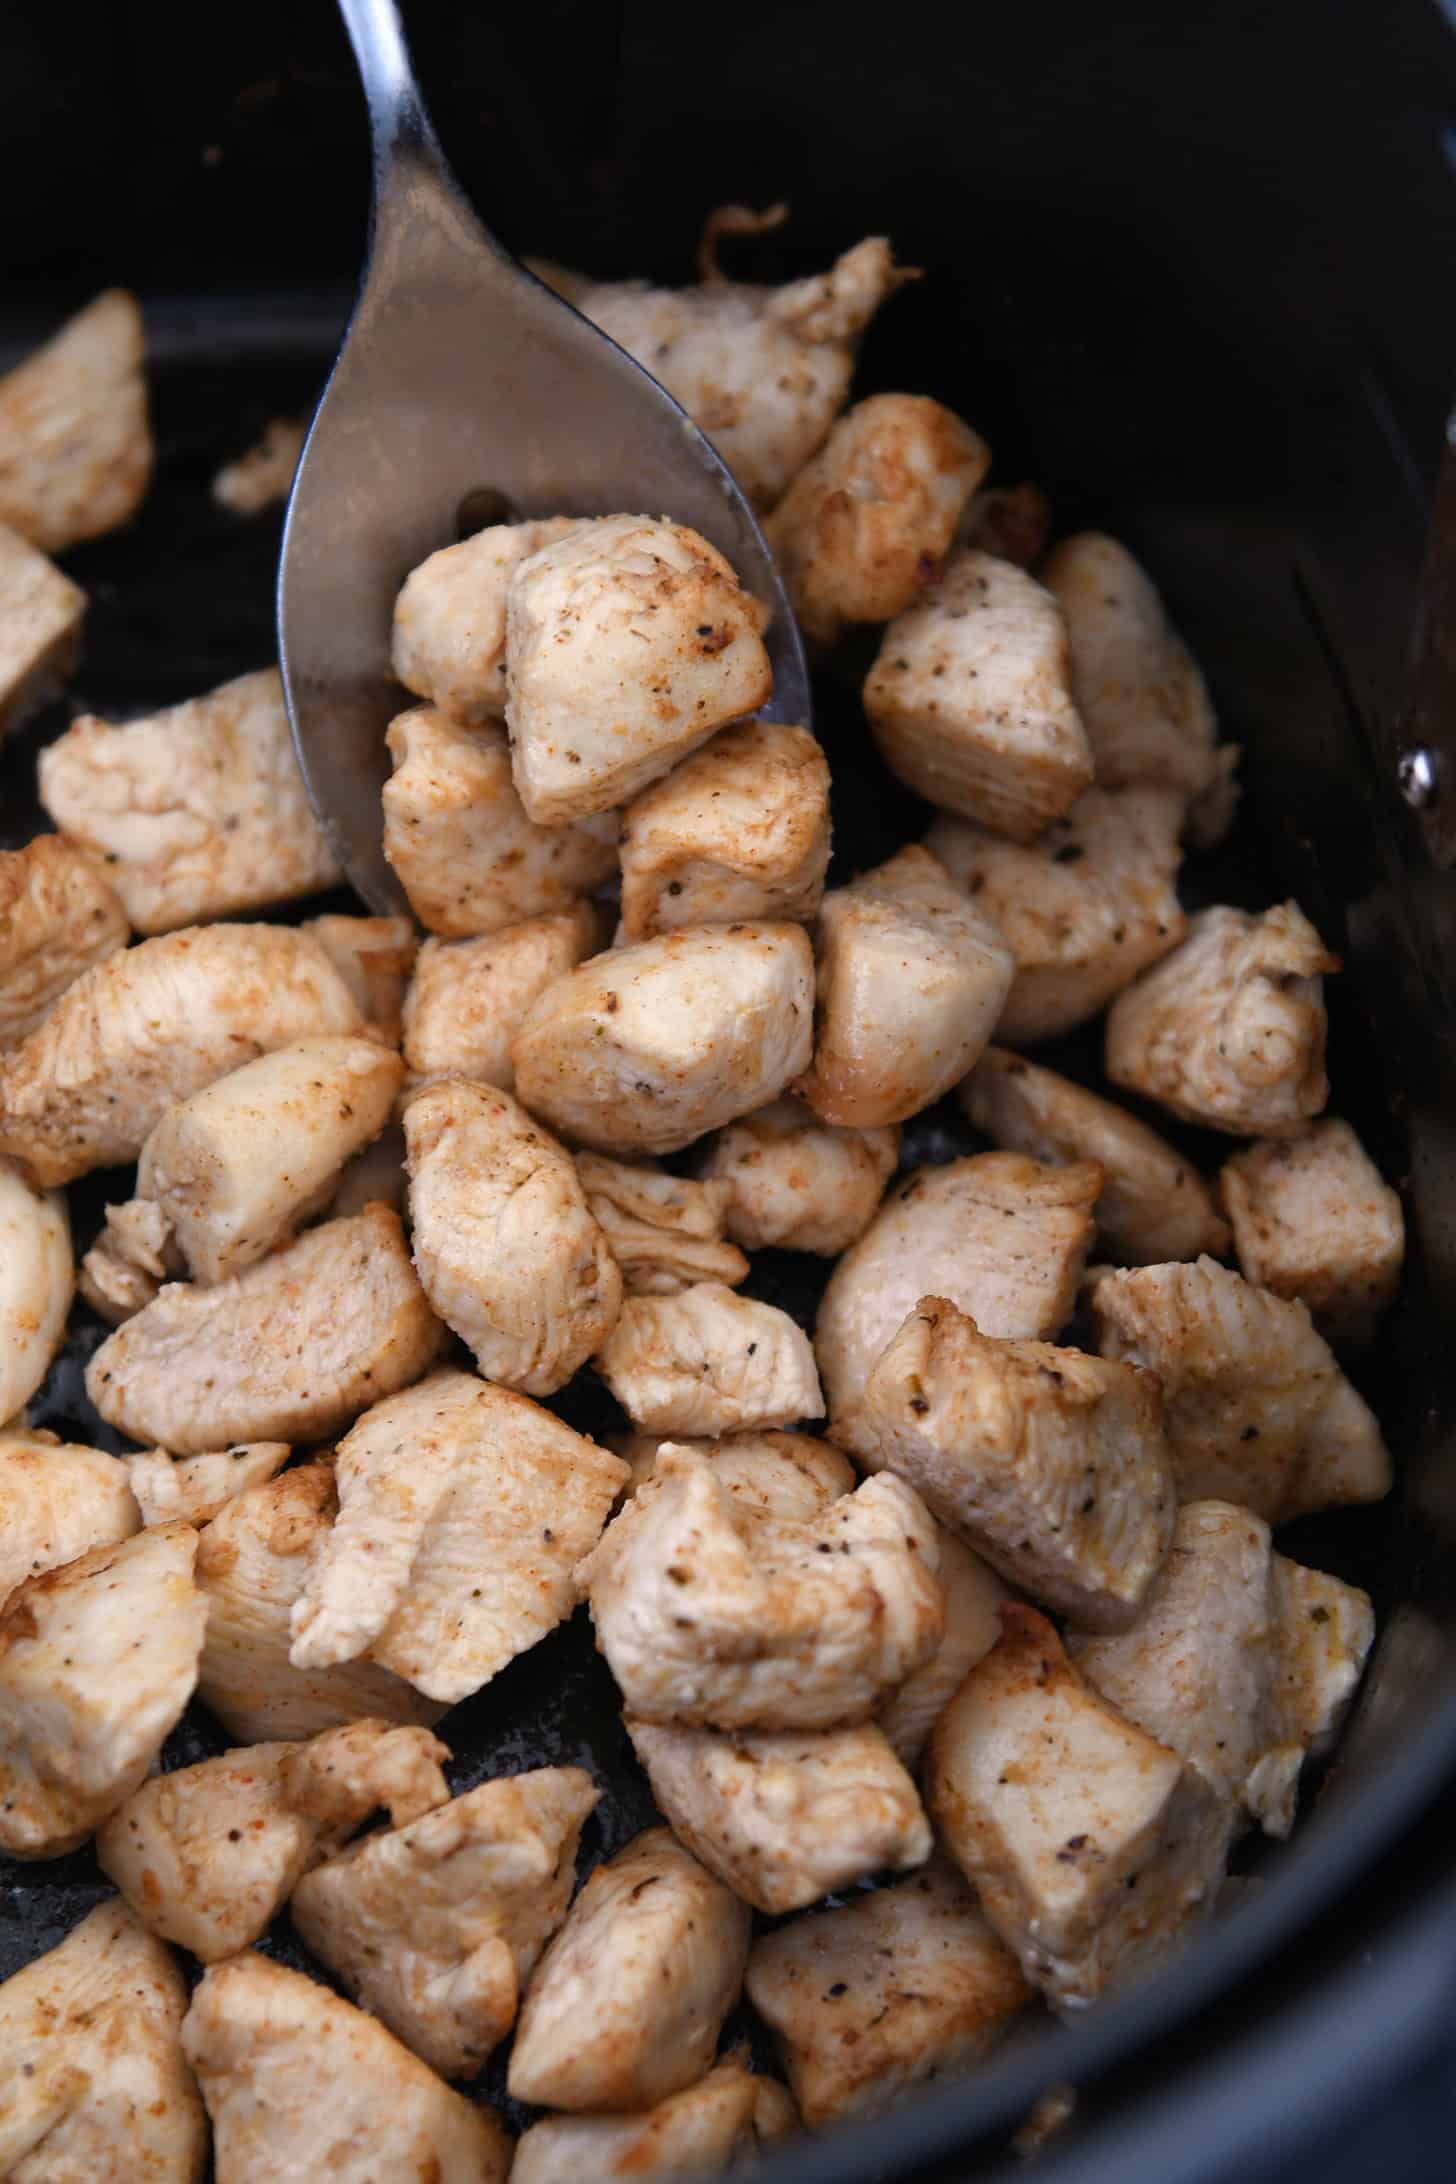
    • Chicken + Marinade: Marinate the chicken for as short as one hour or up to eight hours. And if you’re in a time crunch, just give the chicken a couple minutes to bask in the marinade, and then cook it up – the flavor won’t be quite as pronounced, but the chicken will still be delicious.
    • Toppings: Chop and prep all the toppings ahead of time, if needed.
    • Beans: Drain and rinse the beans ahead of time and store in a container in the refrigerator until ready to serve.
    • Rice: This recipe is a perfect way to use up leftover rice of any sort, like cilantro lime rice, garlic butter rice, cooked white or brown rice, etc. Other types of ingredients can be used in place of rice, like quinoa. I’ve included my favorite way to make cilantro lime rice in the recipe below.

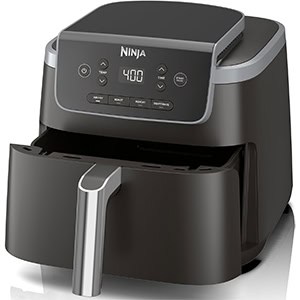
    Cooking Options: Cook the chicken in a skillet on the stovetop or in an air fryer. Instructions are included for both in the recipe. The chicken cooks with the marinade, making it extremely flavorful and delicious.

    Key Ingredients for Chicken Burrito Bowls

    So many of the ingredients for this recipe are easily adaptable if you need to swap in or out based on food allergies, food preferences, or what you have on hand.

    • Chicken: Use boneless, skinless chicken breasts, chicken tenders or chicken thighs.
    • Marinade: The simple marinade is a combination of olive oil, lime juice, red wine vinegar, chili powder, cumin, oregano and salt.
    • Black beans: Canned black beans, rinsed and drained, add heartiness, protein and fiber. Other varieties of canned beans can be easily subbed in for the black beans.
    • Corn: Many different types of corn will work in this recipe: canned corn kernels, rinsed and drained. Frozen corn kernels, thawed and patted dry (no need to cook). Fresh corn kernels, cut off the cob (no need to cook). For a tasty variation, I love using the frozen roasted corn from Trader Joe’s. 
    • Rice: Cooked brown rice, white rice, or quinoa works great in this recipe. For different flavor variations, you can use Mexican-style rice, cilantro lime rice, garlic butter rice, coconut rice, etc.
    • Dressing: Homemade or store bought cilantro lime dressing can be used, as well as another type of dressing (like ranch). This is my go-to recipe for cilantro lime dressing.

    And Don’t Forget…Toppings Galore: The beauty of this recipe is that you can use whatever toppings your heart desires! Our favorites are shredded cheese, chopped tomatoes and avocados, shredded lettuce, and crushed tortilla chips.

    Additional Tips and Notes

    This recipe is so easy to level up or keep simple (per the recipe).

    Here are my favorite ways to level up these chicken burrito bowls:

    • Make homemade cilantro lime dressing (this stuff is drinkable, it is so good). It keeps well in the fridge for a week or so.
    • Simmer the beans with 1/2 to 1 cup of green or red salsa for about 5 to 10 minutes before serving. This adds tremendous flavor and a bit of extra sauciness.
    • Use roasted corn – my favorite easy hack is to grab the frozen, roasted corn from Trader Joe’s. So tasty!
    • Make cilantro lime rice (my favorite way to make it is in the notes of the recipe). While other types of rice can be used, these bowls are out-of-this-world delicious with cilantro lime rice.

    Customizable, adaptable, and SUPER CRAZY DELICIOUS, recipes like this are my all-time favorite. I could eat some variation of these chicken burrito bowls every night of the week. I hope you enjoy this recipe as much as we do!

    Easy Chicken Burrito Bowls

    Chicken + Marinade:

    • 2 pounds boneless, skinless chicken breasts
    • 4 tablespoons olive oil
    • 2 tablespoons fresh lime juice
    • 2 tablespoons red wine vinegar (see note)
    • 2 cloves garlic, finely minced, or 1/2 teaspoon garlic powder
    • ½ teaspoon chili powder
    • ½ teaspoon cumin
    • ½ teaspoon dried oregano
    • ½ teaspoon coarse, kosher salt
    • Pinch of black pepper

    Bowls:

    • 1 (15-ounce) can black beans, rinsed and drained
    • 1 ½ to 2 cups corn kernels (see note)
    • 3 cups cooked brown rice, white rice, cilantro lime rice, or quinoa (see note)
    • Cilantro lime dressing or other dressing of choice (see note)

    Toppings:

    • Chopped lettuce, tomatoes, avocados, shredded cheese, sour cream, salsa, crushed tortilla chips, chopped cilantro, olives, etc.

    Prevent your screen from going dark

    • For the chicken, dice the chicken into 1/2 to 1-inch pieces and place in a resealable bag or bowl.

    • Whisk together the olive oil, fresh lime juice, red wine vinegar, garlic, chili powder, cumin, oregano, salt and pepper. Pour over the chicken and toss to coat. Cover (or seal the bag) and refrigerate for one hour or up to 8 hours.

    • Cook the chicken on the stovetop or in an air fryer.

    • Stovetop: Pour the chicken and marinade into a nonstick skillet set over medium heat. Spread the chicken into an even layer and let cook undisturbed for 1 to 2 minutes. Stir or flip and continue cooking until the chicken is cooked through, 3 to 4 minutes longer.

    • Air Fryer: Preheat an air fryer to 375 degrees for 2 to 3 minutes. Pour the chicken and marinade into the basket. Cook for 7 to 8 minutes until cooked through.

    • To assemble, scoop a serving of rice or quinoa into a bowl or plate. Add chicken, black beans, corn, and whatever toppings you like. Drizzle with dressing. Enjoy!

    Red Wine Vinegar: If you don’t have this type of vinegar, you can sub lime juice (bringing the total amount of lime juice to 1/4 cup) or another preferred type of light vinegar.
    Corn: Many different types of corn will work in this recipe. Canned corn kernels, rinsed and drained. Frozen corn kernels, thawed and patted dry (no need to cook). Fresh corn kernels, cut off the cob (no need to cook). For a tasty variation, I love using the frozen roasted corn from Trader Joe’s. 
    Rice: These bowls are super delicious with cilantro lime rice. But you can use whatever rice you have on hand (cooked quinoa works well, too). For the cilantro lime rice pictured in this recipe, in a saucepan, combine 1 1/2 cups white jasmine rice, 2 cups water and 1/2 teaspoon salt. Bring to a vigorous simmer, cover and reduce heat to medium-low. Cook for 16 minutes. Remove from the heat and let stand, covered, for 5 to 10 minutes. Fluff the rice and stir in zest of 1 lime, 4 tablespoons fresh lime juice, and 1/4 cup chopped cilantro. (This recipe is the one in my cookbook using water instead of broth and stirring in the zest and lime juice after cooking.)
    Dressing: This is my go-to recipe for cilantro lime dressing. Store bought cilantro lime dressing can be used, as well as another type of dressing (like ranch). 

    Serving: 1 serving, Calories: 641kcal, Carbohydrates: 82g, Protein: 41g, Fat: 16g, Saturated Fat: 3g, Cholesterol: 97mg, Sodium: 378mg, Fiber: 4g, Sugar: 2g

    Recipe Source: from Mel’s Kitchen Cafe

    Disclaimer: I am a participant in the Amazon Services LLC Associates Program, an affiliate advertising program designed to provide a means for me to earn fees by linking to Amazon.com and affiliated sites. As an Amazon Associate I earn from qualifying purchases.

    Source link

  • Easy Brown Butter Recipe

    Easy Brown Butter Recipe

    Here’s my method for how to brown butter perfectly every time. It takes 5 minutes, and you can use this brown butter in your favorite baking and savory recipes.

    How to Brown Butter - Skillet with butter that has been browned to perfection. Brown butter looks light brown.

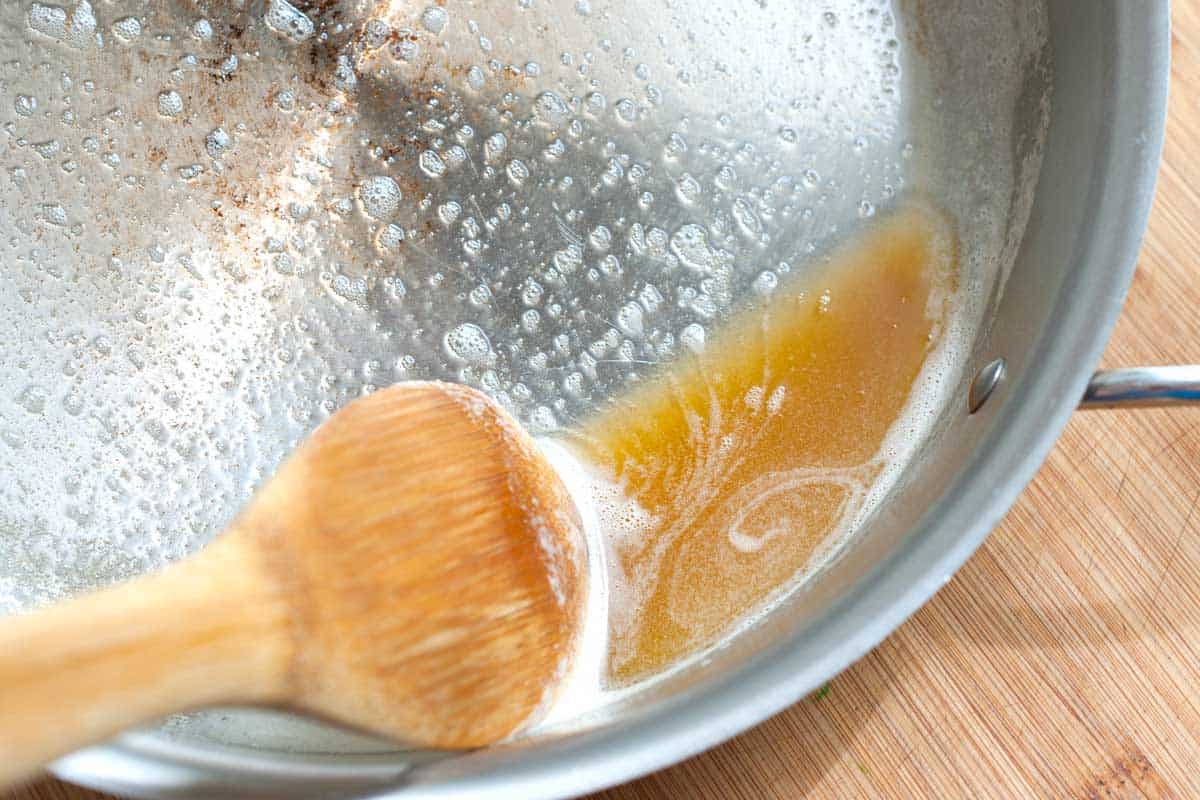
    Brown butter is regular butter cooked a bit longer than usual until the milk solids toast and turn brown. You’ll cook the butter just past the melting point.

    Browning butter creates a magical toasty flavor you don’t get with regular melted butter. Brown butter (or beurre noisette in France) tastes nutty, toasted, and like toasted hazelnuts.

    How to Use Brown Butter

    Use brown butter in almost any recipe that calls for melted butter. Toss cooked pasta or noodles with browned butter, as we do for our brown butter pasta with egg and this kale pasta. I also love drizzling vegetables with brown butter before (or after) roasting them. It’s absolutely amazing when used to make mashed potatoes, and it makes the best popcorn!

    For sweeter recipes, swap plain melted butter for brown butter in cookies, bars, and even buttercream (yes, you can chill the butter and whip it!). I love using brown butter to make chocolate chip cookies, oatmeal cookies, and blondies. It also makes these easy sautéed apples extra delicious, and I love drizzling it over oatmeal.

    Perfect Brown Butter

    Easy Brown Butter

    It takes five minutes to make brown butter. You can use it almost anytime a recipe calls for melted butter (hello, brown butter chocolate chip cookies). For herb brown butter, add a handful of fresh sage leaves, rosemary sprigs, or fresh thyme to the pan while you make the brown butter.

    3/4 cup

    You Will Need

    1 cup (227g) butter, salted or unsalted

    Directions

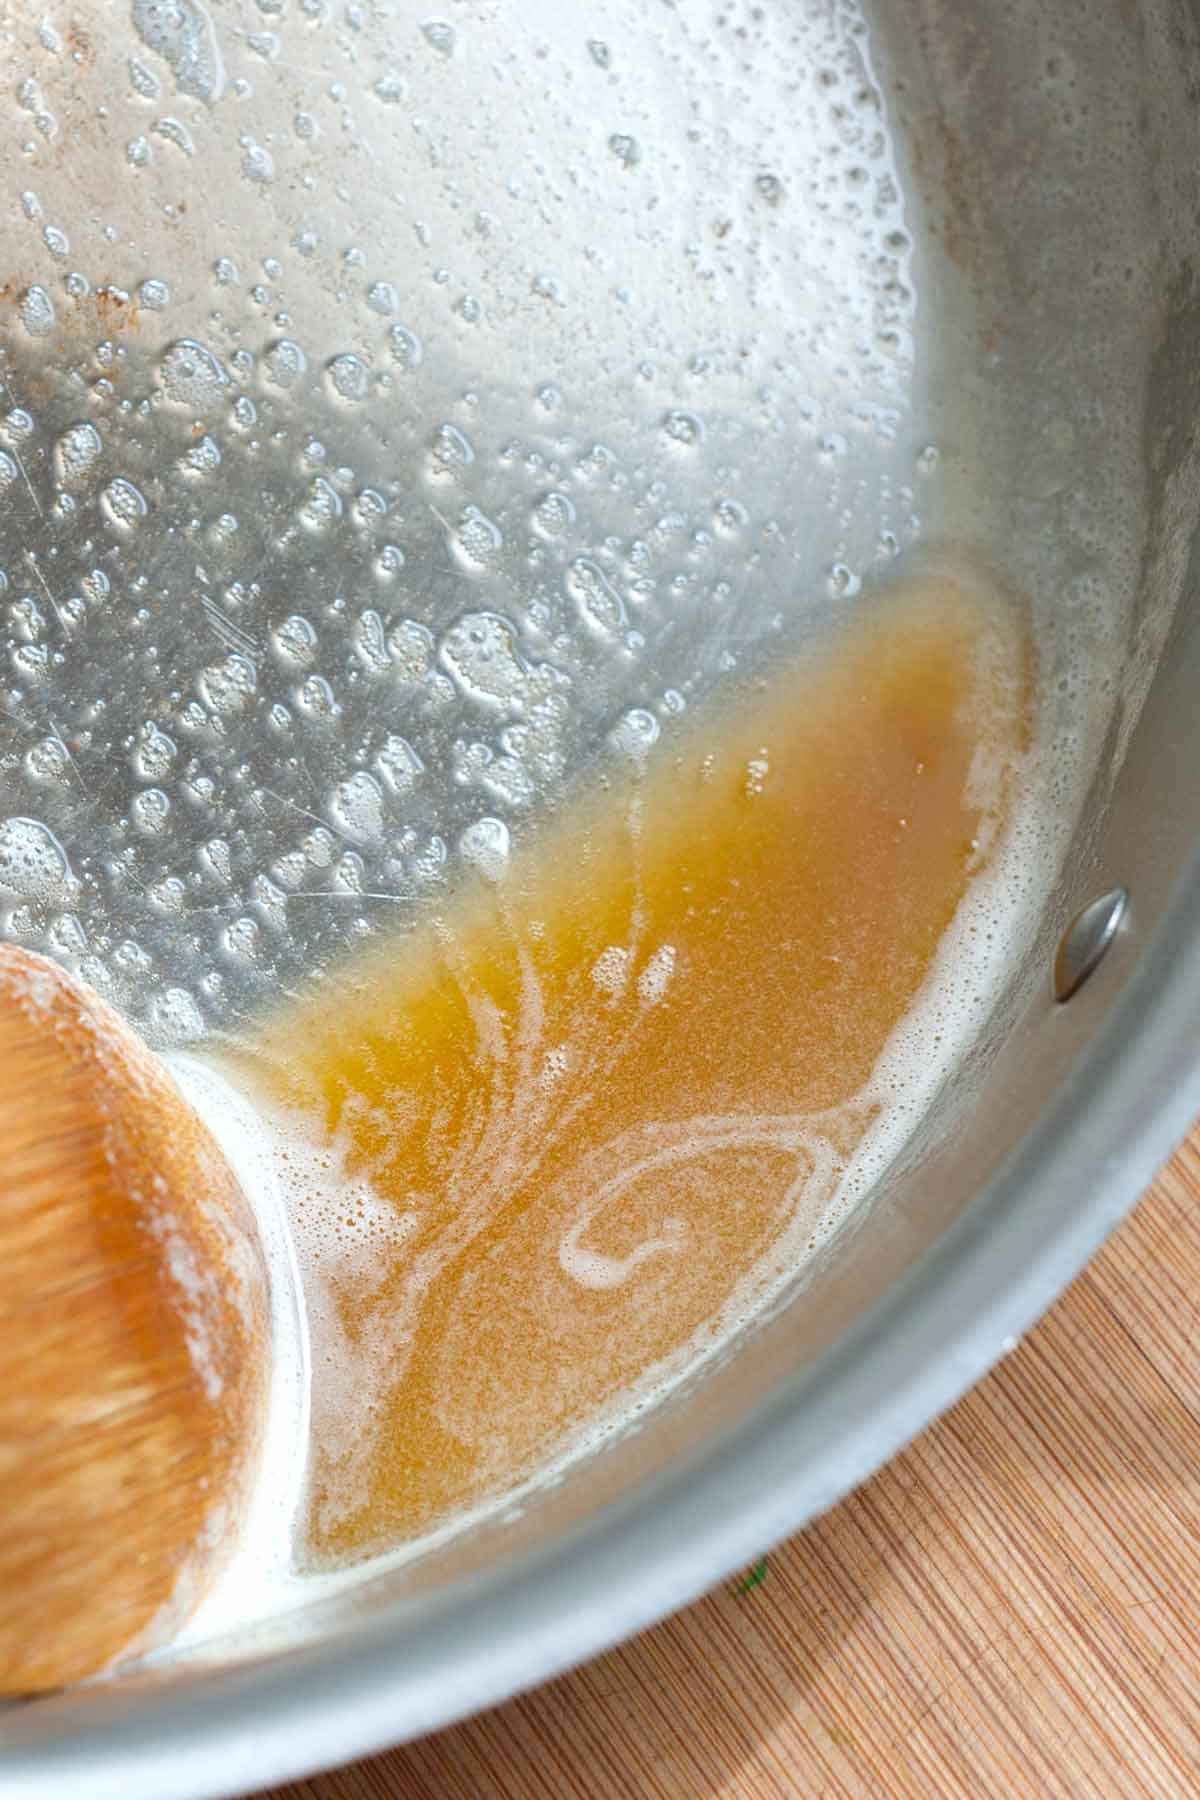
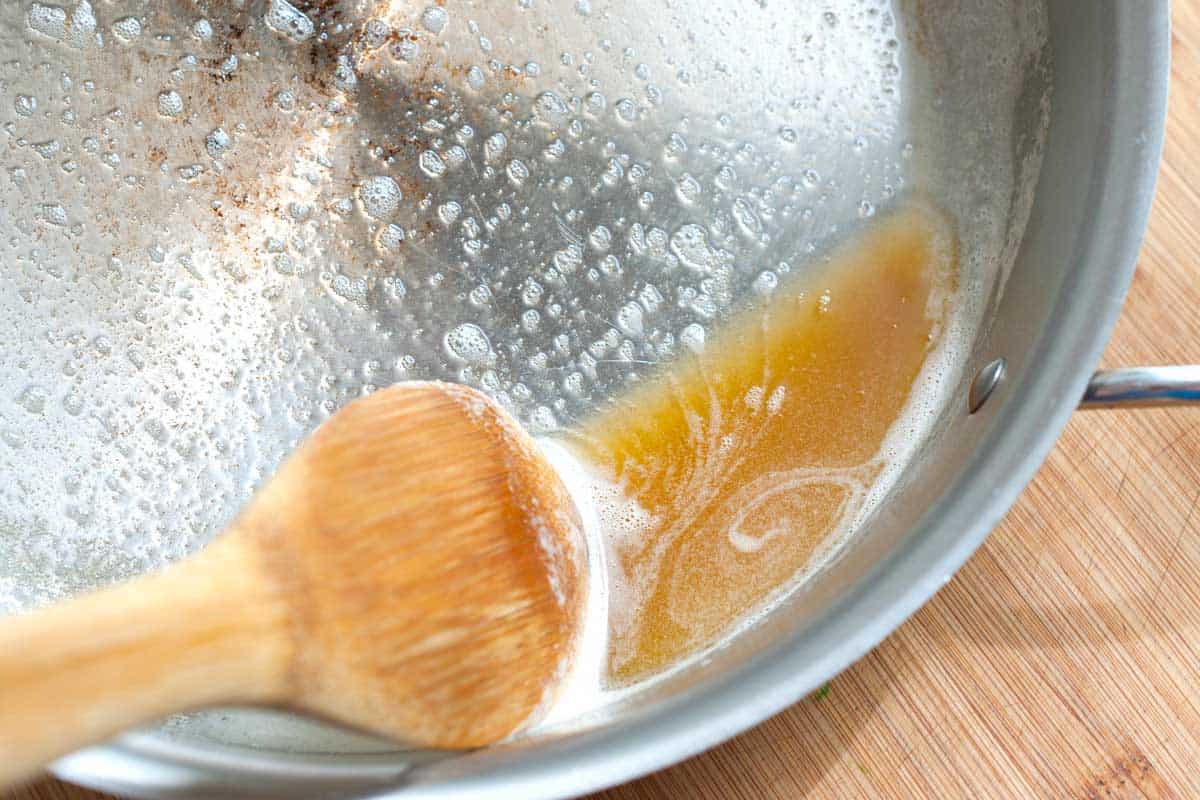
      1Add butter to a heavy-bottomed pan over medium-low heat. As the butter melts, continuously swirl it around the pan. The butter will quickly go from brown to burnt, so stay close to the pan when you do this.

      2Continue swirling the butter over the heat. It will melt, get a little foamy, and finally start turning golden brown. Remove it from the heat when the butter is light brown and smells nutty.

      3Store brown butter in the fridge for up to two weeks or freeze for up to three months.

    Adam and Joanne’s Tips

    • Storing: Homemade brown butter lasts in an airtight container in the fridge for up to 2 weeks or frozen for up to 3 months. The butter will solidify again, but you can warm it over low heat when needed. To freeze brown butter, pour it into a clean ice cube tray, freeze, and then transfer the frozen cubes to a freezer-safe container or bag.
    • How to freeze brown butter: Pour it into a clean ice cube tray, freeze, and then transfer the frozen cubes to a freezer-safe container or bag. Freeze for up to 3 months. Gently reheat in a pan over low heat.
    • Nutrition facts are estimates. We assumed unsalted butter.

    Nutrition Per Serving
    Serving Size
    About 1 tablespoon
    /
    Calories
    136
    /
    Total Fat
    15.3g
    /
    Saturated Fat
    9.6g
    /
    Cholesterol
    40.7mg
    /
    Sodium
    2.1mg
    /
    Carbohydrate
    0g
    /
    Dietary Fiber
    0g
    /
    Total Sugars
    0g
    /
    Protein
    0.2g


    AUTHOR:

    Adam Gallagher

    Previous Post: Easy Smoked Salmon Dip
    Next Post: Sausage Stuffed Shells

    Source link

  • Easy Chicken Stir Fry Recipe

    Easy Chicken Stir Fry Recipe

    This chicken stir fry recipe is packed with fresh vegetables and coated with our irresistible homemade sauce.

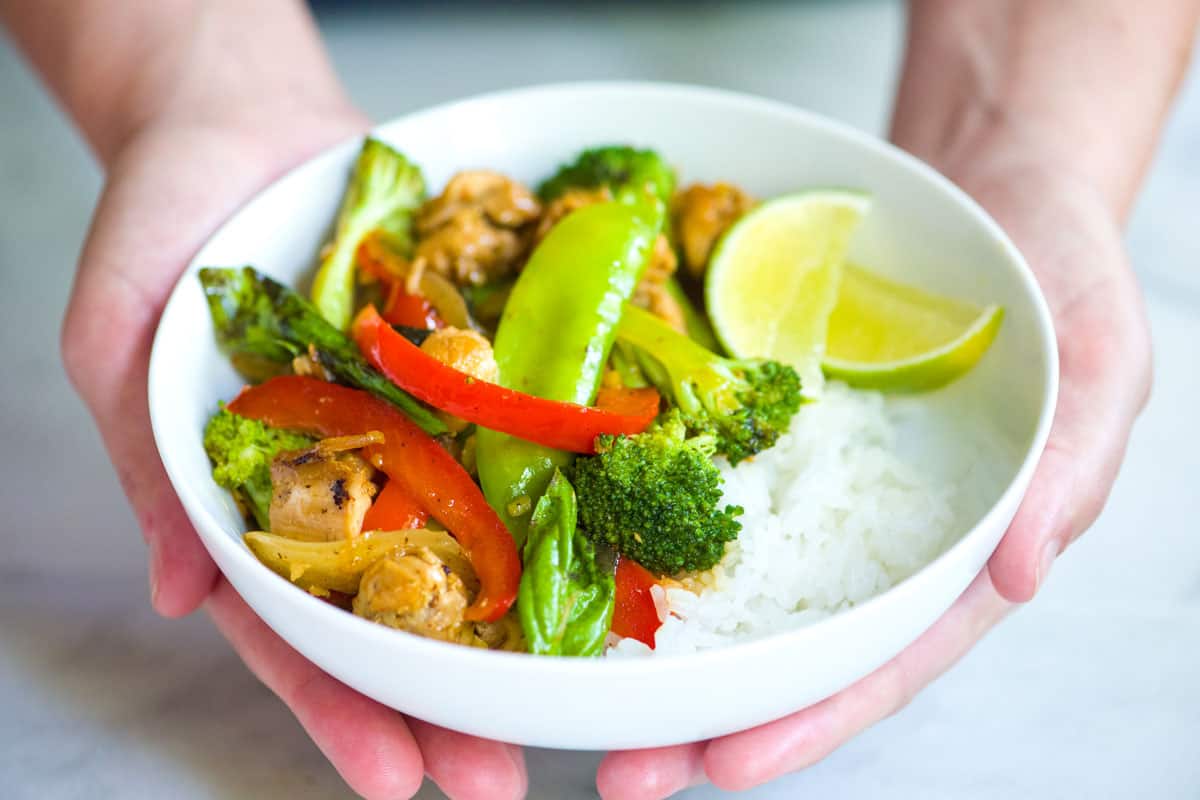
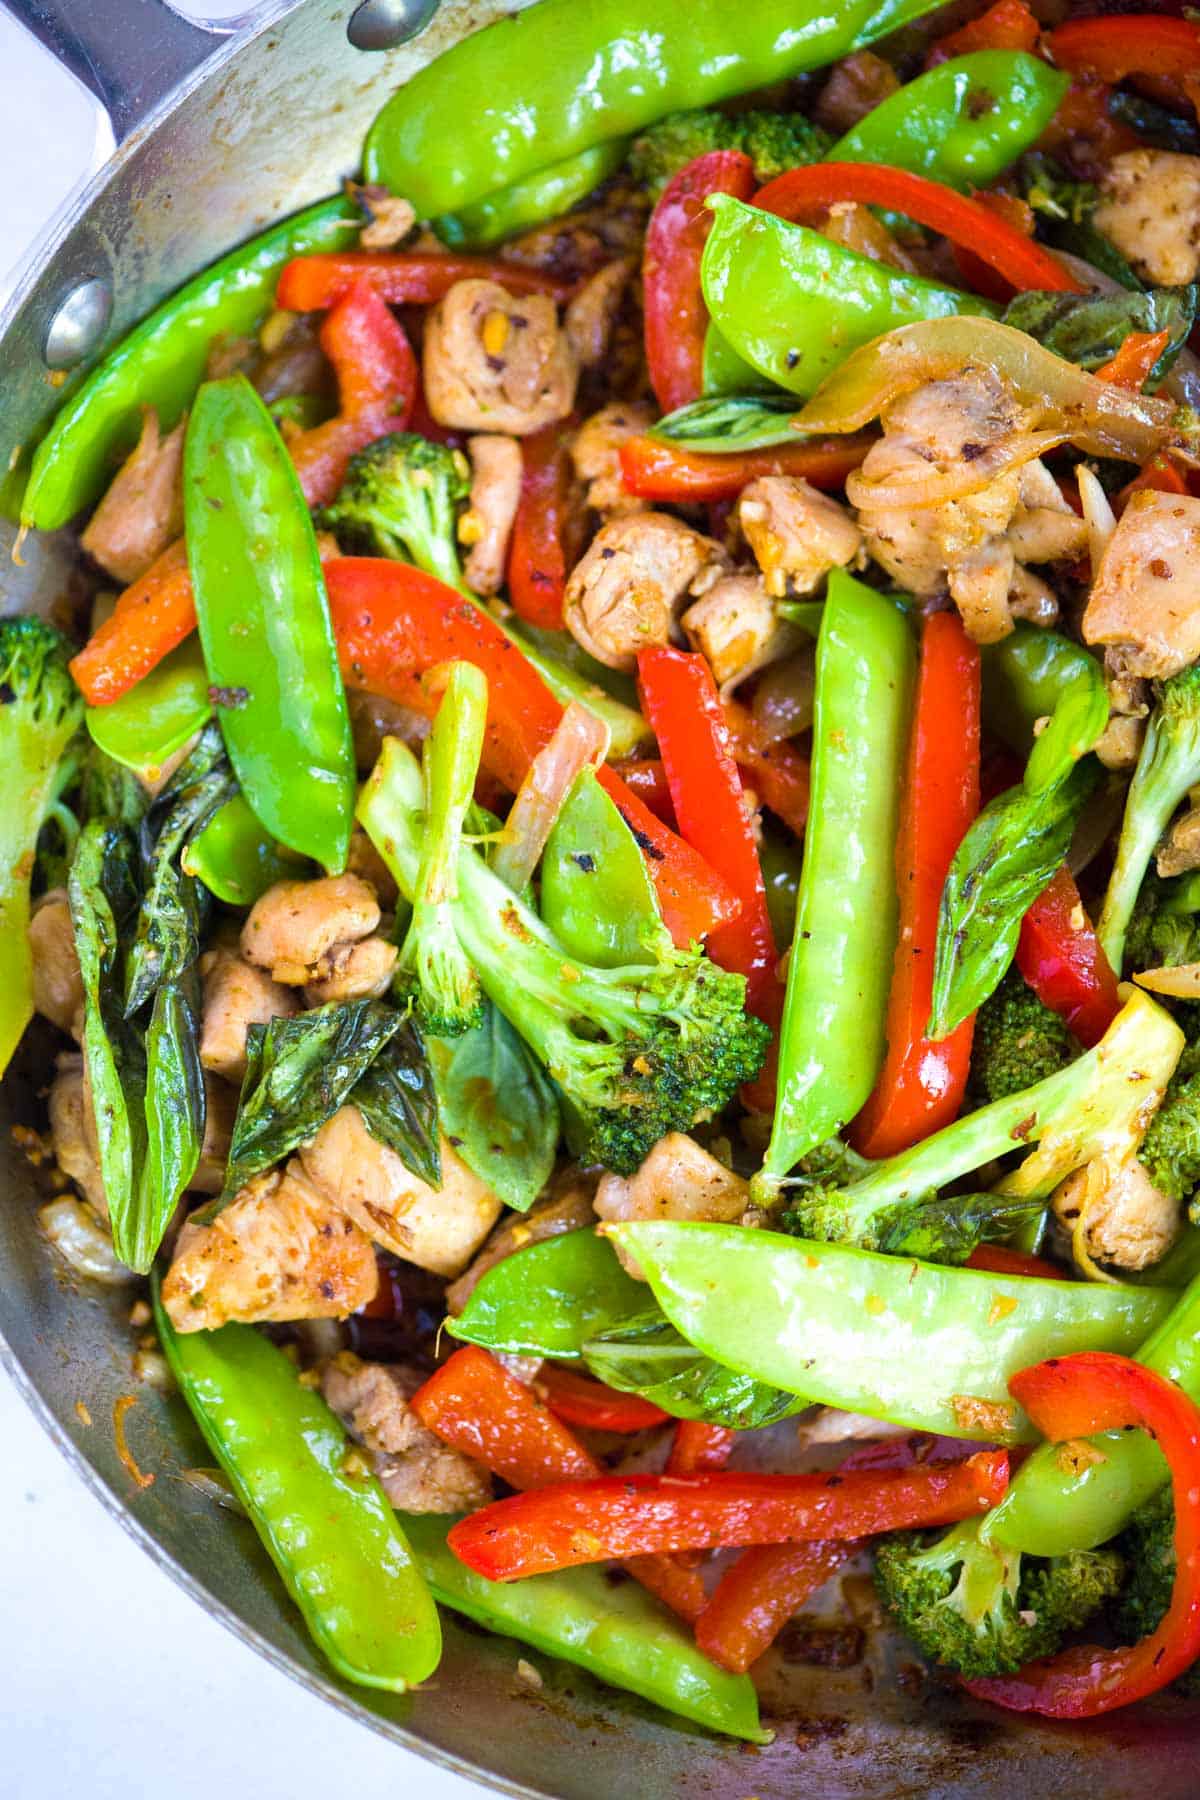
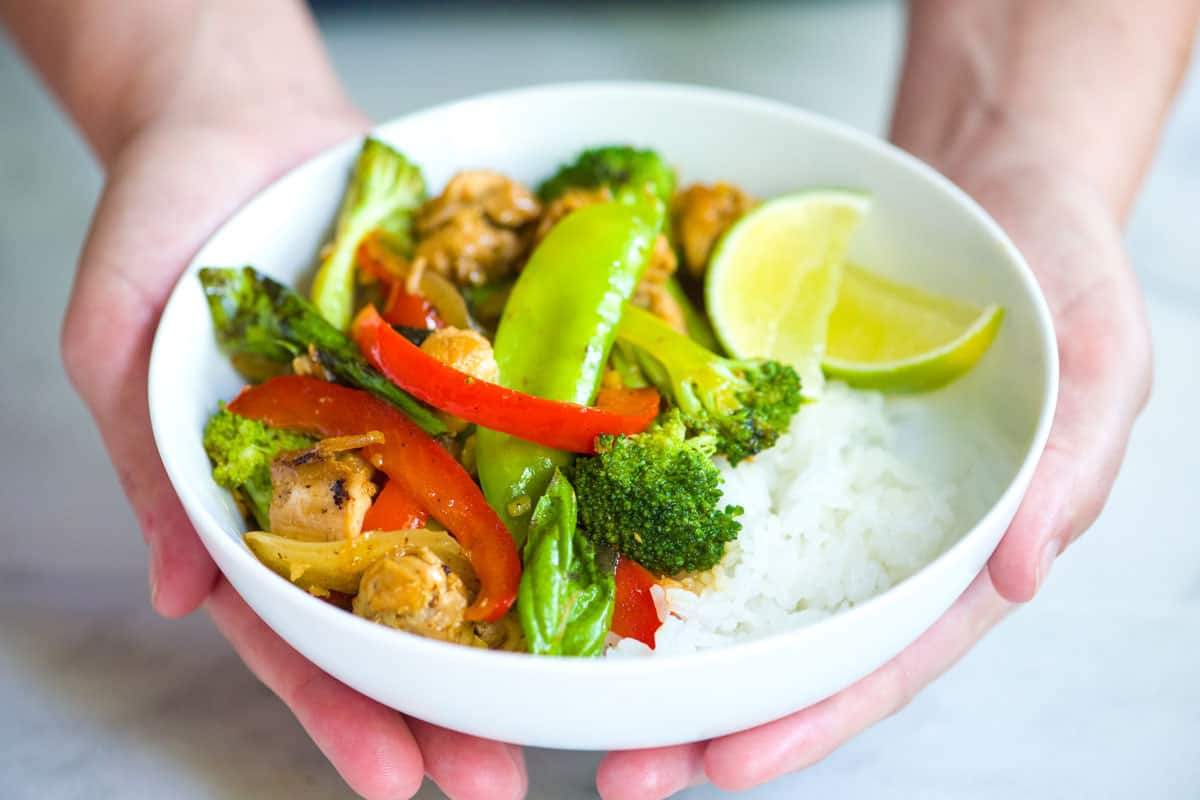
    Chicken stir fry with vegetables

    I love stir fries, especially when I’m short on time. We’ve found ourselves returning to this recipe lately. The sauce is easy and made from scratch with honey, fish sauce, and soy sauce.

    This stir fry can be on the table in about 30 minutes, and if you want to, you can make the stir fry sauce well in advance (it lasts in the fridge for a week).

    Key Ingredients

    • Chicken: I use boneless, skinless chicken thighs in this stir fry recipe, but boneless, skinless chicken breasts work well. Cut the chicken thighs into bite-sized pieces, or if you have chicken breasts, slice them against the grain into 1/4-inch slices.
    • Veggies: Use what you love, but when I make this recipe, I reach for broccoli, onion, bell pepper, and snow peas. The combination is hearty, flavorful, and colorful. Take note of the recipe directions, where I give the heartier veggies (like broccoli) a head start before adding the other vegetables to the skillet/wok.
    • Ginger and Garlic: I love fresh ginger and garlic, and use a tablespoon of each in this stir fry. If you don’t want to buy fresh ginger, look for the fresh ginger paste (sold in squeeze bottles).
    • Basil: One of my favorite Thai restaurants sells a stir-fried dish with lots of fresh basil and I love it, so I add fresh basil here. Use Italian basil or Thai basil. Mint is also an option.
    • Stir Fry Sauce: This homemade sauce is really easy and so flavorful. I combine honey, fish sauce, soy sauce, water (or broth), and cornstarch. The cornstarch thickens the sauce a bit, so it sticks to the chicken and vegetables in the stir fry. I also love this more traditional brown stir fry sauce.

    Find the full recipe with measurements below.

    How to Make the Best Chicken Stir Fry

    Tip 1: A quick guide for making our chicken stir fry. This dish comes together really quickly. For the best results, you’ll want to cook your protein first, then follow up with the veggies. This way the chicken stays perfectly tender and the veggies don’t overcook. Here’s a quick rundown of what you’ll need to do:

    1. Cook the chicken first, then transfer it to a plate.
    2. Toss your broccoli into the pan. Since broccoli is heartier than the other veggies, I like giving it a head start so that by the time everything else is ready, it’s bright green and crisp-tender.
    3. After tossing the remaining veggies, I stir the garlic and ginger. Adding these later guarantees that they stay super fragrant and don’t burn.
    4. Add the chicken and sauce, then reheat everything.
    5. If you have some on hand, toss in some fresh herbs and lime juice. I love basil, but mint is great, too.
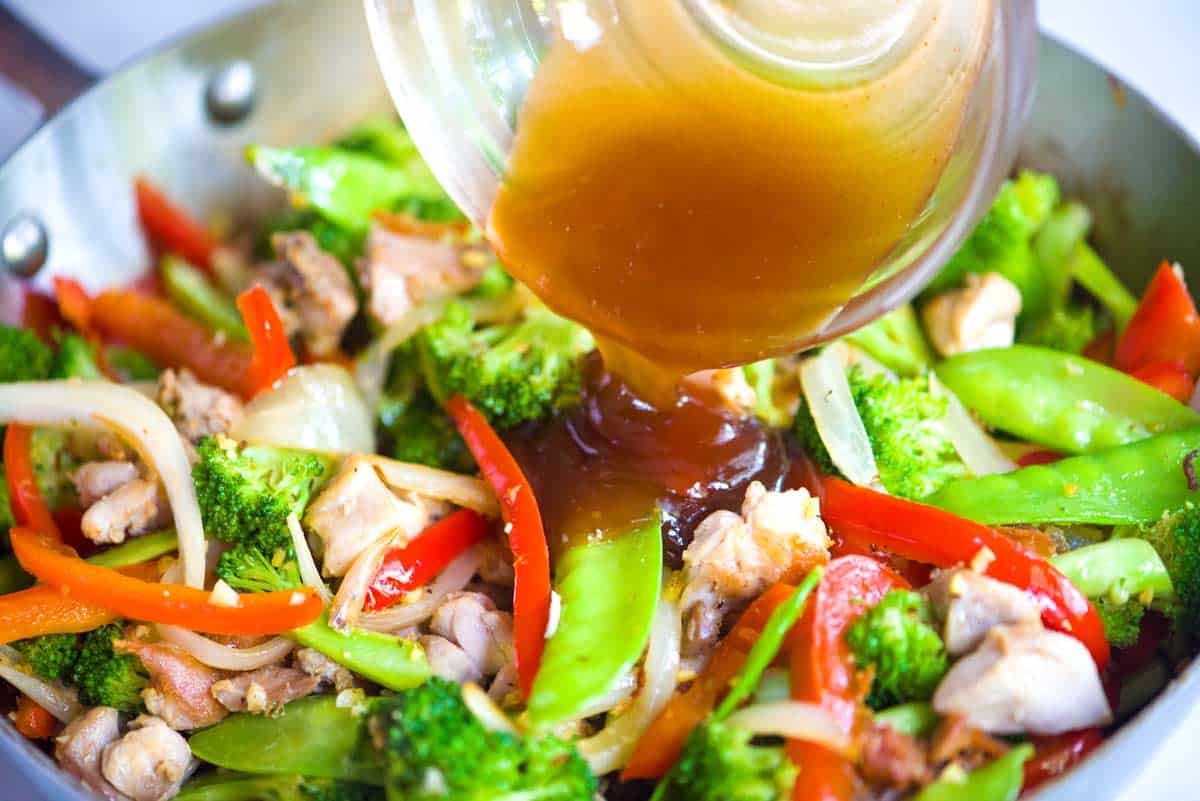
    Adding the homemade stir fry sauce to the skillet
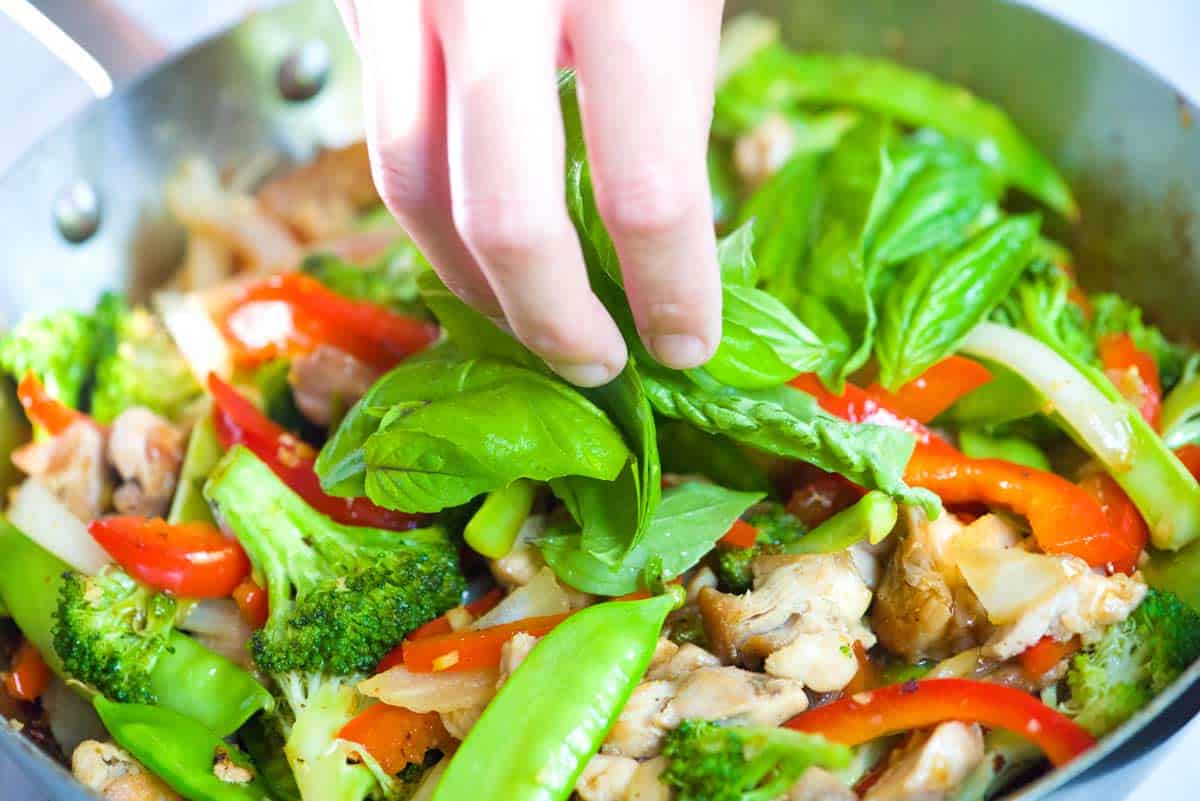
    Adding fresh basil to the stir fry

    Tip 2: Serving suggestions. Thanks to all of the hearty veggies, this stir fry is lovely by itself. It’s also great with plain rice, coconut rice, fried rice, noodles or this cilantro lime rice.

    More Asian Inspired Recipes

    Chicken Stir Fry

    Easy Chicken Stir Fry

    • PREP
    • COOK
    • TOTAL

    My family loves this easy chicken and vegetable stir fry. I use chicken thighs, but chicken breast, tofu, pork, or simply replacing the chicken with more vegetables are all options. The key to the best stir fry is to cook the heartiest ingredients first—like the chicken or broccoli, then add less hearty and more delicate ingredients towards the end of cooking. This way, none of the vegetables overcook. Use a nice wide skillet or wok for this recipe. The bigger, the better.

    Makes 4 servings

    You Will Need

    Chicken Stir Fry

    1 ½ pounds boneless, skinless chicken thighs, cut into bite-size pieces

    1 tablespoon avocado oil, peanut oil, or canola oil

    2 cups broccoli florets (1 medium bunch)

    1 small onion, thinly sliced

    1 bell pepper, core removed and thinly sliced

    1 ½ cups snow peas (3 ounces)

    1 tablespoon minced fresh ginger (1-inch piece)

    1 tablespoon minced garlic (3 cloves)

    1/4 cup fresh basil leaves

    Juice of 1 lime, plus extra lime wedges for serving


    Stir Fry Sauce

    1 tablespoon honey

    2 tablespoons fish sauce

    1 teaspoon low sodium soy sauce

    1/3 cup water or chicken broth

    1 ½ teaspoons cornstarch

    1/2 to 1 teaspoon Sriracha hot sauce

    Directions

      1You can make the stir fry sauce up to one week in advance and keep it in an airtight container in the fridge. Whisk honey, fish sauce, soy sauce, water, and cornstarch in a small saucepan over medium-low heat. Continue to whisk as it heats up and thickens, 2 to 3 minutes. When thick and shiny, remove from the heat and stir in Sriracha hot sauce.

      2Heat a large, wide skillet or wok over medium-high heat. Add the oil and swirl it in the pan until the bottom is well coated. Scatter the chicken pieces in one layer. Cook, without moving, until starting to brown on the bottom, about 5 minutes. Stir the chicken and continue to cook until cooked through about 3 minutes. Transfer the chicken to a clean plate.

      3Reduce the heat to medium, then place the skillet back on the burner. Add the broccoli and cook, stirring frequently, until it turns bright green, about 2 minutes.

      4Throw in the onion and bell pepper, and cook, stirring frequently, until the onions begin to sweat, about 2 minutes.

      5Add the snow peas, ginger, and garlic, then cook, tossing frequently until the ginger and garlic are fragrant and the snow peas turn a brighter green, about 2 minutes.

      6Stir in the cooked chicken. When all of the vegetables are crisp-tender and the chicken is reheated, take the skillet off the heat and stir in the stir-fry sauce. As you stir, use tongs or a spoon to scrape the bottom of the pan to lift any bits stuck to the pan and mix them into the sauce.

      7Finish by tossing with fresh basil leaves and the juice of one lime. Serve with extra lime wedges.

    Adam and Joanne’s Tips

    • Chicken breasts: If you substitute chicken breasts in this recipe, slice them against the grain into 1/4-inch slices before cooking them so that they are super tender.
    • Buying fish sauce: We always keep a bottle of fish sauce in our kitchen. It’s truly a magical ingredient. You can use it here and in other Asian-inspired dishes, and it is also excellent for adding to soups, stews, and pasta sauces. We have Red Boat in our kitchen. It has a clean flavor and no water or sugar added. If you cannot find it, go for a mid to high-priced fish sauce sold in a glass bottle instead of in plastic, and look for a light amber or reddish color rather than a very dark color.
    • The nutrition facts provided below are estimates.

    Nutrition Per Serving
    Serving Size
    1 1/4 cups
    /
    Calories
    308
    /
    Protein
    37 g
    /
    Carbohydrate
    16 g
    /
    Dietary Fiber
    3 g
    /
    Total Sugars
    9 g
    /
    Total Fat
    10 g
    /
    Saturated Fat
    2 g
    /
    Cholesterol
    142 mg


    AUTHOR:

    Adam Gallagher

    Adam and Joanne of Inspired Taste

    We are Adam and Joanne Gallagher, the creators of Inspired Taste. Established in 2009, Inspired Taste grew from a childhood dream into one of the internet’s most trusted recipe sites with hundreds of reliable recipes, step-by-step videos, and expert tips.More About Us

    Previous Post: Seriously Good Baked Spaghetti
    Next Post: Easy Cranberry Orange Scones

    Source link

  • Easy French Onion Chicken Casserole Recipe

    Easy French Onion Chicken Casserole Recipe

    This website may contain affiliate links and advertising so that we can provide recipes to you. Read my disclosure policy.

    Creamy, cheesy, and packed with shredded chicken, this French onion chicken casserole is comfort food at its best! Inspired by French onion soup and dip, it’s topped with crispy fried onions for a crunchy finish.

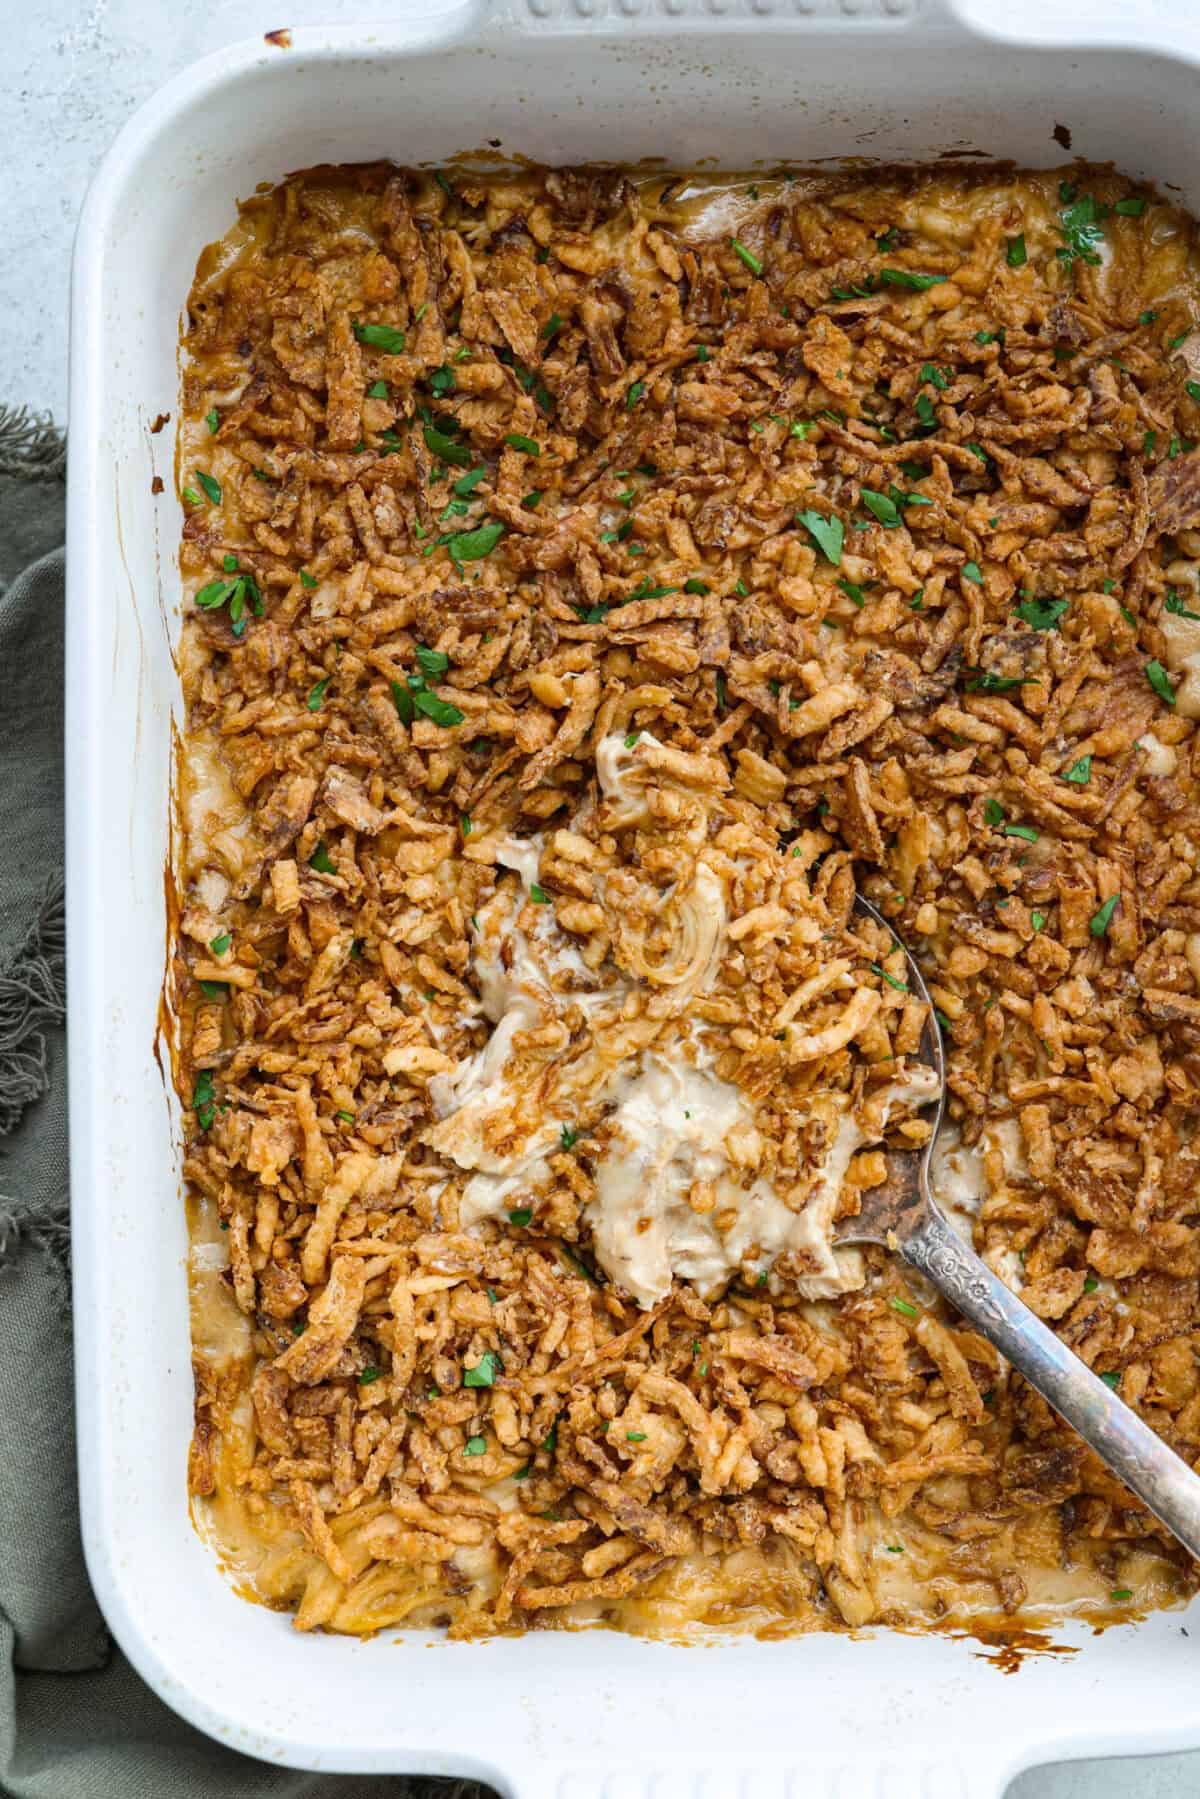
    Overhead shot of baked French onion chicken casserole in a baking dish.

    Why This is a Comfort Food Upgrade

    • Cheesy Comfort, Made Easy: Creamy shredded chicken and melty cheese come together in one simple, cozy casserole.
    • Hassle-Free Dinner: Uses just 7 simple ingredients and comes together in less than 10 minutes, perfect for busy nights.
    • One-Dish Wonder: Little cleanup, big comfort! Everything gets mixed together in one bowl, then baked in one pan.

    French Onion Chicken Casserole Ingredients

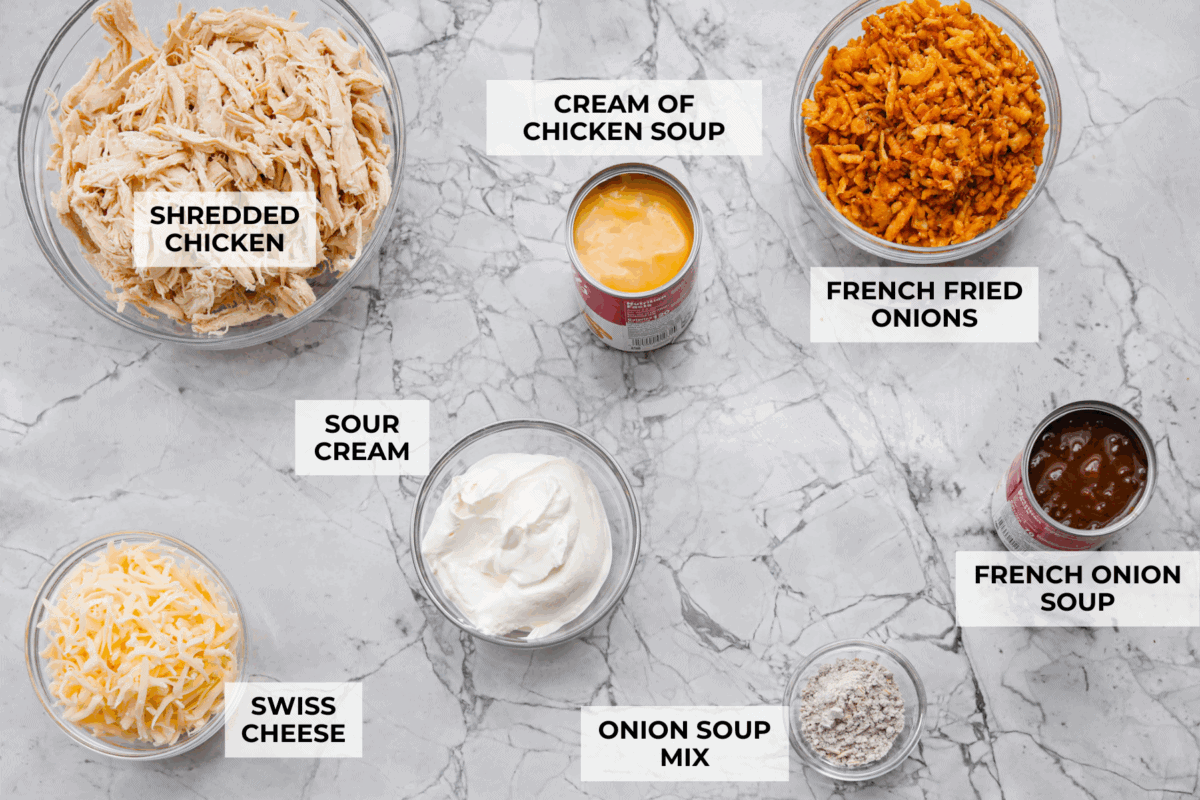
    Overhead shot of labeled ingredients.
    • French Onion Dip: You can use pre-mixed French onion dip. If you do, omit the sour cream and onion soup mix.
    • Condensed Soup & Mix: Use low-sodium or no-salt versions, or make your own onion soup mix to control salt.
    • Homemade Soup: Swap canned cream of chicken for a homemade version to cut sodium.
    • Chicken: Rotisserie chicken works great (Costco’s is perfect), or cook frozen breasts in the Instant Pot.
    • Add Veggies: Stir in 1–2 cups of veggies like green beans, peas, broccoli, or sautéed mushrooms for extra flavor and nutrition.

    French Onion Chicken Casserole Recipe

    This dish comes together in just three easy steps! Quick prep, minimal cleanup, and major flavor make it an epic weeknight or make ahead meal.

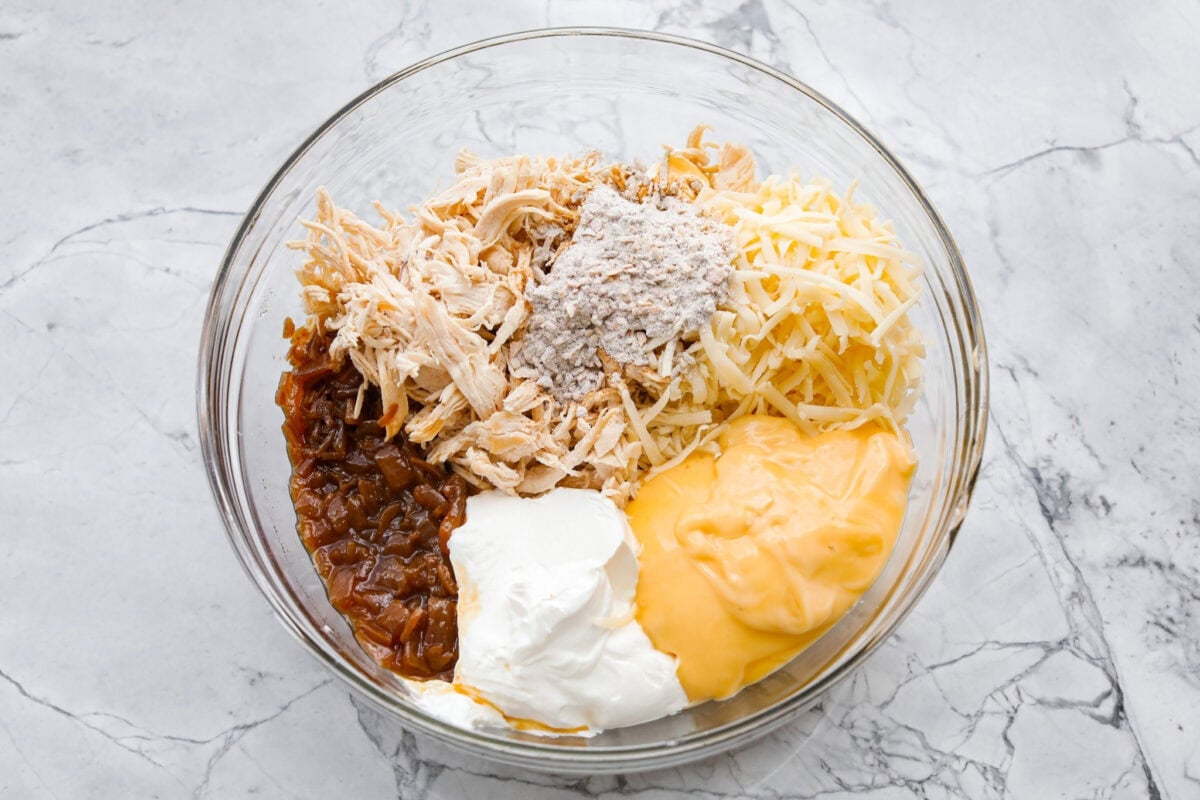
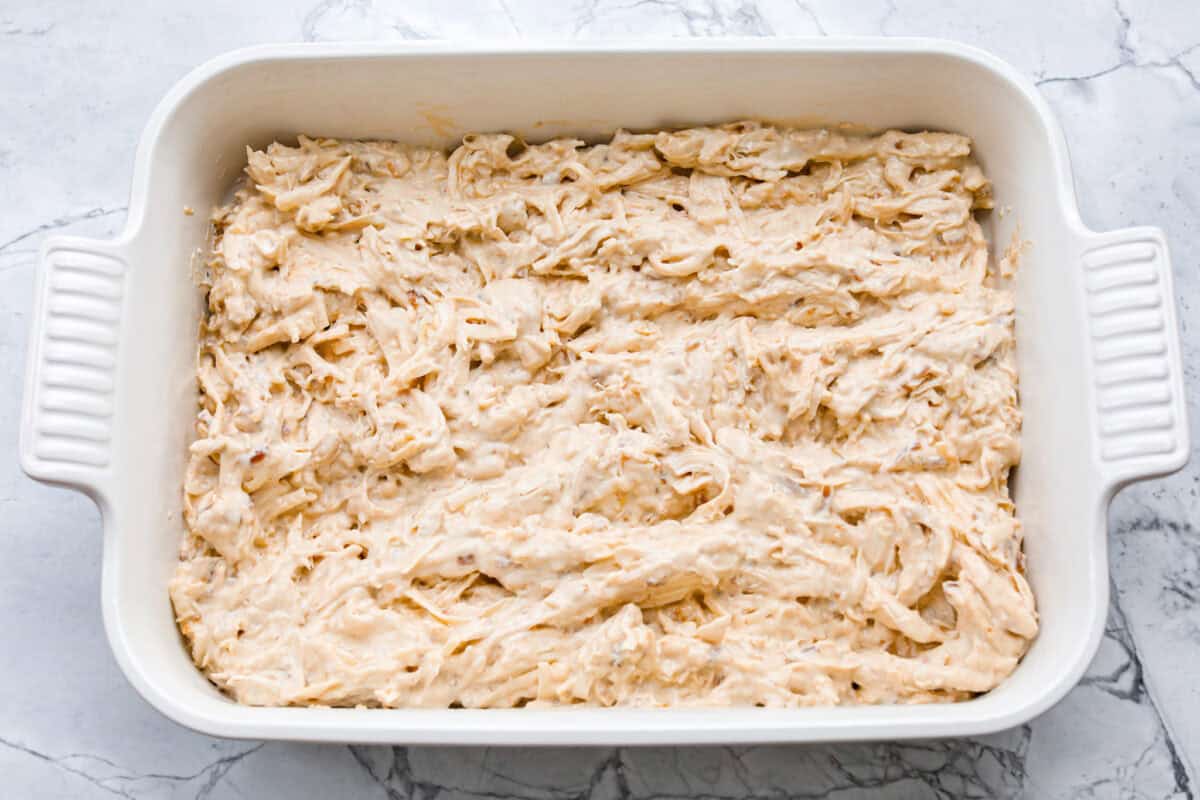
    1. Mix Ingredients: Preheat the oven to 350ºF, then spray a 9 x 13-inch baking dish with nonstick cooking spray and set aside. Add the shredded chicken, sour cream, cream of chicken soup, French onion soup, Swiss cheese, and onion soup mix to a large bowl. Mix to combine.
    2. Bake: Spread the chicken mixture evenly in the baking dish. Bake uncovered for 25-30 minutes, until heated through and bubbling around the edges.
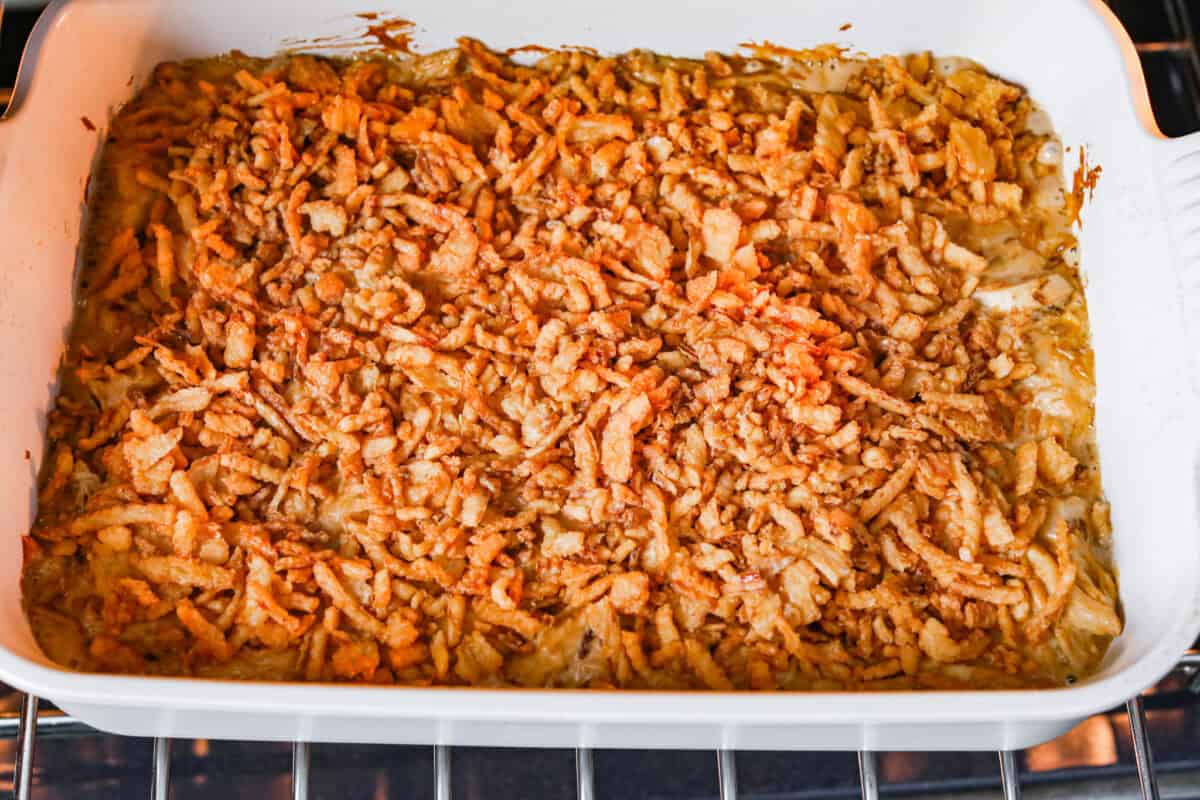
    3. Top, Bake, and Serve: Add the French-fried onions evenly to the top, then bake for 5-10 more minutes. Let it stand for 5-10 minutes before serving.

    Alyssa’s Pro Tip

    Crispy Onions: To prevent burning, add the fried onions during the last 5–10 minutes of baking. If making ahead or freezing, keep the onions off until ready to bake.

    Pin this now to find it later

    Pin It

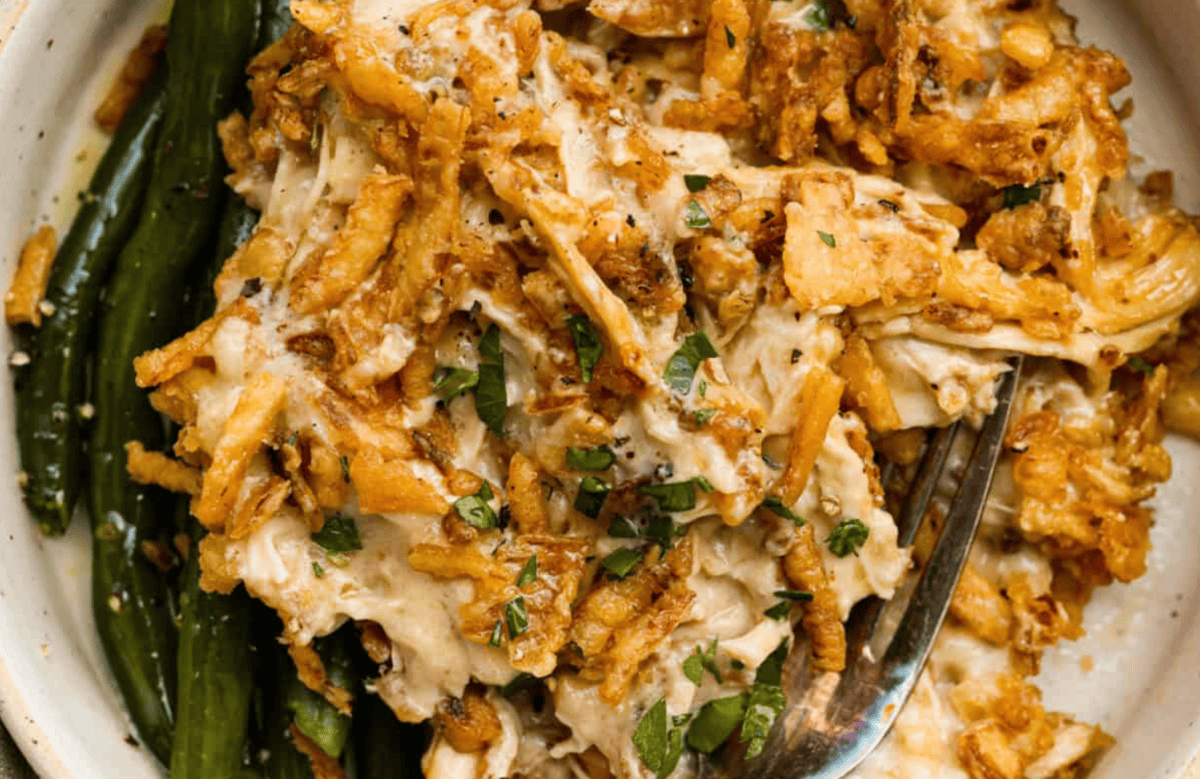
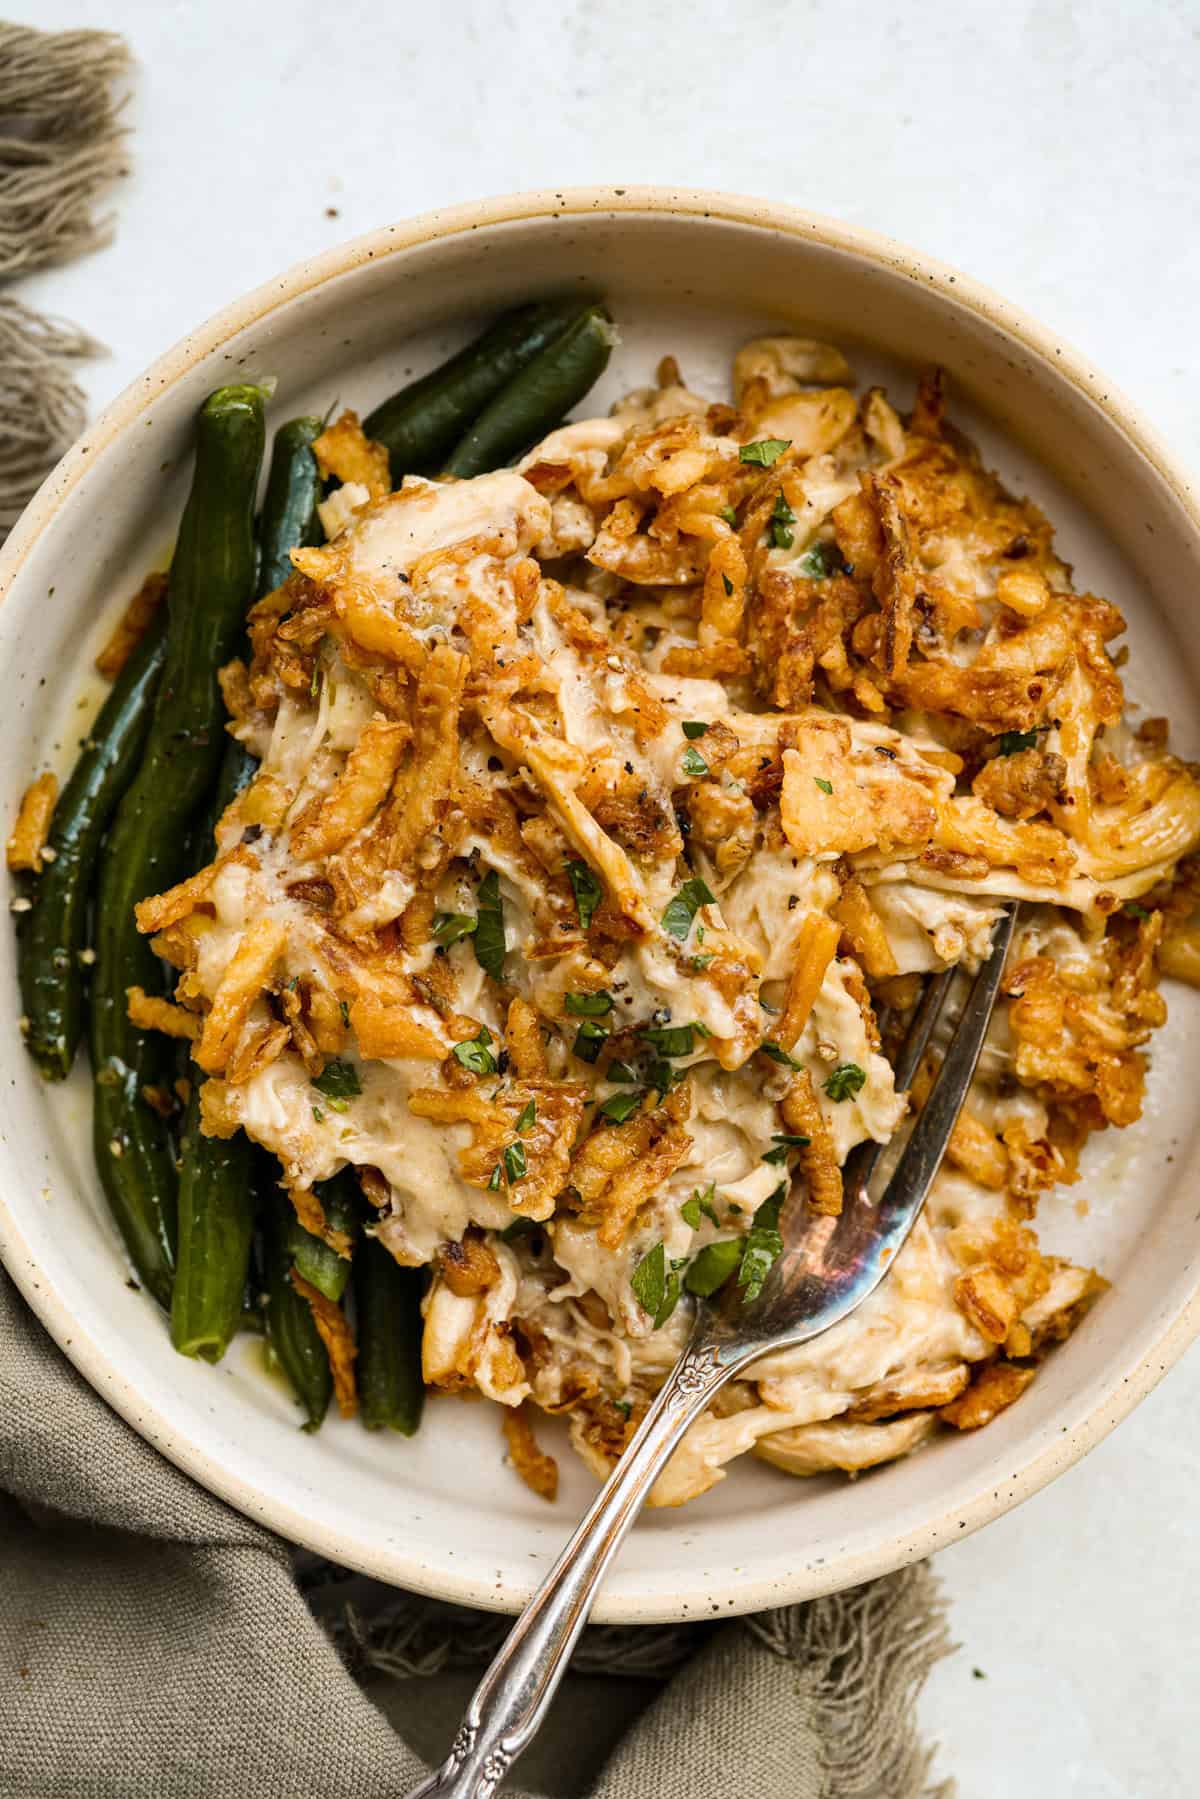
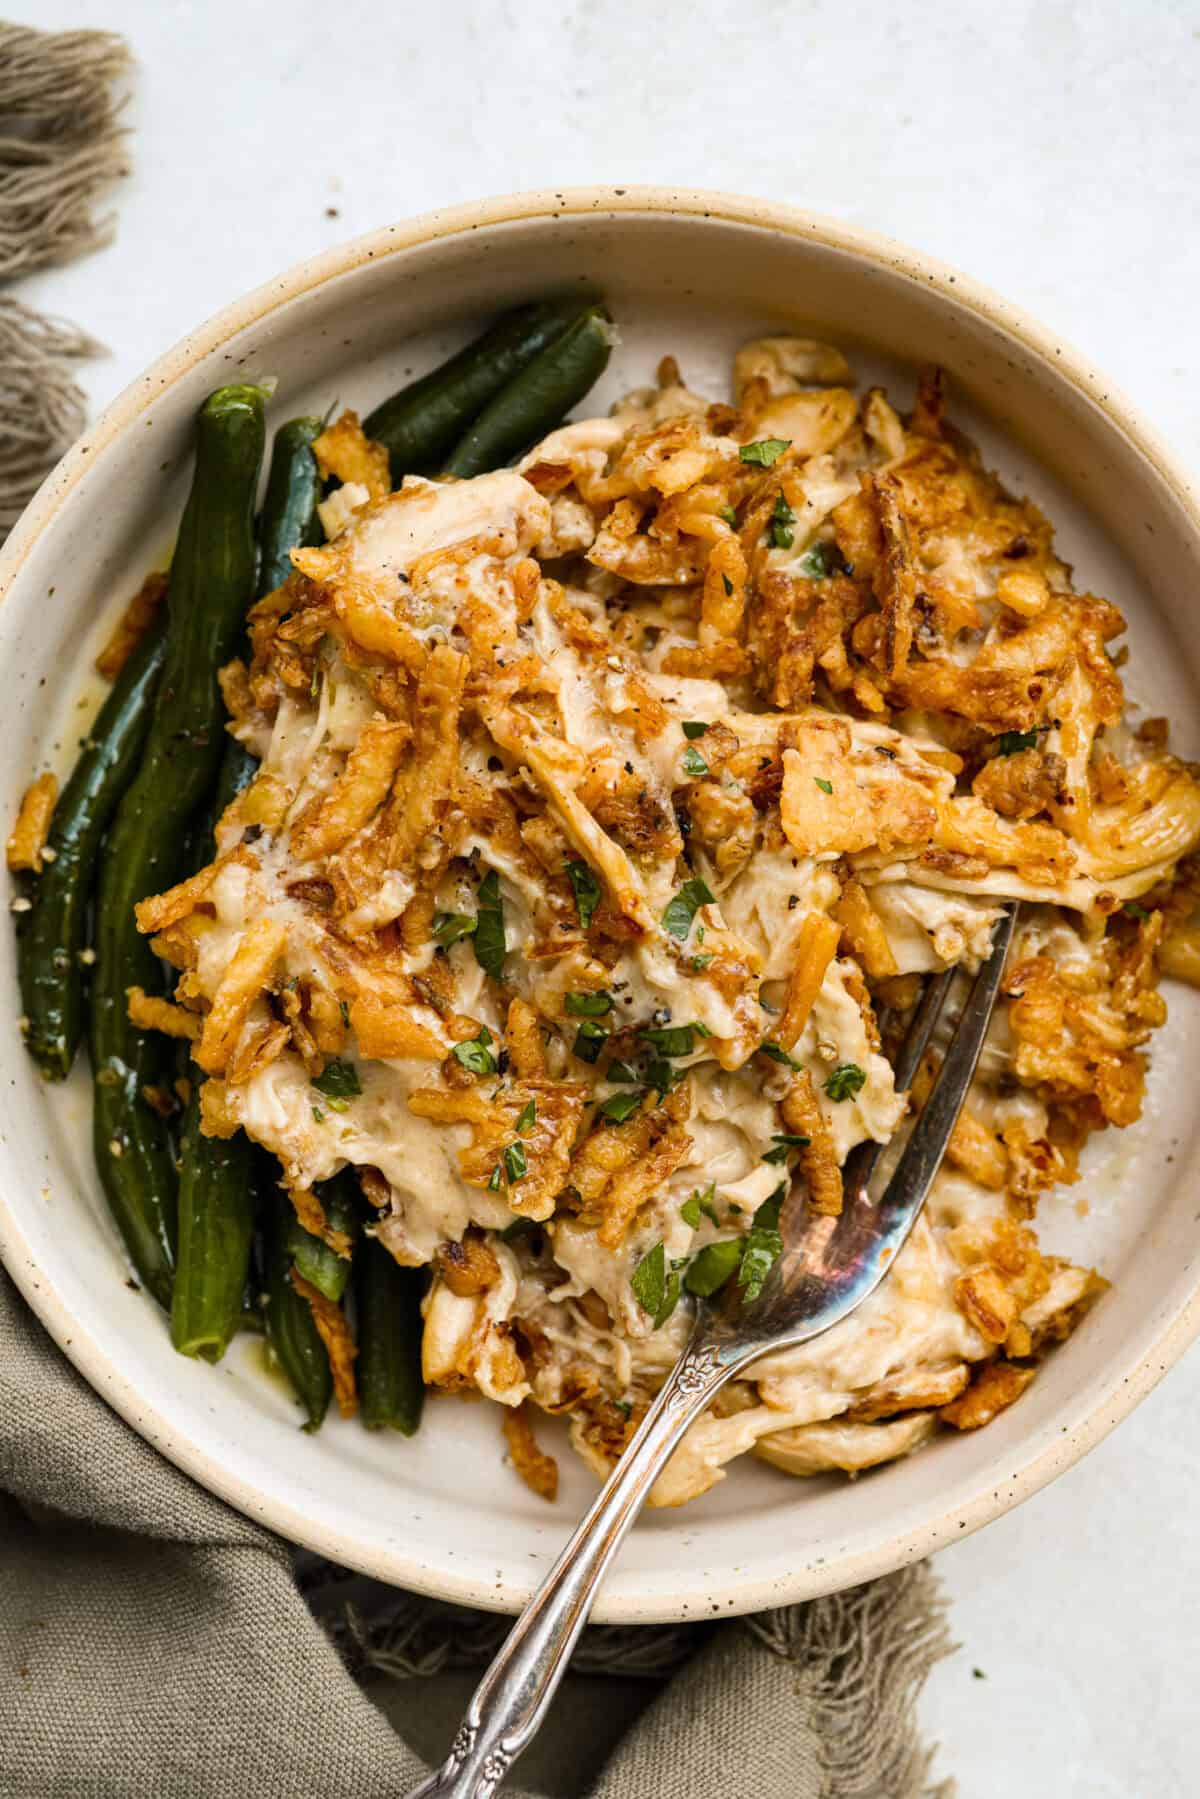
    Plated French onion chicken casserole with a side of green beans.

    More Easy Casserole Recipes

    Love this dish? Try these next! They’re easy and packed with flavor. They’re perfect for busy nights when you want something everyone will enjoy.

    Taco Rice Casserole

    35 minutes


    Source link

  • Baked General Tso’s Chicken | Easy, Crispy & Healthy

    Baked General Tso’s Chicken | Easy, Crispy & Healthy

    This website may contain affiliate links and advertising so that we can provide recipes to you. Read my disclosure policy.

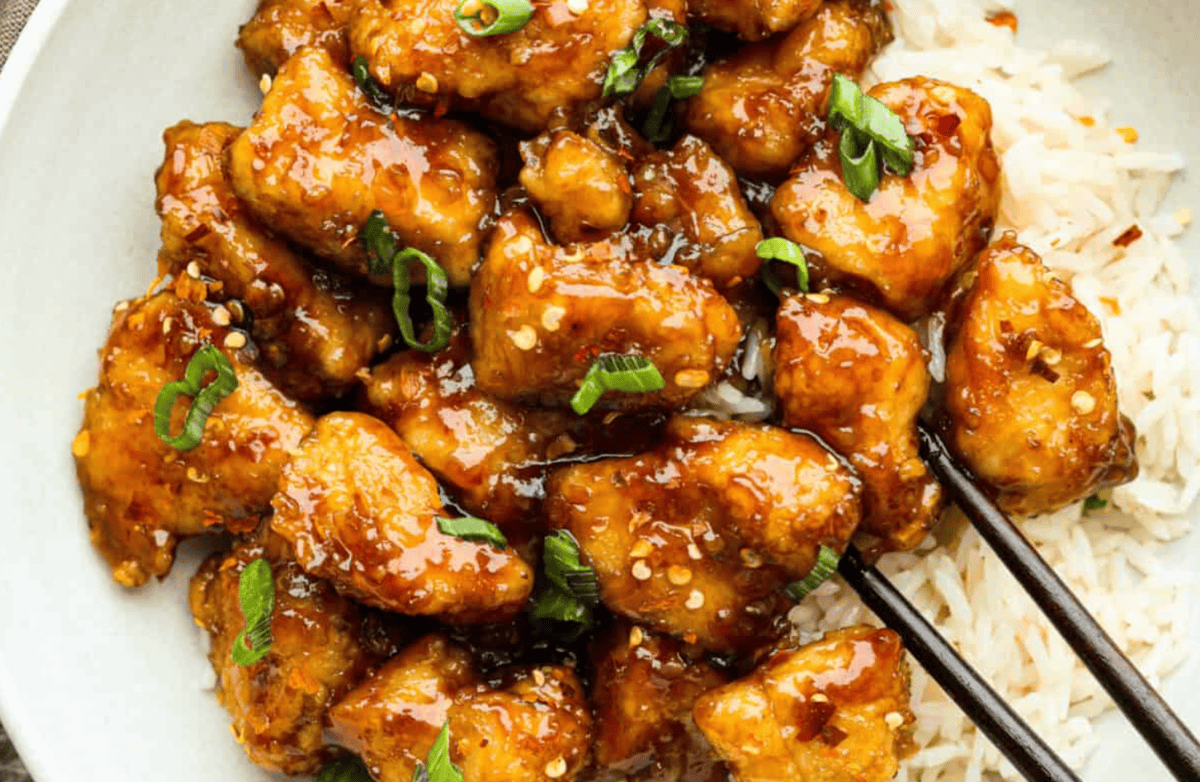
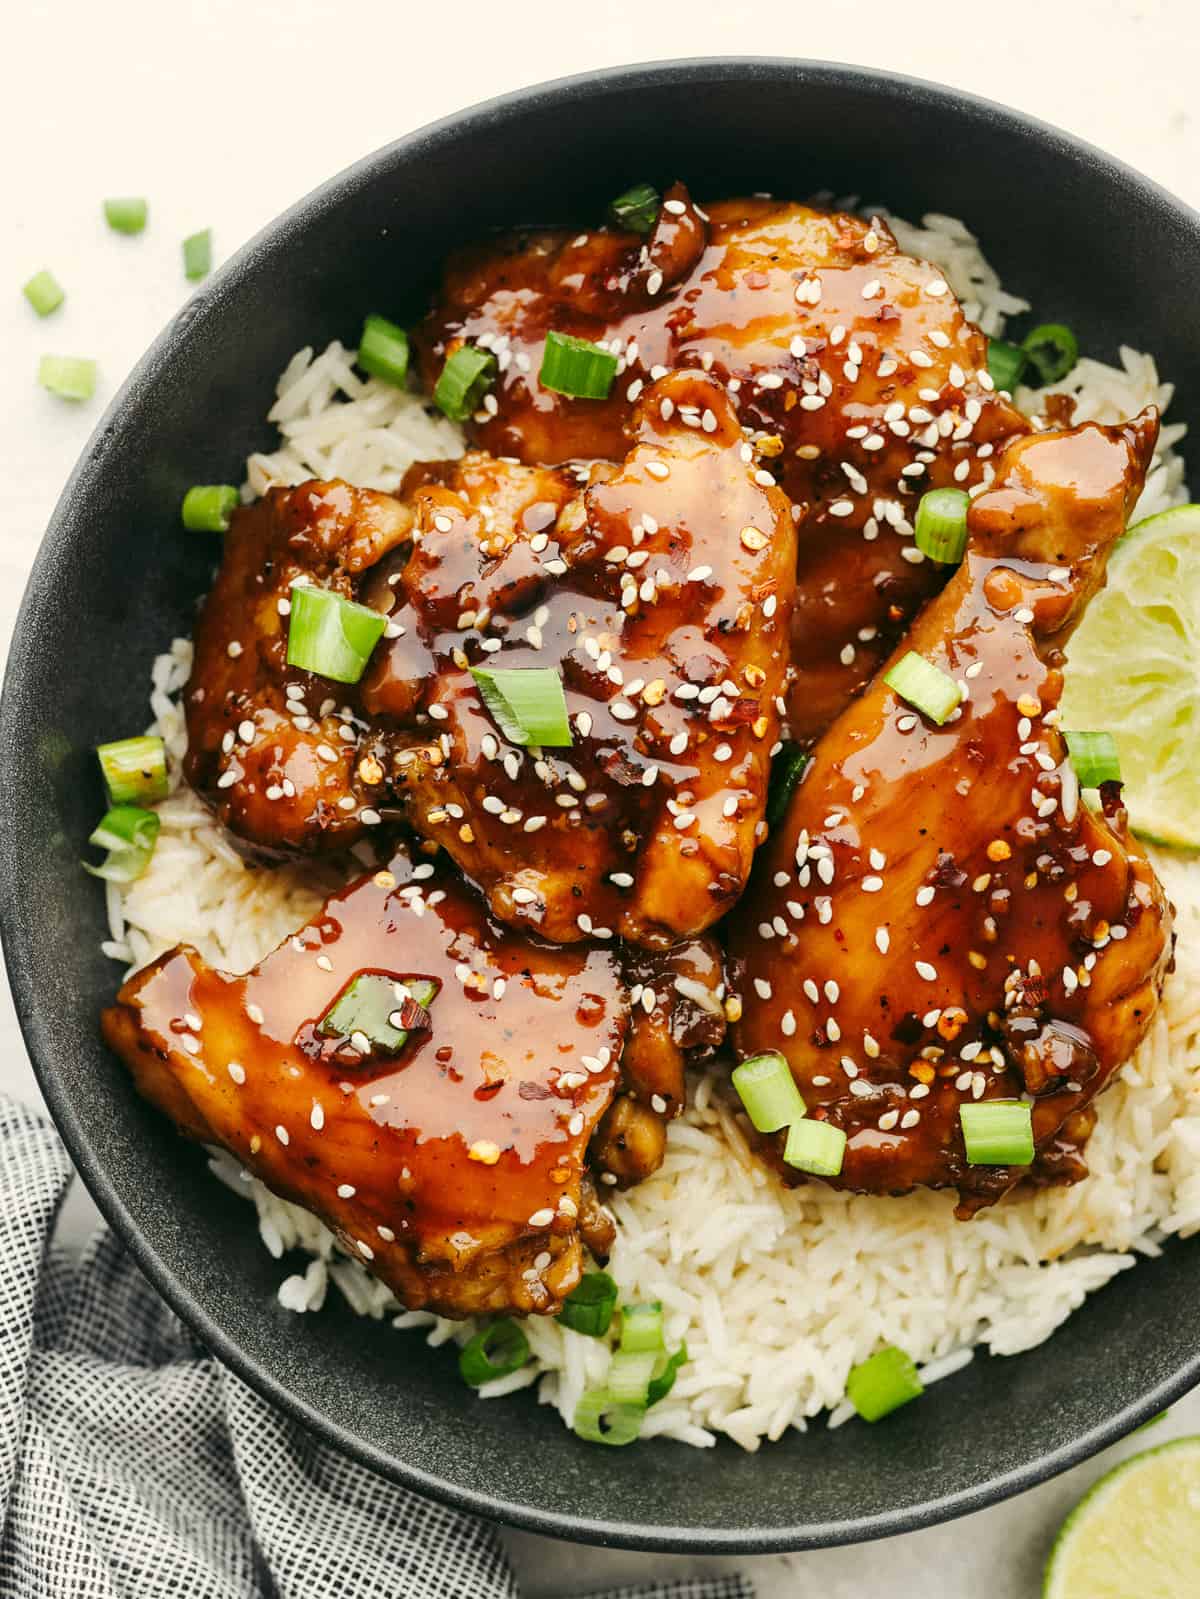
    Skip the takeout and make this easy baked General Tso’s chicken at home! It’s crispy, saucy, and perfectly sweet with just the right amount of heat, no deep fryer required.

    Bowl of General Tso's chicken on a bed of rice.

    Why This Recipe’s a Weeknight Win

    • All the Flavor You Crave: You’ll get the best crispy chicken coated in a glossy, sweet-and-spicy sauce, without frying! Baking keeps it lighter but still totally satisfying.
    • Meal-Prep Friendly: Make a big batch and enjoy leftovers all week. This chicken reheats beautifully, so lunch or dinner is always ready to go.
    • Perfect Pairings: Serve it with fried rice, stir-fried veggies, or crispy egg rolls for a full restaurant-style dinner right at home.

    Baked General Tso’s Chicken Ingredients

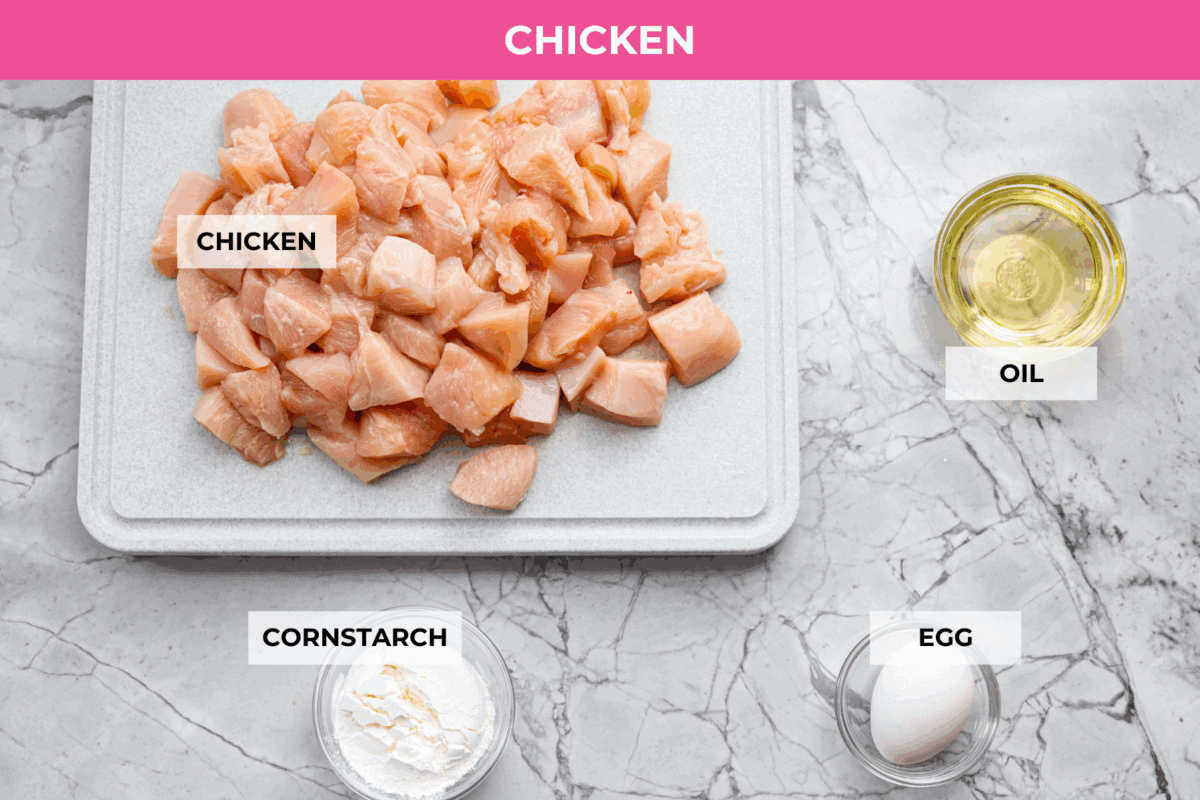
    Overhead shot of labeled ingredients.
    • Chicken: We love boneless, skinless chicken breast for this recipe, but boneless, skinless chicken thighs would also be delicious!
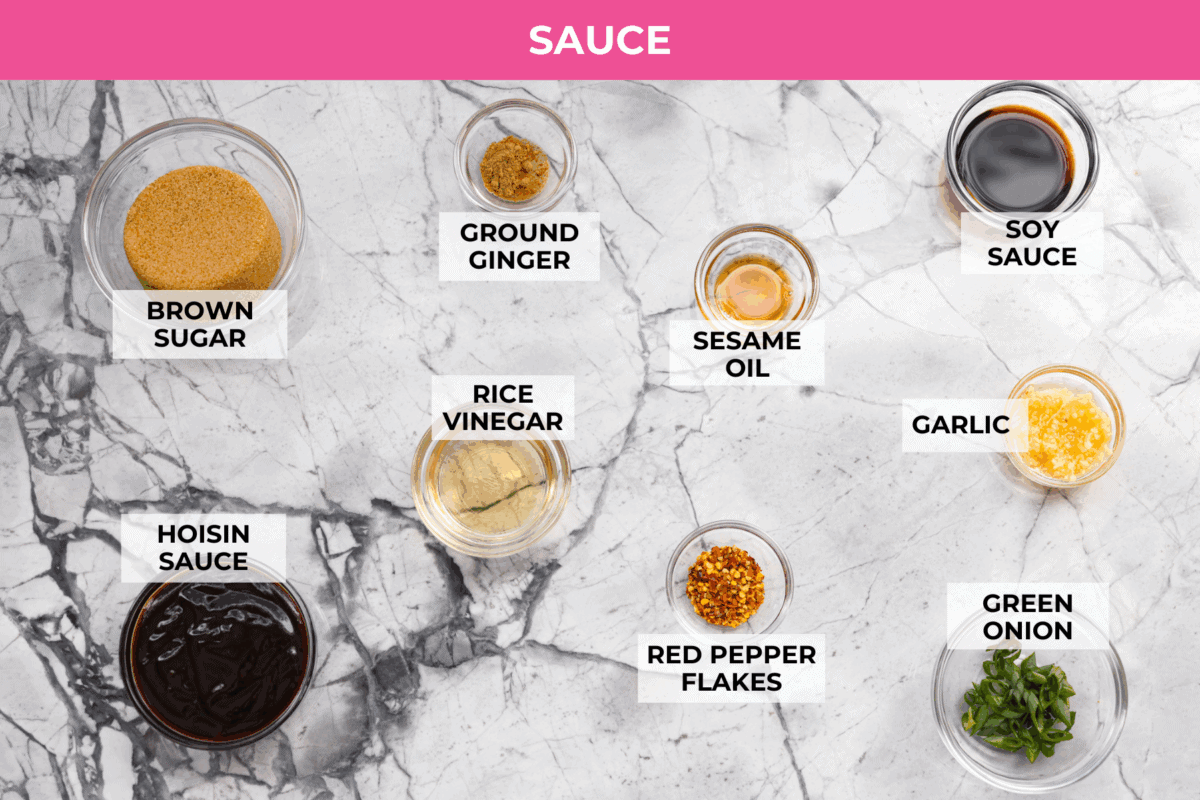
    Overhead shot of labeled sauce ingredients.

    How to Make Baked General Tso’s Chicken

    The magic of this General Tso Chicken recipe is in how simple it is. Taking a few extra minutes to brown the chicken first makes it golden, crispy, and even more irresistible. Want to skip the oven? Make my One-Pan General Tso’s Chicken. It’s similar to my sweet chili chicken. They are all seriously better than takeout!

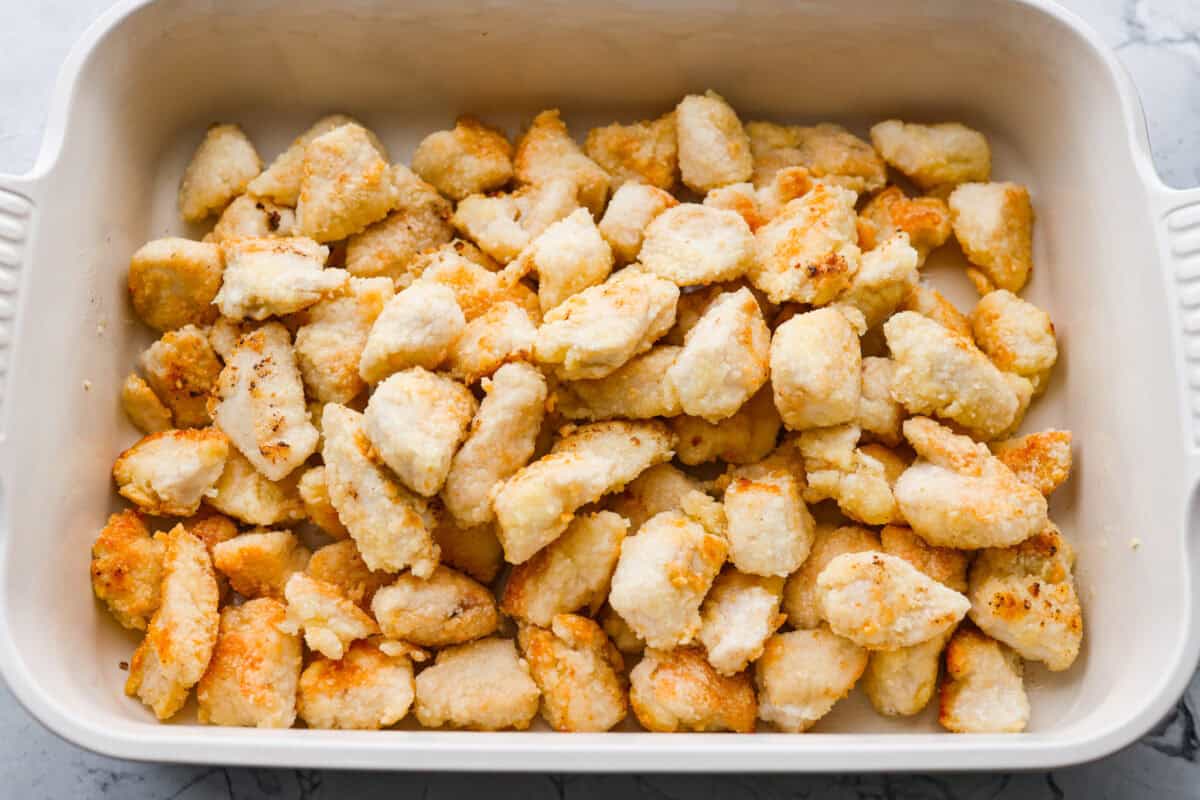
    1. Cut Chicken and Coat in Egg: Preheat the oven to 350ºF, then spray a 9×13-inch baking dish with non-stick cooking spray. Cut the chicken into bite sized pieces and place in a large bowl. Crack the egg on top of the chicken and massage it in with your hand to coat the chicken.
    2. Toss in Cornstarch: Transfer the chicken to a ziplock bag. Add the cornstarch, seal the bag, and toss to coat well.
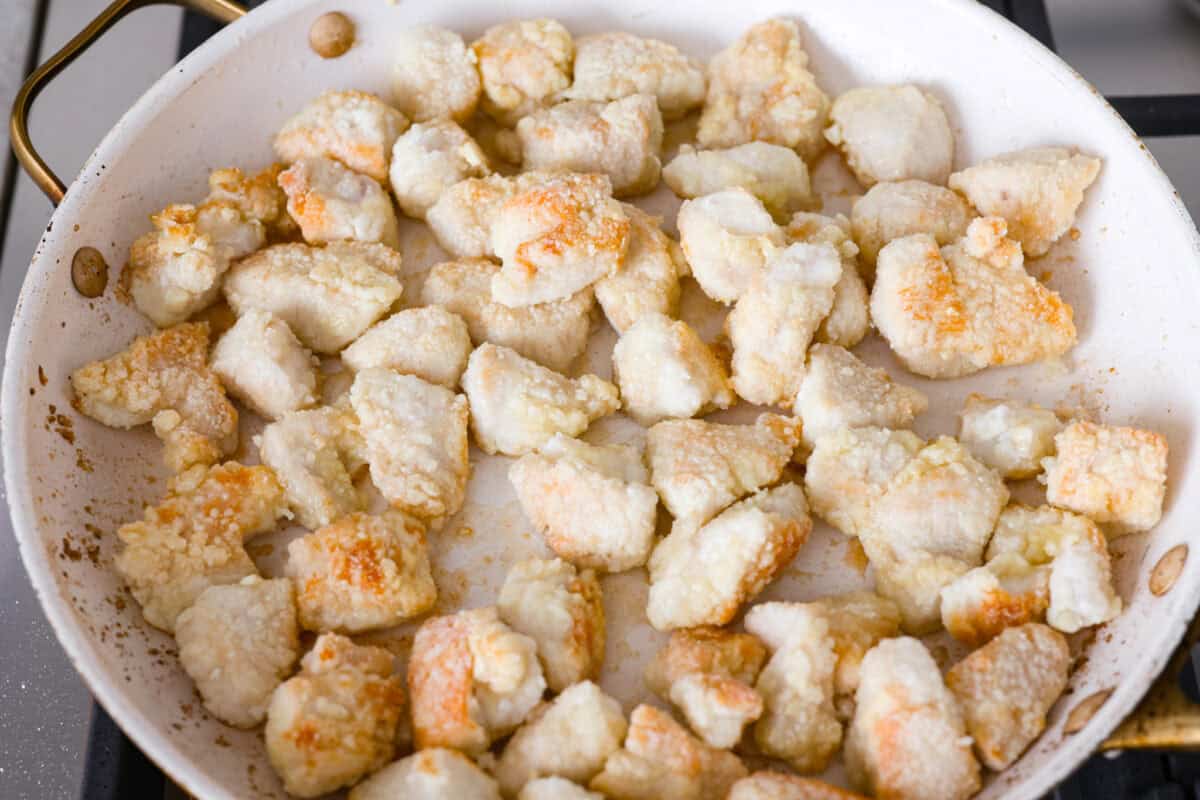
    3. Sear Chicken: In a large skillet over medium-high heat, add oil. Working in batches, add the coated chicken and cook until browned. Brown the chicken on the outside only; you’ll finish cooking it later.
    4. Transfer to Baking Dish: Place the chicken in the prepared baking dish.
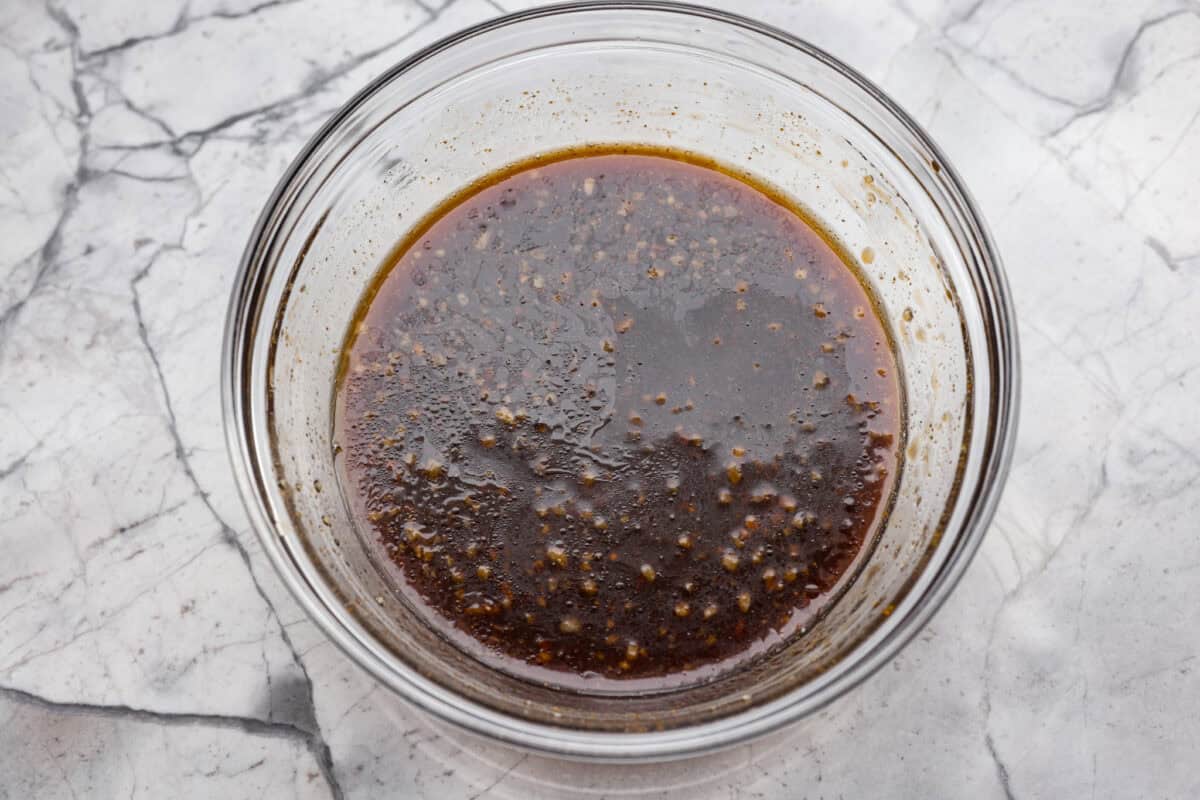
    5. Make the Sauce: In a medium bowl, whisk together hoisin sauce, soy sauce, brown sugar, fresh garlic, rice vinegar, sesame oil, ground ginger, and red pepper flakes. 
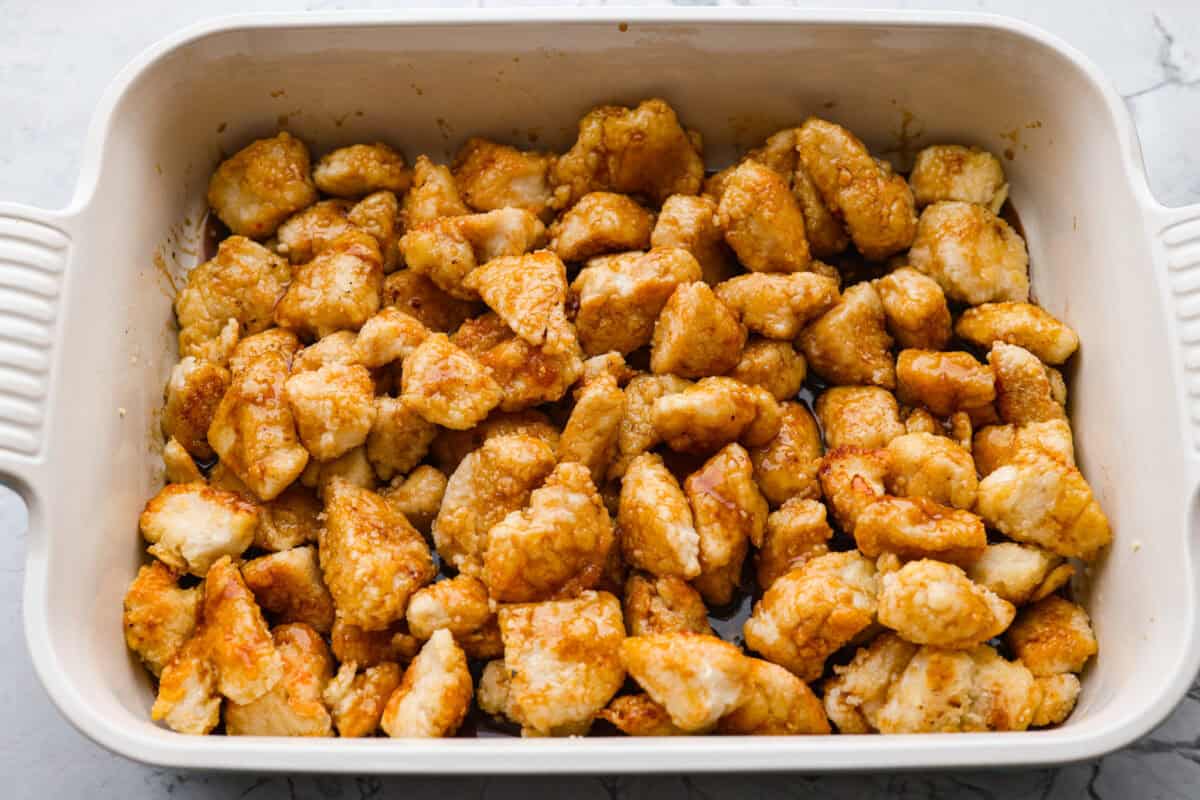
    6. Bake: Pour the sauce over the chicken, then bake for 45 minutes. Stir every 15 minutes so that it is coated in the sauce. Garnish with green onions, then serve with rice or noodles and enjoy!

    Pin this now to find it later

    Pin It

    Overhead shot of baked General Tso's chicken in a baking dish.

    More Easy Asian-Inspired Recipes

    Slow Cooker Beef and Broccoli

    3 hours 20 minutes


    Source link

  • Easy Homemade BBQ Seasoning | The Recipe Critic

    Easy Homemade BBQ Seasoning | The Recipe Critic

    This website may contain affiliate links and advertising so that we can provide recipes to you. Read my disclosure policy.

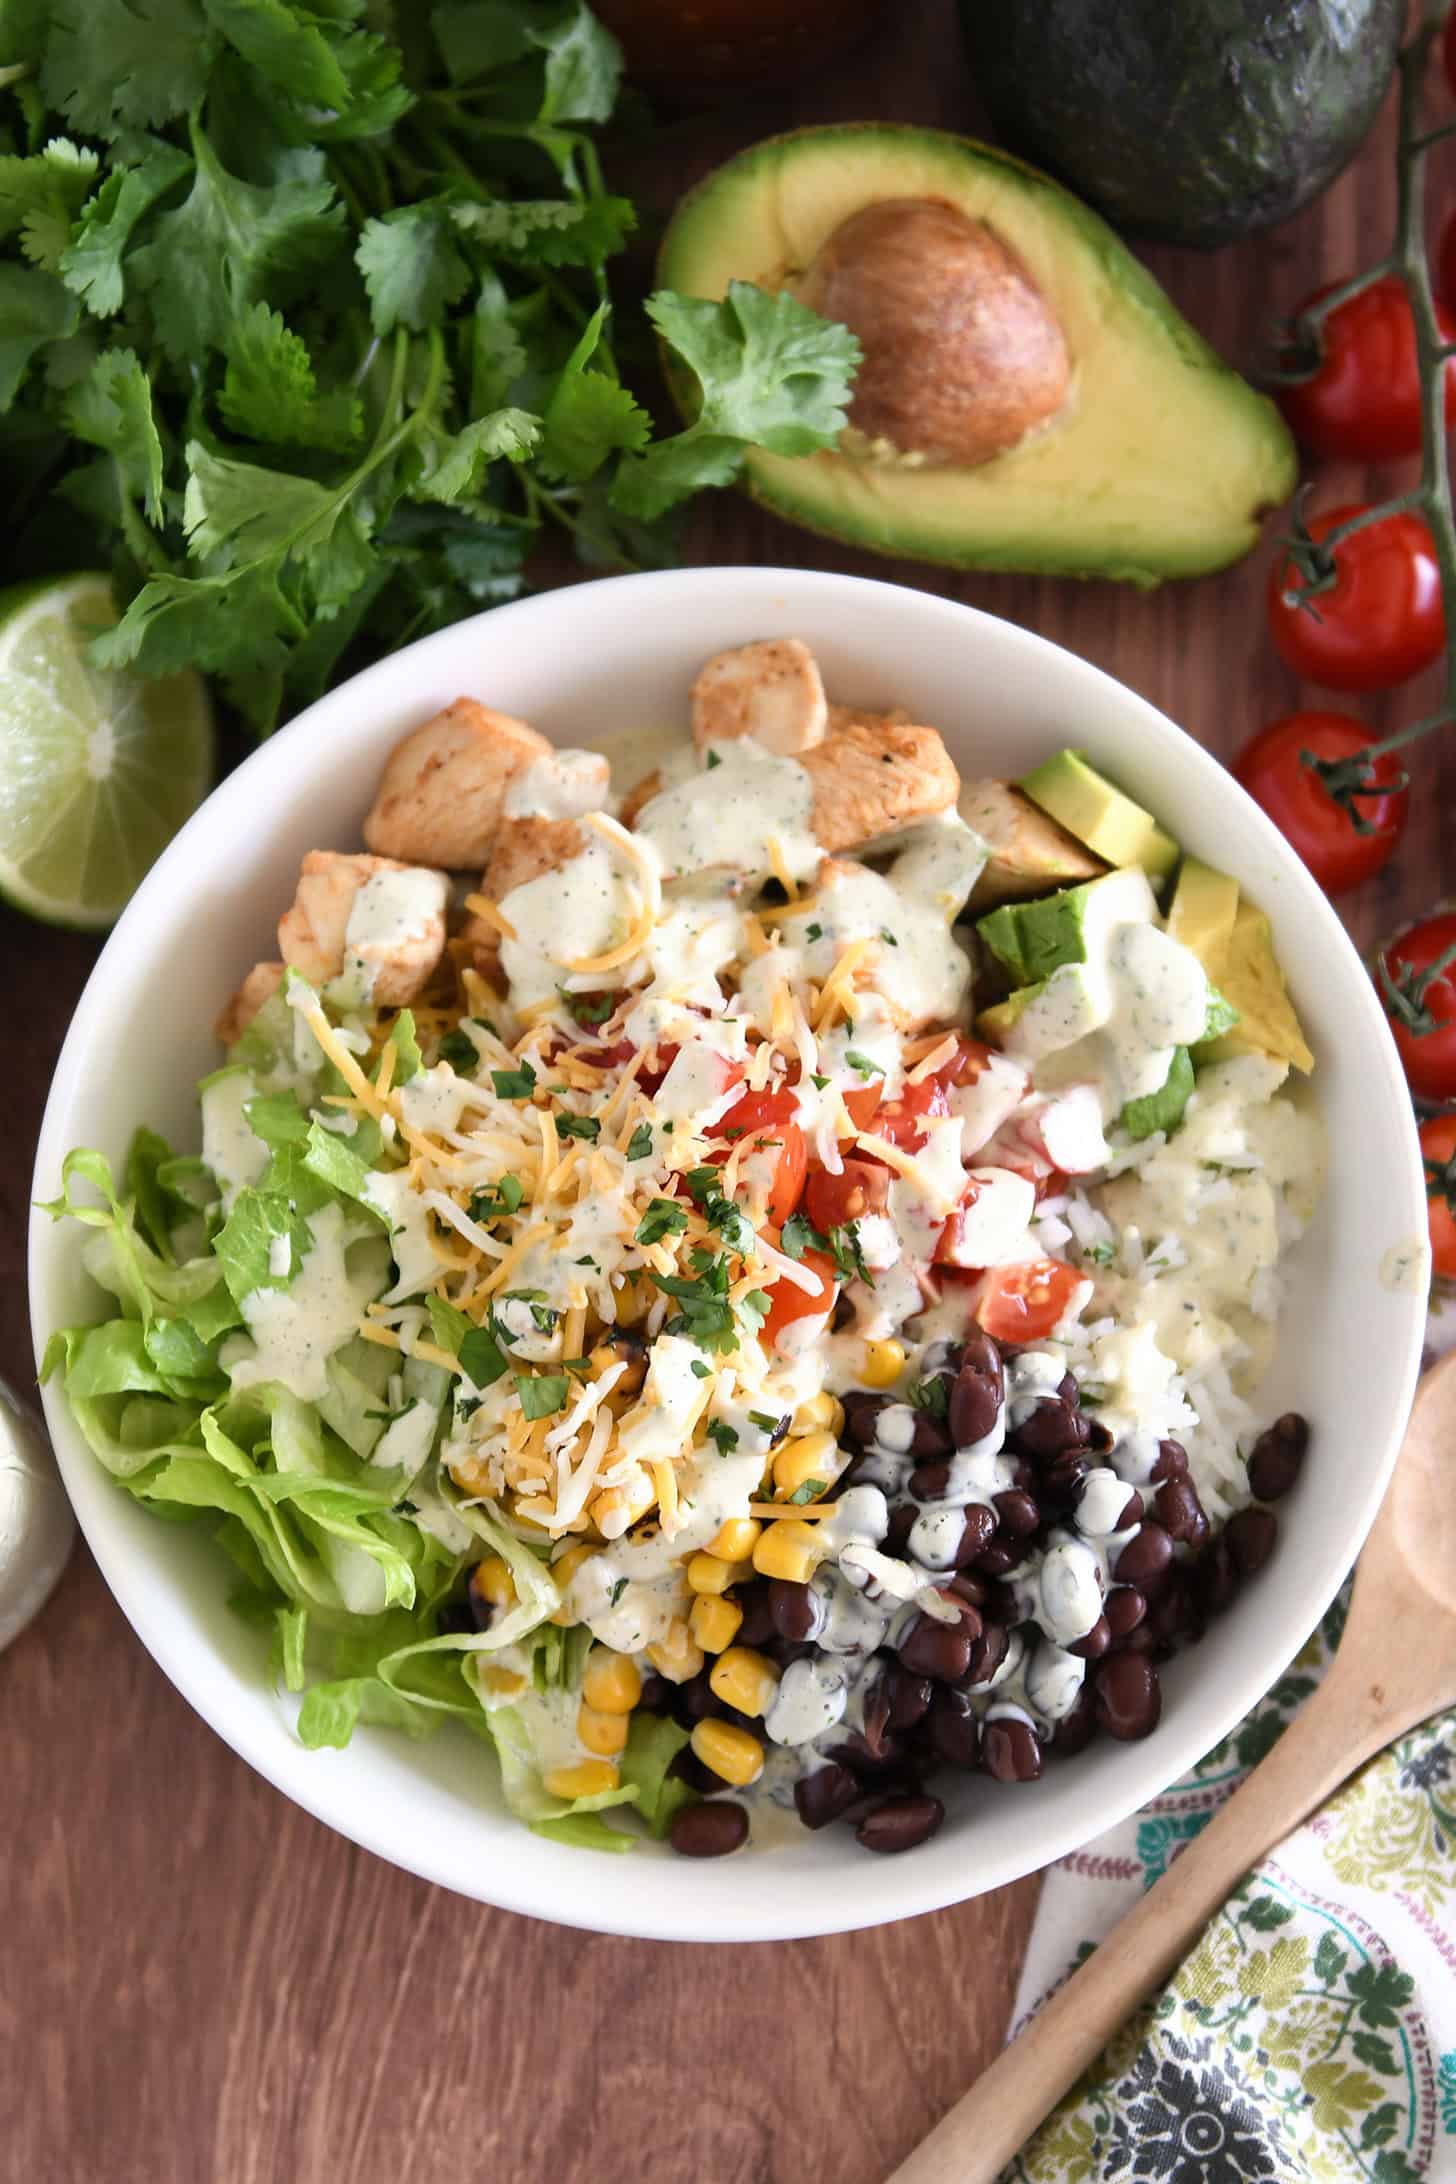
    My homemade BBQ seasoning brings bold, smoky flavor to just about anything! It’s the perfect blend of sweet, savory, and just a little kick, ready to shake onto chicken, veggies, ribs, and more.

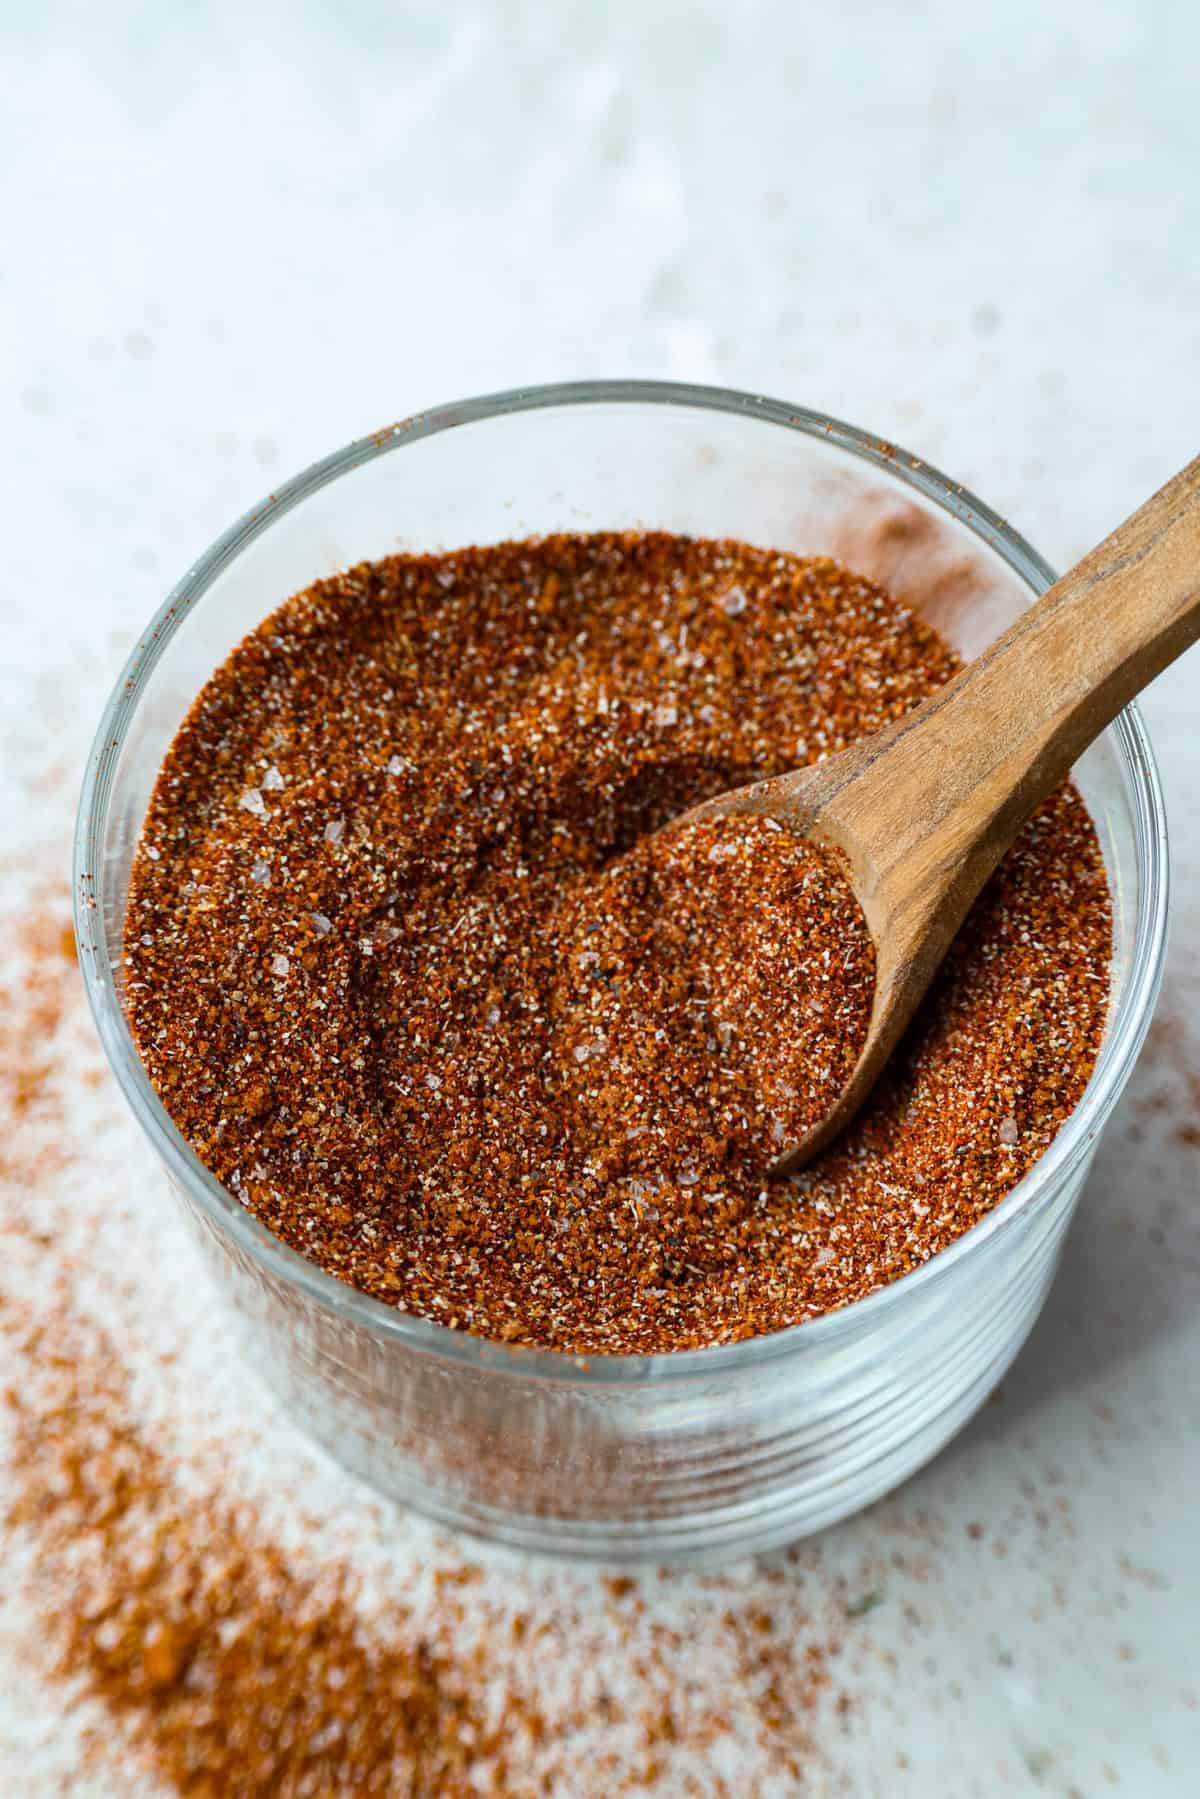
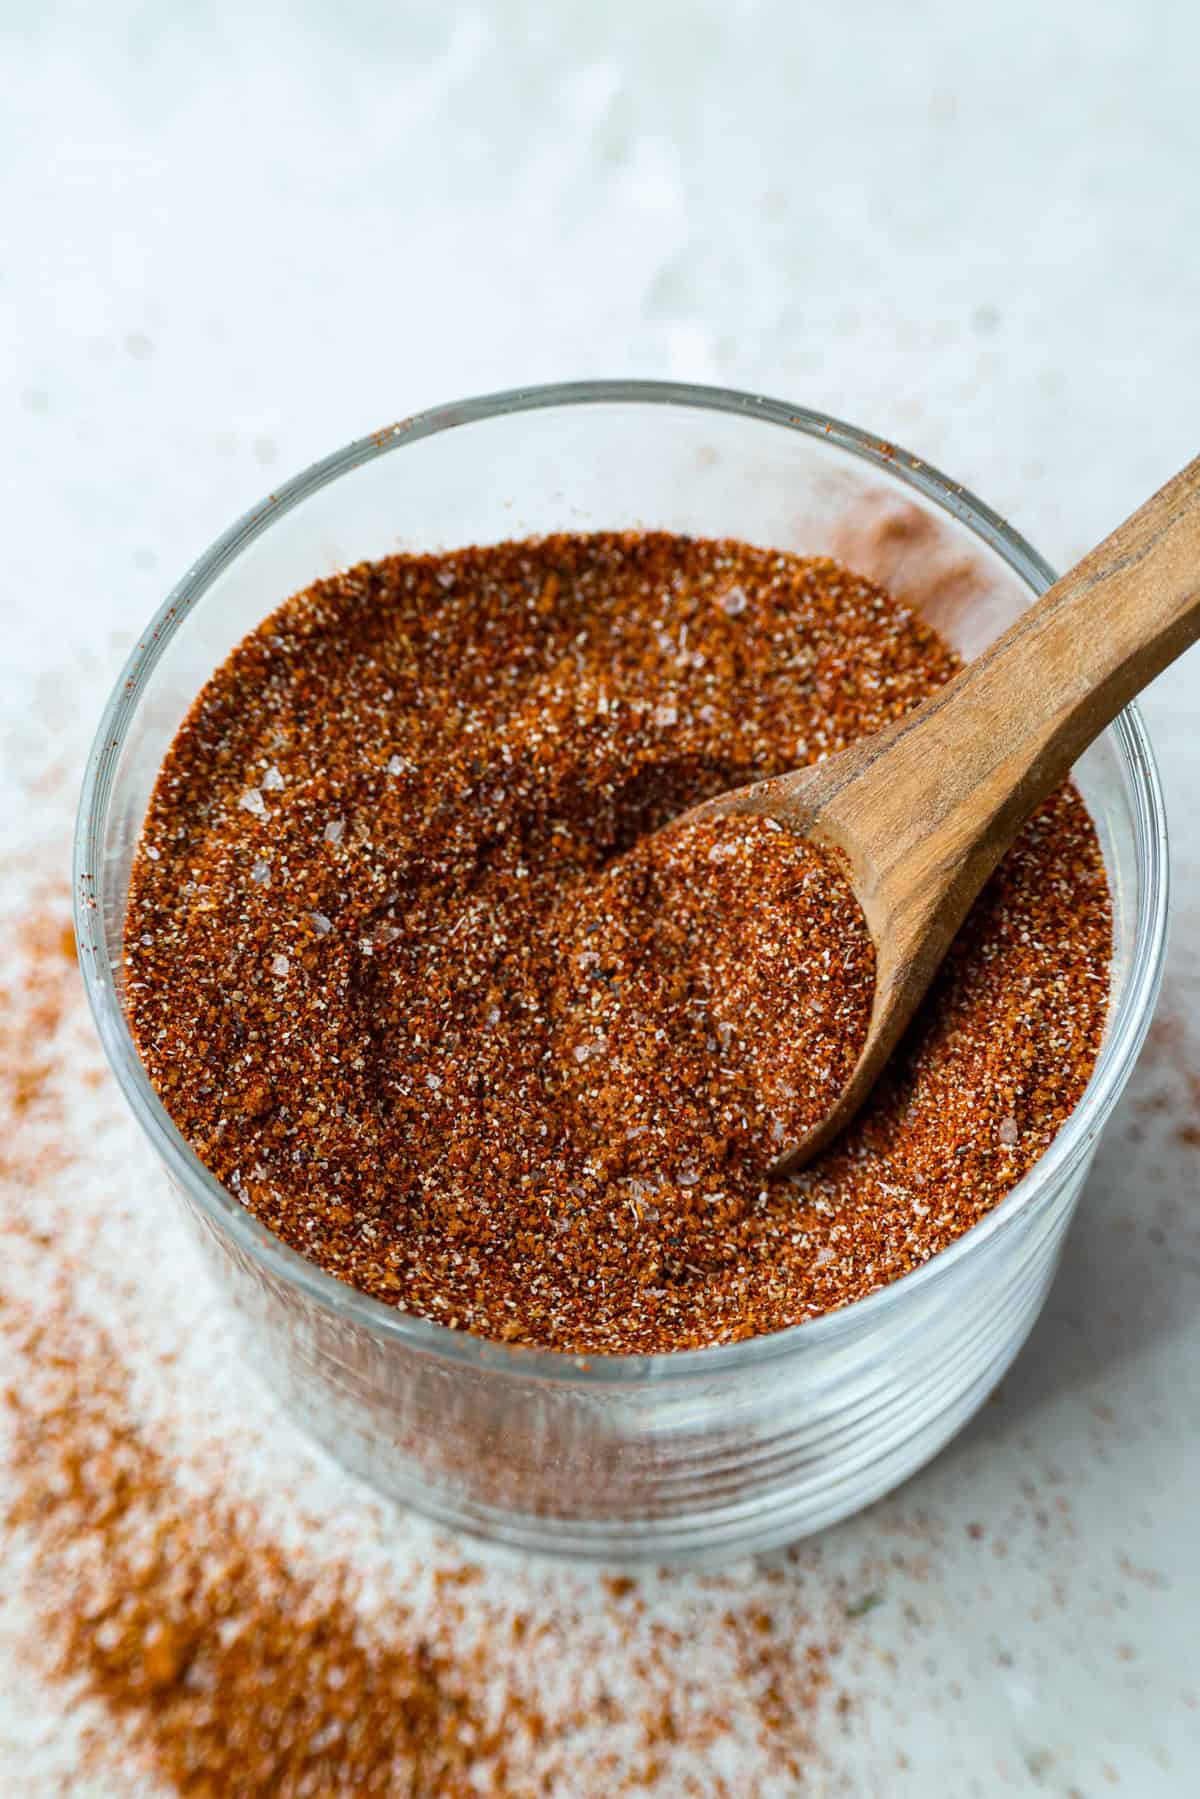
    Overhead shot of a jar of homemade BBQ seasoning with a small wooden spoon.

    Why You’ll Want to Keep This on Hand

    • Big flavor, few ingredients: Just a few pantry spices turn into a tasty blend that you can use all BBQ season long!
    • Totally customizable: Dial up the heat or sweetness to make it your own.
    • Use it on EVERYTHING: Perfect for grilling, roasting, or seasoning snacks like popcorn and roasted nuts!

    BBQ Seasoning Ingredients

    Overhead shot of labeled ingredients.
    • Paprika: Use smoked paprika for a more smoky flavor.
    • Sugar: Brown sugar adds a sweet balance, but feel free to cut it back if you want more spice than sweet in your bbq rub.
    • Spice level: This blend’s got a little kick—skip or reduce the cayenne pepper if you’re not into the heat.

    How to Make BBQ Seasoning

    Get ready to level up your grilling game! This easy BBQ seasoning mix comes together in minutes and brings rich, smoky depth with a touch of sweetness to everything you add it to!

    1. Add Spices: In a small bowl, add paprika, brown sugar, kosher salt, chili powder, garlic powder, onion powder, black pepper, and cayenne pepper.
    2. Mix: Whisk all of the ingredients together until evenly mixed, then store in an airtight container.

    How to Store Homemade Seasoning

    This is great to have in the spice cabinet to add great flavor to so many different recipes.

    • Storing: Store your homemade seasoning in a spice jar or an airtight container in a cool, dark place.
    • How long does BBQ Seasoning Last? If you make sure it is in an airtight container, it will keep at room temperature for 1 year.

    Two steaks seasoned with homemade bbq seasoning.

    How Do I Use BBQ Seasoning?

    This spice blend is great for meat rubs, seasoning vegetables, steak, pork, shrimp, and more. Here are a few more options for you to try!

    Juicy Air Fryer Hamburgers

    20 minutes

    Pin this now to find it later

    Pin It


    Source link

  • Marry Me Stuffed Shells Recipe (Easy, Creamy & Cheesy)

    Marry Me Stuffed Shells Recipe (Easy, Creamy & Cheesy)

    This website may contain affiliate links and advertising so that we can provide recipes to you. Read my disclosure policy.

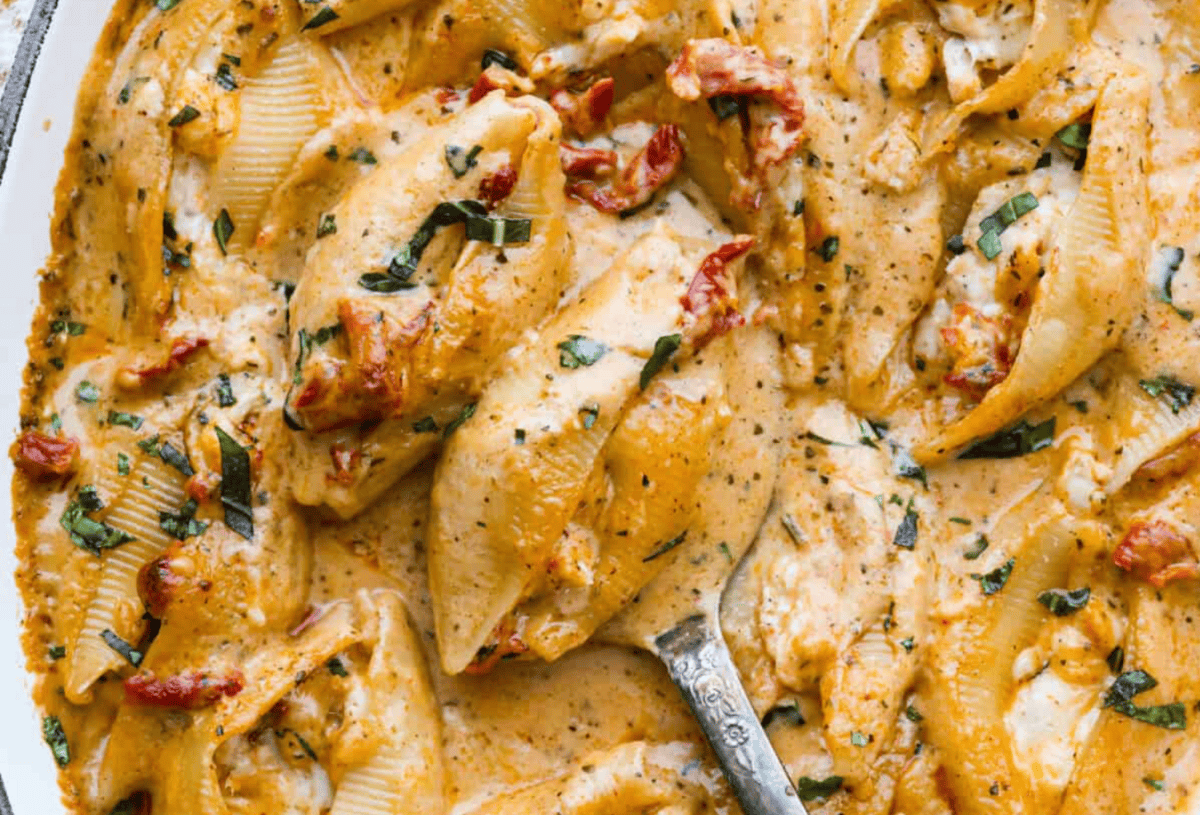
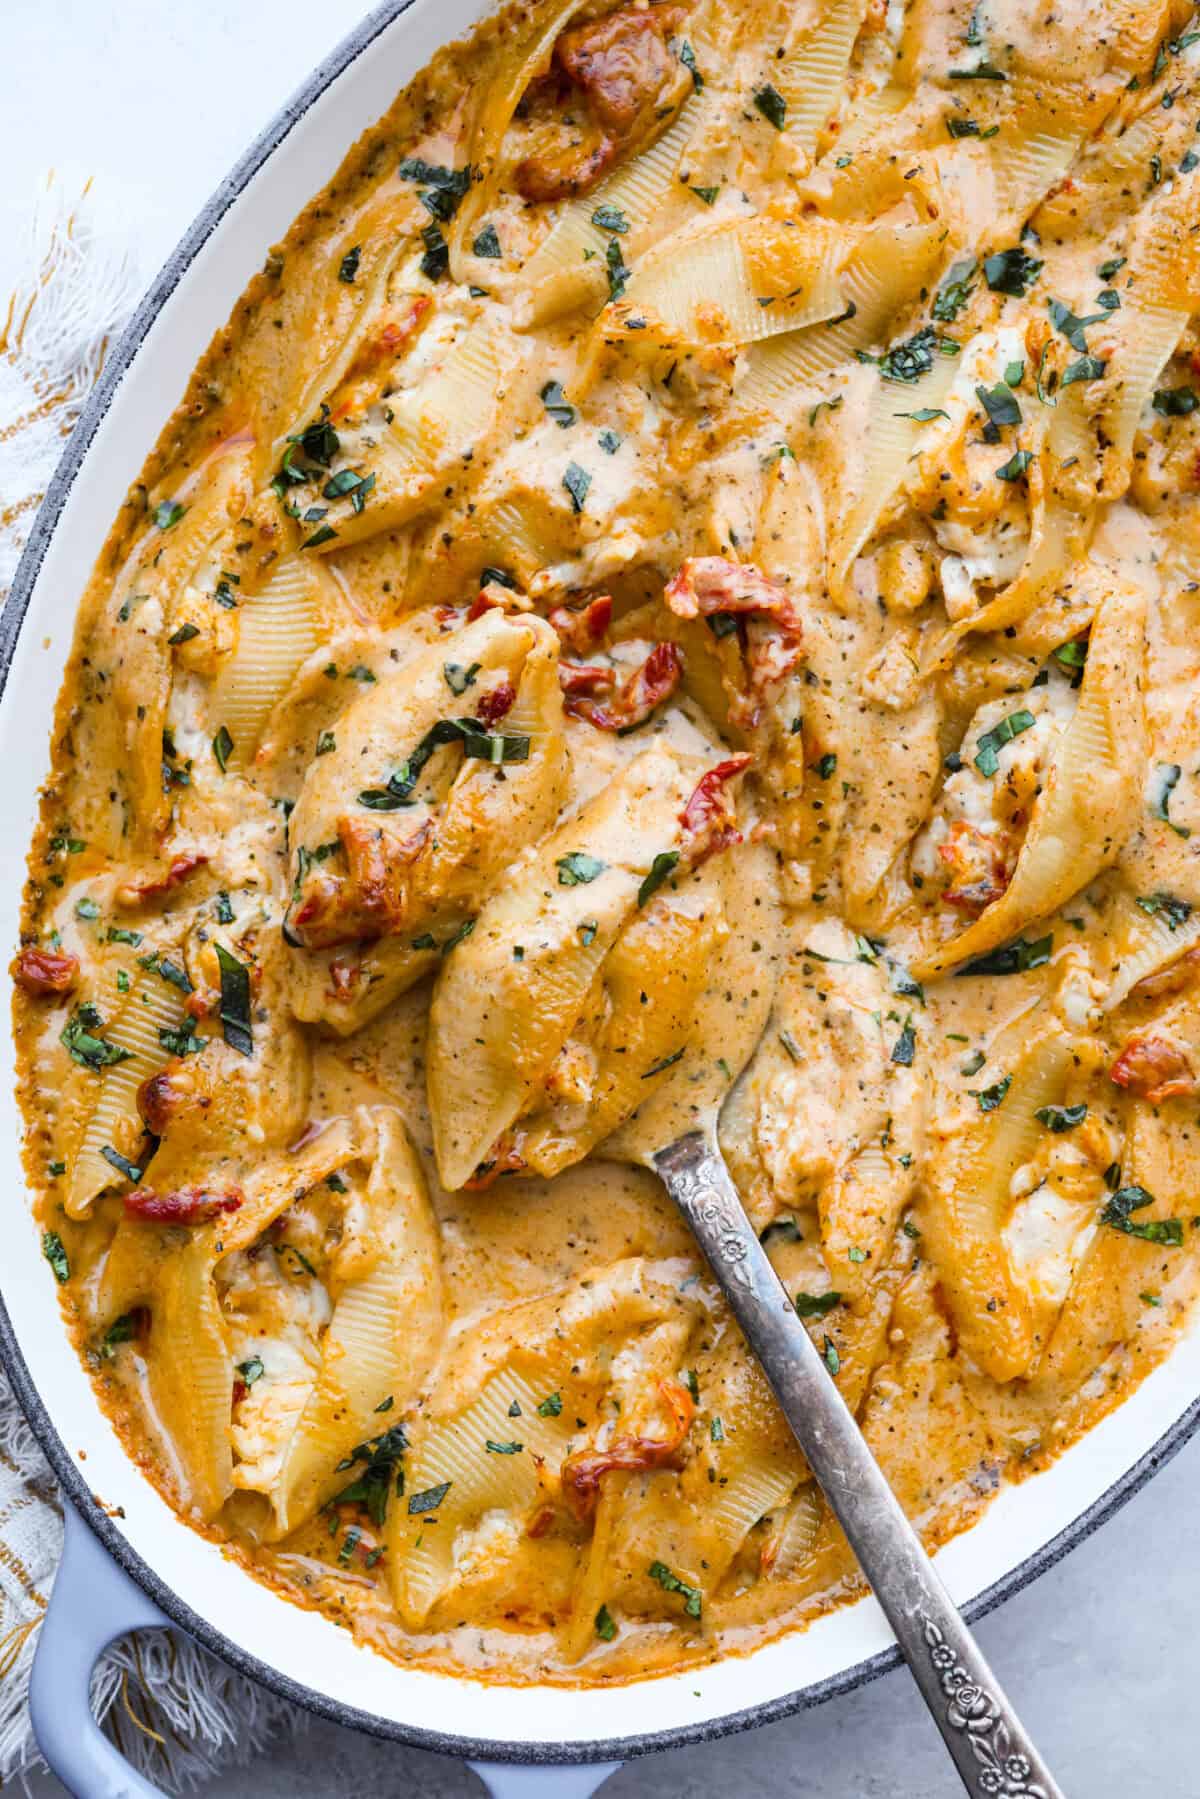
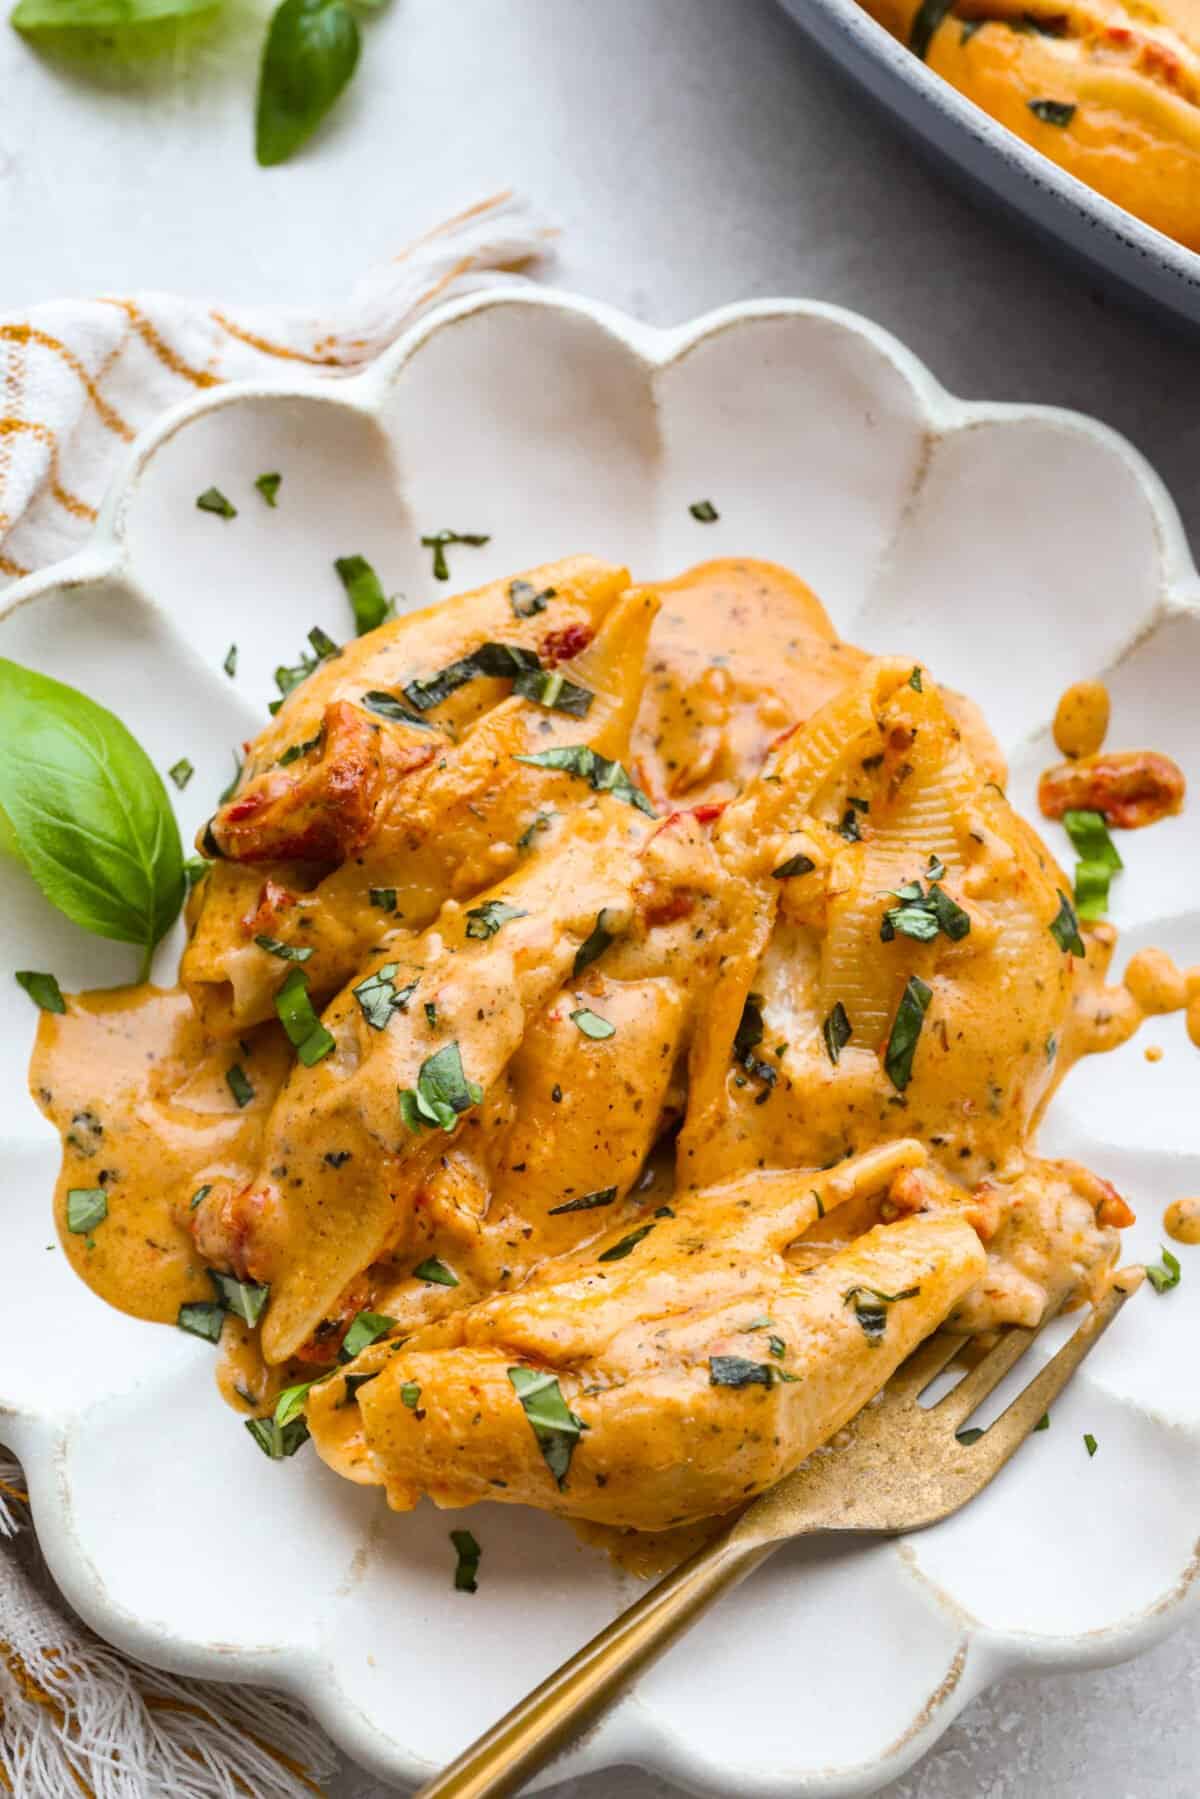
    Marry me stuffed shells take the viral sauce you love and turn it into a cozy, baked pasta moment. Think creamy chicken-stuffed shells, melty cheese, and just enough sun-dried tomatoes for that extra swoon-worthy touch.

    Close up of the completed marry me stuffed shells dish.

    Why This Recipe Gets All the Love

    • Fan Favorite! You guys love my marry me chicken and my stuffed shells recipes, so why not combine them into one delicious dish!
    • Perfect for sharing (or leftovers): This dish is great for family dinners, potlucks, entertaining, or making ahead and freezing when you need an easy win.
    • So many ways to serve it: Pair it with a simple green salad, garlic bread, or roasted veggies, or serve it on its own and let the shells steal the show.

    Ingredients for Marry Me Stuffed Shells

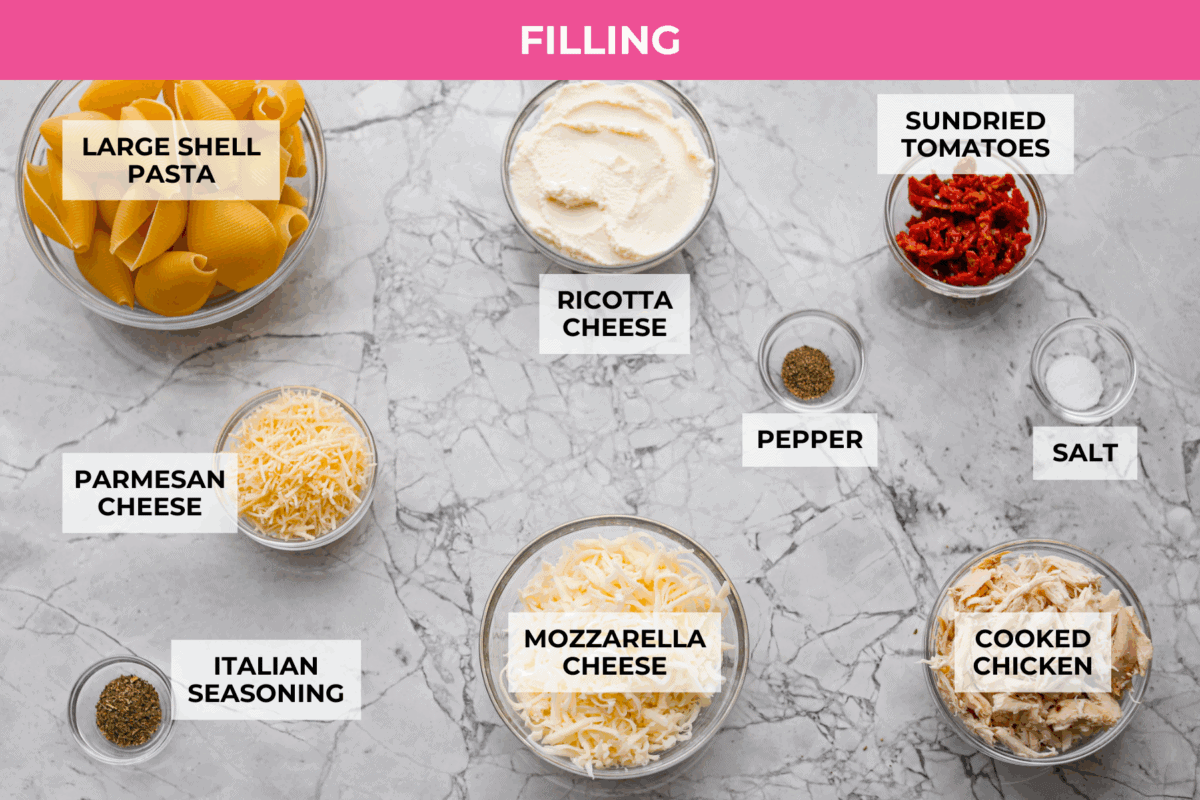
    Overhead shot of the labeled marry me stuffed shells filling ingredients.Overhead shot of the labeled marry me stuffed shells filling ingredients.
    • Add Spinach: Stir 1–2 cups fresh baby spinach or 1 cup thawed, well-drained frozen spinach into the sauce during step 3 for a pop of green.
    • Cooked Chicken: Rotisserie chicken works great, but leftover shredded, chopped chicken, or canned chicken works as well.
    • Sun-Dried Tomatoes: I usually use julienne-cut sun-dried tomatoes packed in oil, but dry-packed works too. If using dry-packed, soak them in the chicken broth for 15–20 minutes, then strain and use both as directed.
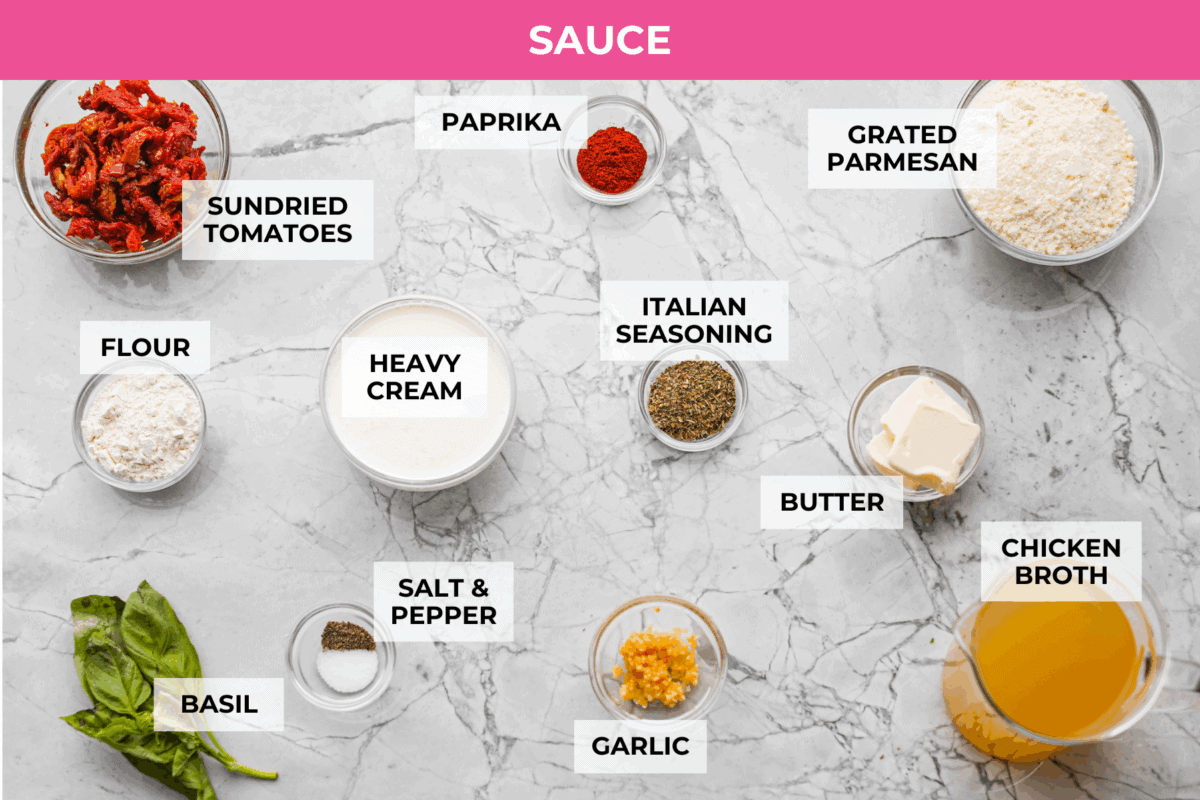
    Overhead shot of the labeled marry me stuffed shells sauce ingredients.Overhead shot of the labeled marry me stuffed shells sauce ingredients.
    • Want extra sauce? Go for it! If you love a really saucy pasta, make 1½ to 2 times the sauce so there’s plenty to spoon over every shell.

    How to Make Marry Me Stuffed Shells

    My family can’t get enough of this dish. The creamy sun-dried tomato sauce is always a hit on busy weeknights. Pair it with focaccia bread for the ultimate meal.

    Shells & Filling

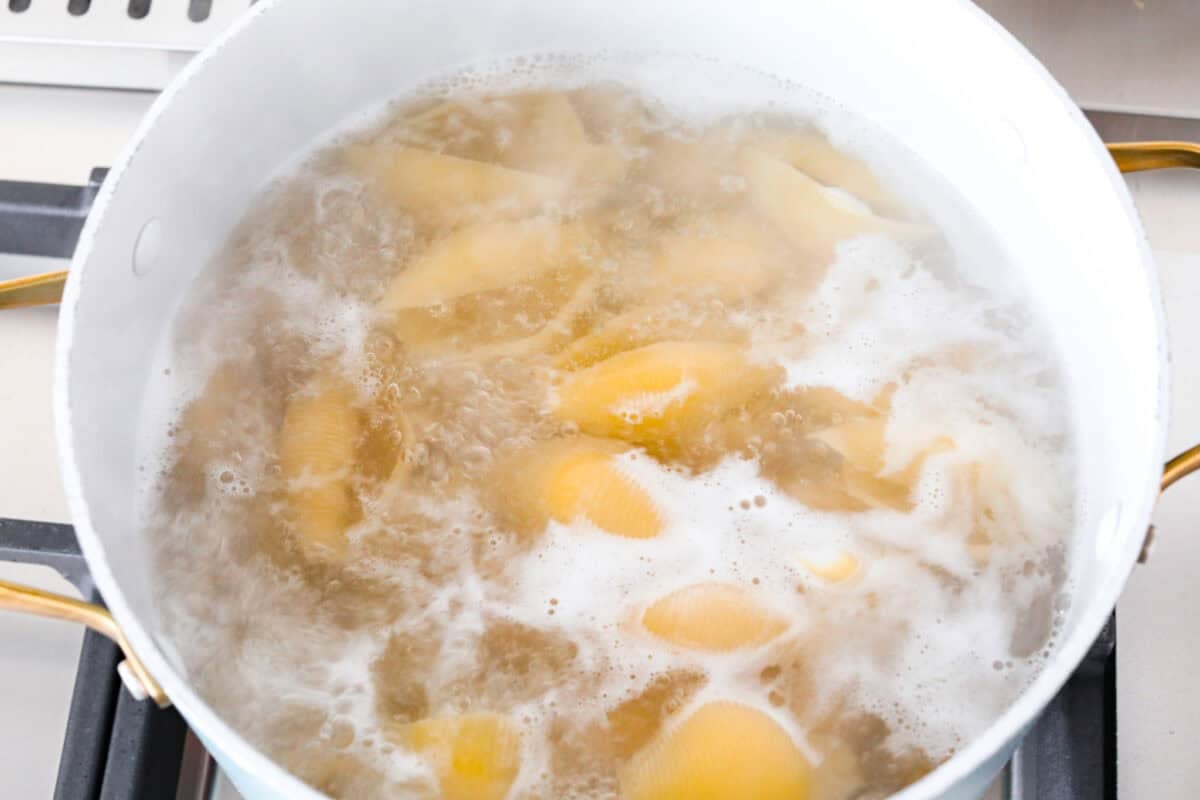
    1. Boil the Pasta: Preheat the oven to 375ºF. Spray a 3-quart baking dish with nonstick cooking spray and set aside. Bring a large pot of salted water to a rolling boil, then cook the jumbo pasta shells according to the package directions for al dente pasta. Drain the shells and rinse them in cold water to stop the cooking process. Toss lightly with 1-2 teaspoons of olive or vegetable oil to prevent sticking.
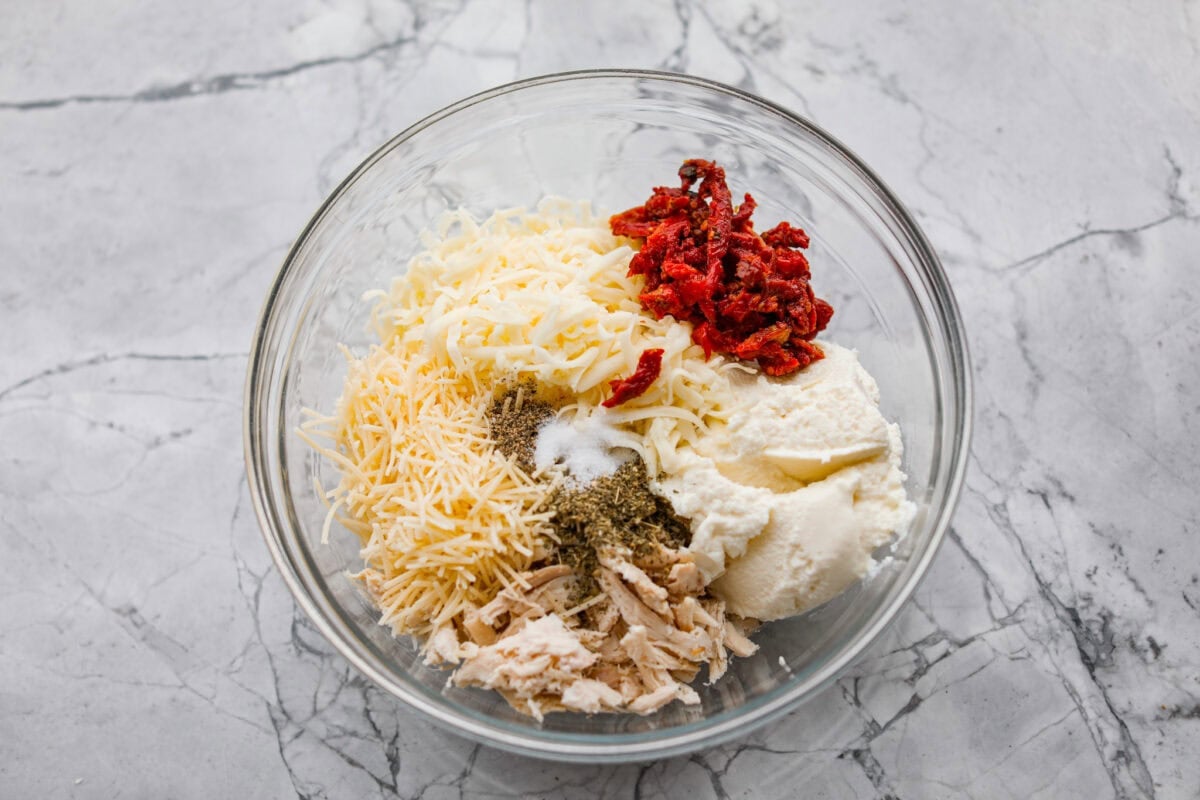
    2. Mix the Filling Ingredients: Add the chicken, ricotta, mozzarella, parmesan, sun-dried tomatoes, Italian seasoning, salt, and pepper to a large bowl and mix until combined. Set aside.

    Sauce & Assembly

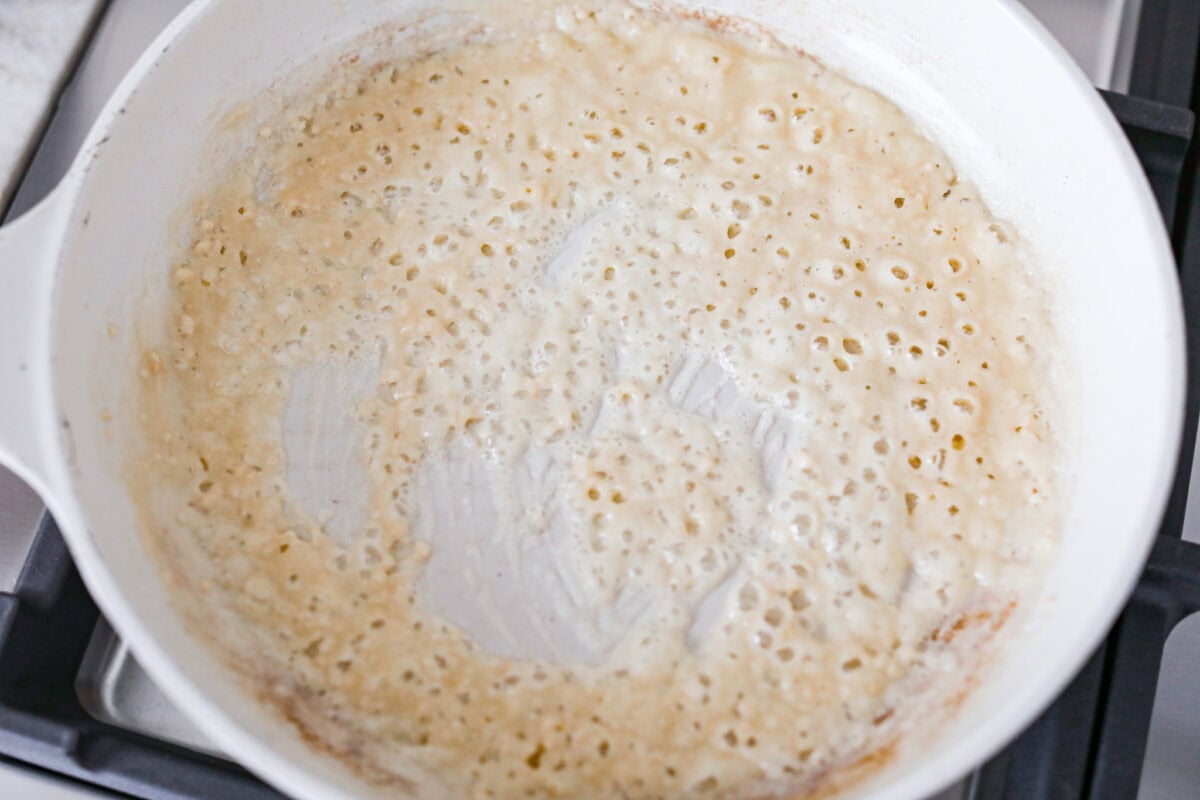
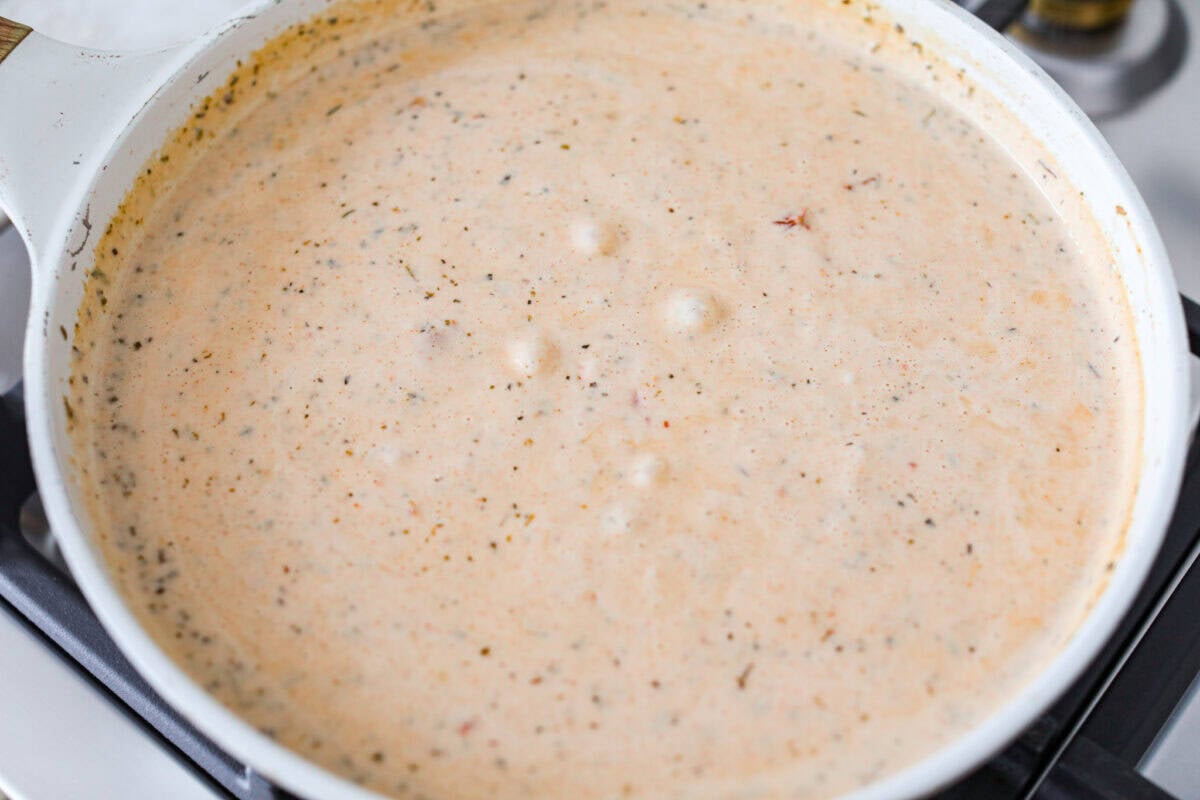
    1. Start the Sauce: Add the butter to a large skillet and melt over medium heat. Once melted, add the garlic and cook for about 30-60 seconds, until fragrant. Add flour and whisk to form a paste. 
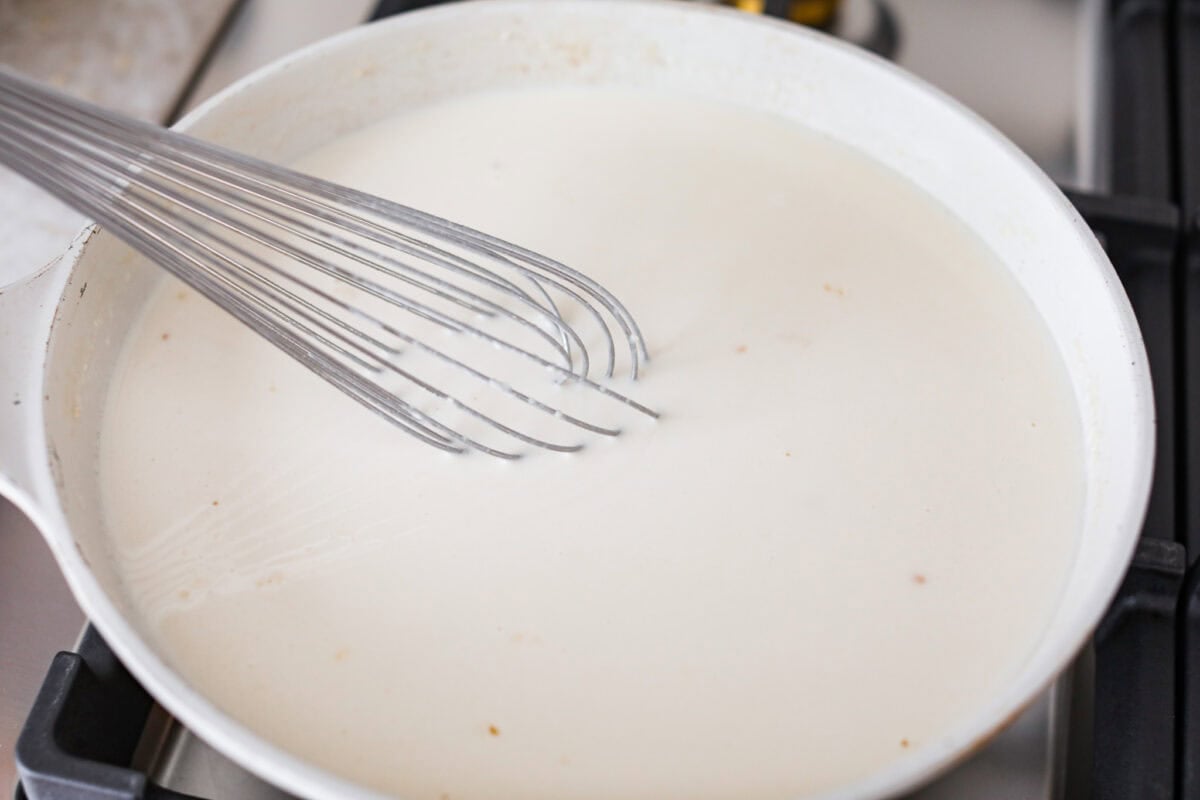
    2. Add Broth, Cream, and Cheese: Cook for 1-2 minutes before slowly whisking in the chicken broth, cream, and parmesan until smooth and combined. It will be quite thick as you first begin to whisk in the liquid.
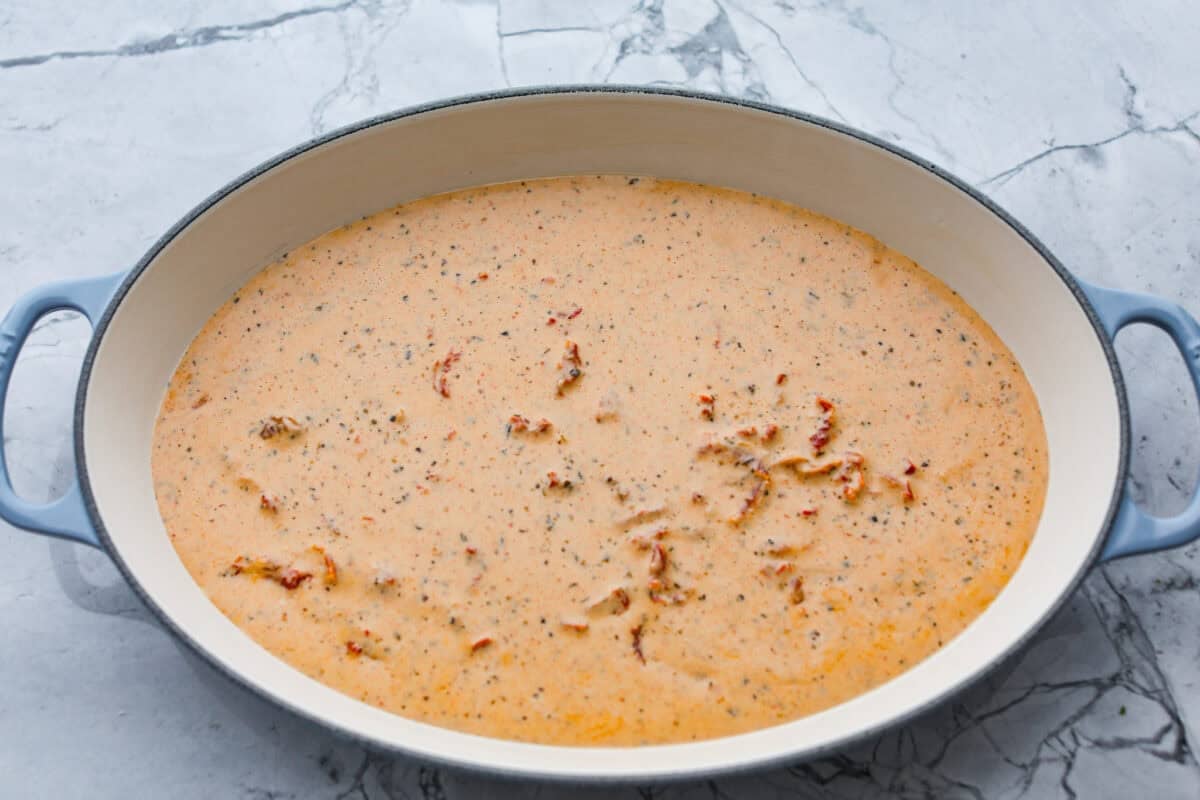
    3. Add Tomatoes and Seasoning: Stir in the sun-dried tomatoes, paprika, Italian seasoning, salt, and pepper. Continue to whisk the sauce for a few minutes until it thickens.
    4. Start Assembly: Add about ¾ of the sauce to the bottom of the prepared baking dish. 
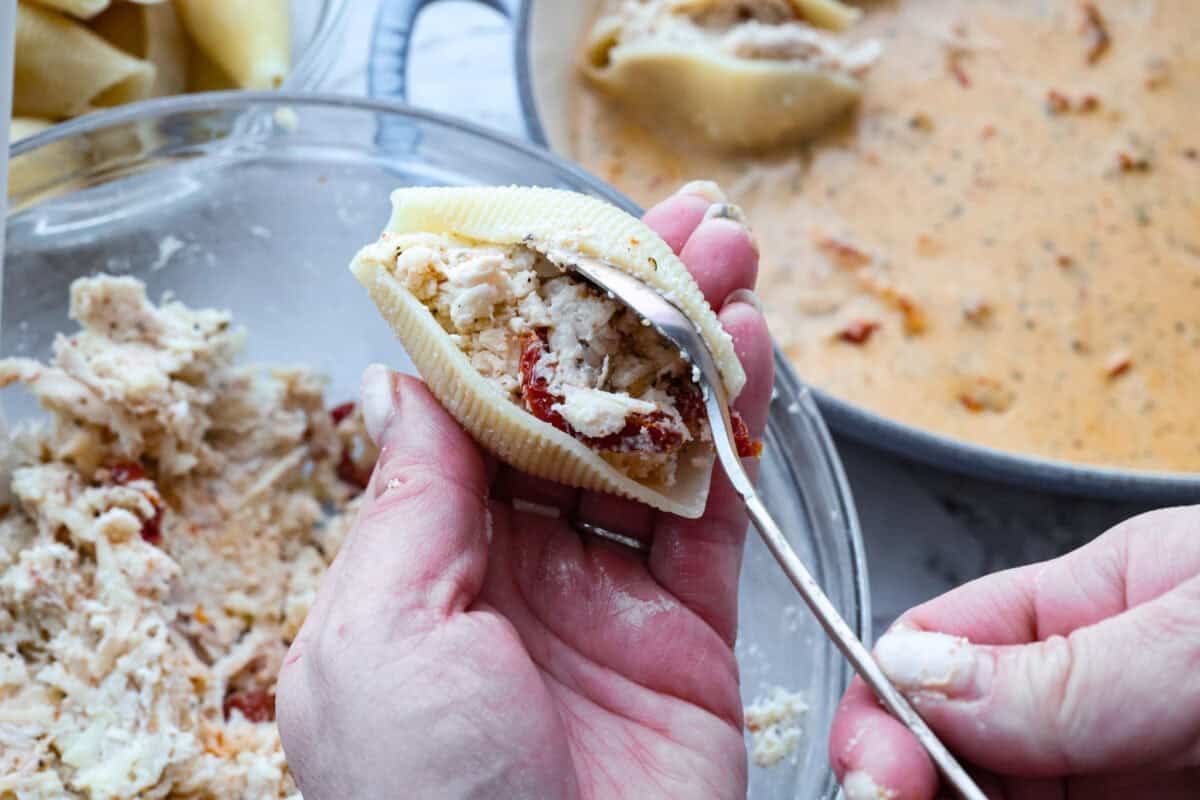
    5. Stuff the Shells: Stuff each shell with about 2 tablespoons of the filling. Arrange the filled shells in an even layer on top of the sauce. 
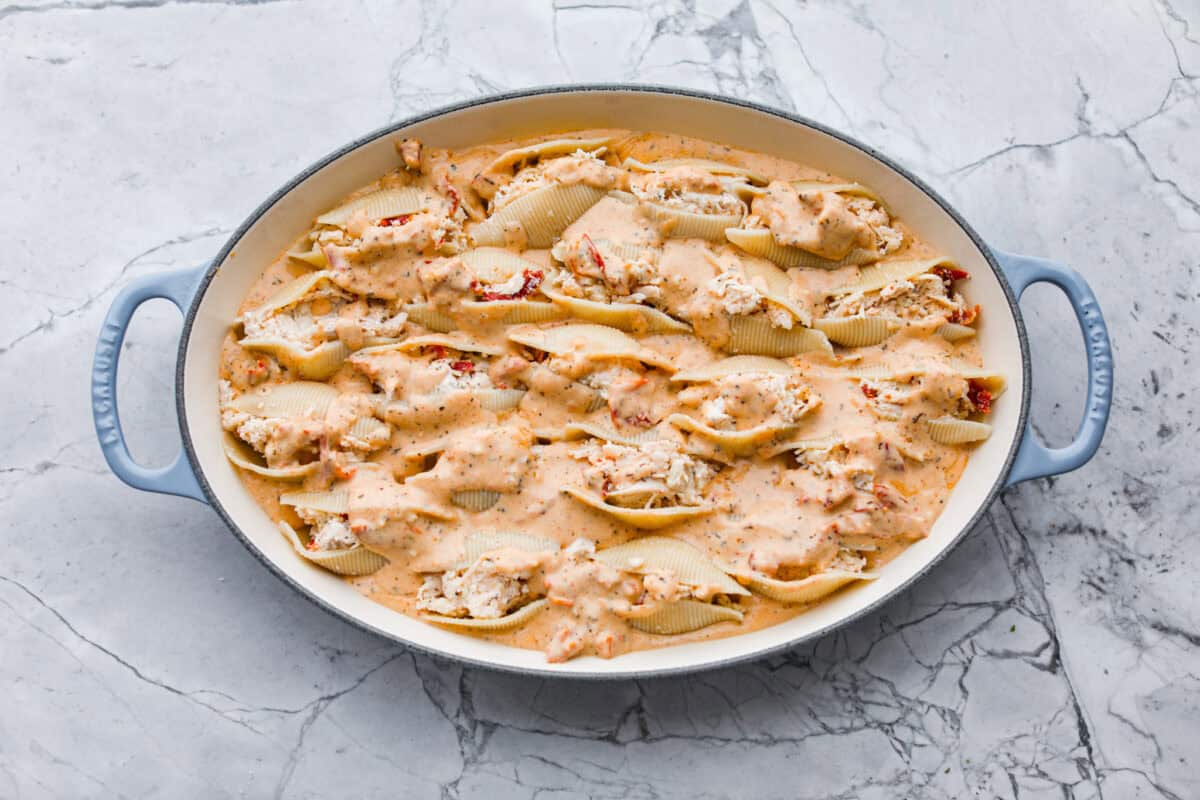
    6. Bake: Spoon the remaining sauce evenly over the top of the shells. Bake uncovered for 25-30 minutes, until the sauce is bubbling and the shells are starting to brown. Let the marry-me stuffed shells rest for about 5 minutes before garnishing with fresh basil if desired, and serving. 

    Alyssa’s Recipe Tip

    Don’t overcook the shells! Whatever you do, don’t overcook the shells. Boil them 2–3 minutes less than the package says, so they don’t fall apart when you stuff them. They will finish cooking in the oven.

    Pin this now to find it later

    Pin It
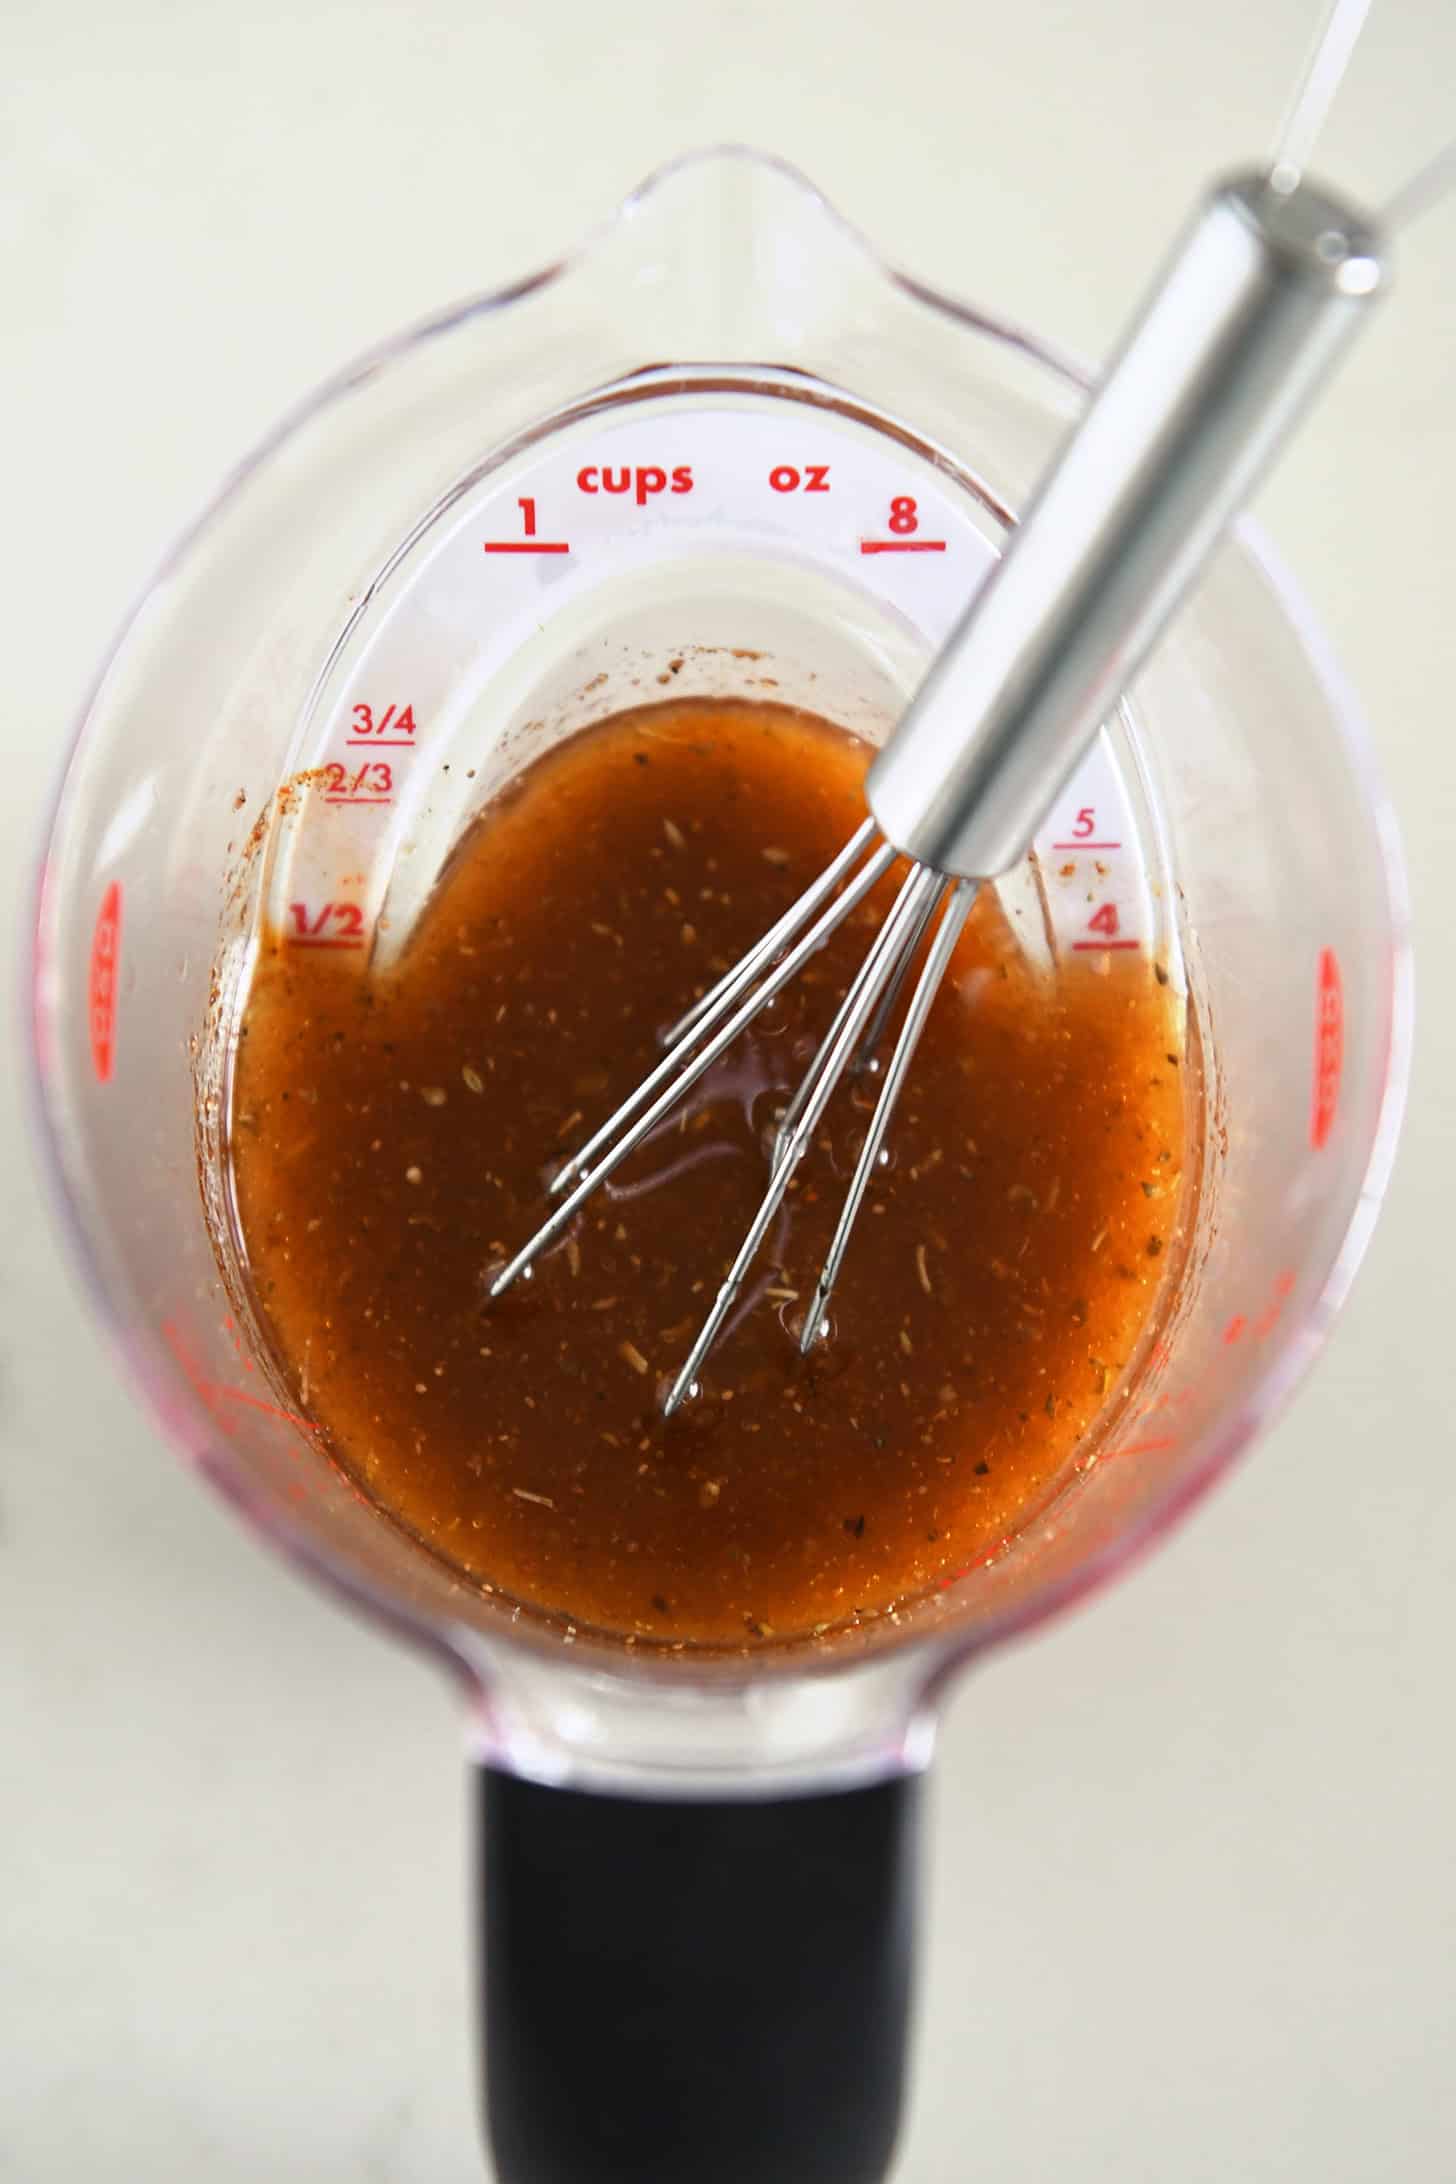
    Bowl of a serving of the marry me stuffed shells.Bowl of a serving of the marry me stuffed shells.

    More Marry Me Recipes to Fall in Love With


    Source link