Category: Sea Food

  • Mongolian Shrimp

    Mongolian Shrimp

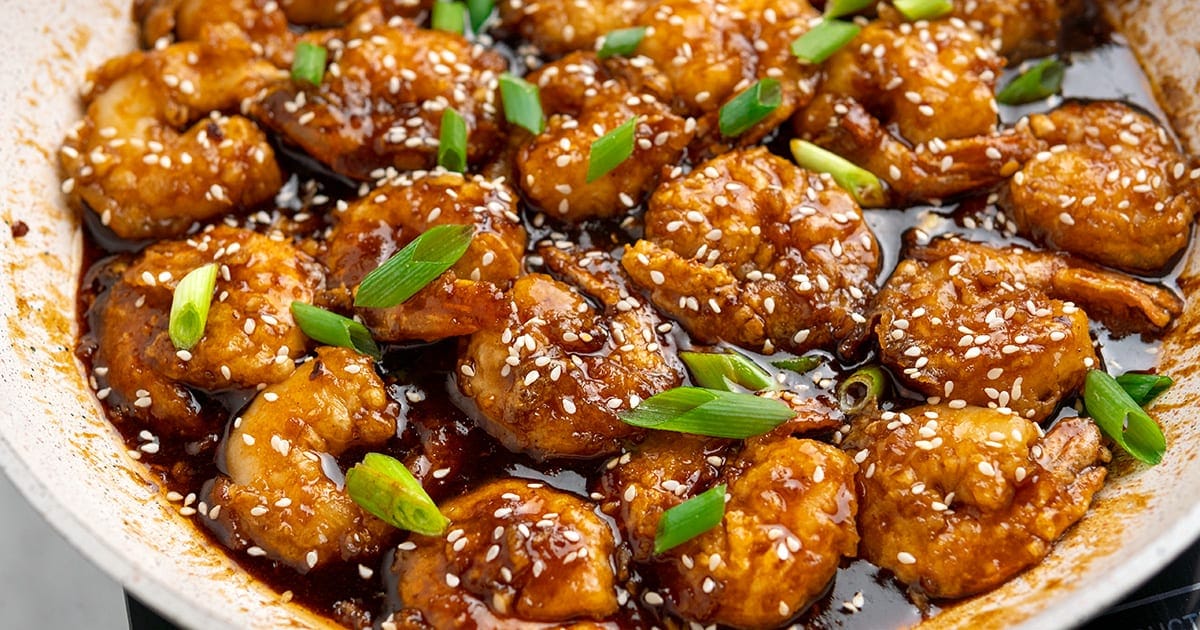
    This Mongolian shrimp recipe is a scrumptious combination of succulent shrimp (prawns) coated in light crispy batter, stir-fried with a sweet and savory Chinese sauce, and garnished with a sprinkle of green onions and sesame seeds. This seafood version of the classic Chinese dish is so easy to make that even a novice cook can whip it up in no time. This recipe is gluten-free with paleo-friendly swaps.


    Jump to: ℹ️ Overview | 🛒 Ingredients | 📷 How To Make |📺 Watch The Video | 📝 Go To Full Recipe | 🦐 More Recipes With Shrimp


    What Is Mongolian Shrimp?

    You might be familiar with Mongolian lamb or beef from takeout menus and your favorite Chinese restaurants. Despite its name, Mongolian anything is not a traditional Mongolian dish but rather a creation of Chinese-American cuisine.

    This Mongolian shrimp is a seafood version of this popular dish. It’s made with succulent shrimp that’s been coated in egg white and starch, shallow fried and coated in a delicious, sticky sweet and savoury sauce. It has bold flavors and just enough crunch to make it totally irresistible.

    Mongolian Sauce

    Whether you use shrimp, beef, chicken or tofu to make this recipe, the star of the dish is the sauce. In almost all recipes, the Mongolian sauce consists of soy sauce, hoisin sauce, brown sugar, garlic, ginger, and sometimes chili flakes or Sriracha for a spicy kick. It can be used in a stir-fry with protein, vegetables or tossed through noodles.

    There are variations to this sauce and my version uses honey instead of brown sugar. I also coat the shrimp in tapioca flour (you can use cornstarch too) so it’s gluten-free and/or grain-free.

    👩‍🍳 You might also like these dishes: cauliflower shrimp fried ‘Rice’ for something Asian, Spanish cauliflower rice (with chorizo, chicken and shrimp) for something Mediterranean, shrimp Caesar salad or grilled shrimp salad for something light, this incredible garlic butter shrimp or shrimp with white sauce (Alabama-style).

    What You’ll Need

    Here is what you will need for this Mongolian shrimp recipe. Find the full measurements in the recipe card below.

    • Shrimp: In Australia, we refer to shrimp as prawns but I am sticking with shrimp as the name as it’s so commonly used by my readers. I recommend large shrimp, the bigger the better. Get deveined and de-shelled shrimp to save yourself on prep time, otherwise, you will need to peel it first. You can also use frozen shrimp and defrost it in warm water for 10-15 minutes.
    • For coating: I am using Chihyu’s of I Heart Umami tip to use frothed egg whites to coat the shrimp, followed with tapioca starch/flour or cornstarch, which gives them very light yet puffed up and crispy batter.
    • Avocado oil or coconut oil for frying is best if you want to stay away from unhealthful vegetable or canola oils. The shrimp is shallow-fried in a thin layer of oil rather than deep fried, so you won’t need a whole lot of oil.
    • For Mongolian sauce: freshly minced or grated ginger and garlic, soy sauce (Tamari or coconut aminos for Paleo/gluten-free), Hoisin sauce, honey (or brown sugar, I use a lot less than most recipes out there), a little sesame oil and chilli flakes.
    • For garnish: green onions (scallions) and sesame seeds if you have some on hand.
    • To serve: I usually do rice and Asian greens or garlicky pan-fried broccoli; you can also try my coconut cauliflower rice or veggies for a low-carb/paleo meal.
    • By the way, I have a recipe for Paleo hoisin sauce here if you must avoid the store-bought version.

    Watch The Video

    How To Make Mongolian Shrimp

    The full recipe card with ingredients and a nutritional breakdown are in the recipe card below. Here are some step-by-step photos and a video to guide you along.

    • Step 1. Peel and devein the shrimp if needed. Pat the shrimp dry with a clean paper towel. Make sure it’s completely dry so it turns out extra crispy when coated in starch and fried. 
    • Step 2. Butterfly the shrimp to make it look extra pretty when cooked. Cut the flesh along the back to butterfly shrimp, ensuring not to cut through the shrimp. Set aside.
    • Step 3. Whisk the egg whites until frothy in one bowl and set another bowl with the flour/starch. 
    • Step 4. Heat the oil in a shallow layer in a skillet or frying pan over medium-high heat. Once sizzling hot, add the shrimp. Working in batches, dip the shrimp in the egg-white mixture and then roll in the flour. Shake off the excess and carefully add to the hot oil in the pan.
    • Cook for about 2 minutes on each side until golden brown and crispy. Remove cooked shrimp to a plate lined with some paper towel.
    • Step 5. While the shrimp is cooking, you can whisk the sauce ingredients in a bowl. Combine everything except for garlic and ginger and whisk together. You can also do this first or ahead of time.
    • Step 6. Once all the shrimp are cooked, pour out excess oil from the pan into a bowl or soak it up with a paper towel. Leave a little bit of oil to fry off the garlic and ginger. 
    • Step 7. Keeping the pan on medium-high heat, add minced garlic and ginger to the pan and stir for 30 seconds to a minute. Don’t let them get too brown, we want just a little colour.
    • Then pour in the sauce and stir over heat for about a minute, until it starts to bubble away and caramelise slightly. At this stage, return the pre-cooked shrimp and stir through the sauce.
    • Turn the heat off and sprinkle with green onions and sesame seeds. Serve over rice with side vegetables or salad.

    💬 If you’ve tried this shrimp recipe or any other recipe on the blog then don’t forget to rate the recipe and let me know how you got on in the comments below, I love hearing from you! You can also FOLLOW ME on Instagram, Facebook, Pinterest, YouTube and or sign up to my Newsletter to see more of my delicious food.

    Want to Save This Recipe?

    Enter your email & I’ll send it to your inbox. Plus, get great new recipes from me every week!

    By submitting this form, you consent to receive emails from Cooked & Loved

    Mongolian shrimp is a delicious Chinese-American dish made by stir-frying succulent shrimp with a sweet and savoury Mongolian sauce. The result is a mouthwatering dish with tender shrimp coated in a flavourful sauce that’s great served over a bed of steamed rice or veggies.

    • Peel and devein the shrimp. Pat the shrimp dry with a clean paper towel. Make sure it’s completely dry so it turns out extra crispy when coated in starch and fried. 

    • Butterfly the shrimp to make it look extra pretty when cooked. Cut the flesh along the back to butterfly shrimp, ensuring not to cut through the shrimp. Set aside.

    • Whisk the egg whites until frothy in one bowl and set another bowl with the flour/starch. 

    • Heat the oil in a shallow layer in a skillet or frying pan over medium-high heat. Once sizzling hot, add the shrimp. Working in batches, dip the shrimp in the egg-white mixture and then roll in the flour. Shake off the excess and carefully add to the hot oil in the pan. Cook for about 2 minutes on each side until golden brown and crispy. Remove cooked shrimp to a plate lined with a paper towel.

    • While the shrimp is cooking, you can whisk the sauce ingredients in a bowl. Combine everything except for garlic and ginger and whisk together.

    • Once all the shrimp is cooked, pour out excess oil from the pan into a bowl or soak it up with a paper towel. Leave a little bit of oil to fry off the garlic and ginger. 

    • Keeping the pan on medium-high heat, add minced garlic and ginger to the pan and stir for 30 seconds to a minute. Don’t let them get too brown, we want just a little colour. Then pour in the sauce and stir over heat for about a minute, until it starts to bubble away and caramelize slightly. At this stage, return the pre-cooked shrimp and stir through the sauce. Turn the heat off and sprinkle with green onions and sesame seeds.

    • Serve over rice with side vegetables or salad.

    Calories: 416kcal | Carbohydrates: 33g | Protein: 20g | Fat: 23g | Saturated Fat: 3g | Polyunsaturated Fat: 4g | Monounsaturated Fat: 14g | Trans Fat: 0.01g | Cholesterol: 142mg | Sodium: 2023mg | Potassium: 251mg | Fiber: 1g | Sugar: 14g | Vitamin A: 266IU | Vitamin C: 2mg | Calcium: 81mg | Iron: 1mg

    Keywords: Stir-Fry, Shrimp Recipes, Asian Shrimp Recipe, Mongolian Shrimp, Mongolian Prawns, Mongolian Sauce

    More Recipes You Might Like


    Source link

  • Crab Rangoon Recipe | The Recipe Critic

    Crab Rangoon Recipe | The Recipe Critic

    This website may contain affiliate links and advertising so that we can provide recipes to you. Read my disclosure policy.

    Crab Rangoons are a fun, Asian-inspired appetizer filled with crab meat, smooth cream cheese, and seasoning. Wrapped in a wonton wrapper and deep-fried, they are irresistible!

    Overhead shot of crab rangoon on a serving platter.

    Reasons You’ll Love This Recipe

    • Flavor: There’s just something amazing about creamy crab filling wrapped in a crispy wonton shell, so good, I could eat them all! Love this falvor combo? Make my crab rangoon dip next!
    • Customizable: These are just as good as what you get at any restaurant. You can also switch up the ingredients to suit your tastes and preferences.
    • Versatile: You can make this for a yummy snack or appetizer for a party or get-together. You can also serve it with shrimp fried rice, cucumber salad, and miso chicken for dinner.

    Ingredients Needed for Crab Rangoon

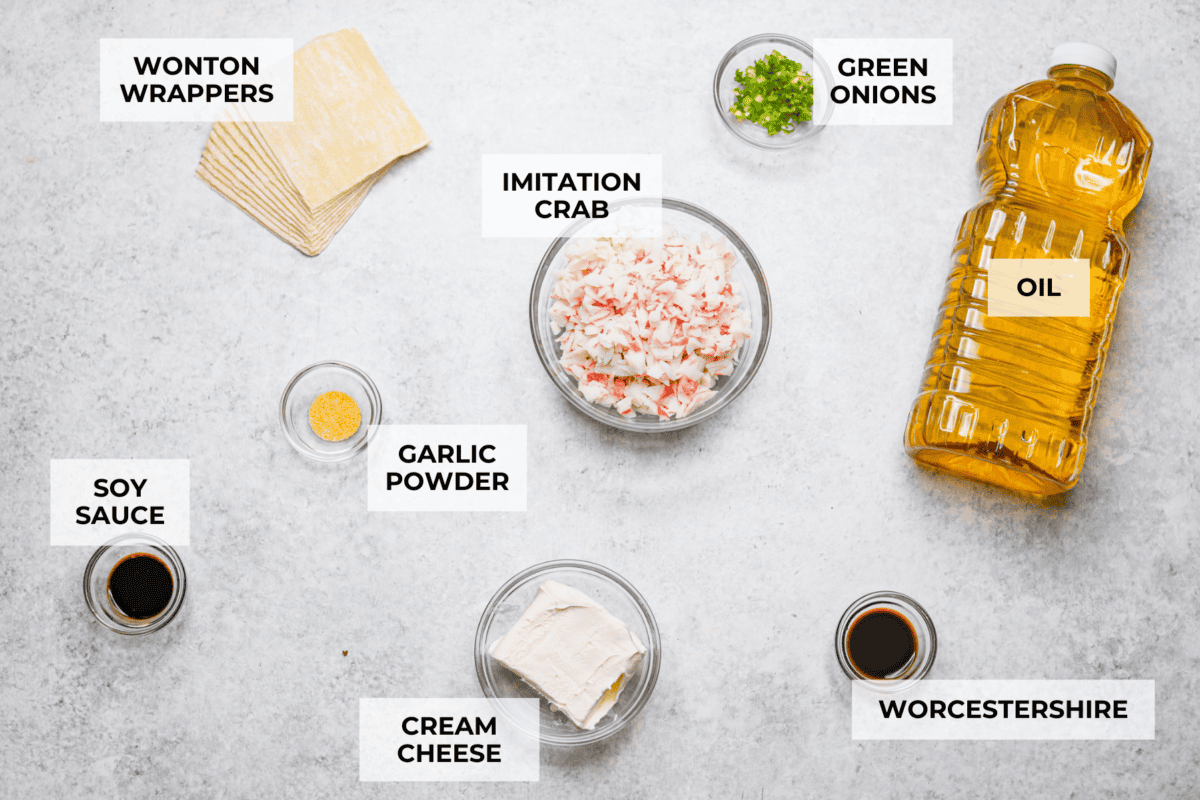
    This list is short, but you might not have everything on hand. No Worries, though; these can usually be found at most grocery stores. Scroll to the bottom of the post for exact measurements.

    • Imitation Crab Meat: The yummy meat that adds a nice texture and flavor.
    • Cream Cheese: Adds the perfect creamy tang that complements the crispy wonton and savory seasoning.
    • Green Onion: Gives the best savory flavor!
    • Worcestershire Sauce: Just a little bit adds the best depth of flavor you can’t get anywhere else.
    • Soy Sauce: Provides a nice umami flavor.
    • Garlic Powder: Give me all the garlic!
    • Wonton Wrappers: These fry up perfectly crispy and flavorful!
    • Oil: For frying.
    Overhead shot of labeled ingredients. Overhead shot of labeled ingredients.

    How to Make Fried Crab Rangoon

    My favorite things to order from Chinese takeout are egg rolls, kung pao chicken, fried rice, and crab rangoon. So, when we were stuck at home for months and were craving takeout, I decided to make my own crab rangoon recipe. They were great as an appetizer for my beef chow mein!

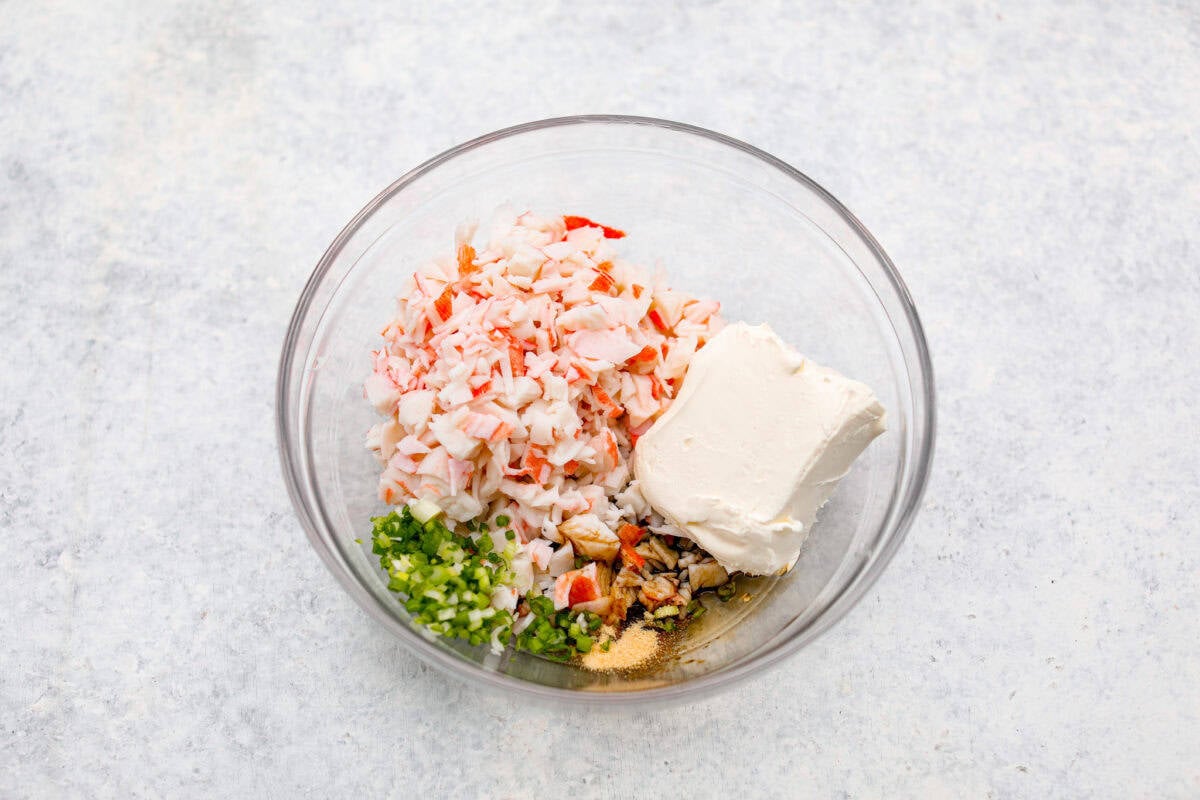
    1. Combine: Add the crab, cream cheese, green onion, Worcestershire, soy sauce, and garlic powder to a medium bowl and mix until fully combined.
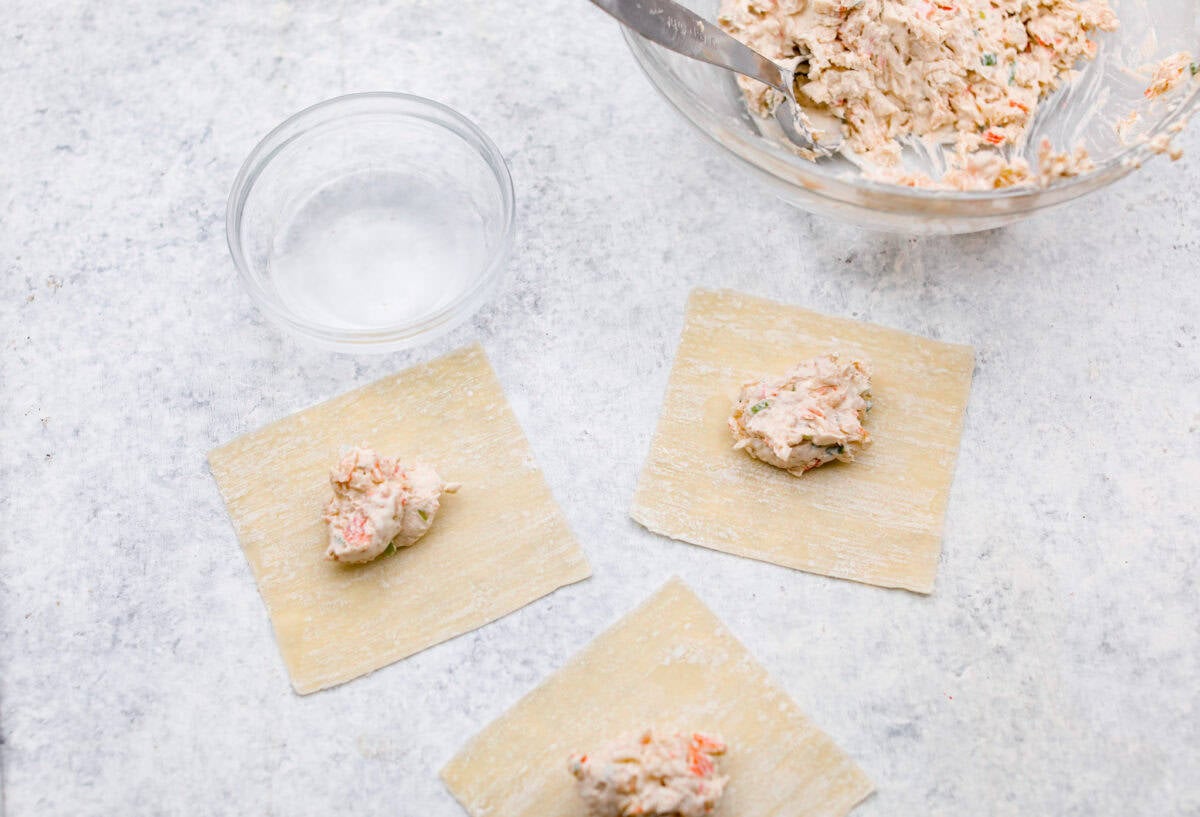
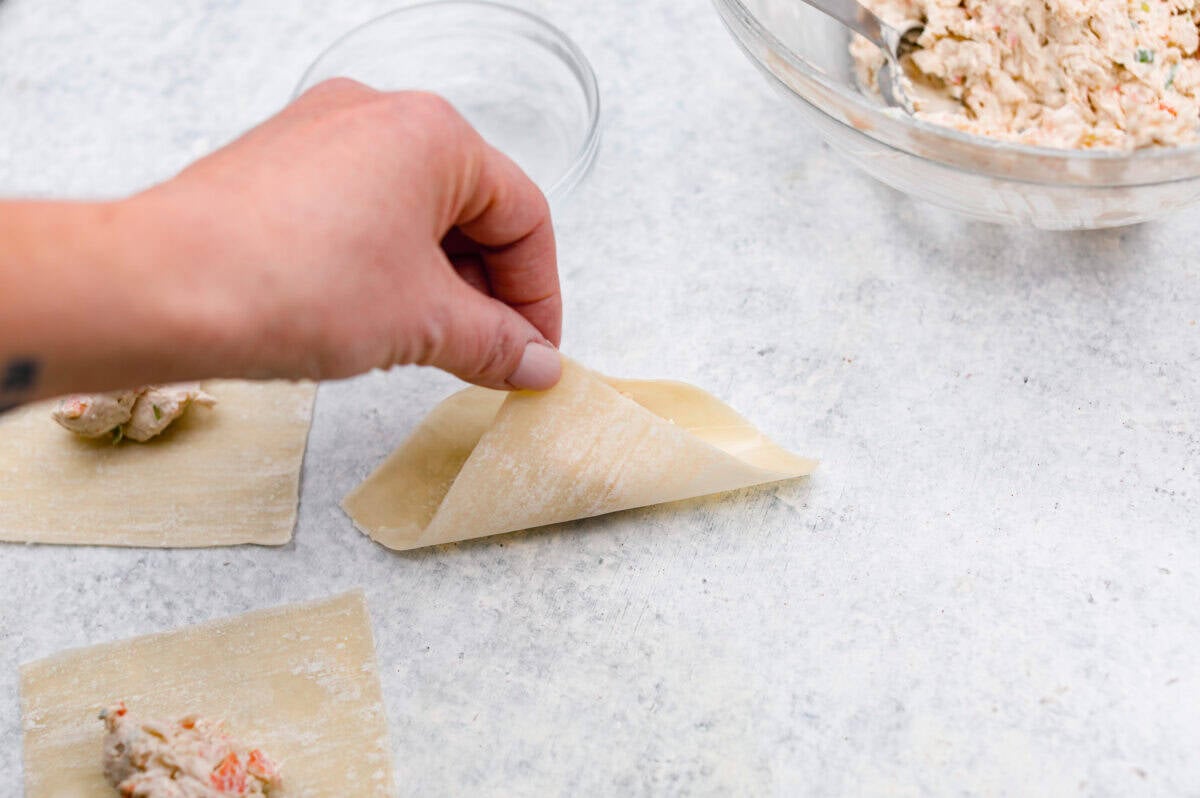
    2. Add: Assemble up to four wonton wrappers at a time, adding about two teaspoons of filling to the center.
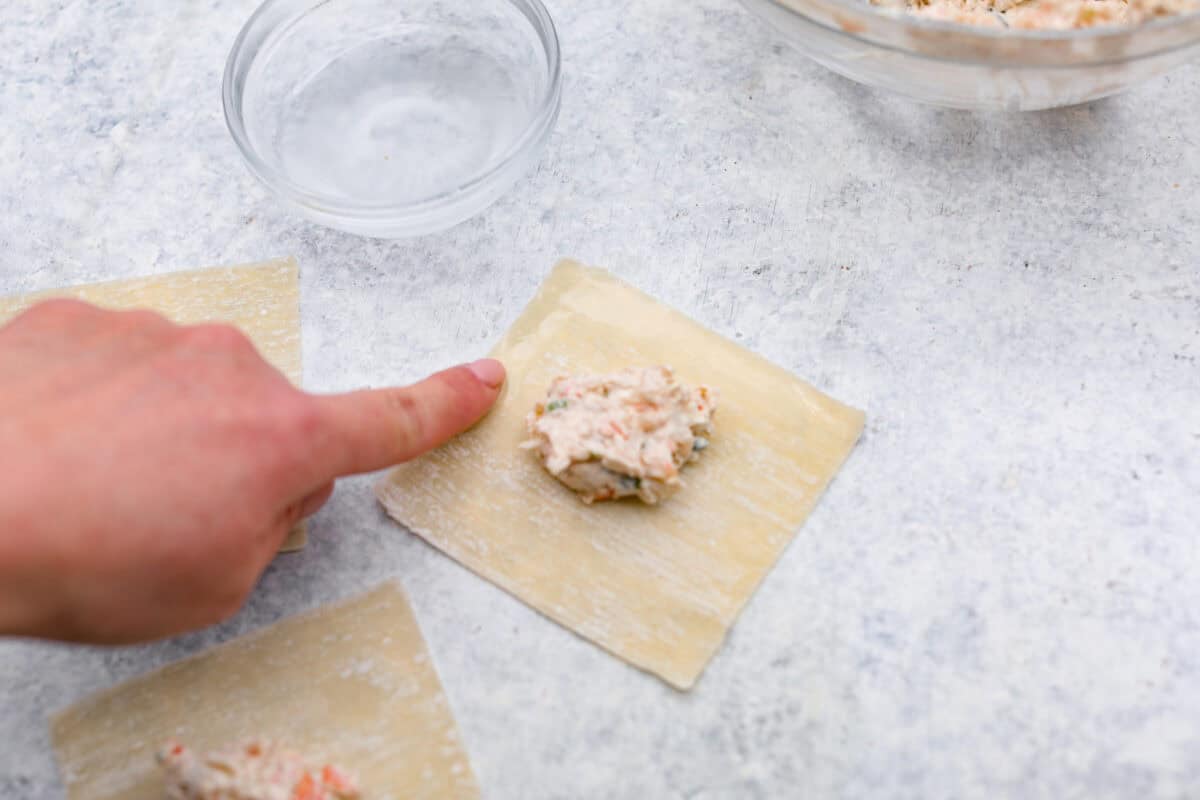
    3. Wet: Wet the edges of the wrappers with water or a beaten egg.
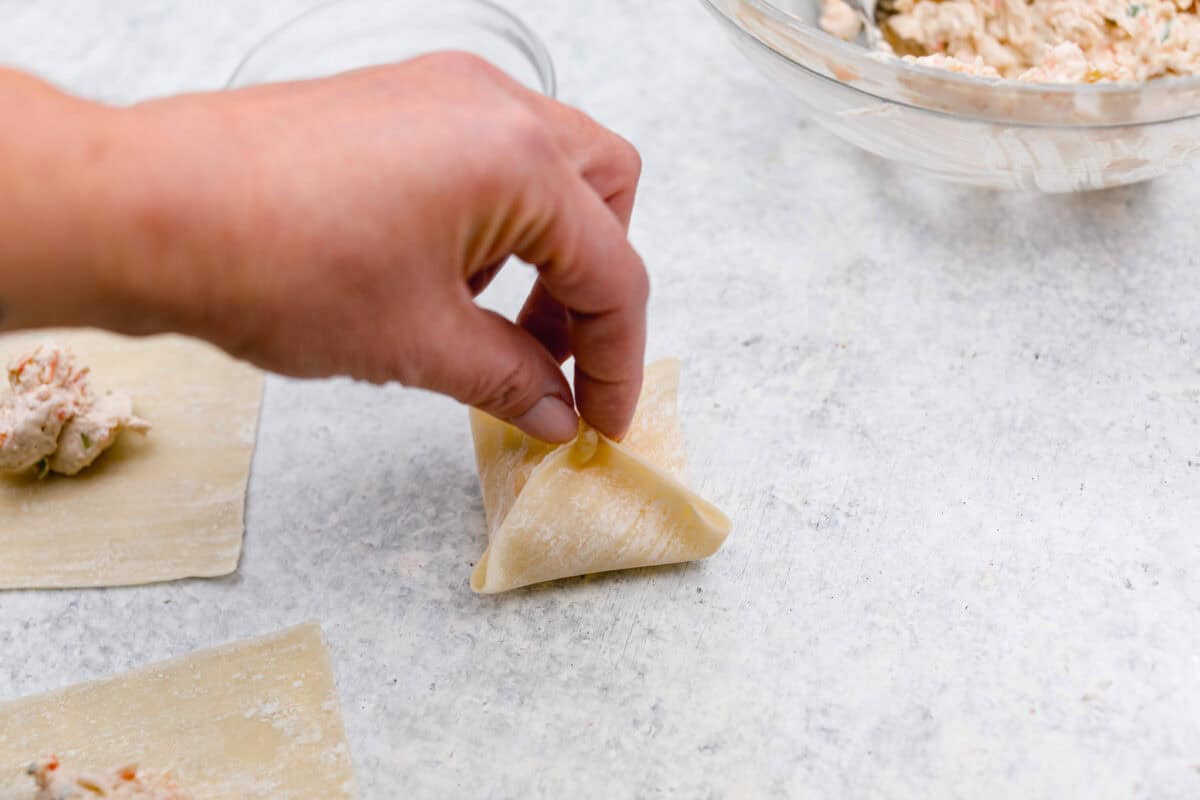
    4. Fold: Pinch two opposite corners together before bringing up the other two corners to form the shape.
    5. Cover: Pinch all the edges together to seal and set aside. Cover the formed rangoons with a damp paper towel until you are ready to fry them. Continue to assemble rangoons until all of the filling has been used, about 30.
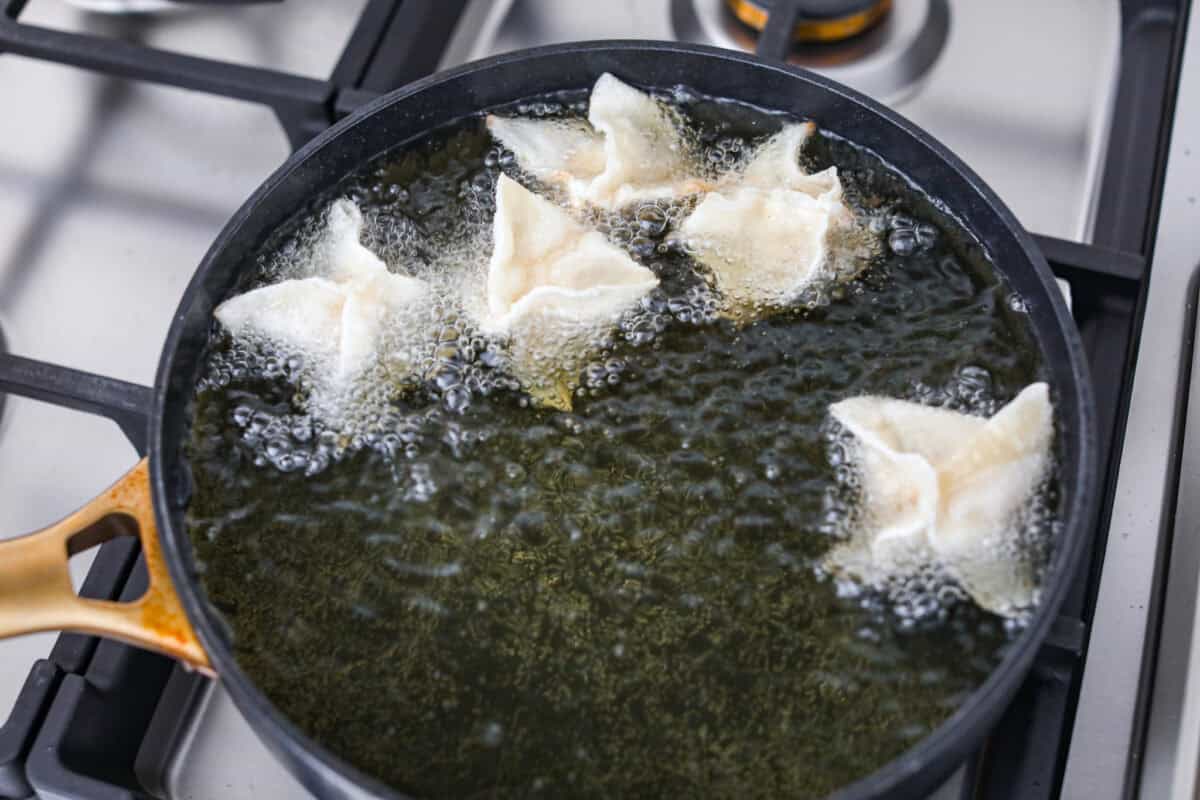
    6. Fry: Heat about 3 inches of oil in a deep skillet or Dutch oven until the oil reaches 350 degrees Fahrenheit. Fry the rangoons in batches for 3-4 minutes until they are golden brown. Remove them from the oil to a paper towel lined plate. Serve immediately with the dipping sauce of your choice.

    Crab Rangoon Tips and Variations

    This process might seem intimidating, but trust me, you can do this! Here are a few tips to make sure your cran rangoons turn out just the way you like!

    • Filling Amount: When filling your wonton wrappers, it might take a few tries to get the perfect amount. Overfilling can cause the rangoons to burst while underfilling leaves you with just fried wonton shells. I found that about two teaspoons of filling worked perfectly for me!
    • Blowouts: To avoid blowouts, you can try squeezing the air out of the center of the rangoons before sealing all the edges shut.
    • Drying Out: Fill only 4-5 rangoons at a time to prevent the wonton wrappers from drying out. Make sure you cover the filled ones with a damp paper towel to prevent them from drying out.
    • Crab: I used finely chopped imitation crab for my rangoons, but you can use real crab meat or canned crab if you drain it really well.
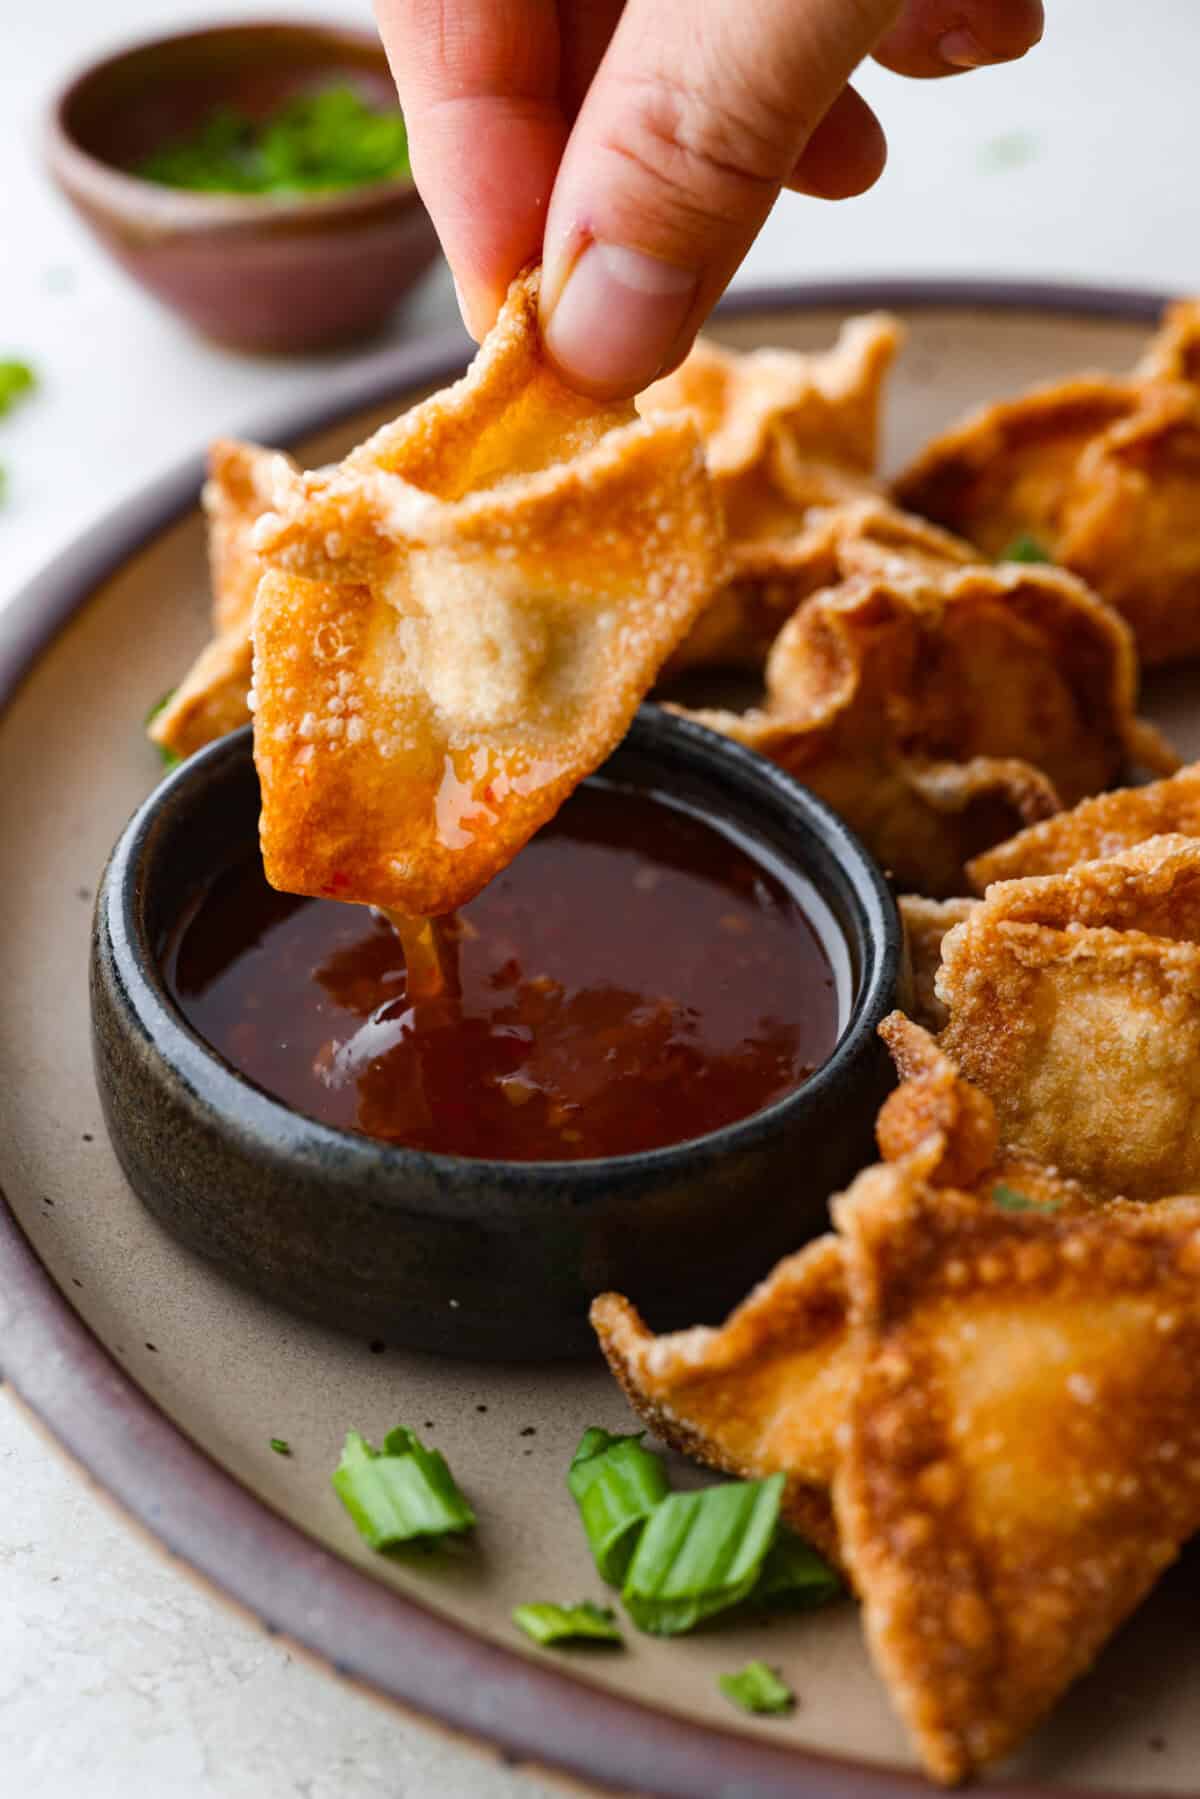
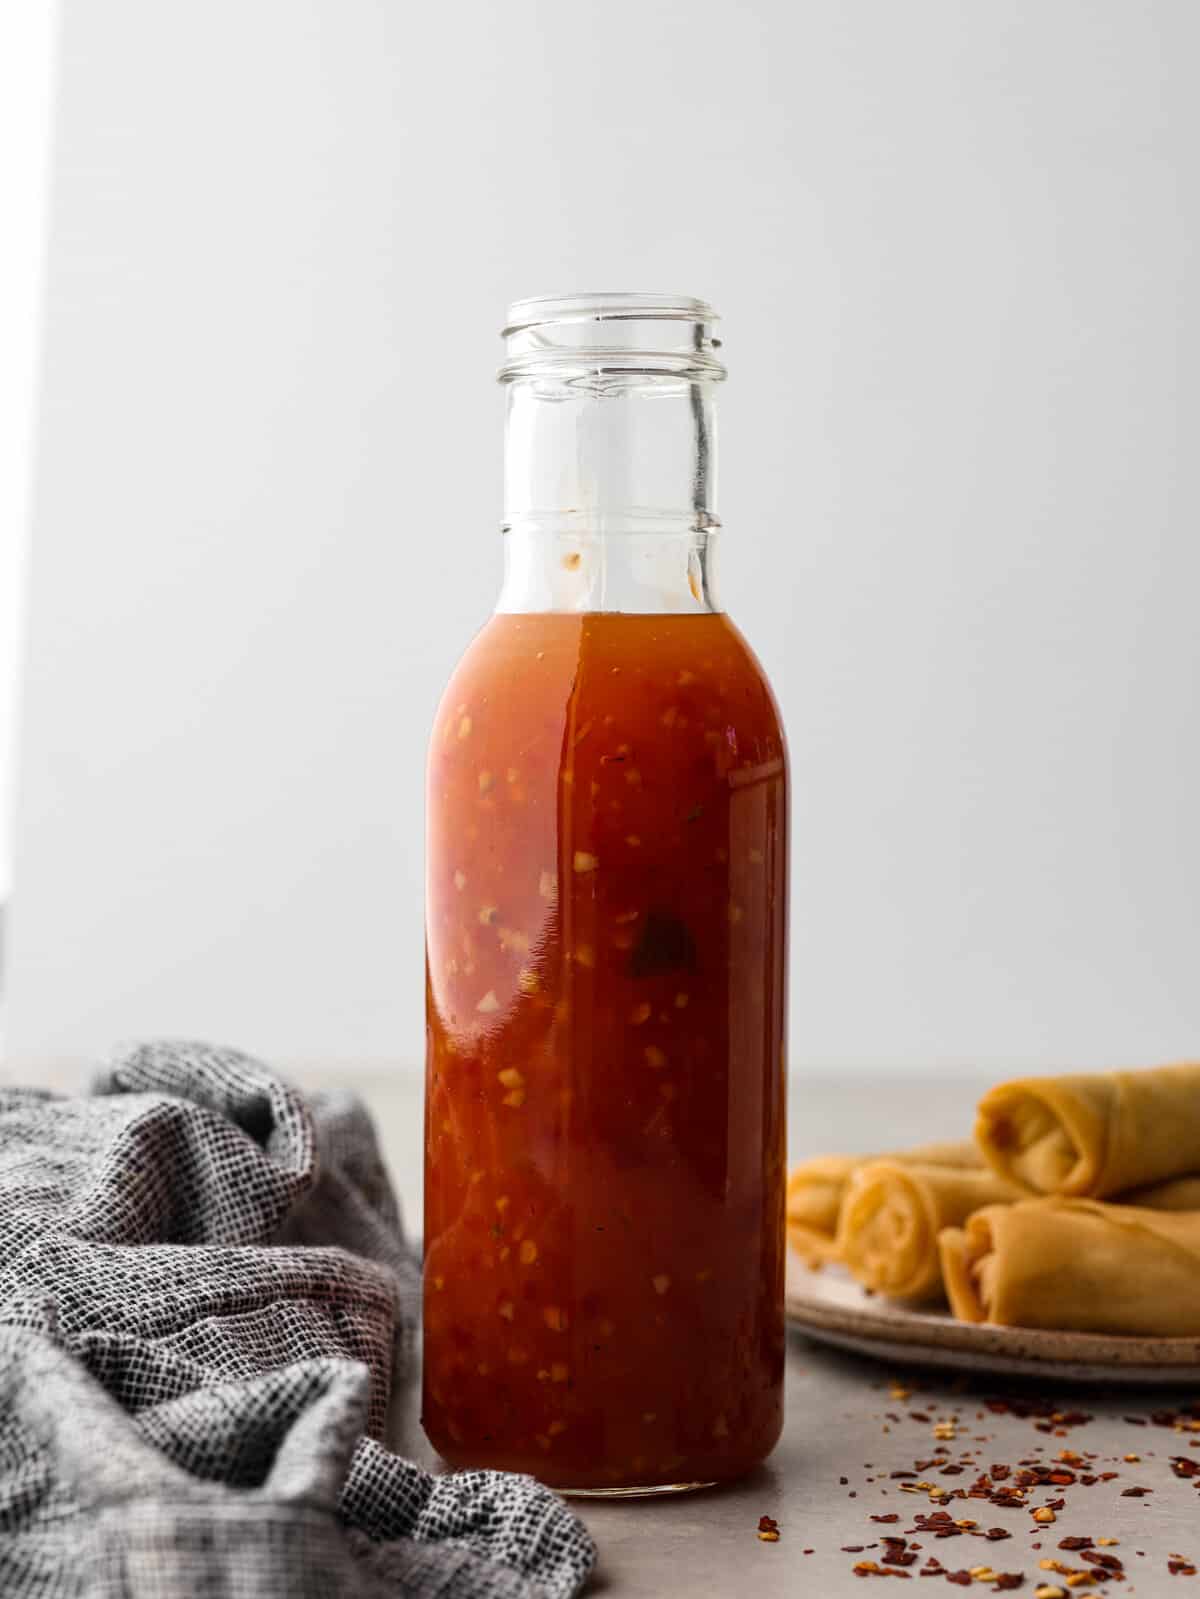
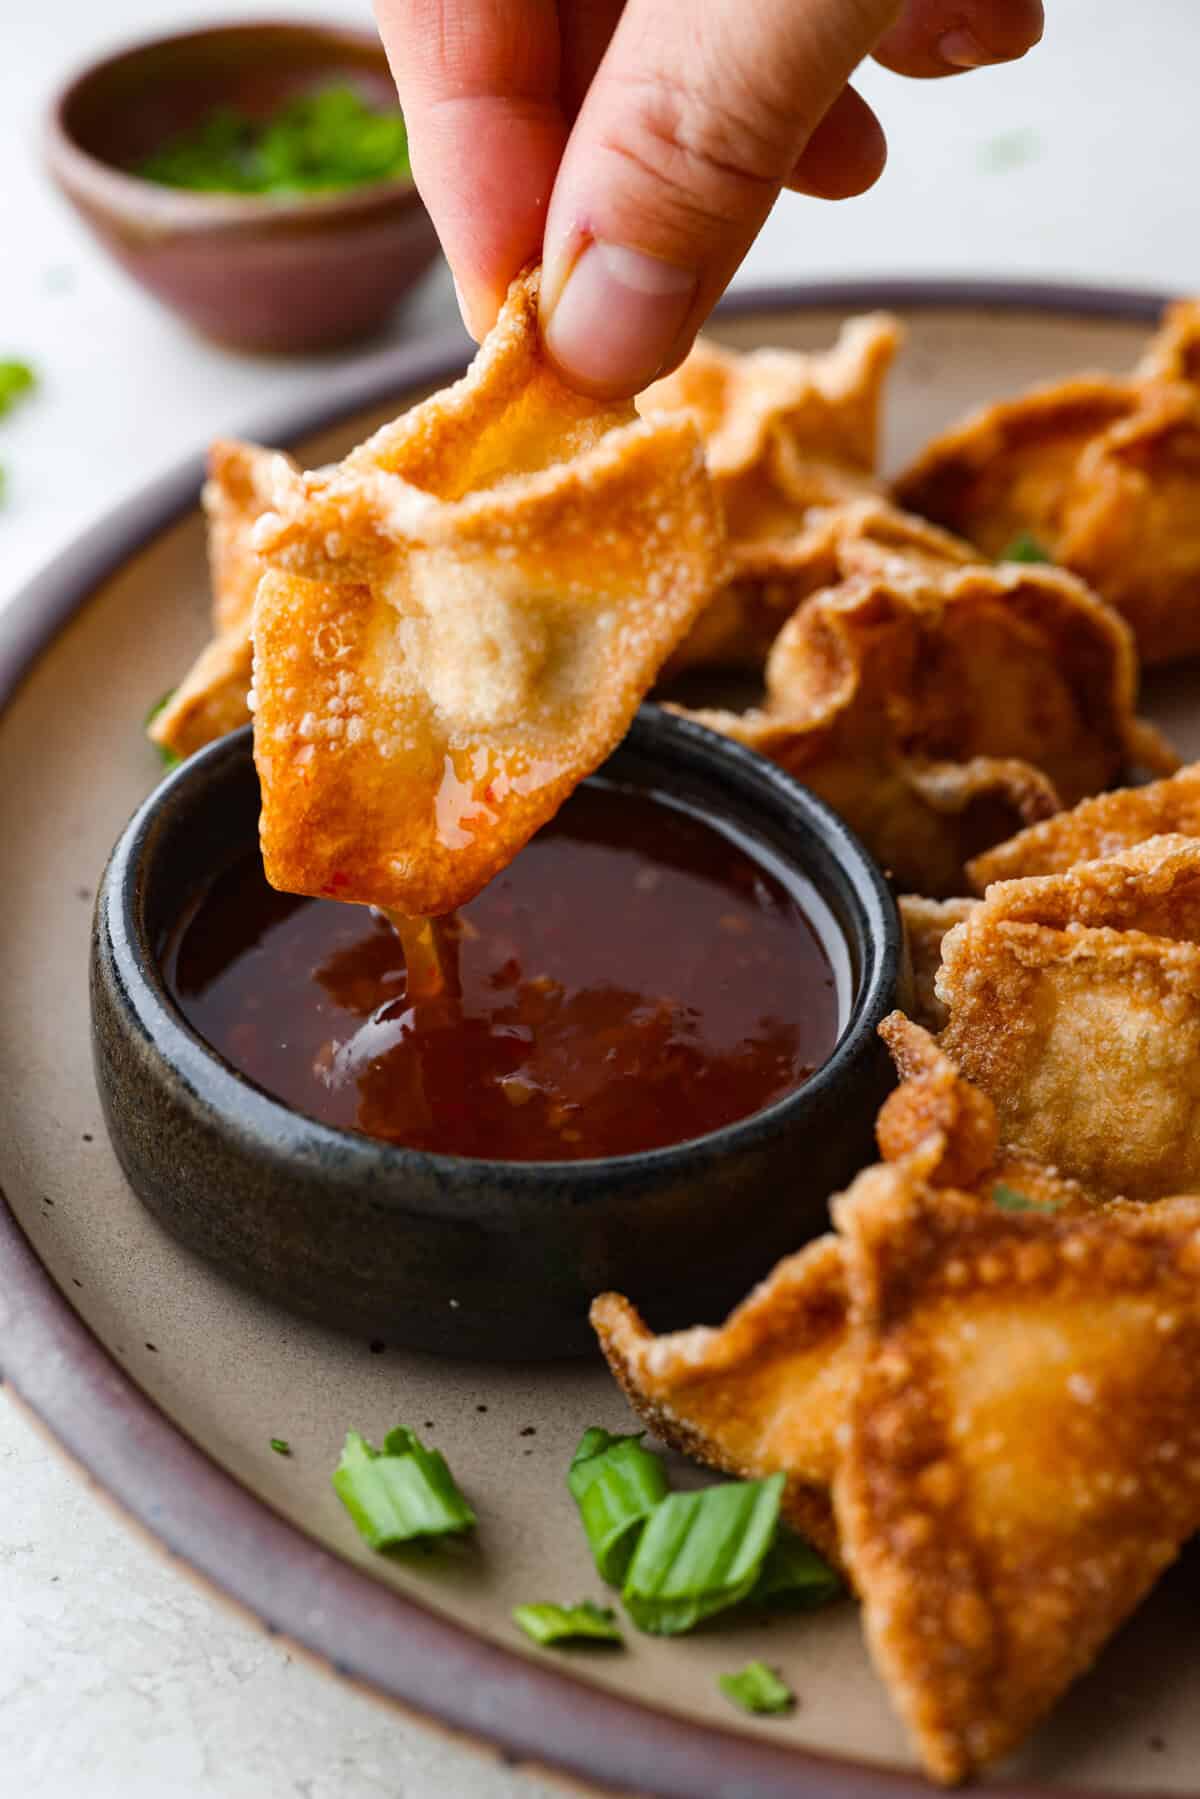
    • Dipping Suace: My favorite dipping sauce is sweet red chili sauce, but you can use whatever dipping sauce you prefer!

    Close up shot of a crab rangoon cut in half over a pile of crab rangoons. Close up shot of a crab rangoon cut in half over a pile of crab rangoons.

    Make Ahead and Storing Instructions

    • Make Ahead: You can form the rangoons about half a day in advance; just cover the formed ones with a lightly dampened paper towel or two and then tightly wrap them in plastic wrap. I found it most helpful to uncover the rangoons and let them sit in the open air for 20–30 minutes before frying, especially if I made them in advance. 
    • Fridge: Store fried crab rangoons in an airtight container in the refrigerator for up to 3 days. You can reheat them in the oven at 350 degrees Fahrenheit for about 5 minutes or in the air fryer at 350 degrees Fahrenheit for about 4 minutes. 
    • Freezer: You can freeze crab rangoons before or after they are fried.
    • Before: Before they are fried, crab rangoons can be frozen for up to 3 months. Place the formed rangoons on a parchment-lined baking sheet and place the baking sheet in the freezer. When fully frozen, transfer them to a large freezer bag. Fry them from frozen in oil at 350 degrees Fahrenheit for 5-7 minutes. 
    • After: For fried rangoons, place them on a parchment-lined baking sheet and place the baking sheet in the freezer. When fully frozen, transfer them to a large freezer bag. Reheat them in the oven at 375 degrees Fahrenheit for about 8 minutes, flipping them over halfway through. Or you can air fry them at 350 degrees Fahrenheit for 5-8 minutes.

    Close up shot of someone dipping their crab rangoon into sauce. Close up shot of someone dipping their crab rangoon into sauce.

    More Asian-Inspired Recipes to Try

    I love making these crab rangoons to gobble up with some fried rice and maybe some teriyaki beef! Here are a few other recipes to try.

    Sweet Chili Sauce

    10 minutes

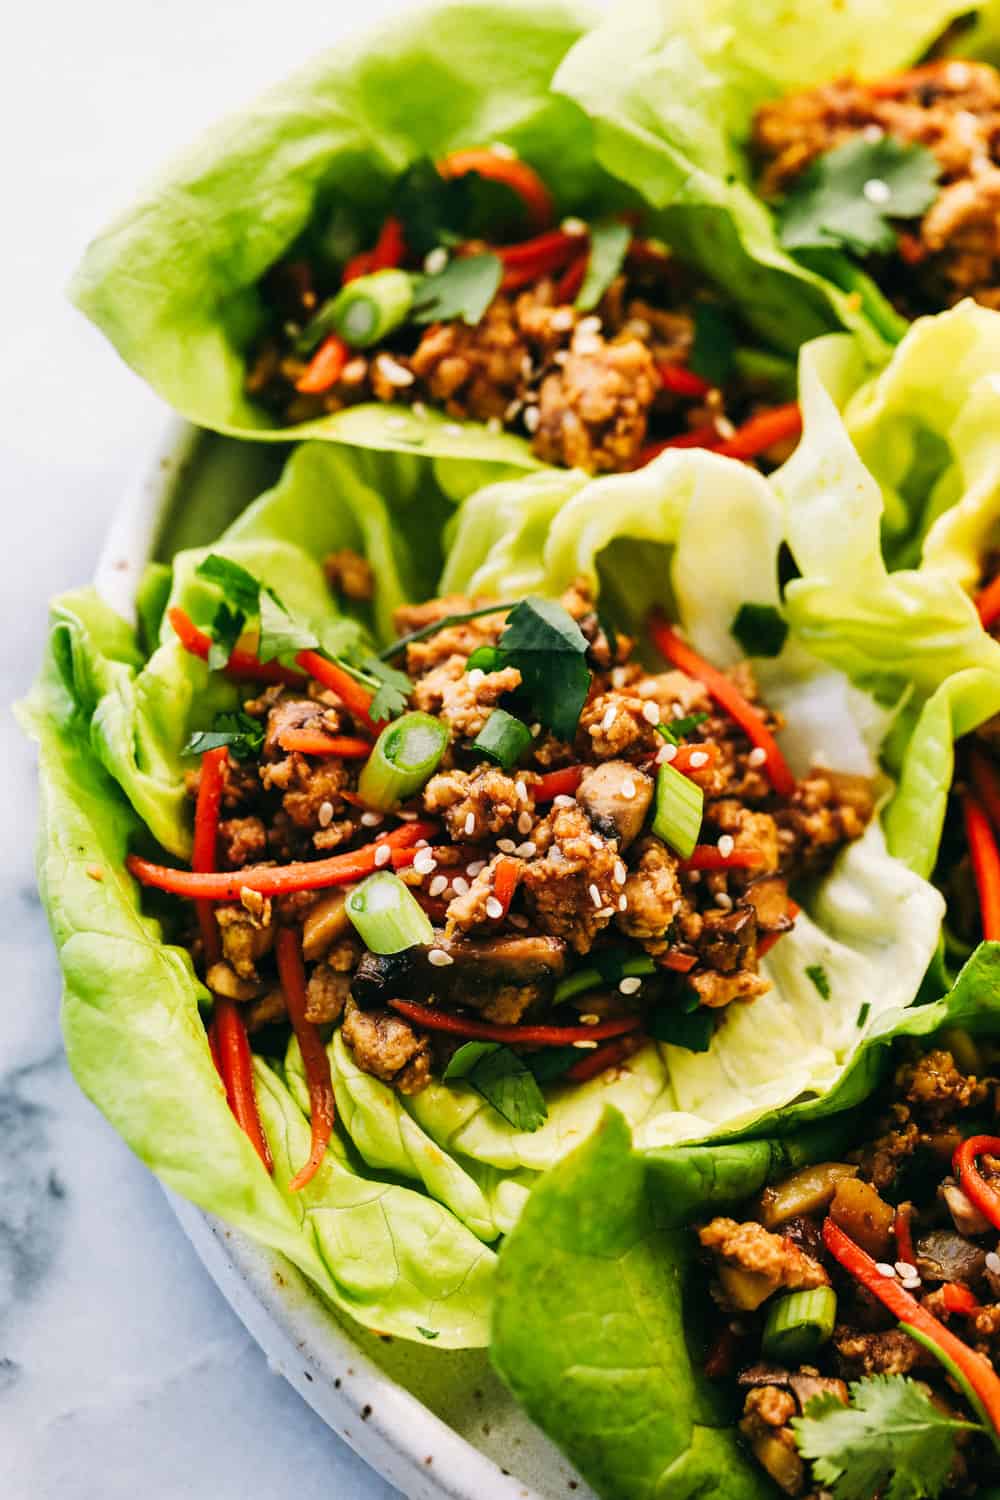
    Asian Turkey Lettuce Wraps

    30 minutes

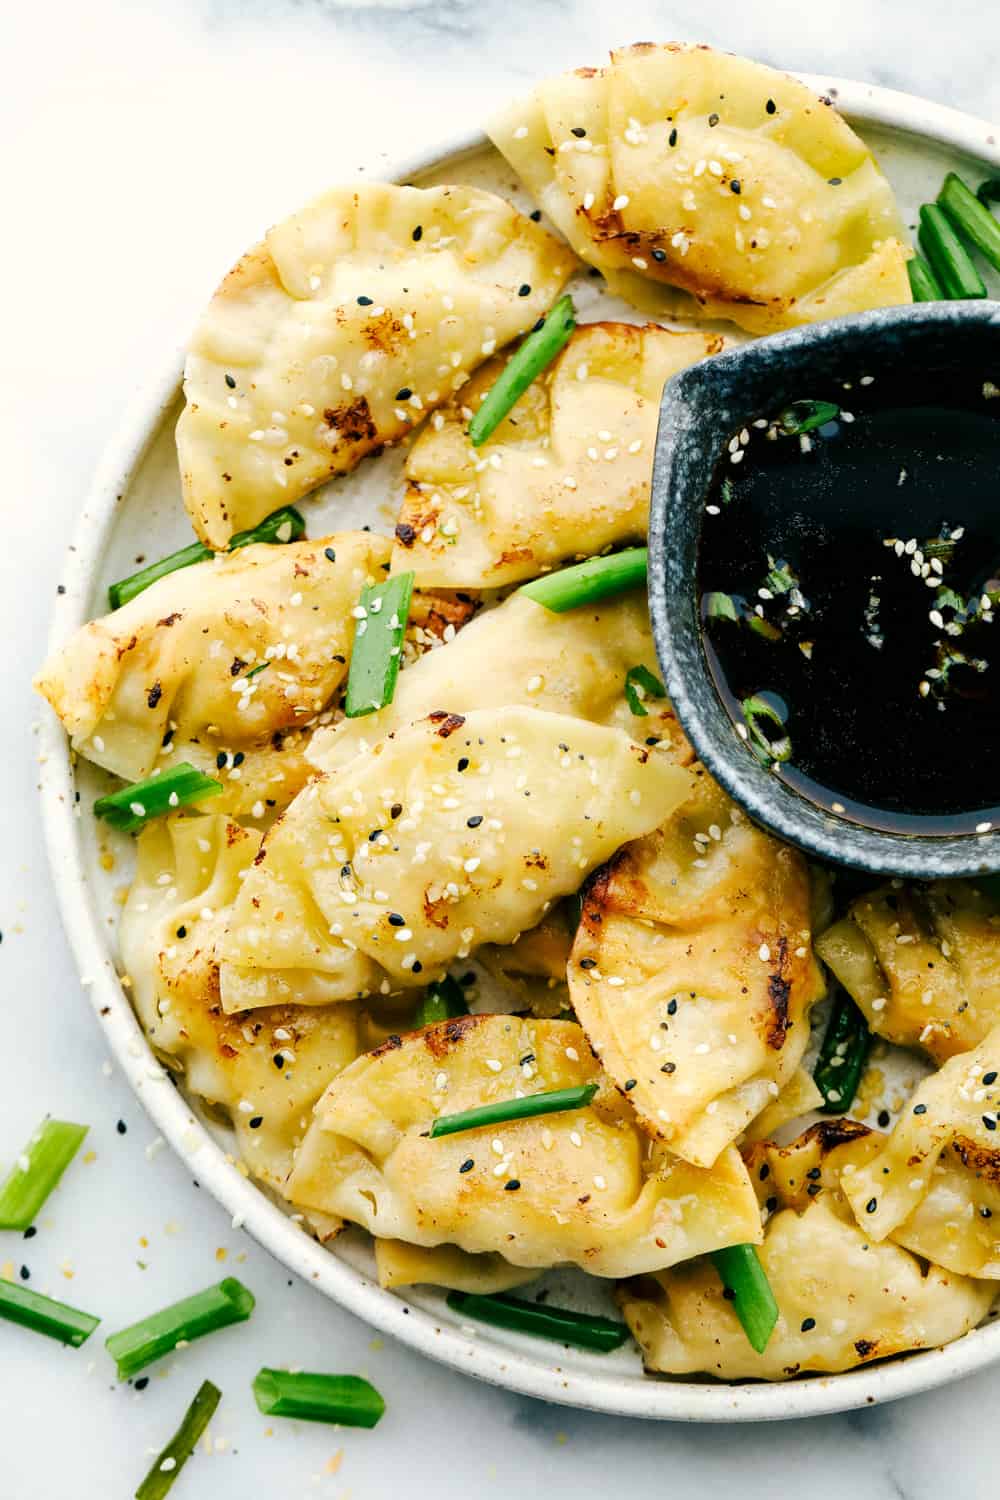
    Chicken Potstickers

    20 minutes

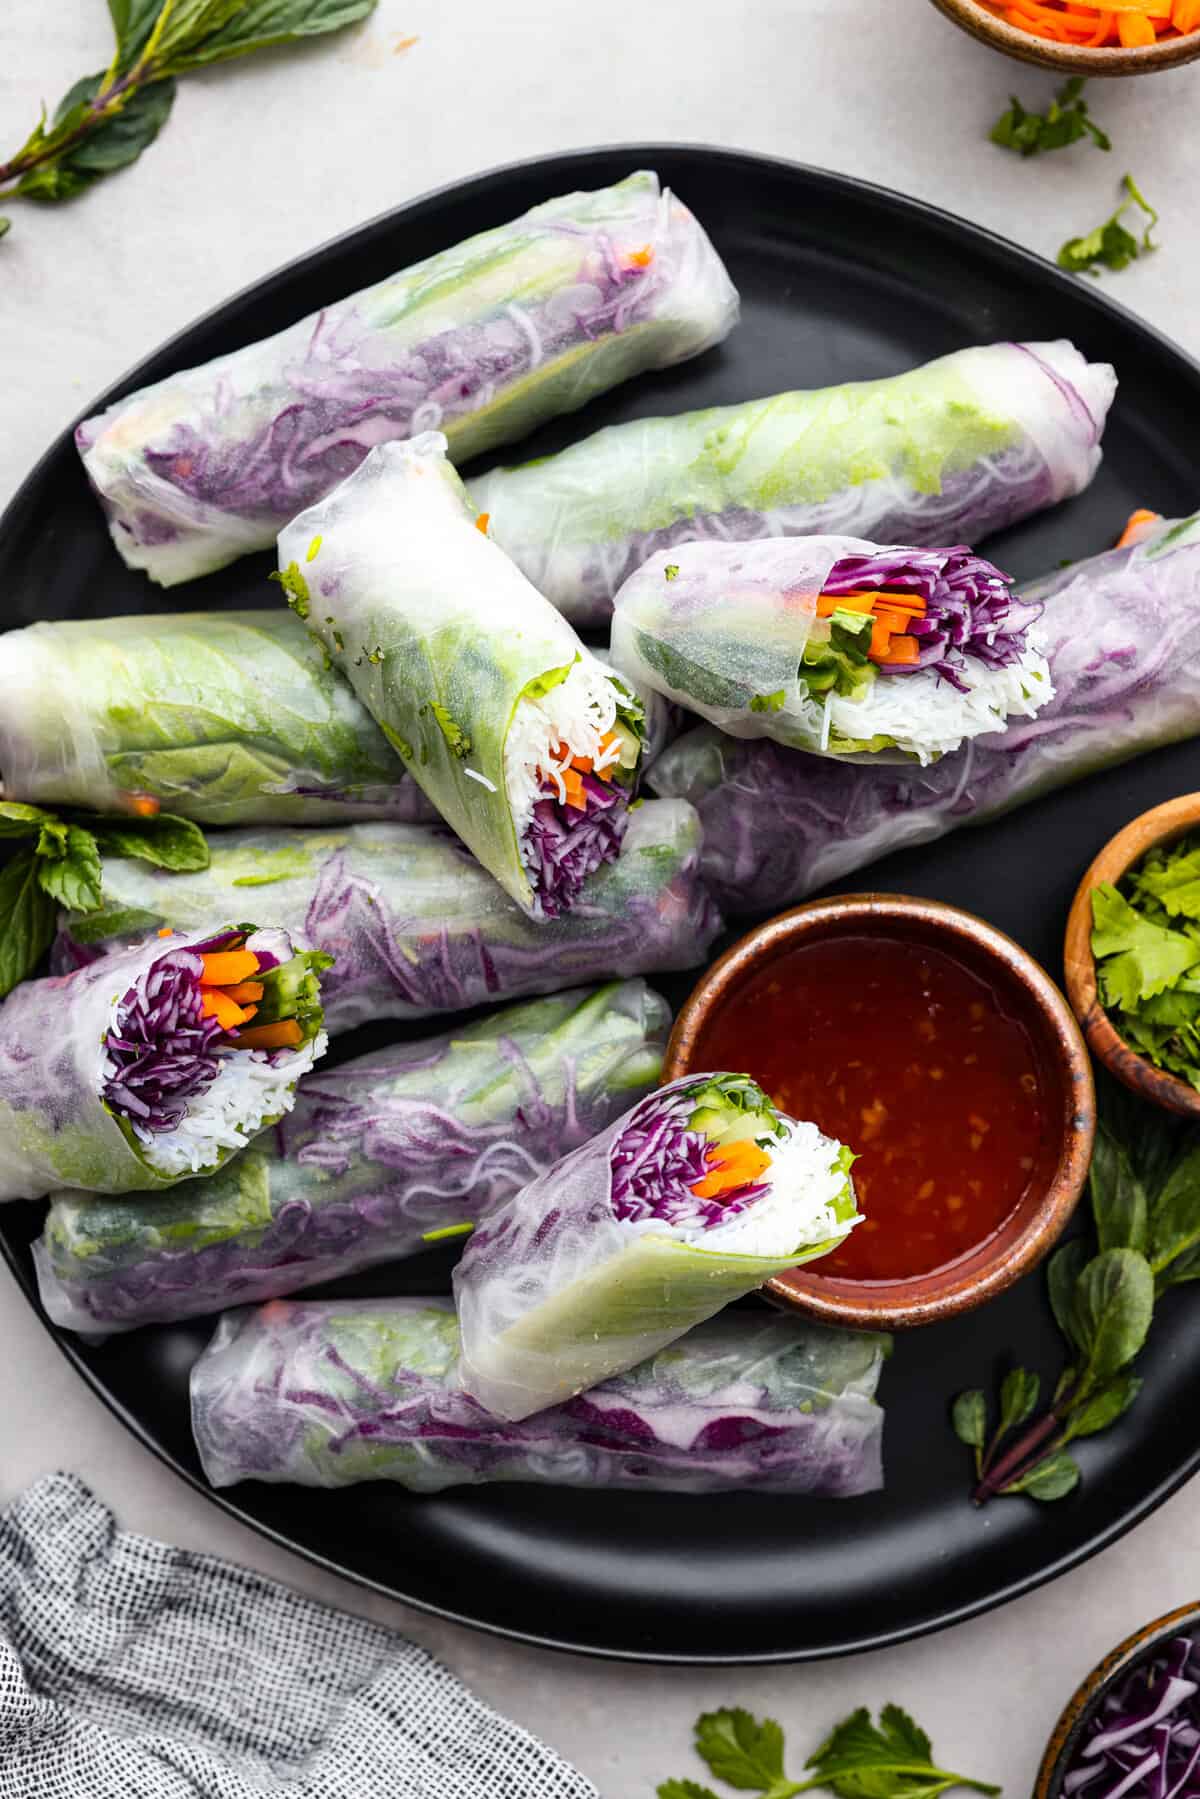
    Spring Rolls

    35 minutes

    Pin this now to find it later

    Pin It


    Source link

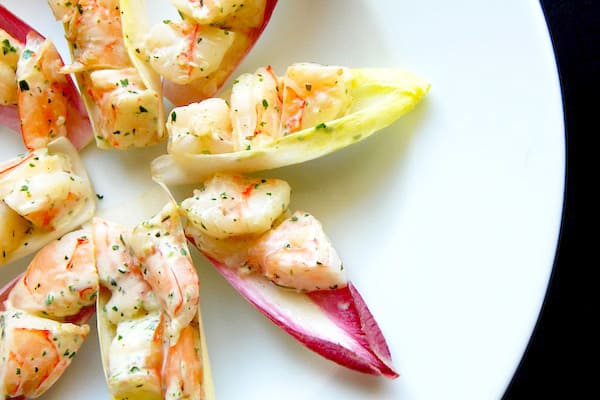
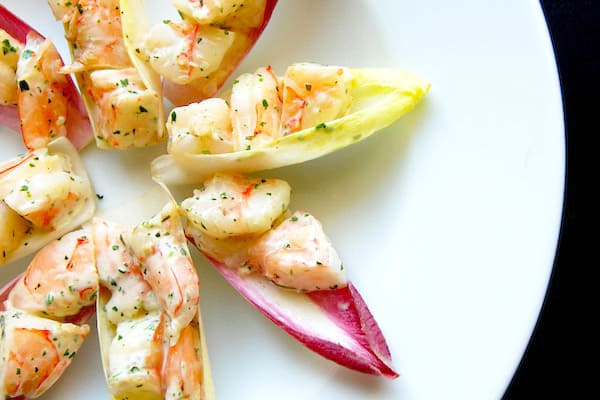
  • Herbed Shrimp Salad Recipe on Endive Spears

    Herbed Shrimp Salad Recipe on Endive Spears

    How to make shrimp salad with a dressing made of sour cream, mayonnaise and lots of fresh herbs. Jump to the Herbed Shrimp Salad Recipe on Endive Spears or read on to see our tips for making.

    Herbed Shrimp Salad Recipe on Endive Spears

    Let me start by saying the dressing recipe below is one you need in your life. It’s equally delicious as a veggie dip, dressing for salads or used as a dressing for chicken. We pack in lots of fresh herbs like tarragon, mint and parsley. If you’re short on one, not to worry other fresh green herbs like basil or cilantro will work nicely. The key is keeping the dressing creamy with a nice punch of fresh from the herbs and citrus.

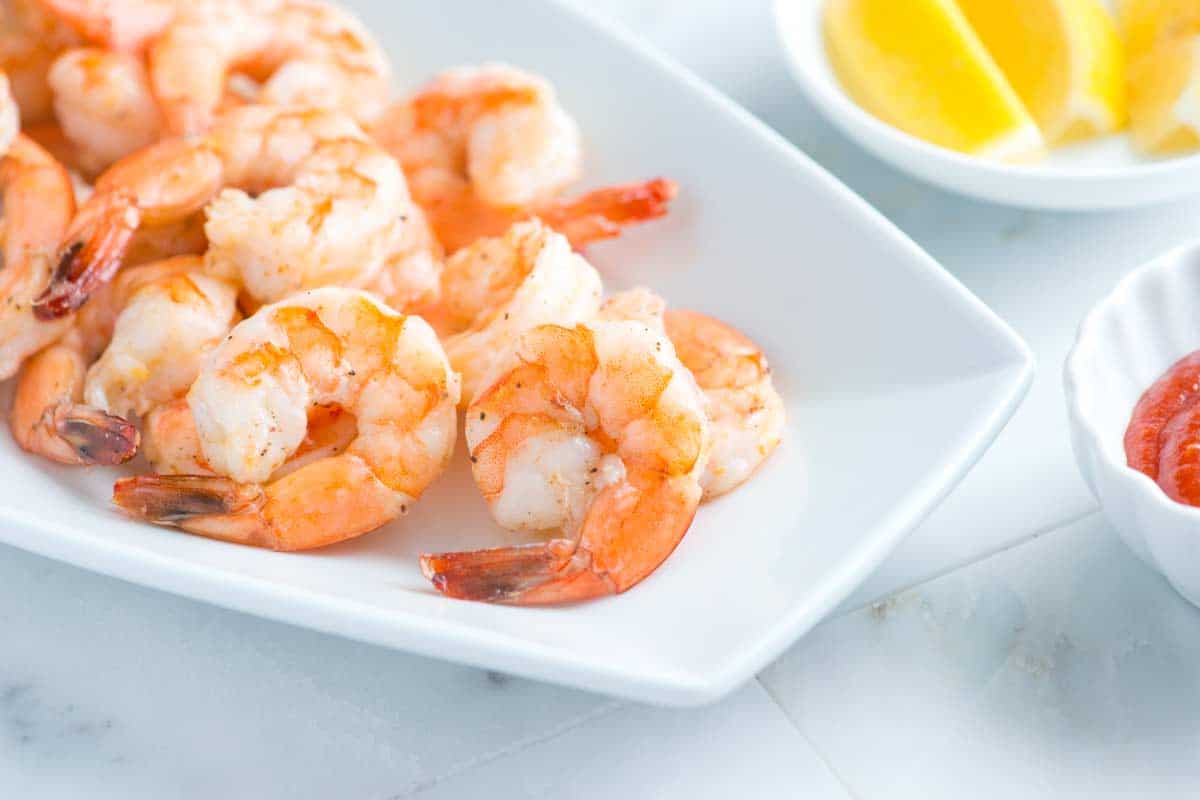
    Roasted Shrimp Cocktail RecipeYOU MAY ALSO LIKE: Forget poaching and try this easy roasted shrimp cocktail. Instead of poaching, quickly roast shrimp in a hot oven until sweet and tender. Jump to the Easy Roasted Shrimp Cocktail Recipe.
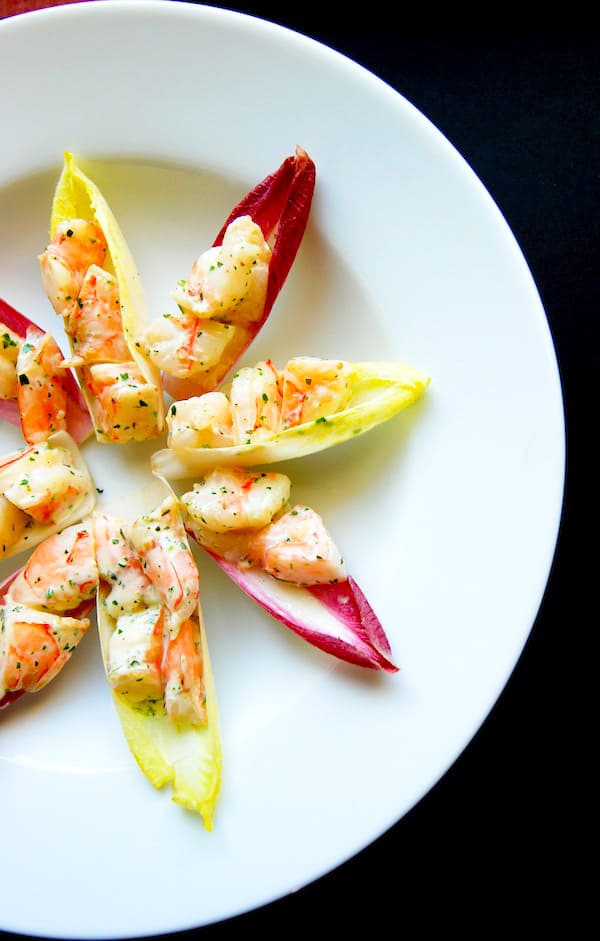
    This shrimp salad can be served alone or on just about anything. I love the look and taste of it with endive leaves. The slightly bitter and crunchy endive works nicely with the shrimp.

    Herbed Shrimp Salad Recipe on Endive Spears

    This is great for parties, but I’m kind of in love with the idea of turning these into dinner and calling them lettuce wraps. If you were to whip out a head of Boston or Bibb lettuce, sliced avocado and a few vegetables like carrot or cucumber this would be excellent as dinner.

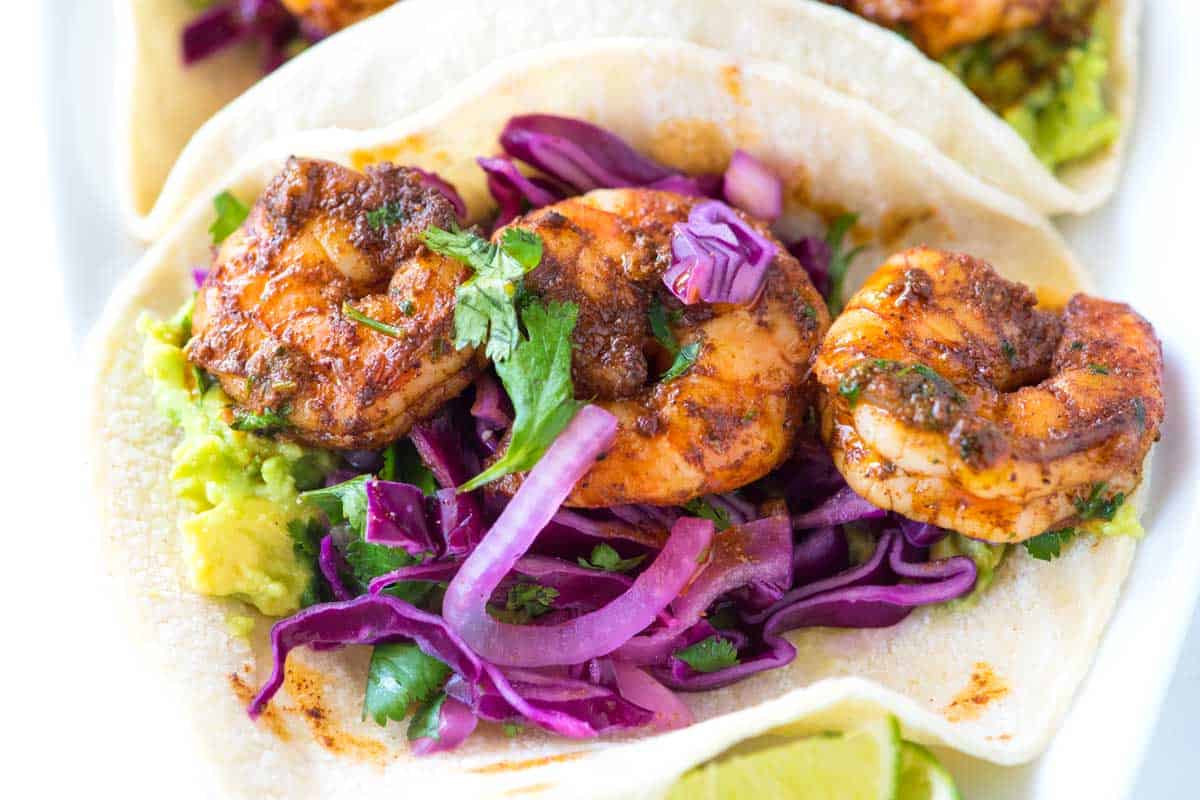
    Chile Butter Shrimp Tacos RecipeYOU MAY ALSO LIKE: Meet your new favorite shrimp taco recipe. There’s chile butter shrimp, mashed avocado and a quick and crunchy slaw. Jump to the Chile Butter Shrimp Tacos Recipe.
    Recipe updated, originally posted January 2010. Since posting this in 2010, we have tweaked the recipe to be more clear. – Adam and Joanne

    Herbed Shrimp Salad Recipe on Endive Spears

    • PREP
    • COOK
    • TOTAL

    Shrimp is excellent, but chicken, lobster and crab will all work nicely. The dressing below is versatile, too. Use it as a vegetable dip or salad dressing. You will need lime for both the shrimp and dressing. The dressing calls for lime zest, it is best to remove the zest before juicing the lime.

    Makes 4 to 6 servings

    You Will Need

    Shrimp

    1 pound shrimp, shelled and deveined

    2 tablespoons olive oil

    1/2 teaspoon sea salt

    1/8 teaspoon fresh ground black pepper

    2 tablespoons lime juice


    Salad

    1/2 cup sour cream

    2 tablespoons mayonnaise

    1 teaspoon lime zest

    1 tablespoon lime juice or more to taste

    1 tablespoon chopped tarragon leaves

    2 teaspoons chopped mint leaves

    3 tablespoons chopped parsley

    Salt and fresh ground black pepper

    3 medium-size endive, leaves pulled apart

    Directions

      1Heat oven to 400 degrees F. Line a baking sheet with aluminum foil.

      2Toss the shrimp with olive oil, salt, and the pepper. Tumble shrimp onto the baking sheet and spread into one layer. Roast the shrimp for 5 to 10 minutes until pink, firm, and cooked through. Immediately toss with lime juice.

      3Meanwhile, make the dressing. In a large bowl, stir the sour cream, mayonnaise, lime zest, lime juice, herbs, a pinch of salt and a few grinds of black pepper. Or use a food processor to blend. Taste then adjust with salt, pepper or more lime juice.

      4Chop the shrimp into bite-size chunks then add to the bowl with dressing. Toss then serve spooned onto endive leaves.

    Adam and Joanne’s Tips

    If you make this recipe, snap a photo and hashtag it #inspiredtaste — We love to see your creations on Instagram and Facebook! Find us: @inspiredtaste


    AUTHOR:

    Joanne Gallagher

    Previous Post: Pasta with Roasted Tomato Sauce, Mint and Feta
    Next Post: Brownie Pie Recipe with Sliced Almonds


    Source link

  • Seafood Stuffed Shells | The Recipe Critic

    Seafood Stuffed Shells | The Recipe Critic

    This website may contain affiliate links and advertising so that we can provide recipes to you. Read my disclosure policy.

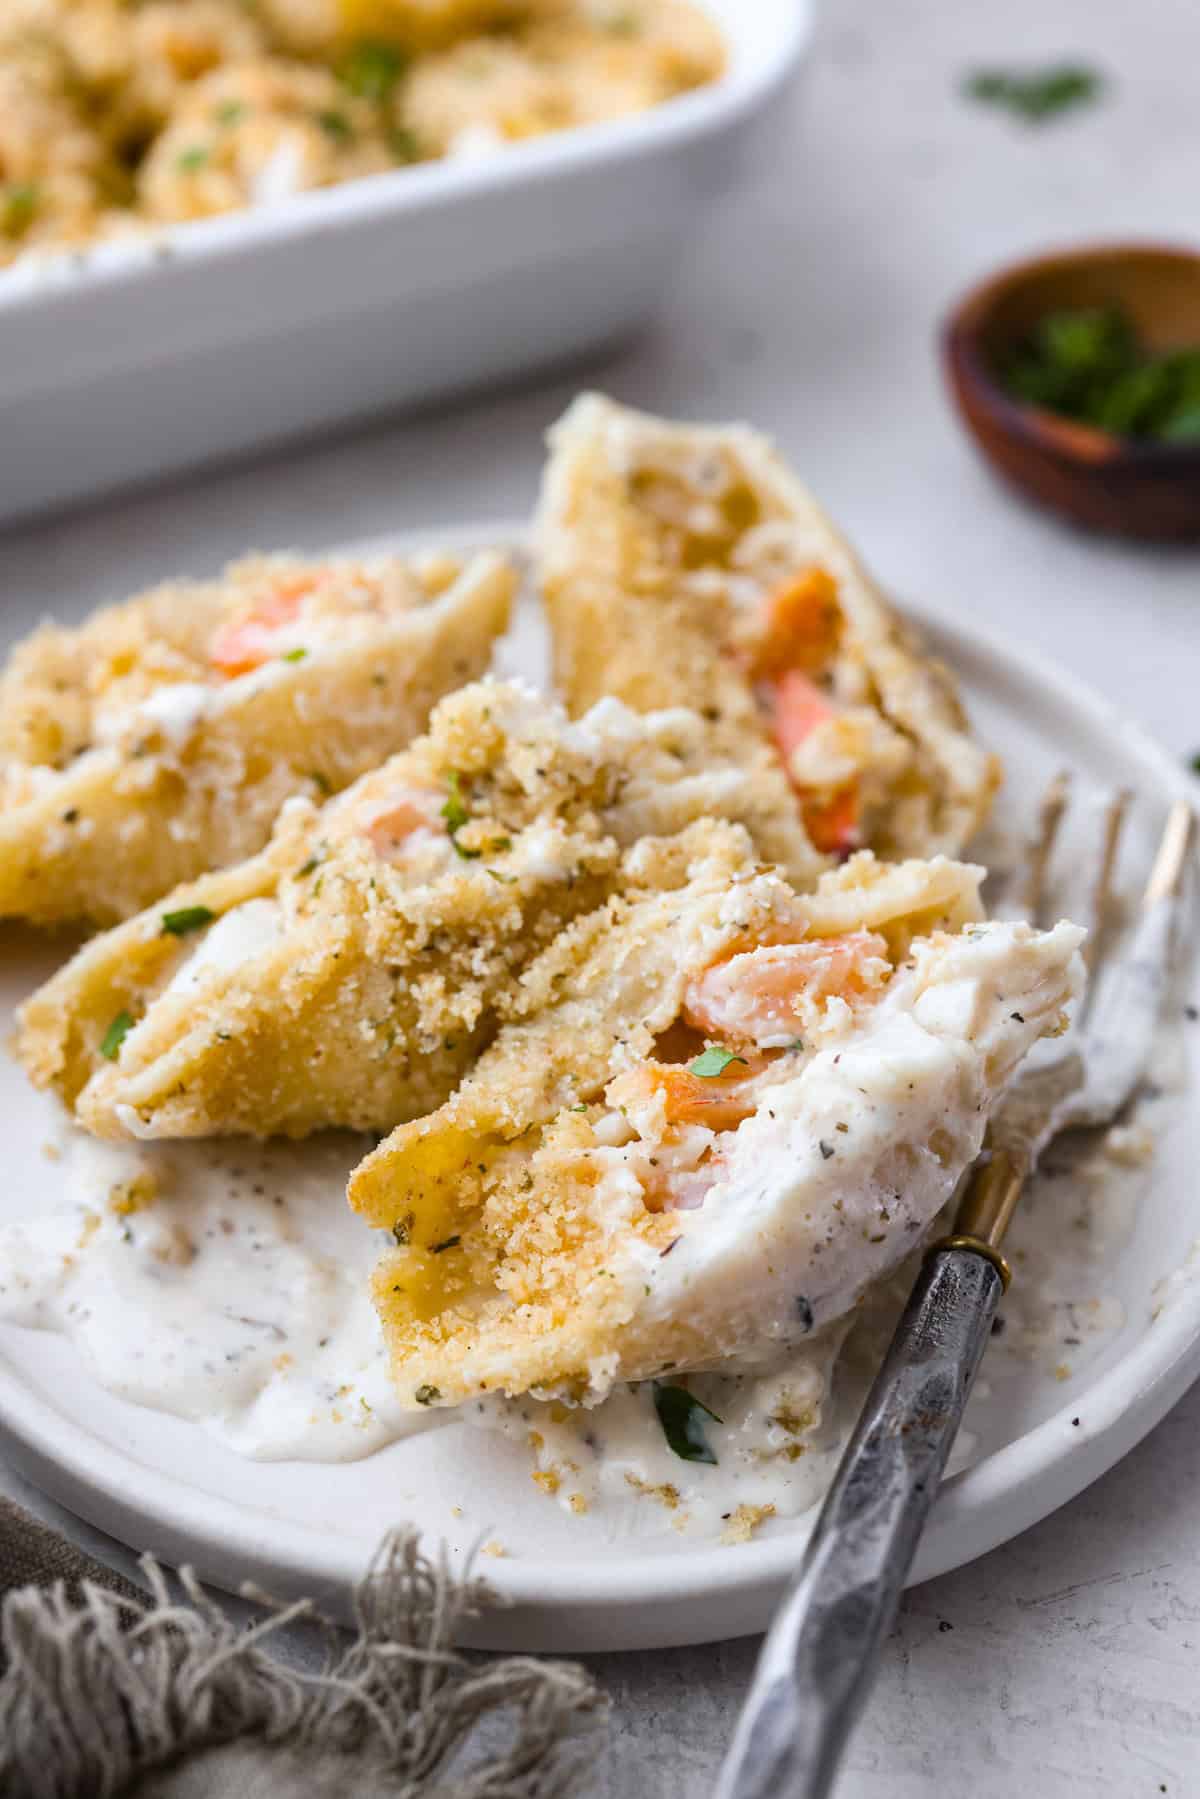
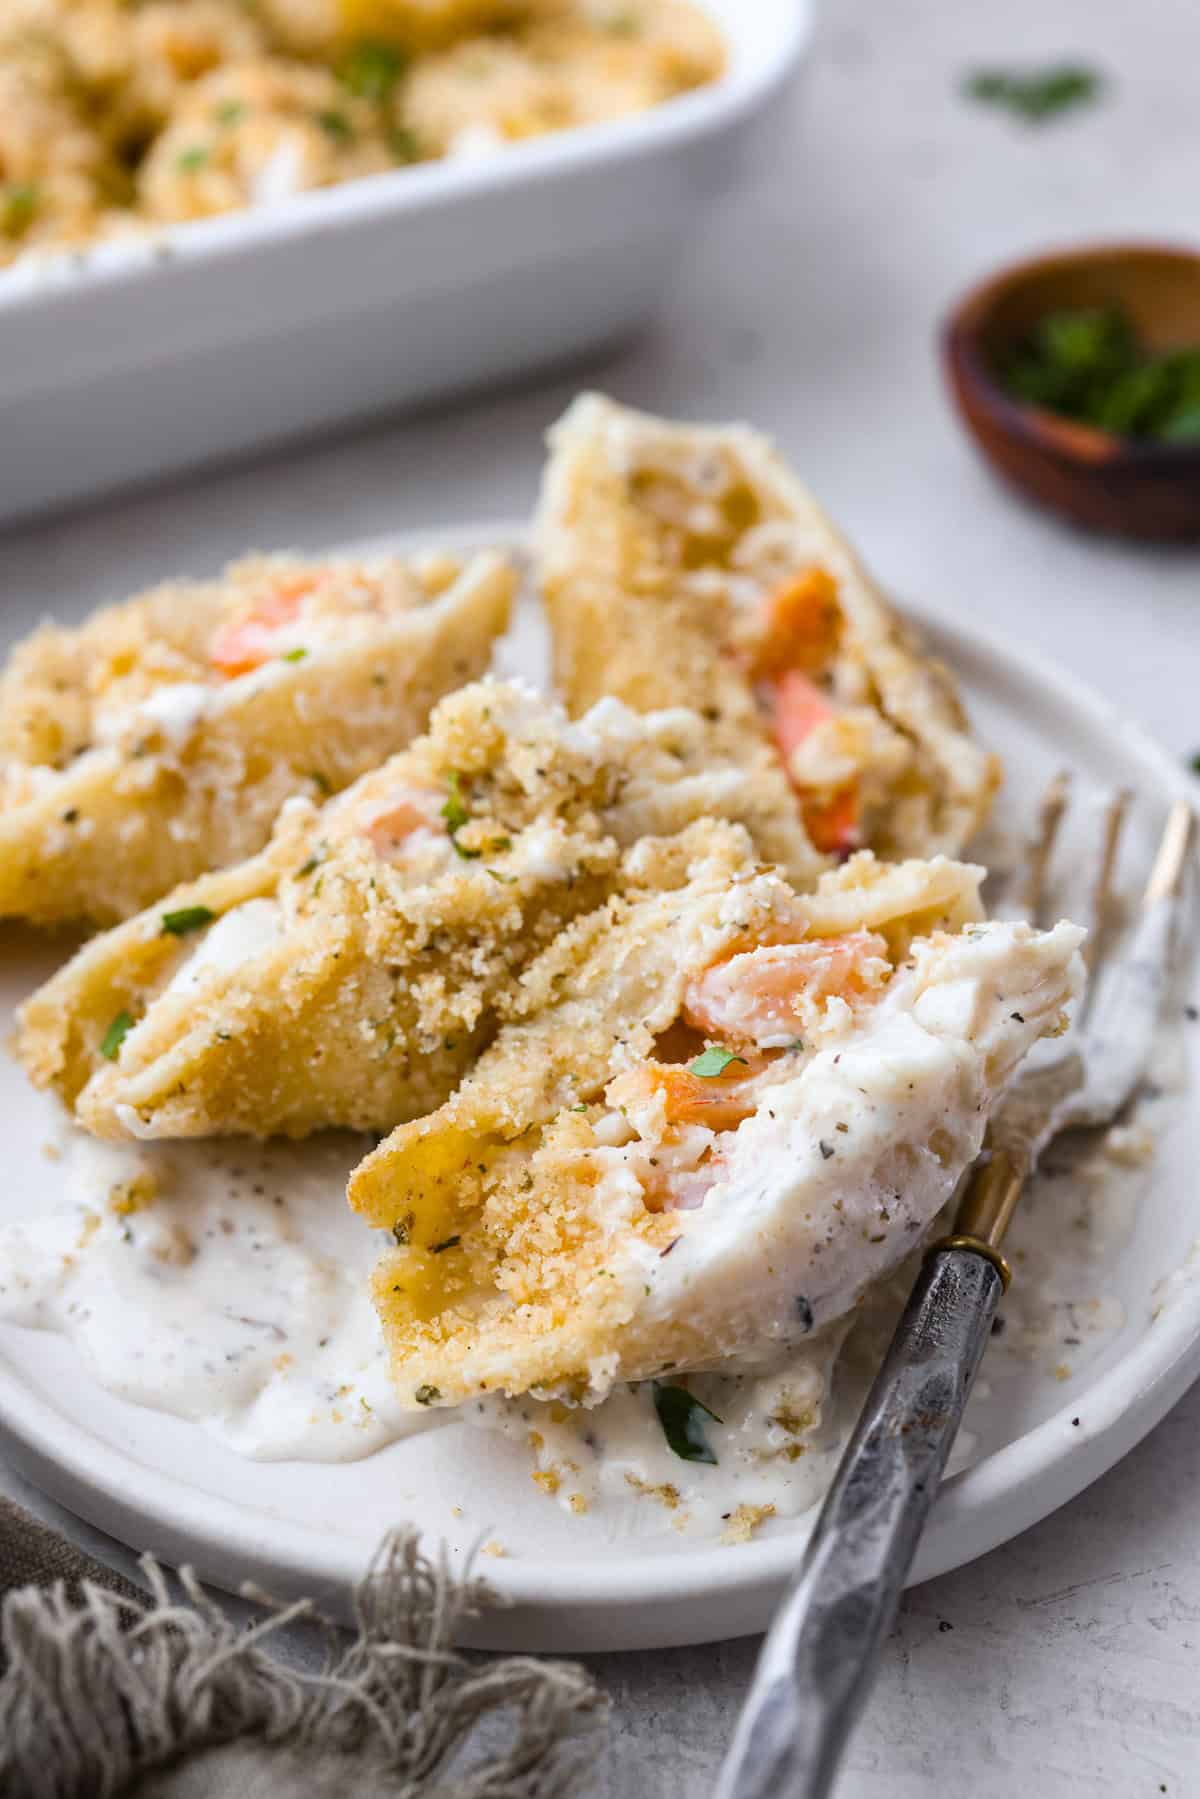
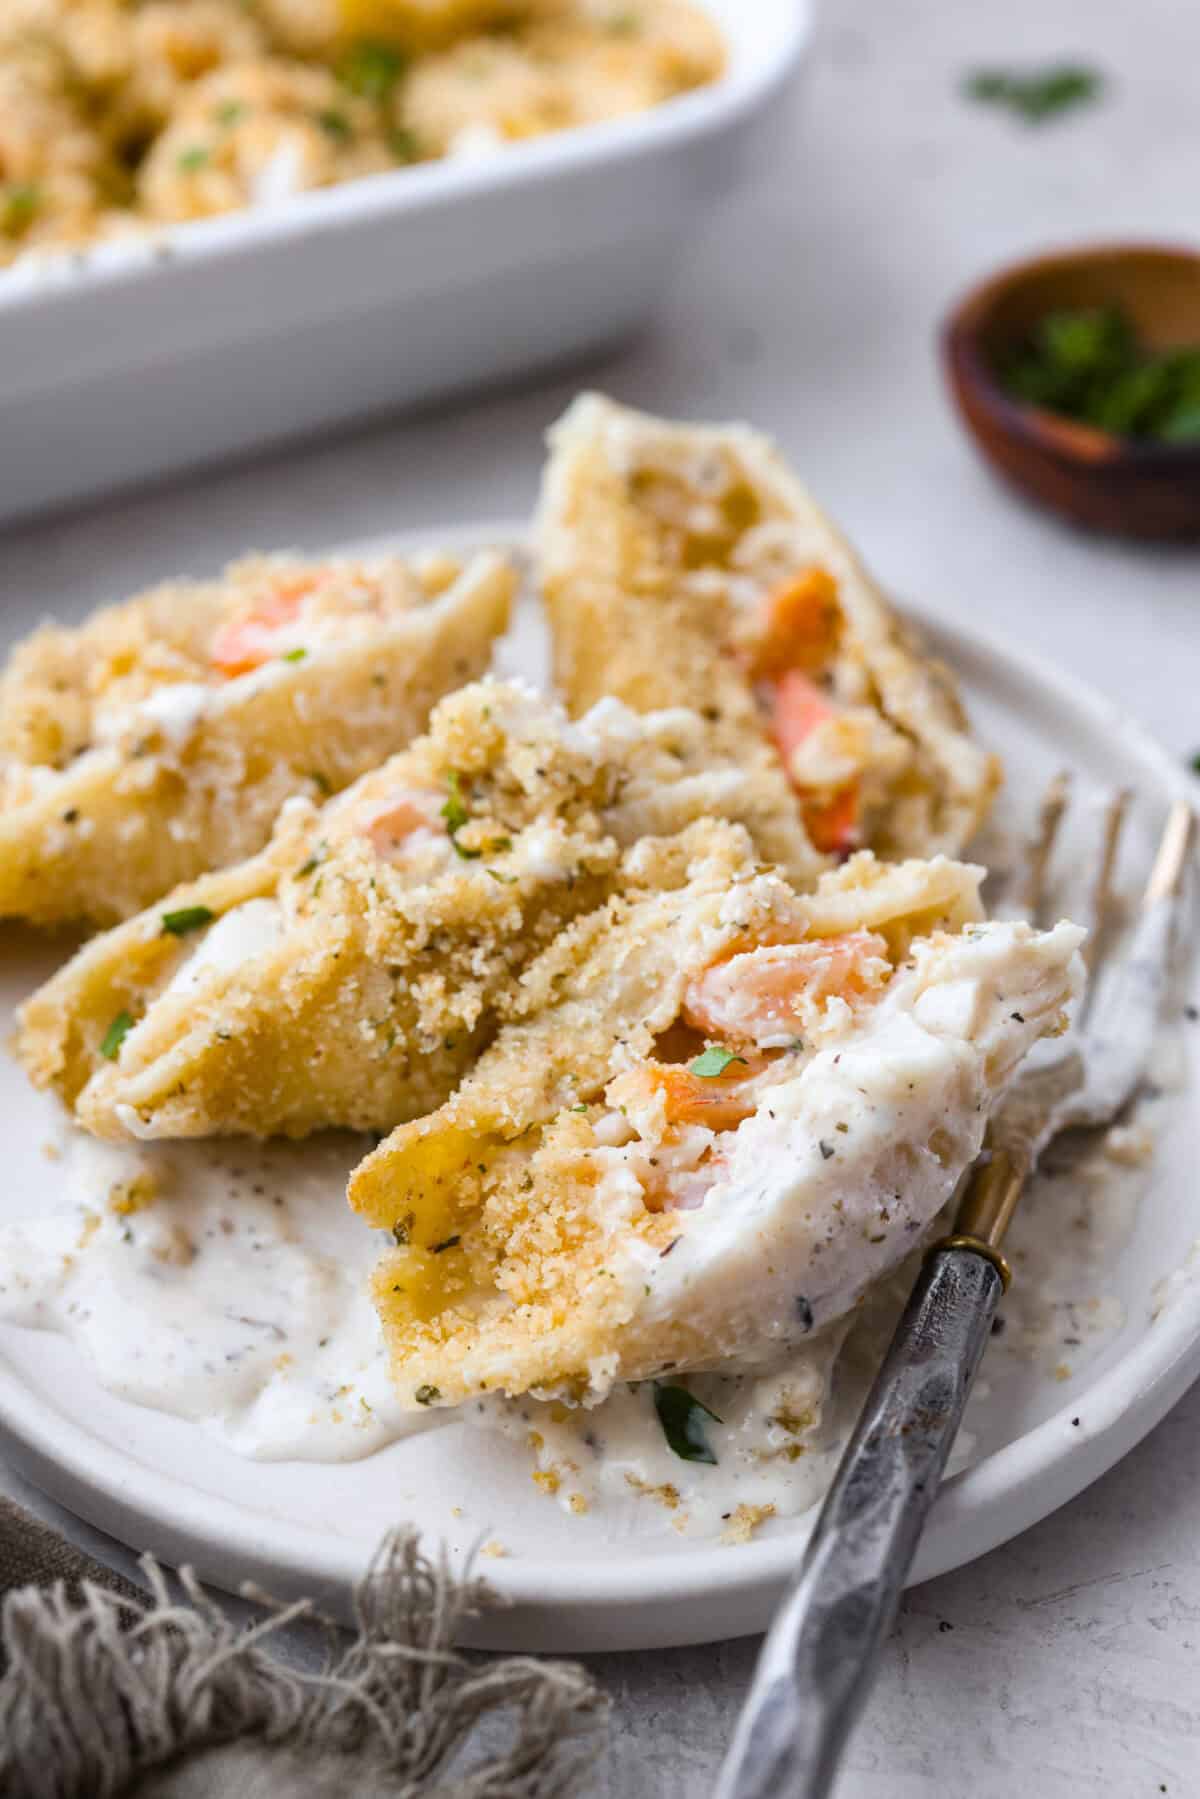
    If you loved my seafood lasagna, you are going to love these Jumbo pasta shells, which are generously filled with a creamy, savory seafood filling and coated in a rich Alfredo-based sauce.

    Side shot of plated seafood stuffed shells.

    Reasons You’ll Love This Recipe

    • Indulgence in Every Bite! This seafood stuffed shells recipe has the best flavor and is the perfect choice for a date night in, or a comforting meal to impress your loved ones!
    • Make it a Meal! Seafood stuffed shells are delicious on their own but would be amazing served with breadsticks, a fresh green salad, and a better-than-anything cake for dessert.
    • Simple Assembly! This dish comes together easier than you think! It can be on the table in about 45 minutes, which includes prep and cook time! 

    Seafood Lovers Dream

    Is it true that you either love seafood or hate it? Where are my seafood lovers at? This recipe combines creamy, cheesy deliciousness with succulent crab and shrimp, all loaded in a jumbo pasta shell. All my seafood-loving follower’s dreams just came true!

    How to Make Seafood Stuffed Shells

    You’re going to want to make this seafood stuffed shells recipe again and again. The prep and assembly time is only about 20 minutes, and then the oven does the rest of the work. It looks and tastes really elegant, but it’s actually so easy to make!

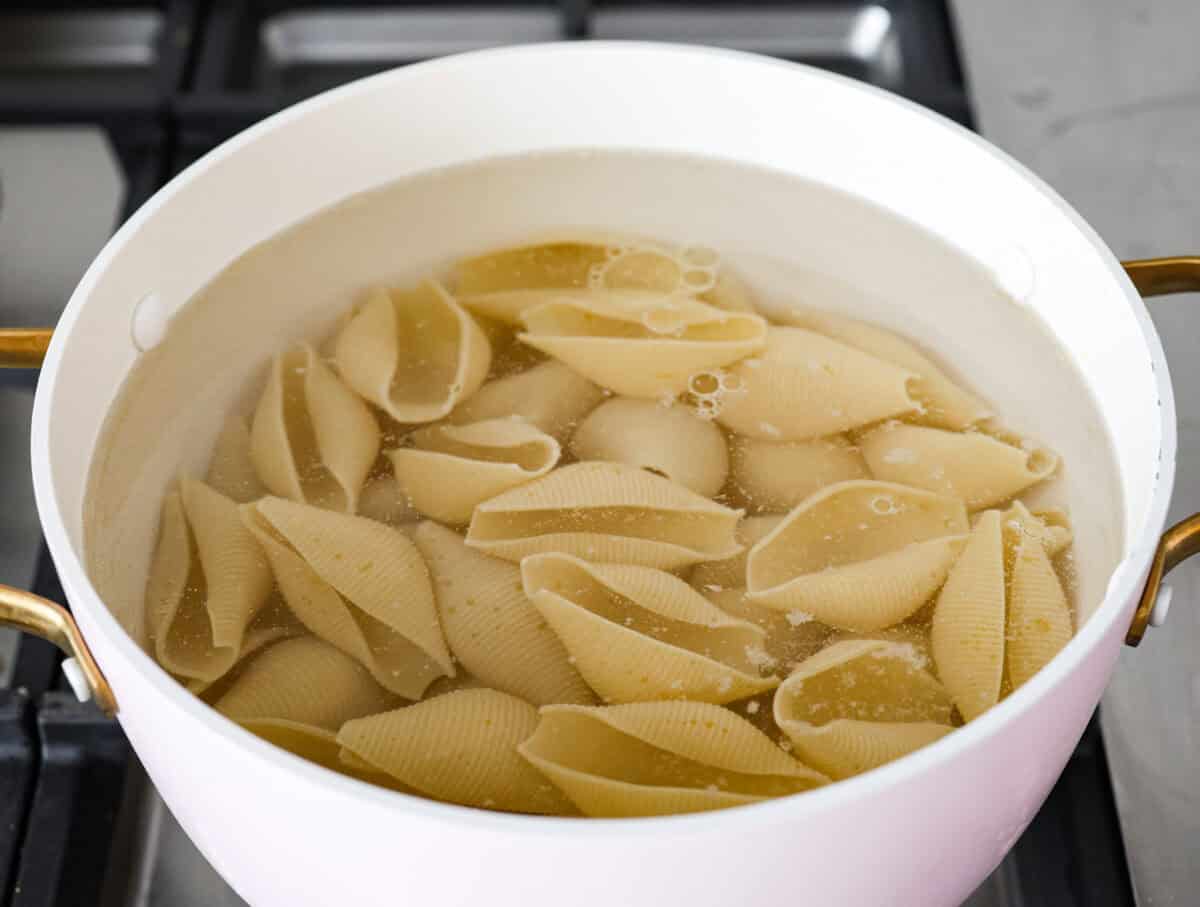
    1. Cook the Shells: Preheat oven to 350 degrees Fahrenheit and spray a 9×13-inch baking dish with cooking spray. Cook the shells according to the package directions until they are al dente. Drain and set aside.
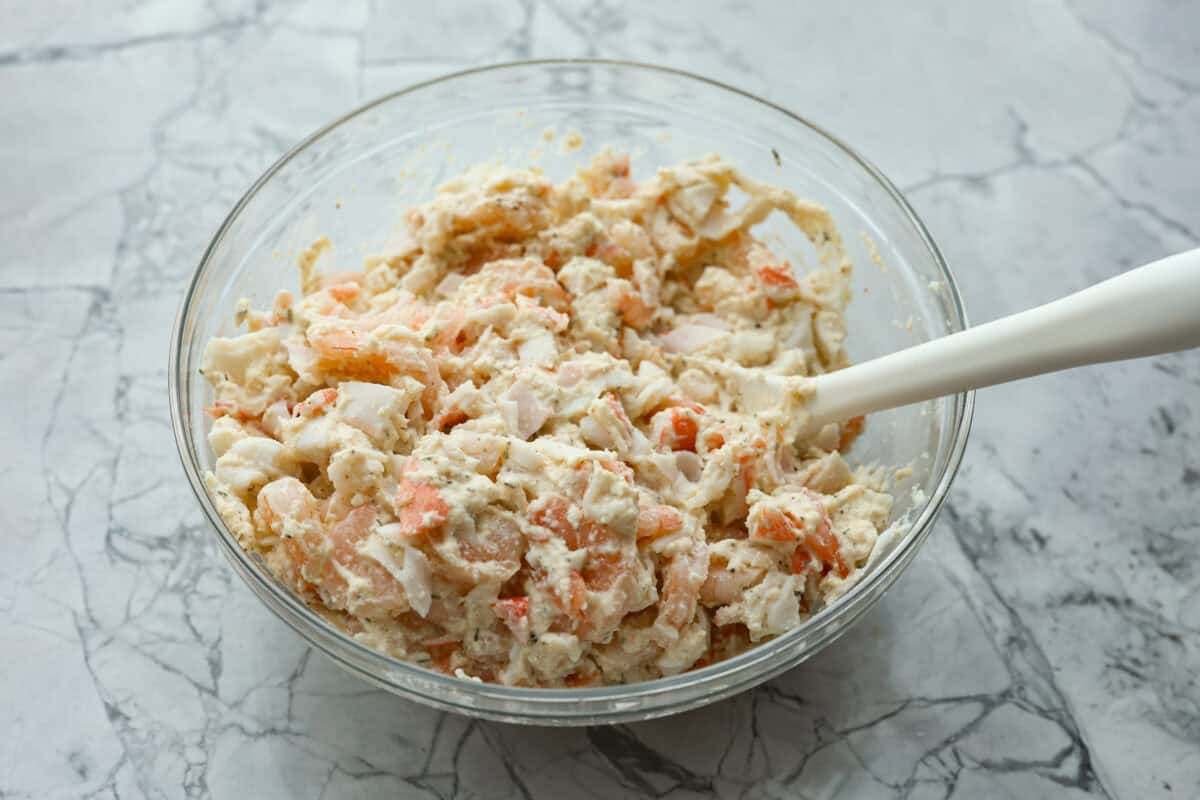
    2. Make the Filling: In a large bowl, stir the ricotta cheese, egg, old bay seasoning, Italian seasoning, Dijon mustard, salt, and black pepper. Fold the shrimp and crabmeat into the filling mixture.
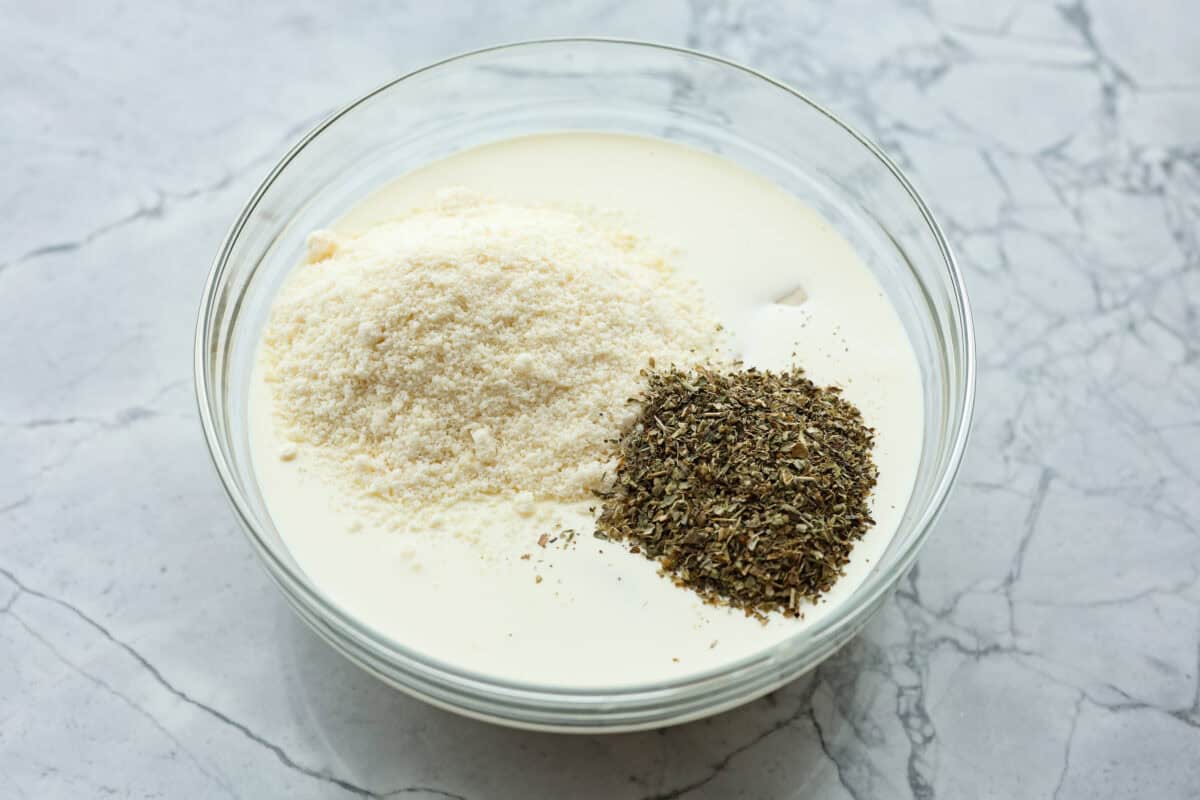
    3. Make the Sauce: In a separate bowl, whisk together the alfredo sauce, heavy cream, parmesan cheese, Italian seasoning, and salt and pepper to taste. Pour about ½ cup of the sauce into the bottom of the baking dish.
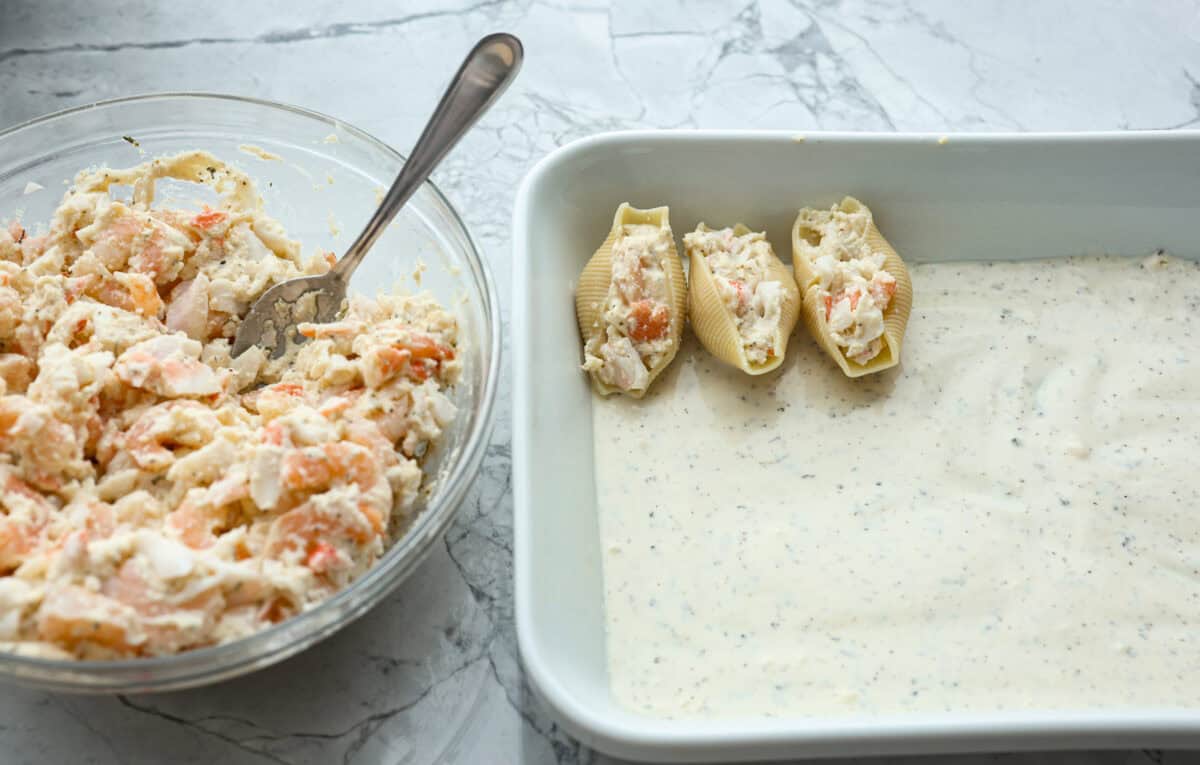
    4. Fill the Shells: Take one jumbo shell in one hand and stuff it with about 2 tablespoons of the filling seafood mixture.
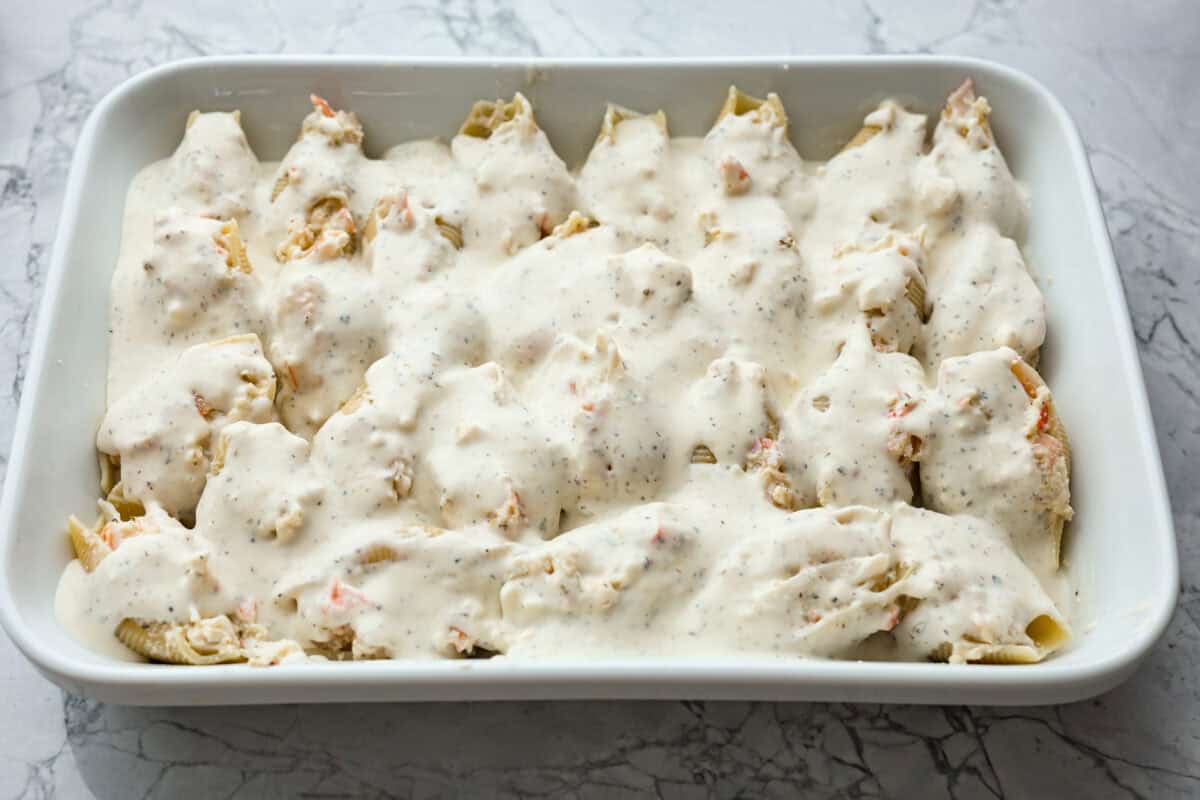
    5. Pour Over the Sauce: Place the seafood stuffed shells open-side up in the sauce-lined baking dish. Until the filling has been used and the dish has been filled. Pour the rest of the sauce over the stuffed shells.
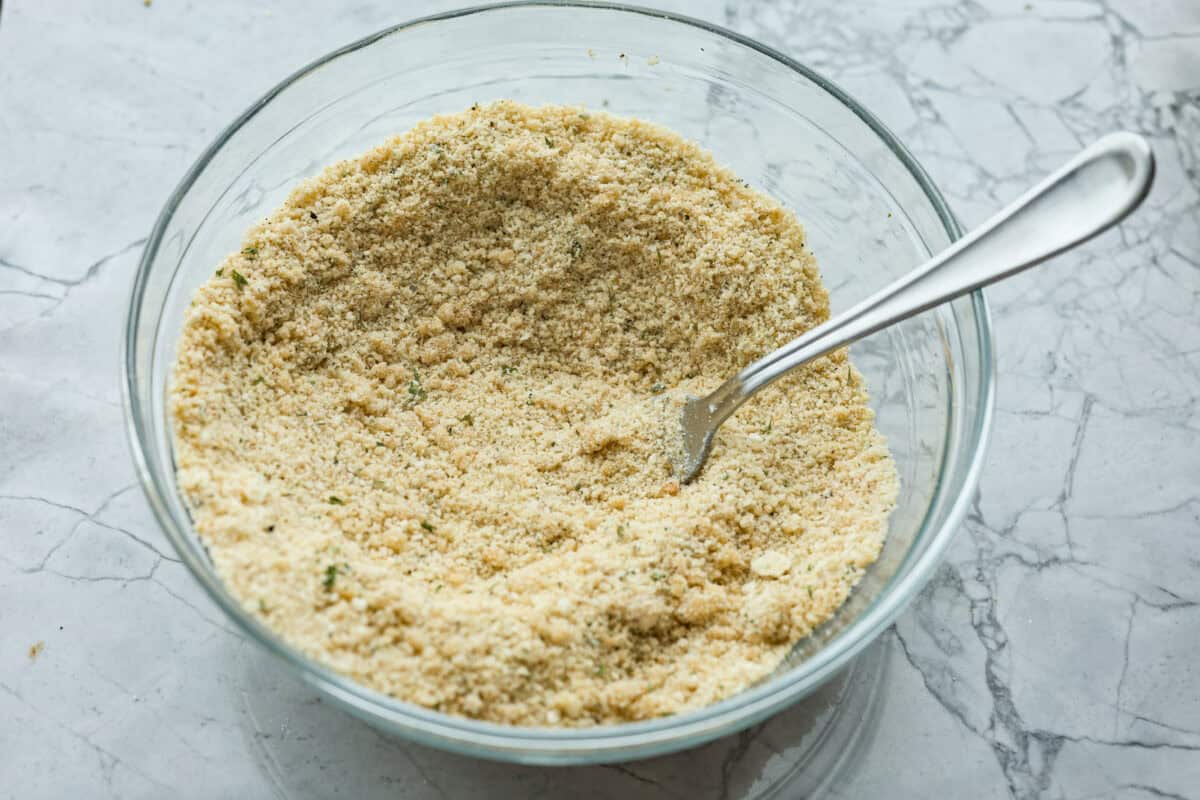
    6. Make the Topping and Bake: In a small bowl, whisk together the bread crumbs, parmesan cheese, butter, and seasoning. Sprinkle the crumb topping over the sauce-covered shells and bake for 20-25 minutes, until the shells are heated through and the topping is browned. Remove the seafood stuffed shells from the oven and let rest for a few minutes before serving.

    Seafood Stuffed Shells Tips and Variations

    Here are my top tips for making these shells stuffed with seafood!

    • Using Uncooked Shrimp: If you use uncooked shrimp, boil it for a moment in the same water you boiled the pasta in, just until it turns pink, then remove and use as directed. 
    • What Size Shrimp Should I Use? I like to use small shrimp for this recipe, even salad-size shrimp, so you get more in each shell. If you can only find larger shrimp, coarsely chop them before adding them to the filling. 
    • Crab Meat Option: You can use real crab meat in this seafood stuffed shells recipe if you prefer. 

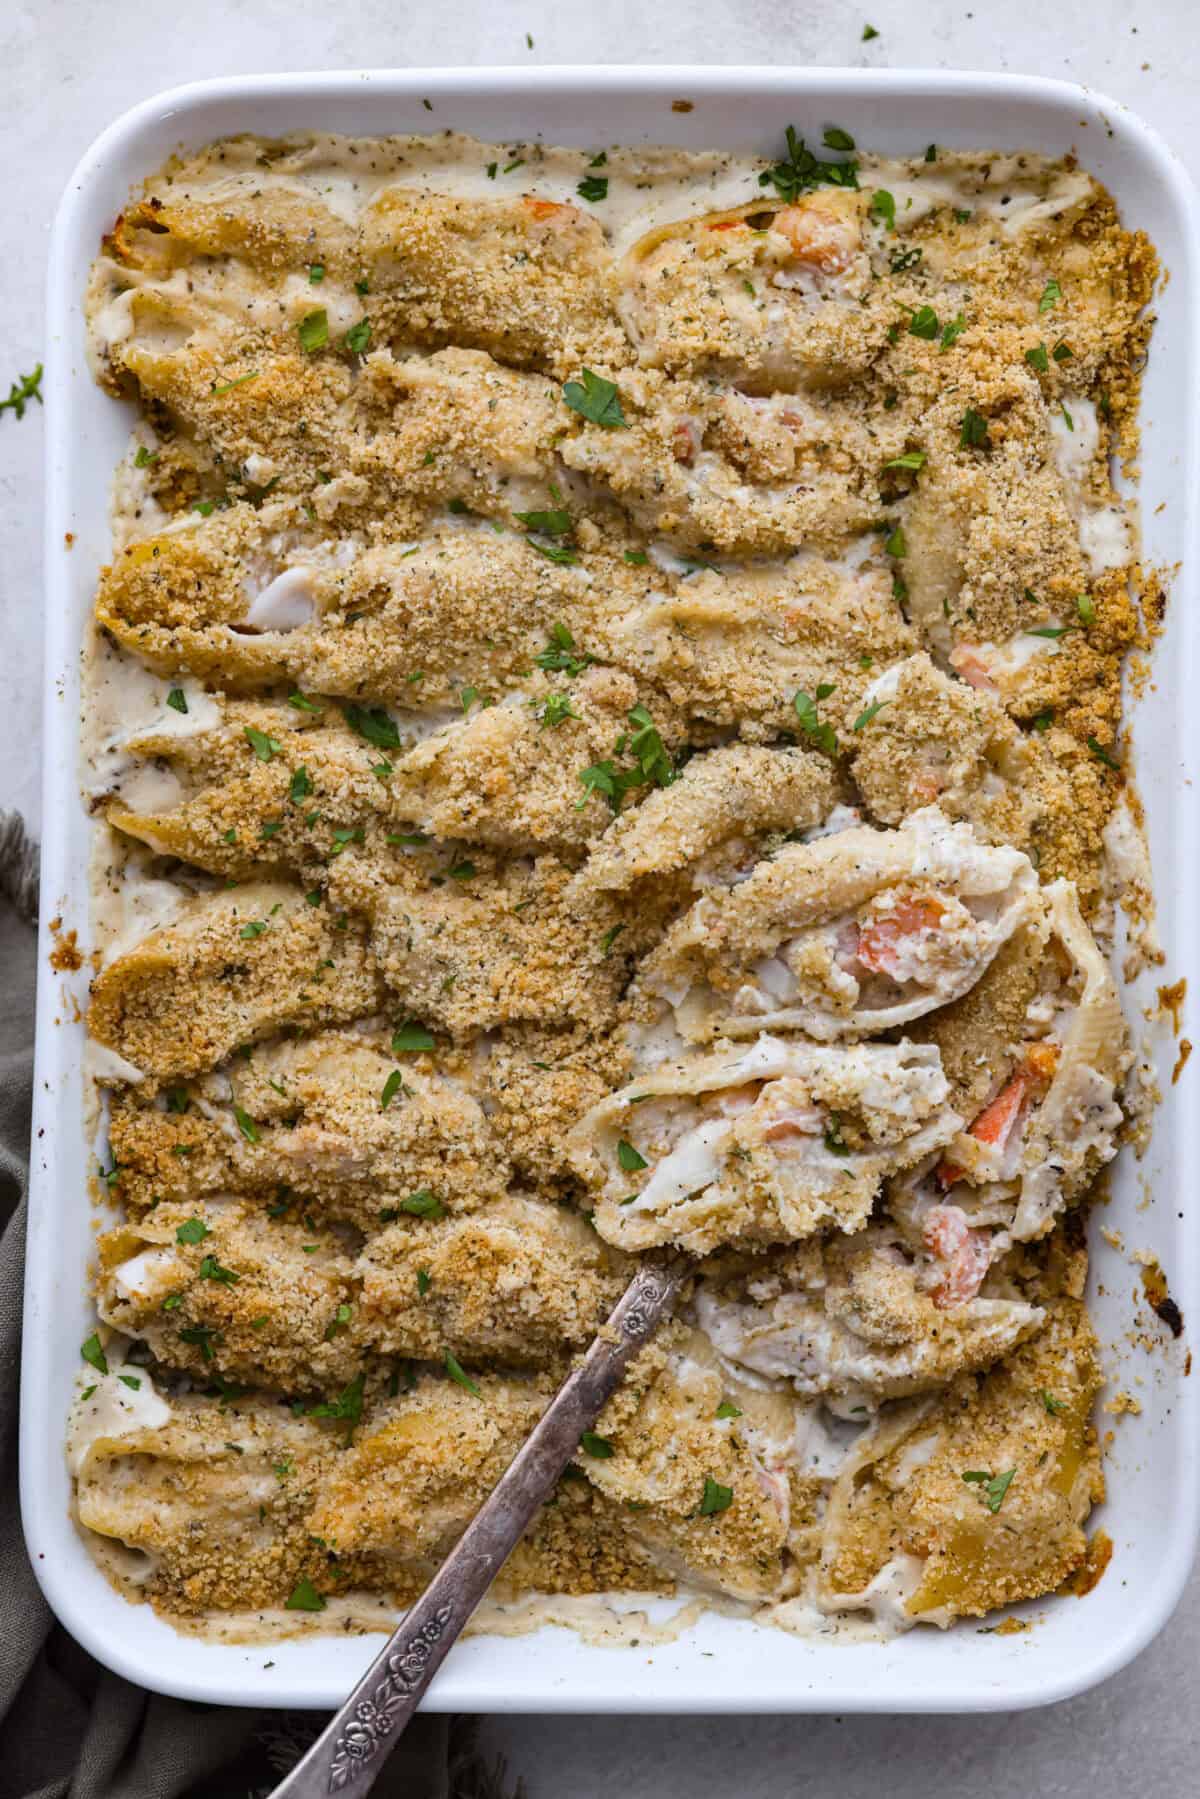
    Overhead shot of a baking dish with seafood stuffed shells and a serving spoon. Overhead shot of a baking dish with seafood stuffed shells and a serving spoon.

    Make Ahead and Storing Options

    • In the Refrigerator: Store leftover seafood stuffed shells in the fridge in an airtight container for up to 3 days. 
    • Make Ahead: Prepare all the elements of the dish and assemble, leaving off the crumb topping. Store the prepared casserole in the fridge for up to 3 days or in the freezer for up to 2 months before topping with crumb mixture and baking. 
    • Bake from Frozen: Preheat oven to 350 degrees Fahrenheit, cover the seafood stuffed shells dish with foil and bake for 45-50 minutes, remove the foil, sprinkle the crumb mixture over, and bake uncovered for another 10-15 minutes.

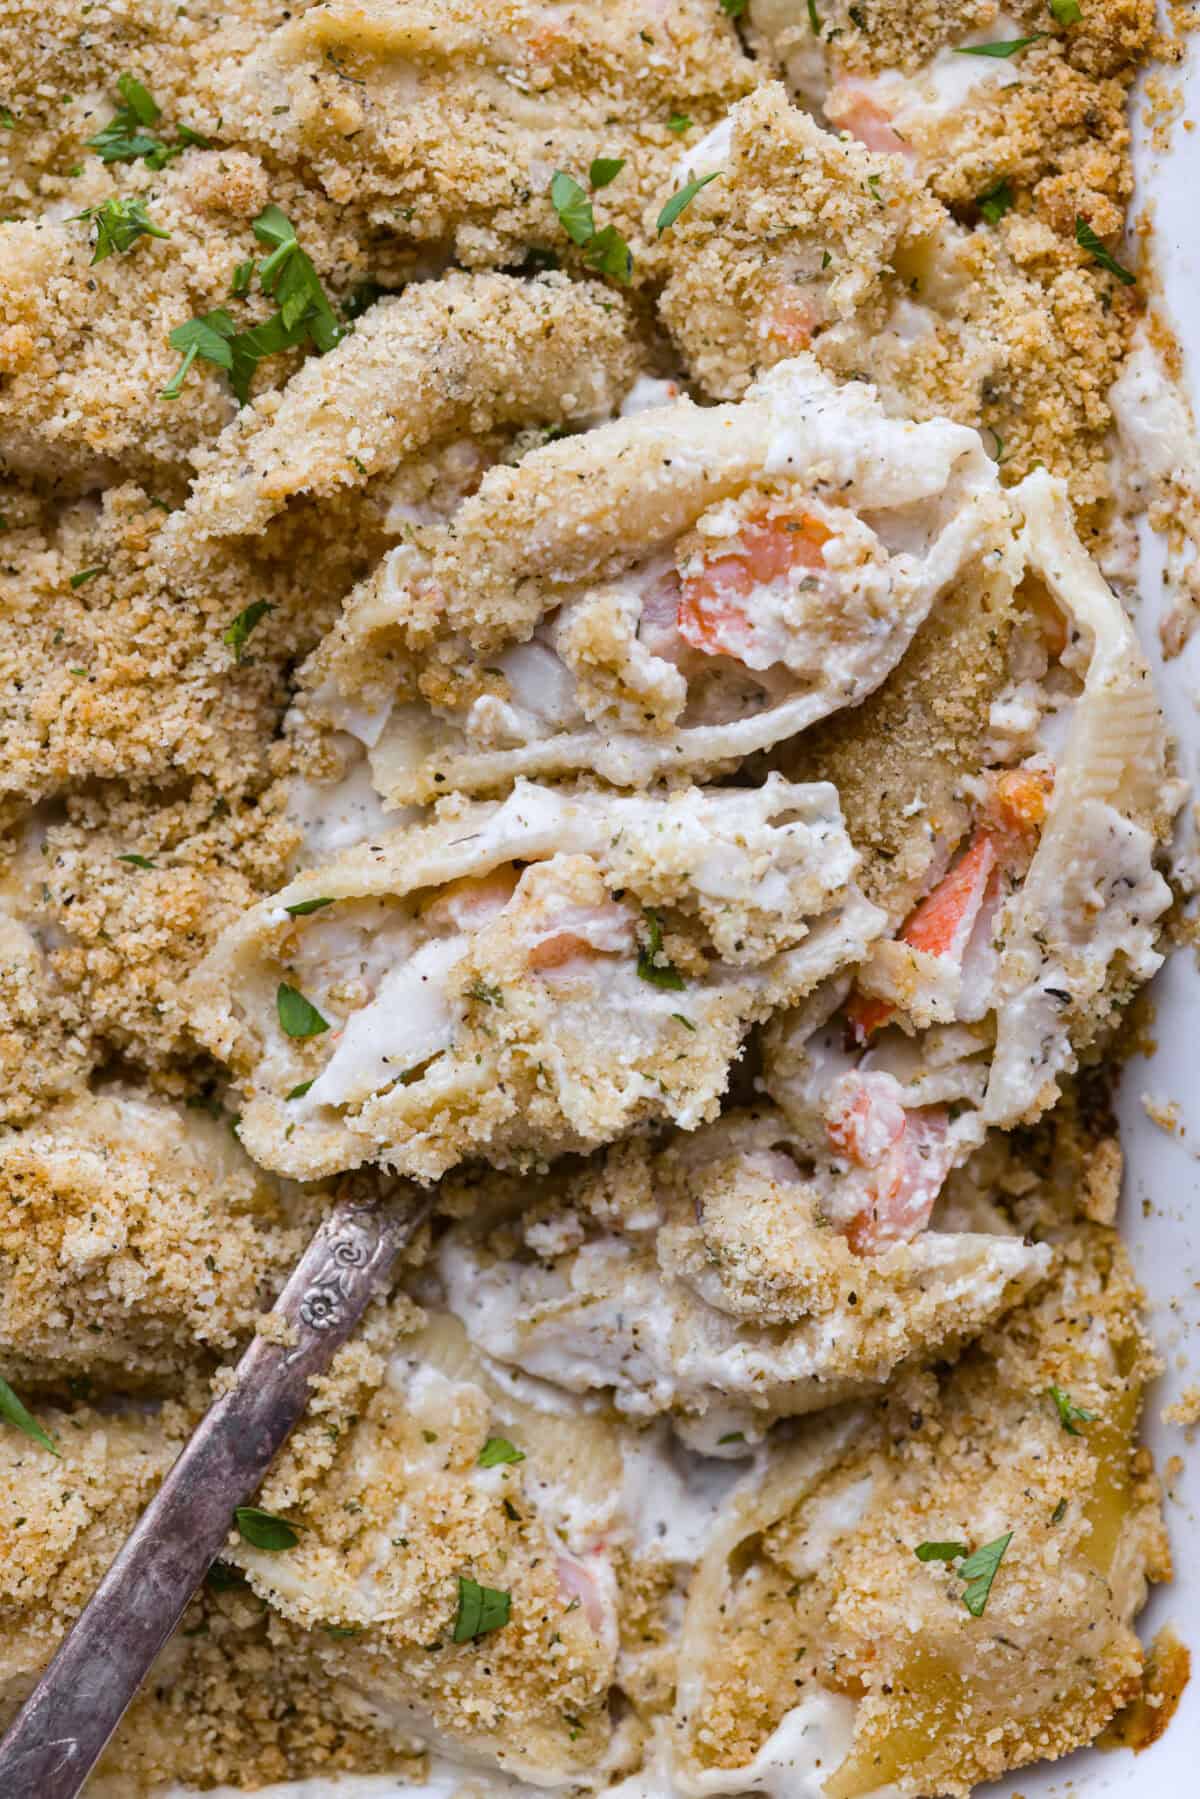
    Close up shot of seafood stuffed shells on a serving spoon in the baking dish. Close up shot of seafood stuffed shells on a serving spoon in the baking dish.

    More Delicious Seafood Recipes

    If you liked these seafood stuffed shells, you would love my creamy lemon garlic seafood pasta. You should also try these other seafood-inspired recipes.

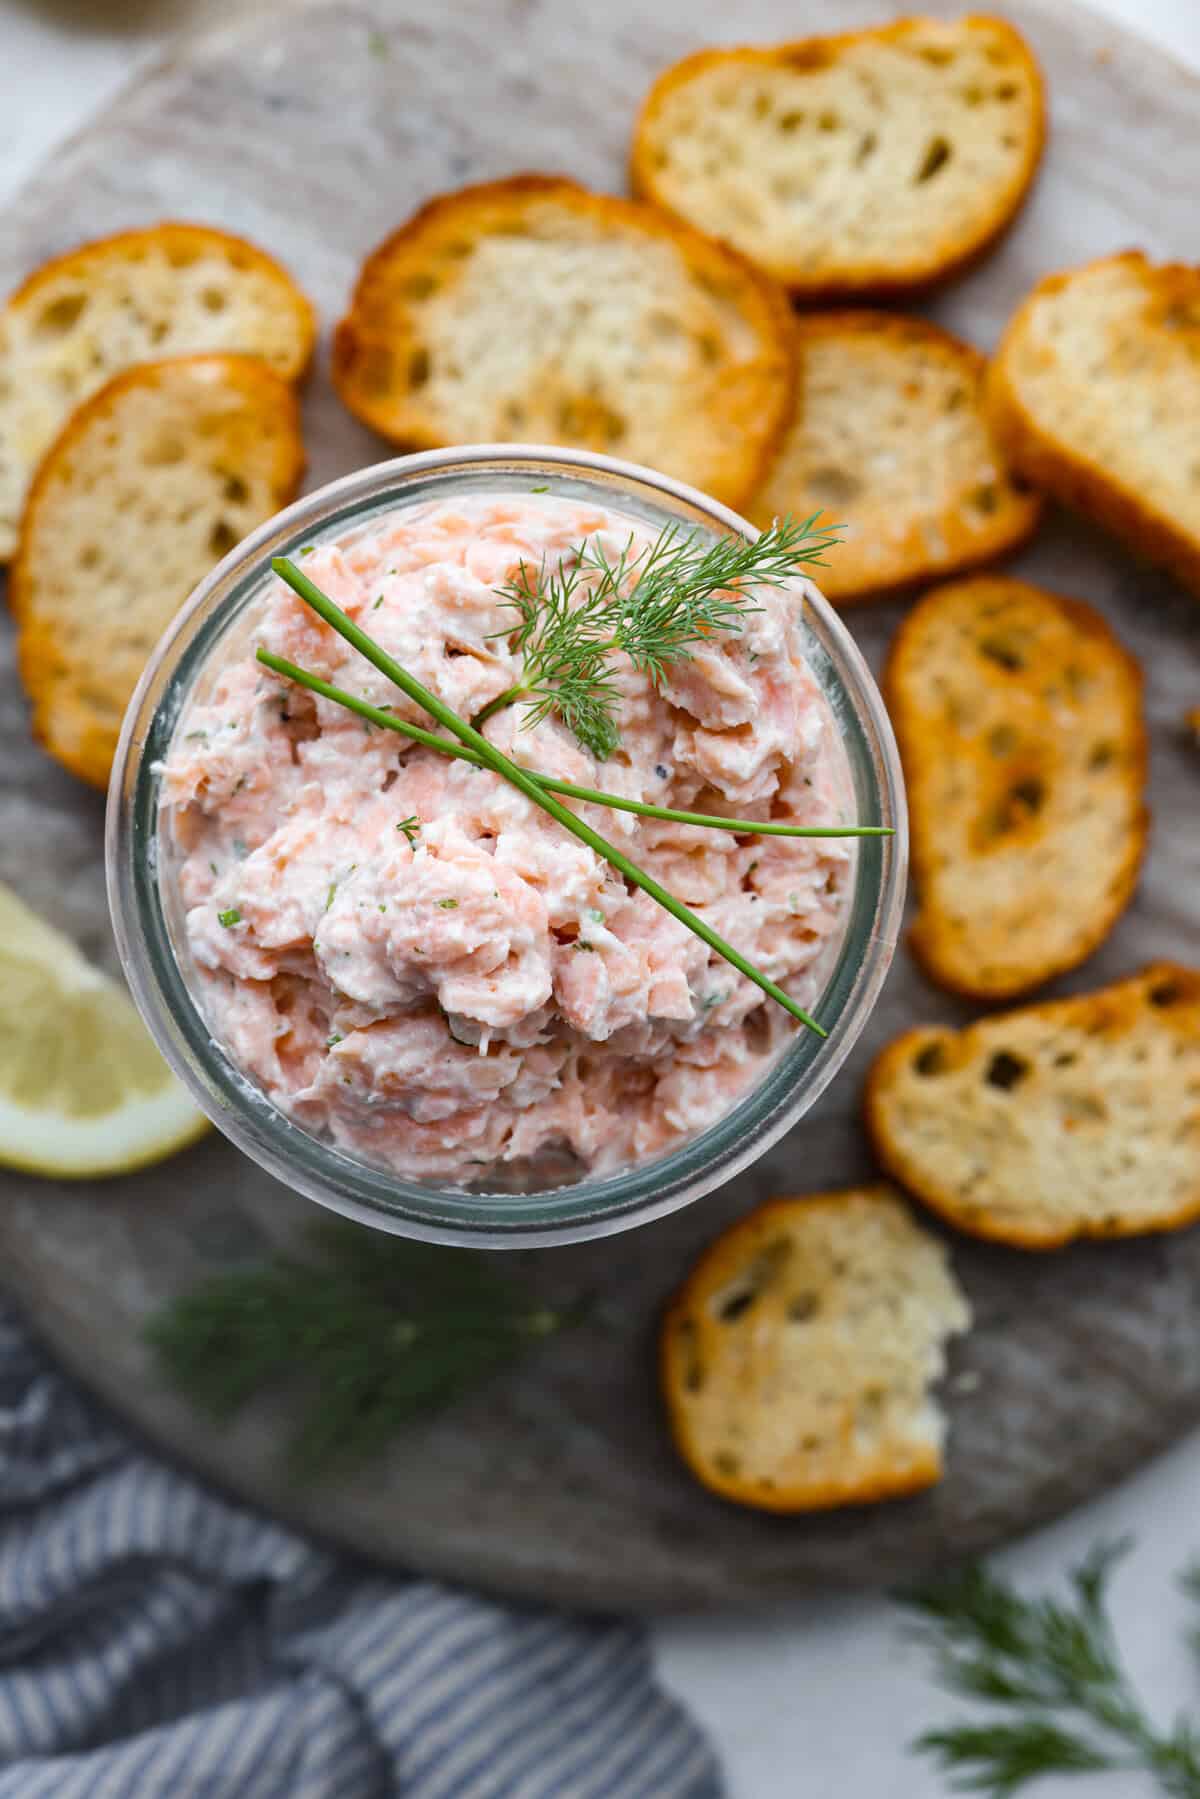
    Salmon Rillettes

    2 hours 40 minutes

    Sushi Bake

    1 hour 3 minutes

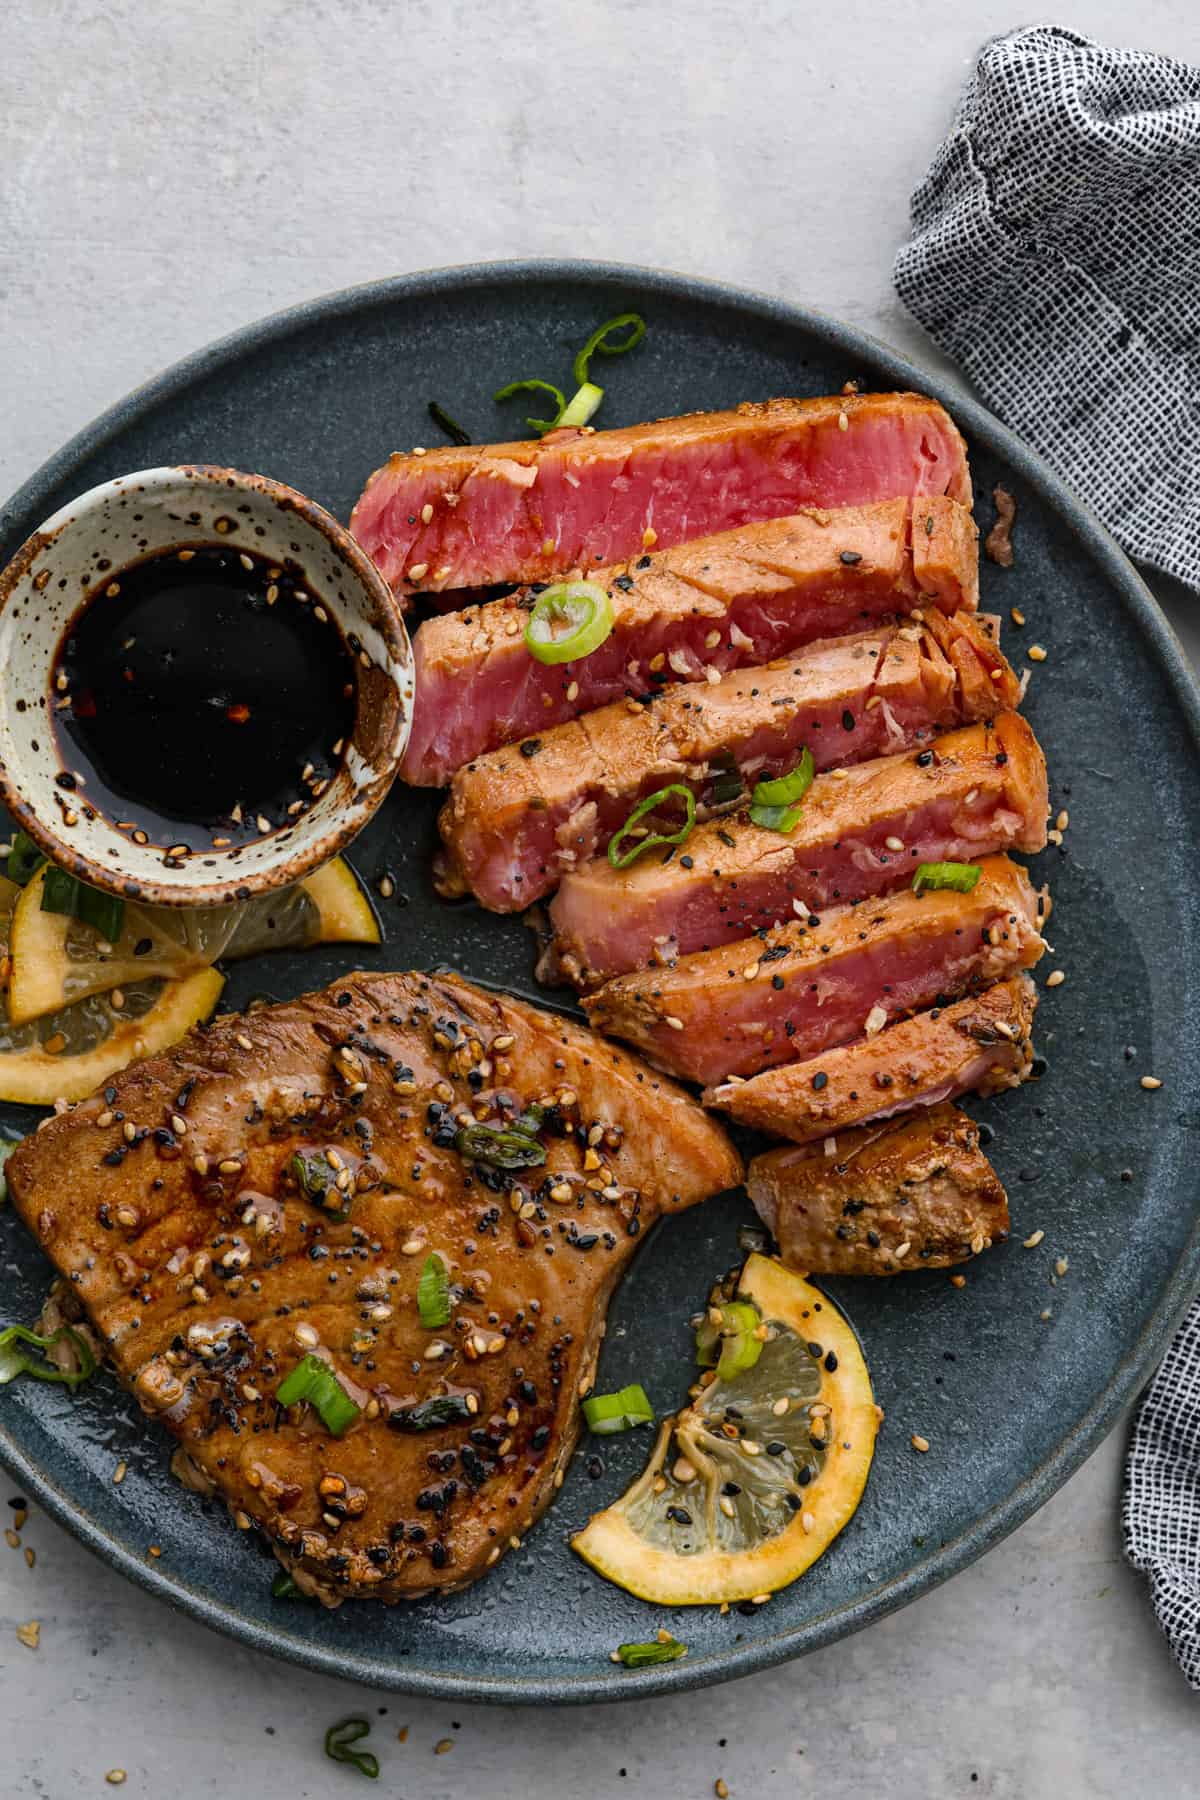
    Tuna Steak

    34 minutes

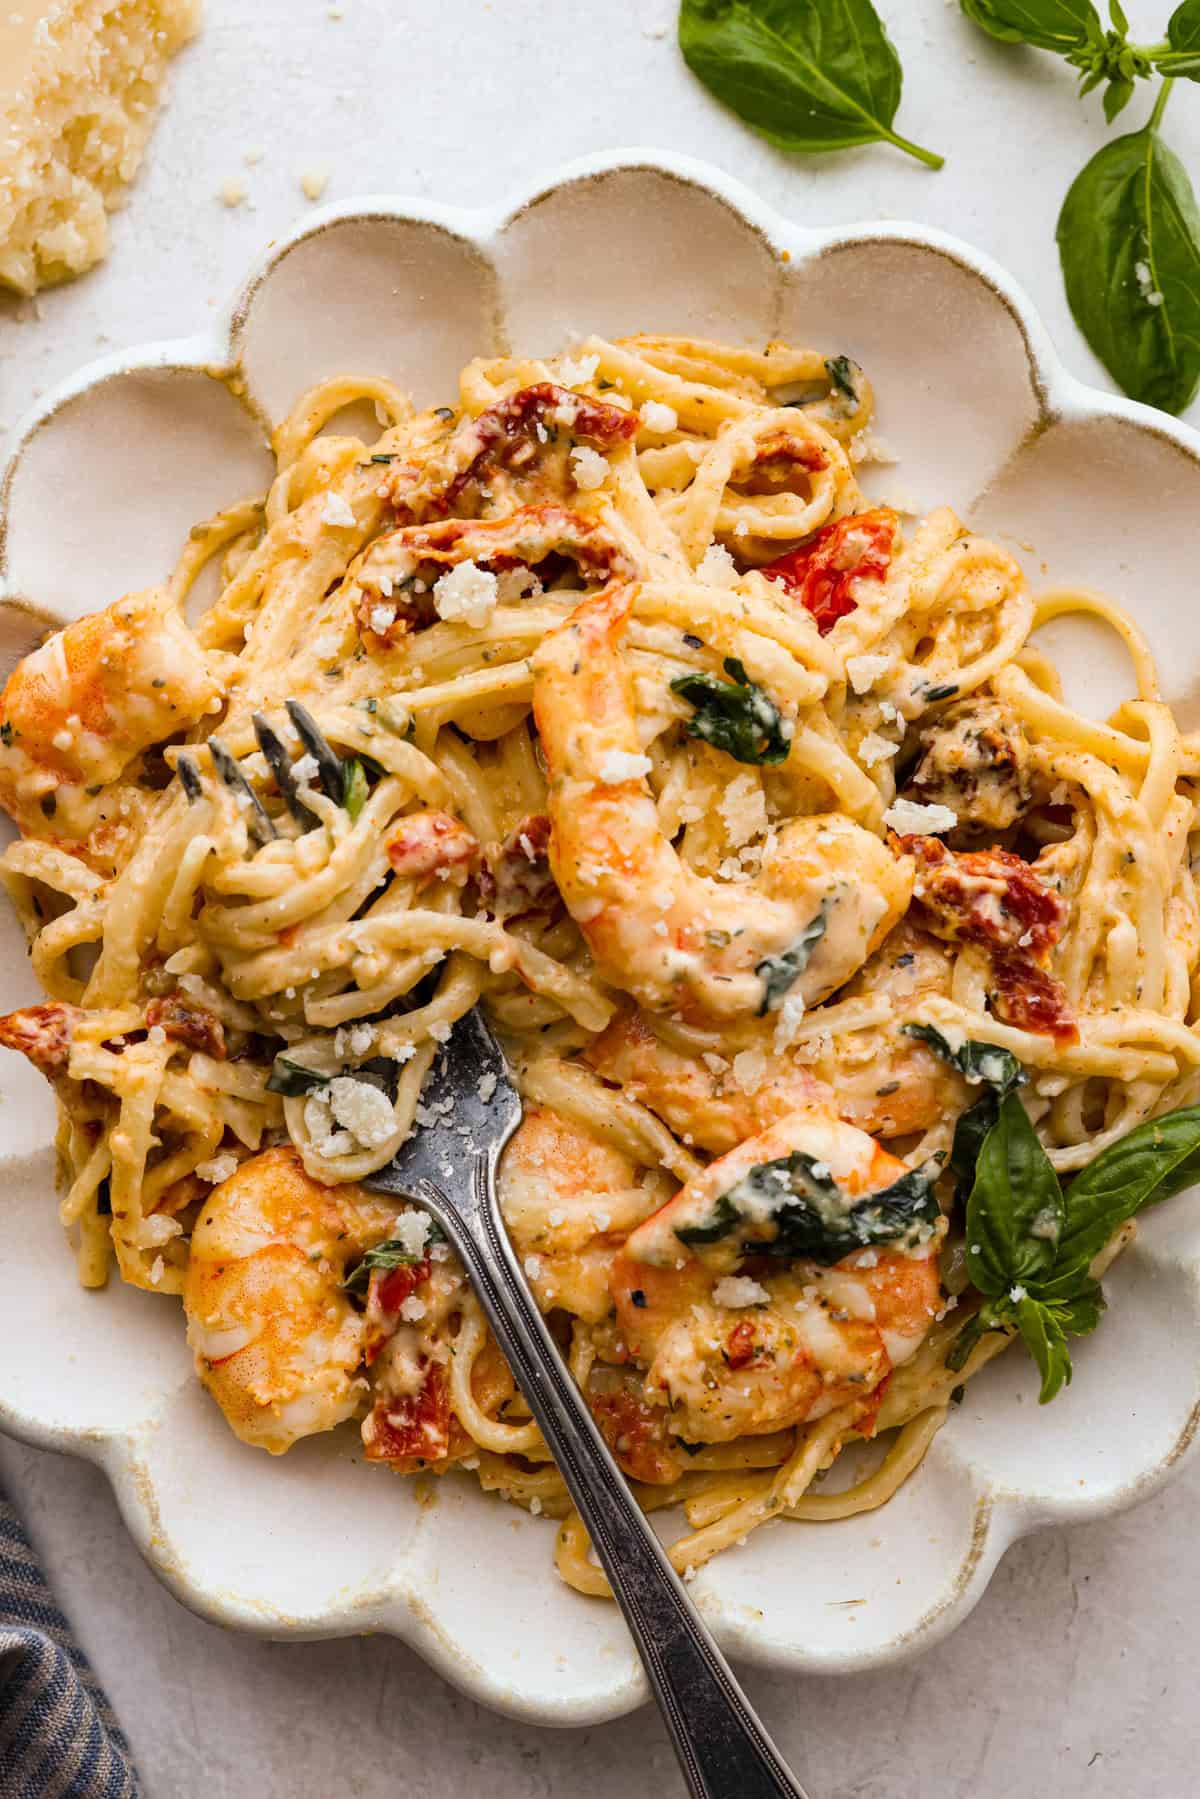
    Marry Me Shrimp Pasta

    30 minutes

    Pin this now to find it later

    Pin It


    Source link

  • Grilled Salmon Recipe with Nectarines and Goat Cheese

    Grilled Salmon Recipe with Nectarines and Goat Cheese

    How to make grilled salmon topped with grilled nectarines and goat cheese. Jump to the Grilled Salmon Recipe with Nectarines and Goat Cheese or read on to see our tips for making it.

    Grilled Salmon Recipe with Nectarines and Goat Cheese

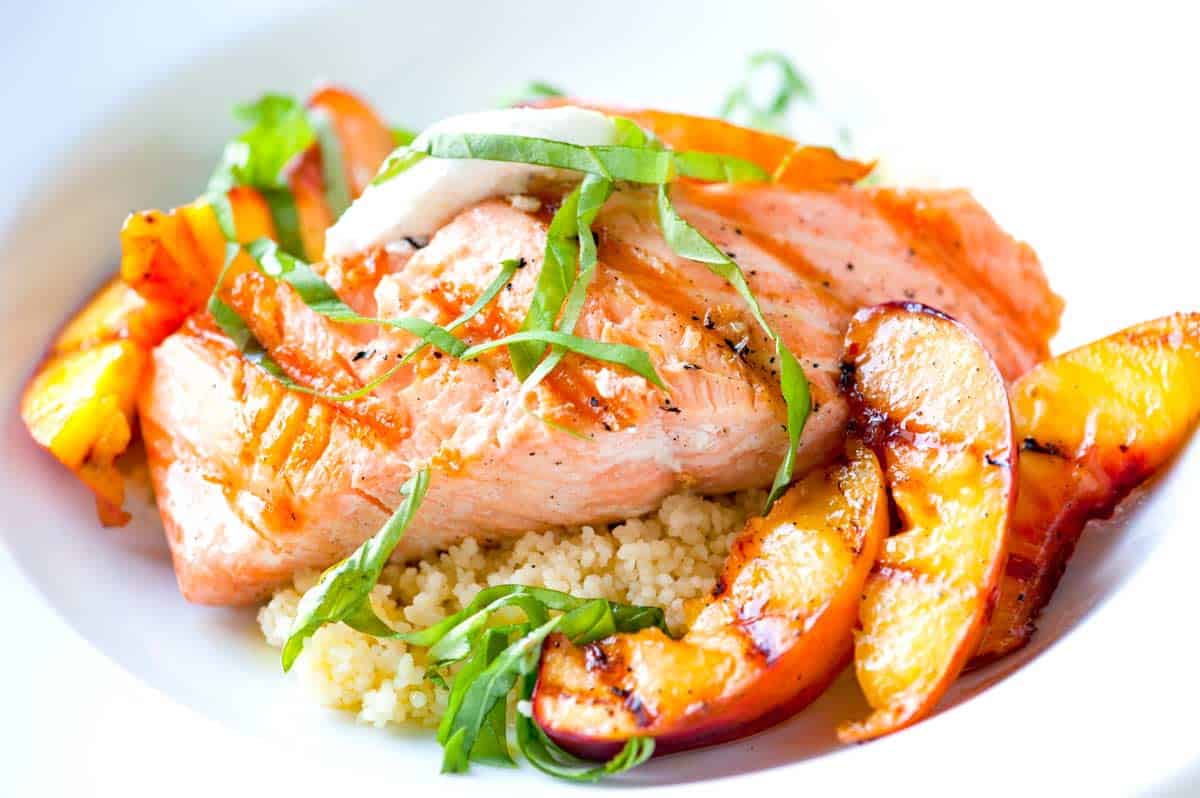
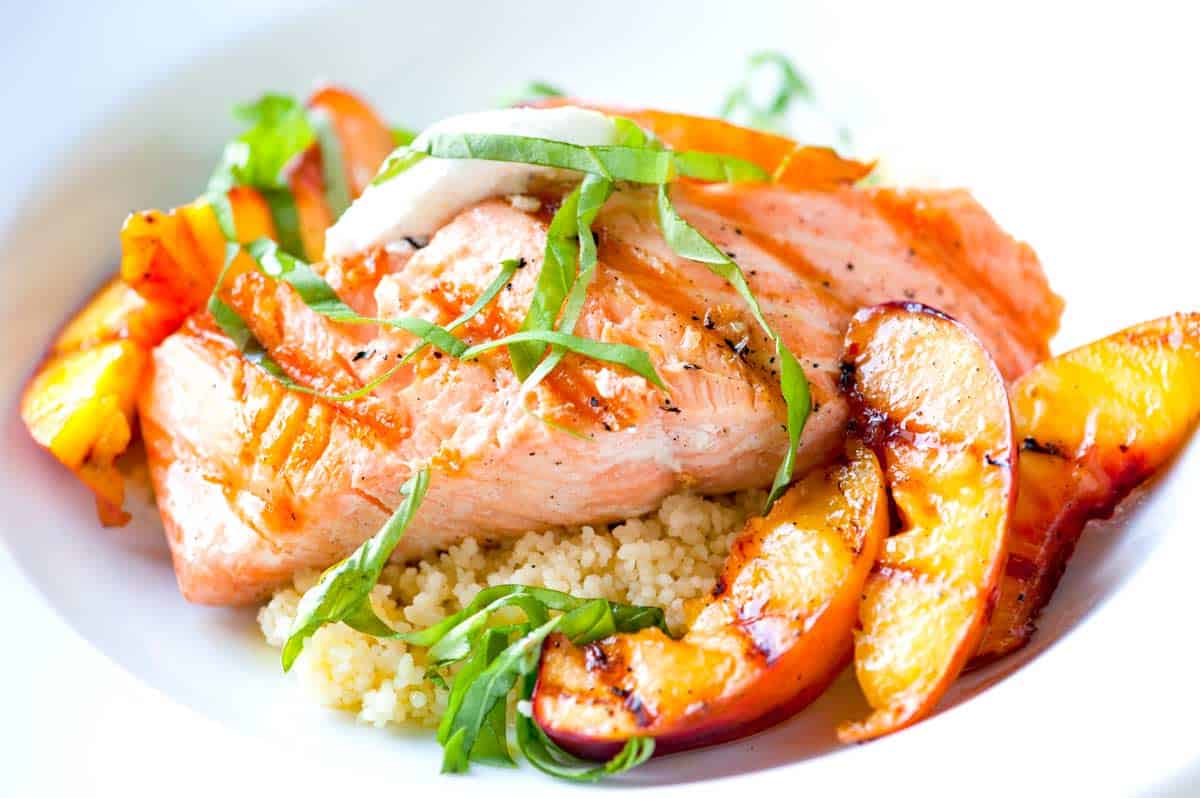
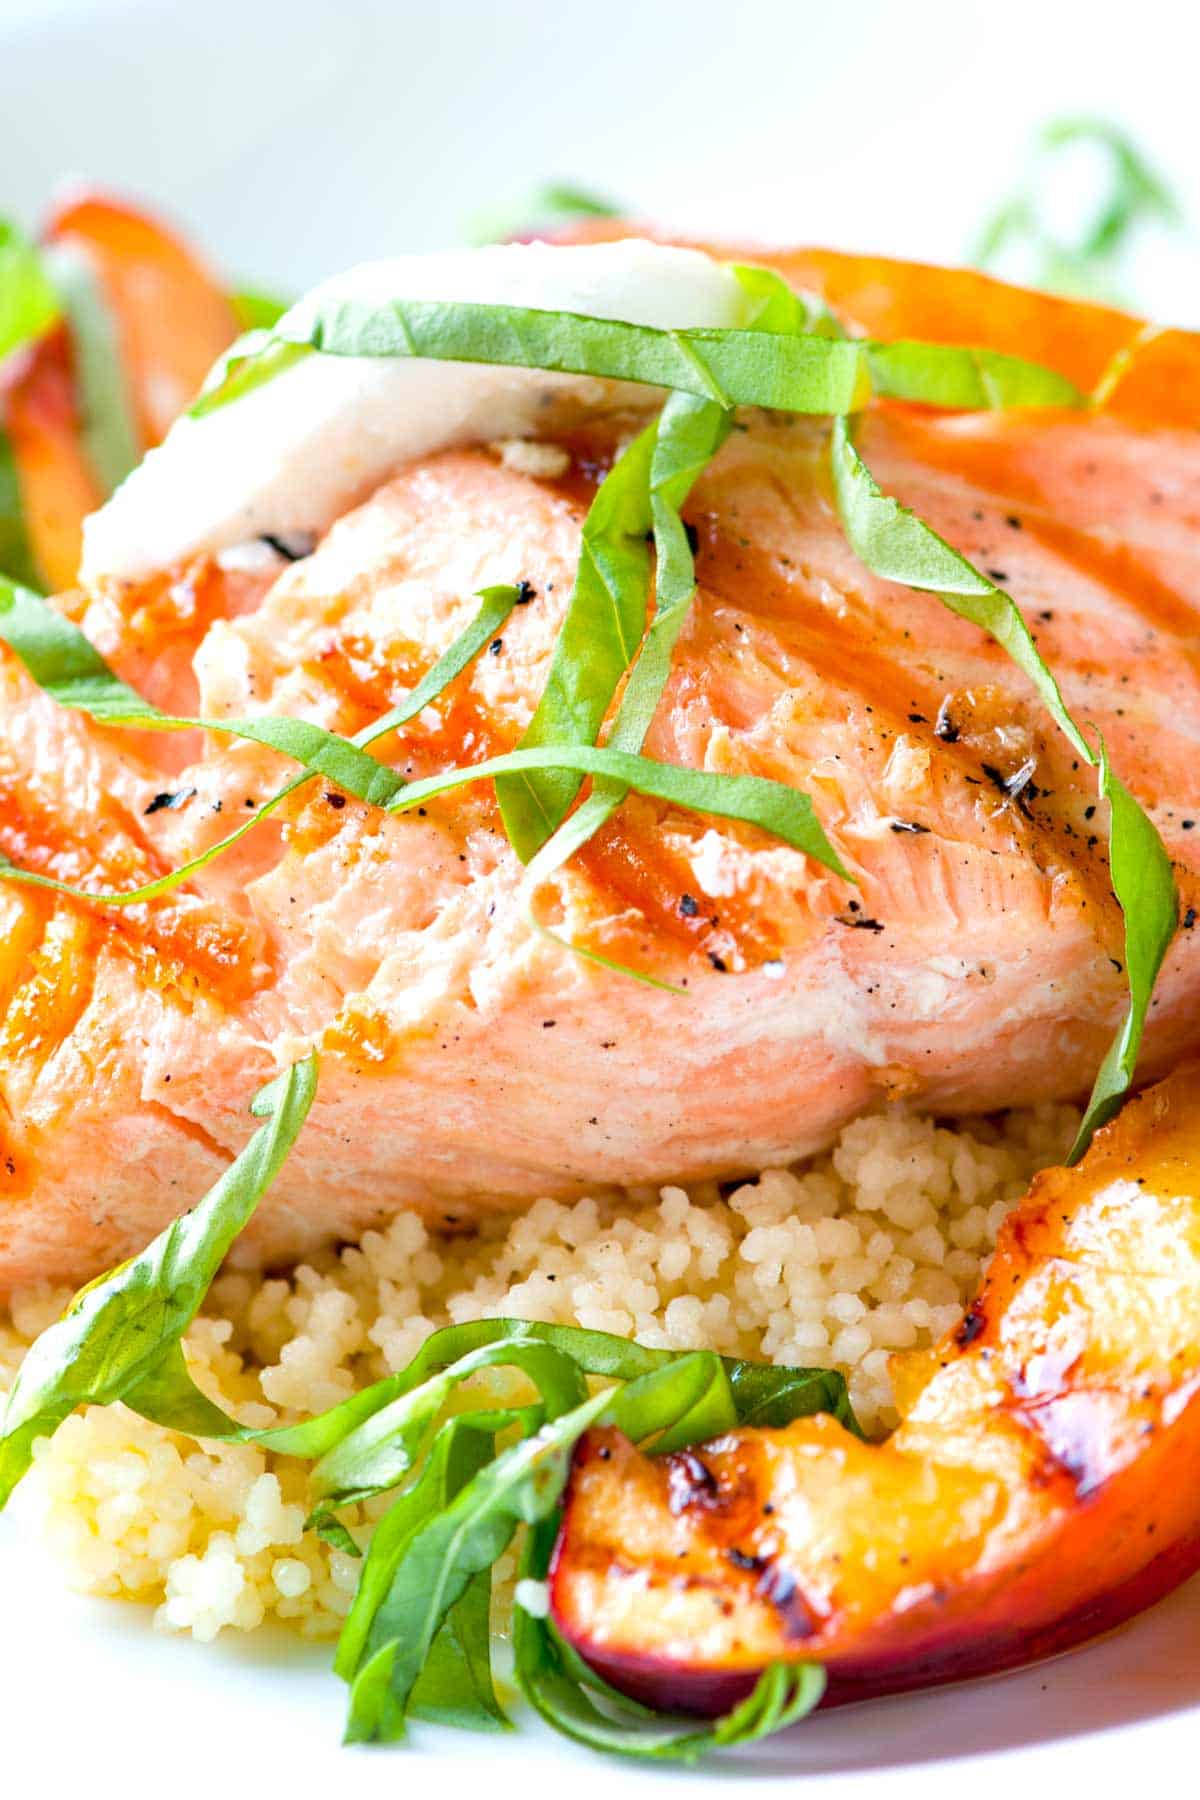
    The salmon is simply grilled — only with salt, pepper and olive oil. That’s okay, though, because we toss nectarines in maple syrup mixed with a pinch of red pepper flakes and grill them. Everything comes together on a bed of couscous with fresh basil and a dollop of goat cheese on top.

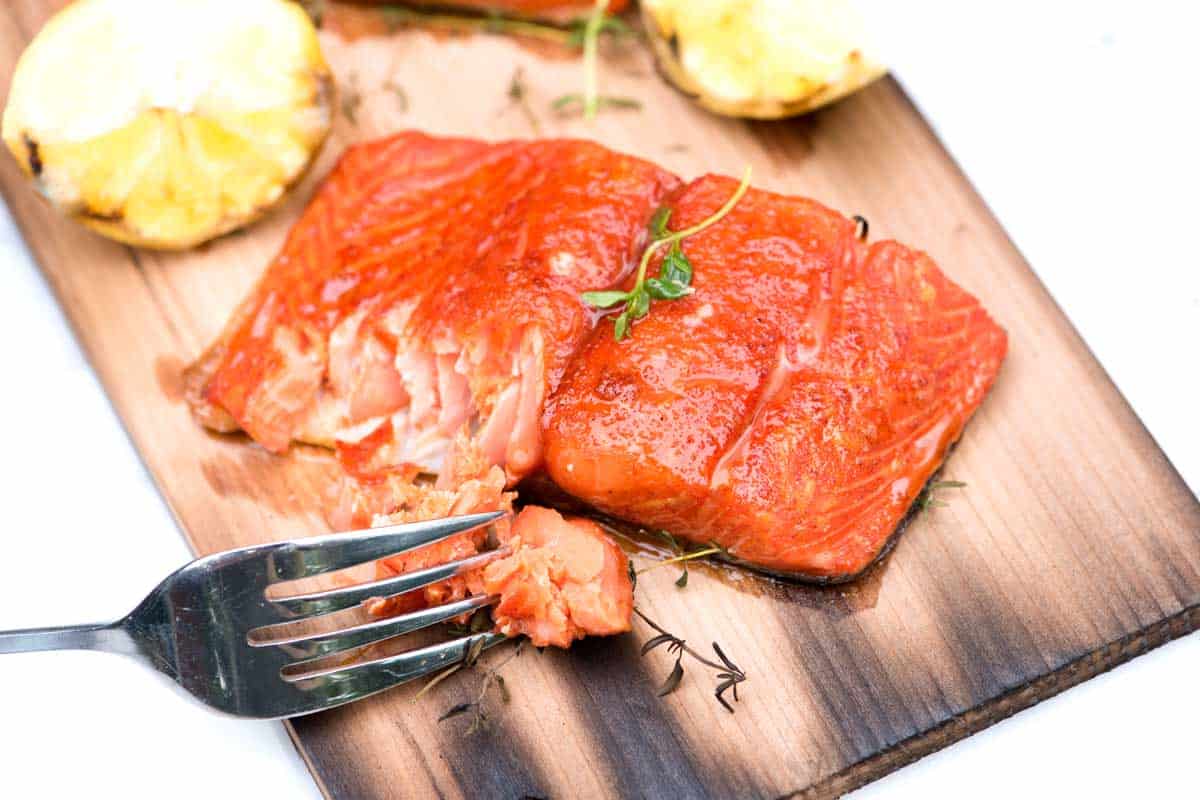
    Cedar Plank Salmon RecipeYOU MAY ALSO LIKE: Grilling salmon on a cedar plank is genius. If you haven’t tried it, let me tell you, you need to. Jump to the Sweet Citrus Cedar Plank Salmon Recipe.
    How to Cook Salmon and Nectarines on the Grill

    You can grill salmon one of two ways — outside or indoors using a cast iron grill pan.

    How to Cook Salmon and Nectarines on the Grill

    If you are outside, prepare the grill for cooking over medium-hot charcoal or moderate heat for gas grills. For an indoor cast iron grill pan it should be lightly oiled, well-seasoned and over medium-high heat.

    To prepare the salmon, rub with a little olive oil then season with salt and pepper. Grill the salmon, 5 to 6 minutes on each side (depending on thickness).

    Grilling nectarines

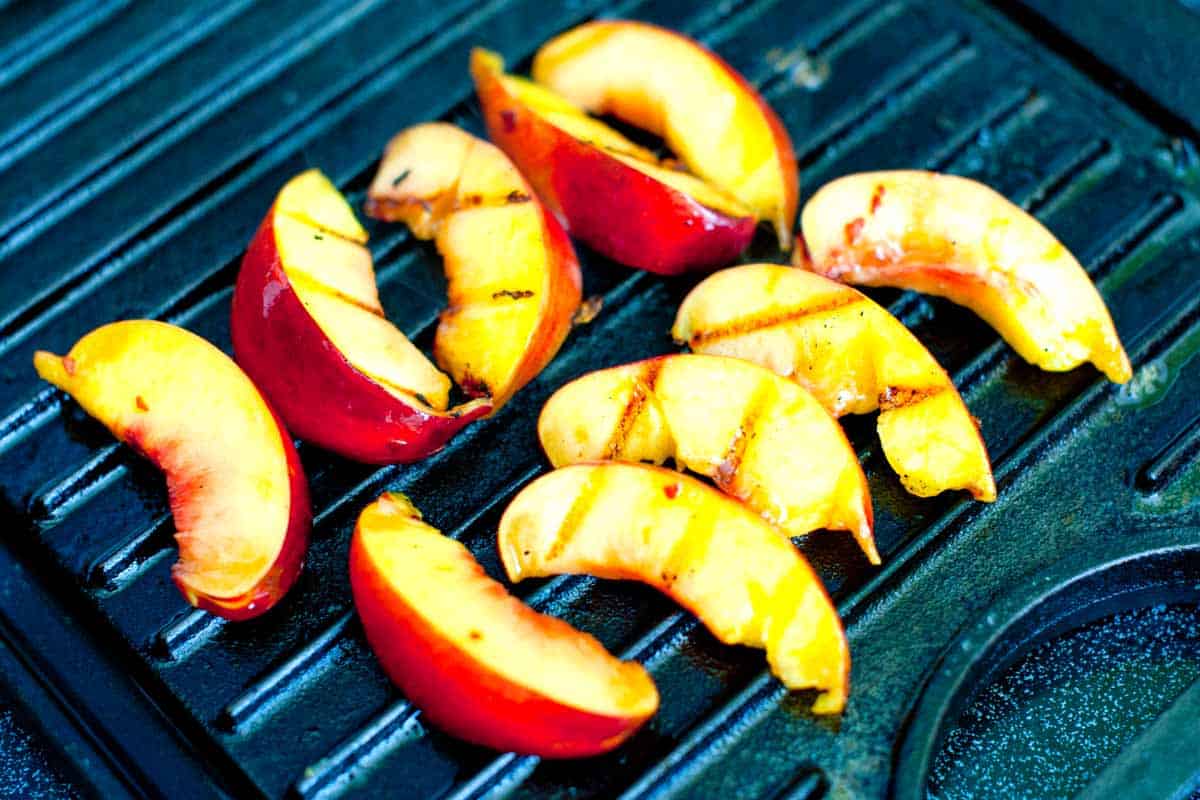
    While the salmon grills, thrown on some nectarines or peaches. To grill them, remove the pit then cut into wedges. Toss with a little olive oil then add some maple syrup and a pinch of red pepper flakes — this makes them a little sweet with a spicy kick.

    Throw them onto the grill and cook until you begin to see grill marks and they are warmed through — about 2 minutes on each side.

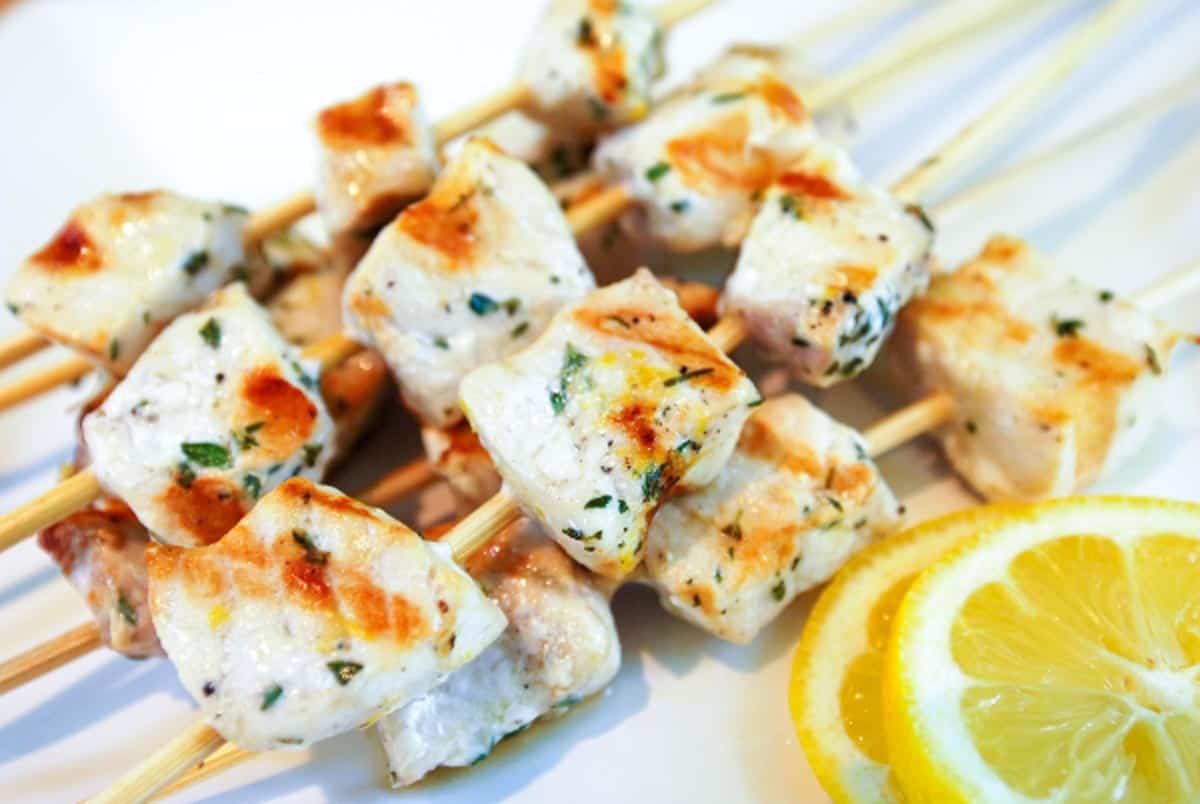
    Lemon Pepper Grilled Swordfish KabobsYOU MAY ALSO LIKE: How to make perfectly marinated and grilled swordfish kabobs with lemon, pepper and thyme. Jump to the Lemon Pepper Grilled Swordfish Kabobs Recipe.

    Recipe updated, originally posted September 2011. Since posting this in 2011, we have tweaked the recipe to be more clear. – Adam and Joanne

    Grilled Salmon Recipe with Nectarines and Goat Cheese

    • PREP
    • COOK
    • TOTAL

    The nectarines can be replaced with peaches or other stone fruit (apricots would be lovely).

    Makes 2 servings

    You Will Need

    2 salmon fillets, six ounces each

    Olive oil

    Salt and fresh ground black pepper

    1 medium nectarine, pit removed and cut into wedges

    1 tablespoon maple syrup

    1/4 teaspoon crushed red pepper flakes

    1 cup cooked  couscous or rice

    2 ounces fresh goat cheese

    Handful basil leaves, chopped

    Directions

      1Prepare a grill for cooking over medium heat. (If using outdoor grill, it needs to have very clean grates). If grilling inside, heat a lightly oiled, well-seasoned grill pan over medium-high heat.

      2Wipe salmon fillets dry with paper towels. Brush on both sides with olive oil. Season with salt and black pepper. Grill the salmon, turning once and cooking for five to six minutes on each side, or until it can easily be flaked with a fork. (If you have one, take the salmon off the heat when an internal thermometer reads 135 degrees F).

      3Meanwhile, toss nectarine wedges with a teaspoon of olive oil, the maple syrup and crushed red pepper flakes. Place onto the grill and cook until warmed through and grill marks appear, about 2 minutes on each side.

      4Serve salmon on a bed of rice or couscous topped with grilled nectarines, a few crumbles of goat cheese and fresh basil.

    Adam and Joanne’s Tips

    If you make this recipe, snap a photo and hashtag it #inspiredtaste — We love to see your creations on Instagram and Facebook! Find us: @inspiredtaste


    AUTHOR:

    Joanne Gallagher

    Adam and Joanne of Inspired Taste

    We are Adam and Joanne Gallagher, the creators of Inspired Taste. Established in 2009, Inspired Taste grew from a childhood dream into one of the internet’s most trusted recipe sites with hundreds of reliable recipes, step-by-step videos, and expert tips.More About Us


    Source link

  • Orange Teriyaki Baked Salmon

    Orange Teriyaki Baked Salmon

    This orange teriyaki baked salmon with red onions is a delicious, healthy dinner meal. This salmon recipe is Paleo, Whole30, and gluten-free friendly and can be served with a side of vegetables, salad or with rice if desired. This post has recently been updated!


    Jump to: ℹ️ Overview | 🛒 Ingredients | 📷 How To Make | 🥗Serving Suggestions | 📝 Go To Full Recipe | 🐟 More Salmon & Fish Recipes


    Orange Teriyaki Baked Salmon

    One of my favourite quick and easy dinners is a tray of baked salmon served alongside a large salad or some stir-fried vegetables. For this delicious meal, I made orange teriyaki sauce, which works beautifully with the fatty salmon.

    I love adding red onions rings both for the flavour and because they make this dish look so pretty when it comes out of the oven. I think it’s the purple against the bright orange colour, and the juxtaposition of the geometrical shapes.

    This teriyaki baked salmon is super easy to make and I know you will love it!\

    You may also like my Mediterranean fish with white bean purée.

    Making Orange Teriyaki Salmon

    You can use salmon fillets or steaks in this recipe, with or without the skin. In fact, any other type of fish will work well with the orange teriyaki sauce (as would shrimp or chicken). In this recipe, I only cooked two fillets but you can easily fit 4-6 on a baking tray, simply double up the sauce ingredients.

    The sauce is super versatile and you can use it on chicken wings or pork skewers. You can also check out my go-to paleo stir-fry sauce, which is similar to this. 

    For other lovely salmon recipes, check out this baked Salmon Loaf with cucumber and dill salad, or my Japanese baked salmon balls.

    What To Serve With Teriyaki Salmon

    I served this baked salmon with a simple stir-fry of Chinese cabbage and carrots with some garlic, lemon juice and sesame oil. I also like to serve some pickled radish or ginger.

    You can also make a batch of my coconut cauliflower rice, or white rice if you desire, or make a simple side salad. If you like the salmon and salad combo, check out my pan-fried salmon with pea radish salad.

    My orange ginger asparagus would be a nice complementary dish as well and if you want something more starchy, try miso sweet potatoes, which you could start baking a little earlier, then finish both at the same time.


    Want to Save This Recipe?

    Enter your email & I’ll send it to your inbox. Plus, get great new recipes from me every week!

    By submitting this form, you consent to receive emails from Cooked & Loved

    A delicious and healthy meal of orange teriyaki salmon baked in the oven with red onions. This baked salmon recipe is gluten-free, Paleo and Whole30 friendly. The recipe below also includes a simple vegetable stir-fry to serve on the side.

    For the stir-fried vegetables

    • Preheat the oven to 200 C / 400 F. Leave the salmon out of the fridge for at least 10 minutes before cooking, to come to room temperature.

    • Place the salmon fillets, skin side down, on a flat baking tray lined with parchment/baking paper. Surround with onion rings, sprinkle with orange zest, sea salt and then drizzle evenly with olive oil.

    • Place the tray in the oven, middle shelf, and cook for 8 minutes. In the meantime, combine the sauce ingredients in a small bowl and whisk together.

    • Remove the salmon from the oven and pour the sauce over the top making sure to cover the salmon and the onions. Fold the edges of the paper inwards, as to prevent the sauce from spilling out. Sprinkle with sesame seeds. Place back in the oven for 7-8 more minutes.

    • While the salmon is finishing cooking, stir-fry the vegetables in a little coconut oil over medium-high heat for 4-5 minutes, stirring frequently. Add garlic, salt, pepper and lemon juice towards the end and stir through. Finally, drizzle and stir through the sesame oil.

    • Serve salmon alongside the veggies for a tasty, healthy dinner.

    Tamari is a gluten-free soy sauce. You can also use coconut aminos.
    Nutrition label below is for salmon with onions and sauce with a veggie side. Actual macros may vary.

    Calories: 694kcal | Carbohydrates: 38g | Protein: 47g | Fat: 40g | Saturated Fat: 11g | Polyunsaturated Fat: 10g | Monounsaturated Fat: 17g | Cholesterol: 110mg | Sodium: 2108mg | Potassium: 1895mg | Fiber: 6g | Sugar: 18g | Vitamin A: 7350IU | Vitamin C: 101mg | Calcium: 264mg | Iron: 4mg

    Keywords: baked salmon, salmon dinner, Salmon Recipes, Teriyaki salmon, orange teriyaki

    More Salmon & Fish Recipes

    Source link

  • Crab Fried Rice | The Recipe Critic

    Crab Fried Rice | The Recipe Critic

    This website may contain affiliate links and advertising so that we can provide recipes to you. Read my disclosure policy.

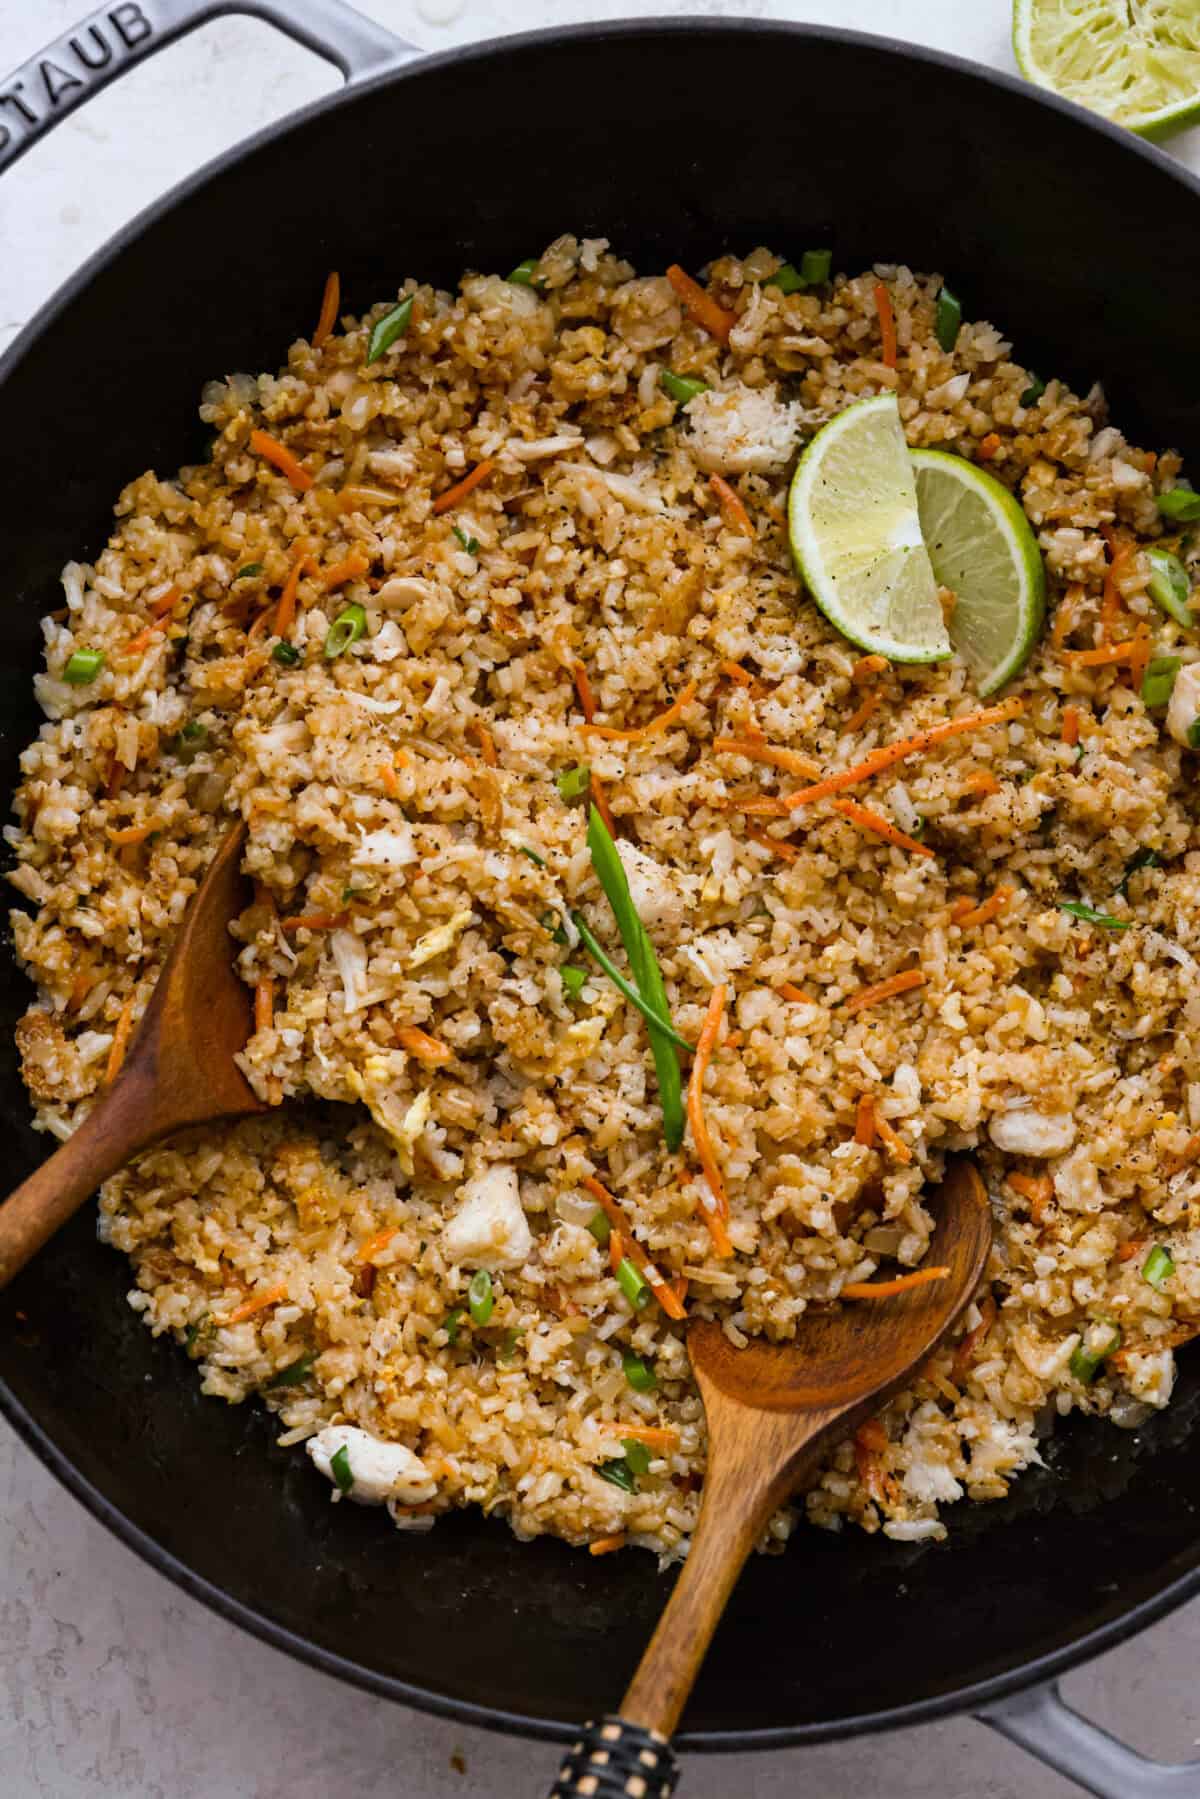
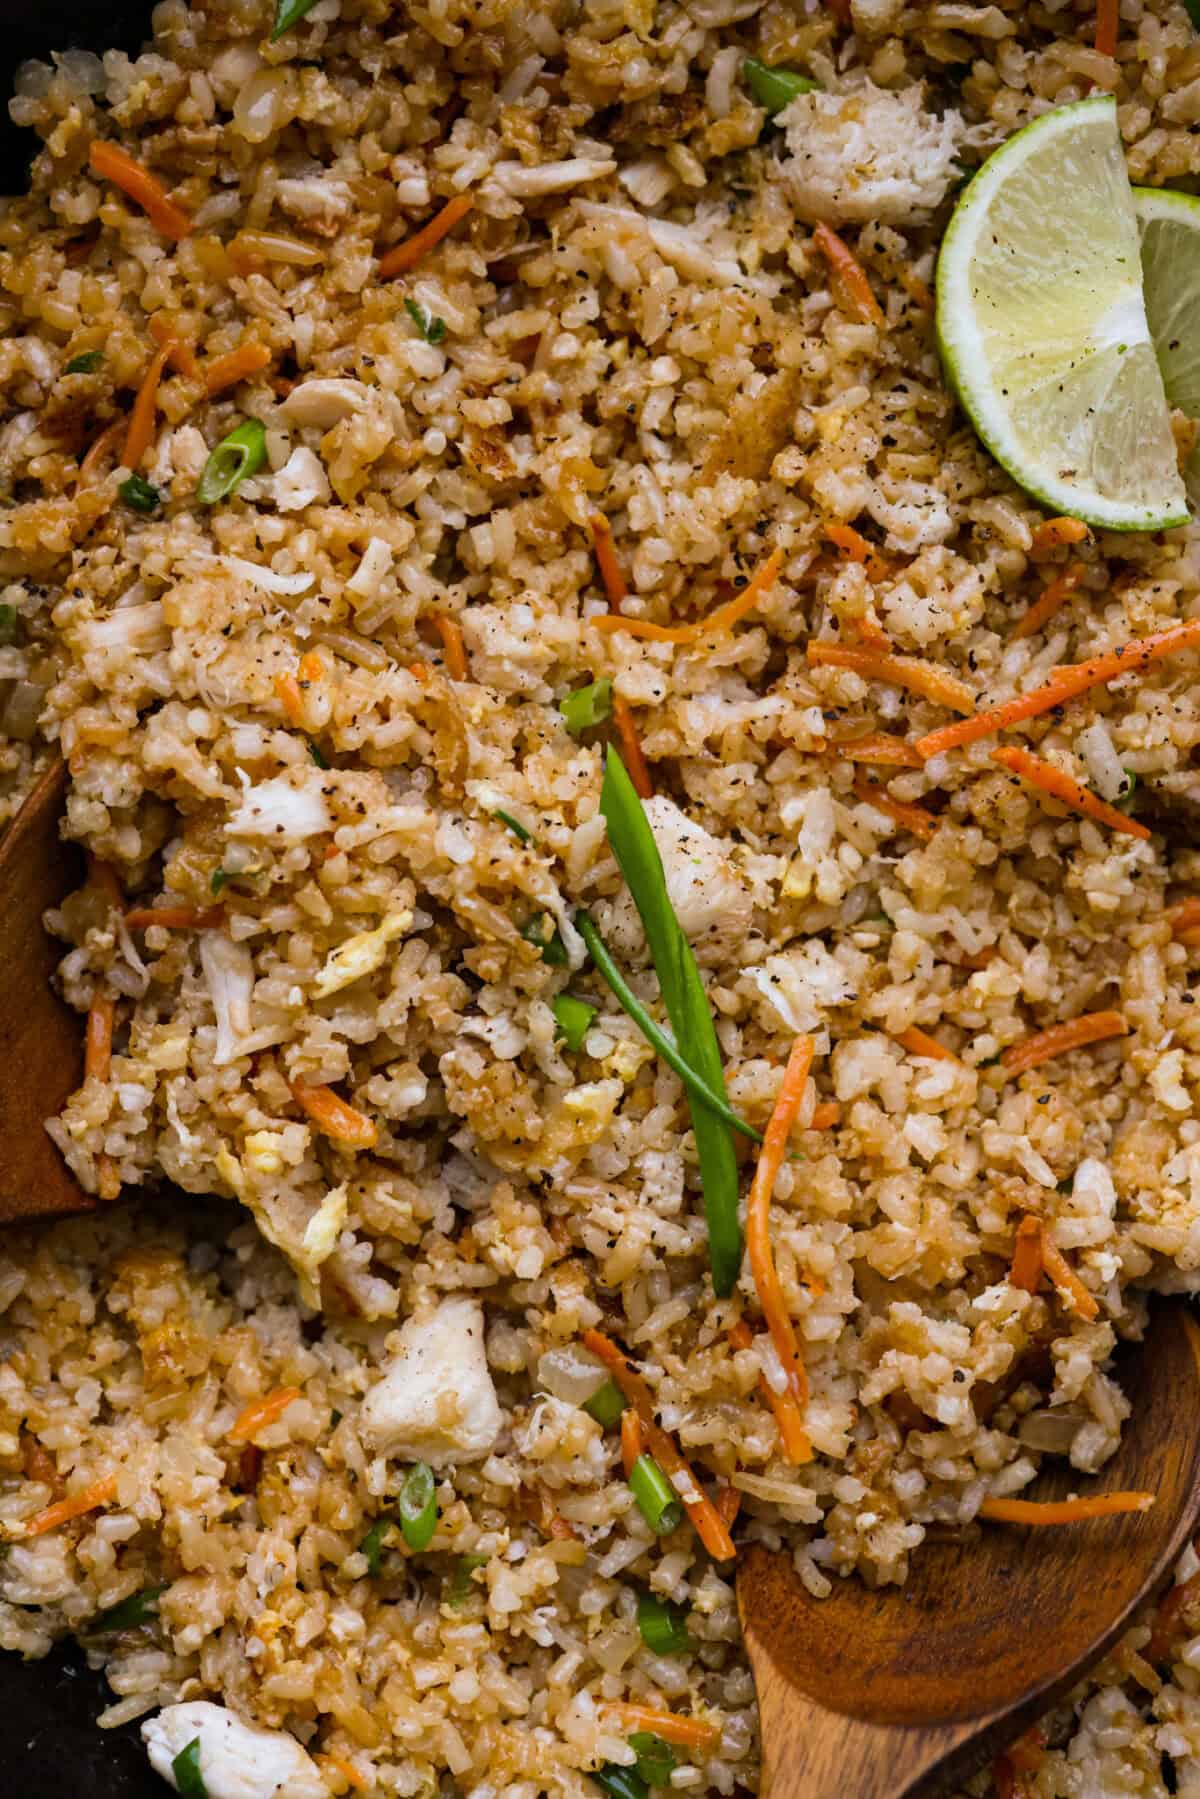
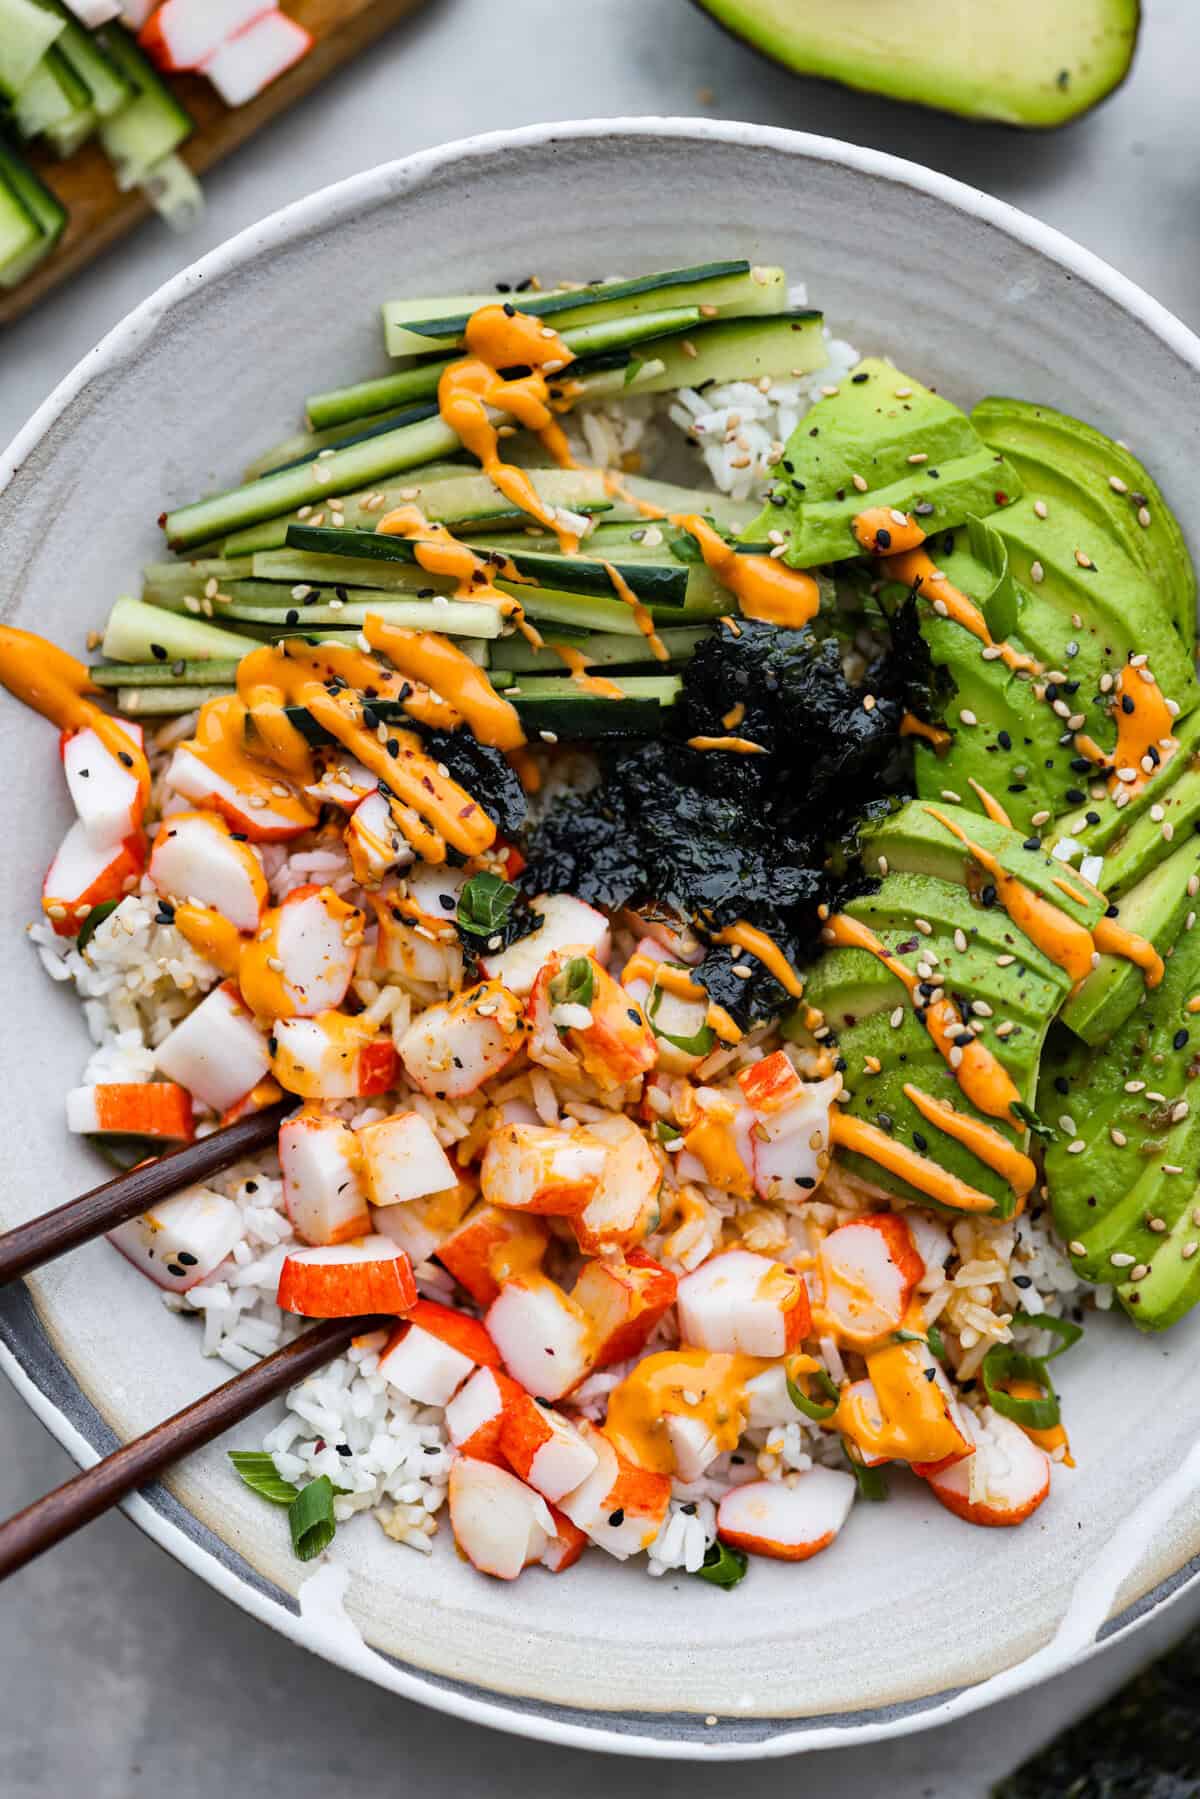
    Delicious crab fried rice comes together in just 25 minutes with simple ingredients and tons of flavor! It combines the sweetness of lump crab meat with the savory flavors of classic fried rice for an endlessly satisfying dish that’s sure to become a family favorite!

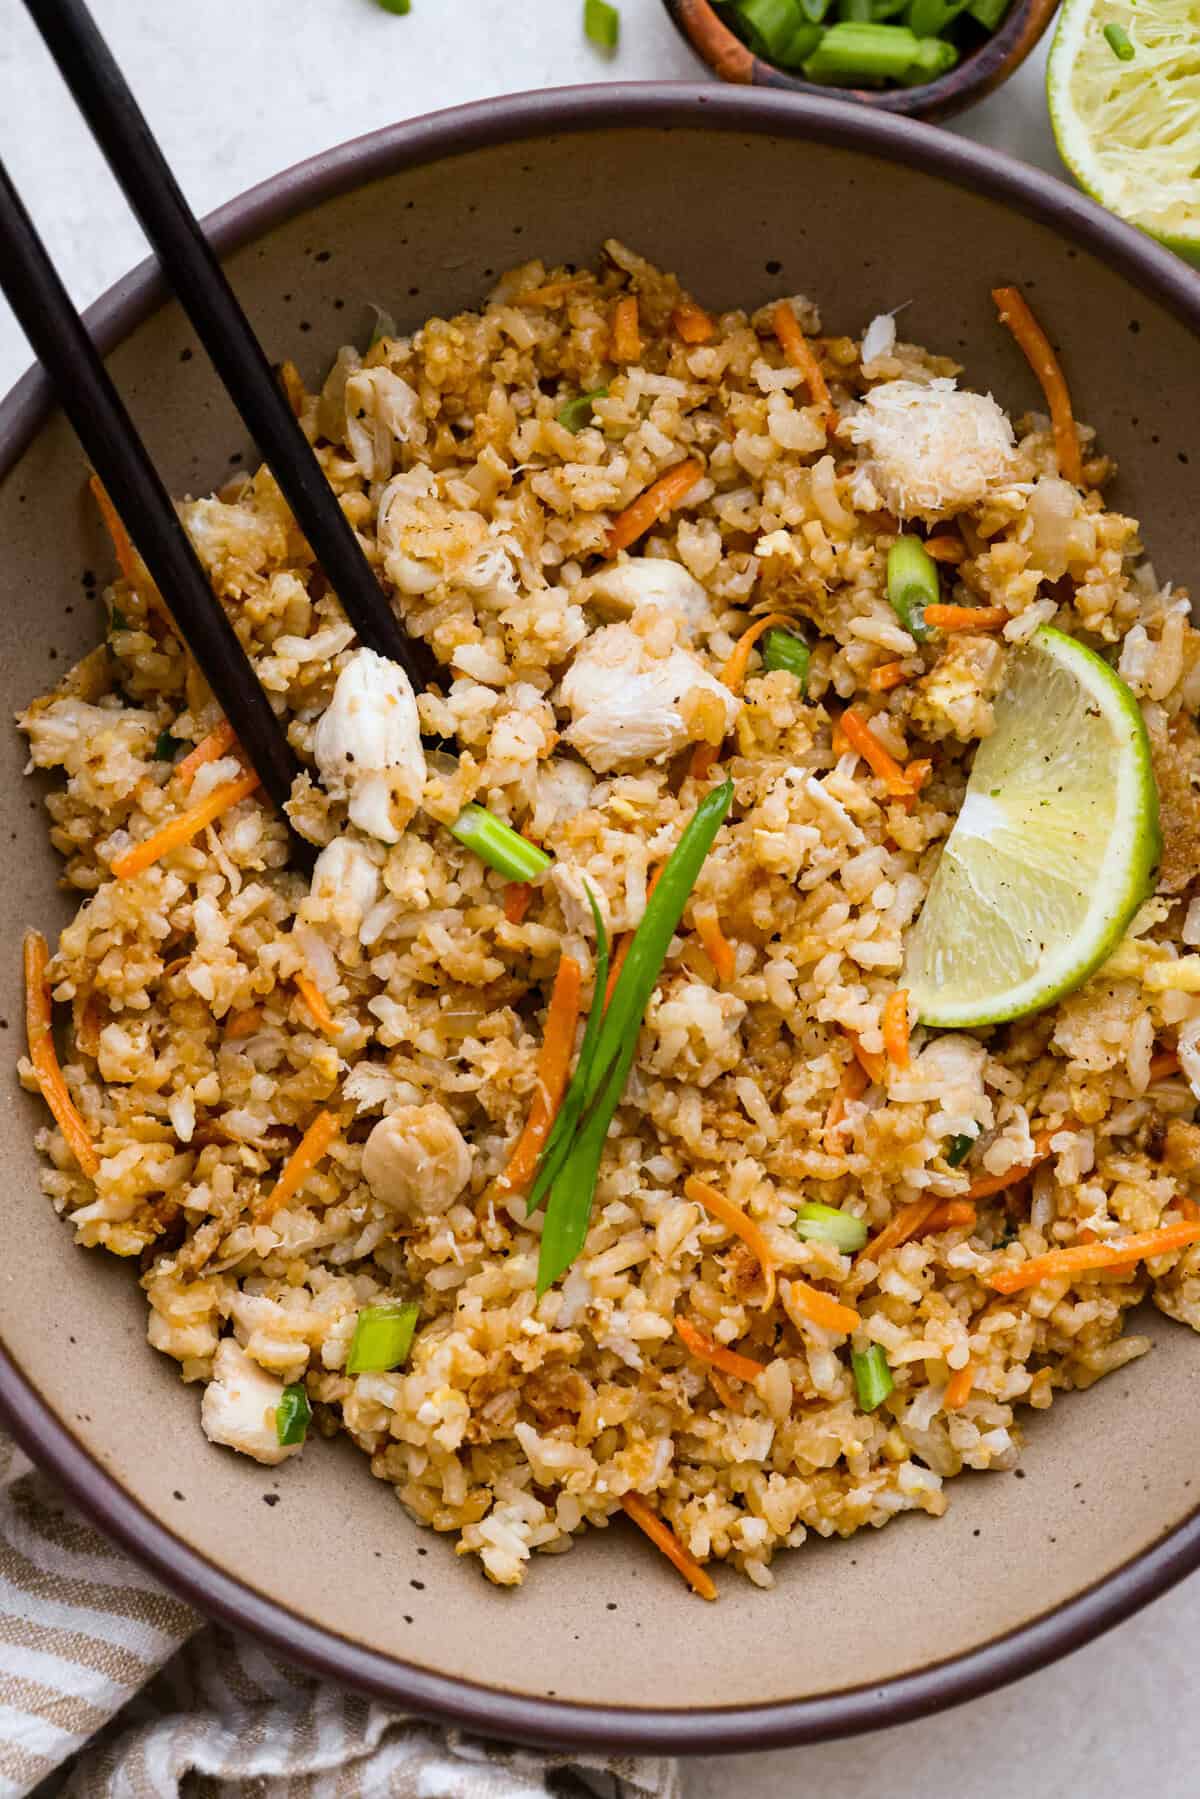
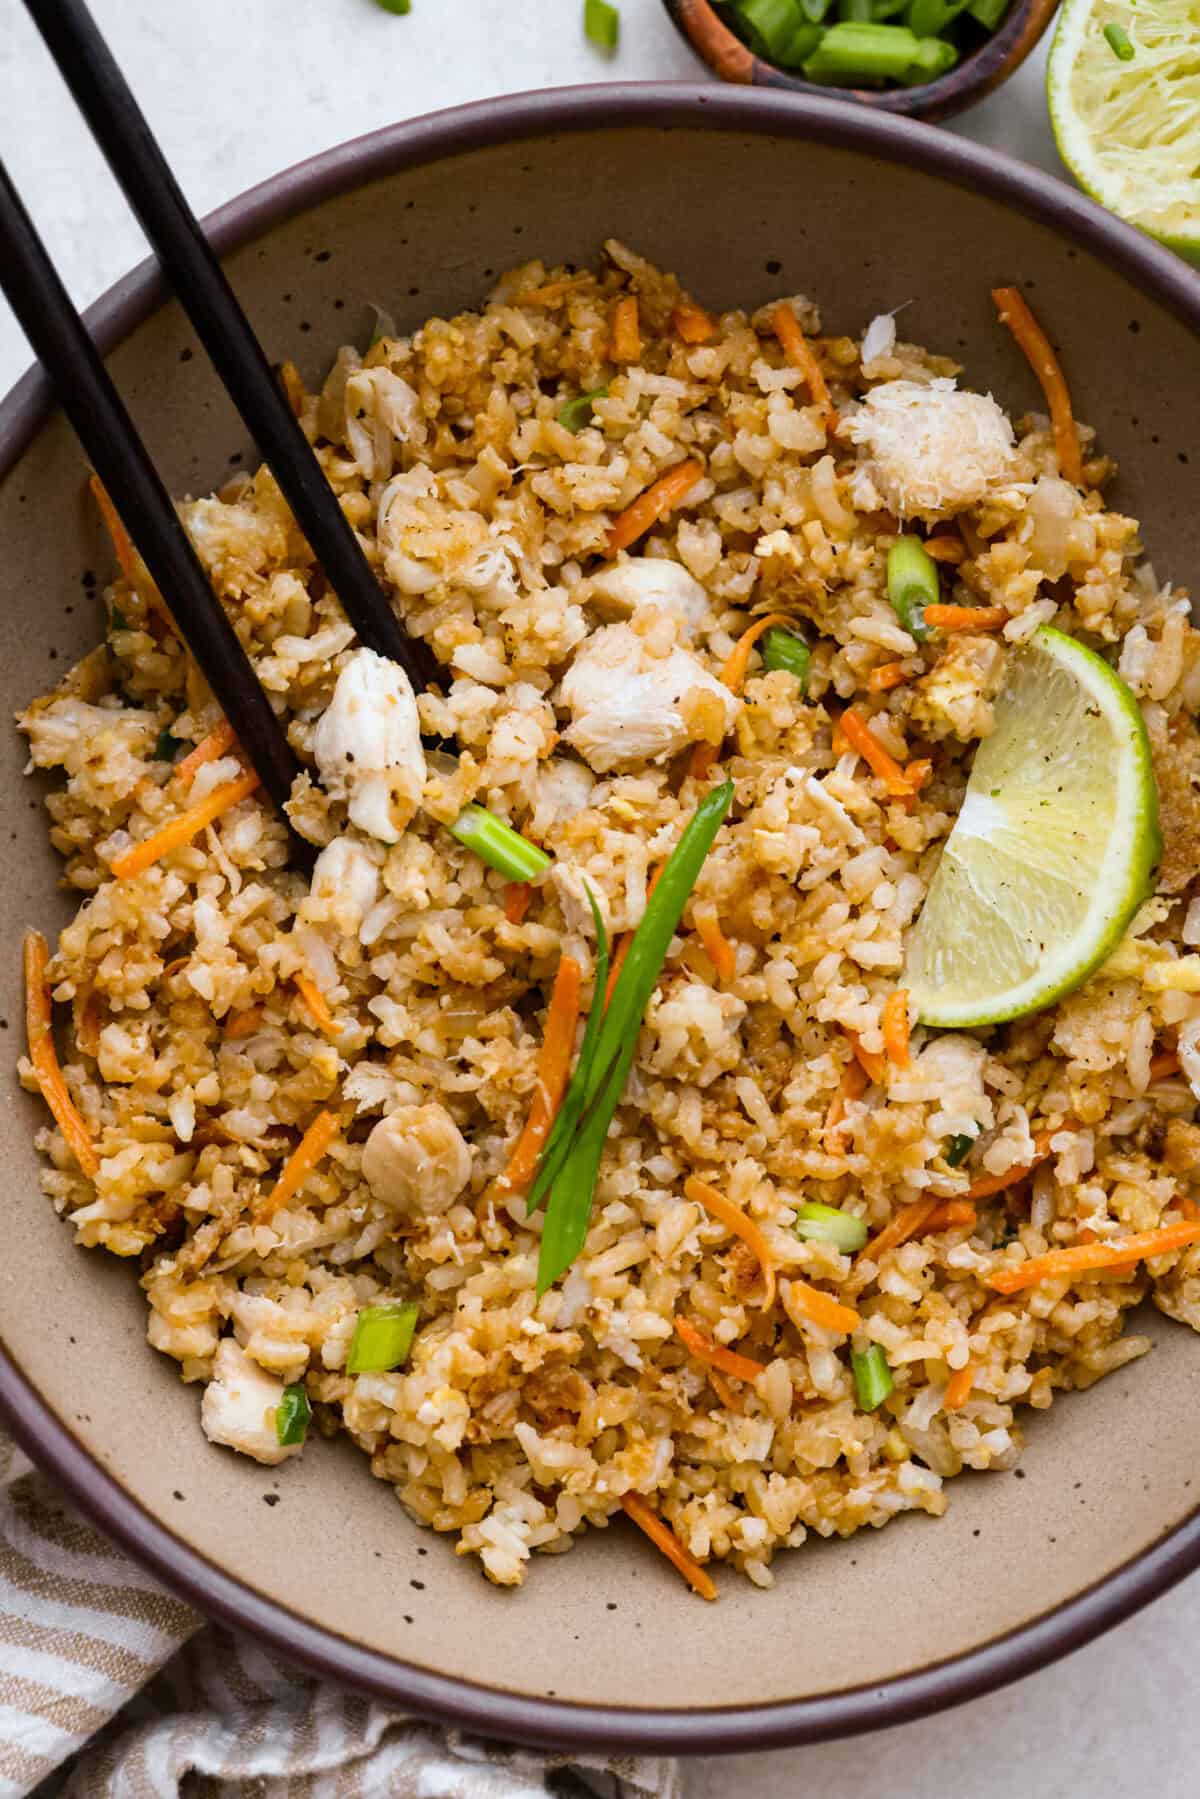
    Overhead shot of a bowl of crab fried rice.

    Reasons You’ll Love This Recipe

    • Irresistible Flavors: Crab fried rice is the perfect blend of convenience and indulgence! With tender lump crab meat, garlic, soy sauce, and a hint of zesty lime juice, every bite bursts with an incredible taste.
    • A Cinch to Make: This quick and easy recipe is great for busy weeknights when you crave a delicious, homemade meal without any hassle.
    • Better than Takeout: Pair this dish with some tasty Asian sides like vegetable dumplings or egg rolls for a divine takeout experience in your own home. To keep things a bit lighter, try this Asian ramen salad.

    Fantastic Fried Rice Recipe

    I LOVE fried rice! And my blog can back that up! I have lots of recipes and variations on the classic. I recently found out that crab meat is an excellent source of protein. It has a similar amount of protein per gram as other meats but is lower in fat. I knew I had to make a recipe using crab meat and wanted to stick to my go-to comfort food, fried rice!

    Ingredients Needed for Crab Fried Rice

    Overhead shot of labeled ingredients.Overhead shot of labeled ingredients.

    How to Make Crab Fried Rice

    Make mealtime a breeze with this easy crab-fried rice recipe! With the extra protein from the crab meat, this dish works as the main course, or you can serve it as a side to an Asian-inspired meal!

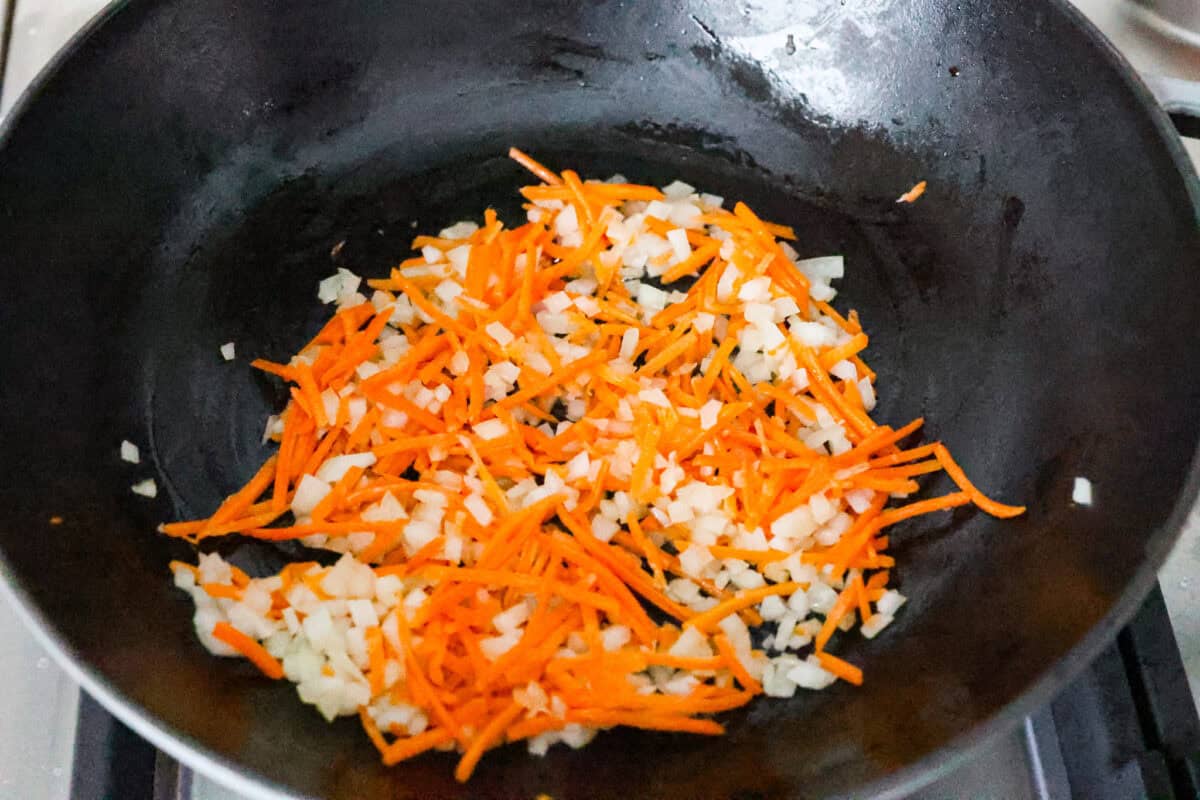
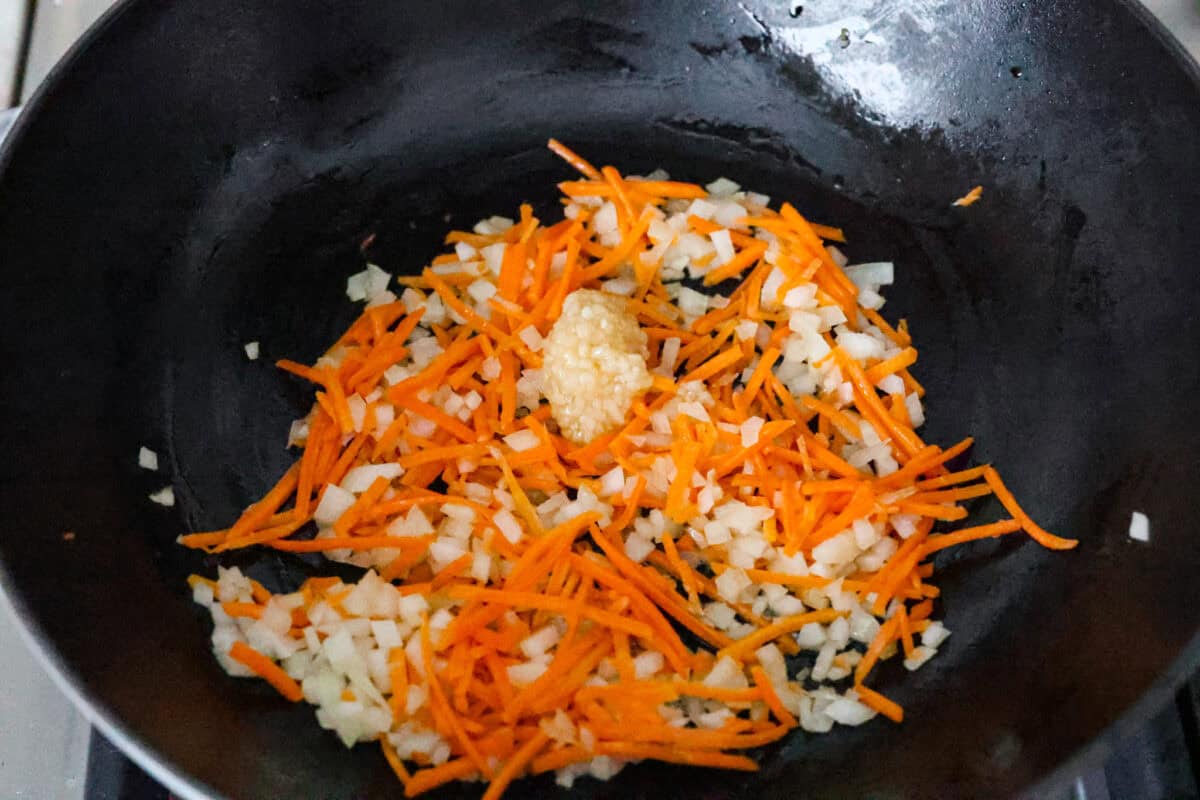
    1. Cook the Veggies: Preheat a large skillet or wok to medium heat, then add the sesame oil, onion, and carrots. Cook until tender. 
    2. Add Garlic: Add the garlic and saute for 30 seconds until fragrant.
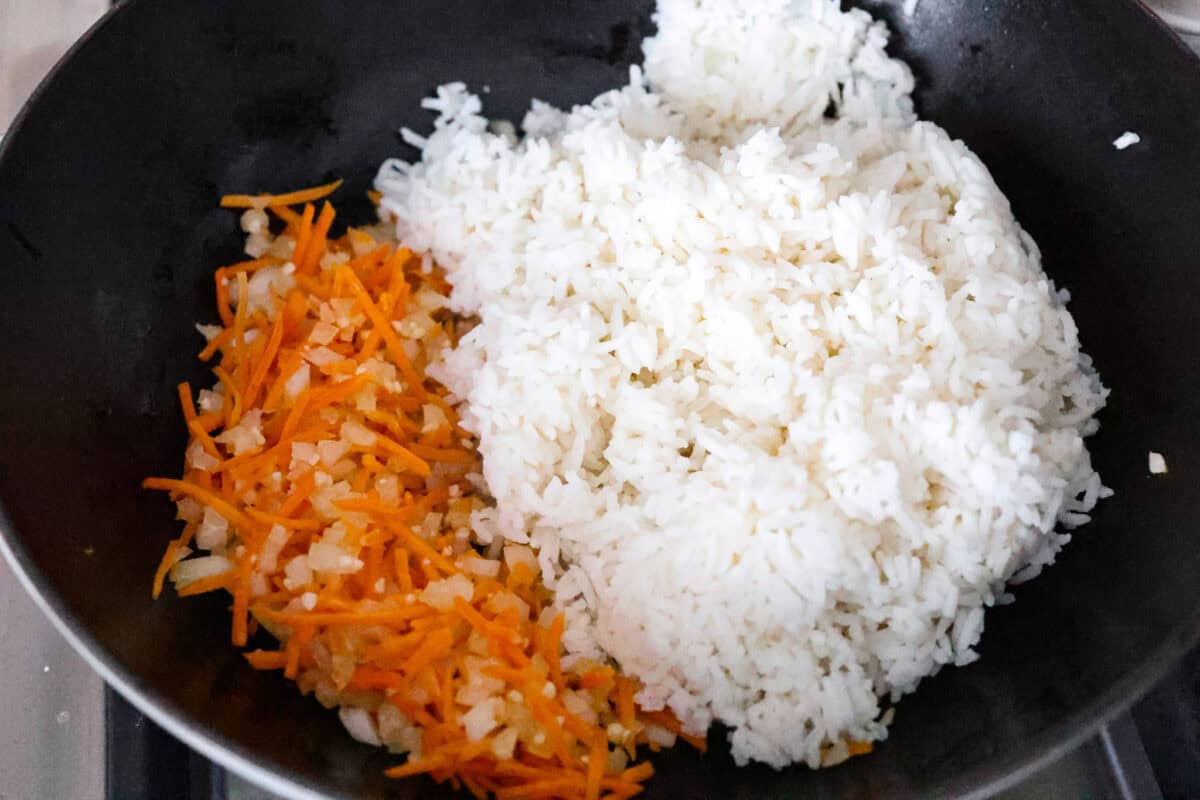
    3. Stir-Fry: Add the cooked white rice to the veggie mixture. Stir and fry the rice and veggie mixture until warmed through and combined. If you like your rice to be more crispy and golden, you can cook it longer.
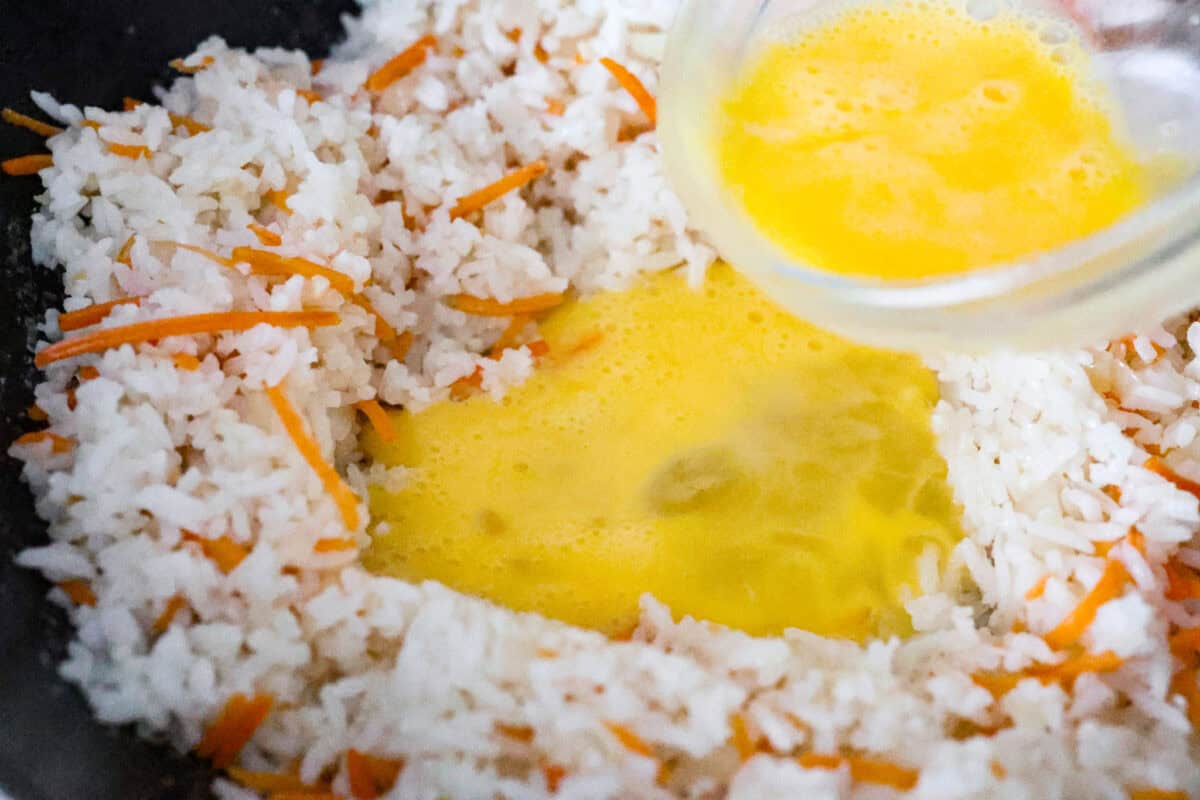
    4. Scramble the Eggs: Create a hole in the middle of the rice and veggie mixture, then add the slightly beaten eggs. Using a spatula, scramble the eggs as they cook. Once cooked, you can then mix the eggs into the rice mixture.
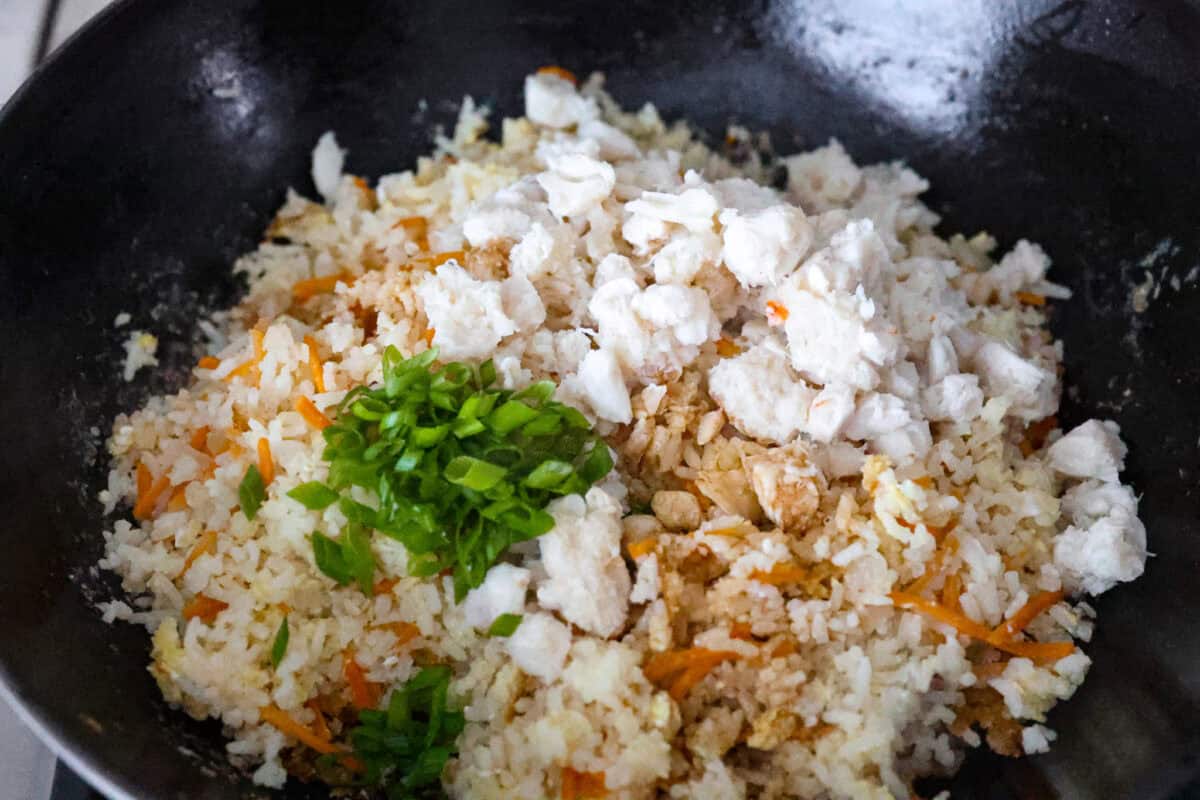
    5. Add: Season with onion powder, salt, and pepper, then add the drained crab meat to the wok. Stir to combine. Then, stir in the soy sauce and squeeze the juice of a lime. Toss to combine. Garnish with green onions and lime wedges, and enjoy!

    Crab Fried Rice Variations

    If you love crab, this recipe for crab fried rice is an easy and delicious way to get your crab fix! You get to add, delete, and switch up the ingredients to make it your own.

    • Can I add more veggies? Yes! Load it up with all the veggies! Try adding diced peppers, sautéed mushrooms, or zucchini. I also love using broccoli, cabbage, green beans, or sugar snap peas. Just clean out your fridge and add all that veggie goodness!
    • What kind of rice can I use? Substitute brown rice or quinoa for the white rice if you desire. You can even make this with cauliflower rice for a low-carb option.
    • Protein: If you don’t love canned crab, cook fresh crab yourself before adding it in! This fried rice recipe is a great base for any protein option! Substitute the crab for bacon, ham, chicken, or tofu.

    Overhead shot of crab fried rice in a wok. Overhead shot of crab fried rice in a wok.

    Storing Leftovers

    This crab-fried rice makes the best leftovers for lunch! It’s a hearty and packed with protein. Make a big batch to store for leftovers and serve with crispy air fryer egg rolls or these chicken potstickers on the side! My kids love it when we have leftovers!

    • In the Refrigerator: Transfer to an airtight container and store in the fridge for up to 4 days.
    • To Reheat: Reheat individual portions in the microwave. Heat in 1- minute intervals, stirring in between should do the trick!

    Close up shot of crab fried rice. Close up shot of crab fried rice.

    More Delicious Crab Recipes

    If you love the flavor of crab as much as I do, be sure to check out all my crab recipes! Here are a few family favorites that are easy and taste amazing!

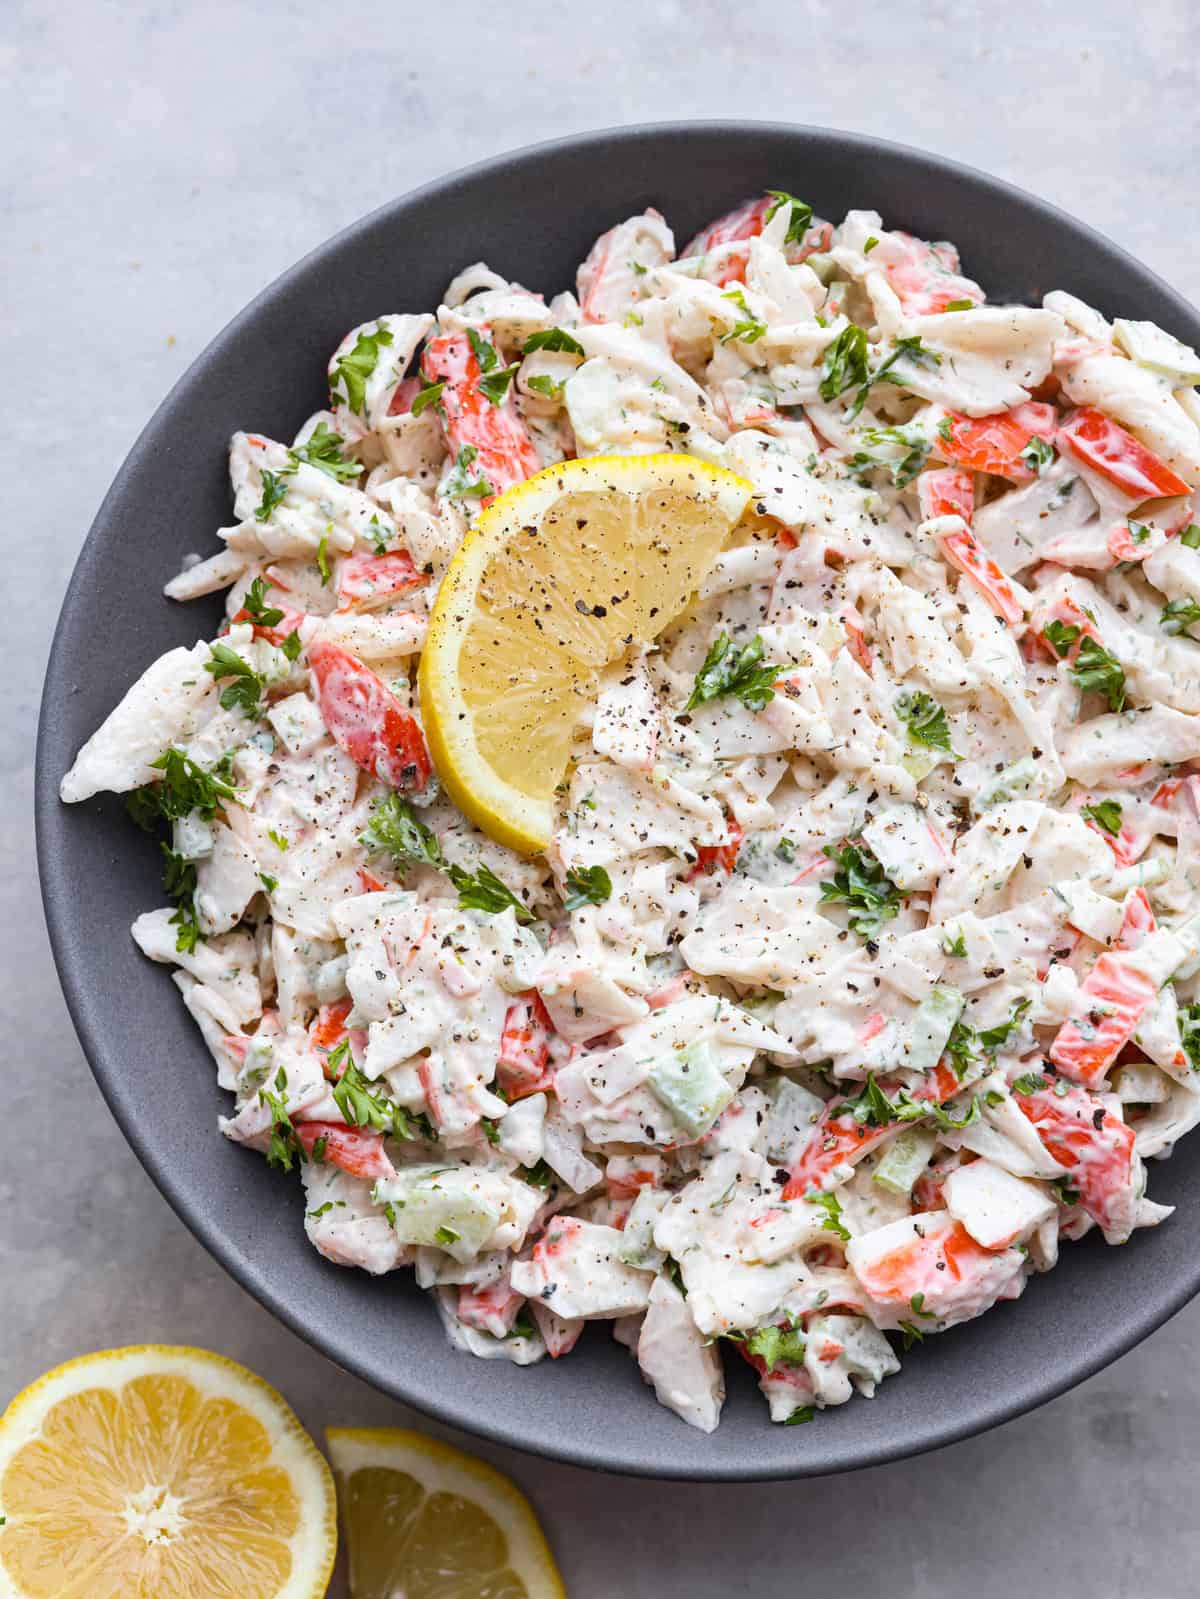
    Crab Salad

    10 minutes

    Crab Rangoon

    50 minutes

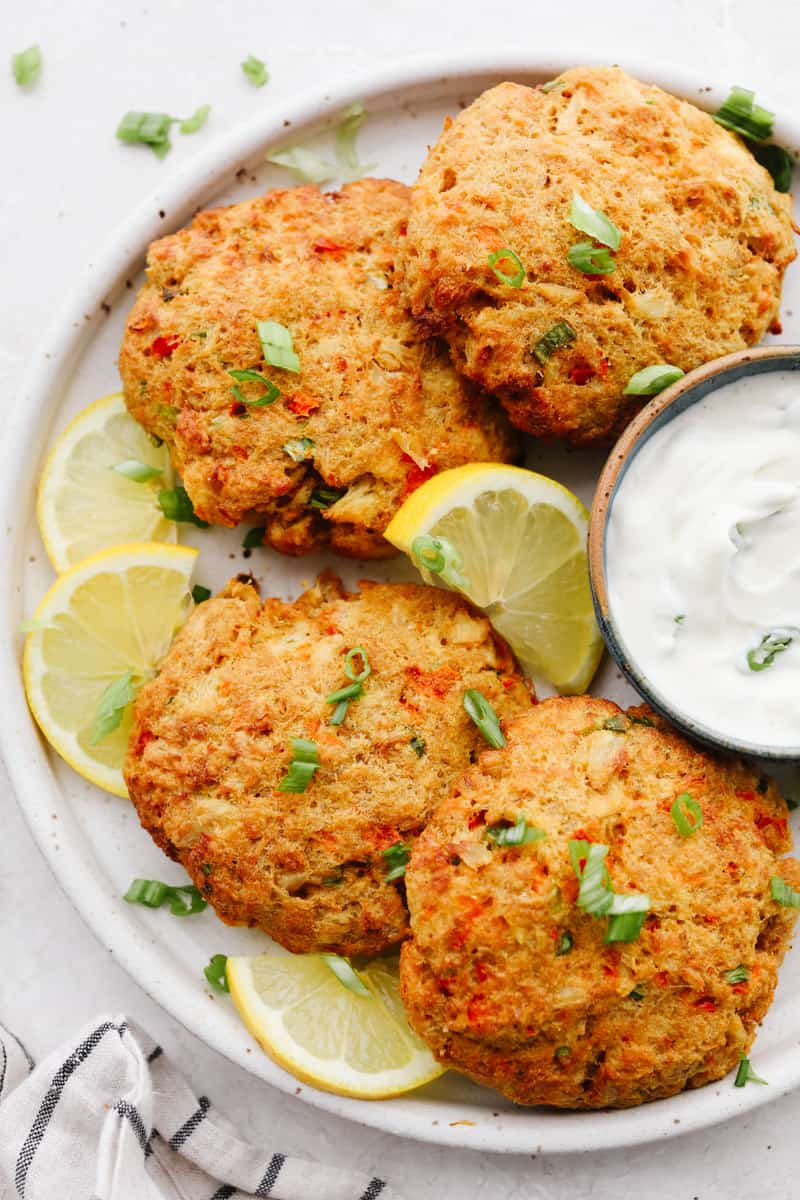
    Air Fryer Crab Cakes

    20 minutes

    Sushi Bowl

    20 minutes

    Pin this now to find it later

    Pin It


    Source link

  • Perfectly Baked Fish Recipe with Scallions and Orange

    Perfectly Baked Fish Recipe with Scallions and Orange

    How to make perfectly baked fish with scallions and orange. Jump to the Baked Fish Recipe with Scallions or read on to see our tips for making it.

    Perfectly Baked Fish Recipe with Scallions and Orange

    We love this easy fish recipe. It doesn’t call for lots of ingredients and is very quick to make. Scallions (or spring onions) are a big part of the recipe. So often we see scallions used as a finishing touch, but they can be used for so much more — they’re mild, not pungent and when you cook them, they turn sweet, gently wilted and tender.

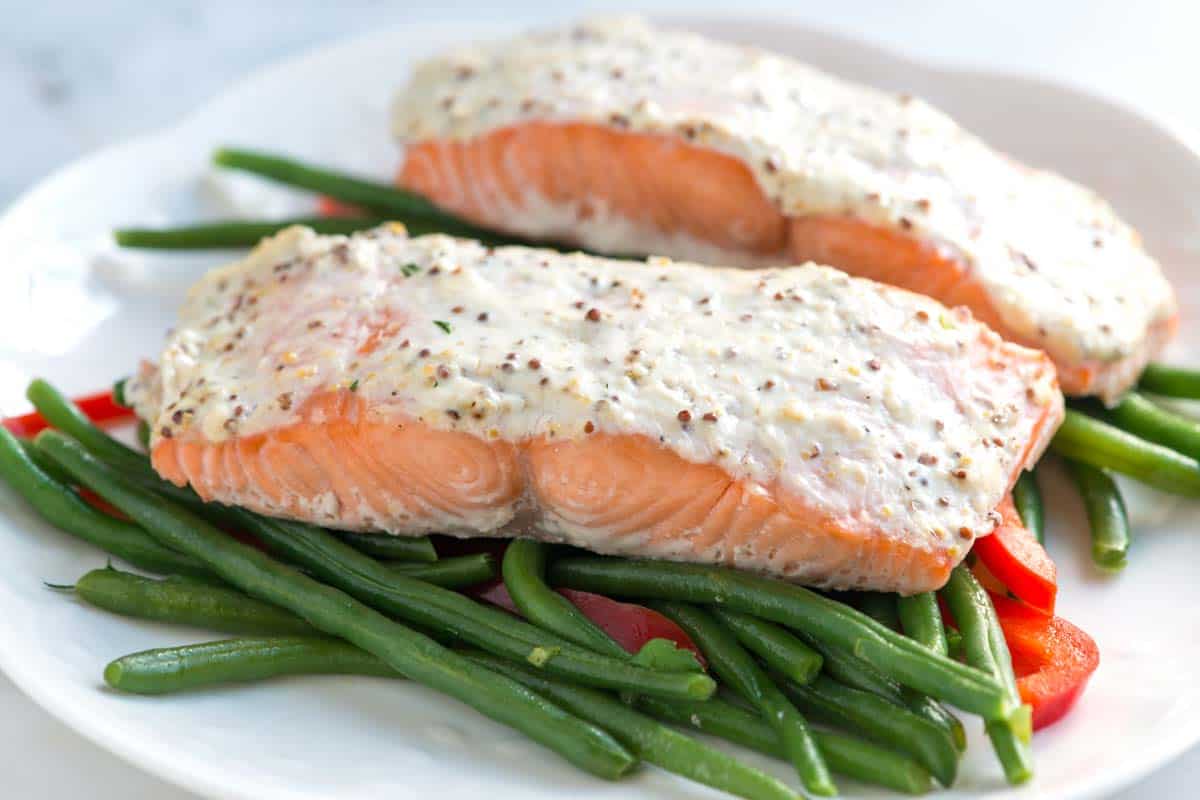
    Sour Cream Baked Salmon RecipeYOU MAY ALSO LIKE: How to make moist and tender baked salmon in less than 30 minutes. Jump to the Sour Cream Baked Salmon Recipe.
    How to Bake Fish with Scallions and Orange

    Look for a firm white fish for this — rockfish, striped bass or halibut are all excellent.

    How to Bake Fish with Scallions and Orange

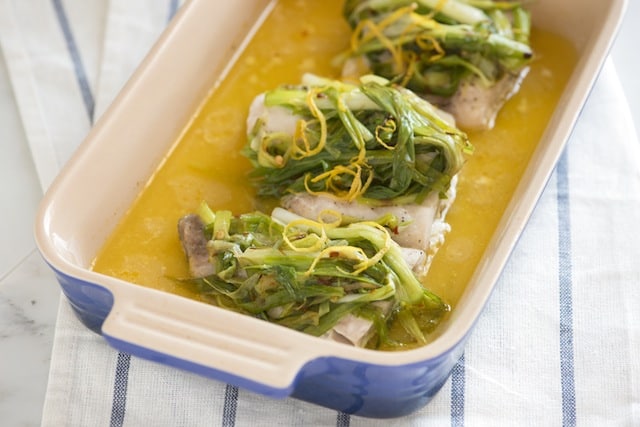
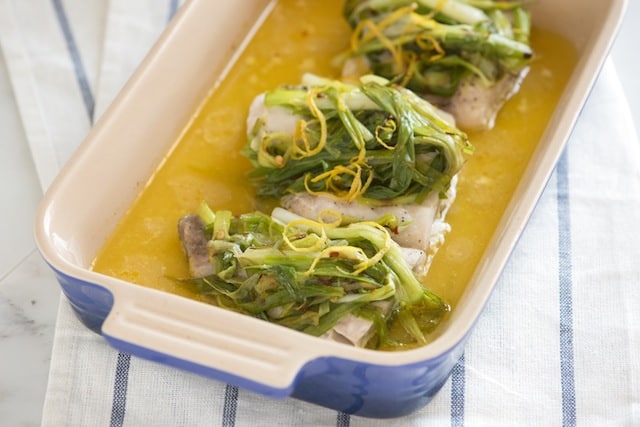
    You will also need scallions, fresh orange juice, red pepper flakes, lemon zest and butter. To make make it, start by cooking thinly sliced scallions until wilted and starting to brown.

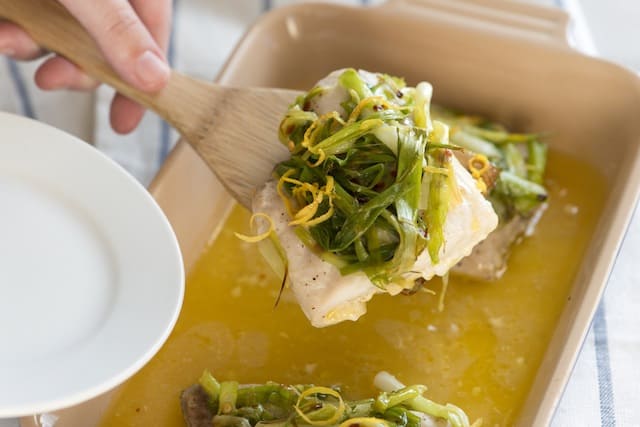
    Season the fish, add to a baking dish, and then top with the cooked scallions. Scatter lemon zest, and a few dabs of butter on top then pour fresh orange juice into the pan. Cover the dish with foil and bake. After about 15 minutes the fish will be perfectly cooked and the butter will have melted down into the orange juice, creating a silky broth.

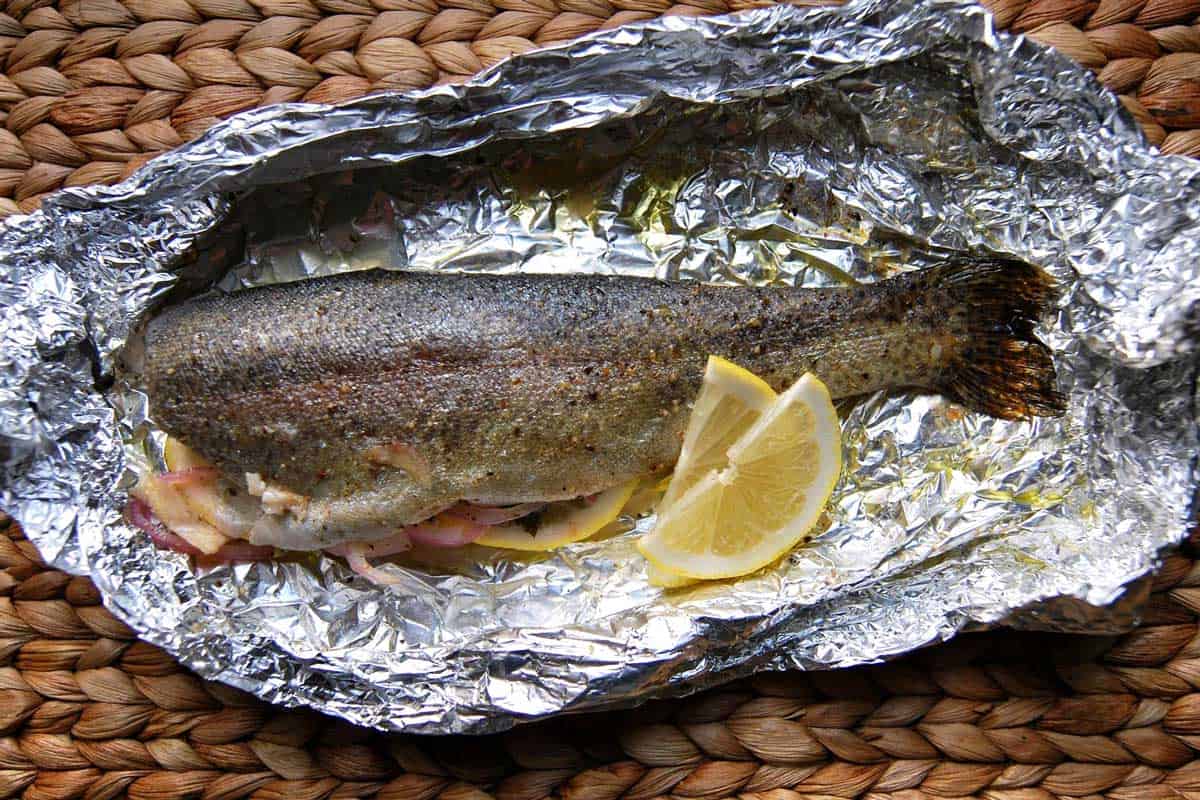
    Oven Baked Trout RecipeYOU MAY ALSO LIKE: How to make oven baked trout in foil packets. Jump to the Easy Oven Baked Trout Recipe.
    Recipe updated, originally posted August 2012. Since posting this in 2012, we have tweaked the recipe to be more clear. – Adam and Joanne

    Perfectly Baked Fish Recipe with Scallions and Orange

    • PREP
    • COOK
    • TOTAL

    If you can, use fresh squeezed orange juice for this. One large orange should do it. For the fish, choose a firm white fish — we particularly like halibut, striped bass and rockfish.

    Makes 4 servings

    You Will Need

    12 scallions

    1 tablespoon extra-virgin olive oil

    1/4 teaspoon crushed red pepper flakes

    4 (6-ounce portions) firm white fish, such as rockfish, striped bass or halibut

    1 tablespoon lemon zest

    1 tablespoon butter

    1/4 cup orange juice

    Salt and fresh ground black pepper

    Directions

      1Heat the oven to 425 degrees F.

      2Discard the first 2 inches from the top of each scallion. Cut scallions in half crosswise and thinly slice them lengthwise into strips.

      3Heat the olive oil in a skillet over medium heat. Add the spring onions, red pepper flakes and a pinch of salt. Cook, stirring occasionally, until the scallions are wilted and begin to brown.

      4Season fish on both sides with salt and fresh ground pepper then place, in one layer, into a baking dish. Divide the cooked scallions between the tops of each piece of fish. Scatter lemon zest over scallions then cut the butter into small squares and place on top.Step 1

      5Pour the orange juice around the fish then cover the pan with aluminum foil. Bake until the fish is opaque throughout, 15 to 18 minutes, depending on thickness of the fish.

    Adam and Joanne’s Tips

    If you make this recipe, snap a photo and hashtag it #inspiredtaste — We love to see your creations on Instagram and Facebook! Find us: @inspiredtaste


    AUTHOR:

    Joanne Gallagher

    Adam and Joanne of Inspired Taste

    We are Adam and Joanne Gallagher, the creators of Inspired Taste. Established in 2009, Inspired Taste grew from a childhood dream into one of the internet’s most trusted recipe sites with hundreds of reliable recipes, step-by-step videos, and expert tips.More About Us


    Source link

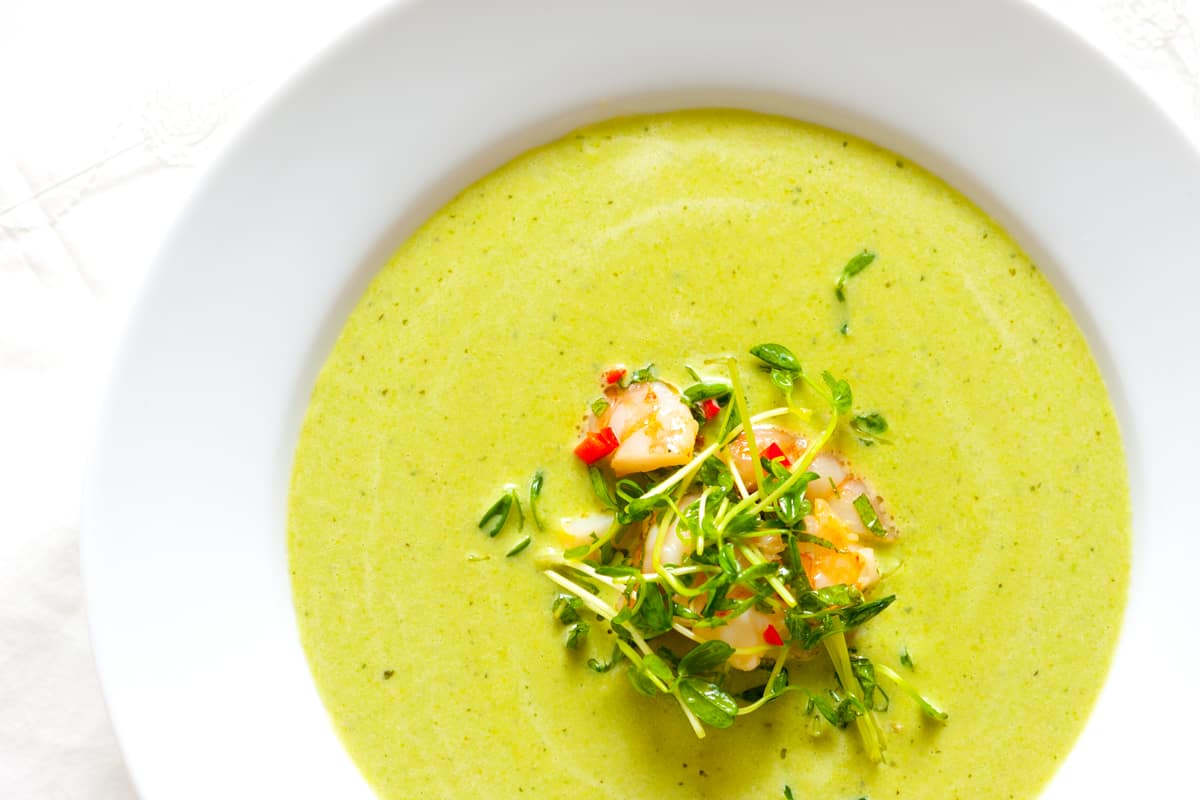
  • Chilled Pea Soup with Shrimp Recipe

    Chilled Pea Soup with Shrimp Recipe

    How to make chilled pea soup with shrimp, mint and lime. Jump to the Chilled Pea Soup Recipe or read on to see our thoughts on making it.

    Chilled Pea Soup Recipe with Shrimp

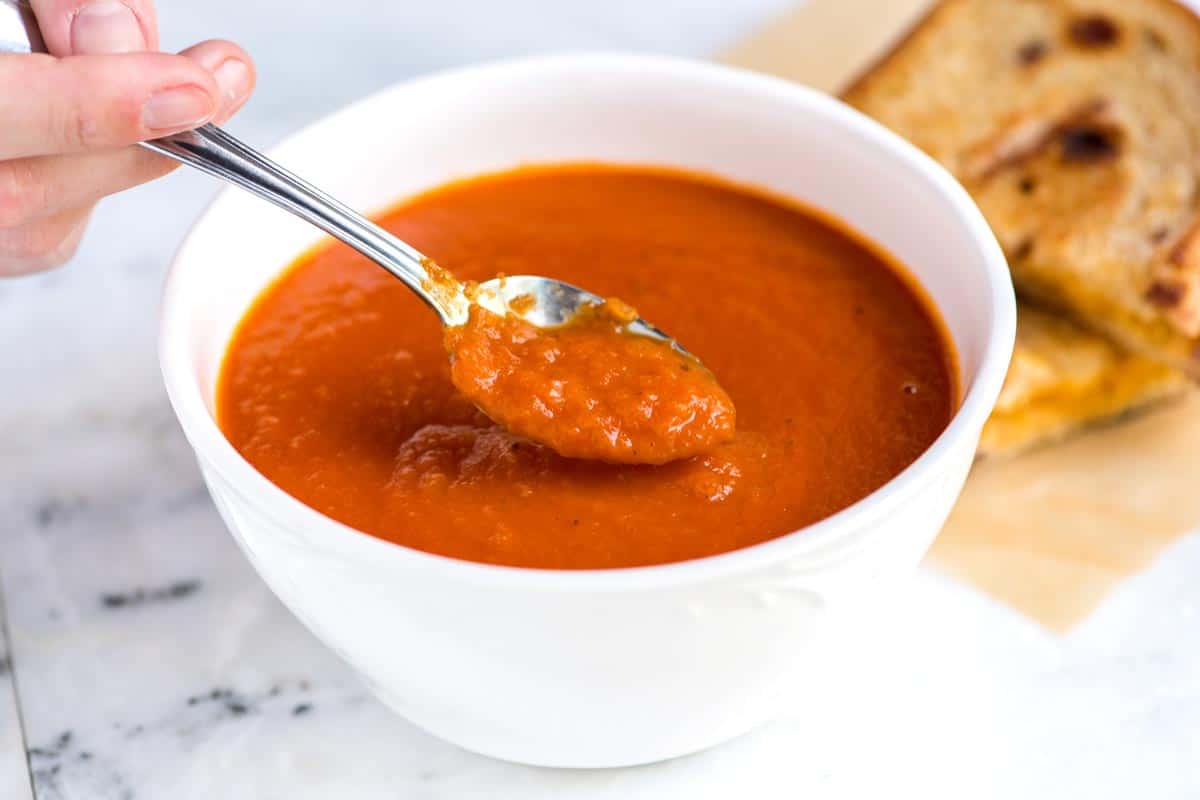
    Easy Three-Ingredient Tomato SoupYOU MAY ALSO LIKE: You wouldn’t think that three ingredients — butter, onion, and tomato — can come together to make such a velvety and delicious tomato soup, but let me tell you. They can. Jump to the Tomato Soup Recipe.
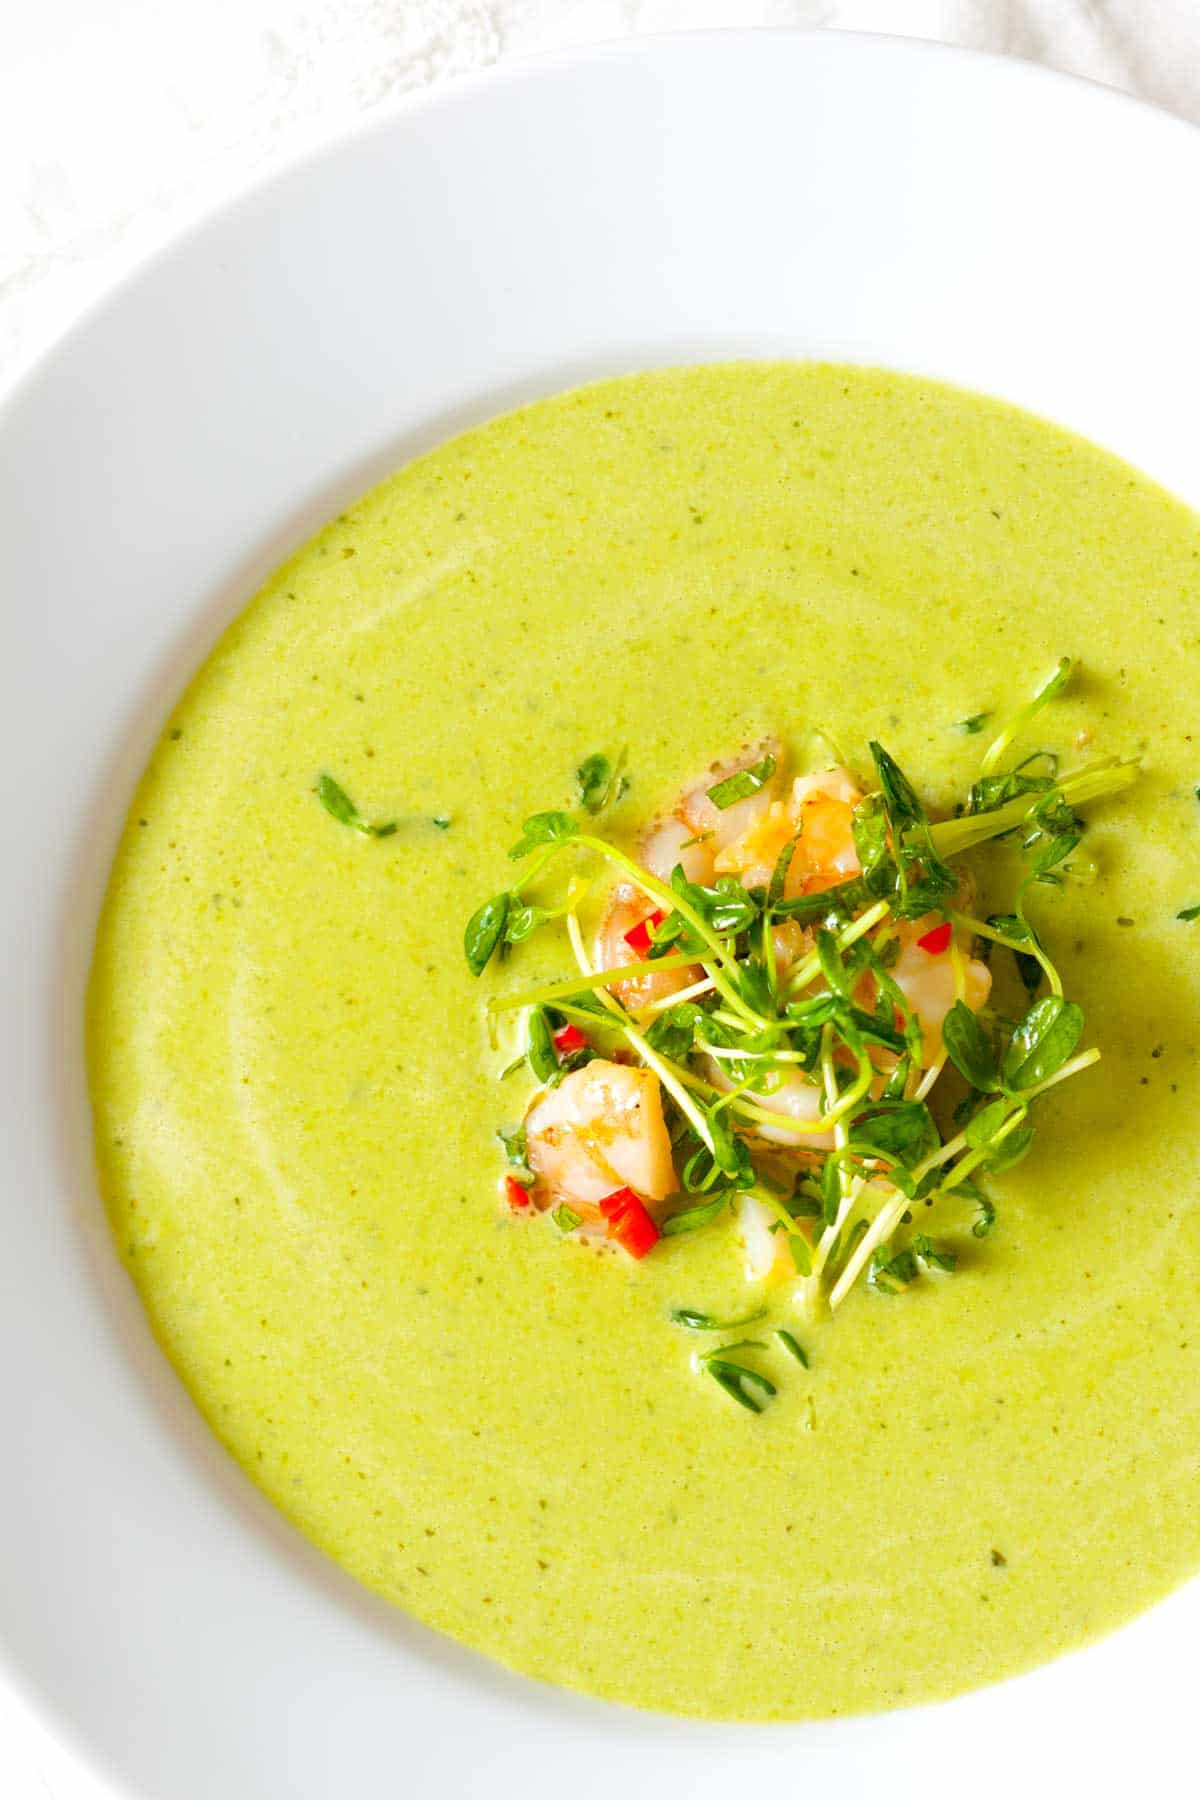
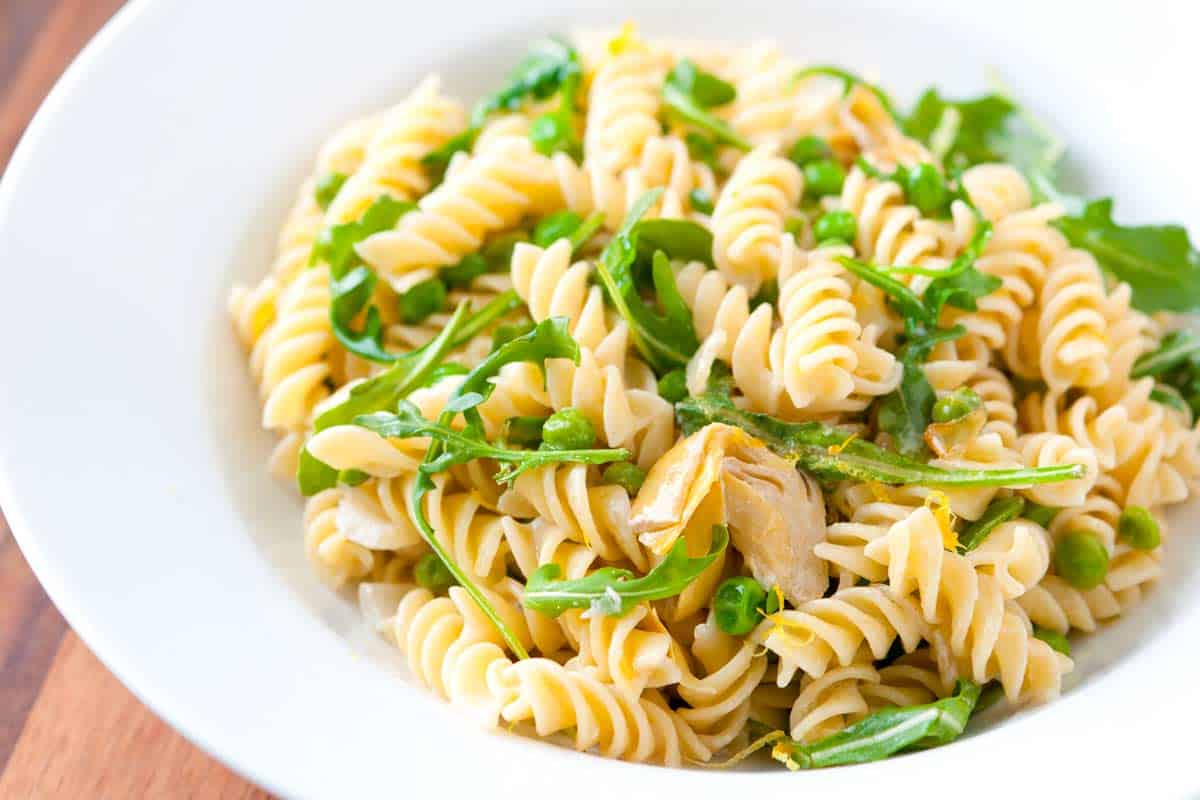
    The kitchen is our therapy, it always has been. Food is kind. The world outside our kitchen can often seem unkind and full of too many questions without answers. But, inside our small kitchen, it is happy and makes sense. On a day when outside seemed too much, we stayed in to make this pea soup. It was everything we needed and more; we talked, we drank wine, we laughed and even wiggled our hips a bit when our favorite songs played through the speakers.

    How to Make Chilled Pea Soup with Shrimp and Mint

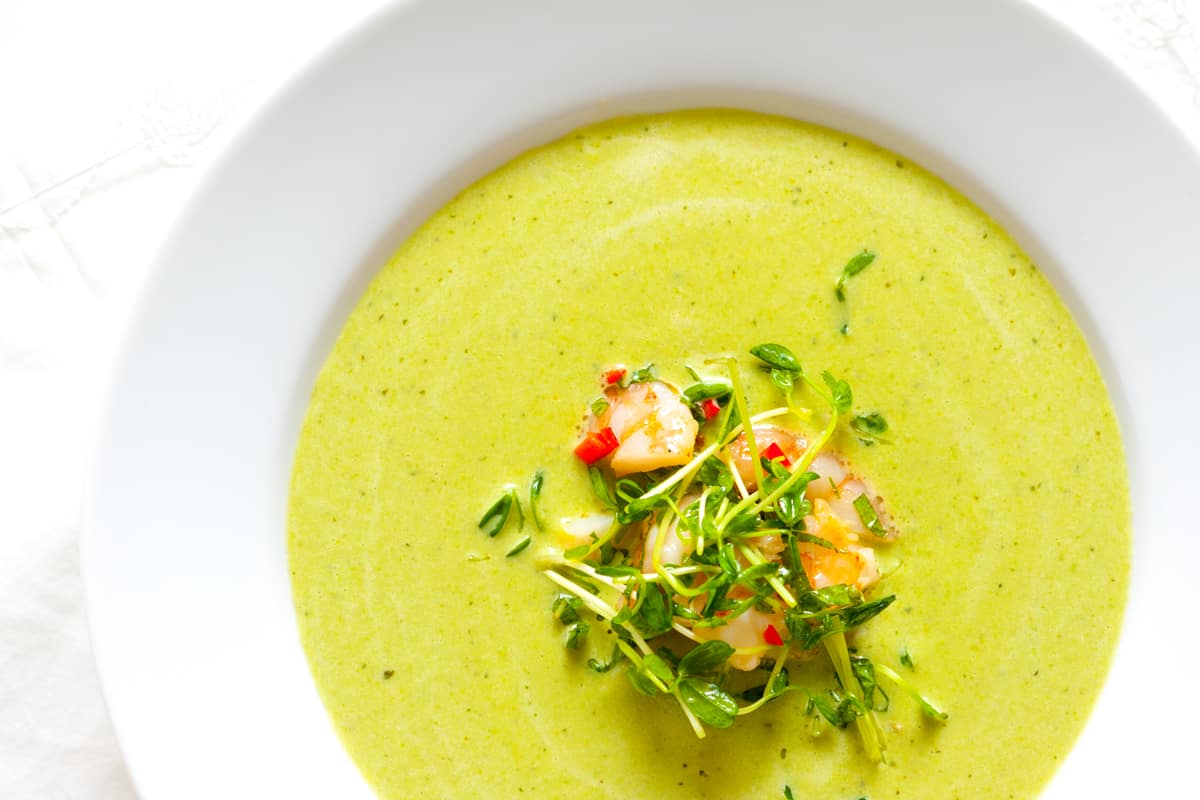
    The soup comes together in minutes. It’s delicious hot, but absolute perfect cold. When it’s chilled, we add a big handful of roasted shrimp (click for recipe), greens, mint and lime in the middle.

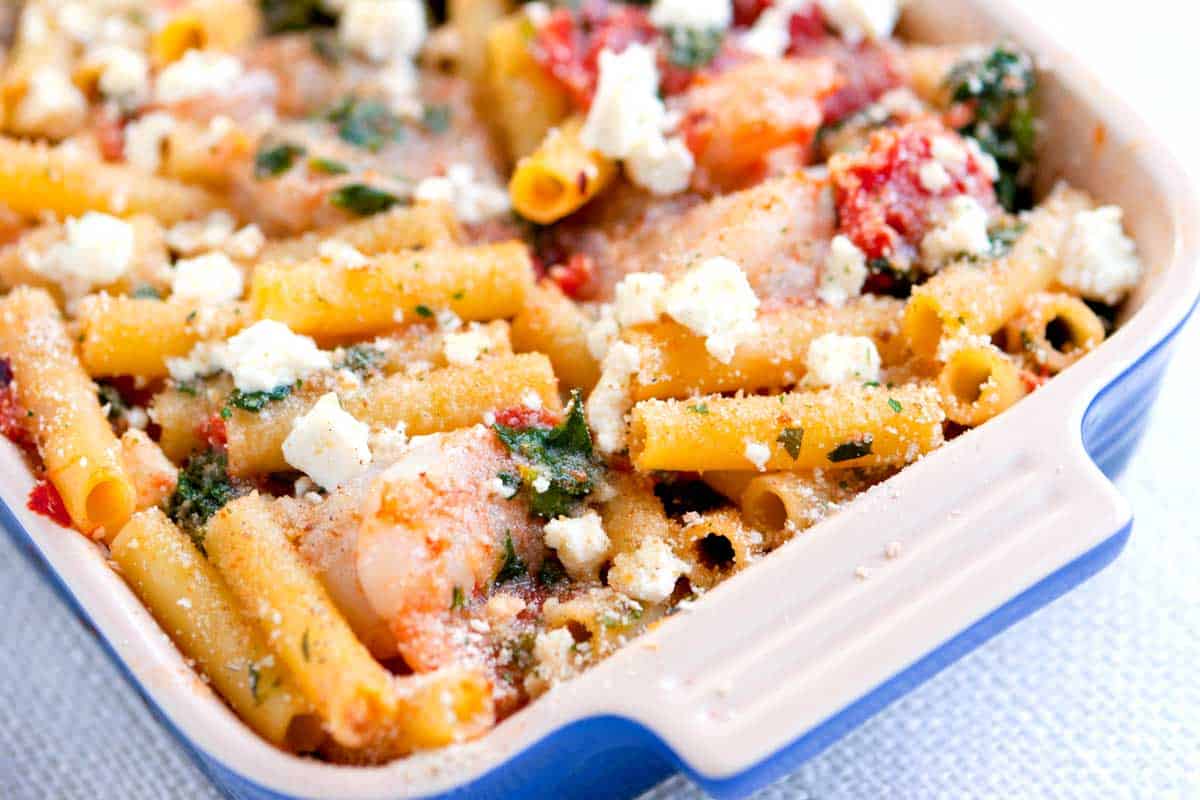
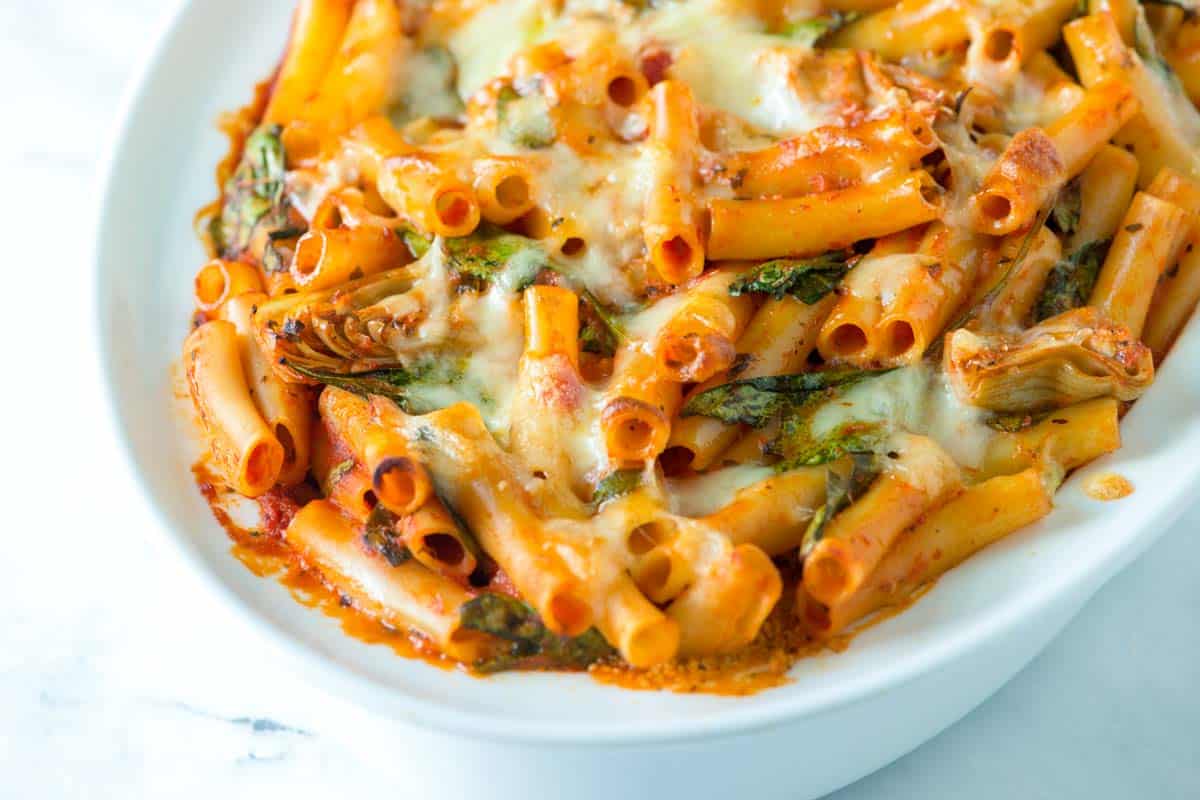
    Goat Cheese and Artichoke Pasta RecipeYOU MAY ALSO LIKE: Thanks to artichokes, lemon and arugula this pasta isn’t heavy, but still has a little creaminess from goat cheese and just a touch of cream. Jump to the Goat Cheese and Artichoke Pasta Recipe.
    Recipe updated, originally posted August 2011. Since posting this in 2011, we have tweaked the recipe to be more clear. – Adam and Joanne

    Chilled Pea Soup Recipe with Shrimp

    • PREP
    • COOK
    • TOTAL

    This soup is best served cold, but it is quite delicious hot. We roast the shrimp for this — you can see how we do it by looking at our roasted shrimp recipe.

    Makes approximately 4 servings

    You Will Need

    Pea Soup

    1/2 cup sliced shallots (1 to 2 large shallots)

    1/4 cup sliced garlic (4 to 6 cloves)

    1 tablespoon coriander seeds, toasted

    1 Anaheim pepper, sliced, seeds and stem included

    4 cups shelled English peas or thawed frozen peas

    3 1/2 cups creme fraiche

    1/4 cup packed whole mint leaves

    Salt and fresh ground black pepper


    For Serving

    2 cups cooked shrimp, see our roasted shrimp recipe

    1/4 cup finely sliced mint leaves

    Extra-virgin olive oil

    2 limes, zested and juiced

    1/2 cup pea shoots

    1 red chili, minced, optional

    Salt and fresh ground black pepper

    Directions

    • Make Soup
    • 1Bring a large pot of salted water to a boil over medium heat. Add the shallots, garlic, coriander seeds and sliced pepper. Bring the water back to a boil then add the peas and cook until the peas are tender but not mushy, about 45 seconds.

      2Using a slotted spoon or spider, add the pea mixture to a blender with about 1/2 cup of the liquid. Add 3 to 4 grinds of fresh black pepper, the the creme fraiche and mint leaves. Puree until smooth, adding more liquid as needed.

      3Add soup to a bowl set over a larger bowl filled with ice water. Stir the soup until chilled. Or refrigerate until well chilled.

    • Serve Soup
    • 1Toss the shrimp, a drizzle of olive oil, lemon zest, lime juice, pea shoots, chili and a sprinkle of salt and pepper together in a bowl.

      2Taste the chilled soup and adjust with more salt and/or pepper as needed then divide between bowls. Add a handful of the shrimp salad to the middle of each bowl.

    Adam and Joanne’s Tips

    • This recipe was inspired and adapted by Michael Symon’s Chilled Spring Pea Soup with Crab Salad, Creme Fraiche and Mint.

    If you make this recipe, snap a photo and hashtag it #inspiredtaste — We love to see your creations on Instagram and Facebook! Find us: @inspiredtaste


    AUTHOR:

    Adam Gallagher

    Adam and Joanne of Inspired Taste

    We are Adam and Joanne Gallagher, the creators of Inspired Taste. Established in 2009, Inspired Taste grew from a childhood dream into one of the internet’s most trusted recipe sites with hundreds of reliable recipes, step-by-step videos, and expert tips.More About Us


    Source link

  • Baked Ziti Recipe with Shrimp and Spinach

    Baked Ziti Recipe with Shrimp and Spinach

    How to make baked ziti with shrimp, spinach, and feta cheese. Jump to the Baked Ziti Recipe with Shrimp or read on to see our tips for making it.

    Baked Ziti Recipe with Shrimp and Spinach

    There are very few things that can beat pasta for me — I absolutely love it. I love that pasta can be hearty like our Pumpkin Mac and Cheese or light, like this shrimp ziti. I love that you can combine it with almost anything, from brown butter and walnuts to sausage and ricotta. Most of all, I love that it’s fast. With about 15 minutes of hands-on time this easy baked ziti is perfect for busy nights.

    Easy Baked Ziti with SpinachYOU MAY ALSO LIKE: This Easy Baked Ziti Recipe with Spinach has lots of spinach, artichokes, and a creamy pesto layer in the middle. Easy and delicious.
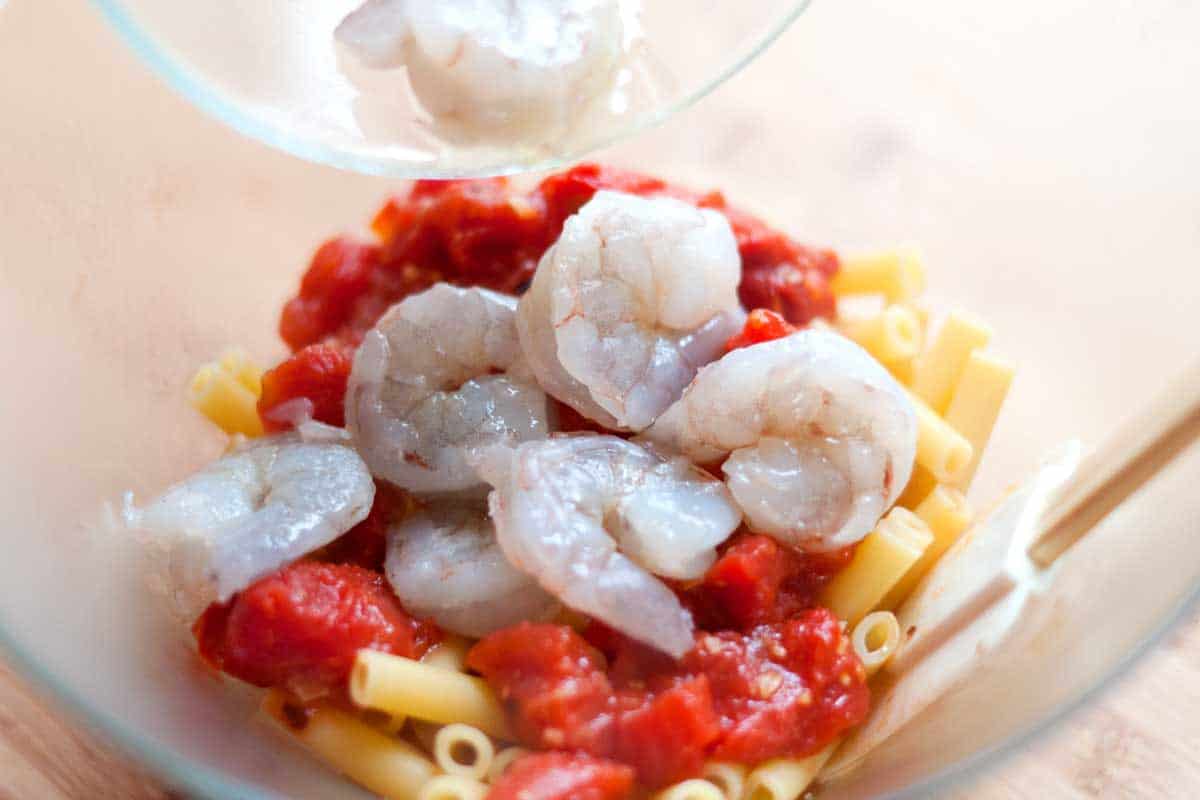
    How to Make Baked Ziti with Shrimp and Spinach

    Start by cooking your pasta, but undercook it by 1 to 2 minutes. This way, when we toss it with the other ingredients and bake the pasta won’t become mushy.

    One of my favorite parts to this recipe is the lemony tomato sauce. It’s light and plays so nicely with the shrimp and feta cheese. It’s extremely simple to make — just olive oil, canned tomatoes, garlic, red pepper flakes, and lemon zest.

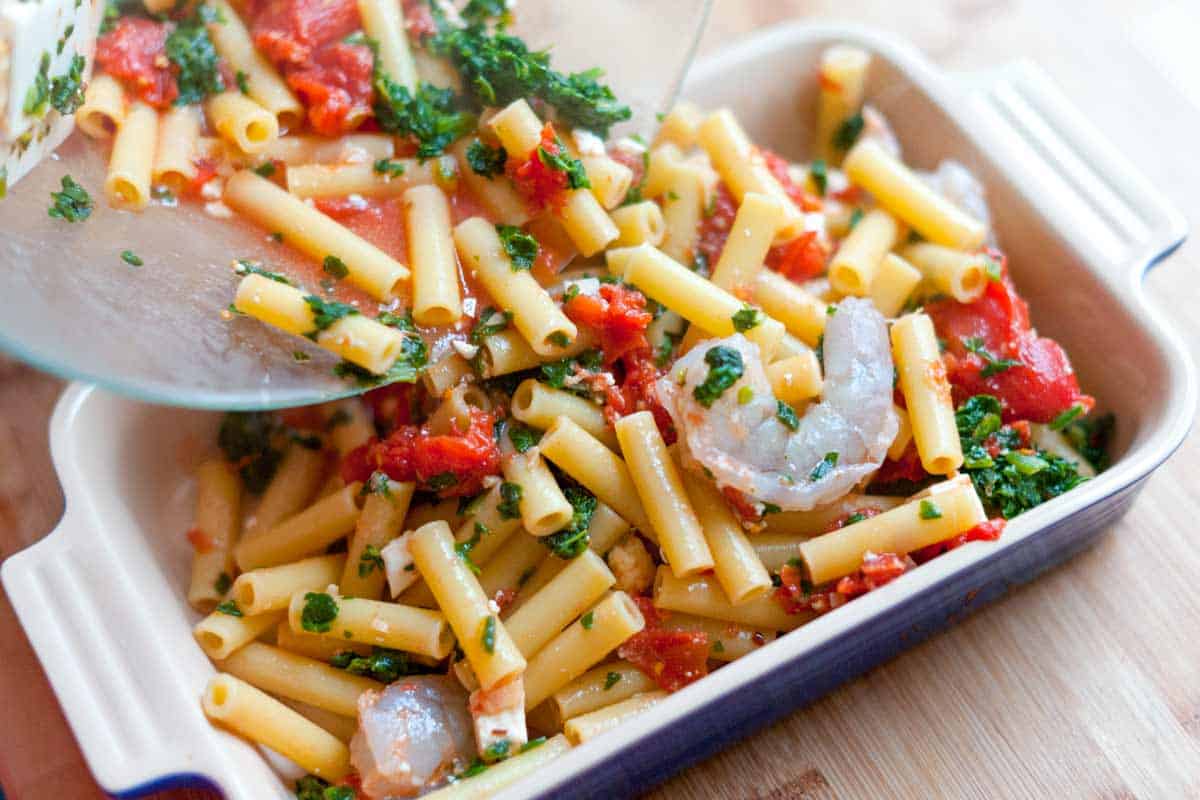
    For the shrimp, season them lightly with a little olive oil, salt, and pepper. Then, when the pasta is cooked, toss it with the shrimp, our homemade sauce, spinach, and feta cheese.

    How to Make Baked Ziti with Shrimp and Spinach

    Toss everything together and slide into a baking dish. See how fresh and light it looks. I love that.

    How to Make Ziti with Shrimp and Spinach

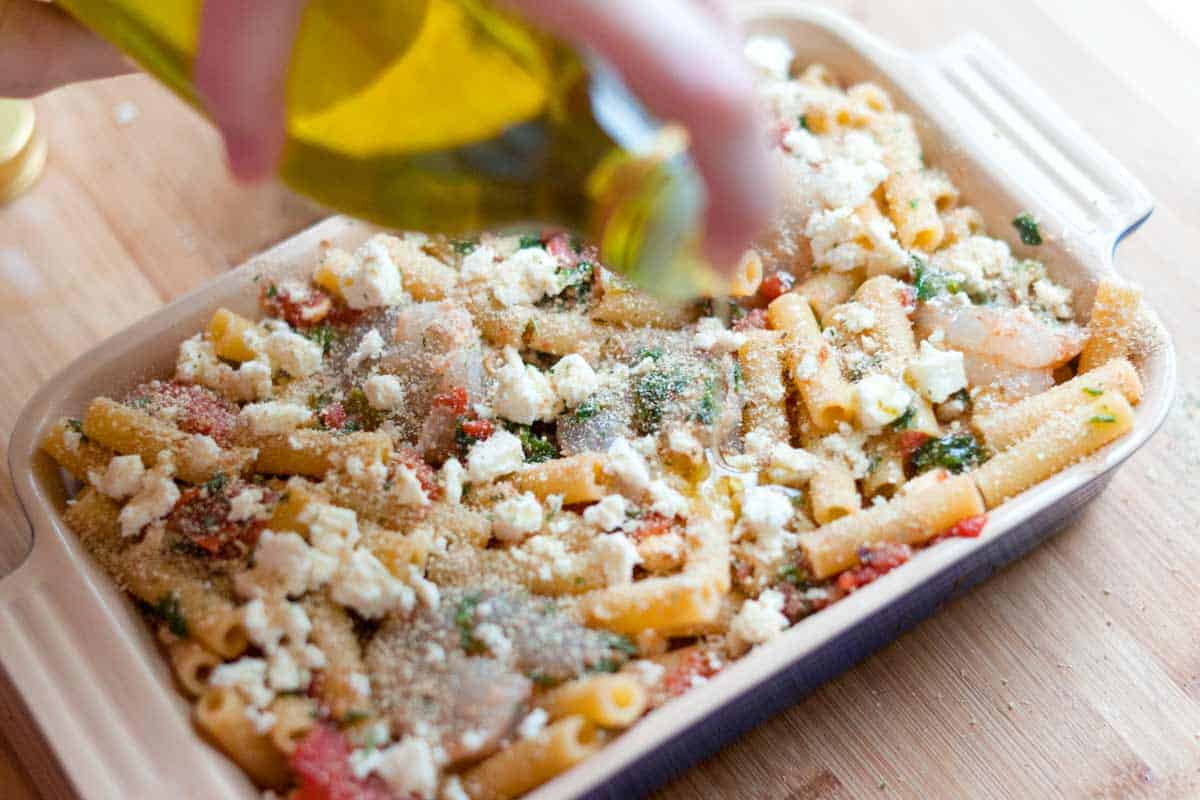
    Just before baking, we scatter breadcrumbs, feta cheese, and a drizzle of olive oil on top. Then the ziti is baked until the shrimp are cooked through and the top of the ziti begins to brown.

    How to Make Baked Pasta with Shrimp and Spinach

    Recipe updated, originally posted February 2012. Since posting this in 2012, we have tweaked the recipe to be more clear. – Adam and Joanne

    Easy Baked Ziti Recipe with Shrimp and Spinach

    • PREP
    • COOK
    • TOTAL

    With about 15 minutes of hands-on time this easy baked ziti is perfect for busy nights. When cooking the pasta, undercook it by 1 to 2 minutes. This way, when it is tossed with the other ingredients and baked the pasta won’t become mushy.

    Makes approximately 4 servings

    You Will Need

    8 ounces dried pasta, such as ziti, penne, or rigatoni

    2 tablespoons extra-virgin olive oil

    2 medium garlic cloves, finely chopped

    1/4 teaspoon crushed red pepper flakes

    1 (14.5-ounce) can diced tomatoes

    1 teaspoon grated lemon zest

    8 ounces medium shrimp, peeled and deveined

    1 (10-ounce) package frozen spinach, thawed and squeezed dry (about 1 1/4 cups)

    2 ounces feta cheese, crumbled

    2 tablespoons dried breadcrumbs

    Salt and fresh ground black pepper

    Directions

      1Heat oven to 350 degrees F. Butter a 2-quart baking dish or spray with non-stick cooking spray.

      2Bring a large pot of salted water to the boil, add the pasta then follow package directions, but cook 1 to 2 minutes less than the package calls for. Drain.

      3Meanwhile, make the sauce. Heat 1 tablespoon of the olive oil, garlic, and red pepper flakes over medium heat until the garlic turns light brown; about 1 minute. Add the tomatoes with juices, lemon zest, a 1/4 teaspoon of salt, and a pinch of pepper. Cook until heated through, about 5 minutes. Taste the sauce for seasoning, and adjust with additional salt and pepper if necessary.

      4Toss the shrimp with 1 teaspoon of olive oil, a 1/4 teaspoon of salt, and a few grinds of black pepper.

      5In a large bowl, toss the drained pasta, tomato sauce, shrimp, ringed out spinach, and half of the feta cheese. Add to the baking dish then top with remaining feta cheese, breadcrumbs, and a drizzle of olive oil.

      6Bake the ziti, covered, until the shrimp are thoroughly cooked (they will become firm and opaque); about 15 minutes. Uncover, and then bake until the cheese and breadcrumbs begin to brown, about 10 minutes.

    Adam and Joanne’s Tips

    • Cooked fresh spinach can be substituted for frozen. Cook about 1 pound of fresh spinach until wilted, squeeze out excess moisture and add to the filling.

    If you make this recipe, snap a photo and hashtag it #inspiredtaste — We love to see your creations on Instagram and Facebook! Find us: @inspiredtaste


    AUTHOR:

    Joanne Gallagher

    Adam and Joanne of Inspired Taste

    We are Adam and Joanne Gallagher, the creators of Inspired Taste. Established in 2009, Inspired Taste grew from a childhood dream into one of the internet’s most trusted recipe sites with hundreds of reliable recipes, step-by-step videos, and expert tips.More About Us


    Source link