Category: Main Dish

  • Black Bean Taco Casserole

    Black Bean Taco Casserole

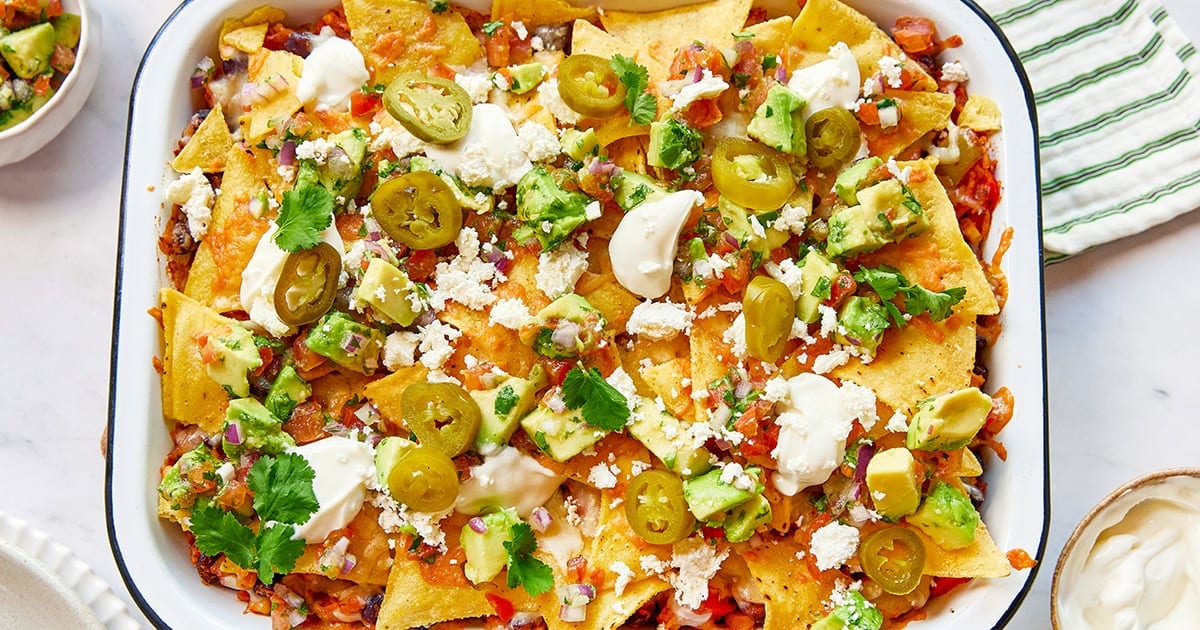
    This black bean taco casserole is the kind of weeknight dinner that gets everyone at the table fast — layers of spiced black beans, rice, and veggies, topped with melty cheese and crunchy corn chips that bake up just like nachos.


    Jump to: ℹ️ Overview | 🛒 Ingredients | 📷 How To Make | 📹 Watch The Video | 👩‍🍳 Recipe Tips | 🥗 Serving Suggestions | 📝Full Recipe Card | 🍽 More Bean Recipes


    At A Glance

    • ⏱ Ready In: 40 minutes
    • 🍽 Serves: 6–8
    • 🌱 Diet: Vegetarian, gluten-free (check corn chip label), nut-free
    • 💪 Nutrition Highlights: High in plant-based protein and fiber from black beans; good source of vitamins C and A from the bell peppers
    • 🥕 Main Ingredients: Black beans, rice, salsa, bell peppers, corn, Cheddar cheese, corn chips
    • 🔥 Flavor Profile: Smoky, warmly spiced, savory, cheesy with a fresh and zesty avocado salsa topping
    • 🧊 Meal-Prep Friendly: Keeps 4 days in the fridge; filling can be made ahead and assembled just before baking
    • Best Served With: Fresh avocado salsa, sour cream, crumbled feta or queso fresco

    This black bean taco casserole or bake is one of those vegetarian dinners I make when I want something that feels a little fun and indulgent but is actually packed with good stuff.

    The filling is a deeply flavored mix of sautéed onion and bell peppers, smoked paprika, cumin, garlic, tomato paste, salsa, cooked rice, black beans, and corn — basically all your taco night favorites cooked down into one hearty, saucy base. Then it gets layered into a baking dish between two rounds of corn chips and a generous amount of shredded cheddar, and baked until it’s bubbly, melty, and golden — honestly, it looks like a giant nachos situation in the best possible way. The crispy chip topping is something I am very enthusiastic about.

    Top each portion with a fresh, bright avocado salsa and a dollop of sour cream, and you’ve got a complete dinner that feels festive enough for a weekend but easy enough for a Tuesday. It’s a great one to bring to a gathering or serve to a crowd, too — the 9×13 dish stretches easily to 8 portions.

    👩‍🍳 You might also like these Tex-Mex recipes: Mexican chicken rice casserole, Mexican ground beef casserole, sweet potato and black bean tacos, Mexican stuffed sweet potatoes, Mexican salad with corn & black beans, arroz rojo (Mexican red rice), or these best bean recipes.

    What You’ll Need

    Here is what you’ll need for this black bean taco casserole recipe. Find the full measurements in the recipe card below.

    For the filling:

    • Olive oil — for sautéing the vegetables; any neutral cooking oil works fine.
    • Onion — diced large; the sweet base of the filling. White or brown both work.
    • Red and yellow or green bell peppers (capsicum) — these add color, sweetness, and texture. Any combination of colors works; use what you have.
    • Garlic — adds savory depth to the spice base.
    • Tomato paste — just a tablespoon, but it adds richness and a deep, slightly sweet tomato note.
    • Salsa — use a mild chunky store-bought variety for ease and flavor. The chunkier the better; it adds texture to the filling. You can go medium if you’d like a bit more heat.
    • Cooked rice — white or brown both work well. This is a brilliant way to use up leftover rice from earlier in the week.
    • Black beans — rinsed and drained from a can; these bring plant-based protein and fiber, plus that classic taco flavor. You could swap for pinto beans in a pinch.
    • Corn kernels — frozen corn defrosted in boiling water, or canned and drained. Either works perfectly here.
    • Spices: ground cumin, smoked paprika, ground coriander, dried oregano, and optional mild chili powder or cayenne. This blend gives the filling its warm, smoky, Mexican-inspired depth — don’t skip the smoked paprika, it makes a real difference.
    • Salt — season as you go at each stage.

    For the topping:

    • Corn chips — about 150 grams / 4–5 oz. They go in two layers: under the filling and over the cheese, so they get crispy on top like nachos. I usually crush a small handful to scatter on top for extra crunch.
    • Shredded cheddar or Mexican blend cheese — use a good melting cheese. Mexican blend is especially good here if you can find it.

    For the avocado salsa:

    • Avocado — diced; adds creaminess and freshness to cut through the richness of the bake.
    • Tomato — diced small; adds juiciness and a little acidity.
    • Red onion — very finely diced; punchy and fresh.
    • Lime juice — brightens everything up and keeps the avocado from browning.
    • Fresh cilantro (coriander) — adds herby freshness. If you’re not a cilantro fan, flat-leaf parsley works instead.
    • Salt — to taste.
    • Optional for serving: sour cream, crumbled feta or queso fresco, pickled jalapeños.

    How To Make Black Bean Taco Casserole

    Find the full recipe and nutritional information below. Here are some handy step-by-step photos for how to make this black bean taco bake.

    • Heat olive oil in a large skillet or pan over medium heat. Add the diced onion and peppers with a little salt, and cook for 5–7 minutes until softened and lightly golden. Add the garlic and cook for another 30 seconds.
    • Stir in the tomato paste and all the spices, adding the remaining salt. Cook for 30–60 seconds, stirring constantly, until the mixture smells fragrant and the paste darkens slightly.
    • Add the salsa, cooked rice, black beans, and corn. Stir everything together well and let it simmer for a couple of minutes so the filling thickens slightly and absorbs all those flavors. Taste and adjust salt or add a pinch of sugar if needed. The mixture should be moist but not watery.
    • Preheat your oven to 180°C / 350°F. In a 9×13 baking dish, spread half the corn chips across the bottom. Spoon the filling over the chips and spread evenly. Scatter about 1 cup of shredded cheese over the filling. Add the remaining corn chips as the next layer, then top with the rest of the cheese, letting it nestle between and over the chips. Crush a small handful of chips over the top if you like extra crunch.
    • Bake for 15–20 minutes until the cheese is melted and bubbly and the top chips are golden and crisp like nachos. Rest for 5 minutes before serving — this helps the casserole set a little.
    • While it bakes, toss together the avocado salsa: combine the diced avocado, tomato, red onion, lime juice, cilantro, and salt.
    • Spoon the avocado salsa generously over each serving (or over the whole dish). Top with sour cream and crumbled feta if desired.

    Watch The Video

    Recipe Tips

    • Make it vegan: Use a dairy-free cheese alternative (many melt well these days) and swap the sour cream for coconut yogurt or a vegan sour cream.
    • Make it spicier: Add more cayenne to the spice blend, use medium salsa, or serve with pickled jalapeños or hot sauce on the side.
    • Add more protein: Stir a drained can of pinto beans or kidney beans into the filling along with the black beans, or add some cooked lentils.
    • Leftover rice is perfect here: This recipe was made for using up day-old cooked rice. It absorbs the filling flavors beautifully and is much better than fresh-cooked rice straight from the pot. Just make sure the rice is no older than 1 day!
    • Filling can be made ahead: Cook the filling up to 2 days ahead and refrigerate. Assemble with chips and cheese just before baking.
    • Storage: Leftovers keep well in the fridge for up to 4 days. Reheat in the oven at 160°C / 325°F for best results so the chips crisp back up, or in the microwave (chips will soften). The filling on its own freezes well for up to 3 months — freeze before assembling with chips and cheese.
    • Don’t assemble too far ahead: Once the chips go in, they soften as they sit, so bake it relatively soon after assembling for the crispiest result.
    • Cheese swap: Monterey Jack, pepper jack, or any good melting cheese works in place of cheddar.
    • Gluten-free: This recipe is naturally gluten-free as long as your corn chips are certified gluten-free — just check the label.

    Serving Suggestions

    This black bean taco casserole is a full meal on its own, especially once you’ve added the avocado salsa and a dollop of sour cream. If you want to stretch it to a bigger crowd or round out the table, a simple green salad or my Mexican Salad With Corn & Black Beans alongside it is a lovely match. Arroz Rojo is another great option if you want to serve it more like a traditional Tex-Mex spread. For drinks, it’s great with an iced lime agua fresca, a cold beer, or sparkling water with a wedge of lime.

    💬 If you’ve tried this black bean taco casserole or any other recipe on the blog then don’t forget to rate the recipe and let me know how you got on in the comments below, I love hearing from you! You can also FOLLOW ME on Instagram, Facebook, Pinterest, YouTube, and or sign up to my Newsletter to see more of my delicious food.

    Want to Save This Recipe?

    Enter your email & I’ll send it to your inbox. Plus, get great new recipes from me every week!

    By submitting this form, you consent to receive emails from Cooked & Loved

    A hearty, cheesy black bean taco bake loaded with spiced black beans, rice, corn, and bell peppers, topped with crunchy corn chips and melted cheese. Vegetarian, crowd-pleasing, and ready in 40 minutes. Find step-by-step photos and more recipe tips above.

    • Heat the olive oil in a large skillet or frying pan over medium heat. Add the diced onion and bell peppers with ½ teaspoon salt. Cook for 5–7 minutes, stirring occasionally, until softened and lightly golden. Add the garlic and cook for 30 seconds more.

    • Stir in the tomato paste, all the spices, and the remaining ½ teaspoon salt. Cook for 30–60 seconds, stirring constantly, until the paste darkens and the spices smell fragrant.

    • Add the salsa, cooked rice, black beans, and corn. Stir well to combine and simmer for 2–3 minutes until everything is coated and the mixture has thickened slightly. It should be moist but not watery. Taste and adjust seasoning — add more salt or a small pinch of sugar if needed.

    • Preheat oven to 180°C (350°F). In a 9×13-inch (23x33cm) baking dish, spread half the corn chips across the bottom in an even layer.

    • Spoon the filling evenly over the chips. Scatter about 1 cup of shredded cheese over the filling. Add the remaining corn chips on top of the cheese layer, then finish with the rest of the cheese, spreading it over and between the chips. For extra crunch, crush a small handful of chips and scatter over the top.

    • Bake for 15–20 minutes until the cheese is melted and bubbling and the top chips are golden and crispy. Rest for 5 minutes before serving.

    • While the casserole bakes, make the avocado salsa: combine the diced avocado, tomato, red onion, lime juice, cilantro, and salt. Toss gently to combine.

    • Serve portions topped generously with avocado salsa, sour cream, and crumbled feta if desired.

    Important Ingredient Tips: Use a chunky salsa rather than a smooth or thin one — it adds better texture to the filling. Smoked paprika is key to the flavor; regular paprika won’t give you the same depth. Leftover cooked rice (cold from the fridge) works especially well in this recipe.
    Key Recipe Tips: Don’t skip resting the casserole for 5 minutes after baking — this helps it set so portions hold together better. If you want a maximum crunch on the chips, assemble and bake right away rather than letting it sit. You can crush a handful of chips to scatter on top for extra texture.
    Storage Tips: Leftovers keep well in the fridge in an airtight container for up to 4 days. Reheat in the oven at 160°C (325°F) for about 10 minutes for crispier chips, or microwave (chips will soften but it still tastes great).
    Make-Ahead Tips: The filling can be made up to 2 days ahead and stored in the fridge. When ready to eat, assemble with the corn chips and cheese and bake straight away. The filling also freezes well (without the chips and cheese) for up to 3 months — thaw overnight in the fridge, then assemble and bake.
    FAQs:
    Can I use canned salsa instead of homemade? Yes, absolutely — this recipe is designed for a good quality store-bought chunky mild salsa. It saves time and adds great flavor.
    Can I make this ahead of time? You can make the filling up to 2 days ahead and refrigerate it. Assemble the casserole with the chips and cheese just before baking for the best texture and crunchiest topping.
    Can I freeze this casserole? The filling freezes beautifully on its own for up to 3 months. We don’t recommend freezing the fully assembled bake as the chips won’t hold up well after thawing. Freeze the filling only, then assemble fresh when you’re ready to bake.
    Can I add meat to this? Yes — cooked and seasoned ground beef or ground chicken stirred into the filling would work well. You could also add shredded rotisserie chicken.
    Is this recipe gluten-free? It can be — make sure your corn chips are certified gluten-free, as some brands process them in shared facilities.
    Can I use a different type of bean? Pinto beans, kidney beans, or even chickpeas (for a slightly different flavor) would all work well in place of black beans.
    What if I don’t have cooked rice? You need pre-cooked rice for this recipe. You can use a microwave rice pouch, day-old rice, or simply cook a batch ahead of time and let it cool before adding.

    Calories: 620kcal | Carbohydrates: 60g | Protein: 22g | Fat: 35g | Saturated Fat: 13g | Polyunsaturated Fat: 5g | Monounsaturated Fat: 12g | Trans Fat: 0.1g | Cholesterol: 54mg | Sodium: 1384mg | Potassium: 878mg | Fiber: 11g | Sugar: 8g | Vitamin A: 2358IU | Vitamin C: 87mg | Calcium: 444mg | Iron: 3mg
    Keywords: black bean casserole, taco casserole, taco bake, vegetarian bean bake, taco casserole with rice, taco rice casserole, black beans casserole

    More Bean Recipes


    Source link

  • 12 Salmon Recipes We Make on Repeat

    12 Salmon Recipes We Make on Repeat

    Whenever we’re stumped on what to make for dinner, we know we can count on these easy salmon recipes. We make them on repeat, and they always come through.

    Brown Sugar Baked Salmon

    I almost always toss some salmon into my cart at the store. If there’s a salmon fillet in the fridge, I know a quick, tasty dinner is just minutes away. These are our go-to salmon recipes. They are simple, fast, and always delicious. Whether you are looking for a hands-off sheet pan bake, a sweet and sticky glazed salmon fillet, or tender salmon burgers, there is something here for everyone.

    When shopping, keep in mind how different varieties cook. We love rich, higher-fat salmon like king (Chinook) or farmed Atlantic, because that extra marbling ensures the fish stays incredibly soft and moist. If you prefer the flavor of wild-caught sockeye or coho, just keep in mind that they are naturally leaner, so you will want to keep a closer eye on the cooking time to ensure they stay perfectly tender.

    Find all 12 recipes below. For more, join our free newsletter to get our best recipes delivered straight to your inbox. Happy cooking!

    Our Favorite Salmon Recipes

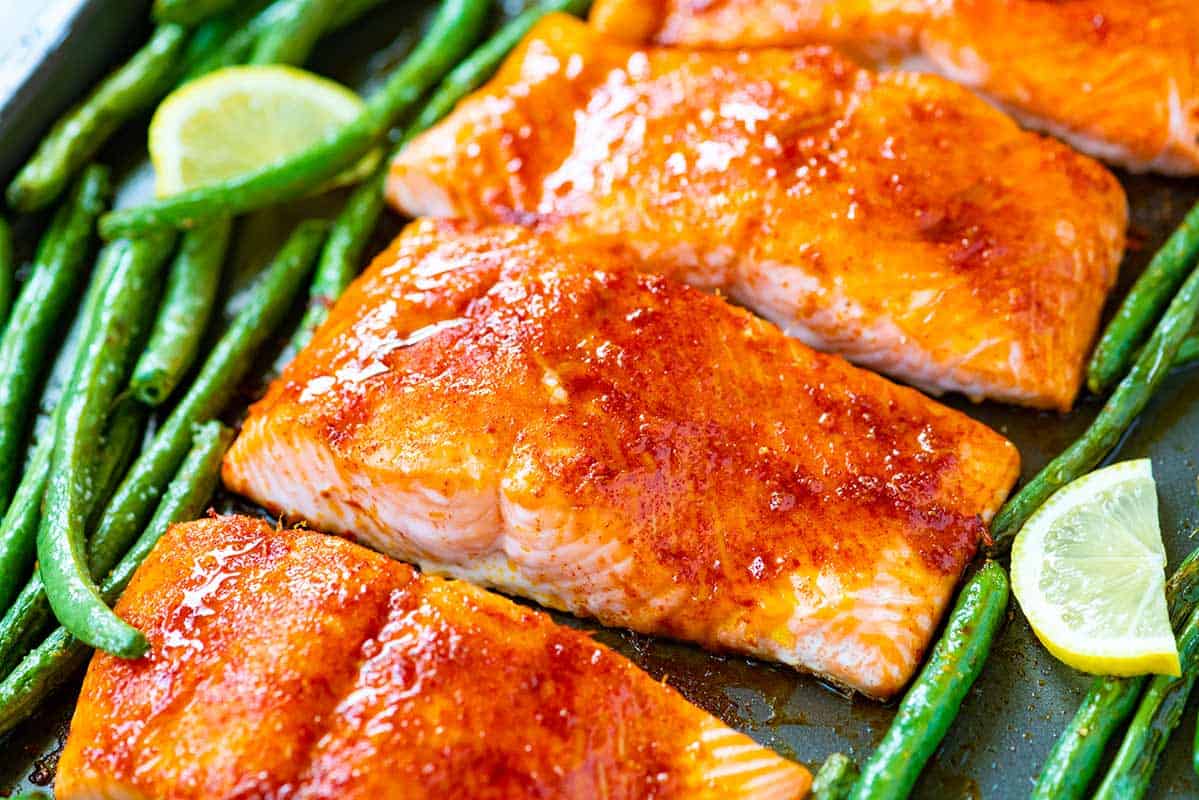
    Brown Sugar Baked Salmon

    Brown Sugar Baked Salmon

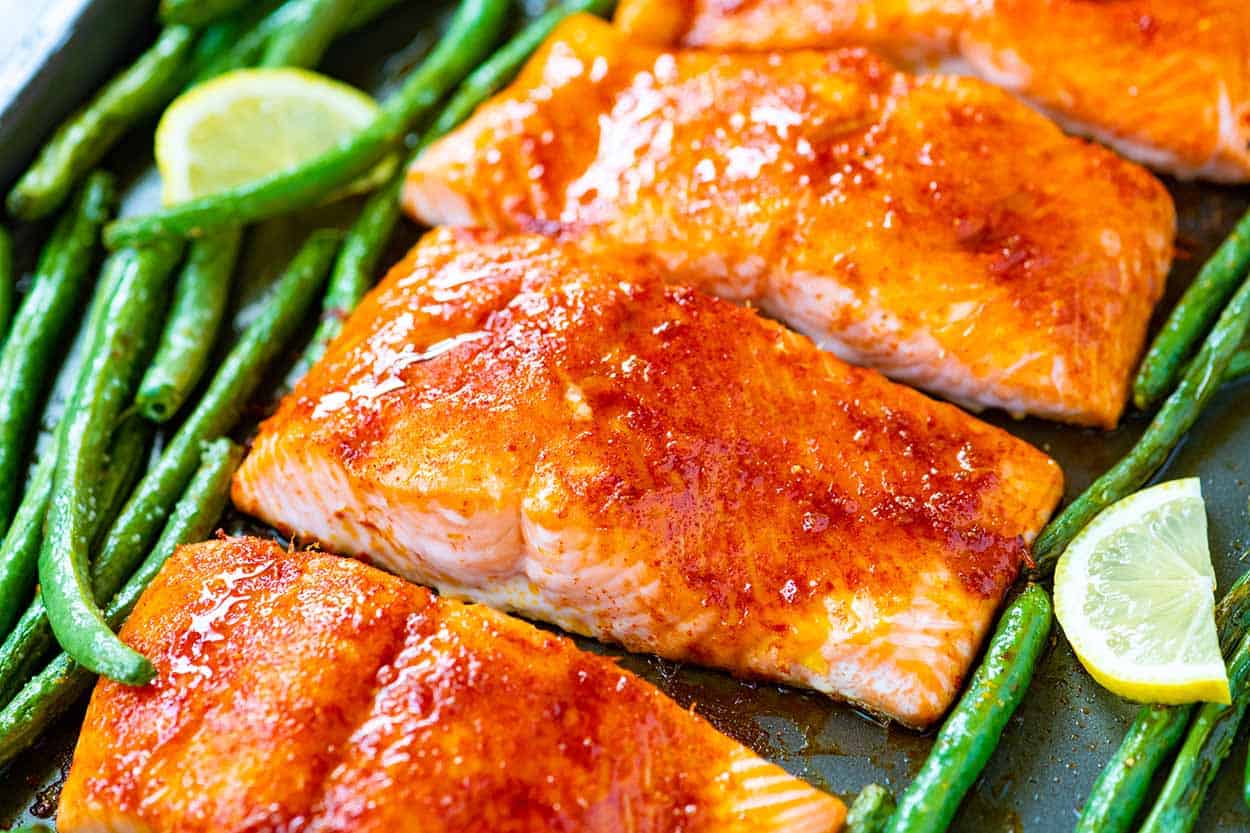
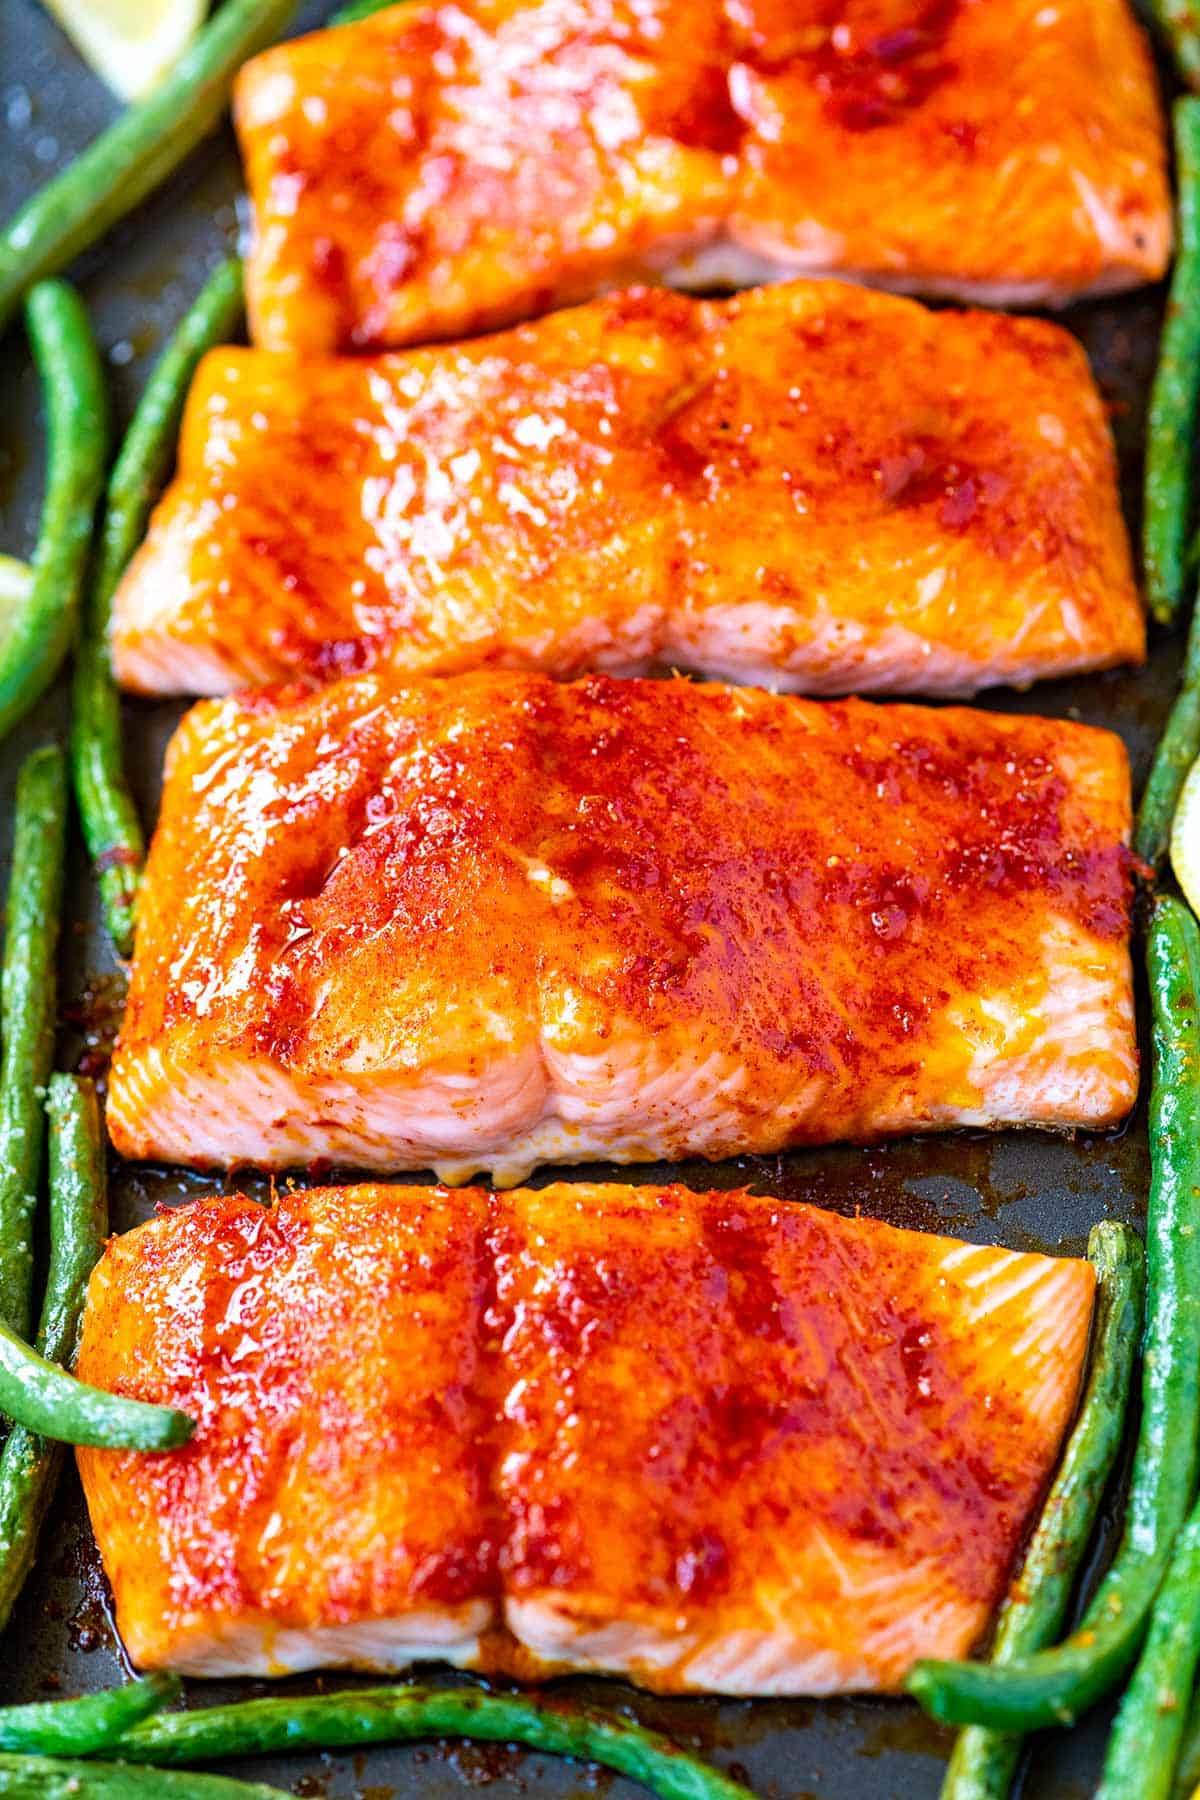
    This brown sugar baked salmon is such a delicious and easy dinner. Our easy brown sugar rub caramelizes and turns into a sweet, smoky glaze in the oven.

    Perfect Poached Salmon

    I’m convinced this poached salmon recipe makes some of the most tender, mouth-watering salmon. It’s also ridiculously easy!

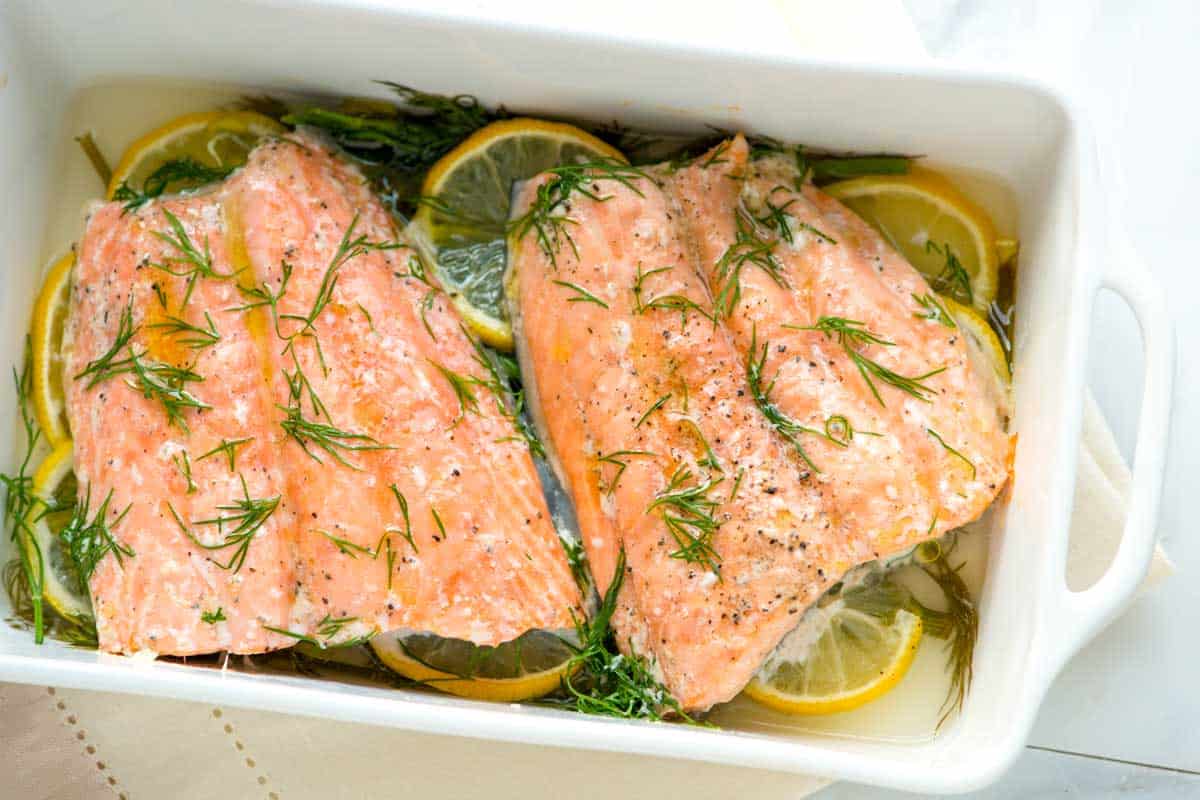
    Perfectly Baked Salmon with Lemon and Dill

    Lemon Dill Baked Salmon

    This lemon dill baked salmon is my family’s favorite way to cook salmon. Thanks to our easy baking method, the fish stays moist, flaky, and melts in your mouth.

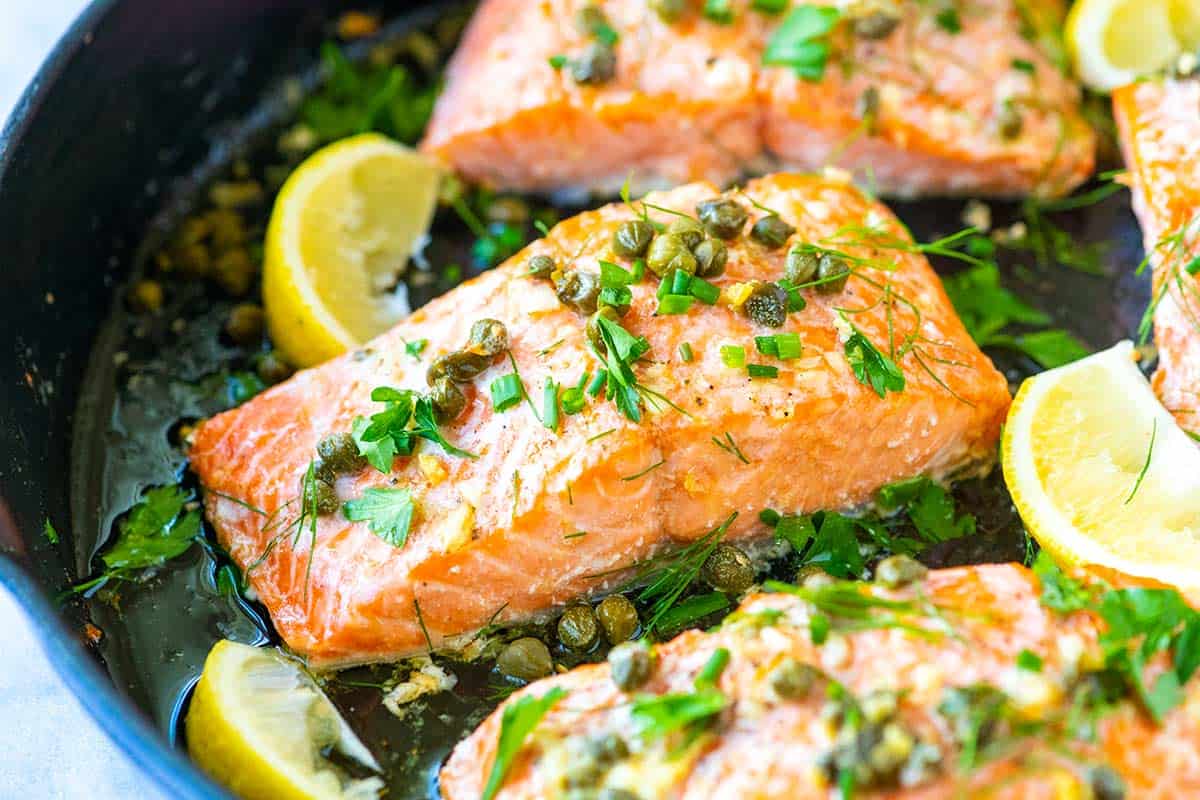
    Easy Garlic Caper Butter Baked Salmon Recipe

    Garlic Caper Baked Salmon

    We love this baked salmon with capers and garlic. It tastes incredible. Tender, flaky salmon, gently cooked in butter with garlic, lemon, and capers.

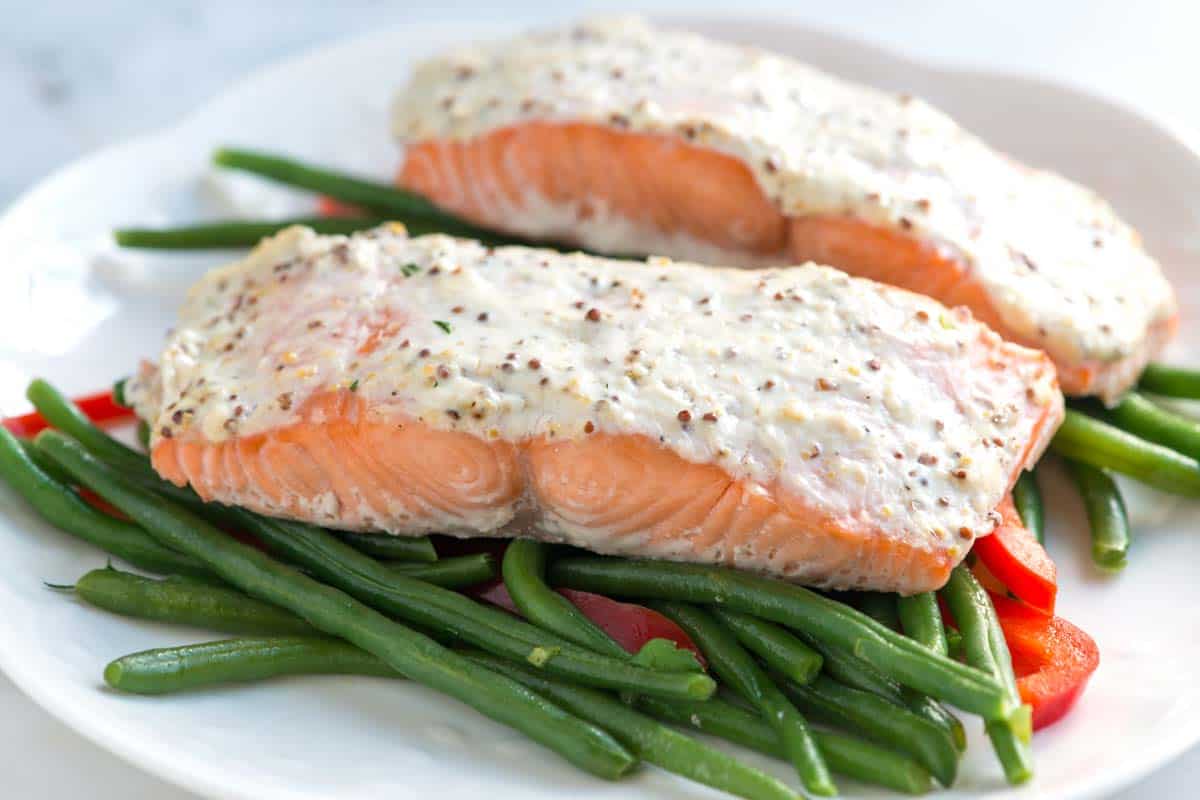
    Easy Sour Cream Baked Salmon

    Sour Cream Baked Salmon

    Our sour cream baked salmon recipe is quick and so delicious. You’ll spread a simple sour cream and mustard sauce over salmon fillets and bake until cooked through.

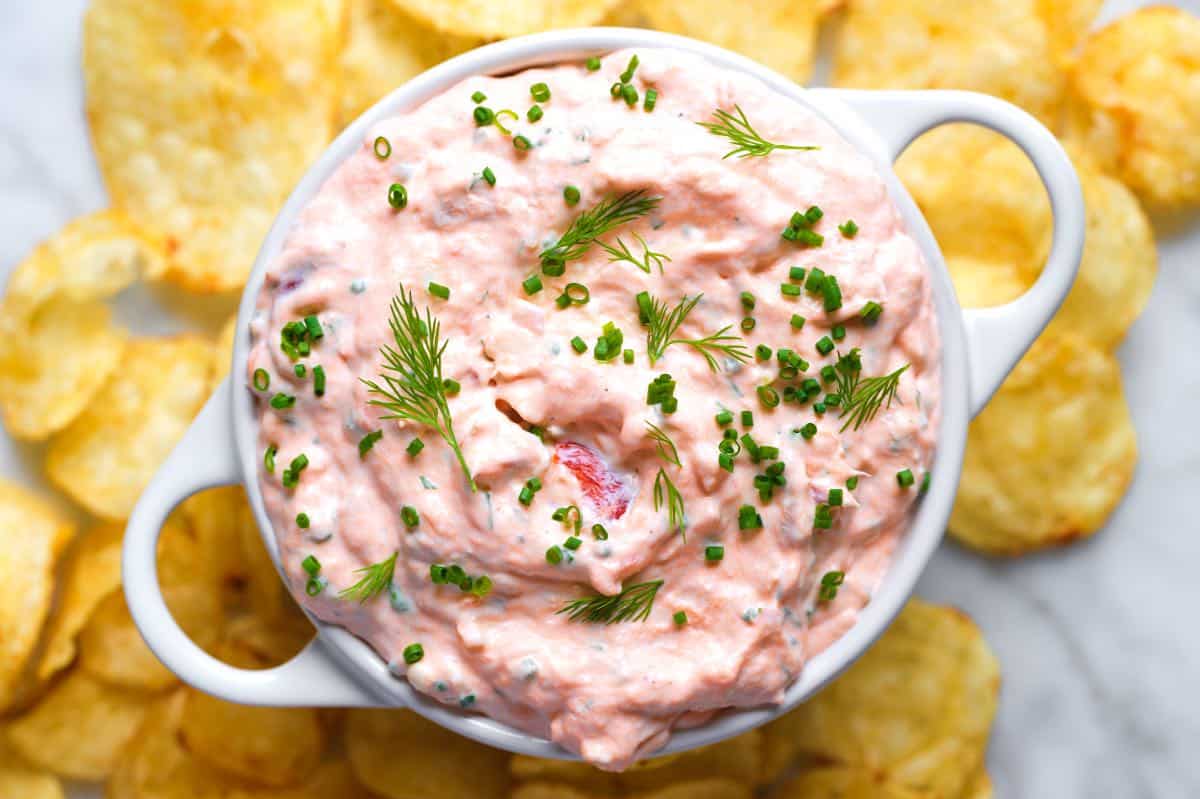
    Easy Smoked Salmon Dip

    Easy Smoked Salmon Dip

    Our smoked salmon dip recipe is incredibly creamy and delicious. I love serving it with thick potato chips, crackers, sliced bread, or even spread onto bagels for an easy meal.

    Maple Soy Glazed Salmon

    Maple Soy Glazed Salmon

    This sticky, sweet glazed salmon recipe is about to become your new favorite way to cook salmon.

    Salmon Burgers

    Salmon Burgers

    This incredible salmon burger recipe, made with fresh salmon, lemon, and plenty of dill, is a new family favorite. They’re moist in the middle, packed with flavor, and so easy to make. I think you’ll love them as much as we do!

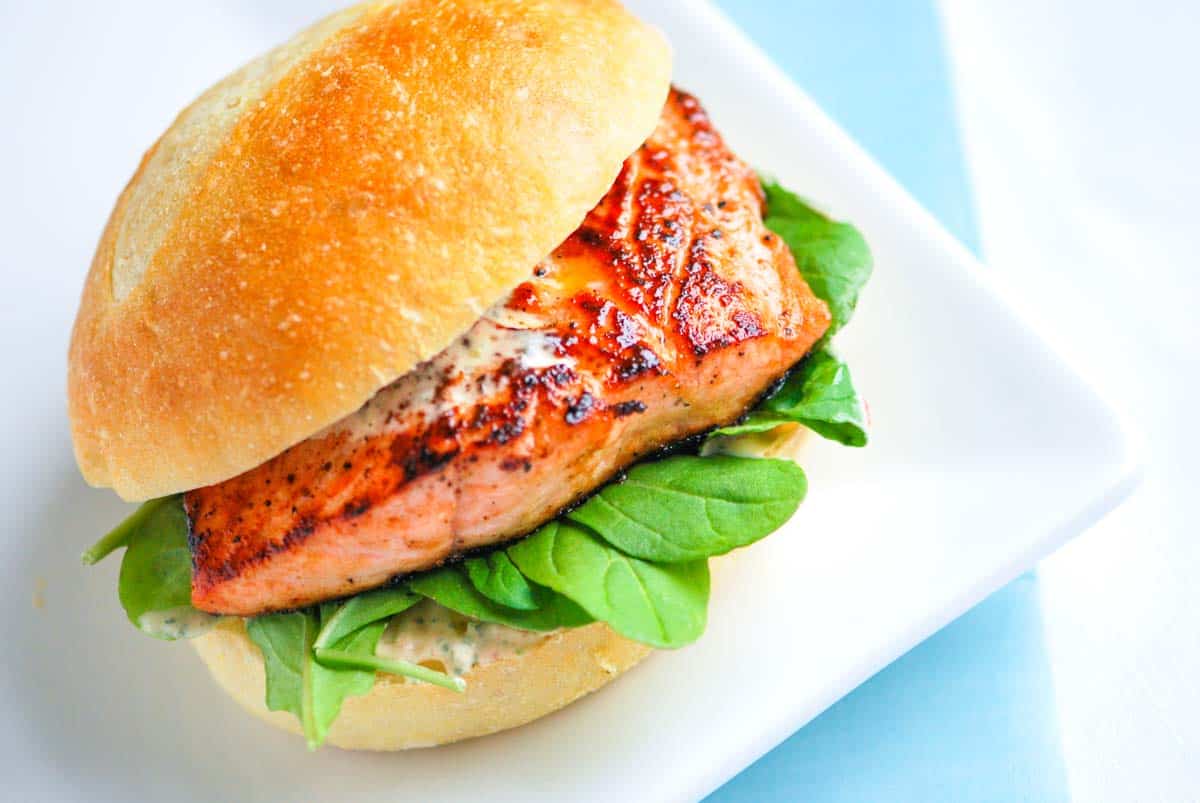
    Chipotle Salmon Sandwiches

    Chipotle Salmon Sandwiches

    These easy salmon sandwiches are seriously delicious with pan-seared salmon and a quick homemade mayonnaise. They are a little sweet, a little spicy, and incredibly delicious!

    Salmon Patties

    Easy Salmon Patties

    These salmon patties call for canned salmon, and truly are the most delicious salmon cakes we’ve tried. They are budget-friendly, easy, and seriously tasty!

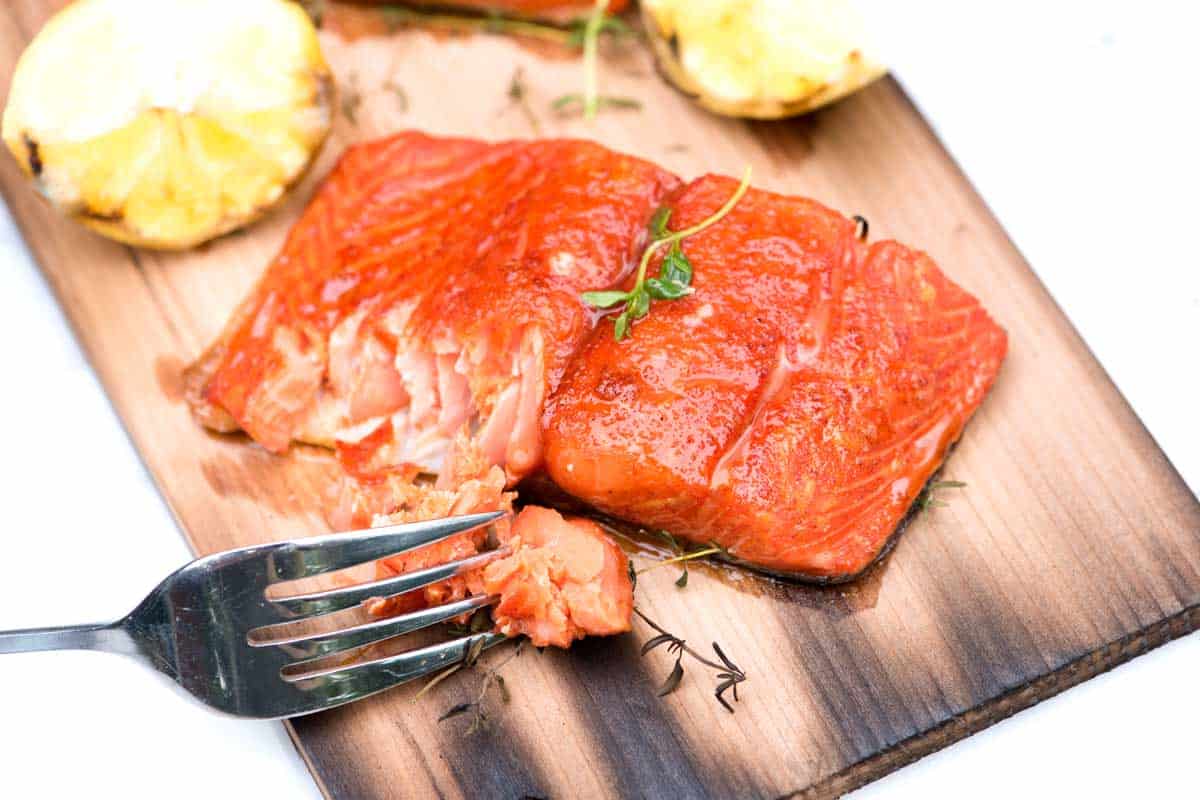
    Cedar Plank Salmon with Citrus Rub

    Cedar Plank Salmon with Citrus Rub

    My family loves this cedar plank salmon made with the easiest citrus and brown sugar rub! The salmon stays soft and juicy in the middle and takes on the most delicious smoky flavor from the cedar plank.

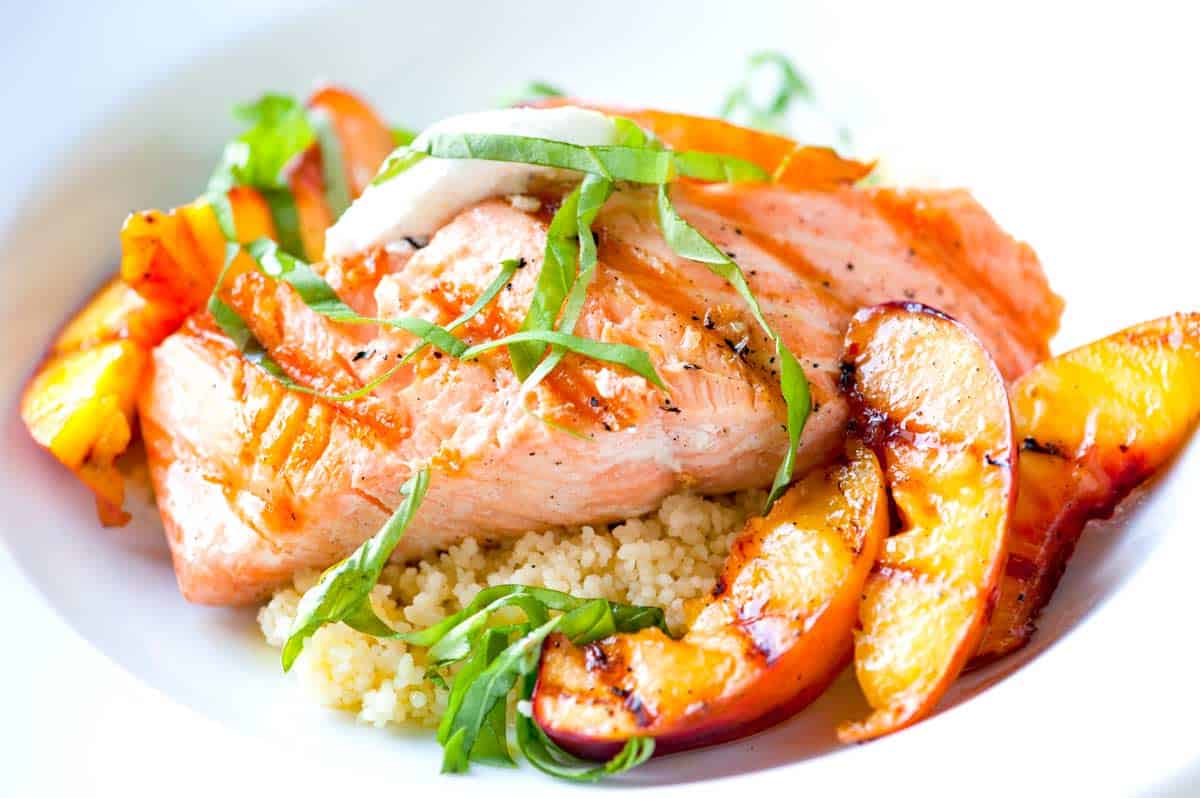
    Grilled Salmon Recipe with Nectarines and Goat Cheese

    Grilled Salmon with Nectarines

    This grilled salmon with nectarines and goat cheese is such an easy, light dinner, especially during the warmer months!

    For more cooking inspiration, join our free newsletter and get our best seasonal recipes delivered straight to your inbox. Click here to join. Happy cooking!

    Adam and Joanne of Inspired Taste

    We are Adam and Joanne Gallagher, the creators of Inspired Taste. Established in 2009, Inspired Taste grew from a childhood dream into one of the internet’s most trusted recipe sites with hundreds of reliable recipes, step-by-step videos, and expert tips.More About Us

    Source link

  • Baked Salmon with Lemon and Dill Sauce

    Baked Salmon with Lemon and Dill Sauce

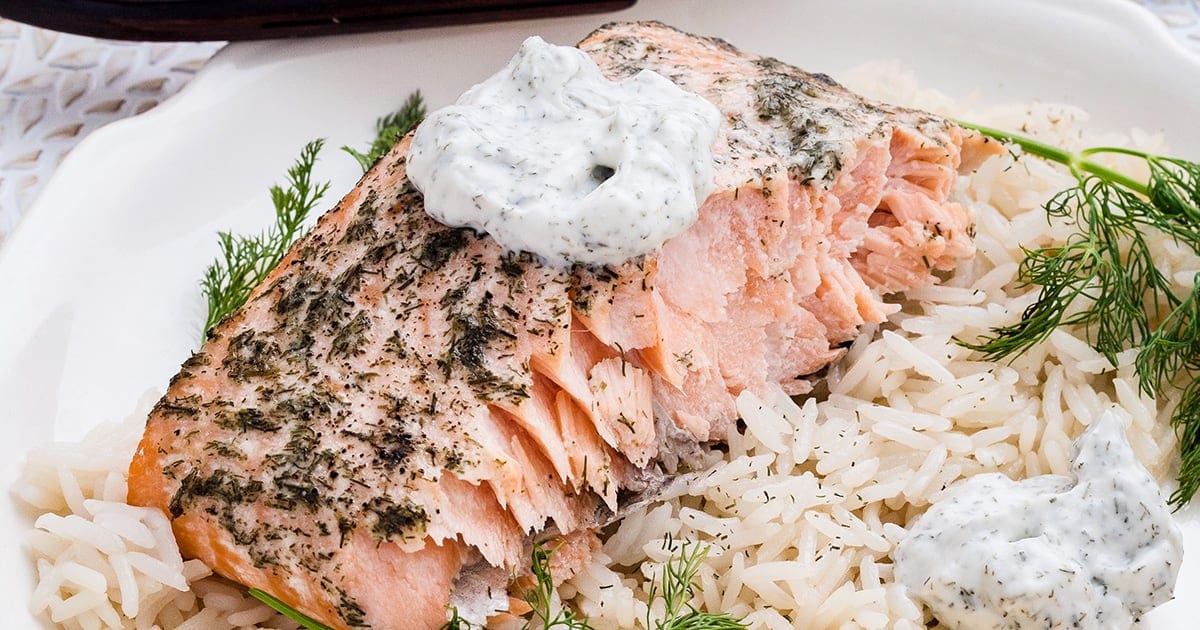
    This whole baked salmon fillet with a simple creamy lemon and dill sauce is the kind of recipe that earns a permanent spot in your weekly rotation — quick, healthy, and genuinely delicious.


    Jump to: ℹ️ Overview | 🛒 Ingredients | 📷 How To Make | 👩‍🍳 Recipe Tips | 🥗 Serving Suggestions | 📝Full Recipe Card | 🍽 More Fish Dinner Recipes


    At A Glance

    • ⏱ Ready In: 30–35 minutes
    • 🍽 Serves: 4–6 (depending on the size of the fillet)
    • 🌱 Diet: Gluten-Free, High-Protein, Low-Carb
    • 💪 Nutrition Highlights: Rich in omega-3 fatty acids and protein
    • 🥕 Main Ingredients: Whole salmon fillet, dill, mayo, sour cream, lemon, olive oil
    • 🔥 Flavor Profile: Fresh, creamy, herby, with a gentle tang from lemon
    • 🧊 Meal-Prep Friendly: Leftovers keep in the fridge for 3–4 days; great cold in a salad or a wrap
    • 🥗 Best Served With: Roasted vegetables, steamed rice, a simple green salad, or crusty bread

    Salmon is on our dinner table frequently, and this baked whole fillet with lemon dill sauce is one of my most-reached-for recipes when I need dinner on the table fast.

    The salmon gets a quick seasoning and brush of mayo, olive oil, and dried dill before going into a hot oven — and that little bit of mayo does something wonderful, keeping the fish moist and adding a subtle richness that plain olive oil alone doesn’t quite achieve. While it bakes, you’ve got just enough time to stir together the creamy lemon dill sauce, which comes together in about two minutes flat. The sauce is tangy, herby, and cooling — the perfect contrast to warm, flaky fish.

    Even picky eaters tend to love this one (salmon is one of the few fish recipes that gets a thumbs up from just about everyone at my table). It’s a genuinely easy, healthy weeknight dinner that feels a little special without requiring much effort.

    👩‍🍳 You might also like these salmon dinner recipes: Mediterranean baked salmon fillets, teriyaki salmon bowls, grilled salmon salad with kale, corn & parmesan, Mediterranean salmon bowl, salmon bites with sweet chili glaze, and 25 salmon dinner ideas.

    What You’ll Need

    Here is what you’ll need for this baked salmon with lemon dill sauce recipe. Find the full measurements in the recipe card below.

    For the salmon:

    • Whole salmon fillet — A single large fillet (about 2 lbs / 900 grams) feeds 4–5 people easily. Look for one with the skin on to help hold the fish together during baking. Skin-off works too; just handle it a little more gently when transferring to the pan.
    • Dried dill — The hero herb here. It has an earthy, slightly anise-like flavor that’s a natural match for salmon. Fresh dill works beautifully if you have it on hand — just use about a tablespoon.
    • Mayonnaise — Just a small amount, mixed with olive oil and dill, and brushed over the fish. It acts as a moisture barrier and helps the top of the salmon stay juicy. Light mayo works just as well.
    • Olive oil — Adds richness and helps the salmon cook evenly.
    • Salt and pepper — Season lightly; the sauce brings plenty of flavor.

    For the lemon and dill sauce:

    • Sour cream — The base of the sauce, giving it that creamy, slightly tangy character. You can swap for light sour cream or Greek yogurt if you’d prefer a lighter option.
    • Mayonnaise — Mixed in with the sour cream for extra body and richness. Light mayo is fine here too.
    • Dried dill — Same herb as the salmon coating, which ties the whole dish together.
    • Fresh dill – a little bit of chopped fresh dill to freshen it up.
    • Lemon — Just half a lemon, squeezed in fresh. It cuts through the creaminess and lifts the whole sauce. Start with half and add more to your taste.
    • Salt and pepper — Season to taste at the end.

    How To Make Baked Salmon with Cream Dill Sauce

    Find the full recipe and nutritional information below. Here are some handy step-by-step photos for how to make this baked salmon with lemon dill sauce.

    • Preheat your oven to 400°F (200°C) and line a half sheet pan with parchment paper.
    • In a small bowl, mix together 1 tablespoon of mayo, the olive oil, and 1 teaspoon of dried dill until combined.
    • Lay the salmon fillet on the prepared baking tray and brush the mayo-dill mixture generously over the top. Season lightly with salt and pepper.
    • Bake for 20–25 minutes, until the salmon flakes easily with a fork. I usually pull it at around 22–23 minutes — right in the middle of the suggested range — which gives you perfectly cooked, still-juicy fish. The internal temperature should be around 130–135°F (55–57°C) if you’re using a thermometer.
    • While the salmon bakes, make the sauce. Stir together the sour cream, mayo, and dried dill in a small bowl. Squeeze in the juice of half a lemon, stir, and season with salt and pepper to taste.
    • Serve the salmon straight from the pan with a generous dollop (or a whole ramekin, if you’re my husband) of the lemon dill sauce on the side.

    Recipe Tips

    • Don’t overcook it. Salmon dries out quickly when pushed past 140°F (60°C). Aim to pull it out when it just starts to flake — it’ll carry over a little from residual heat on the pan.
    • Use a meat thermometer if you want to be precise. 130–135°F (55–57°C) gives you silky, just-cooked salmon. The FDA recommends 145°F (63°C), but most cooks and chefs prefer it slightly under for better texture and moisture.
    • Adjust the sauce quantity. The recipe makes a generous amount of sauce — plenty for a family. If you’re cooking for two or you’re light on sauce, halve it. It keeps well in the fridge for a couple of days too.
    • Swap sour cream for Greek yogurt. If you’d like a lighter sauce, plain full-fat Greek yogurt works really well in place of sour cream. It’s slightly tangier, which pairs nicely with the dill.
    • Try fresh dill. If you have it in your garden or can grab it from the shops, fresh dill takes both the coating and the sauce up a notch. Use about 1 tablespoon fresh for the salmon coating and 2 tablespoons for the sauce.
    • Storage: Leftovers keep in an airtight container in the fridge for 3–4 days. Cold salmon the next day is genuinely great flaked over a salad or tucked into a wrap. If reheating, do it gently at a low temperature — high heat will dry it out. Store the sauce separately.
    • Make it ahead: You can mix the sauce up to 2 days in advance and keep it covered in the fridge. The mayo-dill brush for the salmon can also be prepped ahead and kept chilled until you’re ready to cook.

    Serving Suggestions

    This is a flexible, weeknight-friendly dinner that pairs well with almost anything. I usually serve it alongside steamed rice or roasted potatoes to soak up the sauce, plus a simple green salad or some steamed broccolini.

    In warmer months, it’s excellent with a crisp cucumber salad — the cool crunch works beautifully with the warm, flaky fish.

    If you’re feeding a crowd or want something a little heartier, this salmon sits nicely next to a tray of roasted vegetables like asparagus, zucchini, or cherry tomatoes. And honestly, a good loaf of crusty bread for mopping up the extra sauce is never a bad idea.

    💬 If you’ve tried this baked salmon with lemon and dill sauce or any other recipe on the blog then don’t forget to rate the recipe and let me know how you got on in the comments below, I love hearing from you! You can also FOLLOW ME on Instagram, Facebook, Pinterest, YouTube, and or sign up to my Newsletter to see more of my delicious food.

    Want to Save This Recipe?

    Enter your email & I’ll send it to your inbox. Plus, get great new recipes from me every week!

    By submitting this form, you consent to receive emails from Cooked & Loved

    A simple whole baked salmon fillet with a creamy, tangy lemon and dill sauce on the side — a healthy, high-protein dinner that’s ready in about 30 minutes. Find step-by-step photos and more recipe tips above.

    For the lemon and dill sauce:

    • Preheat your oven to 400°F (200°C / 180°C fan). Line a large rimmed baking sheet or half sheet pan with parchment paper.

    • In a small bowl, stir together the 1 tablespoon of mayo, olive oil, and 1 teaspoon of dried dill until well combined.

    • Place the salmon fillet on the prepared baking tray. Brush the mayo-dill mixture evenly over the top of the fish. Season lightly with salt and pepper.

    • Bake for 20–25 minutes, until the salmon flakes easily when tested with a fork. For best results, aim for about 22–23 minutes — this gives you moist, just-cooked fish. If you’re using a thermometer, pull it at 130–135°F (55–57°C) for tender, juicy salmon.

    • While the salmon bakes, make the sauce. In a small bowl, stir together the sour cream, mayo, and dried dill. Squeeze in the juice of half a lemon, stir to combine, and season with salt and pepper to taste.

    • Serve the salmon straight from the pan with the lemon dill sauce spooned over or alongside.

    Important Ingredient Tips: For the sauce, you can substitute Greek yogurt for sour cream — slightly tangier but works beautifully. Fresh dill is a lovely upgrade for both the salmon coating and the sauce (use 1 tbsp fresh for the coating, 2 tablespoons for the sauce).
    Key Recipe Tips: Don’t overcook the salmon — aim to pull it out when it just starts to flake; it’ll finish cooking on the tray. Check around the 22–23 minute mark for a 900 gram–1 kilogram fillet. The sauce quantity is generous; halve it if you’re cooking for fewer people.
    Storage Tips: Cooked salmon keeps in an airtight container in the fridge for 3–4 days. The sauce keeps separately for 2–3 days. Enjoy leftover salmon cold over a salad — it’s excellent. Reheat gently at low temperature to avoid drying it out.
    Make-Ahead Tips: The lemon dill sauce can be made up to 2 days in advance and kept covered in the fridge. The mayo-dill brush mixture can also be prepped ahead. The salmon is best cooked fresh.
    FAQs:
    What temperature should I bake salmon at? 400°F (200°C) is the sweet spot for baking a whole salmon fillet — hot enough to cook it through quickly without drying it out. If your oven runs hot, check it a minute or two early.
    How do I know when salmon is done? The most reliable method is the fork test: press gently into the thickest part — if it flakes into clean layers, it’s ready. You can also use a meat thermometer; aim for 130–135°F (55–57°C) for moist fish, or 145°F (63°C) if you prefer it fully cooked through.
    Can I use salmon fillets instead of a whole fillet? Yes, individual salmon fillets work well — just reduce the cooking time. Fillets around 150–170 grams (5–6 oz) will need about 12–15 minutes at 400°F, depending on thickness.
    Can I make the sauce ahead of time? Yes. The lemon dill sauce keeps well in the fridge for up to 2–3 days. Give it a stir before serving.
    How do I store and reheat leftover salmon? Store in an airtight container in the fridge for up to 3–4 days. To reheat, cover loosely and warm in the oven at a low temperature (around 275°F / 135°C) for 10–15 minutes. Cold salmon is also delicious flaked into a salad or grain bowl.
    Is this recipe gluten-free? Yes — all ingredients are naturally gluten-free. Just check the labels on your mayo and sour cream to be certain, as some brands may contain trace additives.

    Calories: 391kcal | Carbohydrates: 4g | Protein: 37g | Fat: 24g | Saturated Fat: 5g | Polyunsaturated Fat: 8g | Monounsaturated Fat: 8g | Trans Fat: 0.01g | Cholesterol: 117mg | Sodium: 762mg | Potassium: 960mg | Fiber: 0.2g | Sugar: 2g | Vitamin A: 282IU | Vitamin C: 2mg | Calcium: 62mg | Iron: 2mg

    Keywords: baked salmon with dill, salmon and dill sauce, creamy dill sauce for salmon, baked salmon fillet, lemon dill salmon

    More Fish Dinner Recipes


    Source link

  • Wedge Salad Recipe

    Wedge Salad Recipe

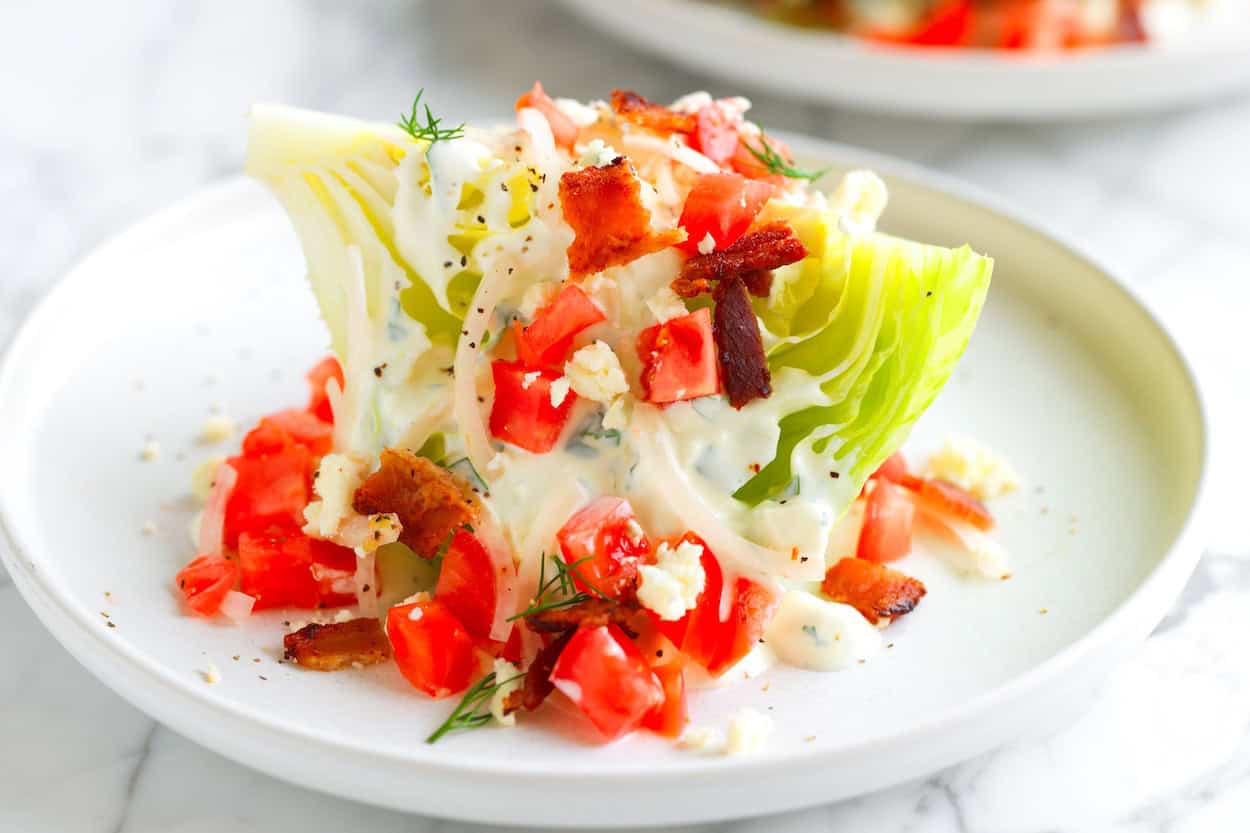
    This is the wedge salad recipe we are always happy to eat. Crispy lettuce, a thick homemade dressing, bacon, and a quick tomato-onion pickle. It’s a good one!

    Wedge Salad

    Take us to a classic steakhouse, and there’s a very good chance at least one of us will order a wedge salad. We’re picky about it, though. The lettuce should be generous, the dressing needs to be thick and seriously blue cheesy, and tomatoes are a must (bacon is also up there on the expectations list).

    We eat this homemade wedge salad for dinner, sometimes on its own or alongside some protein like grilled steak or baked salmon.

    Key Ingredients

    • Iceberg Lettuce: The classic choice for wedge salads! Grab a larger head and remove any tattered or browned leaves. Then, trim the bottom so the stalk isn’t brown. Slice into four wedges, and you are ready for the salad. Halved romaine lettuce hearts are great, too.
    • Bacon: We love thick-cut bacon for this and usually cook it in the oven, which creates less mess than in a skillet. Cook your bacon until crisp, then chop it to top the salad.
    • Tomato: Use the best tomatoes available. We’ve shown a medium slicer tomato in the photos, but cherry tomatoes or heirloom tomatoes are also excellent.
    • Onion: We prefer sweet onions and quickly pickle them for 5 minutes to tone down their raw, sharp flavor. Yellow or red onions work nicely, too.
    • Blue Cheese Dressing: We use our homemade blue cheese dressing and highly recommend you do, as well. It’s easy to pull together and tastes much better than what’s sold at the supermarket. You’ll need mayo, sour cream (or yogurt), blue cheese, lemon juice, and parsley. Then, to thin it a little, a bit of milk or buttermilk. When shopping for blue cheese, we prefer buying wedges rather than pre-crumbled cheese, and especially love gorgonzola.

    Find the full recipe with measurements below.

    How to Make a Wedge Salad

    Tip 1: Make a tomato-onion quick pickle. The first step to making our wedge salad recipe is to combine thinly sliced sweet onion, chopped tomatoes, a bit of rice wine vinegar, and a pinch of salt. Then set this aside while you make the dressing and salad. As the onion sits, it softens, and the raw flavor tones down a little, and the tomato releases some of its juices (which are wonderful spooned over the salad).

    Tip 2: You can make the dressing ahead. Our dressing below sits well in the fridge for up to a week. It also only takes 5 minutes to make, so if you are up for a quick meal-prep session, make the dressing, and you will be one step closer to a homemade wedge salad later on in the week. As you make it, you’ll notice it’s quite thick. Add a tablespoon or two of milk to thin it out a bit, or wait until you are ready to build your salad and thin it out then.

    Wedge Salad Ingredients

    Tip 3: Assembling the salad. Place your wedge of iceberg onto a plate, then drizzle the thick, creamy dressing over it, making sure to get it into the nooks and crannies of the lettuce. Then pile on your pickled onion and tomato, chopped bacon, fresh herbs, and more blue cheese (if you like). Finish with a pinch of freshly ground black pepper and enjoy! By the way, you can also cut your lettuce into slabs, like we do for this strawberry iceberg salad.

    Serving Suggestions

    This salad makes a fantastic appetizer, but we mostly enjoy it as our main meal with a little extra protein added to it. Think a side of lemon dill salmon, juicy chicken breasts, marinated steak, or grilled chicken.

    More Classic Salads

    Wedge Salad

    Wedge Salad

    • PREP
    • COOK
    • TOTAL

    We’re always happy with a really good wedge salad. Iceberg sometimes gets a bad rap, but it’s perfect with the bacon and thick homemade dressing here. You can make the dressing up to a week in advance, and if you’d like to lighten things a bit, plain thick yogurt (like Greek or Icelandic) works well as a substitute for sour cream.

    Serves 4

    You Will Need

    ¼ small sweet onion, thinly sliced into quarter moons

    1 medium tomato, chopped (about 1 cup)

    1 tablespoon rice wine vinegar

    Fine sea salt and freshly ground black pepper

    ¼ cup mayonnaise (try homemade mayo)

    ¼ cup sour cream

    1 tablespoon fresh lemon juice

    2 ounces blue cheese, crumbled (about ½ cup), plus more for serving

    1 tablespoon minced fresh parsley

    1 to 3 tablespoons milk or buttermilk

    1 large head iceberg lettuce, browned outer leaves removed, cut into 4 wedges

    4 slices thick-cut bacon, cooked until crispy and chopped

    Fresh herbs, like dill, chives, or parsley, for serving (optional)

    Directions

      1In a small bowl, toss the onion and tomato with the rice wine vinegar and a pinch of salt. Set aside to pickle.

      2Make the dressing. In a medium bowl, stir together the mayonnaise, sour cream, lemon juice, blue cheese, parsley, a pinch of salt, and a pinch of pepper. Add enough milk to thin for a thick, drizzly dressing.

      3Set a wedge of lettuce onto four plates. Generously drizzle the dressing over it, then top with the pickled onion and tomato (and some of the juices from the bottom of the bowl), chopped bacon, more blue cheese crumbles, and fresh herbs. Add a good pinch of pepper, then serve.

    Adam and Joanne’s Tips

    • To cook the bacon, either crisp the slices in a skillet or use your oven. Here is how to cook bacon in the oven (our favorite, hands-off method).
    • The nutrition facts provided are estimates.

    Nutrition Per Serving
    Serving Size
    1 wedge (1/4 of full recipe)
    /
    Calories
    326
    /
    Total Fat
    28.8g
    /
    Saturated Fat
    9.6g
    /
    Cholesterol
    44.1mg
    /
    Sodium
    537.9mg
    /
    Carbohydrate
    8.9g
    /
    Dietary Fiber
    2.2g
    /
    Total Sugars
    5.9g
    /
    Protein
    9g


    AUTHOR:

    Joanne Gallagher

    Adam and Joanne of Inspired Taste

    We are Adam and Joanne Gallagher, the creators of Inspired Taste. Established in 2009, Inspired Taste grew from a childhood dream into one of the internet’s most trusted recipe sites with hundreds of reliable recipes, step-by-step videos, and expert tips.More About Us

    Source link

  • Shrimp Poke Bowl

    Shrimp Poke Bowl

    This shrimp poke bowl is ready in 30 minutes, with garlic-soy butter shrimp, mango, avocado, edamame, and a creamy Sriracha-lime mayo drizzle.


    Jump to: ℹ️ Overview | 🛒 Ingredients | 📷 How To Make | 📹 Watch The Video | 👩‍🍳 Recipe Tips | 🥗 Serving Suggestions | 📝Full Recipe Card | 🍽 More Rice Bowl Recipes


    At A Glance

    • ⏱ Ready In: 30 minutes
    • 🍽 Serves: 2 (easily doubled)
    • 🌱 Diet: Dairy-free option, gluten-free option (use tamari), high-protein, healthy
    • 💪 Nutrition Highlights: High in lean protein and healthy fats; naturally balanced meal with complex carbs, greens, and fiber
    • 🥕 Main Ingredients: Shrimp, sushi rice, mango, avocado, edamame, cucumber, Sriracha, mayo, garlic, soy sauce, butter.
    • 🔥 Flavor Profile: Savory, garlicky, buttery shrimp with bright tropical freshness and a creamy, spicy-tangy drizzle
    • 🧊 Meal-Prep Friendly: Store components separately in the fridge for up to 2 days; add avocado fresh when serving
    • Best Served With: Fresh out of the fridge on a warm night, or as a quick lunch that feels anything but boring

    This shrimp poke bowl is inspired by the Hawaiian garlic shrimp and the classic poke bowl flavors. The shrimp (or prawns) are pan-fried in a quick garlic soy butter sauce until glossy and fragrant, then piled over fluffy sushi rice with mango, avocado, cucumber, and edamame.

    The Sriracha lime mayo is creamy, tangy, with just the right amount of heat — and once you’ve made it, you’ll find yourself drizzling it on everything. I love this one because it hits that sweet spot between fresh and satisfying: it’s colorful, it’s got great texture from all the toppings, and the shrimp have this beautiful savory depth that raw fish poke bowls just can’t replicate.

    The whole thing comes together in 30 minutes, making it perfect for a weeknight dinner situation.

    👩‍🍳 You might also like these recipes: classic tuna poke bowl, tofu poke bowl, or these poke bowl ideas; or try my Teriyaki salmon bowl, Tex-Mex steak and rice bowl or this versatile chicken and rice bowl.

    What You’ll Need

    Here is what you’ll need for this shrimp poke bowl recipe. Find the full measurements in the recipe card below.

    For the garlic soy butter shrimp:

    • Shrimp — Large peeled shrimp (prawns) work best here; they stay juicy and get a nice sear. Frozen shrimp are completely fine — just thaw overnight in the fridge or quickly in cold water, then pat them very dry before cooking. The drier the shrimp, the better the sear.
    • Garlic — Fresh and finely minced. Don’t skip the mincing; you want the garlic to melt into the sauce, not sit in chunks.
    • Soy sauce — Use Tamari if you need this gluten-free. It does the same job beautifully. You can use regular or light soy sauce.
    • Butter — Just one tablespoon, but it makes the sauce go glossy and rich. For dairy-free, leave it out and add a tiny splash of extra oil.
    • Sesame oil — Toasted sesame oil gives the sauce that nutty depth. A little goes a long way.
    • Sriracha — Adds a background warmth to the shrimp. You can leave it out or double it depending on your heat preference.
    • Neutral oil — For searing. Vegetable, sunflower, or avocado oil all work.

    For the sriracha lime mayo:

    • Mayonnaise — Kewpie mayo is genuinely worth tracking down for this — it’s richer and ever-so-slightly sweeter than regular mayo and makes the sauce extra creamy. Find it at Asian grocery stores or the international aisle of most major supermarkets. Light mayo works too if that’s what you have.
    • Sriracha — Start with 1 tablespoon and taste as you go. You can always add more heat; you can’t take it back.
    • Lime juice — Freshly squeezed is best. It makes the whole sauce brighter. Lemon works if that’s what you have.
    • Honey — Just a touch to balance the heat.

    For the bowl:

    • Short or medium-grain rice — Sushi rice is ideal because it’s slightly sticky and holds together well in the bowl. Regular short or medium-grain rice is fine too.
    • Mango — Ripe but not mushy. It adds a gorgeous tropical sweetness that works so well against the savory shrimp. If you don’t want fruit in your poke bowl, you can swap it for pickles or cherry tomatoes.
    • Avocado — Slice or dice just before serving so it stays fresh. It adds creaminess and healthy fats.
    • Edamame — Shelled and thawed from frozen. A great source of plant-based protein that also adds a satisfying bite.
    • Cucumber — Thinly sliced for a fresh, cooling contrast. Persian or Lebanese cucumbers are my preference; they have fewer seeds.
    • Green onions and sesame seeds — For garnish and a bit of nuttiness. Toast the sesame seeds in a dry pan for a minute or two — it really does make a difference.
    • Optional extras — Pickled ginger is lovely for cutting through the richness, and chili crisp or fried shallots add a fun crunch.

    How To Make Shrimp Poke Bowl

    Find the full recipe and nutritional information below. Here are some handy step-by-step photos for how to make this shrimp poke bowl.

    • Cook the rice. Rinse until the water runs clear, cook according to packet instructions, then fluff with a fork and set aside.
    • Make the sriracha lime mayo. Whisk together mayo, sriracha, lime juice, and honey. Thin with a little water if needed, taste, and adjust. Set aside.
    • Prep your toppings. Dice the mango and avocado, slice the cucumber and green onions, thaw the edamame, and toast the sesame seeds in a dry pan until golden. Get everything ready before you start the shrimp — they cook fast.
    • Cook the shrimp. Pat dry (well!), season with salt and pepper, and sear in a hot oiled skillet for 1–2 minutes per side until pink. Cook in batches if needed.
    • Add the sauce. Reduce the heat to medium, and add the butter and garlic, and sauté for 30 seconds, and then add the soy sauce, sesame oil, and sriracha. Toss the shrimp through for 1 minute until glossy and fragrant, then pull off the heat.
    • Assemble. Divide the rice between two bowls, arrange the toppings, and pile the shrimp in the center. Drizzle with sriracha lime mayo and finish with green onions, sesame seeds, and any extras.

    Watch The Video

    Recipe Tips

    • Pat the shrimp completely dry before cooking. This is the single most important step for a good sear. Wet shrimp steam instead of sear, and you’ll miss out on those caramelized edges that make the shrimp so good.
    • Cook in a single layer. If your pan is crowded, the shrimp will steam rather than brown (yep, happened to me a few times). If you’re cooking for four, do the shrimp in two batches and set the first aside while you cook the second, then toss them all back in for the sauce.
    • Pull the shrimp off the heat as soon as the sauce is glossy. They carry over heat quickly, and overcooked shrimp go rubbery fast. When in doubt, pull them early.
    • Frozen shrimp work perfectly here. Thaw in the fridge overnight, or run under cold water for a few minutes, then drain and pat dry. Don’t thaw in hot water.
    • Make it gluten-free. Swap the soy sauce for tamari — same flavor, no gluten.
    • Make it dairy-free. Leave out the butter; the sauce is still delicious with just the oil, soy, garlic, and sesame.
    • Swap the protein. This bowl works beautifully with grilled salmon or even tofu (marinated in the same sauce, pan-fried until crispy). If you’ve already got my tofu poke bowl recipe bookmarked, that garlic soy combo will feel very familiar.
    • Make it spicier. Double the sriracha in the shrimp sauce, or serve with chili crisp drizzled over the top at the end.
    • Storage. Store the components separately in airtight containers for up to 2 days. The mayo will keep in the fridge for up to a week. Add the avocado fresh when serving — it doesn’t store well once sliced.

    Serving Suggestions

    This bowl is a complete meal on its own — you’ve got protein, carbs, healthy fats, and plenty of vegetables all in one. That said, a light miso soup alongside is a lovely addition, especially if you’re serving it in cooler weather.

    If you’re making this for a group, lay everything out separately and let people build their own bowls — it’s one of those meals that works really well as an interactive dinner, and it means everyone can customize their heat level with the mayo. A squeeze of fresh lime right before eating is optional but highly recommended.

    💬 If you’ve tried this shrimp poke bowl or any other recipe on the blog then don’t forget to rate the recipe and let me know how you got on in the comments below, I love hearing from you! You can also FOLLOW ME on Instagram, Facebook, Pinterest, YouTube, and or sign up to my Newsletter to see more of my delicious food.

    Want to Save This Recipe?

    Enter your email & I’ll send it to your inbox. Plus, get great new recipes from me every week!

    By submitting this form, you consent to receive emails from Cooked & Loved

    Pan-fried garlic soy butter shrimp over sushi rice with mango, avocado, edamame, and cucumber, all finished with a creamy sriracha lime mayo. A delicious shrimp poke bowl ready in 30 minutes. The recipe below is for two bowls, but can be stretched to 3 servings. Find step-by-step photos and more recipe tips above.

    For the garlic soy butter shrimp:

    For the sriracha lime mayo:

    • Cook the rice. Rinse under cold water until the water runs clear. Cook according to packet instructions with ½ teaspoon salt. Once done, fluff with a fork and set aside.

    • Make the sriracha lime mayo. Whisk together the mayonnaise, sriracha, lime juice, and honey in a small bowl. Add a teaspoon of water if needed to thin it to a drizzleable consistency. Taste and adjust seasoning. Set aside.

    • Prep the toppings. Dice the mango and avocado, thinly slice the cucumber and green onions, and thaw the edamame. Toast sesame seeds in a dry pan over medium heat for 1–2 minutes until golden, stirring occasionally. Have everything ready before you cook the shrimp.

    • Cook the shrimp. Pat shrimp very dry with paper towels and season lightly with salt and pepper. Heat a large skillet over medium-high heat and add the neutral oil. Add shrimp in a single layer (cook in batches if needed) and cook for 1–2 minutes per side until pink and cooked through.

    • Add the sauce. Reduce heat to medium. Add butter, garlic, soy sauce, sesame oil, and sriracha to the pan. Toss shrimp through the sauce and cook for a further 60 seconds, stirring, until glossy and fragrant. Remove from heat immediately.

    • Assemble. Divide rice between two bowls. Arrange mango, avocado, edamame, and cucumber around the bowl. Top with garlic butter shrimp. Drizzle generously with sriracha lime mayo and finish with green onions, toasted sesame seeds, and any optional extras.

    Important Ingredient Tips: Kewpie mayo is highly recommended for the sriracha lime mayo — it’s creamier and slightly sweeter than regular mayo and makes the sauce noticeably better. Find it at Asian grocery stores or the international aisle of most supermarkets. Light mayo or regular mayo can be substituted. For the shrimp, frozen is completely fine; thaw and pat dry thoroughly before cooking for the best sear.
    Key Recipe Tips: Pat shrimp completely dry before cooking — this is the most important step for a good sear. Don’t overcrowd the pan; cook in batches if needed. Pull the shrimp off the heat as soon as the sauce is glossy, as they continue cooking from residual heat.
    Storage Tips: Store all components separately in airtight containers in the fridge for up to 2 days. The sriracha lime mayo keeps for up to 1 week refrigerated. Add avocado fresh when serving — it doesn’t store well once cut.
    Make-Ahead Tips: The rice can be cooked ahead and kept in the fridge for up to 3 days. The sriracha lime mayo can be made up to a week in advance. Prep all toppings (except avocado) the day before and store in separate containers. Cook the shrimp fresh when ready to serve for best texture.
    FAQs:
    Can I use frozen shrimp? Yes, absolutely. Thaw them in the fridge overnight or under cold running water, then pat completely dry before cooking. Frozen shrimp work just as well as fresh here.
    Can I make this ahead? The components store well separately, so this is a great meal prep option. Cook the shrimp fresh for best results — they only take about 5 minutes.
    What can I substitute for mango? Pineapple works really well as a tropical alternative. Or skip the fruit entirely and add extra cucumber, radishes, or shredded cabbage for crunch.
    Is this recipe spicy? The shrimp have a mild background heat, and the mayo has a medium kick. You can easily adjust both up or down by changing the amount of sriracha.
    Can I make this gluten-free? Yes — simply swap the soy sauce for tamari. Everything else in the recipe is naturally gluten-free.
    Can I substitute the shrimp? Salmon works beautifully in this bowl with the same garlic butter sauce. Tofu is also a great option — marinate and pan-fry it in the same sauce until crispy.

    Calories: 614kcal | Carbohydrates: 78g | Protein: 23g | Fat: 24g | Saturated Fat: 5g | Polyunsaturated Fat: 5g | Monounsaturated Fat: 11g | Trans Fat: 0.2g | Cholesterol: 131mg | Sodium: 1700mg | Potassium: 857mg | Fiber: 9g | Sugar: 12g | Vitamin A: 1269IU | Vitamin C: 42mg | Calcium: 125mg | Iron: 5mg

    Keywords: shrimp poke bowl, shrimp poke, garlic butter shrimp bowl, Hawaiian shrimp bowl, spicy sriracha mayo bowl, 30-minute dinner, healthy rice bowl

    More Rice Bowl Recipes


    Source link

  • 60+ Dinner Recipes for When You Are Out of Ideas

    60+ Dinner Recipes for When You Are Out of Ideas

    Say hello to over 60 dinner recipes for when you are all out of ideas. From quick and easy weeknight recipes to entertaining-worthy dishes.

    Chicken Milanese

    Bookmark this page for the next time you are staring blankly into your fridge. It feels like we are always looking for new, mouthwatering dinner recipes. We took some time and put together this list of over 60 dinner ideas to keep you (and ourselves) inspired.

    Most of these are quick and weeknight-friendly, several are impressive enough for entertaining friends, and a handful are the dinners that our family comes back to every week. Dinner does not need to be boring!

    Find the recipes below. For more, join our free newsletter to get our best recipes delivered straight to your inbox. Happy cooking!

    Our Favorite Dinner Recipes

    Chicken Noodle Soup

    The Best Chicken Noodle Soup

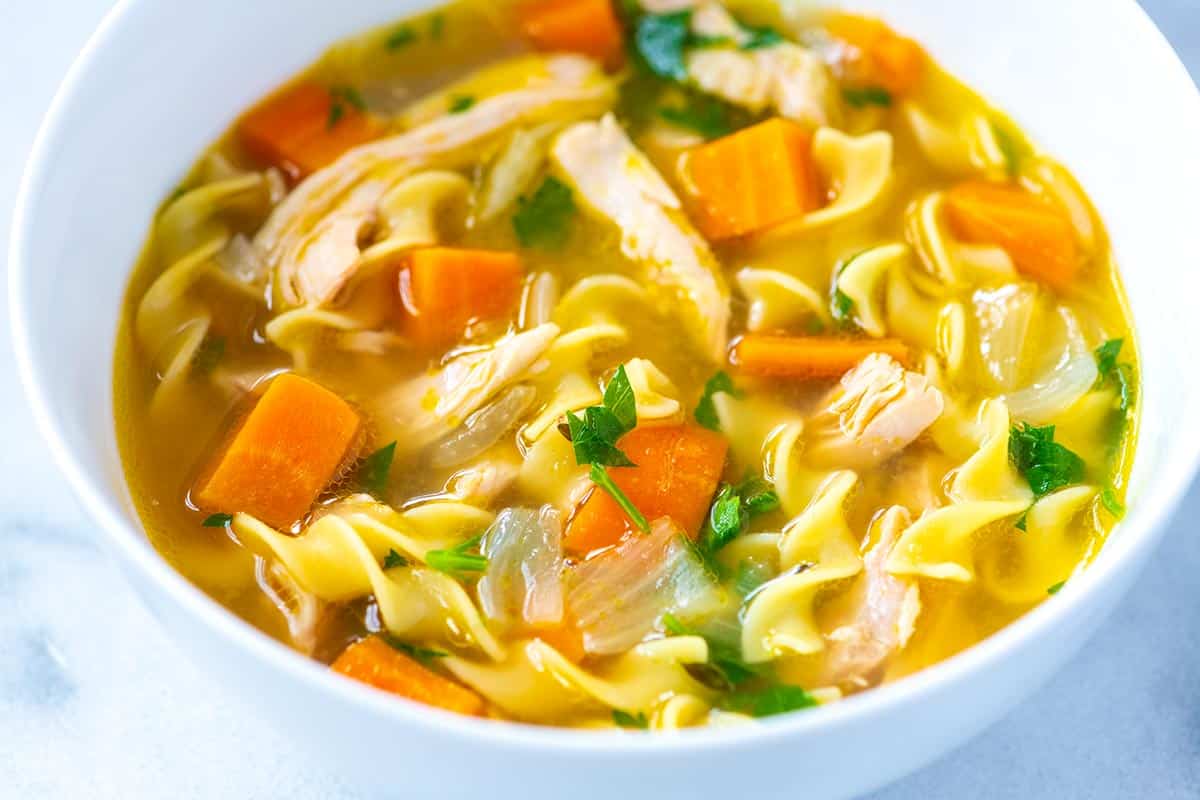
    Our family loves soup for dinner. Our easy homemade chicken noodle soup has tender chicken, fresh veggies, and the most delicious broth that tastes like it’s been cooking for hours.

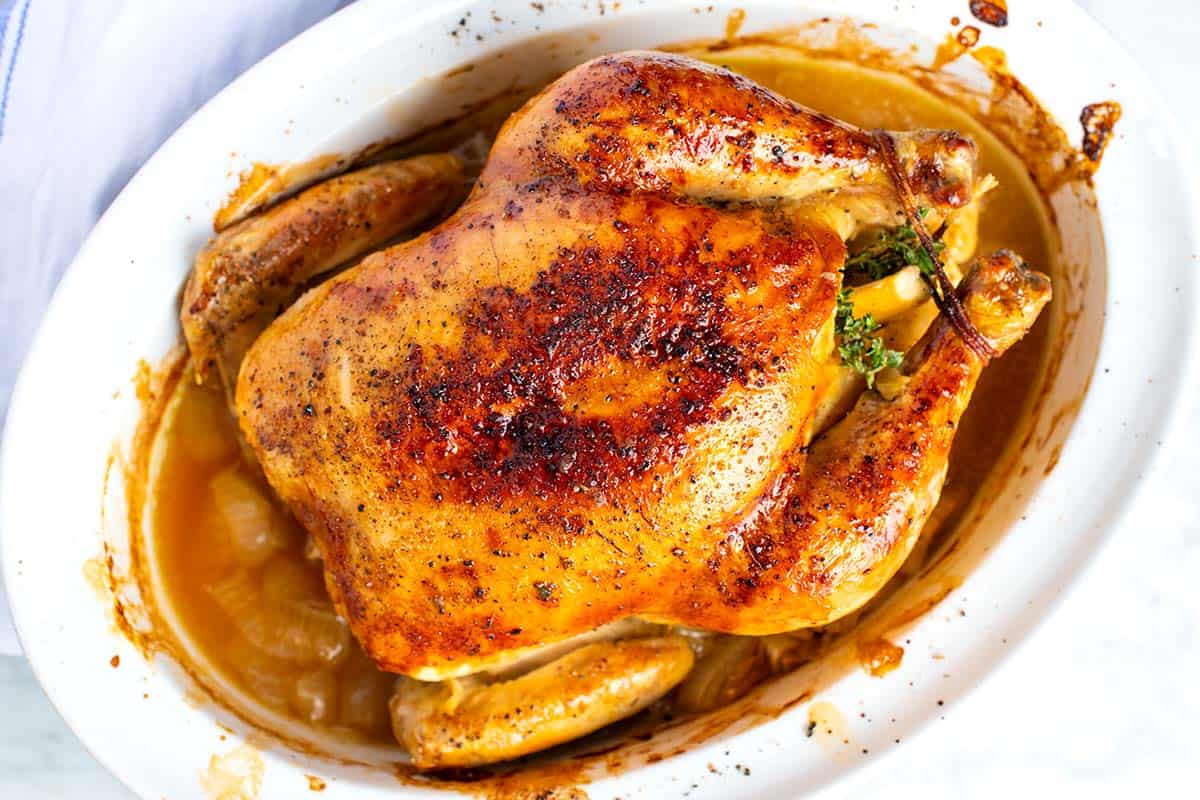
    Simple Whole Roasted Chicken Recipe

    Easy Roast Chicken

    Another family favorite, this roast chicken recipe guarantees incredibly juicy, tender chicken with gorgeous golden-brown skin every single time.

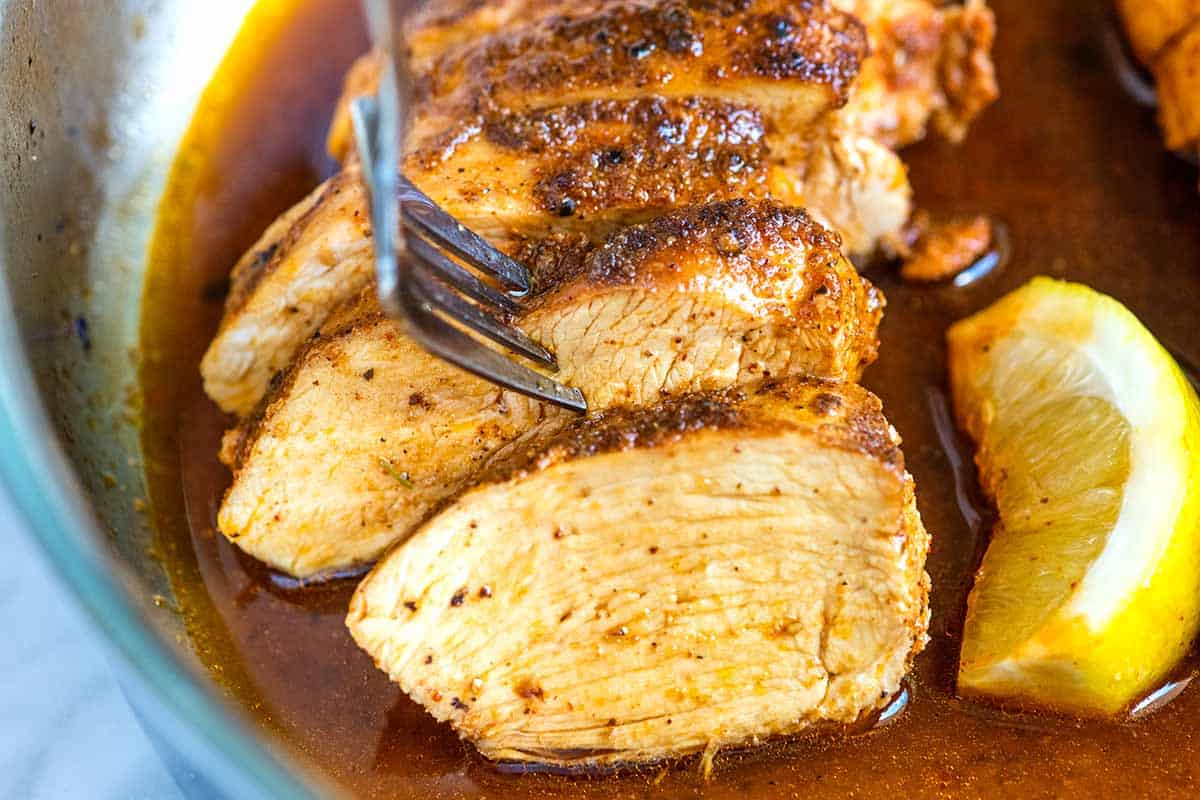
    Best Juicy Skillet Chicken Breasts

    Juicy Chicken Breasts

    One of our quickest dinners! We’ve used this skillet chicken breast recipe for years. It never fails. It’s fast, easy, and guarantees the juiciest, most tender chicken.

    Chicken Pot Pie

    Easy Chicken Pot Pie

    The most perfect chicken pot pie, made with lots of chicken and classic vegetables, all surrounded by a creamy sauce and baked under a towering puff pastry crust.

    Butter Chicken

    Butter Chicken

    This Indian butter chicken recipe simmers spiced yogurt-marinated chicken in a creamy, buttery tomato sauce. We love serving over rice and with plenty of naan for dipping. Such a delicious dinner!

    Perfect Poached Chicken

    Juicy Poached Chicken

    My poached chicken recipe makes the juiciest, most tender chicken ever. Poaching is one of the easiest ways to guarantee foolproof, juicy chicken breasts.

    Yogurt Marinated Chicken

    Yogurt Marinated Chicken

    This endlessly useful yogurt chicken marinade recipe works wonders for all cuts of chicken, and is especially good for chicken breasts.

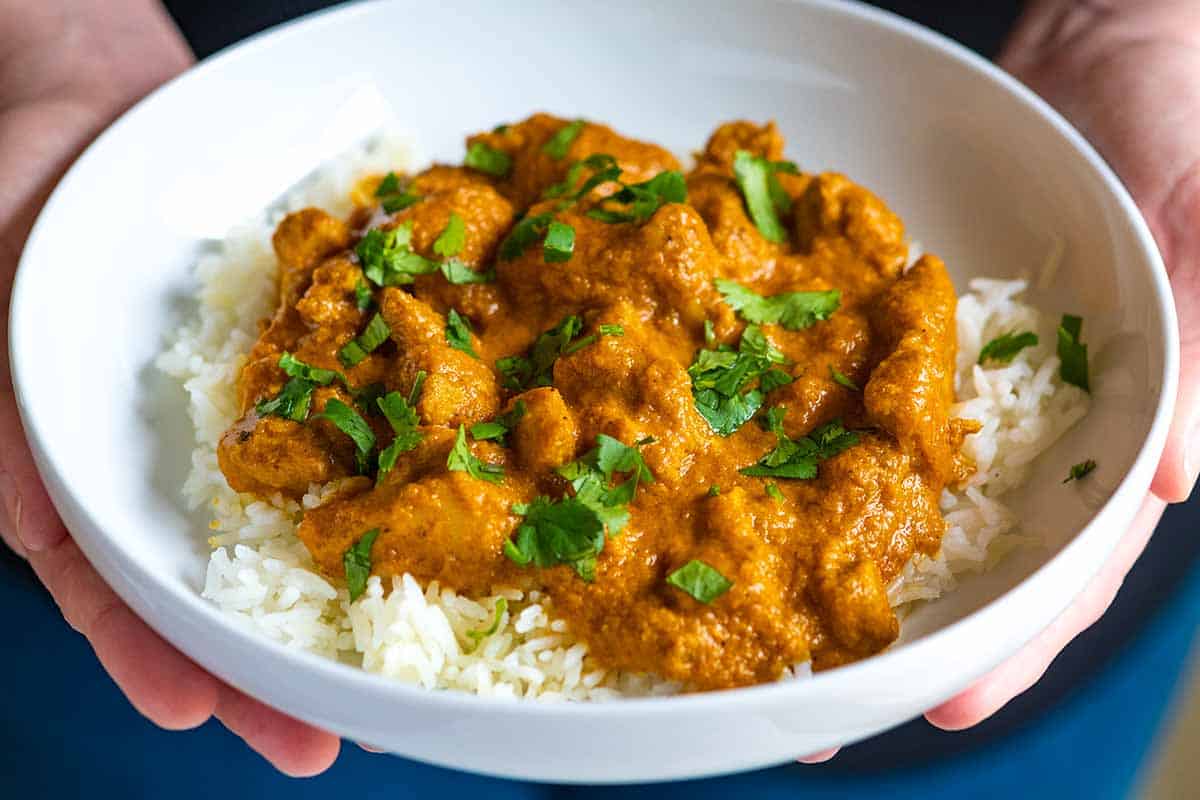
    Chicken Tikka Masala

    Chicken Tikka Masala

    This chicken tikka masala recipe guarantees juicy, tender, yogurt-marinated chicken simmered in a creamy, spiced tomato sauce that’s just so good. Spoon it over rice or scoop it up with naan. Either way, you’re in for a treat.

    Chicken Burger

    Juicy Chicken Burgers

    These ground chicken burgers are seriously delicious. The secret is a mixture of spiced veggies that we mix right into the patties. Trust me, you’ll want to make these again and again (our family has this dinner recipe on repeat).

    Indian Inspired Chicken Curry

    Our Favorite Chicken Curry

    When I’m craving Indian curry at home, this chicken curry recipe is where I turn! We simmer tender chicken with ginger, garlic, and spices in an incredible yogurt and cream sauce.

    Honey Mustard Chicken

    Honey Mustard Chicken

    Our honey mustard chicken recipe packs in so much incredible flavor thanks to an easy honey dijon marinade that doubles as a sauce for serving.

    Chicken Milanese

    Crispy Chicken Milanese

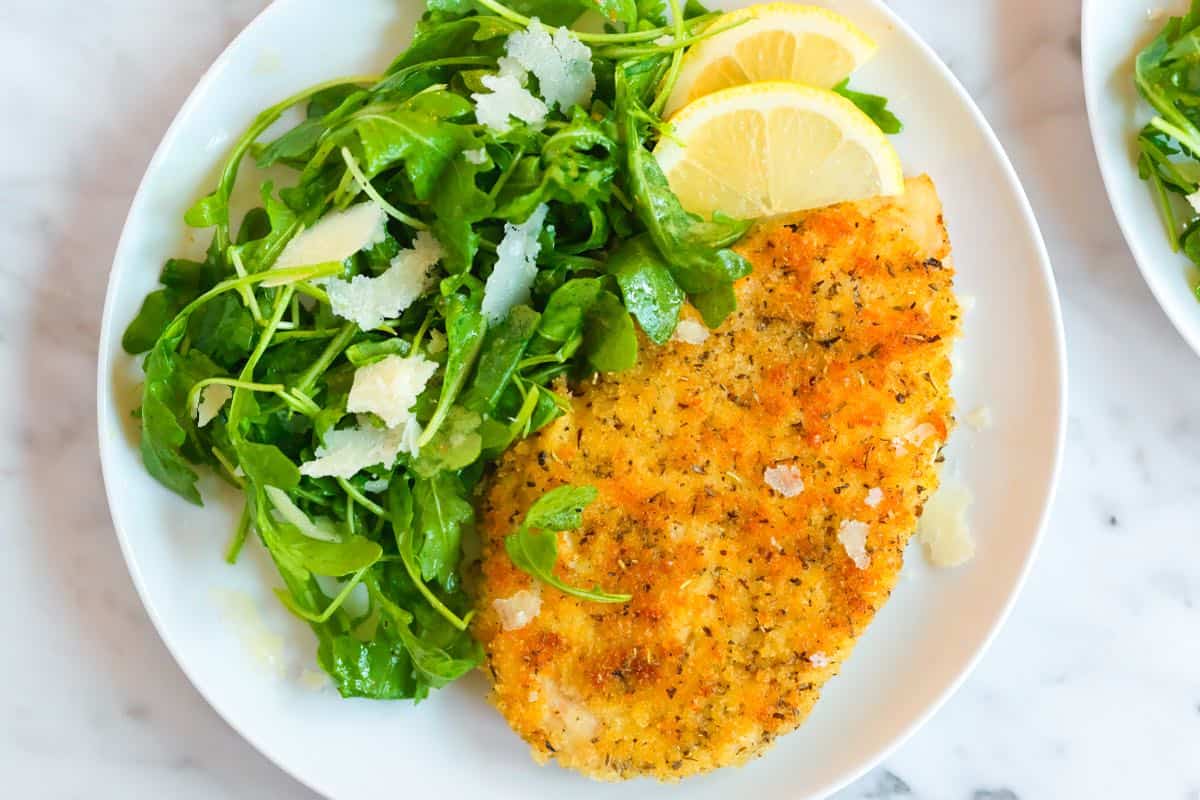
    A reader favorite! This chicken Milanese recipe turns out perfectly crisp and golden on the outside and juicy and tender inside. It’s simple to make and everyone I’ve served it to loves it!

    Perfect Shepherd's Pie

    Perfect Shepherd’s Pie

    My family loves this easy shepherd’s pie with tender ground beef (or lamb), veggies, a delicious savory gravy, all topped with cheesy mashed potatoes.

    Epic Birria Tacos

    Say hello to our family’s favorite birria tacos recipe (aka quesabirria). These popular pan-fried shredded beef tacos are crispy, cheesy, and incredibly delicious!

    Oven Baked BBQ Beef Ribs

    Oven Baked Beef Ribs

    Learn how to cook incredibly delicious BBQ beef ribs in the oven. Most of the cooking time is hands-off, letting the ribs slowly bake until fall-apart tender.

    Classic beef stew featuring incredibly tender, melt-in-your-mouth beef

    Tender Beef Stew

    In this incredible beef stew, we slowly braise chuck roast and short ribs in a rich mix of red wine and beef broth until the meat is so tender it practically melts in your mouth.

    Easy Taco Salad

    Epic Taco Salad

    Our favorite taco salad is an easy weeknight meal with fresh lettuce, tortilla chips, seasoned ground beef, cheese, and a creamy cilantro lime dressing.

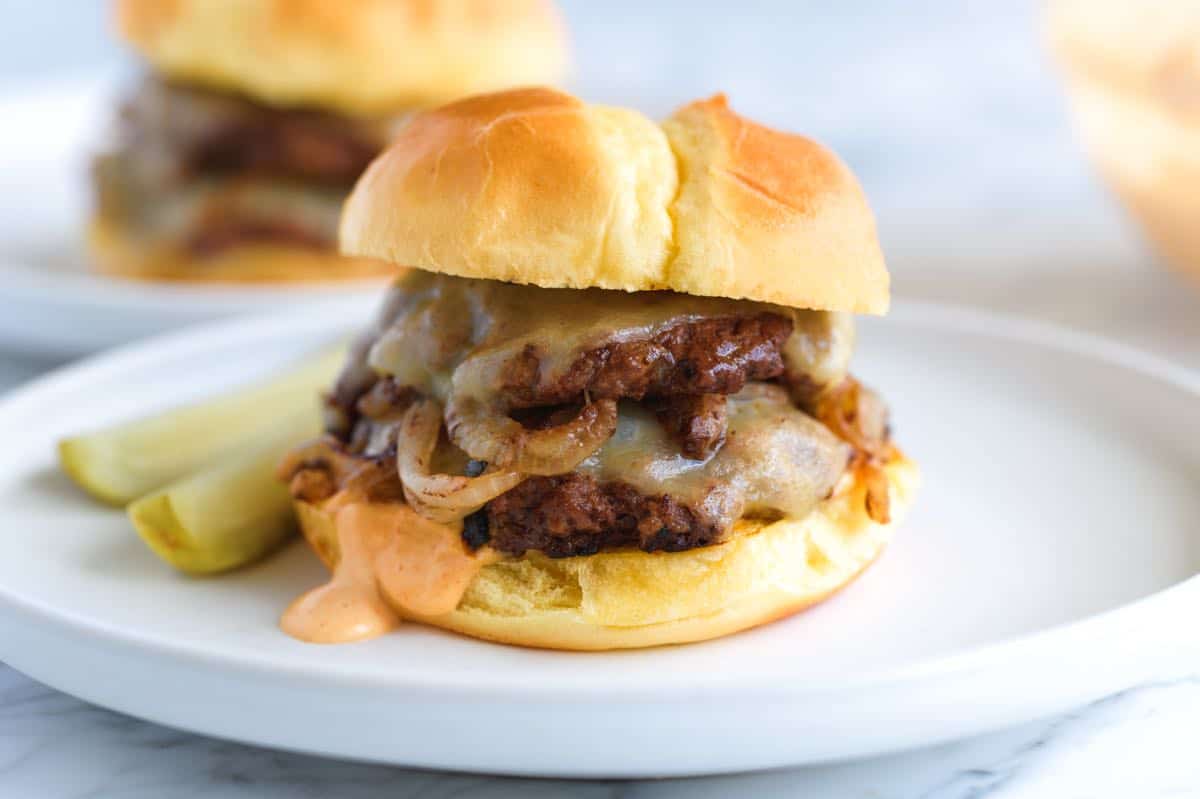
    Smash Burgers

    Seriously Good Smash Burgers

    Our recipe for these smash burgers is the real deal! We add onions before smashing, top with melty cheese, and finish with our favorite burger sauce.

    Braised Beef Short Ribs Recipe

    Tender Braised Beef Short Ribs

    This impressive braised short ribs recipe has mouthwateringly tender beef slowly cooked in a caramelized onion and red wine broth.

    Beef Bulgogi

    Beef Bulgogi (Korean BBQ Beef)

    With our bulgogi recipe, you can easily make incredible Korean barbecue beef at home. Thanks to our bulgogi marinade, the beef turns out perfectly sweet, savory, and melt-in-your-mouth tender.

    How to Make Oven Baked Ribs Recipe

    Oven Baked Ribs

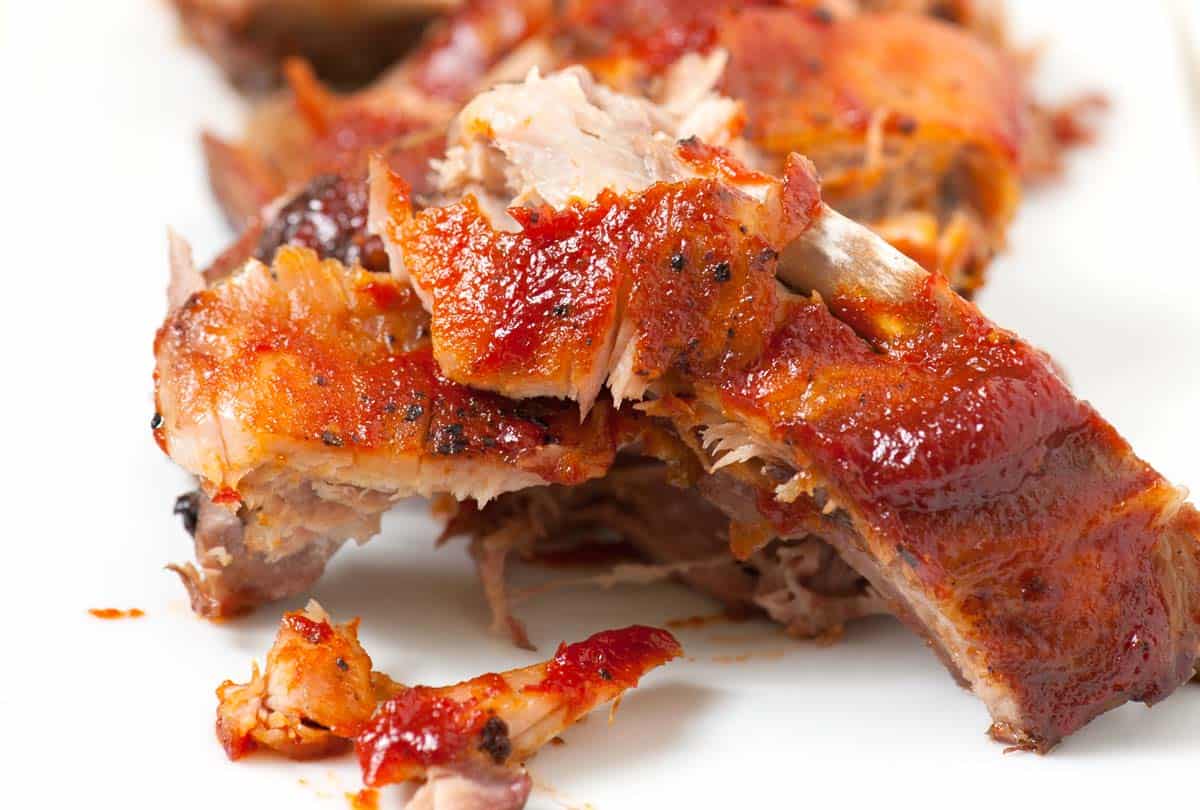
    This is hands down the best ribs recipe! The secret to incredibly tender ribs is baking them low and slow. Baking ribs in the oven is so easy. 95% of the cooking time is spent relaxing while your ribs transform into fall-off-the-bone perfection.

    Ground Beef Tacos

    Easy Ground Beef Tacos

    Super quick dinner! Our family makes this beef taco recipe once a week. It calls for lean ground beef and a simple blend of pantry spices. One of my favorite 20-minute dinners, and the entire family loves it!

    The Best Juicy Pork Chops Recipe

    The Best Juicy Skillet Pork Chops

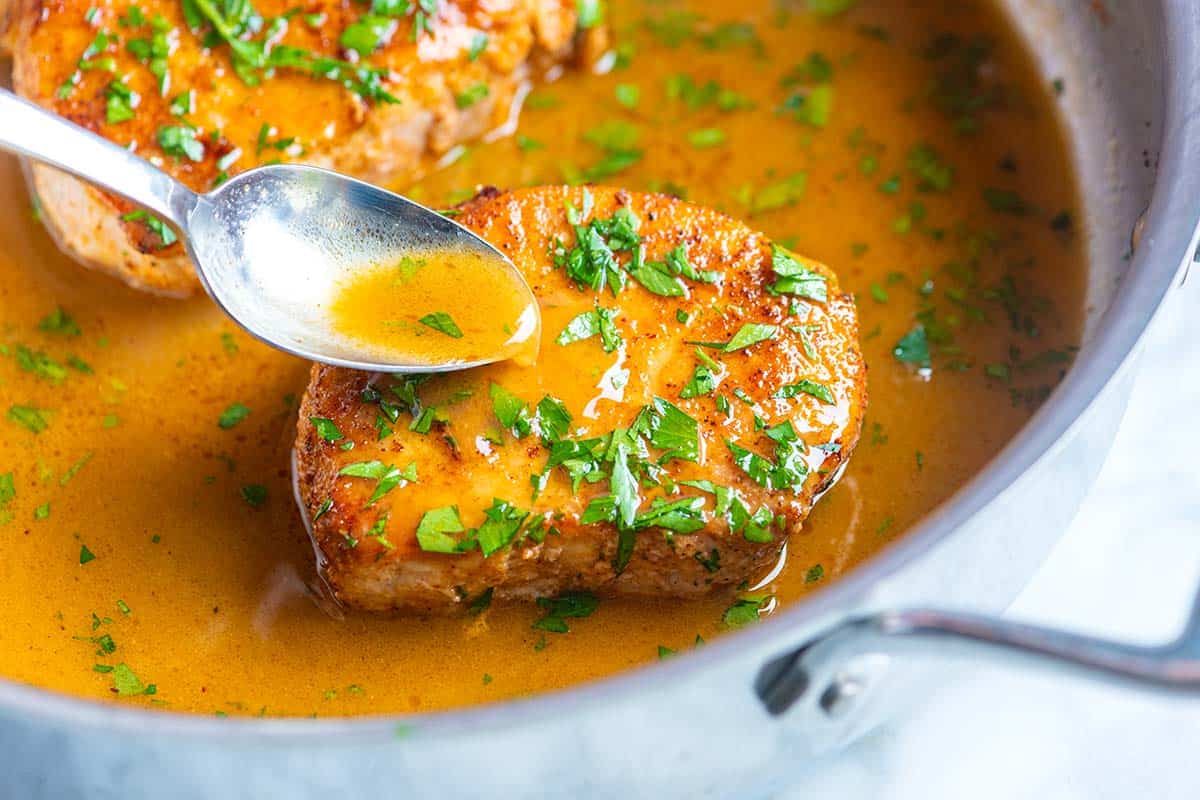
    Say goodbye to dry and flavorless pork chops. With our easy recipe and my simple tricks, you can make juicy and tender pork chops with very little fuss. I love how juicy these are!

    Best Pork Tenderloin Recipe

    Best Juicy Pork Tenderloin

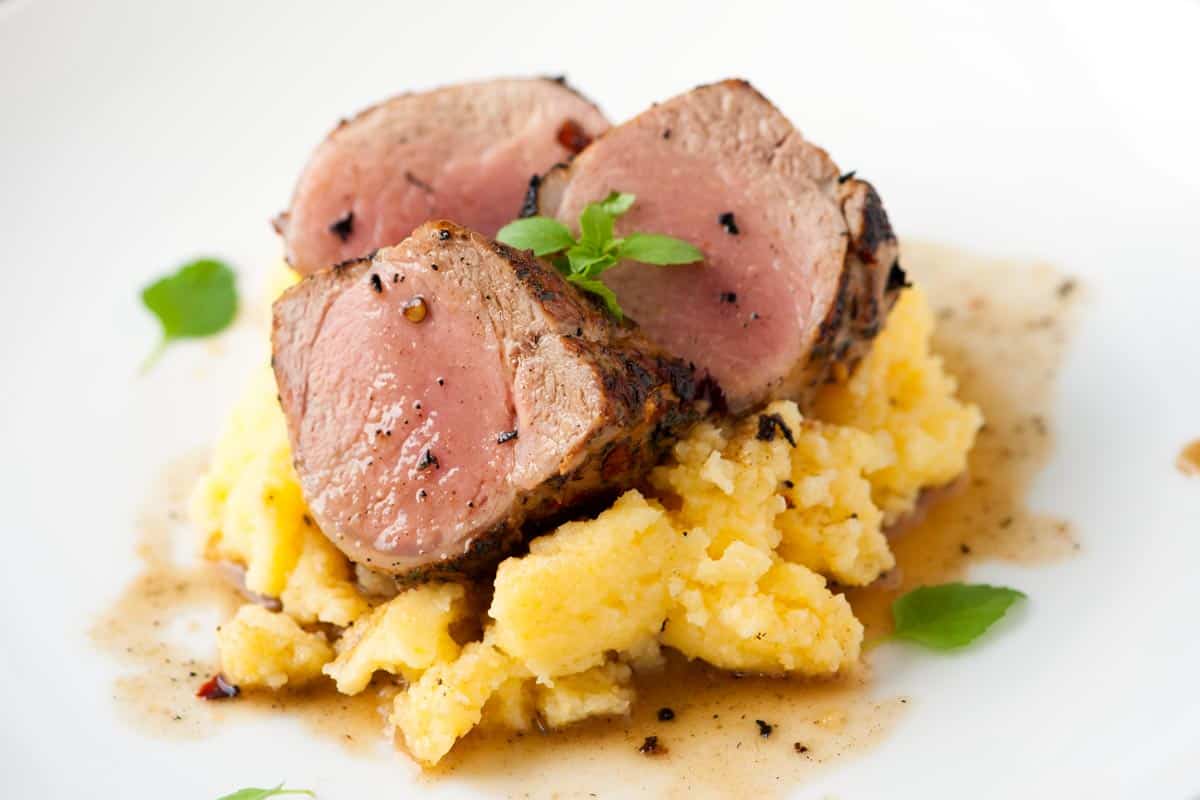
    Say goodbye to dry and flavorless pork. With my easy pork tenderloin recipe, it turns out juicy and tender in under 30 minutes.

    Roasted Pork Loin

    The Best Pork Loin Roast

    This roasted pork loin recipe has the most delicious honey soy glaze. The pork turns out juicy, tender, and so flavorful.

    Pork Milanese

    Crispy Pork Milanese

    This pork milanese recipe is all about tender, juicy pork with a light, crispy breading. It’s easier than you might think and turns out absolutely delicious every time.

    Quick and Easy Ground Pork Tacos

    Easy Ground Pork Tacos

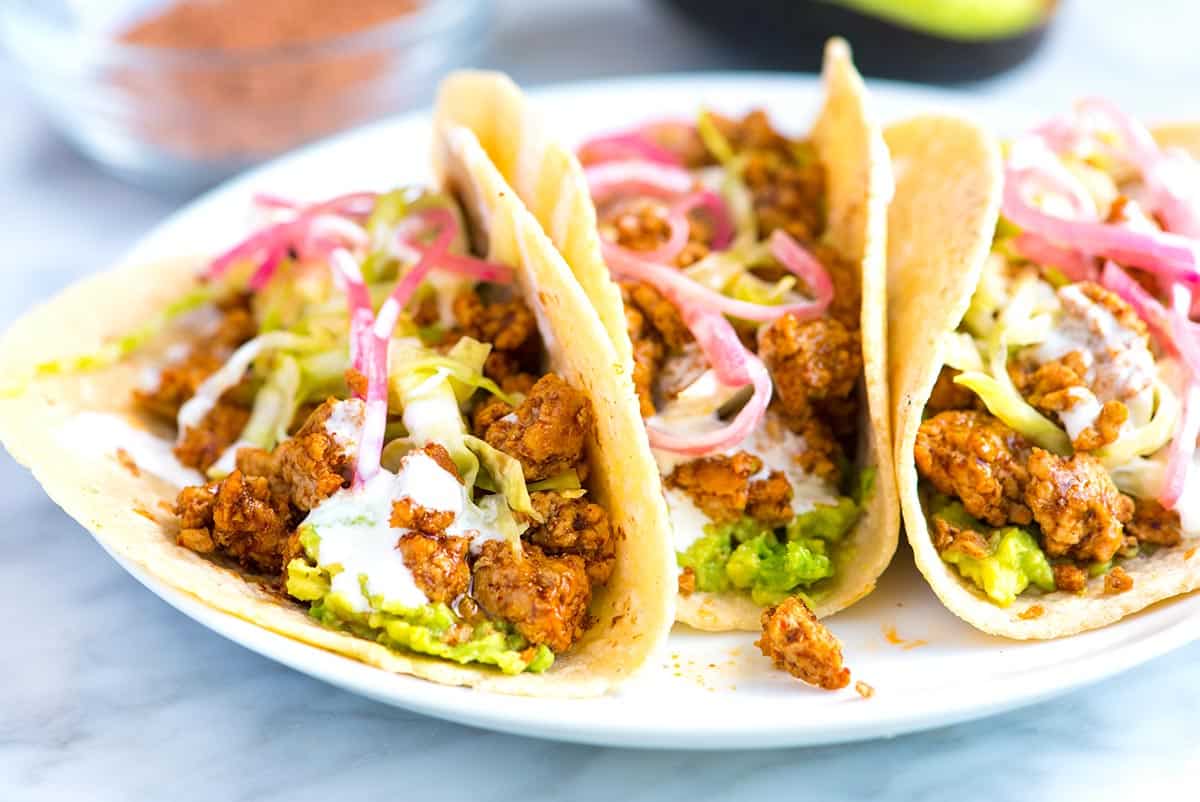
    Thanks to ground pork, this pork tacos recipe comes together fast. You can even make the filling in advance. This is one of my favorite ground pork recipes!

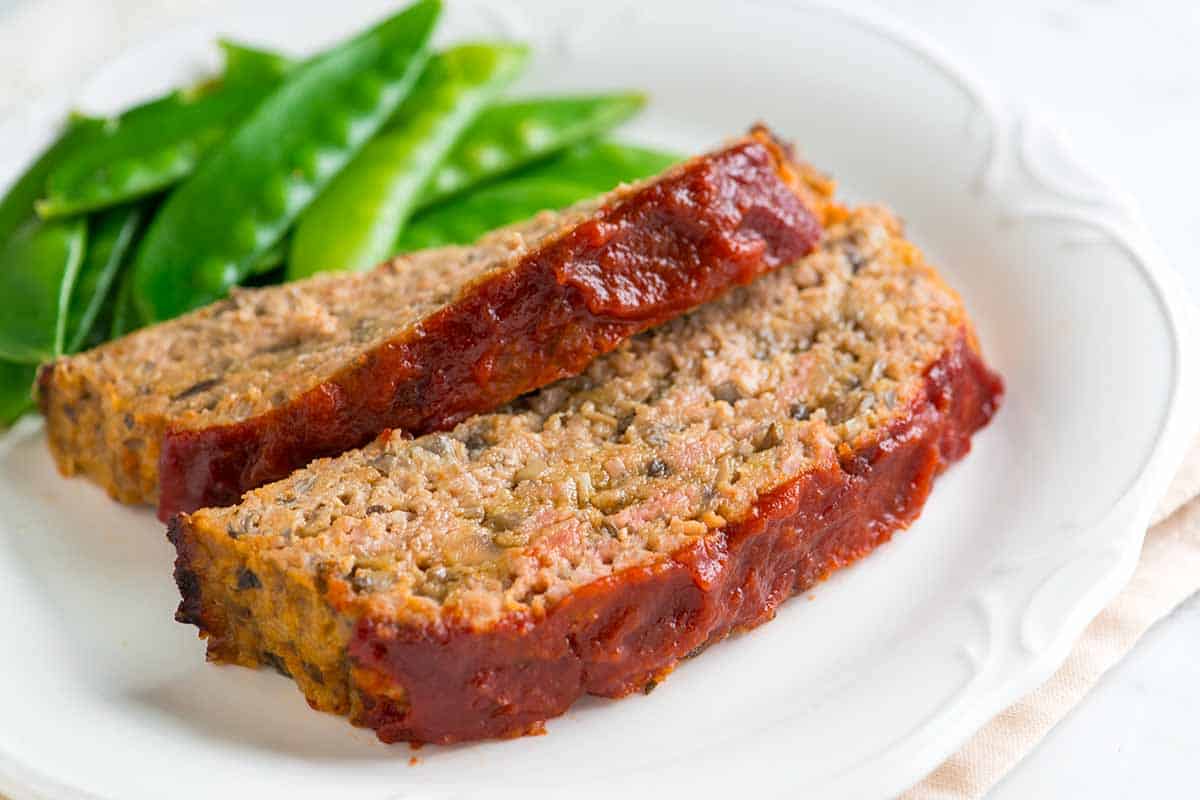
    The Best Turkey Meatloaf We've Made

    Best Turkey Meatloaf

    This is hands down the best turkey meatloaf recipe I’ve ever made. It’s outrageously flavorful and unbelievably moist. Say goodbye to dry meatloaf!

    Ground Turkey Tacos

    Ground Turkey Tacos

    Our family makes this ground turkey tacos recipe almost weekly! We all love it, and it takes less than 30 minutes. A true weeknight dinner!

    Creamy White Turkey Chili

    This white turkey chili recipe is pure comfort in a bowl. It’s creamy, cozy, and packed with ground turkey, white beans, and a velvety, perfectly spiced broth. Not too heavy, just really, really tasty.

    Turkey Meatball Soup

    Turkey Meatball Soup with Orzo

    This light and savory turkey meatball soup recipe is made with tender mini meatballs, orzo, and fresh kale. It’s simple, nourishing, and just delicious.

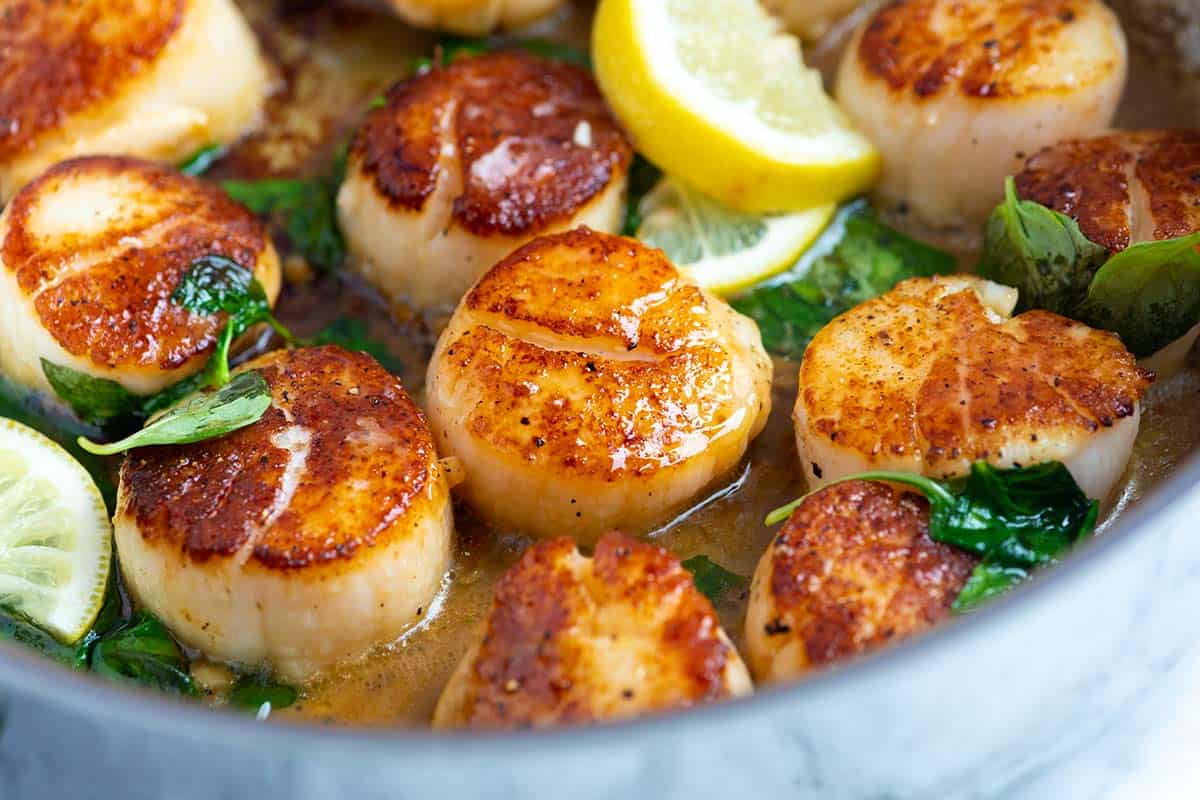
    Seared Scallops with Garlic Basil Butter

    Perfect Seared Scallops

    Learn how to cook restaurant-worthy scallops at home. Our recipe guarantees beautiful golden-brown seared scallops and comes together in 10 minutes!

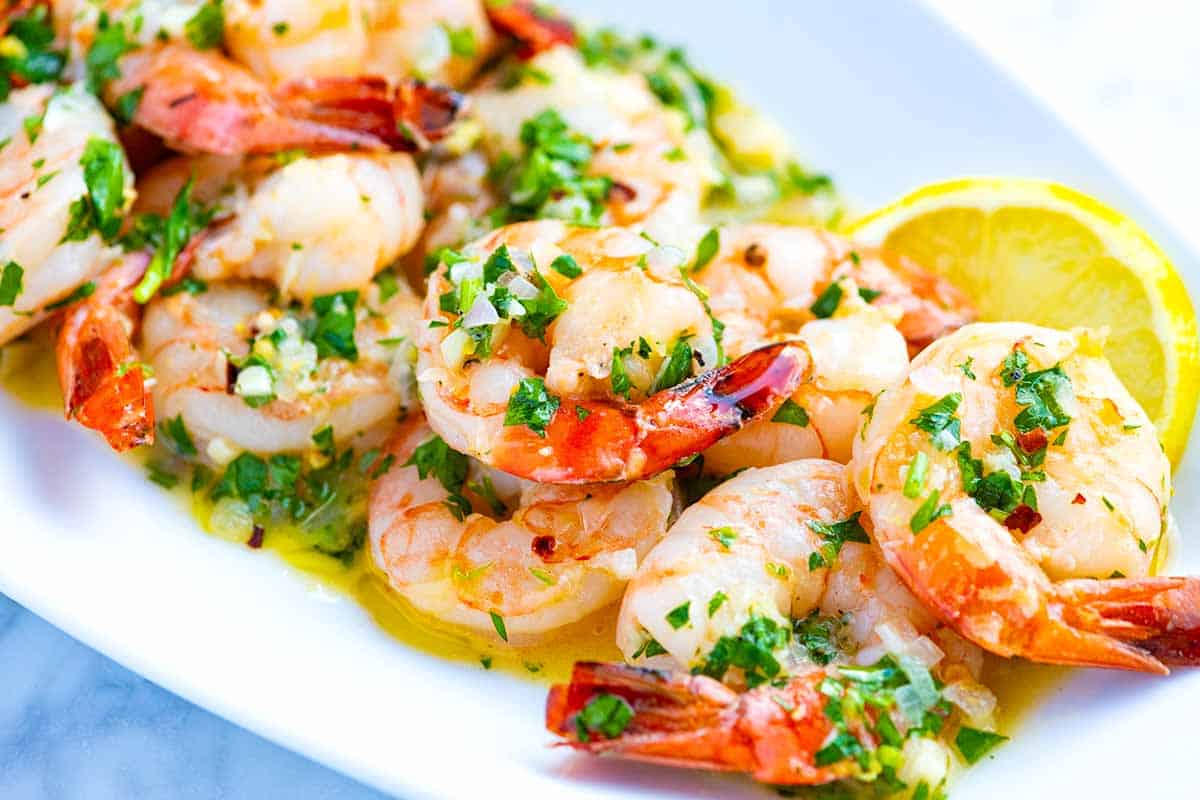
    Shrimp Scampi

    Garlic Shrimp Scampi

    Our shrimp scampi recipe made with garlic, butter, white wine, and lemon feels fancy but is actually super quick and easy. It’s basically the best garlic butter shrimp you’ll ever make.

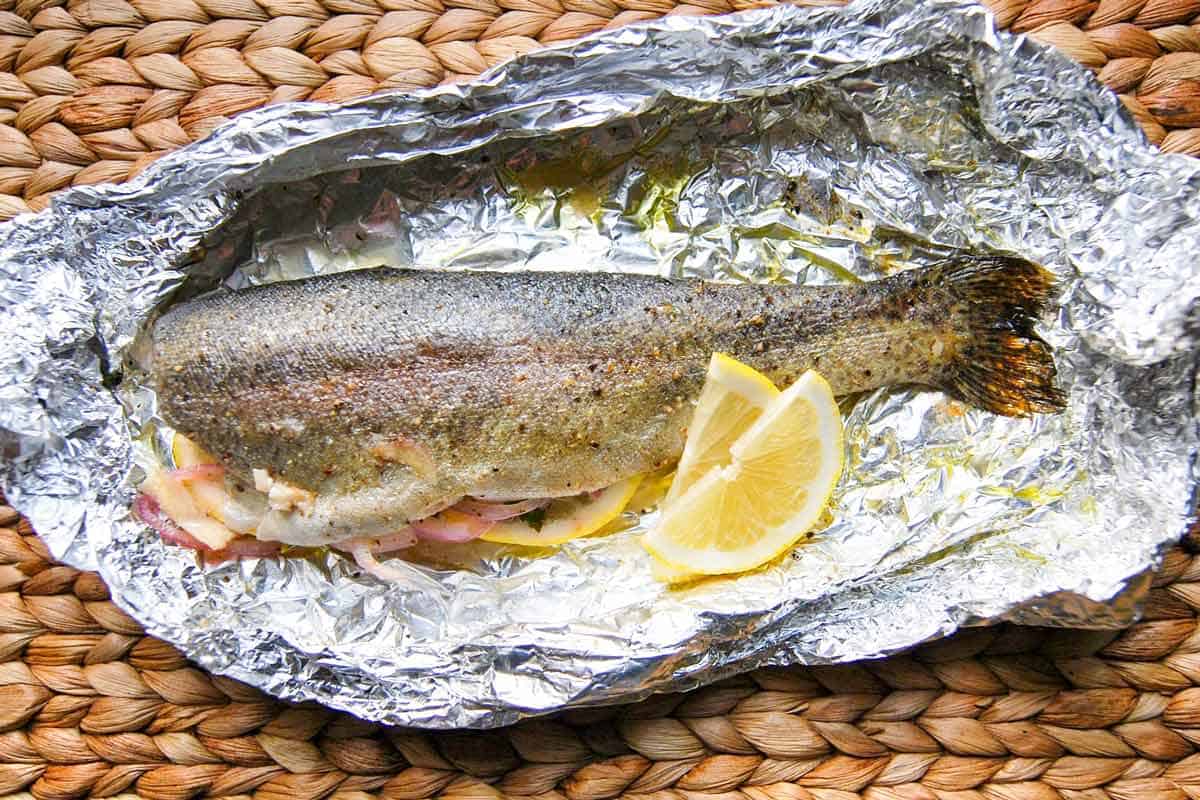
    Easy Oven Baked Trout

    Easy Oven Baked Trout

    Learn how to cook moist, flaky trout in the oven. This incredible baked trout recipe is easy and works for rainbow trout but can easily be adapted for larger varieties like steelhead.

    Brown Sugar Baked Salmon

    Brown Sugar Baked Salmon

    This brown sugar baked salmon recipe is such a delicious and easy one-pan dinner. Our easy brown sugar rub caramelizes and turns into a sweet, smoky glaze in the oven.

    Cajun Shrimp with Garlic Butter Sauce

    The Best Cajun Shrimp

    This cajun shrimp recipe is outrageously flavorful and easy! We cook the shrimp in a hot skillet, and then swirl in the most delicious garlic cajun butter.

    Salmon Burgers

    These incredible salmon burgers are made with fresh salmon, lemon, and plenty of dill. They’re moist in the middle, packed with flavor, and so easy to make. I think you’ll love them as much as we do!

    Bang Bang Shrimp

    Bang Bang Shrimp

    This Bang Bang shrimp with light, crispy fried shrimp tossed in the easiest homemade Bang Bang sauce makes us so happy. Crispy, creamy, a little sweet, and just the right amount of heat.

    Shrimp Stir Fry

    Quick Shrimp Stir Fry

    Fast dinner idea! This shrimp stir fry recipe is fast, easy, and unbelievably delicious. Ready in 20 minutes with juicy shrimp, crisp veggies, and a crave-worthy homemade sauce.

    Perfect Poached Salmon

    I’m convinced this poached salmon makes some of the most tender, mouth-watering salmon. It’s also ridiculously easy!

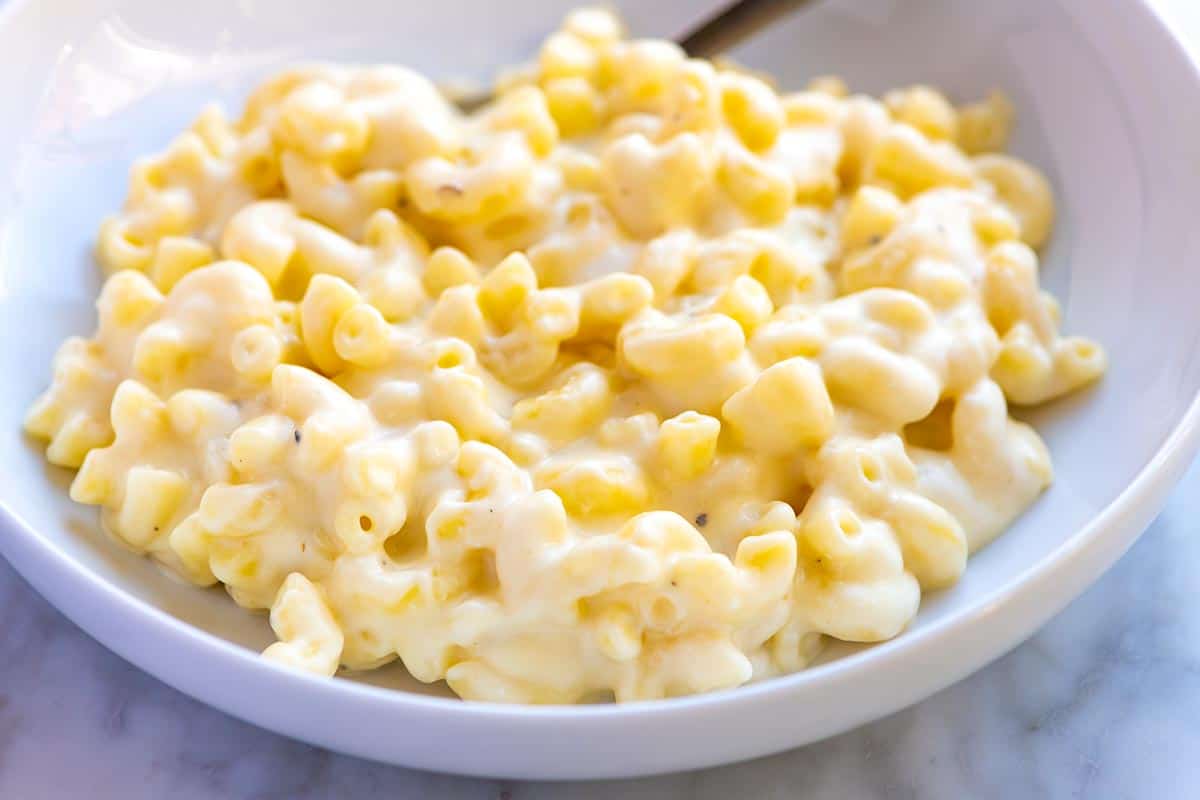
    Easy Creamy Mac and Cheese

    Creamy Mac and Cheese

    If you love creamy mac and cheese, this is the recipe for you! It’s rich, delicious, and thanks to a simple homemade cheese sauce, it’s on your table in under 30 minutes.

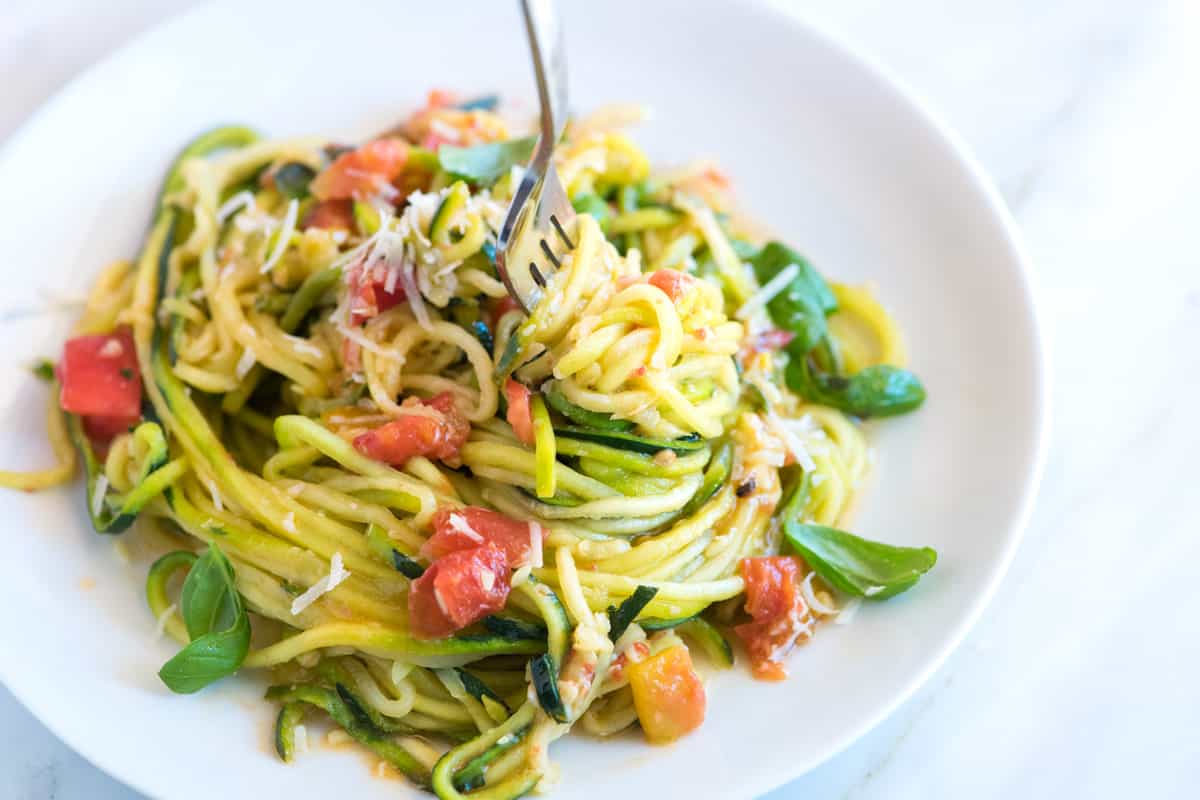
    Garlic Parmesan Zucchini Pasta Recipe

    Best Zucchini Noodles We’ve Made

    This is my favorite zucchini noodles recipe (zoodles)! It’s quick, easy, low-carb, and vegetarian-adaptable!

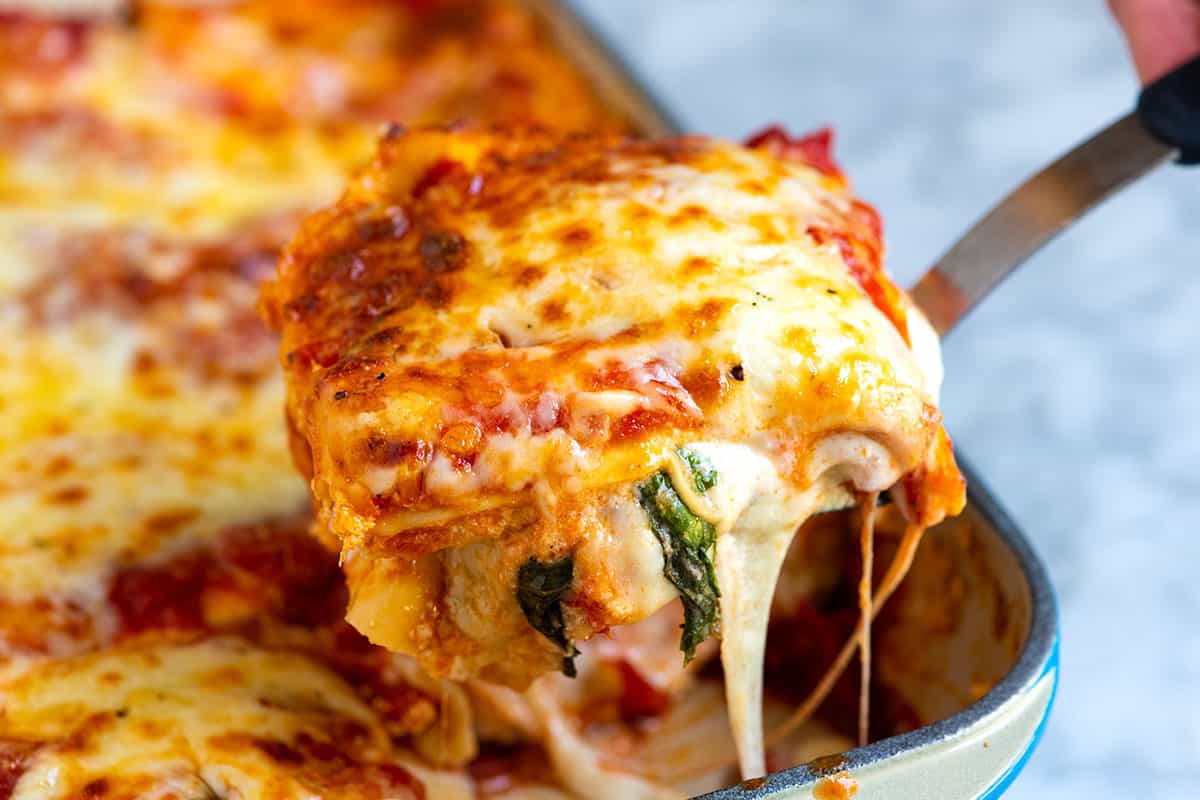
    Best Five Cheese Lasagna

    The Best Cheese Lasagna

    My family loves this easy cheese lasagna! It’s rich, incredibly cheesy, and absolutely delicious. Best of all, you can assemble it in about 20 minutes.

    Easy Orzo Pasta Salad

    We love this easy orzo pasta salad recipe with a simple lemon dressing, tomatoes, cucumber, and fresh herbs. It’s quick and always a hit with everyone I share it with! The perfect no-cook dinner.

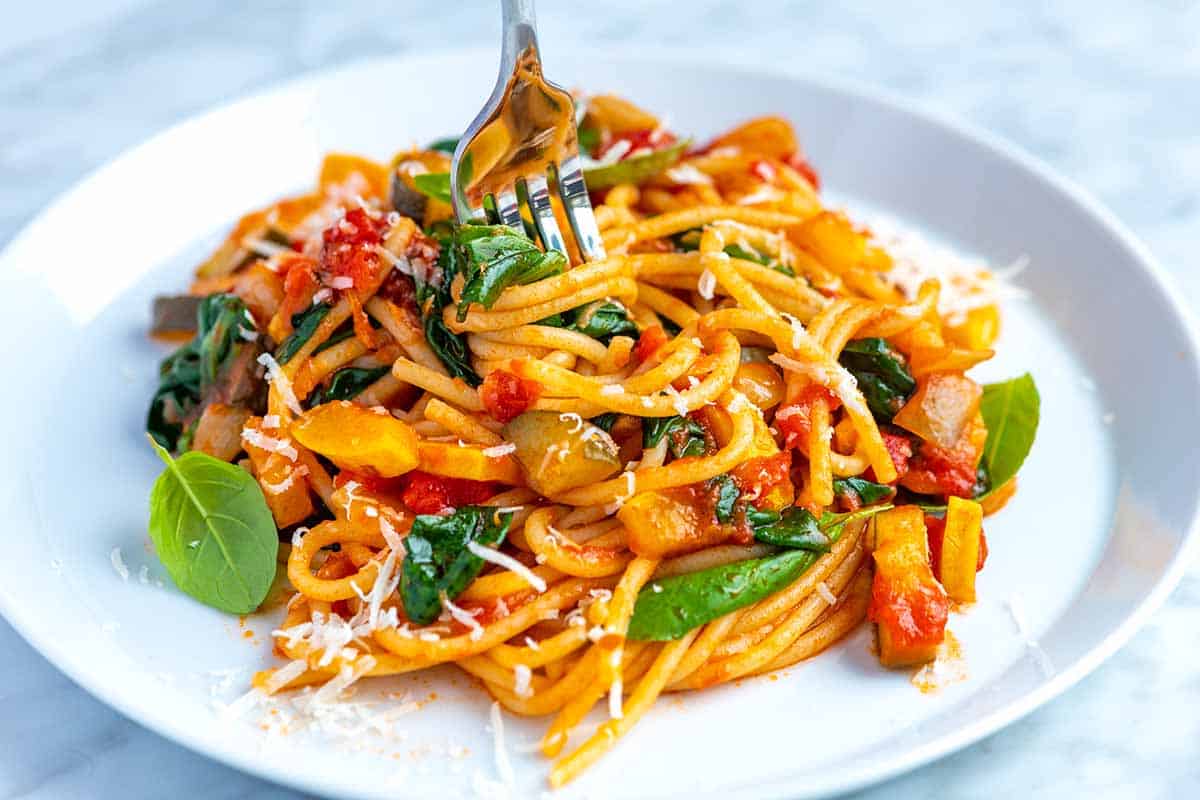
    Easy Veggie Spaghetti

    Easy Veggie Spaghetti

    We love this easy vegetable spaghetti recipe! With over 1 ½ pounds of vegetables, this veggie pasta is so good that we could honestly eat it every day.

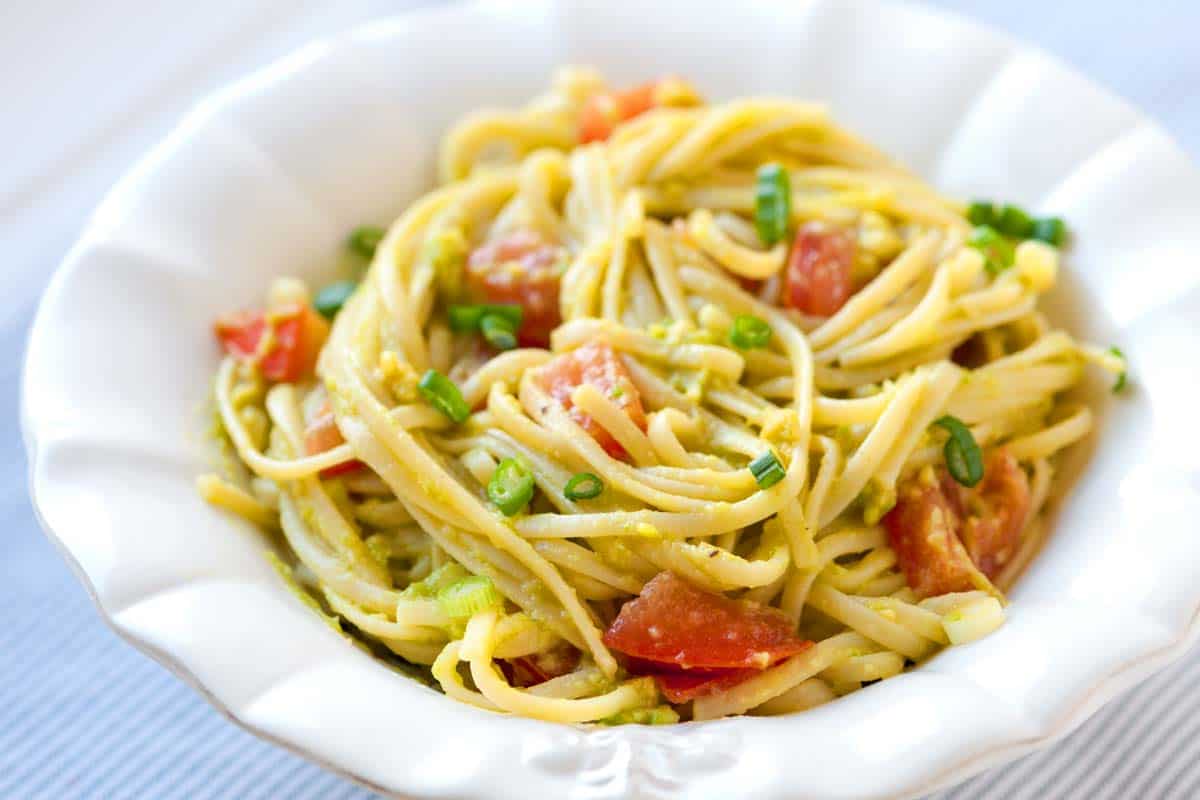
    Easy Avocado Pasta Recipe

    Easy Avocado Pasta

    You can make our avocado pasta recipe in 15 minutes and you don’t need any special equipment for the creamy avocado sauce, just a bowl and fork.

    Pasta Primavera

    Pasta Primavera

    This incredible pasta primavera recipe is light, fresh, and made with lots of seasonal vegetables tossed in a light, lemon cream sauce.

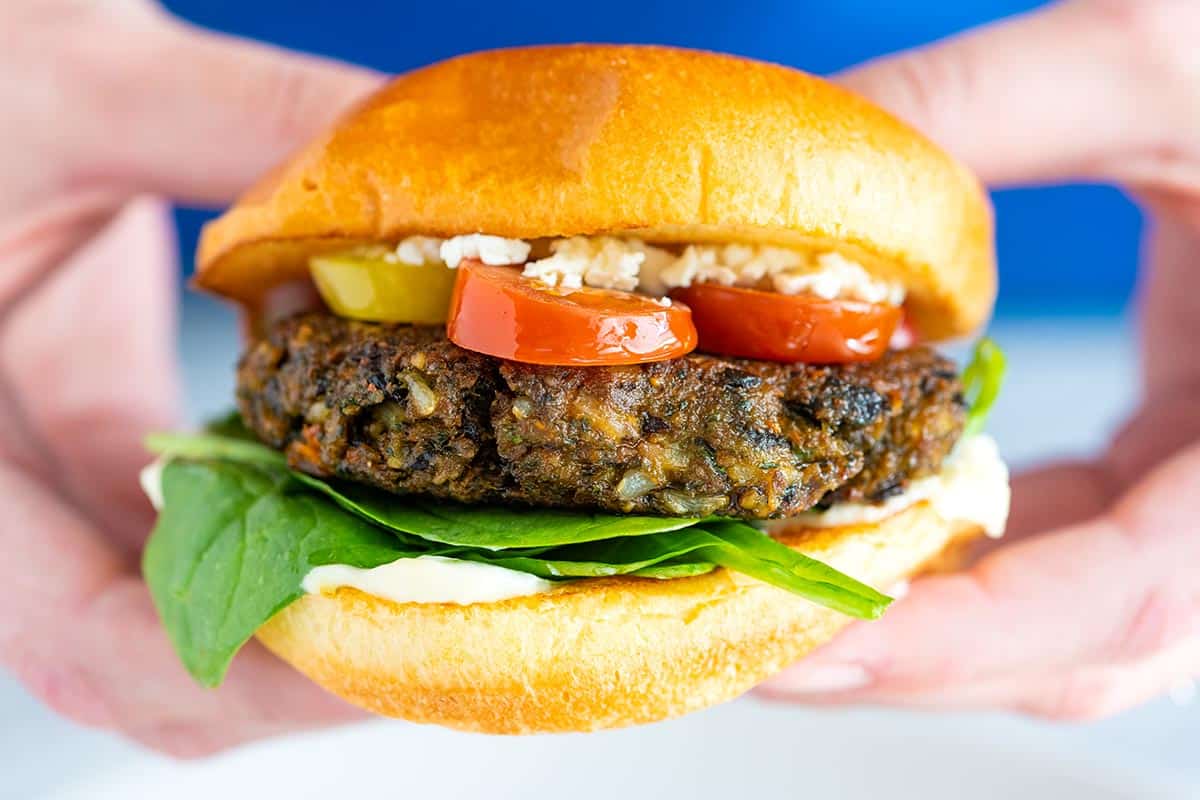
    Best Veggie Burger Recipe

    The Best Veggie Burger

    This is the most delicious veggie burger recipe. They taste amazing and are packed with vegetables (nearly 1 cup of veggies in every patty).

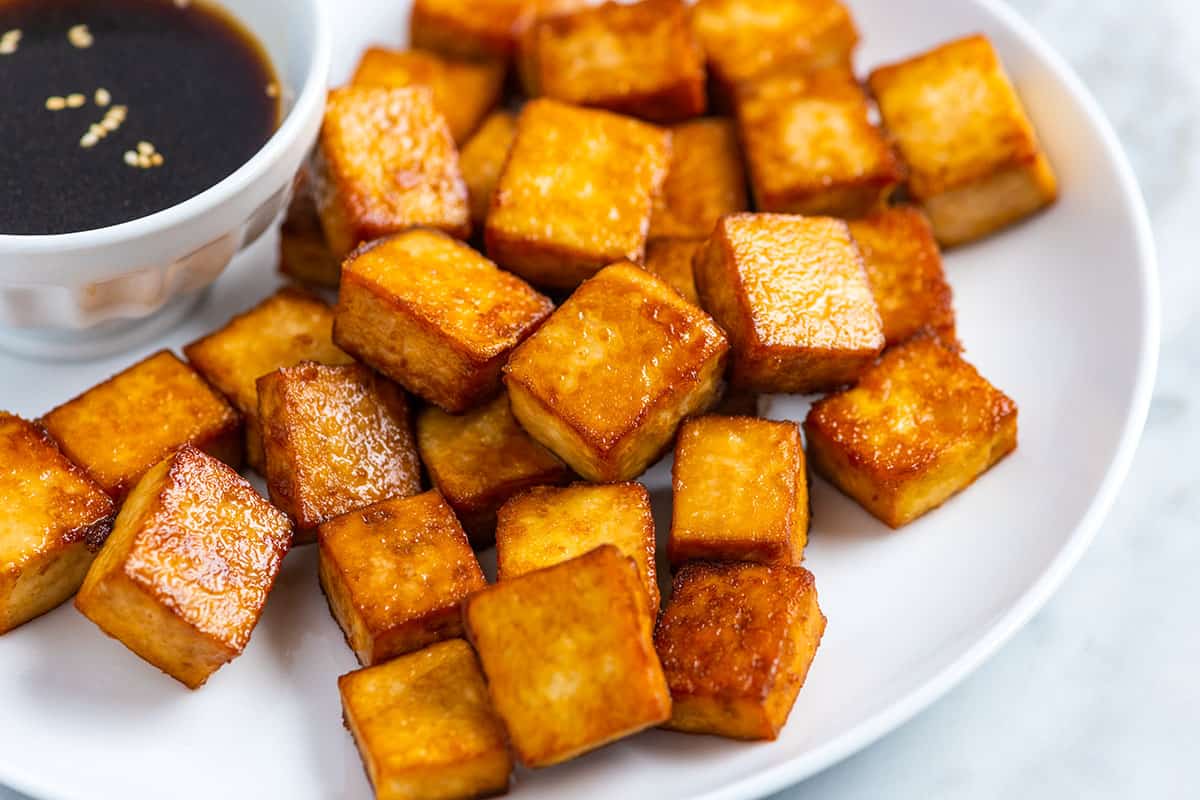
    Perfect Baked Tofu

    Perfect Baked Tofu

    My family loves this crispy baked tofu recipe! It might be my favorite way to cook tofu and you can add it to your favorite stir-fry, rice bowls, or curries.

    Pizza Made with Homemade Pizza Dough

    Perfect Cheese Pizza

    Pizza for dinner! My family loves this homemade cheese pizza! Made with two types of cheese, it’s been on repeat in our home for years. This extra cheesy pizza is perfect for any pizza lover and occasion.

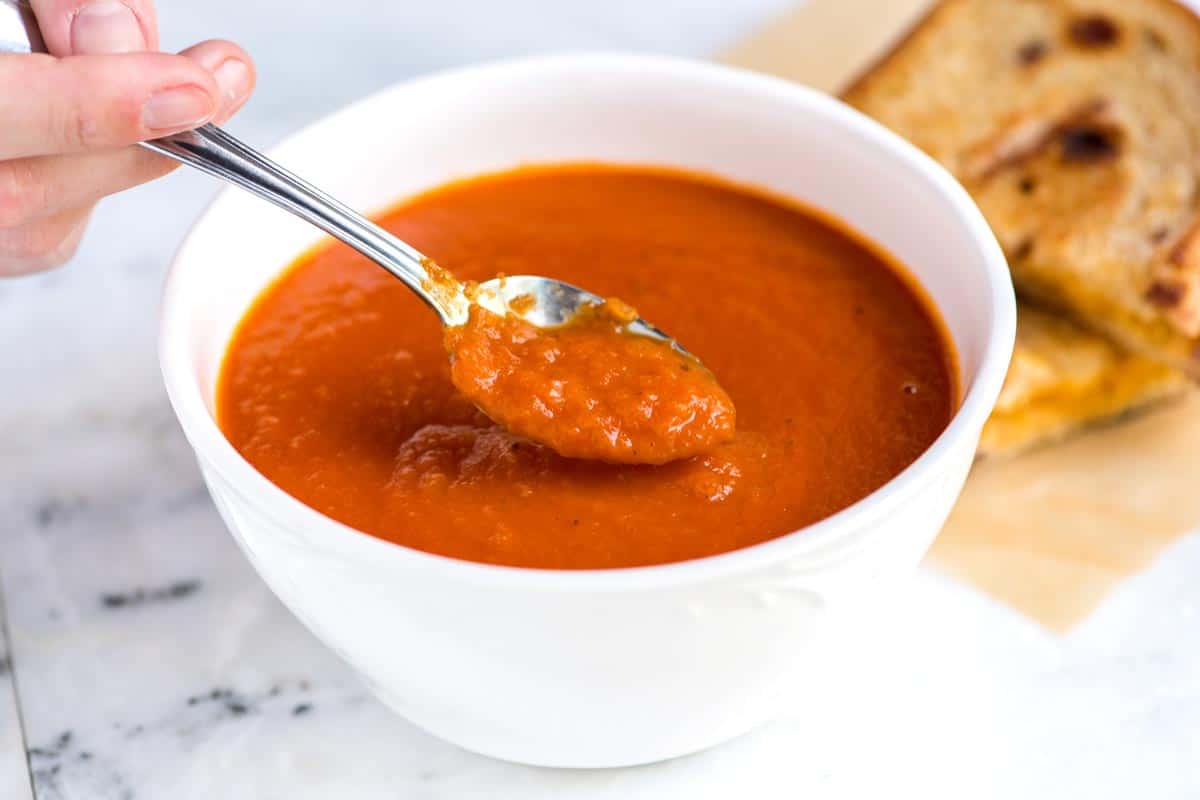
    Easy Three-Ingredient Tomato Soup

    Easy Three Ingredient Tomato Soup

    This easy tomato soup recipe is the best you’ll ever make, and it’s shockingly simple. It calls for just three main ingredients: butter, onion, and tomatoes.

    Easy Homemade Vegetable Soup

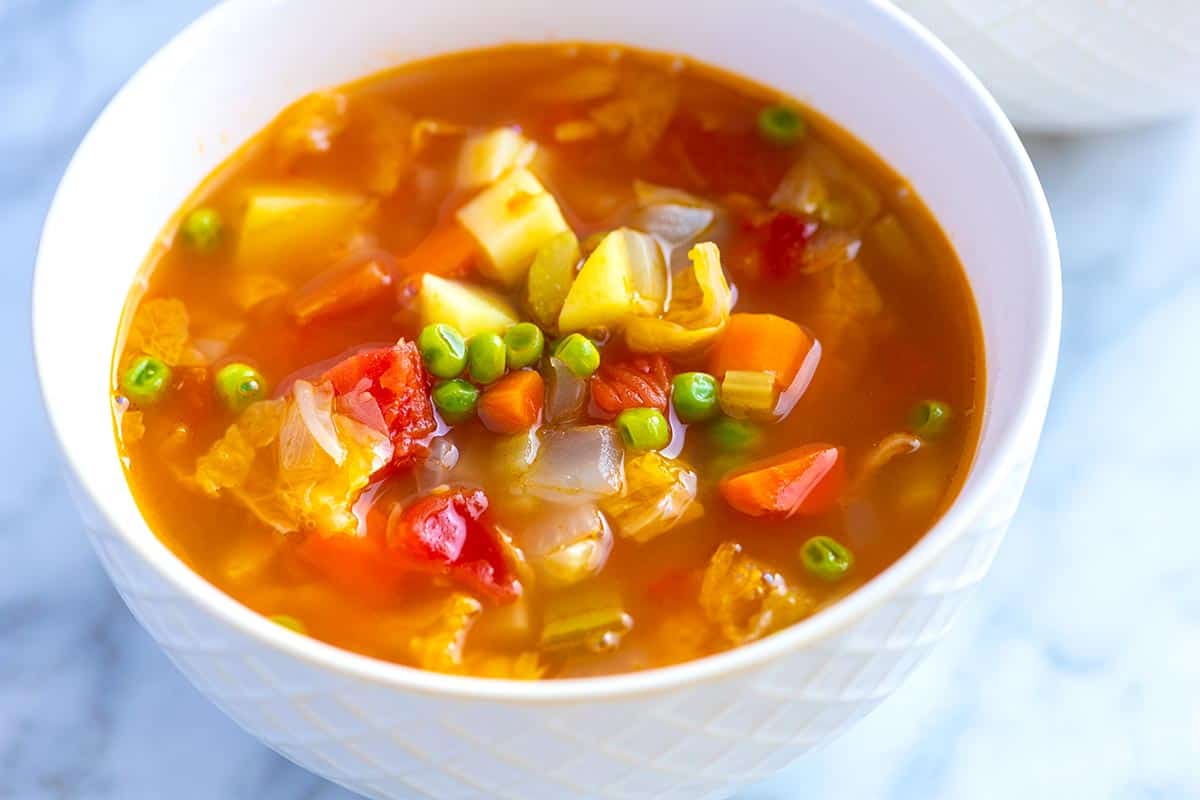
    Easy Vegetable Soup

    I love this vegetable soup recipe! It’s made with a light tomato broth and packed with healthy veggies. It’s so comforting and satisfying!

    Homemade Vietnamese Pho Soup Recipe

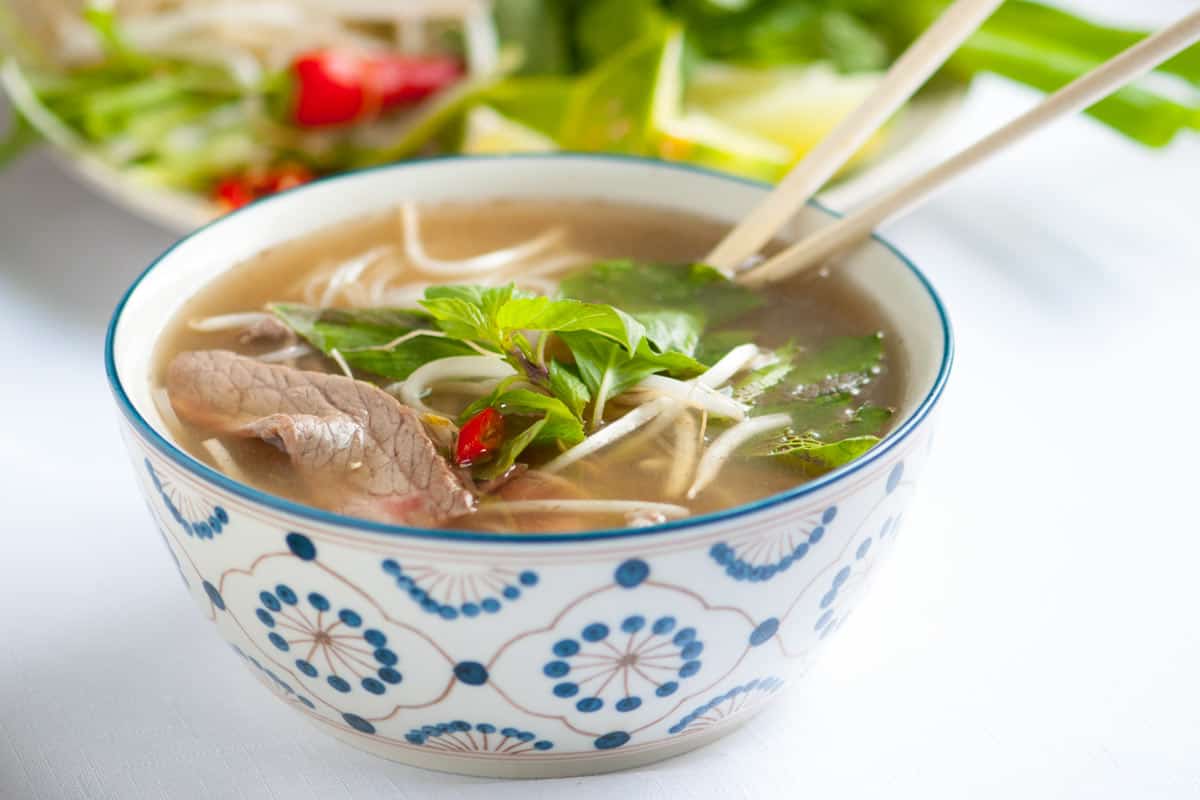
    Homemade Vietnamese Pho

    This Vietnamese pho recipe is made with an authentic broth made from scratch using charred ginger, onion, fennel, clove, star anise, cardamom, and cinnamon.

    Minestrone Soup

    Our Favorite Minestrone Soup

    This is, hands-down, our favorite minestrone soup recipe. It’s packed with veggies, beans, and pasta, all swimming in the coziest tomato-Parmesan broth. We can’t get enough of it.

    Minestrone Soup with Sausage

    Minestrone Soup with Sausage

    This minestrone soup recipe with sausage is always a happy sight at our dinner table. It’s packed with loads of veggies and made with a light, cozy tomato-Parmesan broth. It’s so good.

    Easy Ham and Cabbage Soup

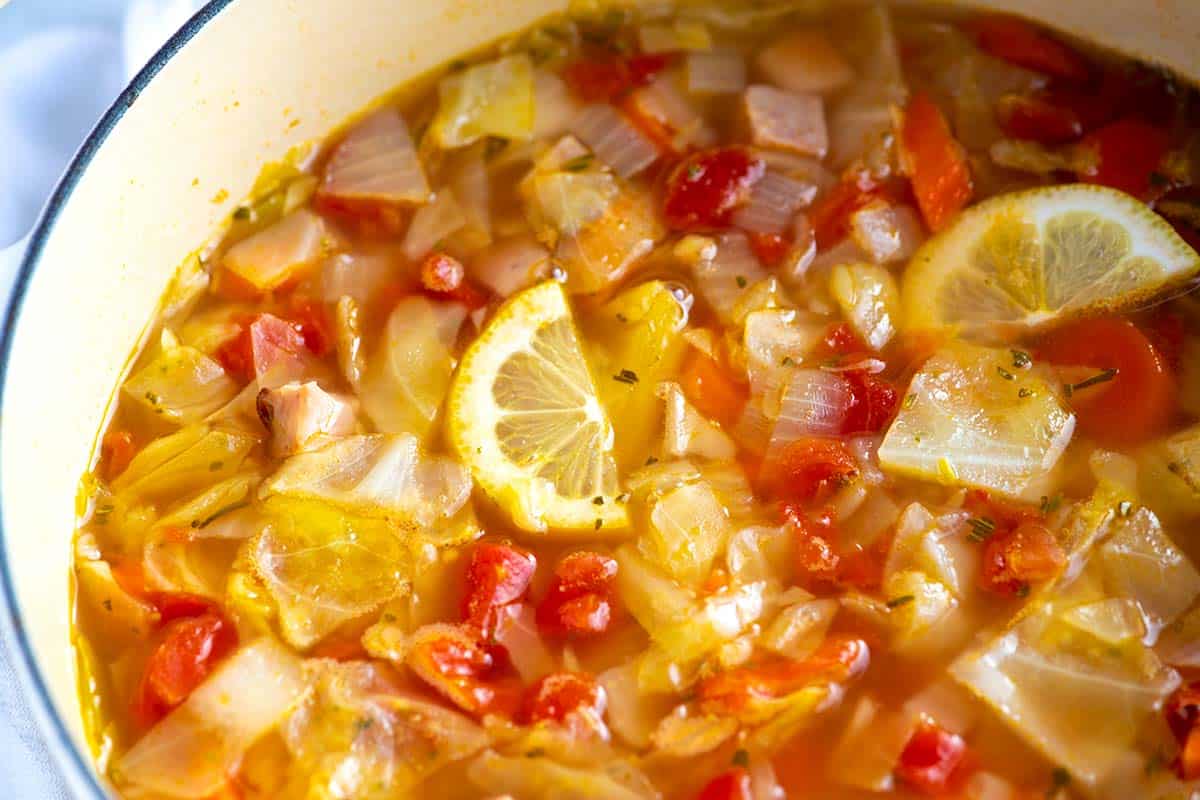
    Easy Cabbage Soup

    This cabbage soup is easy to make and loaded with vegetables, a heaping pile of cabbage, and the perfect blend of spices. I love it so much that I genuinely crave it.

    Easy Tortellini Soup

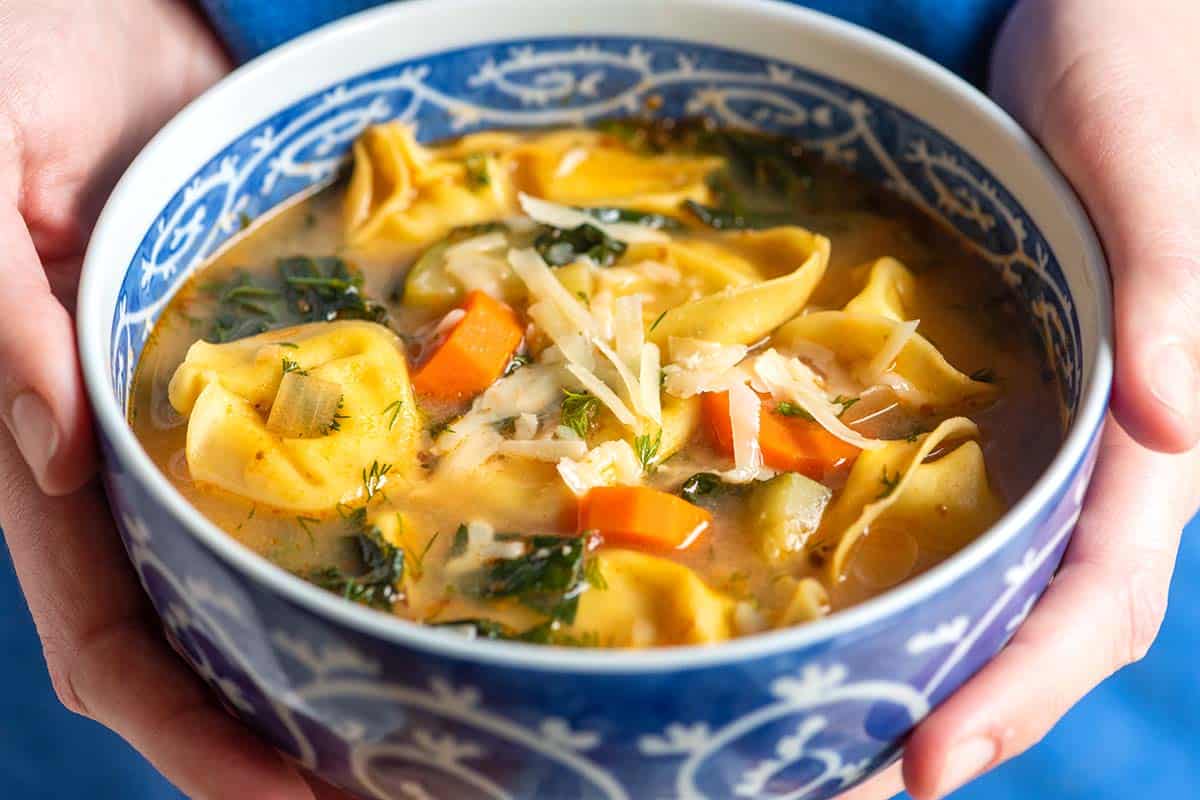
    Easy Tortellini Soup

    We love this cozy tortellini soup! It’s filled with tender veggies, store-bought tortellini, and a garlicky broth that’s ready in just 30 minutes.

    Thai Green Curry

    Easy Thai Green Curry

    I’d happily eat this unbelievably flavorful Thai green curry made with chicken, coconut milk, and veggies every week.

    Sauerkraut Soup

    Sauerkraut Soup

    Our homemade sauerkraut soup, made with kielbasa and bacon, is smoky, tangy, and incredibly comforting.

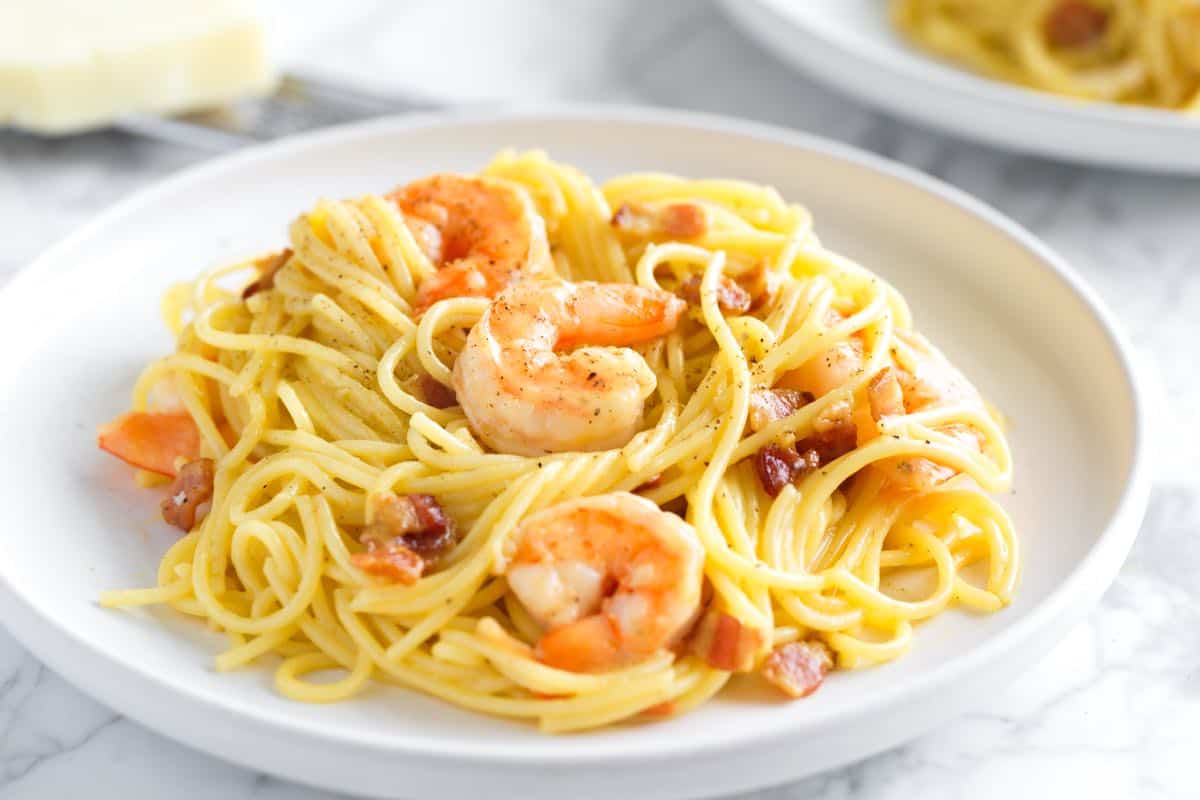
    Shrimp Carbonara

    Shrimp Carbonara

    We love this delicious shrimp carbonara which features perfectly cooked shrimp tossed with spaghetti in a silky sauce.

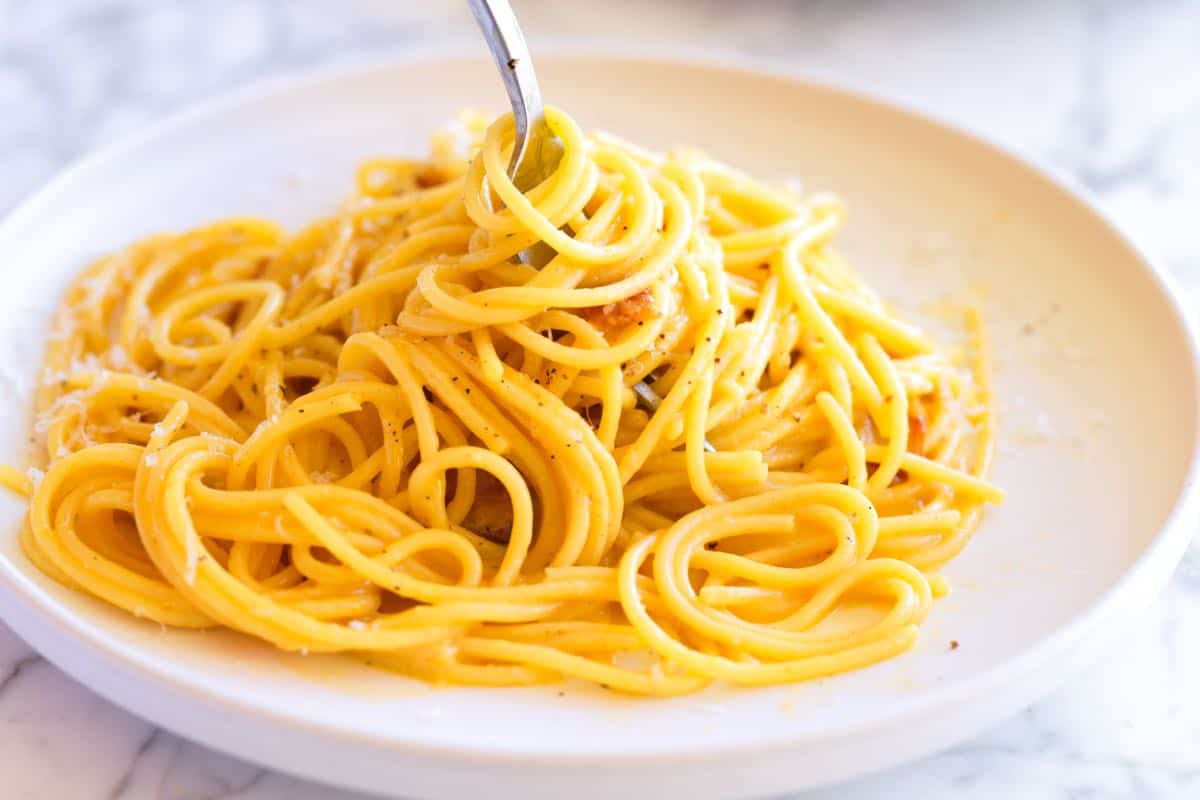
    Pasta Carbonara

    Pasta Carbonara

    This is our favorite pasta carbonara recipe! We rely on a short list of ingredients to make an impossibly silky sauce that only takes about 15 minutes. You’ll love this one!

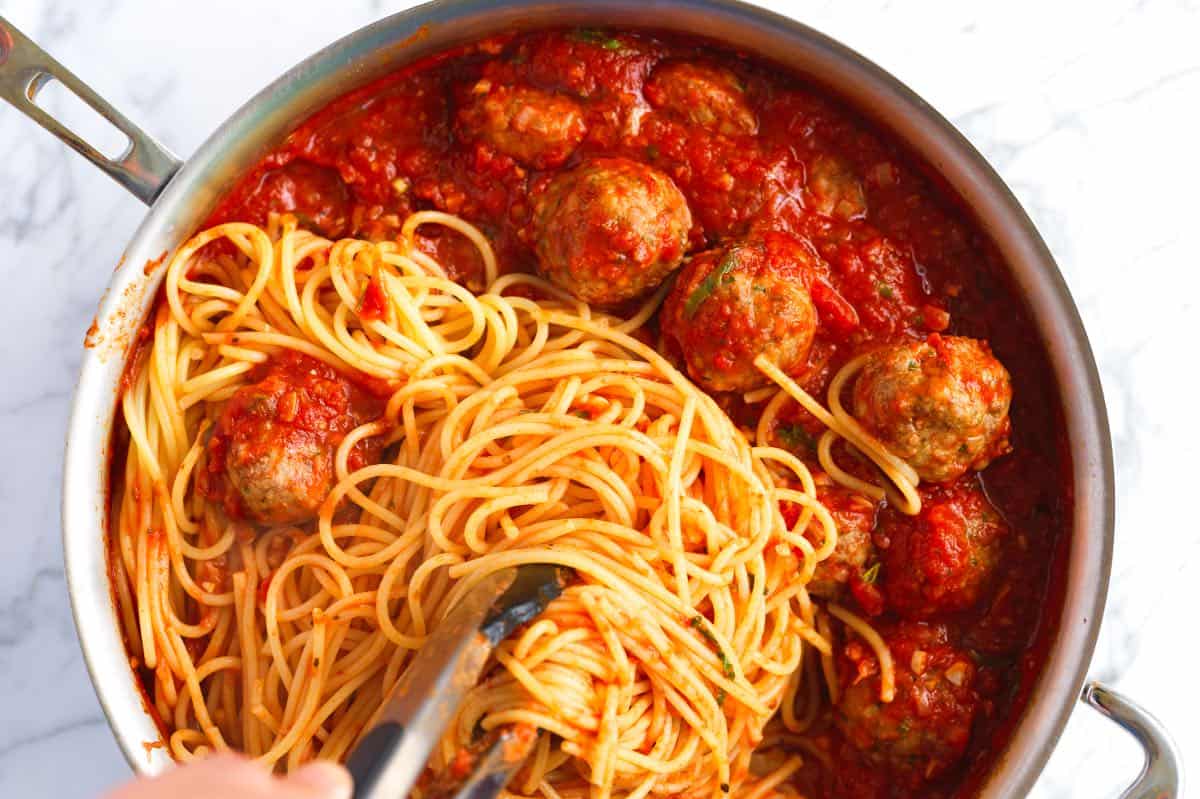
    Spaghetti and Meatballs

    Spaghetti and Meatballs

    This homemade spaghetti and meatballs is a keeper. The meatballs are tender and flavorful, and the quick sauce tastes like it’s been simmering for hours.

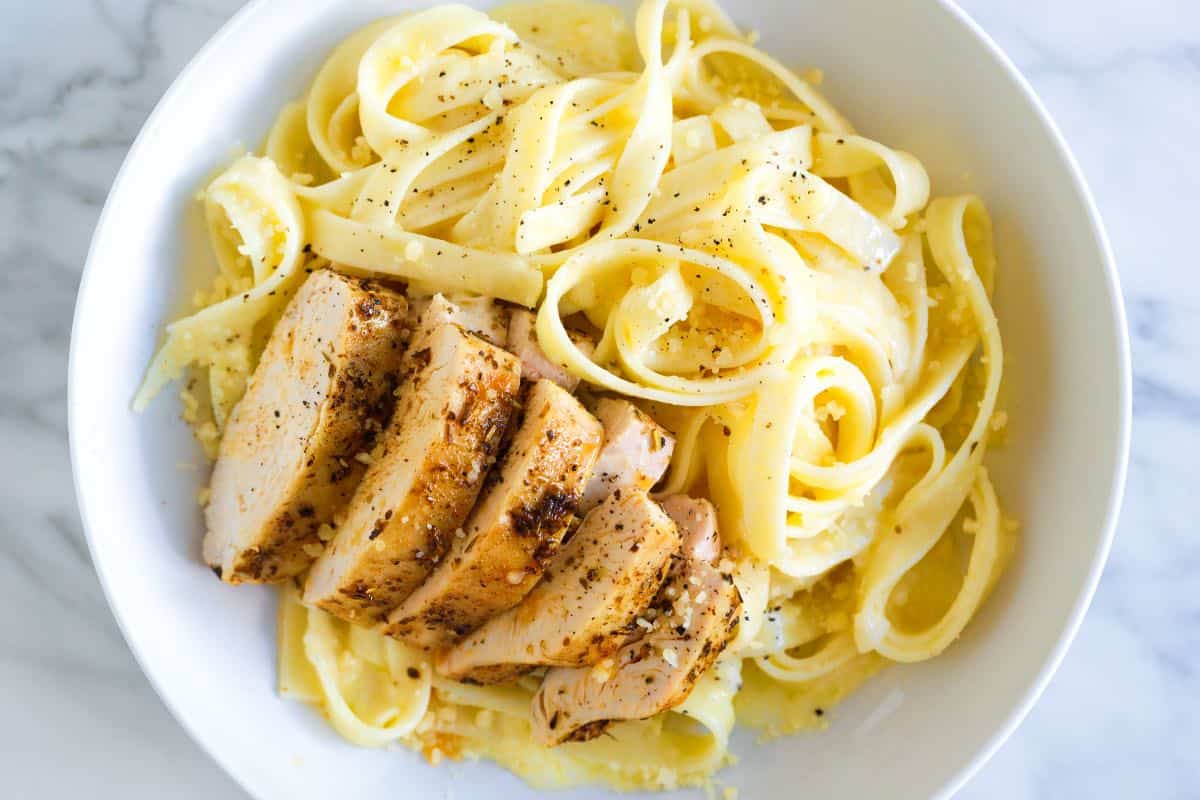
    Easy Chicken Alfredo

    Easy Chicken Alfredo

    This chicken Alfredo combines juicy chicken, fettuccine noodles, and a rich, unbelievably good sauce.

    For more cooking inspiration, join our free newsletter and get our best seasonal recipes delivered straight to your inbox. Click here to join. Happy cooking!

    Source link

  • What To Cook In June In USA

    What To Cook In June In USA

    Discover what to cook in June in the USA, Canada, UK, and Europe with seasonal foods, easy summer recipes, and fresh meal ideas for what’s at its peak right now.


    If you’re in the Northern Hemisphere and wondering what to cook in June, this is when things really start to open up in the kitchen.

    It’s the beginning of summer — and with it comes that first flush of produce that actually tastes like something. Strawberries that are genuinely sweet, zucchini that appears practically overnight, cherries that don’t need anything done to them at all.

    For me, June cooking is about keeping it fresh and simple. Lighter meals, faster cooking, more salads and grilled things, and dishes that don’t require hovering over a hot stove. The grill becomes your best friend. One-pan dinners that come together in 20 minutes are suddenly everywhere. My Ninja Creami is back on the countertop.

    If the heavier winter months felt like a bit of a cooking rut, this is a really good reset.

    🛒 What’s In Season In June (USA, Canada, UK & Europe)

    Here’s what to look for at the shops and farmers’ markets right now:

    Vegetables

    • Zucchini (courgette) – starting to come in strong and only getting more abundant
    • Asparagus – still going in early June before it fades; make the most of it
    • Peas & sugar snap peas – sweet, fresh, quick to cook
    • Broad beans (fava beans) – a real treat if you can find them
    • Spinach – fresh and leafy; use it raw in salads or wilt into everything
    • Lettuce & salad greens – at their crispest and most abundant
    • Radishes – crisp and peppery; great in salads and slaws
    • Spring onions (scallions) – mild, versatile, good in pretty much anything
    • Fennel – great raw in salads or slow-braised
    • New potatoes – tender and sweet, best simply boiled or roasted
    • Zucchini flowers – if you’re near a good market, snap these up
    • Cucumbers – starting to appear toward the end of June
    • Carrots – reliable year-round but sweet and fresh right now

    Fruit

    • Strawberries – peak strawberry season; keep it simple
    • Cherries – they have a short window; eat them as fast as you can
    • Blueberries – coming in toward the end of June
    • Raspberries – just starting to appear
    • Apricots – beginning of stone fruit season

    👉 June produce is all about freshness, sweetness, and speed. Most of it needs very little done to it.


    🍳 How To Cook In June (The Summer Approach)

    In June, I naturally shift toward:

    • Grilling and charring — quick, adds flavor, and keeps the kitchen cool
    • Quick sautéing and pan-frying — fast meals that don’t require much fuss
    • Big salads that work as a main meal — especially with protein added
    • Minimal cooking, maximum flavor — good olive oil, fresh herbs, acid
    • Throw-together bowls – chicken bowls, tofu bowls, steak bowls with seasonal toppings and a bright sauce
    • Smoothies, ice cream, and popsicles – blend fruit and berries into something cold and delicious

    I use the oven far less and the outdoor grill or stovetop far more. I’m also making more use of dressings, herb sauces, and fresh finishes — a good pesto, a quick tahini, a lemon-herb vinaigrette. The goal is meals that feel light and satisfying at the same time.


    🫛 What To Cook With Zucchini in June

    Zucchini is the vegetable of June. It starts appearing in earnest this month and will only get more prolific — so now is a good time to get comfortable cooking with it.

    Quick ways I use zucchini:

    • Sautéed with garlic and lemon as a fast side
    • Sliced into ribbons for a raw zucchini salad
    • Turned into noodles (zoodles) with pesto or marinara
    • Tossed into pasta or grain bowls
    • Baked in a slice or frittata

    🍓 What To Cook With Strawberries in June

    Strawberries in June are genuinely sweet — a different thing entirely from the ones you get off-season. They’re at their absolute peak and don’t need much.

    Simple ideas:

    • A big bowl of fresh strawberries with good yogurt and a drizzle of honey
    • Sliced over oats or overnight oats
    • Into a summer salad with arugula, goat cheese, and balsamic
    • Roughly mashed and stirred into whipped cream for an easy dessert
    • Macerated with a little sugar and lemon and spooned over ice cream

    👉 Resist the urge to do too much. The best strawberry dish in June is a bowl of them, still warm from the market.


    🌿 Fresh Salads for June

    June is when I stop thinking of salads as a side and start making them the main. A proper summer salad with protein and texture can be a really satisfying dinner.


    🔥 Grilling Ideas for June

    June is when I start thinking of the grill as a proper cooking method rather than a weekend treat. It’s fast, it adds flavor you can’t replicate indoors, and it keeps the kitchen cool.

    Things I love grilling in June:

    • Zucchini halves — brushed with olive oil and a little chili
    • Asparagus — high heat, 5 minutes, and it’s done
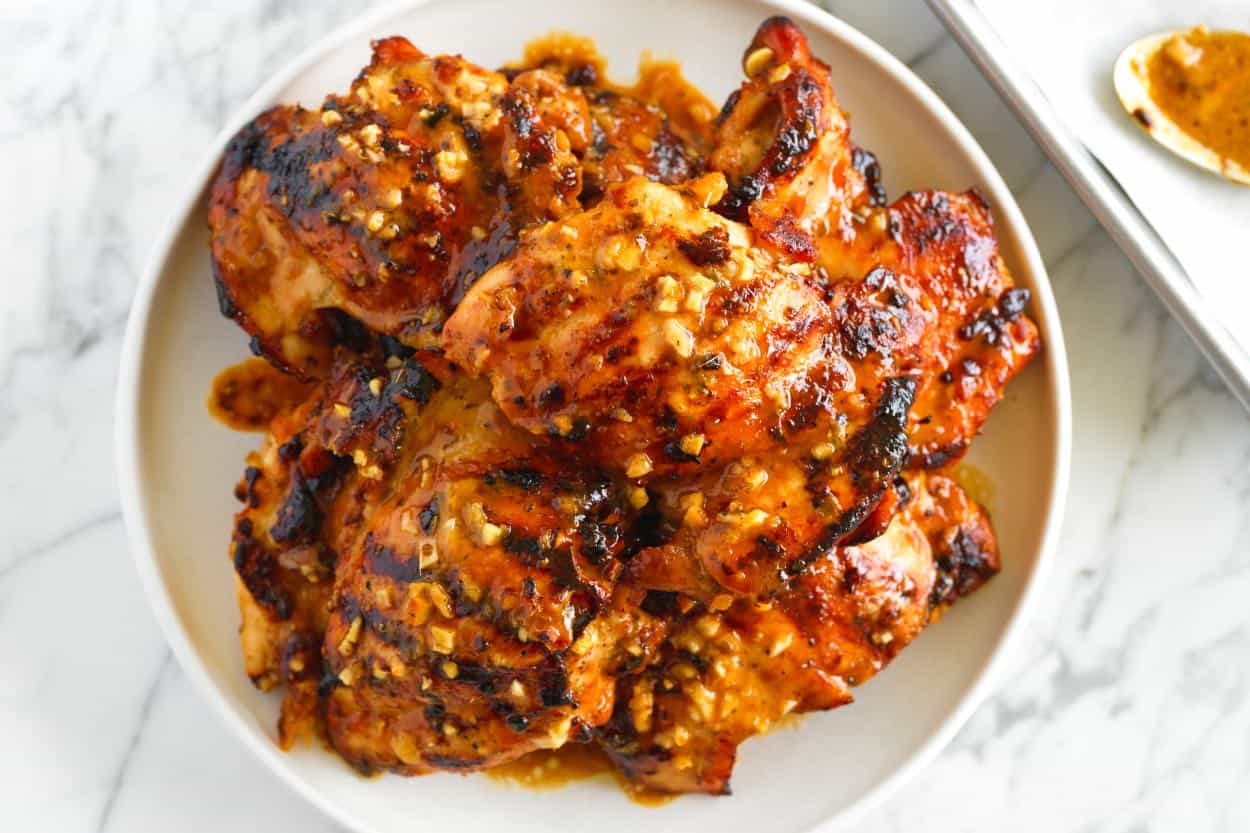
    • Chicken thighs — marinated overnight and grilled for about 20 minutes
    • Skewers/kabobs — pork, chicken, beef, shrimp, veggies – marinated in lemon, herbs, and garlic or something more exciting

    🥚 Easy Weeknight Dinners for June

    Not every June dinner needs to involve the grill. These are quick stovetop or oven meals I lean on when I want something solid without much effort:


    🫐 Early Berries: What To Do With Them

    Blueberries and raspberries are just starting to come in toward the end of June. When they hit the market fresh, they’re very different from the ones you’ve been getting all year.

    A few quick ideas:

    • Toss into overnight oats or chia puddings for breakfast
    • Stir into yogurt with a little honey and granola
    • Bake into muffins or a quick fruit crumble
    • Blend into a smoothie with some frozen banana and milk
    • Keep in a little jar in the fridge and eat by the handful

    👉 Early-season berries are often more tart than later in summer — balance with a little sweetness if you’re baking.


    📋 June Meal Planning Tips

    A few principles I come back to in June:

    • Keep a bowl of fresh fruit on the counter — strawberries and cherries eaten this way are the best version of themselves
    • Use fresh herbs generously — basil, mint, dill, and parsley are abundant; throw them into everything
    • Make dressings ahead — a good lemon vinaigrette or tahini sauce in the fridge means every salad takes 5 minutes
    • Don’t underestimate simple — a piece of grilled chicken, a salad, some good bread. That’s dinner. It doesn’t need to be more than that

    🔗 More June Cooking Inspiration


    What are you cooking this June? Drop it in the comments below or tag me on Instagram @cookedandloved — I love seeing what you’re making!


    Source link

  • 16 Easy Chicken Thigh Recipes For Dinner

    16 Easy Chicken Thigh Recipes For Dinner

    These are our most-made and most-loved chicken thigh recipes, ranging from simple shredded chicken for enchiladas to cozy soups and one-pan meals.

    Honey Mustard Chicken

    When I’m at the grocery store, I almost always toss a package of boneless, skinless chicken thighs into my cart. They are my “secret weapon” for an easy dinner! While we have all sorts of chicken recipes on the blog, I have to admit we lean heavily toward chicken thighs—and for good reason.

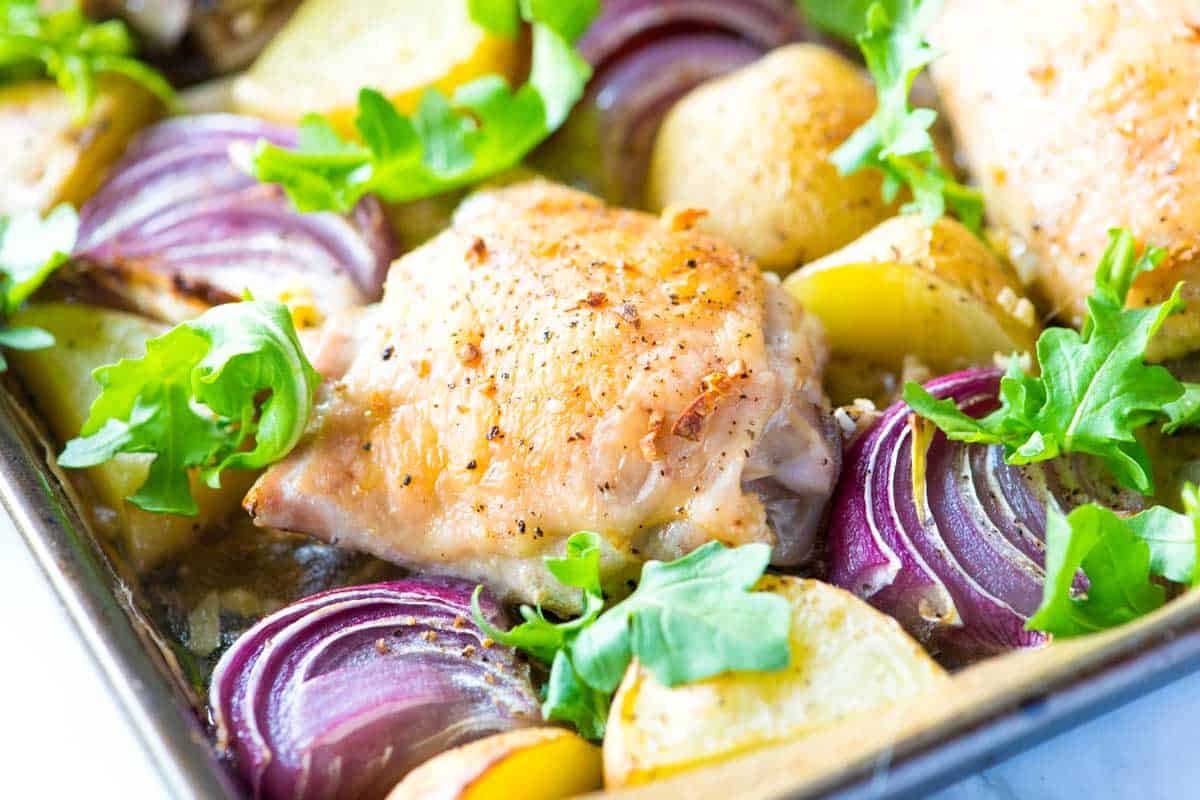
    Unlike leaner chicken breast, chicken thighs stay incredibly tender and are far more forgiving if they spend a few extra minutes on the heat. They work beautifully in everything from classic noodle soup and slow cooker favorites to a simple, comforting plate of chicken and rice.

    Find all 16 recipes below. For more, see all of our chicken recipes or join our free newsletter and to get our best recipes delivered straight to your inbox. Happy cooking!

    Our Favorite Chicken Thigh Recipes

    Lemon Chicken Thighs

    Juicy Lemon Chicken Thighs

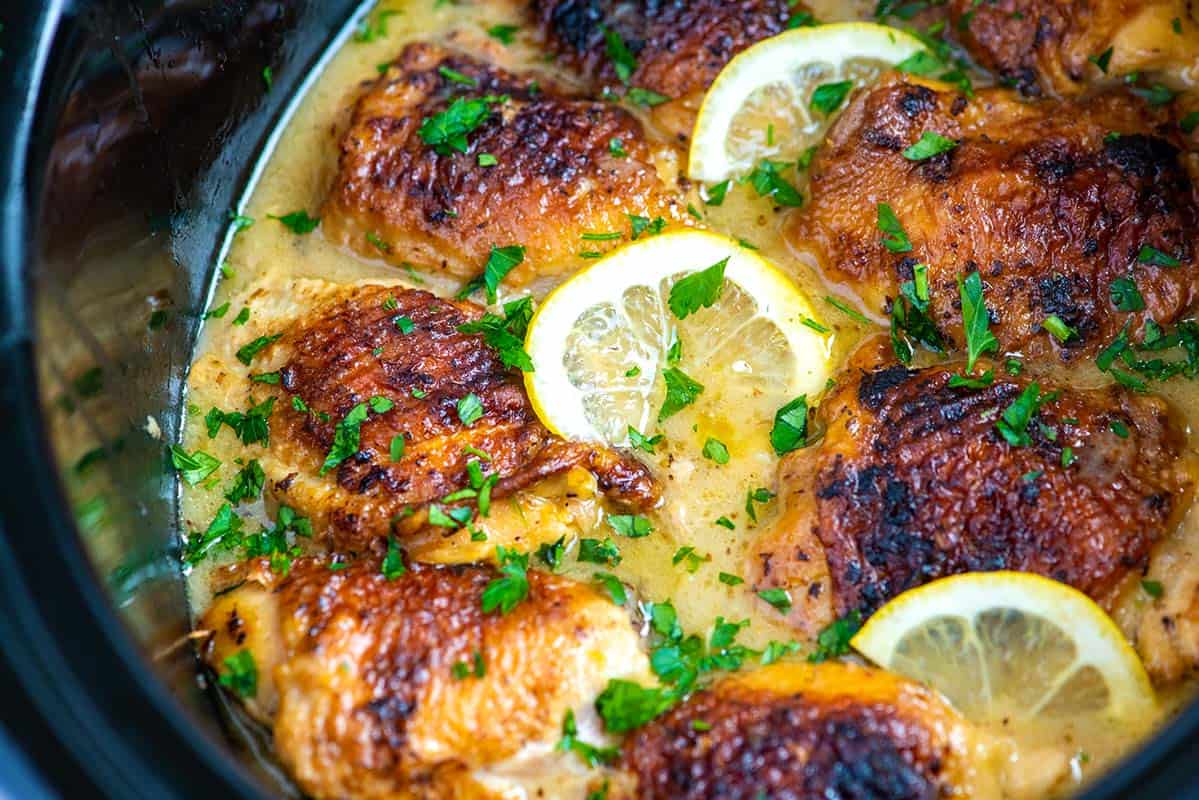
    With this lemon chicken thighs recipe, you get perfectly juicy, tender, and flavorful chicken every time. All cooked in one skillet!

    Slow Cooker Lemon Chicken Thighs

    Slow Cooker Lemon Chicken Thighs

    This slow cooker chicken thighs is easy, outrageously flavorful, and guarantees soft and tender chicken. The crockpot does wonders for chicken thighs!

    Shredded Chicken

    Easy Shredded Chicken

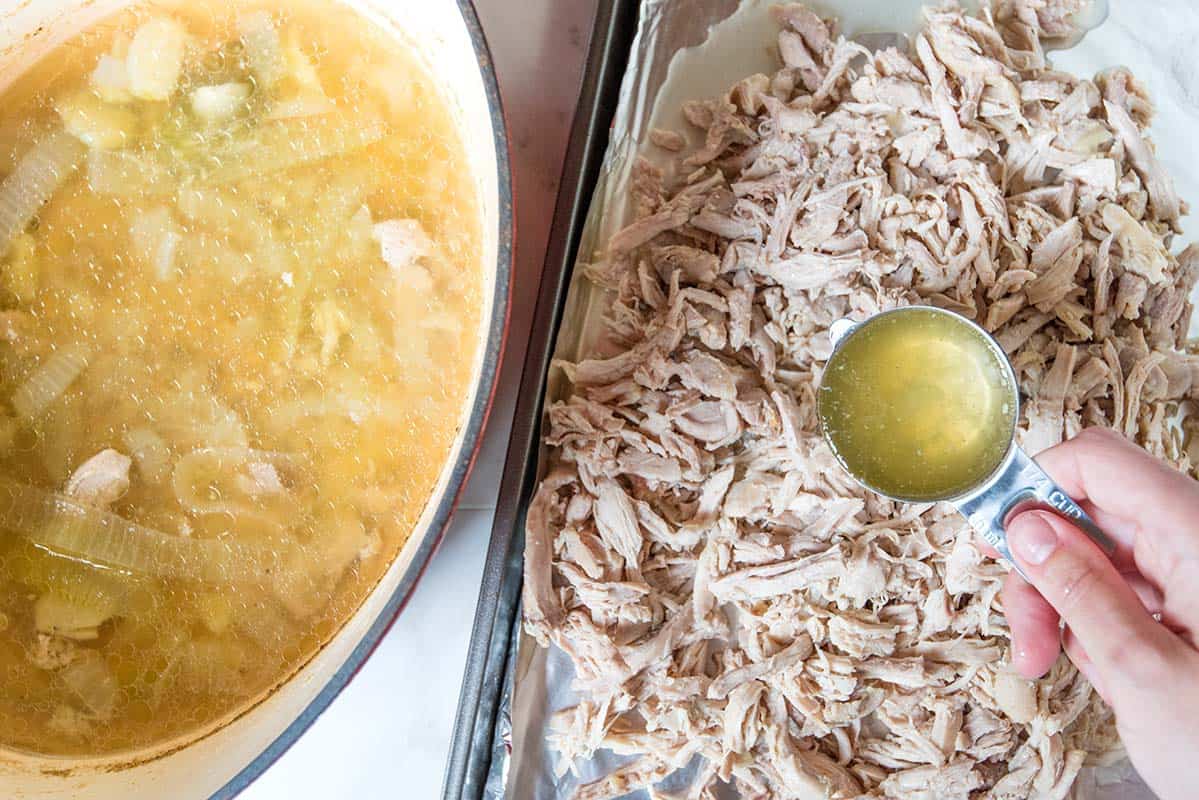
    This shredded chicken recipe is quick, simple, and the chicken can be used 100 different ways. One favorite is to make green chicken enchiladas!

    Chicken Marsala

    Chicken Thigh Marsala

    This chicken marsala recipe uses chicken thighs instead of chicken breasts. It’s simple, turns out incredibly tender, and made in one pan.

    Easy Sheet Pan Chicken Thighs

    Sheet Pan Chicken Thighs

    These easy sheet pan chicken thighs are a guaranteed crowd-pleaser and are ready in under 45 minutes!

    Honey Mustard Chicken

    Honey Mustard Chicken

    Our honey mustard chicken packs in so much incredible flavor thanks to an easy honey dijon marinade that doubles as a sauce for serving.

    Teriyaki Chicken

    Teriyaki Chicken

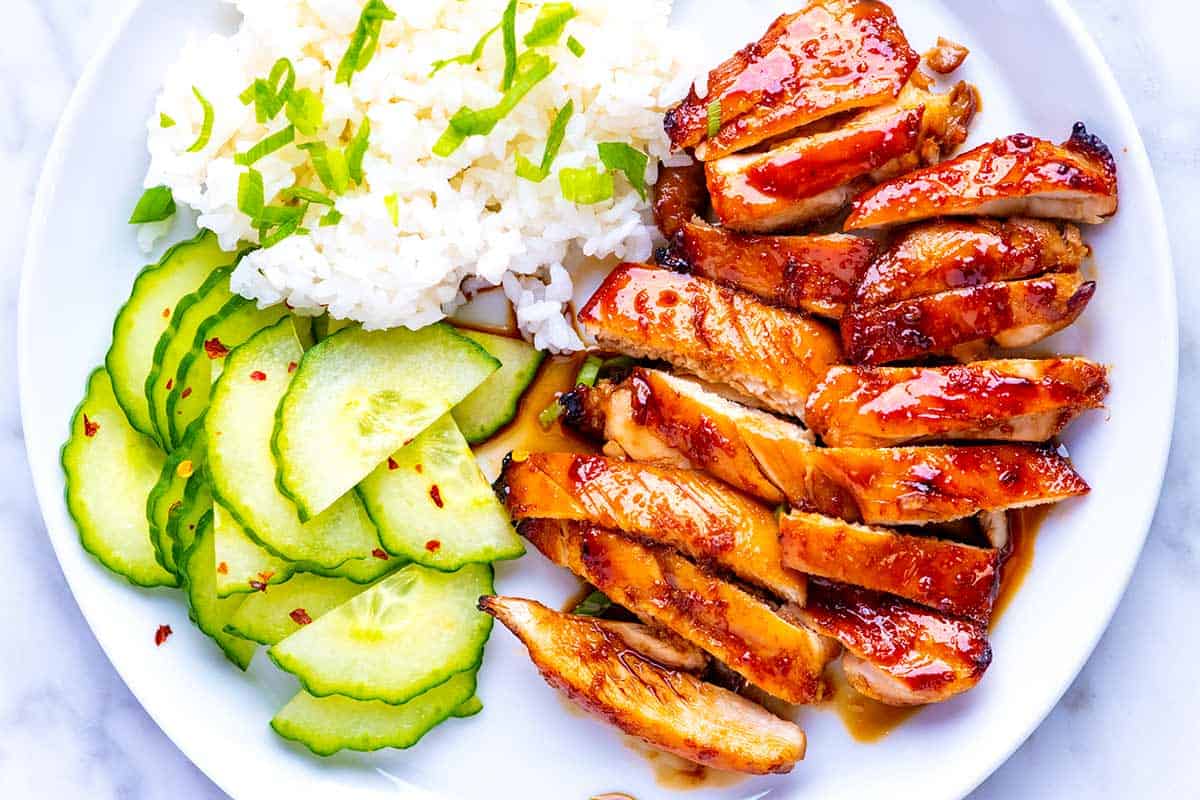
    We’re confident that this recipe guarantees some of the best teriyaki chicken you’ll ever make at home!

    Quick Honey Teriyaki Chicken

    Honey Teriyaki Chicken

    This delicious honey teriyaki chicken is naturally sweetened with fresh orange and honey, and comes together in under 30 minutes!

    Yellow Chicken Curry

    Perfect Yellow Chicken Curry

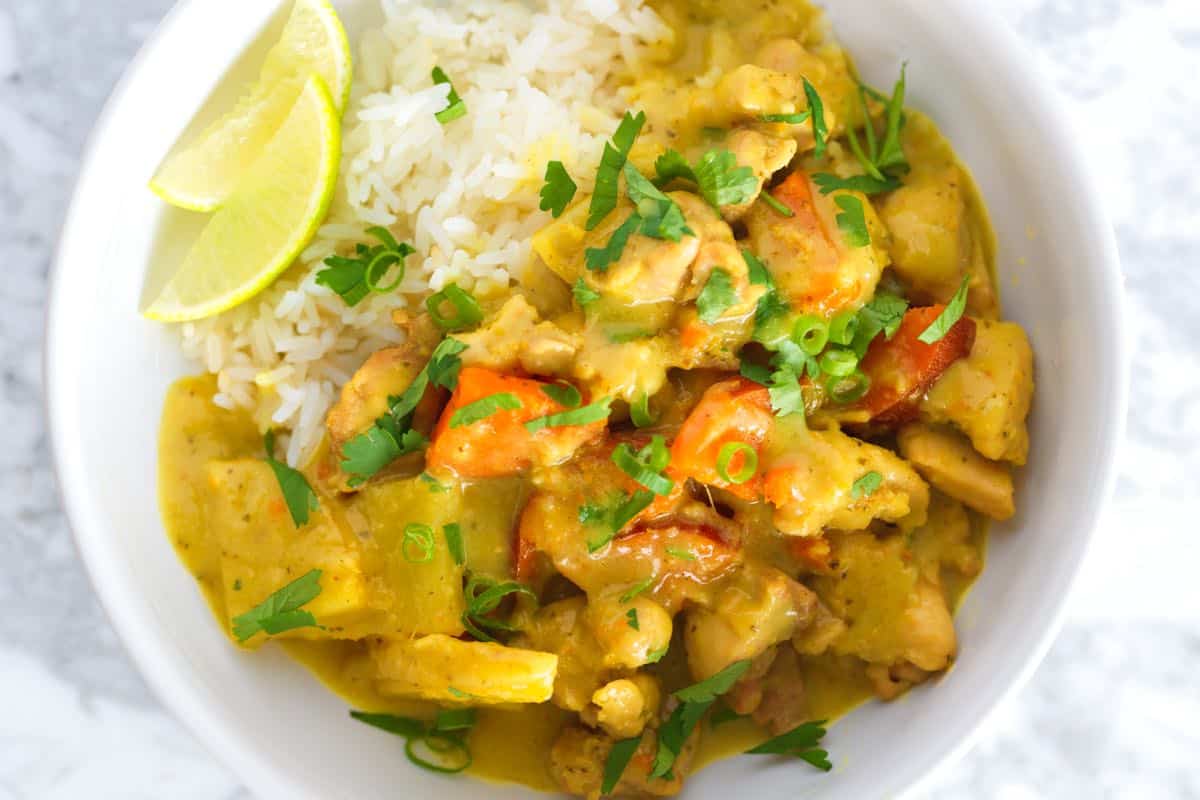
    My family loves this yellow chicken curry! Tender chicken thighs and potatoes simmer in a rich coconut curried sauce. It’s incredible!

    Chicken and Rice

    Seriously Good Chicken and Rice

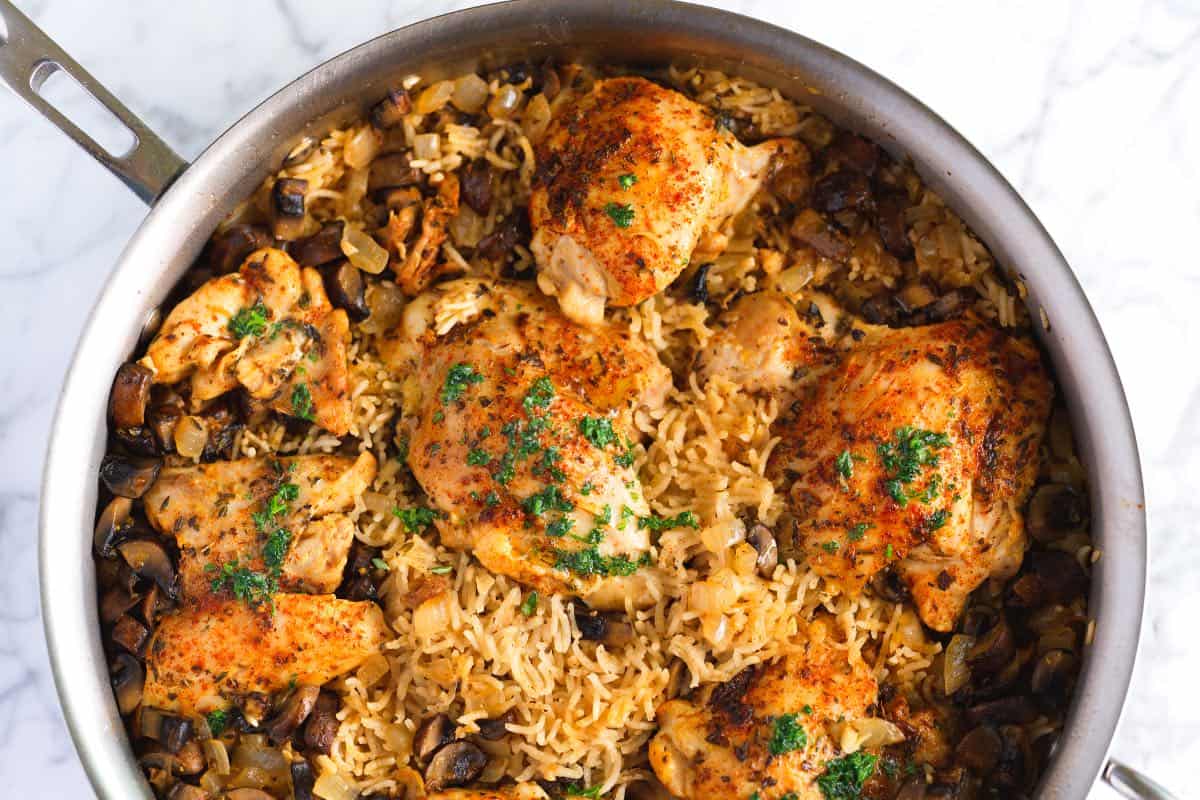
    This easy chicken and rice is super flavorful thanks to chicken thighs, garlicky mushrooms, butter rice, and the perfect blend of spices.

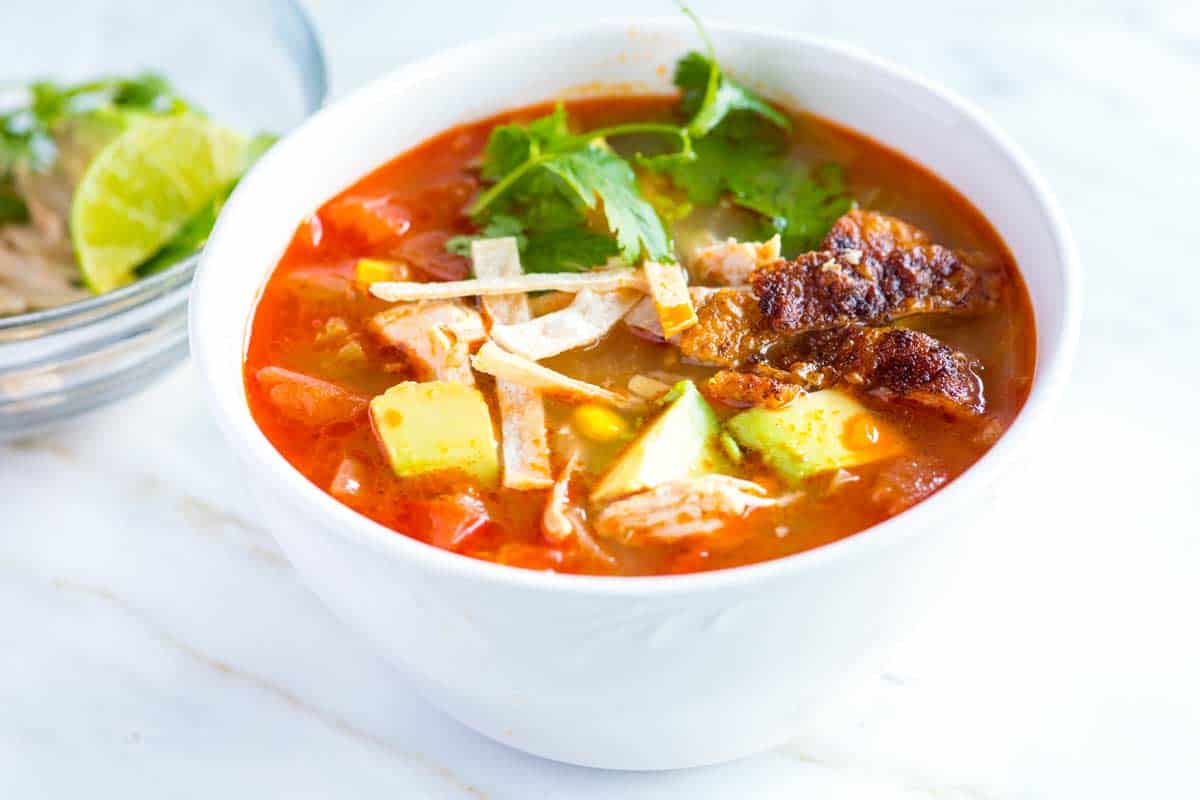
    Seriously Good Chicken Tortilla Soup

    Chicken Tortilla Soup

    This is my all-time favorite chicken tortilla soup. Tender chicken thighs, corn tortillas, and the perfect blend of spices make it unbelievably good.

    Chimichurri Chicken

    Easy Chimichurri Chicken

    This chimichurri chicken recipe is so flavorful. Crisp, golden chicken thighs are topped with our bright, herby chimichurri sauce for an easy, delicious dinner.

    Easy Chicken Vegetable Soup

    Chicken Vegetable Soup

    This chicken vegetable soup recipe checks all the boxes. Thanks to lots of veggies, this soup is hearty, healthy, and perfect for a cozy night in.

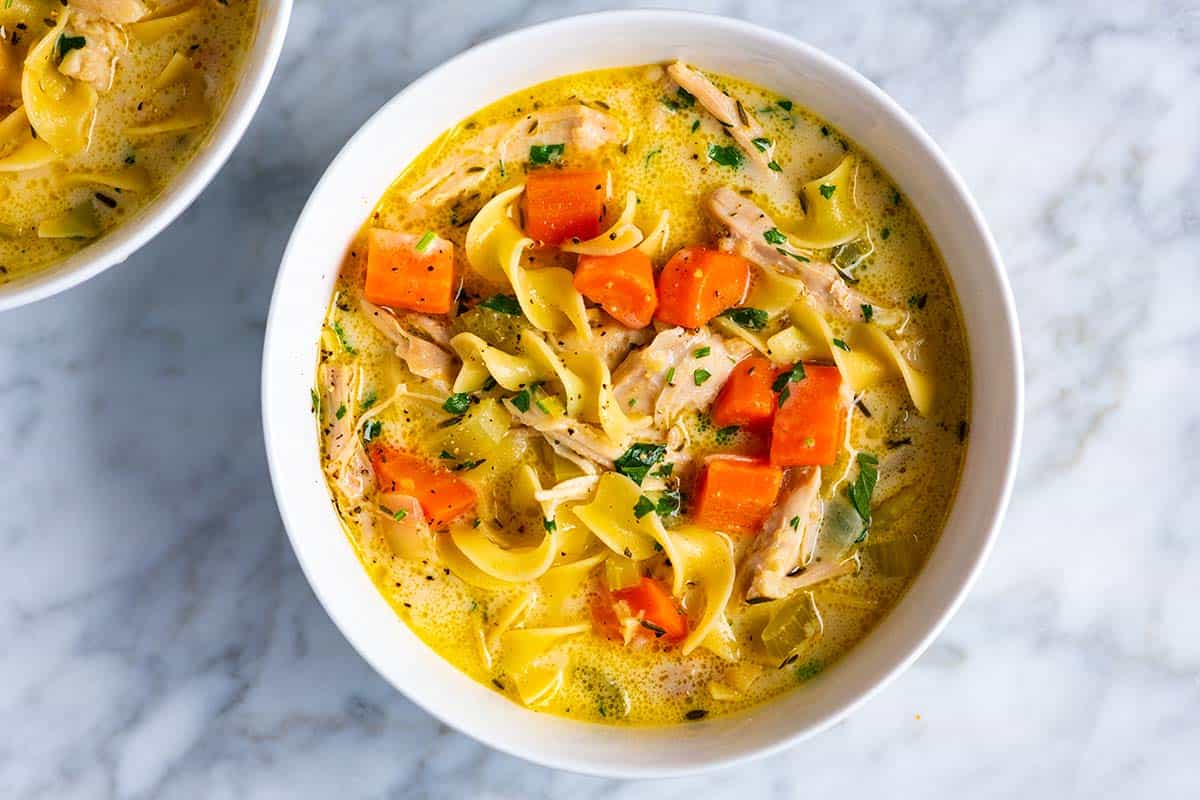
    Creamy Chicken Noodle Soup

    This easy creamy chicken noodle soup is ready in just 40 minutes, incredibly delicious, and turns out perfectly creamy!

    Chicken Noodle Soup

    The Best Chicken Noodle Soup

    Our homemade chicken noodle soup has tender chicken, fresh veggies, and the most delicious broth that tastes like it’s been cooking for hours.

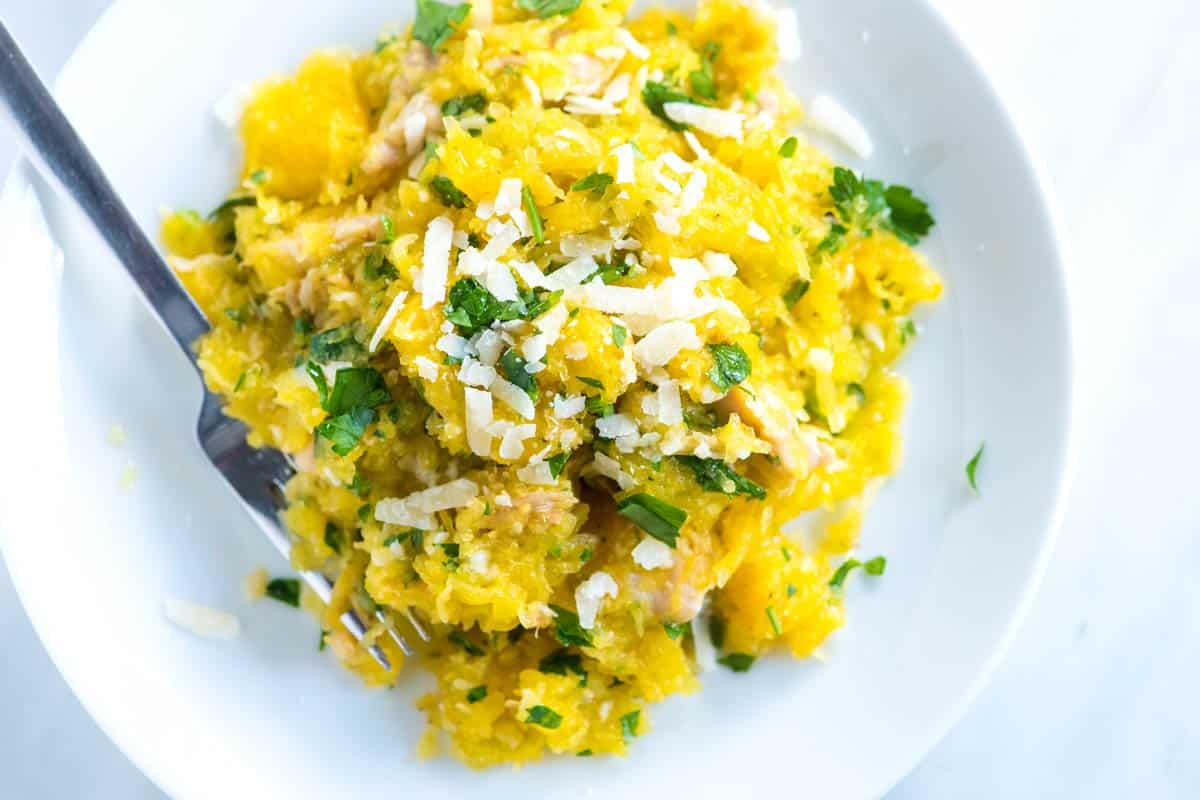
    Parmesan Spaghetti Squash with Chicken

    Parmesan Spaghetti Squash with Chicken

    We love this incredibly delicious spaghetti squash recipe with tender chicken thighs, parmesan, and fresh lemon.

    For more cooking inspiration, join our free newsletter and get our best seasonal recipes delivered straight to your inbox. Click here to join. Happy cooking!

    Adam and Joanne of Inspired Taste

    We are Adam and Joanne Gallagher, the creators of Inspired Taste. Established in 2009, Inspired Taste grew from a childhood dream into one of the internet’s most trusted recipe sites with hundreds of reliable recipes, step-by-step videos, and expert tips.More About Us

    Source link

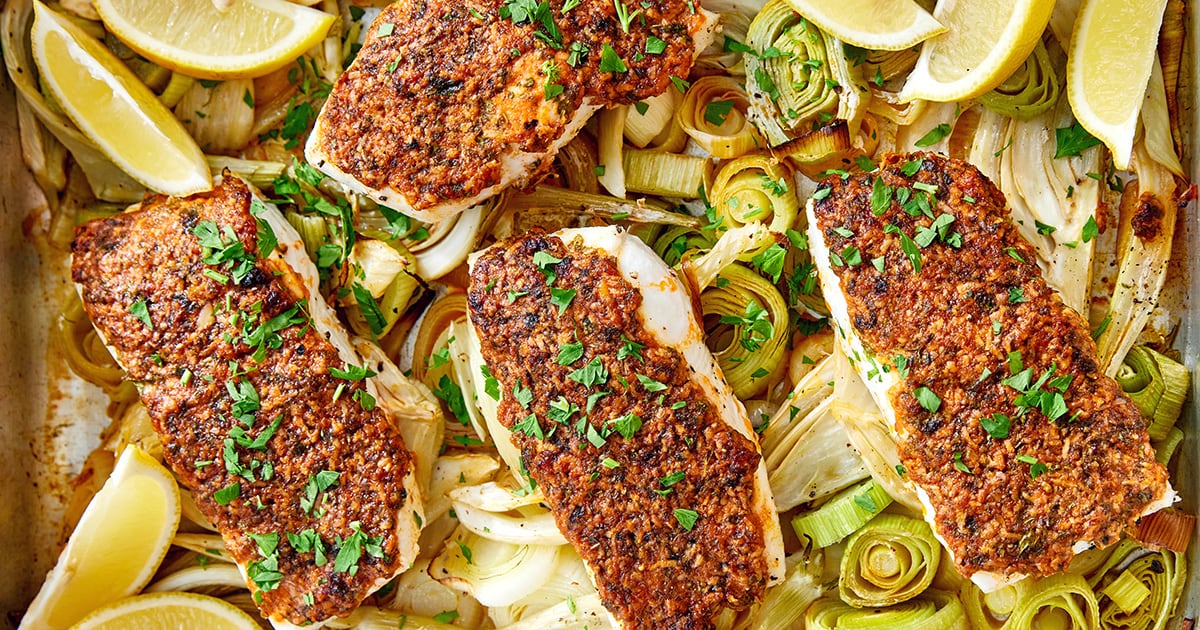
  • Parmesan Crusted Baked Halibut

    Parmesan Crusted Baked Halibut

    Firm, flaky halibut topped with a garlicky Parmesan and herb crust, cooked right on a bed of silky leeks and fennel — this baked halibut recipe is the kind of elegant, fuss-free dinner that makes any weeknight feel like a proper occasion.


    Jump to: ℹ️ Overview | 🛒 Ingredients | 📷 How To Make | 📹 Watch The Video | 👩‍🍳 Recipe Tips | 🥗 Serving Suggestions | 📝Full Recipe Card | 🍽 More Fish Recipes


    At A Glance

    • ⏱ Ready In: 30 minutes
    • 🍽 Serves: 4
    • 🌱 Diet: Gluten-free, Nut-free, High-Protein, Low-Carb
    • 💪 Nutrition Highlights: High in lean protein and omega-3s; naturally low in carbs
    • 🥕 Main Ingredients: Halibut fillets, butter, parmesan, garlic, leeks, fennel, lemon, parsley
    • 🔥 Flavor Profile: Savory, garlicky, bright and lemony, with a golden herby crust and a subtle sweetness from the baked leeks and fennel
    • 🧊 Meal-Prep Friendly: Best eaten fresh; leftovers keep for up to 2 days in the fridge
    • Best Served With: Roasted or mashed potatoes, rice, couscous, quinoa, spaghetti, or a simple green salad

    This Parmesan-crusted baked halibut has become one of my absolute favorite ways to cook white fish — and once you try it, I think you’ll understand why. The crust is thick, garlicky, and packed with Parmesan, parsley, paprika, and lemon, and it bakes into this gorgeous golden layer that’s crispy at the edges and deeply savory all the way through.

    Underneath the fish, the leeks and fennel soften into something almost silky, with a mild sweetness that plays beautifully against the bold crust. It’s the kind of thing that looks like you’ve put in a lot of effort, but it genuinely comes together in under 35 minutes.

    Halibut is a dream to work with — it’s firm enough to hold the crust well, and it stays wonderfully moist when you don’t overcook it (more on that below). Whether you’re making this for a dinner party or just a Tuesday night, I promise it punches well above its weight.

    Yes, you can use other white fish fillets!

    👩‍🍳 You might also like these recipes: Mediterranean baked fish with bean puree, baked rainbow trout with garlic butter, easy baked salmon fillets, sheet pan baked crusted cod fillets. Find more halibut recipes here.

    What You’ll Need

    Here is what you’ll need for this Parmesan crusted baked halibut recipe. Find the full measurements in the recipe card below.

    Leek and fennel base:

    • Leeks — the white and pale green parts only, thinly sliced. Leeks mellow beautifully in the oven and add a gentle sweetness that pairs perfectly with the bold Parmesan crust. You can substitute thinly sliced onion if you can’t find leeks, though the flavor will be a little sharper.
    • Fennel bulb — thinly sliced. It softens and sweetens as it bakes, with just a hint of anise that works really well alongside fish. If you’re not a fan of fennel, thinly sliced celery or even zucchini can work here.
    • Olive oil and butter — to coat and help the vegetables soften without drying out. Sometimes I only use olive oil, but I do love the richness of butter.
    • Salt and pepper — to season the base.

    Halibut and Parmesan crust:

    • Halibut fillets — firm, mild, and lean, halibut is ideal for this recipe because it holds the crust beautifully and bakes evenly. Each fillet is around 5–6 oz / 150–170 grams. Other white fish like cod, barramundi, snapper, or mahi mahi will also work well here.
    • Parmesan — freshly shaved or grated is best for the most cohesive, golden crust. Pre-grated from a packet works but gives a slightly different (a little grainier) texture.
    • Melted butter — helps bind the crust and gives it that gorgeous golden color.
    • Fresh lemon juice — brightens everything up. About one lemon is all you need.
    • Garlic — three cloves, minced. The garlic is what makes this crust so irresistible.
    • Fresh flat-leaf parsley — adds freshness and a little herbaceous green to the crust. Dried parsley will do in a pinch, use about 1 teaspoon.
    • Paprika — sweet or smoked both work, but go smoked if you have both — it adds such a lovely depth to the crust.
    • Onion powder — rounds out the flavor of the crust without overpowering it.
    • Salt and pepper — to season the crust mixture.

    How To Make Baked Halibut With Parmesan Crust

    Find the full recipe and nutritional information below. Here are some handy step-by-step photos for how to bake halibut with Parmesan crust.

    • Preheat your oven to 200°C / 400°F.
    • Trim and thinly slice the leeks and fennel. Spread them out across the base of a large baking tray or dish, drizzle with olive oil, season with salt and pepper, and toss lightly to coat.
    • Pat your halibut fillets dry with paper towel — this step really matters for getting the crust to stick properly. Season both sides lightly with salt and pepper, then lay the fillets on top of the leek and fennel base.
    • In a small bowl, mix together the melted butter, lemon juice, minced garlic, parsley, paprika, onion powder, salt, pepper, and shaved parmesan until you have a thick, paste-like mixture. If it seems too thick to spread, add a tiny splash of water to loosen it slightly.
    • Press the parmesan mixture evenly over the top of each fillet. Don’t be shy — you want a good thick layer. Scatter any leftover crust mixture over the vegetables.
    • Bake for 12–15 minutes, until the fish is opaque and flakes easily with a fork at the thickest point. Start checking at 12 minutes — halibut can go from perfect to overdone quickly.
    • Optional but highly recommended: switch to grill/broil for the last 1–2 minutes to get the parmesan crust truly golden and bubbling. Watch it carefully, it goes fast!
    • Once the fish is out of the oven, if you’d like the leeks and fennel a little softer, remove the fish to a plate and pop the vegetables back in for another 5 minutes. Totally up to you.
    • Garnish with fresh chives or parsley and serve immediately with lemon wedges.

    Watch The Video

    Recipe Tips

    • Don’t skip patting the fish dry. It makes a real difference — dry fillets let the crust adhere better, and you’ll get a cleaner bake.
    • Start checking at 12 minutes. Halibut is a lean fish and dries out quickly if overcooked. It’s done when the flesh is opaque and just starting to flake. A little translucency at the very thickest point is fine — carryover heat will finish it.
    • The broiler step is optional but really worth it. That extra minute or two under the grill takes the crust from golden to genuinely crispy and bubbling — a completely different texture, and so good.
    • Want the vegetables more caramelized? Remove the fish when it’s done, cover it loosely with foil, and return the leeks and fennel to the oven for 5–10 minutes. They’ll soften further and pick up some lovely golden edges.
    • Fish swaps: This crust works beautifully on cod, barramundi, snapper, mahi mahi, or even salmon. Adjust baking time based on fillet thickness — thinner fillets will only need 10–12 minutes.
    • Make it ahead: The Parmesan crust mixture can be made up to a day ahead and stored in the fridge. Just bring it to room temperature before spreading, so it’s easy to press onto the fish.
    • Storage: Leftovers keep for up to 2 days in an airtight container in the fridge. Reheat gently in the oven at a low temperature, or enjoy cold in a salad or sandwich the next day. This isn’t a dish that freezes well.

    Serving Suggestions

    This baked halibut is substantial enough to be the star of the plate, and the leek and fennel base counts as your vegetables — so really, you just need something to round things out. Roasted potatoes are my favorite accompaniment here, whether that’s simply roasted, crushed with olive oil, or creamy mashed.

    Rice, couscous, or quinoa are all great if you want something lighter or more grain-based. Spaghetti tossed in a little olive oil and garlic works brilliantly too — the crust has so much flavor it almost acts like a sauce.

    For something fresh and green on the side, try a simple rocket and cucumber salad dressed with lemon and olive oil, or a ripe tomato salad with a drizzle of good balsamic. The brightness cuts through the richness of the crust beautifully.

    💬 If you’ve tried this parmesan crusted baked halibut or any other recipe on the blog then don’t forget to rate the recipe and let me know how you got on in the comments below, I love hearing from you! You can also FOLLOW ME on Instagram, Facebook, Pinterest, YouTube, and or sign up to my Newsletter to see more of my delicious food.

    Want to Save This Recipe?

    Enter your email & I’ll send it to your inbox. Plus, get great new recipes from me every week!

    By submitting this form, you consent to receive emails from Cooked & Loved

    Golden, garlicky halibut fillets with a herby parmesan crust, baked on a bed of silky leeks and fennel. An elegant, easy dinner that’s ready in under 35 minutes. Find step-by-step photos and more recipe tips above.

    Halibut and Parmesan crust:

    • Preheat the oven to 200°C / 400°F.

    • Trim and thinly slice the leeks and fennel. Scatter them in an even layer across the base of a large baking tray or dish. Drizzle with olive oil, dot with butter, season with salt and pepper, and toss lightly to coat.

    • Pat the halibut fillets dry with paper towel — this helps the crust stick. Season both sides lightly with salt and pepper, then lay the fillets on top of the leek and fennel base.

    • In a small bowl, combine the melted butter, lemon juice, minced garlic, chopped parsley, paprika, onion powder, salt, pepper, and shaved parmesan. Stir until you have a thick, paste-like mixture. Add a small splash of water if it seems too thick to spread easily.

    • Divide the parmesan mixture evenly across the top of each fillet, pressing gently to adhere. Scatter any remaining mixture over the vegetables in the tray.

    • Bake for 12–15 minutes, until the fish is opaque and flakes easily with a fork at the thickest point. Start checking at the 12-minute mark to avoid overcooking.

    • Optional but recommended: switch the oven to grill/broil for 1–2 minutes at the end to get the parmesan crust golden and bubbling. Watch carefully — it can brown quickly.

    • Once the fish is done, you can remove it to a plate and return the leeks and fennel to the oven for an additional 5 minutes if you prefer them softer and more caramelized.

    • Garnish with fresh chives or parsley and serve immediately with lemon wedges.

    Important Ingredient Tips: Use freshly shaved or grated parmesan for the best crust texture — pre-grated from a packet works but gives a slightly different result. Pat the fish fillets completely dry before adding the crust for better adherence and a cleaner bake.
    Key Recipe Tips: Don’t overcook the halibut — it’s a lean fish that dries out quickly. Start checking at 12 minutes. The grill/broil step at the end is optional but makes a real difference to the crust — highly recommended! If you want the vegetables more caramelized, remove the fish when done and return the tray to the oven for 5 more minutes.
    Storage Tips: Best eaten fresh. Leftovers keep for up to 2 days in an airtight container in the fridge. Reheat gently in the oven at a low temperature. Not suitable for freezing.
    Make-Ahead Tips: The parmesan crust mixture can be prepared up to a day ahead and stored in the fridge. Bring it to room temperature before spreading onto the fish so it spreads easily.
    FAQs:
    How do I know when halibut is cooked? Halibut is done when the flesh turns opaque and flakes easily when you press it gently with a fork at the thickest point. Start checking at the 12-minute mark. Don’t wait until it’s pulling apart — remove it while it still looks just cooked, as carryover heat will continue cooking it for a minute or two after it comes out of the oven.
    Can I use a different fish? Absolutely. This parmesan crust works beautifully on other white fish including cod, barramundi, snapper, and mahi mahi. Salmon also works well. Adjust baking time based on fillet thickness — thinner fillets (under 1 inch / 2.5 cm) will only need 10–12 minutes.
    Can I use pre-grated Parmesan from a packet? You can, and it will still taste great. However, freshly grated or shaved parmesan melts more evenly and gives a slightly better crust texture. If you only have the pre-grated kind, it’ll still work — just be aware the crust may be a little less cohesive.
    Do I have to use leeks and fennel as the base? Not at all. The leek and fennel base adds a beautiful flavor and keeps the fish elevated off the tray (which helps with even cooking), but you could swap in thinly sliced onion, zucchini, capsicum, or even cherry tomatoes. Just make sure whatever you use is cut thinly so it softens in the same time as the fish.
    Is halibut a healthy fish? Yes — halibut is an excellent source of lean protein and a good source of omega-3 fatty acids, potassium, and B vitamins. It’s naturally low in calories and fat, making it a great choice for a high-protein, lower-calorie dinner. 

    Calories: 421kcal | Carbohydrates: 16g | Protein: 41g | Fat: 22g | Saturated Fat: 10g | Polyunsaturated Fat: 2g | Monounsaturated Fat: 7g | Trans Fat: 0.3g | Cholesterol: 128mg | Sodium: 954mg | Potassium: 1162mg | Fiber: 3g | Sugar: 4g | Vitamin A: 1913IU | Vitamin C: 20mg | Calcium: 303mg | Iron: 2mg

    Keywords: baked halibut, parmesan crusted halibut, baked halibut recipe, oven baked halibut, halibut recipes, easy fish dinner

    More Fish Recipes


    Source link

  • Easy Yogurt Marinated Chicken Recipe

    Easy Yogurt Marinated Chicken Recipe

    This endlessly useful yogurt chicken marinade recipe works wonders for all cuts of chicken, and is especially good for chicken breasts.

    Yogurt Marinated Chicken

    The flavors here are simple and bright, so this yogurt marinated chicken goes with just about anything. Yogurt does the heavy lifting, making the chicken tender, while lemon, mustard, and garlic bring a little zing.
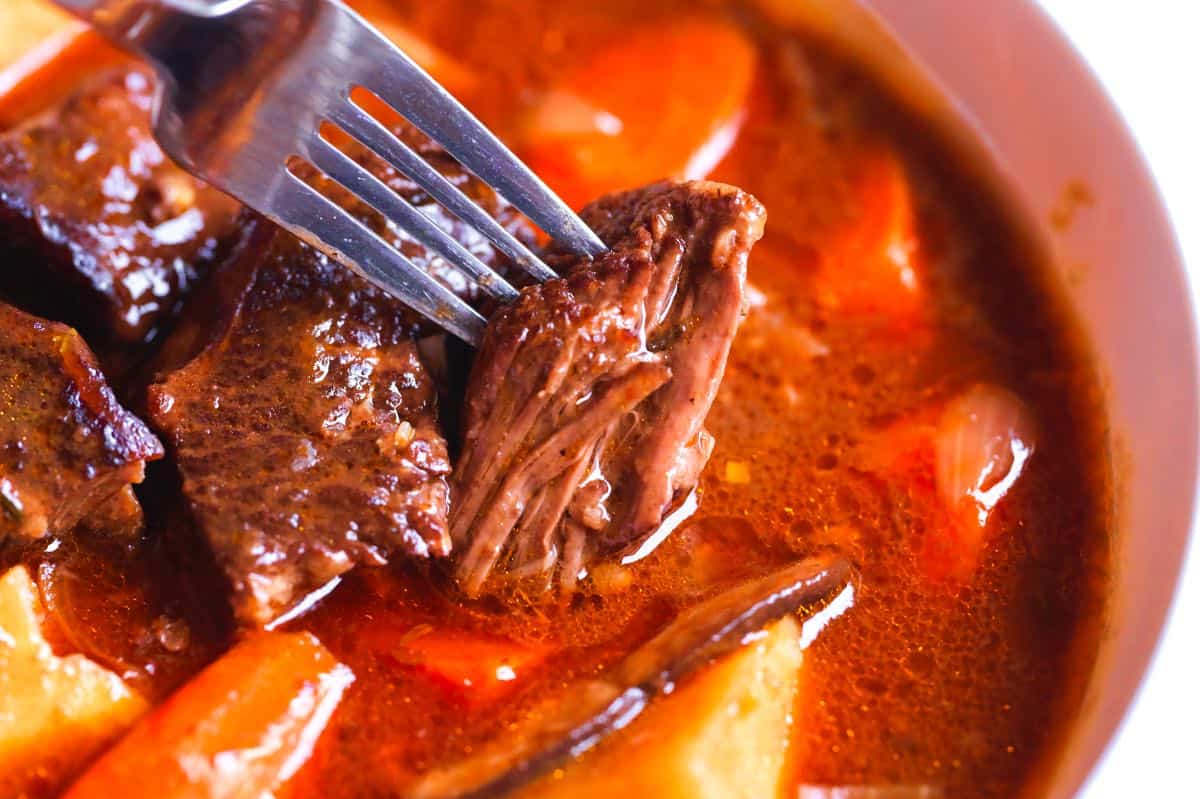
    Ever since we started making this, it’s been on repeat in our kitchen. It’s one of those low-effort, high-reward recipes that I love having in my back pocket! I usually use chicken breasts (as you’ll see in the photos), but thighs, drumsticks, or whatever you have will be delicious. If you’re loving the yogurt here, we use it in our Greek chicken marinade, too.

    Key Ingredients

    • Yogurt: Plain Greek yogurt is our go-to for this marinade. It helps the flavors cling to the chicken, tenderizes the meat, and keeps it juicy. Whole-milk yogurt works best, but low-fat works in a pinch.
    • Lemon, Mustard, and Garlic: Fresh lemon juice and zest, Dijon mustard, and a little garlic keep our marinade punchy and bright. I use a microplane to finely grate the garlic, but mincing it is perfectly fine.
    • Honey: A little bit of honey balances the lemon and helps the chicken get that gorgeous golden color as it cooks.
    • Olive Oil, Salt, and Pepper: The olive oil helps the chicken to brown and a good amount of salt and pepper keeps everything well seasoned.

    Find the full recipe with measurements below.

    How to Make Yogurt Marinated Chicken

    Tip 1: One hour is good, longer is better. You can marinate the chicken for up to 8 hours, but even just one hour will make a noticeable difference in juiciness and tenderness. If you are in a rush, we won’t judge if you marinate for less, just know you are missing out a little bit on the tenderizing.

    Tip 2: Don’t discard the marinade. When you’re ready to cook, don’t discard that marinade! If you’re grilling, baste the chicken with more marinade as you flip it. If baking, spoon the marinade over the chicken before popping it in the oven. The chicken cooks long enough after this to cook the marinade, too.

    We like to sear in a grill pan over medium-high heat for color, then finish in the oven at 375°F for perfectly cooked, juicy chicken. Before baking, pour the leftover marinade over the top.

    Grilling the chicken in a grill pan before baking in the oven.
    Pouring leftover marinade over the grilled chicken before baking in the oven

    Tip 3: Expect the honey to brown. The honey in the marinade helps the chicken brown nicely, but watch your heat. Look for the grill makes to turn a dark brown, but not black.

    Serving Suggestions

    This chicken is perfect for salads, wraps, or sandwiches. It’s also great on the side of roasted broccolini, roasted green beans, and quickly sautéed zucchini.

    To lean more toward a Mediterranean vibe, try it with homemade pita, red pepper hummus, cucumbers, and a drizzle of tahini sauce. Or make a rice bowl, like this chickpea rice bowl, which would be amazing with some of this chicken diced and added to the top.

    More Chicken Marinades

    Yogurt Marinated Chicken

    Easy Yogurt Marinated Chicken

    • PREP
    • COOK
    • TOTAL

    Yogurt is our secret weapon for chicken that turns out juicy every single time. It does all the heavy lifting—tenderizing every bite, adding richness, and helping the outside get beautifully caramelized. We use honey, but if you don’t have any on hand, maple syrup works too.

    Makes enough for up 2 pounds chicken

    You Will Need

    1 tablespoon olive oil

    1 teaspoon honey

    1 teaspoon Dijon mustard

    1 teaspoon grated lemon zest

    1 tablespoon fresh lemon juice

    1 garlic clove, finely grated

    3 tablespoons whole-milk plain Greek yogurt

    1 teaspoon fine sea salt

    ½ teaspoon freshly ground black pepper

    1 ½ to 2 pounds chicken breasts or thighs (680 g)

    Lemon wedges for serving

    Fresh cilantro leaves for serving

    Directions

      1Marinate: Mix the olive oil, honey, mustard, lemon zest, lemon juice, garlic, yogurt, salt, and pepper in a bowl large enough to hold the chicken. Add the chicken and turn to coat. Cover and refrigerate for 1 to 8 hours.

      2Cook the chicken: Preheat the oven to 375°F (190°C) and line a baking sheet with parchment paper.

      3Heat a grill pan over medium heat and brush the grates with oil. Add the chicken and sear until dark brown grill marks appear, about 2 to 3 minutes on each side. Watch the heat, as the honey in the marinade can burn.

      4Transfer the chicken to the prepared baking sheet and spoon the remaining marinade over the top.

      5Bake for 15 to 25 minutes, until a thermometer inserted into the thickest part of the chicken registers 165°F. Leave the chicken for 5 minutes until the juices settle. Slice into thick slices, scatter cilantro over the top, and serve with lemon wedges.

    Adam and Joanne’s Tips

    • Alternatives for cooking the chicken: You can grill, bake, or cook the chicken in a skillet or grill pan. My favorite option is to sear the outside for color and finish in the oven. Since honey is in the marinade, it will darken quite a bit so watch for burning when you sear your chicken. You can skip the grill pan and go directly to the oven. You will still get a little color. If you use an outdoor grill, use our grilled chicken recipe for tips.
    • The nutrition facts provided below are estimates. We assumed 1 ½ pounds chicken breasts.

    Nutrition Per Serving
    Serving Size
    1/4 of the recipe (about 6 ounces chicken)
    /
    Calories
    256
    /
    Total Fat
    8.6g
    /
    Saturated Fat
    1.8g
    /
    Cholesterol
    125.8mg
    /
    Sodium
    695.4mg
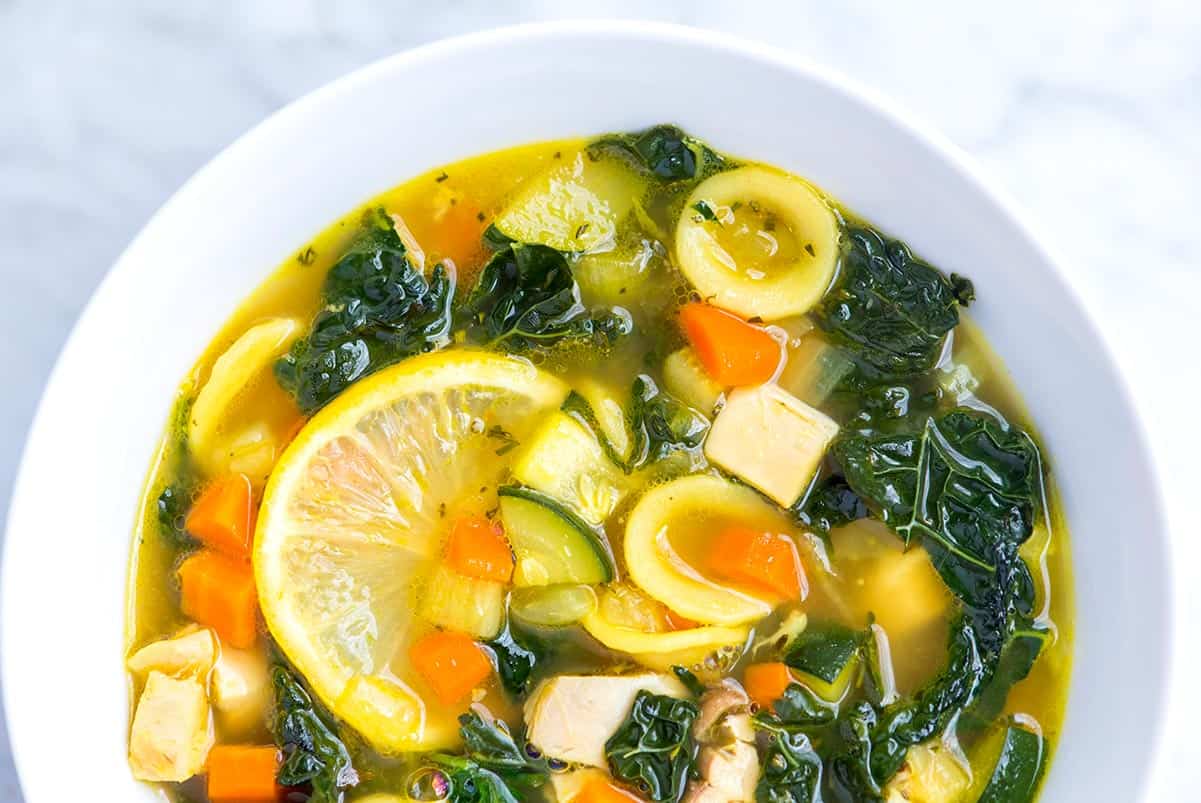
    /
    Carbohydrate
    2.8g
    /
    Dietary Fiber
    0.2g
    /
    Total Sugars
    2.1g
    /
    Protein
    39.6g


    AUTHOR:

    Joanne Gallagher

    Adam and Joanne of Inspired Taste

    We are Adam and Joanne Gallagher, the creators of Inspired Taste. Established in 2009, Inspired Taste grew from a childhood dream into one of the internet’s most trusted recipe sites with hundreds of reliable recipes, step-by-step videos, and expert tips.More About Us

    Source link