Category: Healthy

  • Easy Korean Beef Bowls

    Easy Korean Beef Bowls

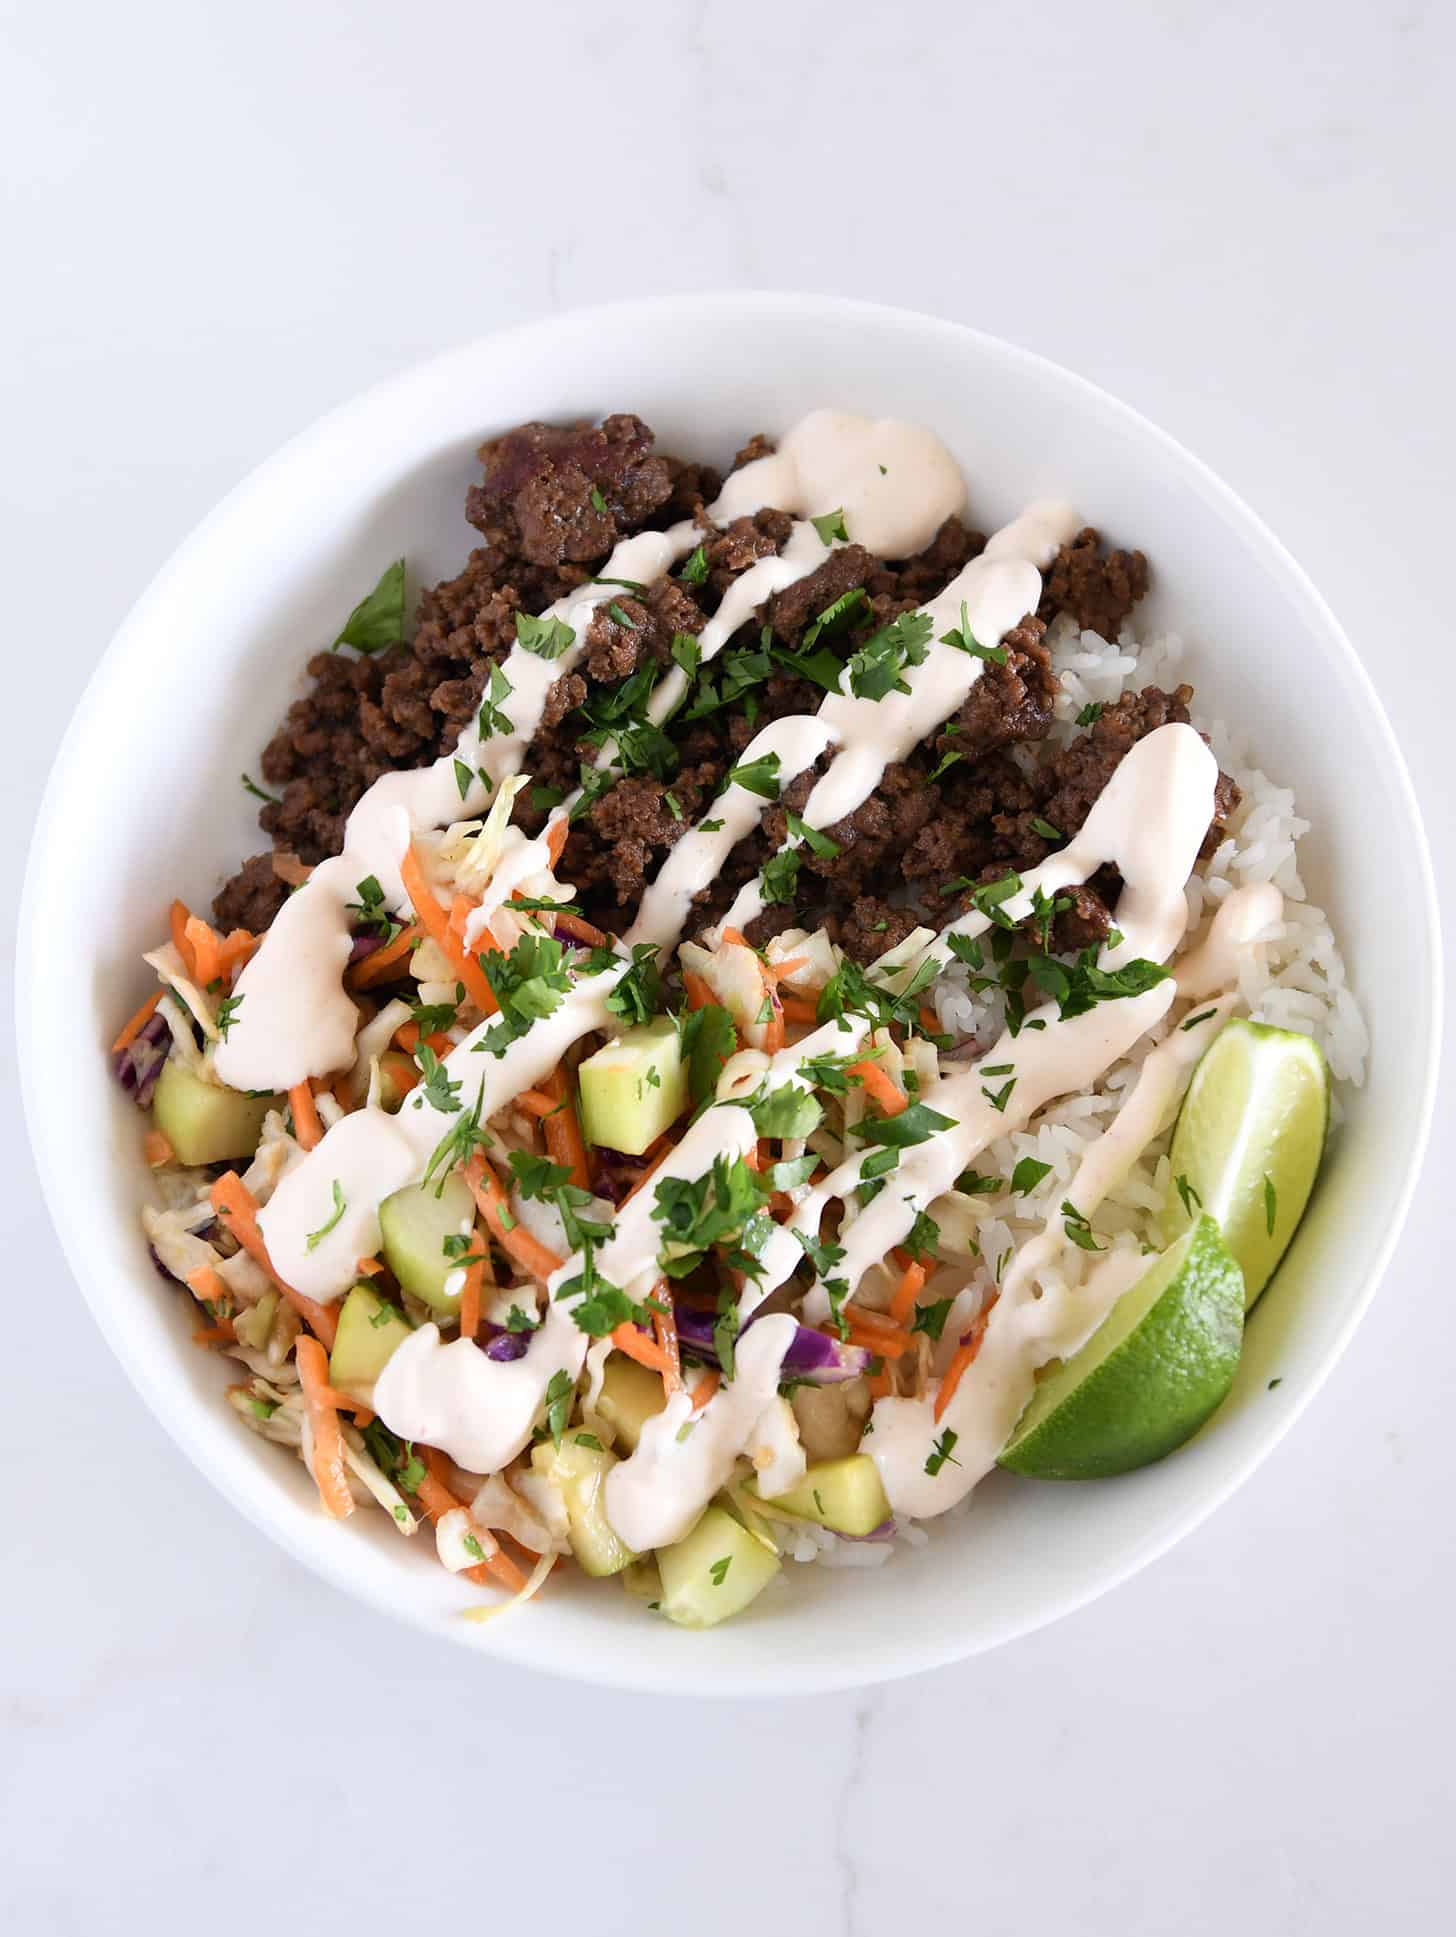
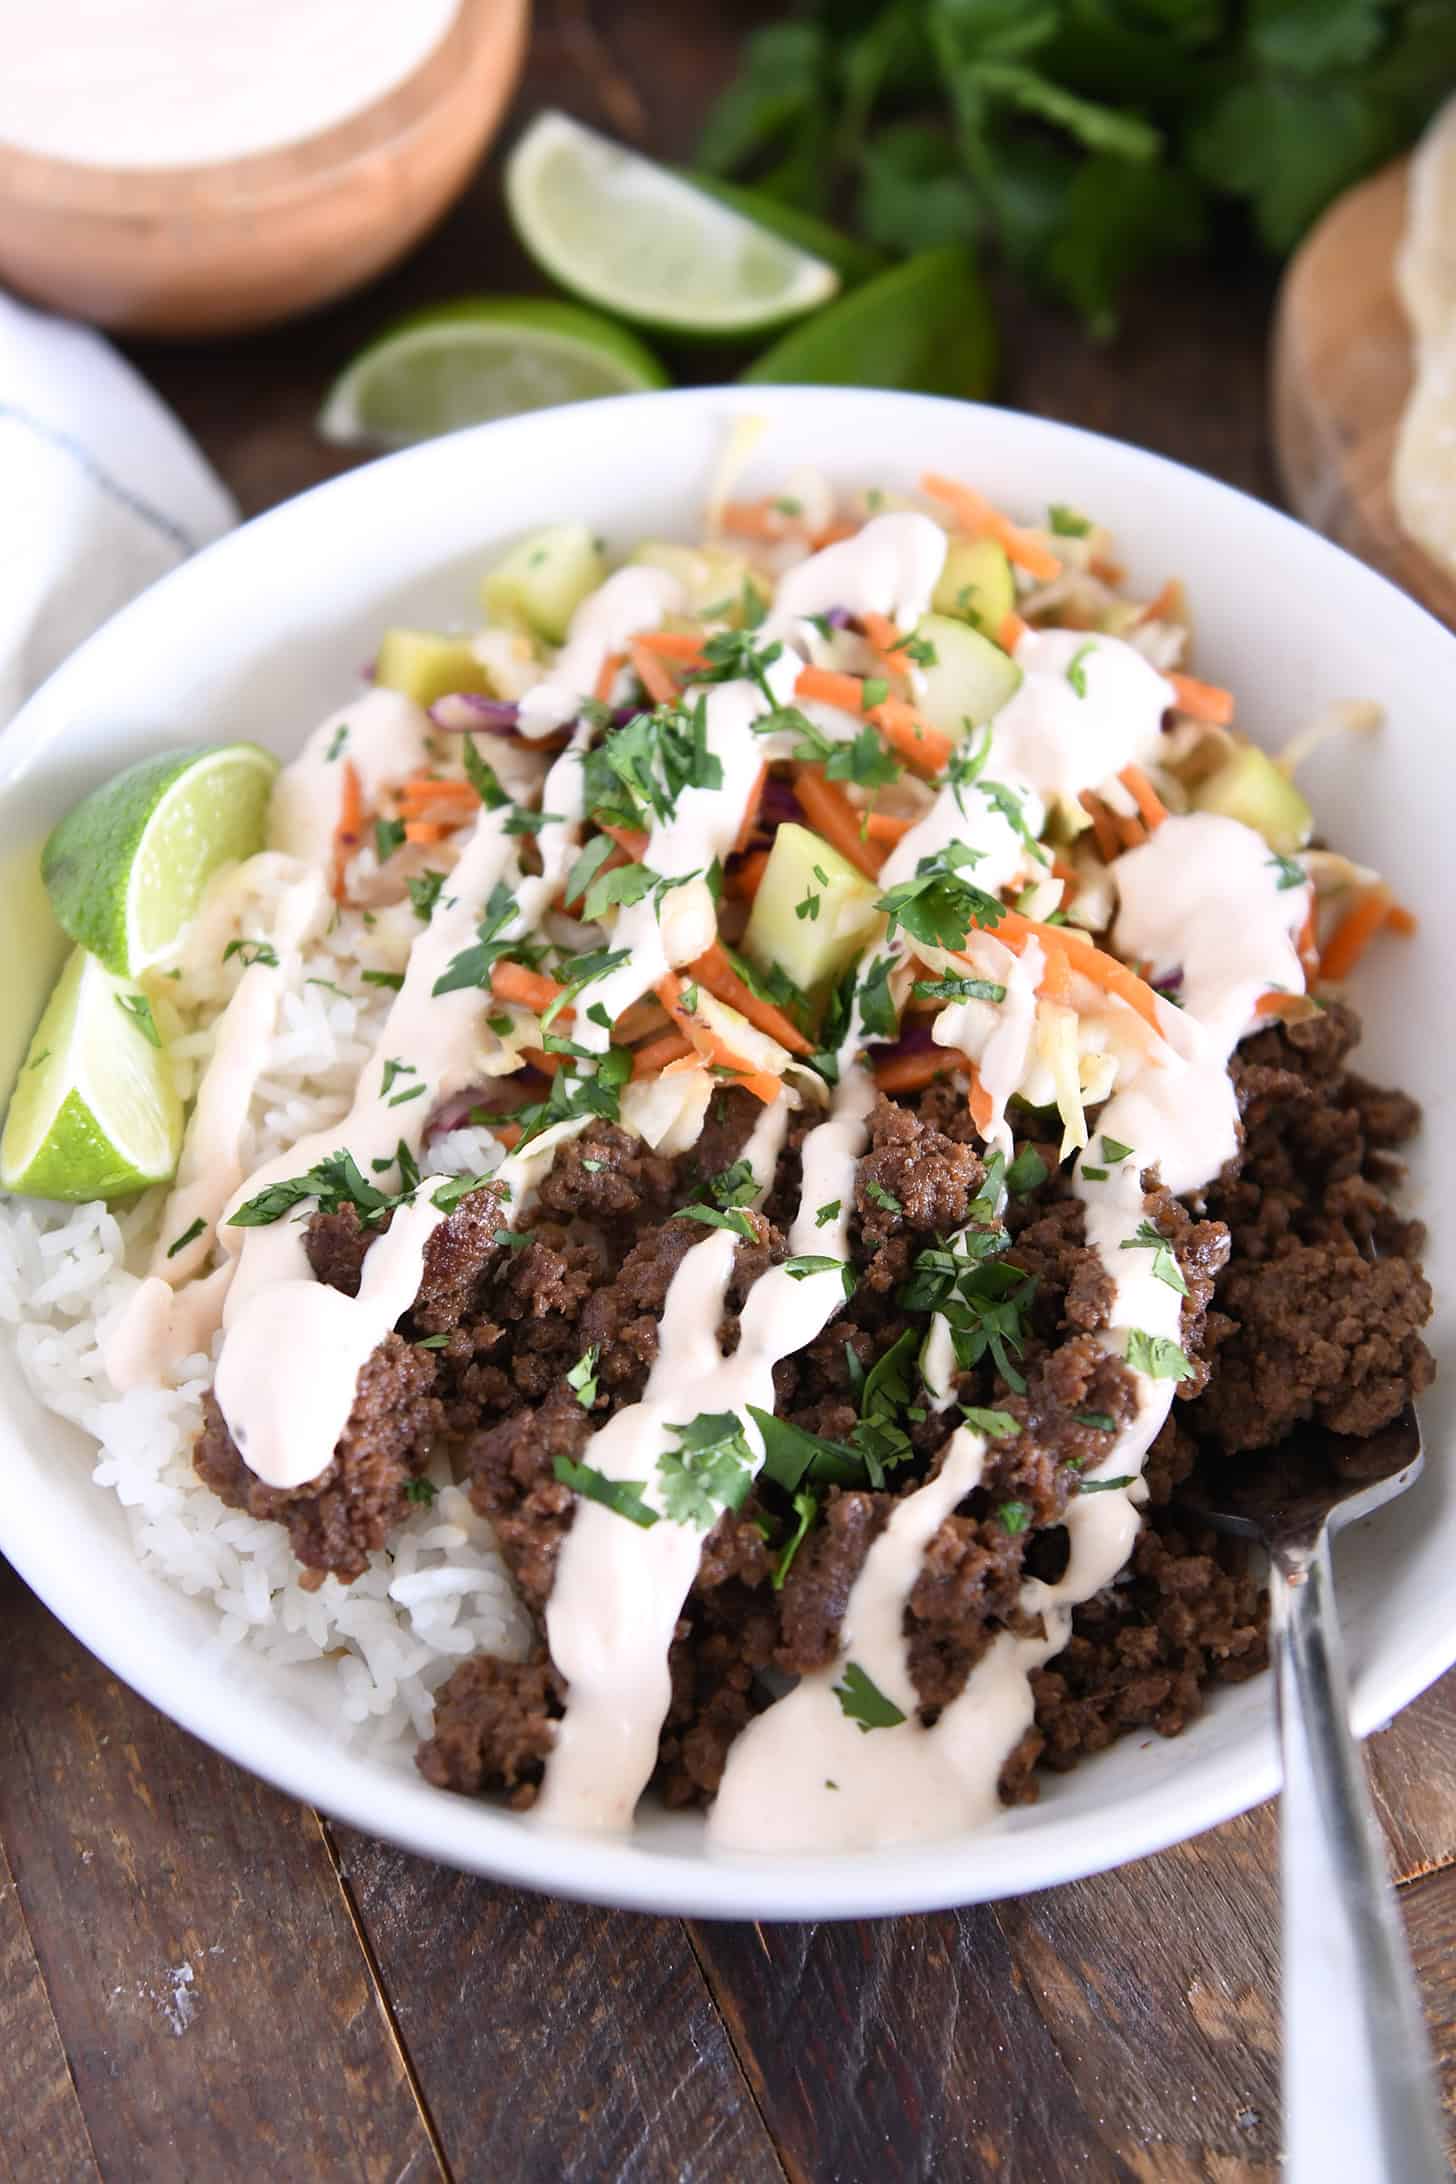
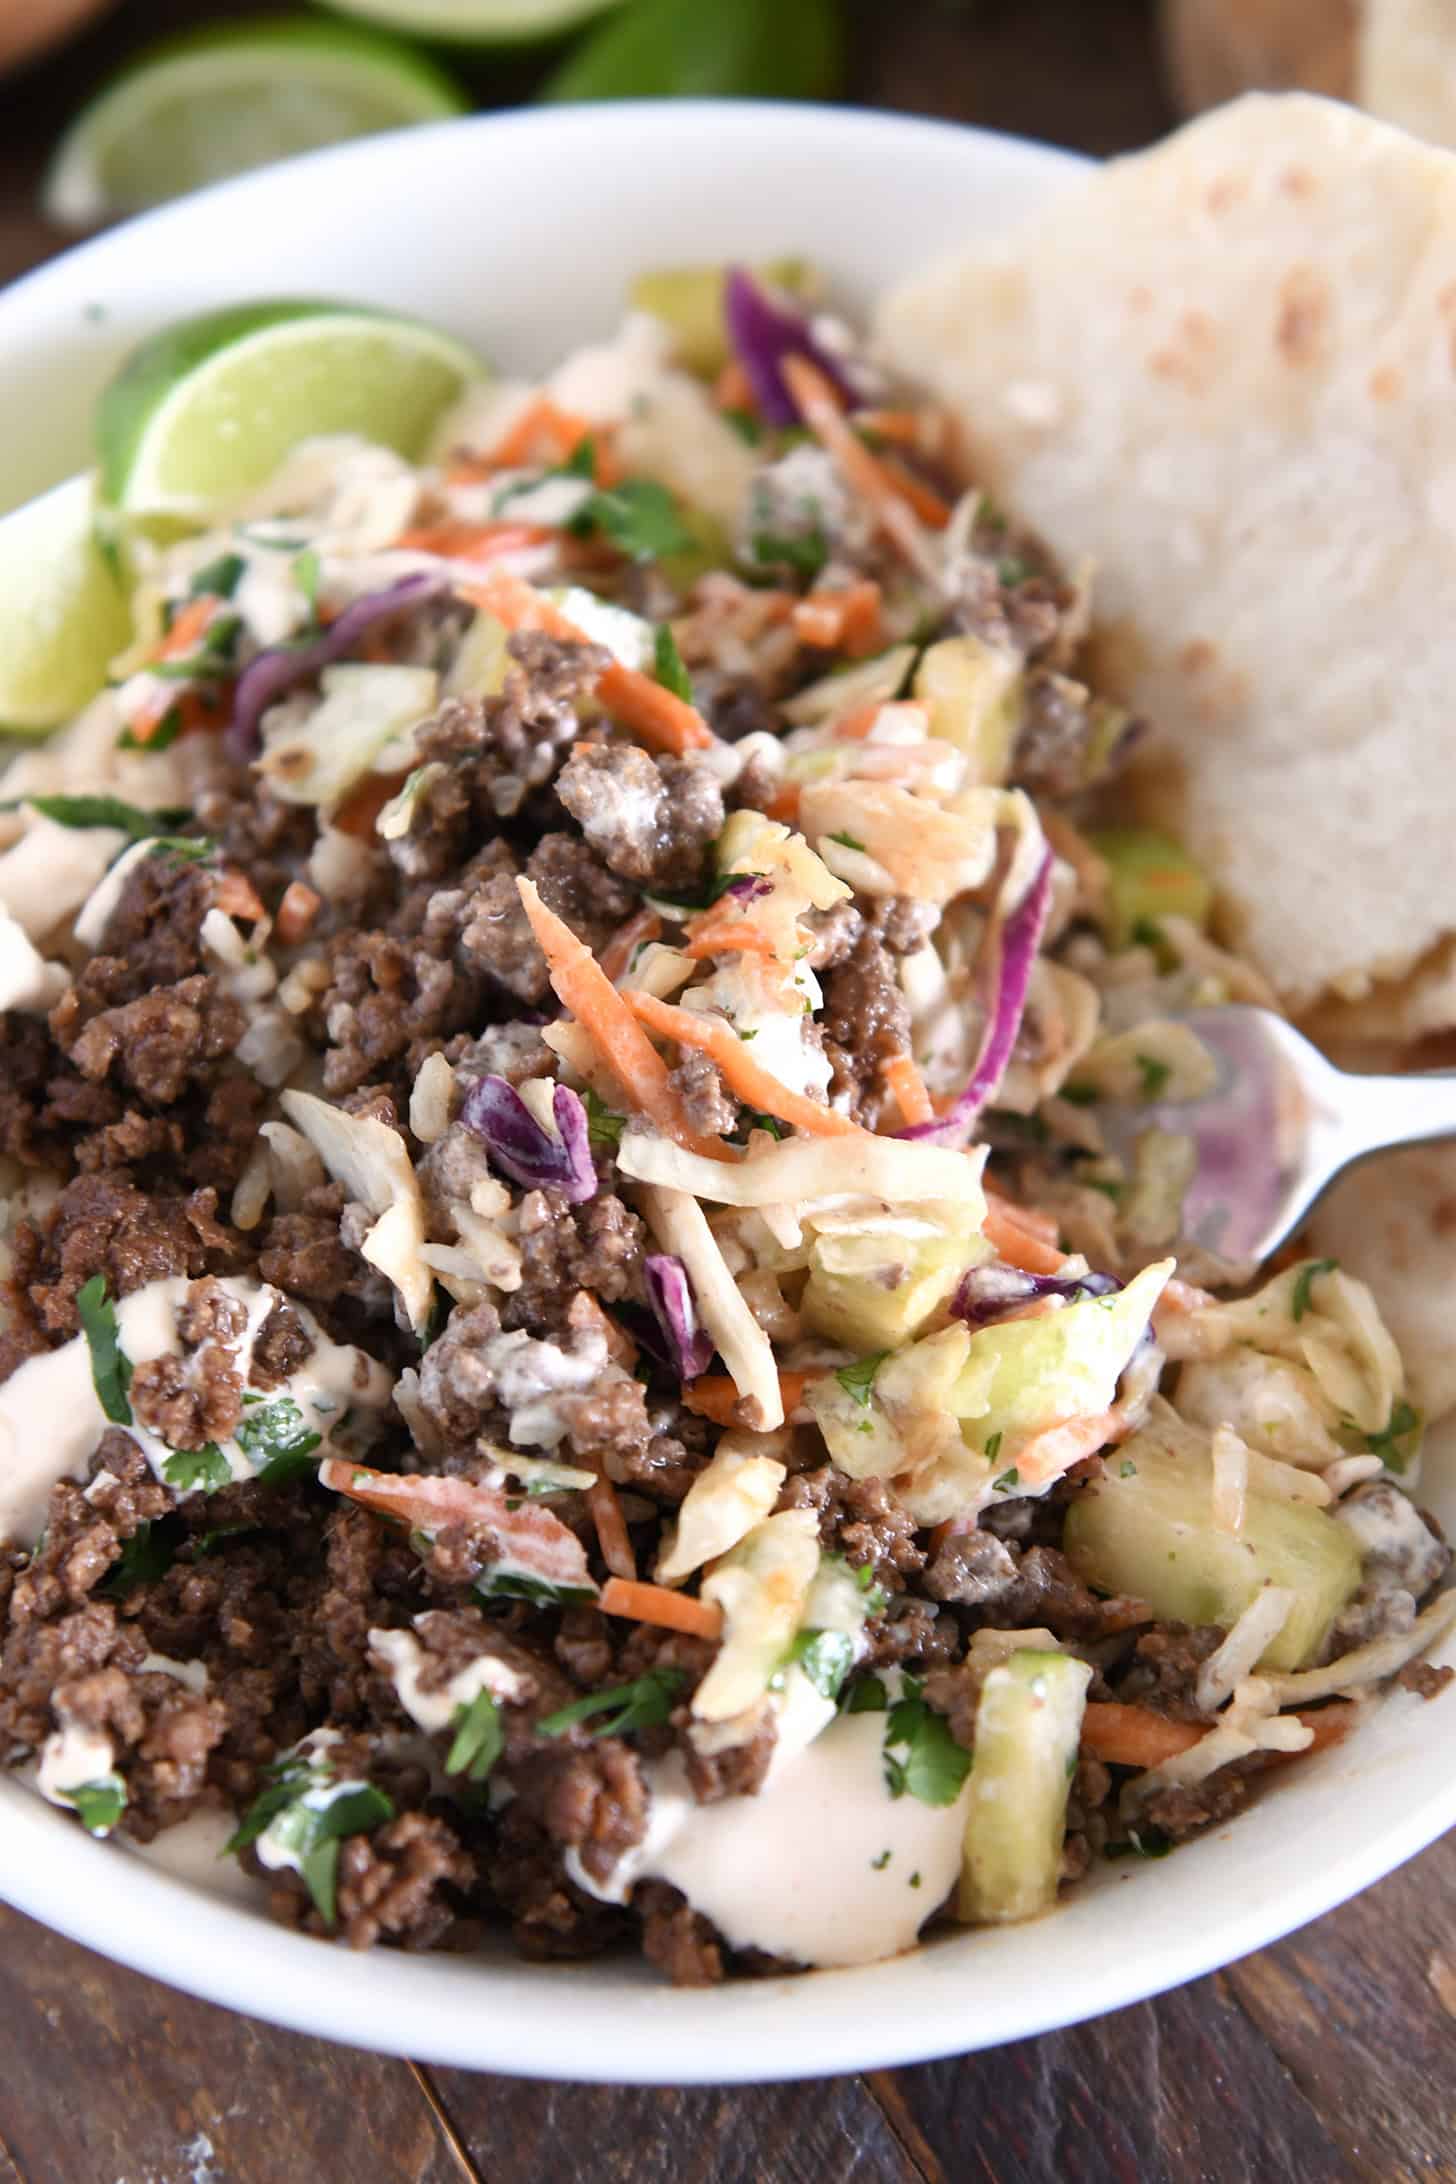
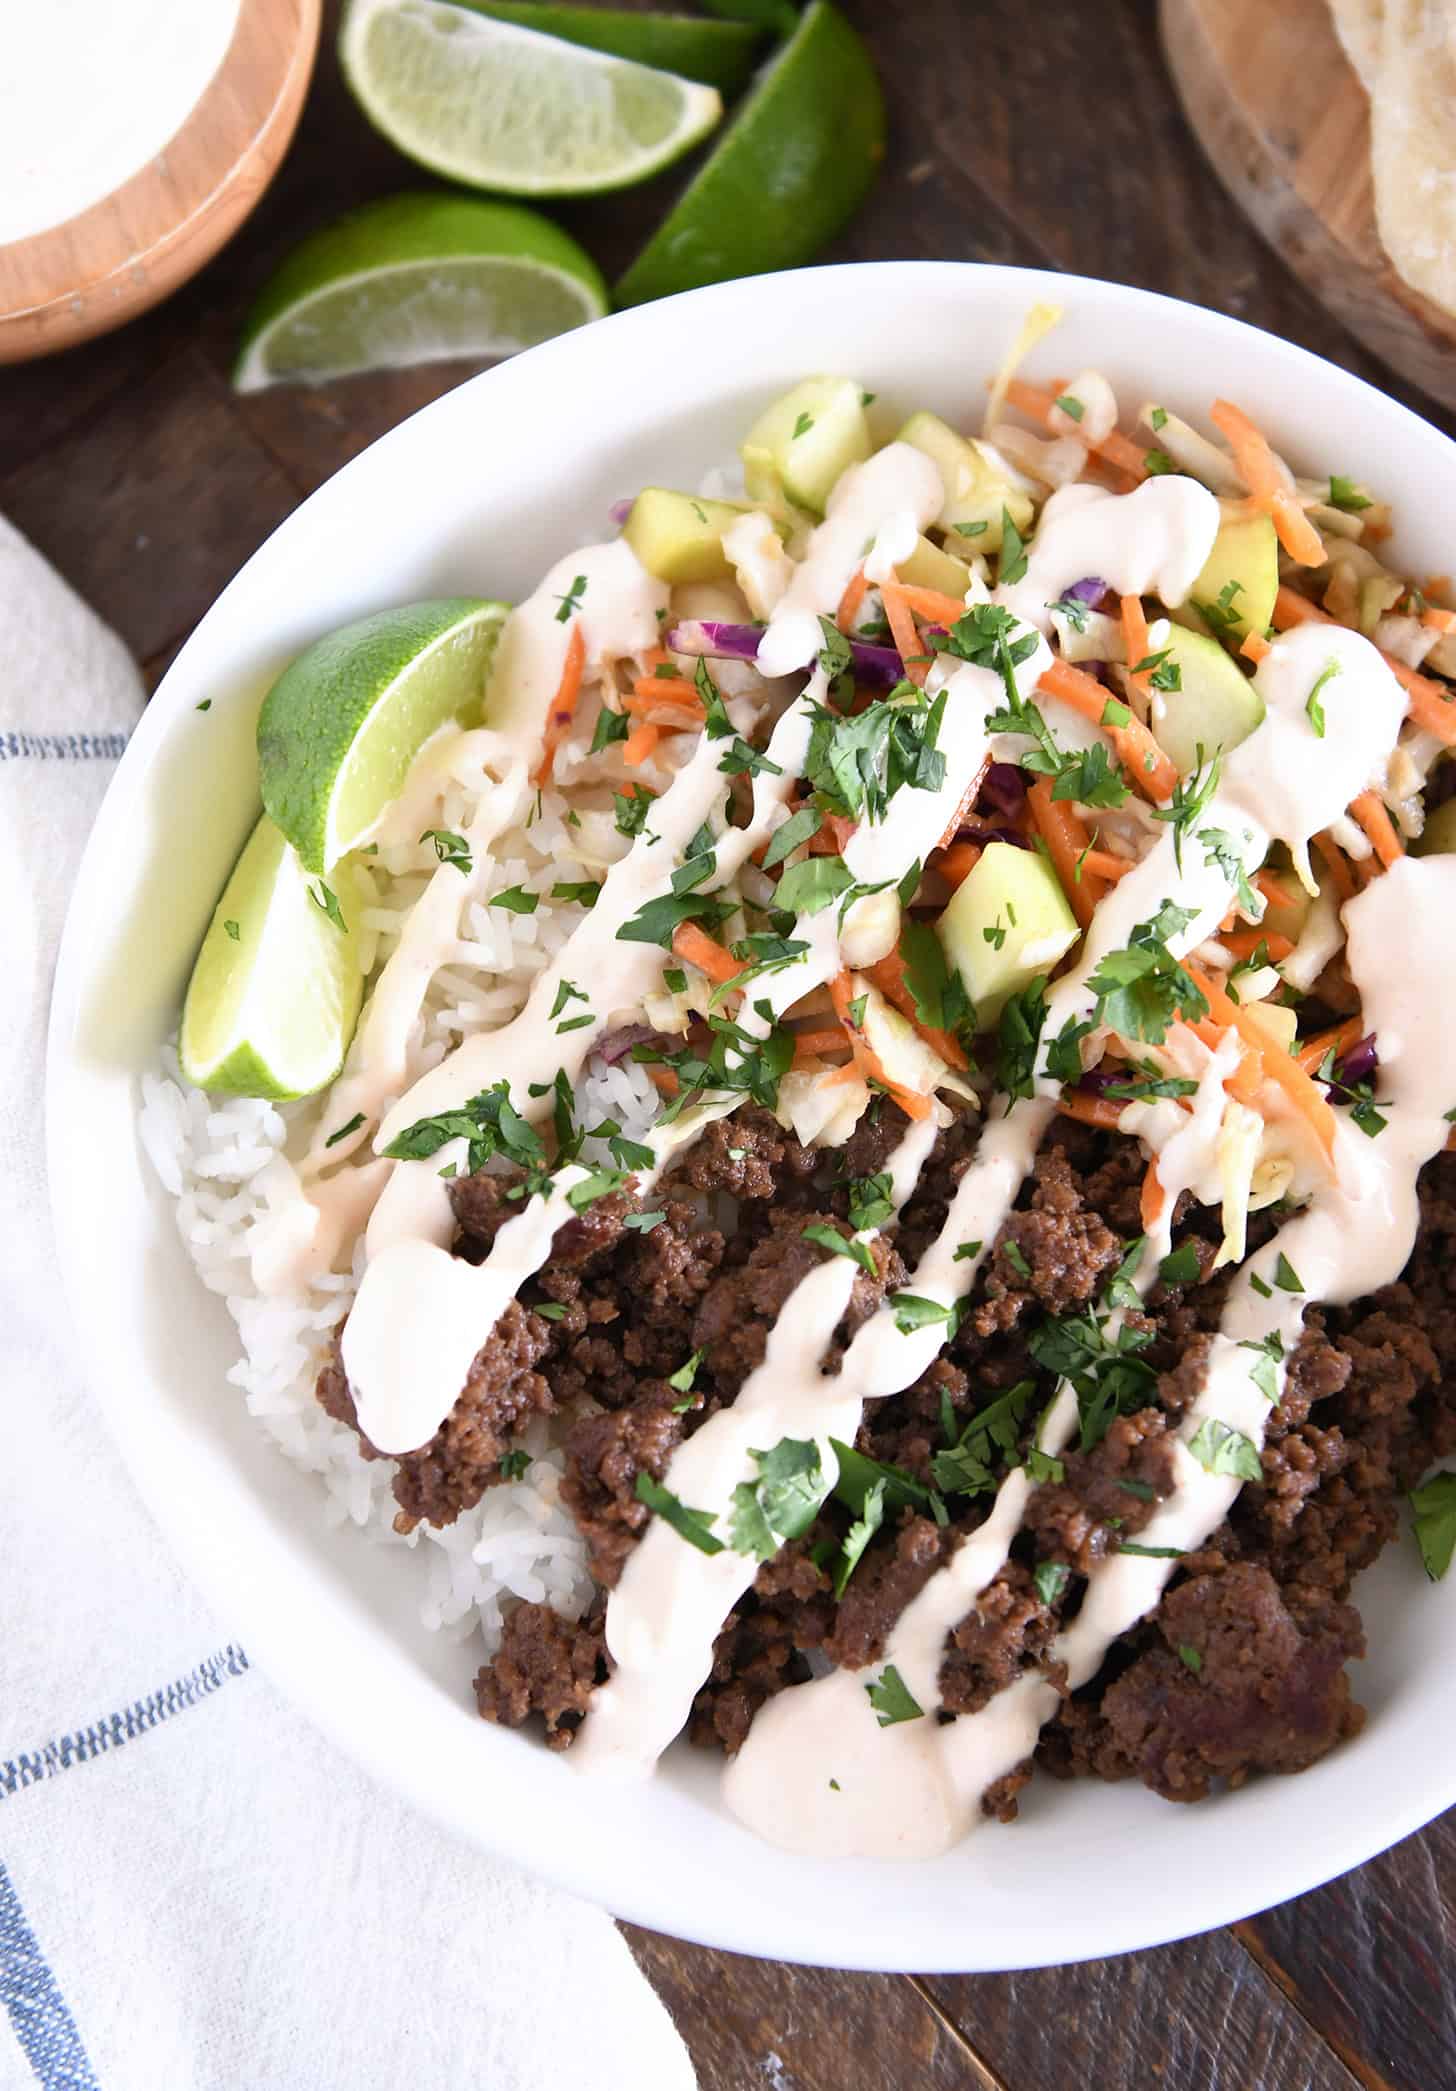
    The combination of flavorful beef, zesty slaw, and spicy garlic sauce, makes these easy Korean beef bowls an amazing weeknight dinner!

    Please meet one of our favorite dinners EVER. Modeled after these favorite Korean beef tacos, this “bowl” version is quicker, easier, and just as delicious! (Scroll down for a quick and simple salmon version!)

    Slaw + Sauce + Beef

    There are three main components to this recipe:

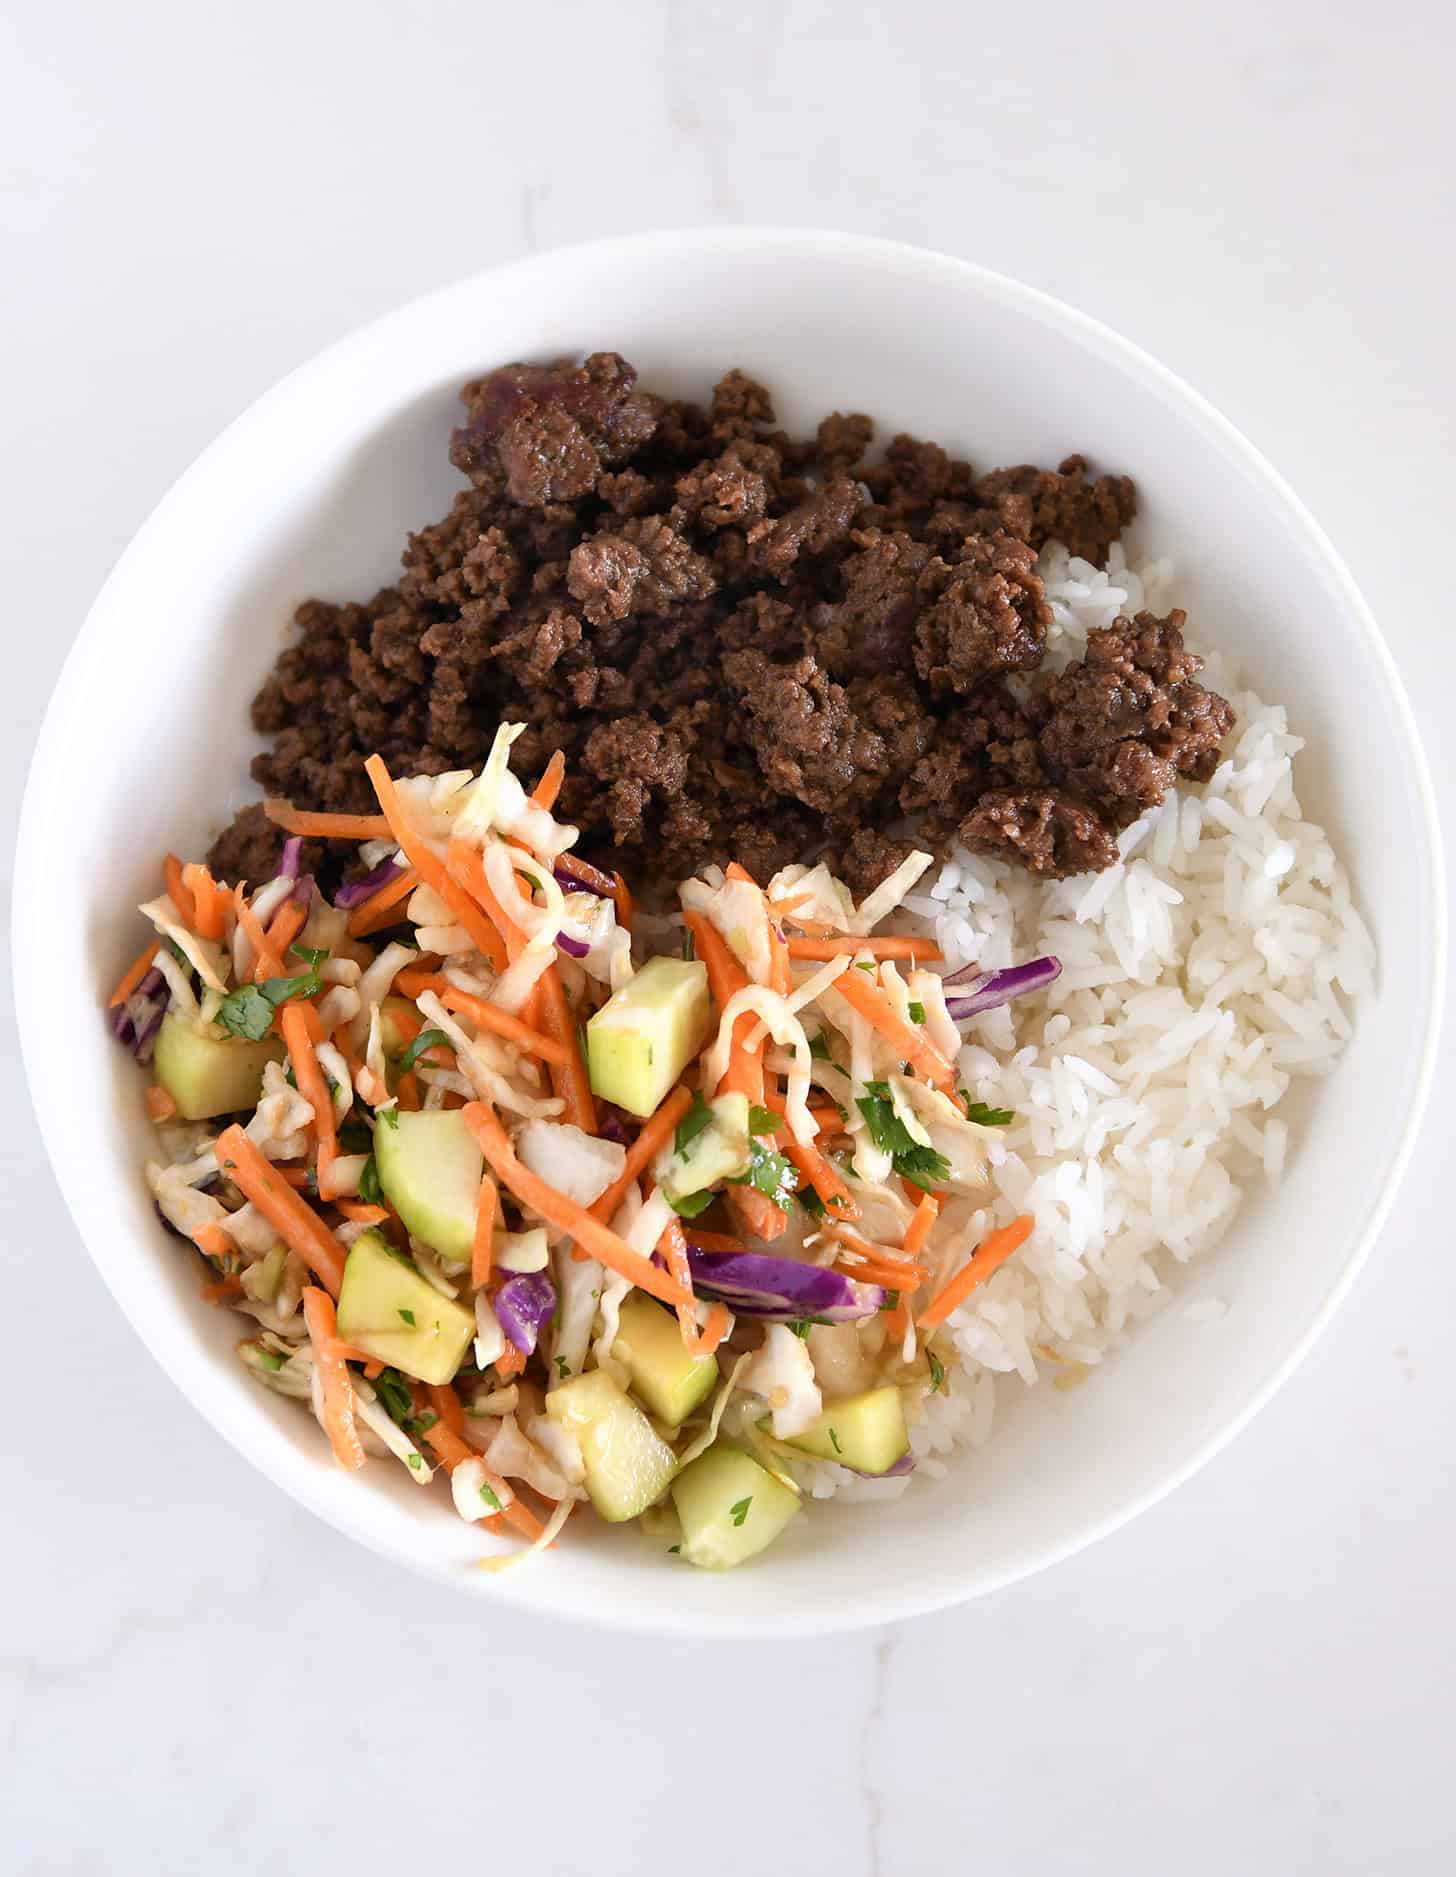
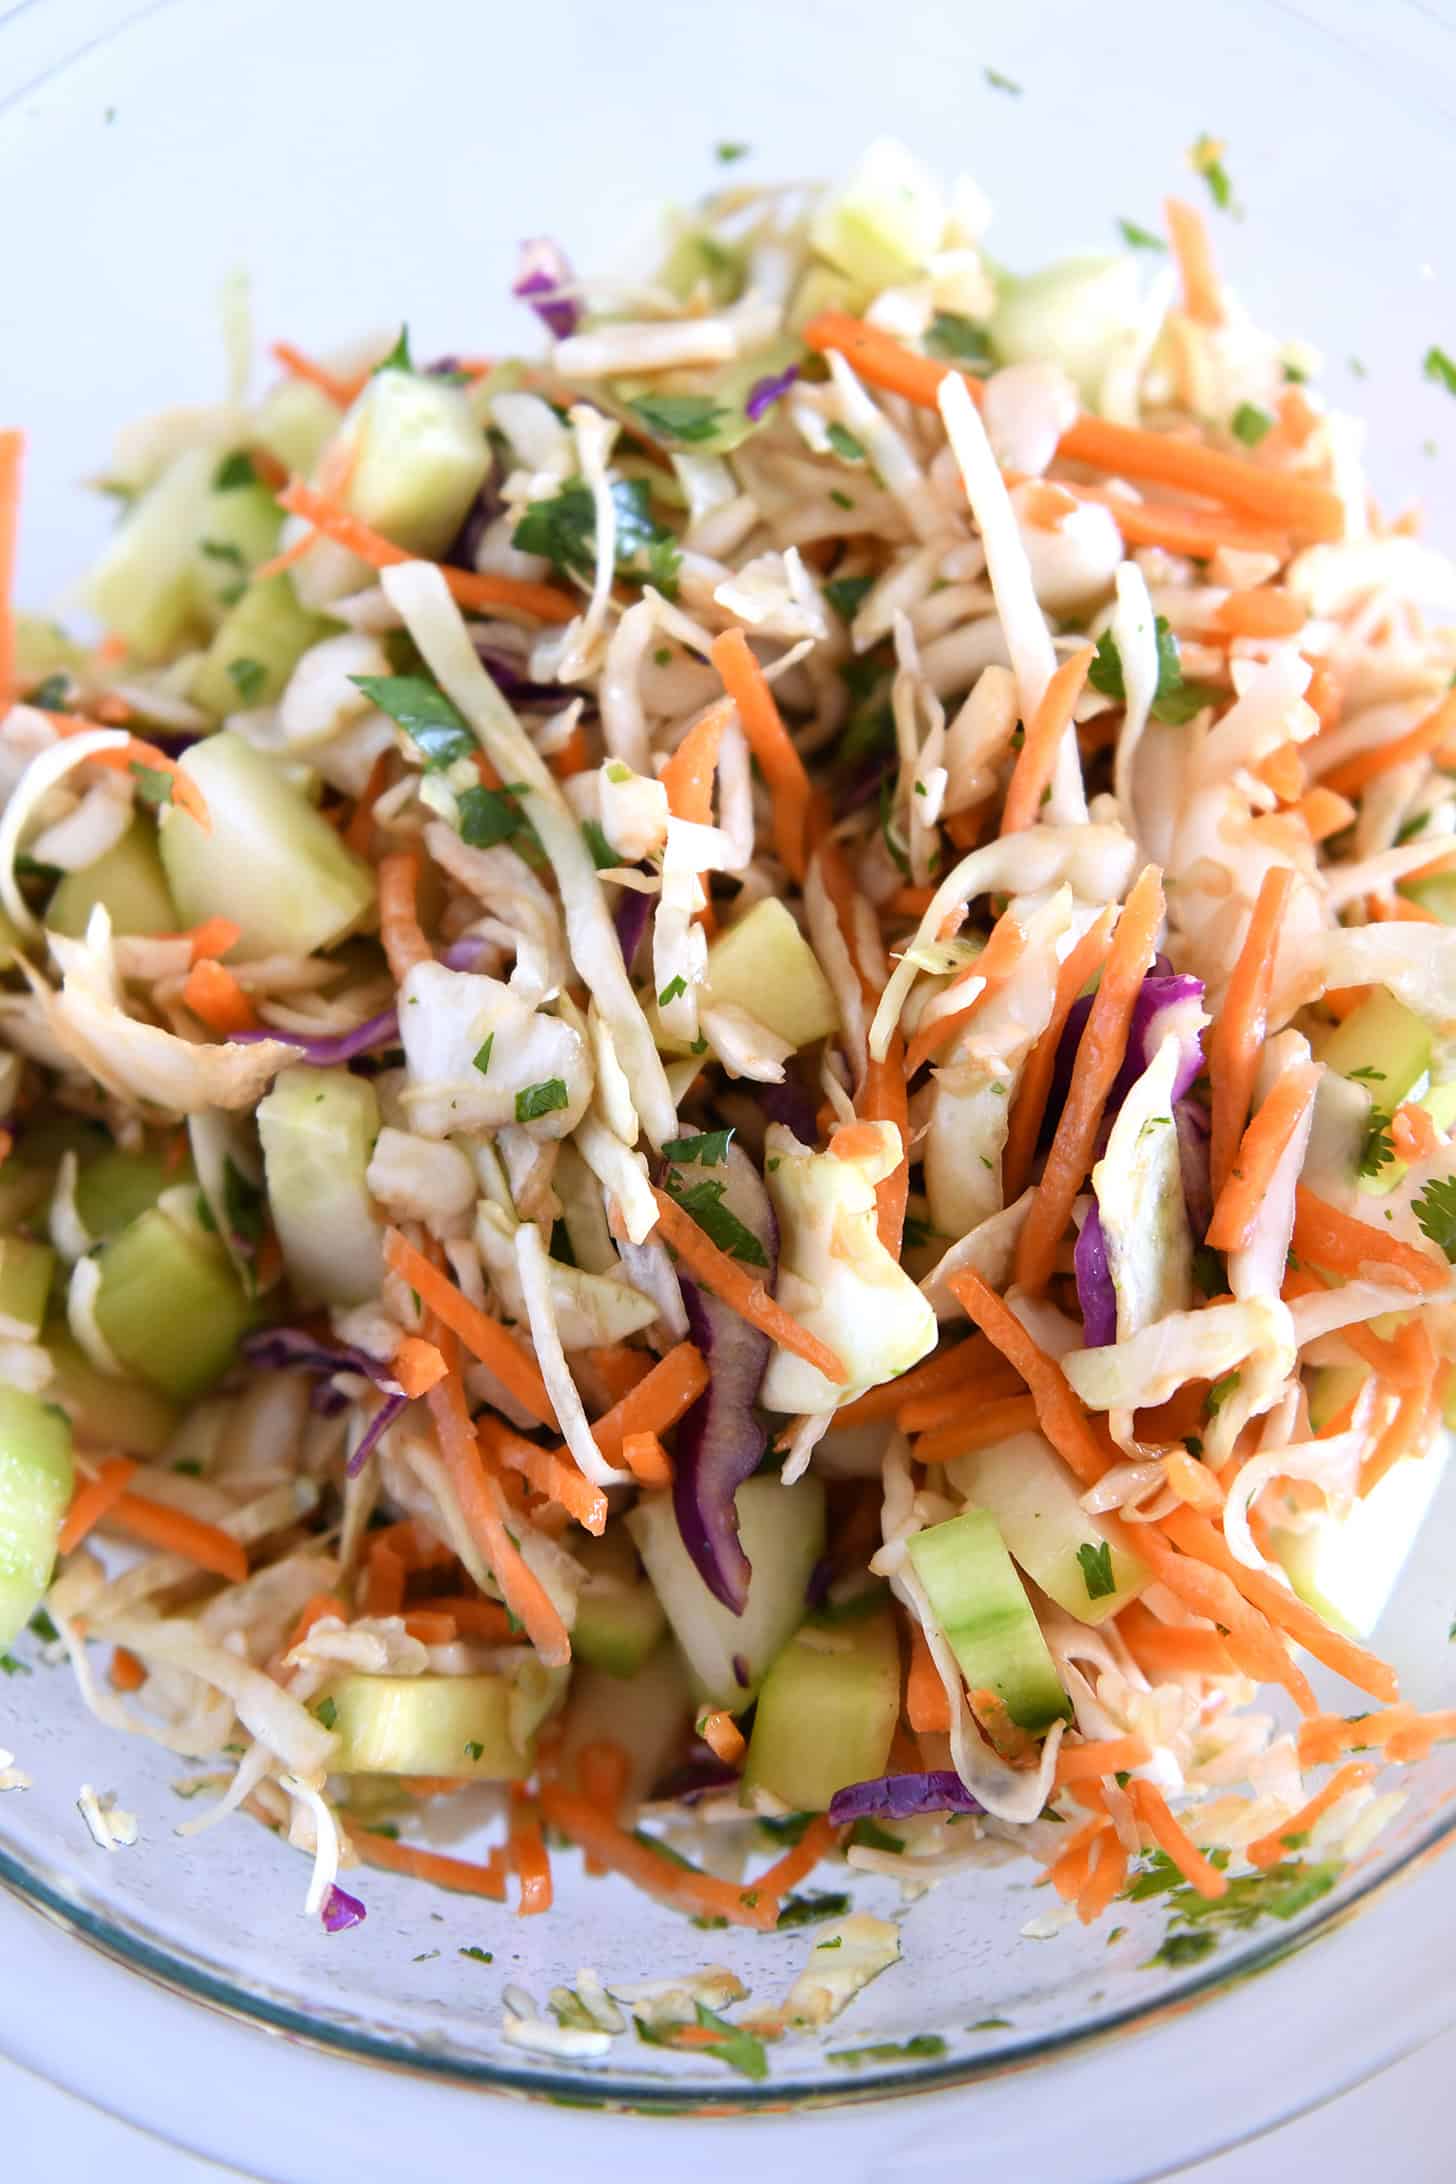
    • Zesty, fresh slaw with crunchy cucumbers
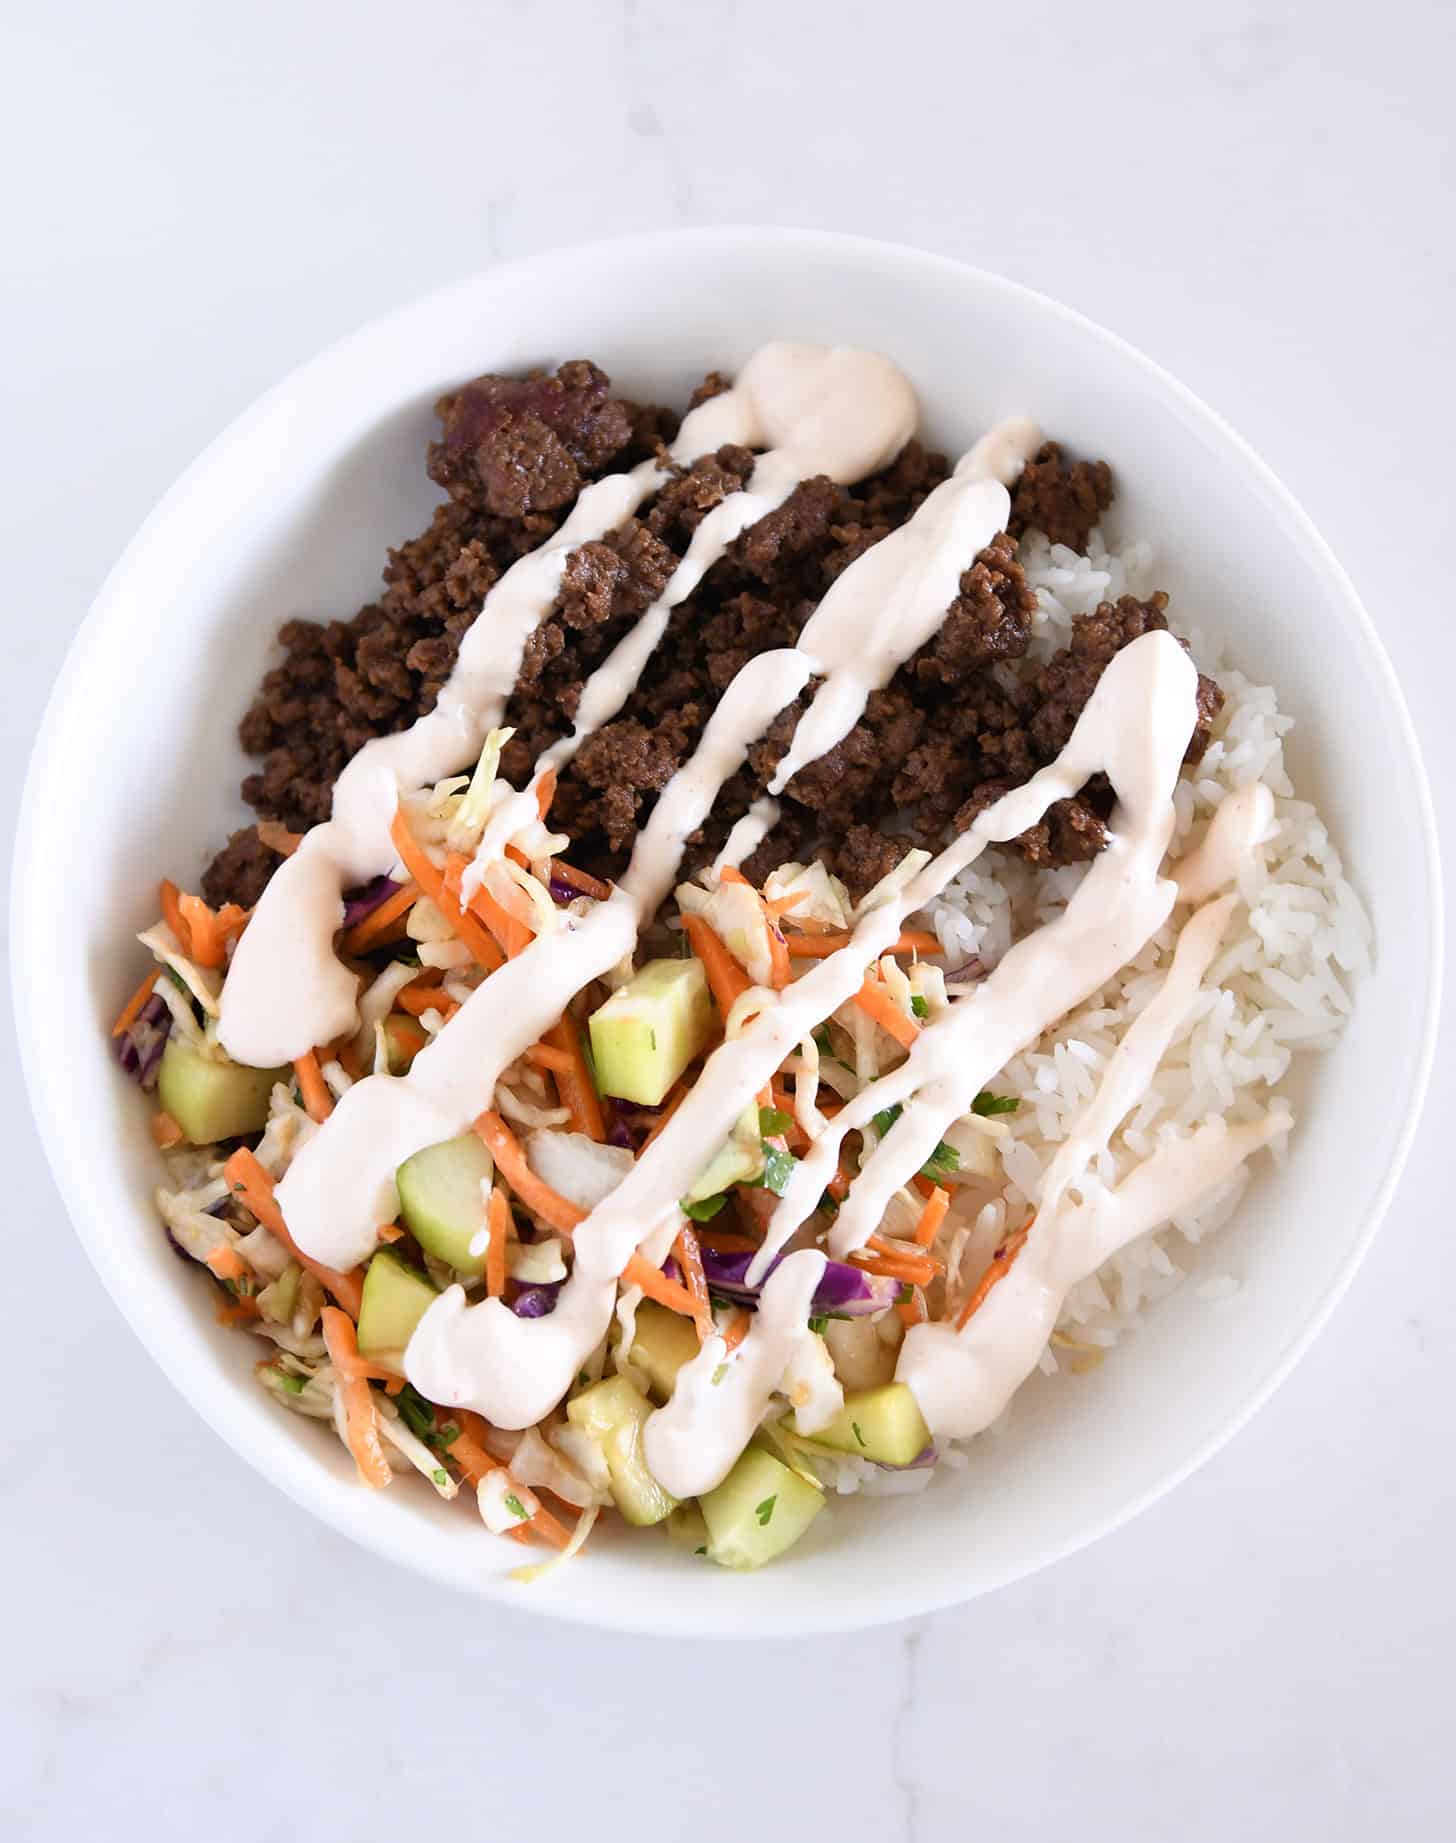
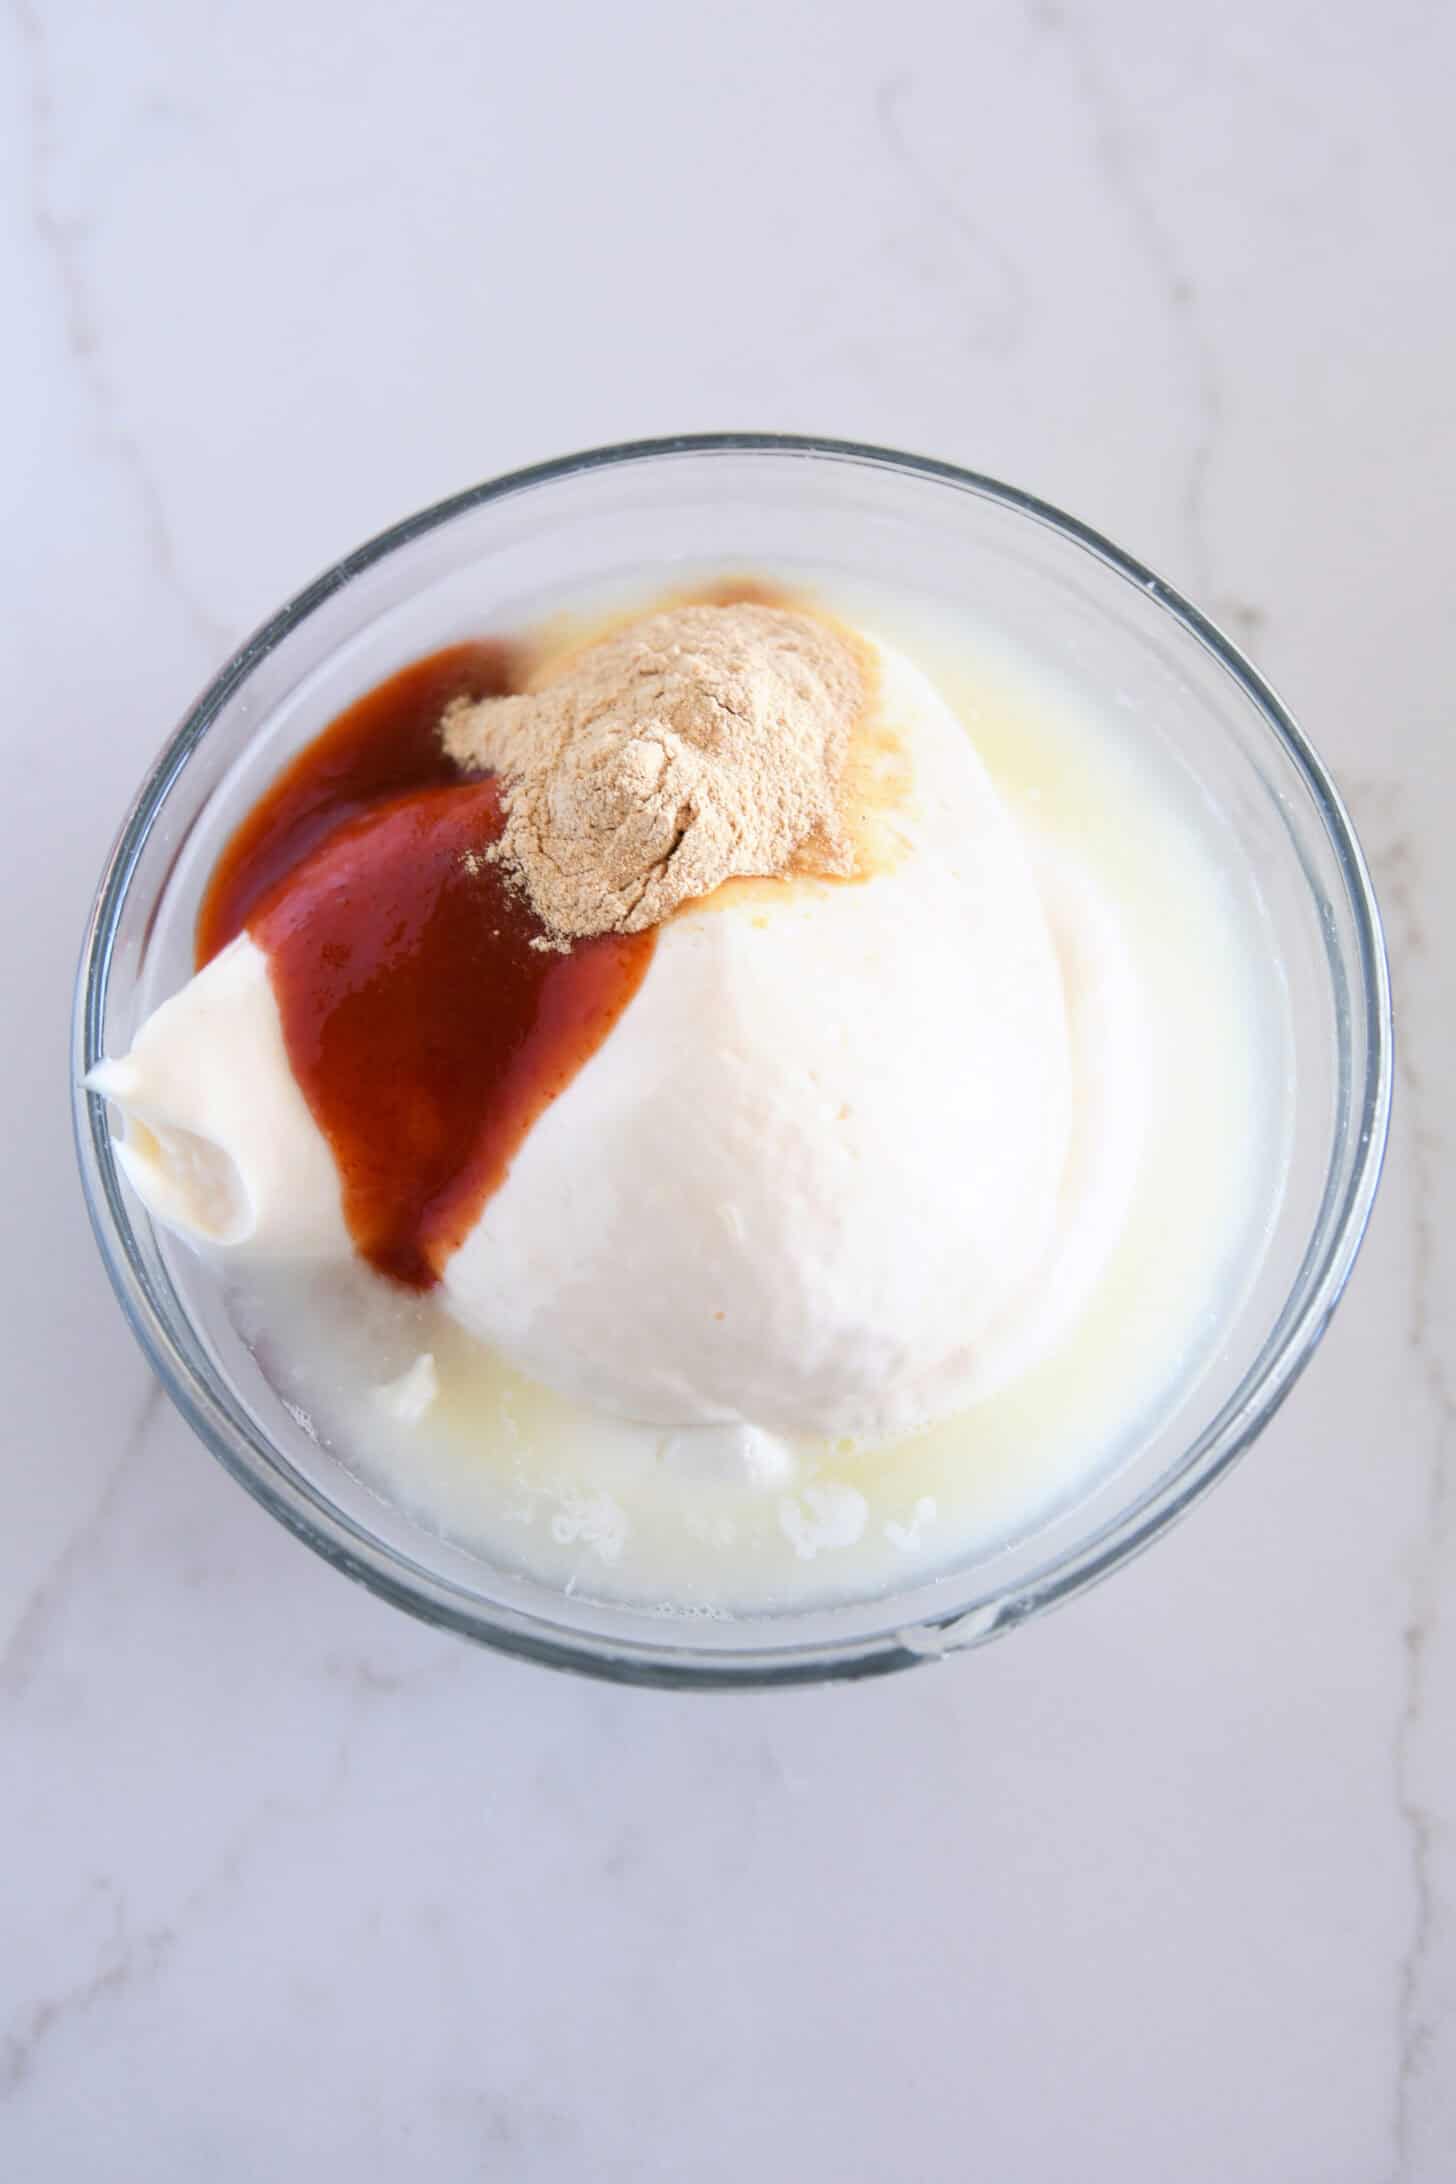
    • The sauce to end all sauces (creamy, spicy, garlicky)
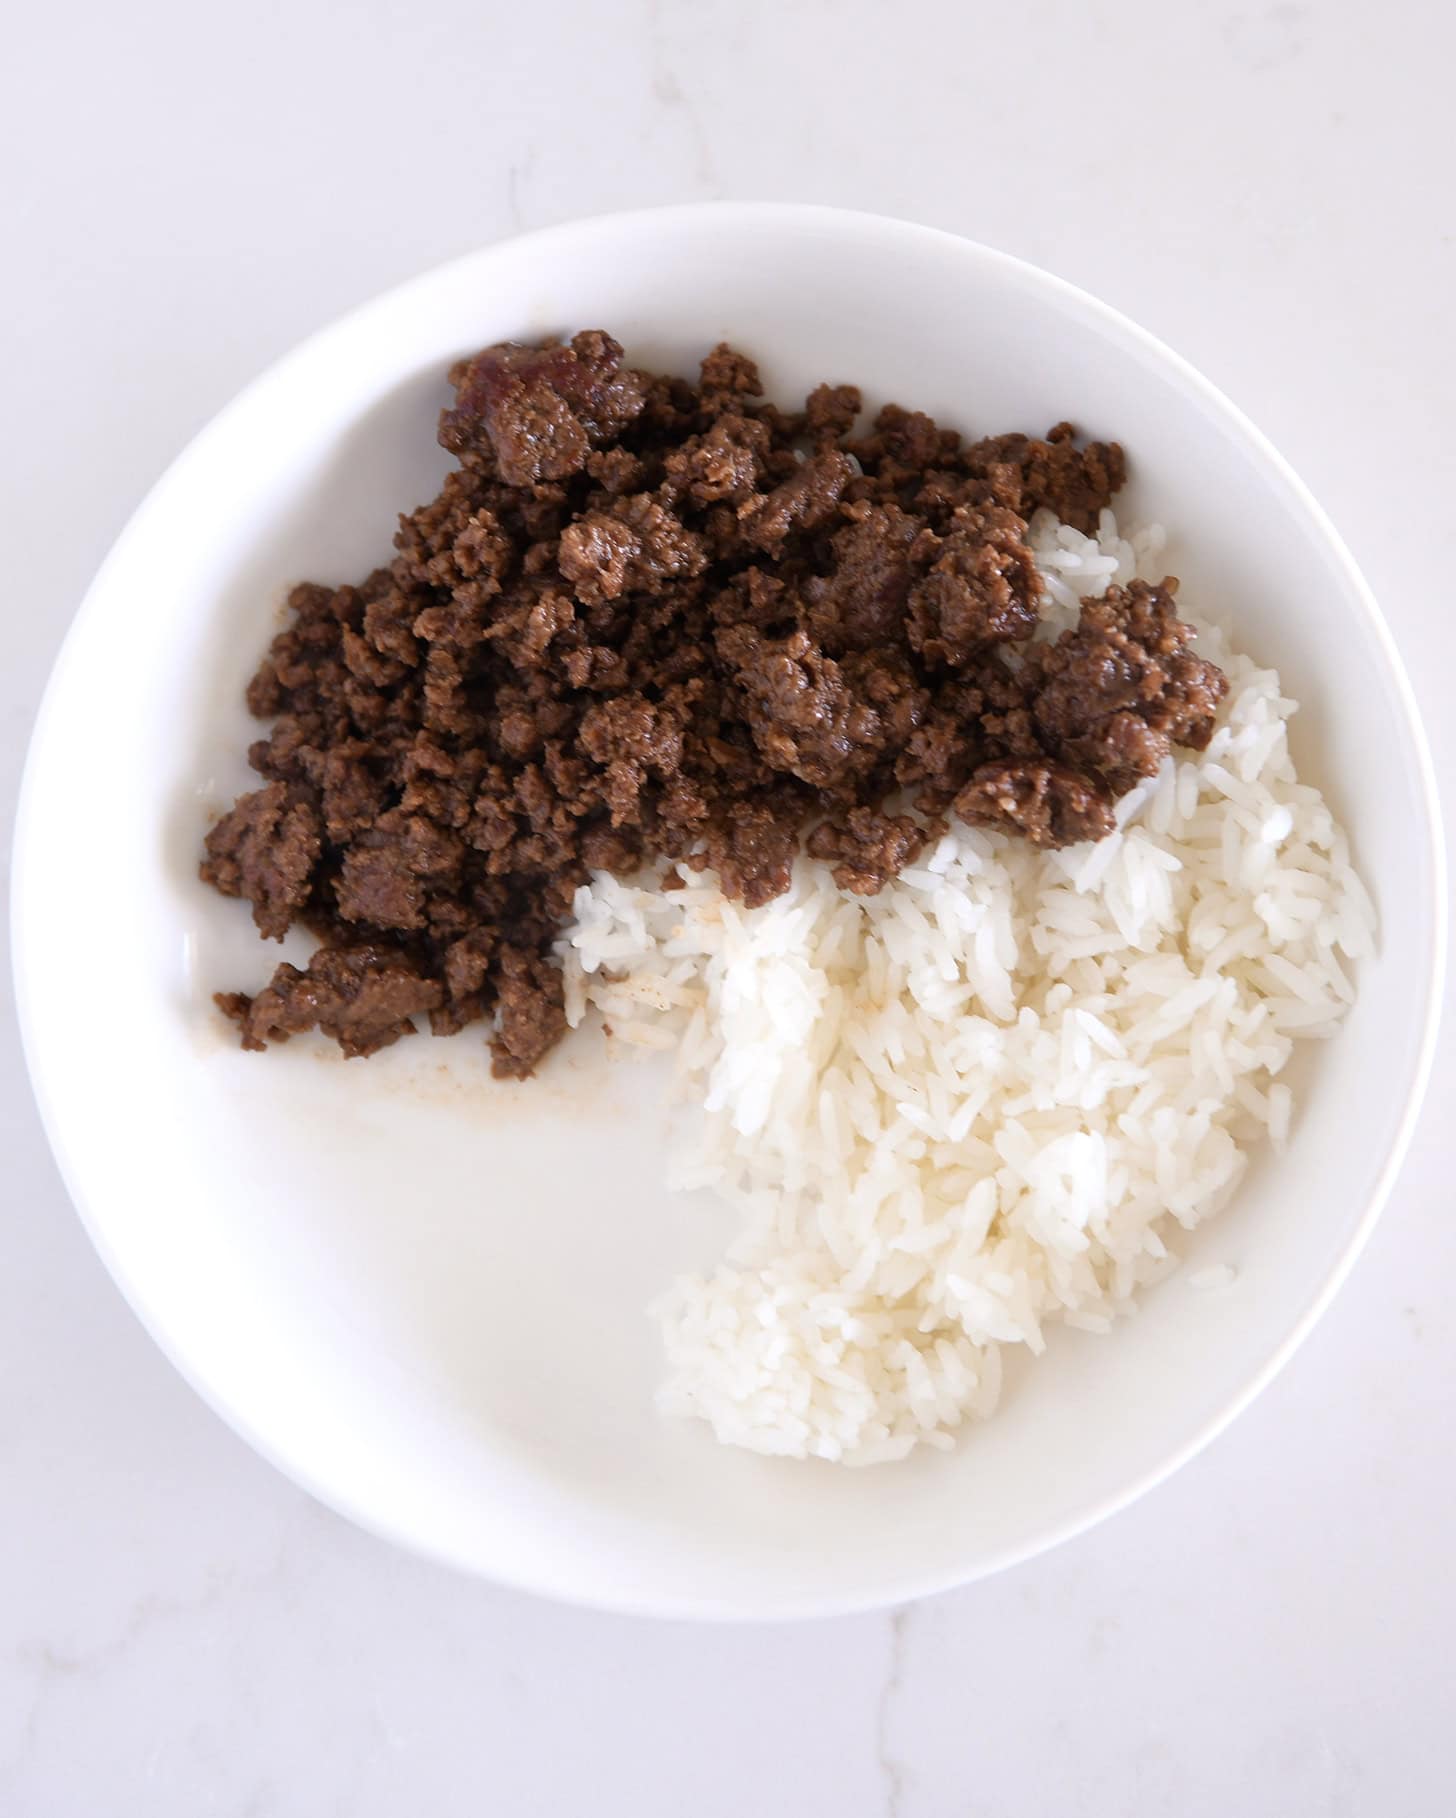
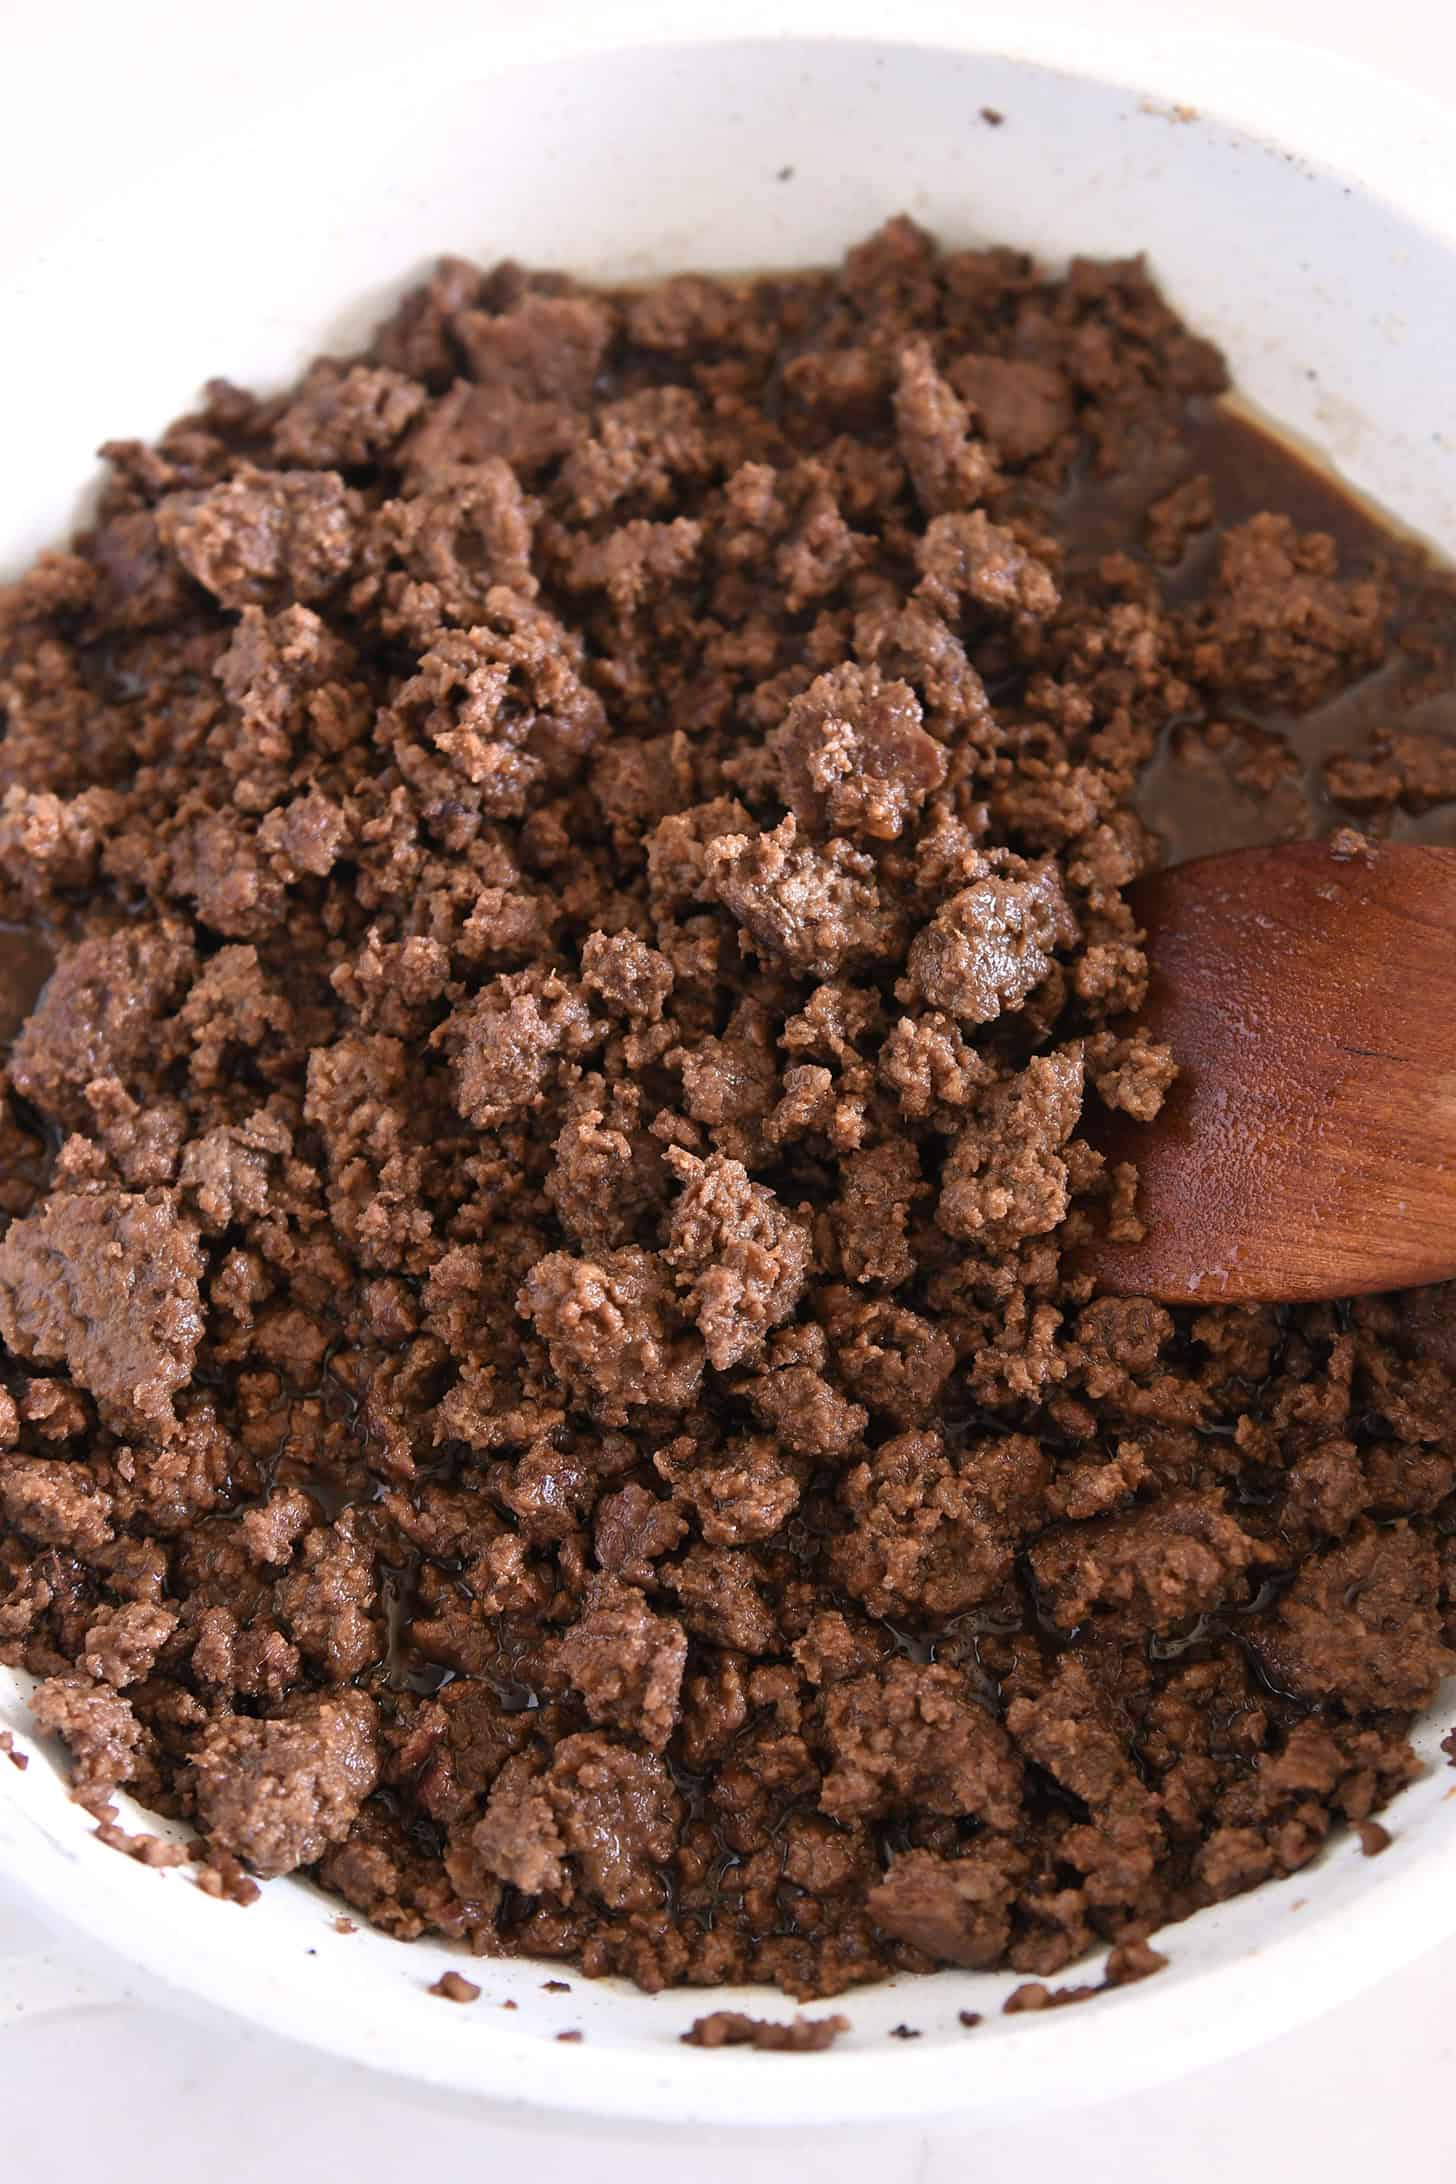
    • Flavorful Korean-style ground beef

    While the ingredients list in the recipe may look a bit long, each component comes together incredibly fast. The slaw and sauce can be made ahead of time to speed up dinner night assembly!

    And to simplify prep even further, you can use a bag of pre-shredded coleslaw mix for the cabbage and carrots called for in the recipe.
    Assembling Korean Beef Bowls

    These Korean beef bowls are delicious served with the three main recipe components above. But they are even more delicious with a few additions.

    This is how we like to serve them:

    • Hot, cooked rice
    • Korean beef
    • Slaw
    • Sauce (and more sauce)
    • Lime wedges
    • Chopped cilantro
    • Avocados

    Sometimes we’ll throw naan bread on the side, too. YUM!

    Build-Your-Own Meal

    The great thing about this recipe and the reason it makes such a fabulous, family-friendly dinner is that it is easily a build-your-own meal where everyone can create the beef and rice bowl of their dreams.

    I, for one, always add extra beef, extra slaw, extra sauce, and a lot of fresh lime squeezes. Sometimes, a little drizzle of extra sriracha. Oh, and a good amount of chopped cilantro.

    My family? Their bowls have just a tiny bit less personality (and less cabbage), but I don’t judge them for it. Especially because that means more leftovers for meeeeee.

    These Korean beef bowls are tremendous.

    They are easily one of my favorite things to eat for dinner, and there are never any complaints from the family (see the aforementioned build-your-own appeal).

    The flavors are out of this world delicious! I love how quickly and easily this meal comes together. Really, I could eat this over and over and never get tired of it.

    And if you’re looking to change it up just a little, try using the sauce for the beef as a salmon marinade. After marinading the salmon for a couple of hours, cook it on the grill, in the air fryer, or broil in the oven and serve with all the other recipe components. SO, SO GOOD.

    What to Serve With This:

    This is pretty much a complete meal as is! A few additional side suggestions:

    One Year Ago: Easy Cinnamon Honey Butter {For Rolls and Toast}
    Two Years Ago: Roasted Asparagus Lemon Orzo Salad with Fresh Mozzarella 
    Three Years Ago: Heavenly Raspberry Cream Angel Food Cake Dessert 
    Four Years Ago: Chocolate Chip Banana Bread Scones
    Five Years Ago: Soft and Chewy Oatmeal Chocolate Chip Coconut Cookies {My Favorite Cookie}
    Six Years Ago: Fudgy Brownie Cupcakes with The Best Peanut Butter Frosting
    Seven Years Ago: Simple Homemade Lemonade
    Eight Years Ago: Divine 1-Hour Homemade Breadsticks 
    Nine Years Ago: Whole Grain Pumpkin Blueberry Muffins 
    Ten Years Ago: Slow Cooker Chicken Philly Sandwiches 

    Easy Korean Beef Bowls

    Quick Slaw:

    • 4 cups shredded cabbage (napa, green, purple or a combo) – see note
    • 1 cup shredded or grated carrots
    • 1 cup chopped cucumbers
    • ¼ to ½ cup chopped fresh cilantro
    • 2 tablespoons lime juice
    • 2 tablespoons soy sauce
    • 2 tablespoons olive oil
    • Salt and pepper
    • Sriracha, to taste

    Sauce to End All Sauces:

    • ½ cup sour cream
    • ½ cup mayonnaise
    • 3 tablespoons fresh lime juice
    • 1 teaspoon sriracha sauce
    • 1 teaspoon garlic powder

    Korean Beef:

    • 1 ½ to 2 pounds lean ground beef
    • ½ cup low-sodium soy sauce
    • ¼ cup unseasoned rice vinegar
    • 2 tablespoons light brown sugar
    • 2 tablespoons toasted sesame oil
    • 1 tablespoon fresh ginger or ginger paste
    • 1 tablespoon minced fresh garlic (4 to 5 cloves) or 1 teaspoon garlic powder

    For serving (optional but tasty):

    • Hot, cooked rice
    • Naan bread
    • Avocado slices
    • Fresh lime wedges
    • Chopped cilantro

    Prevent your screen from going dark

    • For the slaw, in a large bowl, combine the cabbage, carrots, cucumbers, and cilantro. In a small bowl whisk together the lime juice, soy sauce, olive oil, salt and pepper (start with a pinch of each and add more to taste, if needed), and sriracha. Pour the dressing over the slaw and toss to combine. Refrigerate until ready to serve (it can be made 4-6 hours in advance).

    • For the sauce, stir together all the ingredients and refrigerate until ready to serve (it can be made several days in advance).

    • For the beef, in a 12-inch nonstick skillet set over medium heat, brown the ground beef, breaking the meat into small pieces, until no longer pink. Drain excess grease.

    • To the skillet, add the soy sauce, vinegar, brown sugar, sesame oil, ginger and garlic or garlic powder. Stir to combine and bring the meat and sauce to a simmer over medium heat. Simmer for 3 to 4 minutes until heated through.

    • For serving, to each bowl, add a scoop of rice (if using), add a portion of beef and slaw. Drizzle with sauce. Serve with lime wedges, avocados, and naan bread, if desired.

    Slaw: this makes quite a bit of slaw as we like to load up our bowls with a lot of slaw. If you think you might want less, you can halve the slaw ingredients.
    To speed up prep time, you can use part of a 14-ounce bag of pre-shredded coleslaw mix (without the dressing) for the cabbage and carrots called for in the recipe. 
    Serving: 1 Serving, Calories: 370kcal, Carbohydrates: 15g, Protein: 29g, Fat: 21g, Saturated Fat: 6g, Cholesterol: 80mg, Sodium: 1389mg, Fiber: 2g, Sugar: 8g
    Recipe Source: from Mel’s Kitchen Cafe (adapted from this Korean tacos recipe)

    Disclaimer: I am a participant in the Amazon Services LLC Associates Program, an affiliate advertising program designed to provide a means for me to earn fees by linking to Amazon.com and affiliated sites. As an Amazon Associate I earn from qualifying purchases.
    Source link

  • Socca with Whipped Feta and Tomato Salad Recipe

    Socca with Whipped Feta and Tomato Salad Recipe

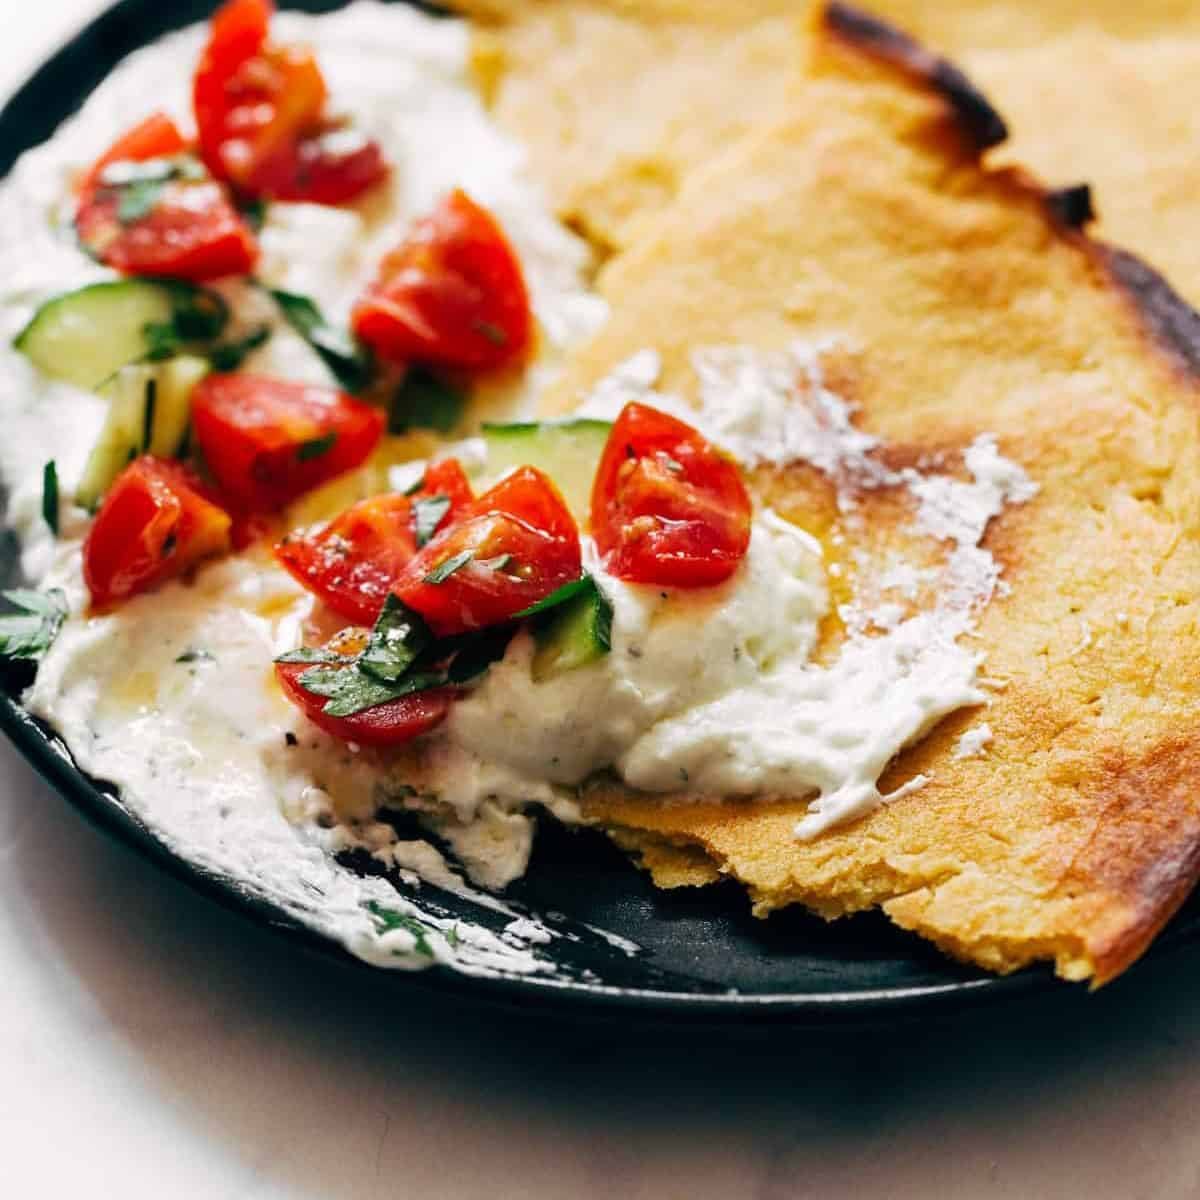
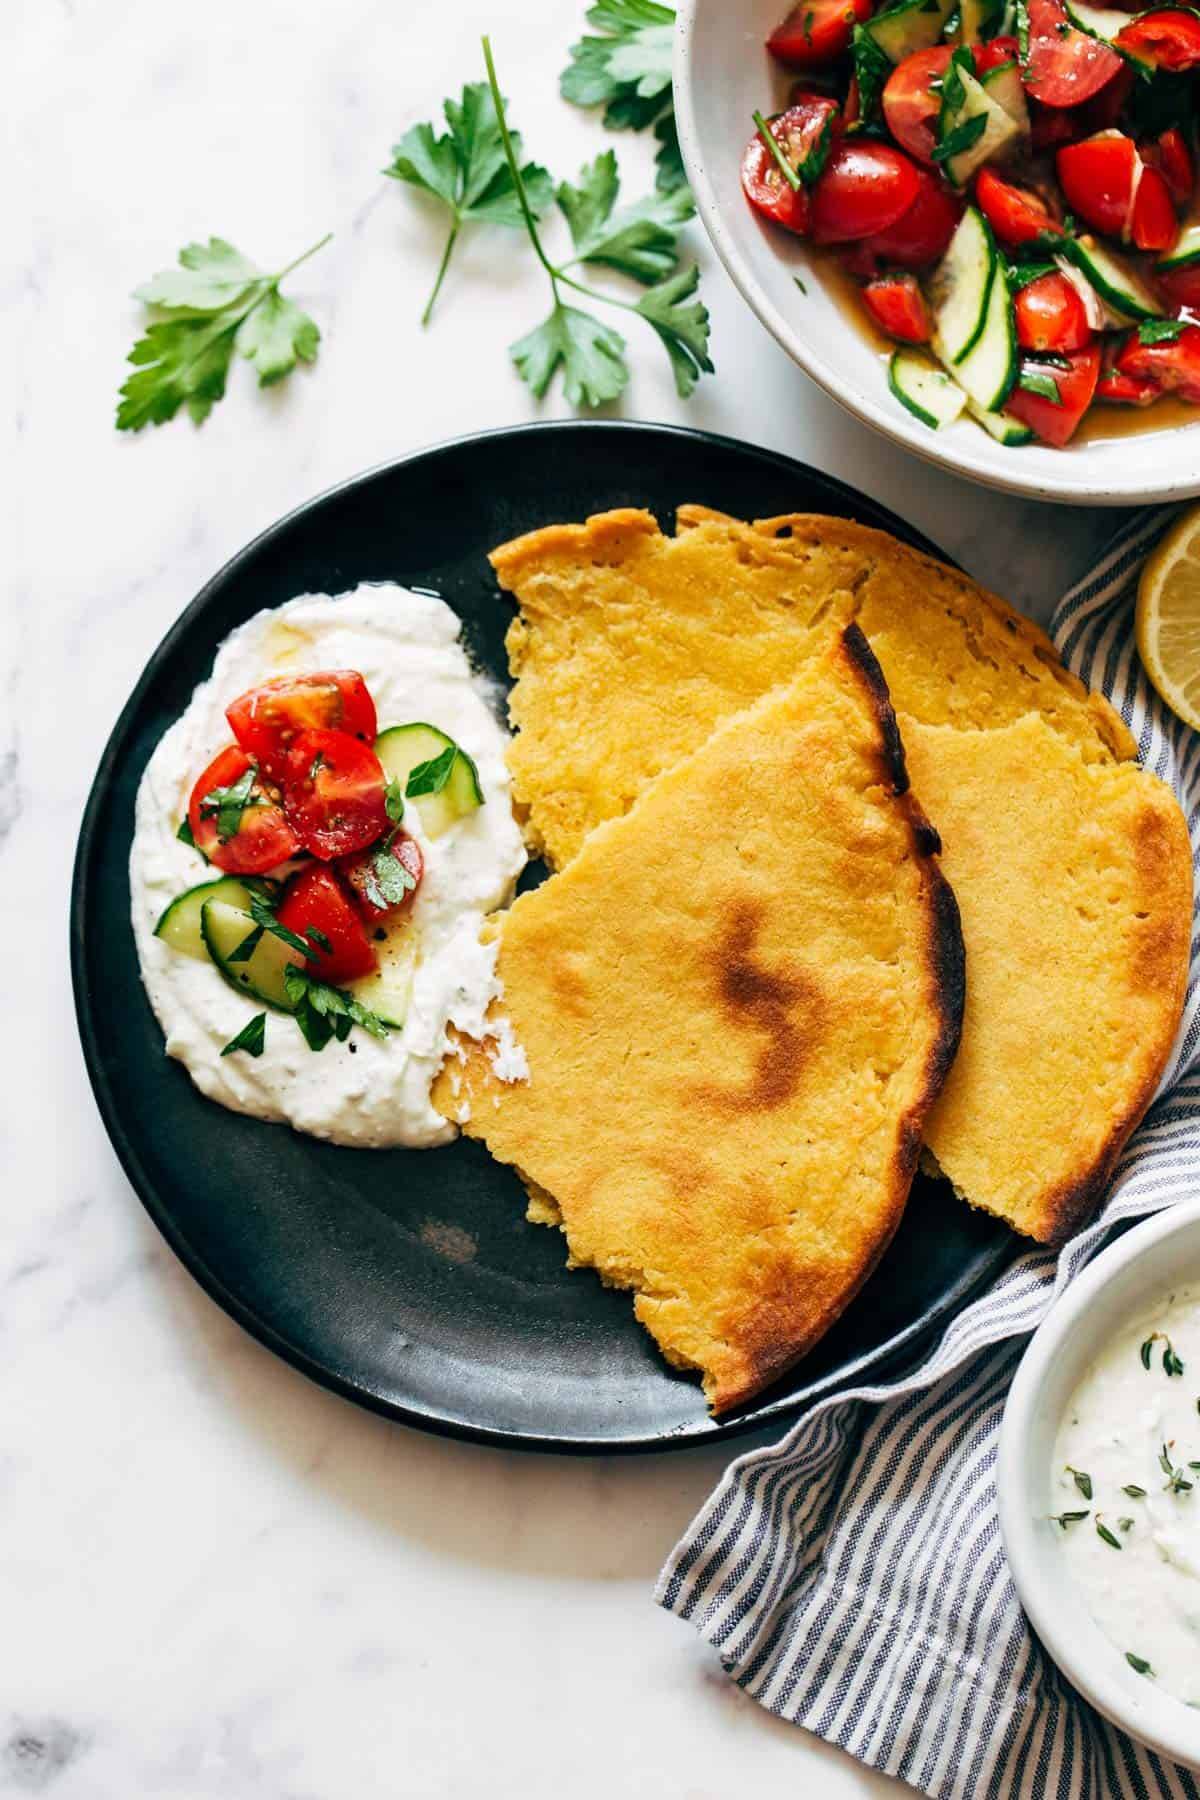
    Socca with Whipped Feta and Tomato Salad! HELLO. Crispy, creamy, tangy, and summery all on one plate.

    Crispy, creamy, tangy, and summery all on one plate.

    Yes, yes, and yes to all of three of these things right now:

    Let’s talk about Socca first. The origin of Socca is heavily debated between France and Italy (known as Farinata there) but one thing is certain: this simple street food made with only chickpea flour, olive oil, water, and salt is the crispy rich snacker of your dreams.

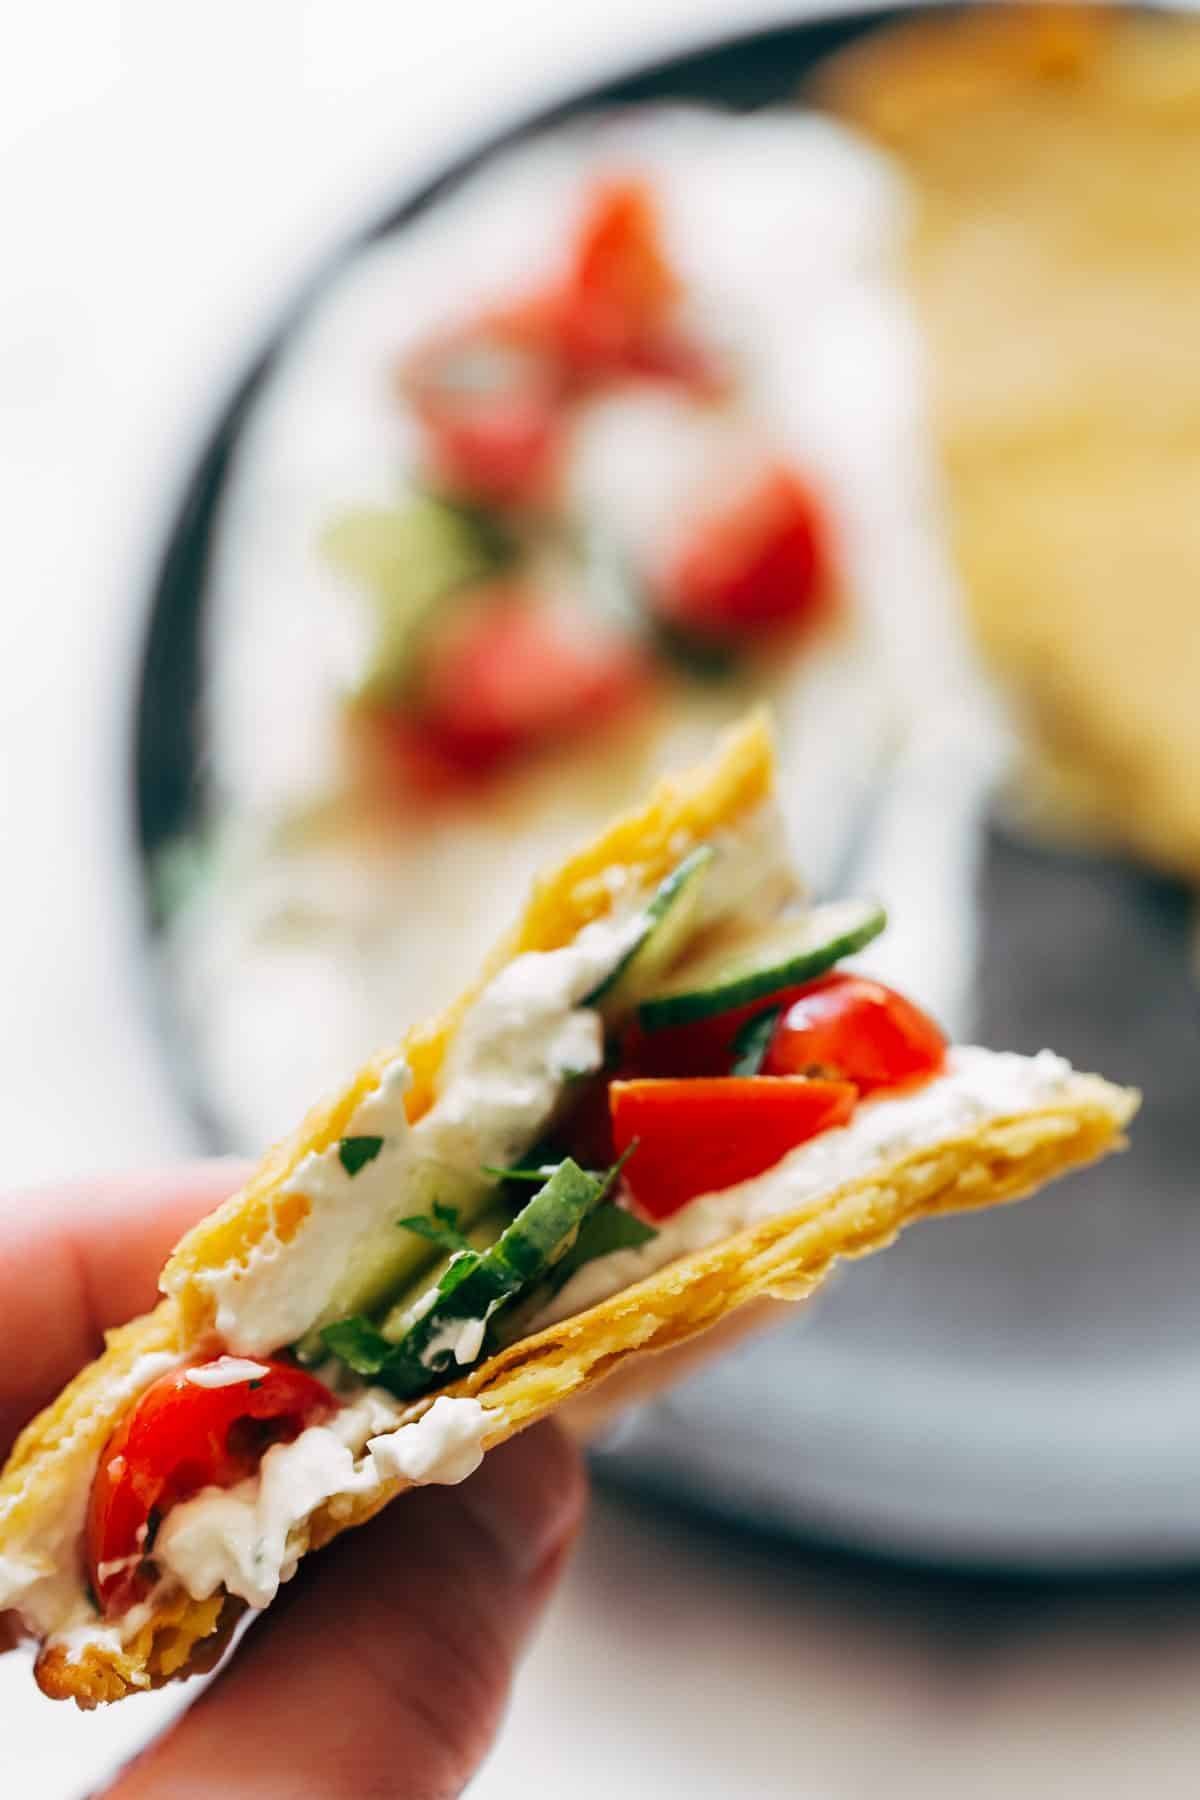
    And here is how you make this meal that isn’t really a meal but also is everything a meal should be: take your piping hot freshly baked socca out of the cast iron, break it into a few crispy, chewy pieces, swoop it through a tangy dollop of herby whipped feta, and top the whole thing with a spoonful of juicy, vinegary tomato and cucumber salad on top for a crunchy finish. If you want to take it even further, this little lemony minty cucumber salad would be delicious too.

    I cannot get enough of this meal-that-isn’t-really-a-meal which is exactly how I like to eat in the summer.

    Prefer To Watch Instead Of Read?

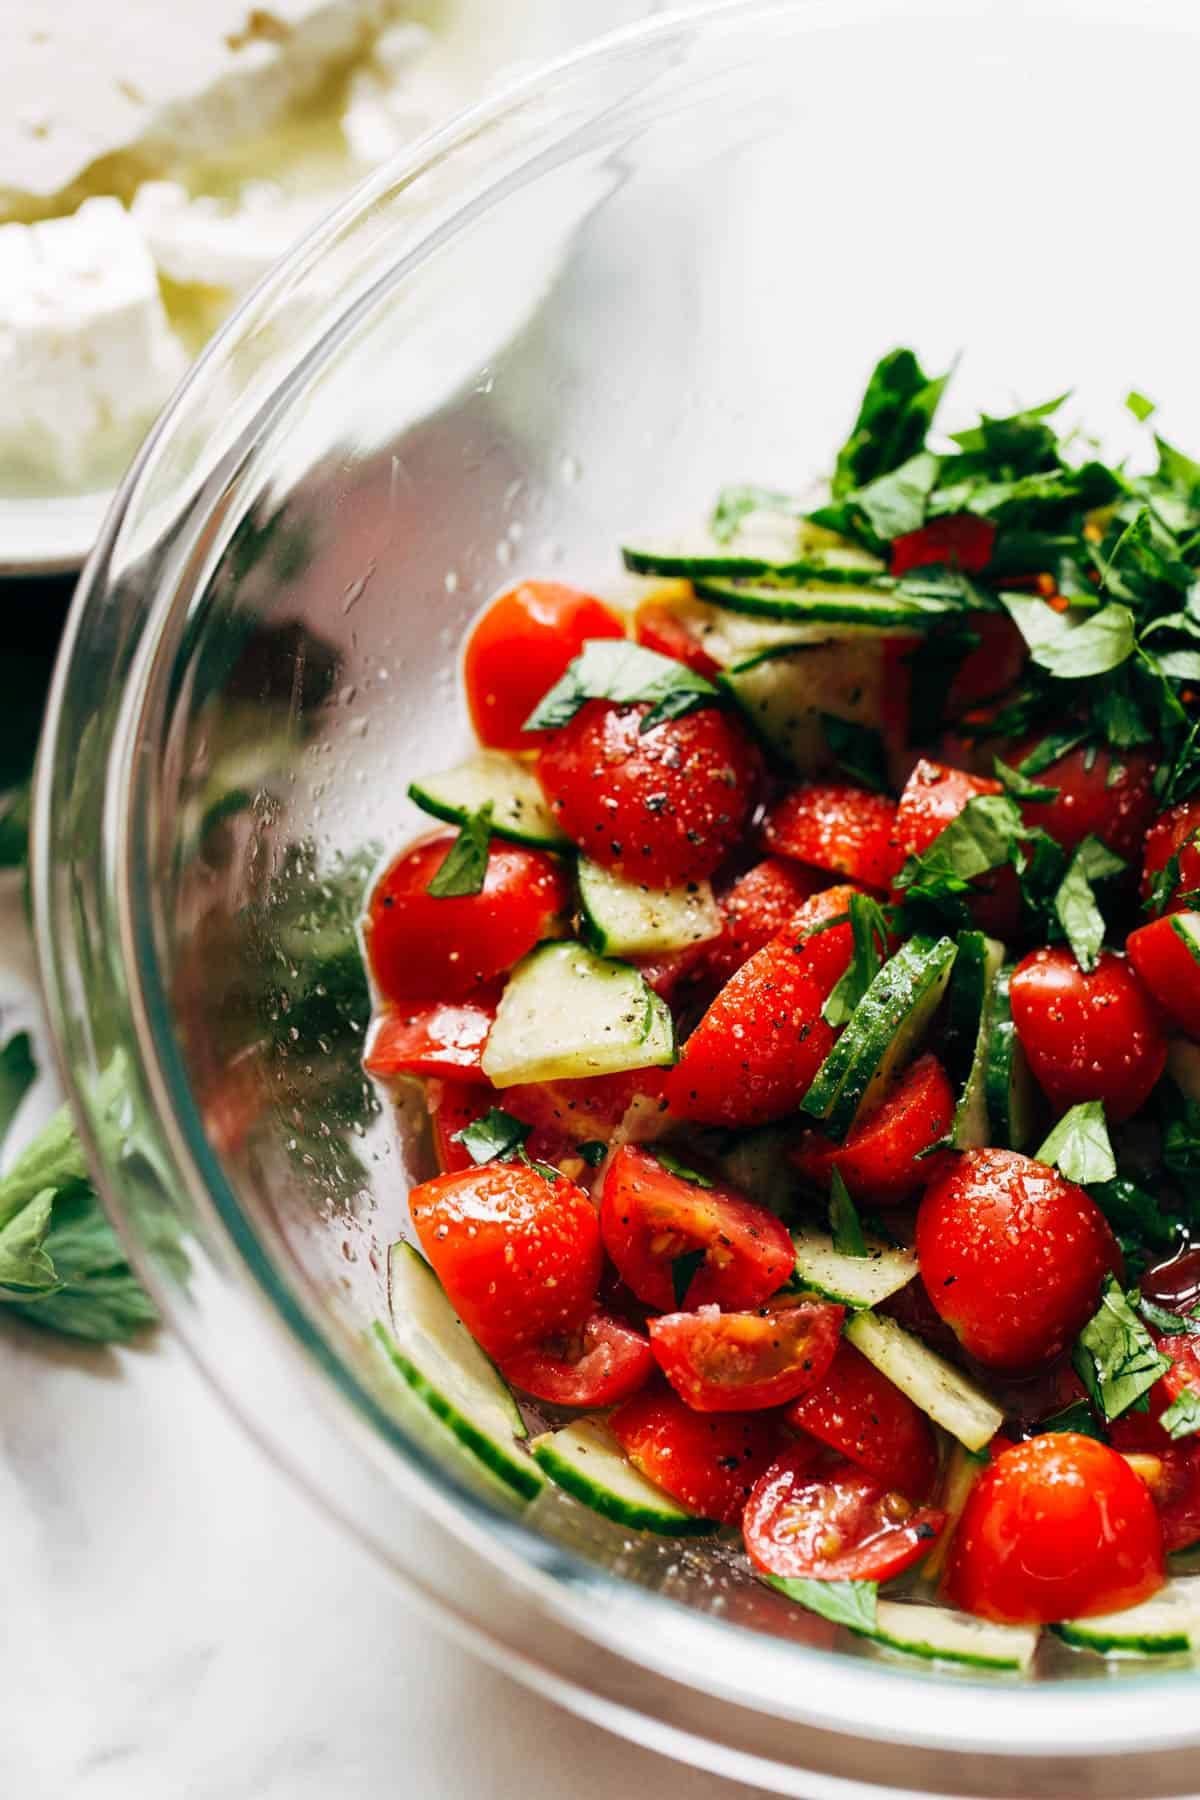
    Feta and Tomato Salad in a clear bowl sitting on a countertop.

    Want to add chickpeas or roasted chicken? Do it.

    Want to eat straight spoonfuls of whipped feta out of the food processor? You’re not wrong.

    Want to make the golden crunchy edges of that socca a part of your regular life routine? I support you.

    Socca with whipped feta along with tomato salad on the plate.

    This whole combo platter meal is low-key, it’s summery, and it’s currently my favorite (healthyish) thing to eat. The variations are endless. It works well for serving people because they can make it what they want – we served it for Bjork’s parents out on the deck the other night and it was a hit all around (especially the socca).

    I know you think you cannot bear to turn on your oven right now but that is the only effort required of you. Also, personal opinion, but oven in the AC > grill outside. It is HOT out there.

    Go forth, whip that feta, load up your socca, make it your own!

    Crispy socca with feta and tomatoes.

    Common Questions About Socca

    How important is the pan size for the Socca?

    The size of your cast iron greatly impacts the end product and how thick / thin / crispy it will be. Those crispy, thin edges are EVERYTHING. That’s why I prefer to split it into two batches when working with my 10-inch cast iron skillet.

    How important is it to use a cast iron pan?

    I have only used my cast iron for this. I think it could work with another oven-safe skillet but I have not tried it. Let us know in the comments if you try it!

    Where do I get chickpea flour?

    Most grocery stores will carry chickpea flour – often by the “Natural Foods” section or something similar. If you can’t find it at your local store, you can but it here (affiliate link).


    Print

    clock clock iconcutlery cutlery iconflag flag iconfolder folder iconinstagram instagram iconpinterest pinterest iconfacebook facebook iconprint print iconsquares squares iconheart heart iconheart solid heart solid icon

    Description

    Socca with Whipped Feta and Tomato Salad! HELLO. Crispy, creamy, tangy, and summery all on one plate.


    For the Socca:

    For the Tomato Salad:

    For the Whipped Feta:


    1. Preheat oven to 450 degrees. While oven is preheating, mix up your tomato salad so it has a little time to sit together and get real yummy.

    2. Whisk all socca ingredients until smooth. Pour 1-2 tablespoons olive oil into a 10-inch cast iron skillet, and pop the skillet in the oven for 5 minutes to preheat. Pour half of the socca batter evenly into the pan and bake for 15-18 minutes, until golden around the edges. (Repeat with the second half of the batter.)

    3. While the socca is baking, blend the feta in a food processor or blender, or with a hand mixer, until smooth-ish. Add your cream cheese, yogurt, mascarpone, whatever you pick to help make the whole thing into a sort of fluffy, creamy sauce. Season with what you like – I love thyme, olive oil, and a little black pepper.

    4. Tear off chunks of hot, crispy socca to be served / dipped / spread / topped with whipped feta and a bunch of fresh, garlicky tomato salad.

    • Prep Time: 15 minutes
    • Cook Time: 15 minutes
    • Category: Lunch
    • Method: Stovetop
    • Cuisine: Italian-Inspired

    Keywords: socca, gluten free, tomato salad, cucumber salad, whipped feta, gluten free lunch, healthy lunch

    Source link

  • Hot Honey Salmon Recipe – Pinch of Yum

    Hot Honey Salmon Recipe – Pinch of Yum

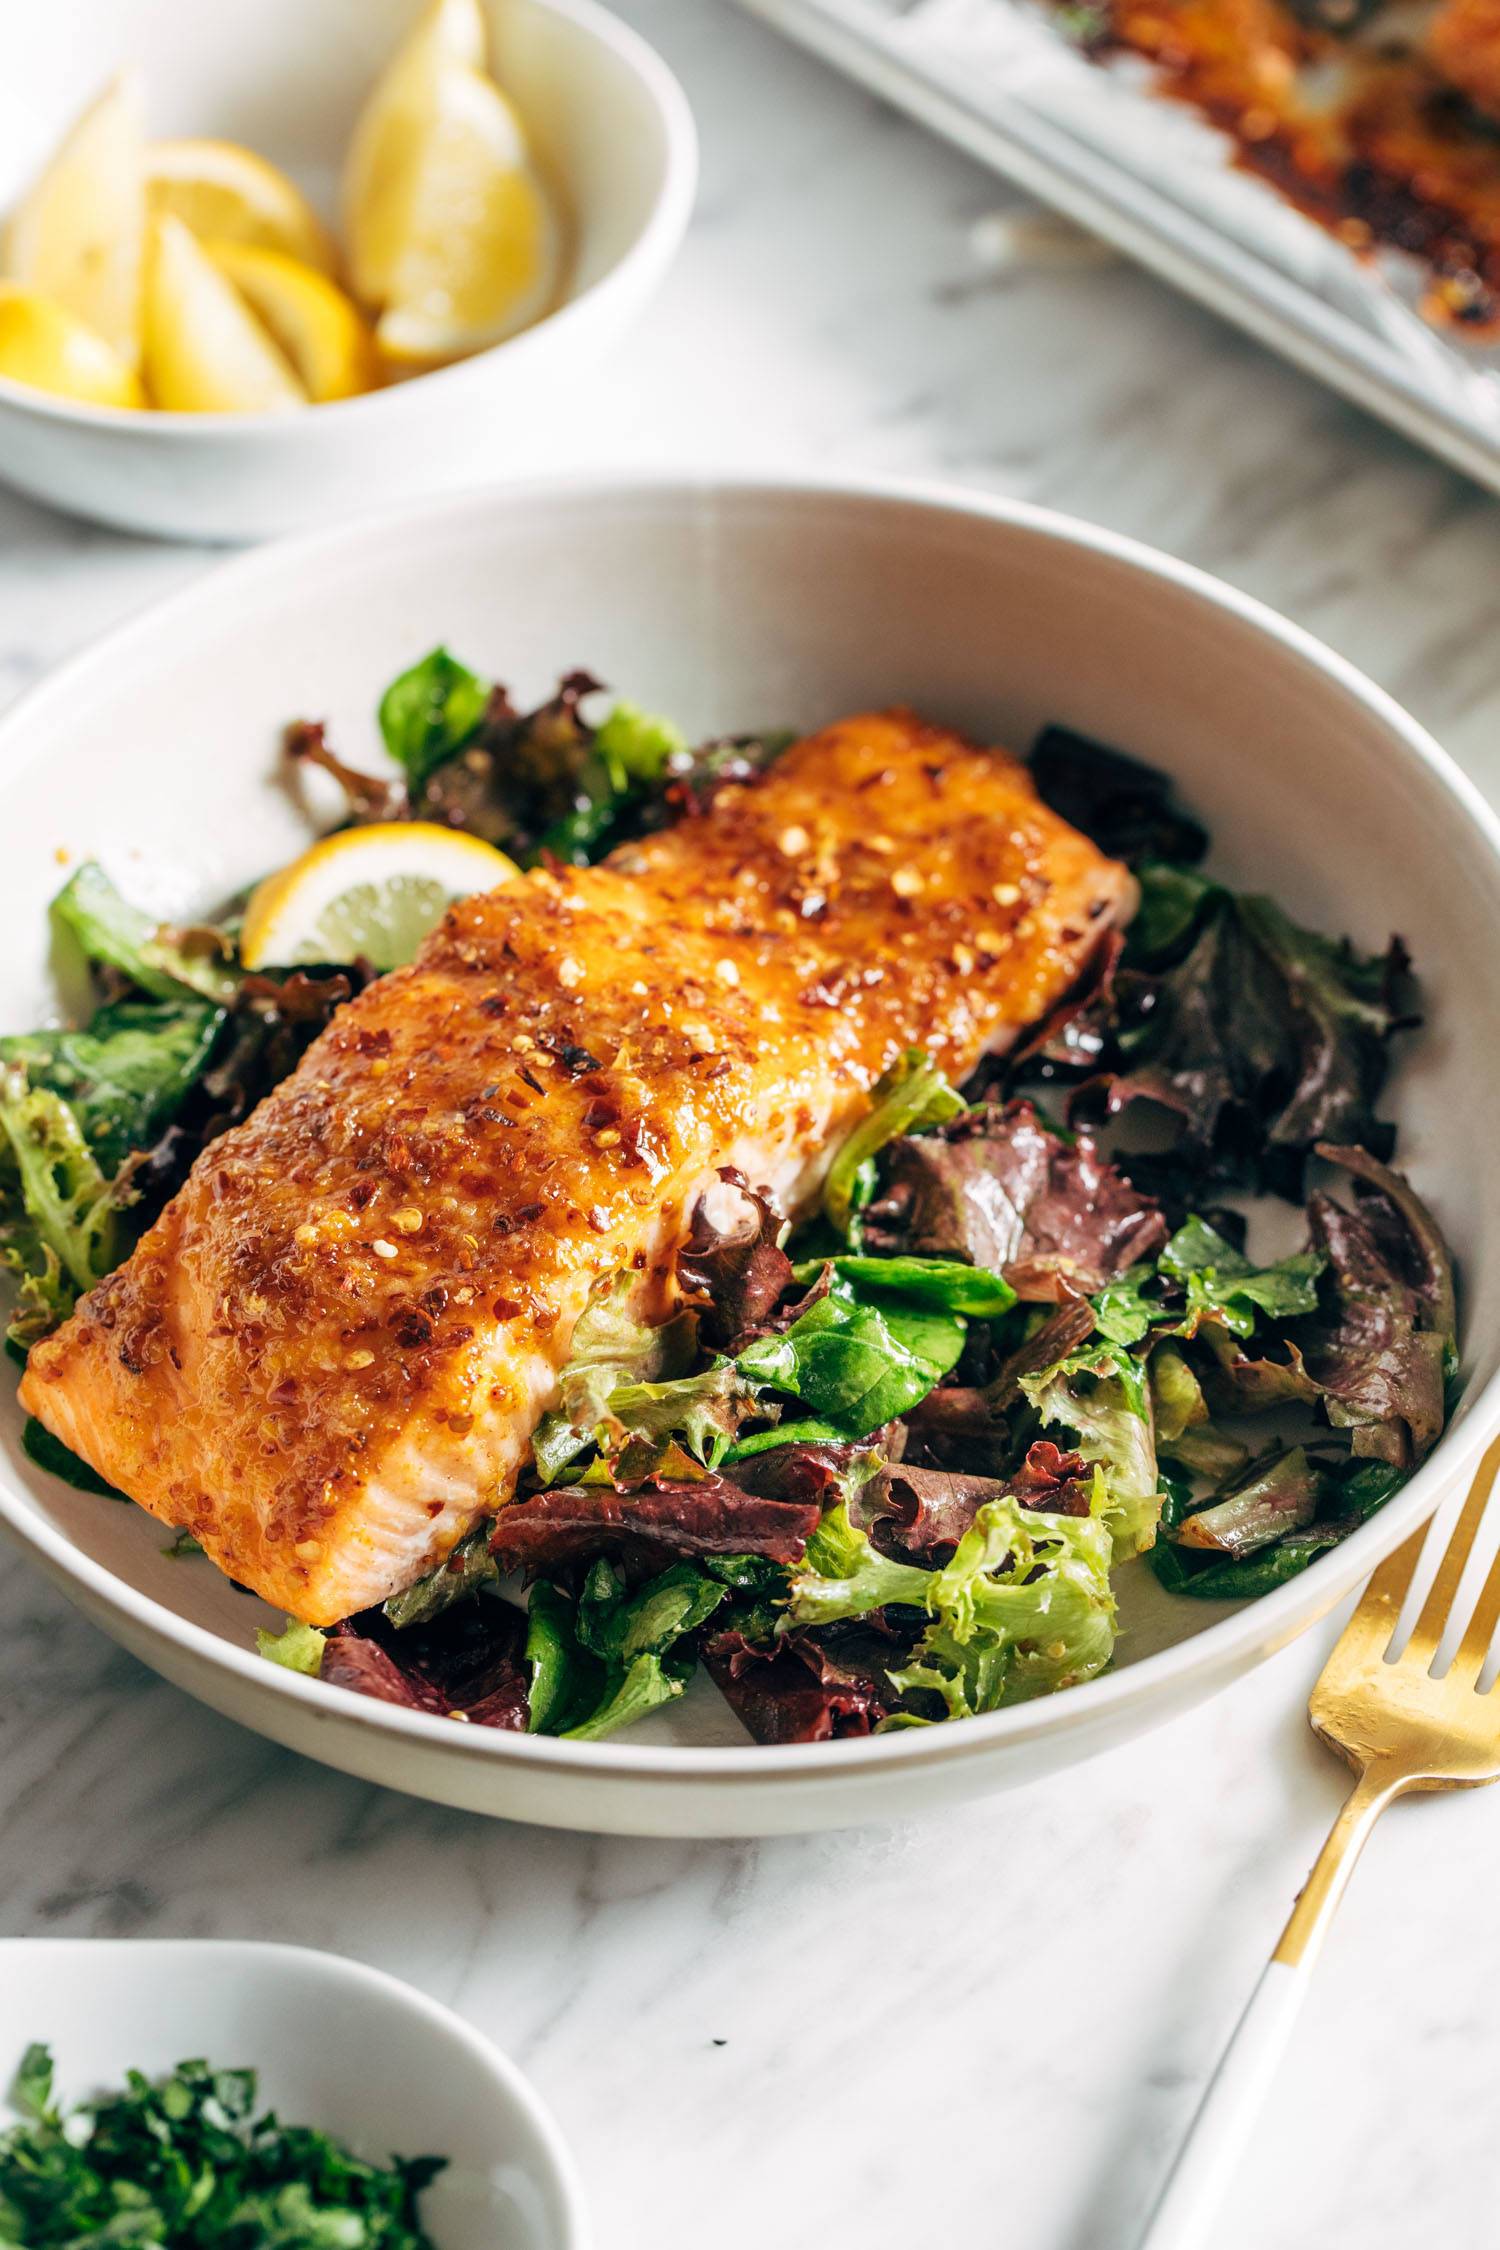
    This Hot Honey Salmon is giving off major fancy-to-eat-but-not-fancy-to-make vibes. Spicy-sweet salmon coated in fresh garlic, stone ground mustard, sweet honey, and flecks of red peppers flakes. It’s a magical little number!

    What looks fancy but actually comes together super quickly and makes you feel like A BOSS with all that big, feisty flavor?

    It’s this. It’s Hot Honey Salmon.

    And it’s here for us because this is the SOS series, and fancy-but-not-actually-fancy is the vibe we aspire to.

    This is a spicy-sweet little number (hello, “hot honey”) and it gets its name from the sauce that gets brushed over the whole thing, which is grainy from the mustard and flecks of fresh garlic, sweet and sticky from the honey, and a little, medium, or LOT hot from however many red pepper flakes you wanna throw in there. I cannot stress enough how beautiful it is to look at! And it’s one of those salmon recipes that works for even people who aren’t salmon people, because garlic, honey, stone ground mustard, and some peppery heat are magical little wonder foods. If you’re one of those people and want to further your adventure into delicious salmon, we have a how-to guide for cooking salmon right here.

    It is about the most foolproof way you could ever think to make salmon. Chaotic dinnertime, stress, and lack of time and energy is no problem for this beauty.

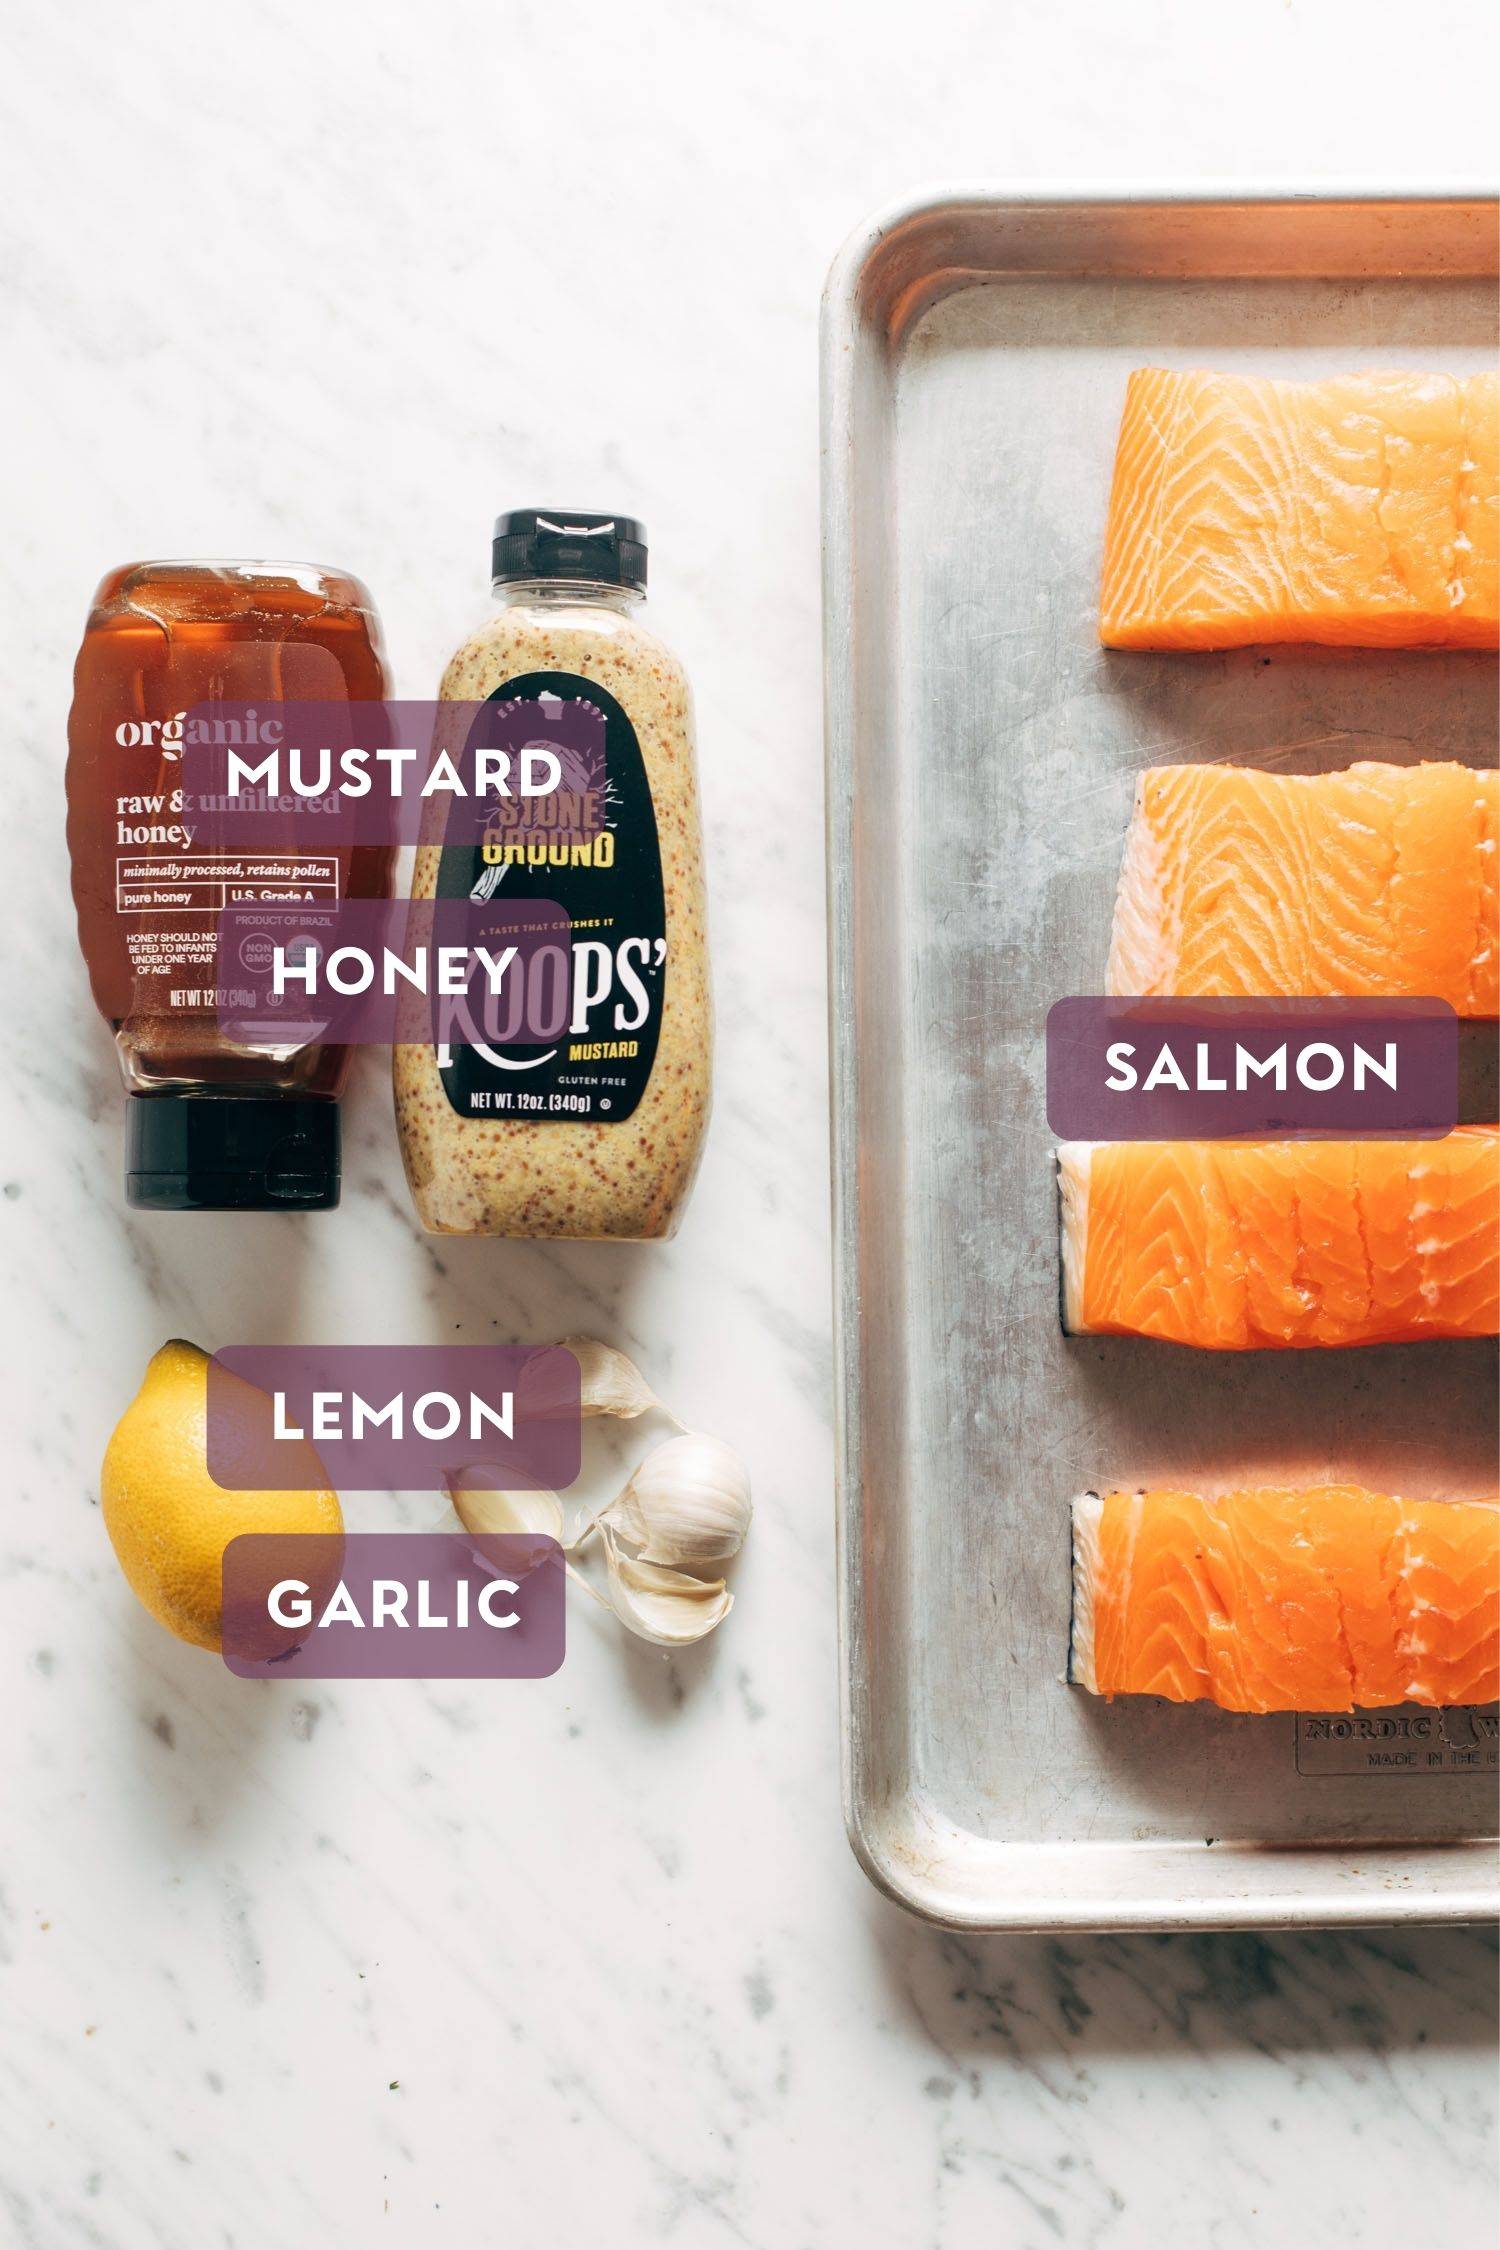
    Ingredients for hot honey salmon. Each ingredient is labeled with the name in a purple bubble.

    The Ingredient Details

    Our basic / fabulous ingredient list:

    • Stoneground mustard
    • Honey
    • Garlic
    • Paprika
    • Red Pepper Flakes
    • Lemon
    • Salmon

    … Salt? Olive oil? I’m trying to think if there’s anything else worth mentioning, but I think that’s pretty much the whole shebang right there.

    You shake up the sauce, you brush the salmon, and you bake it.

    That’s the whole recipe.

    And this is why the SOS series is my favorite.

    Looking for another SOS salmon favorite? This Bang Bang Salmon is SO GOOD.

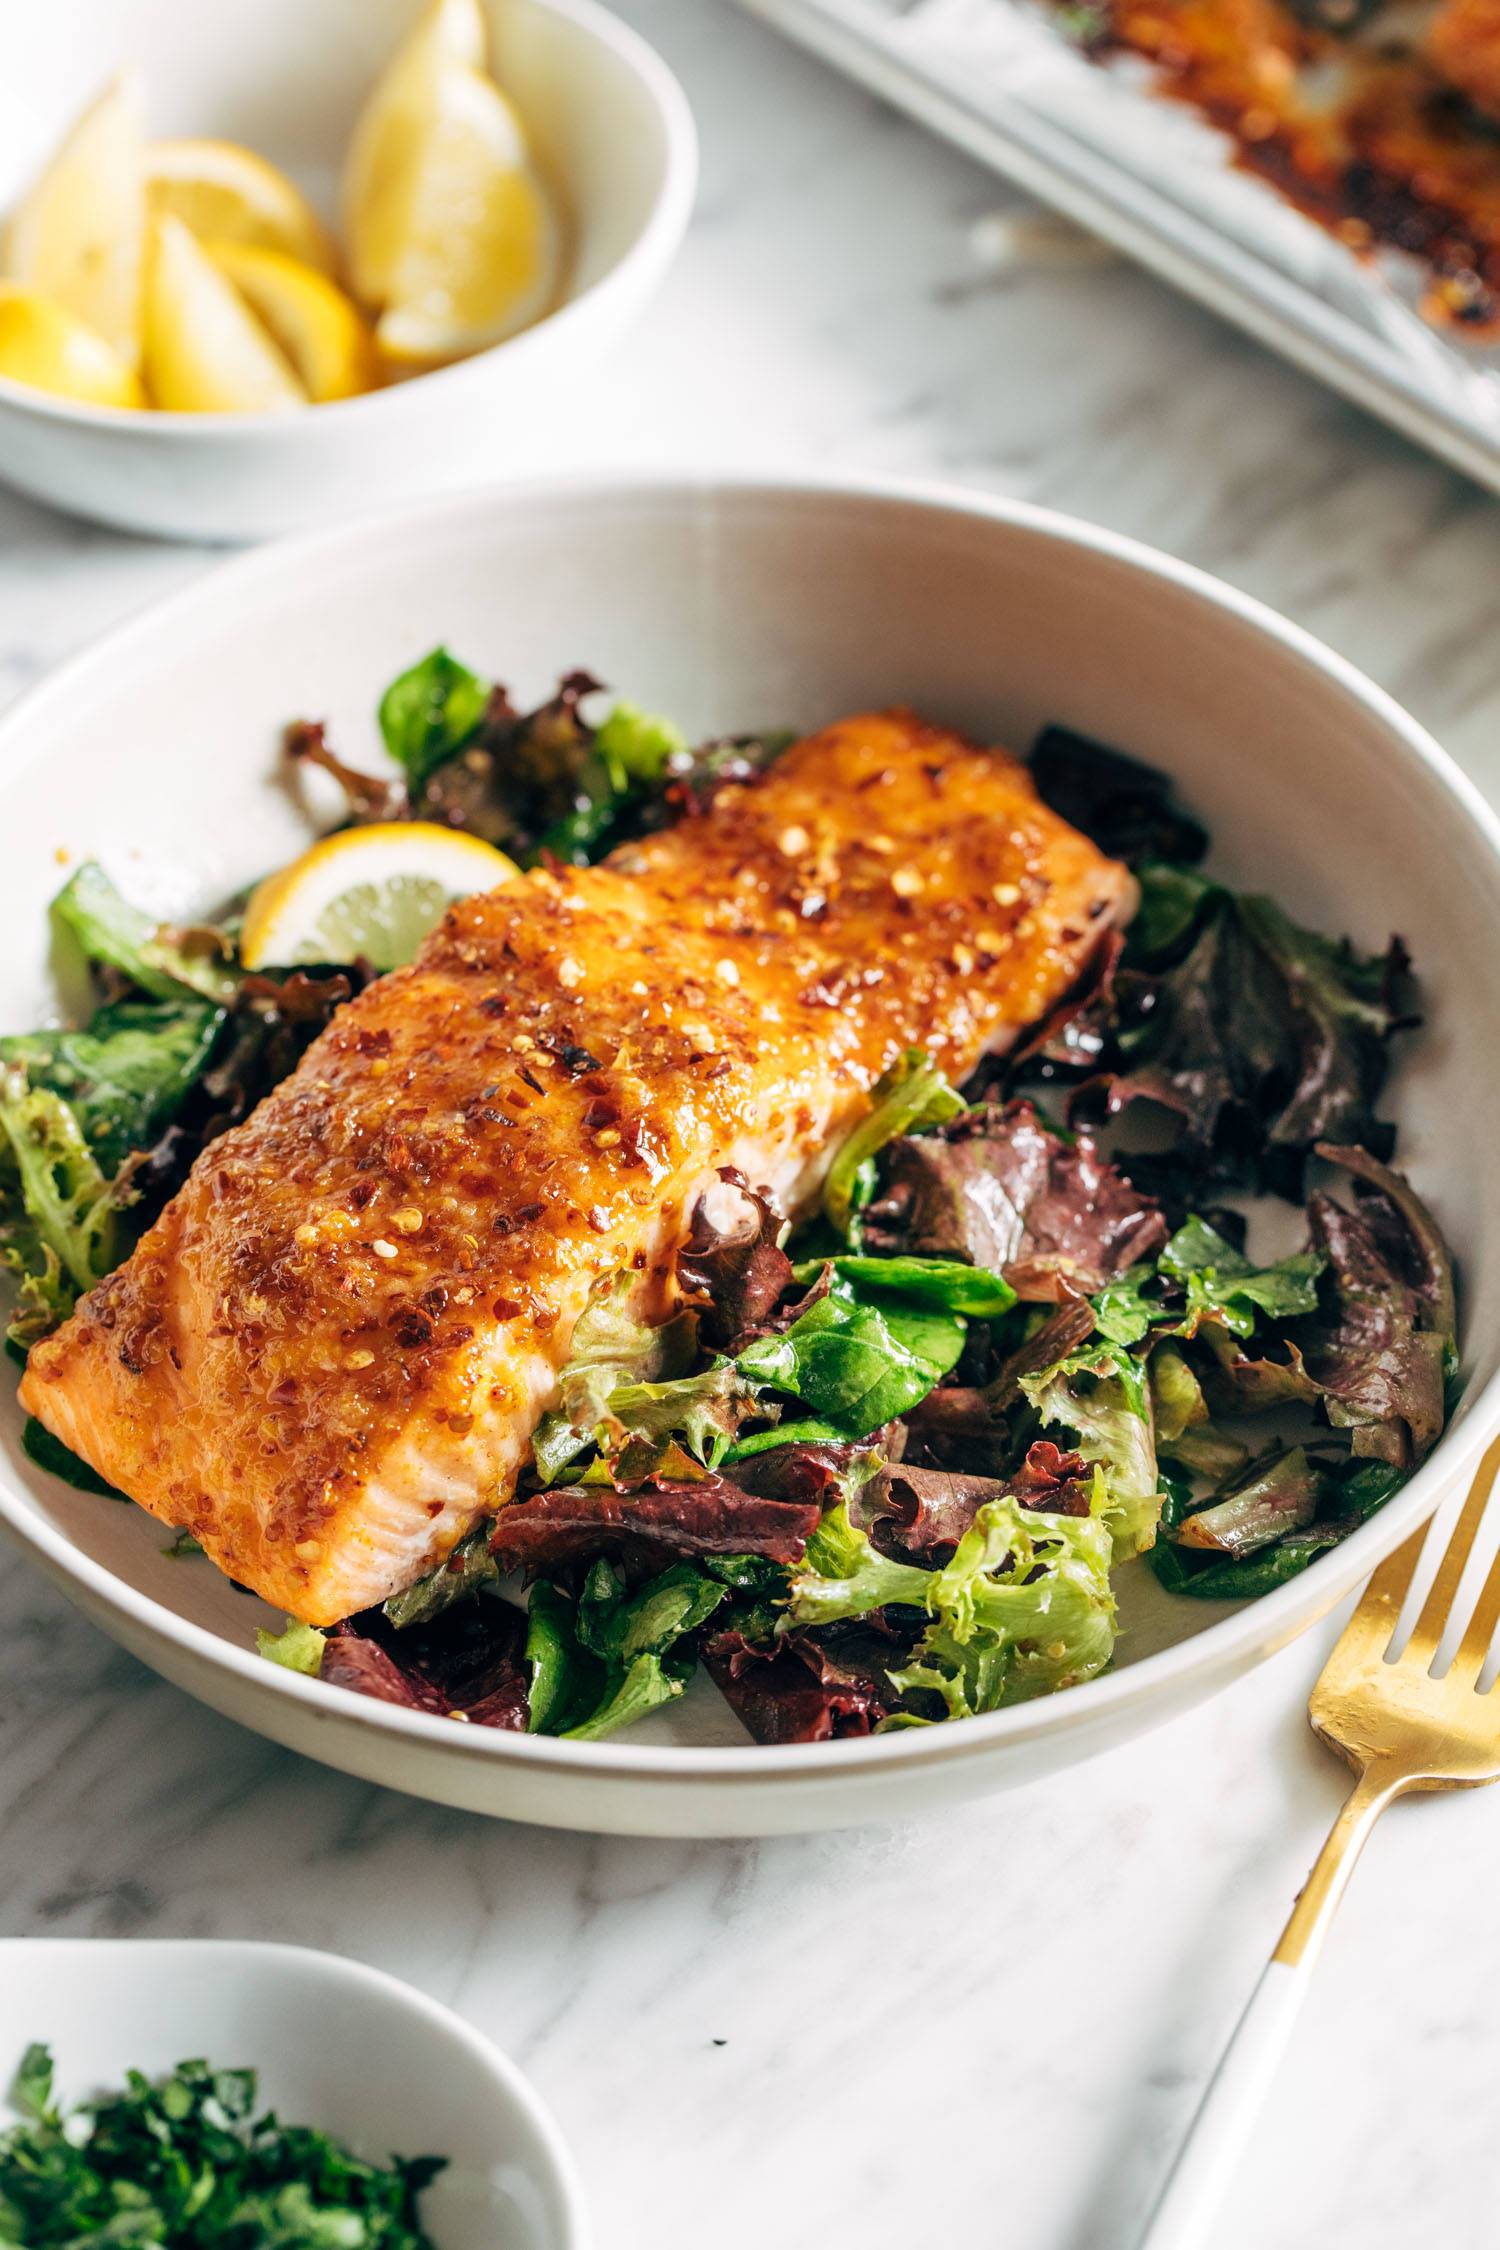
    Hot honey salmon in a bowl on top of a green salad. There's a fork on the side of the bowl.

    What To Serve with This Salmon

    A pro tip: your sauce can actually work really nicely as a dressing, so save a little bit in your jar, drizzle with olive oil, and toss it on some greens and you’ll almost immediately round out your meal.

    This salmon is extremely versatile – pair it with those dressed up greens, or steamed green beans from the garden, some roasted potatoes or rice or cauliflower rice or, preferably, HOT CRUSTY BREAD WITH BUTTER, and just enjoy your life, really.

    Hot Honey Salmon: FAQs

    What kind of salmon should I use?

    Fresh Atlantic salmon or wild sockeye salmon work great here! The Atlantic salmon has a bit more fat in it, so the fish doesn’t dry out as easily. It’s so good!

    That salad – YUM! How did you make it?

    Super SOS-friendly salad here. Just some mixed greens of your choice and toss some of that extra hot honey sauce on your salad for a quick dressing. Another idea is this Toasted Bread and Parmesan Kale Salad – muah! Delish!

    Not a big salmon fan here. Anything I can sub?

    But have you tried THIS salmon yet? This one might convert you to start proclaiming “Salmon 4 Prez!” If you’re still like 🙅‍♀️🙅‍♀️🙅‍♀️, try the hot honey sauce on some chicken or tofu. Yum!

    Prefer To Watch Instead Of Read?

    Watch Lindsay make this salmon on stories!


    Print

    clock clock iconcutlery cutlery iconflag flag iconfolder folder iconinstagram instagram iconpinterest pinterest iconfacebook facebook iconprint print iconsquares squares iconheart heart iconheart solid heart solid icon

    Description

    This Hot Honey Salmon is giving off major fancy-to-eat-but-not-fancy-to-make vibes. Spicy-sweet salmon coated in fresh garlic, stone ground mustard, sweet honey, and flecks of red peppers flakes. It’s a magical little number! 


    For the salmon: 

    Extras: 


    1. Make the sauce: Preheat the oven to 400 degrees. Mix the sauce ingredients in a small dish. Set a little sauce aside for to make a salad dressing later. See notes for this.

    2. Bake the salmon: Line a baking sheet with foil (optional, but makes cleanup much easier). Place salmon skin side down. Brush or spoon the sauce over the salmon, getting it really well coated on top. Bake for 8-10 minutes depending on desired doneness and the thickness of your salmon filets, and broil for just a few minutes at the end to get it extra browned and pretty on top.

    3. Finish and serve: Top each piece with more red pepper flakes. Serve with little lemon wedges, plus a green salad and maybe (for surely) a hunk of hot, crusty, buttered bread. Dreamy.

    Notes

    Salad hack: If you take care not to dip your raw salmon utensils back into the sauce, you can repurpose any remaining sauce as a dressing for some spring greens! Just add a little olive oil and red wine vinegar, and there’s your dressing. Easy green salad, done.

    Nutrition: The nutrition info listed is only for the hot honey salmon and doesn’t include any of the extras. 

    • Prep Time: 10 minutes
    • Cook Time: 10 minutes
    • Category: Dinner
    • Method: Bake
    • Cuisine: American

    Keywords: baked salmon recipe, hot honey salmon, easy salmon recipe

    More Salmon Recipes To Make ASAP

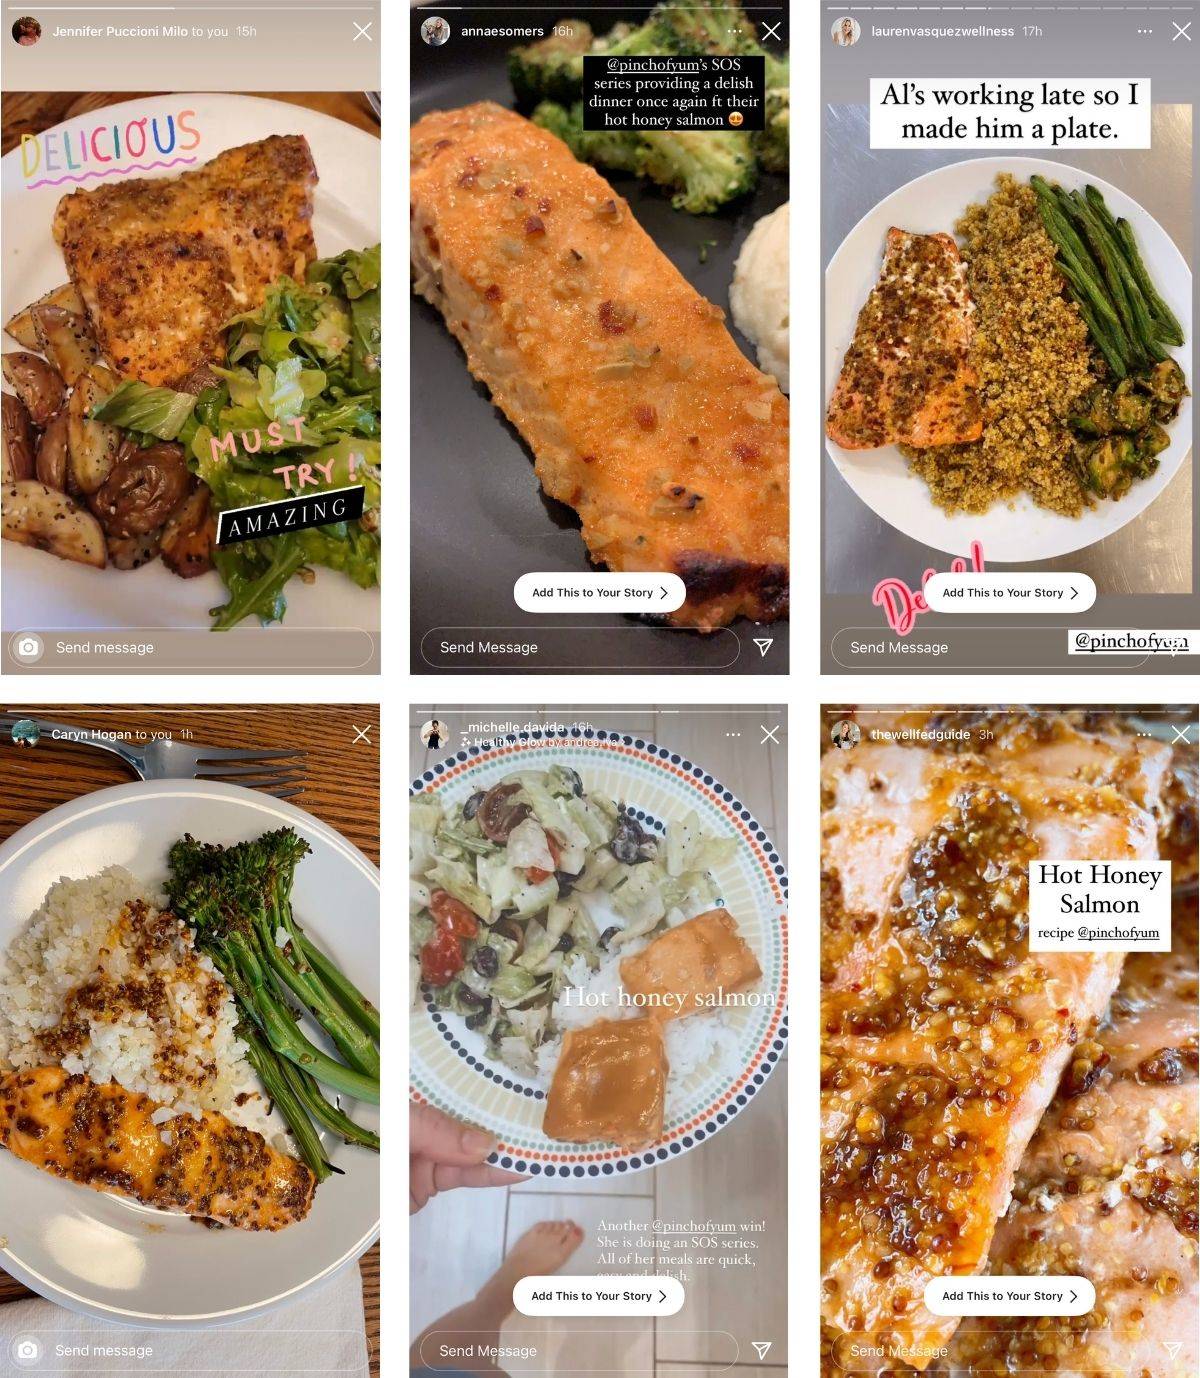
    Time To Show You Off!

    Reader images of the Hot Honey Salmon recipe.

    One More Thing

    This recipe is part of our collection of sweet honey recipes. Check it out!

    Source link

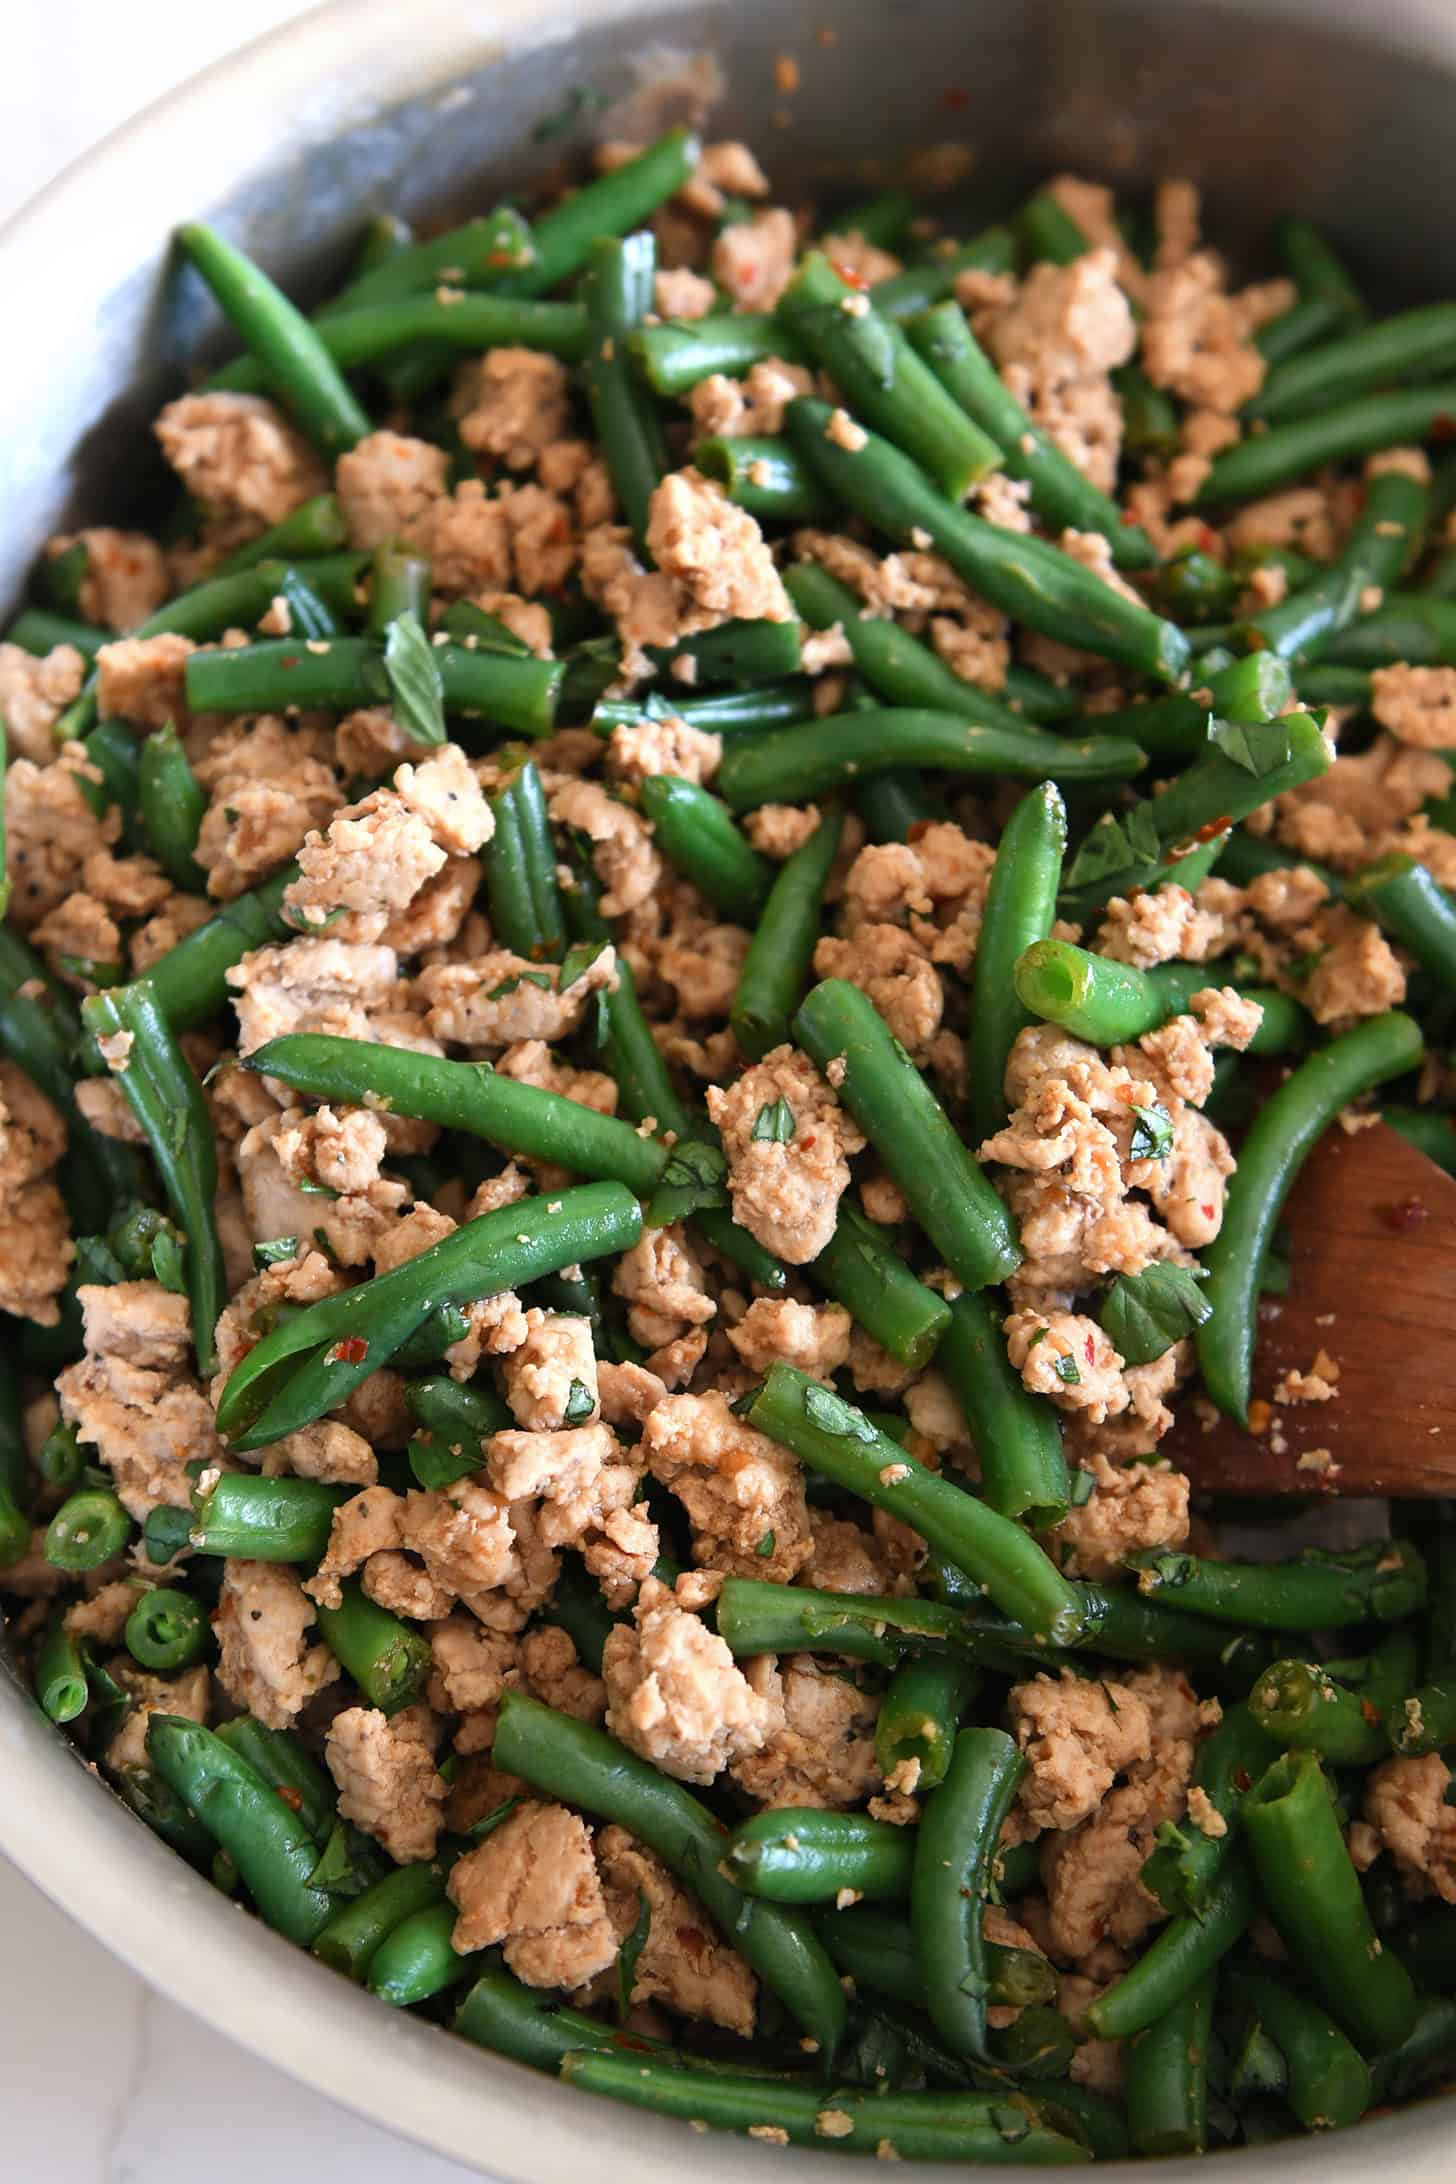
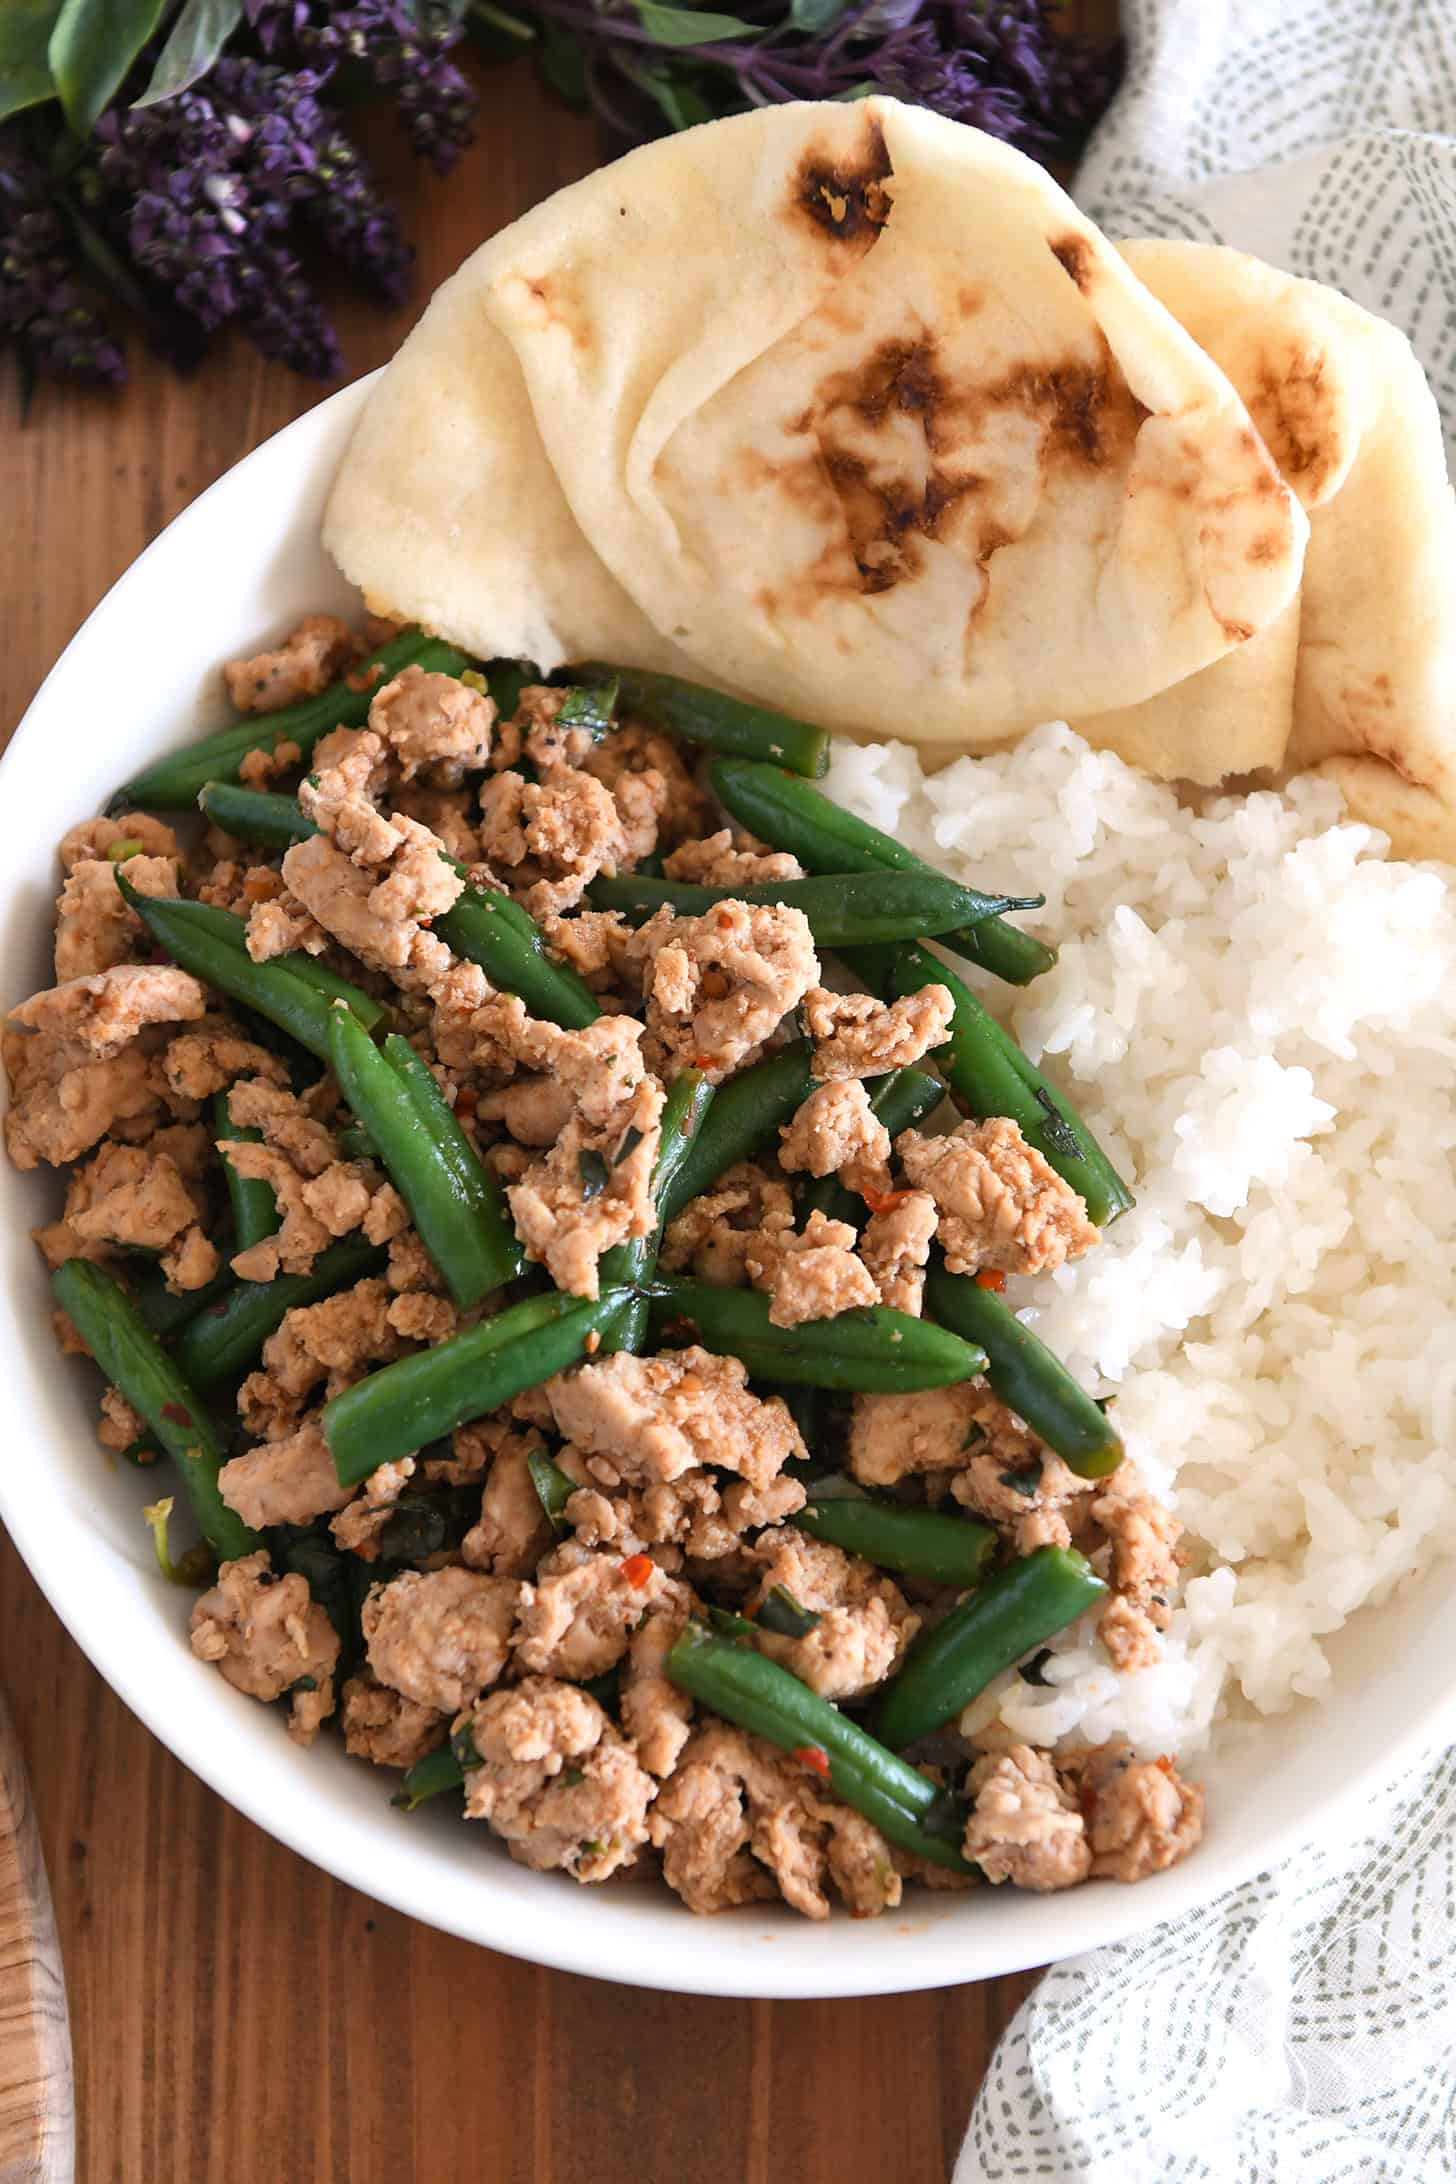
  • Thai-Style Ground Turkey and Green Beans {20-Minute Meal}

    Thai-Style Ground Turkey and Green Beans {20-Minute Meal}

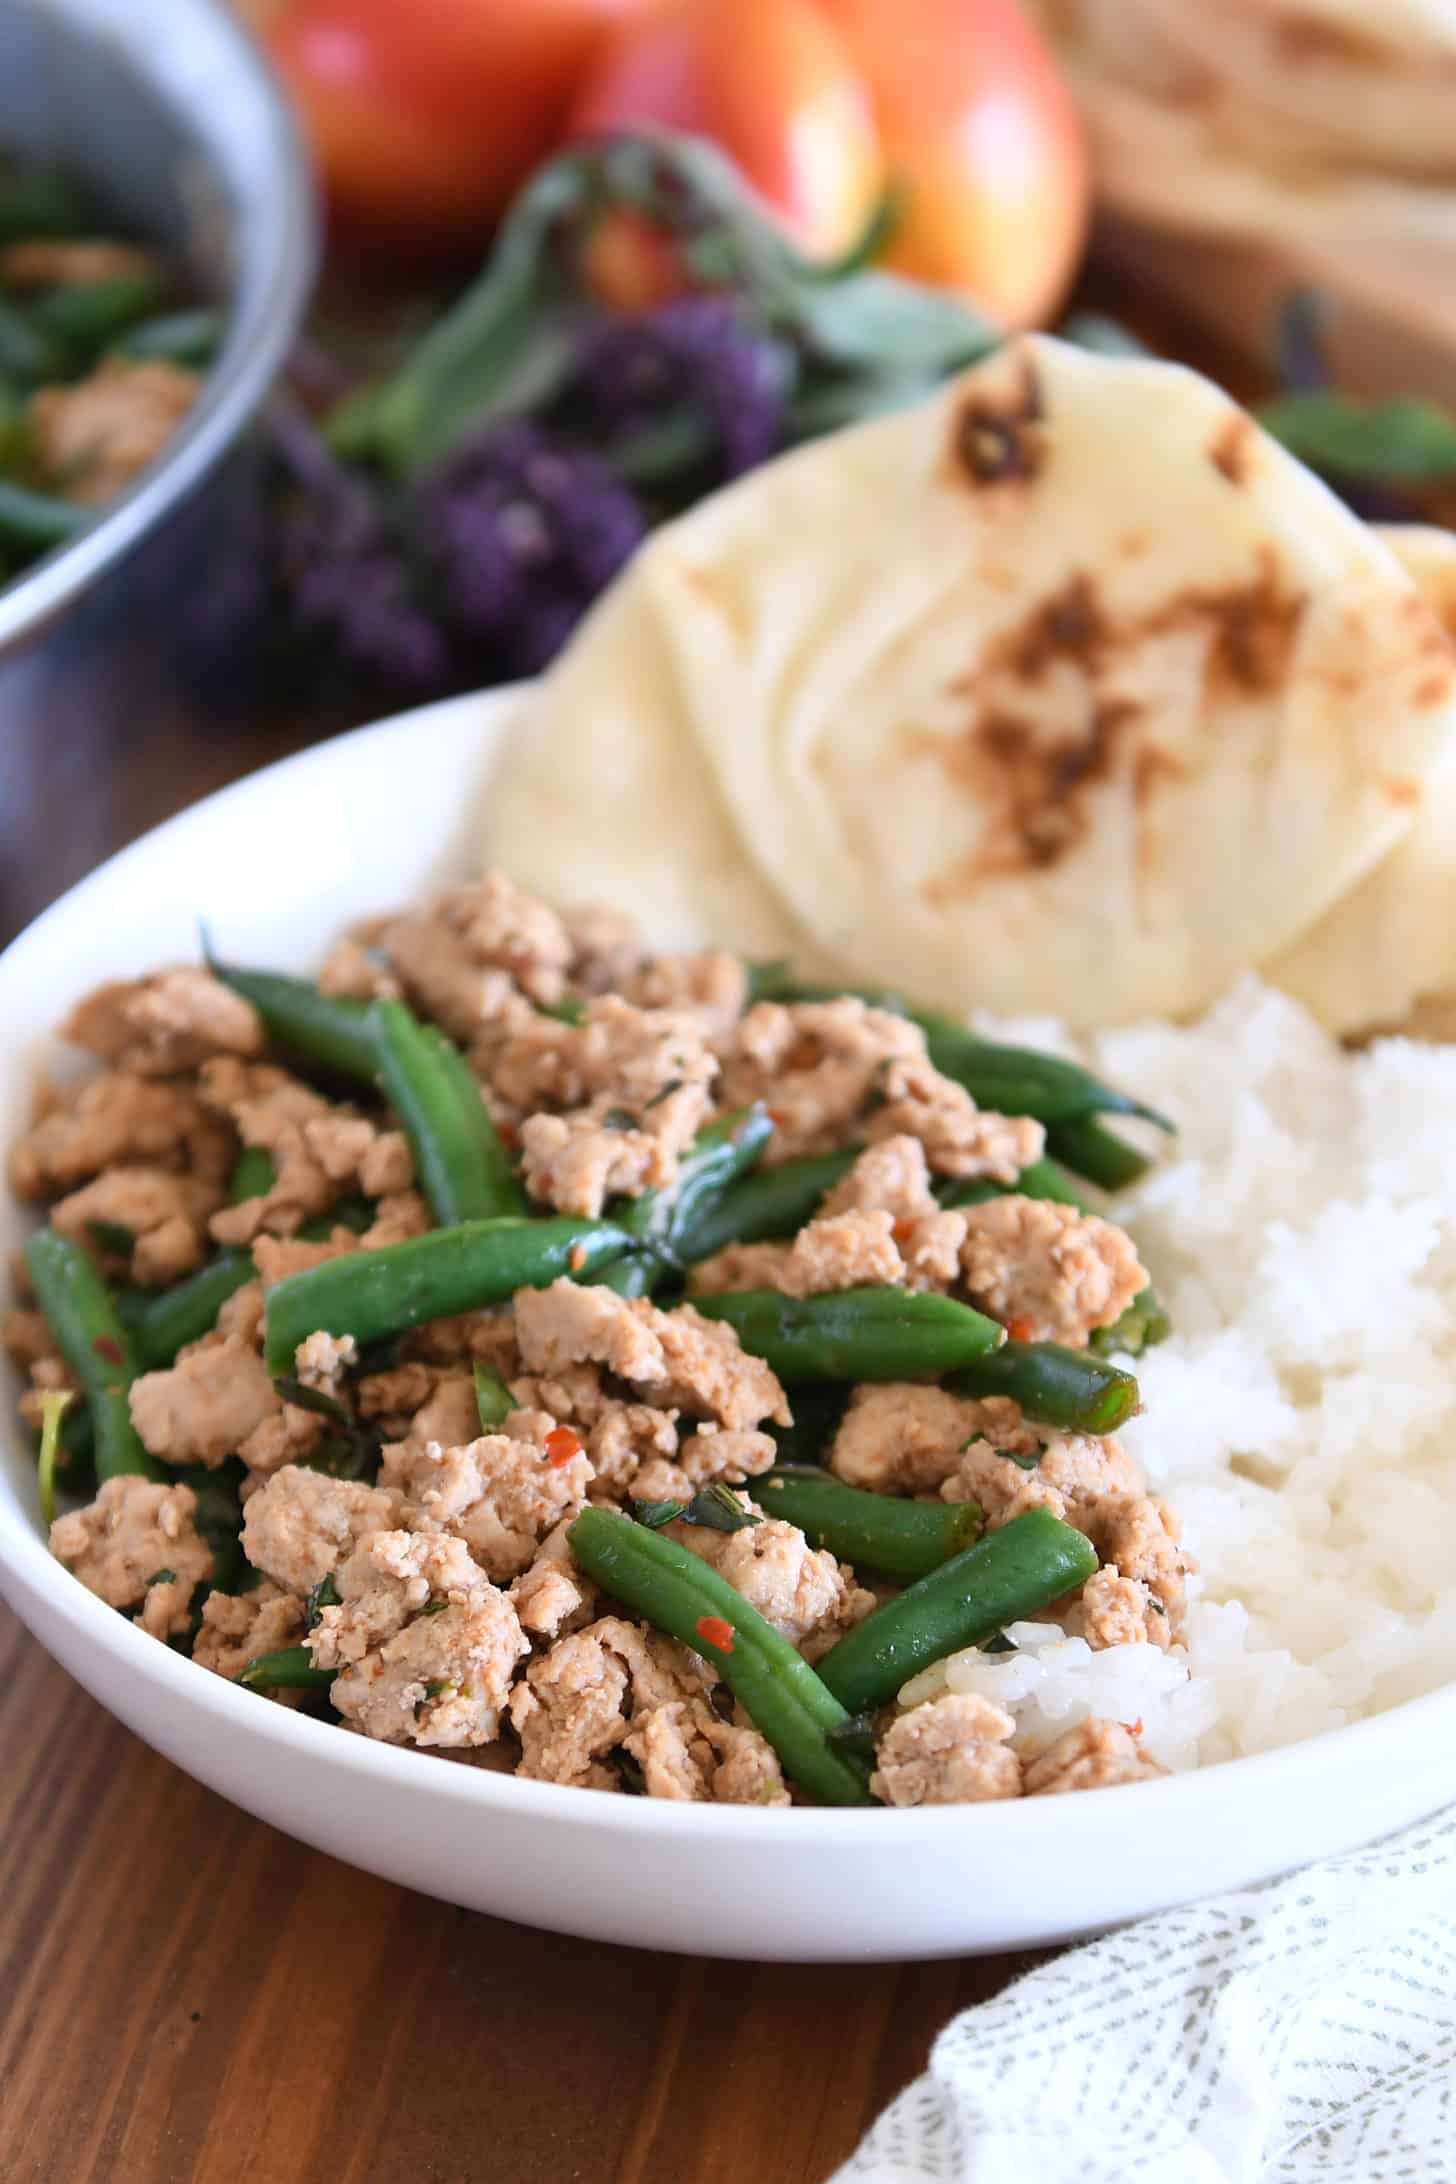
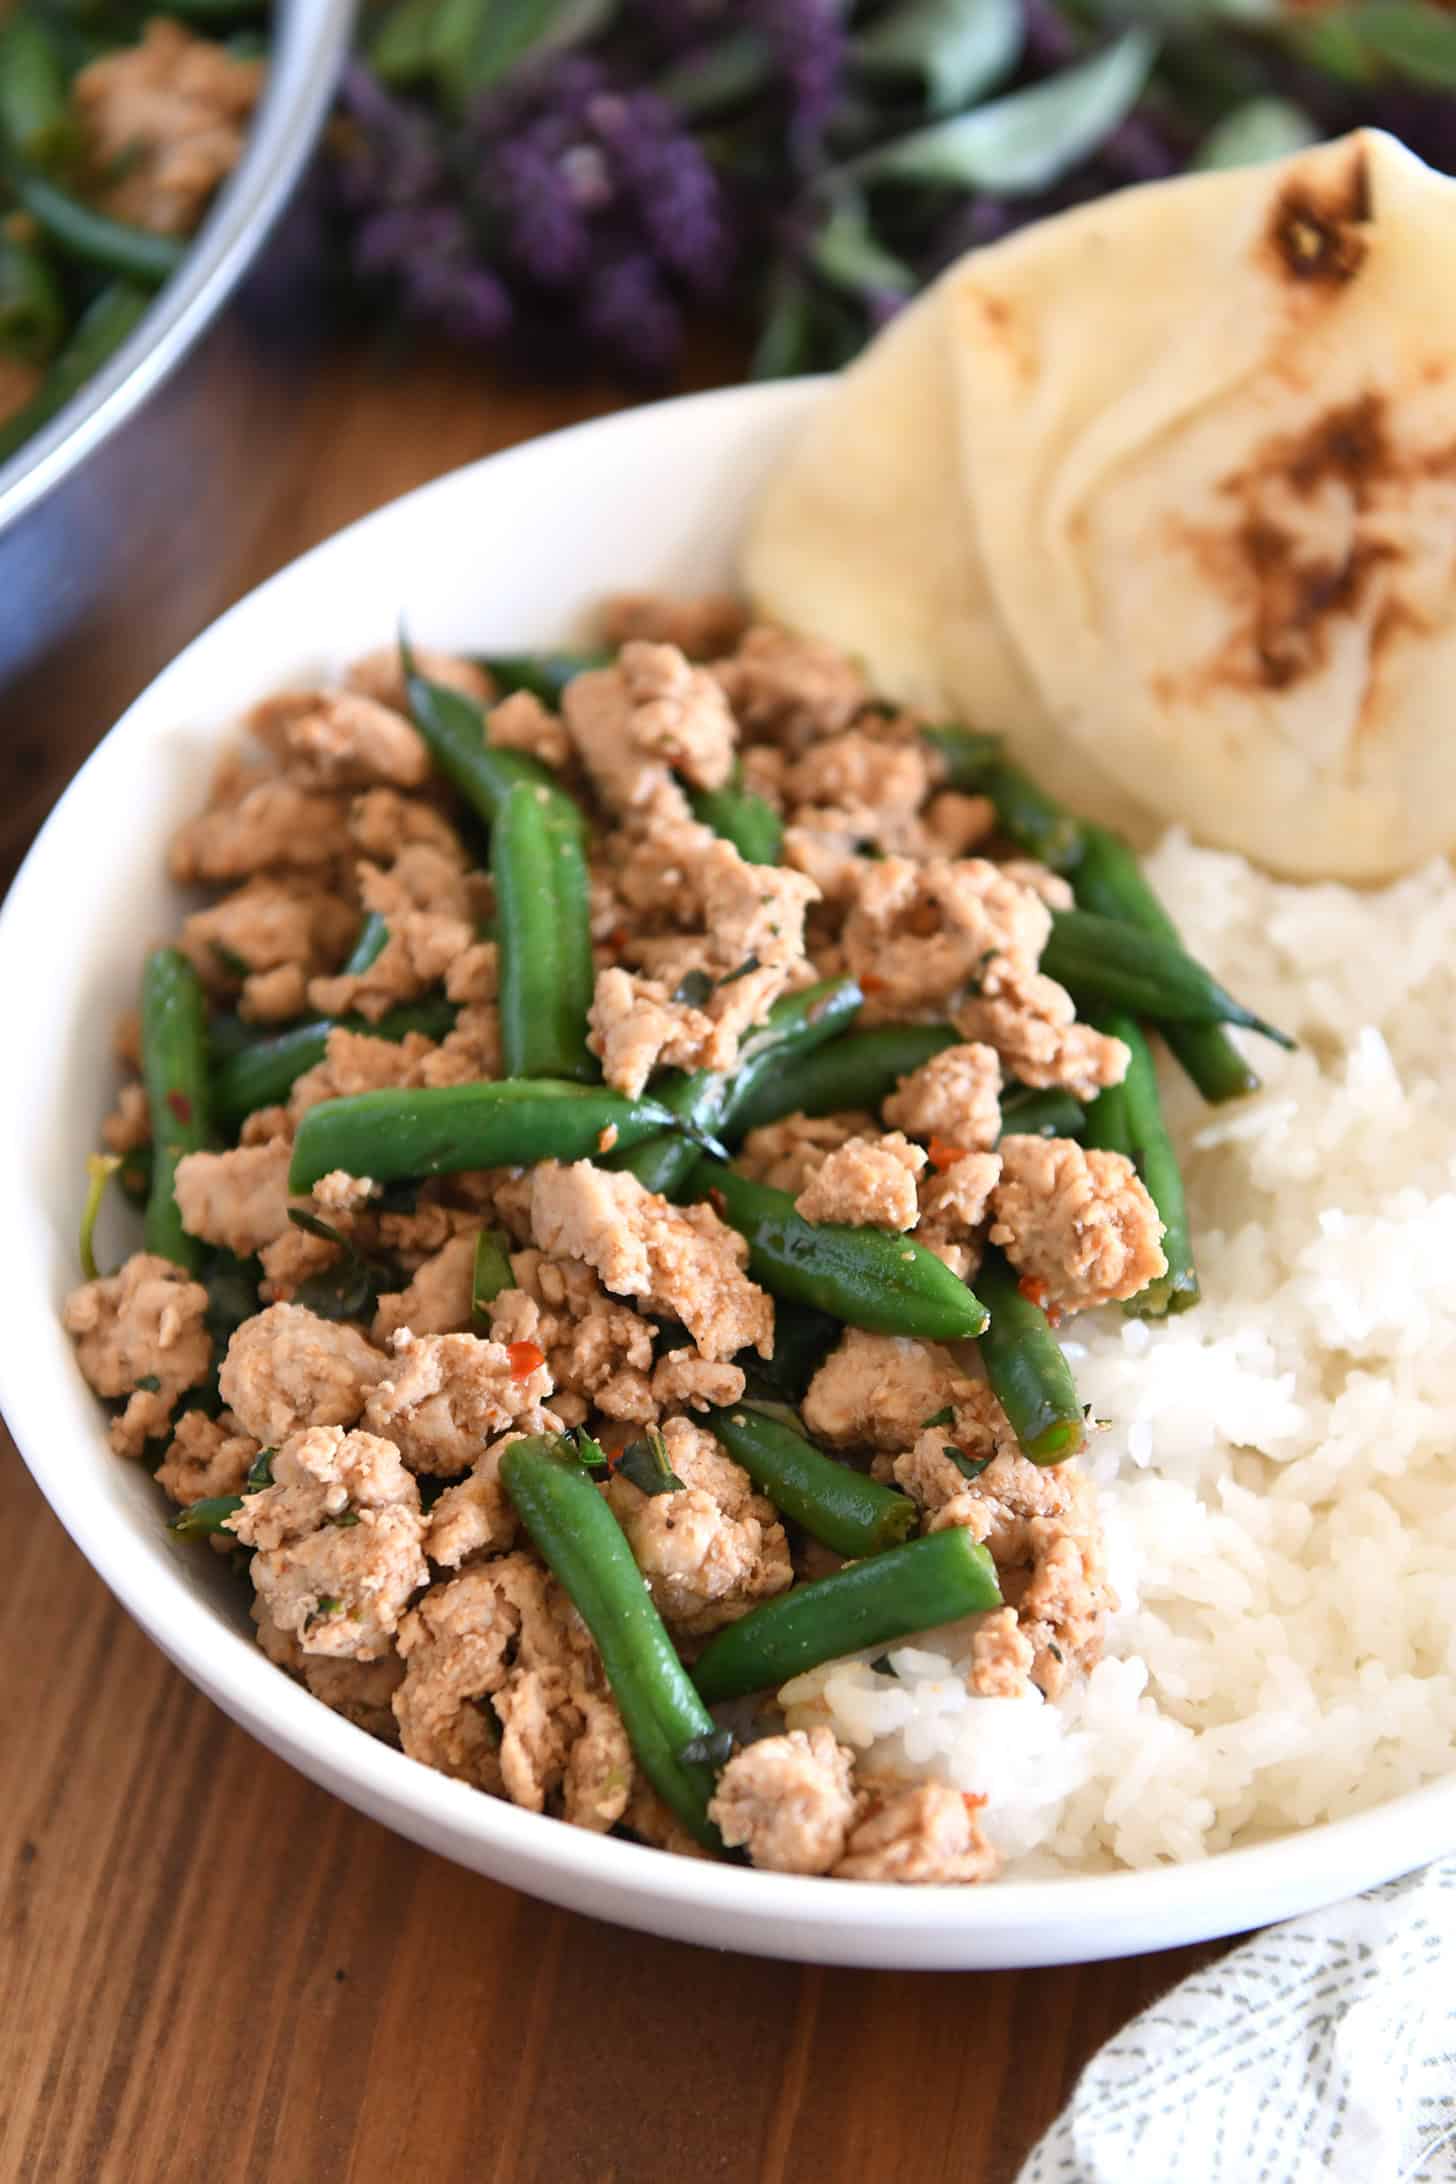
    Flavorful and SO fast, this Thai-style ground turkey with green beans is a super easy and delicious weeknight meal!

    I love simple and tasty dinners, and this one has become a huge family favorite! P.S. It makes fantastic lunch leftovers, too.

    This recipe is as simple as:

    1. browning ground turkey or ground chicken
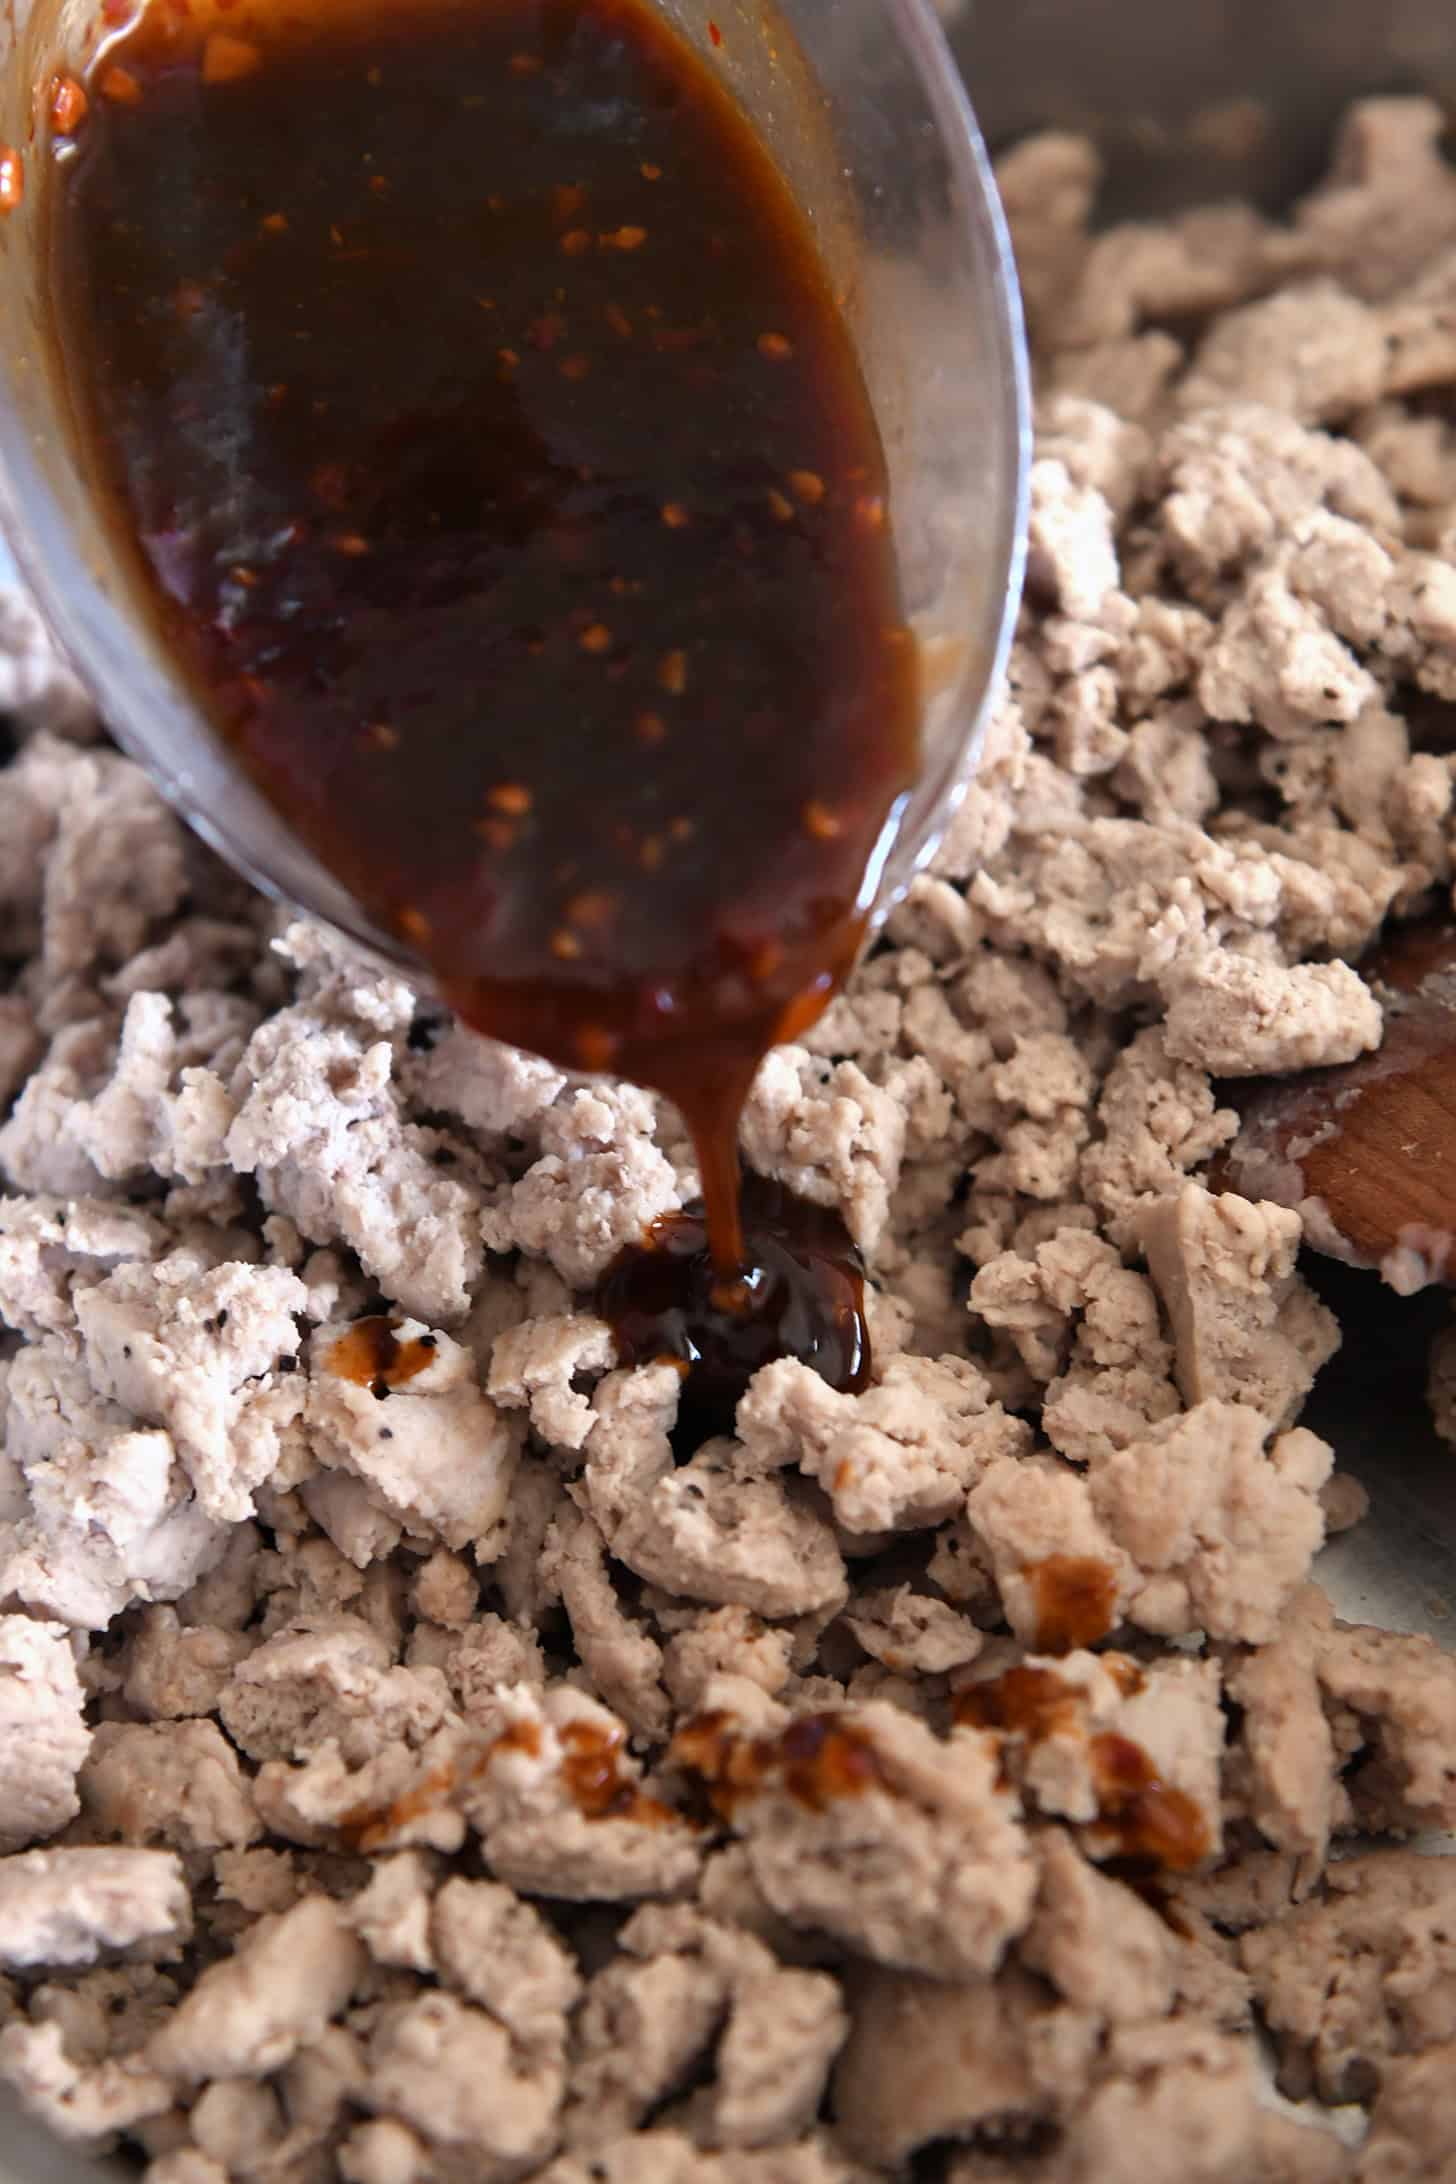
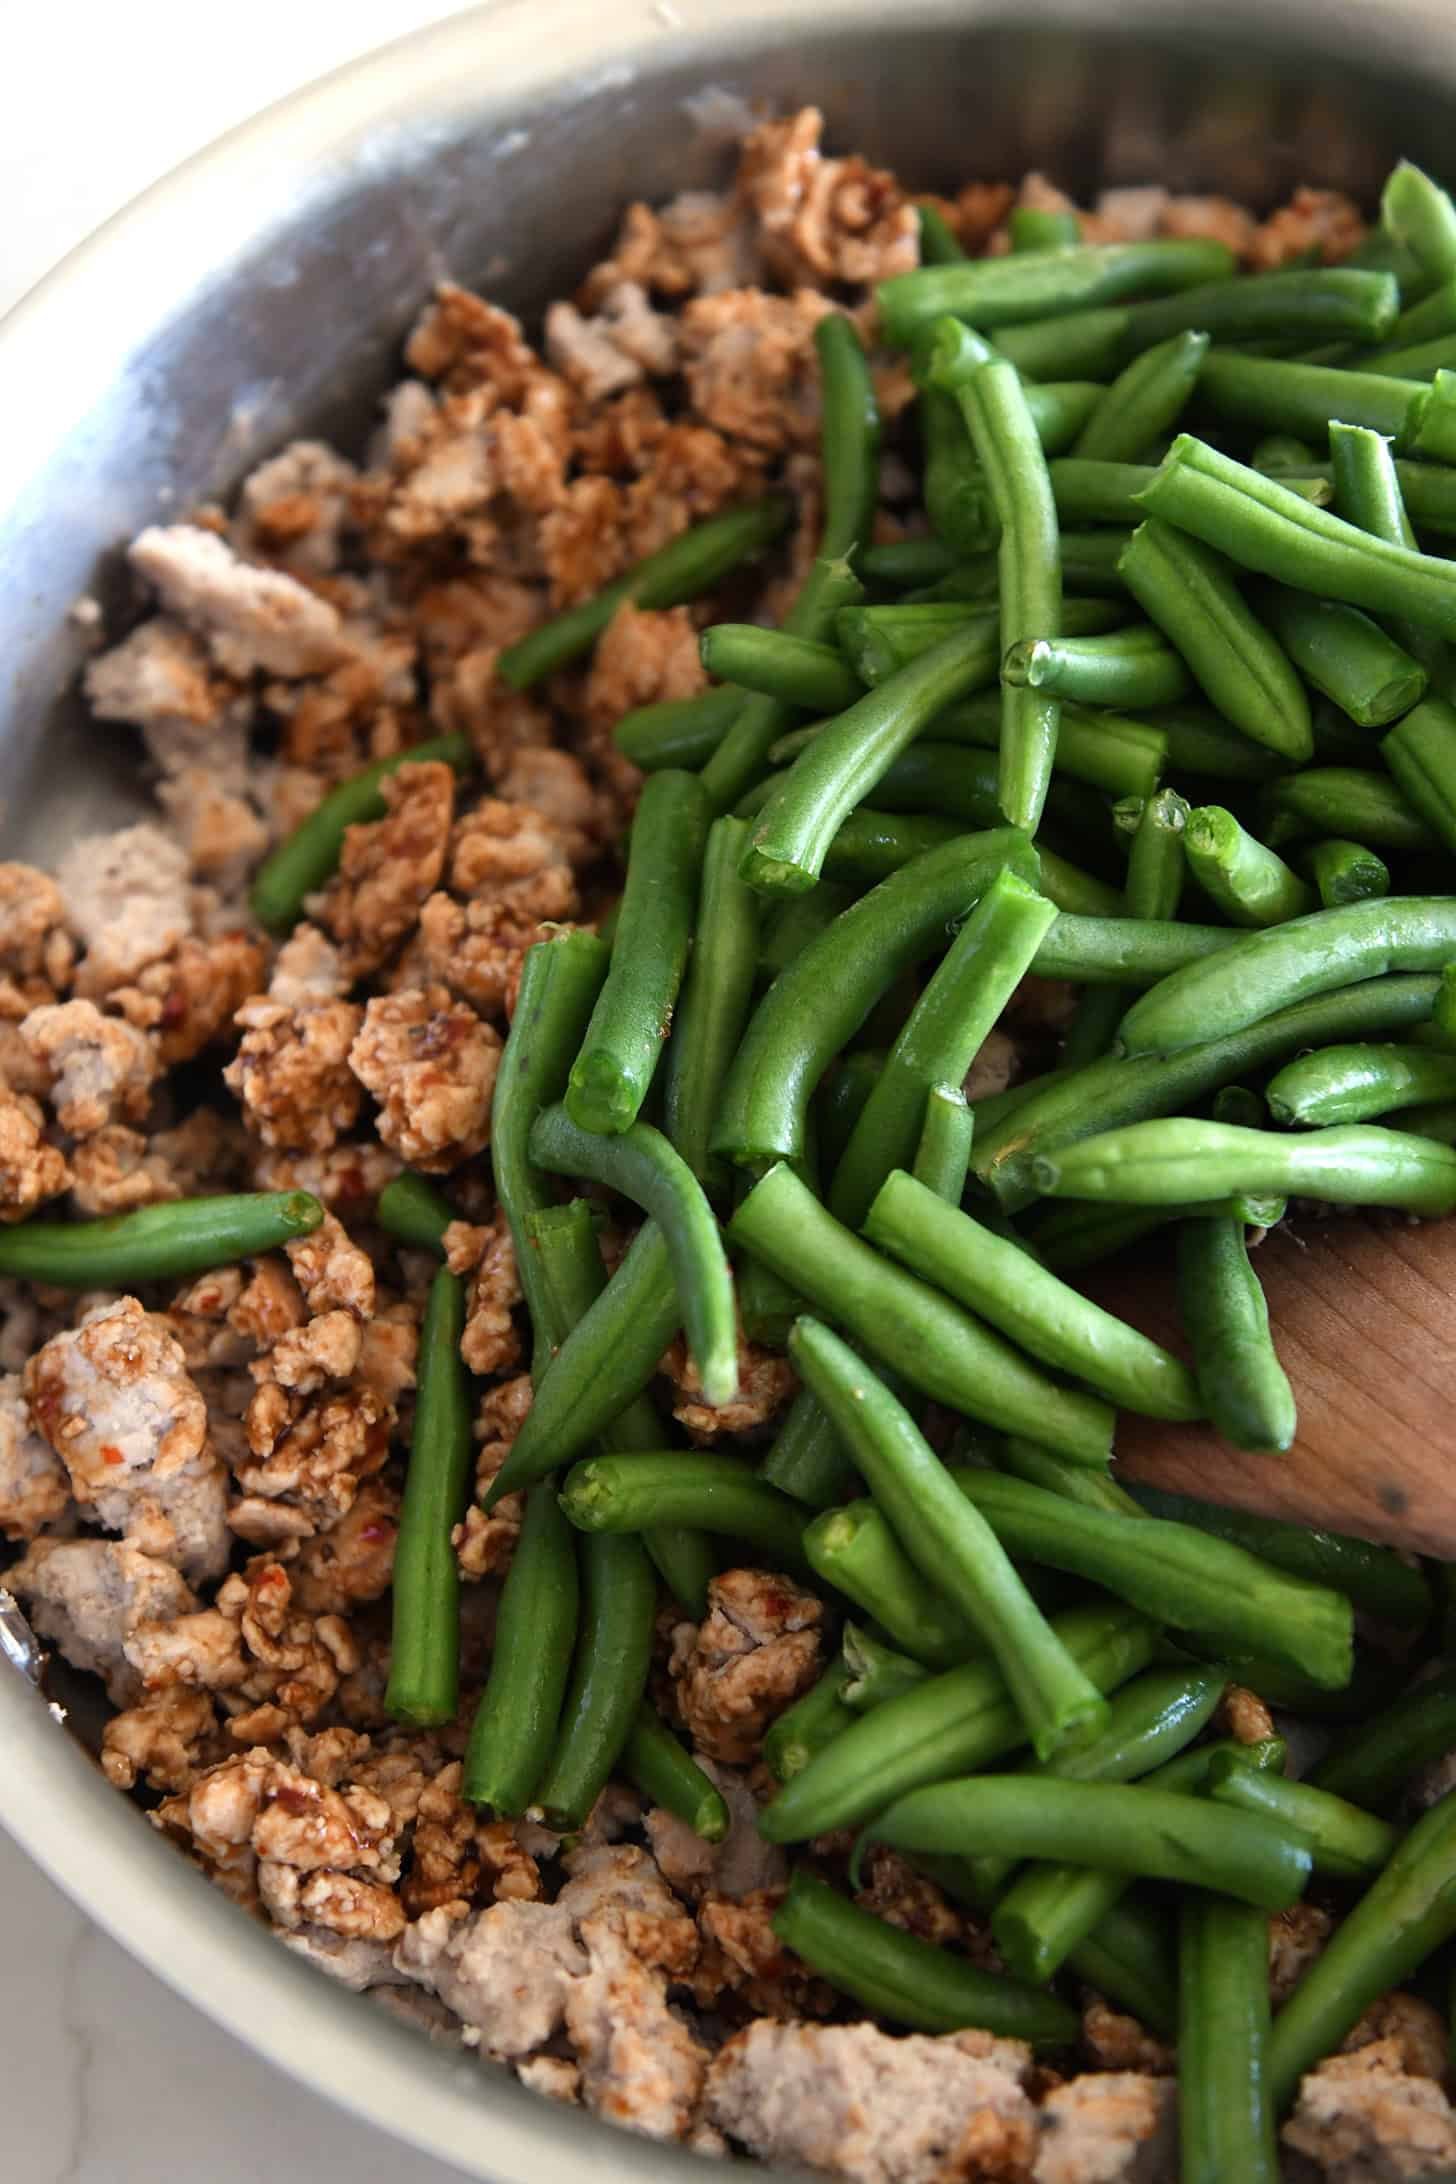
    2. adding the sauce and green beans
    3. cooking for a few minutes until the beans are crisp-tender
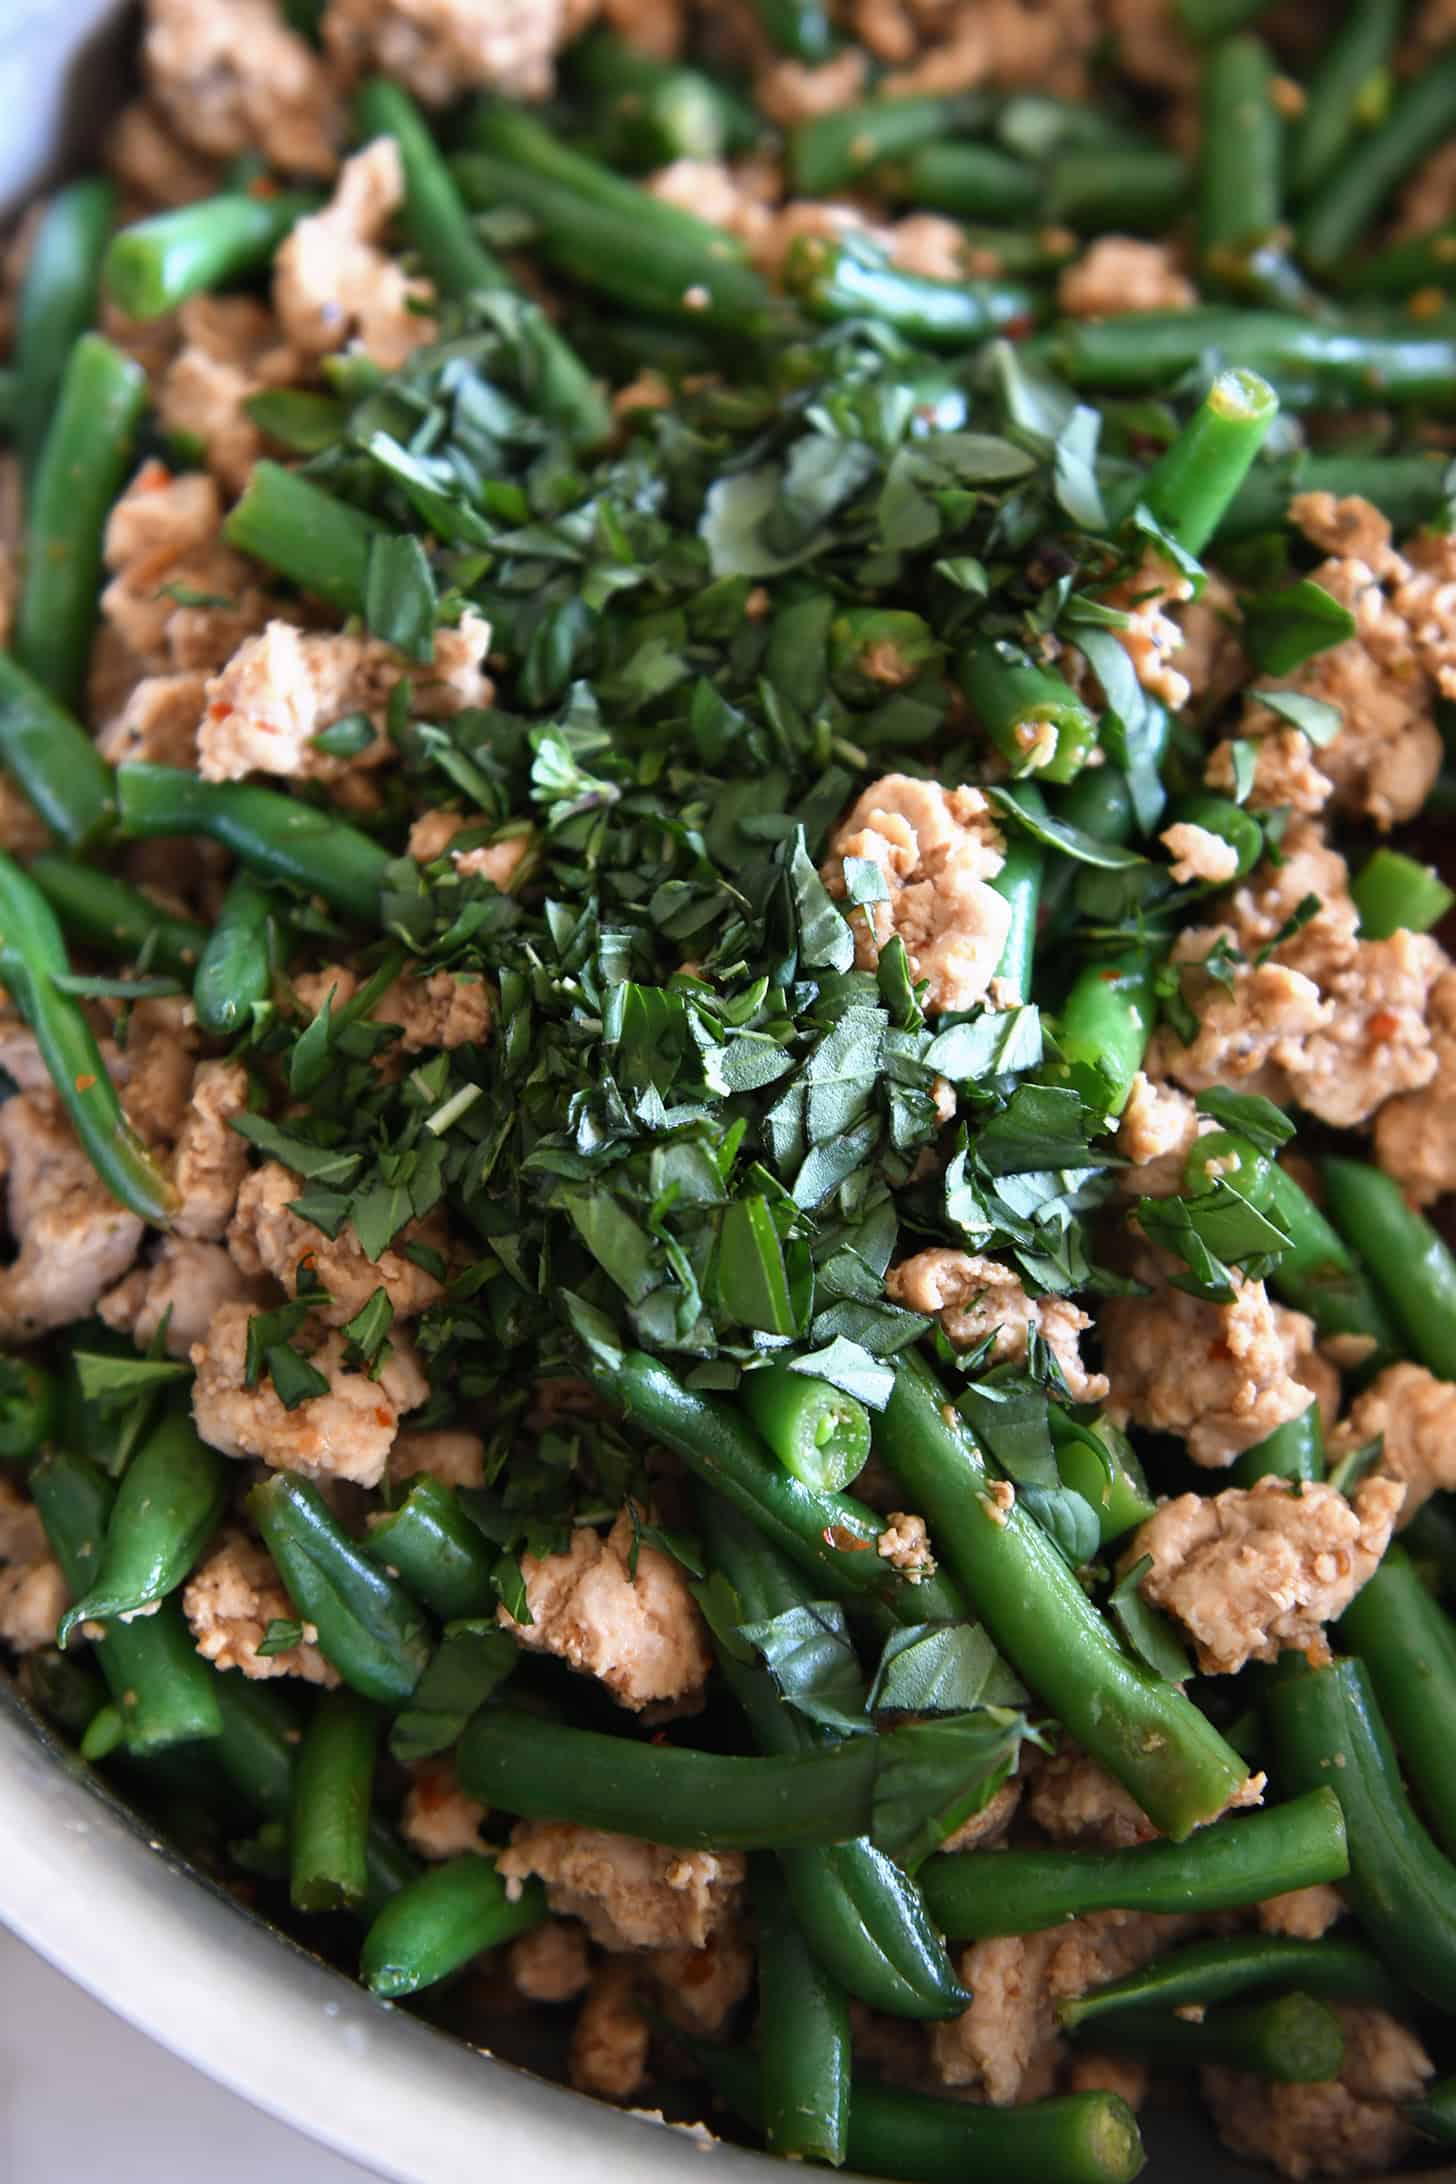
    4. stirring in the basil
    5. serving and devouring

    It is tasty served over rice with flatbread or naan bread, but it is extremely delish served sans carbs (never thought I’d say that, since I love me some carbs).

    If serving with rice, start the rice cooking before embarking on this recipe. This meal comes together so quickly that you’ll easily be waiting on the rice to finish cooking if you don’t begin with the end in mind.

    The Flavor is in the Sauce

    The sauce for this Thai-style ground turkey and green beans is loaded with flavor. A little sweet, a little salty, a little spicy.

    • oyster or hoisin sauce
    • broth
    • soy sauce
    • chili garlic sauce
    • tiny bit of brown sugar

    The heat level can be largely moderated by how much chili garlic sauce you add. As written, it’s on the mild end of spicy, so add more or less chili garlic sauce depending on how spicy you like things.

    Thai Basil vs Sweet Basil

    If you can find Thai basil, it is exceptional here. (I usually grow it in my minimalist garden every year, just for recipes like this.) It adds distinctive earthy, anise flavored notes that compliment the simple ground meat and green beans perfectly.

    Regular, sweet basil (like the kind used in pesto or Italian dishes) can be subbed for the Thai basil. The flavor will be a bit different – less pungent and more herbal and ctirusy – but still delicious.

    Either way, fresh basil really does elevate this dish to something special.

    The finished dish isn’t overly saucy, but wow, that sauce definitely packs a major flavor punch. I think more sauce could easily overpower the other ingredients (and make everything too salty), but you could try doubling the sauce if you want more of it. 

    We’ve been eating this meal on repeat. And I have been hoarding the leftovers, not even going to lie about that. BEST LUNCH.

    I’m not sure why everyone insists they still need to eat dinner in the summer months when it’s a million degrees and dinnertime is weird and I want a break from all things related to cooking dinner (be aware, I still want to EAT dinner, but I doth not want to COOK dinner).

    Thank goodness for meals like this. It checks all the boxes: fast, easy, healthful and delicious. And because it is on the table in 30 minutes and requires very little brain power, my will to live can continue on until the next dinnertime comes around.

    One Year Ago: Hawaiian Chicken and Veggie Teriyaki Bowl
    Two Years Ago: Grilled Teriyaki Chicken {Homemade Teriyaki Sauce}
    Three Years Ago: The Best Saucy Baked Beans {Oven or Slow Cooker}
    Four Years Ago: Baked Crispy Shrimp Tacos
    Five Years Ago: My Favorite Cherry Pie in the History of Ever 
    Six Years Ago: S’Mores Chocolate Chip Cookies
    Seven Years Ago: Crispy Southwest Chicken Wraps
    Eight Years Ago: Chocolate Fudge Brownie Cupcakes
    Nine Years Ago: Chocolate Chip Applesauce Snack Cake
    Ten Years Ago: Simple Skillet Green Beans {The Best Fresh Green Beans Of Your Life} 

    Thai-Style Ground Turkey and Green Beans {20-Minute Meal}

    • ¼ cup chicken broth
    • ¼ cup oyster or hoisin sauce
    • 2 tablespoons low-sodium soy sauce
    • 1 tablespoon chili garlic sauce
    • 1 teaspoon brown sugar
    • 1 ½ pounds lean ground turkey or ground chicken
    • 12 to 16 ounces fresh green beans, trimmed and cut into 1-inch pieces
    • ½ cup fresh Thai or sweet basil, chopped or torn into small pieces

    Prevent your screen from going dark

    • In a small bowl or liquid measuring cup, whisk together the broth, oyster or hoisin sauce, soy sauce, chili garlic sauce, and brown sugar. Set aside.

    • In a 12-inch skillet set over medium heat, add the ground turkey with a pinch of salt and pepper. Cook, breaking the meat into small pieces, until no longer pink, 5 to 6 minutes. Off the heat, drain excess grease.

    • Return the skillet to medium heat. Whisk the sauce to recombine and add to the skillet. Give the meat and sauce a quick stir.

    • Add the green beans. Bring to a gentle simmer, cover, and cook for 3 to 5 minutes until the beans are crisp-tender (add additional time for more tender green beans).

    • Add the basil. Give everything a good stir to bring the sauce up from the bottom of the pan. Serve immediately. It is delicious on its own or served over hot, cooked rice with flatbread or naan.

    Rice: if serving over rice, start the rice cooking before beginning the recipe. 
    Sauce: the finished dish isn’t overly saucy, but the sauce definitely packs a major flavor punch. More sauce could easily over power the other ingredients (and make everything too salty), but you could try doubling the sauce if you want more of it. 

    Serving: 1 serving, Calories: 159kcal, Carbohydrates: 7g, Protein: 28g, Fat: 2g, Saturated Fat: 1g, Cholesterol: 62mg, Sodium: 695mg, Fiber: 2g, Sugar: 3g

    Recipe Source: inspired by a recipe in the Food Network Magazine June/July 2024 (changed sauce recipe, reduced basil, increased ground turkey and green beans, etc)

    Disclaimer: I am a participant in the Amazon Services LLC Associates Program, an affiliate advertising program designed to provide a means for me to earn fees by linking to Amazon.com and affiliated sites. As an Amazon Associate I earn from qualifying purchases.
    Source link

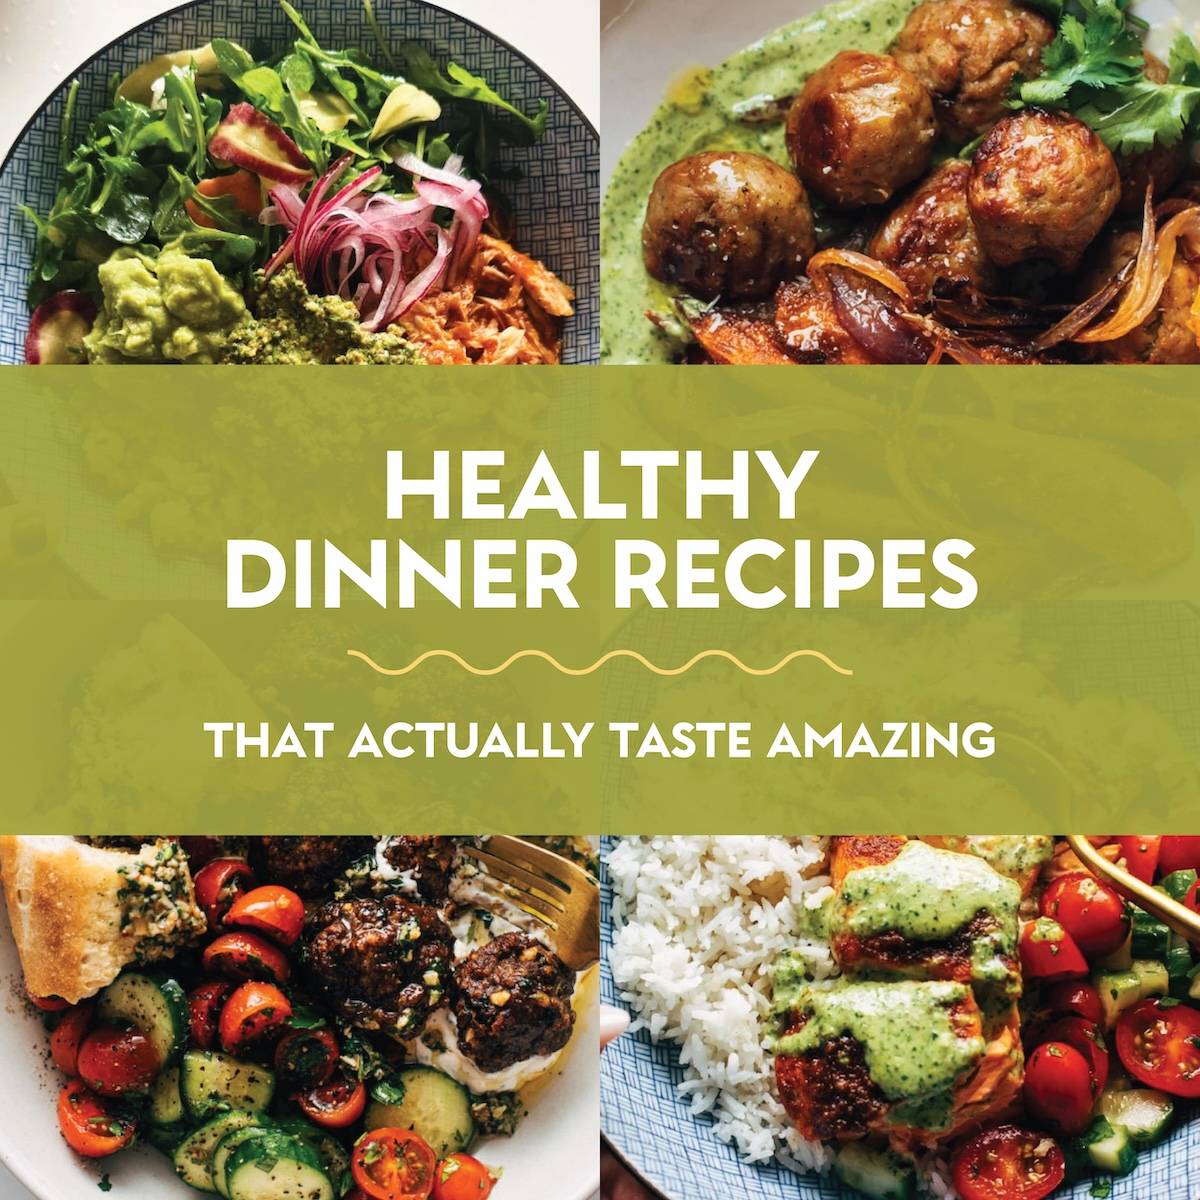
  • 36 Healthy Dinner Recipes That Actually Taste Amazing

    36 Healthy Dinner Recipes That Actually Taste Amazing

    A collection of healthy dinner recipes that actually taste amazing – flavorful, satisfying meals you’ll genuinely be excited to cook and eat!

    Eating well shouldn’t feel hard, and it definitely shouldn’t mean not being excited about dinner. These healthy dinner recipes are proof that food can be both nourishing and genuinely delicious! Think bold sauces, cozy bowls, bright flavors, and meals that leave you feeling good and happy. The kind of dinners you actually look forward to making, not ones you force yourself through because you “should.”

    This list is full of go-to recipes that prioritize flavor first, while still being balanced and feel-good. Whether you’re cooking for a busy weeknight, feeding a family, or just trying to get out of a dinner rut, these are healthy recipes that you’ll be excited to cook, happy to eat, and ready to make again and again.

    Want more dinner ideas? Here are the quickest and easiest around!


    Healthy Dinner Recipes

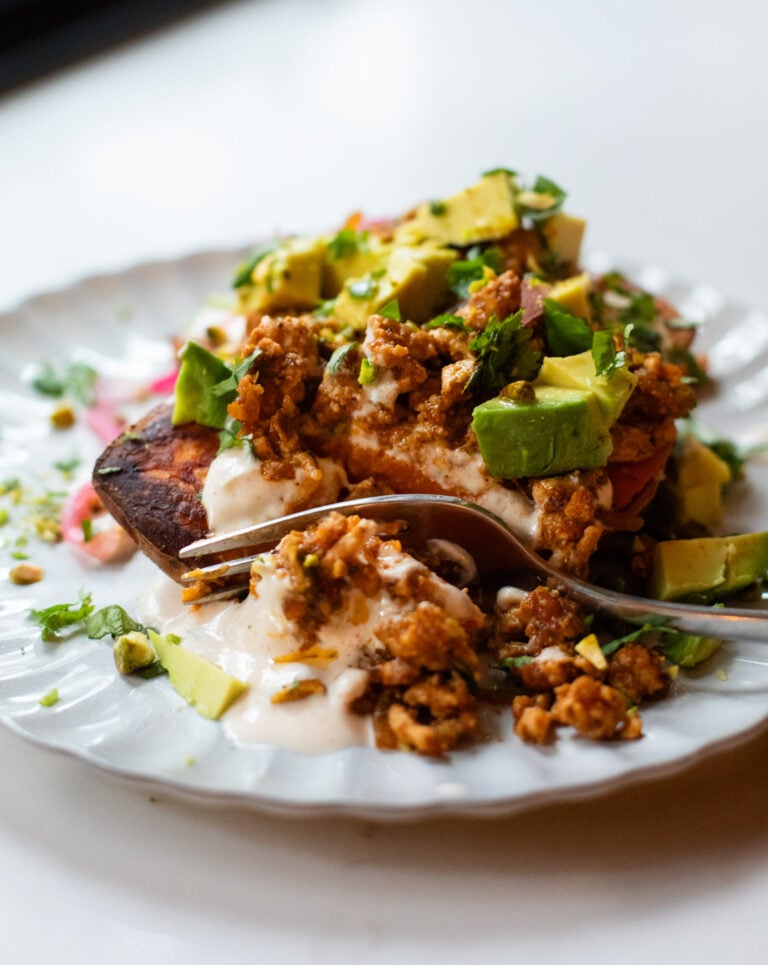
    Sweet potato stacks with avocado and chipotle sauce.

    Roasted Sweet Potato Stacks with Chipotle Sauce

    Roasted sweet potatoes topped with creamy chipotle sauce, spicy ground chicken, avocado, cilantro, and pickled onion. My family loves them!

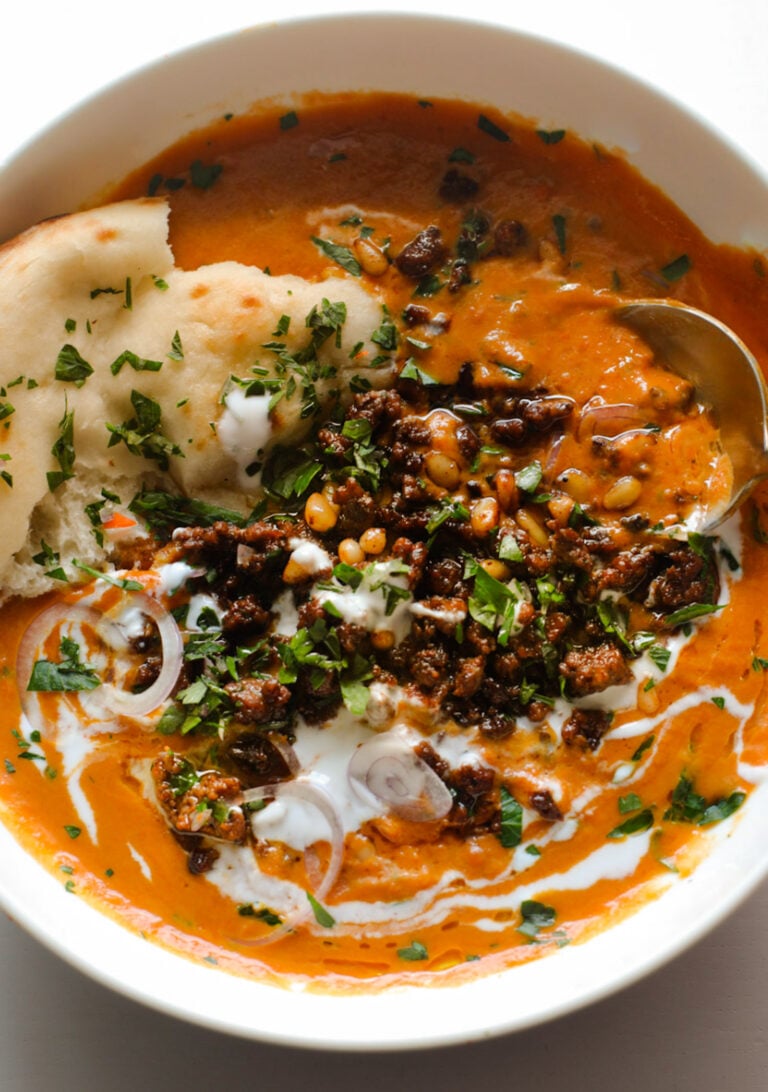
    Carrot soup with spiced ground beef on top.

    Carrot Soup with Spiced Ground Beef and Pine Nuts

    Silky carrot soup topped with spiced ground beef and toasty pine nuts! Bright, savory, warming, all the best things!

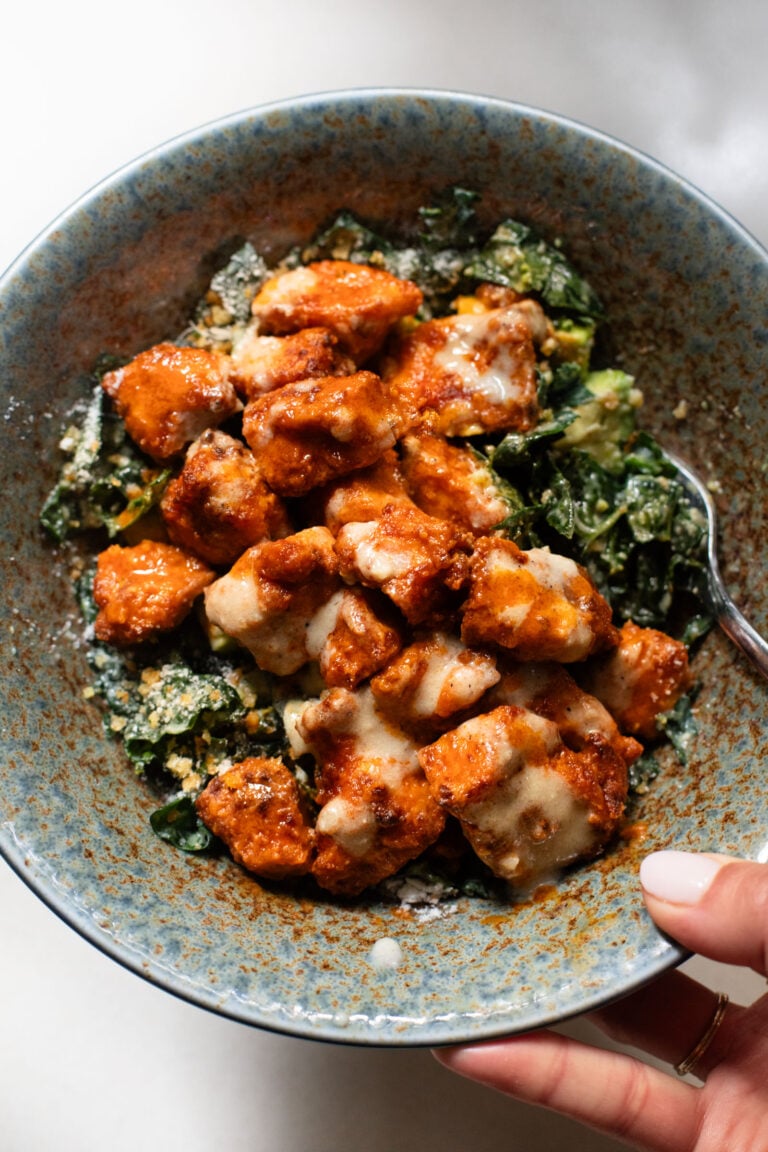
    Buffalo tofu on a caesar salad.

    Crispy Buffalo Tofu with Caesar Salad

    This Buffalo Tofu is SO EASY! A two-ingredient sauce tossed with air-fried crispy tofu, laid on top of a kale caesar salad.

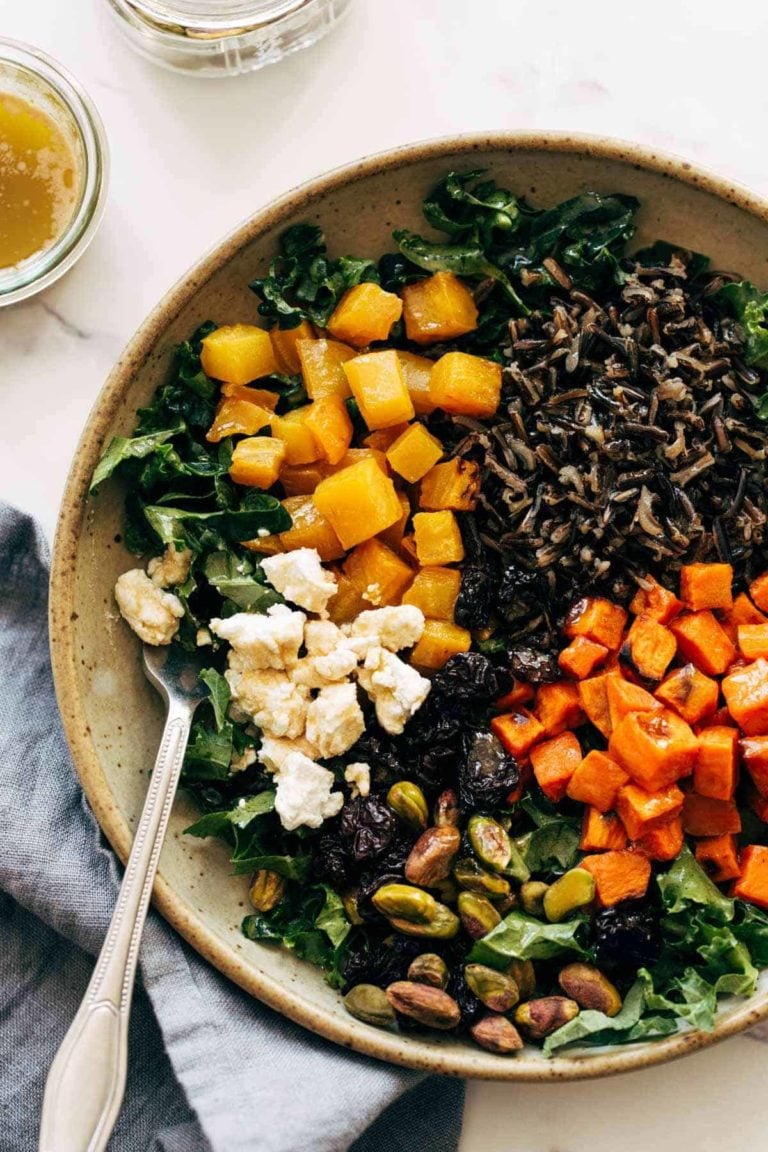
    Veggie grain bowl.

    Roasted Veggie Grain Bowl with Balsamic Dressing

    The BEST Grain Bowl! Roasted root vegetables, earthy grains, dried fruit, dark leafy greens, buttery goat cheese, and lusciously creamy balsamic dressing.

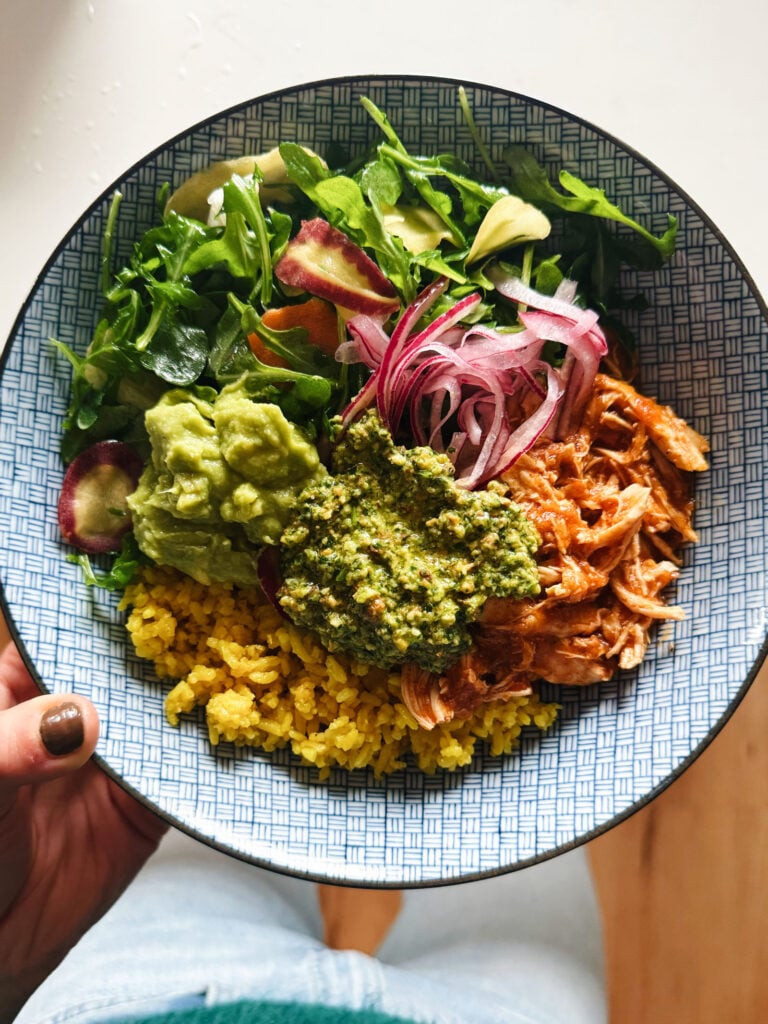
    Crockpot chicken in a bowl with rice and greens.

    Crockpot Chicken Bowls with Yellow Rice and Cilantro Pesto

    Saucy shredded chicken, yellow rice, pickled onions, greens, and cilantro pesto on top. It’s a flavor and color delight!

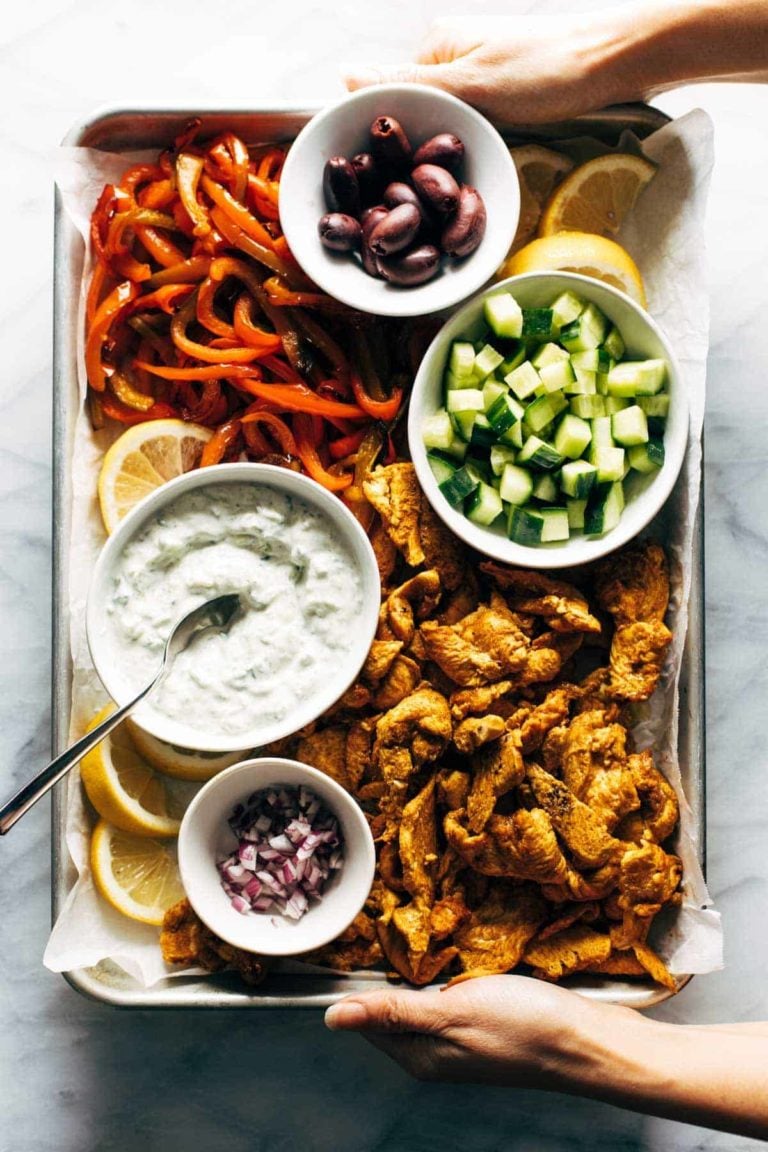
    Sheet pan chicken with peppers and veggies.

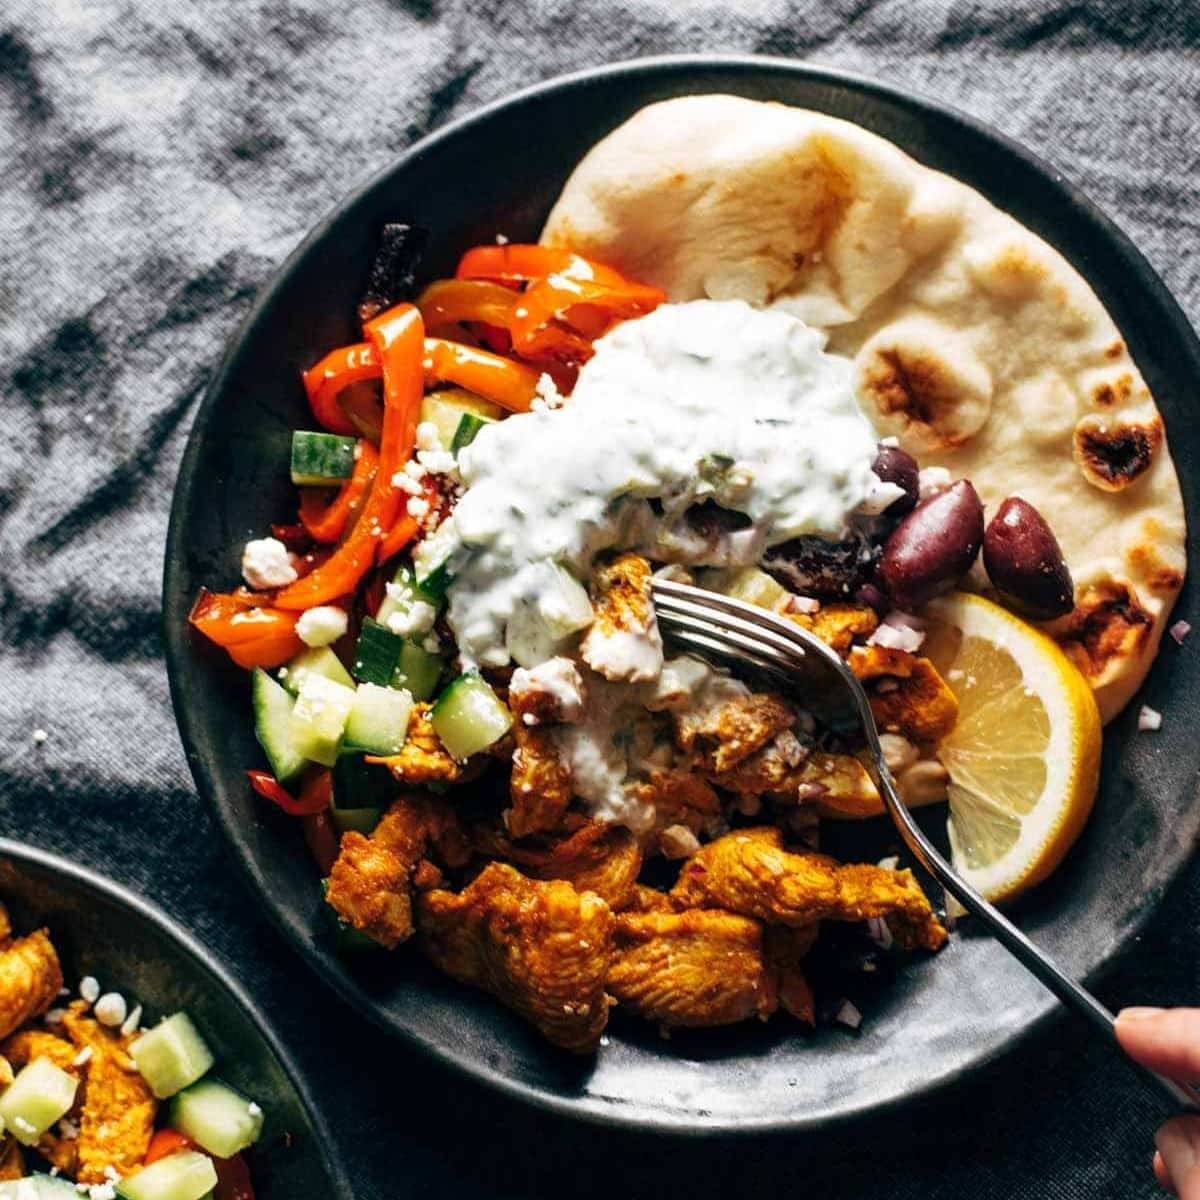
    Sheet Pan Chicken Pitas with Tzatziki

    Part bowl, part salad, part sandwich folded up into any kind of bread you like, and I’m here for it in every form.

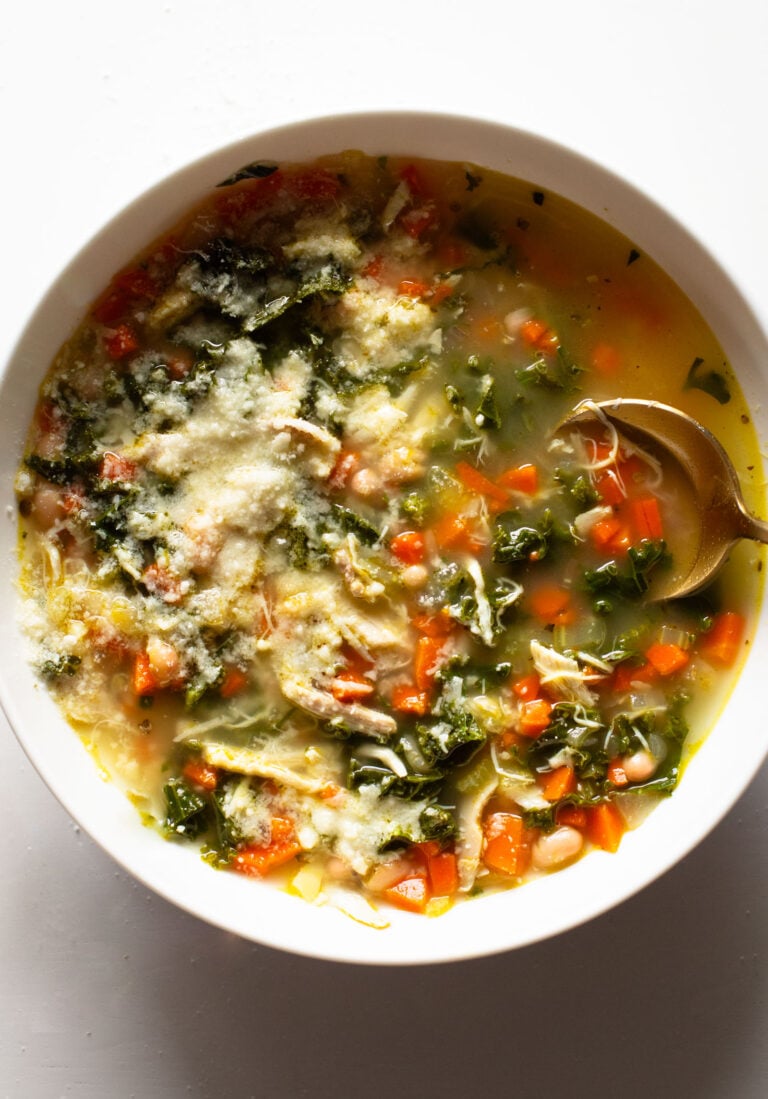
    Lemon chicken soup in a bowl.

    Lemon Rosemary Chicken Soup

    Lemon Rosemary Chicken Soup with loads of veggies like carrots and kale, beans, chicken, and a lemon rosemary broth. So cozy.

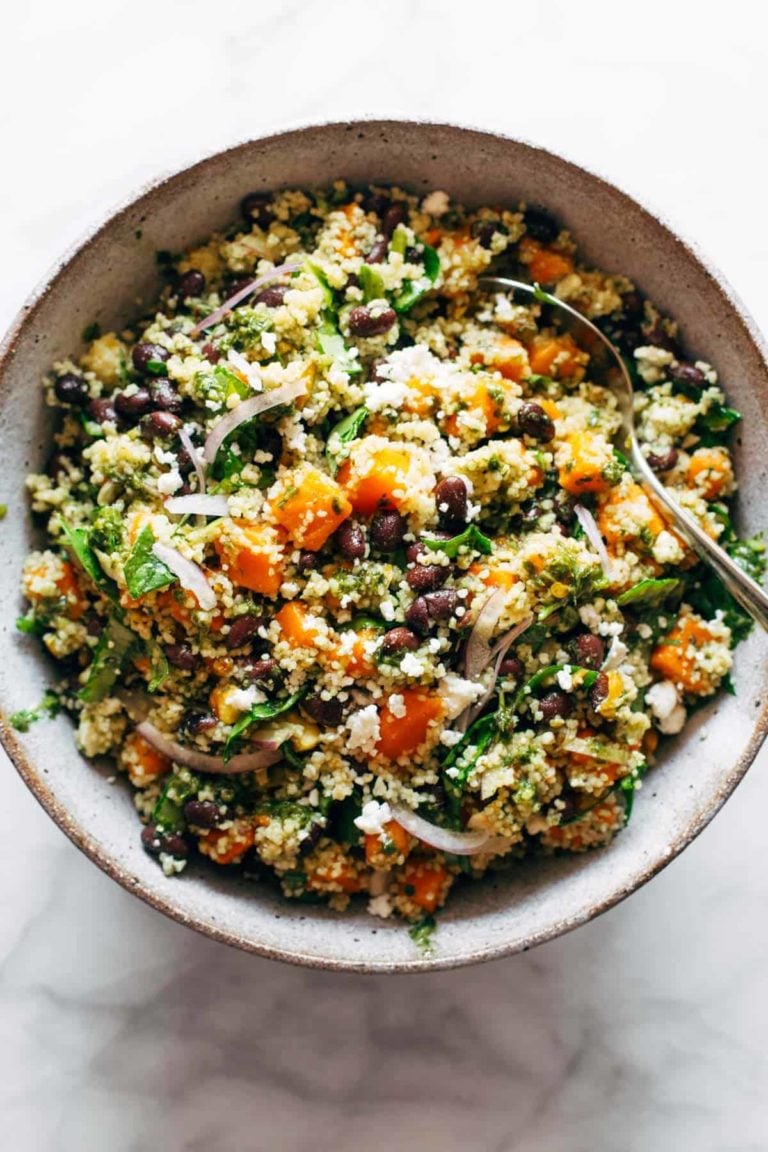
    Couscous salad in a bowl.

    Couscous Salad with Lime Basil Vinaigrette

    A bright, zippy, unexpectedly delicious couscous salad that’s packed with sweet potatoes, black beans, spinach, feta, and more – all tossed with a life-changing lime basil vinaigrette!

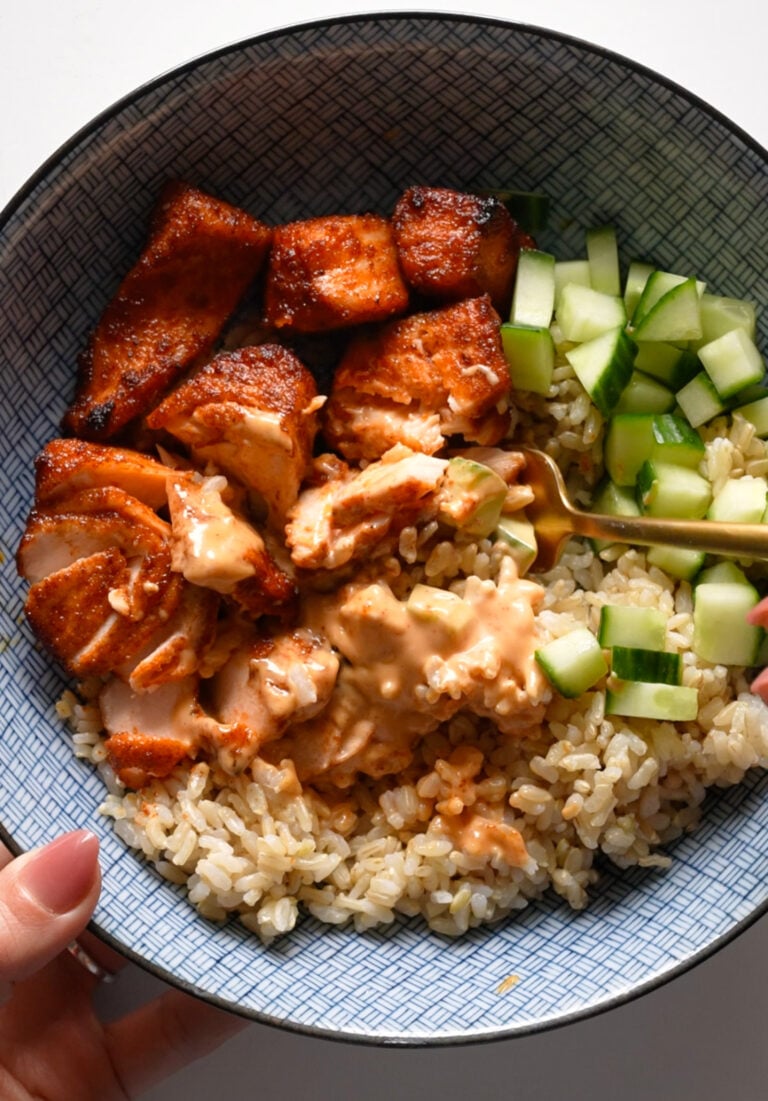
    Air fryer salmon in a bowl with rice and cucumbers.

    Ridiculously Good Air Fryer Salmon

    My go-to salmon recipe that’s perfect every time! Crisped and golden on the outside, buttery and juicy on the inside, and made in 15 minutes start to finish.

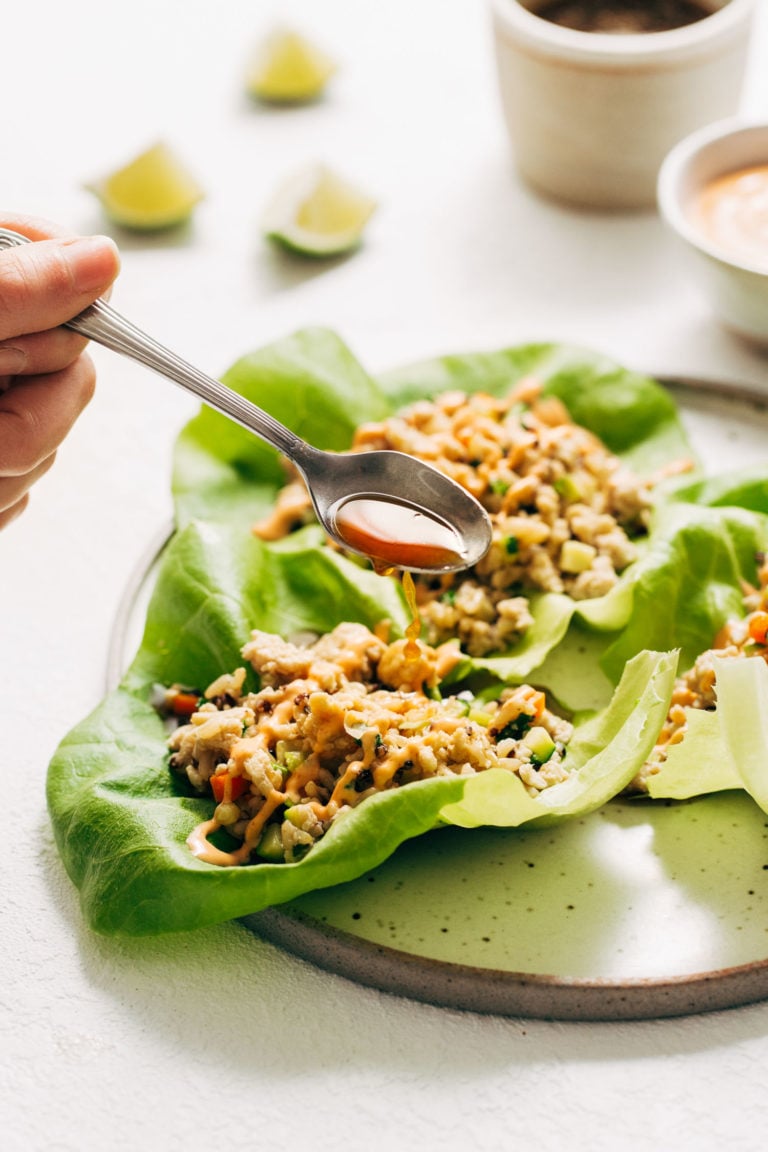
    Chicken lettuce wraps with sauce poured on top.

    Chicken Lettuce Wraps with Lime Drench

    These lettuce wraps are a SUMMER DREAM. Mountains of crumbled-crisp ground chicken, fluffy quinoa, and/or rice for added satisfaction, and garlicky gingery sautéed veggies in crisp butter lettuce leaves.

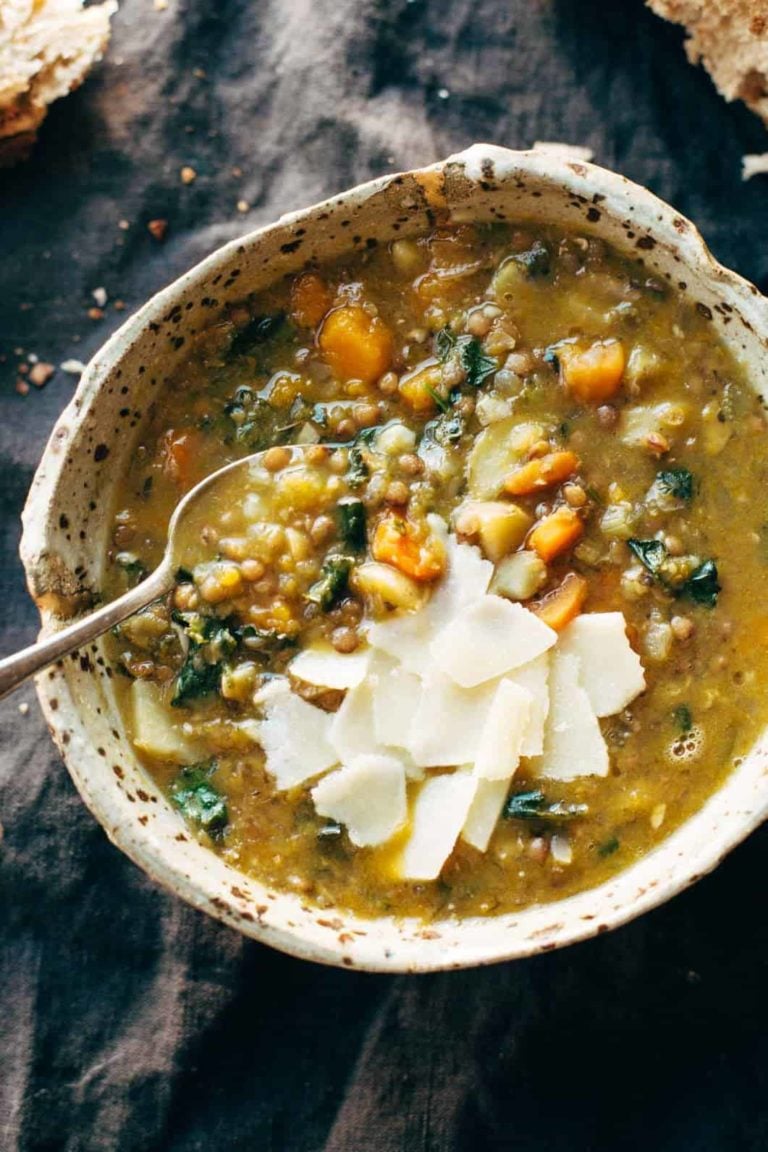
    Lentil soup in a bowl.

    The Best Detox Crockpot Lentil Soup

    Detox Crockpot Lentil Soup – a clean and simple soup made with onions, garlic, carrots, olive oil, squash, and LENTILS! Super healthy and easy to make.

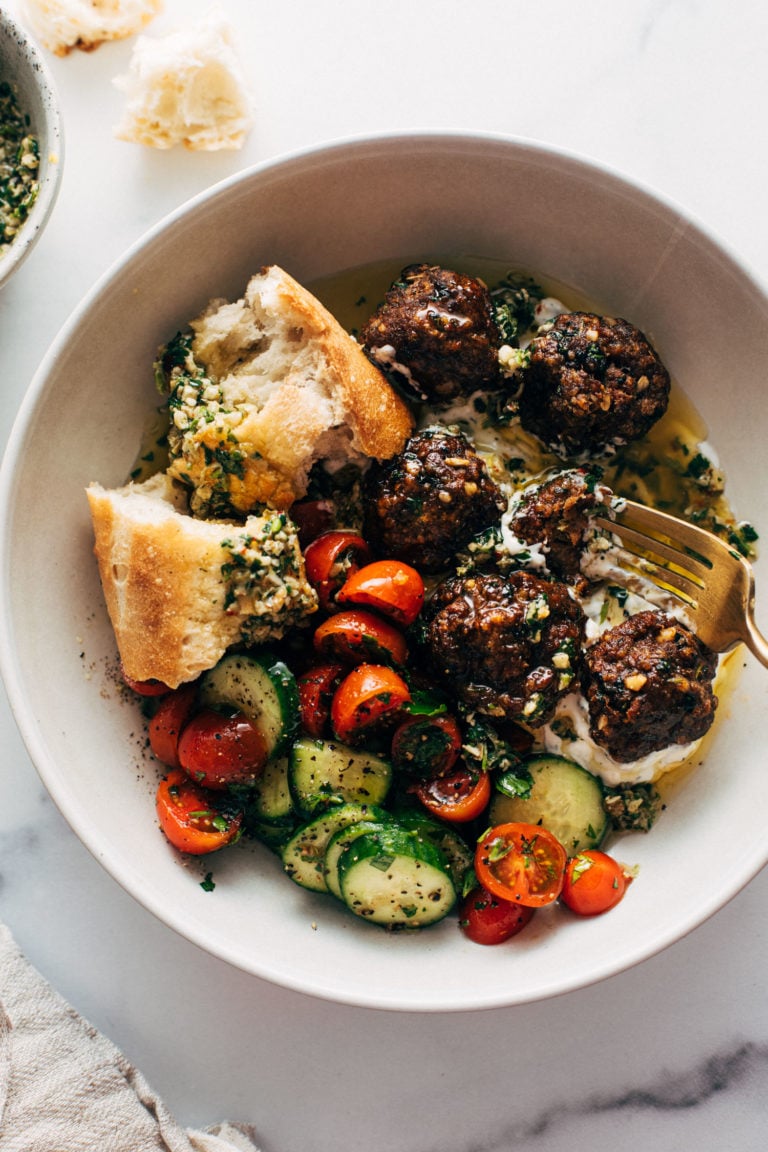
    Sheet pan meatballs in a bowl with bread and tomato salad.

    Sheet Pan Meatballs with Tomato Salad and Green Sauce

    Juicy little sheet pan meatballs that are salty, zesty, briney, and so so delicious. Pile them on tzatziki, spoon some punchy green sauce over top, and serve with a simple salad and crusty bread.

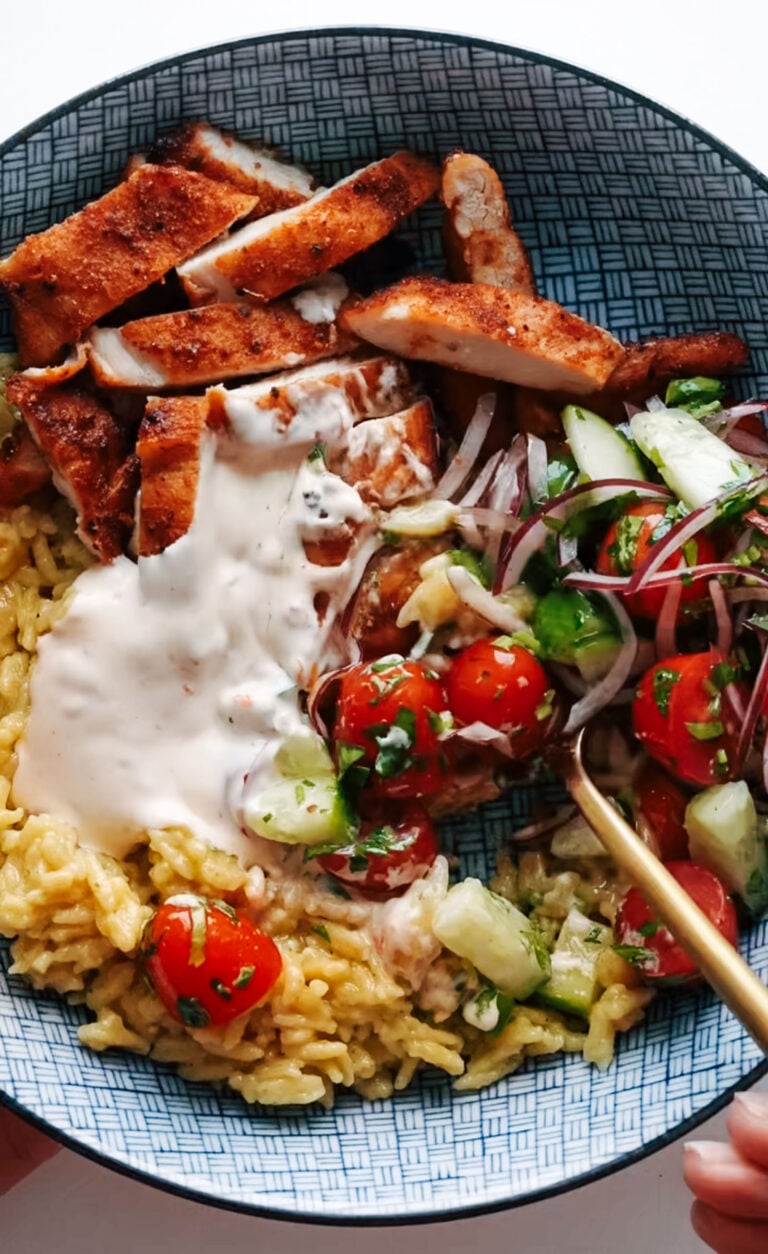
    Chicken in a bowl with Banza rice.

    Banza Chicken Bowls with Calabrian Chili Sauce

    This bowl has it all! The crunch of the tomato cucumber salad, the thin slips of bitey red onion, the golden crisped air fryer chicken cut into tender little strips, a big pile of perfectly chewy Banza, and a dollop of tangy calabrian chile sauce on top.

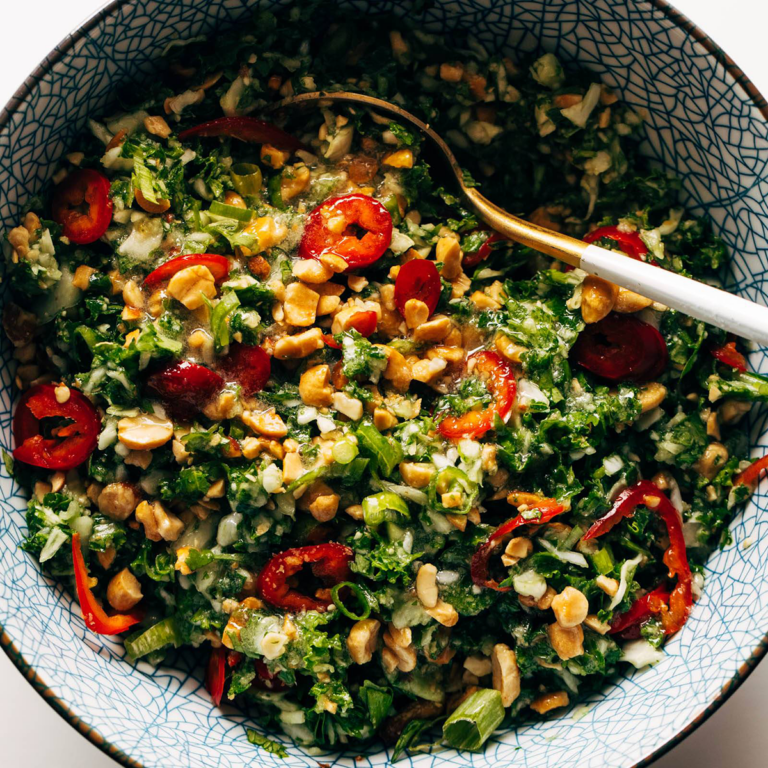
    Kale salad in a bowl.

    Roasted Peanut Kale Crunch Salad

    OOOH BABY, this salad is so good! Crunchy kale and cabbage, fresh herbs and fresno peppers, chopped peanuts, and a perfect roasted peanut vinaigrette that tucks into all the salad nooks and crannies.

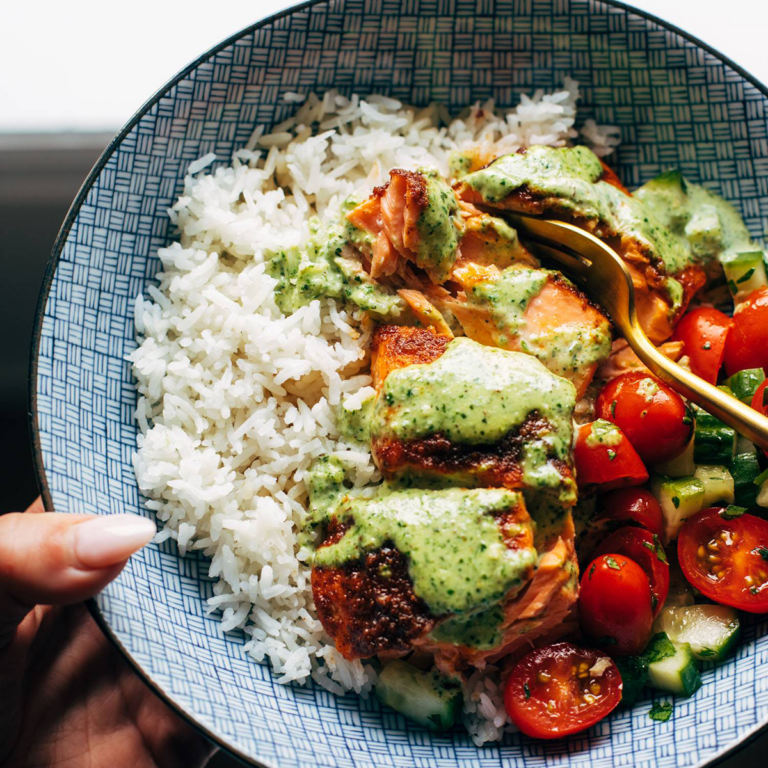
    Salmon in a bowl with rice and basil sauce.

    Salmon with Basil Sauce and Tomato Salad

    We’re making a summery salmon with a beautiful, big-flavored basil sauce that is so good, you’re going to want to just drink it. Perfectly-spiced, fresh, and a dinner for everyone!

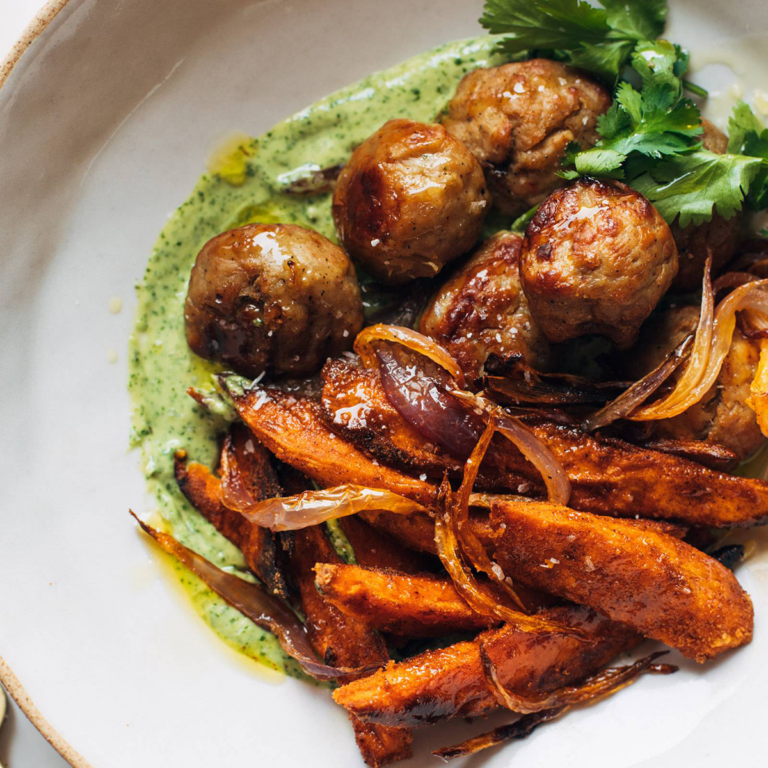
    Meatballs in a bowl with sweet potatoes and aji verde.

    Avocado Mojo Bowls with Sweet Potato and Chicken

    We are living our best bowl life this week. Seasoned sweet potato wedges and chicken meatballs or rotisserie chicken all piled onto a plate with a little puddle of punchy green avocado mojo sauce. Yes, wow, repeat.

    Sheet pan jambalaya.

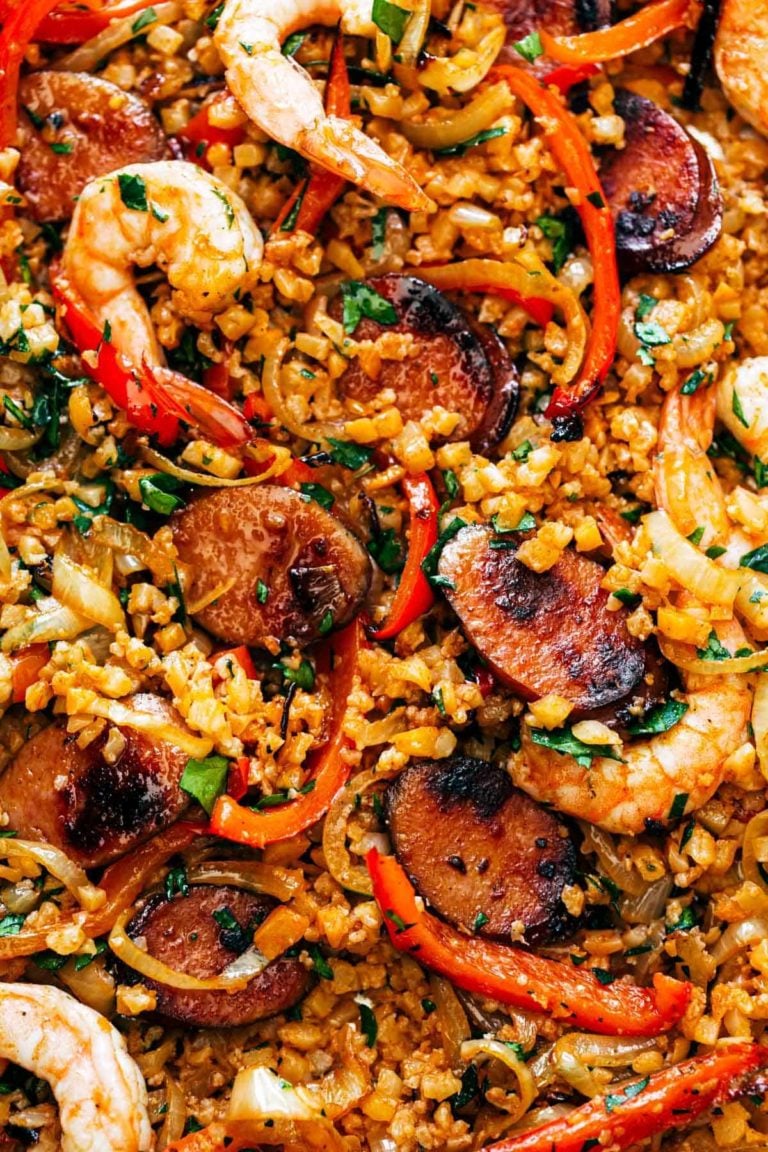
    Sheet Pan Jambalaya

    Sheet Pan Jambalaya: maximum flavor, minimal dishes. Sausage, peppers, onions, shrimp, and cauliflower rice all roasted up on a sheet pan. Big flavor, easy dinner!

    Hummus in a bowl topped with cauliflower.

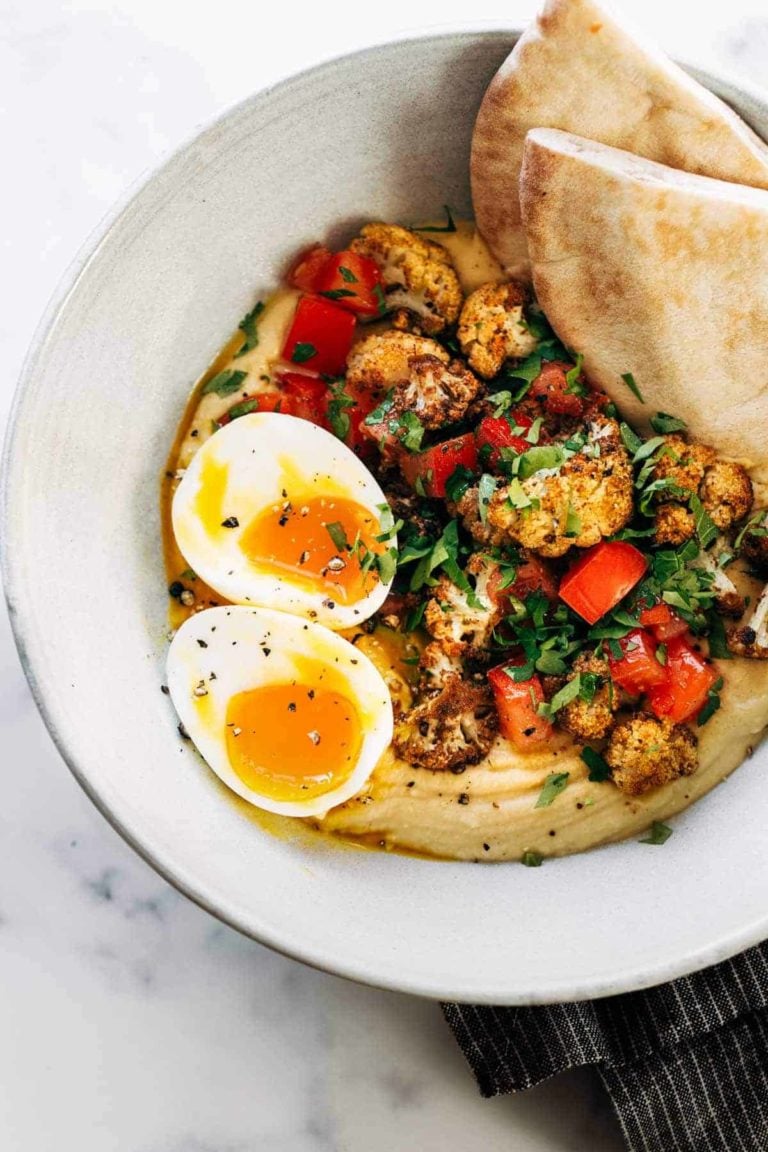
    Roasted Cauliflower Hummus Bowls

    These Roasted Cauliflower Hummus Bowls are LIFE-CHANGING. A bed of garlicky creamy hummus, piled high with spiced roasted cauliflower, and a speckling of fresh lemony tomatoes and herbs.

    Vermicelli salad in a bowl with tofu.

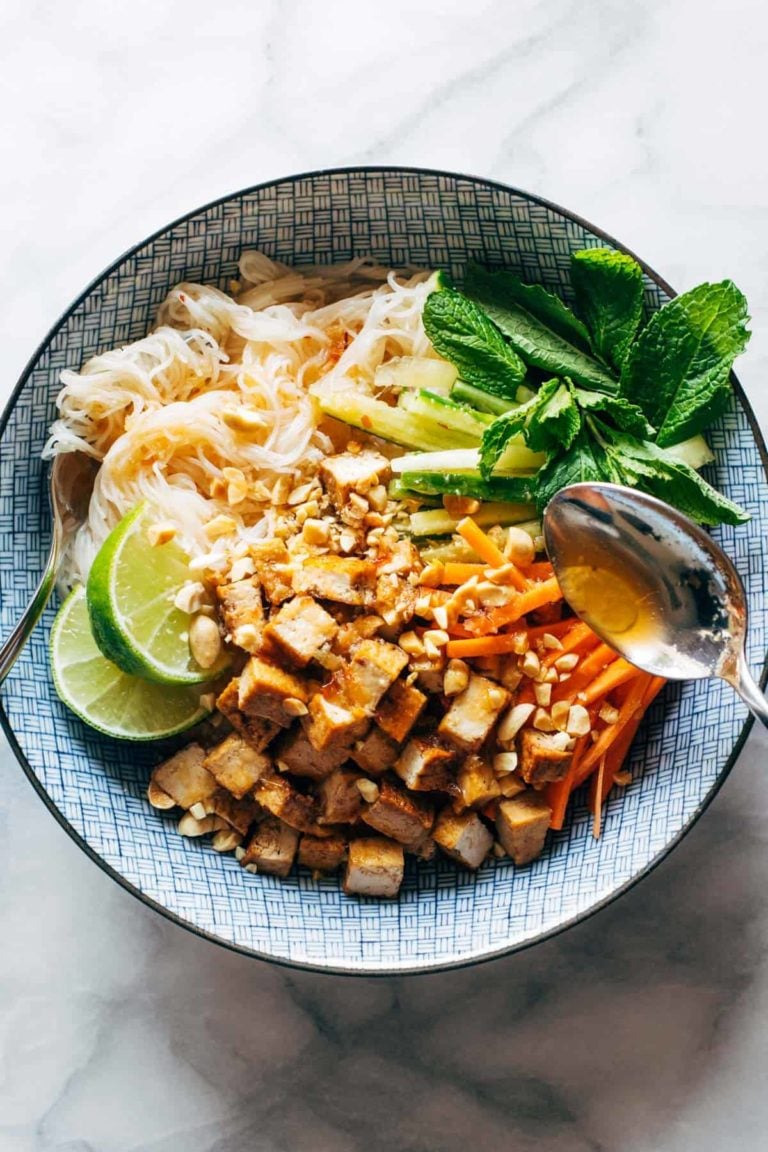
    Lemongrass Vermicelli Salad

    Lemongrass Vermicelli Salad – a summer showstopper! A twirl of vermicelli noodles, pan-fried tofu, fresh herbs and veggies, and a lime-and-lemongrass-based sauce that just slips all over the plate.

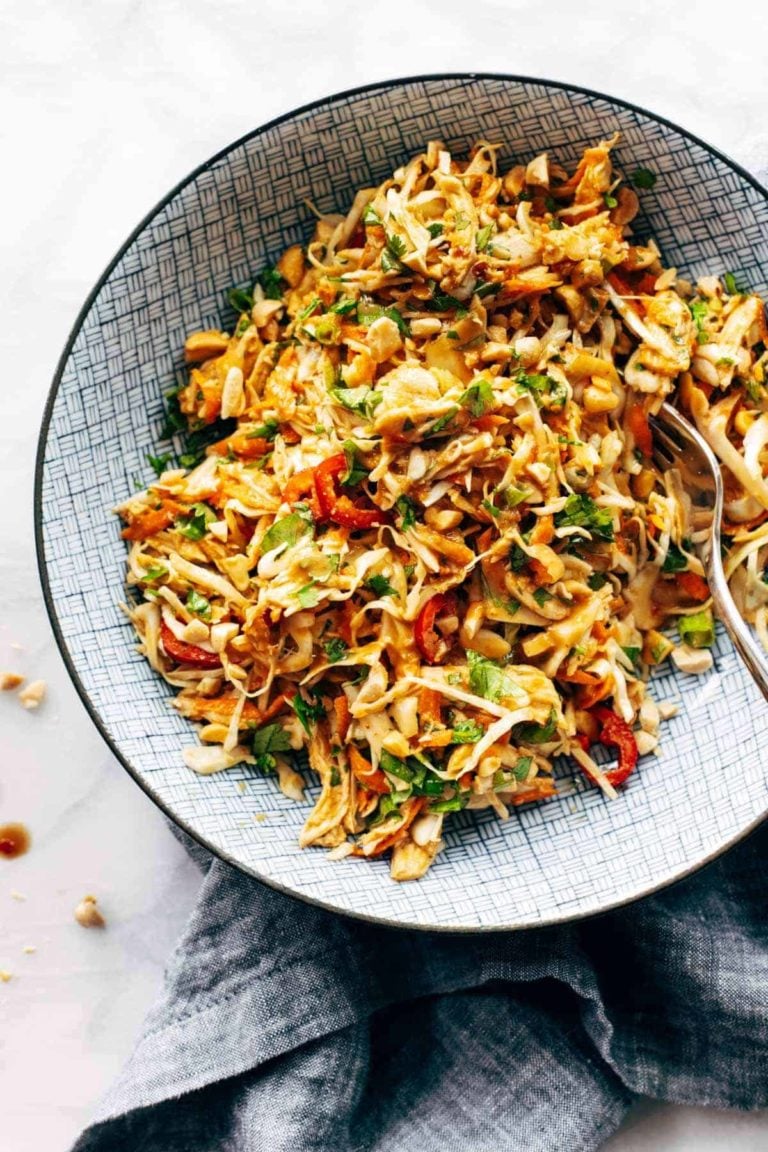
    Chopped salad in a bowl.

    Chopped Thai-Inspired Chicken Salad

    This simple chopped Thai chicken salad has BIG flavors – peanut, lime, soy, chili, cilantro. Topped with a homemade peanut dressing! Healthy and fresh.

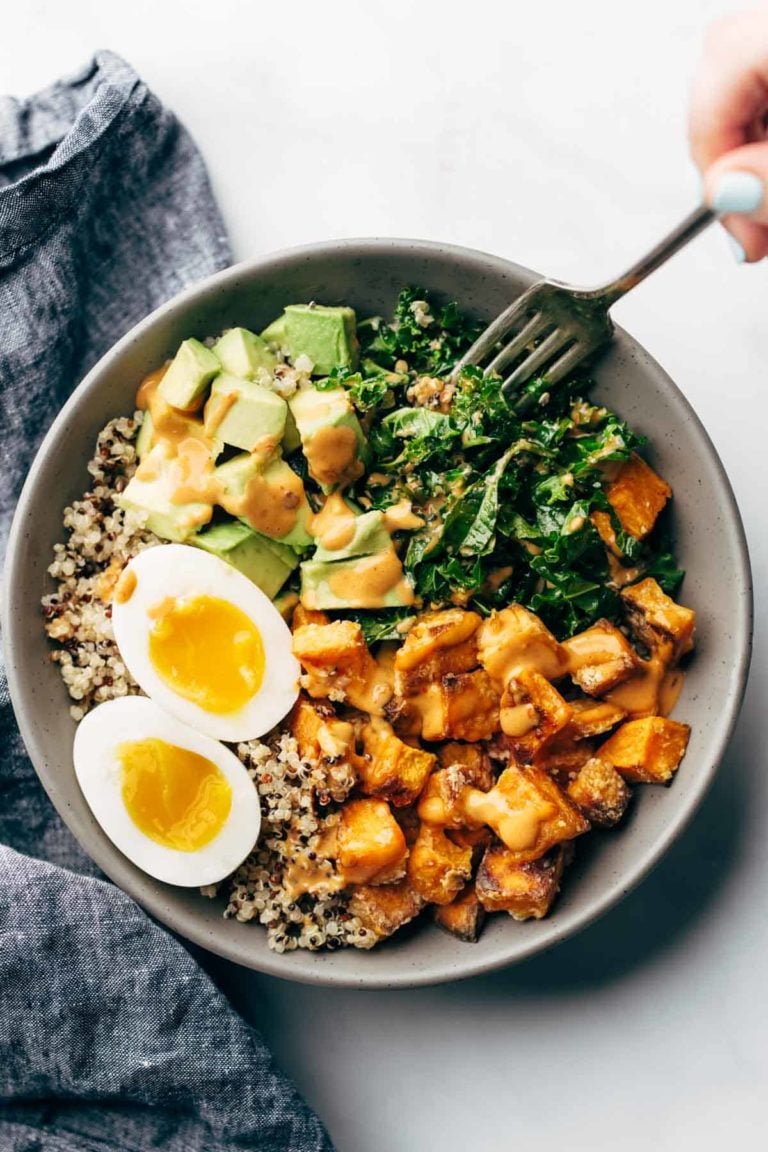
    Sweet potatoes, kale, avocado, and eggs in a bowl.

    Chipotle Tahini Bowls

    Healthy and versatile bowls that come together under a generous drizzle of addictingly creamy vegan chipotle tahini sauce.

    Teriyaki chicken burger.

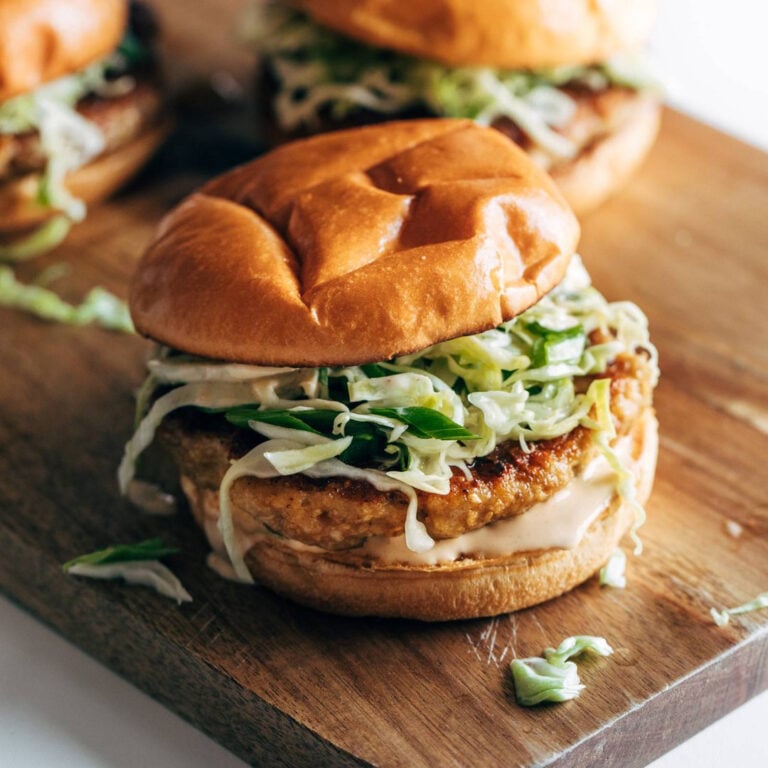
    Chicken Teriyaki Burgers with Sesame Slaw

    These Chicken Teriyaki Burgers are amazingly simple while also being ridiculously delicious. Caramelized burgers that are fried up in minutes, a pile of sesame slaw on top, and a perfectly toasted bun. YUM.

    Salad with salmon on top.

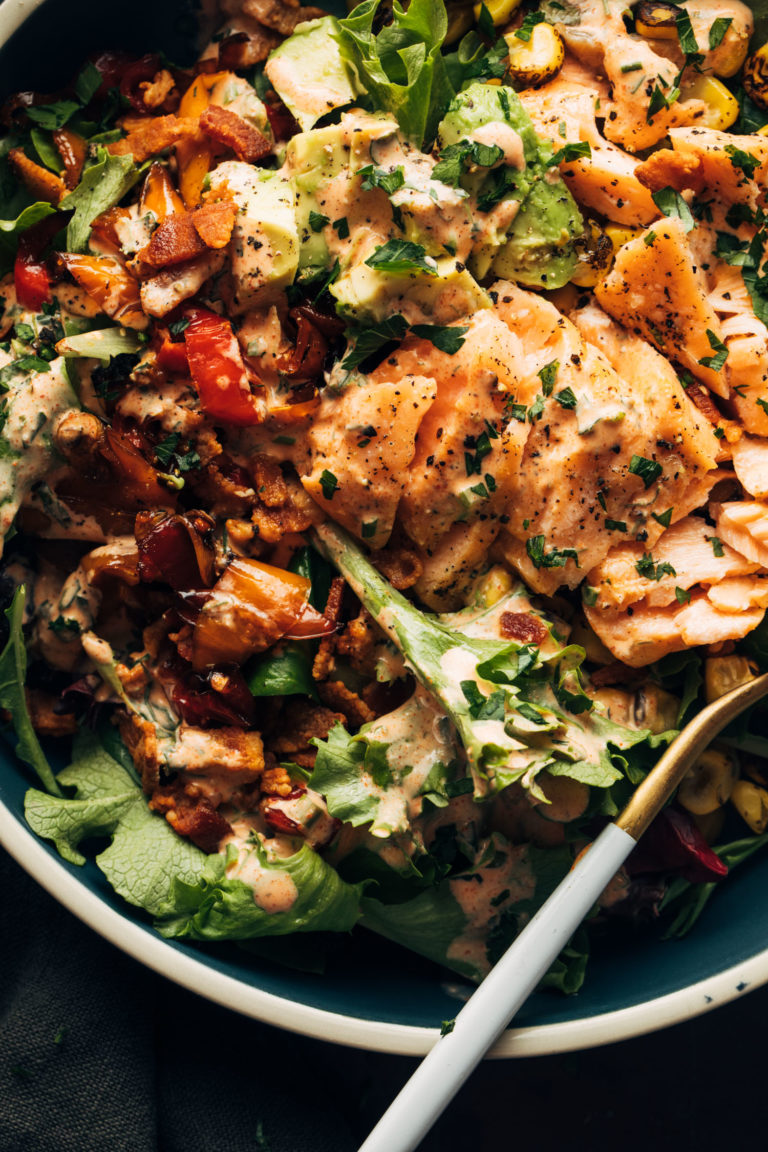
    The Oliver’s Salad

    We’re bringing you the most beautiful salad inspired by the restaurant Oliver’s in Minnesota. Tender salmon, savory peppers and garlic confit, buttery chunks of avocado, fire-roasted corn, bacon bits, and a river of homemade smoky ranch dressing.

    Chicken and rice soup in a bowl.

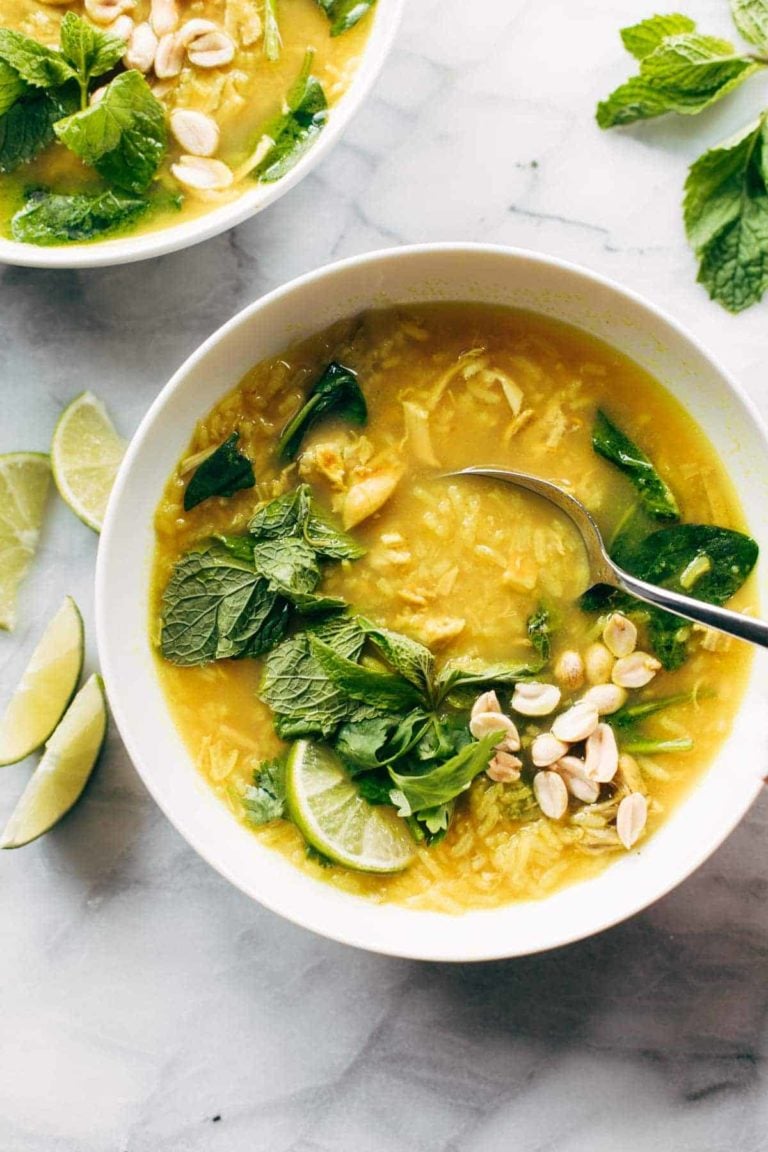
    Healing Chicken and Rice Soup

    Healing Chicken and Rice Soup that is limey, salty, and so fresh! Garlic-ginger-infused broth, shredded chicken thighs, tender jasmine rice, fresh herbs, and peanuts. YUM.

    Chicken and lentil rice bowls in containers.

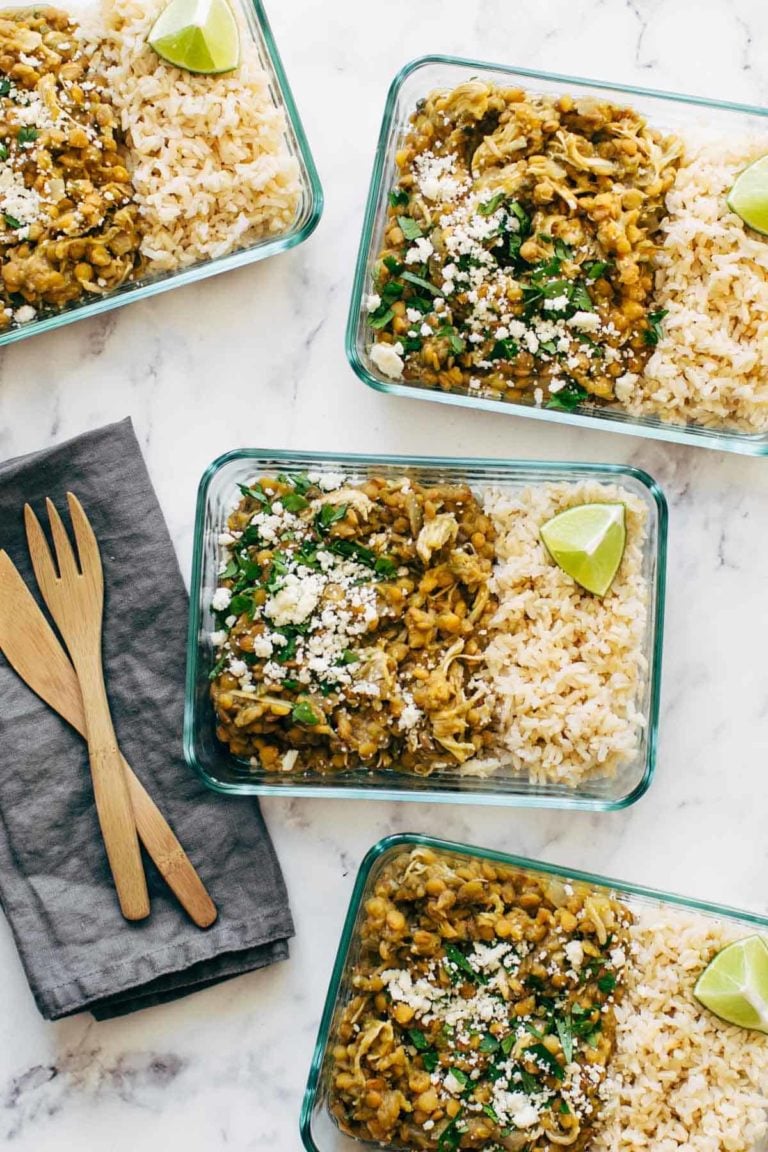
    Cilantro Lime Chicken and Lentil Rice Bowls

    15 Minute Meal Prep Cilantro Lime Chicken and Lentils! The BEST easy protein powerhouse meal prep. Just 15 mins of prep and totally hands-off cooking!

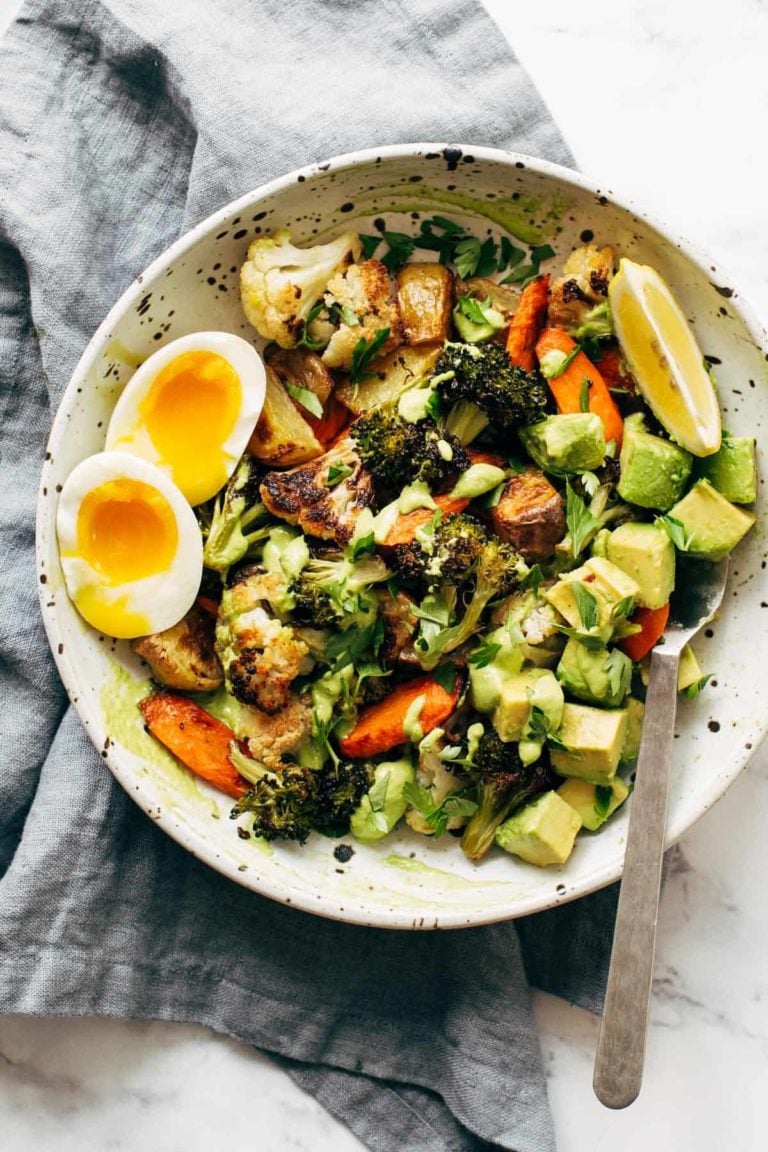
    Roasted vegetables in a bowl with green tahini.

    Roasted Vegetable Bowls with Green Tahini

    Roasted Vegetable Bowls! Crispy tender roasted veggies, buttery avocado, all together in a bowl with a drizzle of green tahini sauce.

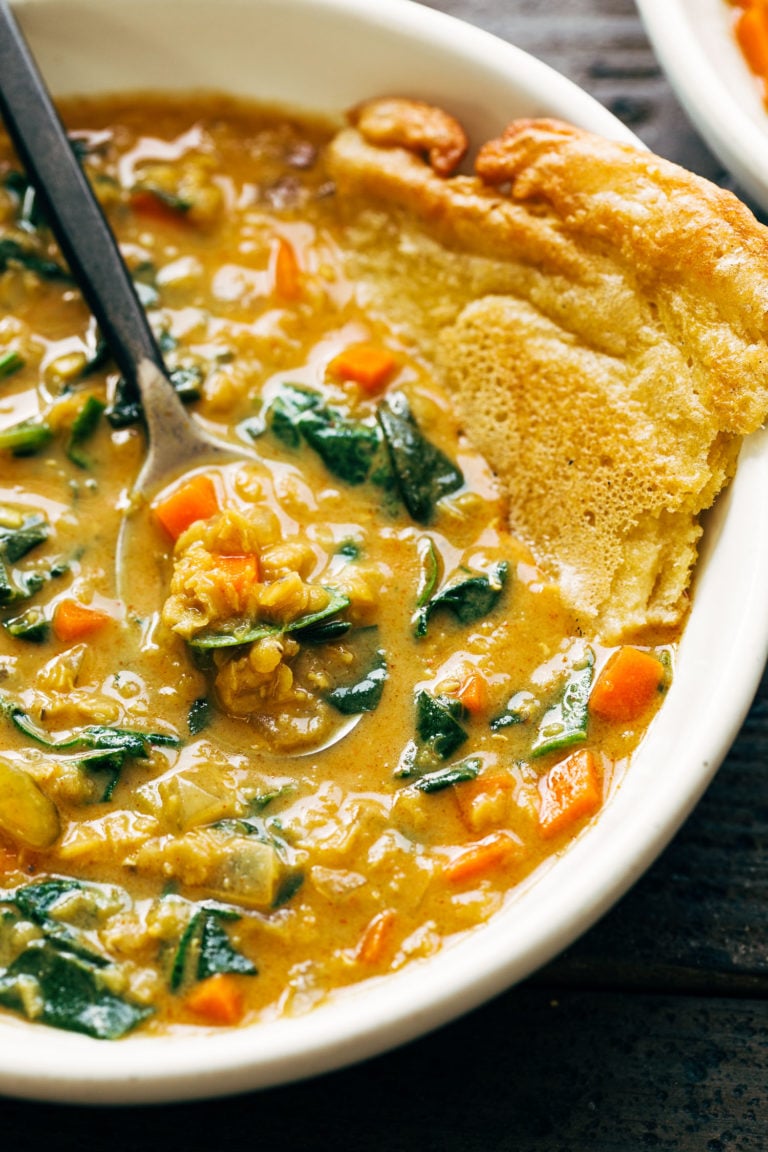
    Red lentil soup in a bowl.

    Smoky Red Lentil Soup with Spinach

    This Smoky Lentil Soup is ultra creamy and totally vegan! Packed to the brim with veggies, red lentils, coconut milk, and lots of spices, it’s a total win for the coziest months of the year!

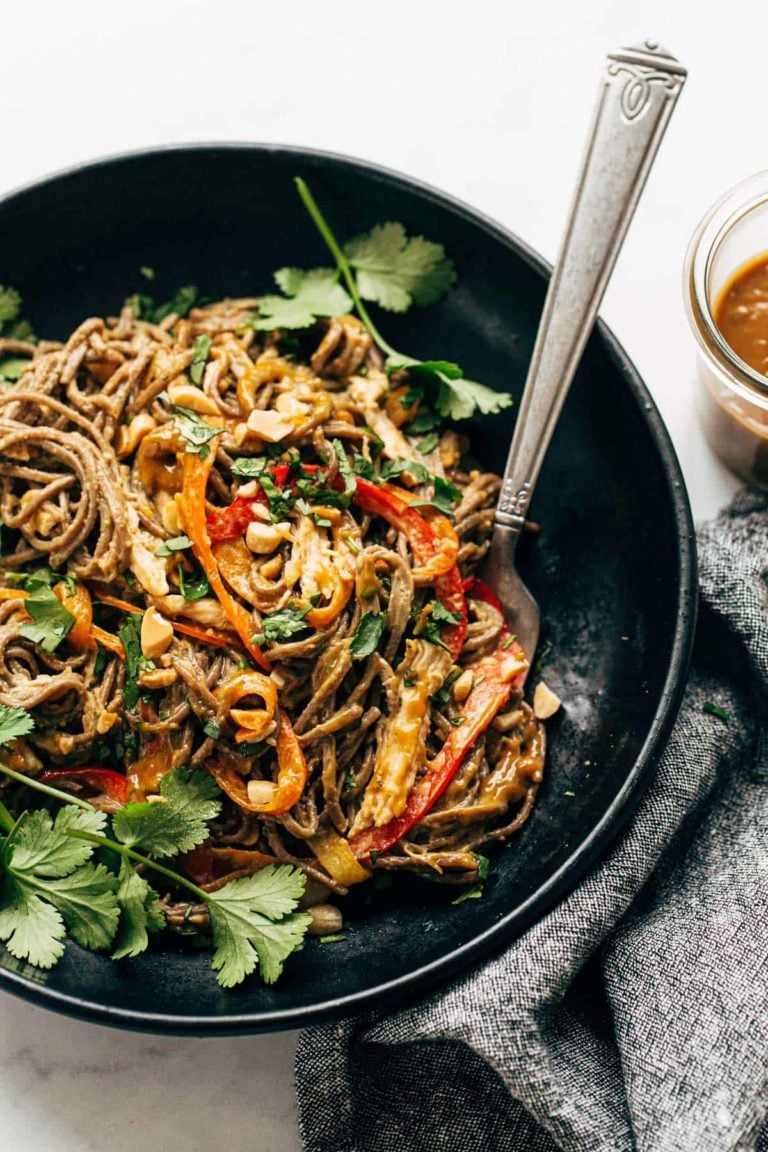
    Spicy peanut soba noodle salad.

    Spicy Peanut Soba Noodle Salad

    This Spicy Peanut Soba Noodle Salad features red peppers, cabbage, chicken, soba noodles, and a quick homemade spicy peanut sauce. Salads don’t get much yummier than this.

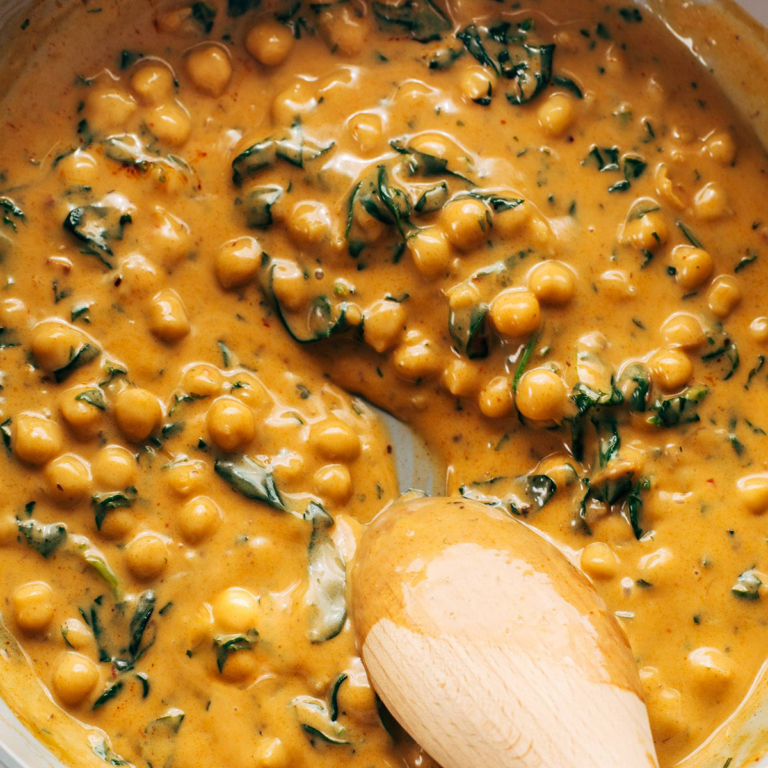
    Chickpea curry in a pan.

    Steph’s Chickpea Curry with Spinach and Rice

    Amazingly creamy, saucy chickpea curry served over rice with a dollop of chili crisp and a side of cucumber salad. Ready in 20 minutes!

    Sweet potato peanut soup in a bowls.

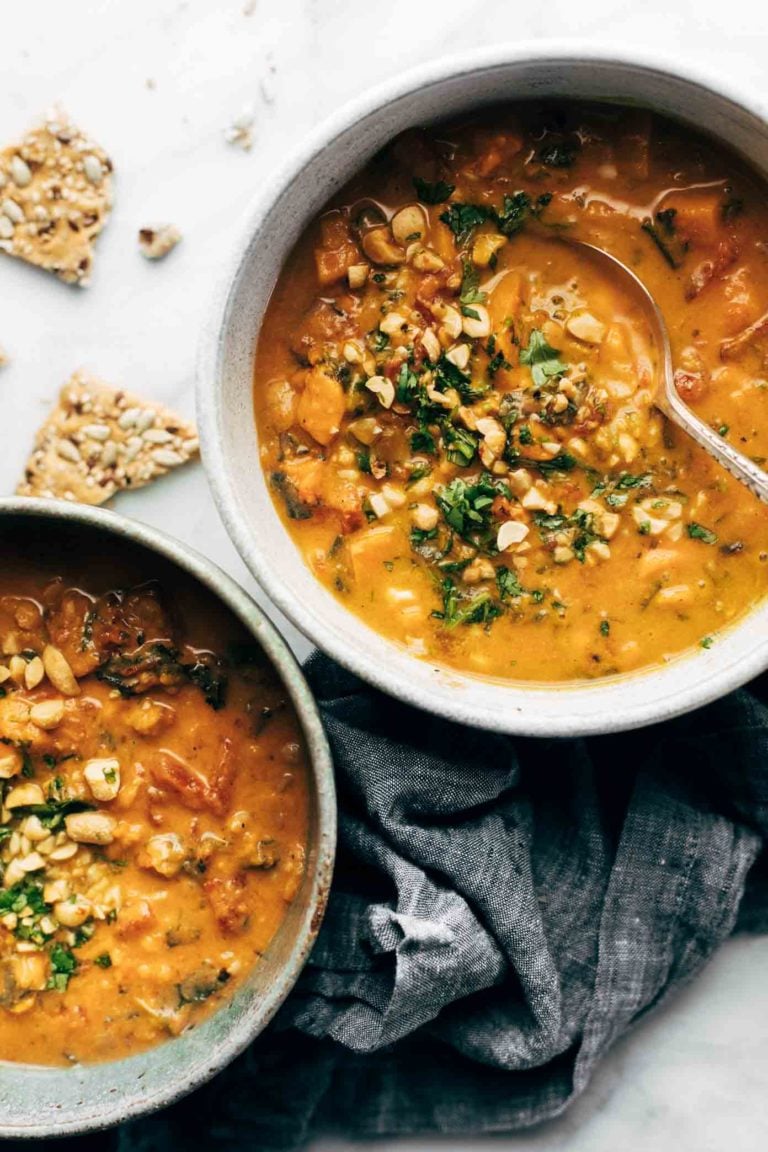
    Spicy Peanut Soup with Sweet Potato + Kale

    Okay, YUMMMM. Spicy Peanut Soup with Sweet Potatoes + Kale! Comforting and SUPER nutritious. Naturally vegan, gluten free, refined sugar free, ALL THE GOOD THINGS.

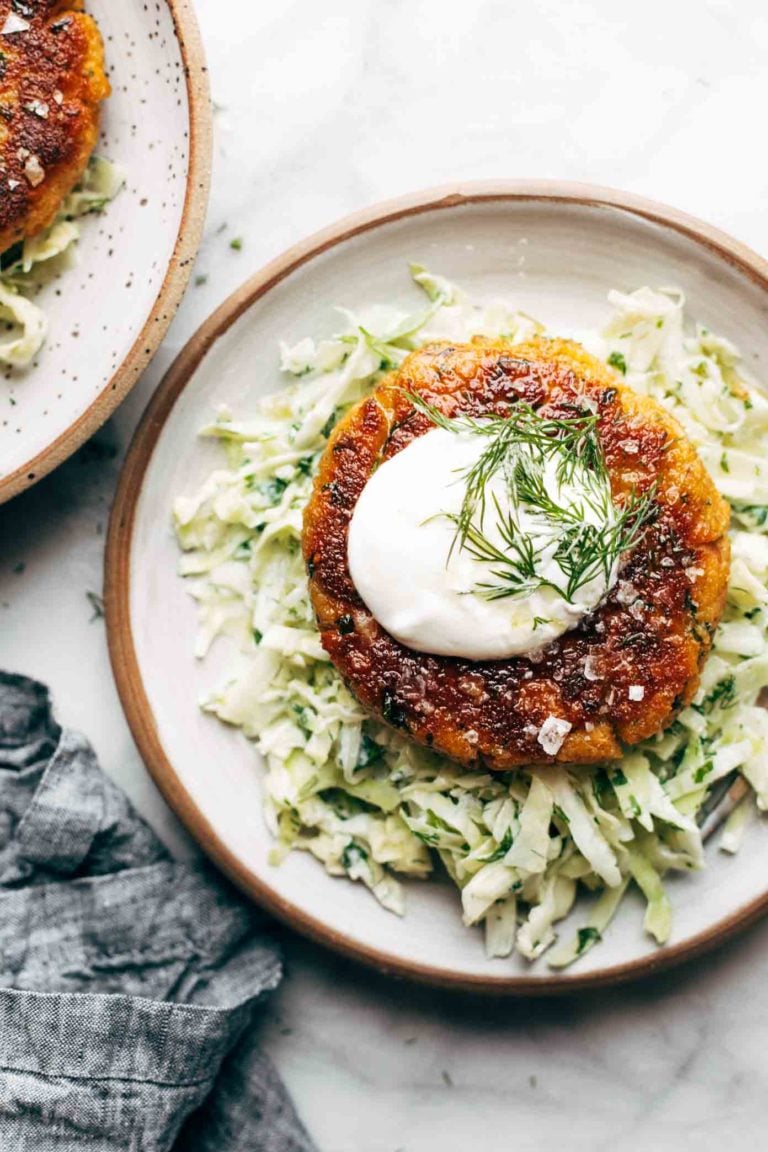
    Salmon burger on slaw.

    Yummy Salmon Burgers with Slaw

    These salmon burgers are THE YUMMIEST! and made with just five ingredients. The best for a quick + easy high protein lunch or dinner.

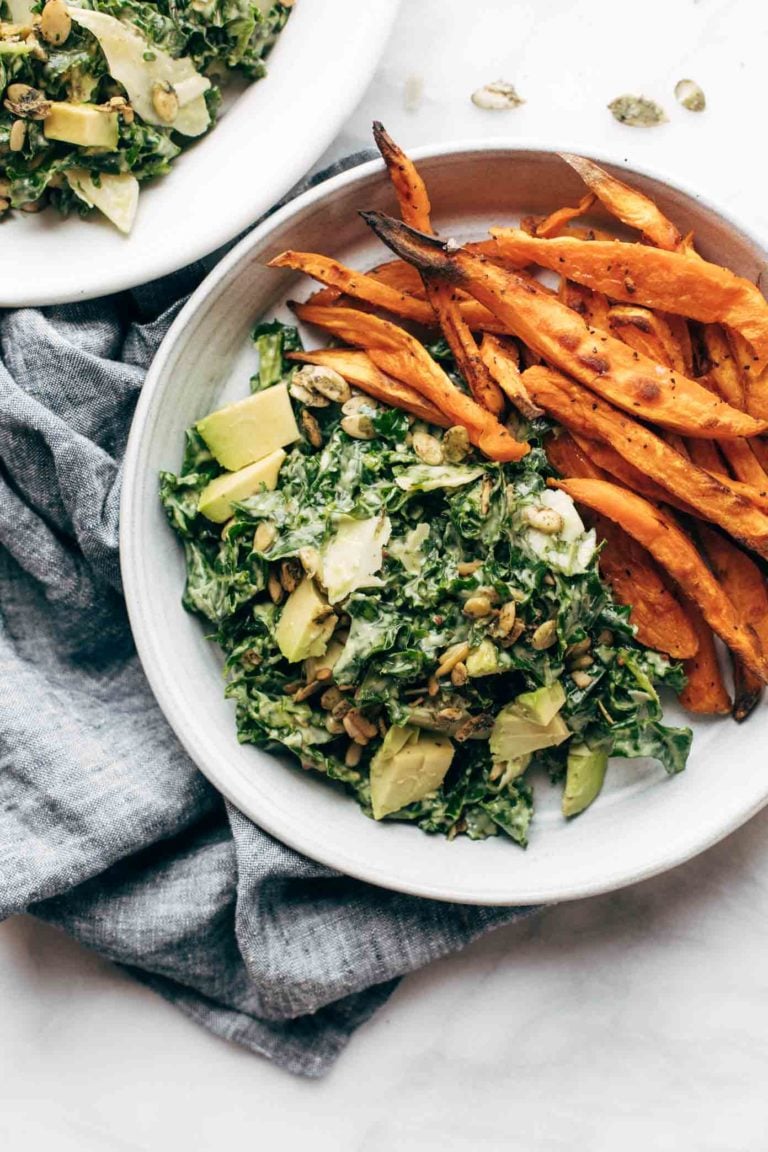
    Avocado kale caesar salad with sweet potato fries.

    Avocado Kale Caesar Salad + Sweet Potato Fries

    Avocado Kale Caesar Salad is a life-changer! Kale, avocado, and crunchy seeds drenched in a quick creamy avocado caesar dressing that can easily be made vegan, too. Toss some crispy sweet potato fries in are you are SET FOR LIFE.

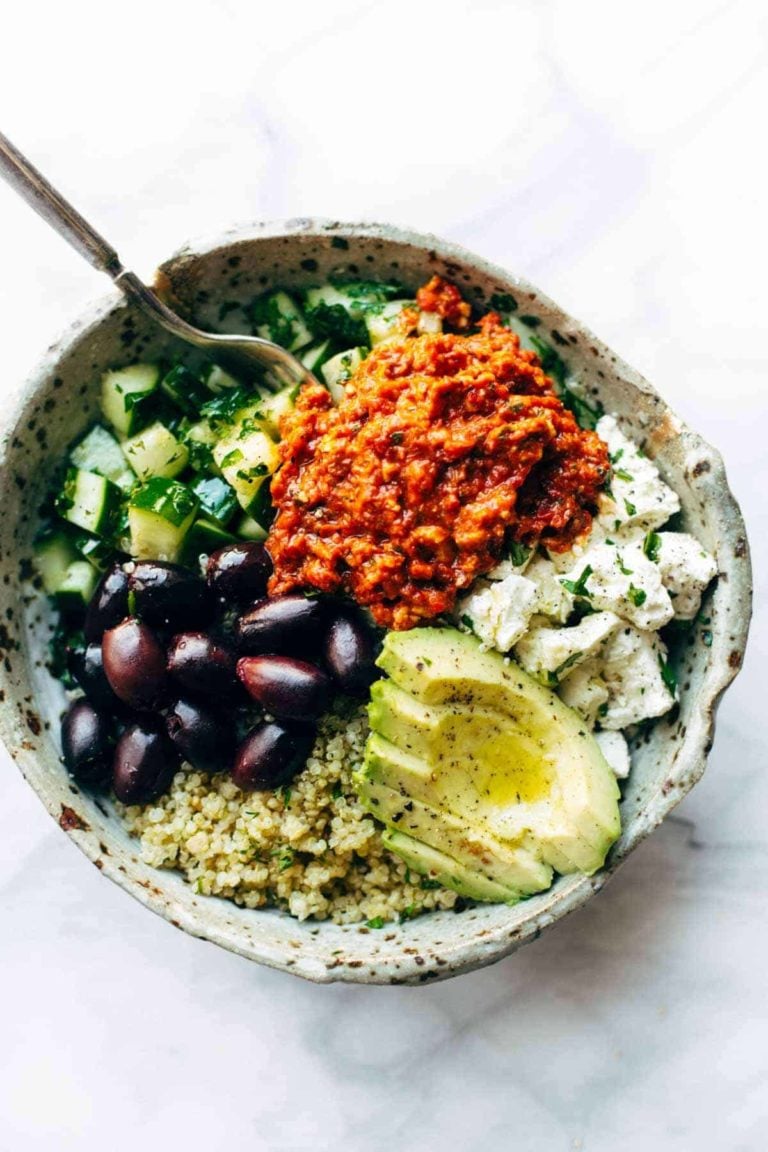
    Mediterranean quinoa bowl with red pepper sauce.

    Mediterranean Quinoa Bowls with Roasted Red Pepper Sauce

    Mediterranean Quinoa Bowls with Roasted Red Pepper Sauce! A mix of quinoa, cucumbers or kale or spinach, feta cheese, kalamata olives, and pepperoncini!

    Golden soup in a bowl with chickpeas.

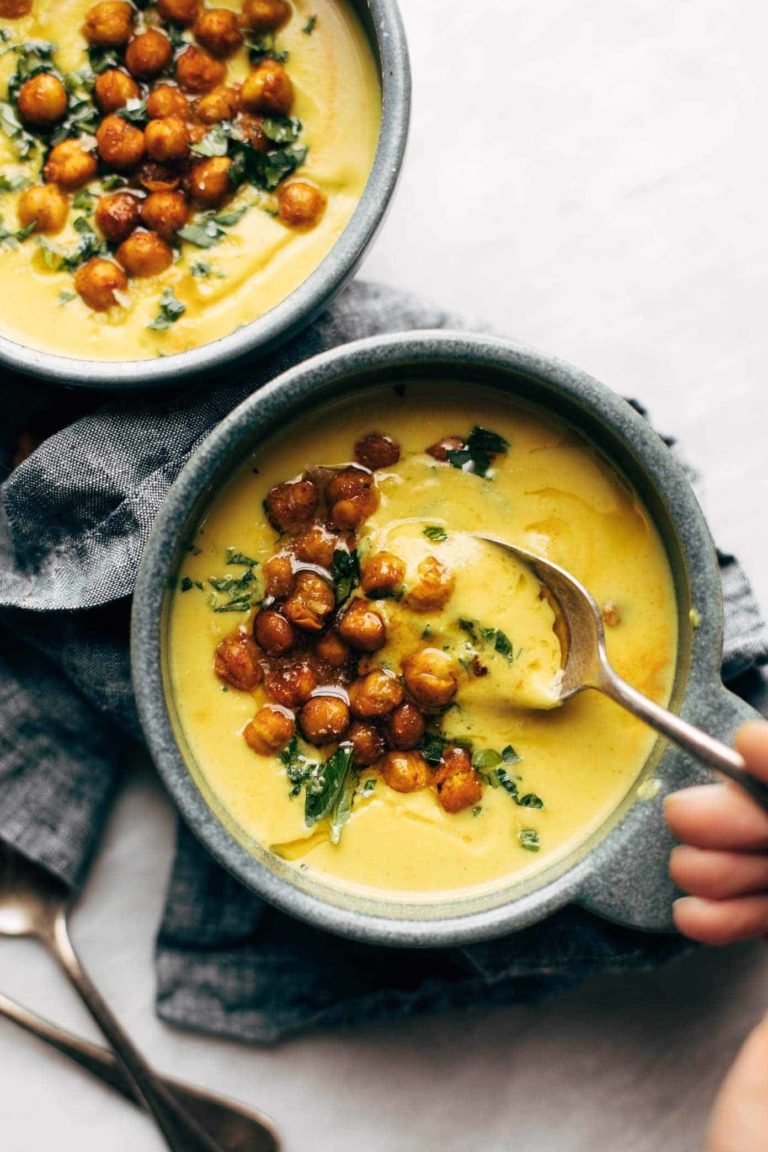
    Golden Soup

    Cozy, bright, and healing with power-foods like turmeric, cauliflower, and cashews. Topped with crispy chickpeas. Super creamy and SO GOOD.

    Tofu and brown rice lettuce wraps.

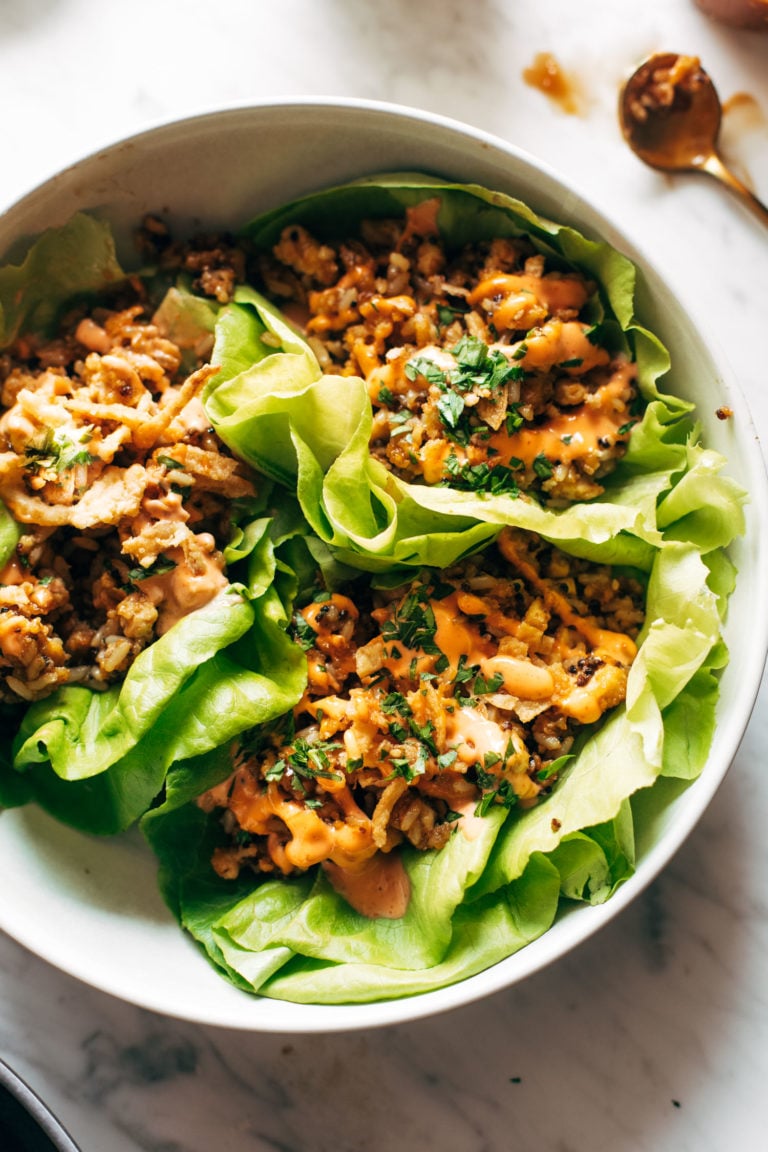
    Tofu and Brown Rice Lettuce Wraps with Peanut Sauce

    These lettuce wraps are ridiculously good! Crunchy, fresh, and packed with tofu, brown rice, crispy onions, plus a drizzle of peanut sauce and spicy mayo. Delicious!

    Crunchy roll bowls.

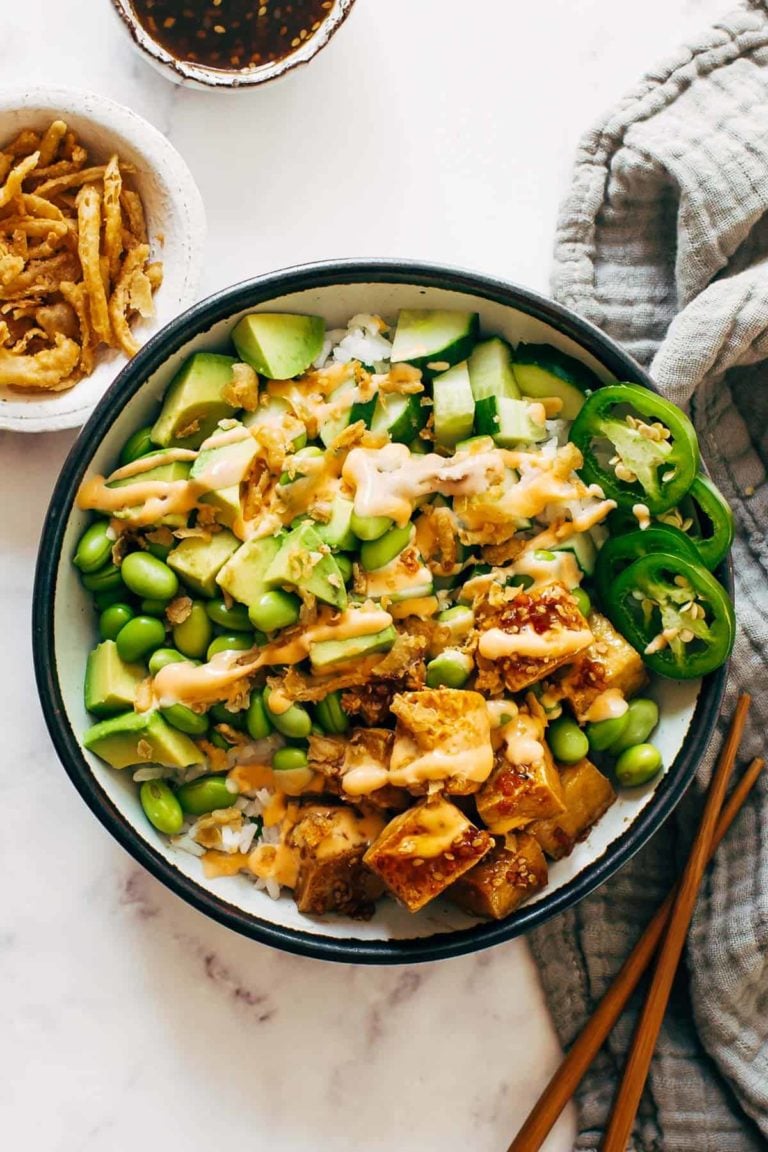
    Crunchy Roll Bowls

    A block of tofu, nicely browned in teriyaki sauce, served on a bed of sticky rice with edamame, cucumber, avocado, jalapeño, and a handful of crushed-up crunchy onions, buried under a thick drizzle of extra teriyaki and spicy mayo. 


    Healthy Dinner Sides

    One of my favorite go-to healthy dinner formulas is air fryer chicken or salmon served along a few sides. It’s simple, easy, light, and feels like a win all around. Here are my go-to sides to pair with dinner!

    • My Favorite Skillet: These healthy nonstick ceramic skillets are PFAS-free, made in the USA, and super versatile! Love them so much.
    • Air Fryer: My original dinnertime lifesaver is the Air Fryer Chicken, and there are several recipes above that use the air fryer as well! It cooks food quickly, makes it super crispy, and is easy to clean.
    • Instant Pot: I love to use an Instant Pot for healthy soups, but is also my go-to appliance for making perfect rice!
    • My Favorite Sheet Pans: Simple, affordable, and perfect for loading up proteins and veggies to roast!

    Source link

  • Sheet Pan Chicken Pitas with Tzatziki Recipe

    Sheet Pan Chicken Pitas with Tzatziki Recipe

    Part bowl, part salad, part sandwich folded up into any kind of bread you like, and I’m here for it in every form.

    Favorite thing I’ve been eating lately: these sheet pan chicken pitas.

    Er, can we call them pitas? They are part bowl, part salad, part sandwich folded up into any kind of bread you like including but not limited to pitas, and I’m here for it in every form.

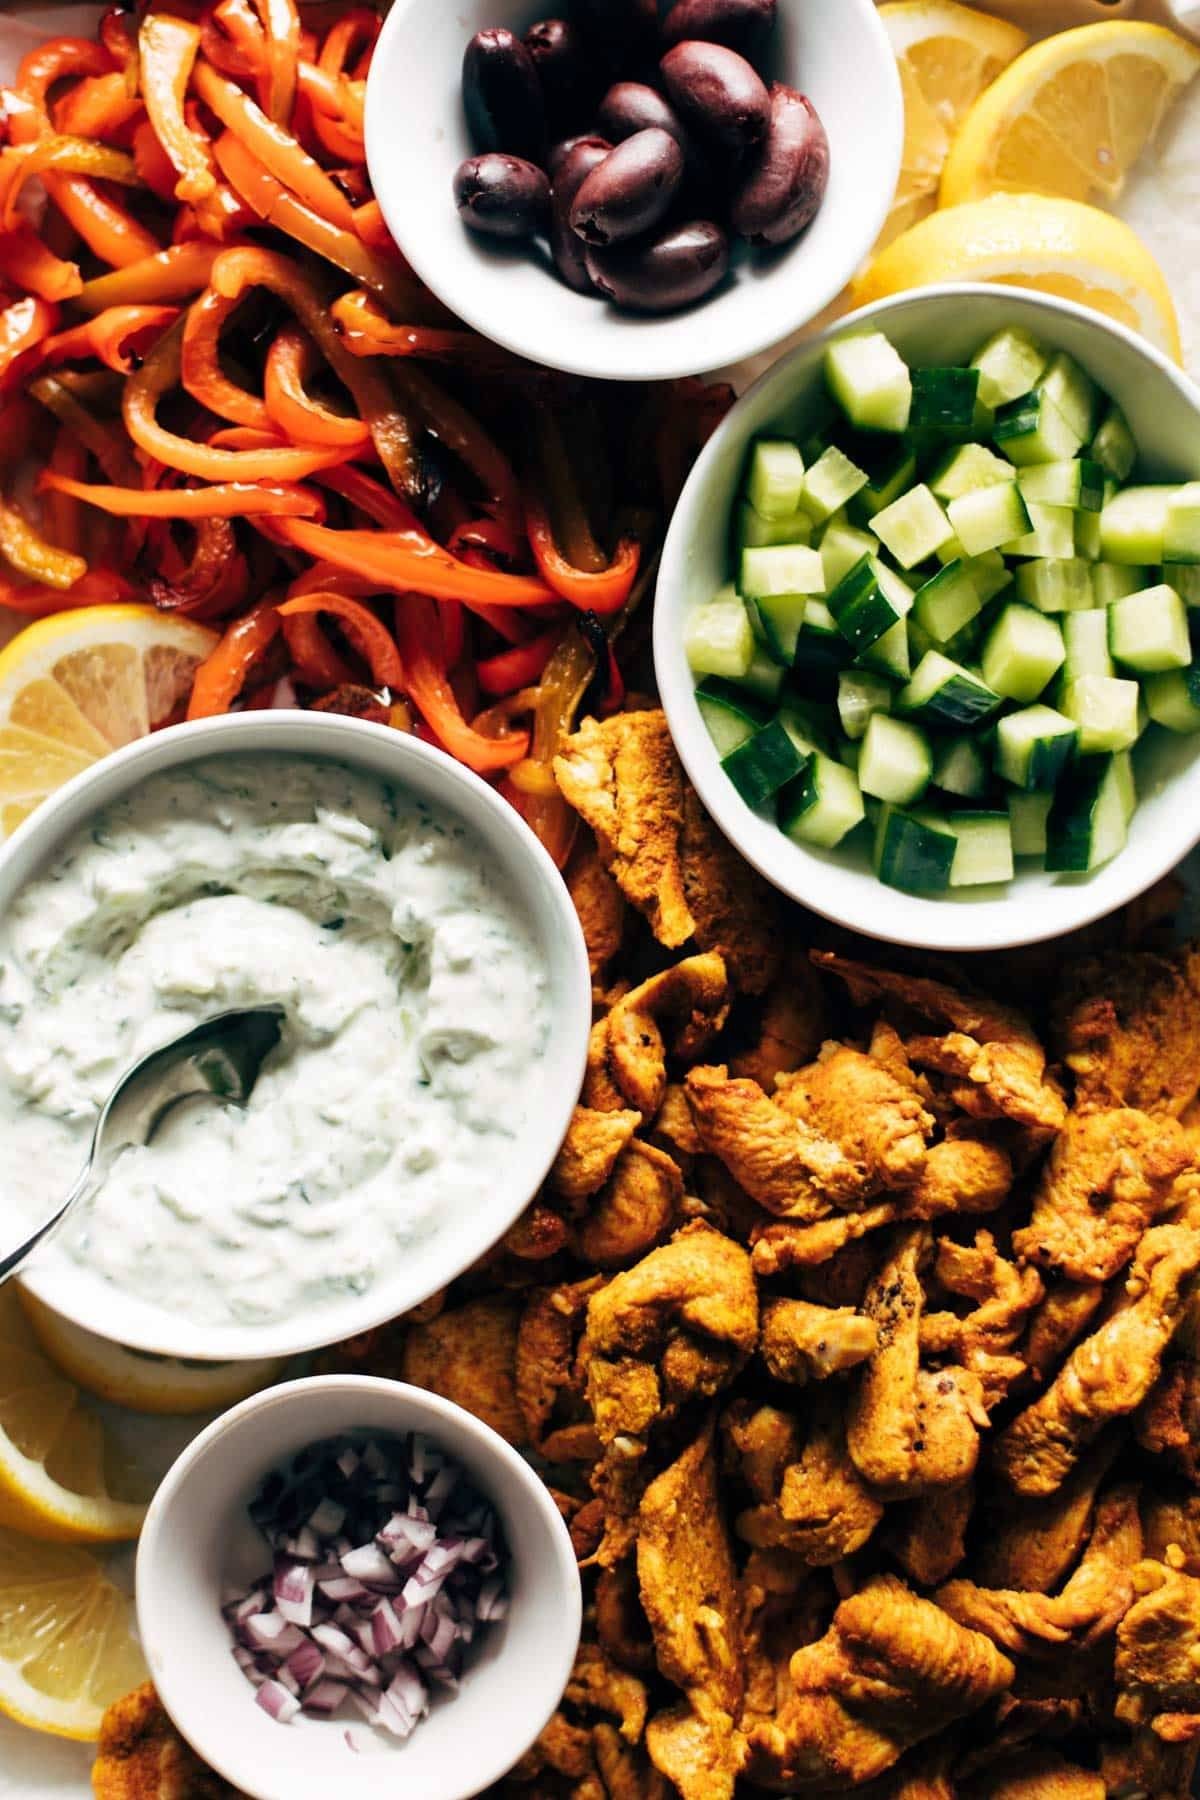
    Here’s our lineup:

    • marinated, spiced, flash-roasted chicken
    • roasted bell peppers
    • diced fresh cucumber
    • kalamata olives
    • feta cheese
    • olive oil, salt, pepper, lemon juice
    • tzatziki (that yogurt dill sauce that crowns the plate)

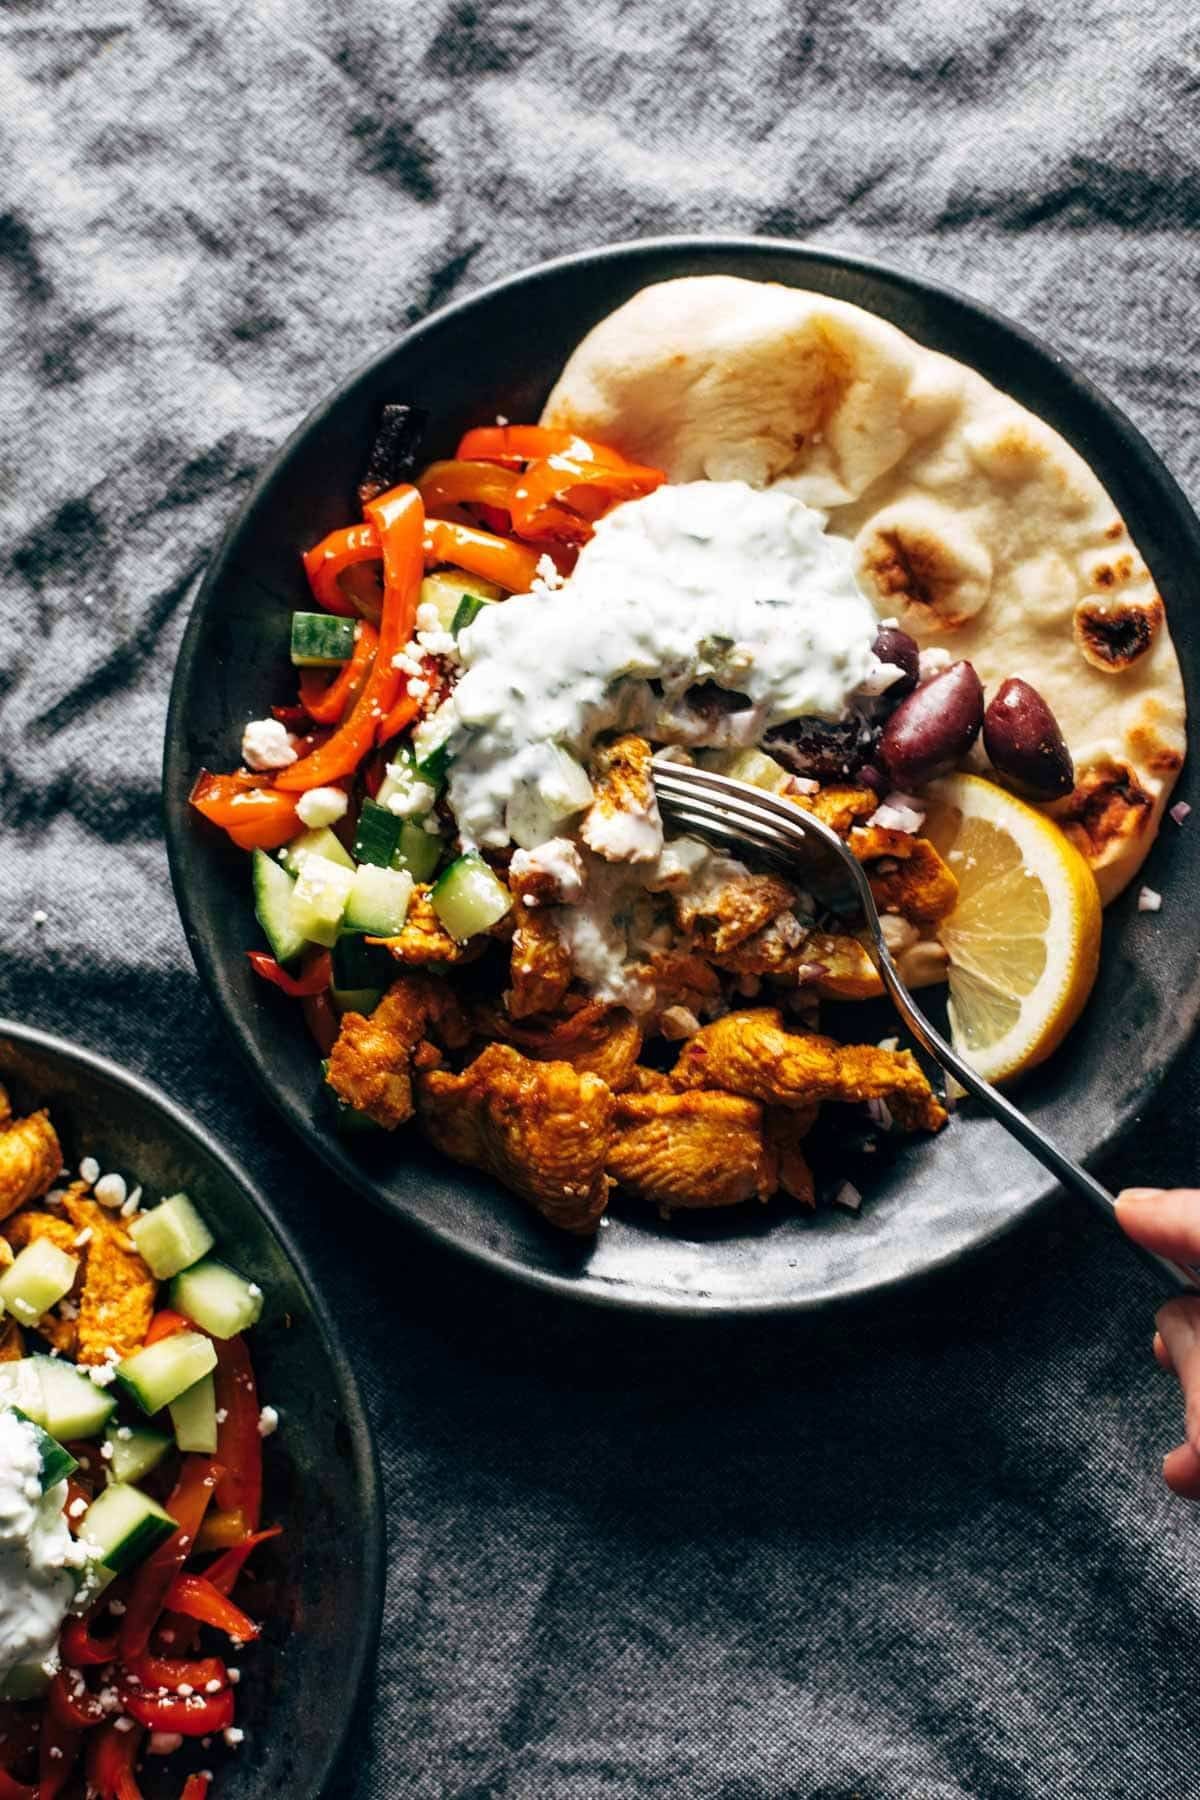
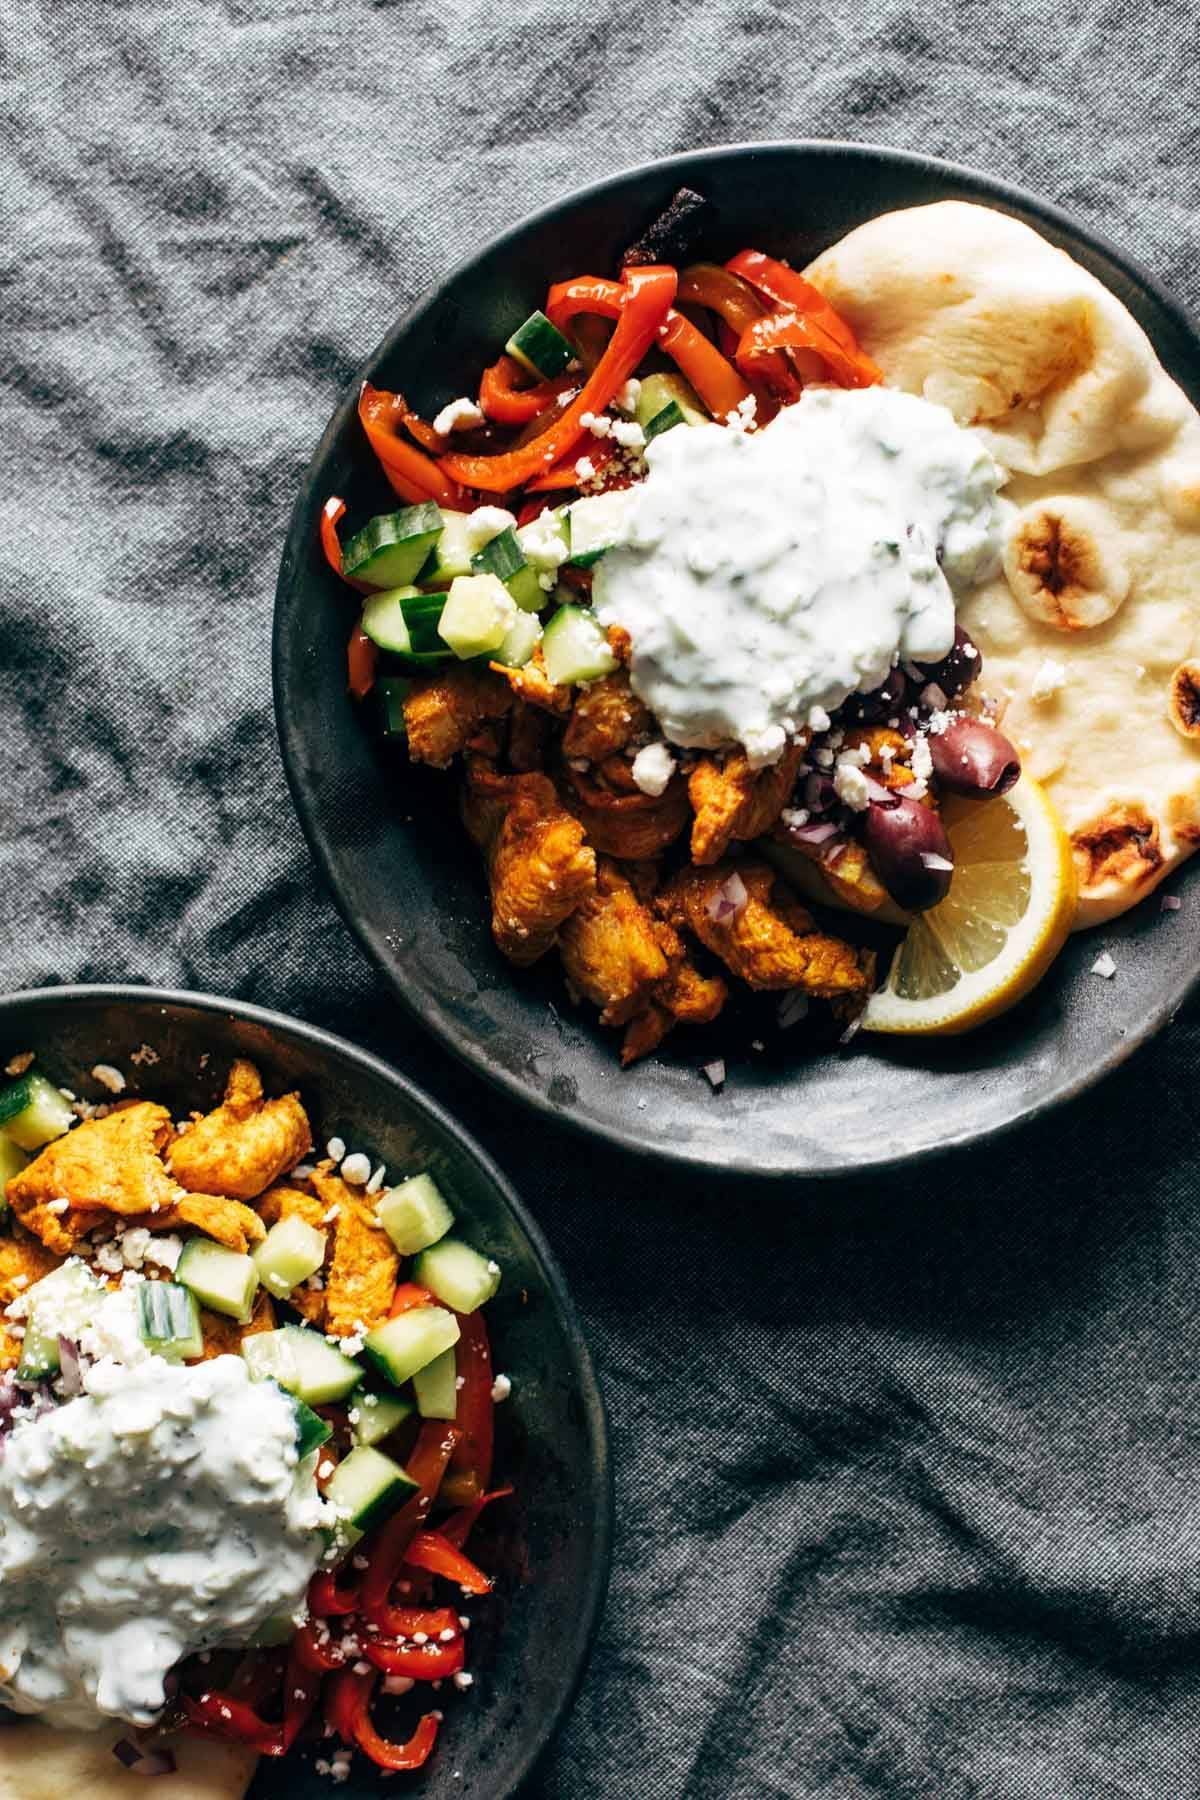
    Pile that on a plate and grab a fork – or grab a piece of warm, soft naan, or pita, or socca (YUM), and get to work. You’ve got the crunchy, and the cool-creamy, and the puckery-briney all happening in one big joyful bite.

    A plate of chicken, red bell peppers, cucumber, and tzatziki sauce with a lemon wedge.
    Sheet pan chicken pitas served on a sheet pan.

    How To Serve Sheet Pan Chicken Pitas

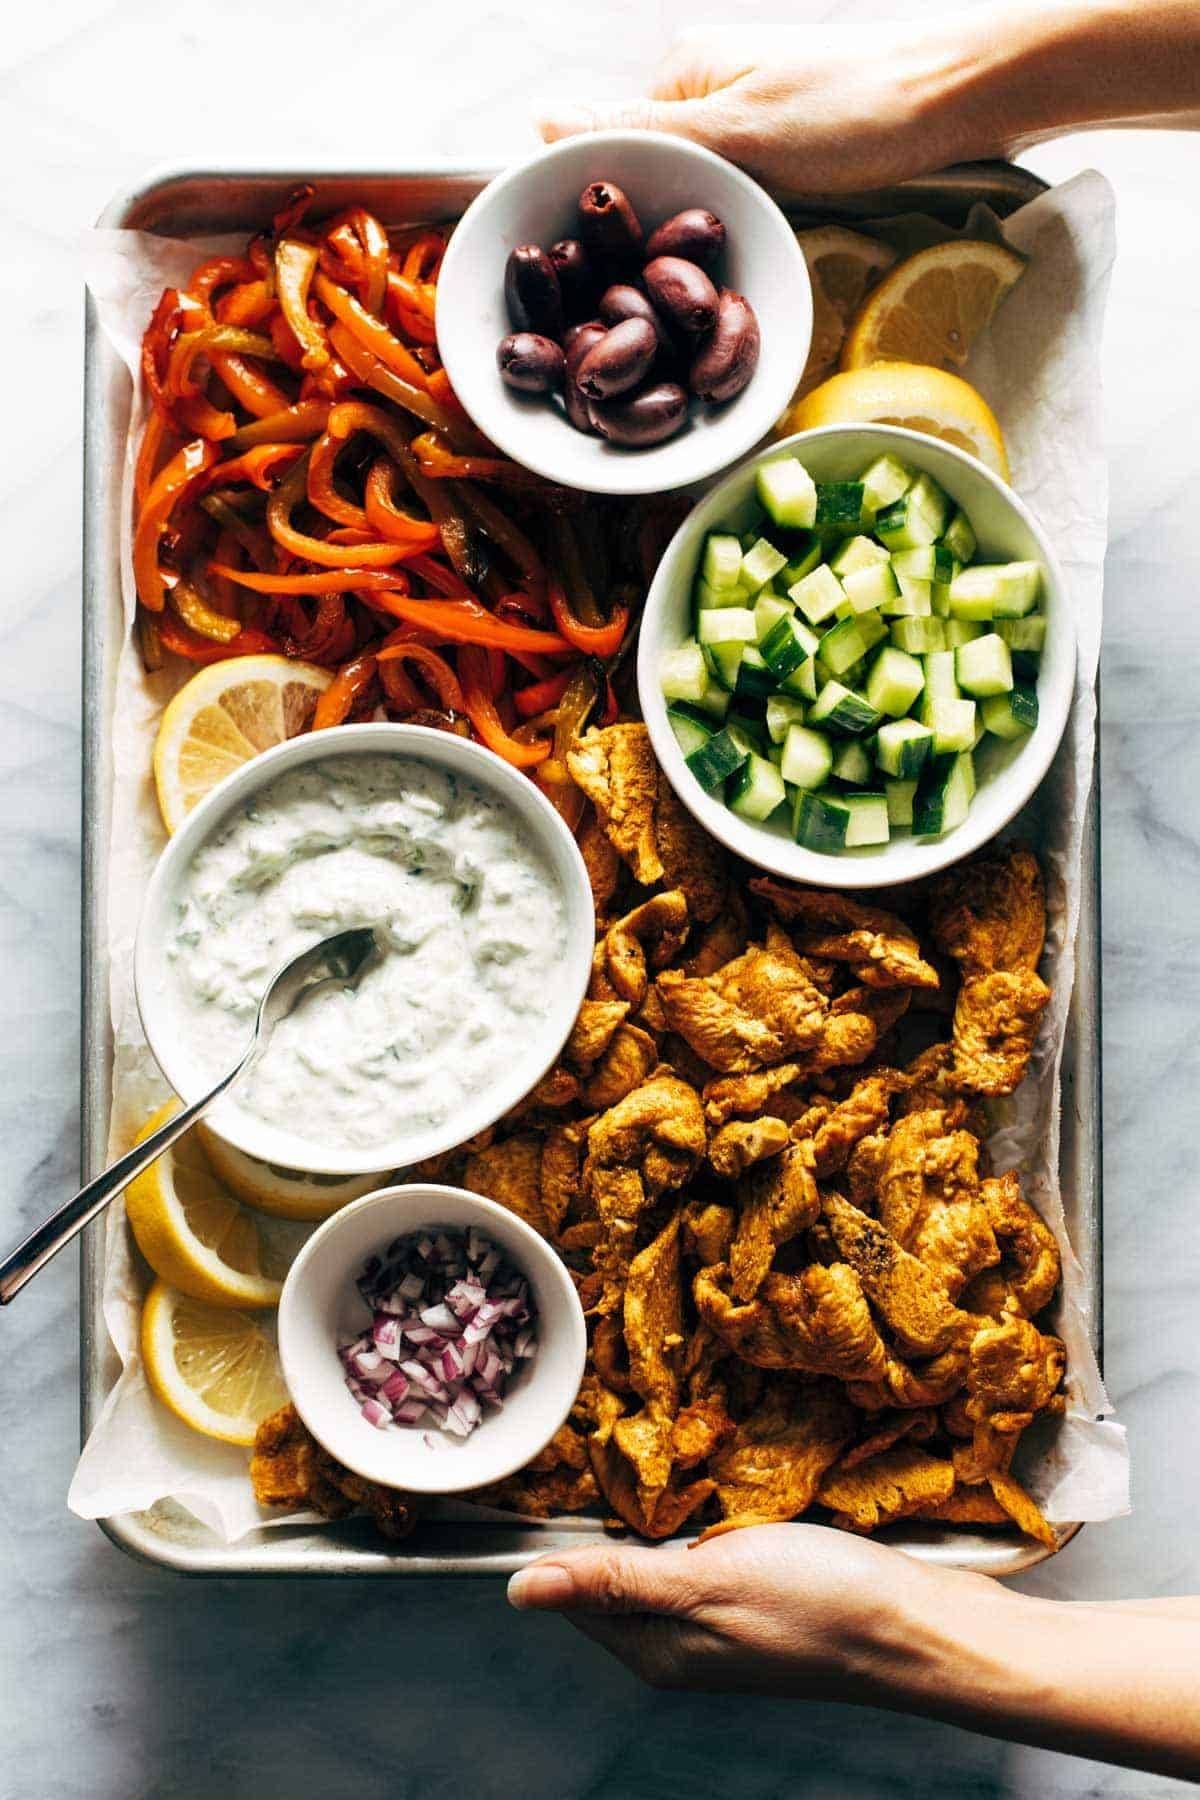
    Here’s how I like to serve this: family style!

    Everything goes on a roasting pan, and you effortlessly carry your gourmet-looking roasting pan to the table, and you let your people feast.

    Sheet pan chicken pitas served on a sheet pan.

    It’s comforting and filling. But it’s also happy and crunchy and fresh, which is exactly what we need right now in the deep winter. Happy, fresh, filling, annnd go.

    Sheet pan chicken pitas in bowls.

    Check Out Our Video For How To Make Sheet Pan Chicken Pitas:


    Frequently Asked Questions For These Chicken Pitas

    How long will the tzatziki keep?

    The tzatziki will be best for about 3-4 days.

    Could you marinate the chicken for longer? Overnight?

    You can marinate the chicken for up to 24 hours in the fridge!

    How can I make this dairy-free?

    Omit the feta and use dairy-free Greek-style yogurt in the tzatziki (Kite Hill is a brand that makes this!).


    Print

    clock clock iconcutlery cutlery iconflag flag iconfolder folder iconinstagram instagram iconpinterest pinterest iconfacebook facebook iconprint print iconsquares squares iconheart heart iconheart solid heart solid icon

    Description

    Sheet Pan Chicken Pitas that are salty-briney-crunchy in all the right ways! Marinated chicken, roasted peppers, fresh cucumber, kalamata olives, feta cheese, and an easy homemade tzatziki.


    Chicken:

    Peppers:

    Tzatziki:

    Other:


    Notes

    Store bought tzatziki also works great in this recipe to save you a few steps!

    • Prep Time: 30 minutes
    • Cook Time: 15 minutes
    • Category: Dinner
    • Method: Bake
    • Cuisine: Mediterranean

    Keywords: sheet pan dinner, greek chicken, mediterranean chicken, chicken pitas, sheet pan chicken

    Three More Easy Sheet Pan Dinners

    Make It A Freezer Meal!

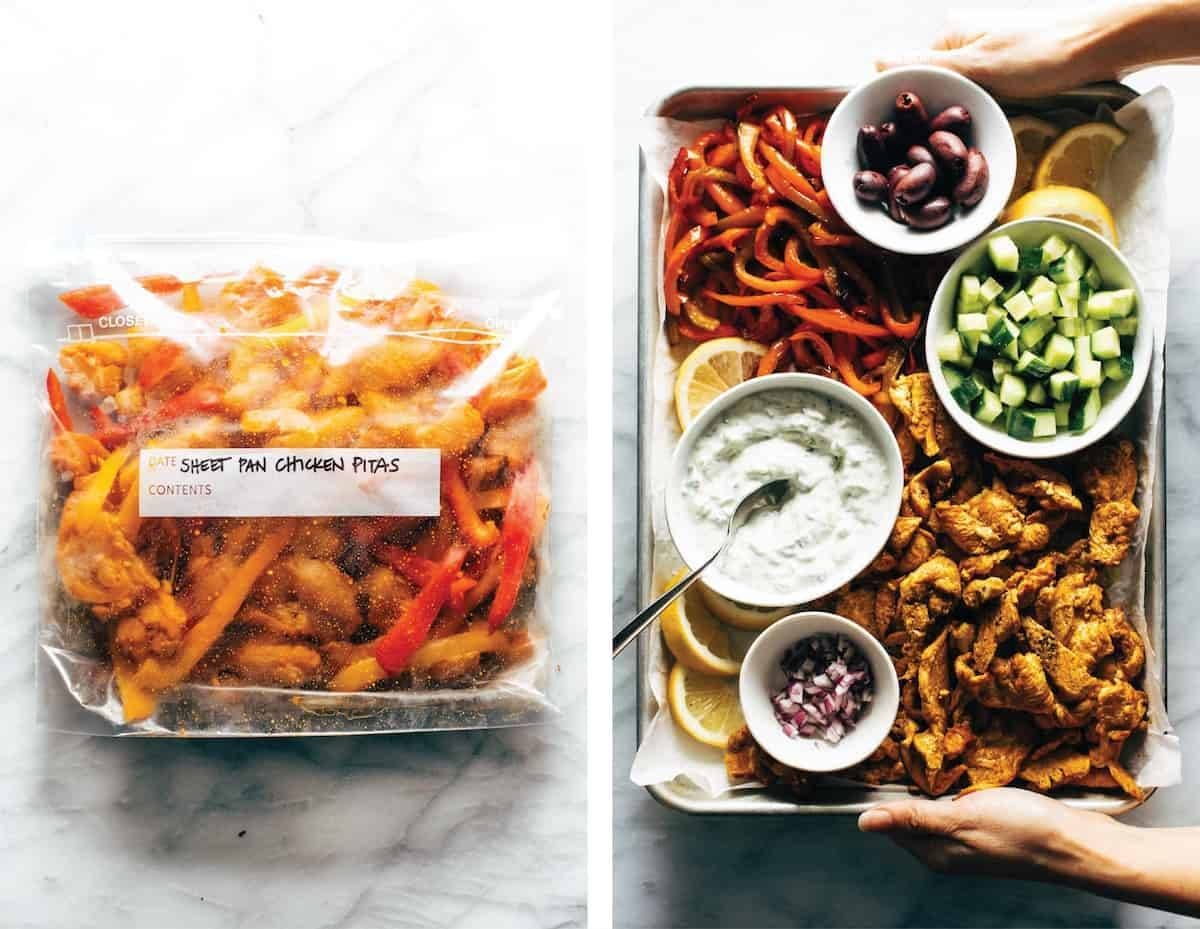
    Sheet pan chicken pitas in a freezer bag, and after cooking.

    Freeze Together:

    • 1 lb. boneless skinless chicken breasts, cut into very thin strips
    • 2–3 bell peppers, sliced
    • 3 cloves garlic, grated
    • 1 tablespoon olive oil
    • 1–2 tablespoons lemon juice
    • 1 teaspoon each: cumin, smoked paprika, kosher salt
    • 1/2 teaspoon curry powder
    • black pepper to taste

    FREEZE: Spread into a single layer on a parchment-lined baking sheet. Freeze until solid; transfer to a bag or container to store in the freezer. 

    To Cook:

    BAKE: From frozen, bake at 425 degrees for 20 minutes.

    FINAL STEP: Serve with pitas, tzatziki, hummus, cucumbers, tomatoes, feta, olives, red onion… sky’s the limit!

    View more healthy freezer meals here!


    One More Thing!

    This recipe is part of our collection of easy and delicious sheet pan dinners. Check it out!

    Source link

  • Roasted Veggie Grain Bowl with Balsamic Dressing Recipe

    Roasted Veggie Grain Bowl with Balsamic Dressing Recipe

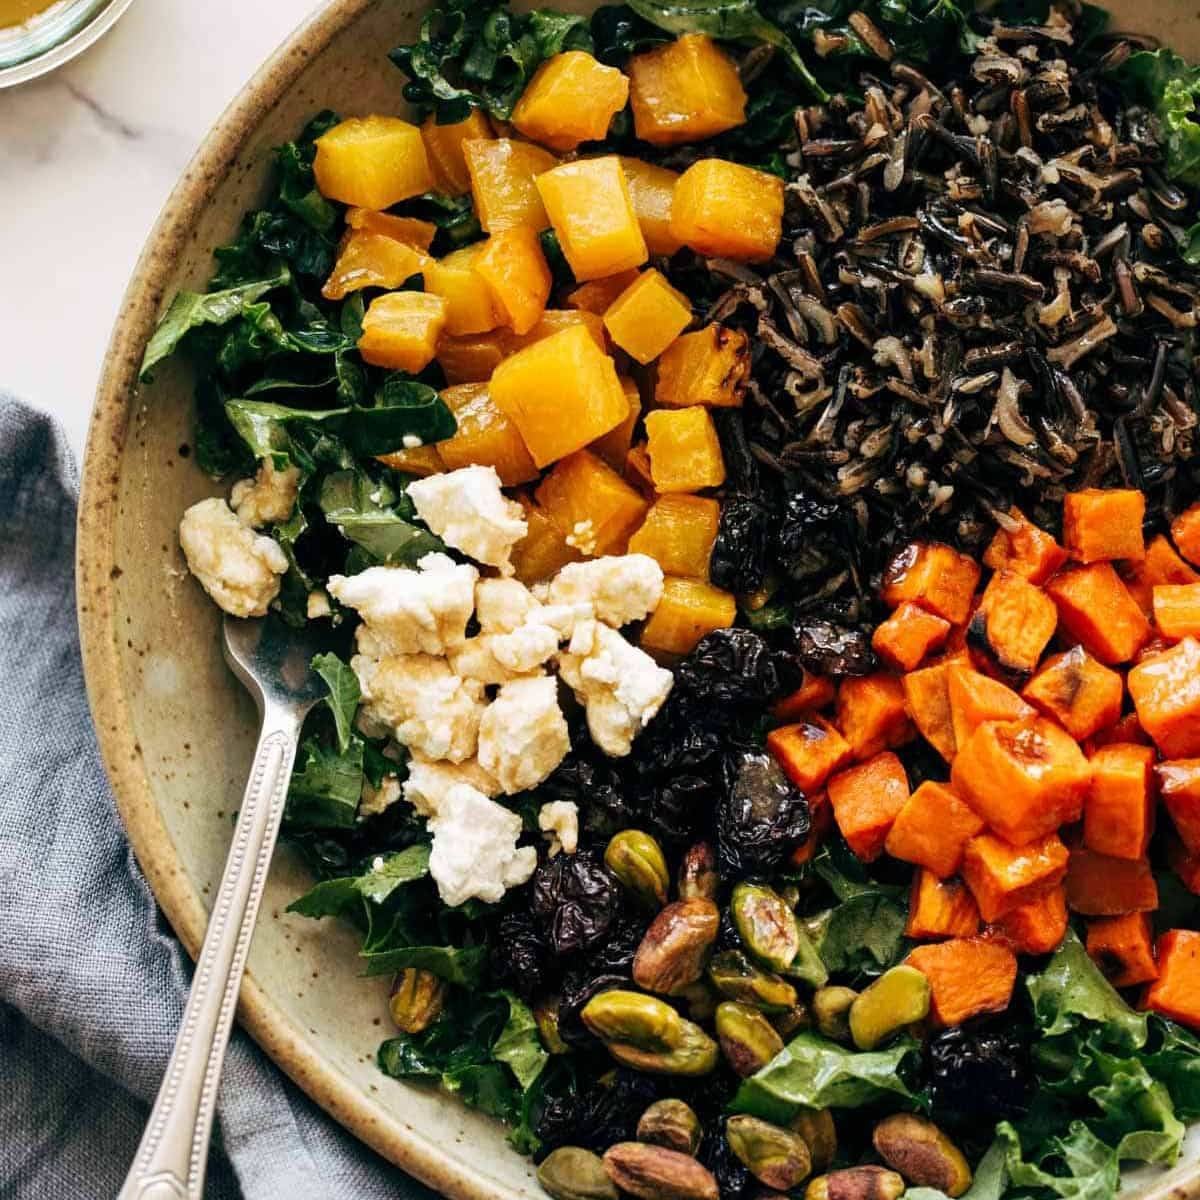
    The BEST Grain Bowl! Roasted root vegetables, earthy grains, dried fruit, dark leafy greens, buttery goat cheese, and lusciously creamy balsamic dressing.

    Watch How To Make These Grain Bowls

    I Love a Good Grain Bowl.

    Lindsay Ostrom headshot.

    What’s colorful and nutritious and playful and makes your tastebuds feel very alive? This bowl.

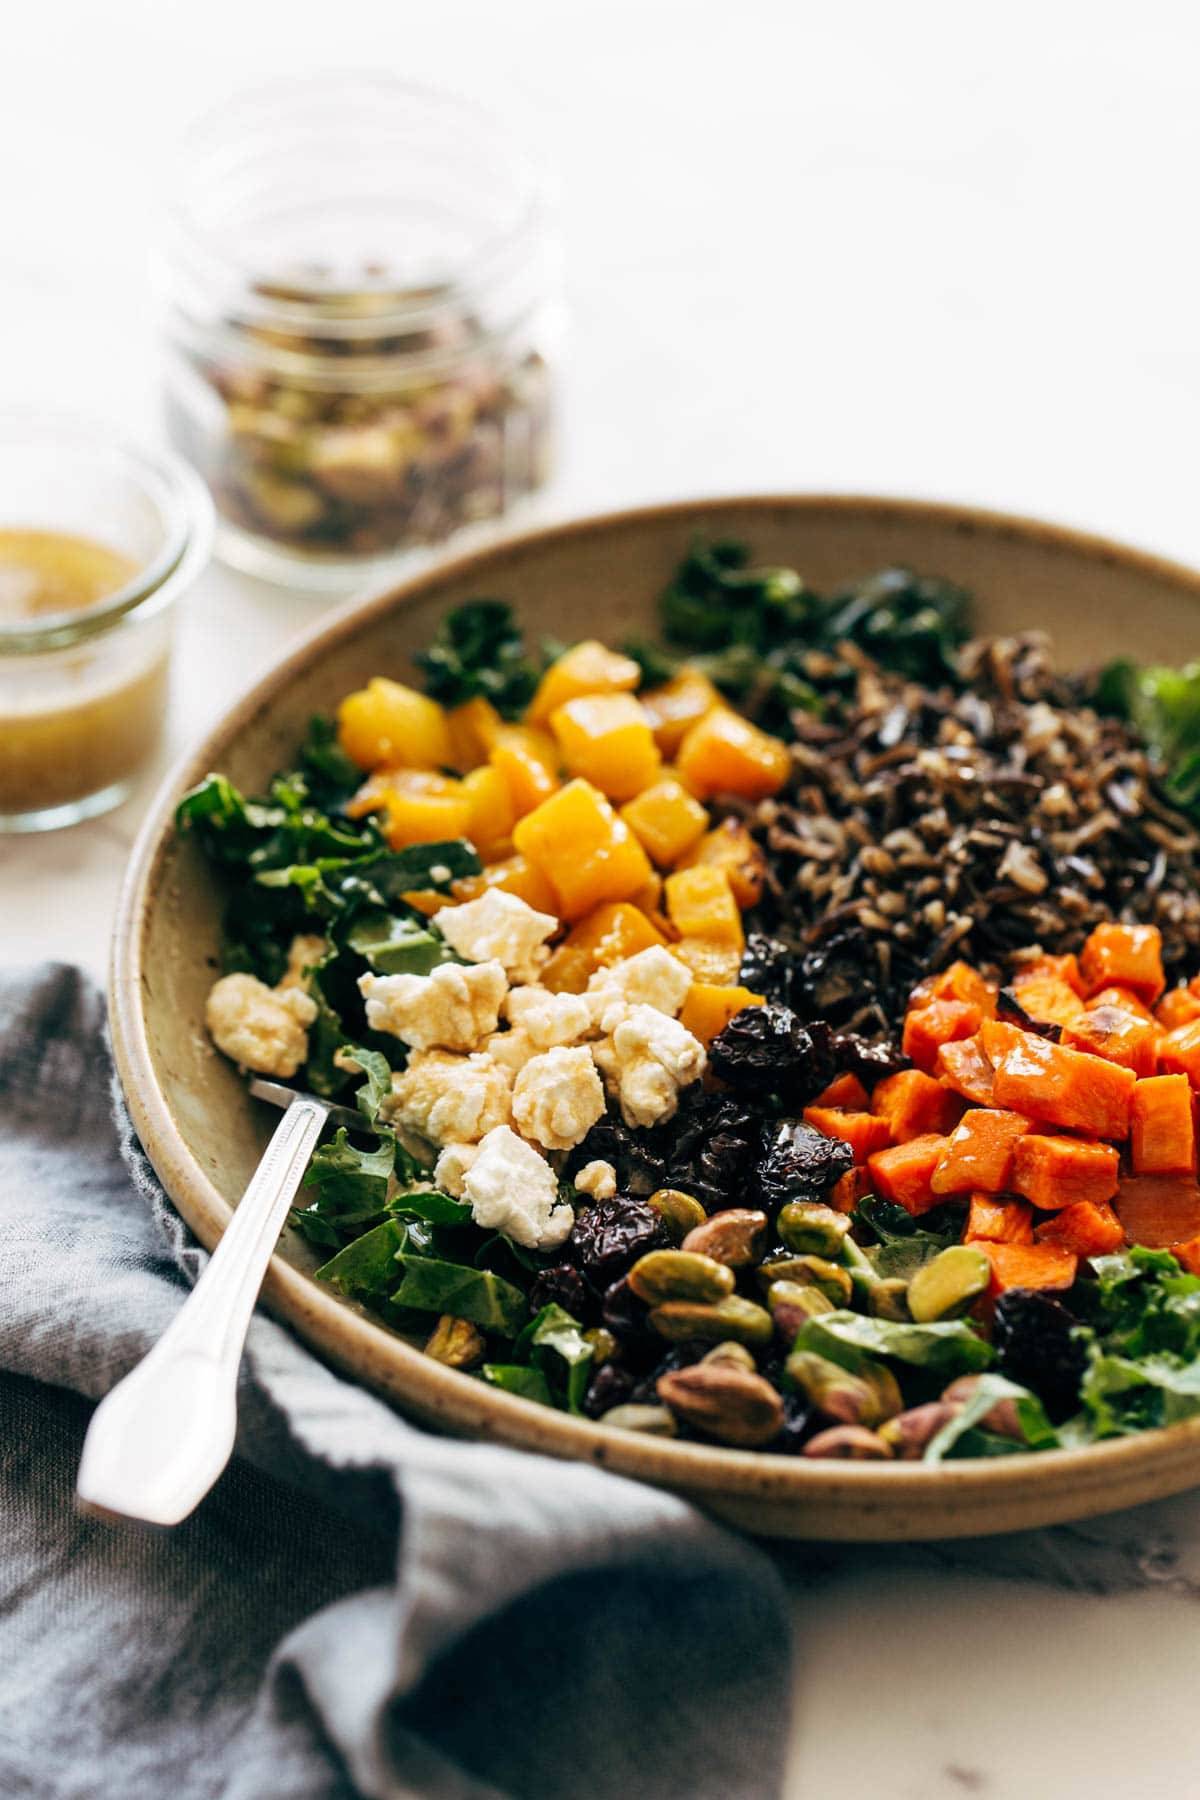
    Roasted root vegetables, earthy grains, and dried fruit. Dark leafy greens, buttery goat cheese, and lusciously creamy balsamic dressing.

    This grain bowl is:

    • really delicious
    • colorful
    • packed with nutrition
    • calorie-dense (in a good way)
    • super satisfying
    • adaptable (pick and choose your favorite roasted vegetables)
    • really good with or without protein
    • playful

    A) Yes, it’s a slice of healthy eating heaven, and B) this is the salad / bowl situation you want gracing the shelves of your fridge this winter.

    Like, for days. Because you can meal-prep it! THANK YOU GRAIN BOWLS for knowing what we need.

    Lindsay signature.
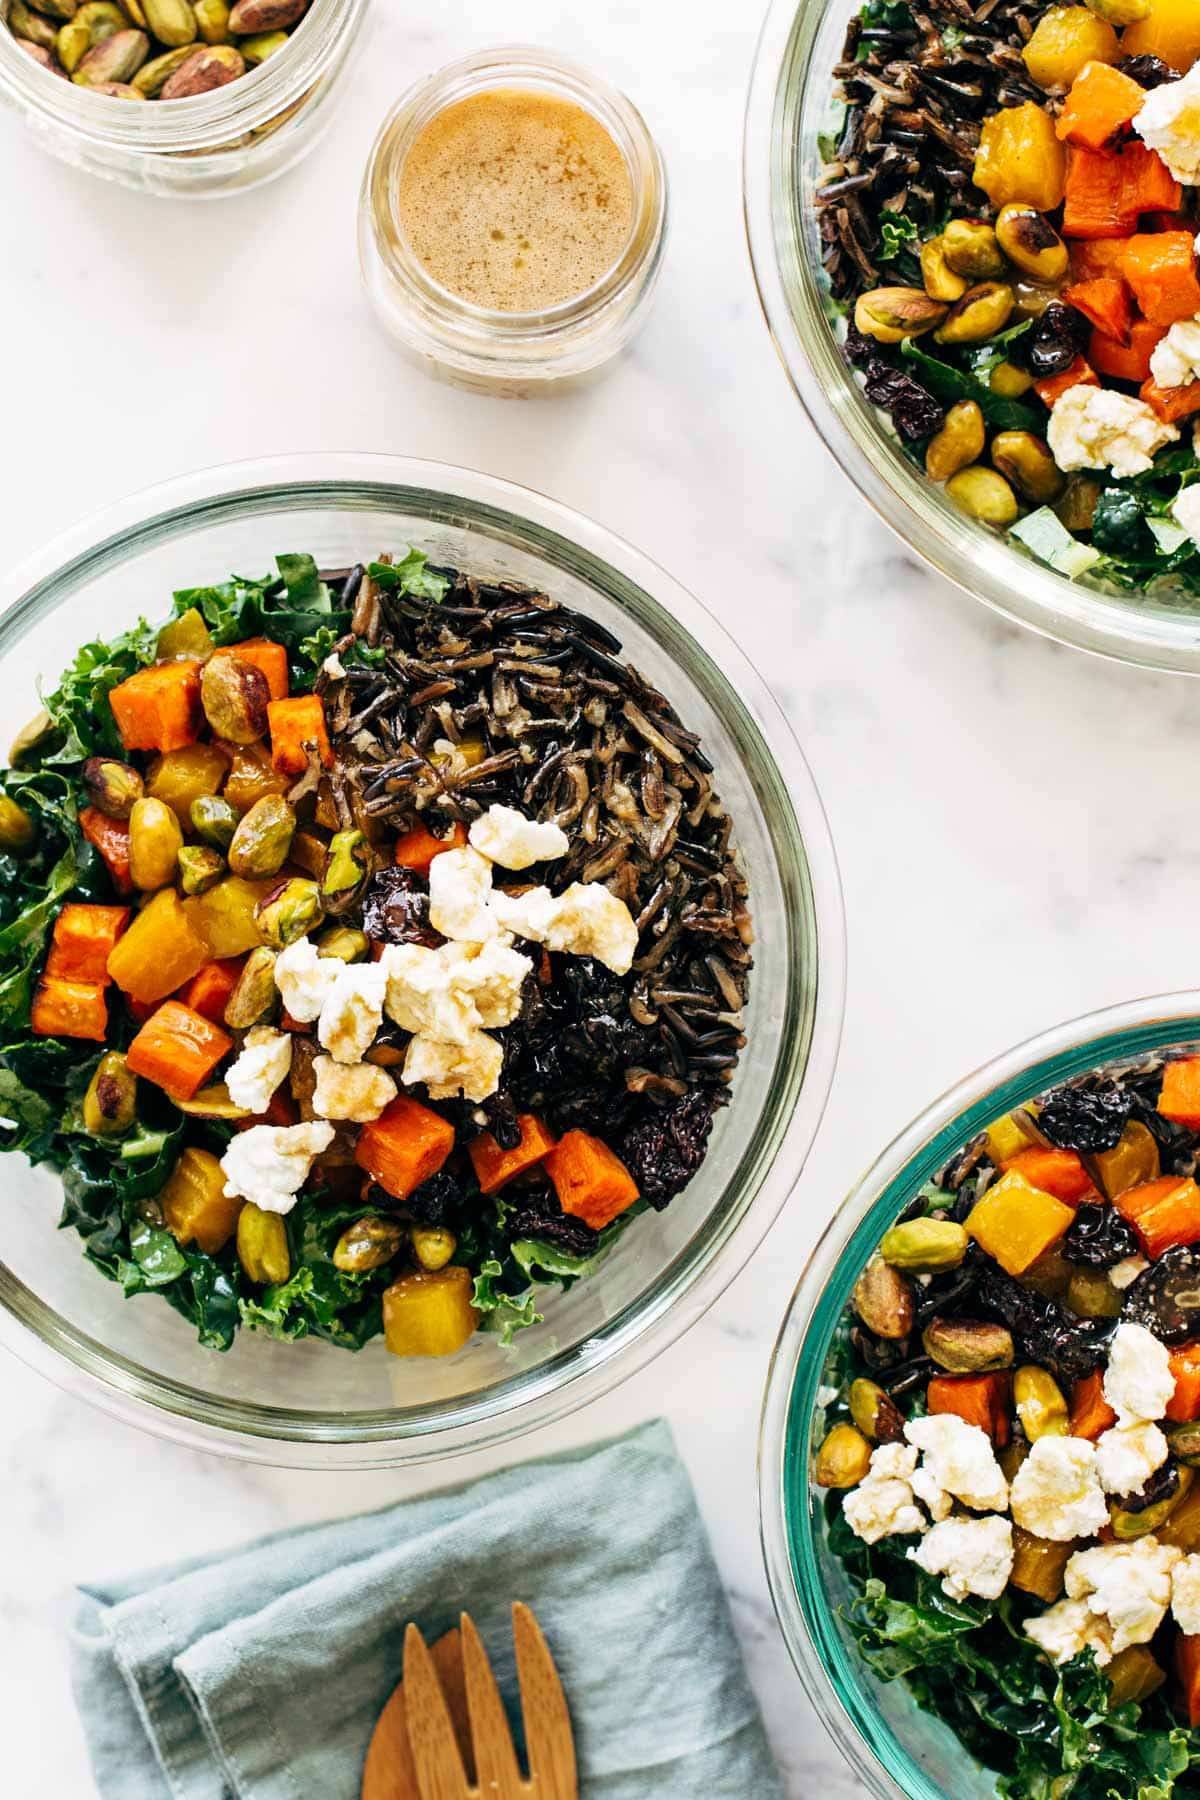
    Grain bowl in meal prep containers.

    How To Make These Grain Bowls

    We’re working with just three steps here. THREE STEPS.

    1. Roast The Vegetables: Sweet potatoes and beets in the oven for 30 minutes. Done!
    2. Cook the Rice: I’d start this right away since wild rice can take some time.
    3. Make The Dressing: I like to blend this dressing so that it gets super smooth and almost creamy. Delicious!

    Once you have all your elements ready to go, all you need to do is assemble in bowls.

    How To Meal Prep This

    One of the best things about these grain bowls is that they can stand up to some fridge time. Here’s how I like to store this for meal prep:

    • Keep the kale, goat cheese, and pistachios separate to maintain their freshness.
    • The roasted vegetables, wild rice, and dried cherries can sit tight in a little bit of balsamic dressing while it’s in the fridge and kinda just keeps getting better and better.

    When you’re ready to eat, combine it all together and add a little more dressing to coat the greens. Meal prep superstar!

    Side view of grain bowl with fork.

    More Ideas For This Grain Bowl

    This grain bowl is as versatile as it gets.

    Eat it warm or cold. Eat it on its own for lunch, or add a fried egg for a breakfast hash situation (gah!), or top it with some grilled chicken or pan-fried halloumi (omg yum) for dinner. Use a different dressing, or make the balsamic dressing and put it all over everything.

    Don’t have wild rice? Swap in quinoa, farro, or your favorite grain.

    Don’t have the patience to roast beets? Get pre-cooked ones at the store.

    Don’t LIKE beets? Sub in another favorite roasted vegetable.

    Hate pistachios and/or goat cheese? Any nut/seed or crumbly cheese will work.

    However you do it, this rainbowy grain bowl has totally got your back.

    Frequently Asked Questions About This Recipe

    Can I use a different grain?

    Yep! Swap in quinoa, farro, or your favorite grain.

    What other vegetables could I use?

    Roasted carrots, cauliflower, and/or brussels sprouts would work great here.

    What other cheese could I use?

    Parmesa, feta, blue cheese, or some pan-fried halloumi would be delicious.

    How can I add protein to this?

    This would be perfect with some chicken (grilled, roasted, air-fried) or some chickpeas for a vegetarian-friendly option.

    Can I make this vegan?

    Yes! Skip the cheese and skip the mayonnaise.


    Print

    clock clock iconcutlery cutlery iconflag flag iconfolder folder iconinstagram instagram iconpinterest pinterest iconfacebook facebook iconprint print iconsquares squares iconheart heart iconheart solid heart solid icon

    Description

    The BEST Grain Bowl! Roasted root vegetables, earthy grains, dried fruit, dark leafy greens, buttery goat cheese, and lusciously creamy balsamic dressing.


    Notes

    For meal prepping: store sweet potatoes, beets, and wild rice together. Combine with kale, goat cheese, and pistachios, and dressing before eating. 

    • Prep Time: 30 mins
    • Cook Time: 1 hour
    • Category: Lunch
    • Method: Bake
    • Cuisine: American

    Keywords: grain bowl, grain salad, wild rice salad, sweet potato salad, roasted beets, goat cheese


    One More Thing!

    This recipe is part of our best healthy meal prep recipes page. Check it out!

    Source link

  • Tomato Salad With Garlic Dressing

    Tomato Salad With Garlic Dressing

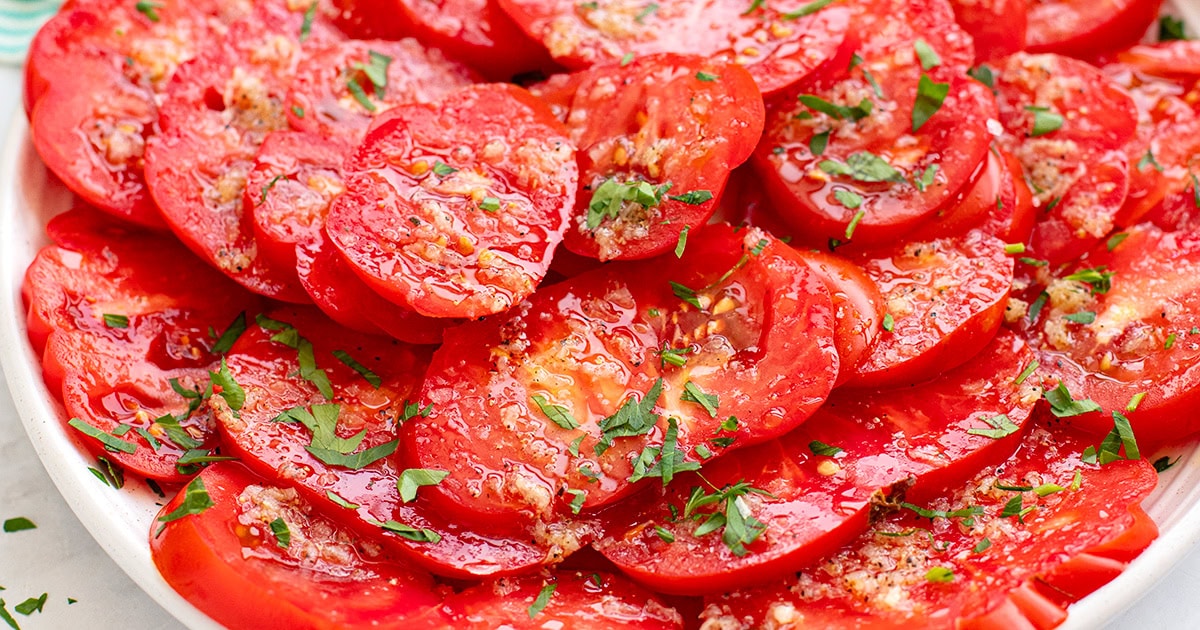
    Easy tomato salad recipe with garlic dressing, vinegar, and herbs. Perfect as a vibrant side dish or a juicy bruschetta topping.


    Jump to: ℹ️ Overview | 🛒 Ingredients | 📷 How To Make | 📹 Watch The Video | 👩‍🍳 Recipe Tips | 🥗 Serving Suggestions | 📝 Full Recipe Card | 🍽 More Salad Recipes


    This garlicky tomato salad has been passed around my family table for generations. Honestly, it always felt too simple to warrant a full recipe post — just ripe tomatoes, garlic, vinegar, a pinch of sugar, olive oil, salt. That’s it. But every time I make it, someone asks for the “secret sauce.” 

    So here it is: my no-fuss, big-flavor tomato salad with garlic dressing. It’s fresh, juicy, tangy-sweet, and a little bit punchy from the garlic — just how we like it. The trick is all in the balance and timing. Low-calorie, naturally gluten-free, and full of vitamins, it’s the easiest side dish that somehow steals the show. Once you try it, you’ll get why it’s been in my back pocket all these years.

    👩‍🍳 You might also like these tomato recipes: tomato Florentine soup, stewed tomatoes, roasted tomato soup, tomato ricotta salad, and check out these 40 recipes with fresh tomatoes. Try this other Slavic recipe: air fryer kielbasa.

    What You’ll Need

    Here is what you’ll need for this tomato salad recipe. Find the full measurements in the recipe card below.

    • Fresh tomatoes: Thick slices of juicy, ripe tomatoes are the heart of this dish. Use in-season for best results. Heirloom, vine-ripened, or even mixed varieties work beautifully.
    • Fresh garlic: Has to be fresh (not the stuff out of the jar or powder). It brings the sharp kick that balances the sweetness of tomatoes.
    • White wine vinegar: Adds a clean, bright acidity that lemon juice just doesn’t. Red wine vinegar is a fine backup.
    • Sugar: it brings out the tomatoes’ natural sweetness and soften the vinegar’s bite.
    • Olive oil: Use good extra-virgin olive oil if you can. Adds richness and rounds out the dressing.
    • Black pepper: Adds a little warmth and edge.
    • Flaky sea salt: Go generous. It adds texture and brings all the flavors into focus. Don’t use fine salt as it will melt in seconds.
    • Fresh herbs: Basil or parsley for a final hit of color and freshness.

    How To Make Tomato Salad With Garlic Dressing

    Find the full recipe and nutritional information below. Here are some handy step-by-step photos for how to make my family’s favorite tomato salad.

    • Slice your tomatoes into thick, juicy rounds and layer on a serving platter.
    • Whisk together garlic, vinegar, sugar, and olive oil in a small bowl.
    • Pour the dressing evenly over the tomatoes.
    • Sprinkle with flaky sea salt and black pepper.
    • Garnish with herbs. Done and done.

    Watch The Video

    Recipe Tips

    • Make-ahead? You can! Let it sit for 15–30 minutes to let the flavors marinate, it gets even juicier.
    • Storage: Best fresh, but leftovers can be stored in an airtight container in the fridge for up to 24 hours.
    • Variations: Add sliced red onions or shallots for more bite. Crumble over some feta or torn mozzarella for a bit of creamy contrast. Swap herbs (try dill or chives). Use cherry tomatoes, halved, for a more rustic style.

    Serving Suggestions

    This salad is made for grilled sourdough or bruschetta bread—something crusty to soak up those glorious garlicky juices. Also dreamy next to grilled meats (like these grilled chicken tenders), roast chicken, or even spooned over whipped ricotta on toast. I’ve even thrown leftovers into a pasta salad (such as my elote pasta salad and tuna and pasta salad) and had zero regrets.

    💬 If you’ve tried this garlicky tomato salad or any other recipe on the blog then don’t forget to rate the recipe and let me know how you got on in the comments below, I love hearing from you! You can also FOLLOW ME on Instagram, Facebook, Pinterest, YouTube, and or sign up to my Newsletter to see more of my delicious food.

    Want to Save This Recipe?

    Enter your email & I’ll send it to your inbox. Plus, get great new recipes from me every week!

    By submitting this form, you consent to receive emails from Cooked & Loved

    Easy tomato salad with fresh garlic dressing, vinegar, and herbs. This is perfect as a vibrant side dish or a juicy bruschetta topping. My family’s long-time favorite recipe! Find step-by-step photos and more recipe tips above.

    • Slice tomatoes and layer them on a serving platter.

    • In a small bowl, whisk together garlic, vinegar, sugar, and olive oil, and until combined.

    • Drizzle dressing evenly over tomatoes.

    • Sprinkle with a few generous pinches of flaky sea salt. Make sure every tomato slice gets a few flakes.

    • Finish with a little pepper and garnish with herbs and serve.

    • Storage: Best fresh, but leftovers can be stored in an airtight container in the fridge for up to 24 hours.
    • Variations: Add sliced red onions or shallots for more bite. Crumble over some feta or torn mozzarella for a bit of creamy contrast. Swap herbs (try dill or chives). Use cherry tomatoes, halved, for a more rustic style.
    • Can I use cherry tomatoes instead of large ones? Yes, halved cherry tomatoes work great and are especially pretty with mixed colours.
    • What if I don’t have white wine vinegar? Red wine vinegar or even apple cider vinegar can work in a pinch—just avoid balsamic for this one.
    • Why add sugar? It rounds out the acidity and makes the tomatoes taste sweeter and more “tomatoey.” Yes, you need to use it, and it’s only a little bit.
    • Can I prep this ahead? Yes! Dress it 15–30 minutes ahead for a marinated version. Just hold off on the salt until serving, so it doesn’t get too watery.

    Calories: 110kcal | Carbohydrates: 4g | Protein: 1g | Fat: 11g | Saturated Fat: 1g | Polyunsaturated Fat: 1g | Monounsaturated Fat: 8g | Sodium: 295mg | Potassium: 153mg | Fiber: 1g | Sugar: 3g | Vitamin A: 513IU | Vitamin C: 9mg | Calcium: 9mg | Iron: 0.3mg

    Keywords: fresh tomatoes, Garlic, Tomato Salad, tomato recipes, summer salads, heirloom tomatoes

    More Salad Recipes


    Source link

  • Easy Chicken Burrito Bowls

    Easy Chicken Burrito Bowls

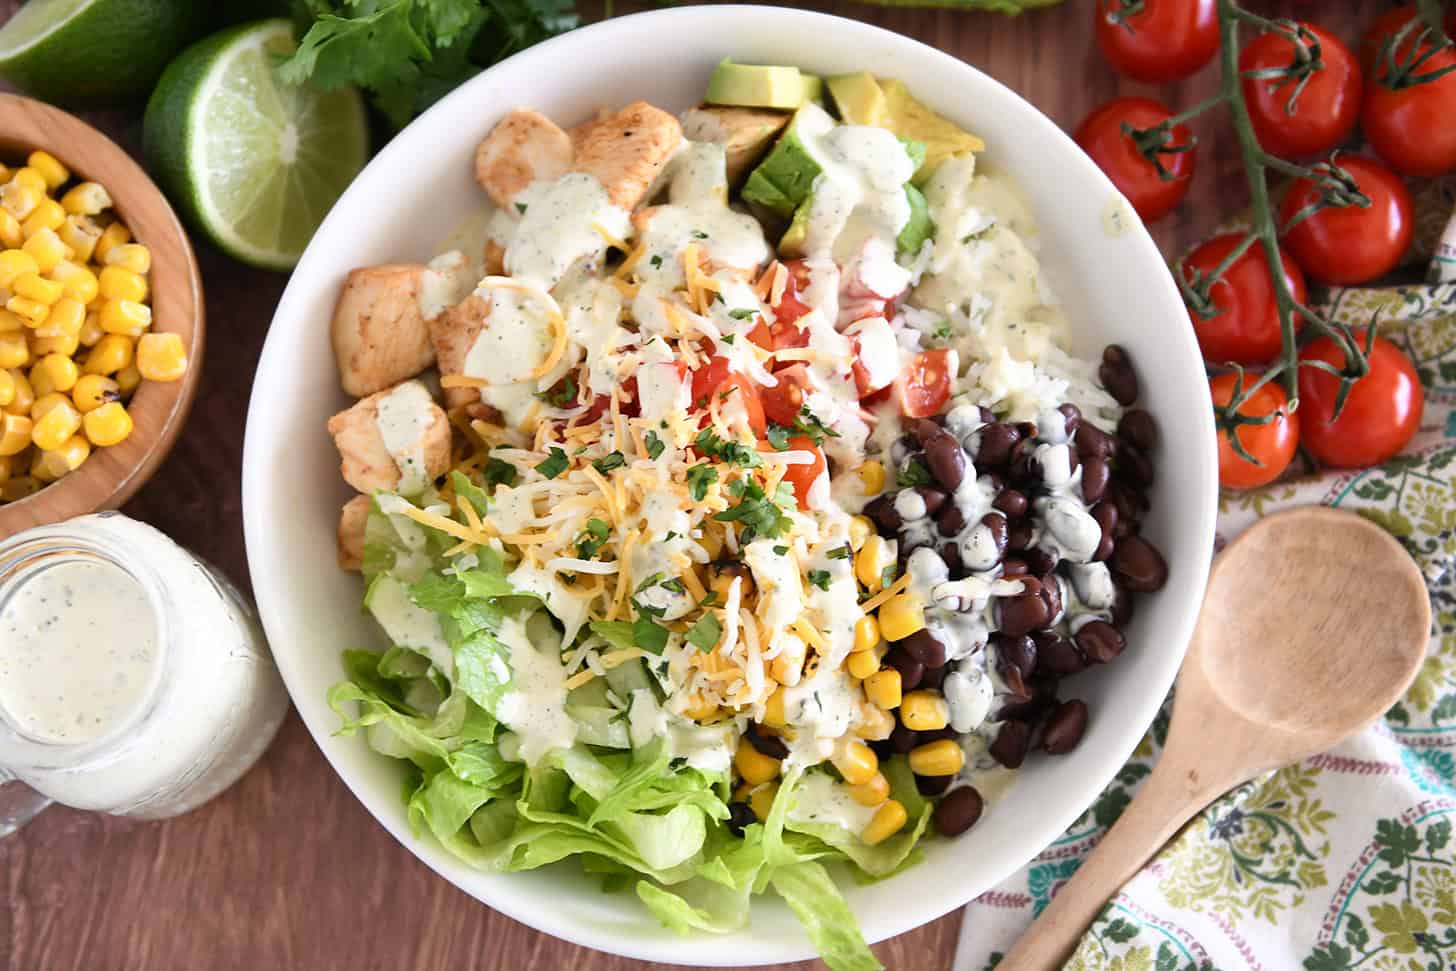
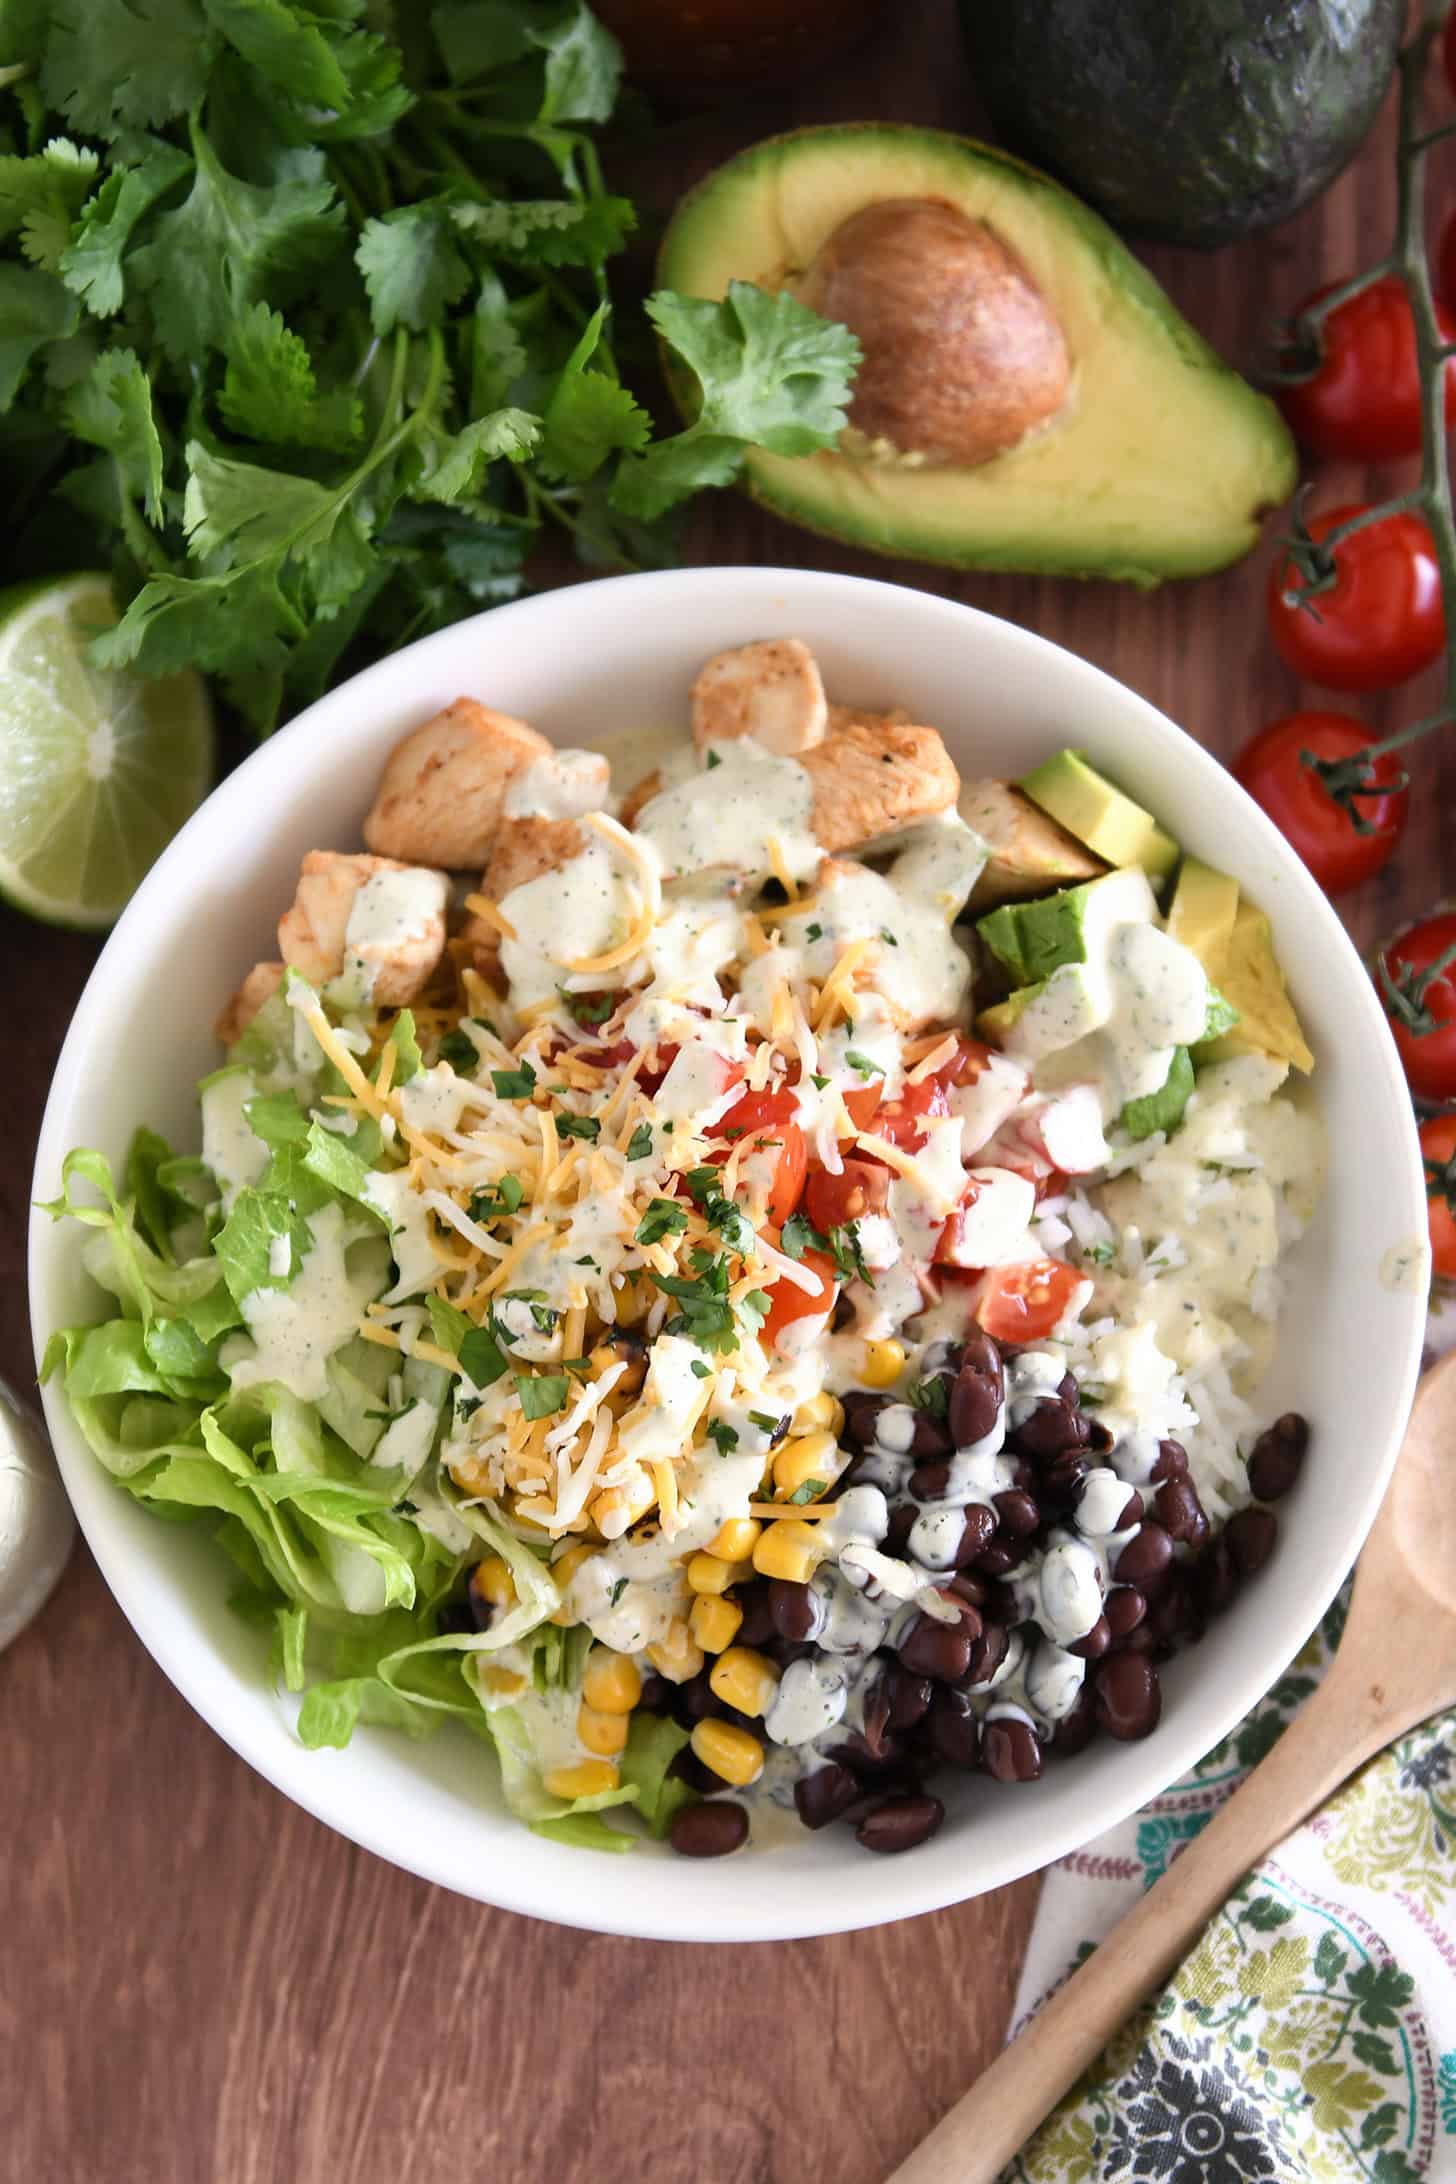
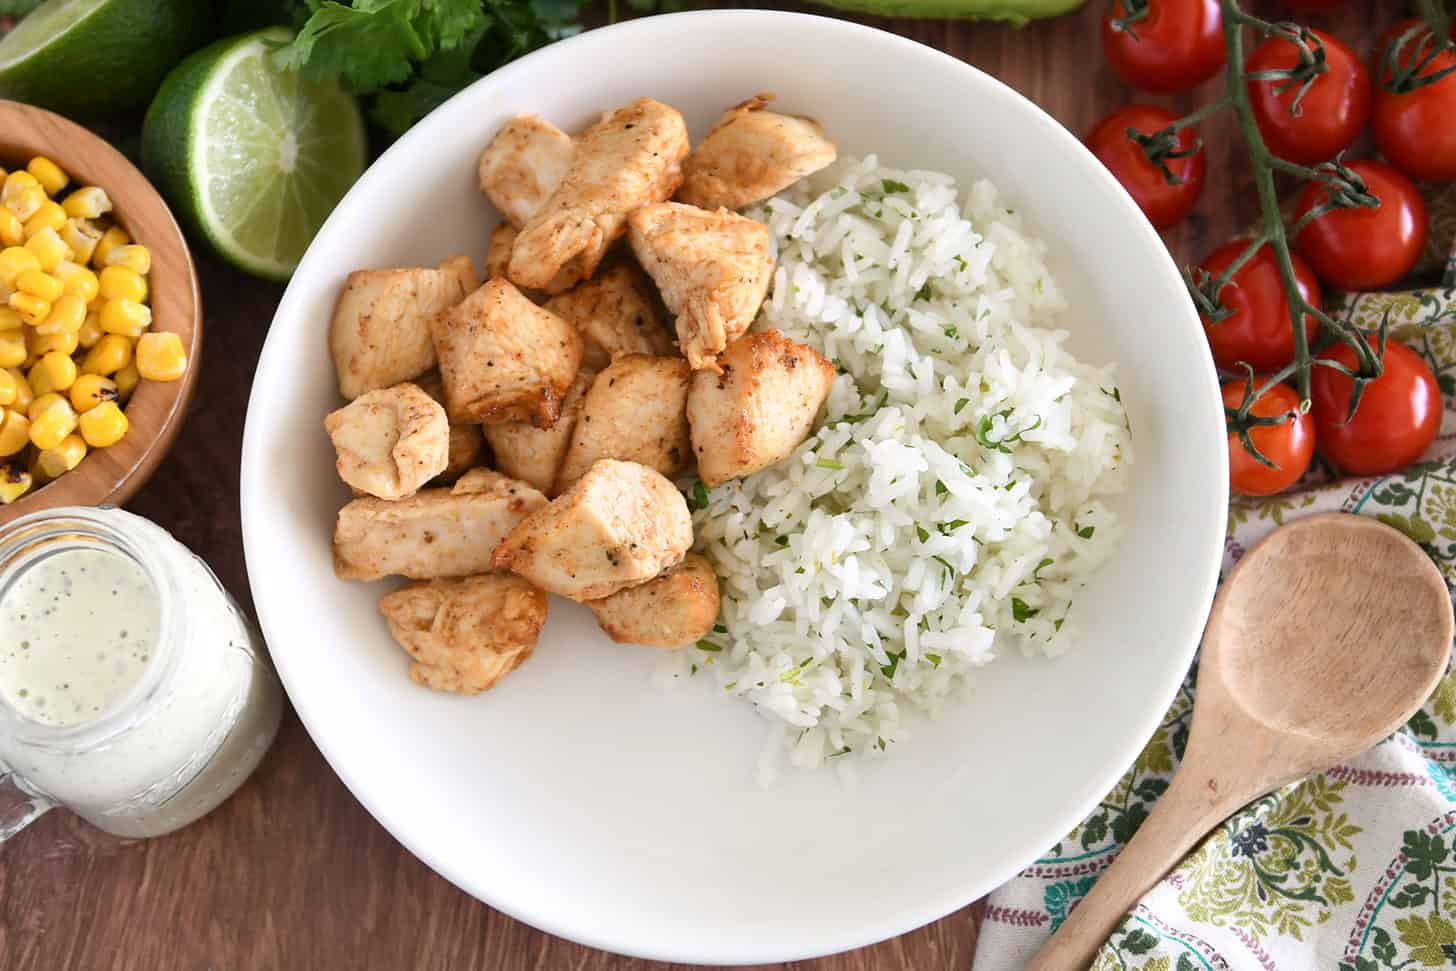
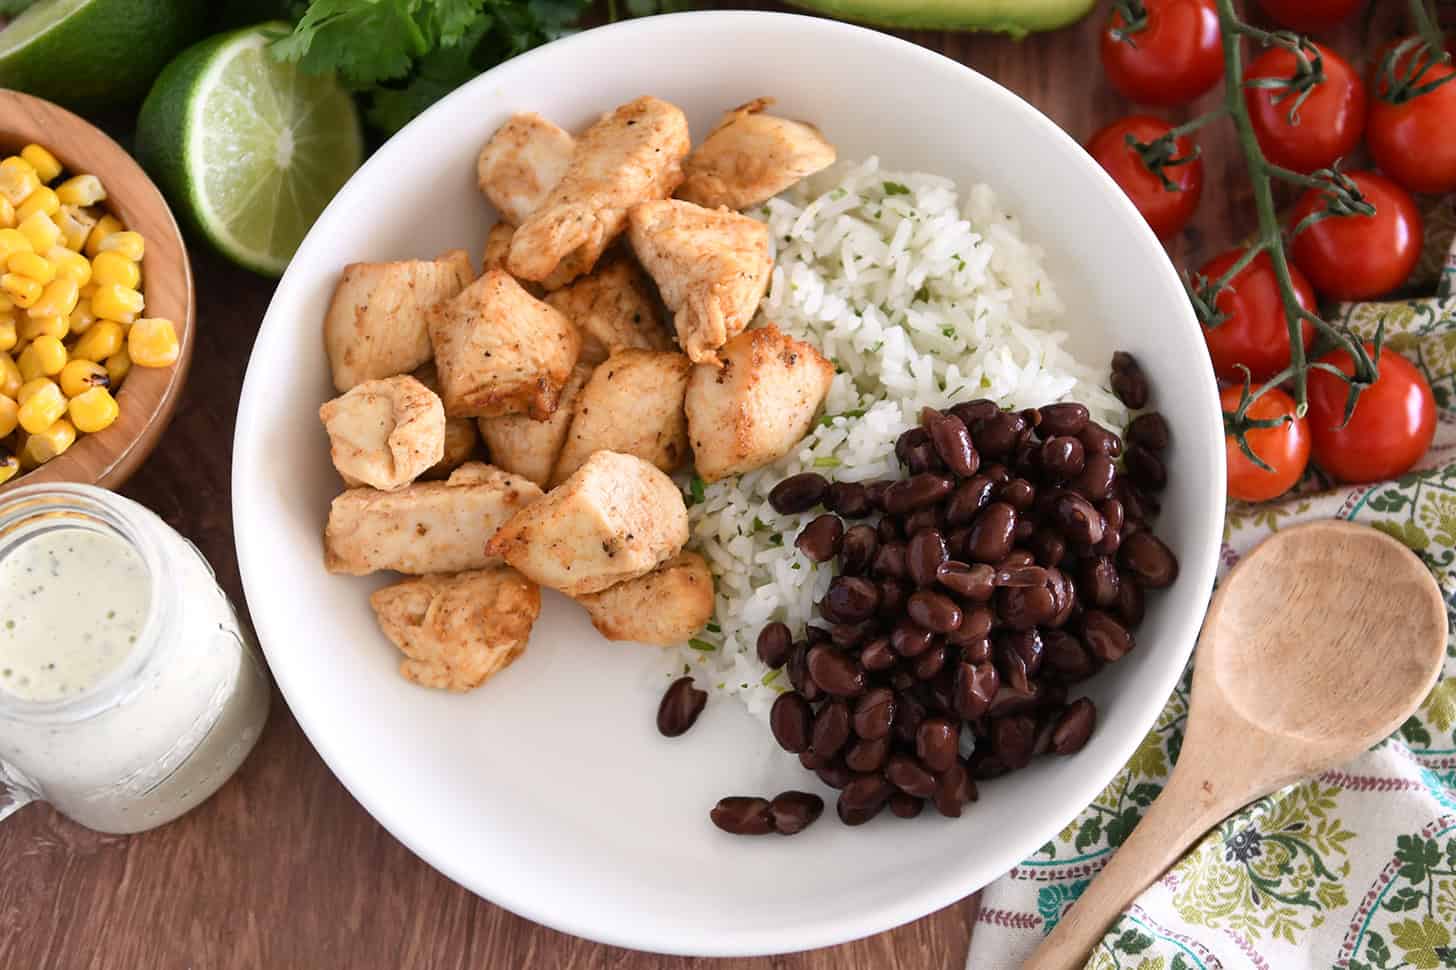
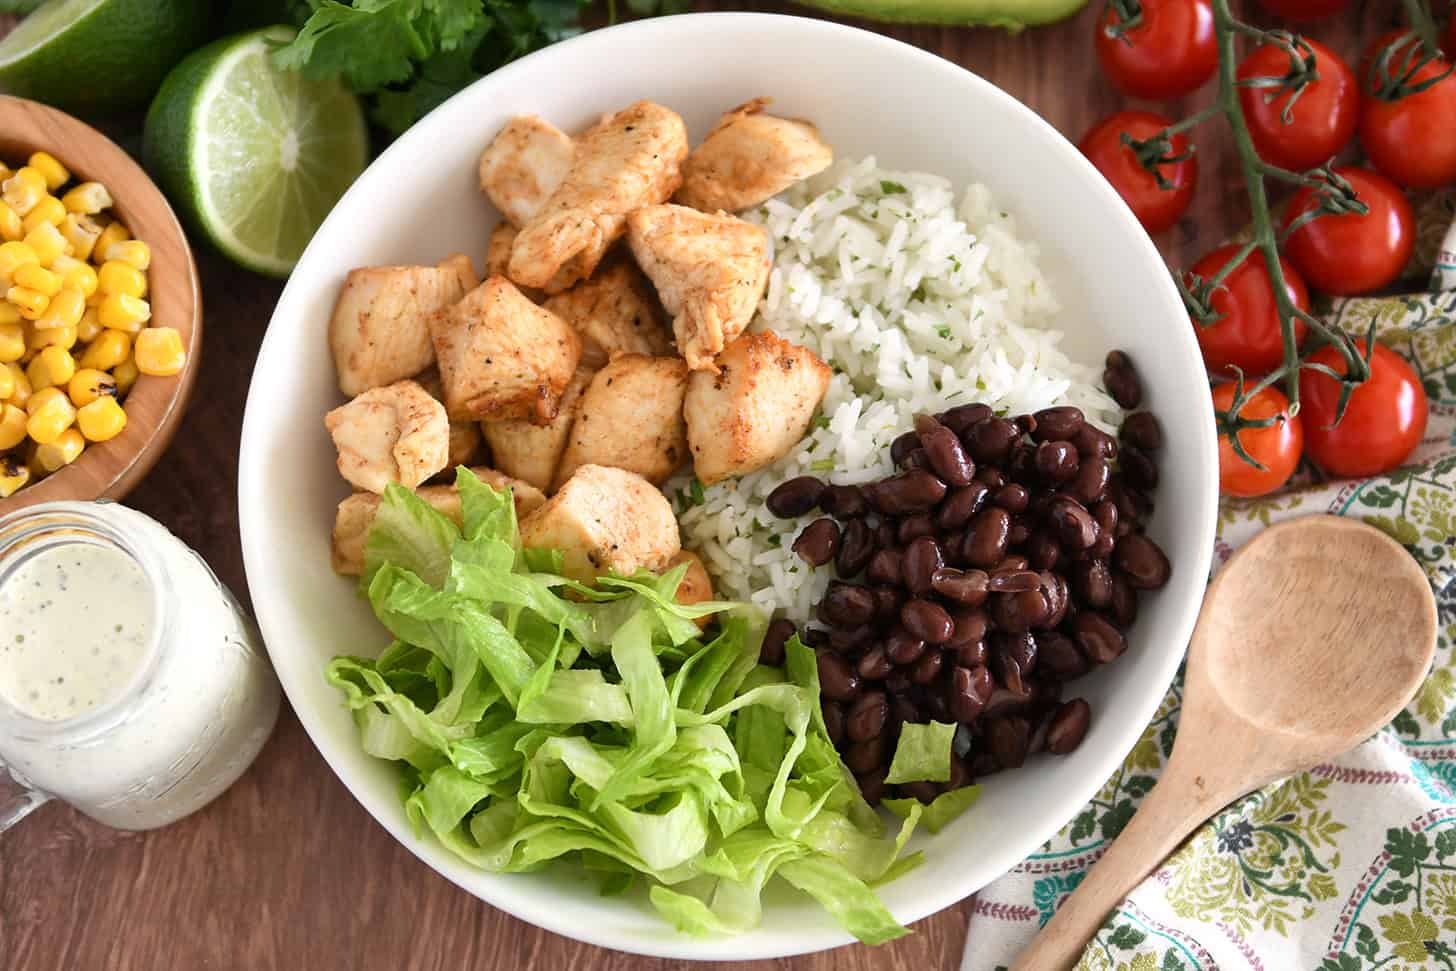
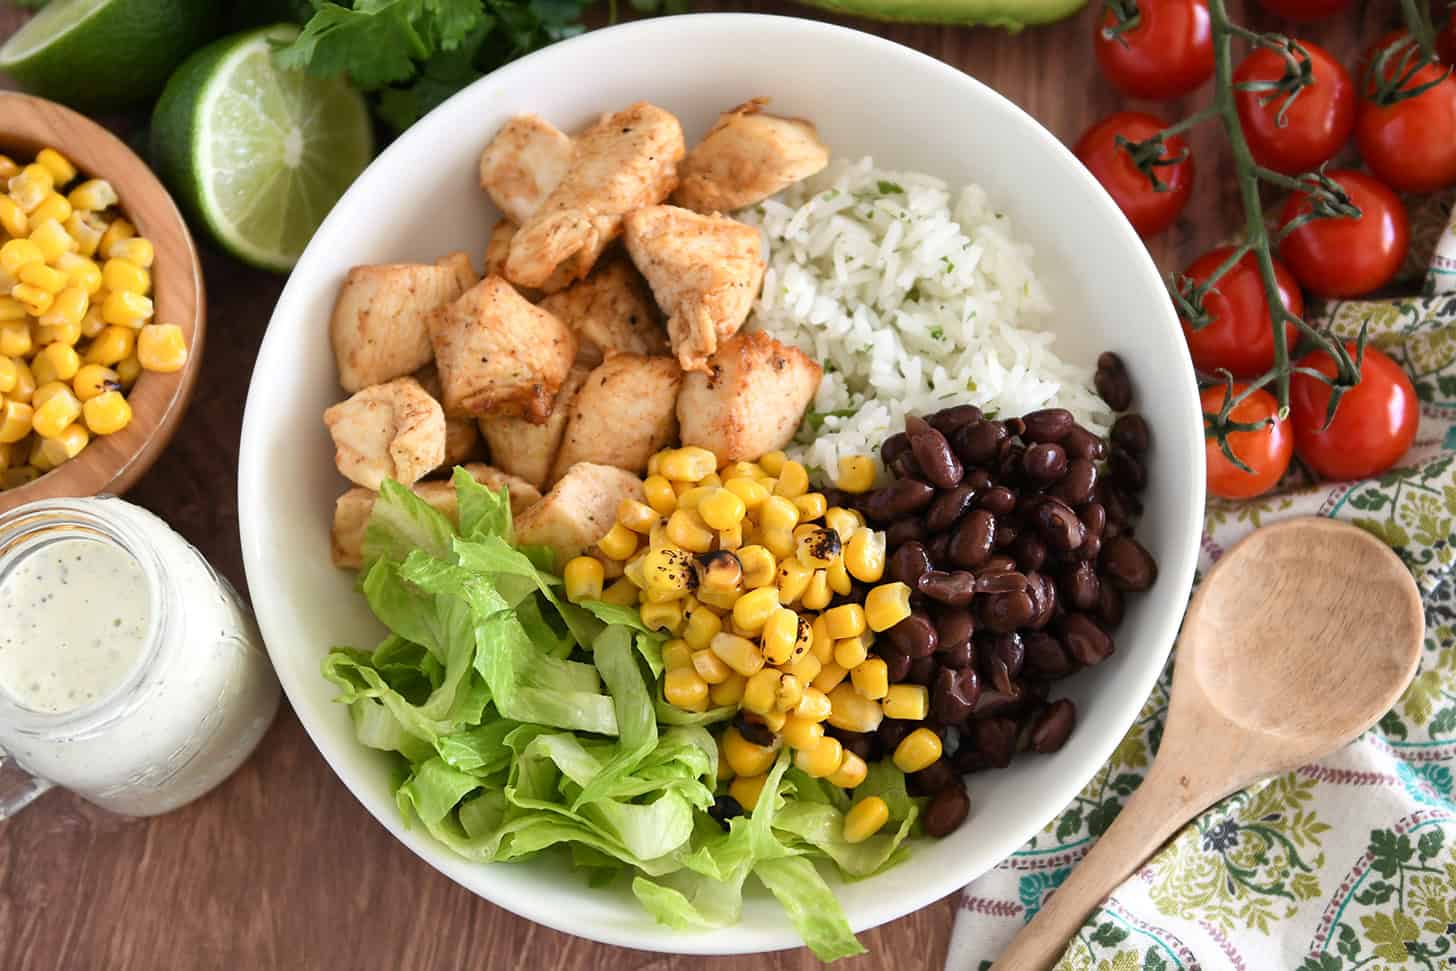
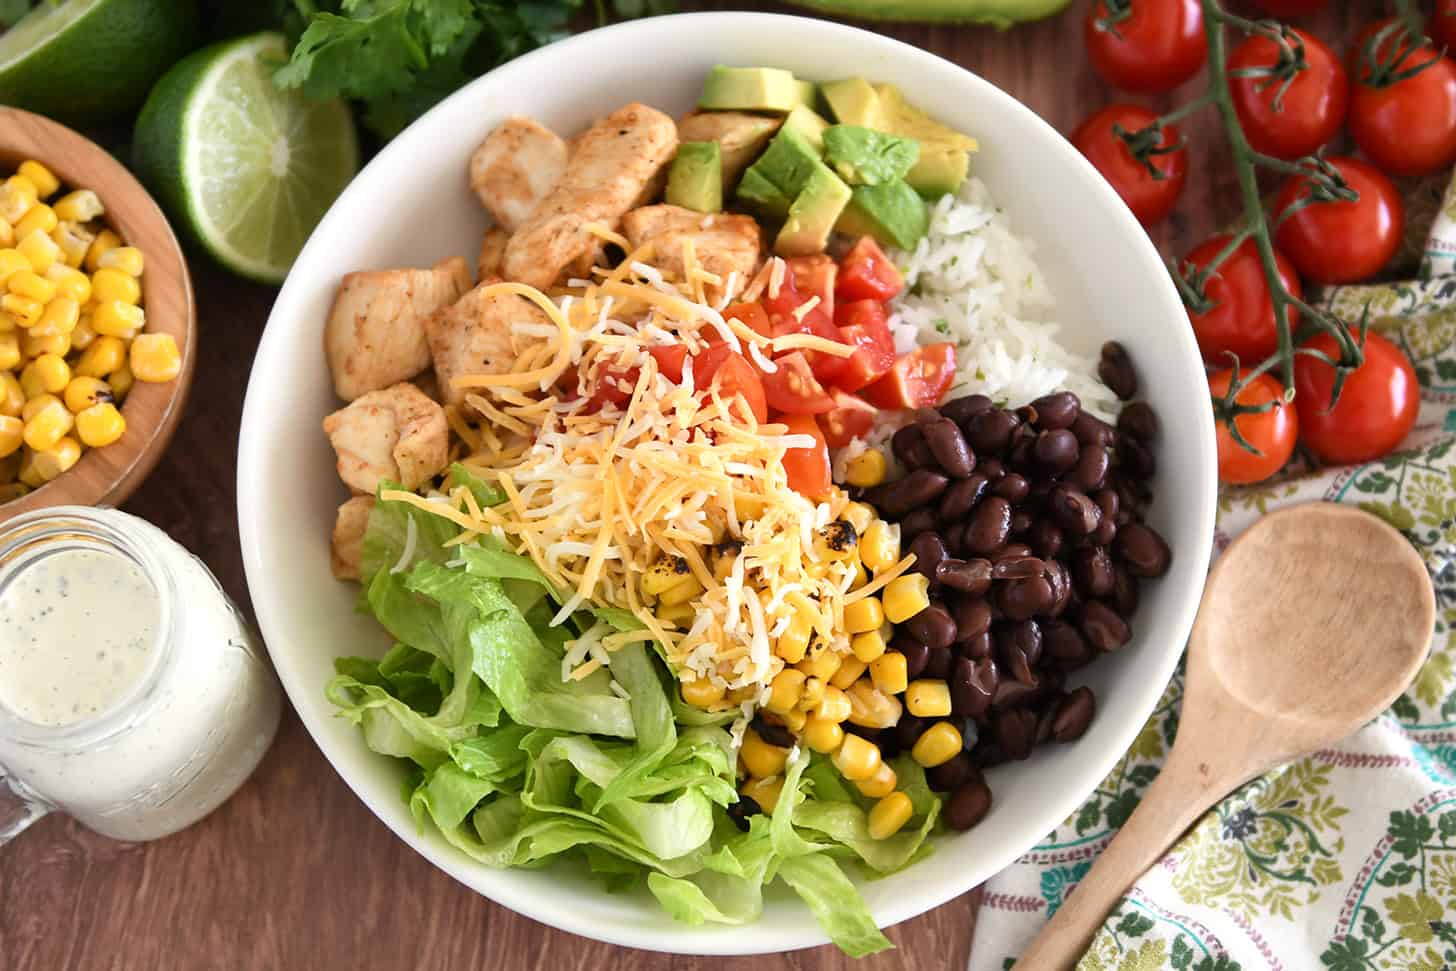
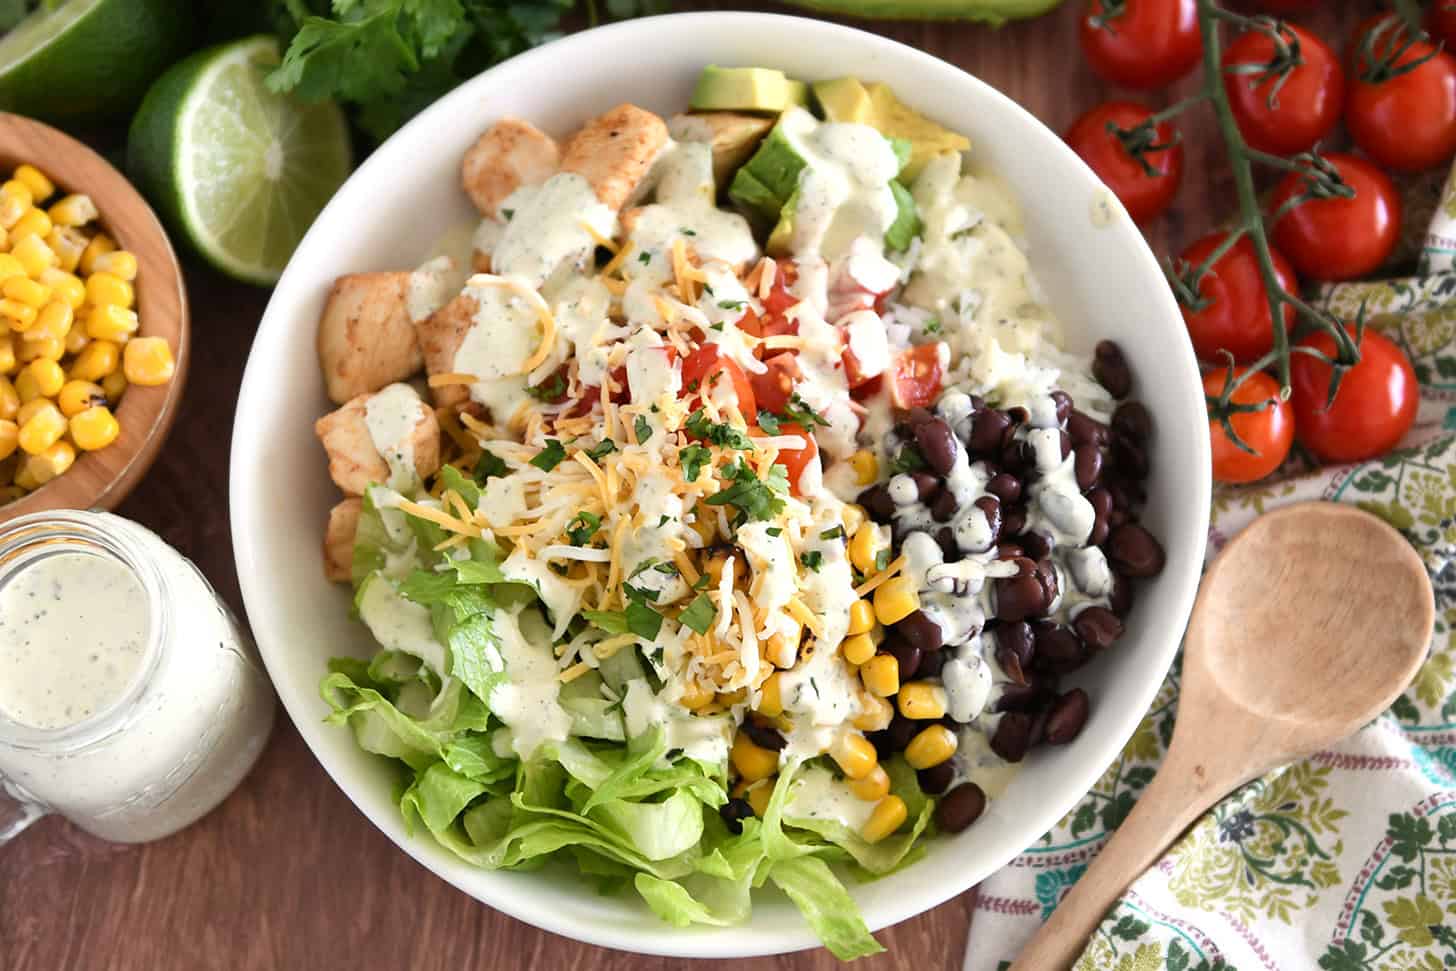
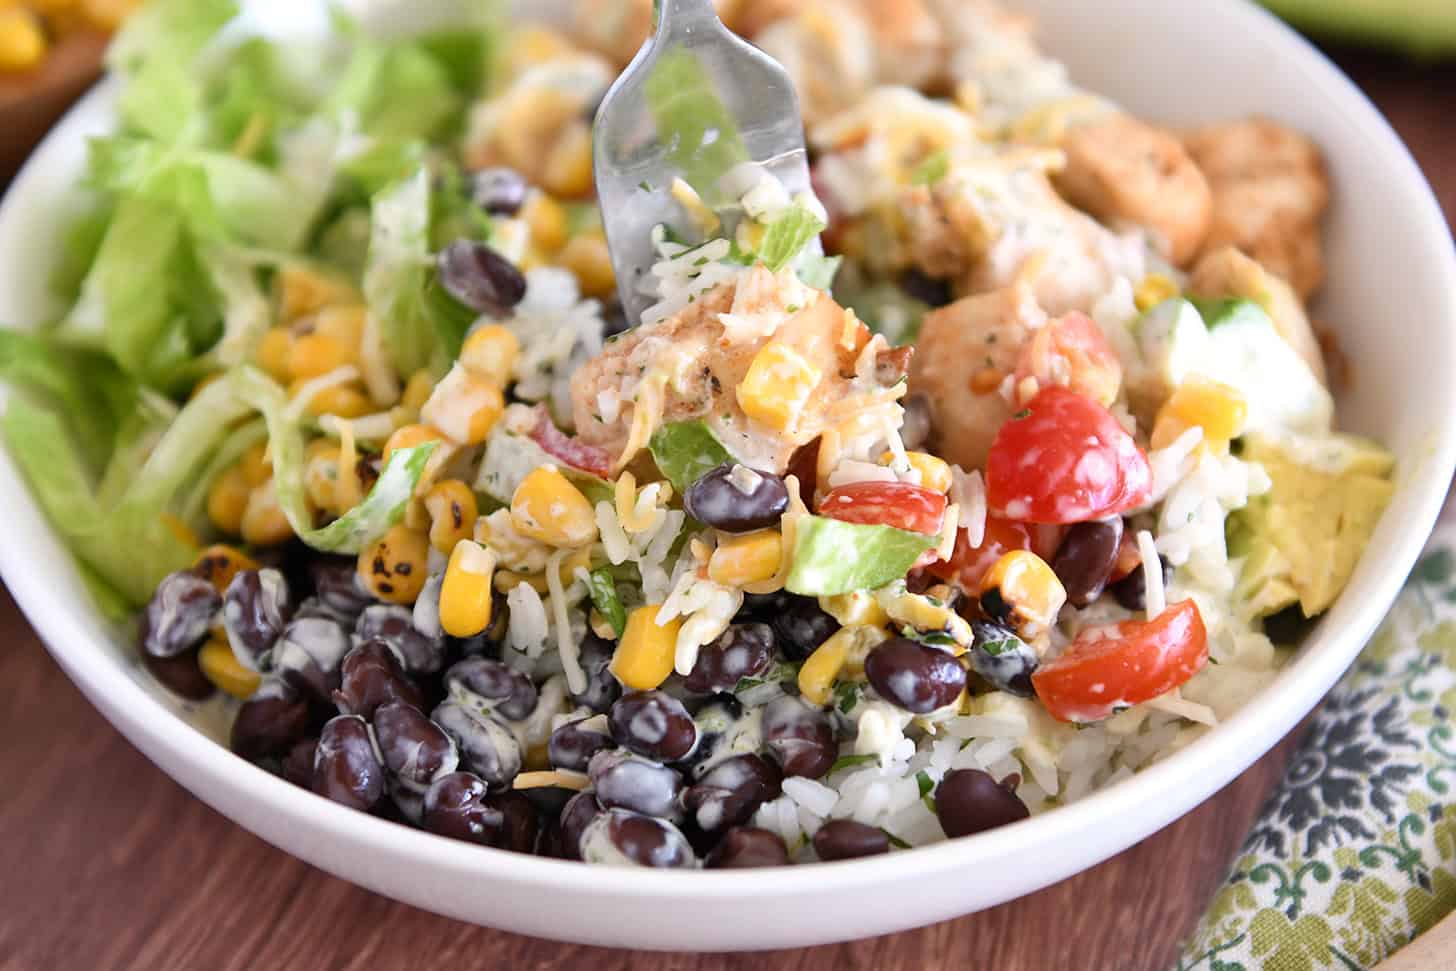
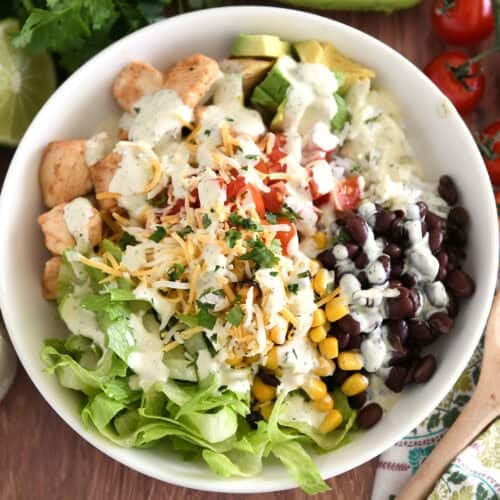
    These easy chicken burrito bowls are piled high with cilantro lime rice, roasted corn, flavorful chicken, black beans and all the toppings your heart desires.

    This quick and simple meal has become one of our go-to weeknight dinners! Best part? Everyone can customize their own plate (which is perfect for picky eaters!).

    Why These Chicken Burrito Bowls are So Easy

    These burrito bowls are a perfect weeknight meal! Many of the components can be prepped ahead of time making it even easier.

    • Chicken + Marinade: Marinate the chicken for as short as one hour or up to eight hours. And if you’re in a time crunch, just give the chicken a couple minutes to bask in the marinade, and then cook it up – the flavor won’t be quite as pronounced, but the chicken will still be delicious.
    • Toppings: Chop and prep all the toppings ahead of time, if needed.
    • Beans: Drain and rinse the beans ahead of time and store in a container in the refrigerator until ready to serve.
    • Rice: This recipe is a perfect way to use up leftover rice of any sort, like cilantro lime rice, garlic butter rice, cooked white or brown rice, etc. Other types of ingredients can be used in place of rice, like quinoa. I’ve included my favorite way to make cilantro lime rice in the recipe below.

    Cooking Options: Cook the chicken in a skillet on the stovetop or in an air fryer. Instructions are included for both in the recipe. The chicken cooks with the marinade, making it extremely flavorful and delicious.

    Key Ingredients for Chicken Burrito Bowls

    So many of the ingredients for this recipe are easily adaptable if you need to swap in or out based on food allergies, food preferences, or what you have on hand.

    • Chicken: Use boneless, skinless chicken breasts, chicken tenders or chicken thighs.
    • Marinade: The simple marinade is a combination of olive oil, lime juice, red wine vinegar, chili powder, cumin, oregano and salt.
    • Black beans: Canned black beans, rinsed and drained, add heartiness, protein and fiber. Other varieties of canned beans can be easily subbed in for the black beans.
    • Corn: Many different types of corn will work in this recipe: canned corn kernels, rinsed and drained. Frozen corn kernels, thawed and patted dry (no need to cook). Fresh corn kernels, cut off the cob (no need to cook). For a tasty variation, I love using the frozen roasted corn from Trader Joe’s. 
    • Rice: Cooked brown rice, white rice, or quinoa works great in this recipe. For different flavor variations, you can use Mexican-style rice, cilantro lime rice, garlic butter rice, coconut rice, etc.
    • Dressing: Homemade or store bought cilantro lime dressing can be used, as well as another type of dressing (like ranch). This is my go-to recipe for cilantro lime dressing.

    And Don’t Forget…Toppings Galore: The beauty of this recipe is that you can use whatever toppings your heart desires! Our favorites are shredded cheese, chopped tomatoes and avocados, shredded lettuce, and crushed tortilla chips.

    Additional Tips and Notes

    This recipe is so easy to level up or keep simple (per the recipe).

    Here are my favorite ways to level up these chicken burrito bowls:

    • Make homemade cilantro lime dressing (this stuff is drinkable, it is so good). It keeps well in the fridge for a week or so.
    • Simmer the beans with 1/2 to 1 cup of green or red salsa for about 5 to 10 minutes before serving. This adds tremendous flavor and a bit of extra sauciness.
    • Use roasted corn – my favorite easy hack is to grab the frozen, roasted corn from Trader Joe’s. So tasty!
    • Make cilantro lime rice (my favorite way to make it is in the notes of the recipe). While other types of rice can be used, these bowls are out-of-this-world delicious with cilantro lime rice.

    Customizable, adaptable, and SUPER CRAZY DELICIOUS, recipes like this are my all-time favorite. I could eat some variation of these chicken burrito bowls every night of the week. I hope you enjoy this recipe as much as we do!

    Easy Chicken Burrito Bowls

    Chicken + Marinade:

    • 2 pounds boneless, skinless chicken breasts
    • 4 tablespoons olive oil
    • 2 tablespoons fresh lime juice
    • 2 tablespoons red wine vinegar (see note)
    • 2 cloves garlic, finely minced, or 1/2 teaspoon garlic powder
    • ½ teaspoon chili powder
    • ½ teaspoon cumin
    • ½ teaspoon dried oregano
    • ½ teaspoon coarse, kosher salt
    • Pinch of black pepper

    Bowls:

    • 1 (15-ounce) can black beans, rinsed and drained
    • 1 ½ to 2 cups corn kernels (see note)
    • 3 cups cooked brown rice, white rice, cilantro lime rice, or quinoa (see note)
    • Cilantro lime dressing or other dressing of choice (see note)

    Toppings:

    • Chopped lettuce, tomatoes, avocados, shredded cheese, sour cream, salsa, crushed tortilla chips, chopped cilantro, olives, etc.

    Prevent your screen from going dark

    • For the chicken, dice the chicken into 1/2 to 1-inch pieces and place in a resealable bag or bowl.

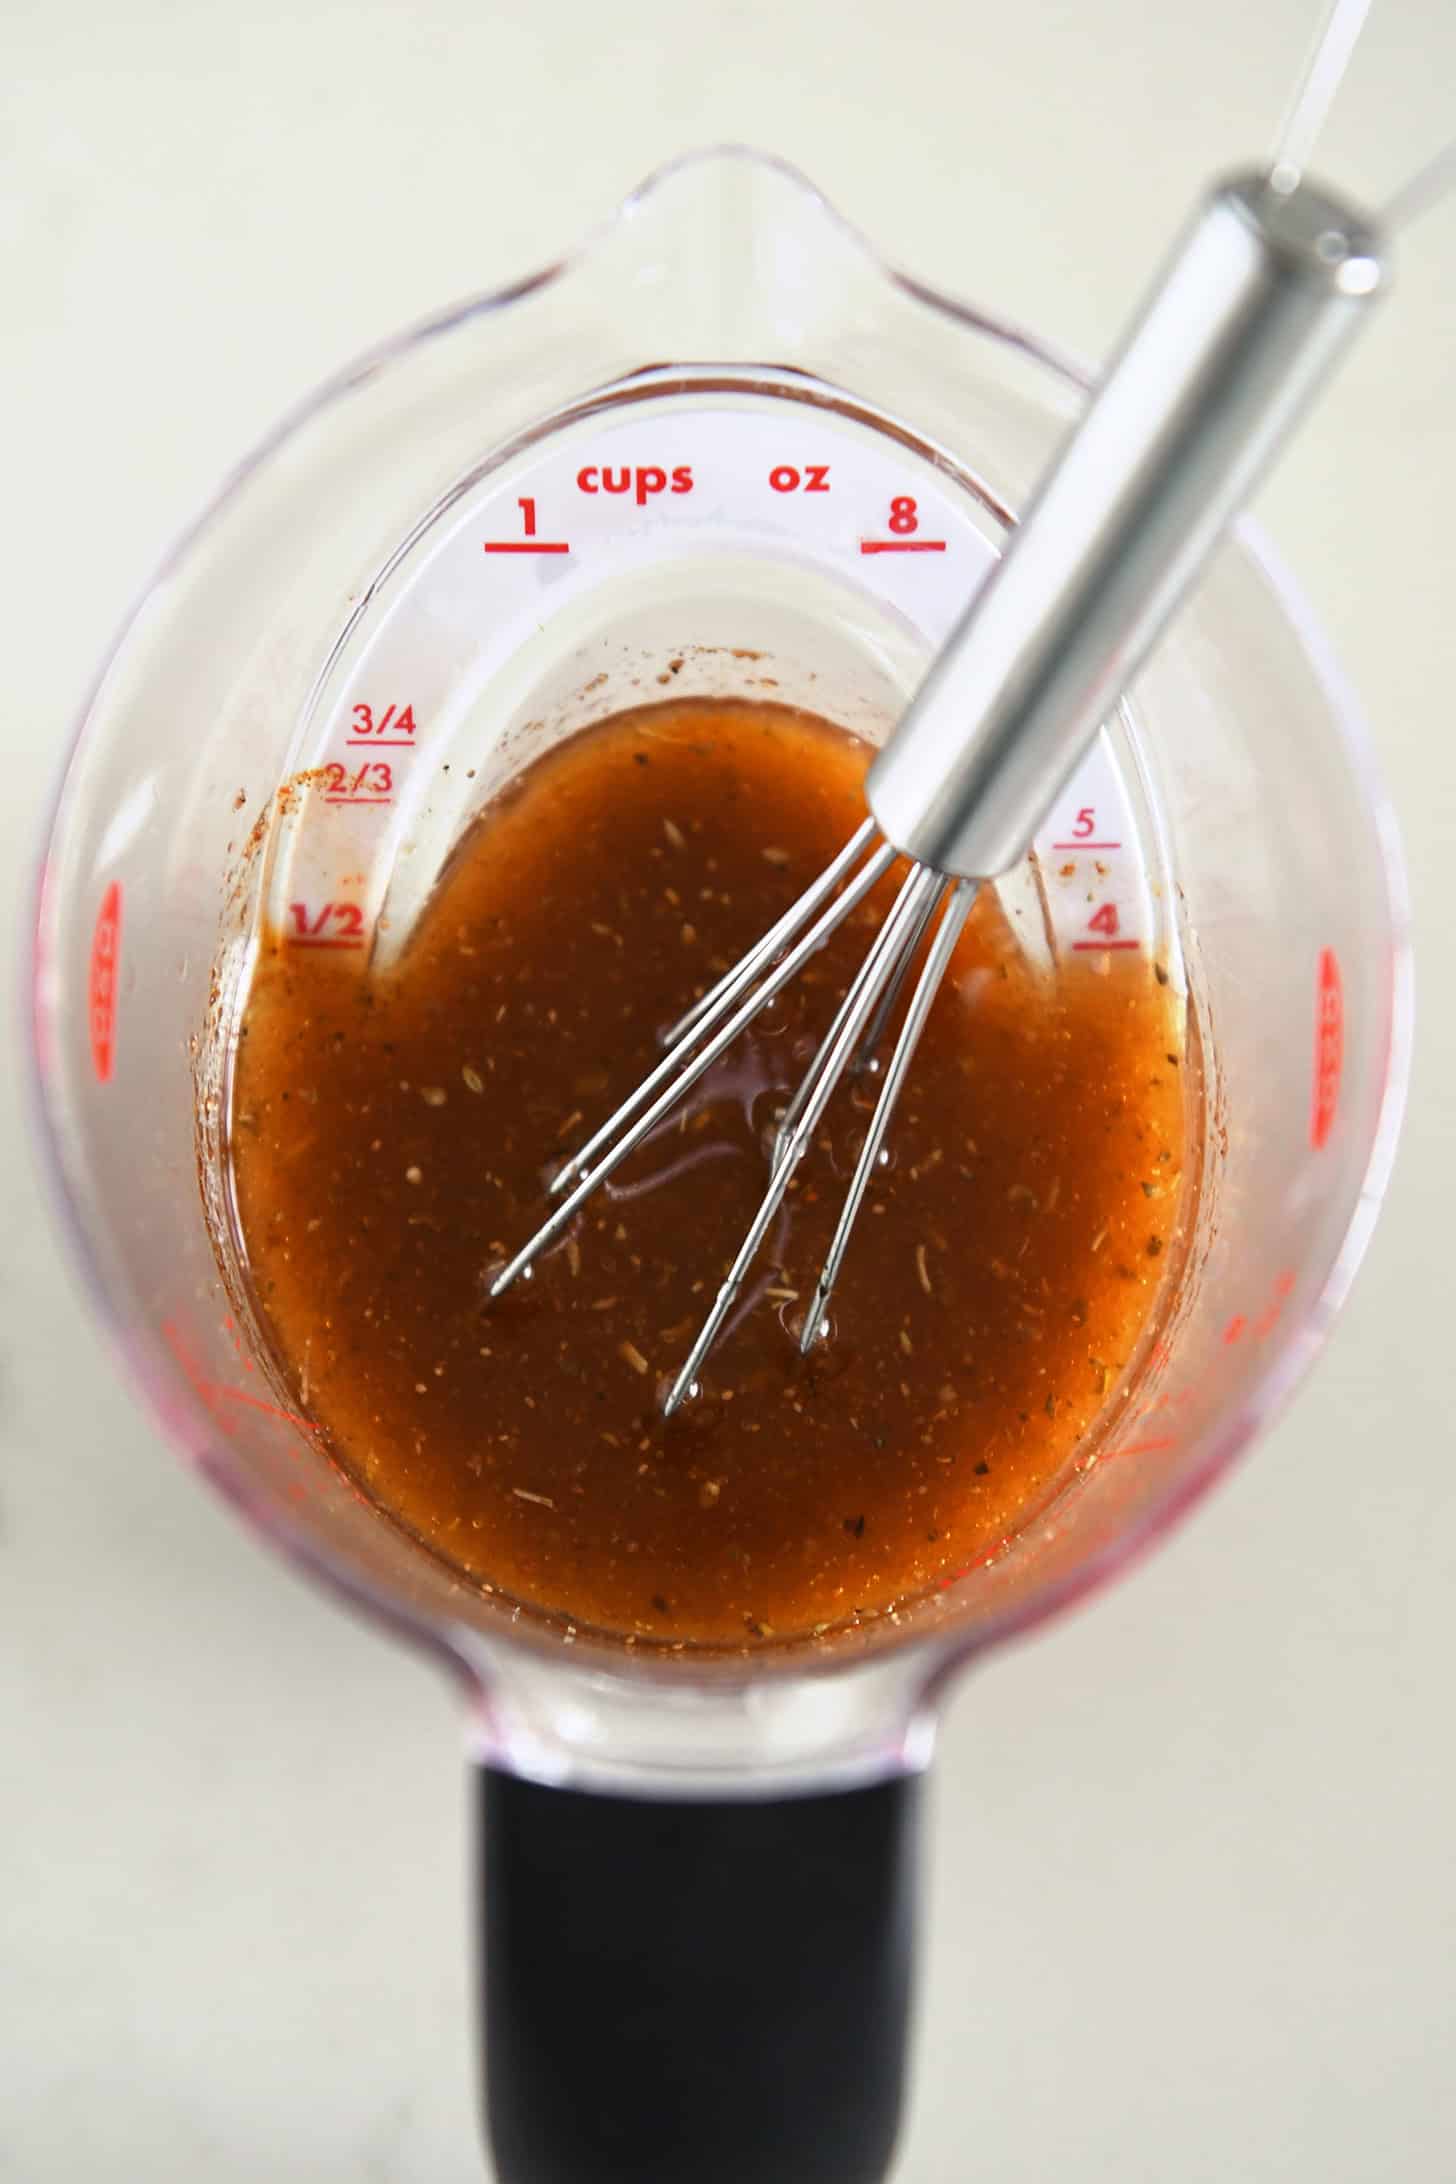
    • Whisk together the olive oil, fresh lime juice, red wine vinegar, garlic, chili powder, cumin, oregano, salt and pepper. Pour over the chicken and toss to coat. Cover (or seal the bag) and refrigerate for one hour or up to 8 hours.

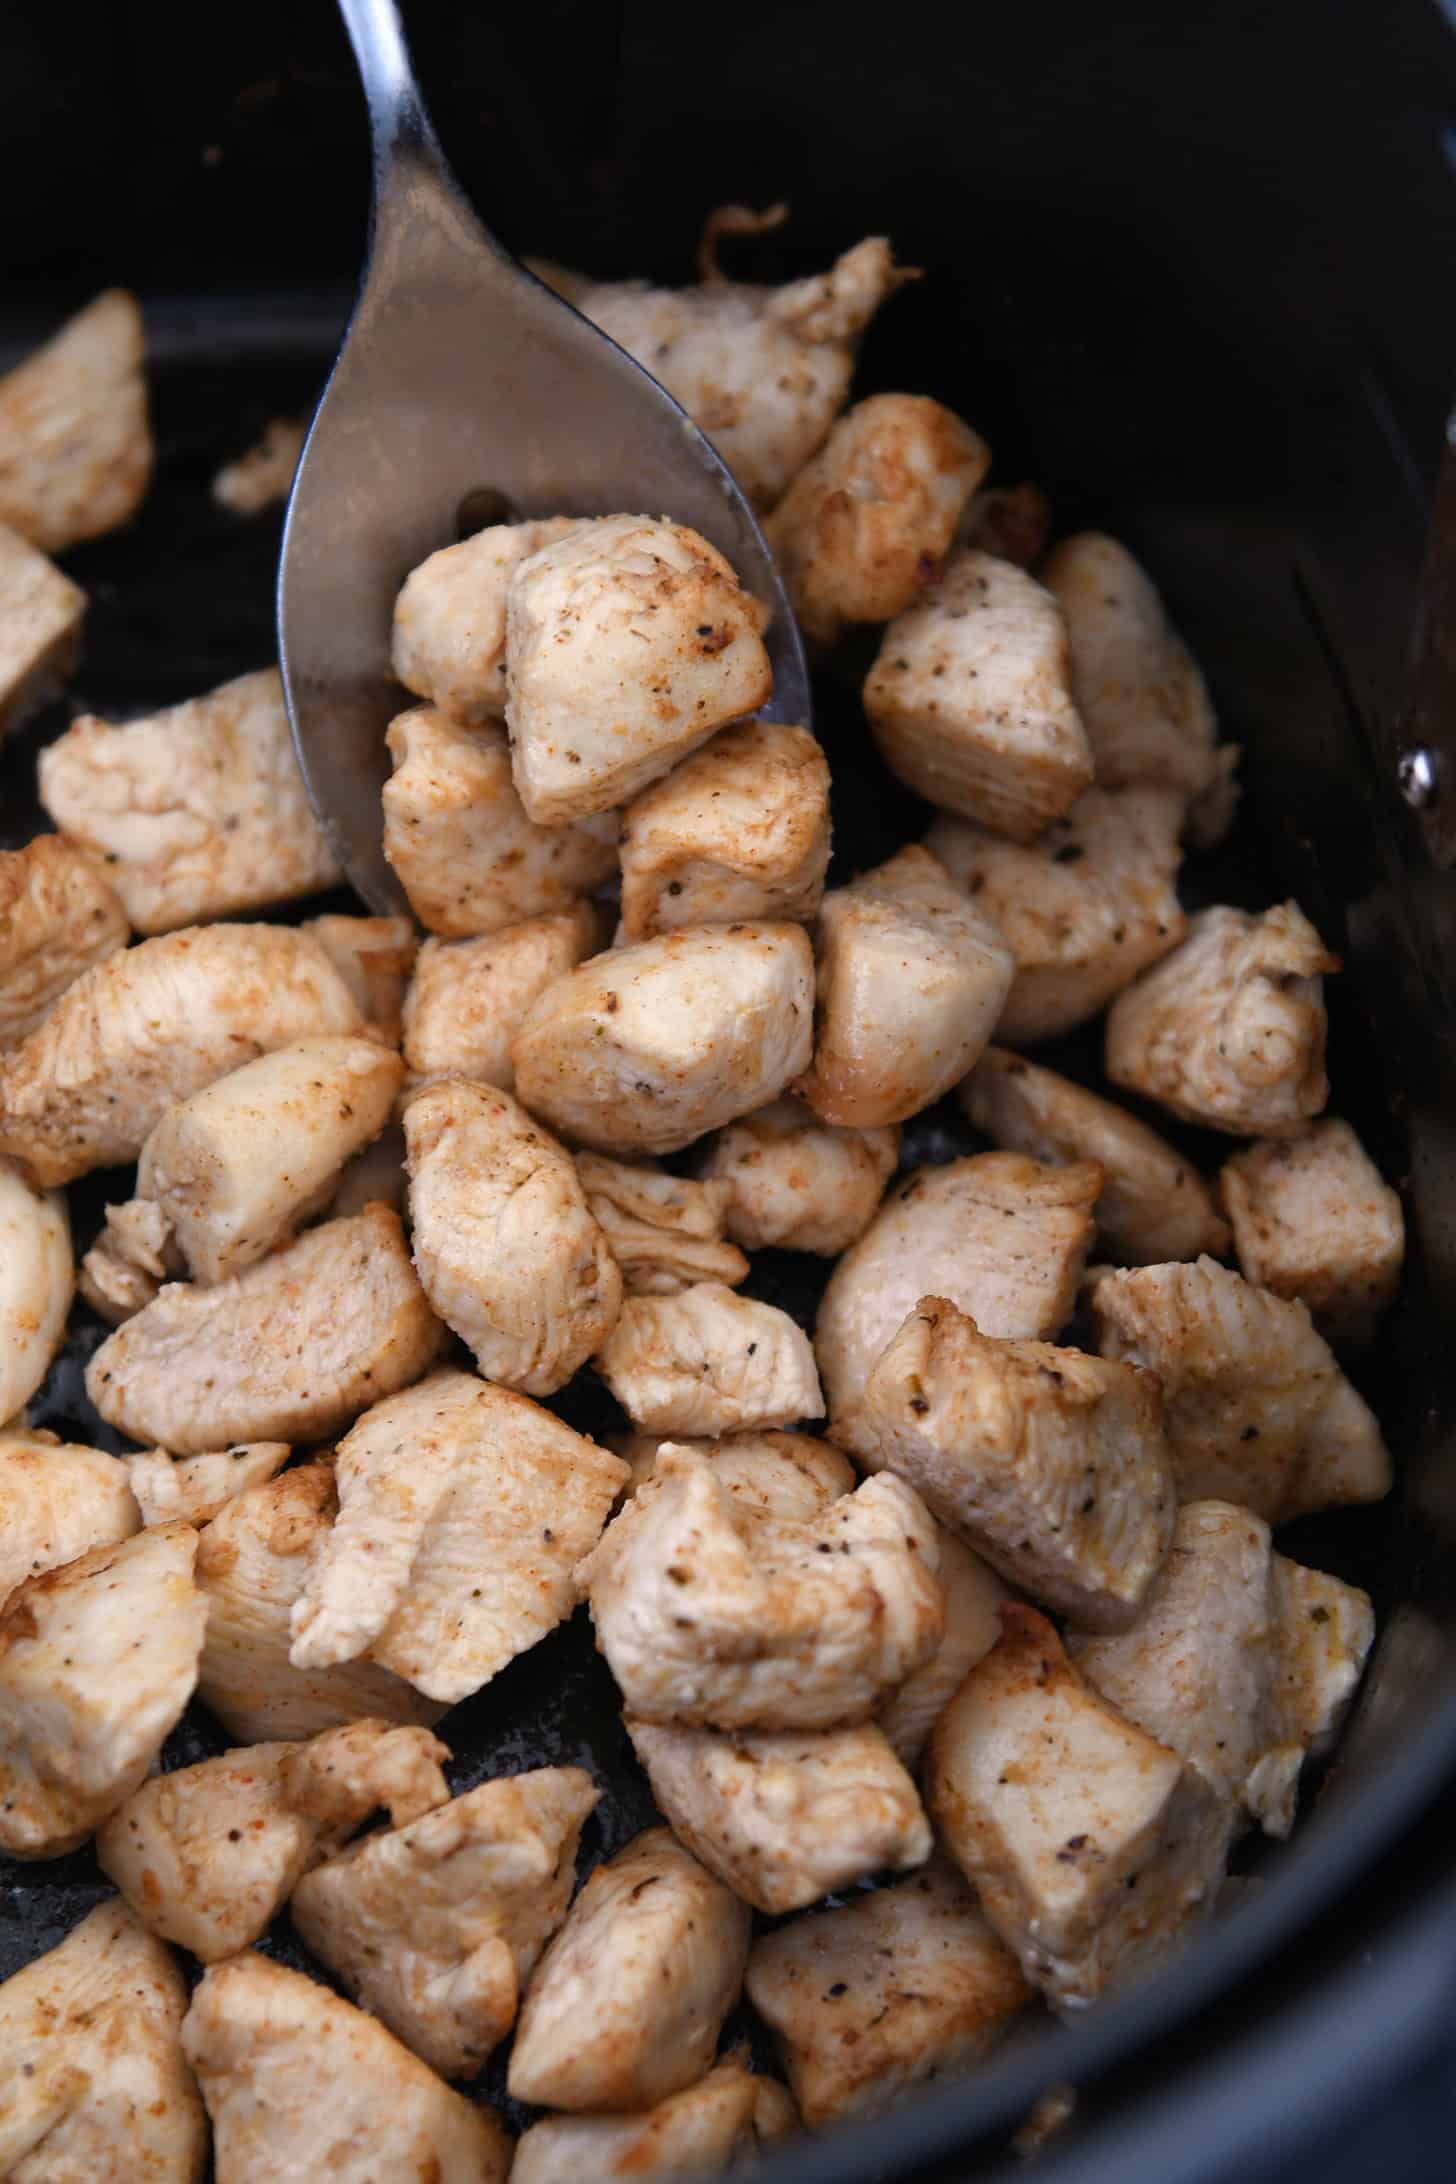
    • Cook the chicken on the stovetop or in an air fryer.

    • Stovetop: Pour the chicken and marinade into a nonstick skillet set over medium heat. Spread the chicken into an even layer and let cook undisturbed for 1 to 2 minutes. Stir or flip and continue cooking until the chicken is cooked through, 3 to 4 minutes longer.

    • Air Fryer: Preheat an air fryer to 375 degrees for 2 to 3 minutes. Pour the chicken and marinade into the basket. Cook for 7 to 8 minutes until cooked through.

    • To assemble, scoop a serving of rice or quinoa into a bowl or plate. Add chicken, black beans, corn, and whatever toppings you like. Drizzle with dressing. Enjoy!

    Red Wine Vinegar: If you don’t have this type of vinegar, you can sub lime juice (bringing the total amount of lime juice to 1/4 cup) or another preferred type of light vinegar.
    Corn: Many different types of corn will work in this recipe. Canned corn kernels, rinsed and drained. Frozen corn kernels, thawed and patted dry (no need to cook). Fresh corn kernels, cut off the cob (no need to cook). For a tasty variation, I love using the frozen roasted corn from Trader Joe’s. 
    Rice: These bowls are super delicious with cilantro lime rice. But you can use whatever rice you have on hand (cooked quinoa works well, too). For the cilantro lime rice pictured in this recipe, in a saucepan, combine 1 1/2 cups white jasmine rice, 2 cups water and 1/2 teaspoon salt. Bring to a vigorous simmer, cover and reduce heat to medium-low. Cook for 16 minutes. Remove from the heat and let stand, covered, for 5 to 10 minutes. Fluff the rice and stir in zest of 1 lime, 4 tablespoons fresh lime juice, and 1/4 cup chopped cilantro. (This recipe is the one in my cookbook using water instead of broth and stirring in the zest and lime juice after cooking.)
    Dressing: This is my go-to recipe for cilantro lime dressing. Store bought cilantro lime dressing can be used, as well as another type of dressing (like ranch). 

    Serving: 1 serving, Calories: 641kcal, Carbohydrates: 82g, Protein: 41g, Fat: 16g, Saturated Fat: 3g, Cholesterol: 97mg, Sodium: 378mg, Fiber: 4g, Sugar: 2g

    Recipe Source: from Mel’s Kitchen Cafe

    Disclaimer: I am a participant in the Amazon Services LLC Associates Program, an affiliate advertising program designed to provide a means for me to earn fees by linking to Amazon.com and affiliated sites. As an Amazon Associate I earn from qualifying purchases.
    Source link

  • Detox Rainbow Roll-Ups with Peanut Sauce Recipe

    Detox Rainbow Roll-Ups with Peanut Sauce Recipe

    Banner for gluten-free simple recipe ideas.

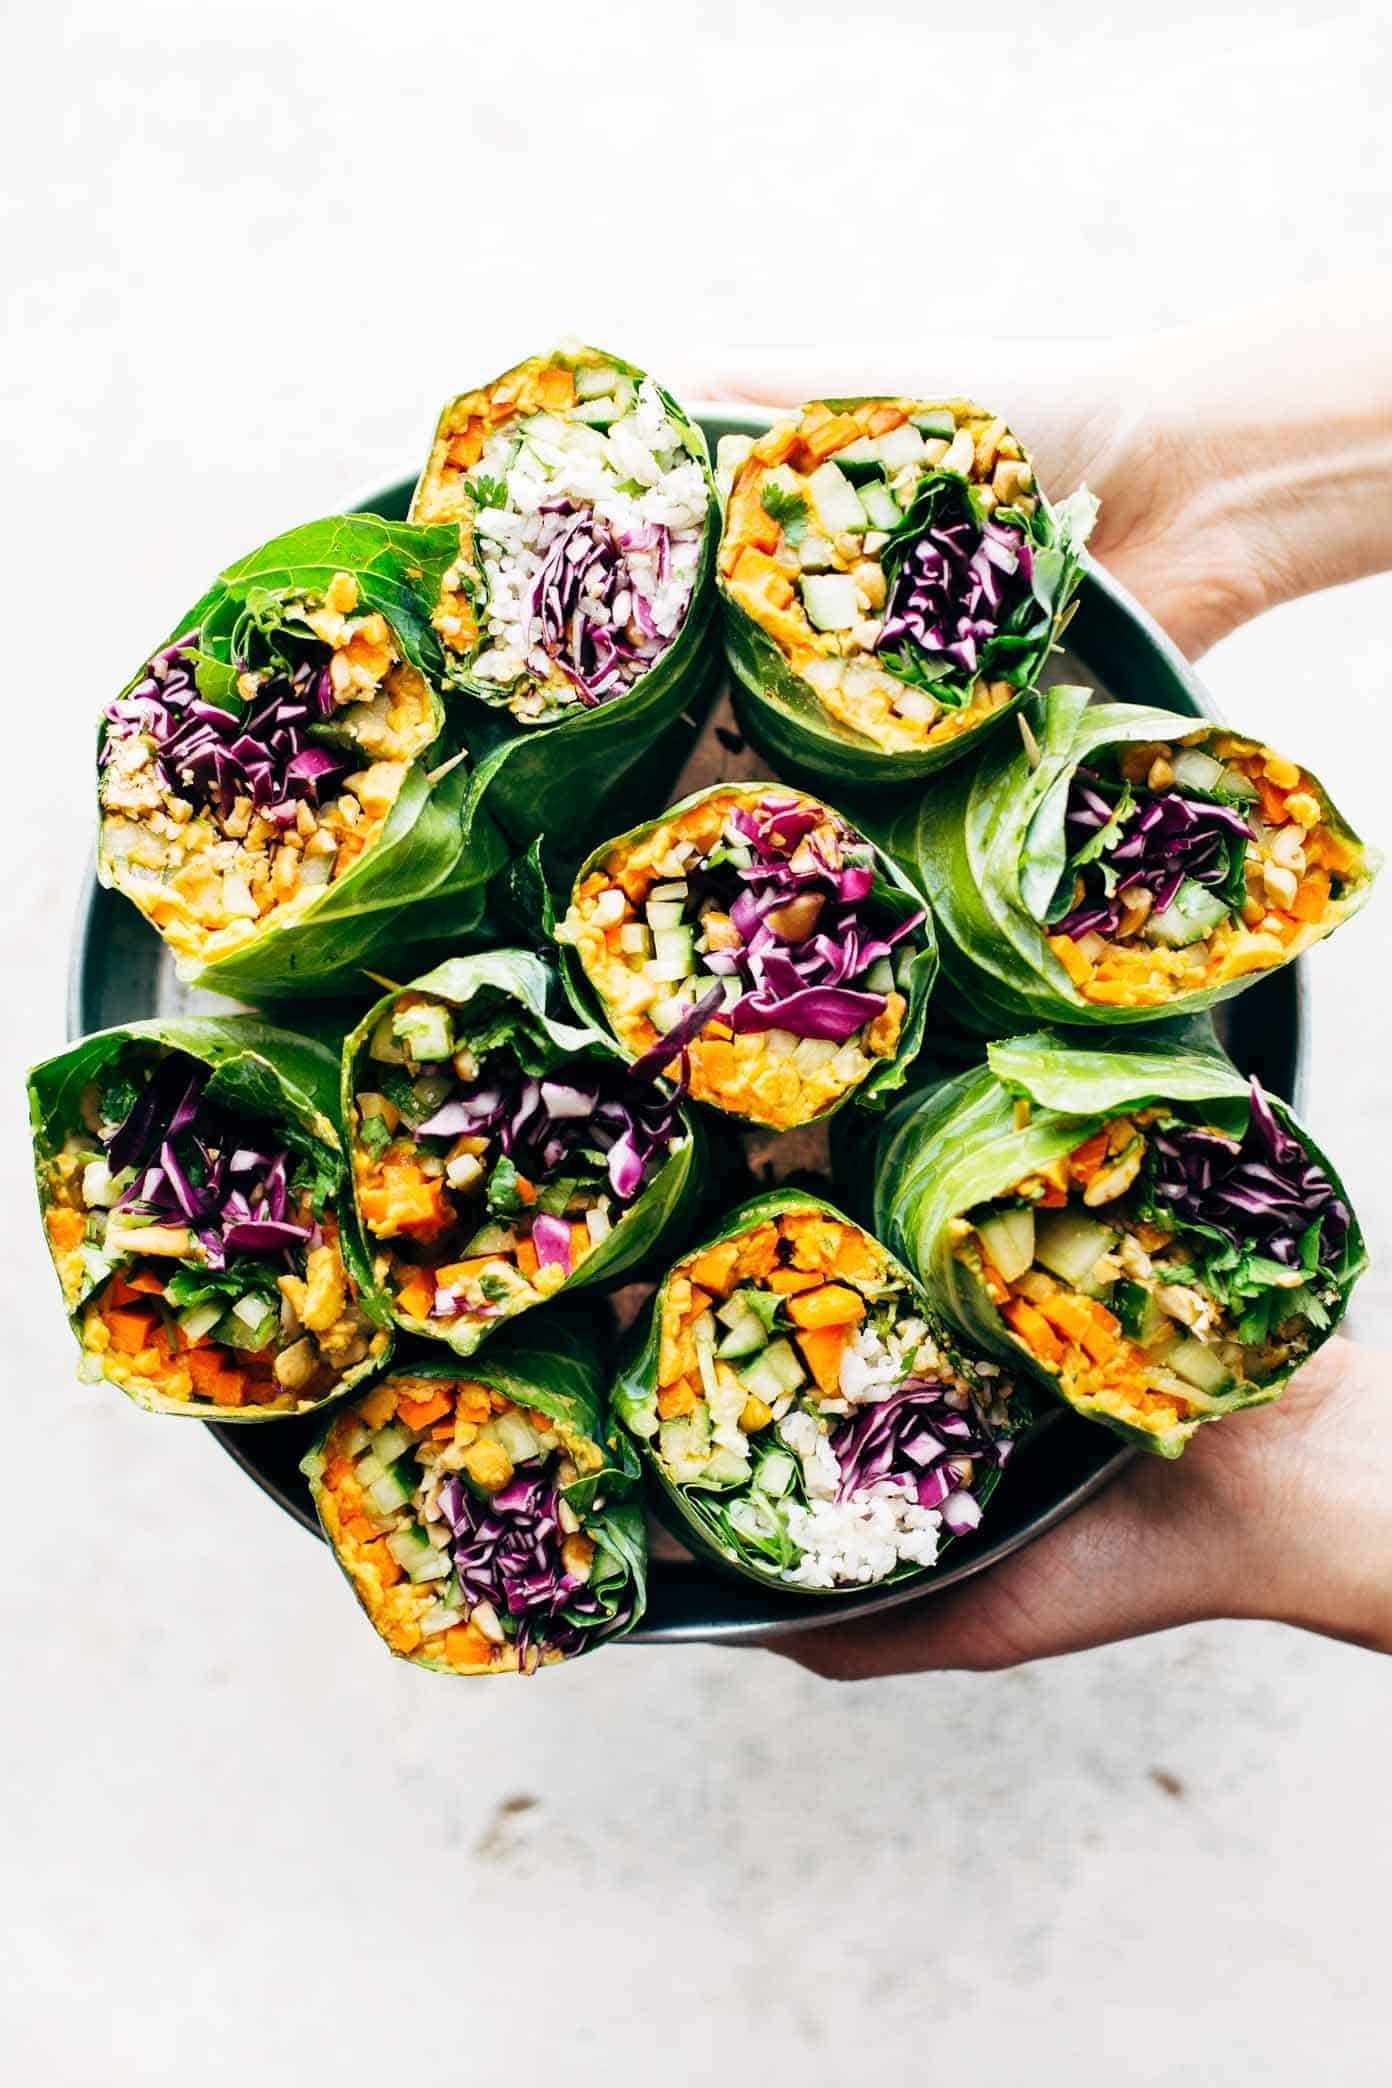
    Annnnd it’s Rainbow Roll-Up time!

    If Rainbow Roll-Up doesn’t give you some association with a packaged, neon-colored fruit leather situation all wrapped up in a little paper coil, then who are you even? I’m having a moderately hard time separating these from the single greatest snack food of my childhood.

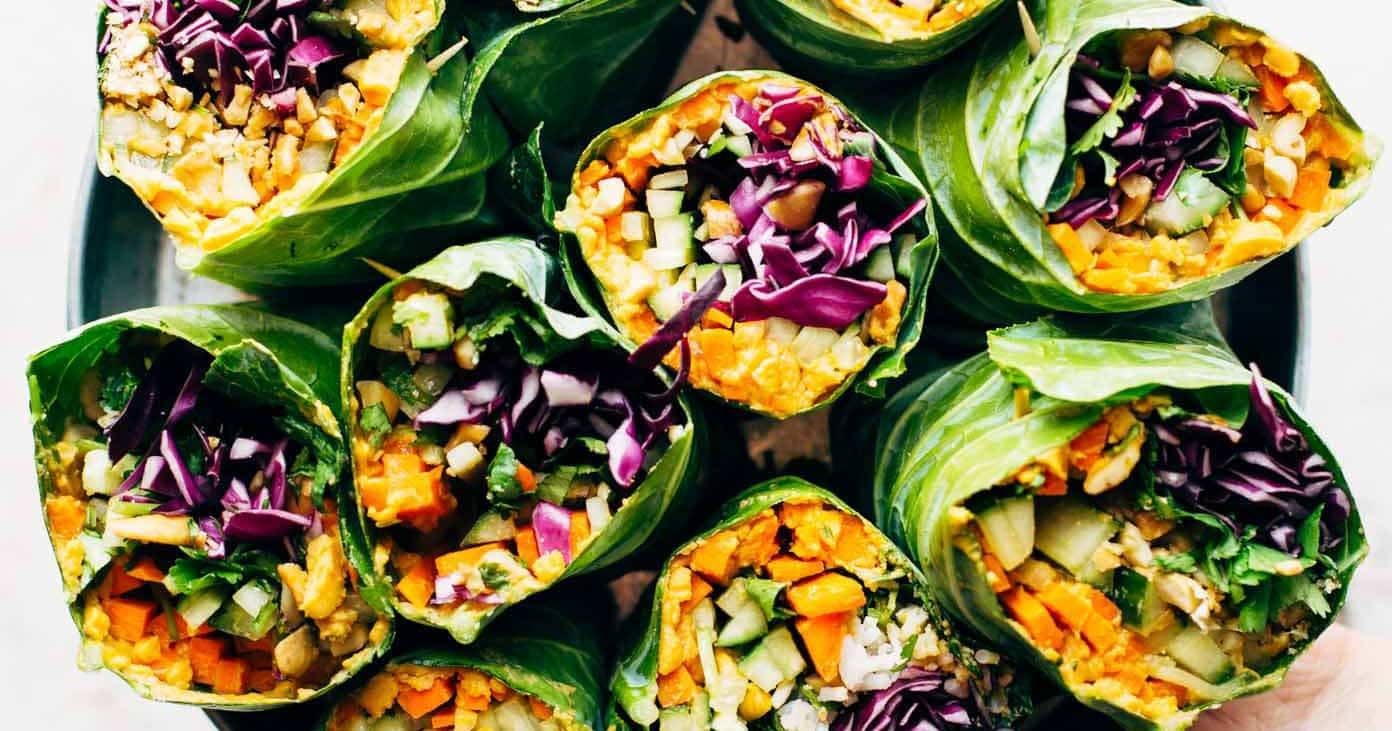
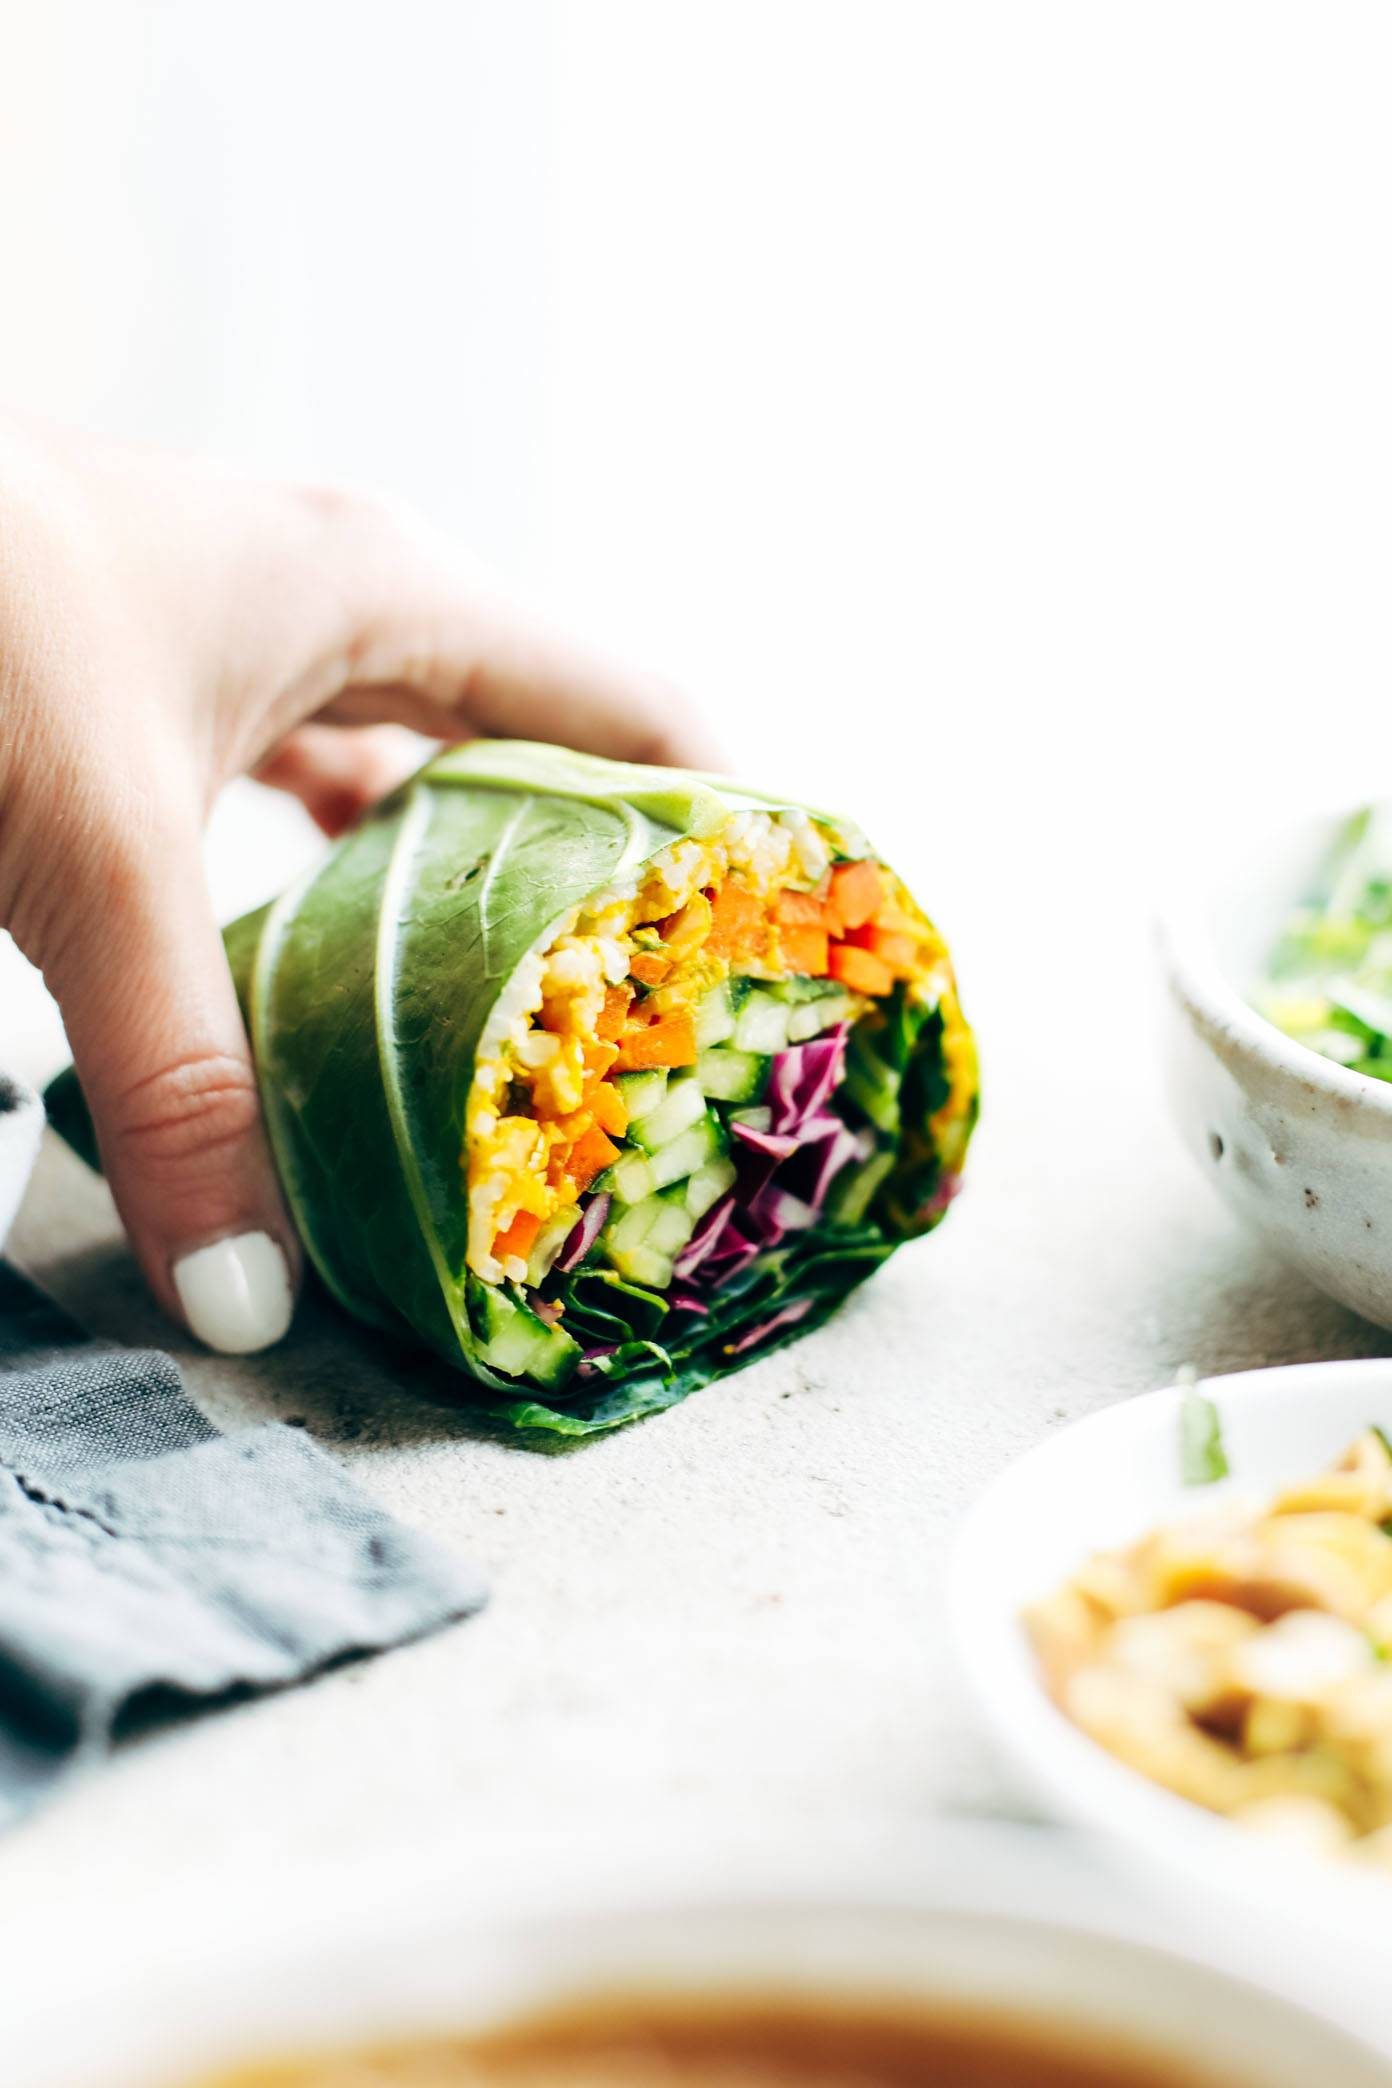
    This is not that kind of rainbow roll-up, though. This is a rainbow roll-up that’s a nutritional powerhouse with foods like: carrots. chickpeas. curry. red cabbage. peanuts. dark leafy greens.

    See, mom? I can eat like an adult after all.

    How To Make Our Rainbow Roll-Ups:

    Detox Rainbow Roll-Ups.

    These Rainbow Roll-Ups were inspired by these roll ups which are similarly detox-friendly and equally as delicious but a little lacking in the beautiful colors department. I actually made THOSE roll-ups for a blog post, but then realized: I think I’d like to make a new version of these, and I’d like to give it some more color and crunch.

    And maybe a little curry hummus.

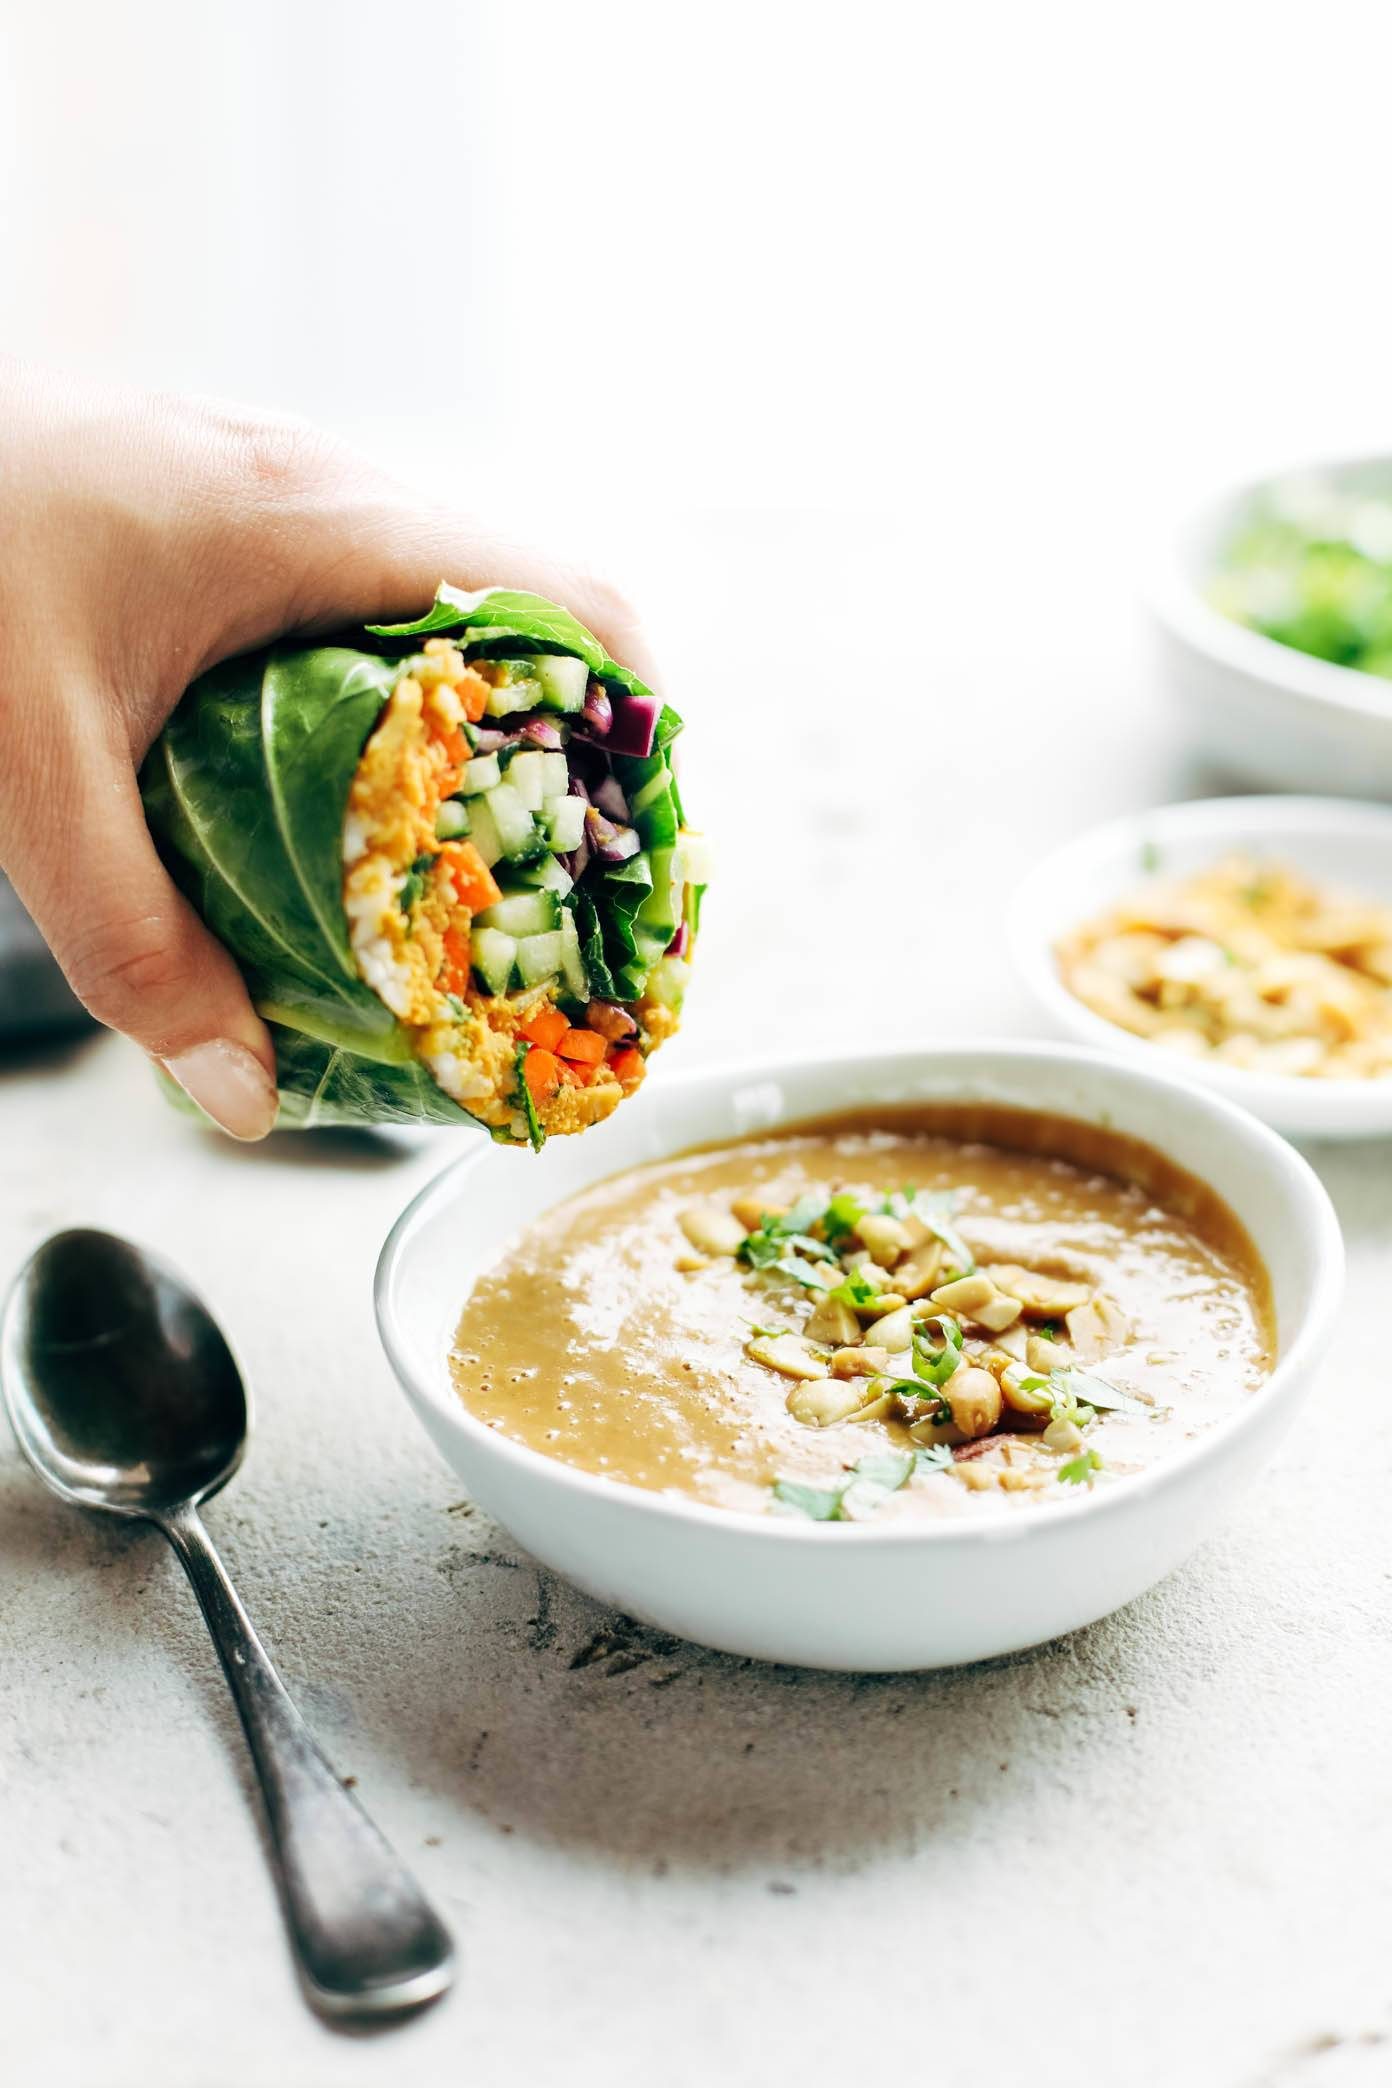
    And maybe a little (LOT) of peanut sauce for dipping.

    I’ve even been down the rainbow rolls path before with these Thai summer rolls, and these are a different but equally delicious version.

    If I had to tell the story of my experience with Detox Rainbow Rolls in photos, it would go like this:

    Detox Rainbow Roll-Up.
    Detox Rainbow Roll-Ups dipped in peanut sauce.
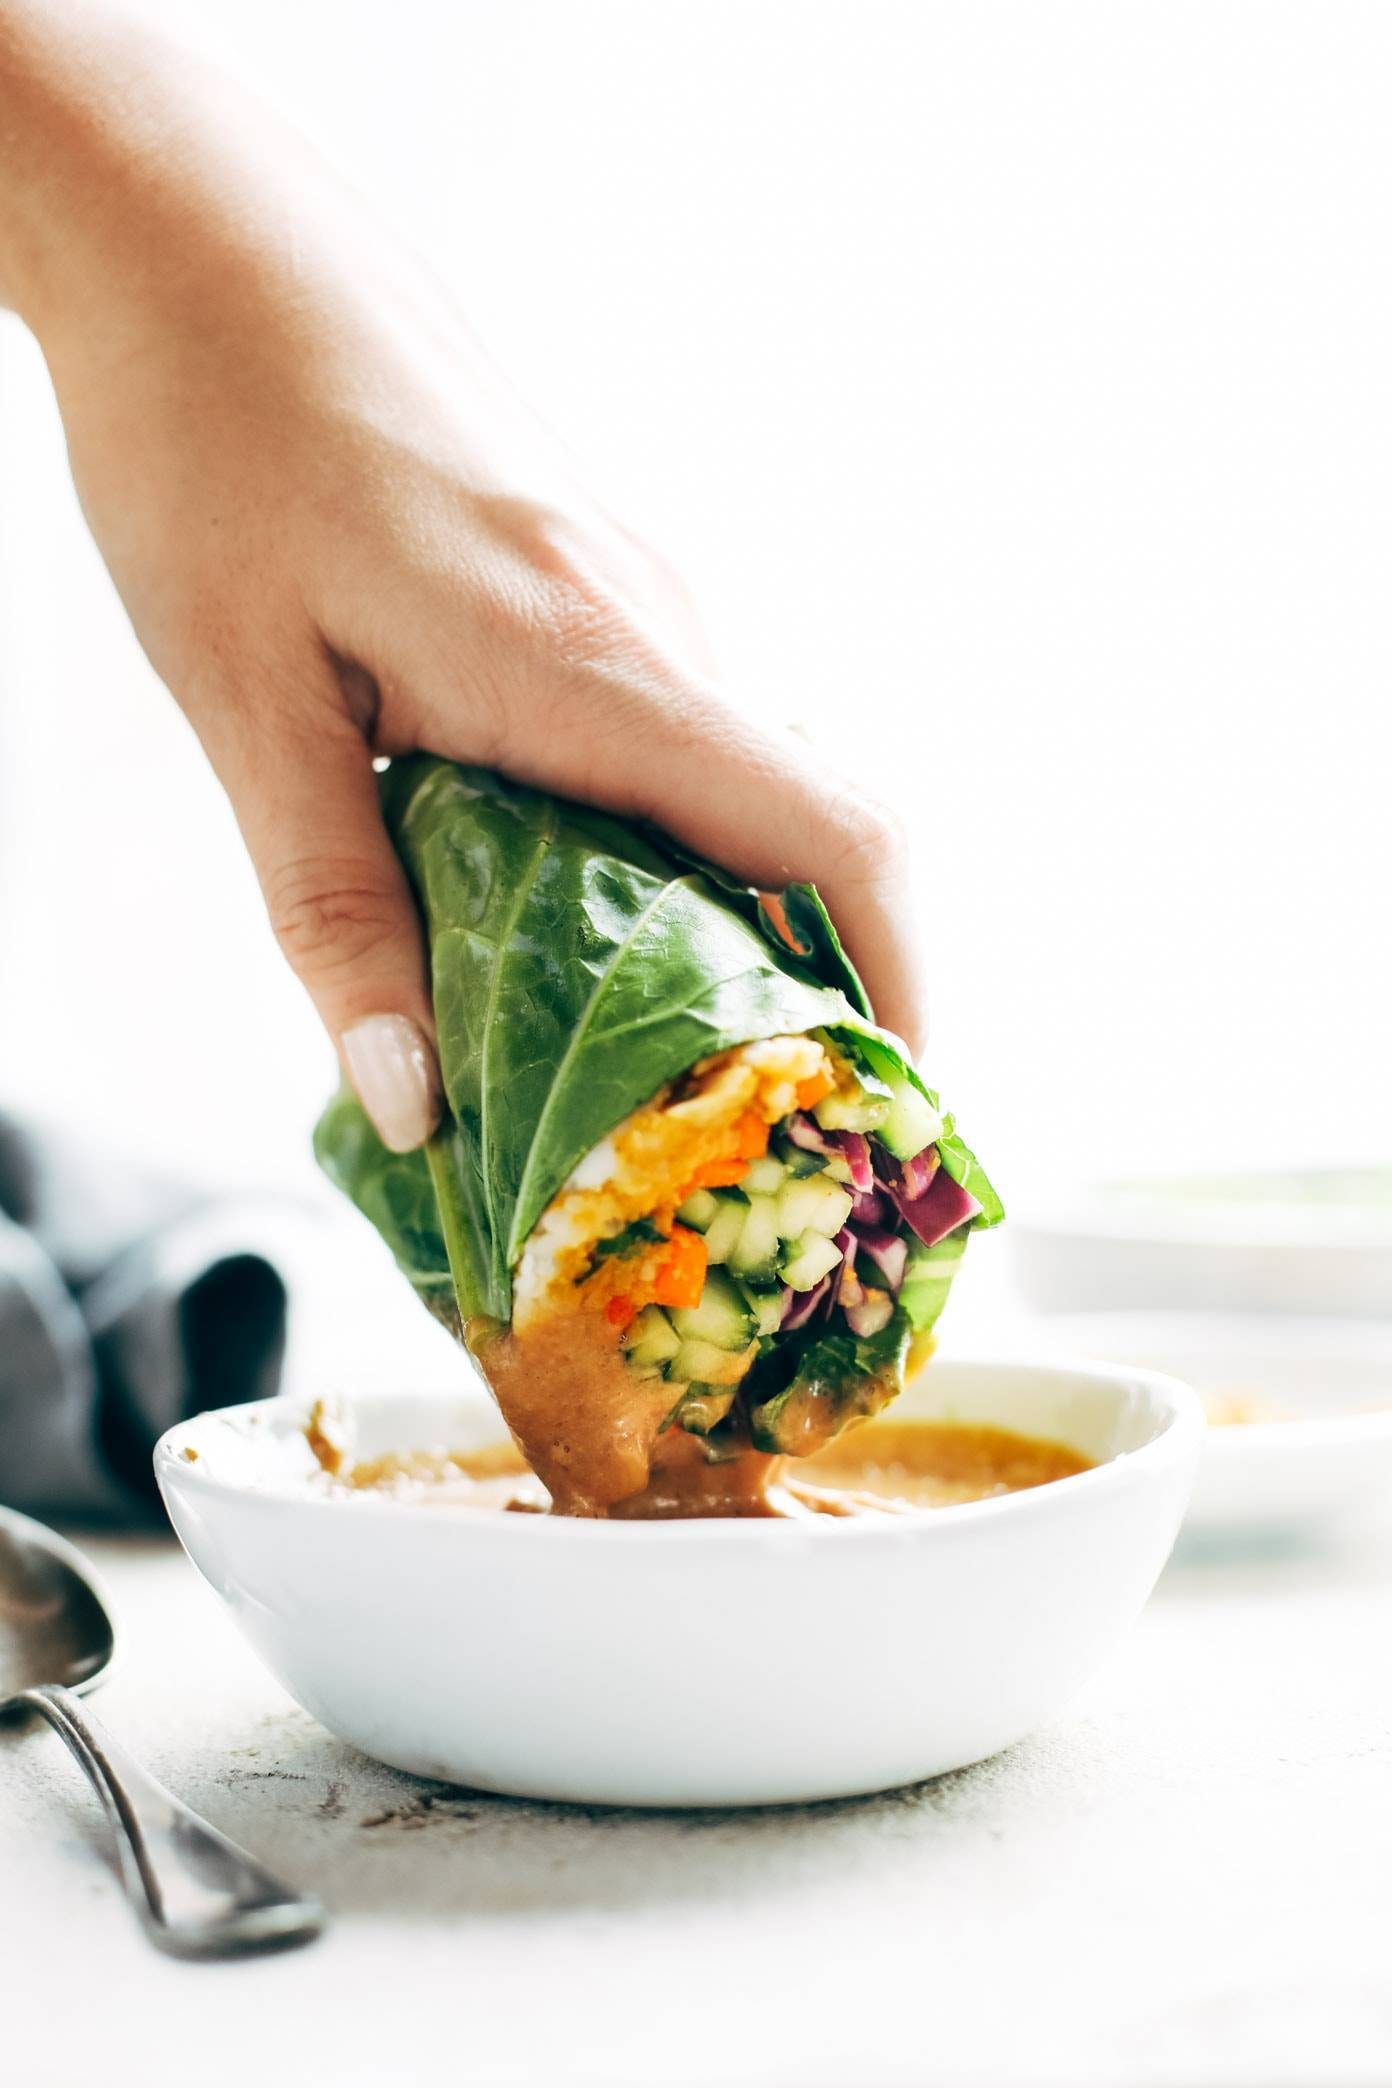
    Detox Rainbow Roll-Ups dipped in peanut sauce.

    And it would include one thousand heart-eye emojis.

    That first bite? with the creamy, salty-sweet peanut sauce and the crunchy, cool veggies and the smear of thick, spicy curry hummus? Yes. It is every bit as satisfying as you’re imagining it.
    Desk-lunch awesomeness is yours!


    Print

    clock clock iconcutlery cutlery iconflag flag iconfolder folder iconinstagram instagram iconpinterest pinterest iconfacebook facebook iconprint print iconsquares squares iconheart heart iconheart solid heart solid icon

    Description

    Detox Rainbow Roll-Ups – with curry hummus and veggies in a collard leaf, dunked in peanut sauce! Most beautiful healthy desk lunch!


    Rainbow Roll-Ups:

    Peanut Sauce:


    1. Prep: Trim the stem/spine of the collard leaf – don’t cut it completely off, but just cut it down so that it’s nice and thin and pliable.
    2. Roll: Arrange your fillings on the collard leaf. Fold the ends in and roll from front to back, trying to keep everything in there nice and tight. Watch video for a visual example.
    3. Peanut Sauce: Run all the ingredients through a blender or food processor. Voila!

    Notes

    You can steam the collard leaves if you want to make them more pliable. I also found that just running the leaf under hot water or placing hot rice on it was enough to soften it just a little bit. These aren’t the greatest for making ahead, since the hummus can get a little watery once it sits with the veggies. I recommend prepping everything and then keeping it in the fridge and rolling a fresh one each morning or just before you eat it. They will hold together nicely with toothpicks! For a completely sugar free version of this recipe, use white distilled vinegar.
    • Prep Time: 45 minutes (lots of chopping)
    • Category: Dinner
    • Cuisine: American

    Keywords: collard wraps, peanut sauce, vegan roll-up wraps


    One More Thing!

    This recipe is part of our collection of best healthy vegetarian recipes. Check it out!

    Source link