Author: admin

  • High Protein Butternut Squash Soup

    High Protein Butternut Squash Soup

    A high-protein soup recipe that’s smooth, comforting, and nourishing — with roasted butternut squash, cottage cheese, and a Parmesan finish. Simple, cozy, and meal-prep friendly.


    Jump to: ℹ️ Overview | 🛒 Ingredients | 📷 How To Make | 📹 Watch The Video | 👩‍🍳 Recipe Tips | 🥗 Serving Suggestions | 📝 Full Recipe Card | 🍽 More Soup Recipes


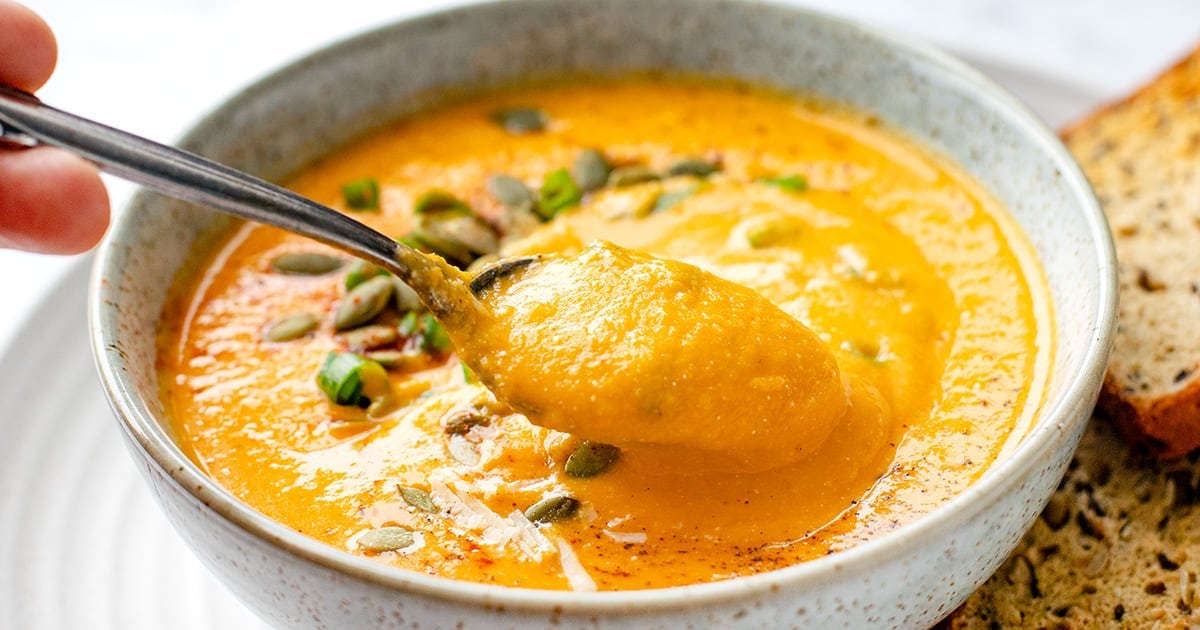
    This is a high-protein butternut squash soup that’s creamy without cream, velvety smooth, and full of nourishing ingredients. Roasting the squash, onion, carrots, and garlic first gives it that sweet, caramelized depth (you know, the kind that tastes like fall in a spoon). The best part? We sneak in a solid dose of protein using low-fat cottage cheese and Parmesan (no, it doesn’t taste like cheese dip, promise).

    It’s naturally gluten-free, low in calories, and super filling. Bonus points for being blender-friendly and great for batch cooking. Perfect for those who want a protein-packed soup that doesn’t feel like “gym food.”

    You can use this high-protein soup recipe template with other veggies. Just add cottage cheese and Parmesan cheese when blending for an instant protein boost. PS. I serve it with high-protein bread for a complete and satiating meal!

    Macros per serving without toast: 320 calories, 18 grams protein, 38 grams carbs, 5 grams fibre, 12 grams fat. If you add a slice of high-protein toast, you can boost by additional 10 grams of protein and more fibre.

    👩‍🍳 You might also like these high-protein recipes: lemon chicken orzo soup or chicken lentil soup, or for something sweeter, try my high-protein banana bread, protein overnight oats, or baked oats with chia seeds and berries. Check out these protein-packed lunches and high-protein breakfast ideas.

    What You’ll Need

    Here is what you’ll need for this high-protein soup recipe. Find the full measurements in the recipe card below.

    • Butternut squash: sweet, nutty, and creamy once blended. Swap butternut squash for another pumpkin or sweet potato.
    • Onion & carrot: add depth and natural sweetness.
    • Garlic: roasted to mellow perfection.
    • Low-fat cottage cheese: adds creaminess and boosts protein.
    • Parmesan cheese: for umami, saltiness, and richness.
    • Chicken stock: adds savory backbone; use veggie stock to keep it vegetarian.
    • Plus, olive oil, salt & pepper – the essentials. Add a pinch of chili flakes for heat!
    • Optional lemon juice: brightens everything, I almost always add a little at the end
    • For garnish: green onion for fresh bite at the end and pumpkin seeds (pepitas) for texture, crunch, and extra fiber and protein.
    • To Serve: High-protein bread like Herman Brot — not required, but highly recommended for a more satiating meal and extra protein and fiber.

    How To Make High Protein Butternut Squash Soup

    Find the full recipe and nutritional information below. Here are some handy step-by-step photos for how to make protein-packed butternut squash soup.

    • Preheat oven to 200°C / 395°F.
    • Chop squash, onion, and carrot. Toss with olive oil, salt, and pepper.
    • Roast veggies and garlic (still in peel) for 20–25 minutes.
    • Squeeze garlic from skins and add all veggies to blender or pot.
    • Add cottage cheese, Parmesan, stock, and blend until smooth.
    • Taste and add lemon juice if you like it zingy.
    • Serve with pepitas and green onions on top. Add toast on the side.

    Watch The Video

    Recipe Tips

    • Make-Ahead: This soup keeps well in the fridge for 4–5 days. Reheat gently on the stove or in the microwave.
    • Freezer-Friendly: Freeze in portions for up to 3 months. Thaws like a dream.
    • Texture Tip: Want it thicker? Use less stock or stir in a spoon of Greek yogurt.
    • Vegan Option: Use dairy-free cottage cheese (yes, it’s a thing) and nutritional yeast instead of Parmesan.
    • Meal Prep Win: Double the batch and portion out lunches for the week.

    Serving Suggestions

    This soup is a meal on its own, but I love it with a slice (or two) of toasted high-protein bread. You can also top it with extra Parmesan, a swirl of Greek yogurt, or even crispy chickpeas. Perfect for lunch, light dinner, or a starter for a cozy meal.

    💬 If you’ve tried this high protein butternut squash soup or any other recipe on the blog then don’t forget to rate the recipe and let me know how you got on in the comments below, I love hearing from you! You can also FOLLOW ME on Instagram, Facebook, Pinterest, YouTube, and or sign up to my Newsletter to see more of my delicious food.

    Want to Save This Recipe?

    Enter your email & I’ll send it to your inbox. Plus, get great new recipes from me every week!

    By submitting this form, you consent to receive emails from Cooked & Loved

    A high-protein soup recipe that’s smooth, comforting, and nourishing — with roasted butternut squash, cottage cheese, and a Parmesan finish. Simple, cozy, and meal-prep friendly. Find step-by-step photos and more recipe tips above.

    • Preheat oven to 200°C / 395°F.

    • Peel and cube the butternut squash. Slice the onion and carrot.

    • Toss squash, onion, carrot, and garlic cloves with olive oil, salt, and pepper.

    • Spread on a baking tray in a single layer. Roast for 20–25 minutes until golden and soft.

    • Squeeze garlic out of skins and add everything to a high-speed blender or pot.

    • Add cottage cheese, Parmesan, and chicken stock. Blend until smooth. Use an immersion blender if using a pot.

    • Taste and add lemon juice if you want more brightness.

    • Serve hot, topped with pumpkin seeds and green onions. Add toasted high-protein bread on the side if desired.

    • Can I use a different cheese instead of cottage cheese? Yes! Greek yogurt or even cream cheese works, but cottage cheese gives the best protein-to-calorie ratio.
    • Can I make this vegan? Absolutely. Use plant-based or dairy-free (yes, it’s a thing) cottage cheese and swap Parmesan for nutritional yeast. The protein amount will change, of course.
    • Can I make it spicy? Yep — add a pinch of chili flakes before blending or drizzle with chili oil when serving. A little mild curry powder will give it a different spice vibe.
    • How much protein per serving? Each bowl comes in around 15–18 grams (TO BE CONFIRMED) of protein, depending on your exact cheese and bread combo. Not bad for soup, right?
    • Make-Ahead: This soup keeps well in the fridge for 4–5 days. Reheat gently on the stove or in the microwave.
    • Freezer-Friendly: Freeze in portions for up to 3 months. Thaws like a dream.
    • Texture Tip: Want it thicker? Use less stock or stir in a spoon of Greek yogurt.
    • Meal Prep Win: Double the batch and portion out lunches for the week.

    Calories: 320kcal | Carbohydrates: 38g | Protein: 18g | Fat: 12g | Saturated Fat: 3g | Polyunsaturated Fat: 2g | Monounsaturated Fat: 5g | Trans Fat: 0.01g | Cholesterol: 15mg | Sodium: 920mg | Potassium: 1117mg | Fiber: 5g | Sugar: 11g | Vitamin A: 23774IU | Vitamin C: 47mg | Calcium: 230mg | Iron: 3mg

    Keywords: Vegetable Cottage Cheese Soup, High Protein Butternut Squash Soup, High Protein Pumpkin Soup, Butternut Squash With Cottage Cheese

    More Soup Recipes


    Source link

  • Trader Joe’s Chicken Shawarma with Lemon Rice Recipe

    Trader Joe’s Chicken Shawarma with Lemon Rice Recipe

    icon-arrowicon-chevron-whiteicon-chevronicon-commenticon-facebookicon-hearticon-instagramicon-instant-poticon-listicon-lockicon-meal-prepicon-nexticon-pinteresticon-popularicon-quoteicon-searchicon-staricon-sugar-freeicon-tiktokicon-twittericon-veganicon-videoicon-youtubemenu-closemenu-open


    Our recipes, your inbox. Sign up

    Easy Trader Joe’s chicken shawarma bowls with fluffy lemon rice, crunchy cabbage, and creamy feta sauce. Fast, flavorful, and perfect for weeknights!

    Trader Joe’s Chicken Shawarma + Lemon Rice Is a Thing To Behold

    Lindsay Ostrom headshot.

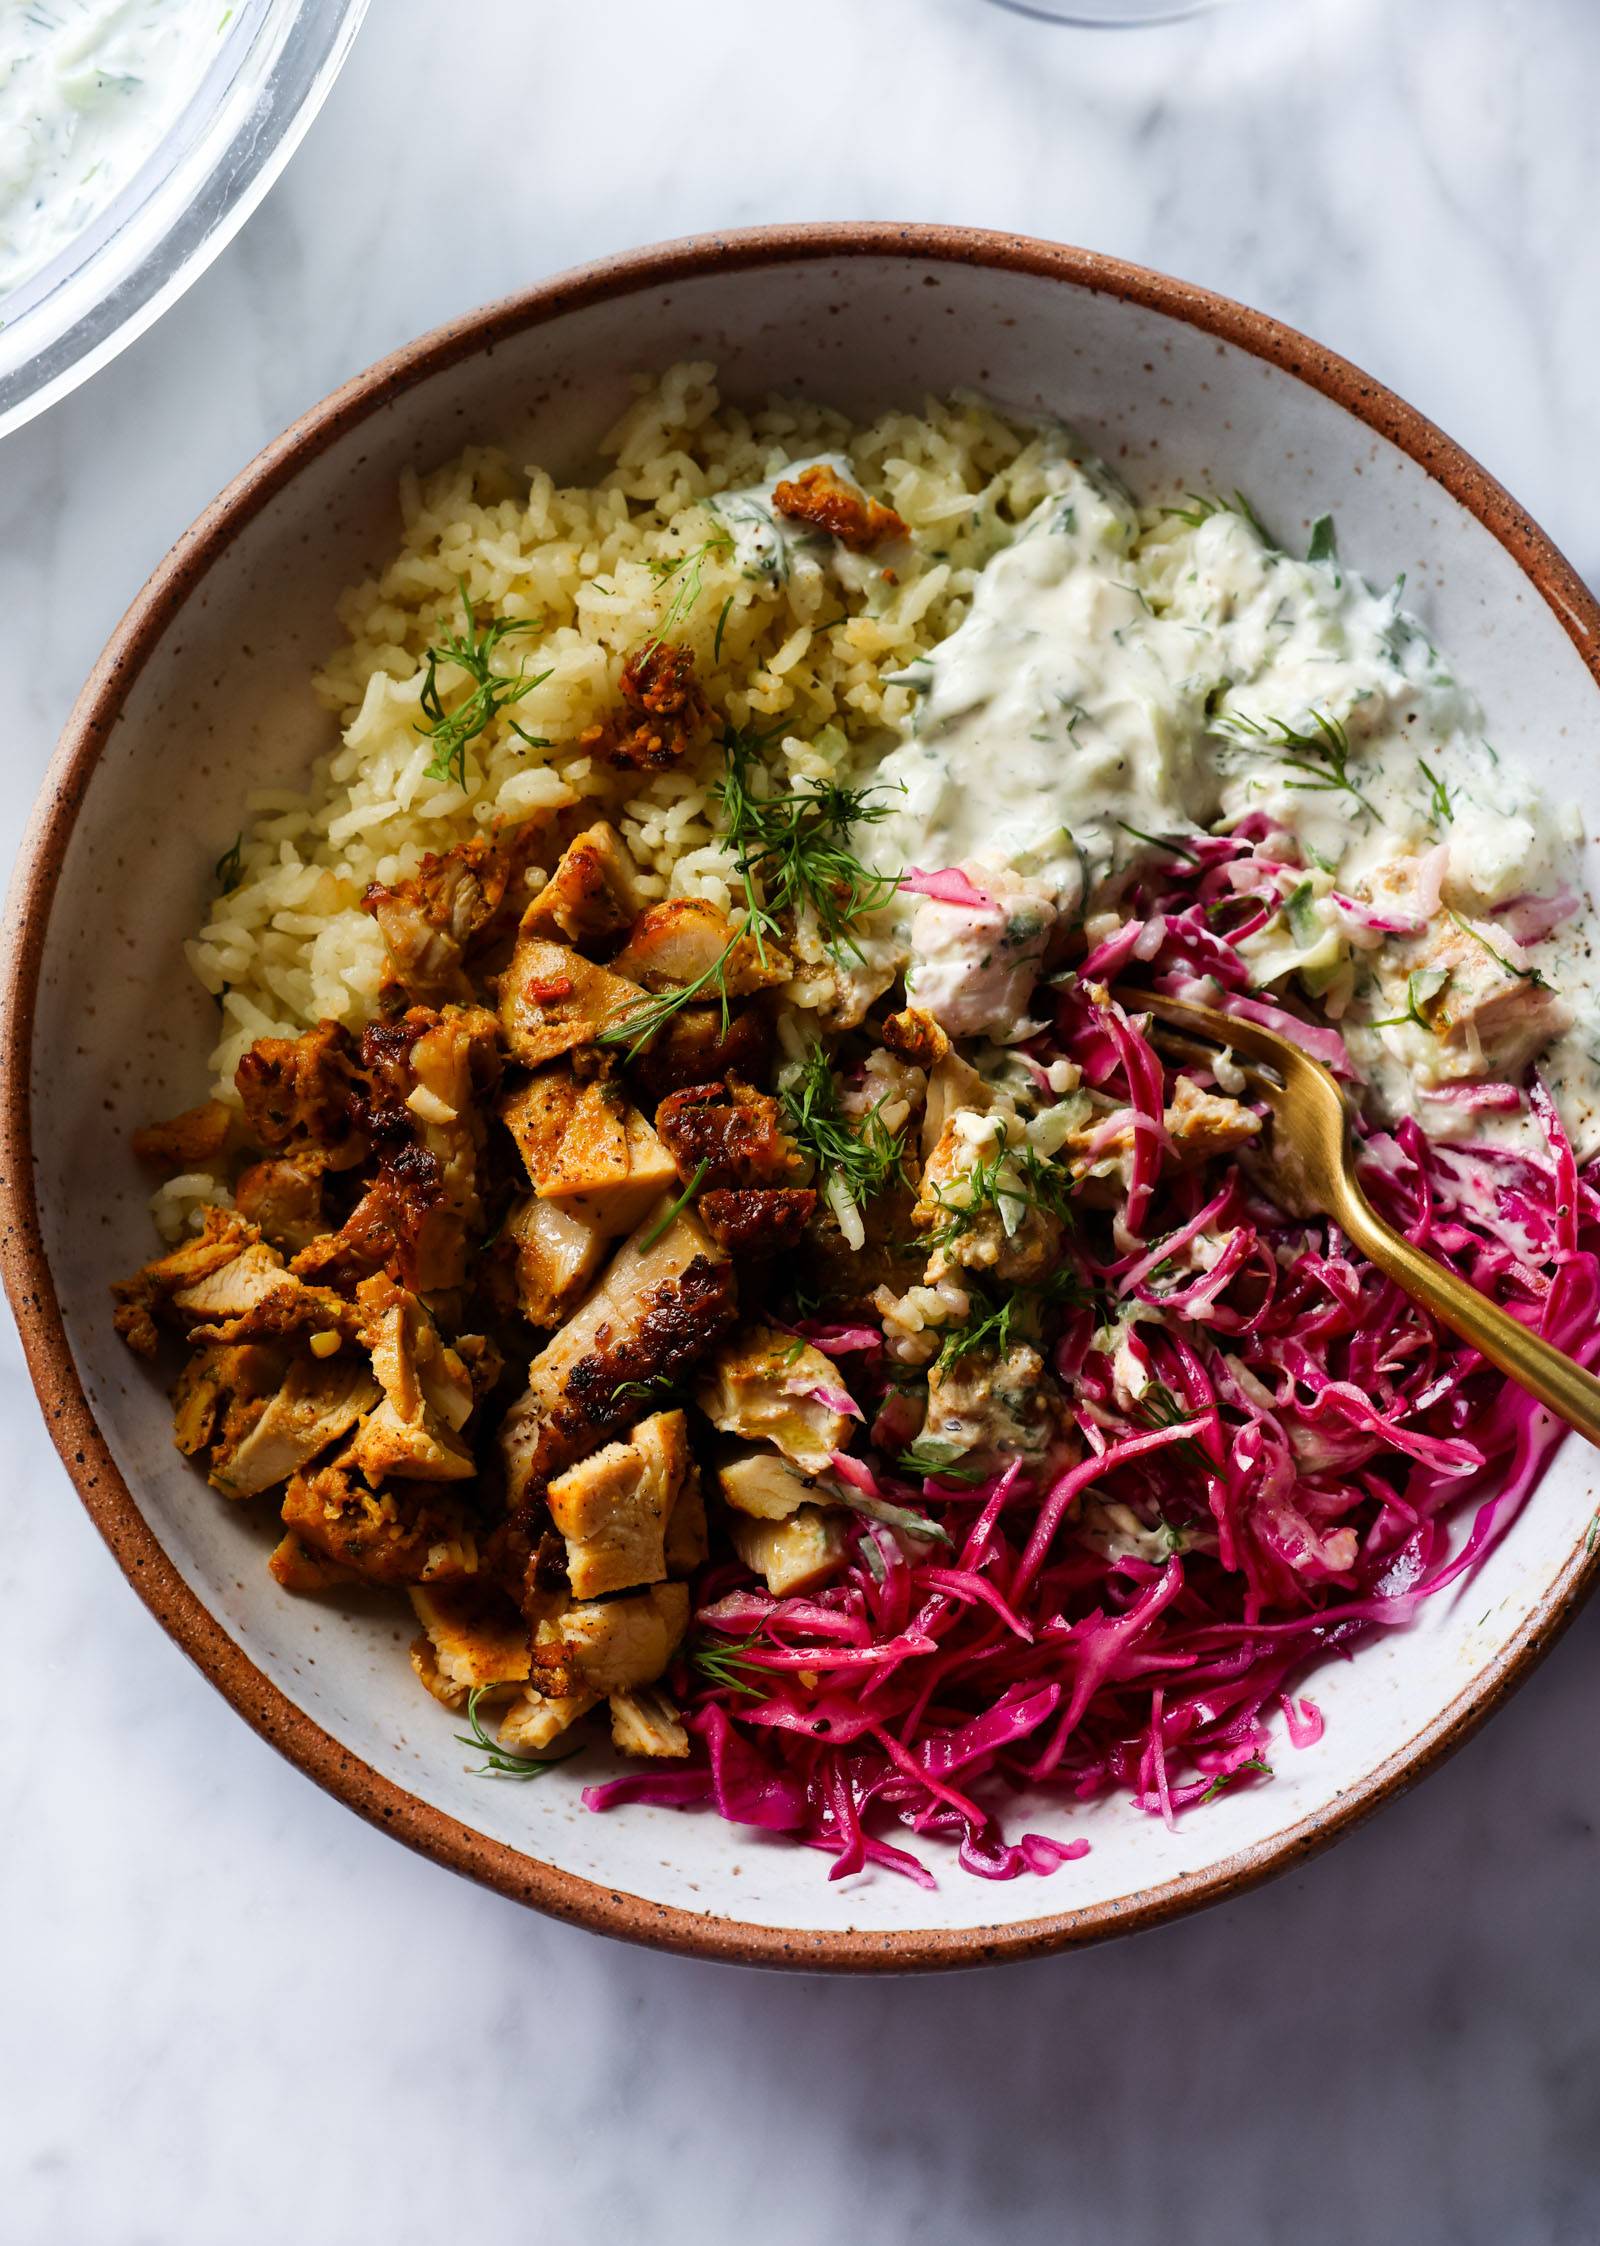
    Do you guys know Naf Naf grill? This is a Naf Naf bowl, made at home! Using TJ’s chicken shawarma! Lots going on here!

    This bowl is a power combo. It’s loaded with:

    • Lemon rice (lightly scented, fluffy, and gorgeous)
    • Crisped, golden chicken shawarma
    • Cabbage slaw that’s almost pickled
    • A tangy, creamy feta cucumber sauce

    I am a huge fan of shortcuts cheesy smile so I am regularly using the chicken shawarma from Trader Joe’s for these bowls.

    If you’re looking for the fastest possible path to a meal, just make the chicken and lemon rice, and pile on some store-bought tzatziki and/or fresh cucumbers! The chicken and lemon rice make such a solid base.

    And if you’ve got it in you to make the cabbage and feta cucumbers, you’re in for a big big treat.

    The first time I made this, I knew it would end up as a recipe on the blog. And then when I made it for a final test with my friend Amanda, we were just losing our minds. This combo is just SO GOOD.

    Lindsay and Amanda with chicken shawarma bowls.

    Amanda actually pointed out that the leftovers would also be amazing in a wrap?! and now I can’t get that out of my mind. Can someone make that happen?

    Hope you guys love it. Cheers to shortcuts! And feel-good food!

    Lindsay signature.

    If you want to make the chicken shawarma from scratch – this is my go-to marinade for chicken breasts for recipes like this!

    Print
    clock clock iconcutlery cutlery iconflag flag iconfolder folder iconinstagram instagram iconpinterest pinterest iconfacebook facebook iconprint print iconsquares squares iconheart heart iconheart solid heart solid icon
    Chicken shawarma bowls.

    Chicken Shawarma with Lemon Rice


    5 Stars 4 Stars 3 Stars 2 Stars 1 Star

    No reviews

    • Author: Lindsay
    • Total Time: 45 minutes
    • Yield: 4 servings

    Description

    Easy Trader Joe’s chicken shawarma bowls with fluffy lemon rice, crunchy cabbage, and creamy feta sauce. Fast, flavorful, and perfect for weeknights!


    Chicken Shawarma:

    Lemon Rice:

    Cabbage Salad:

    Feta Cucumber Sauce:


    Instructions

    1. Make Lemon Rice: Sauté rice, onion powder, garlic powder, and salt. Add bouillon and water; bring to a simmer. Cover the pot, and keep it on a very low simmer for 18 minutes. When it’s done, add lemon zest; fluff with a fork.
    2. Toss Cabbage Salad: Toss together cabbage, white vinegar, water, olive oil, salt, and sugar; taste and adjust. Let it rest while you finish up.
    3. Make Feta Cucumber Sauce: Stir together grated cucumber, Greek yogurt, olive oil or mayo, feta cheese, garlic, and dill; taste and adjust. 
    4. Air Fry Chicken Shawarma: I do this last so it’s hot and fresh! Air fry the chicken at 390 for 9-10 minutes, until 165 degrees and deeply browned on the outside. (You can also cook the chicken on a sheet pan in the oven – 450 for 5 minutes, and then broil on low for 5 more minutes). Chop into bite-sized pieces.
    5. Serve: Plate rice with the chopped chicken shawarma, a scoop of the cabbage, and a dollop of the feta cucumbers.
    • Prep Time: 15 minutes
    • Cook Time: 30 minutes
    • Category: Dinner
    • Method: Air Fry
    • Cuisine: Middle Eastern

    Keywords: chicken shawarma, chicken recipe, air fryer chicken

    Frequently Asked Questions For This Chicken Shawarma

    If I don’t have access to Trader Joe’s, how should I make the chicken?

    I love the marinade used in this chicken pitas recipe and it would be a great fit here as well!

    Can you use store-bought tzatziki?

    Yes! And you can get tzatziki from Trader Joe’s as well!

    Can I make this vegan?

    Replace the chicken with something plant-based, like: falafel (from Trader Joe’s too!), marinated chickpeas, air fryer tofu, or roasted veggies. Trader Joe’s also sells a vegan tzatziki that’s fantastic!

    How long do leftovers last?

    This will keep for 3-4 days as leftovers! I like to keep all the ingredients separate so I can still warm the chicken and rice before adding the cabbage and sauce. Just a heads up that the cabbage will pickle more as it sits!

    Three More Trader Joe’s Shortcut Recipes


    Source link

  • Chicken Asparagus Risotto

    Chicken Asparagus Risotto

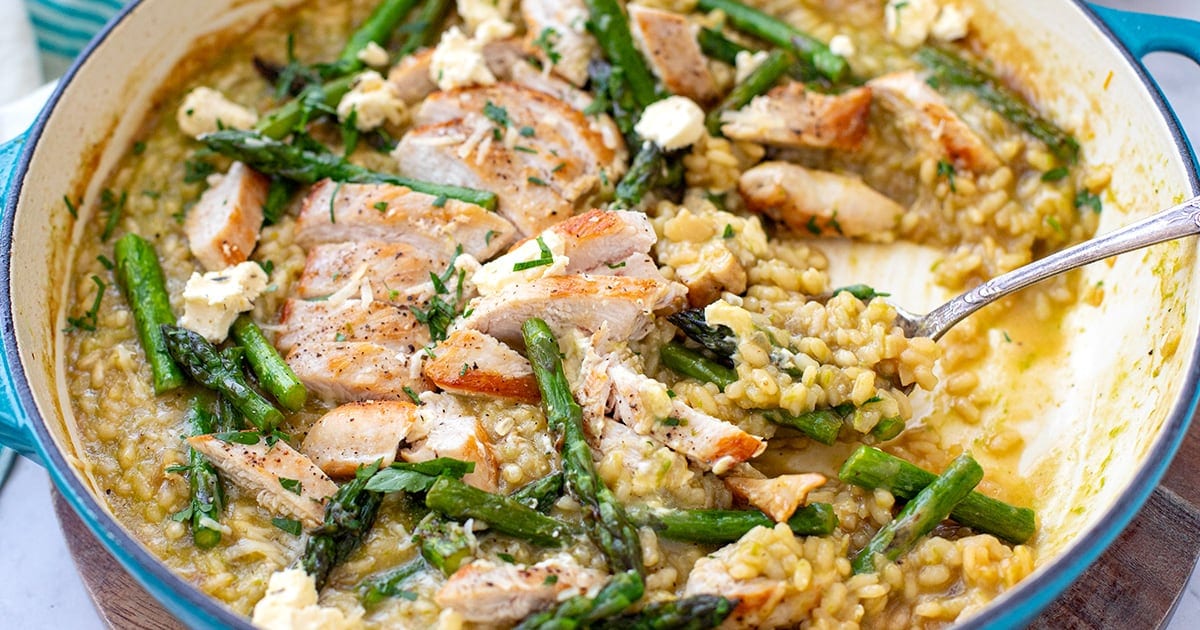
    This creamy chicken risotto with asparagus is a comforting, healthy dinner recipe that’s high in protein and fiber, perfect for weeknights or dinner parties.


    Jump to: ℹ️ Overview | 🛒 Ingredients | 📷 How To Make | 📹 Watch The Video | 👩‍🍳 Recipe Tips | 🥗 Serving Suggestions | 📝 Full Recipe Card | 🍽 More Recipes With Asparagus


    Let me tell you, this chicken and asparagus risotto is something special. Every time I make it, I’m low-key amazed at how flavorful it turns out for something so weeknight doable.

    The rice is creamy without cream (thank you, arborio magic), the chicken is golden and juicy, and the asparagus brings a hit of color and freshness that cuts through the richness just right. The real kicker? I blend the bottom bits of the asparagus into the stock, so every bite is infused with springy green flavor.

    This chicken risotto is high in protein and fiber, and just really satisfying without being too heavy. Perfect for those nights when you want a little comfort and a little veg, all in one bowl.

    👩‍🍳 You might also like these comforting dinner recipes: marry me chicken orzo bake, Tex-mex chicken and rice casserole, creamy chicken pasta with pesto, or my cheesy garlic chicken wraps. Check out these chicken and rice recipes as well.

    What You’ll Need

    Here is what you’ll need for this chicken asparagus risotto. Find the full measurements in the recipe card below.

    • Chicken breasts – lean protein that cooks up juicy and golden with just salt, pepper, and olive oil. Swap chicken for shrimp or leave it out for a veggie version.
    • Fresh asparagus – the real star. I use both ends: the bottoms go into the stock for that gorgeous green flavor, and the tops get pan-seared for texture. I do remove the wooden ends though. No asparagus? Try green beans, broccoli or zucchini.
    • Arborio rice – the starchy rice that makes risotto creamy without needing actual cream.
    • Onion & garlic – for that flavor base you don’t skip.
    • Lemon juice + zest – adds brightness and balances out the richness.
    • Chicken stock – Used both for cooking the rice and infusing asparagus flavor. It’s lighter than broth but still adds that essential savory backbone. Keep it warm to help the risotto cook evenly.
    • Parmesan – adds umami, saltiness, and a bit of body to the risotto.
    • Butter & olive oil – used for sautéing and adding that classic risotto richness.

    Optional garnishes:

    • Fresh herbs like parsley or chives – for color and freshness.
    • A little extra Parmesan or marinated feta if you’re feeling extra.

    How To Make Chicken Risotto With Asparagus

    Find the full recipe and nutritional information below. Here are some handy step-by-step photos for how to make chicken and asparagus risotto.

    • Trim wooden ends and chop asparagus. Separate the spears and the top parts. Blanch bottom bits in hot chicken stock, strain and puree using a blender with a little bit of water.
    • Keep stock warm on low heat.
    • Pan-fry chicken fillets, seasoned with salt and pepper, until golden, 4-5 minutes each side. Char asparagus tops in same pan. Set both aside. Once pre-cooked, slice the chicken and set asparagus tops to rest.
    • Sauté onion in butter and oil until golden. Add garlic and lemon zest.
    • Add and toast the rice for 1 minute.
    • Add warm stock gradually, stirring often until rice is creamy and al dente. This will take about 15 minutes.
    • Stir in Parmesan and asparagus purée at the end.
    • Top with sliced chicken, asparagus tips, herbs, and extra cheese or feta.

    Watch The Video

    Recipe Tips

    • No blender? Just chop the asparagus finely and stir it in.
    • Make-ahead: You can prep the chicken and asparagus earlier in the day and reheat them gently before serving.
    • Storage: Store leftovers in an airtight container for up to 3 days. Reheat gently on the stove with a splash of stock or water.
    • Dairy-free option: Skip butter and cheese — it’ll still be creamy due to rice starch and will be bright and fresh thanks to the lemon and asparagus.
    • Extra flavor: Pan-fry the chicken in garlic-infused oil or throw in a sprig of thyme while it’s cooking.

    Serving Suggestions

    Serve this risotto as a complete meal, or add a crisp side salad with a lemon vinaigrette if you’re feeding a crowd. A glass of white wine wouldn’t hurt either (just saying). For fancier vibes, scatter some marinated feta or toasted pine nuts on top.

    💬 If you’ve tried this chicken asparagus risotto or any other recipe on the blog then don’t forget to rate the recipe and let me know how you got on in the comments below, I love hearing from you! You can also FOLLOW ME on Instagram, Facebook, Pinterest, YouTube, and or sign up to my Newsletter to see more of my delicious food.

    Want to Save This Recipe?

    Enter your email & I’ll send it to your inbox. Plus, get great new recipes from me every week!

    By submitting this form, you consent to receive emails from Cooked & Loved

    This creamy chicken risotto with asparagus is a comforting, healthy dinner recipe that’s high in protein and fiber—perfect for weeknights or dinner parties. Find step-by-step photos and more recipe tips above.

    • Prepare asparagus: Trim woody ends. Slice the bottom halves into small pieces and the tops into 1-inch segments. Keep them separate.

    • Blanch and blend: Bring 4 cups of chicken stock to a boil. Add the bottom asparagus pieces and blanch for 1 minute. Remove and puree with ¼–⅓ cup water or chicken stock until smooth. Set aside. Keep the stock warm.

    • Cook chicken: Slice chicken breasts in half horizontally. Season with salt and pepper. Heat olive oil in a large skillet over high heat and pan-fry for 4 minutes per side. In the last 3 minutes, add asparagus tips and cook until slightly charred. Remove both and set aside.

    • Start risotto: In the same pan, reduce the heat to medium. Add butter and olive oil, then onion. Cook 3 minutes. Add garlic and lemon zest. Cook another 30 seconds.

    • Toast rice: Stir in arborio rice and cook for 1 minute until slightly translucent.

    • Add stock gradually: Add warm stock, 1–2 ladles at a time, stirring often. Wait until most is absorbed before adding more. This will take about 15 minutes.

    • Finish: When rice is nearly done, stir in Parmesan, then the asparagus purée. Taste and adjust lemon juice, salt, and pepper as needed. Turn off heat.

    • Top and serve: Arrange sliced chicken and asparagus tips over the risotto. Garnish with extra Parmesan and herbs if using.

    • Can I use frozen asparagus? Yes! Just thaw and pat dry before cooking. You may need to skip the purée step if it’s too watery.
    • What if I don’t have Arborio rice? You really do need a starchy short-grain rice for that creamy risotto texture. Carnaroli or Vialone Nano work too.
    • Is this gluten-free? Yes, if your stock and Parmesan are GF-certified.
    • What’s the best wine to serve with this? A chilled Sauvignon Blanc or Pinot Grigio pairs beautifully with the lemon and asparagus.
    • No blender? Just chop the asparagus finely and stir it in.
    • Make-ahead: You can prep the chicken and asparagus earlier in the day and reheat them gently before serving.
    • Storage: Store leftovers in an airtight container for up to 3 days. Reheat gently on the stove with a splash of stock or water.
    • Dairy-free option: Skip butter and cheese — it’ll still be creamy due to rice starch and will be bright and fresh thanks to the lemon and asparagus.
    • Extra flavor: Pan-fry the chicken in garlic-infused oil or throw in a sprig of thyme while it’s cooking.

    Calories: 568kcal | Carbohydrates: 71g | Protein: 29g | Fat: 19g | Saturated Fat: 7g | Polyunsaturated Fat: 2g | Monounsaturated Fat: 8g | Trans Fat: 0.2g | Cholesterol: 61mg | Sodium: 1045mg | Potassium: 698mg | Fiber: 4g | Sugar: 3g | Vitamin A: 818IU | Vitamin C: 9mg | Calcium: 191mg | Iron: 6mg

    Keywords: Asparagus Risotto With Chicken, Chicken And Asparagus Risotto, Chicken Asparagus Risotto, Chicken Risotto With Asparagus

    More Recipes With Asparagus


    Source link

  • Tomato Salad With Garlic Dressing

    Tomato Salad With Garlic Dressing

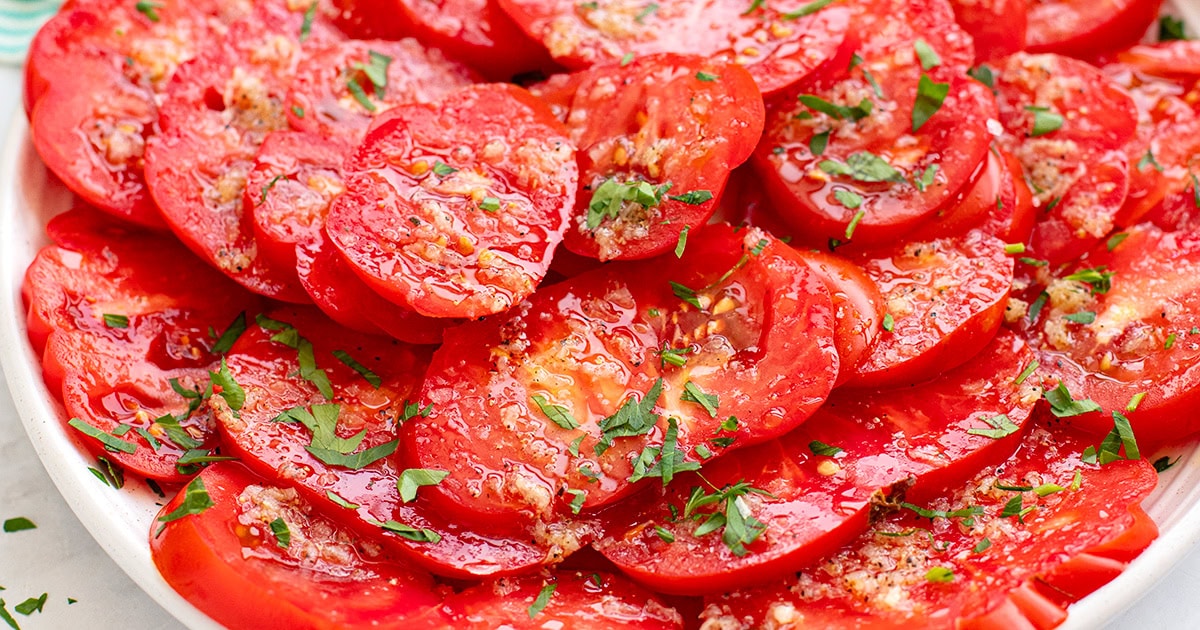
    Easy tomato salad recipe with garlic dressing, vinegar, and herbs. Perfect as a vibrant side dish or a juicy bruschetta topping.


    Jump to: ℹ️ Overview | 🛒 Ingredients | 📷 How To Make | 📹 Watch The Video | 👩‍🍳 Recipe Tips | 🥗 Serving Suggestions | 📝 Full Recipe Card | 🍽 More Salad Recipes


    This garlicky tomato salad has been passed around my family table for generations. Honestly, it always felt too simple to warrant a full recipe post — just ripe tomatoes, garlic, vinegar, a pinch of sugar, olive oil, salt. That’s it. But every time I make it, someone asks for the “secret sauce.” 

    So here it is: my no-fuss, big-flavor tomato salad with garlic dressing. It’s fresh, juicy, tangy-sweet, and a little bit punchy from the garlic — just how we like it. The trick is all in the balance and timing. Low-calorie, naturally gluten-free, and full of vitamins, it’s the easiest side dish that somehow steals the show. Once you try it, you’ll get why it’s been in my back pocket all these years.

    👩‍🍳 You might also like these tomato recipes: tomato Florentine soup, stewed tomatoes, roasted tomato soup, tomato ricotta salad, and check out these 40 recipes with fresh tomatoes. Try this other Slavic recipe: air fryer kielbasa.

    What You’ll Need

    Here is what you’ll need for this tomato salad recipe. Find the full measurements in the recipe card below.

    • Fresh tomatoes: Thick slices of juicy, ripe tomatoes are the heart of this dish. Use in-season for best results. Heirloom, vine-ripened, or even mixed varieties work beautifully.
    • Fresh garlic: Has to be fresh (not the stuff out of the jar or powder). It brings the sharp kick that balances the sweetness of tomatoes.
    • White wine vinegar: Adds a clean, bright acidity that lemon juice just doesn’t. Red wine vinegar is a fine backup.
    • Sugar: it brings out the tomatoes’ natural sweetness and soften the vinegar’s bite.
    • Olive oil: Use good extra-virgin olive oil if you can. Adds richness and rounds out the dressing.
    • Black pepper: Adds a little warmth and edge.
    • Flaky sea salt: Go generous. It adds texture and brings all the flavors into focus. Don’t use fine salt as it will melt in seconds.
    • Fresh herbs: Basil or parsley for a final hit of color and freshness.

    How To Make Tomato Salad With Garlic Dressing

    Find the full recipe and nutritional information below. Here are some handy step-by-step photos for how to make my family’s favorite tomato salad.

    • Slice your tomatoes into thick, juicy rounds and layer on a serving platter.
    • Whisk together garlic, vinegar, sugar, and olive oil in a small bowl.
    • Pour the dressing evenly over the tomatoes.
    • Sprinkle with flaky sea salt and black pepper.
    • Garnish with herbs. Done and done.

    Watch The Video

    Recipe Tips

    • Make-ahead? You can! Let it sit for 15–30 minutes to let the flavors marinate, it gets even juicier.
    • Storage: Best fresh, but leftovers can be stored in an airtight container in the fridge for up to 24 hours.
    • Variations: Add sliced red onions or shallots for more bite. Crumble over some feta or torn mozzarella for a bit of creamy contrast. Swap herbs (try dill or chives). Use cherry tomatoes, halved, for a more rustic style.

    Serving Suggestions

    This salad is made for grilled sourdough or bruschetta bread—something crusty to soak up those glorious garlicky juices. Also dreamy next to grilled meats (like these grilled chicken tenders), roast chicken, or even spooned over whipped ricotta on toast. I’ve even thrown leftovers into a pasta salad (such as my elote pasta salad and tuna and pasta salad) and had zero regrets.

    💬 If you’ve tried this garlicky tomato salad or any other recipe on the blog then don’t forget to rate the recipe and let me know how you got on in the comments below, I love hearing from you! You can also FOLLOW ME on Instagram, Facebook, Pinterest, YouTube, and or sign up to my Newsletter to see more of my delicious food.

    Want to Save This Recipe?

    Enter your email & I’ll send it to your inbox. Plus, get great new recipes from me every week!

    By submitting this form, you consent to receive emails from Cooked & Loved

    Easy tomato salad with fresh garlic dressing, vinegar, and herbs. This is perfect as a vibrant side dish or a juicy bruschetta topping. My family’s long-time favorite recipe! Find step-by-step photos and more recipe tips above.

    • Slice tomatoes and layer them on a serving platter.

    • In a small bowl, whisk together garlic, vinegar, sugar, and olive oil, and until combined.

    • Drizzle dressing evenly over tomatoes.

    • Sprinkle with a few generous pinches of flaky sea salt. Make sure every tomato slice gets a few flakes.

    • Finish with a little pepper and garnish with herbs and serve.

    • Storage: Best fresh, but leftovers can be stored in an airtight container in the fridge for up to 24 hours.
    • Variations: Add sliced red onions or shallots for more bite. Crumble over some feta or torn mozzarella for a bit of creamy contrast. Swap herbs (try dill or chives). Use cherry tomatoes, halved, for a more rustic style.
    • Can I use cherry tomatoes instead of large ones? Yes, halved cherry tomatoes work great and are especially pretty with mixed colours.
    • What if I don’t have white wine vinegar? Red wine vinegar or even apple cider vinegar can work in a pinch—just avoid balsamic for this one.
    • Why add sugar? It rounds out the acidity and makes the tomatoes taste sweeter and more “tomatoey.” Yes, you need to use it, and it’s only a little bit.
    • Can I prep this ahead? Yes! Dress it 15–30 minutes ahead for a marinated version. Just hold off on the salt until serving, so it doesn’t get too watery.

    Calories: 110kcal | Carbohydrates: 4g | Protein: 1g | Fat: 11g | Saturated Fat: 1g | Polyunsaturated Fat: 1g | Monounsaturated Fat: 8g | Sodium: 295mg | Potassium: 153mg | Fiber: 1g | Sugar: 3g | Vitamin A: 513IU | Vitamin C: 9mg | Calcium: 9mg | Iron: 0.3mg

    Keywords: fresh tomatoes, Garlic, Tomato Salad, tomato recipes, summer salads, heirloom tomatoes

    More Salad Recipes


    Source link

  • Crab Stuffed Mushrooms Recipe | The Recipe Critic

    Crab Stuffed Mushrooms Recipe | The Recipe Critic

    This website may contain affiliate links and advertising so that we can provide recipes to you. Read my disclosure policy.

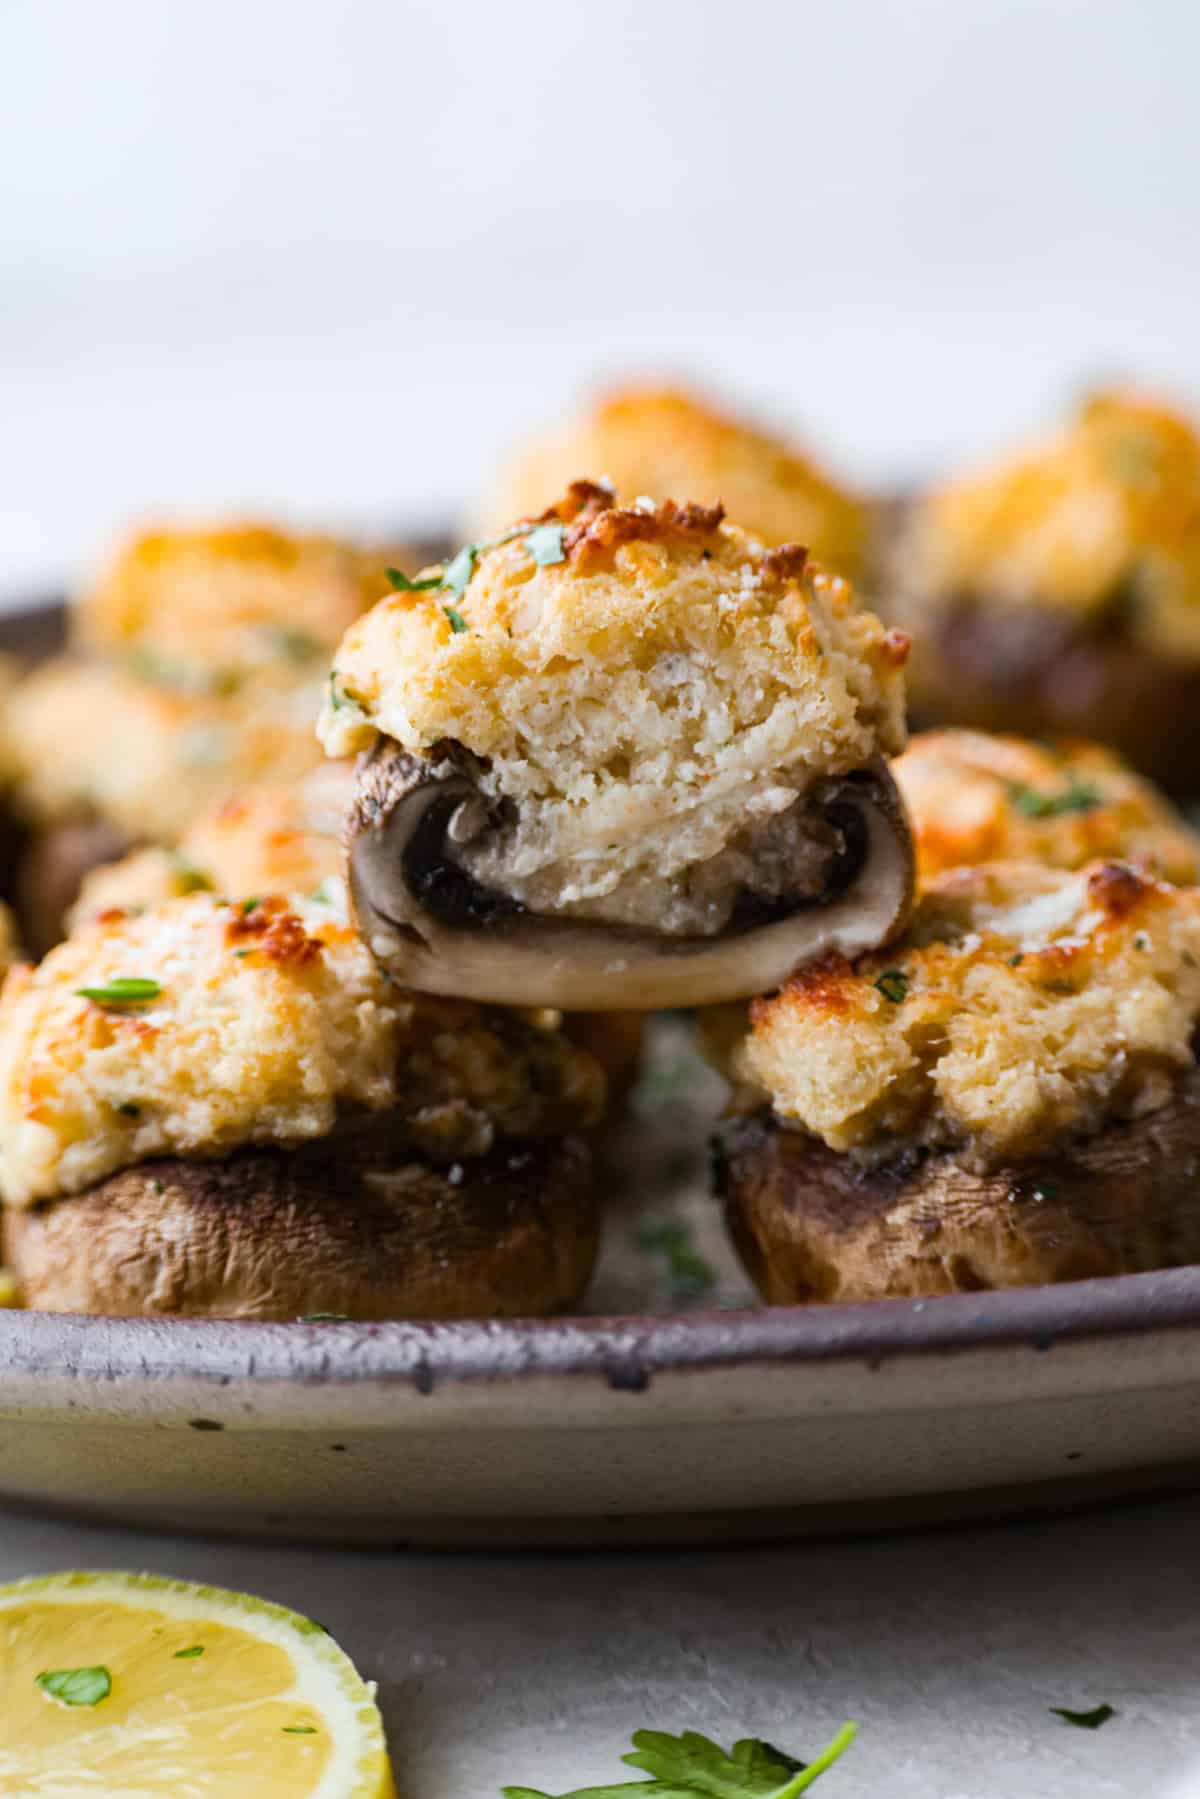
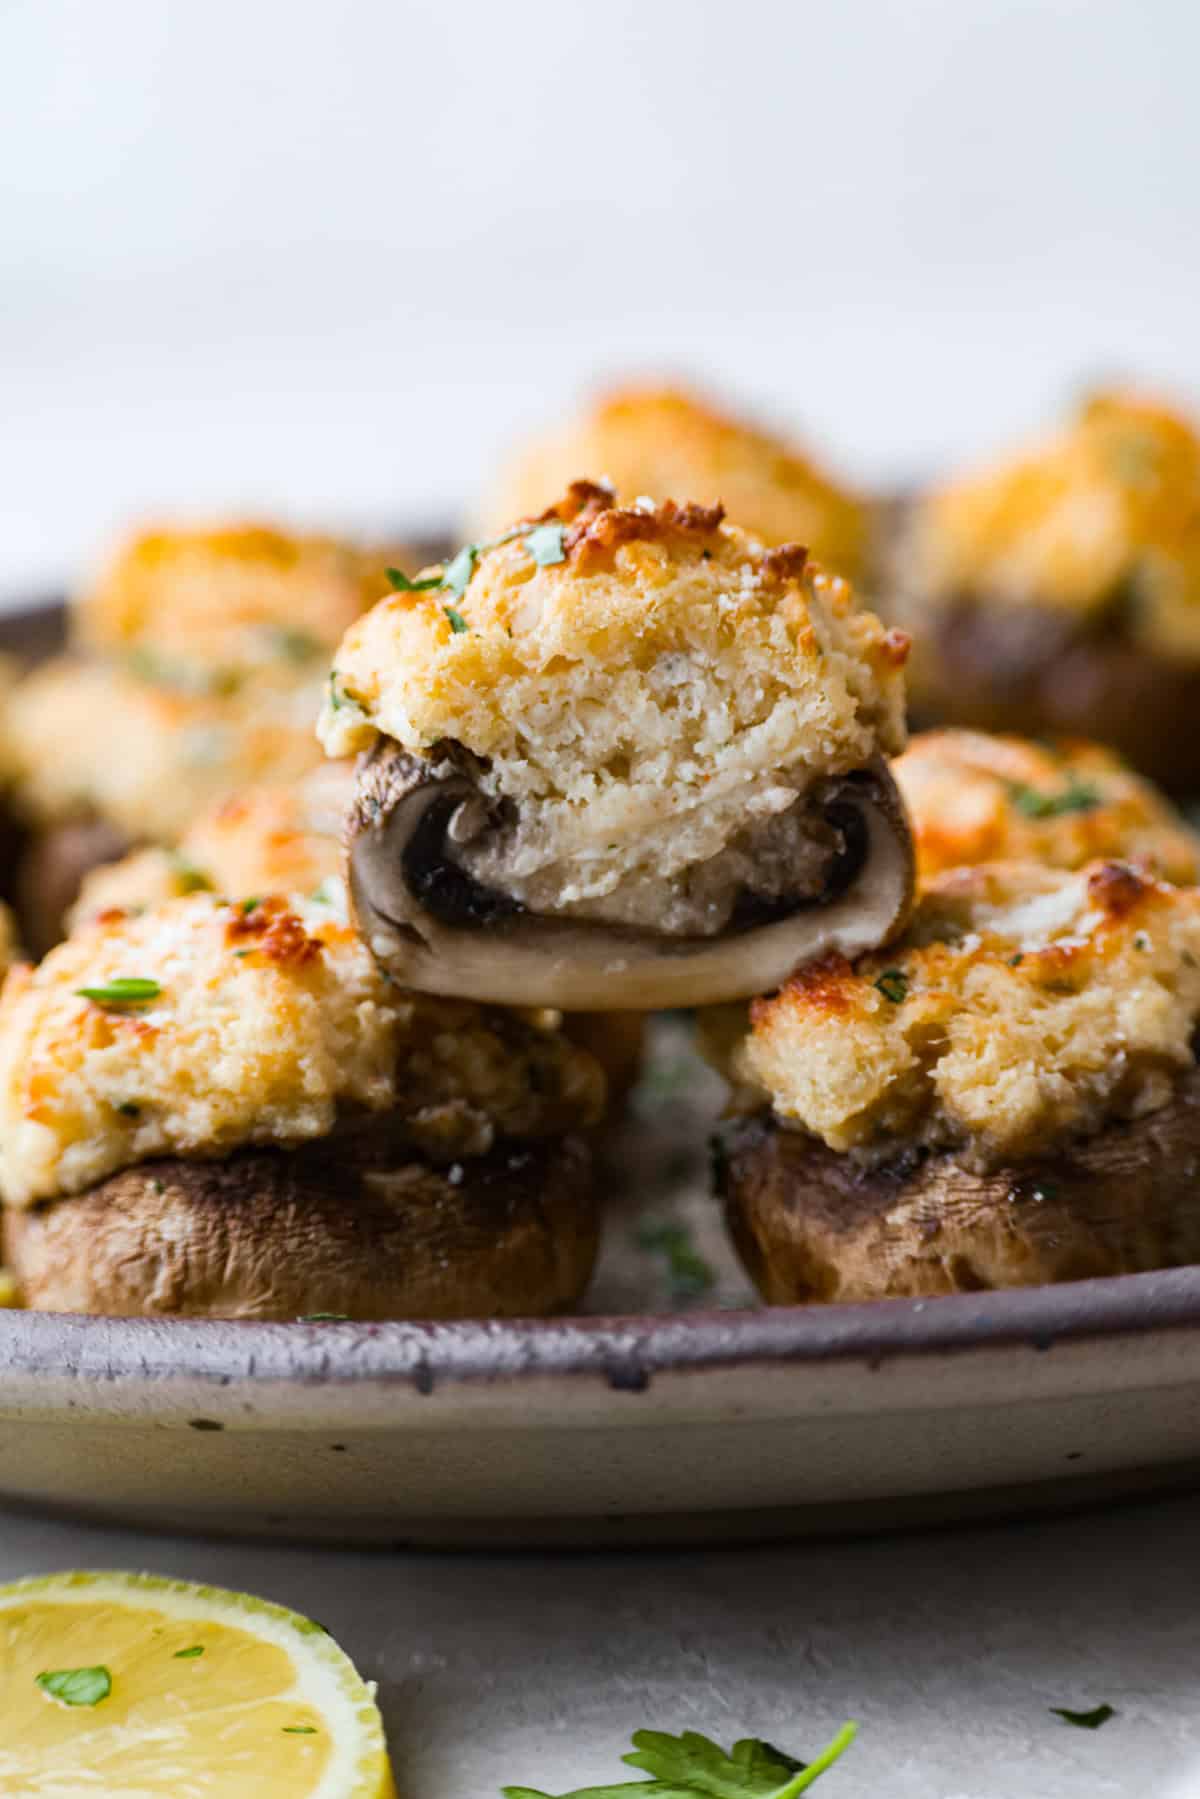
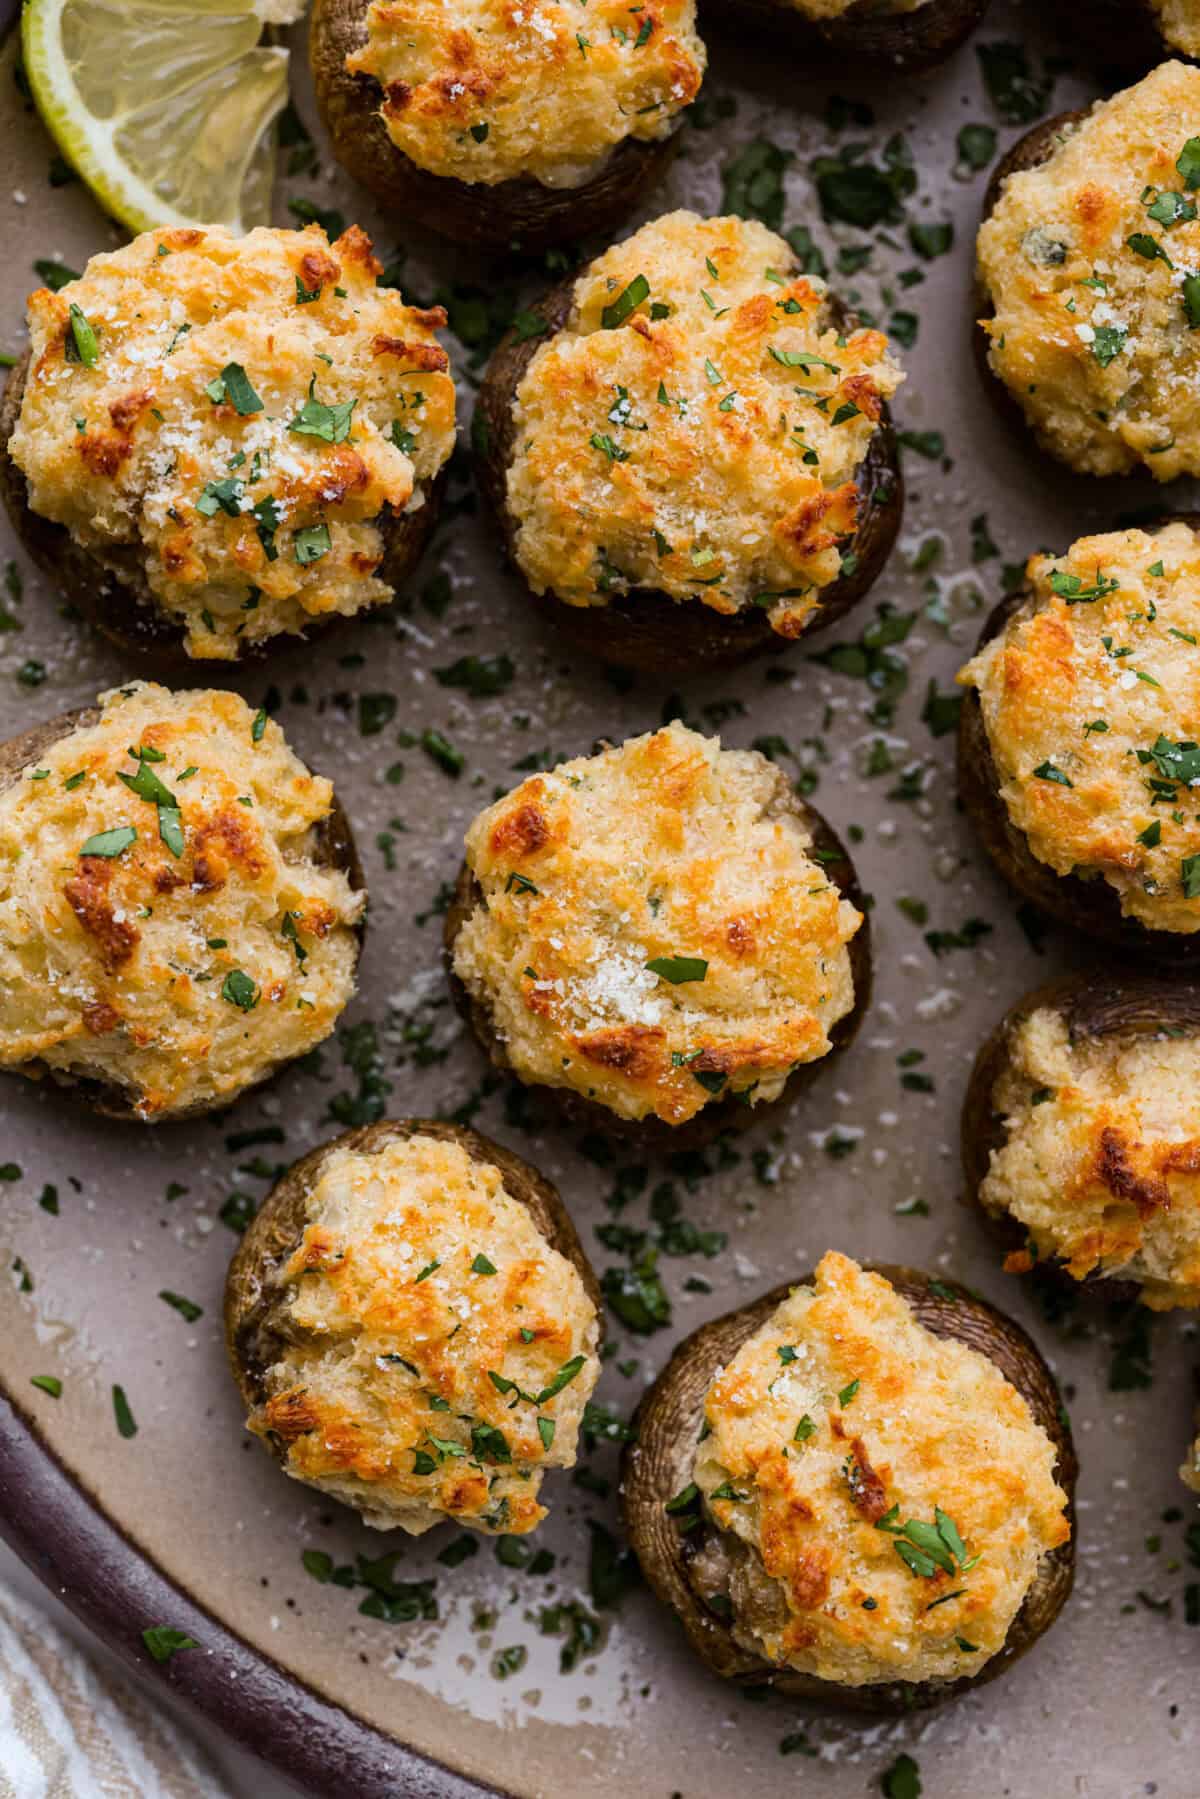
    These Crab Stuffed Mushrooms are a deliciously savory appetizer, perfect for impressing guests at any gathering. With a rich crab filling in every bite, they’re sure to be a crowd favorite!

    Side shot of a crab stuffed mushroom cut in half.

    Reasons You’ll Love This Recipe

    • Packed with Flavor: The combination of crab, cheese, and other flavorings creates a savory, irresistible filling.
    • Low-Carb: A great choice for anyone following a low-carb or keto-friendly diet.
    • Impressive Presentation: I love stuffed mushrooms for game day, parties, and the holidays because they look fancy and are sure to impress guests. Make it a complete spread with jalapeño poppers, air fryer chicken wings, and 7-layer dip!

    The BEST Appetizer

    I don’t know about you, but I love stuffed mushroom appetizers! These crab stuffed mushrooms are no exception. The creamy, savory seafood filling with a crunchy texture from the panko that just melts in your mouth! I could seriously eat the whole batch! I know you guys will love these!

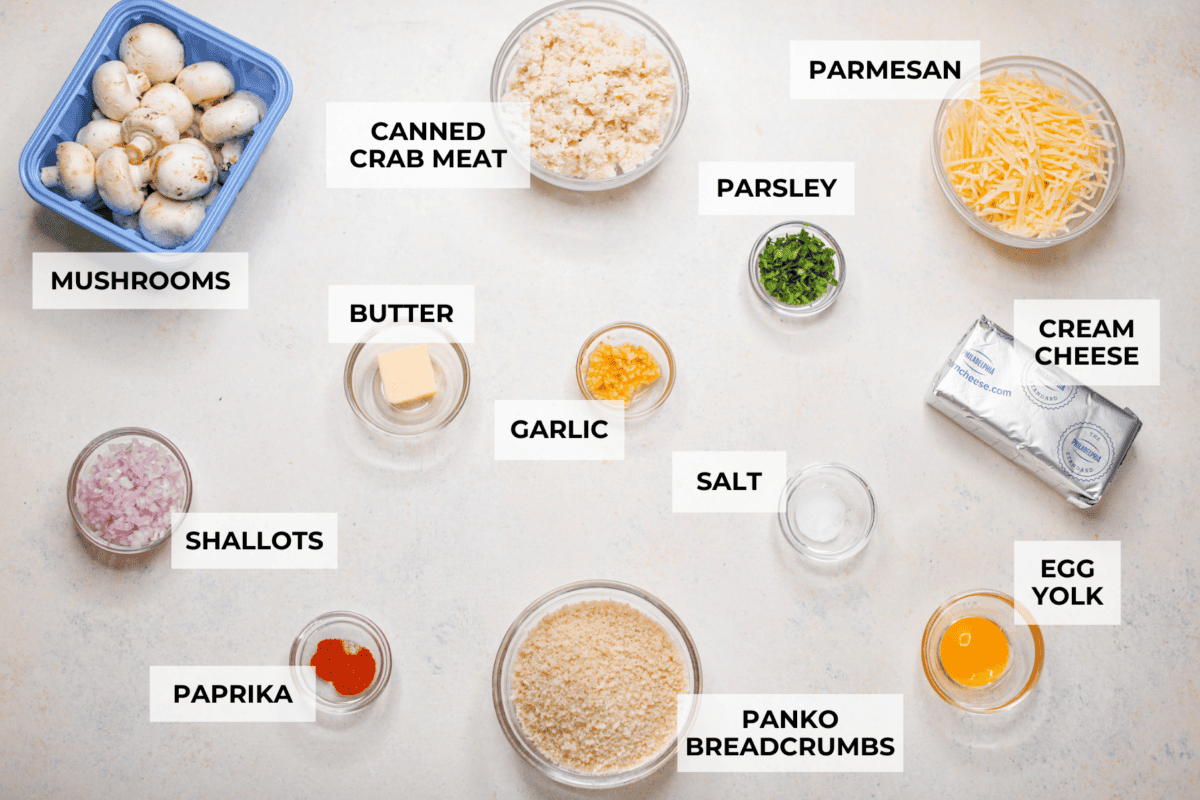
    Crab Stuffed Mushroom Ingredients

    Overhead shot of labeled ingredients. Overhead shot of labeled ingredients.

    How to Make Crab Stuffed Mushrooms

    These adorable crab stuffed mushrooms are easy to prepare and taste absolutely amazing! Perfect for your next get-together, game day, or holiday celebration! Don’t have the energy to stuff mushrooms, but want that same flavor? Make my stuffed mushroom dip!

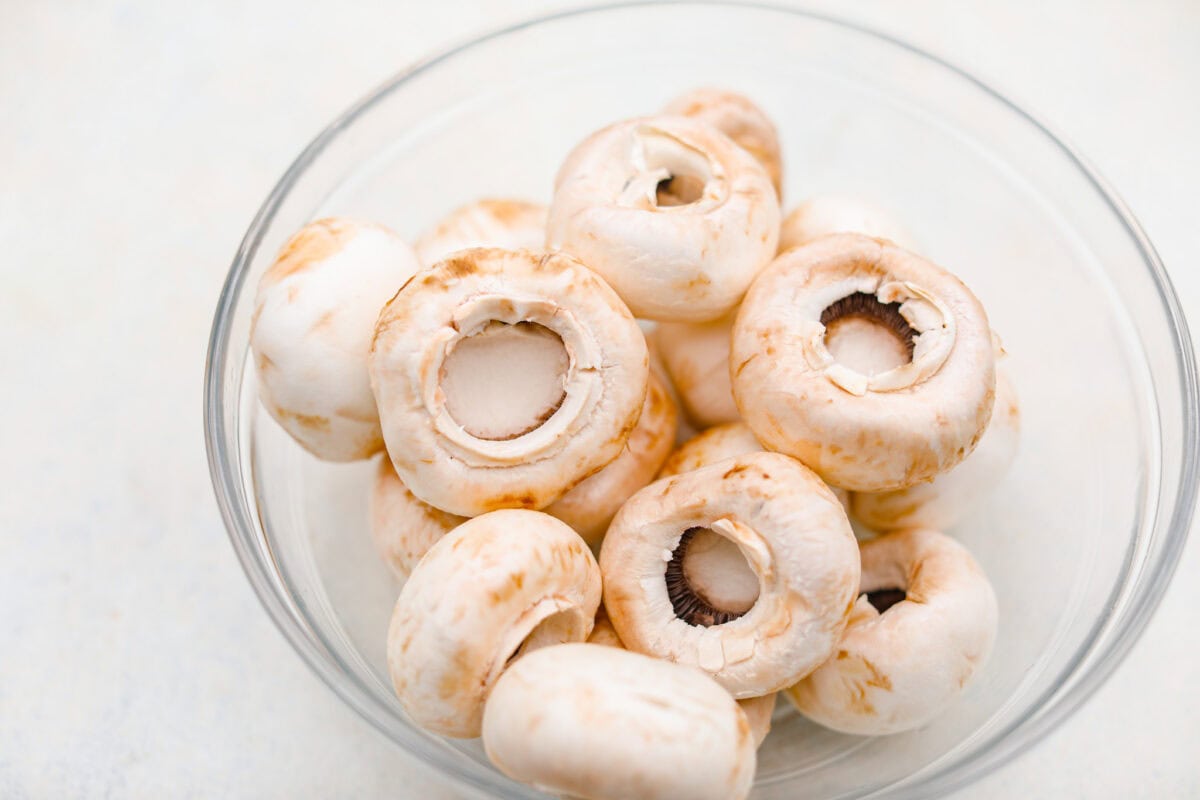
    1. Prep Mushrooms: Preheat the oven to 350 degrees Fahrenheit and either grease a sheet pan or line it with parchment paper. Clean and destem the mushrooms, discarding the stems or reserving them for a separate recipe. Place the mushroom caps top-side down on the sheet pan.
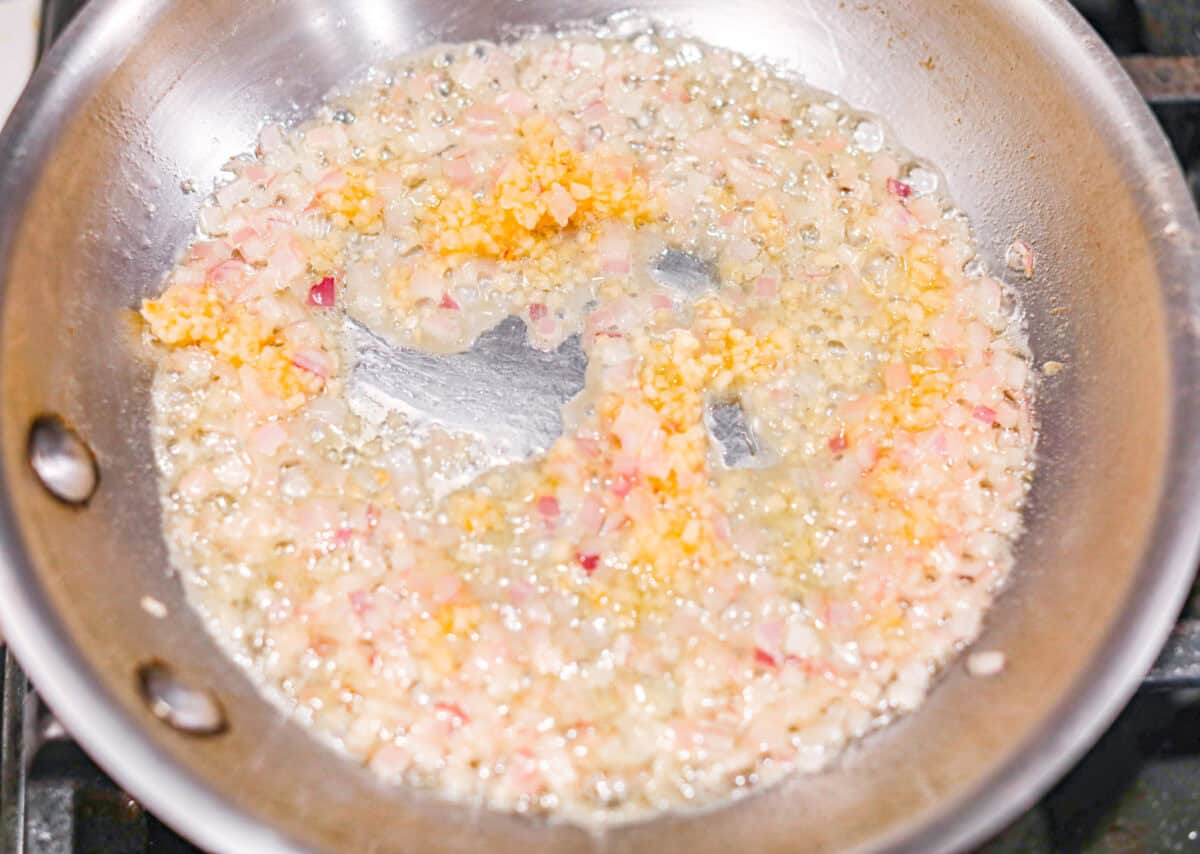
    2. Sauté: Add the butter to a small skillet and melt over medium heat. Add the shallot and garlic and cook for 1-2 minutes, until the shallots pale in color. Remove the shallot mixture from the heat and set aside in a small bowl.
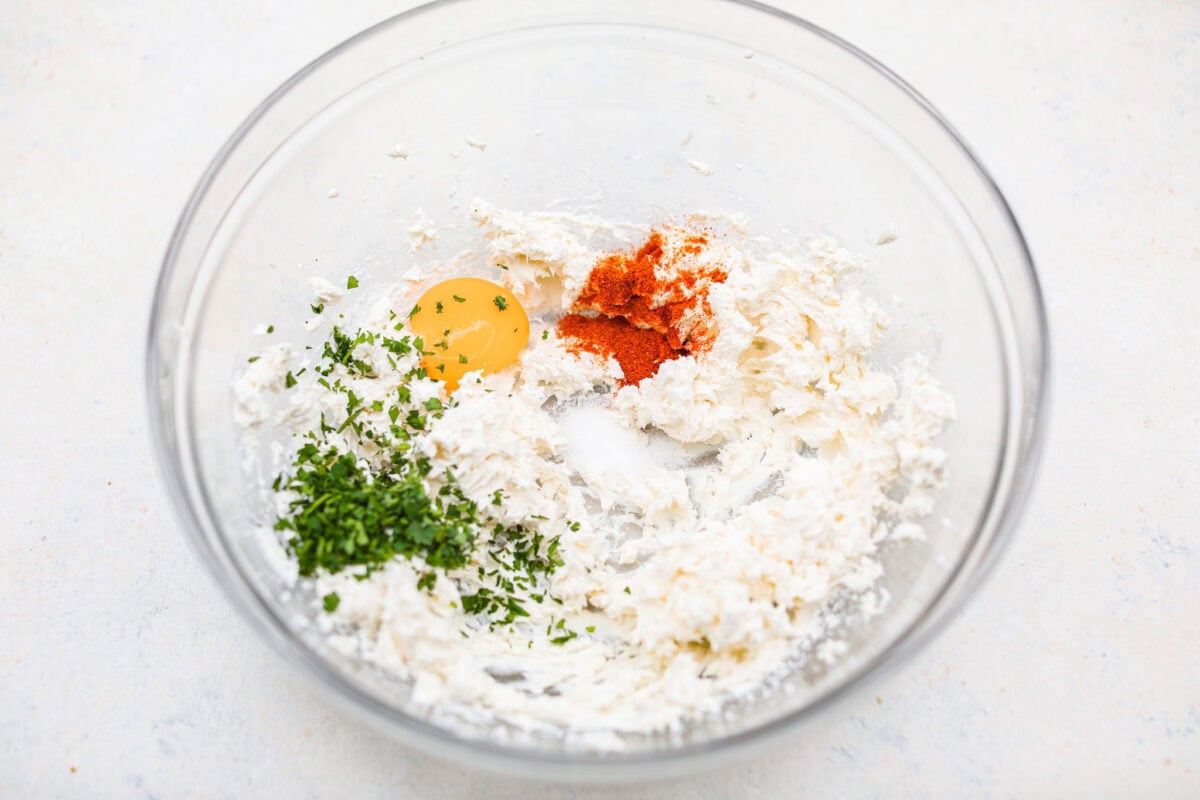
    3. Beat Cream Cheese: Add the cream cheese to a large bowl and beat with a hand mixer until smooth. Add the egg yolk, parsley, paprika, and salt and beat until combined.
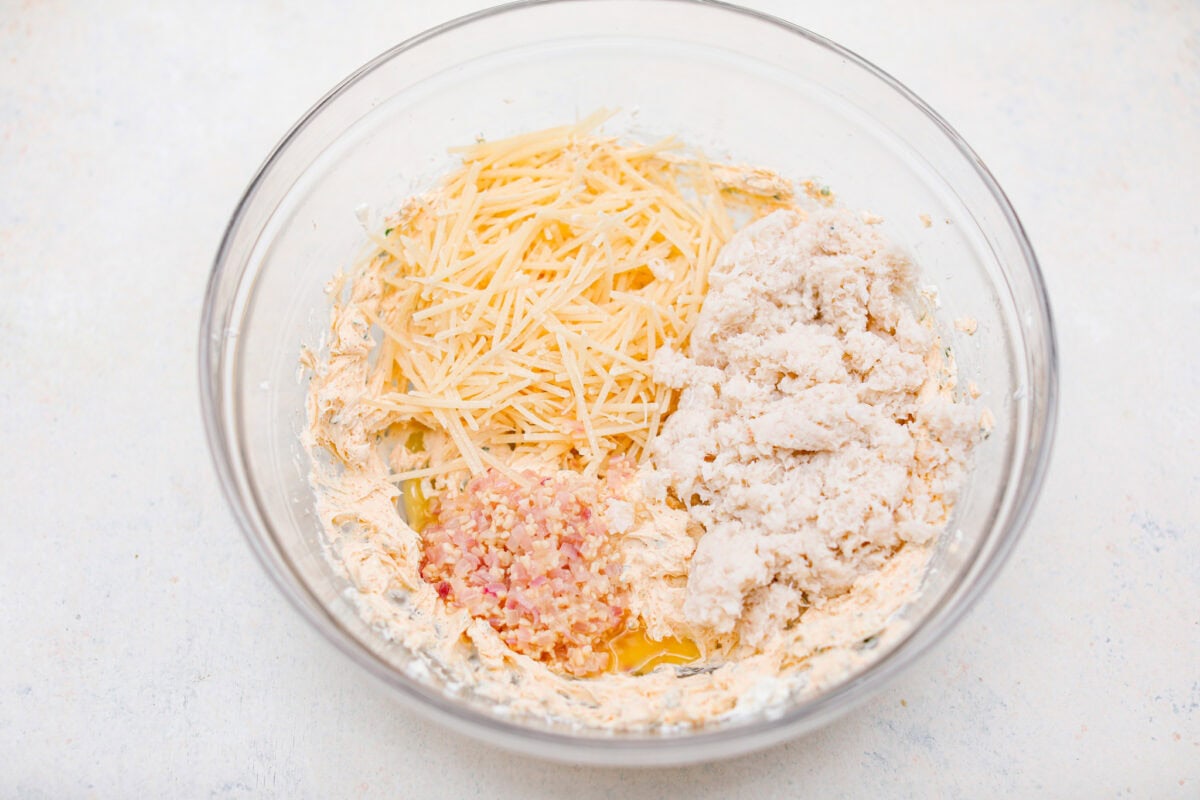
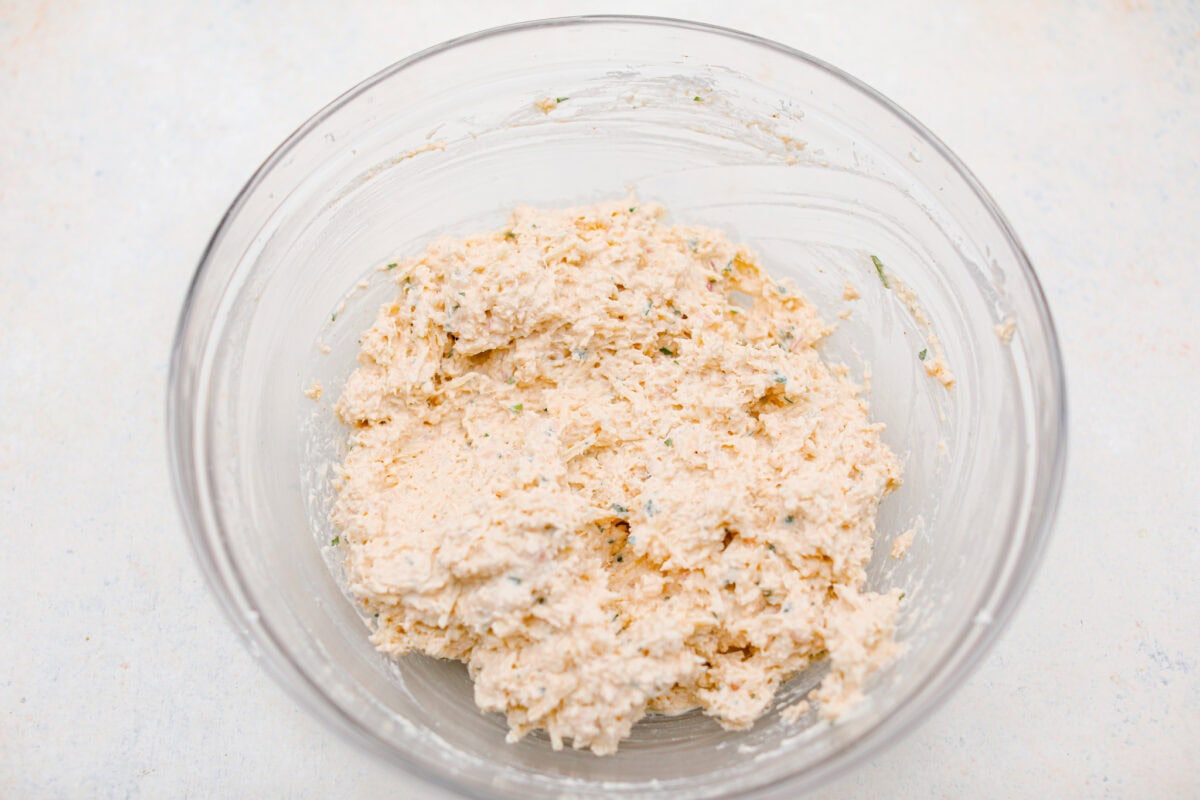
    4. Mix in Shallot Mixture: Add the crabmeat, parmesan cheese, and shallot mixture and mix until combined. At this stage, it will become very soft and wet.
    5. Transfer to a Bag: Beat in the panko, transfer the crab mixture to a large ziplock bag, and snip off the end of it.
    6. Fill Mushrooms and Bake: Squeeze the crab mixture into the centers of the mushrooms, letting it mound on top. Bake for 25 minutes or so, until the tops begin to brown. Serve crab stuffed mushrooms warm.

    Tips for Crab Stuffed Mushroom

    Looking to elevate your crab stuffed mushrooms? Here are some helpful tips to ensure they turn out perfectly every time!

    • What kind of mushrooms should I use? I used white button mushrooms for this recipe, but you may use baby bella mushrooms (also called cremini mushrooms).
    • How do I avoid soggy crab stuffed mushrooms? Sometimes, stuffed mushrooms can end up soggy due to their high water content. Avoid this by partially baking the mushrooms before they are filled. Clean and destem the mushrooms and place them top down on a parchment or aluminum foil-lined baking sheet. Bake at 375 degrees Fahrenheit for about 15 minutes, until the mushrooms release their water and fill with liquid. Tip off the liquid and pat the mushrooms dry with paper towels then proceed to fill them with the crab mixture. Bake as directed. This can be done up to 24 hours before filling them with the crab.
    • Can I use Imitation Crab? I used canned lump crab meat for this filling. But you can use shredded and finely chopped imitation crab. Reduce the amount of panko breadcrumbs to ½ cup, only adding more if needed to absorb any excess liquid. Imitation crab has significantly less moisture than canned crab, so less panko will be needed.
    • How do I brown the tops better?  Sometimes, the tops of the mushrooms take a while to brown. You can turn the broiler to HIGH and broil for 2-3 minutes until the tops are a deep golden brown. Be sure to keep a close eye on them so they don’t burn!

    Overhead shot of baked crab stuffed mushrooms on a serving plate. Overhead shot of baked crab stuffed mushrooms on a serving plate.

    Make Ahead Instructions

    • Prepare Ahead: These crab stuffed mushrooms are great for preparing ahead of time! You can prepare them all the way through step 8 up to 24 hours in advance. Place the filled mushrooms in an airtight container lined with 1-2 paper towels on the bottom. This prevents them from rolling around as well as absorbing any excess moisture. Store in the refrigerator until you are ready to bake them. Give the mushrooms an additional 5-8 minutes or so to bake since they will be chilled and will need more time to cook through.
    • Storing Leftovers: These are best served fresh, so I don’t recommend storing leftovers. If you do end up storing them, keep them in an airtight container in the fridge for 2-3 days. Reheat in the oven at 350 degrees Fahrenheit for 10-15 minutes or in the air fryer at 370 degrees Fahrenheit for 4-5 minutes.

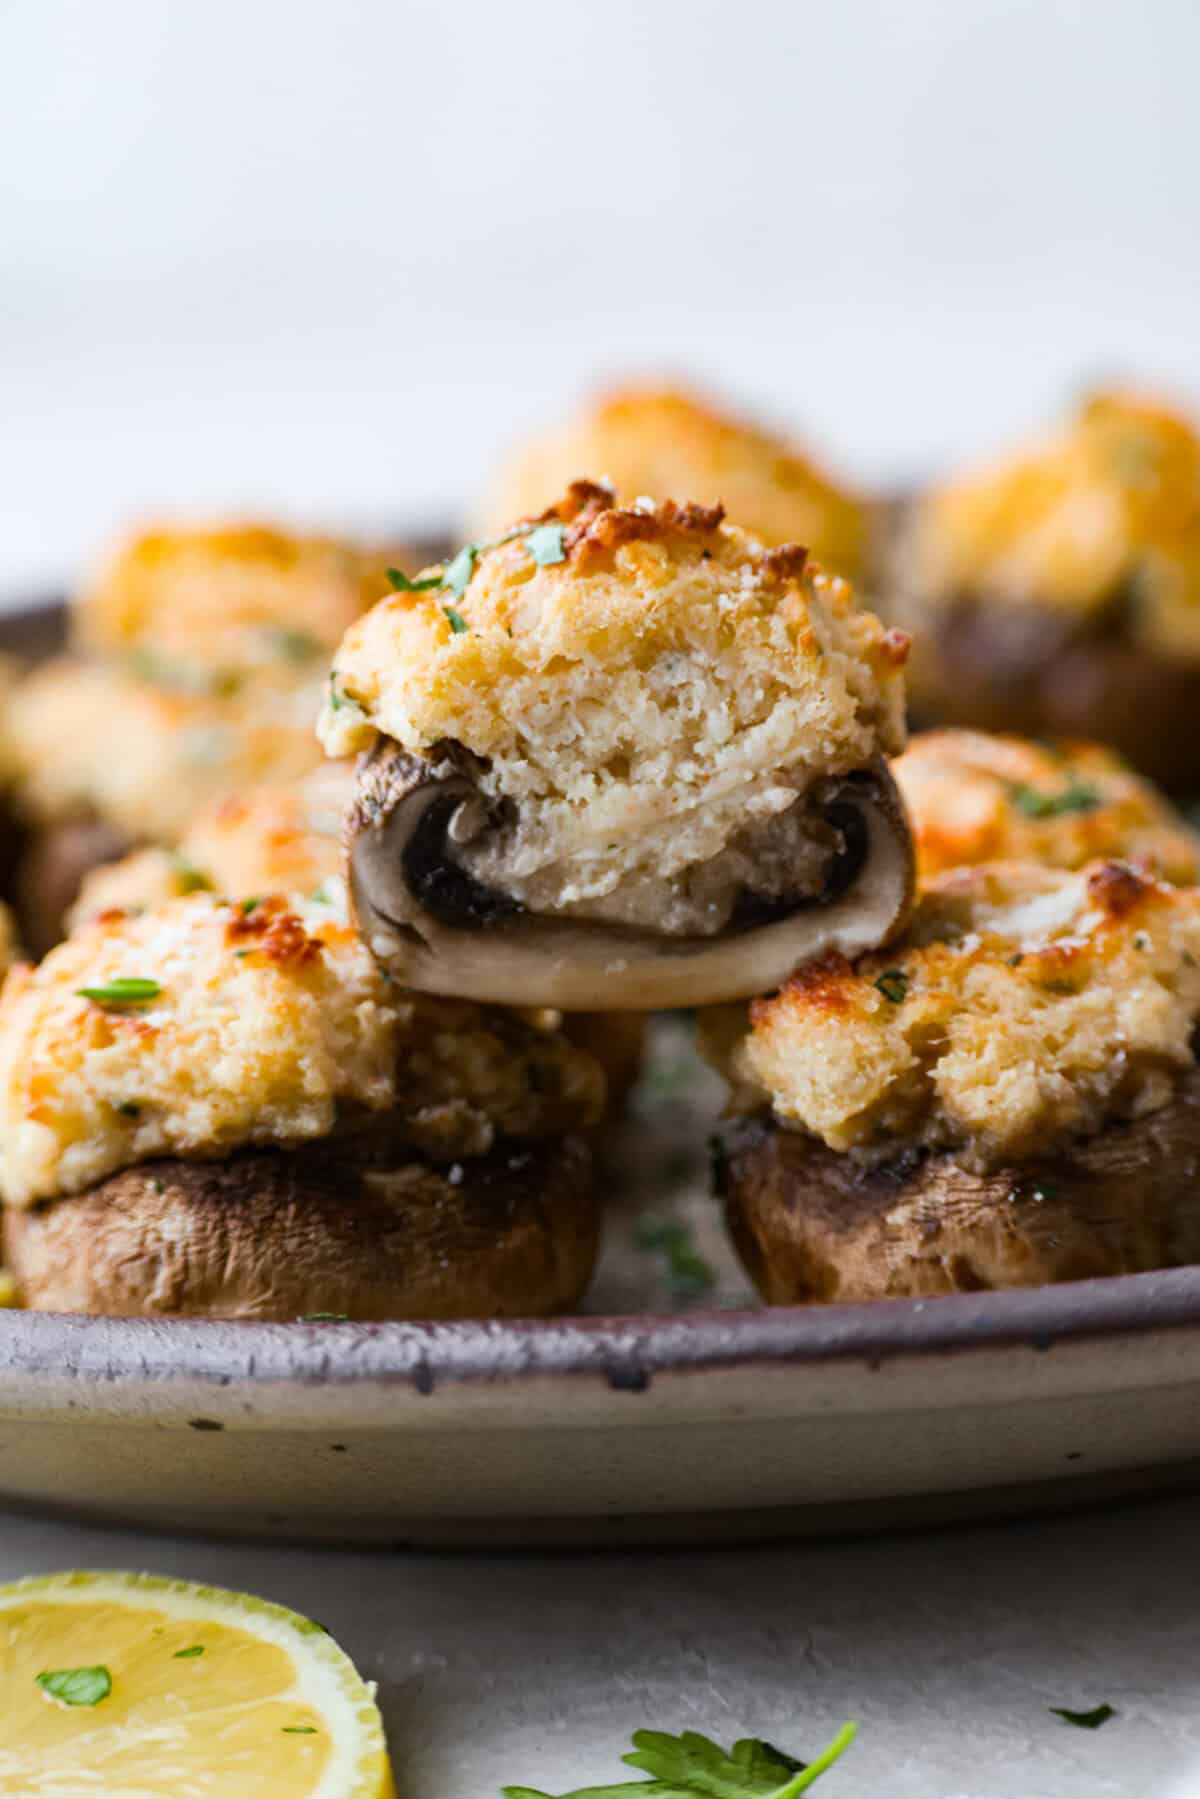
    Close up shot of crab stuffed mushrooms. Close up shot of crab stuffed mushrooms.

    More Mushroom Recipes

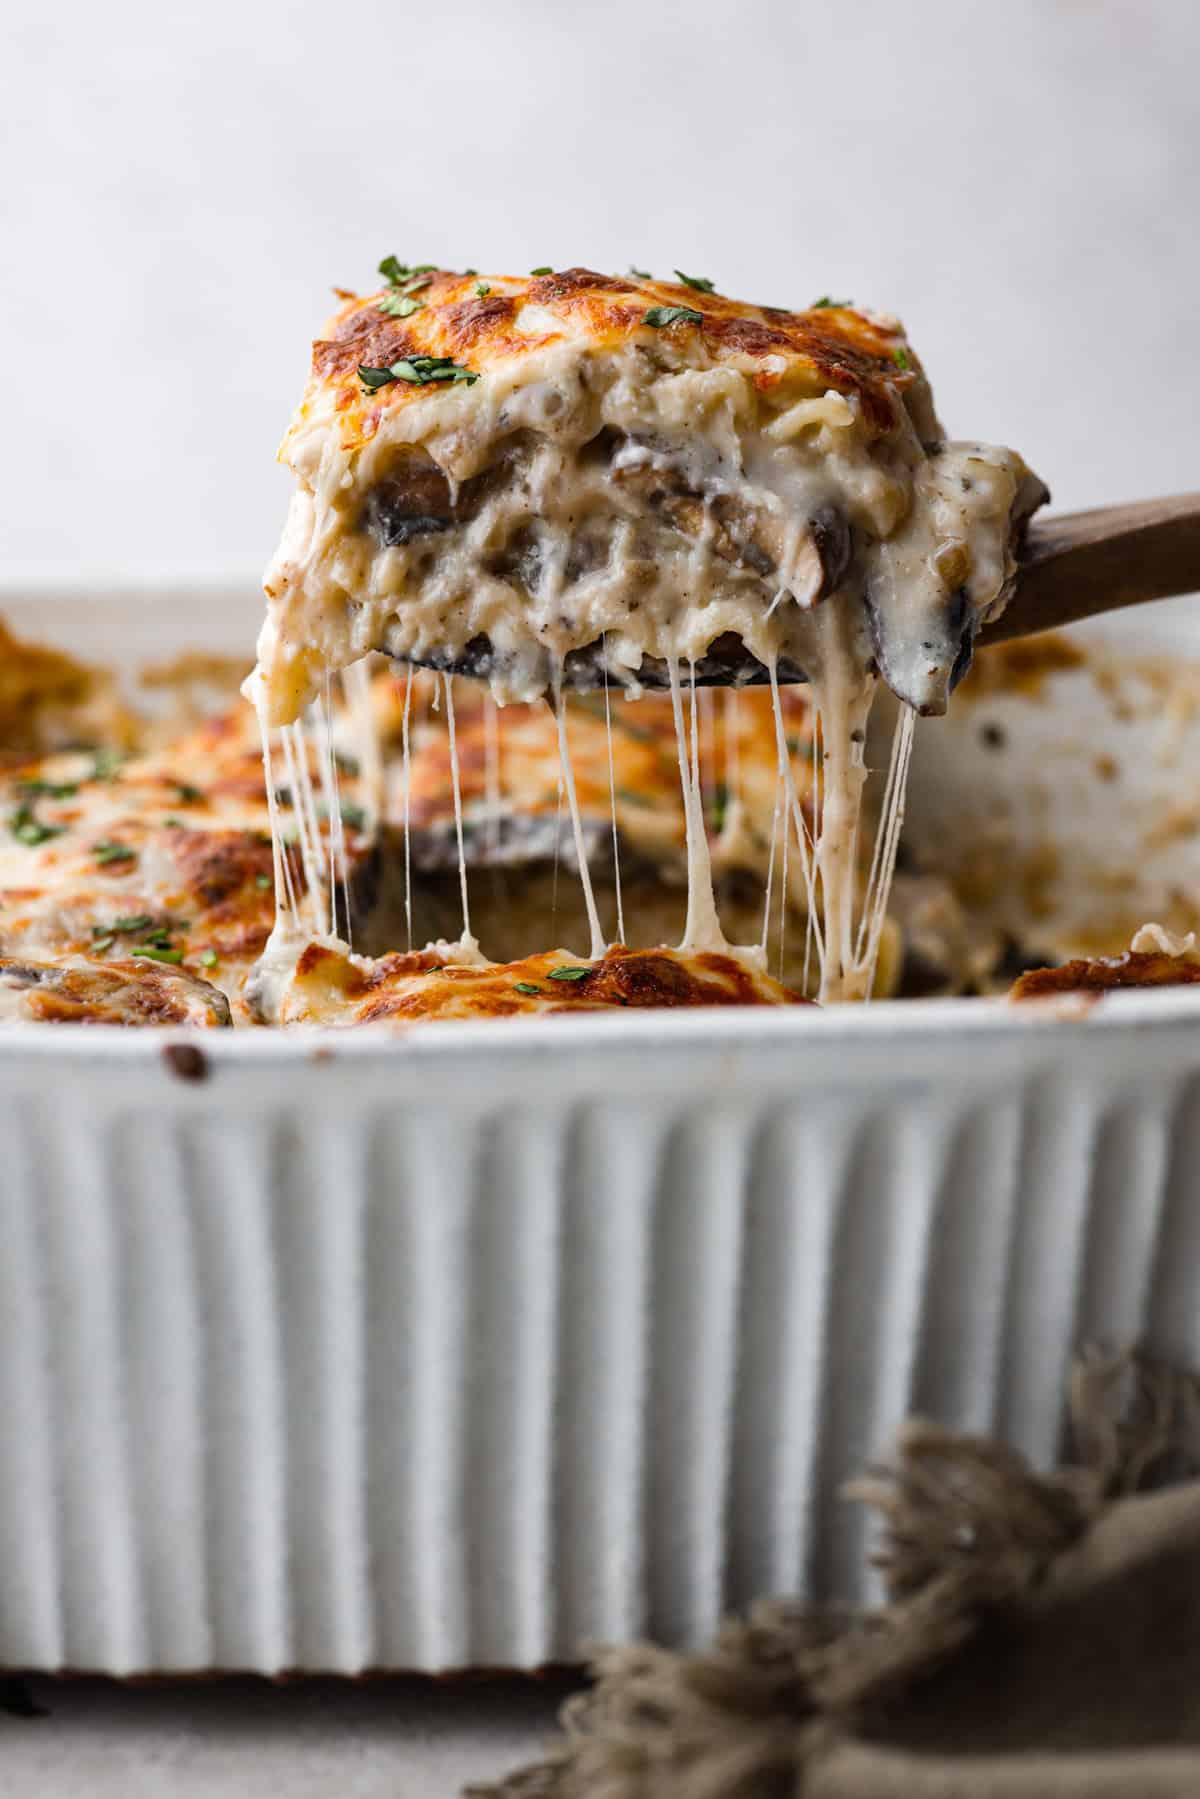
    Mushroom Lasagna

    55 minutes

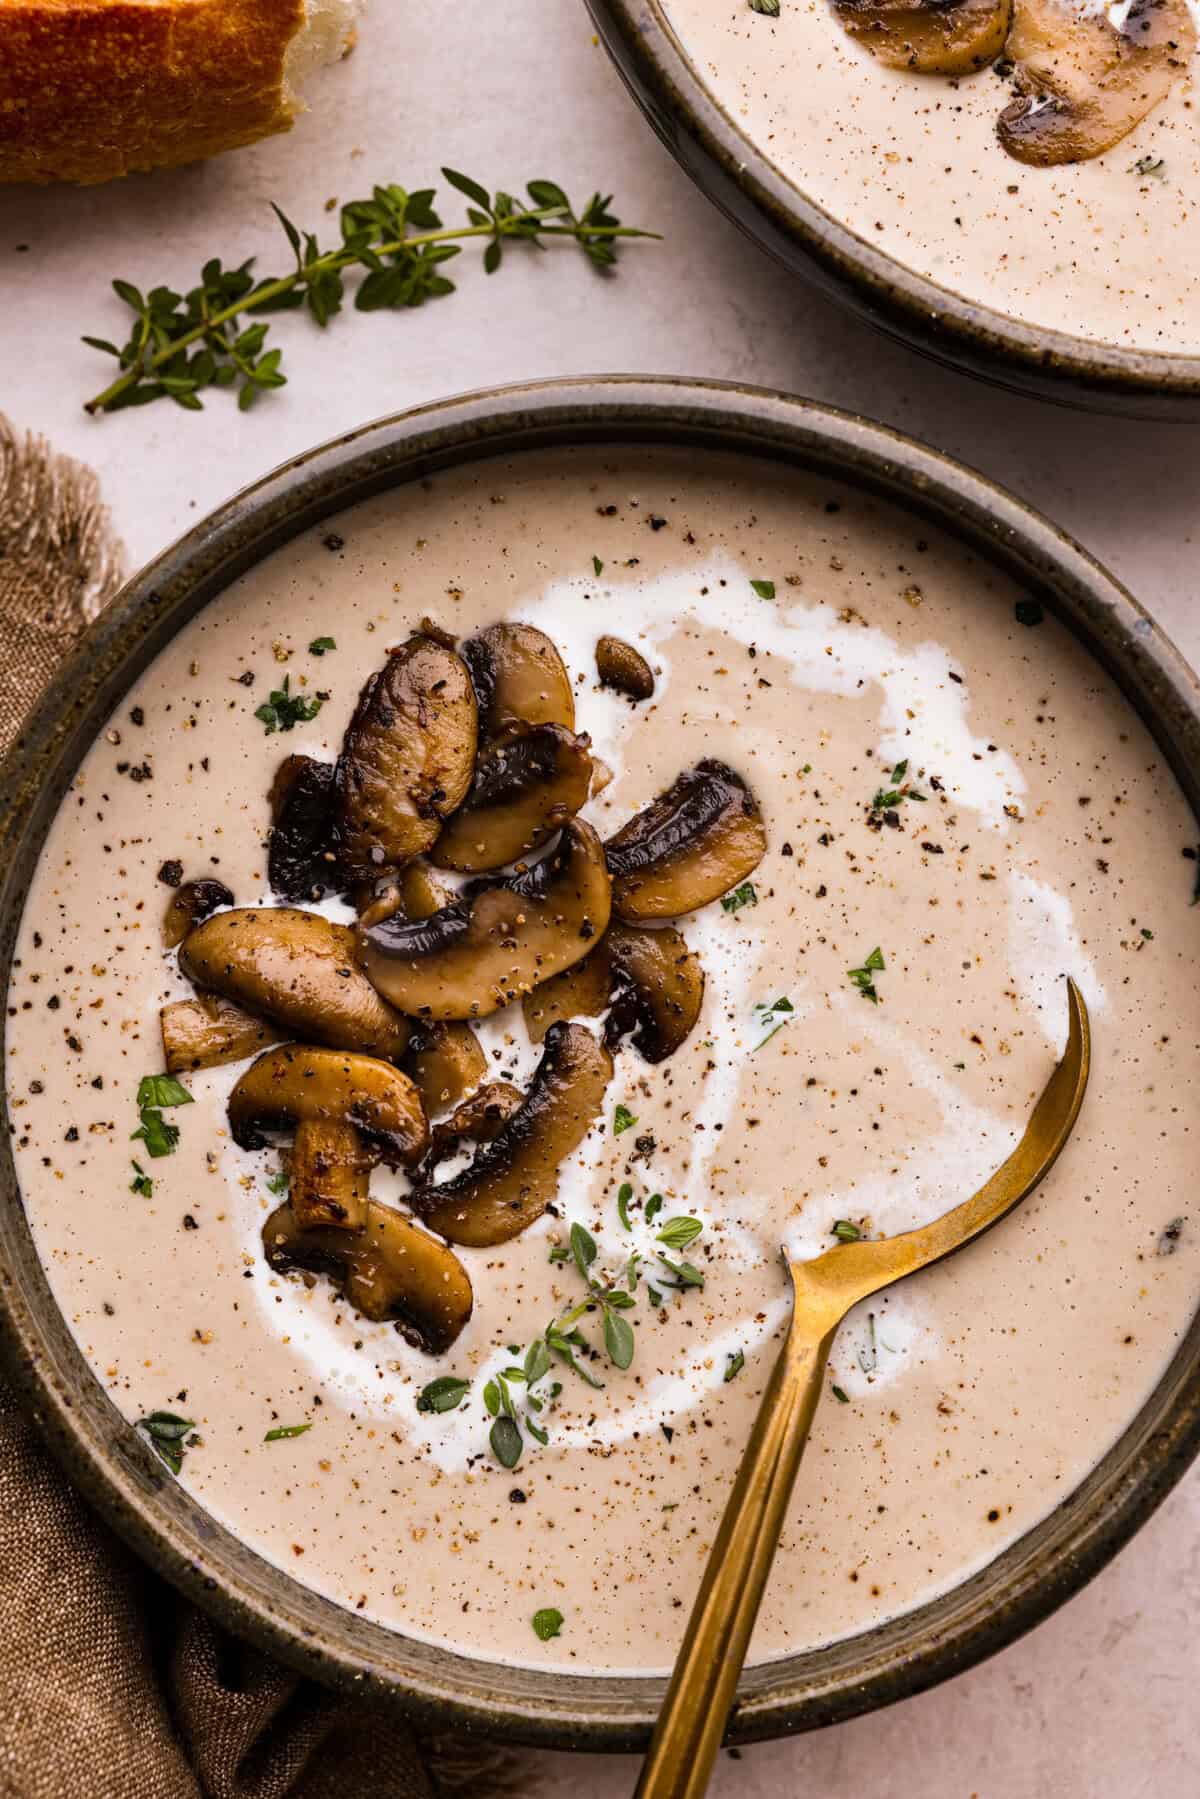
    Mushroom Bisque

    55 minutes

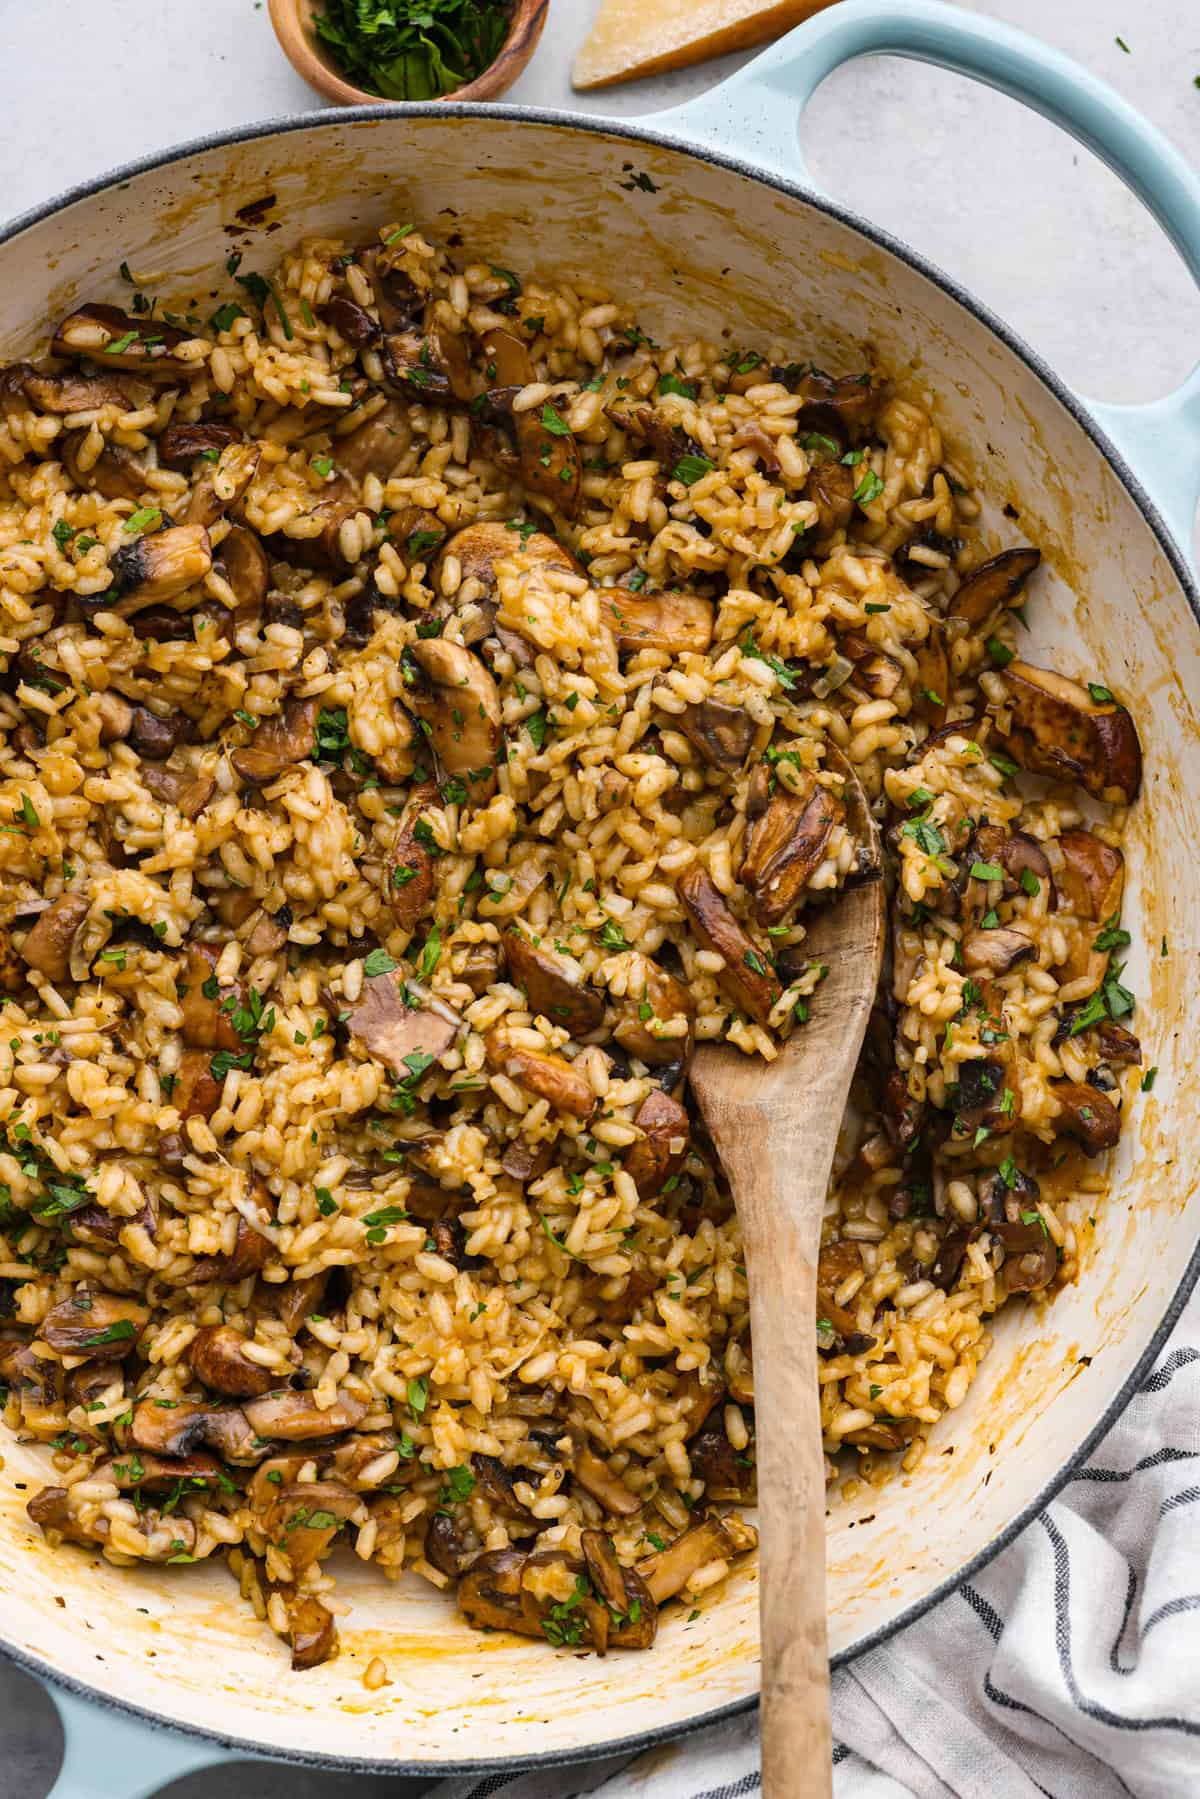
    Creamy Mushroom Risotto

    1 hour 30 minutes

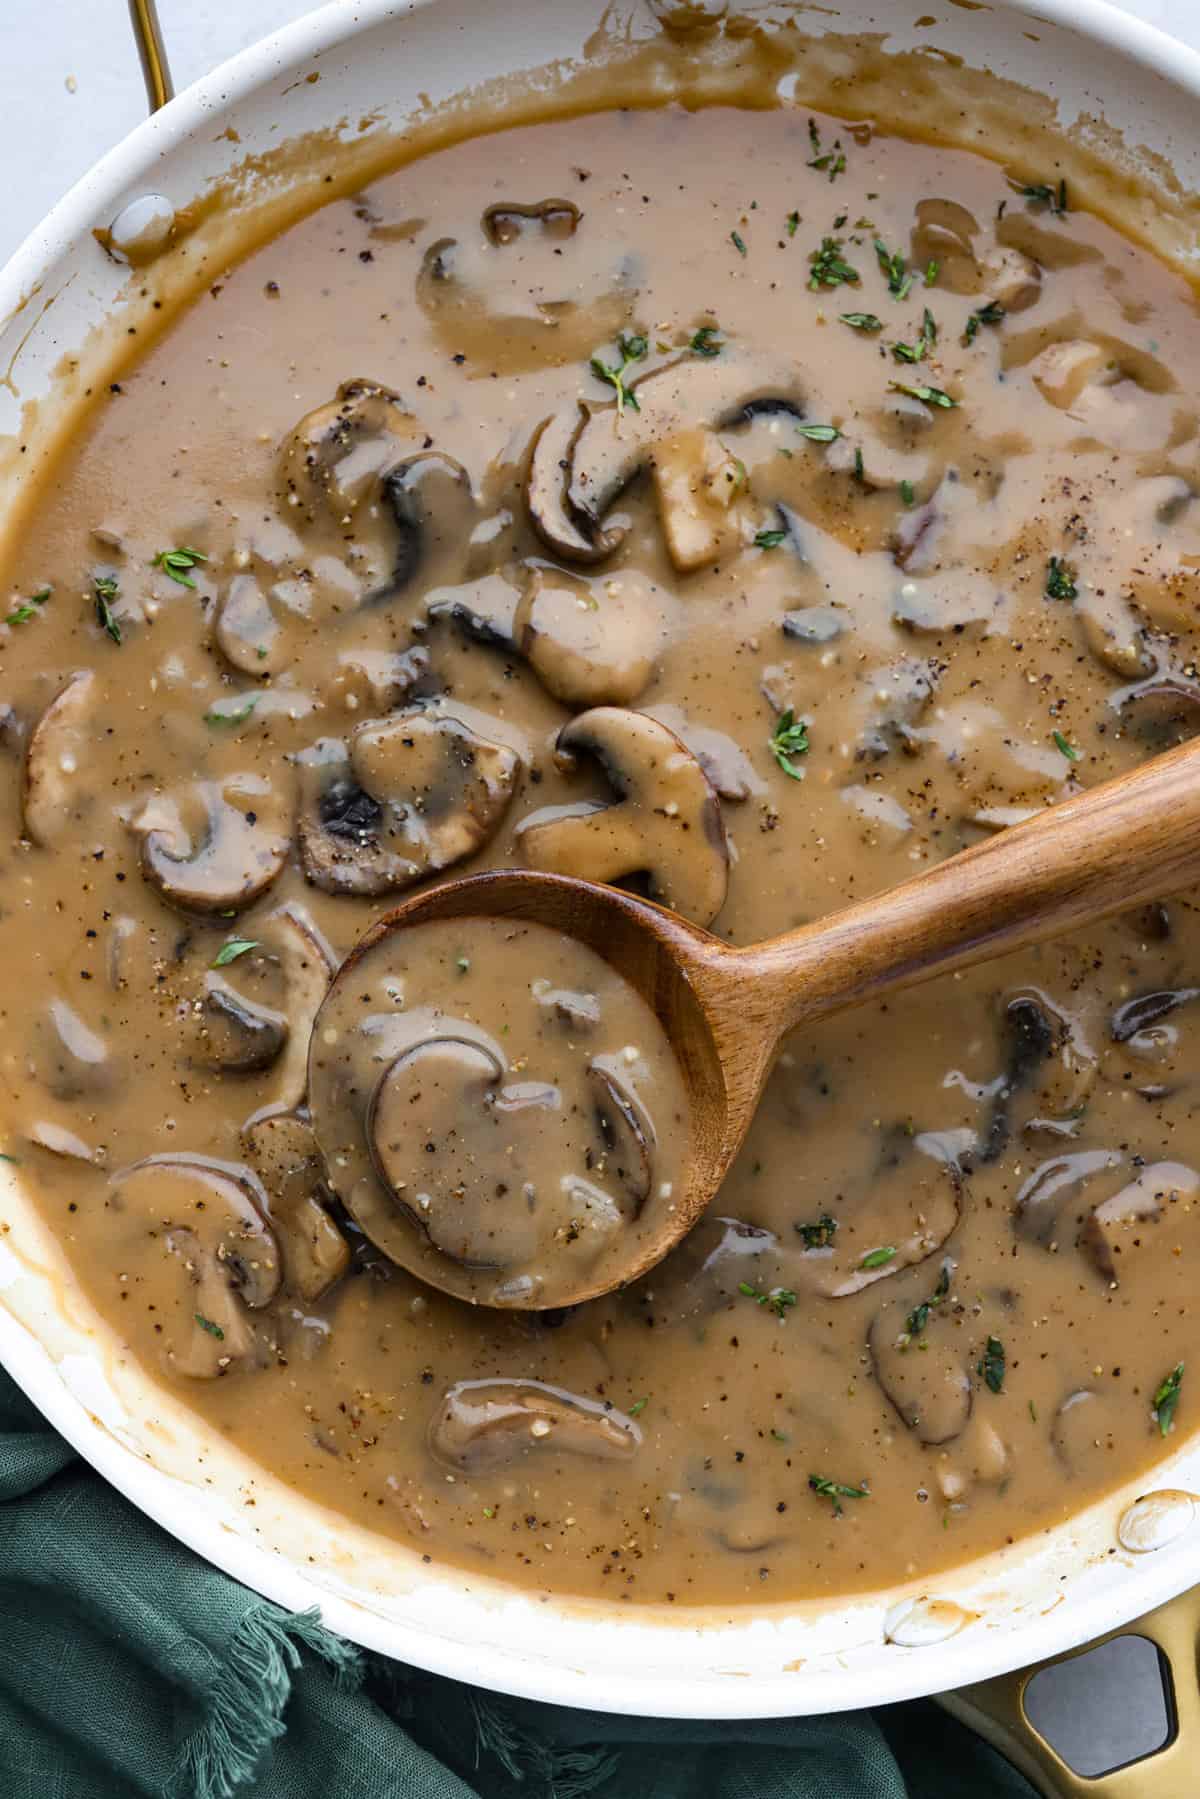
    Mushroom gravy cooking in a large skillet.Mushroom gravy cooking in a large skillet.

    Homemade Mushroom Gravy

    20 minutes

    Pin this now to find it later

    Pin It


    Source link

  • Chicken & Brussels Sprouts Skillet

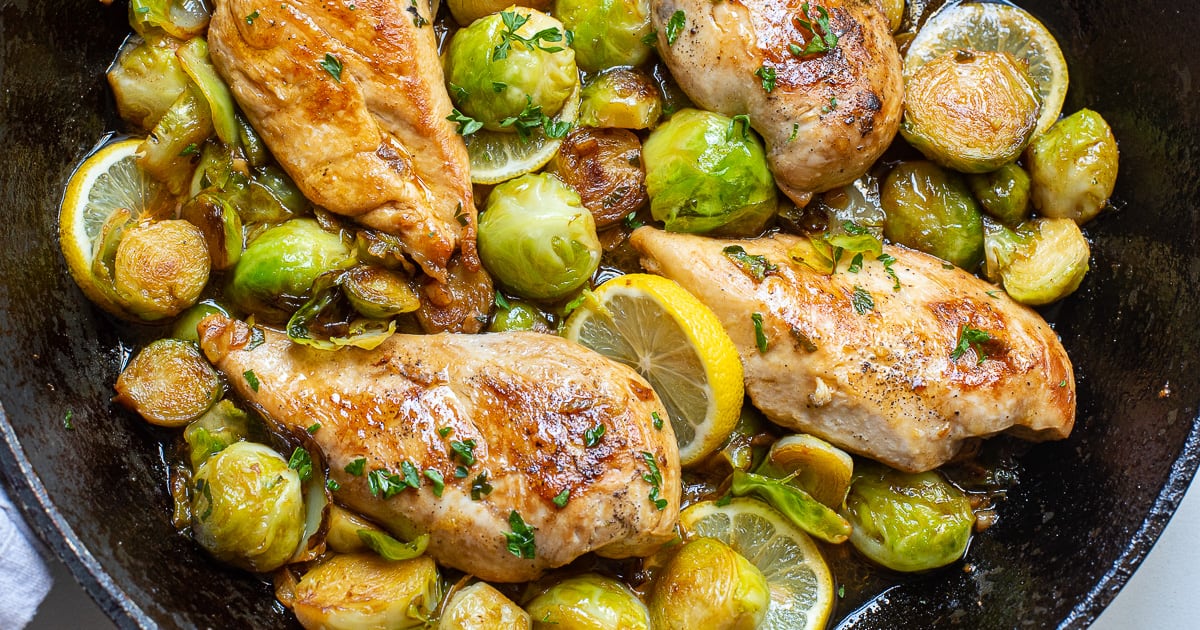
    Chicken & Brussels Sprouts Skillet

    Quick, cozy, and full of lemon-garlic goodness, this 30-minute chicken and Brussels sprouts skillet is my weeknight go-to when I want something hearty but still healthy.


    Jump to: ℹ️ Overview | 🛒 Ingredients | 📷 How To Make | 👩‍🍳 Recipe Tips | 🥗 Serving Suggestions | 📝 Full Recipe Card | 🍽 More Recipes With Brussels Sprouts


    This chicken and Brussels sprouts skillet is the kind of healthy comfort food I could make on repeat. The chicken comes out juicy and golden, while the sprouts soak up all the lemony, buttery, garlicky goodness from the pan.

    The chicken is seared to get that savory crust, and the Brussels sprouts go all golden and caramelized before being finished in a quick, zesty sauce. It’s high in protein and high in fiber, low-carb (if you skip the mash), and naturally gluten-free — basically weeknight gold. I’ve made this a few times, especially when Brussels sprouts are in season, and each time it hits that sweet spot of easy + flavor-packed + filling.

    👩‍🍳 You might also like these high-protein, high-fiber recipes: pan-fried salmon with pea salad, popcorn chicken bowls (with quinoa), coconut chicken and cauliflower rice, or beef rice and bean burritos.

    What You’ll Need

    Here is what you’ll need for this chicken amd Brussels sprouts recipe. Find the full measurements in the recipe card below.

    For the chicken:

    • Chicken breasts: sliced thin for even cooking. Boneless thighs also work for extra juiciness.
    • Sea salt & black pepper: simple seasoning, but essential. I also like a warm, slightly smoky kick from paprika. You can also add a little chili powder to this.
    • Olive oil: for searing the chicken and Brussels sprouts getting those crispy edges.
    • Fresh Brussels sprouts: halved for maximum surface caramelization. You can swap for broccoli if you’re not a sprout fan (but really, try it with the sprouts first!).
    • Garlic: lots of it. Don’t skimp—it adds real depth.
    • Lemon juice: adds brightness and cuts through the richness.
    • Butter: makes it all silky and indulgent.
    • Chicken broth (or stock): brings moisture and umami to the dish.
    • Parsley: fresh and herby for garnish.

    How To Make Chicken & Brussels Sprouts Skillet

    Find the full recipe and nutritional information below. Here are some handy step-by-step photos for chicken & Brussels sprouts skillet.

    • Season the chicken with salt and pepper.
    • Sear in olive oil for 3 minutes each side. Push aside in the pan.
    • In the same skillet, add more oil and cook Brussels sprouts for about 5 minutes until golden.
    • Stir in garlic, lemon juice, butter, broth, and paprika.
    • Stir and cook everything together for 2–3 more minutes. Flipping chicken again.
    • Sprinkle with parsley and serve.

    Recipe Tips

    • Use a large skillet so the Brussels sprouts get nicely browned instead of steaming.
    • Chicken swaps: Chicken thighs work beautifully and stay juicy but need a few minutes longer.
    • Make it spicy: Add red pepper flakes with the garlic if you like heat.
    • Storage: Keeps well in the fridge for 3 days. Reheat in a skillet or microwave until warm.
    • Make-ahead tip: Slice the chicken and prep the Brussels the day before to save time.

    Serving Suggestions

    Serve this over creamy mashed potatoes or fluffy rice to soak up the buttery lemon sauce. Or go low-carb with cauliflower rice. It’s also great on its own for a lighter meal, maybe with a dollop of sour cream or Greek yogurt on the side.

    💬 If you’ve tried this chicken & Brussels sprouts skillet or any other recipe on the blog then don’t forget to rate the recipe and let me know how you got on in the comments below, I love hearing from you! You can also FOLLOW ME on Instagram, Facebook, Pinterest, YouTube, and or sign up to my Newsletter to see more of my delicious food.

    Want to Save This Recipe?

    Enter your email & I’ll send it to your inbox. Plus, get great new recipes from me every week!

    By submitting this form, you consent to receive emails from Cooked & Loved

    Quick, cozy, and full of lemon-garlic goodness—this 30-minute chicken and Brussels sprouts skillet is my weeknight go-to when I want something hearty but still healthy. Find step-by-step photos and more recipe tips above.

    • Season chicken breasts with salt and pepper on both sides.

    • Heat 1 tablespoon olive oil in a large skillet over medium-high heat. Sear chicken for 3 minutes on each side until golden.

    • Push the chicken to one side of the skillet. Add the remaining tablespoon of oil and toss in the Brussels sprouts. Cook for about 5 minutes, flipping halfway, until they start to brown.

    • Stir in the garlic, lemon juice, butter, chicken broth, and paprika. Let everything simmer together for 2–3 minutes, uncovered.

    • Sprinkle with parsley, serve hot, and enjoy!

    • Can I use frozen Brussels sprouts? I don’t recommend it for this one—fresh gives the best browning and texture.
    • Is this dish spicy? Not at all! But feel free to add a pinch of chili flakes if you like a kick.
    • What can I use instead of butter? You can use ghee or even olive oil for a lighter version, though the butter adds richness.
    • Use a large skillet so the Brussels sprouts get nicely browned instead of steaming.
    • Chicken swaps: Chicken thighs work beautifully and stay juicy but need a few minutes longer.
    • Storage: Keeps well in the fridge for 3 days. Reheat in a skillet or microwave until warm.
    • Make-ahead tip: Slice the chicken and prep the Brussels the day before to save time.

    Calories: 331kcal | Carbohydrates: 8g | Protein: 27g | Fat: 22g | Saturated Fat: 9g | Polyunsaturated Fat: 2g | Monounsaturated Fat: 9g | Trans Fat: 0.5g | Cholesterol: 103mg | Sodium: 786mg | Potassium: 720mg | Fiber: 3g | Sugar: 2g | Vitamin A: 1137IU | Vitamin C: 63mg | Calcium: 46mg | Iron: 2mg

    Keywords: Chicken & Brussels Sprouts Skillet, Chicken With Brussels Sprouts, Lemon Garlic Chicken & Brussels Sprouts

    More Recipes With Brussels Sprouts


    Source link

  • Simple Sausage, Cheddar and Guinness Pie Recipe

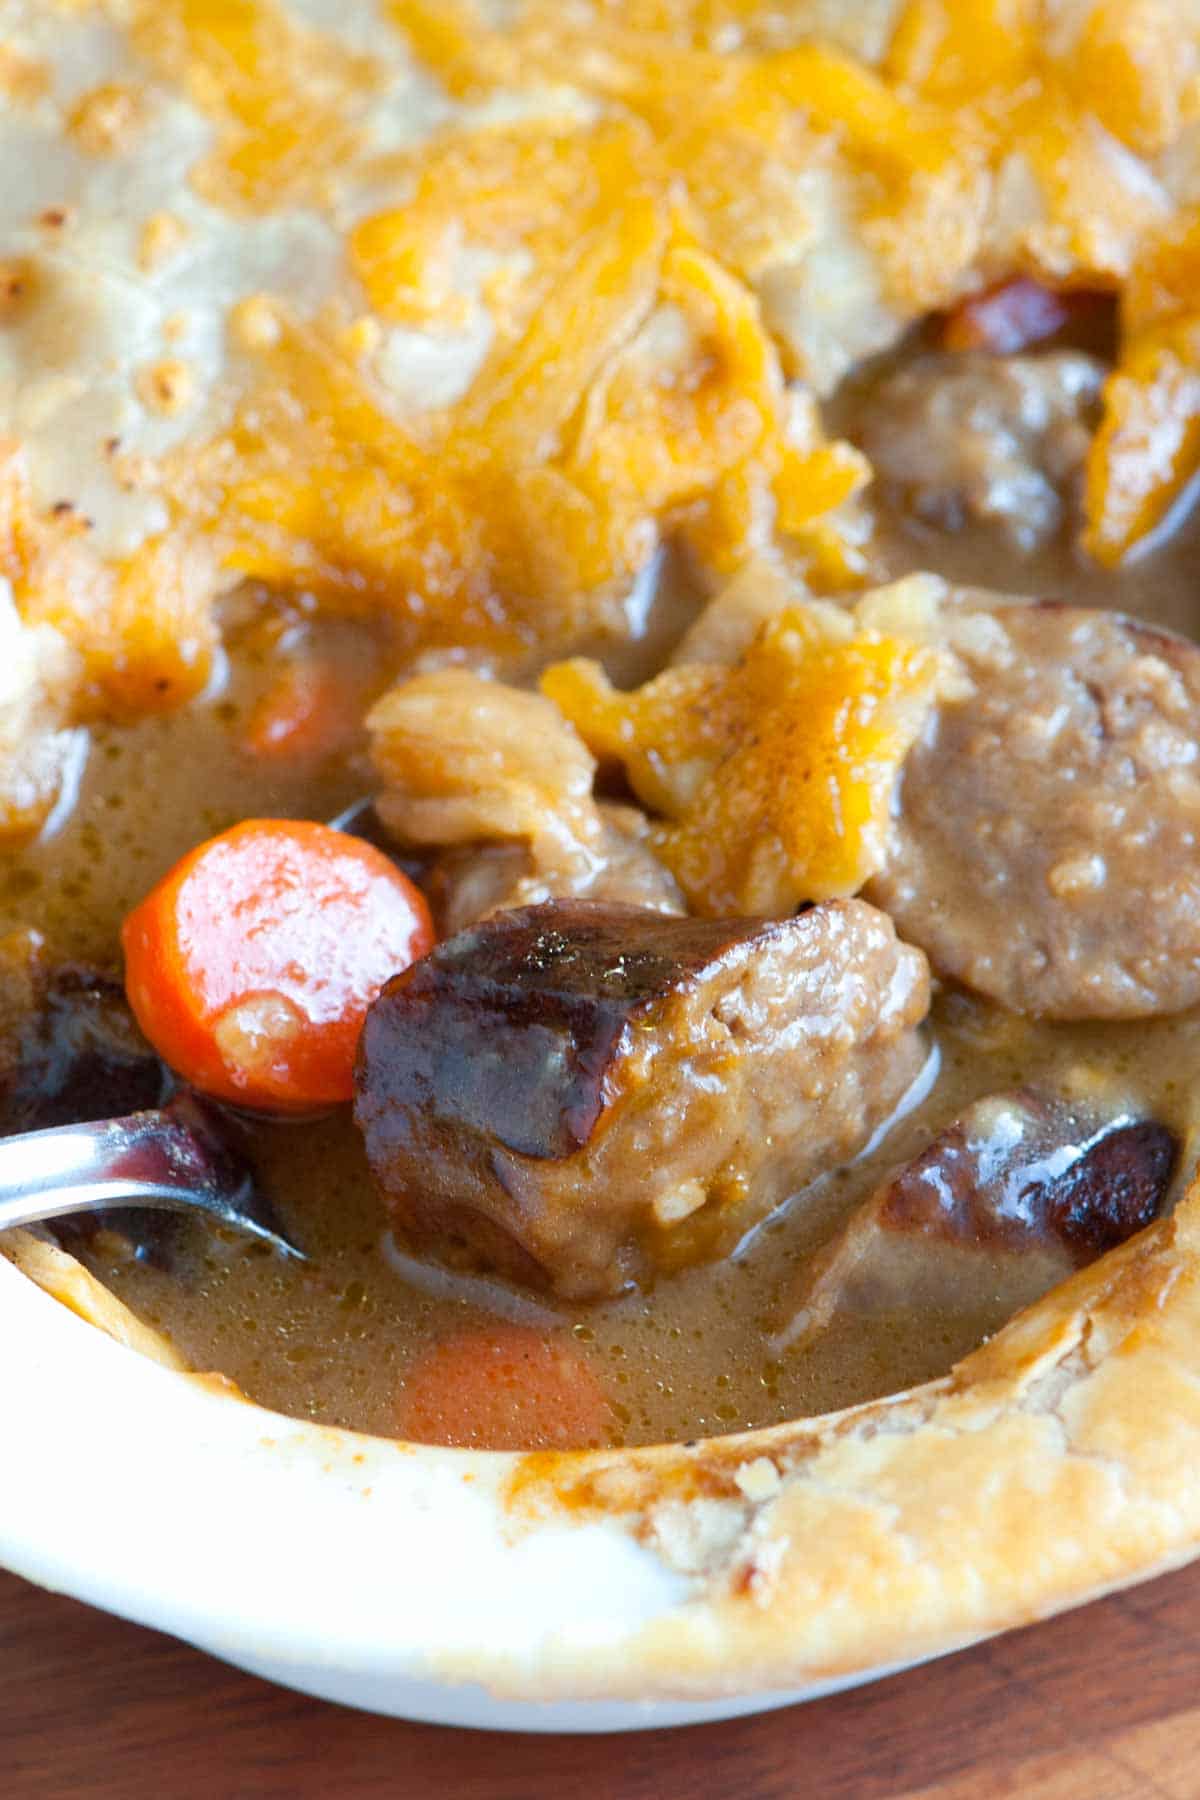
    Simple Sausage, Cheddar and Guinness Pie Recipe

    How to make pot pie with sausages in a rich and savory Guinness beer broth. Jump to the Sausage, Cheddar and Guinness Pie Recipe or read on to see our tips for making it.

    Sausage, Cheddar and Guinness Pie Recipe

    After sharing Guinness Chocolate Cake and Guinness and Beef Stew, we decided to throw another Guinness recipe your way. You don’t mind, do you? We didn’t think so.

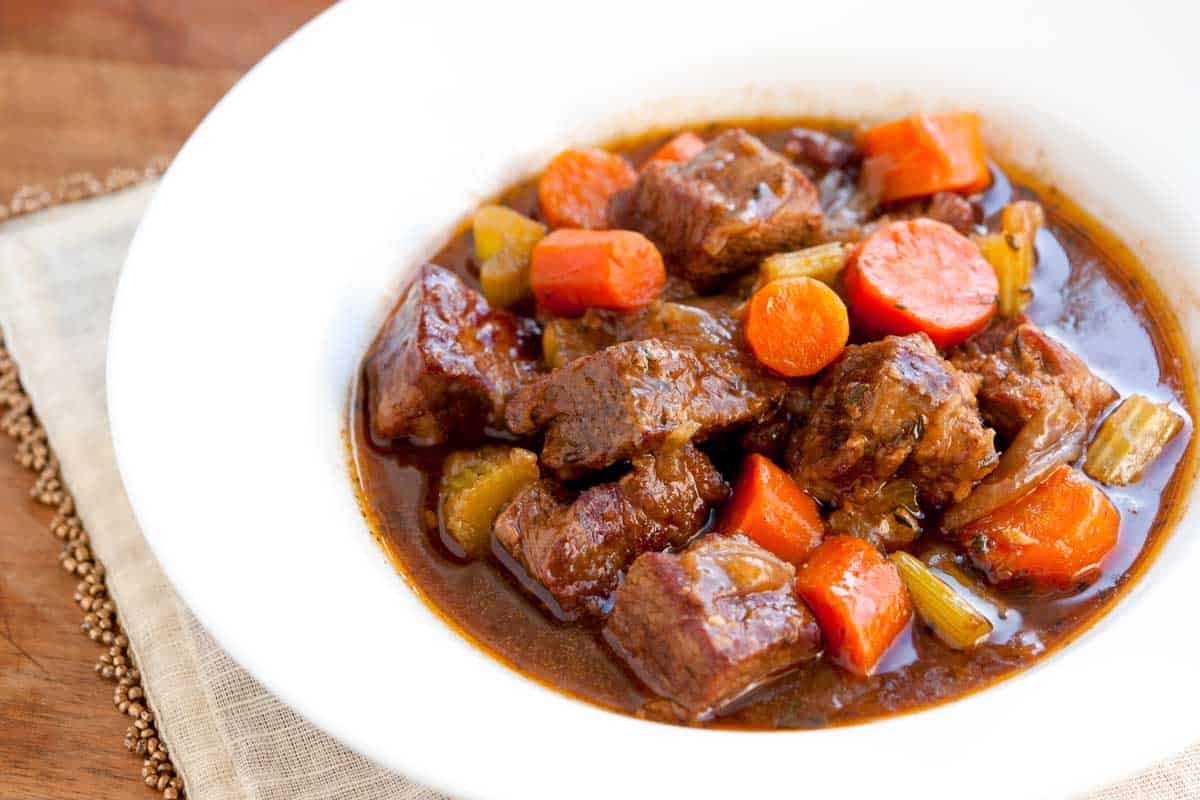
    Irresistible Guinness Beef Stew RecipeYOU MAY ALSO LIKE: How to make the best Guinness beef stew with carrots and potatoes. Jump to the Guinness Beef Stew Recipe.

    How to Make Stout Pot Pie with Sausages

    This recipe is delicious made into a pie, but you can just as easily skip the pastry and serve the sausages over mashed potatoes instead.

    How to Make Guinness Pot Pie

    If you do make the full pie, take a look at our homemade pie crust. It’s an all-butter recipe and can be made in advance.

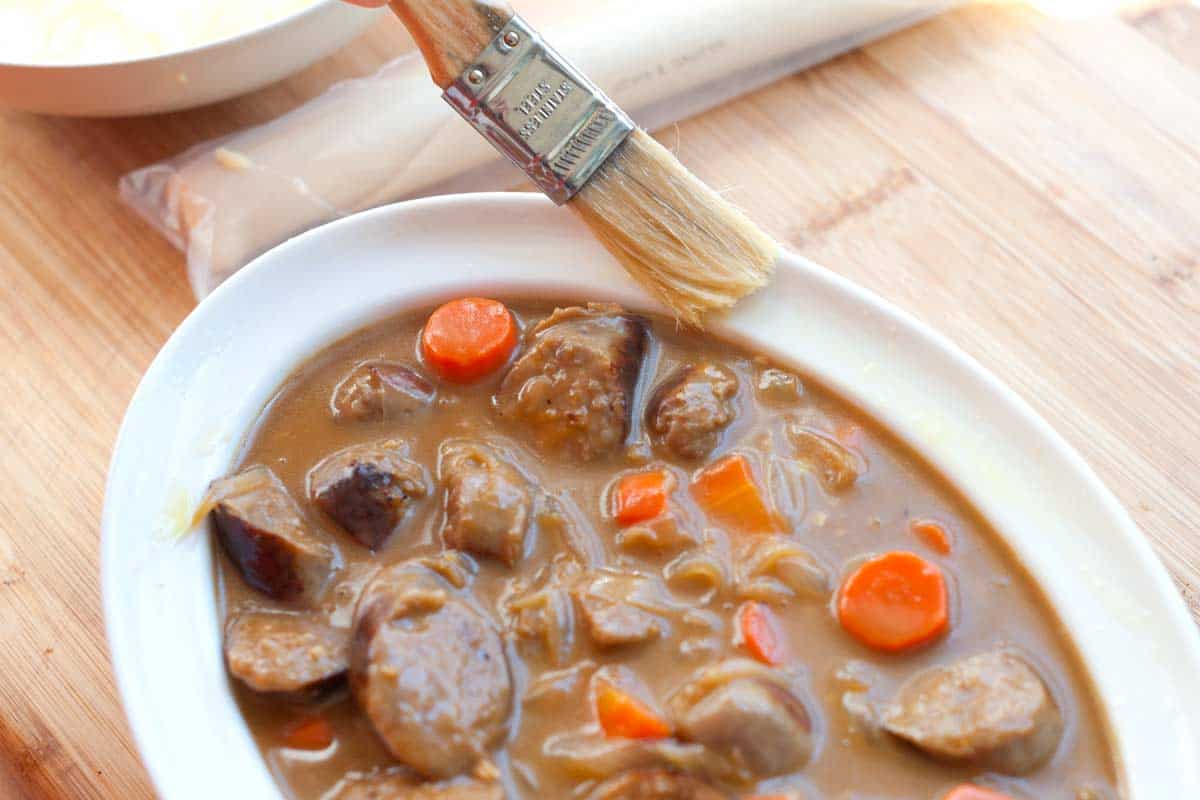
    To make the pie, brown sausages on all sides. They don’t need to be cooked all the way through, only browned. Transfer them to a plate then cook onions and carrots with garlic. When the vegetables are beginning to soften, add butter and flour to make a roux. The butter-flour mixture will help thicken our gravy.

    In goes beef stock and Guinness as well as the sausages from earlier and grated sharp cheddar cheese. Spoon everything into a baking dish, cover with pastry and bake until golden on top.

    Ready for pastry

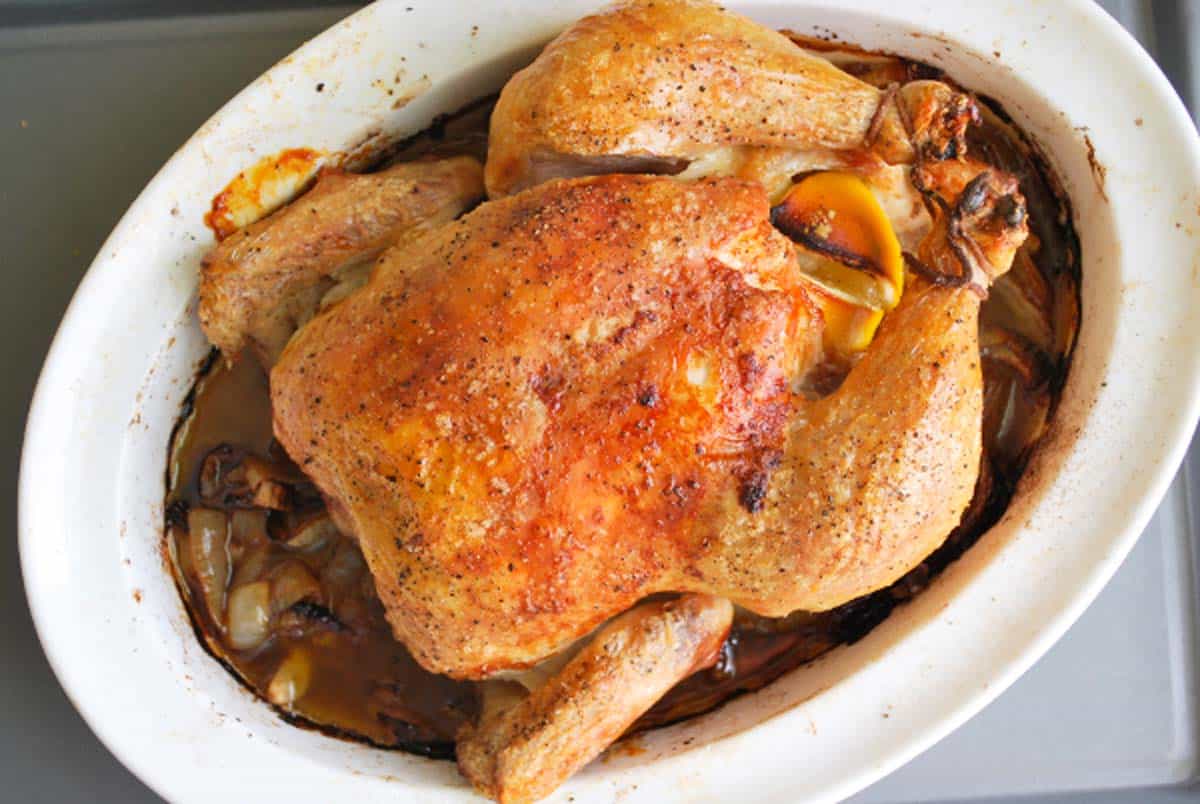
    Simple Whole Roasted Chicken Recipe with LemonYOU MAY ALSO LIKE: How to easily roast a whole chicken with lemon and garlic. One of our favorite recipes! Jump to the Whole Roasted Chicken Recipe.

    Recipe updated, originally posted March 2012. Since posting this in 2012, we have tweaked the recipe to be more clear. – Adam and Joanne

    Sausage, Cheddar and Guinness Pie Recipe

    • PREP
    • COOK
    • TOTAL

    This stout pie is delicious made covered with pastry, but you can just as easily skip the pastry and serve the sausages over mashed potatoes instead.

    Makes approximately 6 servings

    You Will Need

    1 tablespoon olive oil

    6 bratwurst sausages

    1 medium onion, sliced into 1/4-inch half moons

    3 medium carrots, cut into 1/4-inch rounds

    3 cloves garlic, minced

    1 tablespoon butter

    1 heaping tablespoon flour

    1 cup beef stock

    1 cup Guinness Stout beer (about 3/4 bottle)

    1 cup grated sharp cheddar cheese

    Salt and fresh ground black pepper


    Pastry Topping

    1 large egg

    1 tablespoon water or milk

    1/4 cup grated sharp cheddar cheese

    1 (9-inch) pie crust, see our homemade pie crust recipe

    Directions

    • Make Filling
    • 1Heat oven to 375 degrees F.

      2Heat oil in a large deep pot over medium heat. Add the sausages and brown on all sides. Transfer sausages to a plate, and then add the onions and carrots to the pot. Cook, stirring occasionally, until the onions begin to soften, about 5 minutes. Stir in the garlic.

      3Add the butter and flour then cook, stirring constantly for one minute until the flour has been absorbed and darkens in color. Stir in the stock and beer. Bring to a simmer then add sausages back into the pot. Simmer, uncovered, until the sausages are cooked through, about 8 minutes.

      4Remove the sausages and slice into 1/2-inch rounds then add back to the pot. Stir 1 cup of cheese into the gravy. Taste for seasoning then adjust with salt and/or pepper.

    • To Finish
    • 1Make an egg wash by whisking the egg and water until blended.

      2Spoon the filling into a 2-quart baking dish and brush the top and sides of baking dish with egg wash.

      3Shape the pie crust so that it will cover the top of the baking dish. Top baking dish with crust. Brush the top of the crust with additional egg wash and top with the remaining 1/4 cup of cheese. Bake in the oven until the crust is golden brown on top, about 30 minutes.

    Adam and Joanne’s Tips

    • If you use store-bought dough, it will likely be in a circle. You may find that you need to use two circles of dough to cover the baking dish (depending on the shape of the dish). If you make your own homemade crust, just after making it, shape the dough into a similar shape as the baking dish you plan to use.

    If you make this recipe, snap a photo and hashtag it #inspiredtaste — We love to see your creations on Instagram and Facebook! Find us: @inspiredtaste


    AUTHOR:

    Adam Gallagher

    Adam and Joanne of Inspired Taste

    We are Adam and Joanne Gallagher, the creators of Inspired Taste. Established in 2009, Inspired Taste grew from a childhood dream into one of the internet’s most trusted recipe sites with hundreds of reliable recipes, step-by-step videos, and expert tips.More About Us


    Source link

  • Easy Chicken Burrito Bowls

    Easy Chicken Burrito Bowls

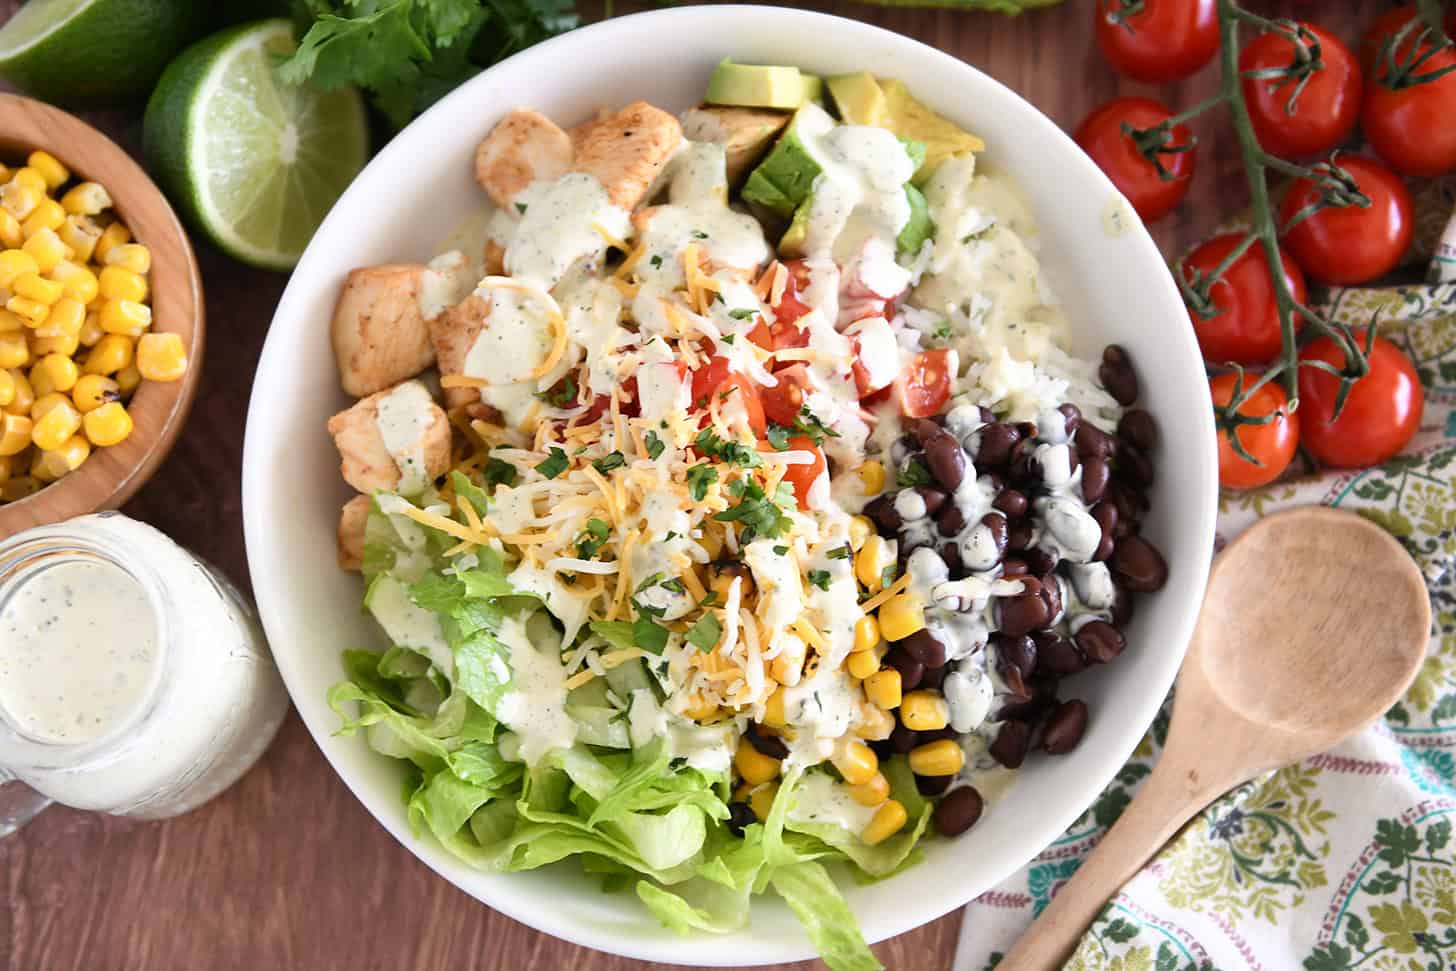
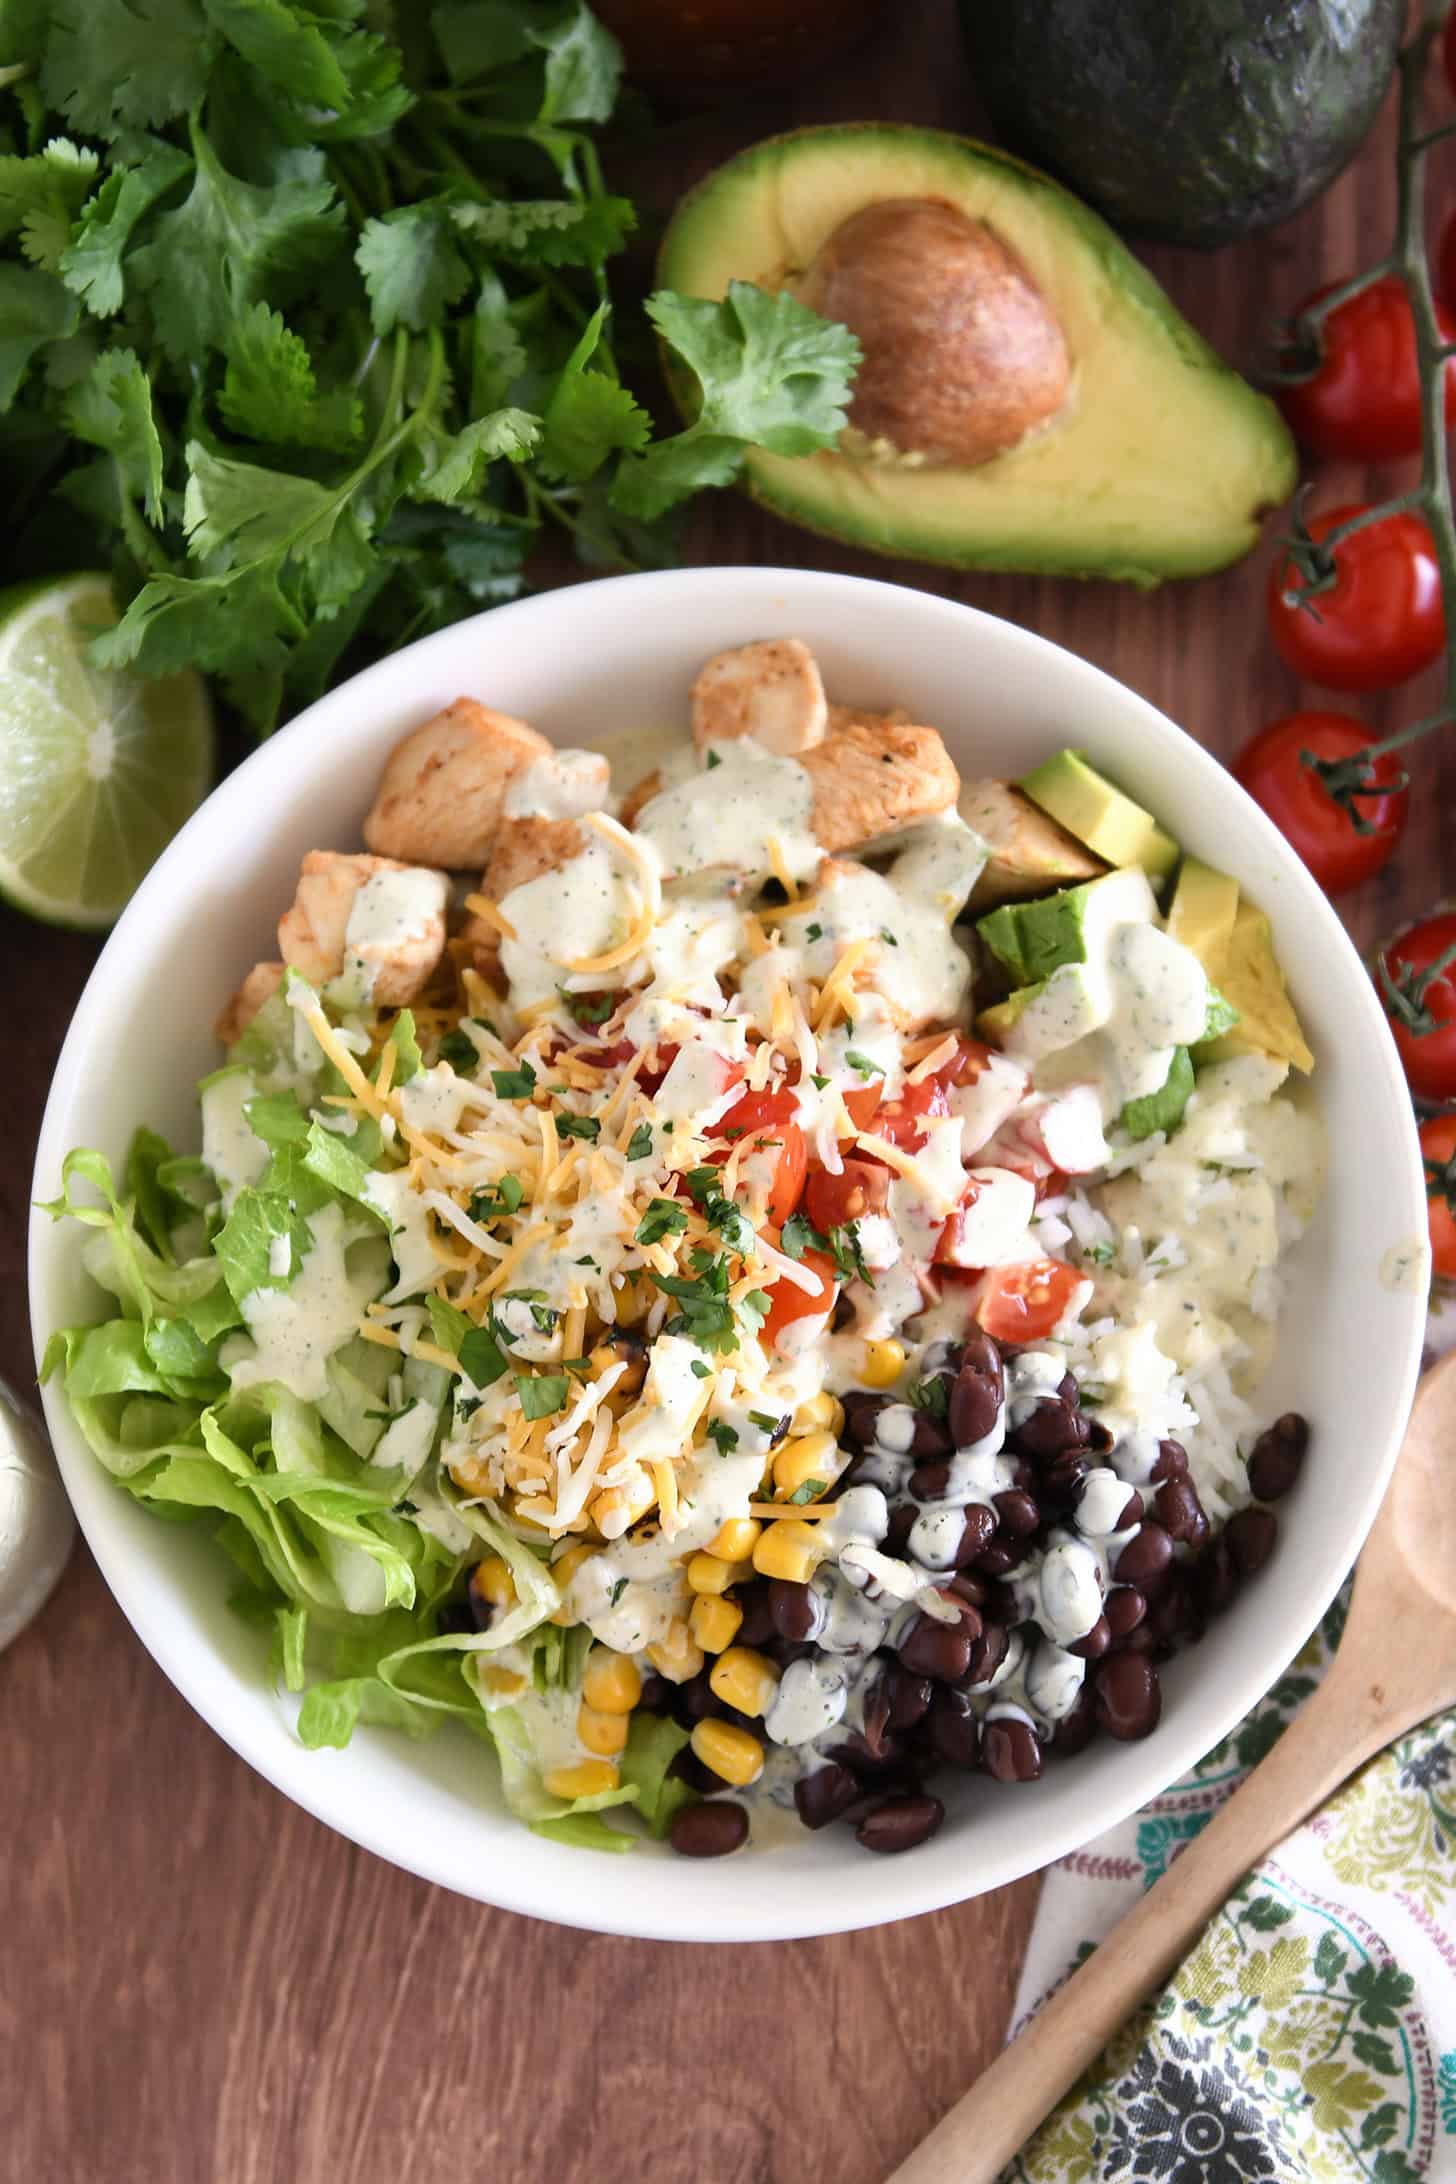
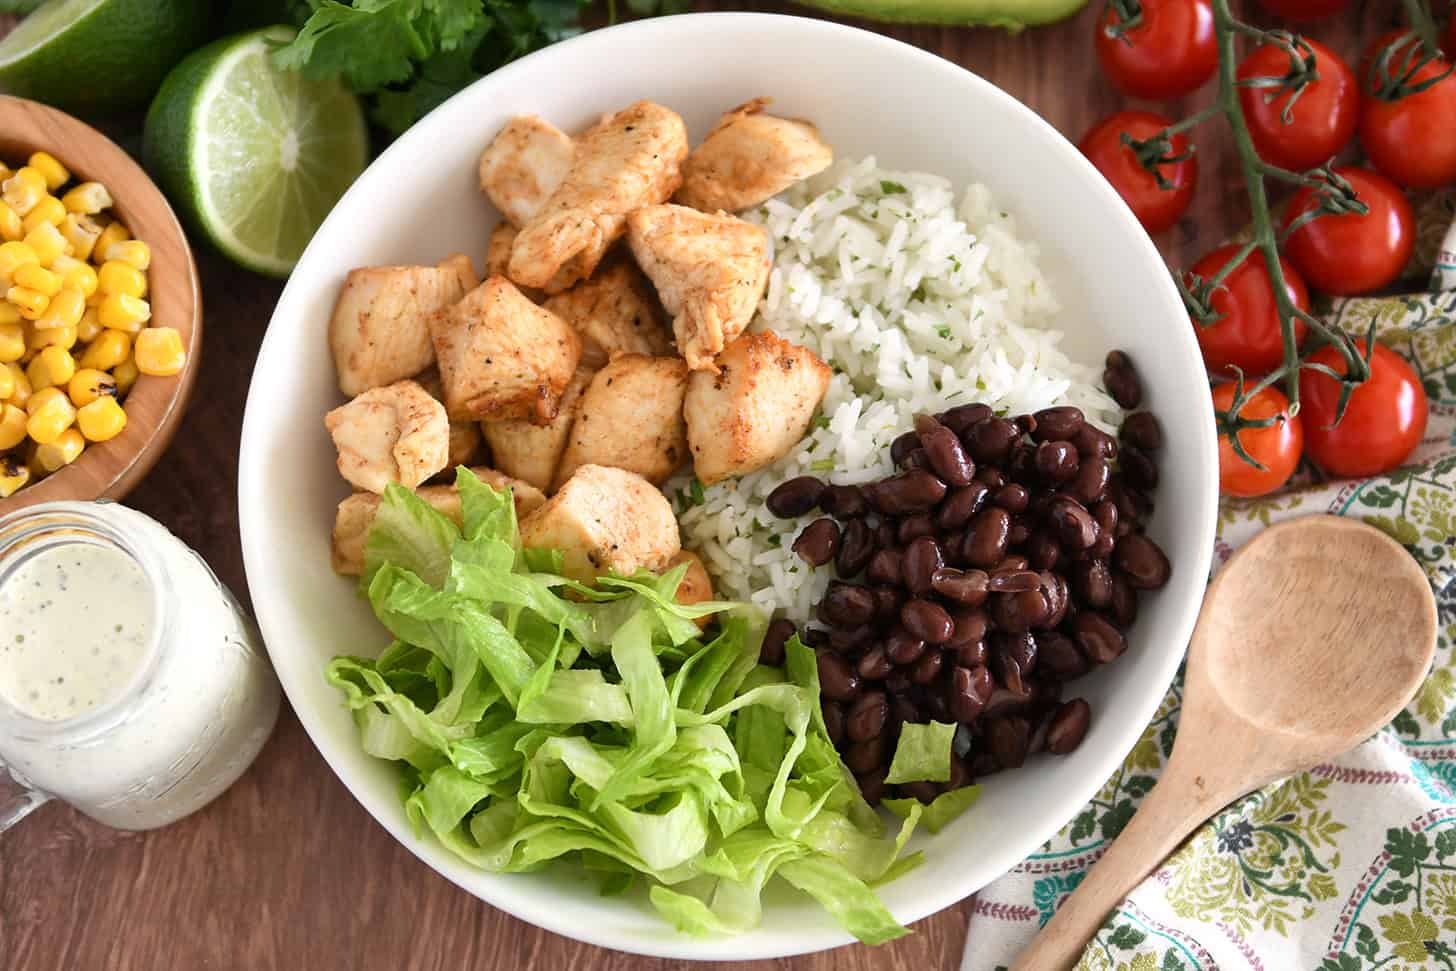
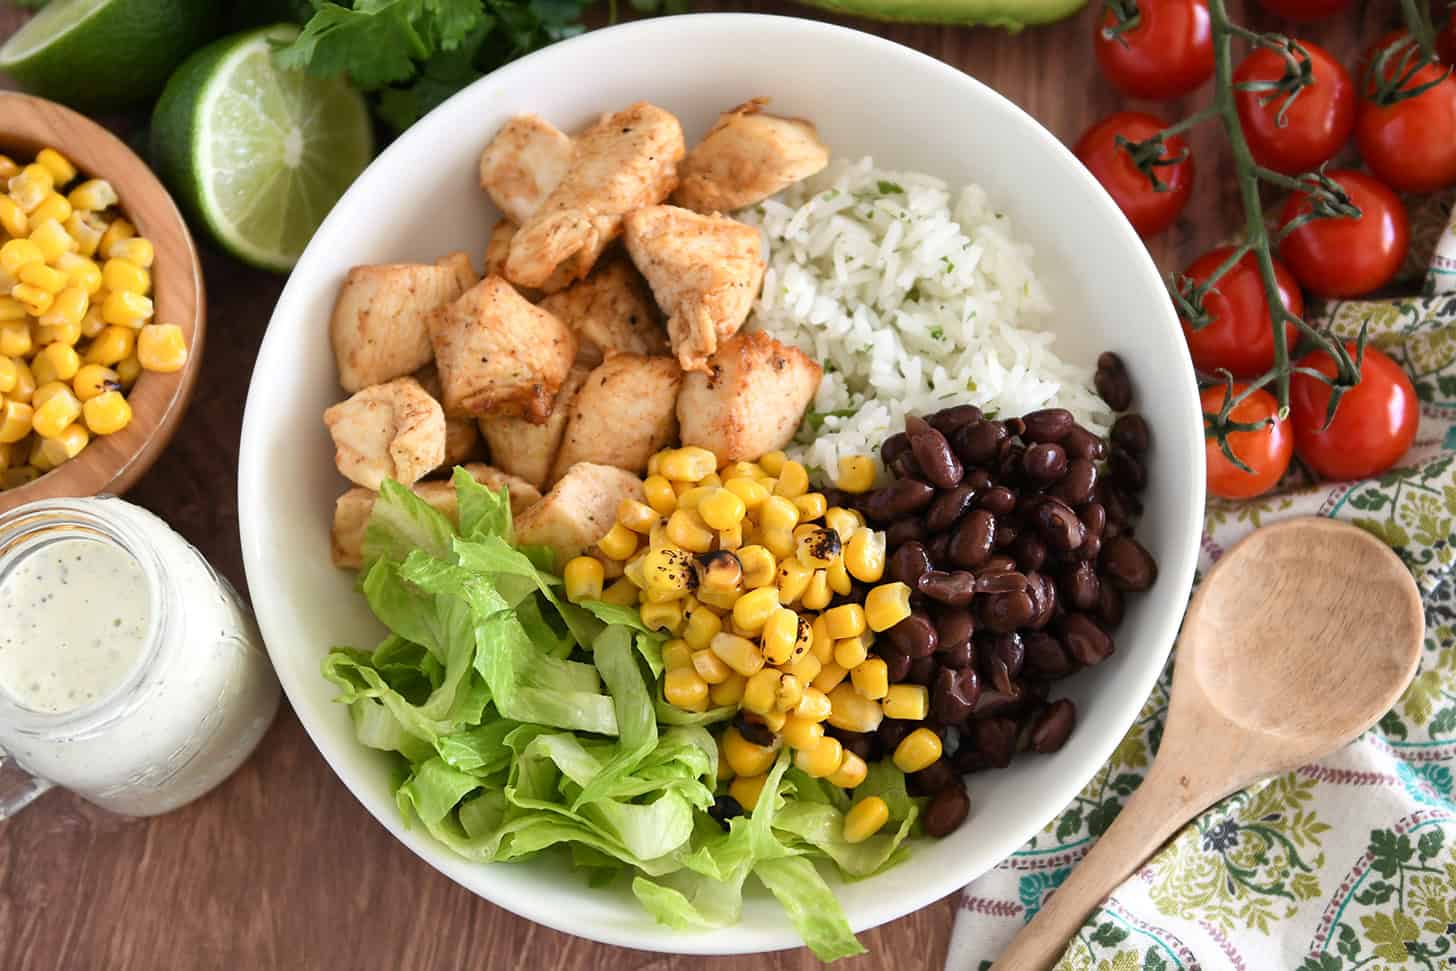
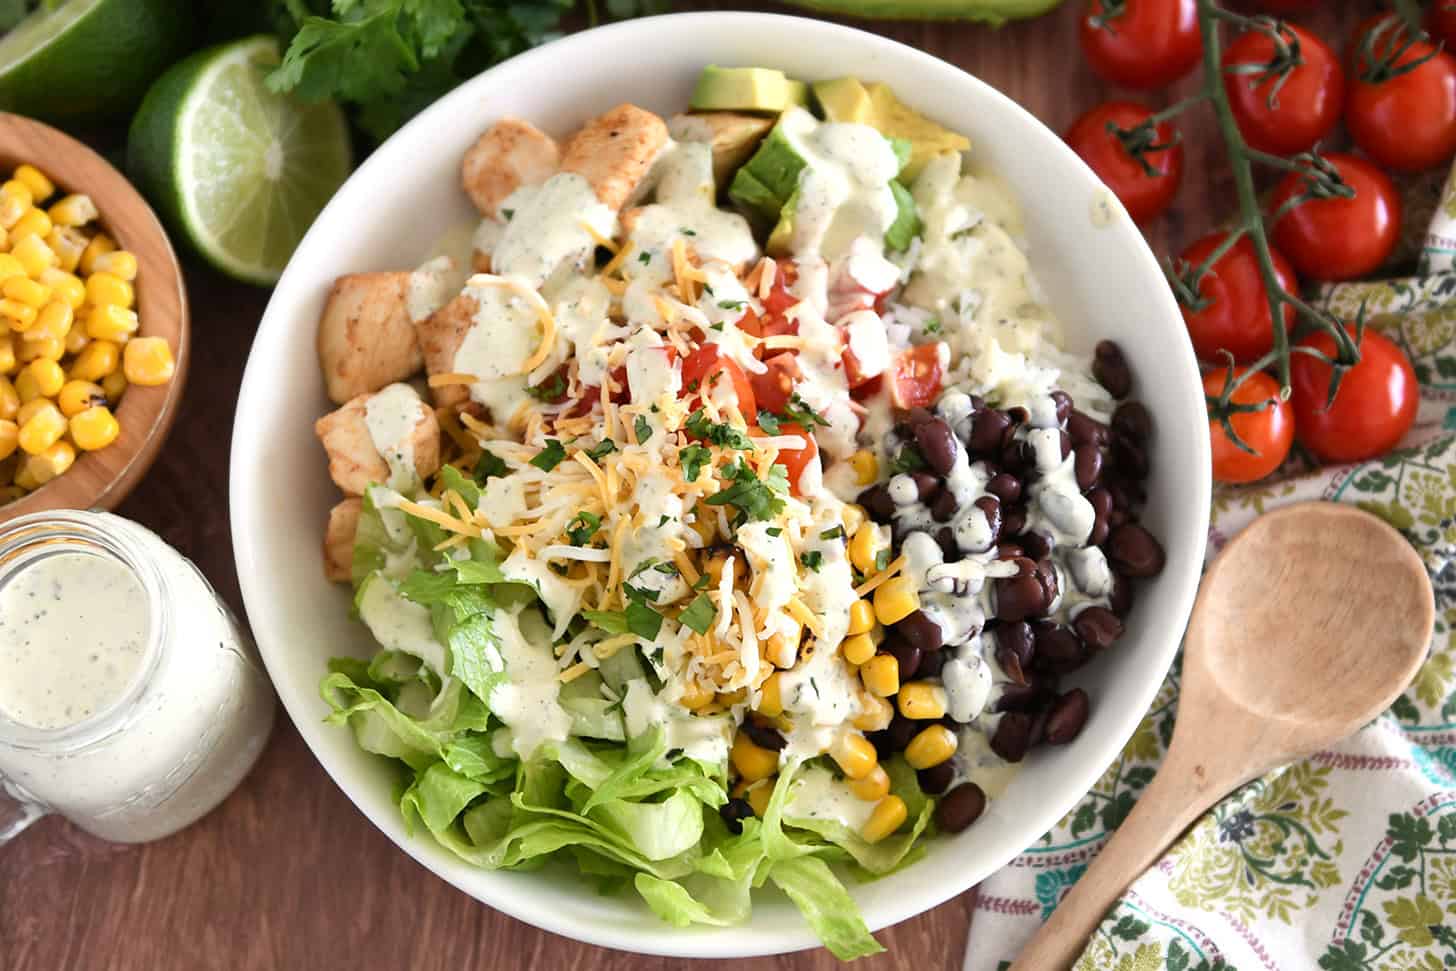
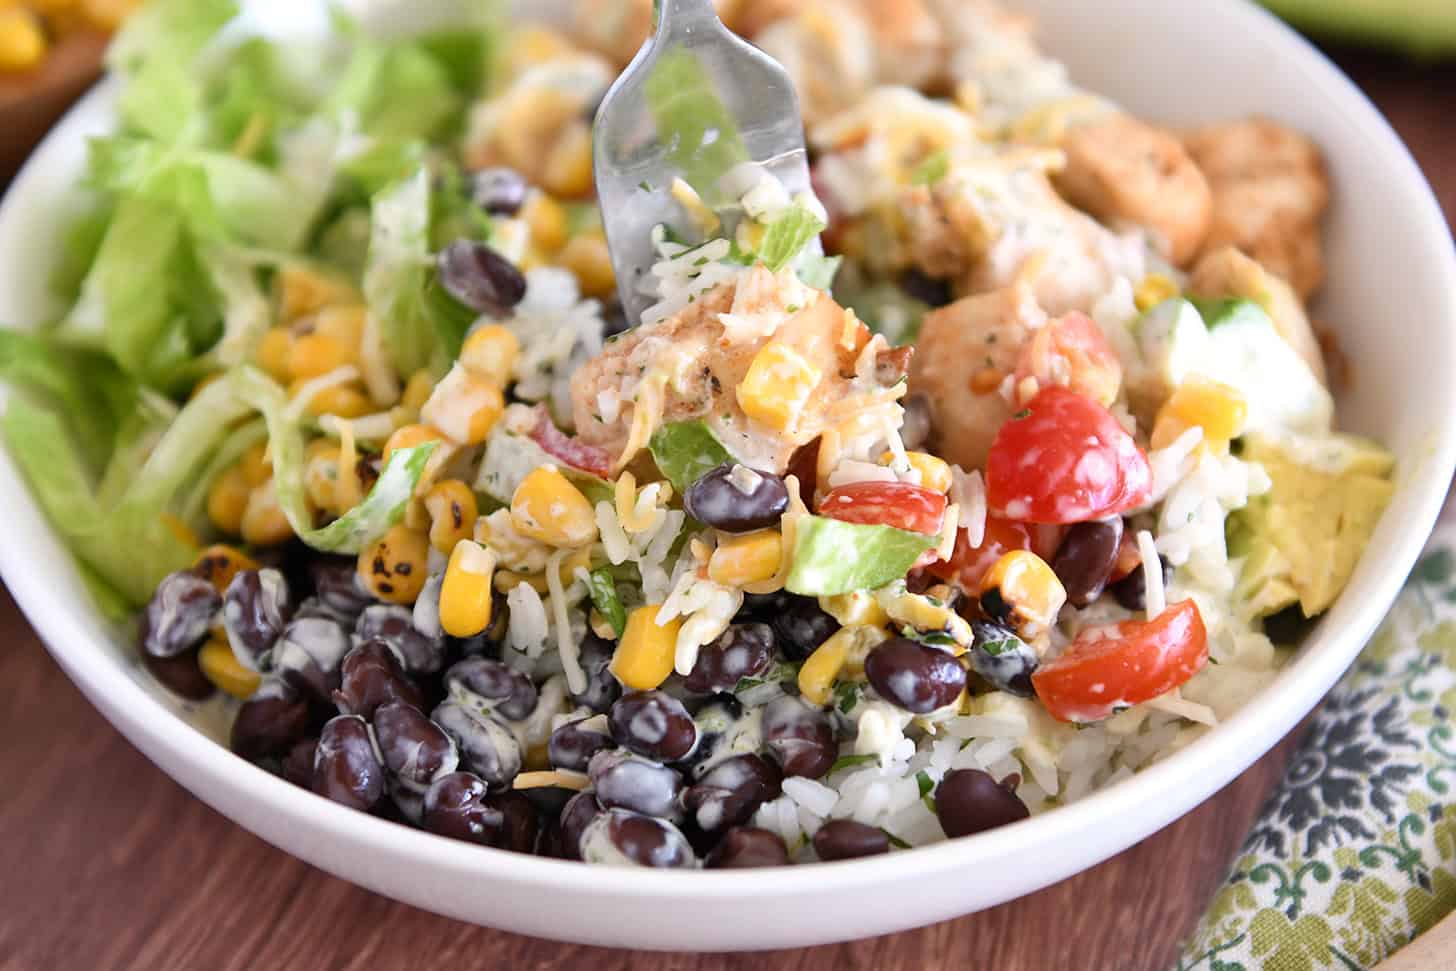
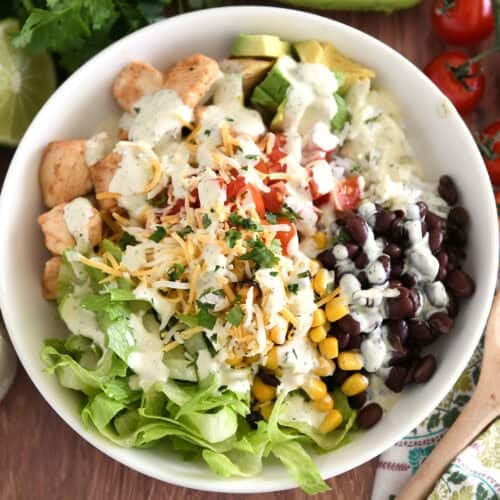
    These easy chicken burrito bowls are piled high with cilantro lime rice, roasted corn, flavorful chicken, black beans and all the toppings your heart desires.

    This quick and simple meal has become one of our go-to weeknight dinners! Best part? Everyone can customize their own plate (which is perfect for picky eaters!).

    Why These Chicken Burrito Bowls are So Easy

    These burrito bowls are a perfect weeknight meal! Many of the components can be prepped ahead of time making it even easier.

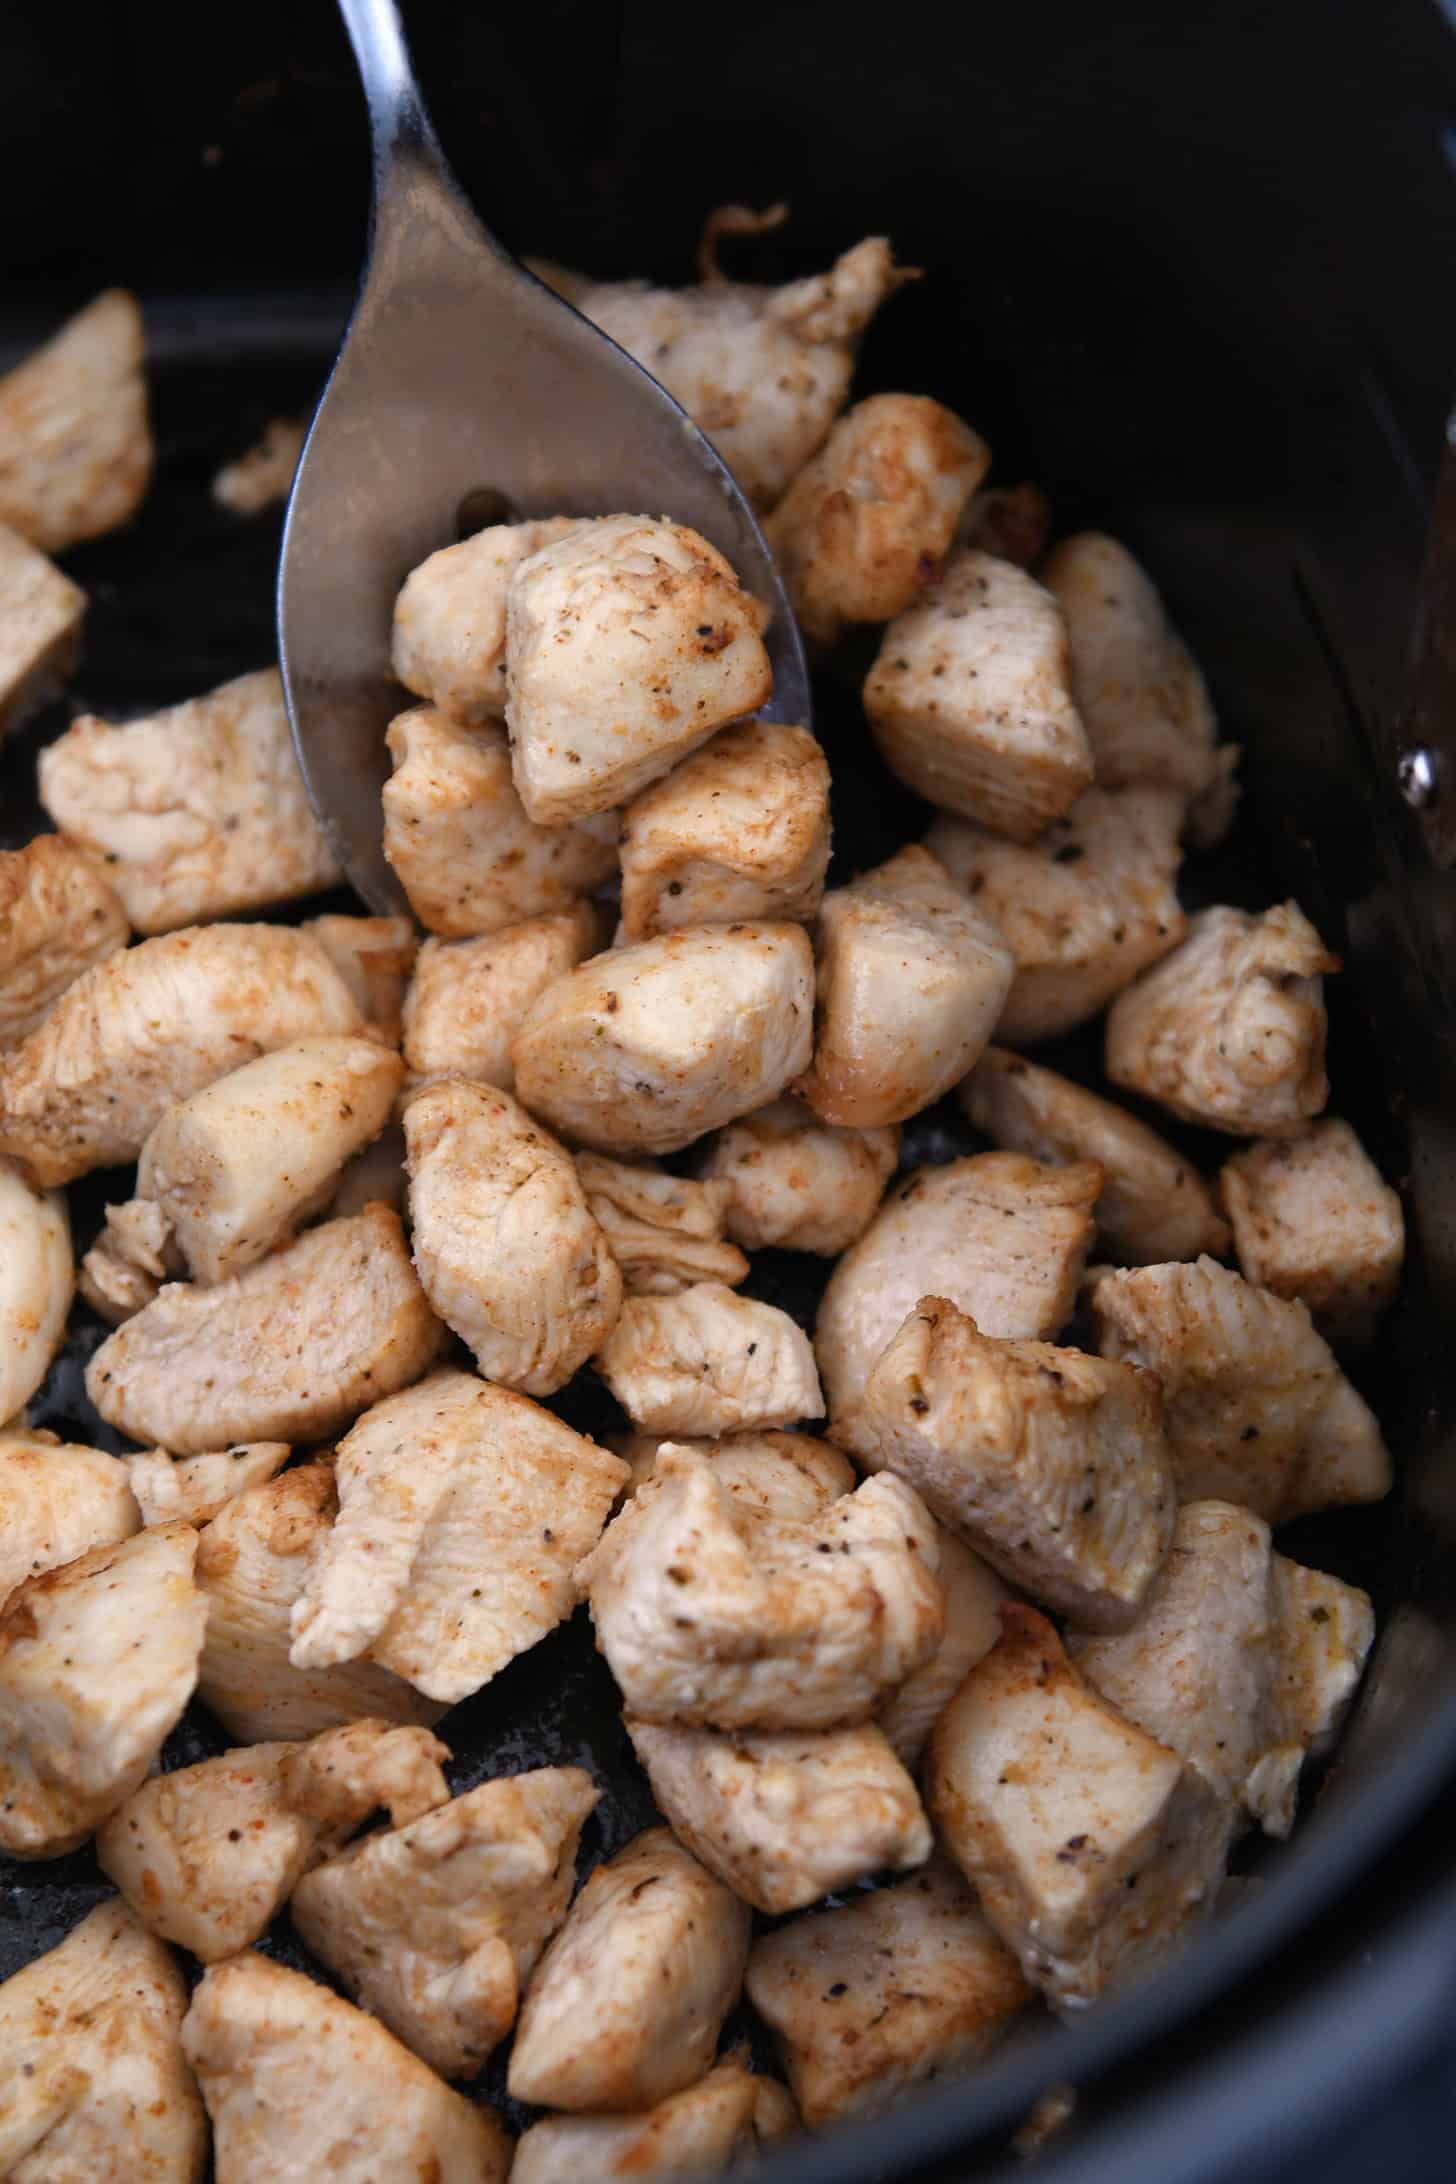
    • Chicken + Marinade: Marinate the chicken for as short as one hour or up to eight hours. And if you’re in a time crunch, just give the chicken a couple minutes to bask in the marinade, and then cook it up – the flavor won’t be quite as pronounced, but the chicken will still be delicious.
    • Toppings: Chop and prep all the toppings ahead of time, if needed.
    • Beans: Drain and rinse the beans ahead of time and store in a container in the refrigerator until ready to serve.
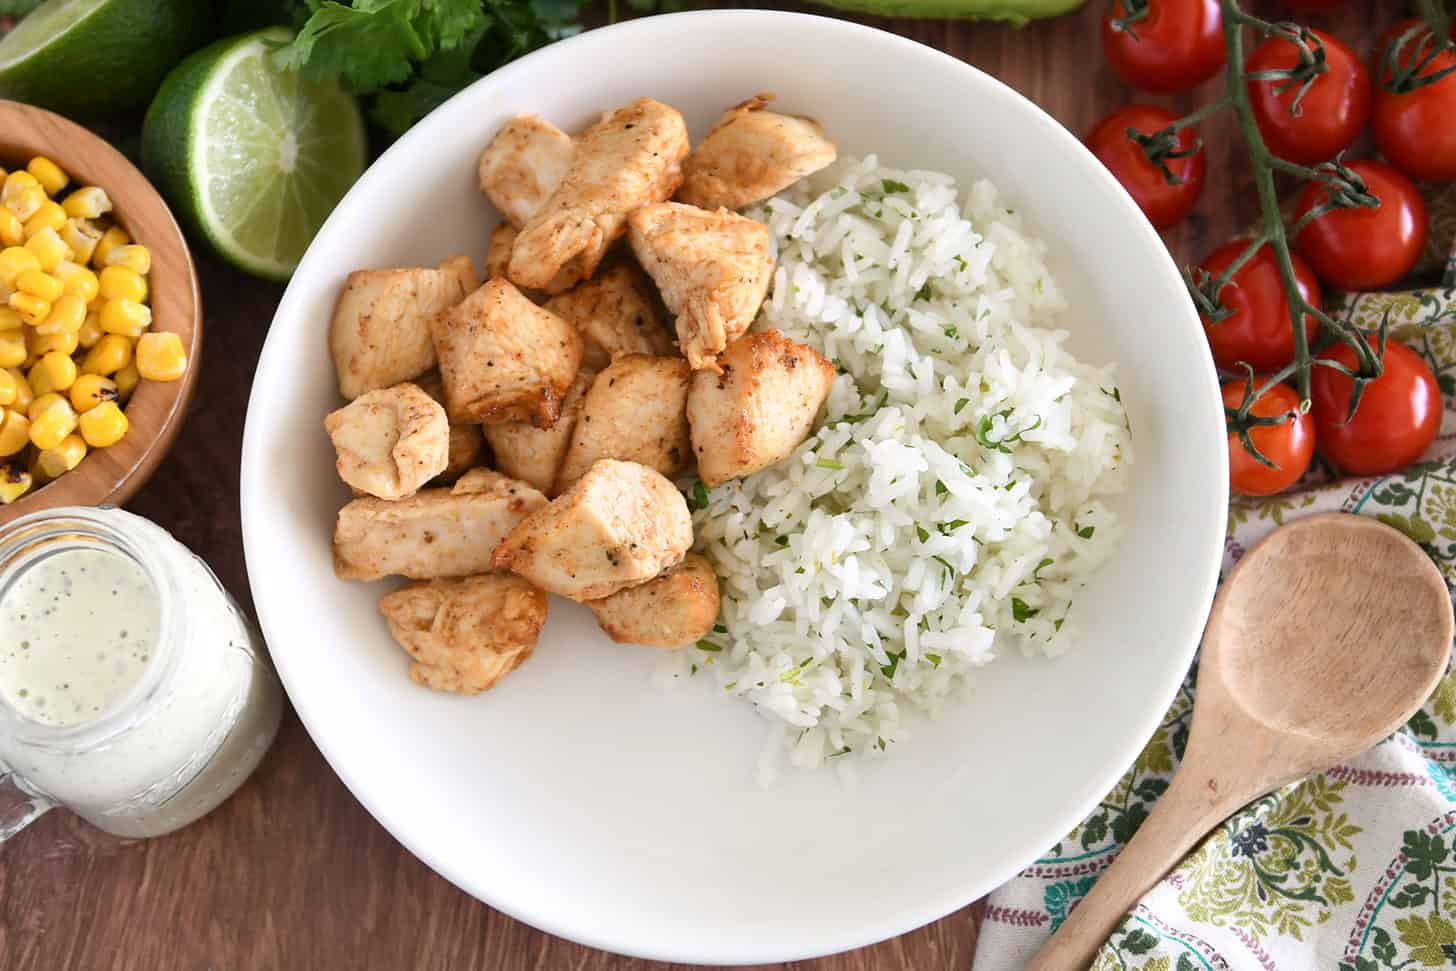
    • Rice: This recipe is a perfect way to use up leftover rice of any sort, like cilantro lime rice, garlic butter rice, cooked white or brown rice, etc. Other types of ingredients can be used in place of rice, like quinoa. I’ve included my favorite way to make cilantro lime rice in the recipe below.

    Cooking Options: Cook the chicken in a skillet on the stovetop or in an air fryer. Instructions are included for both in the recipe. The chicken cooks with the marinade, making it extremely flavorful and delicious.

    Key Ingredients for Chicken Burrito Bowls

    So many of the ingredients for this recipe are easily adaptable if you need to swap in or out based on food allergies, food preferences, or what you have on hand.

    • Chicken: Use boneless, skinless chicken breasts, chicken tenders or chicken thighs.
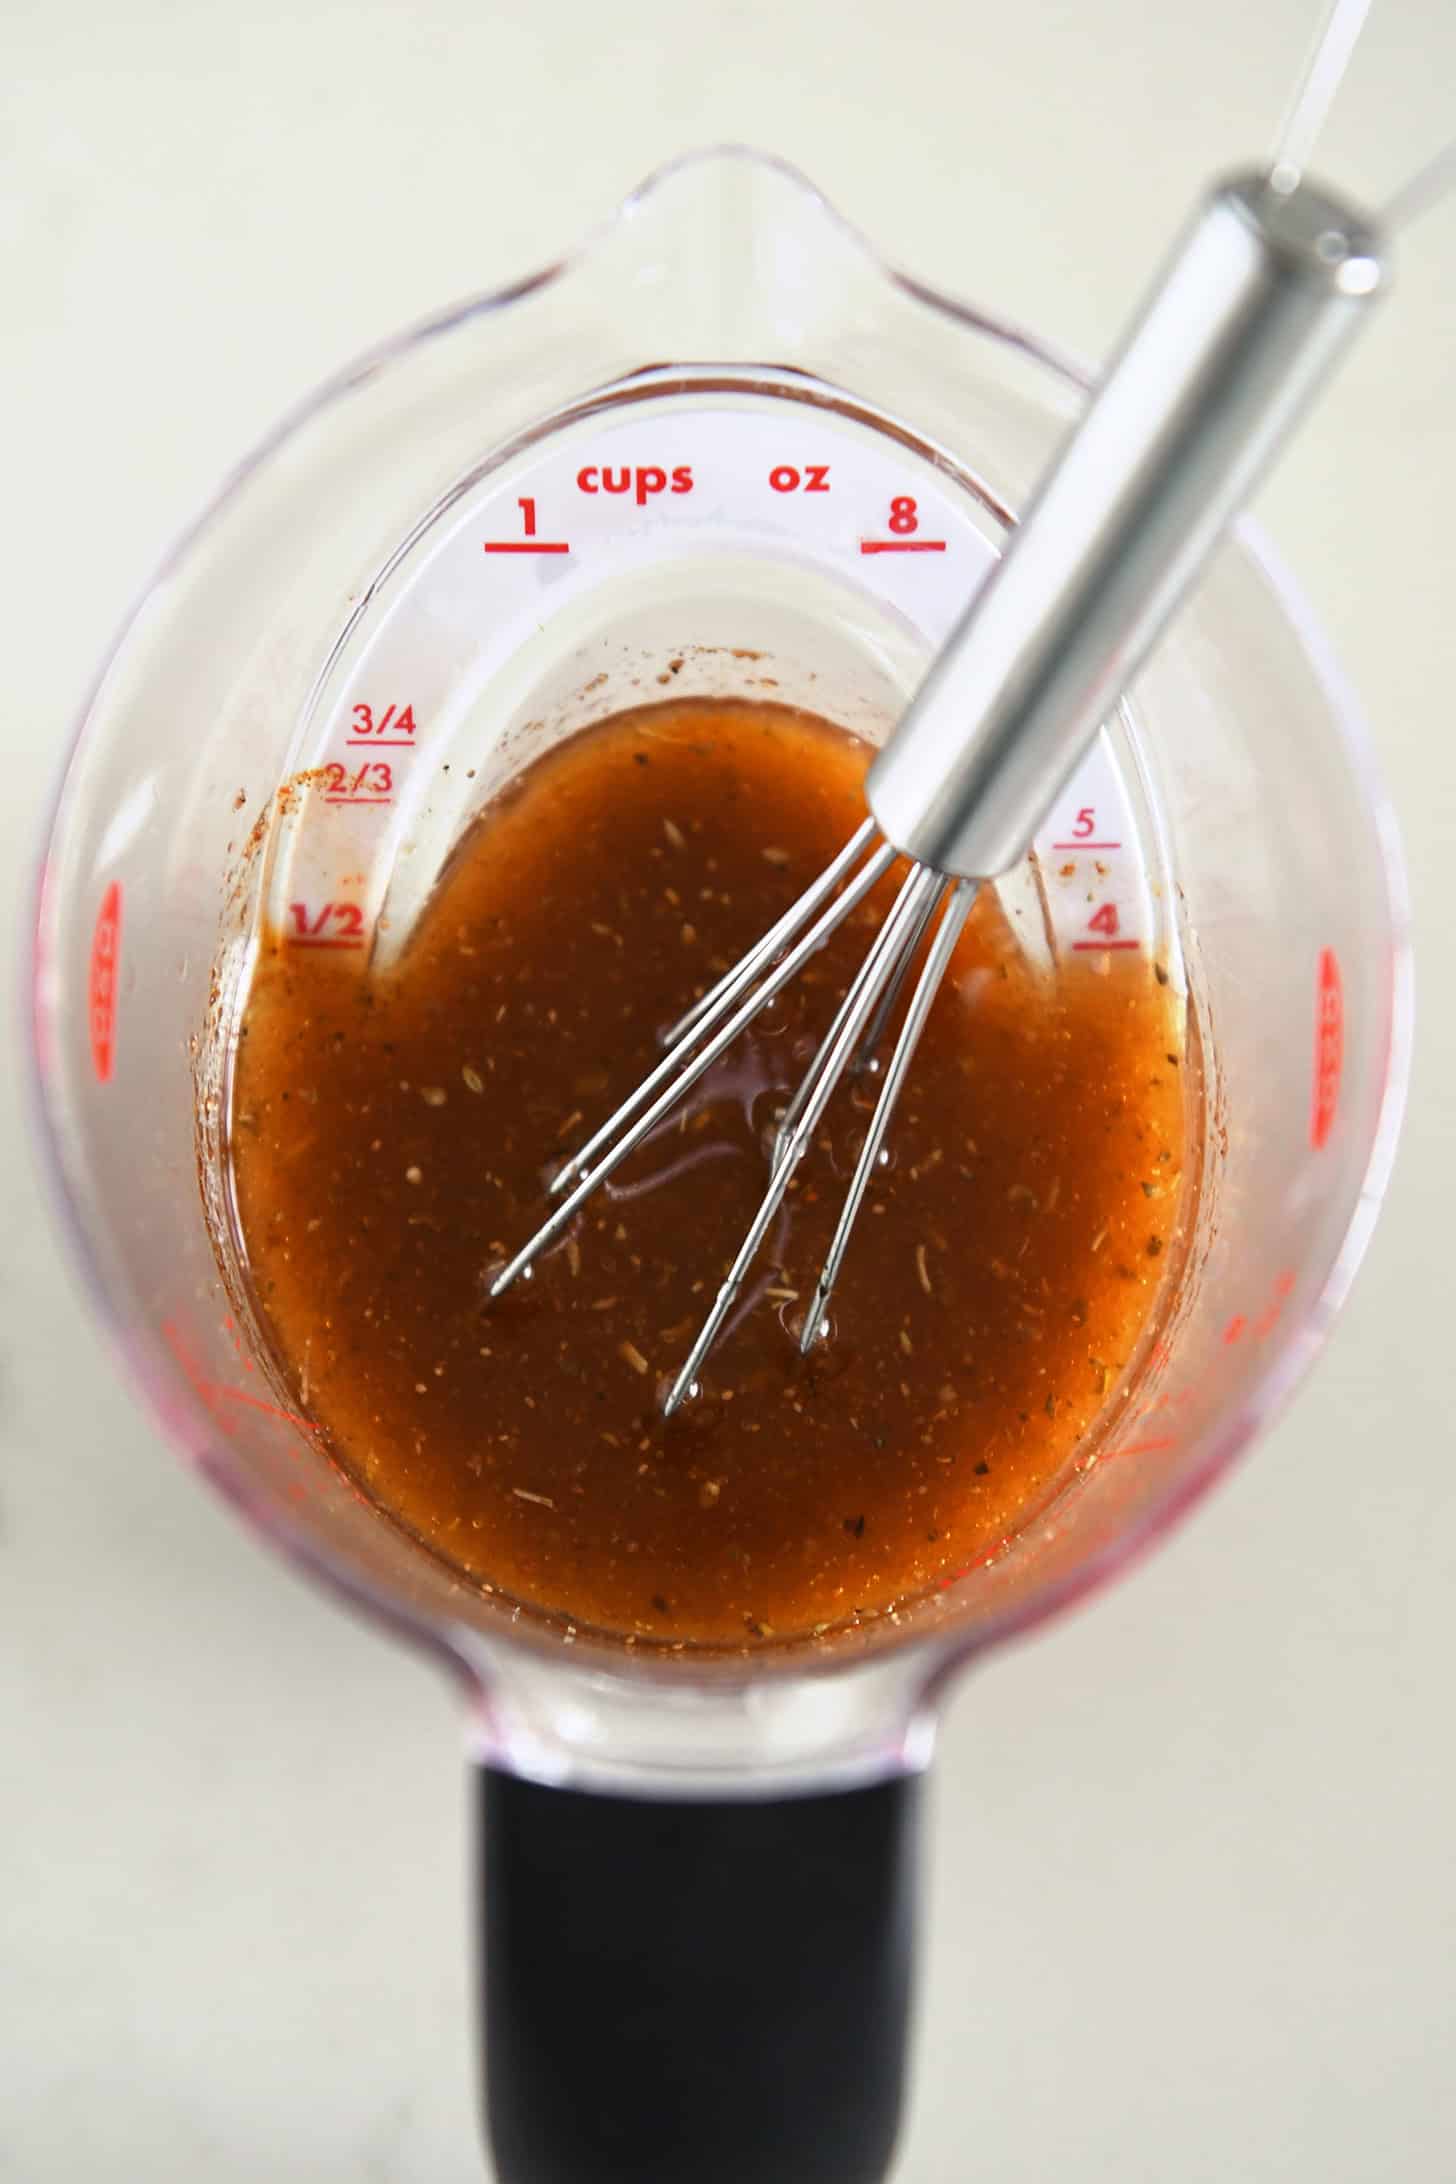
    • Marinade: The simple marinade is a combination of olive oil, lime juice, red wine vinegar, chili powder, cumin, oregano and salt.
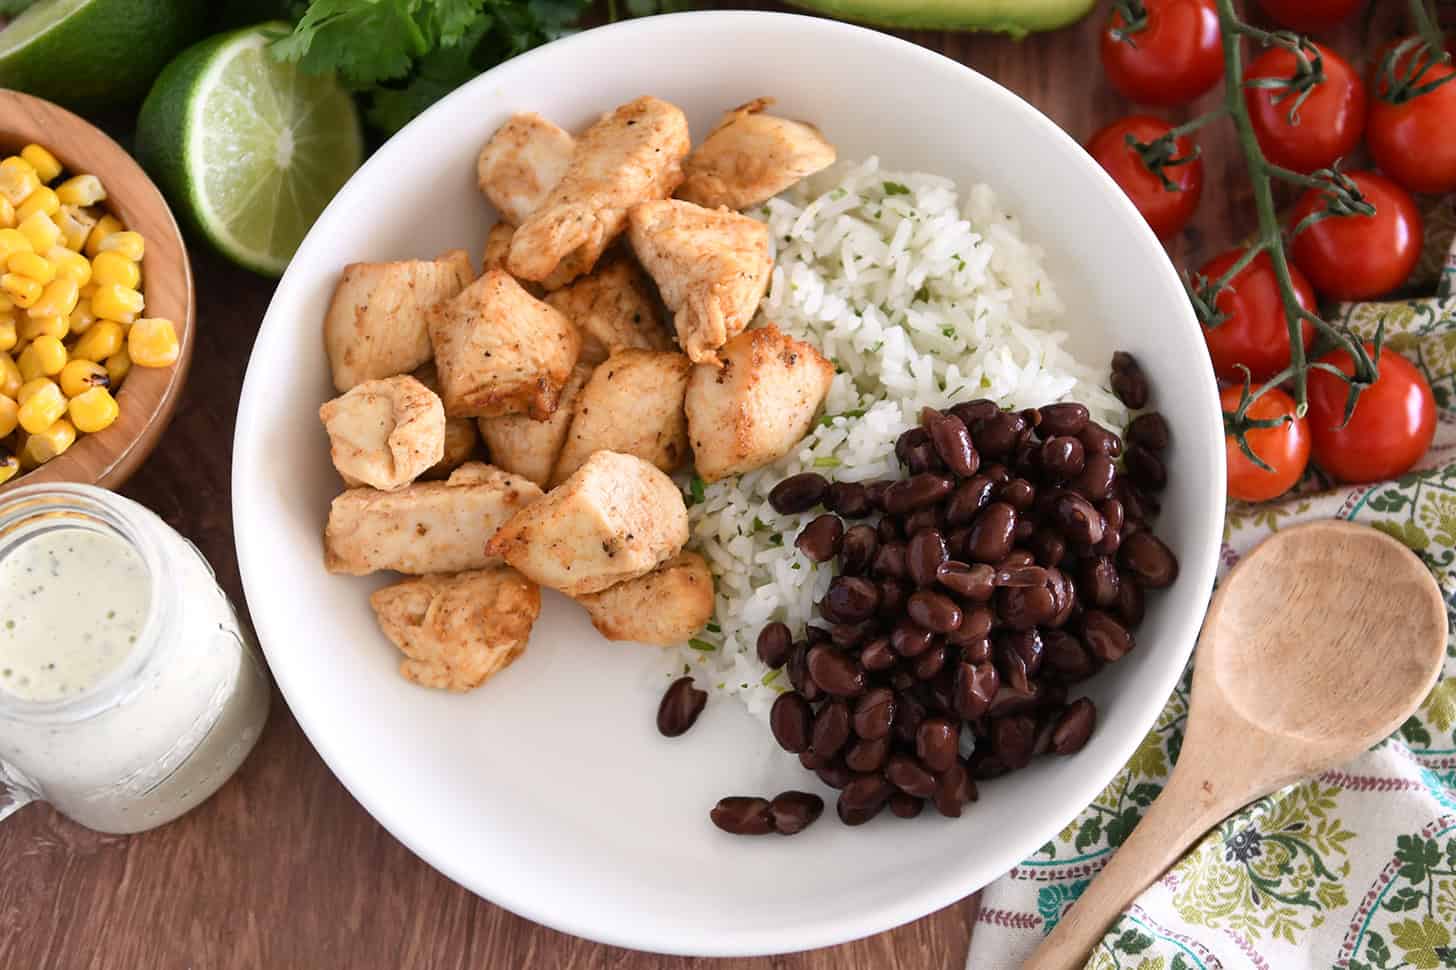
    • Black beans: Canned black beans, rinsed and drained, add heartiness, protein and fiber. Other varieties of canned beans can be easily subbed in for the black beans.
    • Corn: Many different types of corn will work in this recipe: canned corn kernels, rinsed and drained. Frozen corn kernels, thawed and patted dry (no need to cook). Fresh corn kernels, cut off the cob (no need to cook). For a tasty variation, I love using the frozen roasted corn from Trader Joe’s. 
    • Rice: Cooked brown rice, white rice, or quinoa works great in this recipe. For different flavor variations, you can use Mexican-style rice, cilantro lime rice, garlic butter rice, coconut rice, etc.
    • Dressing: Homemade or store bought cilantro lime dressing can be used, as well as another type of dressing (like ranch). This is my go-to recipe for cilantro lime dressing.

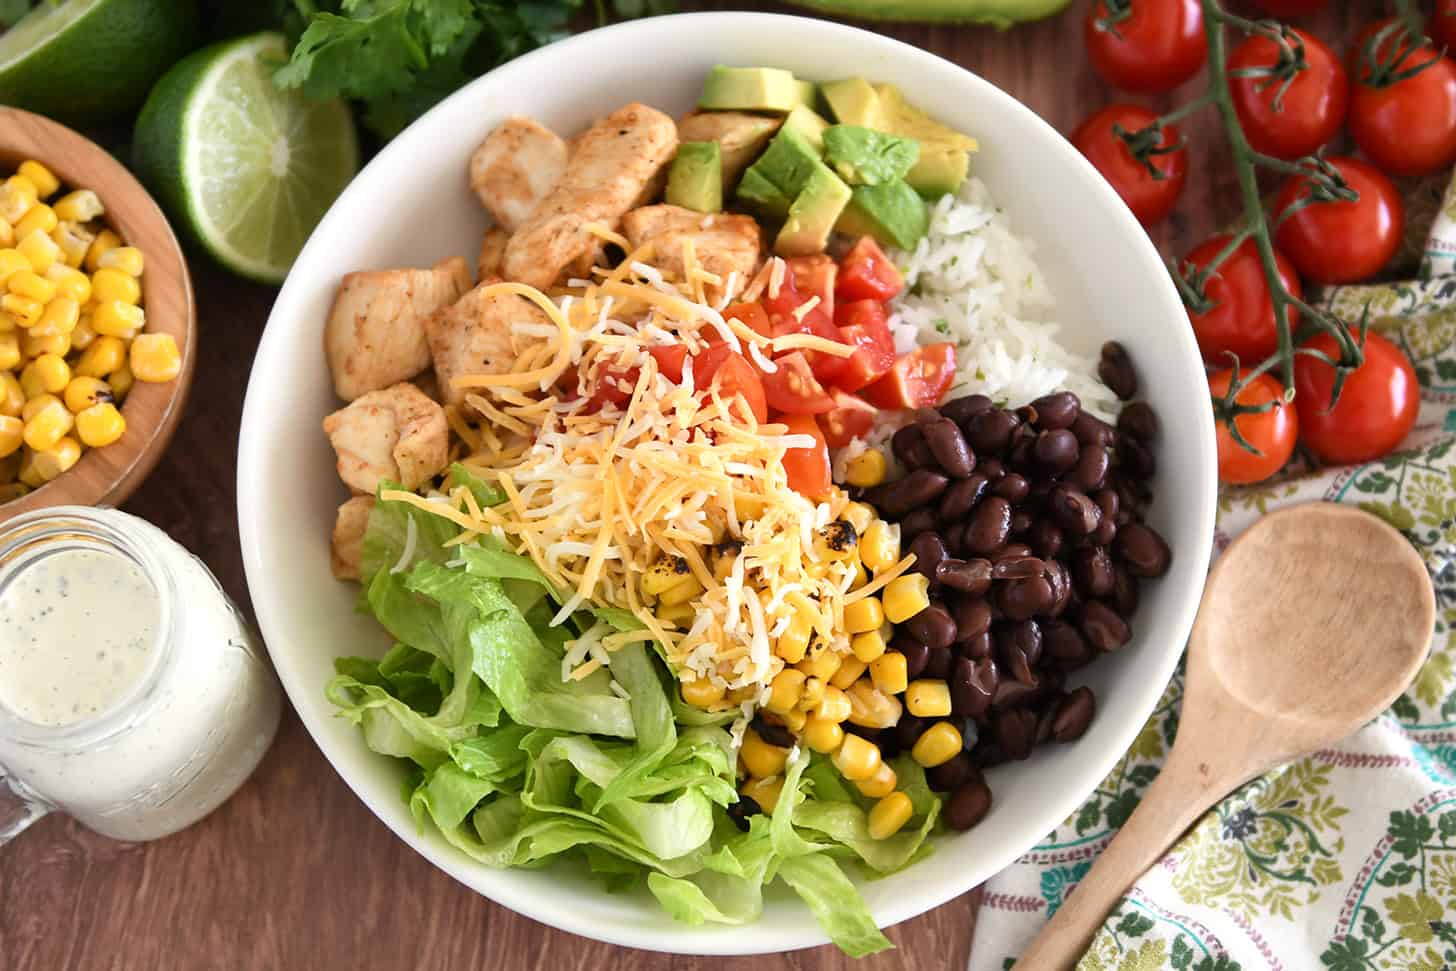
    And Don’t Forget…Toppings Galore: The beauty of this recipe is that you can use whatever toppings your heart desires! Our favorites are shredded cheese, chopped tomatoes and avocados, shredded lettuce, and crushed tortilla chips.

    Additional Tips and Notes

    This recipe is so easy to level up or keep simple (per the recipe).

    Here are my favorite ways to level up these chicken burrito bowls:

    • Make homemade cilantro lime dressing (this stuff is drinkable, it is so good). It keeps well in the fridge for a week or so.
    • Simmer the beans with 1/2 to 1 cup of green or red salsa for about 5 to 10 minutes before serving. This adds tremendous flavor and a bit of extra sauciness.
    • Use roasted corn – my favorite easy hack is to grab the frozen, roasted corn from Trader Joe’s. So tasty!
    • Make cilantro lime rice (my favorite way to make it is in the notes of the recipe). While other types of rice can be used, these bowls are out-of-this-world delicious with cilantro lime rice.

    Customizable, adaptable, and SUPER CRAZY DELICIOUS, recipes like this are my all-time favorite. I could eat some variation of these chicken burrito bowls every night of the week. I hope you enjoy this recipe as much as we do!

    Easy Chicken Burrito Bowls

    Chicken + Marinade:

    • 2 pounds boneless, skinless chicken breasts
    • 4 tablespoons olive oil
    • 2 tablespoons fresh lime juice
    • 2 tablespoons red wine vinegar (see note)
    • 2 cloves garlic, finely minced, or 1/2 teaspoon garlic powder
    • ½ teaspoon chili powder
    • ½ teaspoon cumin
    • ½ teaspoon dried oregano
    • ½ teaspoon coarse, kosher salt
    • Pinch of black pepper

    Bowls:

    • 1 (15-ounce) can black beans, rinsed and drained
    • 1 ½ to 2 cups corn kernels (see note)
    • 3 cups cooked brown rice, white rice, cilantro lime rice, or quinoa (see note)
    • Cilantro lime dressing or other dressing of choice (see note)

    Toppings:

    • Chopped lettuce, tomatoes, avocados, shredded cheese, sour cream, salsa, crushed tortilla chips, chopped cilantro, olives, etc.

    Prevent your screen from going dark

    • For the chicken, dice the chicken into 1/2 to 1-inch pieces and place in a resealable bag or bowl.

    • Whisk together the olive oil, fresh lime juice, red wine vinegar, garlic, chili powder, cumin, oregano, salt and pepper. Pour over the chicken and toss to coat. Cover (or seal the bag) and refrigerate for one hour or up to 8 hours.

    • Cook the chicken on the stovetop or in an air fryer.

    • Stovetop: Pour the chicken and marinade into a nonstick skillet set over medium heat. Spread the chicken into an even layer and let cook undisturbed for 1 to 2 minutes. Stir or flip and continue cooking until the chicken is cooked through, 3 to 4 minutes longer.

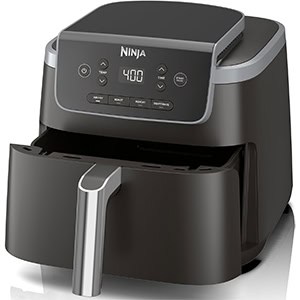
    • Air Fryer: Preheat an air fryer to 375 degrees for 2 to 3 minutes. Pour the chicken and marinade into the basket. Cook for 7 to 8 minutes until cooked through.

    • To assemble, scoop a serving of rice or quinoa into a bowl or plate. Add chicken, black beans, corn, and whatever toppings you like. Drizzle with dressing. Enjoy!

    Red Wine Vinegar: If you don’t have this type of vinegar, you can sub lime juice (bringing the total amount of lime juice to 1/4 cup) or another preferred type of light vinegar.
    Corn: Many different types of corn will work in this recipe. Canned corn kernels, rinsed and drained. Frozen corn kernels, thawed and patted dry (no need to cook). Fresh corn kernels, cut off the cob (no need to cook). For a tasty variation, I love using the frozen roasted corn from Trader Joe’s. 
    Rice: These bowls are super delicious with cilantro lime rice. But you can use whatever rice you have on hand (cooked quinoa works well, too). For the cilantro lime rice pictured in this recipe, in a saucepan, combine 1 1/2 cups white jasmine rice, 2 cups water and 1/2 teaspoon salt. Bring to a vigorous simmer, cover and reduce heat to medium-low. Cook for 16 minutes. Remove from the heat and let stand, covered, for 5 to 10 minutes. Fluff the rice and stir in zest of 1 lime, 4 tablespoons fresh lime juice, and 1/4 cup chopped cilantro. (This recipe is the one in my cookbook using water instead of broth and stirring in the zest and lime juice after cooking.)
    Dressing: This is my go-to recipe for cilantro lime dressing. Store bought cilantro lime dressing can be used, as well as another type of dressing (like ranch). 

    Serving: 1 serving, Calories: 641kcal, Carbohydrates: 82g, Protein: 41g, Fat: 16g, Saturated Fat: 3g, Cholesterol: 97mg, Sodium: 378mg, Fiber: 4g, Sugar: 2g

    Recipe Source: from Mel’s Kitchen Cafe

    Disclaimer: I am a participant in the Amazon Services LLC Associates Program, an affiliate advertising program designed to provide a means for me to earn fees by linking to Amazon.com and affiliated sites. As an Amazon Associate I earn from qualifying purchases.

    Source link

  • Healthy Chicken Taco Soup

    Healthy Chicken Taco Soup

    This creamy chicken taco soup is loaded with protein, fiber, and all the Tex-Mex flavor. It’s easy, filling, and surprisingly light on calories.


    Jump to: ℹ️ Overview | 🛒 Ingredients | 📷 How To Make | 📹 Watch The Video | 👩‍🍳 Recipe Tips | 🥗 Serving Suggestions | 📝 Full Recipe Card | 🍽 More High-Protein Recipes


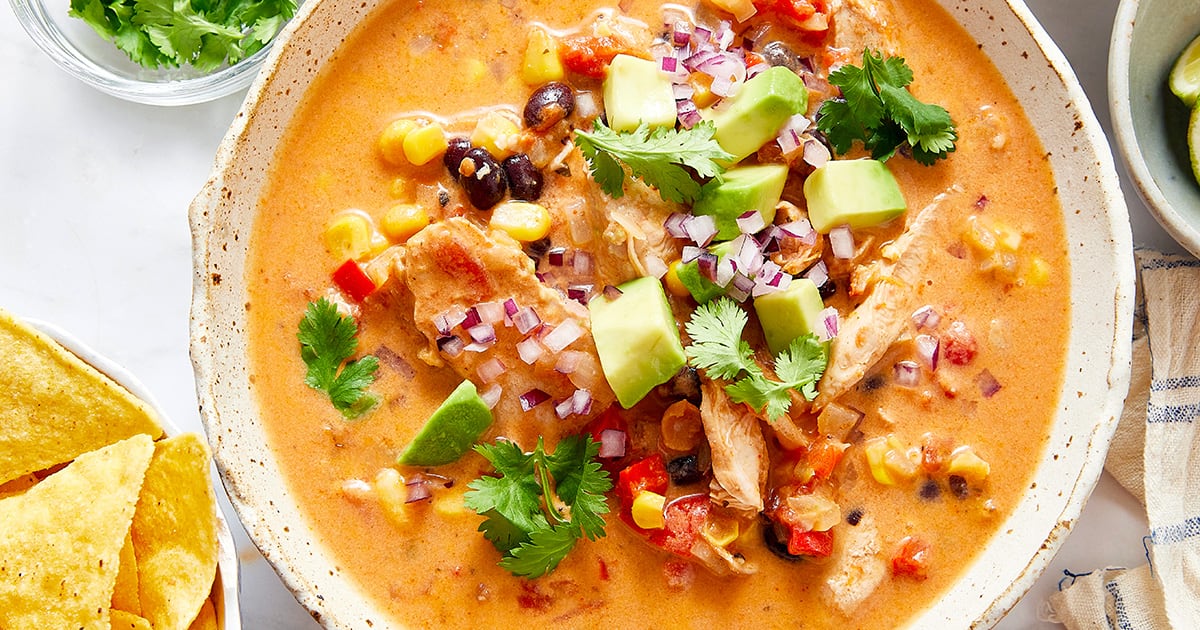
    This high-protein chicken taco soup is a cozy meal with a healthy twist. It’s hearty like a stew, with chunks of tender chicken, smoky spices, sweet corn, black beans, and a creamy base, without the heavy cream. The real trick? Blending cottage cheese with light cream to get that smooth richness without the calorie bomb.

    If you’re into high-protein and fiber meals, this one checks the boxes. Plus, it makes amazing leftovers with flavors deepening overnight, and it reheats like a dream.

    Nutrition (per serving): ~560 calories, 38 grams protein, 7 grams fiber (estimates based on ingredients used).

    👉 This healthy chicken taco soup is part of my high-protein and fiber meals series. You might also like this baked chia oats recipe, my avocado cottage cheese toast, or my high-protein butternut squash soup.

    Watch The Video

    What You’ll Need

    Here is what you’ll need for this chicken taco soup recipe. Find the full measurements in the recipe card below.

    For the soup base:

    • Chicken breasts – Raw or cooked (rotisserie chicken works!). Great protein source.
    • Chicken stock – Builds the savory soup foundation.
    • Onion, garlic, red bell pepper – Aromatics that bring the base to life.

    Spices & seasoning:

    • Ground cumin, smoked paprika, coriander, oregano – Warm, smoky, earthy spice blend.
    • Chili or chipotle powder – Optional kick, you can also add canned chipotle peppers.
    • Salt & pepper for season in layers.

    Veggies & fillers:

    • Black beans – High in fiber and protein.
    • Corn kernels – Sweet, chewy pops of goodness and high in fiber.
    • Diced tomatoes – Adds a little acidity and tomato depth.

    For the creamy finish:

    • Cottage cheese – Blended for creaminess and protein.
    • Light cream – Keeps it smooth without being too rich.
    • Cheddar cheese – For that melty, cheesy vibe (low-fat optional, I used regular here).

    Toppings (optional but encouraged):

    • Avocado – a few cubes for creamy, healthy fats.
    • Red onion – sharp and crunchy, finely diced is best.
    • Fresh cilantro/coriander – bright and herby, swap for parsley or basil.
    • Corn chips or tortilla chips – adds crunch and fun, don’t go overboard though.
    • Lime wedges – a fresh squeeze makes all the difference in my opinion.

    How To Make Healthy Chicken Taco Soup

    Find the full recipe and nutritional information below. Here are some handy step-by-step photos for healthy chicken taco soup.

    • Season chicken with salt and pepper and pan-fry in a little olive oil until golden on both sides, then set aside. Don’t worry if it’s not completely cooked through as it will go in the soup. If using rotisserie chicken, skip this step.
    • In the same pot, sauté onion until soft, then add red pepper and garlic.
    • Stir in all your spices and cornflour, just for a few seconds to wake them up.
    • Add beans, corn, tomatoes, and stock. Return the chicken to the pot.
    • Simmer until the chicken is cooked through (about 10 minutes). If using rotisserie chicken, you can reduce cooking to 5 minutes.
    • Blend the cottage cheese and cream until smooth, stir into the soup with the cheddar. If you don’t blend, you will have a few cottage cheese curds in the soup, not a biggy.
    • Simmer gently until everything is creamy and thickened.
    • Serve with toppings like avocado, red onion, lime juice, and crushed tortilla chips.

    Recipe Tips

    • Make-ahead: This soup keeps well for 4 days in the fridge. Reheat gently so the dairy doesn’t split.
    • Freezer-friendly: Freeze in portions without toppings. Defrost in the fridge overnight, then reheat on the stove.
    • Use rotisserie chicken: Skip the first step and just shred it in when you add the beans.
    • Spice it up: Add jalapeños or extra chipotle if you like it hot.
    • Smooth or chunky: Blend part of the soup if you want a smoother base.

    Serving Suggestions

    I love this soup as-is in a deep bowl with ALL the toppings: avocado cubes, crunchy tortilla chips, fresh cilantro, and a squeeze of lime. It also pairs nicely with a simple green salad or a slice of cheesy cornbread if you want it more substantial.

    💬 If you’ve tried this healthy chicken taco soup or any other recipe on the blog then don’t forget to rate the recipe and let me know how you got on in the comments below, I love hearing from you! You can also FOLLOW ME on Instagram, Facebook, Pinterest, YouTube, and or sign up to my Newsletter to see more of my delicious food.

    Want to Save This Recipe?

    Enter your email & I’ll send it to your inbox. Plus, get great new recipes from me every week!

    By submitting this form, you consent to receive emails from Cooked & Loved

    Healthy chicken taco soup made creamy with cottage cheese, full of flavor, and loaded with protein and fiber—basically your new go-to cozy dinner. Find step-by-step photos and more recipe tips above.

    • Cut chicken breasts in half and season with salt. Heat oil in a large pot over medium-high heat and cook chicken for 4 minutes per side. Remove and set aside to slice.

    • In the same pot, sauté onion for 4–5 minutes. Add red pepper and garlic; cook another minute.

    • Stir in cumin, paprika, coriander, oregano, chili powder (if using), black pepper, and cornflour.

    • Add beans, corn, tomatoes, chicken stock, and sliced chicken. Simmer for 10 minutes.

    • Blend cottage cheese and cream until smooth. Stir into the soup along with Cheddar. If you don’t blend, you will have a few cottage cheese curds in the soup, not a biggy.

    • Simmer on low until creamy and well combined. Taste and adjust seasoning.

    • Serve with avocado, onion, cilantro, lime, and tortilla chips.

    • Can I use cooked chicken? Yes! Rotisserie chicken works great, just skip the pan-frying step and add it with the beans.
    • What if I don’t have cottage cheese? You could try Greek yogurt or light cream cheese, but it won’t be quite as high in protein or as creamy.
    • Is it spicy? Not very unless you add the chili or chipotle powder. You’re in full control of the heat. Add jalapeños or extra chipotle if you like it hot.
    • How thick should it be? Think creamy stew rather than a brothy soup. It should coat your spoon.
    • Make-ahead: This soup keeps well for 4 days in the fridge. Reheat gently so the dairy doesn’t split.
    • Freezer-friendly: Freeze in portions without toppings. Defrost in the fridge overnight, then reheat on the stove.
    • Smooth or chunky: Blend part of the soup if you want a smoother base.

    Calories: 564kcal | Carbohydrates: 40g | Protein: 38g | Fat: 29g | Saturated Fat: 9g | Polyunsaturated Fat: 5g | Monounsaturated Fat: 13g | Trans Fat: 0.03g | Cholesterol: 103mg | Sodium: 1072mg | Potassium: 1211mg | Fiber: 7g | Sugar: 10g | Vitamin A: 1534IU | Vitamin C: 41mg | Calcium: 188mg | Iron: 3mg

    Keywords: Healthy Chicken Taco Soup, taco soup with chicken, creamy chicken soup

    More High-Protein Recipes


    Source link

  • Detox Rainbow Roll-Ups with Peanut Sauce Recipe

    Detox Rainbow Roll-Ups with Peanut Sauce Recipe

    Banner for gluten-free simple recipe ideas.

    Annnnd it’s Rainbow Roll-Up time!

    If Rainbow Roll-Up doesn’t give you some association with a packaged, neon-colored fruit leather situation all wrapped up in a little paper coil, then who are you even? I’m having a moderately hard time separating these from the single greatest snack food of my childhood.

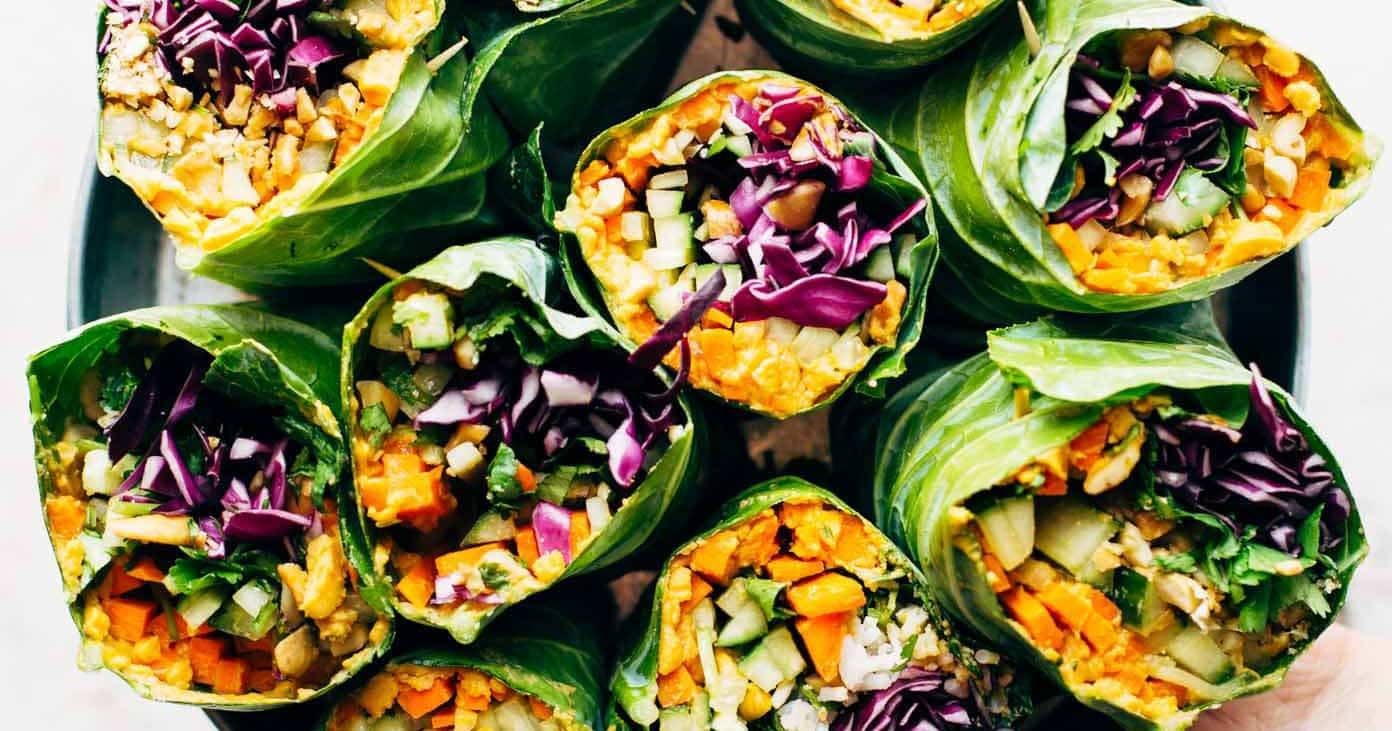
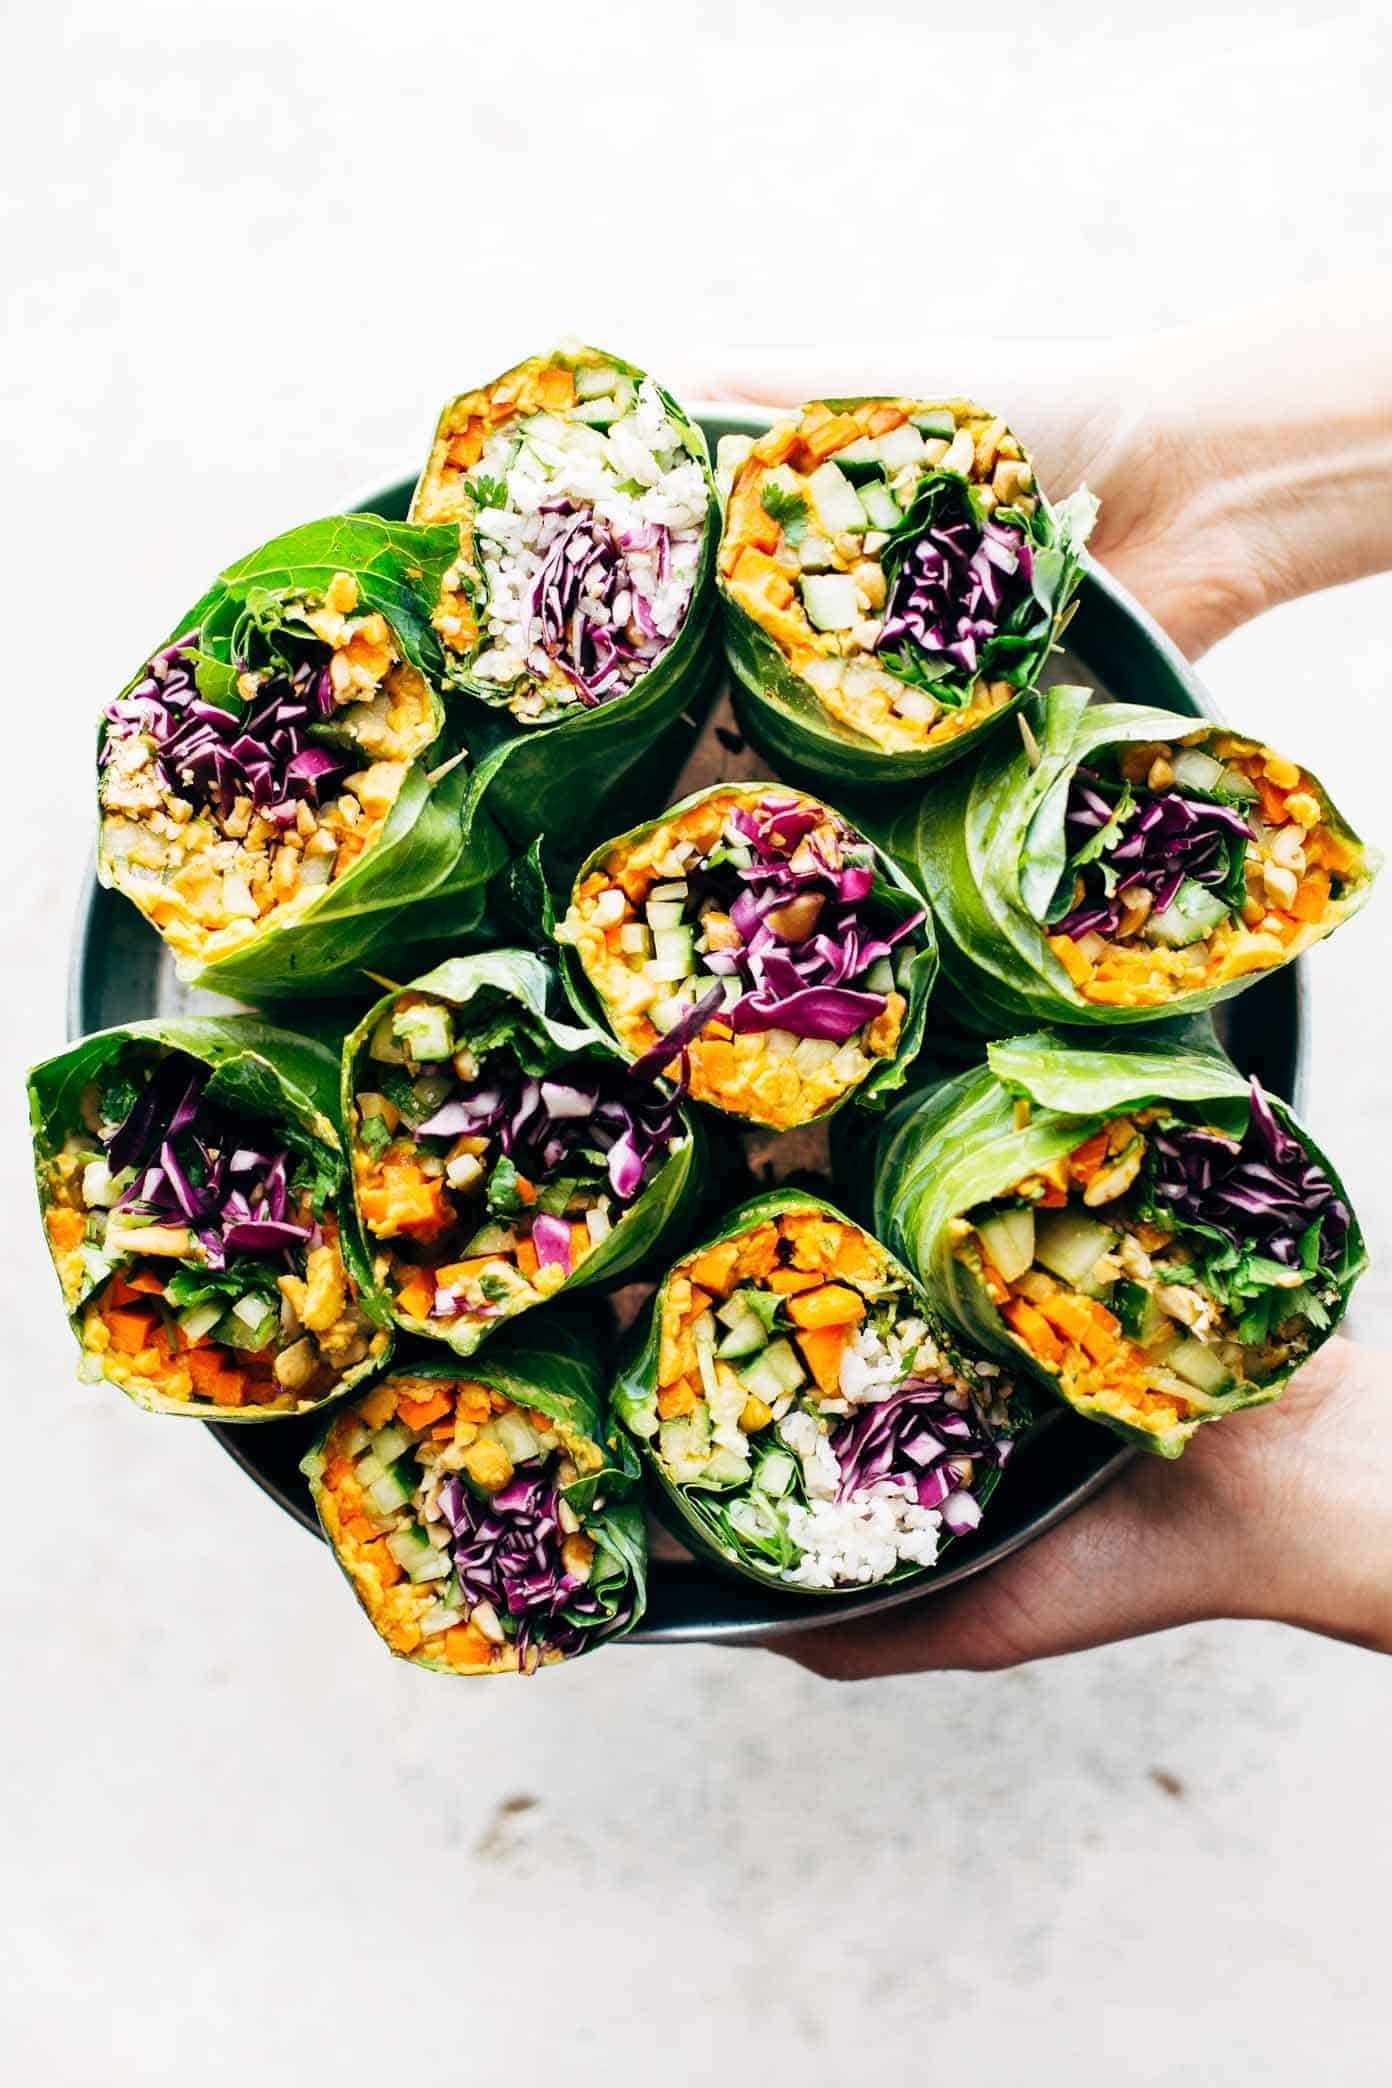
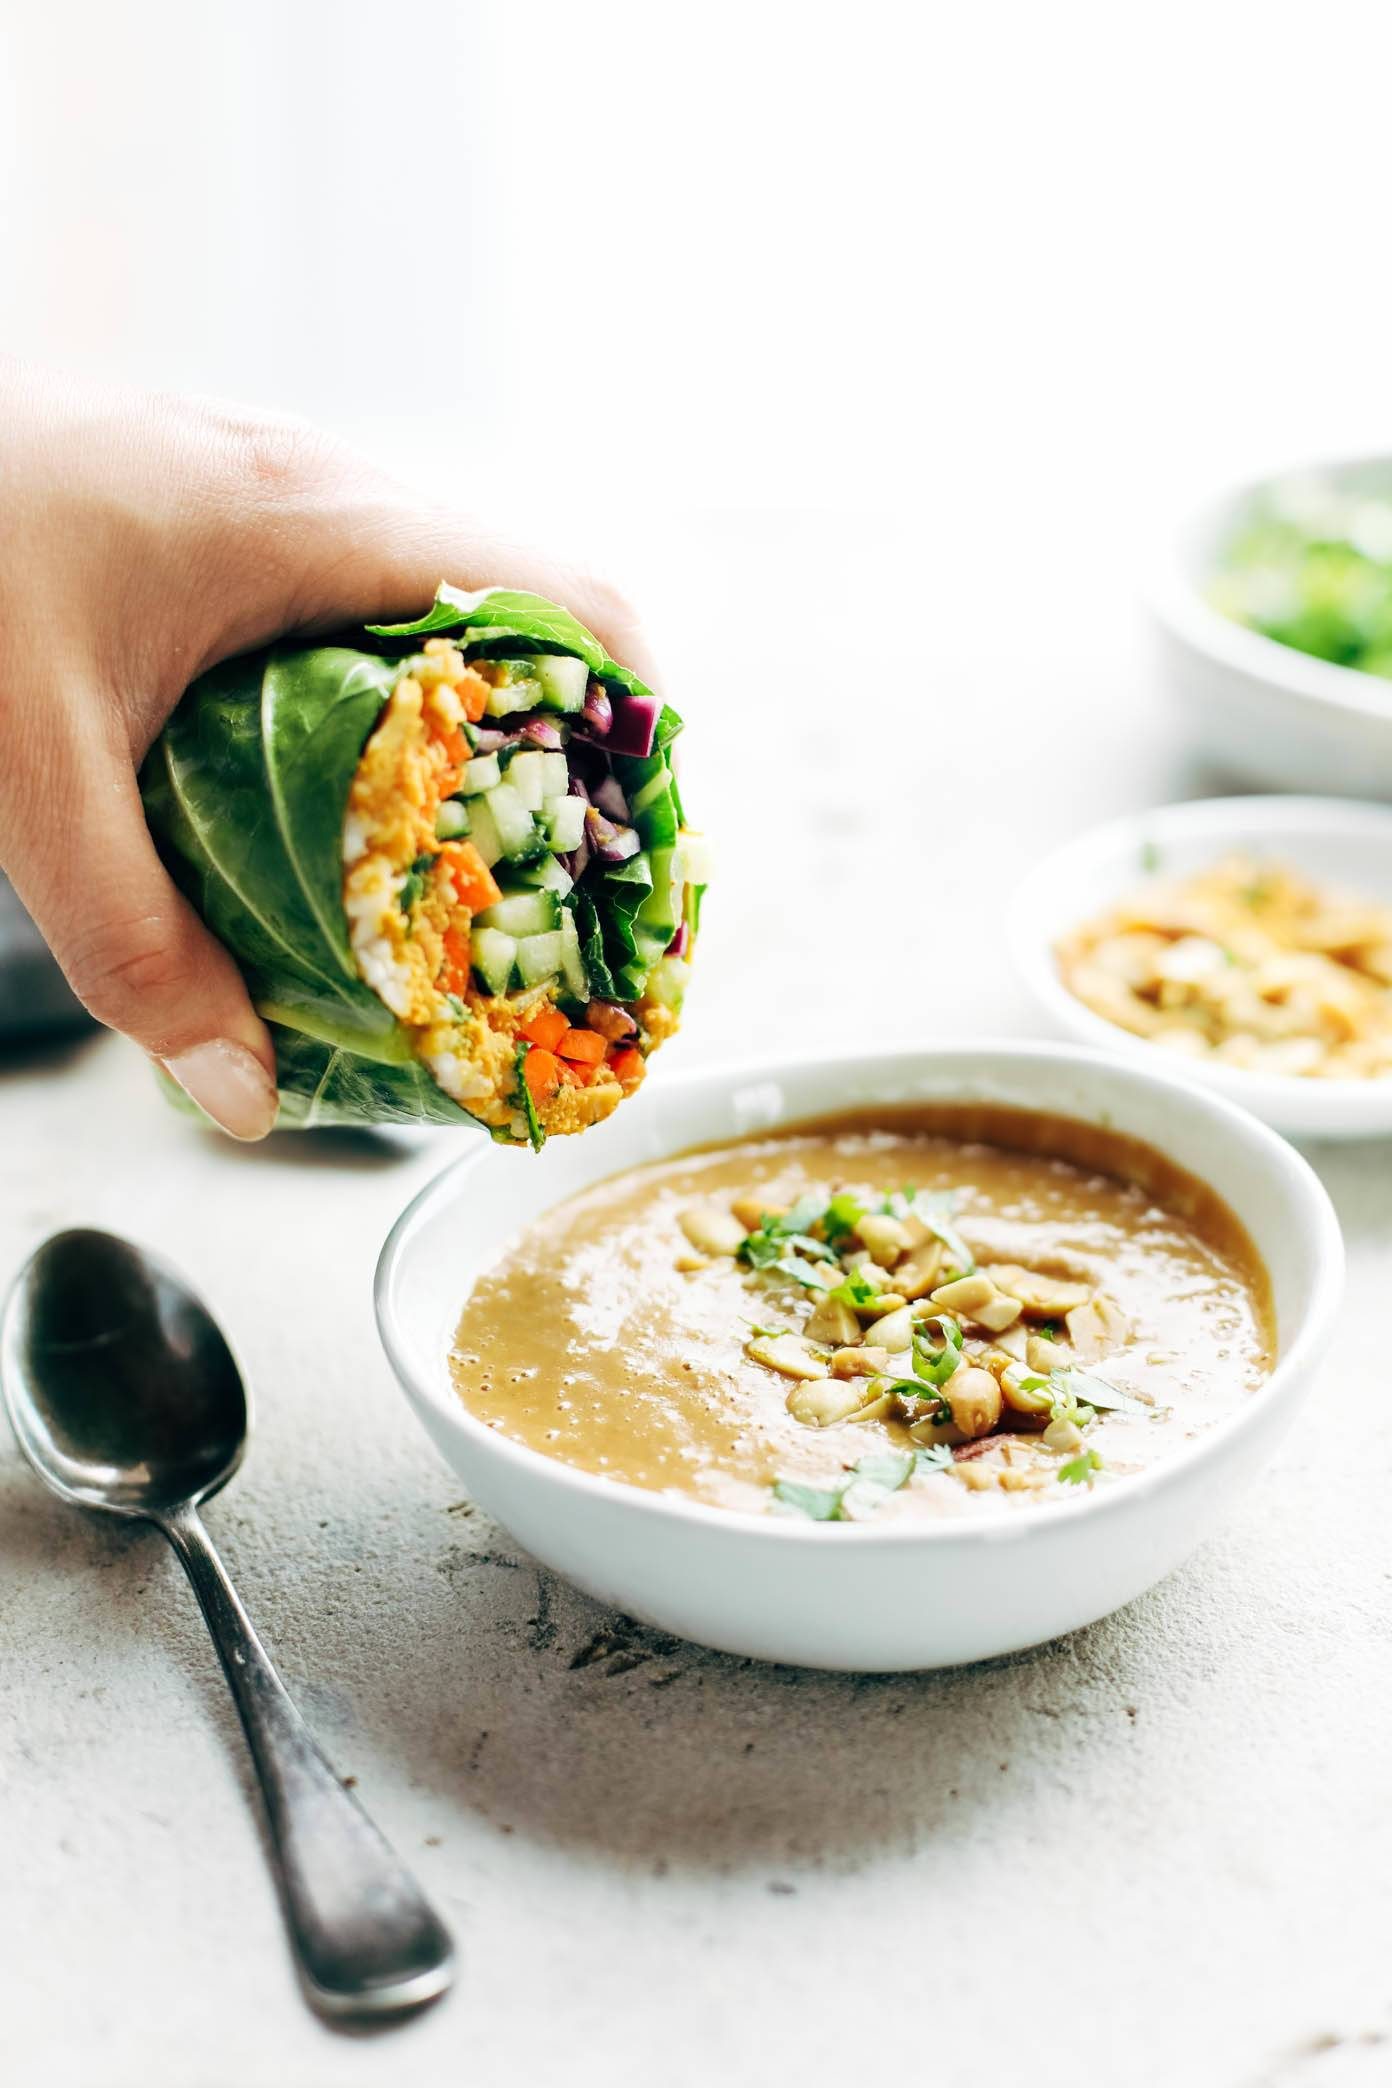
    This is not that kind of rainbow roll-up, though. This is a rainbow roll-up that’s a nutritional powerhouse with foods like: carrots. chickpeas. curry. red cabbage. peanuts. dark leafy greens.

    See, mom? I can eat like an adult after all.

    How To Make Our Rainbow Roll-Ups:

    Detox Rainbow Roll-Ups.

    These Rainbow Roll-Ups were inspired by these roll ups which are similarly detox-friendly and equally as delicious but a little lacking in the beautiful colors department. I actually made THOSE roll-ups for a blog post, but then realized: I think I’d like to make a new version of these, and I’d like to give it some more color and crunch.

    And maybe a little curry hummus.

    And maybe a little (LOT) of peanut sauce for dipping.

    I’ve even been down the rainbow rolls path before with these Thai summer rolls, and these are a different but equally delicious version.

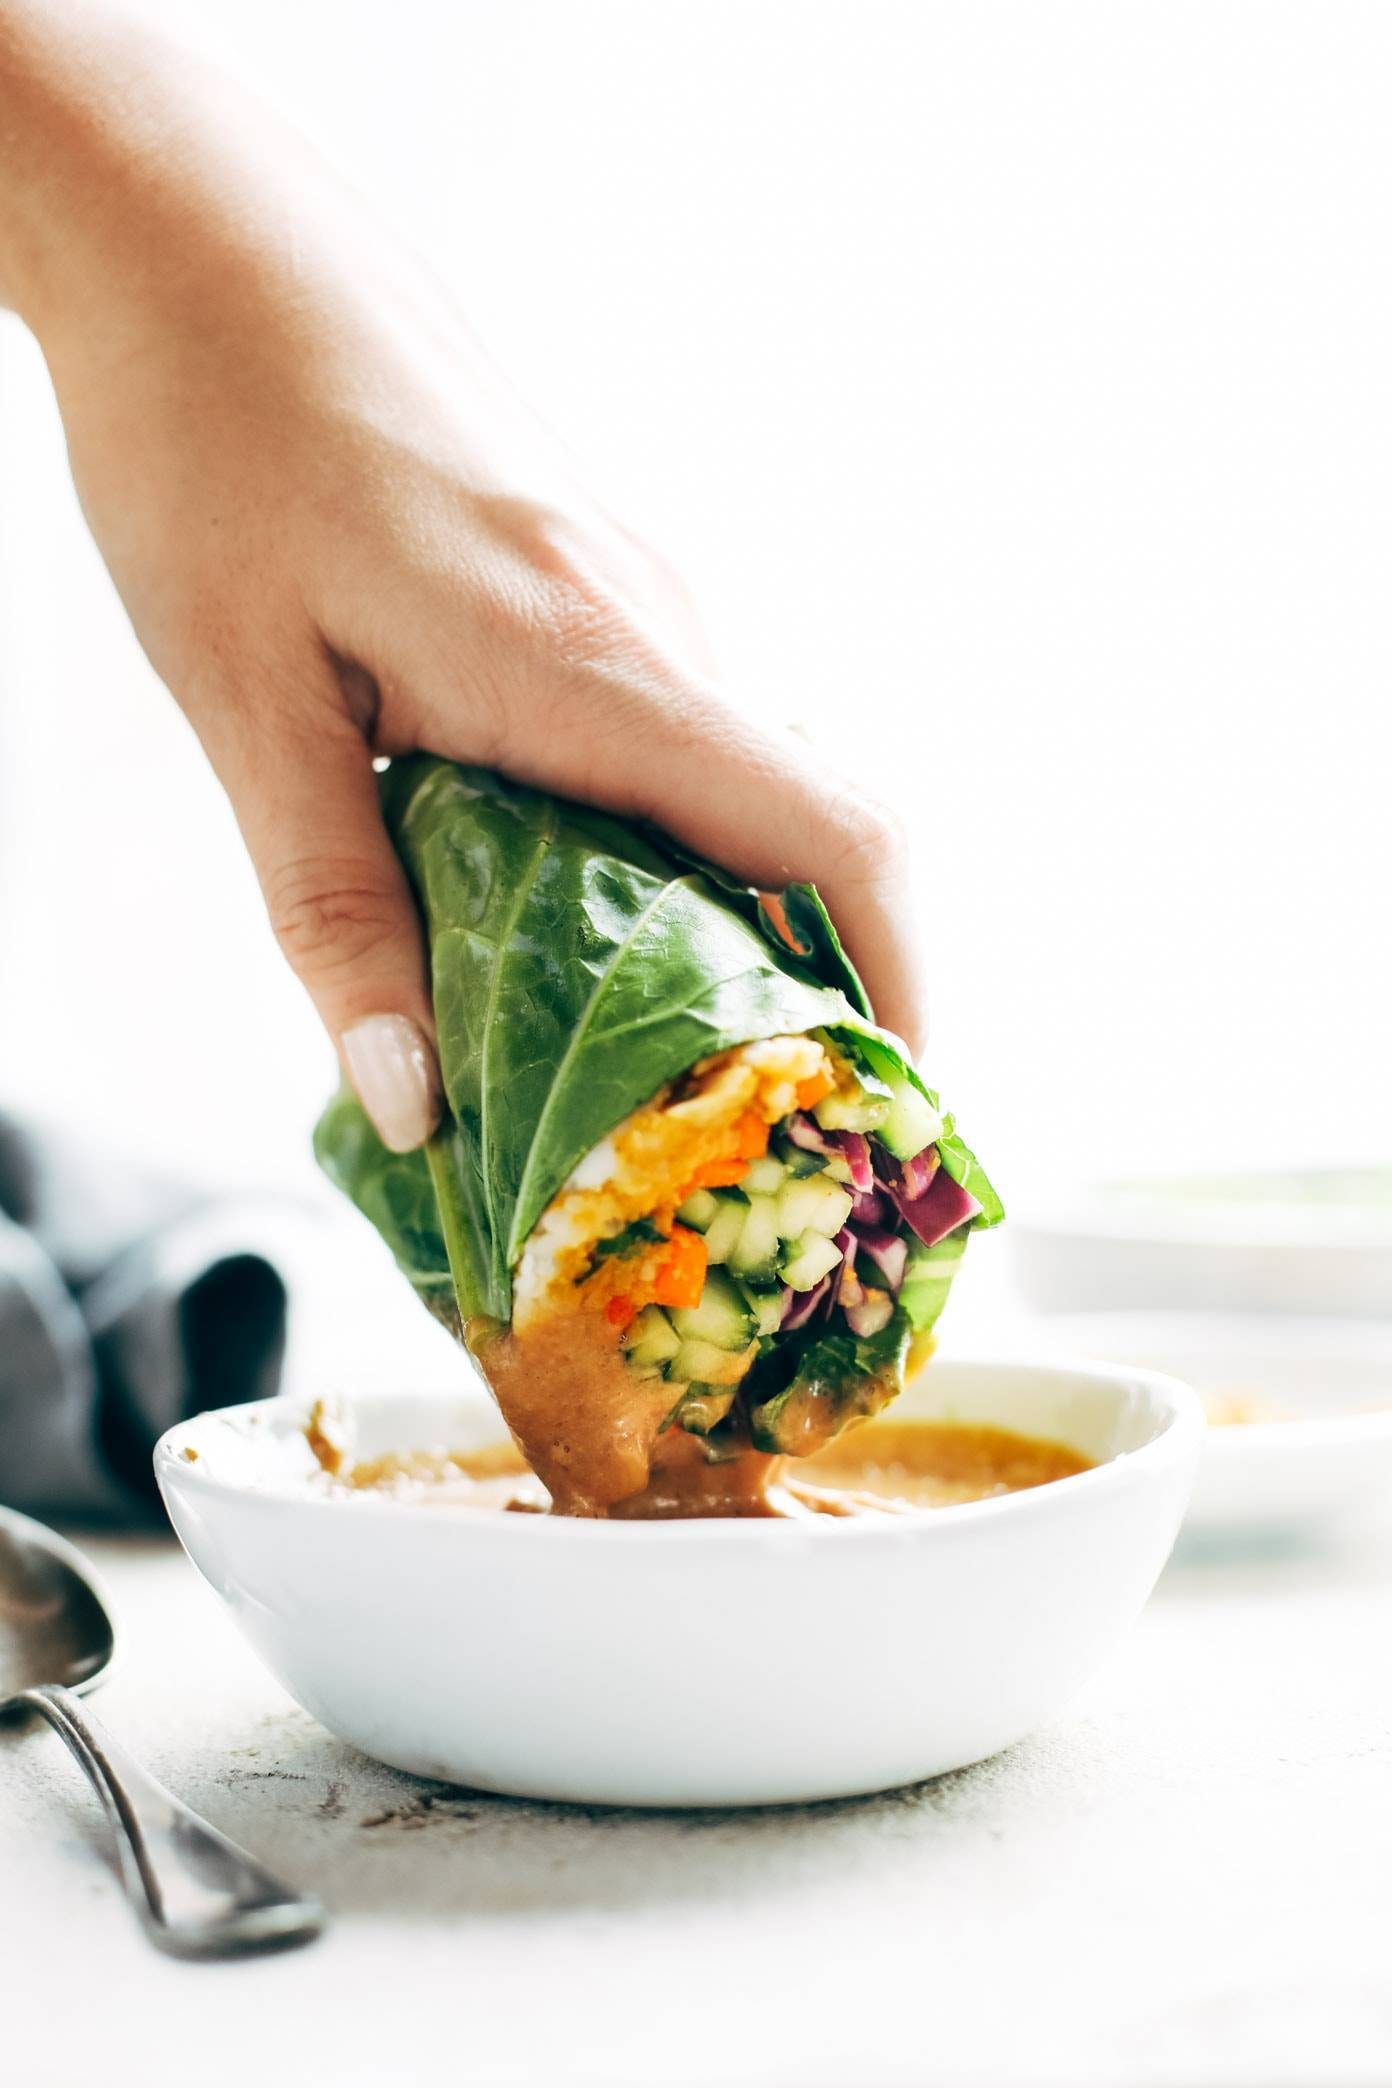
    If I had to tell the story of my experience with Detox Rainbow Rolls in photos, it would go like this:

    Detox Rainbow Roll-Up.
    Detox Rainbow Roll-Ups dipped in peanut sauce.
    Detox Rainbow Roll-Ups dipped in peanut sauce.

    And it would include one thousand heart-eye emojis.

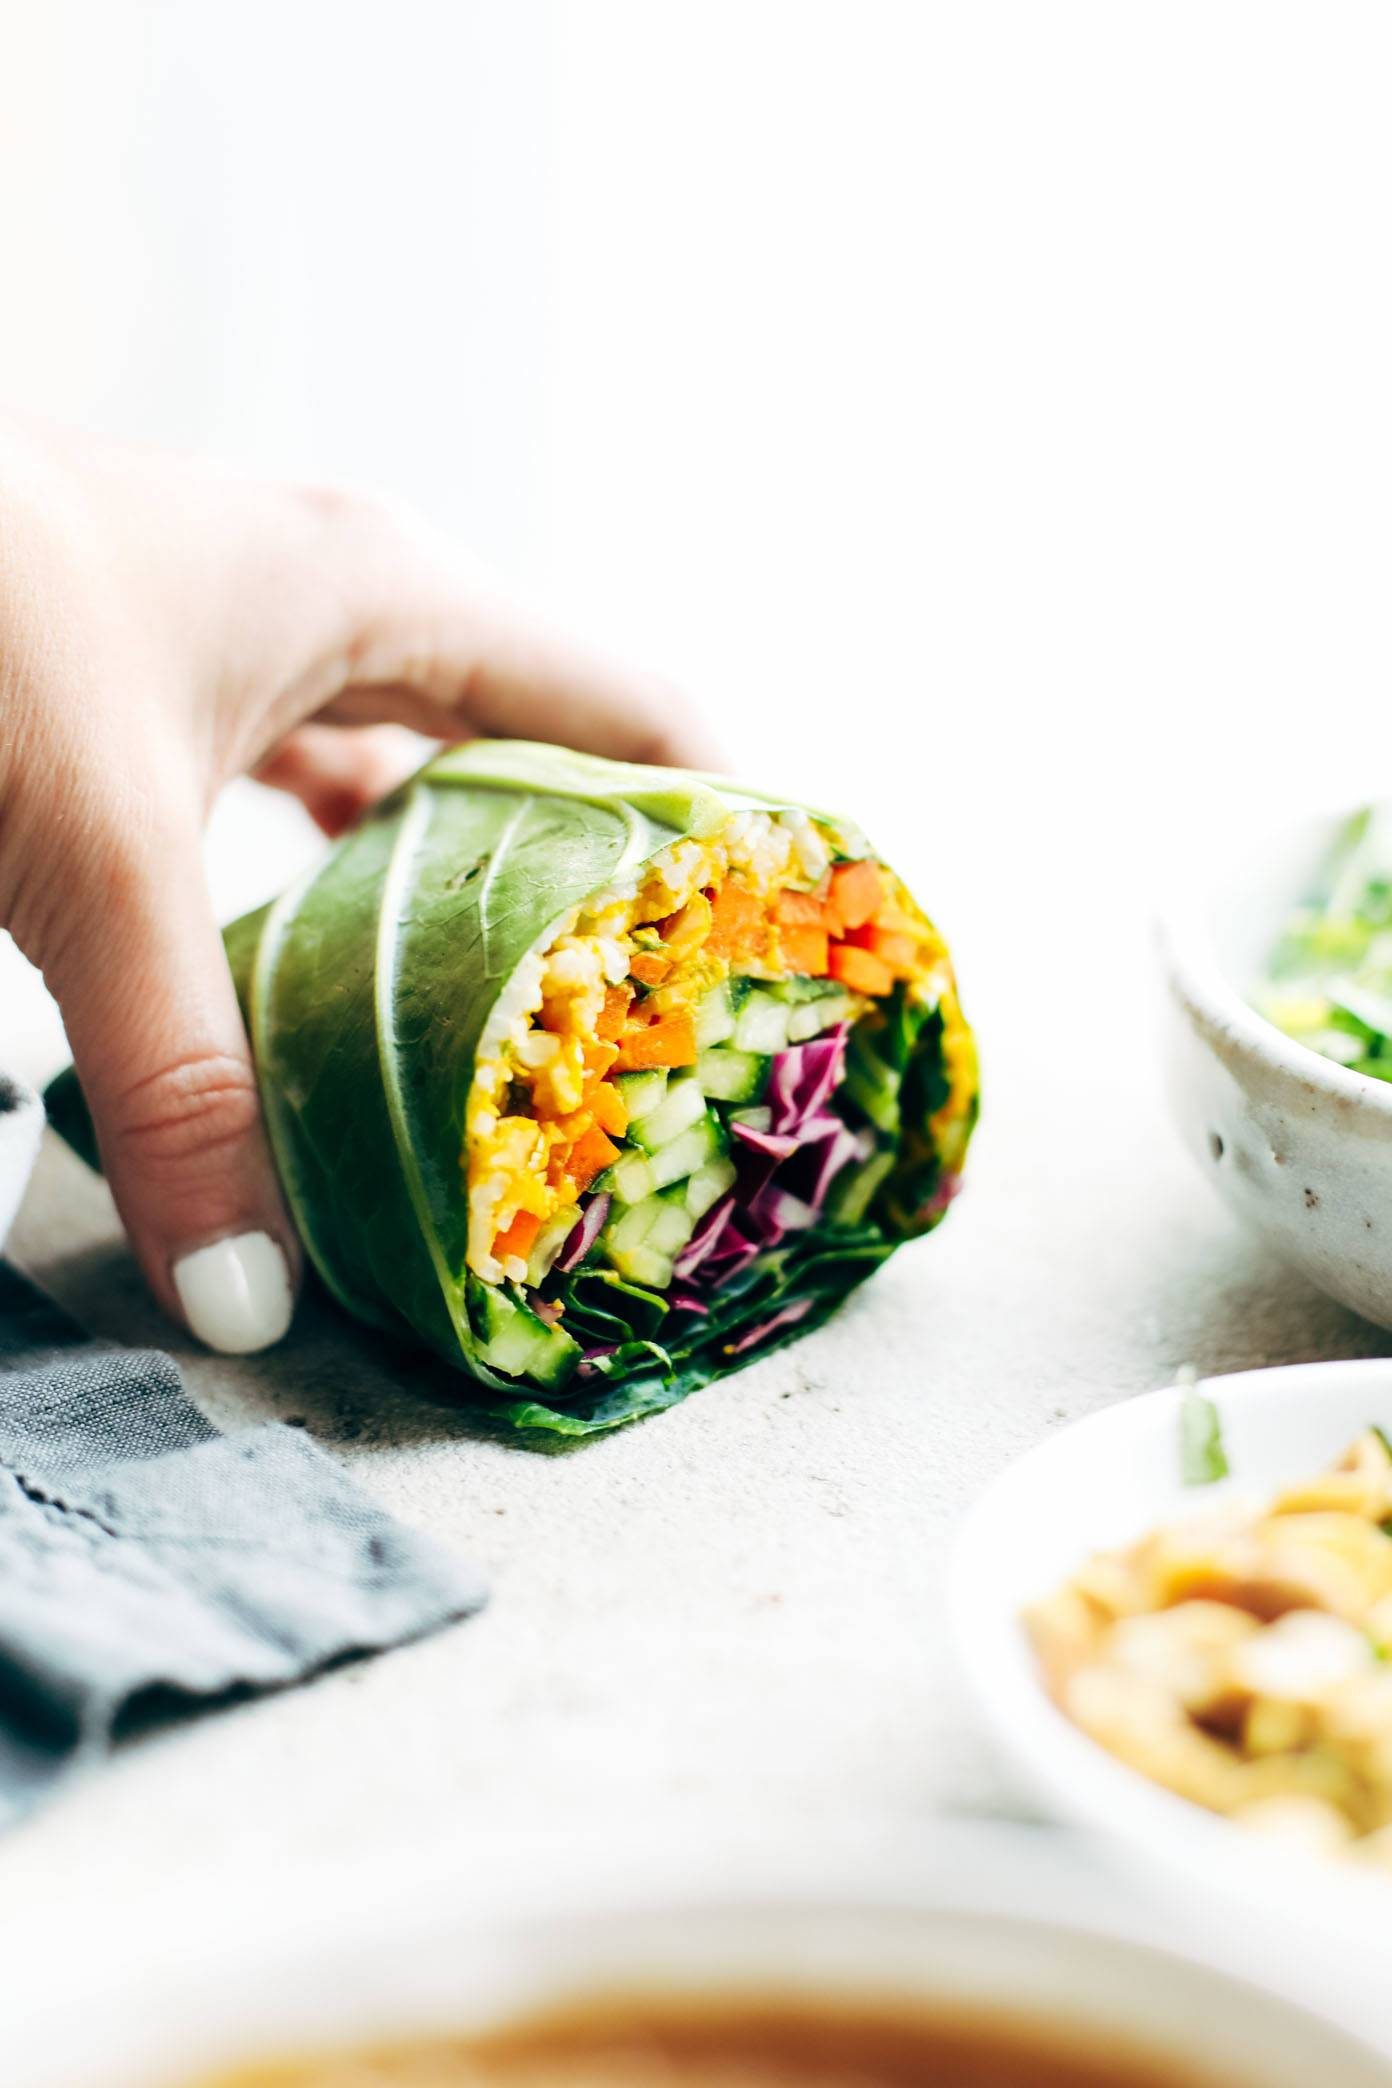
    That first bite? with the creamy, salty-sweet peanut sauce and the crunchy, cool veggies and the smear of thick, spicy curry hummus? Yes. It is every bit as satisfying as you’re imagining it.

    Desk-lunch awesomeness is yours!


    Print

    clock clock iconcutlery cutlery iconflag flag iconfolder folder iconinstagram instagram iconpinterest pinterest iconfacebook facebook iconprint print iconsquares squares iconheart heart iconheart solid heart solid icon

    Description

    Detox Rainbow Roll-Ups – with curry hummus and veggies in a collard leaf, dunked in peanut sauce! Most beautiful healthy desk lunch!


    Rainbow Roll-Ups:

    Peanut Sauce:


    1. Prep: Trim the stem/spine of the collard leaf – don’t cut it completely off, but just cut it down so that it’s nice and thin and pliable.
    2. Roll: Arrange your fillings on the collard leaf. Fold the ends in and roll from front to back, trying to keep everything in there nice and tight. Watch video for a visual example.
    3. Peanut Sauce: Run all the ingredients through a blender or food processor. Voila!

    Notes

    You can steam the collard leaves if you want to make them more pliable. I also found that just running the leaf under hot water or placing hot rice on it was enough to soften it just a little bit. These aren’t the greatest for making ahead, since the hummus can get a little watery once it sits with the veggies. I recommend prepping everything and then keeping it in the fridge and rolling a fresh one each morning or just before you eat it. They will hold together nicely with toothpicks! For a completely sugar free version of this recipe, use white distilled vinegar.

    • Prep Time: 45 minutes (lots of chopping)
    • Category: Dinner
    • Cuisine: American

    Keywords: collard wraps, peanut sauce, vegan roll-up wraps


    One More Thing!

    This recipe is part of our collection of best healthy vegetarian recipes. Check it out!

    Source link