This website may contain affiliate links and advertising so that we can provide recipes to you. Read my disclosure policy.
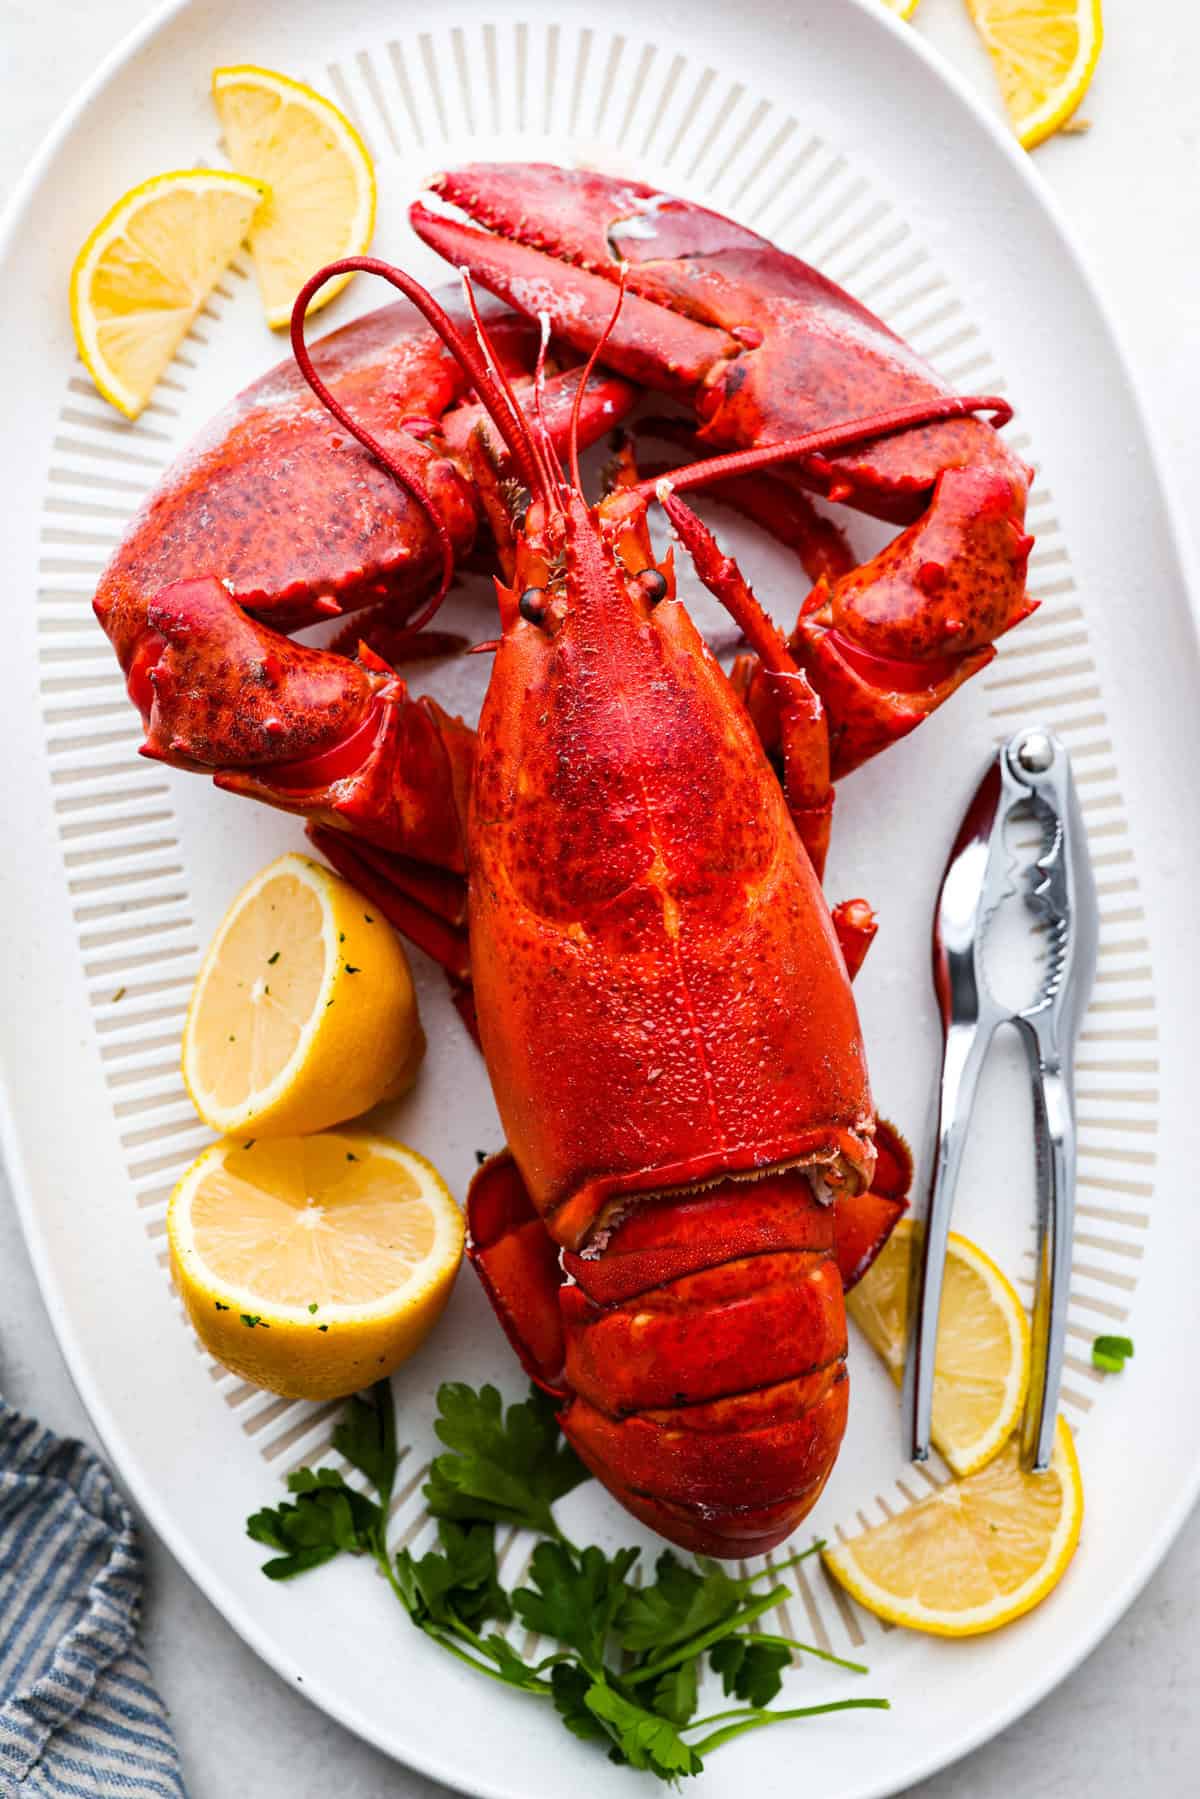
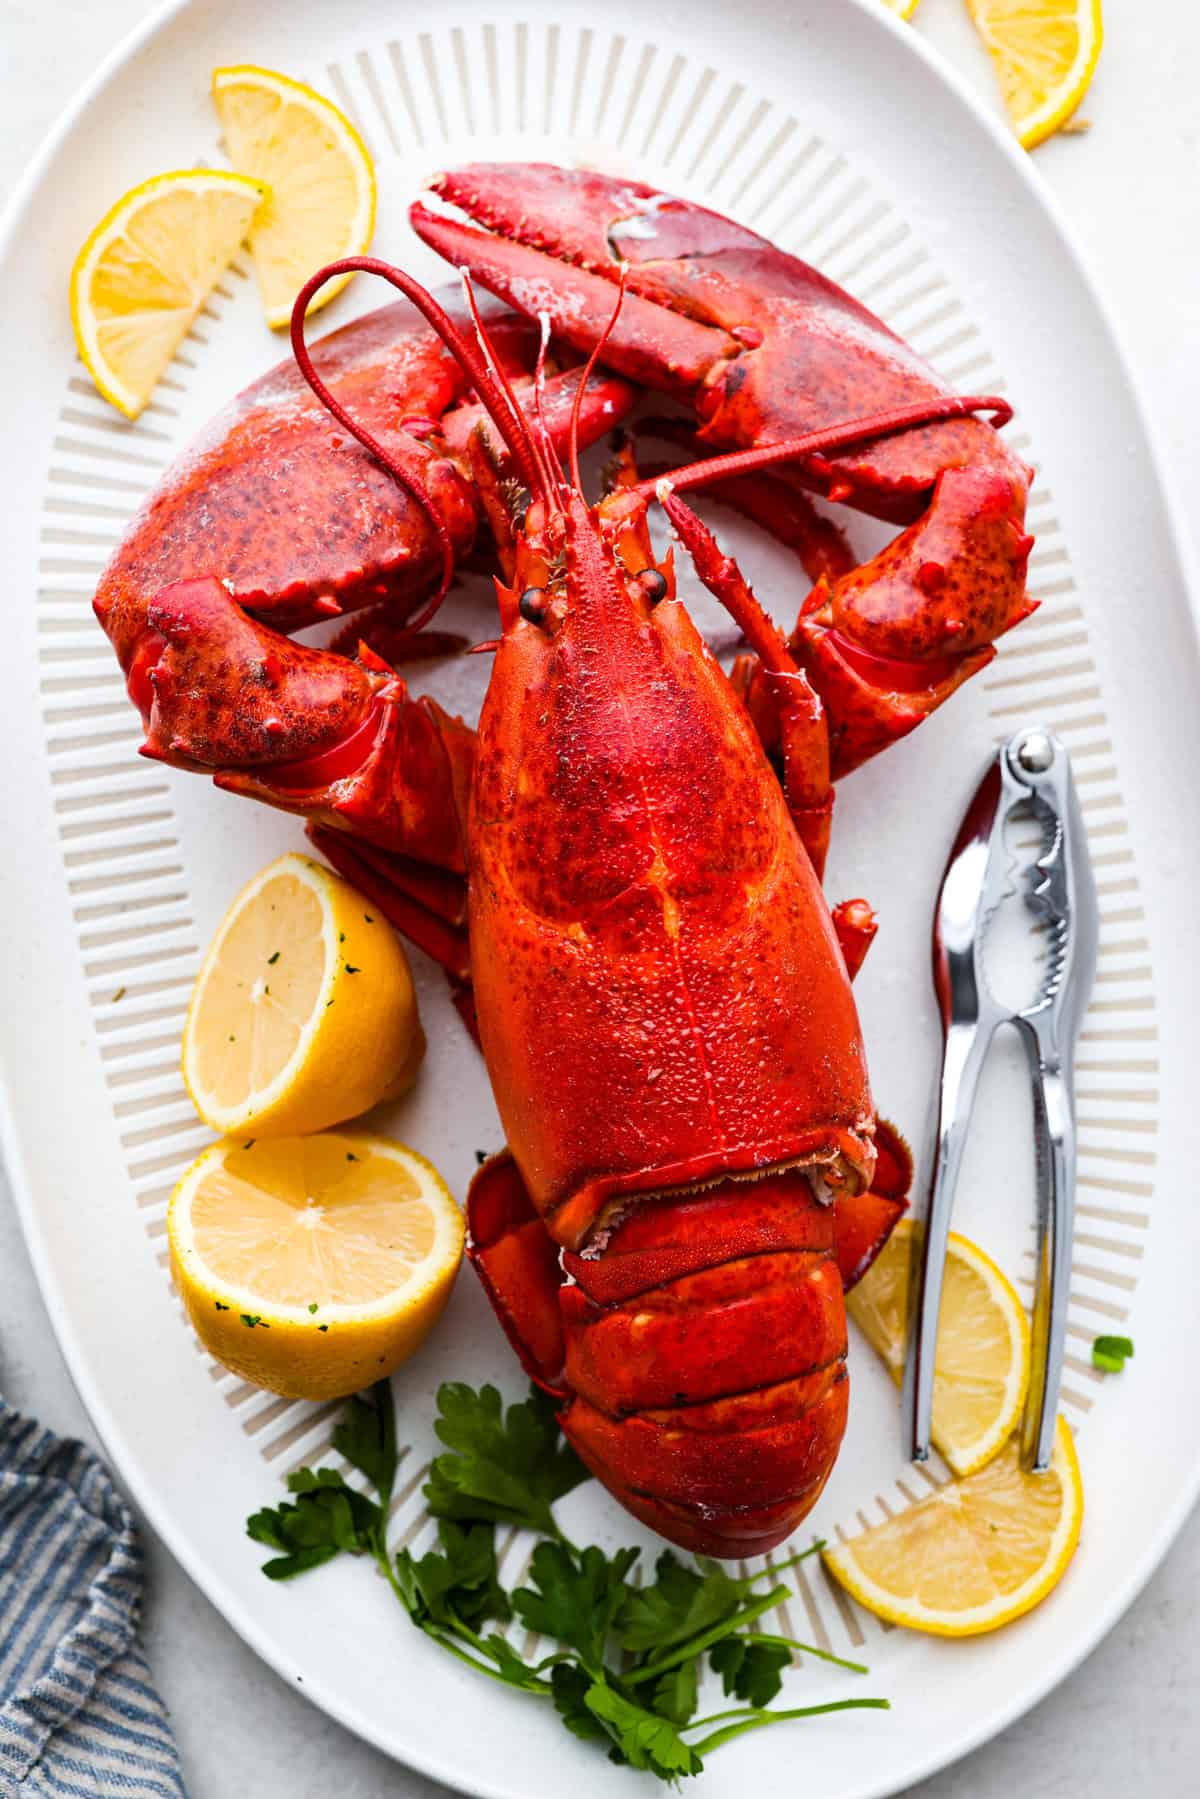
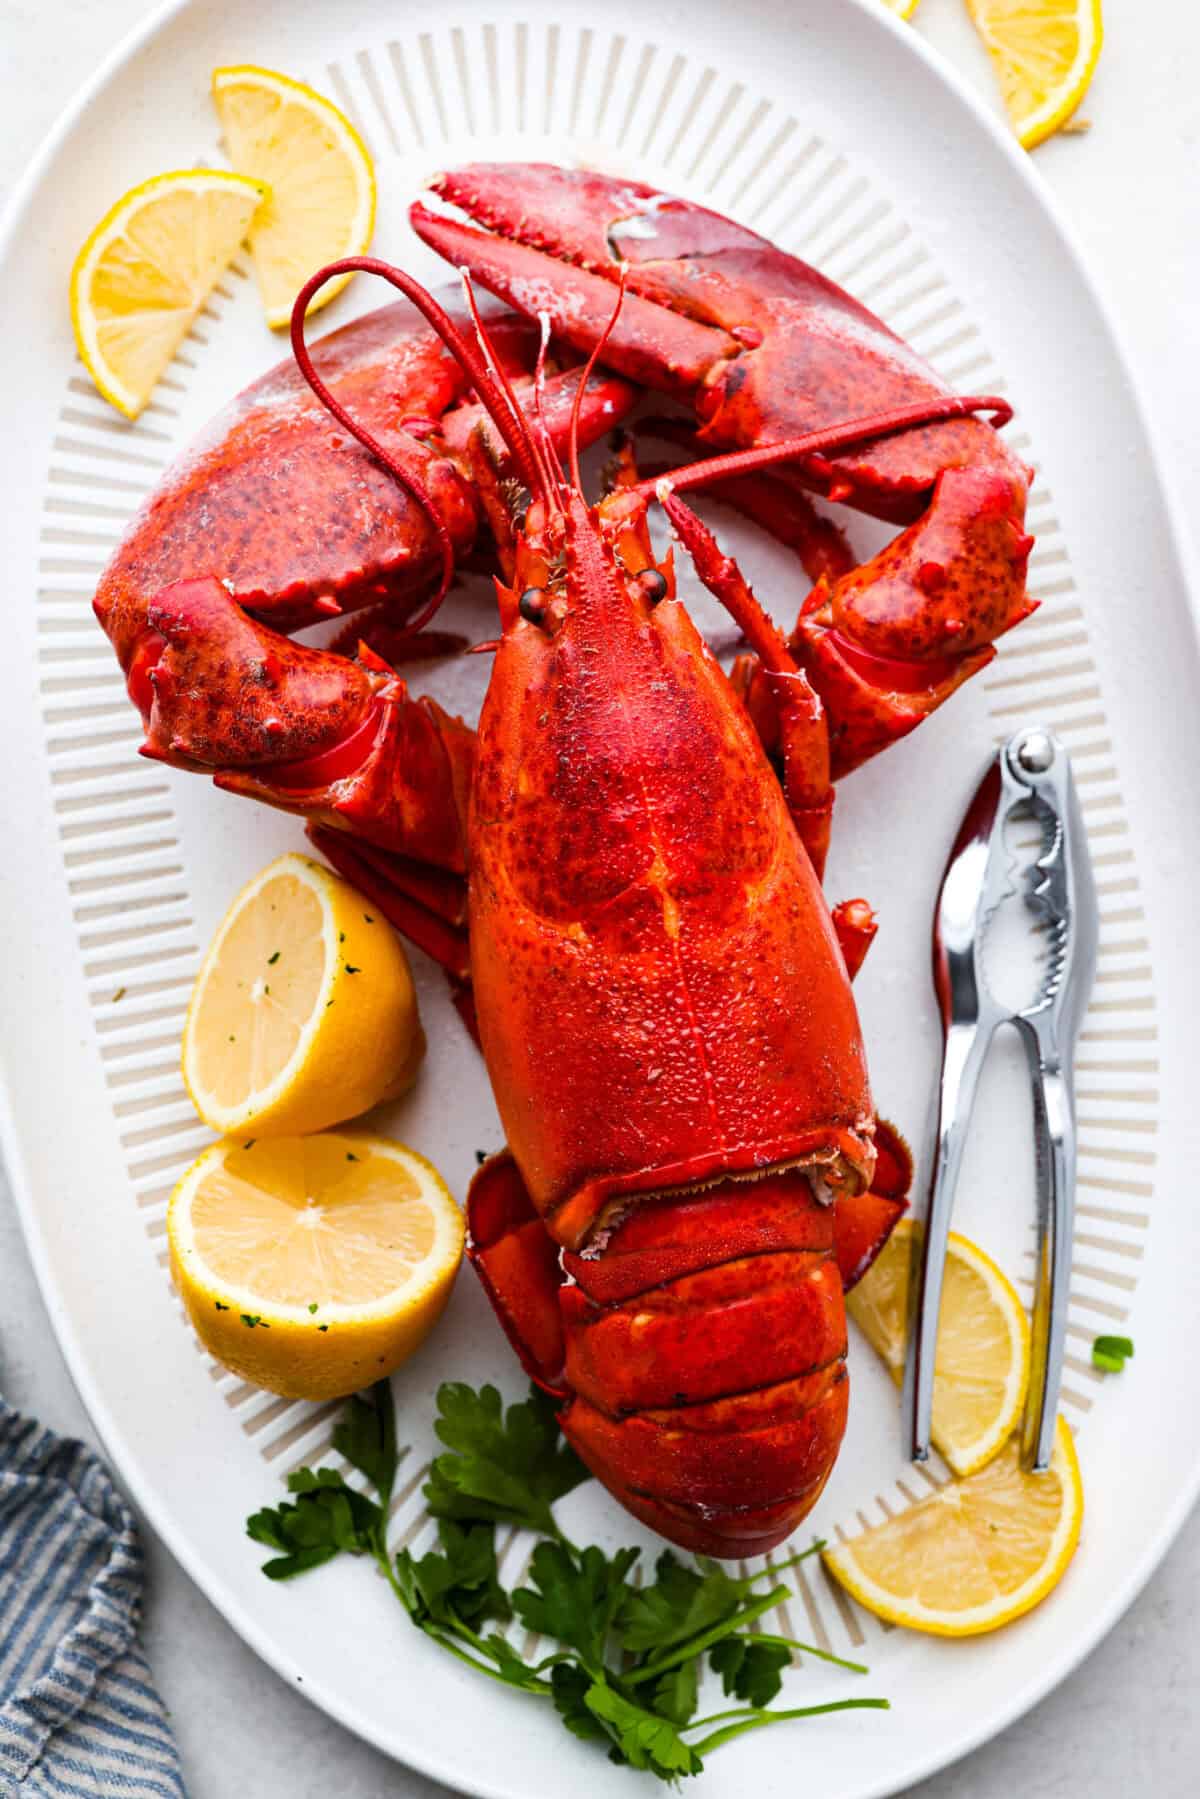
Learn how to boil lobster and enjoy this simple and delicious seafood delicacy. With a few basic steps, you’ll have perfectly cooked, tender lobster in just 20 minutes! Serve it with melted butter and your favorite sides.
Reasons You’ll Love This Recipe
Quick and Easy: Boiling lobster is a fuss-free cooking method that requires minimal effort and ingredients.
Tender and Juicy: The boiling process ensures the lobster meat stays moist and flavorful.
Versatile Serving Options: Perfect on its own with melted butter or as part of dishes like lobster rolls, salads, or pasta.
Perfect for Special Occasions: A restaurant-quality dish that’s a favorite for celebrations, romantic dinners, or whenever you want something that’s sure to impress. I love serving boiled lobster for Valentine’s Day dinner!
Whole Lobster
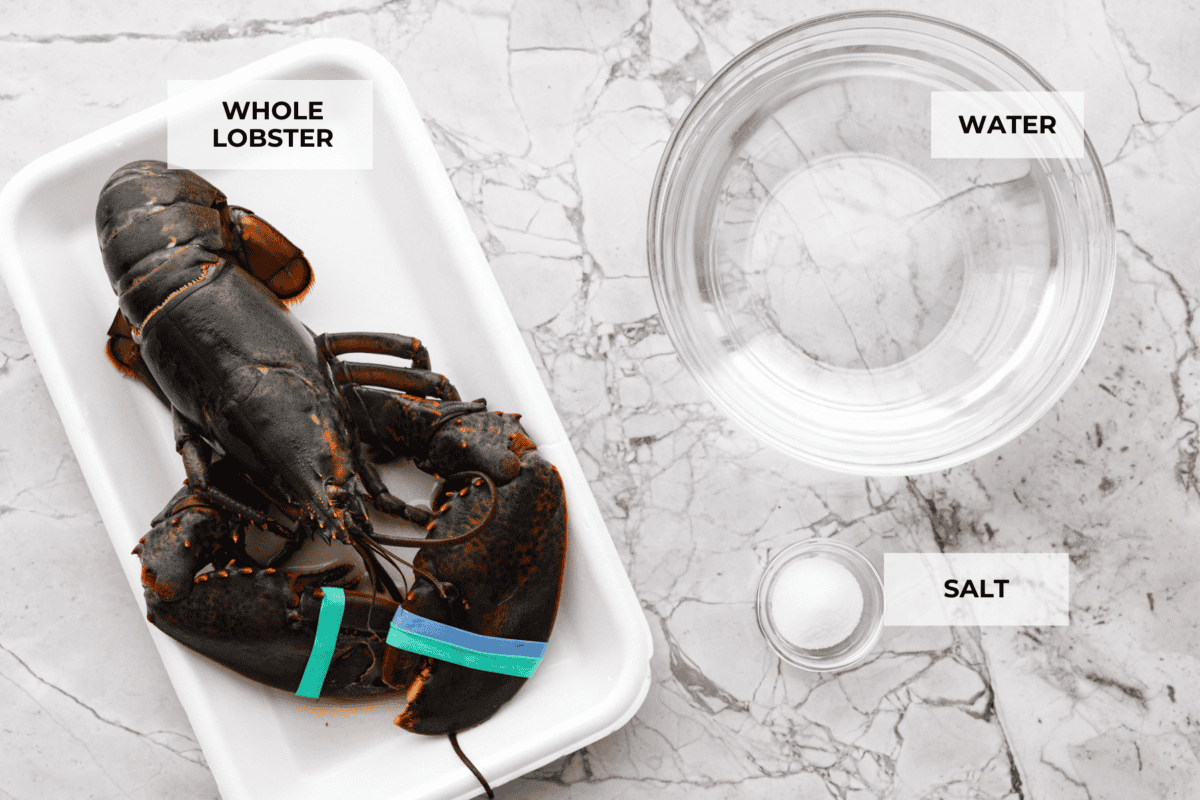
I remember going to the grocery store as a kid and seeing the live lobsters swimming around in a tank with their claws closed with rubber bands. I never understood why the grocery store had lobsters as pets! Ha ha! I remember eating lobster for the first time and understanding! It was so delicious, and I was hooked!
Ingredients Needed to Boil Lobster
How to Boil Lobster
If you’ve been intimidated to make lobster, don’t be! It’s surprisingly easy and tastes just like something you’d order from a fancy restaurant. It pairs well with a ton of sides, and I especially love it with garlic butter pasta or mashed potatoes and smashed Brussels sprouts.
Prep: Prepare the lobsterby cutting and removing the rubber bands from the claws.
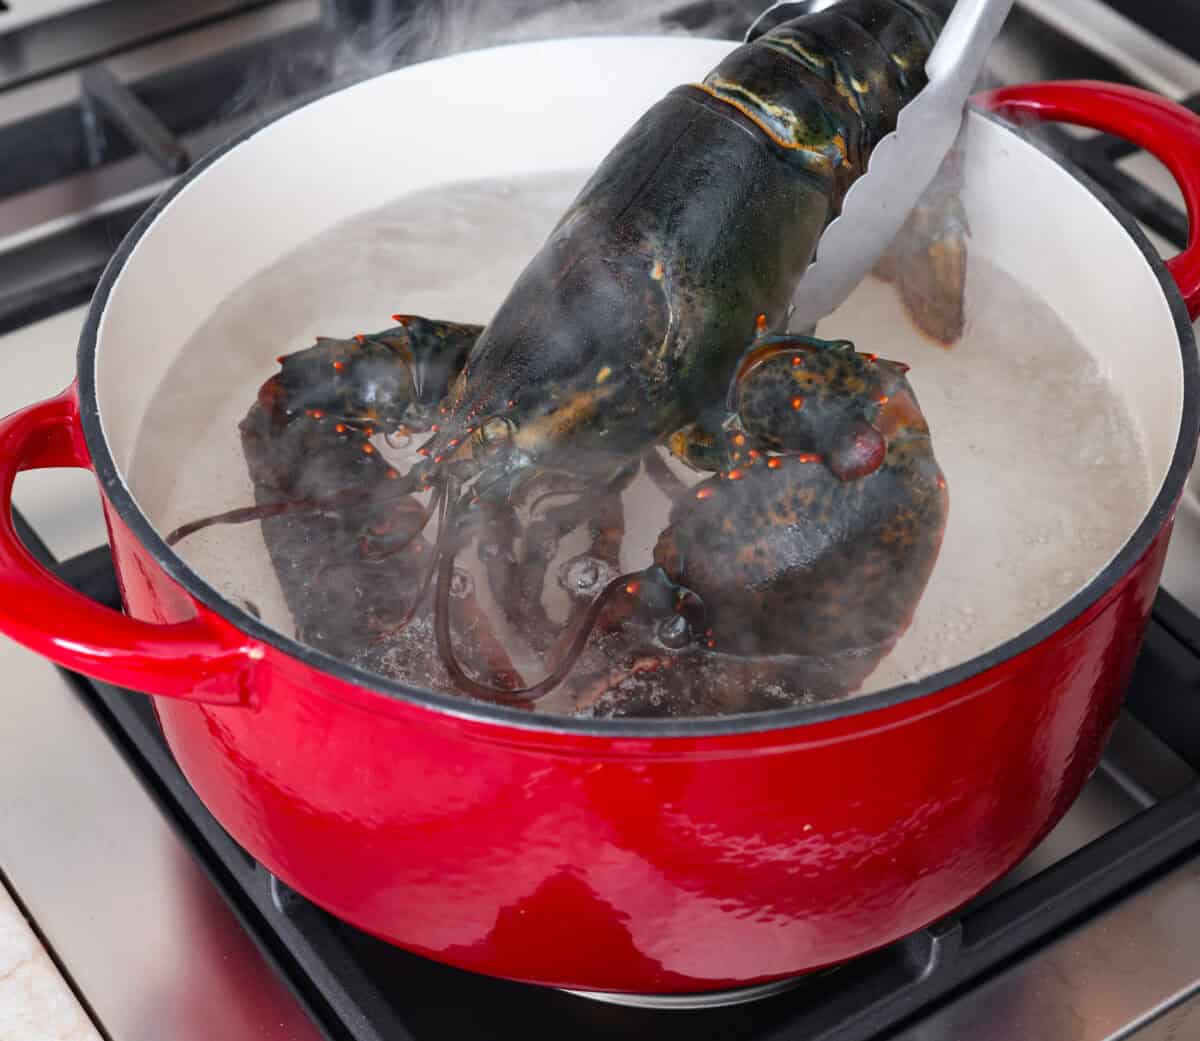
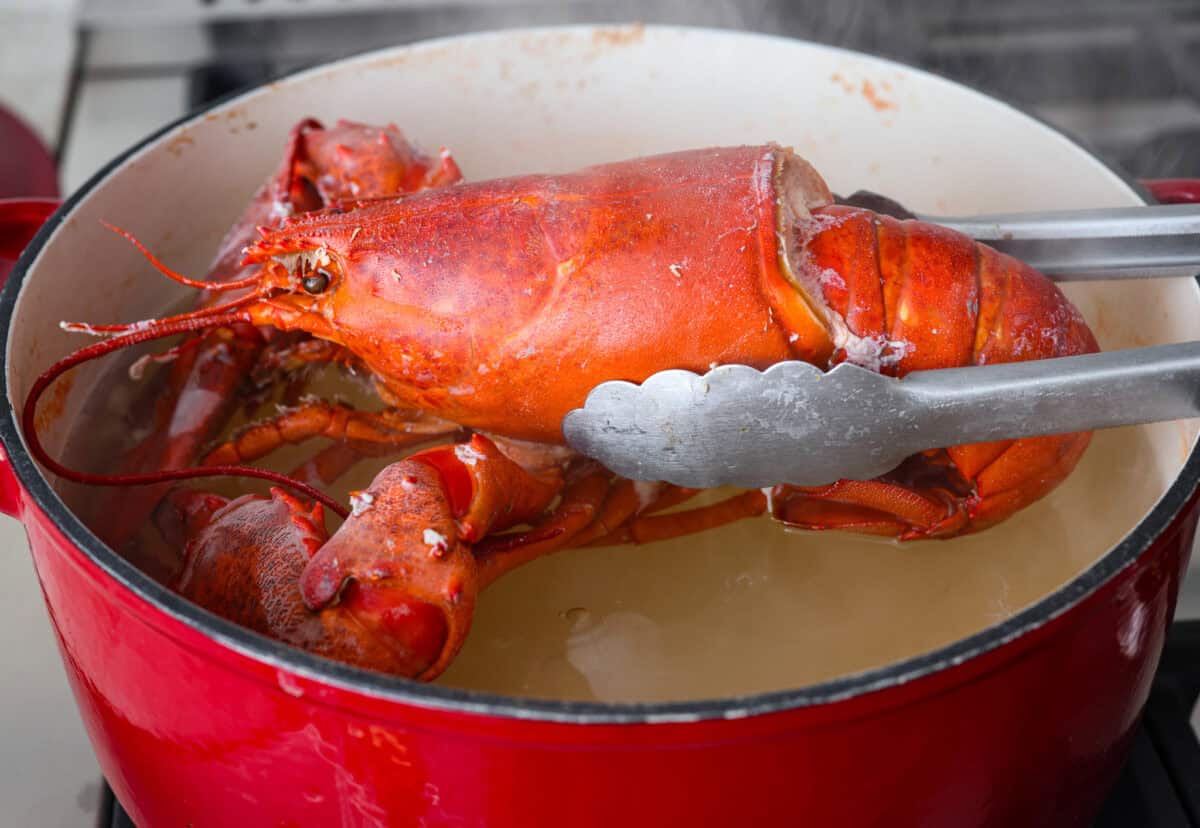
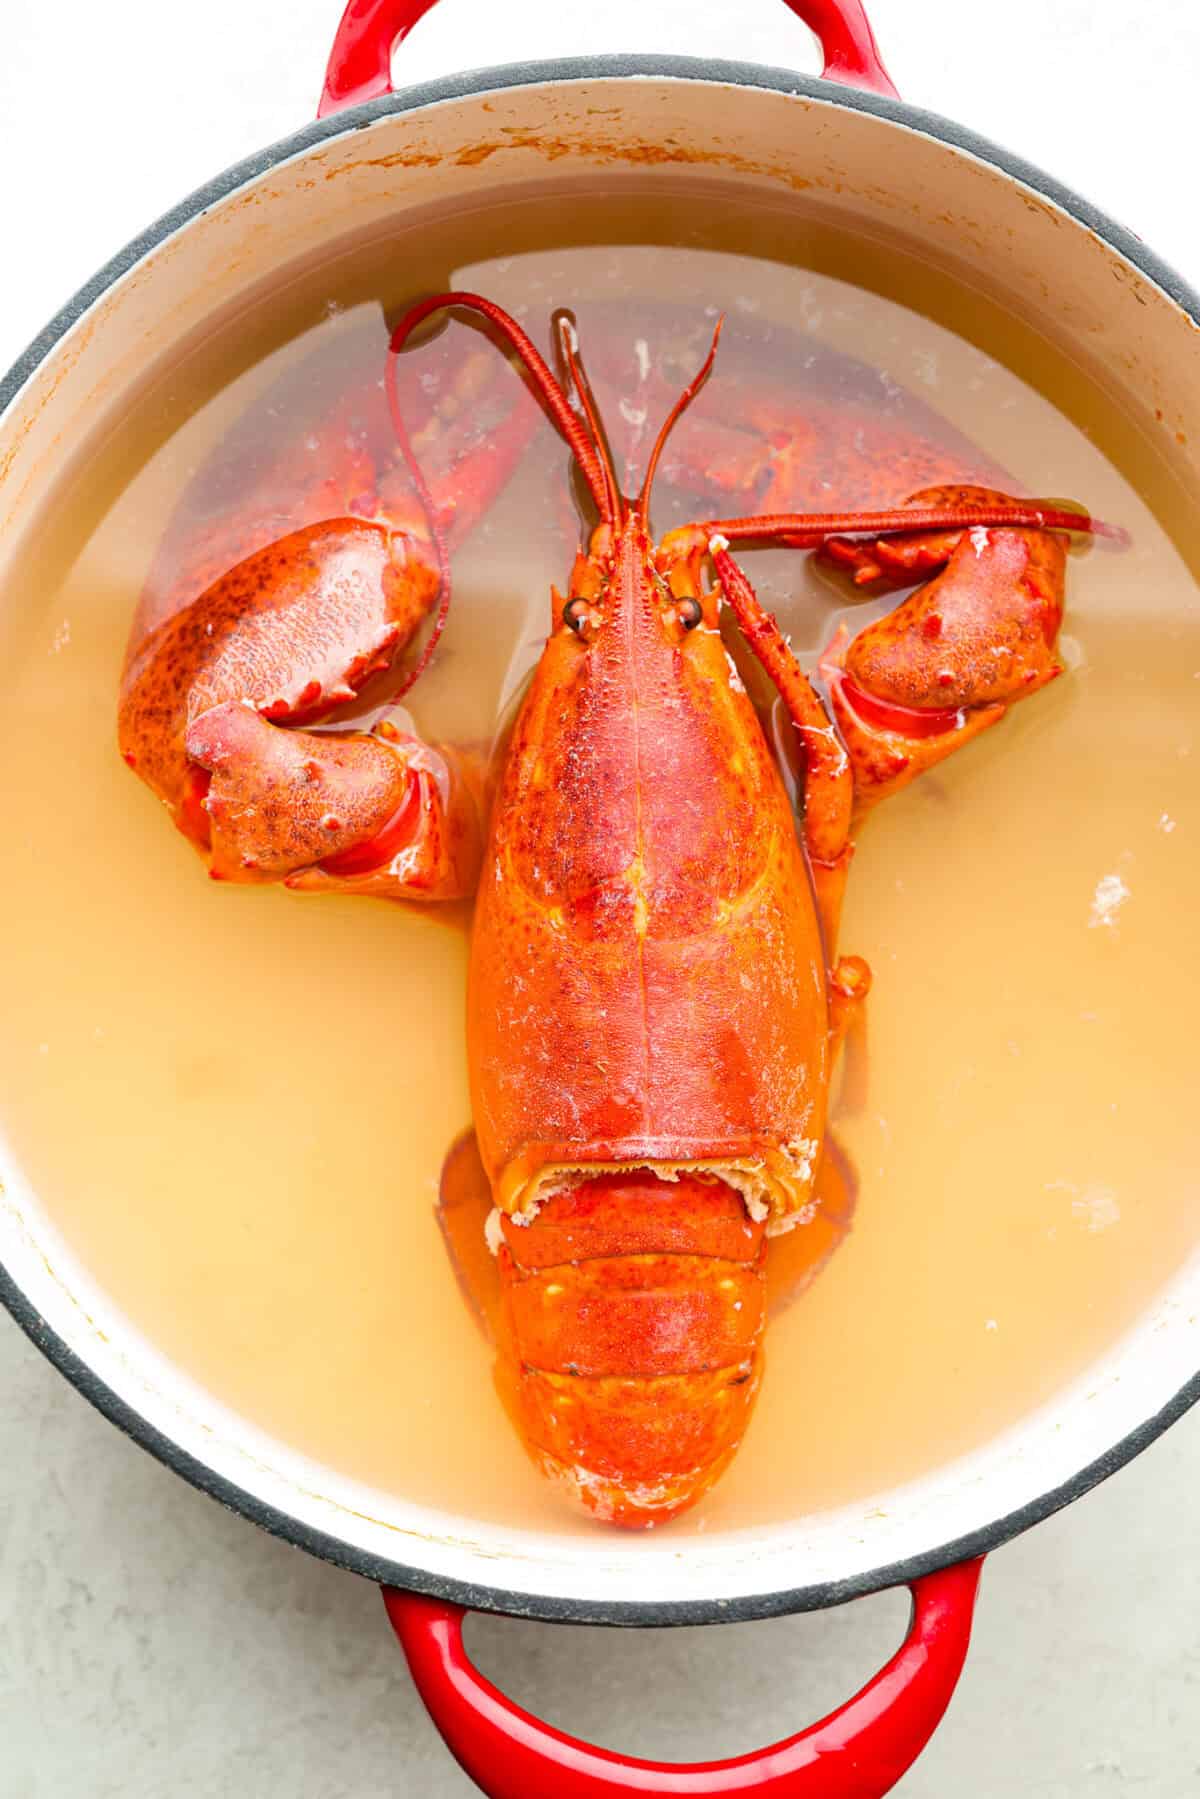
Boil the Lobster: Bring the water and salt to a rolling boil in a large pot over medium-high heat. Carefully place the prepared lobster into the boiling salt water and cook for about 5 minutes per pound of lobster. I had a 3-pound lobster, and it took 15 minutes!
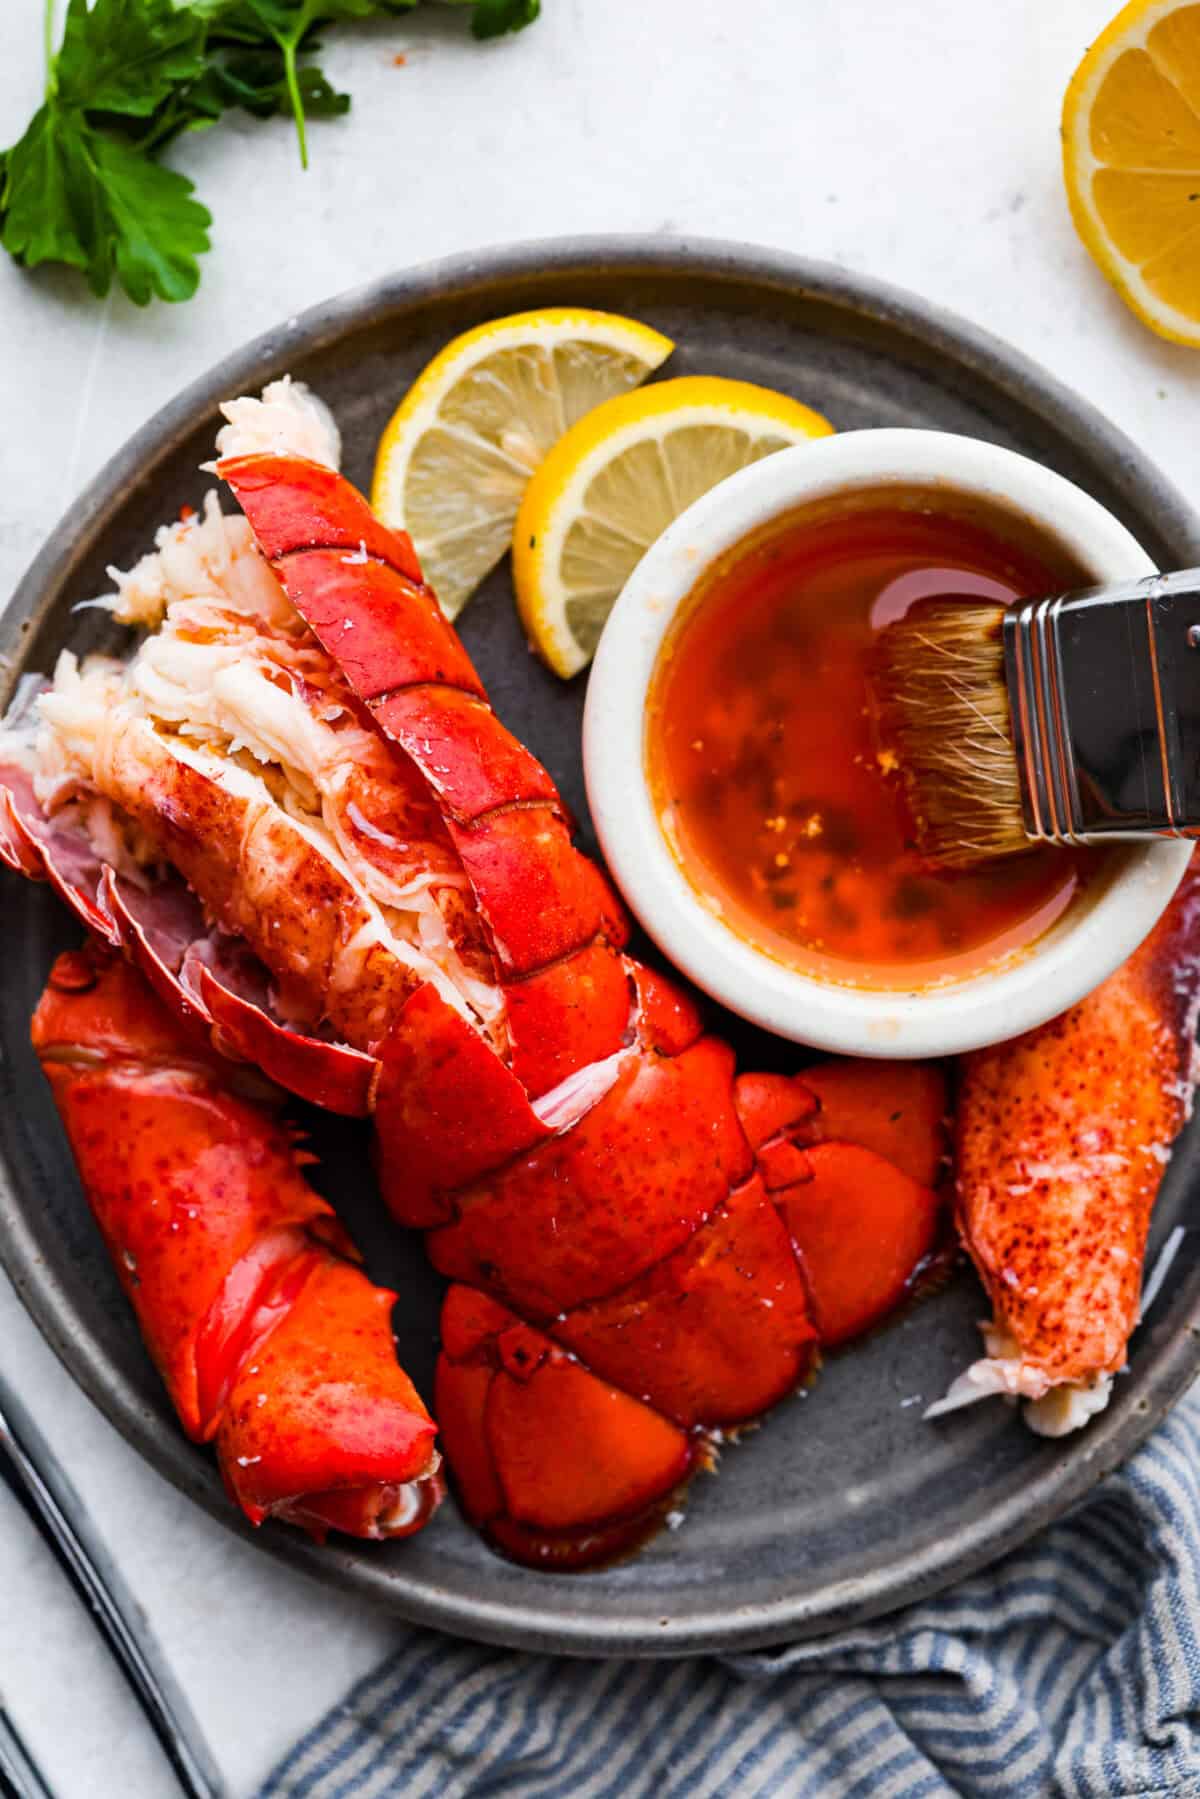
Serve: Carefully remove the lobster from the water using tongs. Let it drain for a minute on a plate. Remove the meat from the lobster and dip in your favorite butter sauce!
Tips for Boiling Lobster
This lobster recipe could not be any easier! However, here are a few tips so it turns out perfect every time you make it.
Frozen Lobster: Whole lobster is easy to buy frozen! Simply thaw it in the fridge before boiling it. You can also use lobster tails for this recipe if you prefer.
Butter Sauce: Try my Garlic Butter Sauce recipe for dipping! You can season the flavor in the sauce to your liking. Try adding paprika or red pepper flakes for more flavor or spice!
Weight: It’s best to know the weight of your lobster, so you don’t over or undercook it. Remember to boil the lobster for 5 minutes per pound.
How do I know if my lobster is done? Cooked lobster should reach an internal temperature of at least 135 degrees Fahrenheit.
Storing Leftovers
Don’t let any of that precious lobster meat go to waste! Here’s how to store it so you can add the leftovers to eggs, pasta, or salads.
In the Refrigerator: Make sure to remove the lobster meat from the shell before storing it. Store any leftovers in the fridge for up to 3 days in an airtight container.
In the Freezer: Boil and remove the lobster meat from the shell before freezing. Store in an airtight container for up to 6 months, although I recommend enjoying your lobster meat fresh!
Grab your big girl (or big boy) apron, your tongs, and your attitude, because we’re conquering culinary fears with this easy, perfect, you-can’t-mess-it-up Grilled Salmon.
Email Me the Recipe!
From time to time, we’ll send you Well Plated emails. You can unsubscribe anytime. Have an account? Log In.
How to Grill Perfect Salmon Every Time
Even if you are intimidated to cook fish (I was for years!) or intimidated to use the grill (yep, I was scared of that too), this grilled salmon recipe is foolproof.
I’ve included all the best tips for how to grill salmon, ways to flavor salmon, what to serve with salmon, and more!
This post is your grilled salmon toolkit.
This recipe is based on my go-to Baked Salmon.
Before grilling season leaves us, I’ve had on my mind to adapt, test, and perfect that much loved baked salmon recipe to the grill. Today is the day!
Read on for detailed photos and step-by-steps for how to cook grilled salmon.
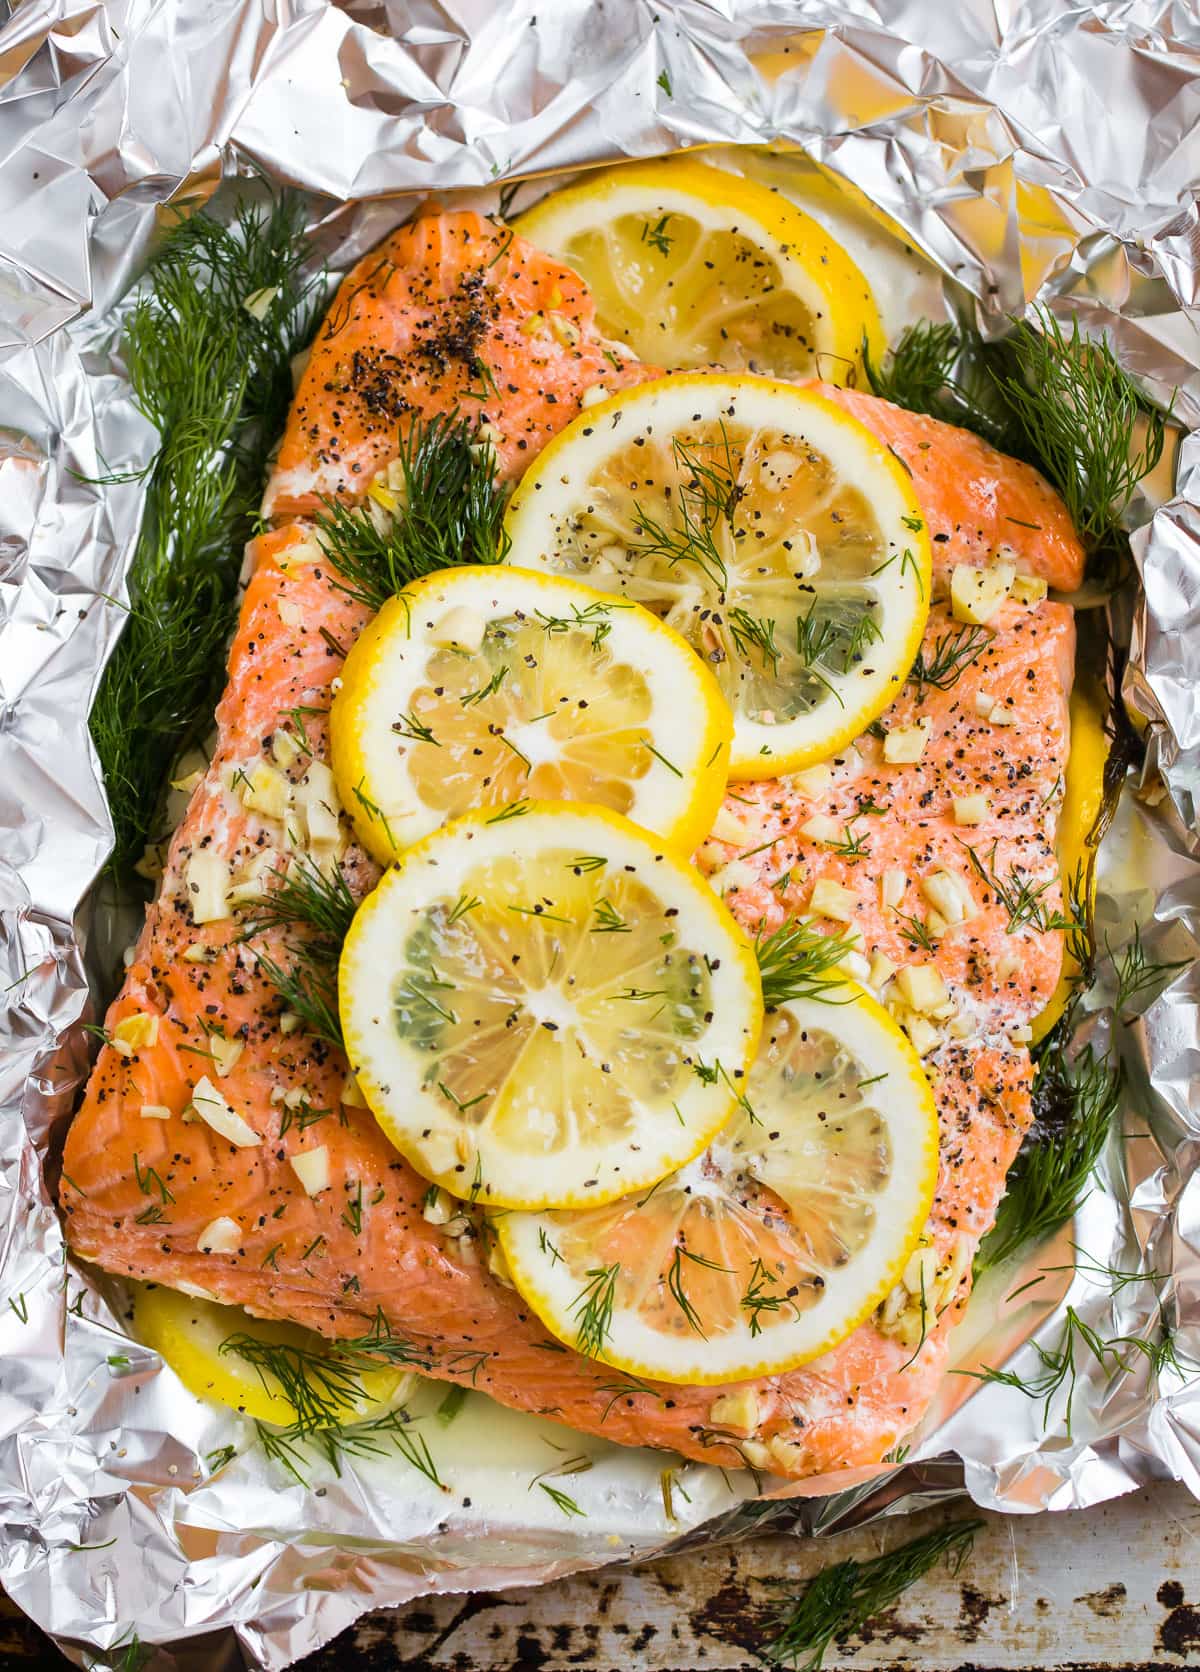
At the bottom of the post, I’ve included a recipe for grilled salmon with lemon and dill (and garlic and butter). It’s a lovely combination.
You can follow those flavor recommendations or use the same grilling method with one of the other suggested variations below.
The Easiest Way to Grill Salmon
While you can grill salmon without foil (see these classic Grilled Salmon Fillets and Cedar Plank Salmon for recipes), for a foolproof method that works especially well for a large piece of salmon, use the foil packet method.
Using foil to make a packet around the salmon keeps the salmon moist when grilling. It ensures the salmon turns out perfectly tender and flaky, not dry.
With the foil method, you also don’t need to worry about the salmon falling apart or sticking to the grill grates.
Avoid sad, stuck-on, dry salmon: use foil to grill! Want to test your salmon grilling skills? Check out my Grilled Salmon, sans foil.
How to Make the Best Grilled Salmon in Foil
1. Start by Selecting The Best Fish
Look for salmon that is bright pink in color, that smells fresh but not fishy, and, if possible, is wild caught.
For more information on how to pick salmon, see How to Cook Salmon.
2. Lay a Large Sheet of Foil on a Baking Sheet
You’ll want a piece large enough to fully wrap around your piece of fish, with plenty of overhang on all sides to make a foil packet.
I recommend using a heavy-duty foil or at least slightly thicker foil, as it is less prone to tearing.
The baking sheet is there so it’s easy to carry to your grill. When you’re done grilling, you can slide the foil packet right back onto it, then carry it straight to the kitchen (or your table).
If you do not want your food to touch the foil directly, lay a sheet of parchment paper on top of the foil to act as a barrier. Cooking food directly in foil has been noted as a health concern by some, so do whatever makes you the most comfortable.
3. Place Half of the Herbs and Citrus on the Foil
Most often, I do a simple grilled salmon: a few sprigs of herbs and lemon slices. I like dill, but you can use any mix of fresh herbs and citrus that you like.
If you use a stronger herb like rosemary or dill, be more sparing on the herbs. Herbs like parsley or cilantro are more delicate, so you can be more generous.
For citrus, use lemon, lime, or orange (or try all 3!). Of these, lime is the strongest.
Of course, you don’t have to use lemon and herbs—you can use salmon that’s rested in your favorite marinade, or a different blend of herbs and seasonings.
4. Arrange the Salmon on Top
Place the salmon on the foil skin side down, flesh side up.
If you realize your sheet of foil is too small, simple tuck a second one behind it.
5. Add Butter, Garlic, and Seasonings
For grilled salmon, I’ve been loving the flavor of melted butter. Two tablespoons are all you need for a full 1 ½ pounds of fish. Worth it!
If you prefer not to use butter or need the grilled salmon dairy free, you can use olive oil or another cooking oil of choice.
For seasonings, I like minced fresh garlic, along with plenty of kosher salt and black pepper.
Be generous with the salt and pepper! The more fish you have, the more you need.
Place more herbs and citrus on top.
For other ways to flavor the salmon, try Salmon Seasoning for a dry rub or this go-to easy Salmon Marinade.
6. Seal the Foil Packet and GRILL!
A large piece of salmon should be grilled over medium heat, about 375 to 400 degrees F. This recipe is written for a gas grill, and it also works for a charcoal grill, Traeger grill, or Big Green Egg.
Once you close the grill lid, the salmon should cook for 14-18 minutes, until almost completely cooked through at the thickest part. The cooking time will vary based on the thickness of your salmon.
How to Tell When Salmon is Finished Cooking
The eternal question! The greatest of salmon crimes (in addition to under seasoning) is overcooking.
As this Salmon Temperature Guide outlines, the best way to tell if salmon is done is to use an instant read thermometer like this one. Remove the salmon at 135 degrees F, then let it rest.
The FDA recommends cooking salmon to 145 degrees F, but its temperature will continue to rise as it rests.
If you don’t have a meat thermometer, you can check for doneness by taking a sharp knife and peeking into the thickest part of your salmon. If it is beginning to flake, but still has a little translucency in the middle, it is done.
If your piece is thinner (around 1-inch thick) check several minutes early to ensure your salmon does not overcook. If your piece is very thick (1 1/2 inches or more), it may need longer.
What to Serve with Grilled Salmon
More Ways to Season Grilled Salmon
In addition to the dill and lemon grilled salmon below, here are more tasty suggestions to keep the recipe feeling fresh:
Grill Salmon in Foil with Capers. For a bright, slightly Italian spin, use a few sprigs of thyme in place of the dill and reduce the salt to ½ teaspoon. Sprinkle the finished fish with 1 to 2 tablespoons of drained capers.
Grilled Salmon with Lime. Use lime for the lemon and cilantro in place of dill. Enjoy alongside a Skinny Margarita.
Grilled BBQ Salmon. Instead of the melted butter and garlic, brush 1/4 cup of BBQ sauce (try this homemade barbecue sauce) on the salmon before grilling. Top with lemon slices as directed.
Grilled Salmon with Soy Sauce. For an Asian spin on your Grilled Salmon in Foil, swap out the melted butter for 1/4 cup of soy sauce. Drizzle the soy sauce over the salmon and top with garlic as directed before placing on the grill. Because of the high sodium content in soy sauce, you can also omit or reduce the added salt. This version would be delicious served with Asian Noodle Salad.
Grilled Salmon with Brown Sugar. A sweet twist on this Grilled Salmon in Foil! Stir 1/4 cup brown sugar into 1/4 cup melted butter, and brush evenly over the salmon. Top with the garlic, salt, pepper, and lemon as directed.
Grilled Salmon Marinade. Takes all of 2 minutes to put together. It uses soy sauce for salt and umami, honey or pure maple syrup for sweetness (salmon loves sweet!), and Dijon mustard for balance and zip.
More Ways to Cook Salmon
Yes, we adore baked or grilled salmon in foil, but there are also many other healthy salmon recipes that don’t use foil.
Recipe Tips and Tricks
Skip the Flip. You do not need to flip salmon when grilling (in fact, if you do try to flip it, you’re very likely to have it stick and fall apart). The foil packet method in this recipe does an especially good job making sure the salmon cooks evenly without flipping.
The Skin Can be On or Off. The skin is easy to remove after salmon is cooked, you can grill it with the skin off or on. Leaving the skin on can help the keep the salmon moist and deter overcooking, so if you are on the fence or new to cooking salmon, leave it on. If you prefer the skin is off for presentation purposes, if you grill the salmon in foil, you can remove the skin, since you don’t need to worry about the salmon falling apart.
Start Grilling Skin-Side Down. If you decide to grill salmon directly on the grill grates instead of using foil, grill it skin side down. Do not grill it face side down, as the flesh is likely to tear and stick. With the foil packet, you don’t need to worry about sticking. You can also place a cast iron skillet on the grill and make Pan Seared Salmon.
How to make grilled salmon. Easy step-by-step for PERFECT, flaky salmon in foil. Tips for how to know when salmon is done and seasoning ideas!
Email Me the Recipe!
From time to time, we’ll send you Well Plated emails. You can unsubscribe anytime. Have an account? Log In.
1 ½poundside of salmonskin off or on
1small bunch of fresh dilldivided
1medium lemonplus additional for serving
2tablespoonsmelted unsalted butteror canola oil or olive oil
3clovesminced garlic
¾teaspoonkosher salt
¼teaspoonfreshly ground black pepper
Remove the salmon from the refrigerator and let stand at room temperature for 10 minutes while you prepare the other ingredients. Preheat an outdoor grill to medium (about 375°F). Line a rimmed baking sheet (large enough to hold your piece of salmon) with a large piece of aluminum foil. If you prefer your food not to touch the foil directly, lay a piece of parchment paper on top (be sure none of it pokes out when the packet is sealed).
Lightly coat the foil with baking spray. Then, arrange a few sprigs of dill down the middle. Cut the lemons into thin slices and arrange half of the slices down the middle with the dill. Place the salmon on top.
Drizzle the salmon with the melted butter. Sprinkle with the salt and pepper. Scatter the garlic over the top, then lay a few more springs of dill and the remaining lemon slices on top of the salmon. Chop a tablespoon or so of the remaining dill and reserve for serving.
Fold the sides of the aluminum foil up and over the top of the salmon until it is completely enclosed. If your piece of foil is not large enough, place a second piece on top and fold the edges under so that it forms a sealed packet. Leave a little room inside the foil for air to circulate.
Carefully slide the wrapped salmon onto the grill. Close the grill and grill the salmon for 14-18 minutes, until the salmon is almost completely cooked through at the thickest part. The cooking time will vary based on the thickness of your salmon side. If your piece is thinner (around 1-inch thick) check several minutes early to ensure your salmon does not overcook. If your piece is very thick (1 1/2 inches or more), it may need longer.
Open the grill, and carefully open the foil so that the top of the fish is completely uncovered (be careful of hot steam). Close the grill, and continue grilling until the fish is cooked through completely, about 3 minutes more. Watch the salmon closely to make sure it doesn’t overcook. Remove the salmon from the grill (I like to use the foil to lift it right back on top of the baking sheet). If it still appears a bit underdone, you can wrap the foil back over the top, and let it rest for a few minutes. Do not let it sit too long—salmon can progress from “not done” to “over done” very quickly. As soon as it flakes easily with a fork, it’s ready.
To serve, cut the salmon into portions. Remove the topmost sprigs of dill and discard. Sprinkle with freshly chopped dill and top with an extra squeeze of lemon as desired.
This recipe is best enjoyed the day that it is made, as salmon usually dries out when reheated. If you have leftover salmon, try serving it room temperature over a salad the next day or flaking and scrambling it with eggs.
TO MAKE DAIRY FREE: Swap olive oil or the oil of your choice for the unsalted butter.
TO MAKE WHOLE30/PALEO: Swap olive oil or the oil of your choice for the unsalted butter
For more tips about how to tell when salmon is done or ideas to vary up this recipe to different tastes, see blog post above.
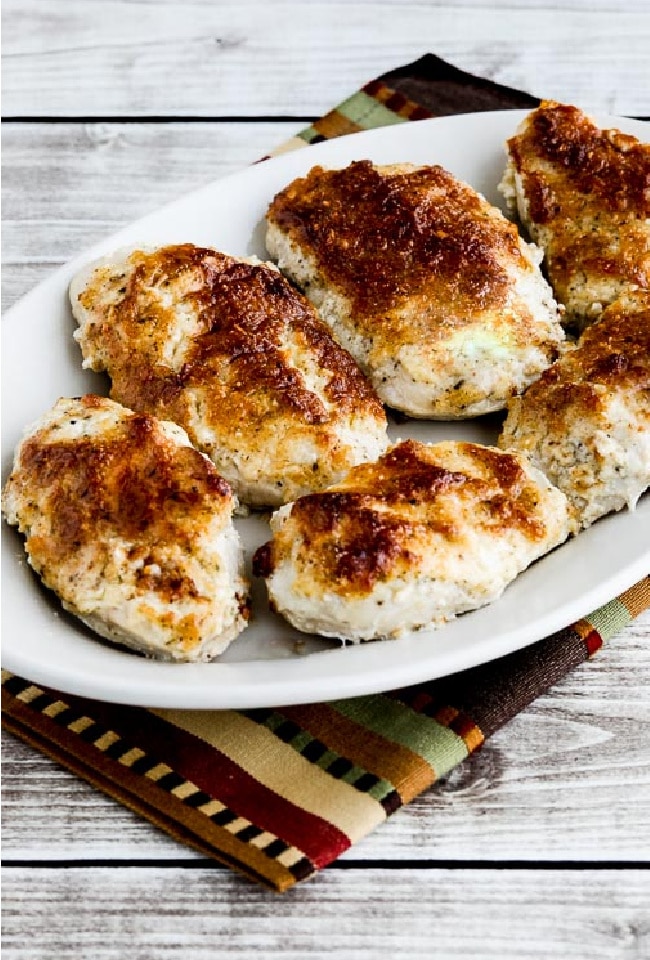
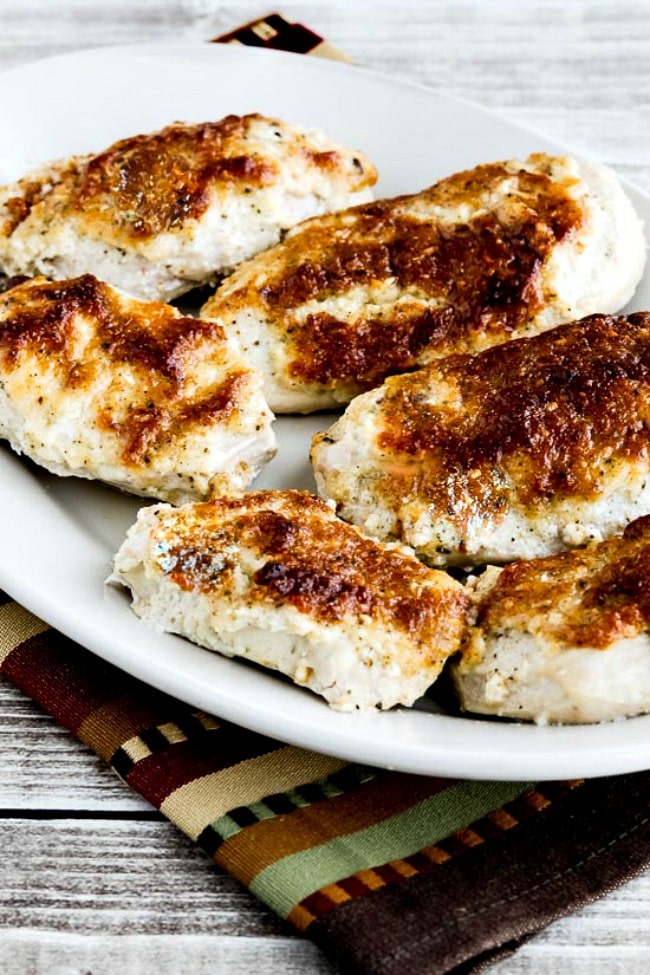
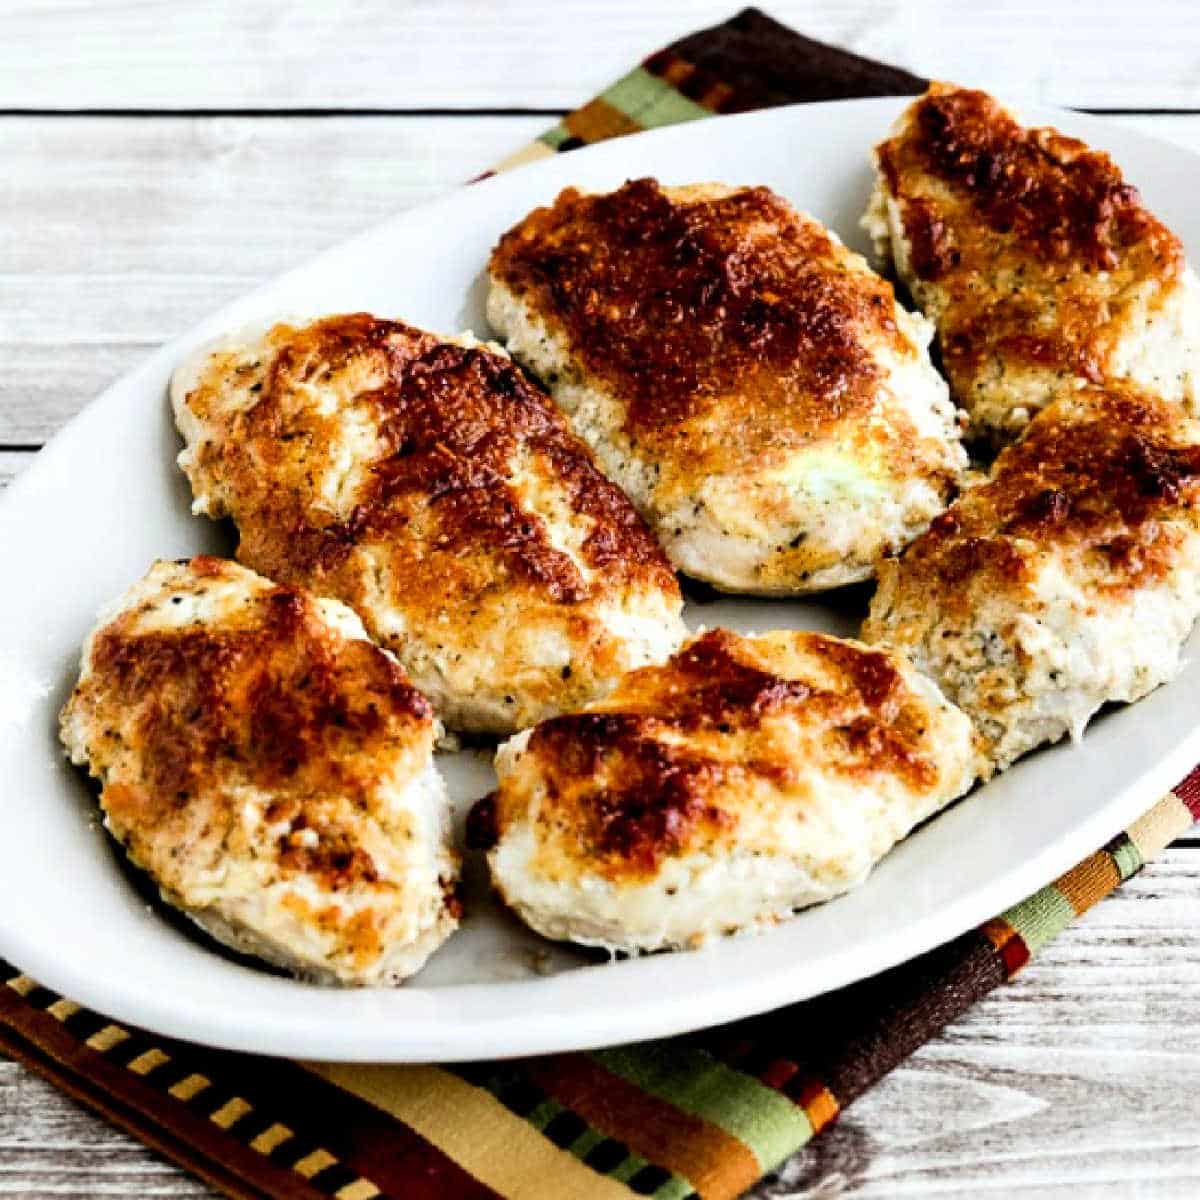
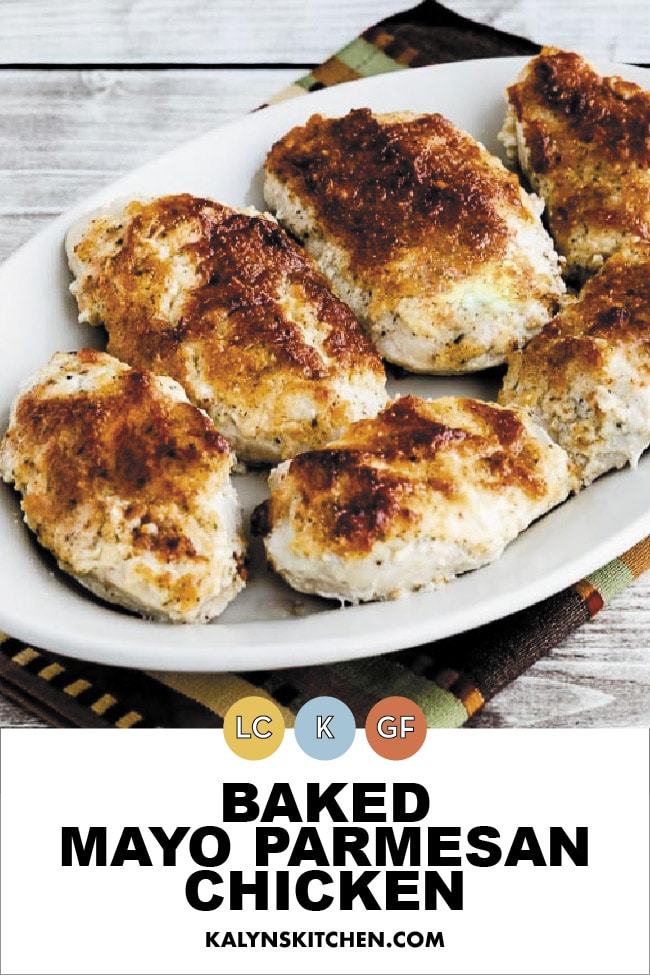
This Baked Mayo Parmesan Chicken is my version of a low-carb chicken dish that’s been popular all over the internet! And if you like the idea of chicken topped with creamy mayo and delicious Parmesan cheese, I bet this is a chicken dinner you’ll make over and over.
PIN the Baked Mayo Parmesan Chicken to try it later!
When I discovered the inspiring recipe for this Baked Mayo Parmesan Chicken in a Facebook group, this recipe really caught my eye. I loved the idea of using mayonnaise as an ingredient to keep chicken moist in the oven. So I printed the recipe, and then I tried to find the original source.
What I did end up finding was variations of Mayo Parmesan Chicken with rave reviews all over the internet! Some of them had no attribution at all, but many attributed the recipe to another website or blog in an endless loop of internet recipe posting! (If anyone sees a site that claims to be the original source, I would love to credit them!)
When I worked on adapting the recipe with Kara, we loved the version we came up with. We did tweak it to use slightly less mayo and Parmesan and added a little poultry seasoning and garlic powder. Now I’ve made this baked chicken crusted with mayo and Parmesan over and over and I understand why the recipe has been shared far and wide on the internet! I hope this reminder will encourage you make it for an easy dinner some time soon!
What ingredients do you need?
(This is only a list of ingredients; please scroll down for complete printable recipe. Or if you use the JUMP TO RECIPE link at the top of the page, it will take you directly to the complete recipe.)
boneless, skinless chicken breasts
mayo
Parmesan cheese (For best results, use coarsely-shredded Parmesan or grate your own.)
Poultry Seasoning (affiliate link)
Garlic Powder (affiliate link)
fresh-ground black pepper to taste
What makes my Baked Mayo Parmesan Chicken recipe extra tasty?
As I mentioned, there are versions of this recipe all over the web. But my version pounds the chicken breasts for more even cooking, and I use poultry seasoning and garlic powder in the topping for some added flavors! That’s why I think my recipe is the internet’s best version of this classic dish!
One way we made sure this is a low-carb dish:
Some versions of this recipe use breadcrumbs in the topping, but trust me when I say no breadcrumbs are needed for this tasty chicken recipe!
How low in carbs is the Baked Mayo Parmesan Chicken?
This tasty internet-famous baked chicken has only 2 net carbs and 27 grams of protein!
Steps for making Baked Mayo Parmesan Chicken:
(This is only a summary of the steps for the recipe; please scroll down for complete printable recipe. Or if you use the JUMP TO RECIPE link at the top of the page, it will take you directly to the complete recipe.)
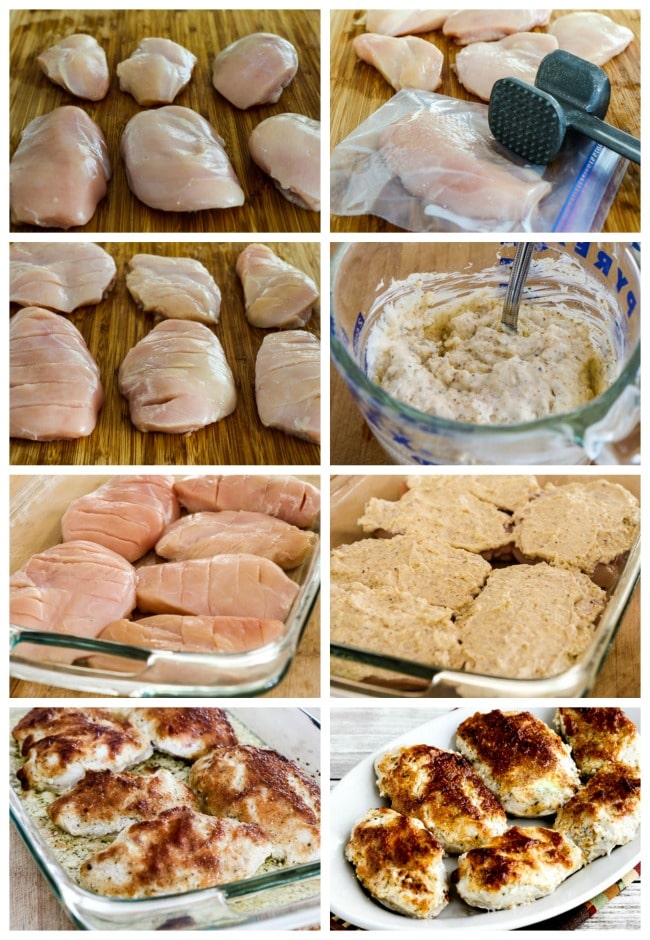
Trim the chicken, removing pieces of fat or ragged edges. I had two breasts that were extra-large, so I cut them in half and made 6 pieces.
Pound chicken just enough to make each piece an even thickness (or use chicken cutlets and skip this step).
I used my trick from Juicy Grilled Chicken Breasts and cut small slits crosswise in the chicken. This helps the chicken cook evenly and keeps more of the coating on.
Then mix the mayo, poultry seasoning, garlic powder, and pepper and stir in the Parmesan.
Spray a baking dish with non-stick spray and arrange the chicken pieces in a single layer. (Choose the smallest dish that fits all the chicken.)
Use a rubber scraper (affiliate link) to spread a layer of the mayo mixture over each piece of chicken.
Bake in a preheated 375F/190C oven for 35-40 minutes, or until the chicken is firm and cooked through and the mayo-parmesan topping is nicely browned.
Serve, and wait for compliments!
Make it a Low-Carb Meal:
The Baked Mayo Parmesan Chicken would be great served with with one of these low-carb side dishes:
Want another idea for the Mayo Parmesan topping?
After I shared this recipe, it didn’t take long before people started telling me how much they loved the Mayo Parmesan topping on fish! And I eventually decided that needed to be a separate recipe, and now Baked Mayo Parmesan Fish is also hugely popular on the site too!
Weekend Food Prep:
This Baked Mayo Parmesan Chicken recipe is great when it’s re-heated so the recipe has been added to a category called Weekend Food Prep where you’ll find recipes you can prep or cook on the weekend and eat during the week!
Ingredients
4 large boneless, skinless chicken breasts
3/4 cup mayo
6 T coarsely-grated Parmesan (For best results, use coarsely-shredded Parmesan or grate your own.)
3/4 tsp. poultry seasoning
3/4 tsp. garlic powder
fresh-ground black pepper to taste
Instructions
Preheat oven to 375F/190C. Spray a baking dish with non-stick spray, choosing a dish just large enough to hold the chicken.
Trim chicken breasts well, cutting larger ones in half if desired.
Put each piece of trimmed chicken inside a small Ziploc bag and pound with a meat mallet (affiliate link) (or something heavy), just until the chicken is an even thickness, about 1/2 inch thick. (Don’t pound too hard or too long or the chicken breasts will start to shred apart.) Then cut small shallow crosswise slits going down each chicken breast, being careful not to cut through.
Mix the mayo, poultry seasoning (affiliate link), garlic powder (affiliate link), and black pepper, then stir in the coarsely grated Parmesan.
Put chicken breasts into the baking dish and use a rubber scraper (affiliate link) to spread the mayo-parmesan coating over the top of each chicken breast, covering the entire surface.
Bake chicken 35-40 minutes, or until the chicken is firm and the top is nicely browned. (There will probably be some liquid and congealed cheese in the bottom of the baking dish, but just move the chicken breasts to a serving platter. Several other places where I spotted similar recipes mentioned this, so I’m not sure there’s a way to avoid that.)
Serve Baked Mayo Parmesan Chicken hot, and wait for compliments!
Notes
I saw variations on this Baked Mayo-Parmesan Chicken all over the internet and experimented with Kara to come up with the version you see in this recipe. If anyone knows the original source of the recipe, I would love to credit them!
Nutrition information is automatically calculated by the Recipe Plug-In I am using. I am not a nutritionist and cannot guarantee 100% accuracy, since many variables affect those calculations.
Did you make this recipe?
Did you make this recipe? Please leave a star rating (under the PRINT button in the recipe) or share a photo of your results on Instagram! THANKS!
Low-Carb Diet / Low-Glycemic Diet / South Beach Diet Suggestions: This tasty Mayo Parmesan Chicken is great for low-carb diet plans, including Keto. For the original South Beach Diet, light mayo would definitely be recommended and the amount of Parmesan would probably make this an occasional treat for South Beach Dieters.
Find More Recipes Like This One: Use Oven Dinners to find more recipes like this one. Use the Diet Type Index to find more recipes suitable for a specific eating plan. You might also like to follow Kalyn’s Kitchen on Pinterest, on Facebook, on Instagram, on TikTok, or on YouTube to see all the good recipes I’m sharing there.
Historical Notes for this Recipe: This recipe for chicken coated with mayo and Parmesan and then baked was posted in 2017, and it’s been hugely popular on the site. It was last updated with more information in 2026.
We are a participant in the Amazon Services LLC Associates Program, an affiliate advertising program designed to provide a means for us to earn fees by linking to Amazon.com and affiliated sites. As an Amazon Associate, I earn from qualifying purchases.
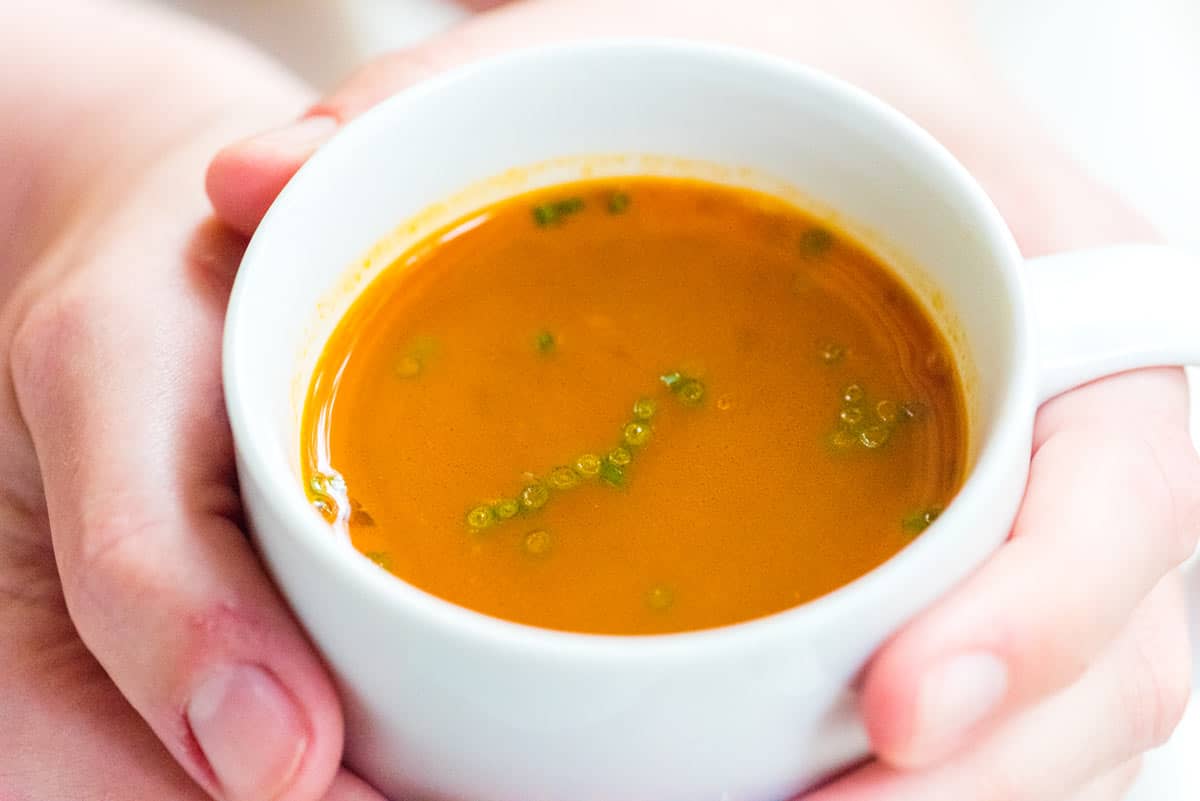
This homemade vegetable broth recipe turns out so hearty, rich, and savory that you can sip it on its own. It’s so much better than store-bought!
After trying our recipe for vegetable broth, you will never want to buy boxed broth again! It’s simple to make, takes much less time to make than chicken stock, and packs in so much flavor.
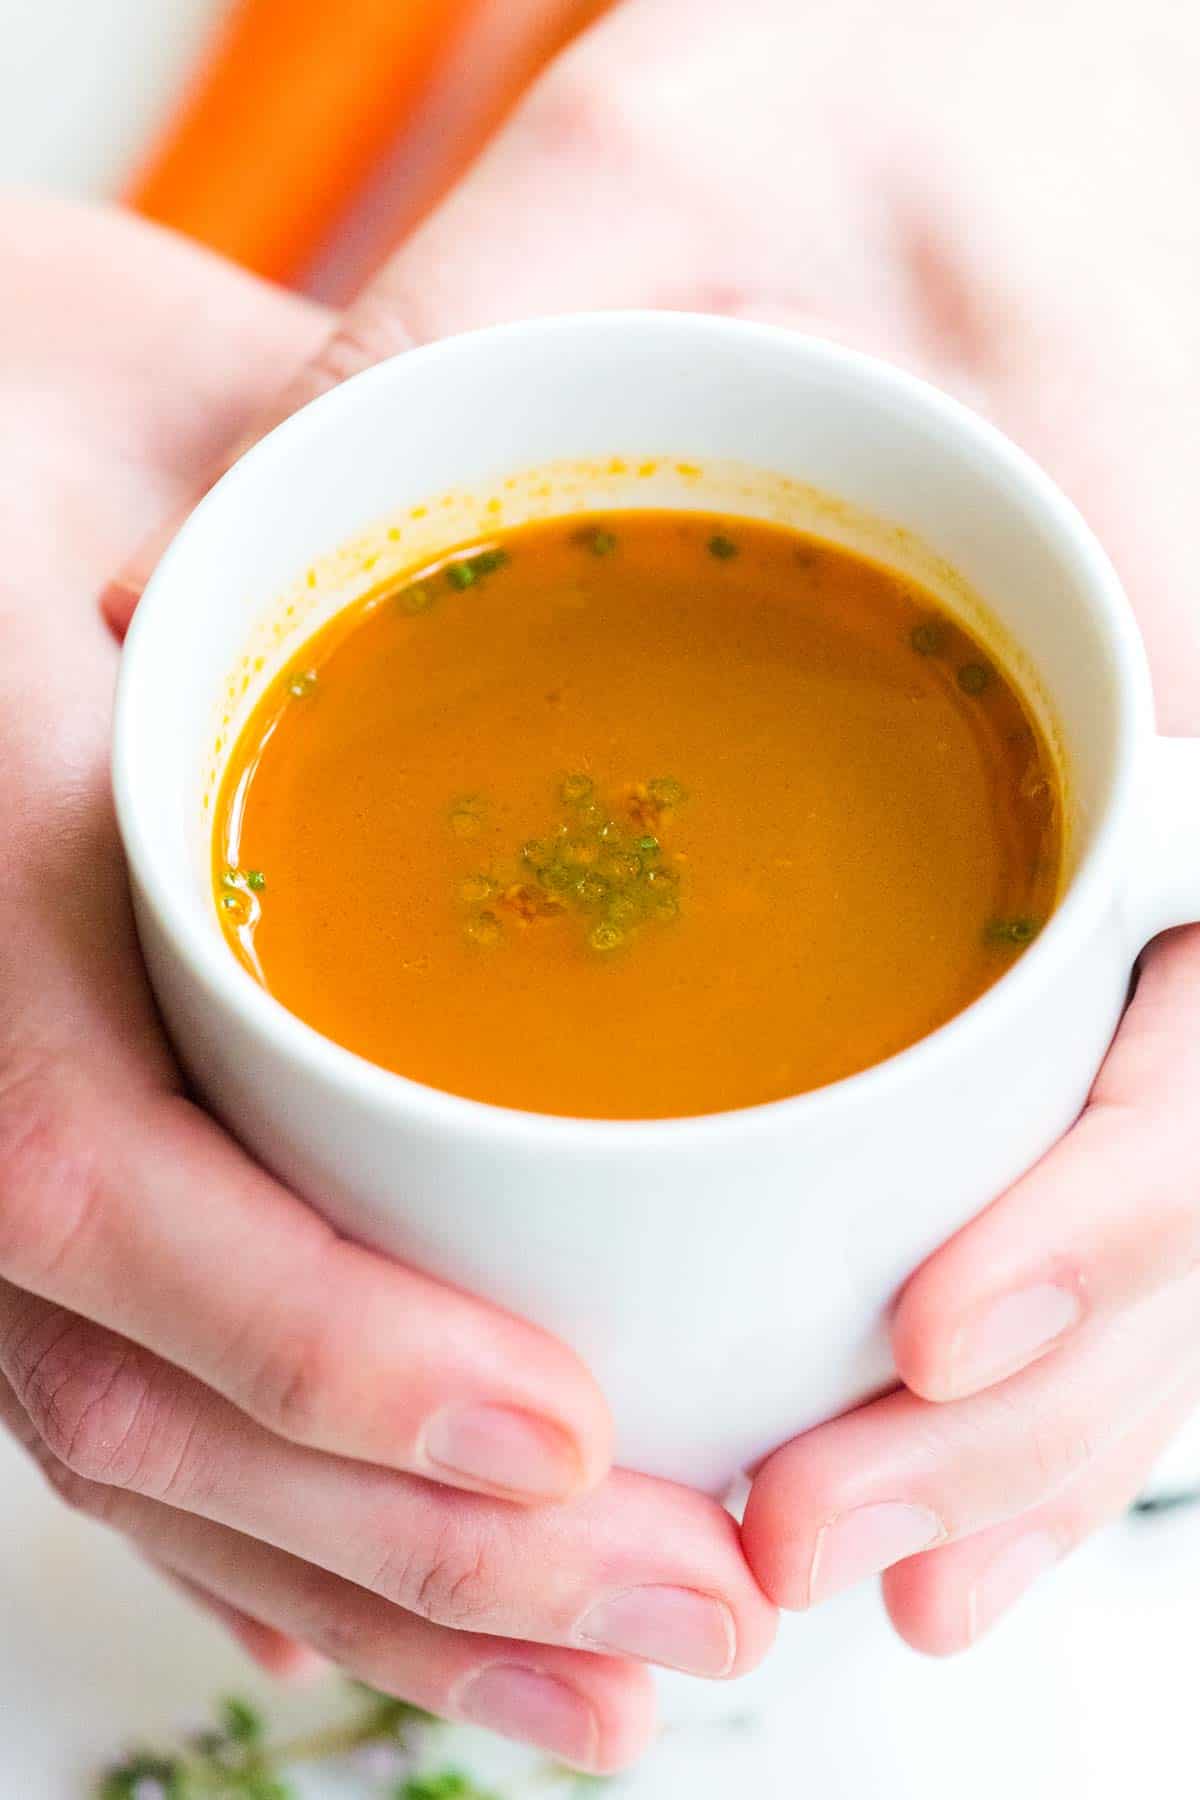
This soothing and delicious veggie broth is perfect for all of your recipes. It’s also so flavorful that you can sip it like tea or bone broth. It’s simple to make, and I’m confident you’ll love it.
Key Ingredients
Onion, Carrots, and Celery: This classic trio forms the aromatic base of the vegetable stock.
Tomatoes: They add both rich flavor and a beautiful color.
Garlic and Dried Mushrooms: These develop even more flavor. I love dried shitakki mushrooms, which I find in my local grocery store in the same aisle as international ingredients like specialty soy sauces.
Herbs: I go heavy on the herbs, using fresh parsley, thyme, and bay leaves.
Vegetable Scraps: This is the perfect time to use up those scraps you’ve been saving in the freezer, like kale stems, leek tops, carrot peels, and mushroom stems.
Salt and Filtered Water: I love sea salt for this, and make sure to use filtered water for the best flavor.
Find the full recipe with measurements below.
How to Make the Best Vegetable Broth
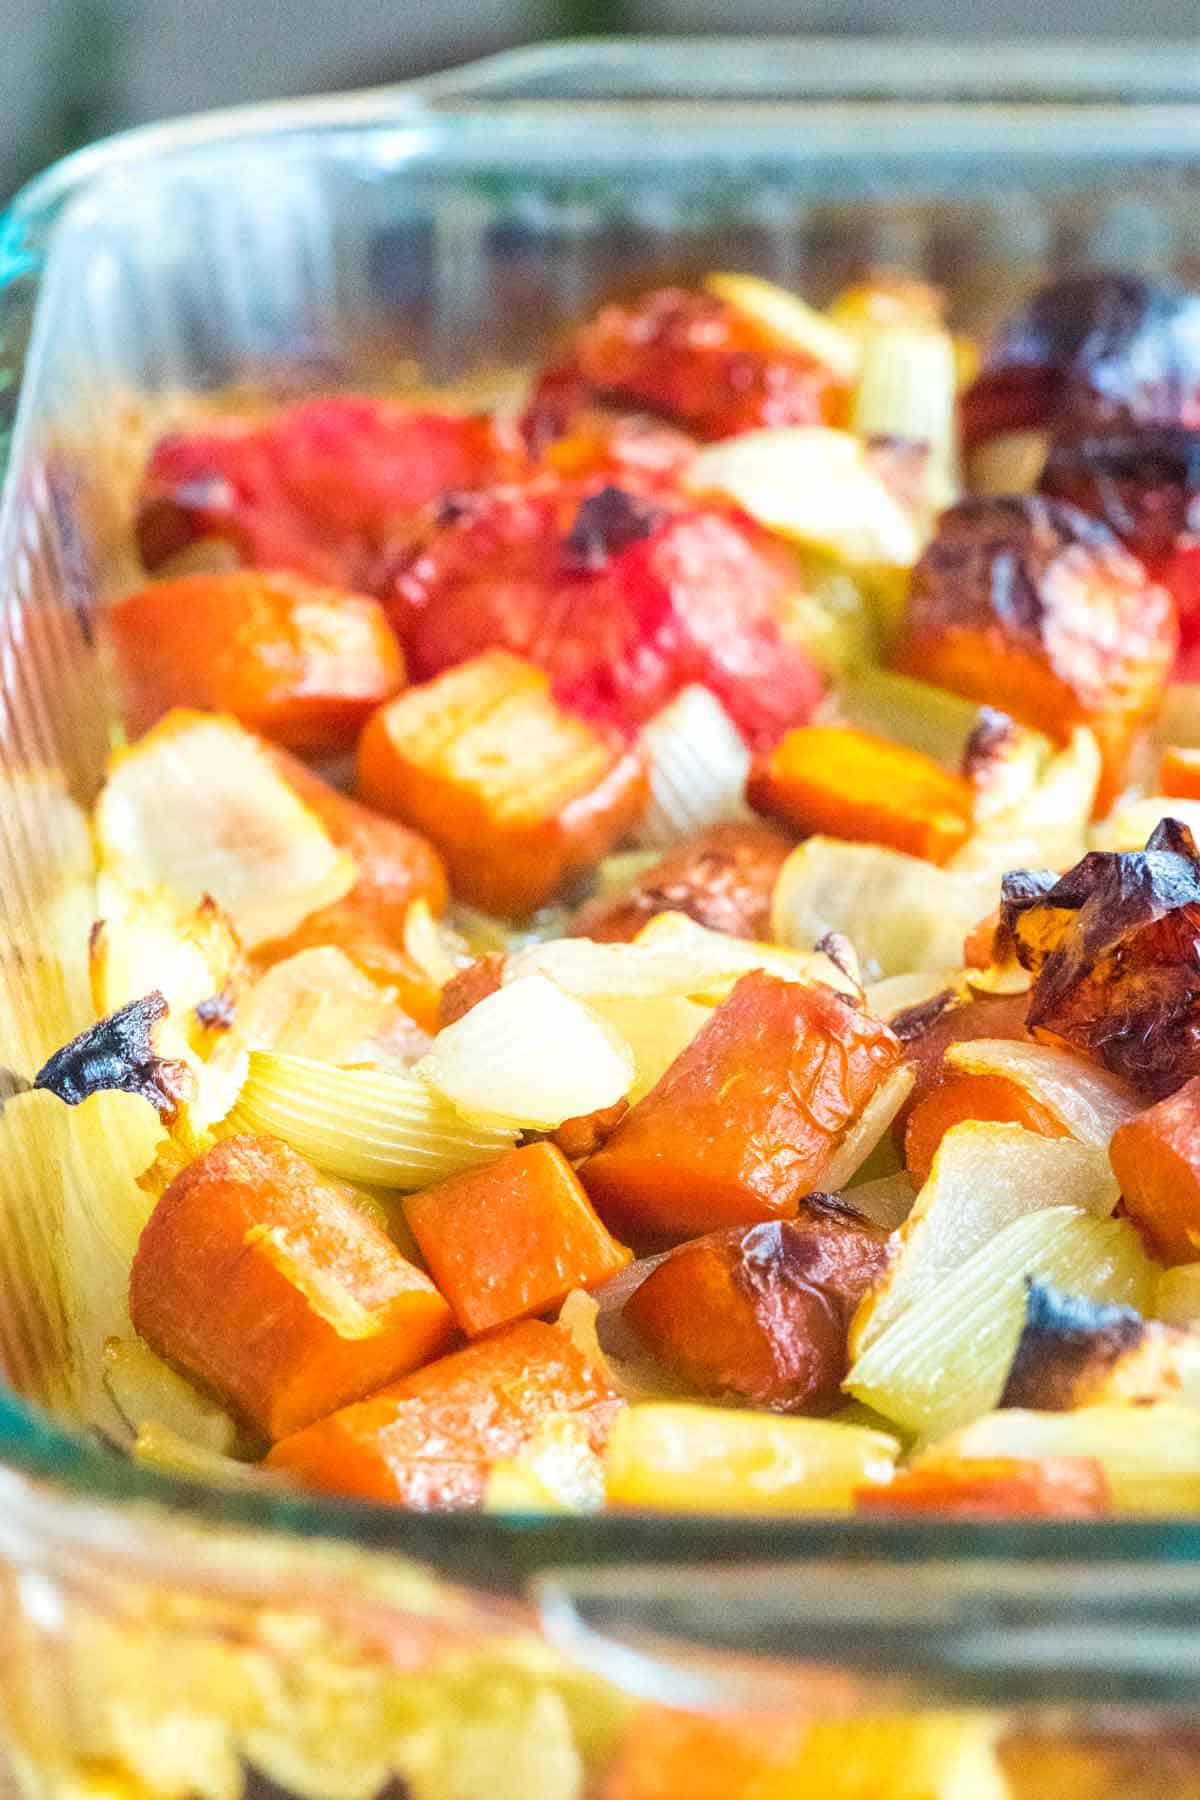
Tip 1: Roast your vegetables. For the most savory and satisfying broth, roast the onion, carrots, celery, tomatoes, and garlic until nicely browned. This simple step intensifies the stock’s flavor and adds color.
Tip 2: Don’t leave out the tomatoes. Tomatoes add sweetness, color, and umami to this broth. Tomatoes are naturally high in glutamate, which means they contribute to that “fifth taste” or umami. Simply put, umami makes things taste good, adding that super delicious quality. Using tomatoes makes it rich and crave-worthy.
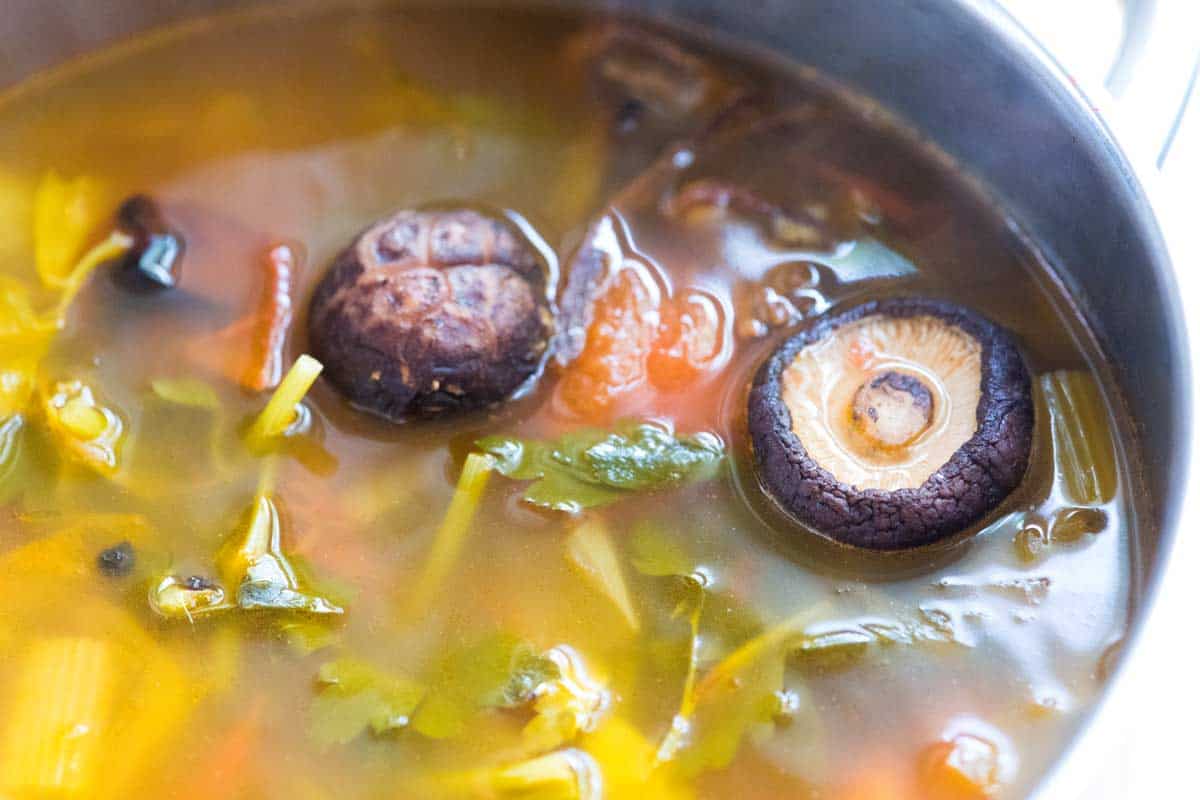
Tip 3: Use dried mushrooms. Even though we didn’t add any bones or meat to this recipe, we still wanted some “meatiness” in the stock. Mushrooms are the solution. Just one ounce of dried mushrooms transforms this veggie broth from merely okay to something you wonder if it’s even vegetarian.
Tip 3: Use it in your favorite recipes. This is perfect anytime a recipe asks for broth (even if it’s asking for chicken broth or beef broth). I often use it to make the soup recipes on Inspired Taste, like this potato soup, French onion soup, butternut squash soup, lemon turmeric lentil soup, and this veggie tortellini soup. It’s also great for cooking rice or quinoa. Use it in my quinoa recipe or to make this cilantro lime rice.
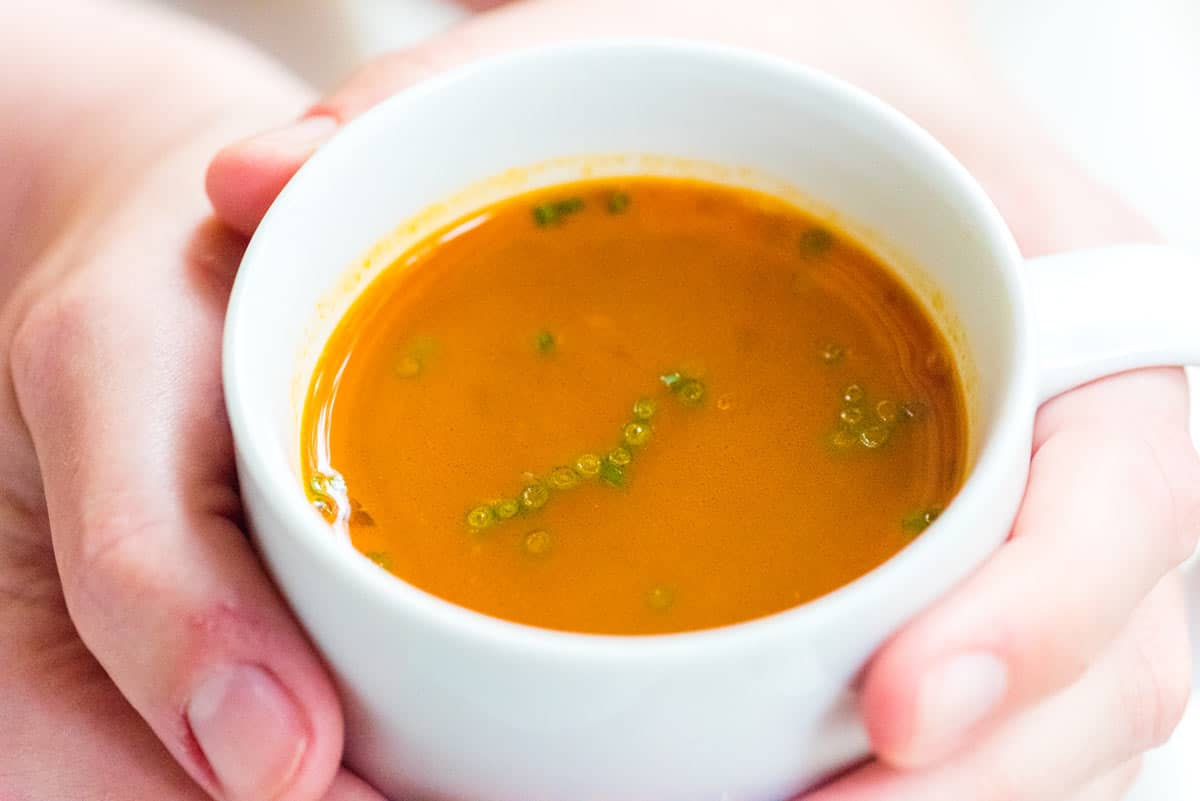
Tip 4: Sip it like tea. This veggie broth has so much flavor, it’s lovely in a mug and sipped like tea. Any time I’m under the weather, I crave this broth. It’s so comforting. I highly recommend making a double batch of our broth and freezing some for a rainy day! It’s magic.
The Best Vegetable Broth
PREP
COOK
TOTAL
This homemade vegetable broth is hearty enough to enjoy alone as soup and perfectly replaces boxed stock in your favorite recipes. Roasting is the secret to rich and hearty veggie stock. When seasoned well, we find this veggie broth just as satisfying as bone broth.
Think of this as a guide, and feel free to add any vegetable scraps in your fridge or freezer. Leeks, turnips, or mushroom scraps are all excellent. For even more richness, we add dried mushrooms, which pack a punch and add a “meatiness” to the stock.
Makes 10 cups
You Will Need
1 pound onion, 2 medium (450g)
1 pound carrots, 5 medium (450g)
1/2 pound celery, 4 to 5 (225g)
1 pound tomatoes, 3 medium (450g)
4 garlic cloves, smashed and peeled
2 tablespoons olive oil
1/2 ounce dried mushrooms such as shiitake or porcini (14g)
Half a bunch of fresh parsley
3 sprigs fresh thyme
2 bay leaves
1 to 2 cups vegetable scraps from fridge or freezer, optional
1 teaspoon sea salt, optional
12 cups water, preferably filtered (2.8L)
Directions
Roast Vegetables
1Preheat the oven to 425°F (218°C). Set aside a large, rimmed baking sheet or a 9-inch by 13-inch baking dish for roasting the vegetables.
2Peel the onion and roughly chop it into 1-inch chunks. Scrub the carrots and celery and cut them roughly into 1-inch chunks. Rinse the tomatoes, and if they are large, half or quarter them.
3Add onion, carrots, celery, tomato, and garlic to the baking sheet. Toss with olive oil and roast for 15 minutes. Stir the vegetables and roast for another 15 minutes. Stir once more and roast until the vegetables are nicely browned and the tomatoes are caving in, another 10 minutes or so.
Make Vegetable Broth
1While the vegetables roast in the oven, cover the dried mushrooms with 1/2 cup of cold water and set aside for 5 minutes.
2Spoon the roasted vegetables into a tall stockpot. Add 1 cup of water to the baking sheet or pan, then stir it around, scraping up as much of the browned bits stuck to the bottom as possible. Pour over the vegetables in the stockpot.
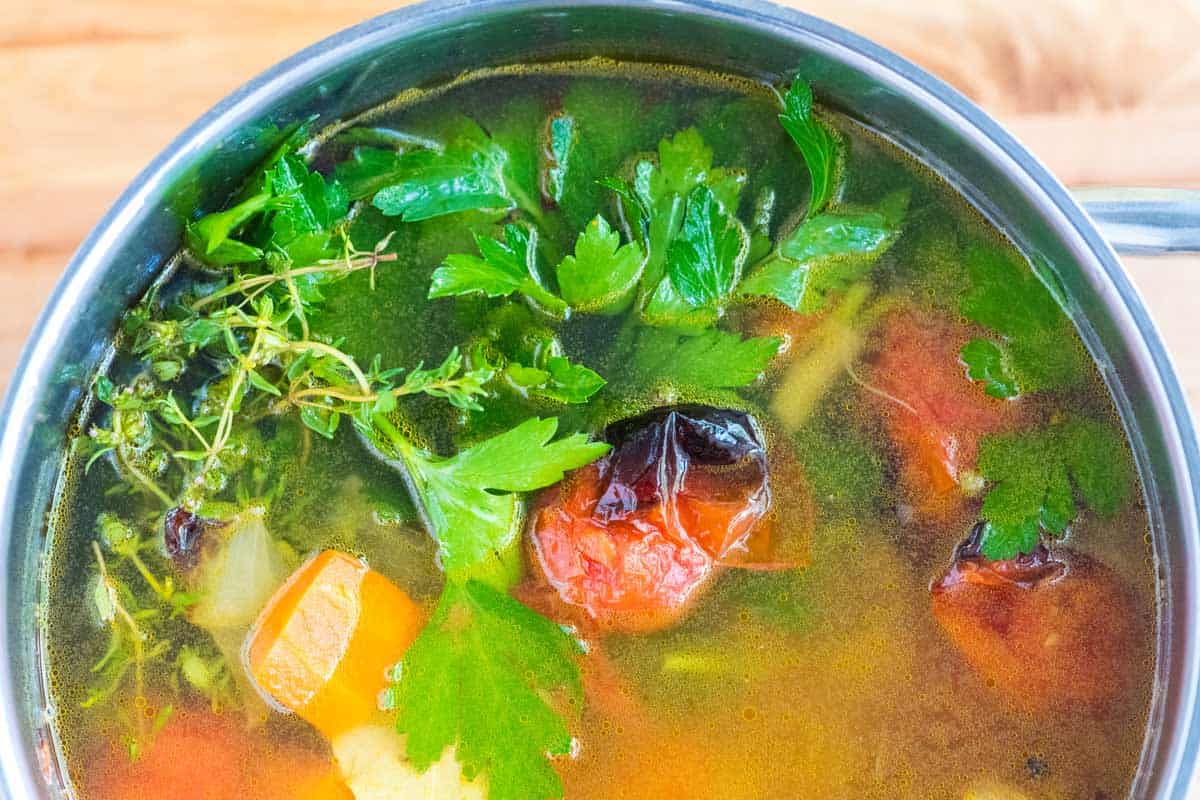
3Add the parsley, thyme, bay leaves, vegetable scraps, and salt (if using).
4Add the partially rehydrated mushrooms, and then pour the water they sit in through a fine mesh strainer to catch any grit. Add the strained mushroom water to the pot with the vegetables.
5Cover with 11 cups of water. Bring to a boil, then reduce to a simmer. Cook, partially covered, for 45 minutes.
6Strain broth and use immediately, refrigerate for up to 3 days, or freeze for up to 3 months. When using, taste the broth and adjust the seasoning with additional salt or, if you are okay with using it, a few dashes of fish sauce.
Adam and Joanne’s Tips
Dried mushrooms alternative: If you can’t find dried mushrooms, you can add mushroom scraps or chopped mushrooms to the onions and carrots when they roast. Dried mushrooms will taste stronger, but this will still make a delicious broth.
The nutrition facts provided below are estimates. We have omitted salt since you will need to add to your tastes.
Nutrition Per Serving
Serving Size
1 cup
/
Calories
70
/
Protein
2 g
/
Carbohydrate
10 g
/
Dietary Fiber
3 g
/
Total Sugars
5 g
/
Total Fat
3 g
/
Saturated Fat
0 g
/
Cholesterol
0 mg
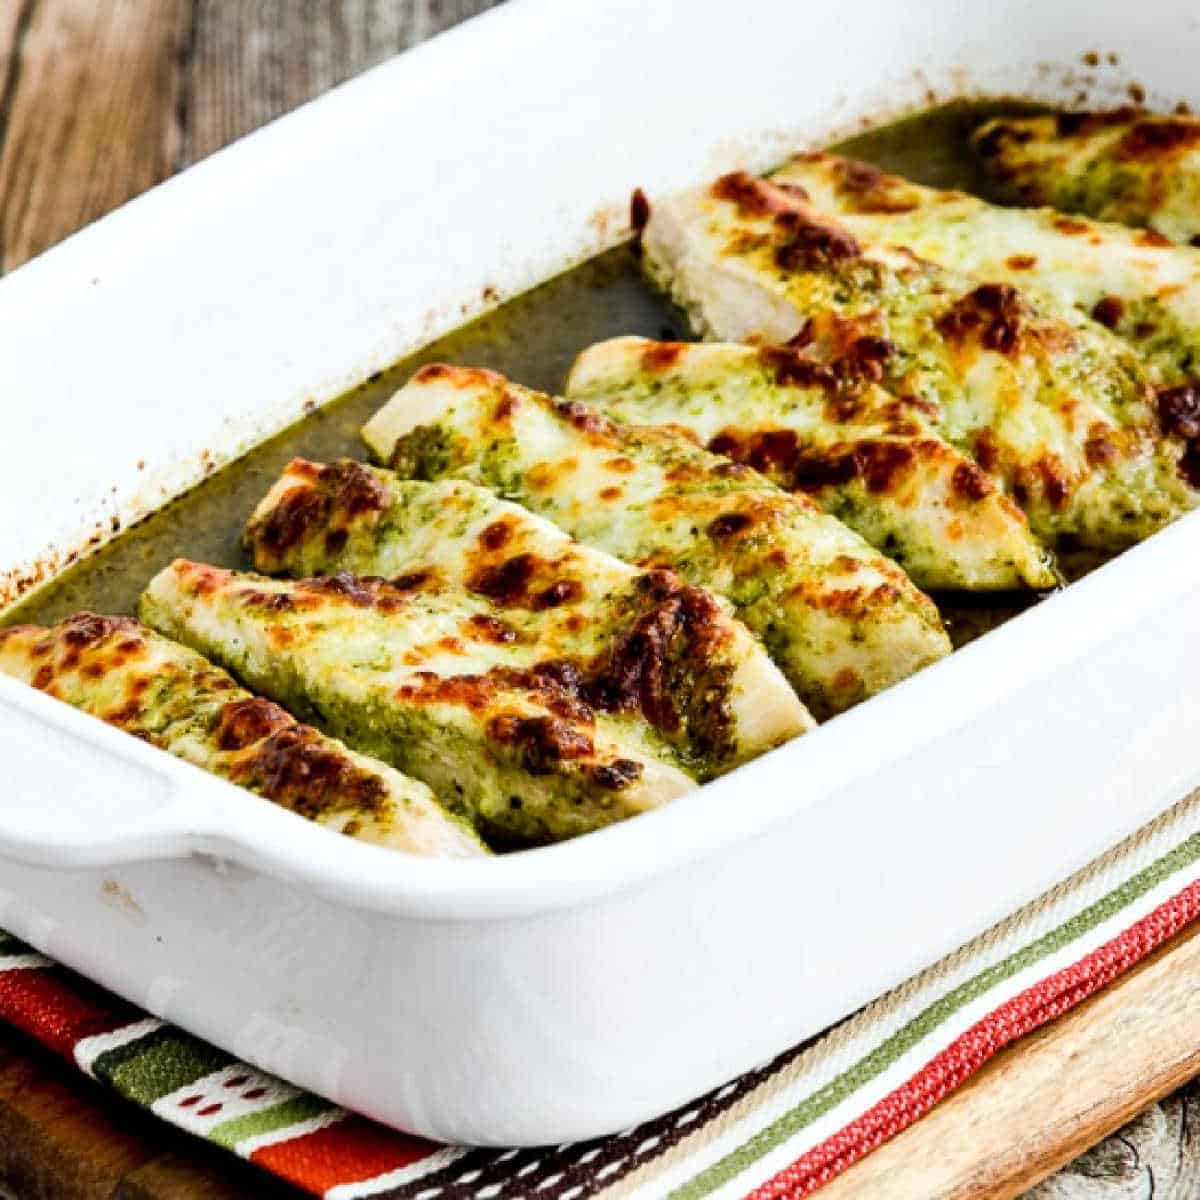
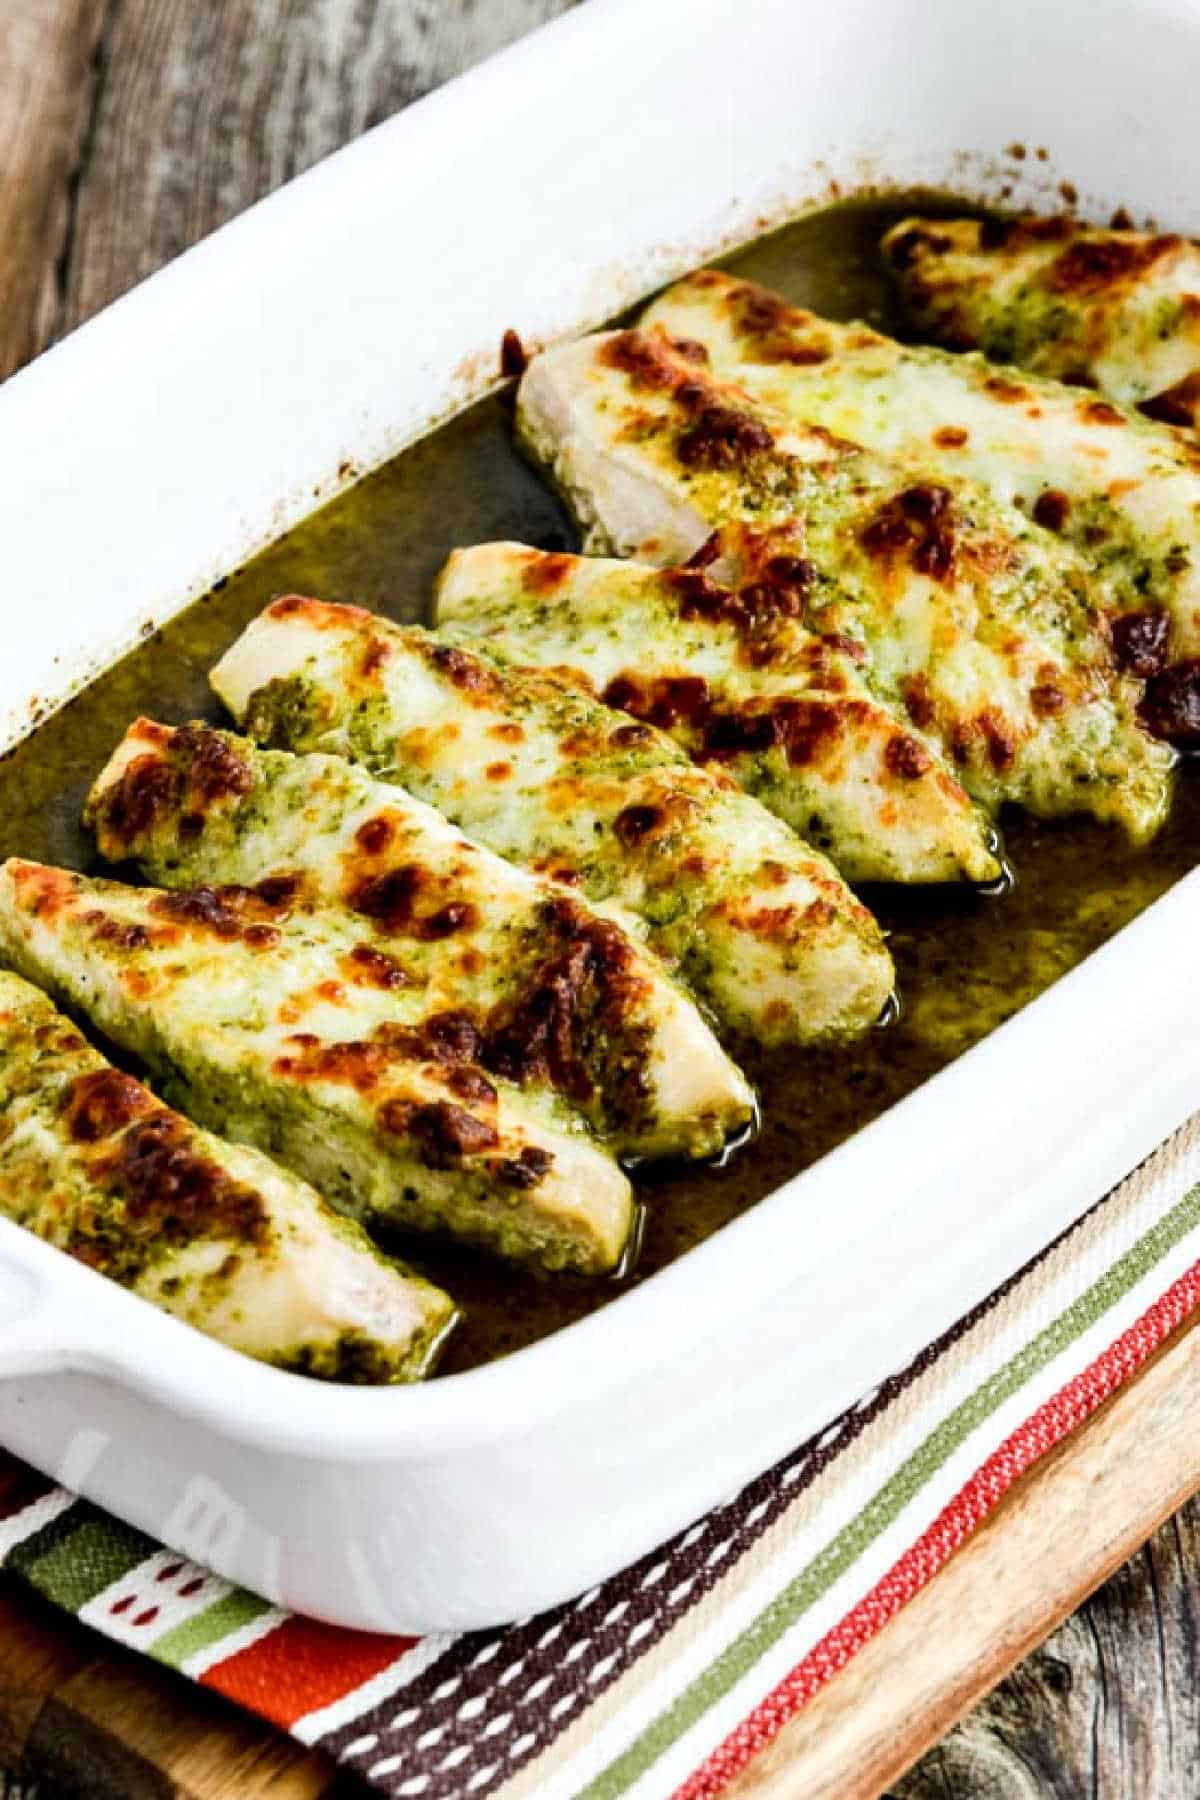
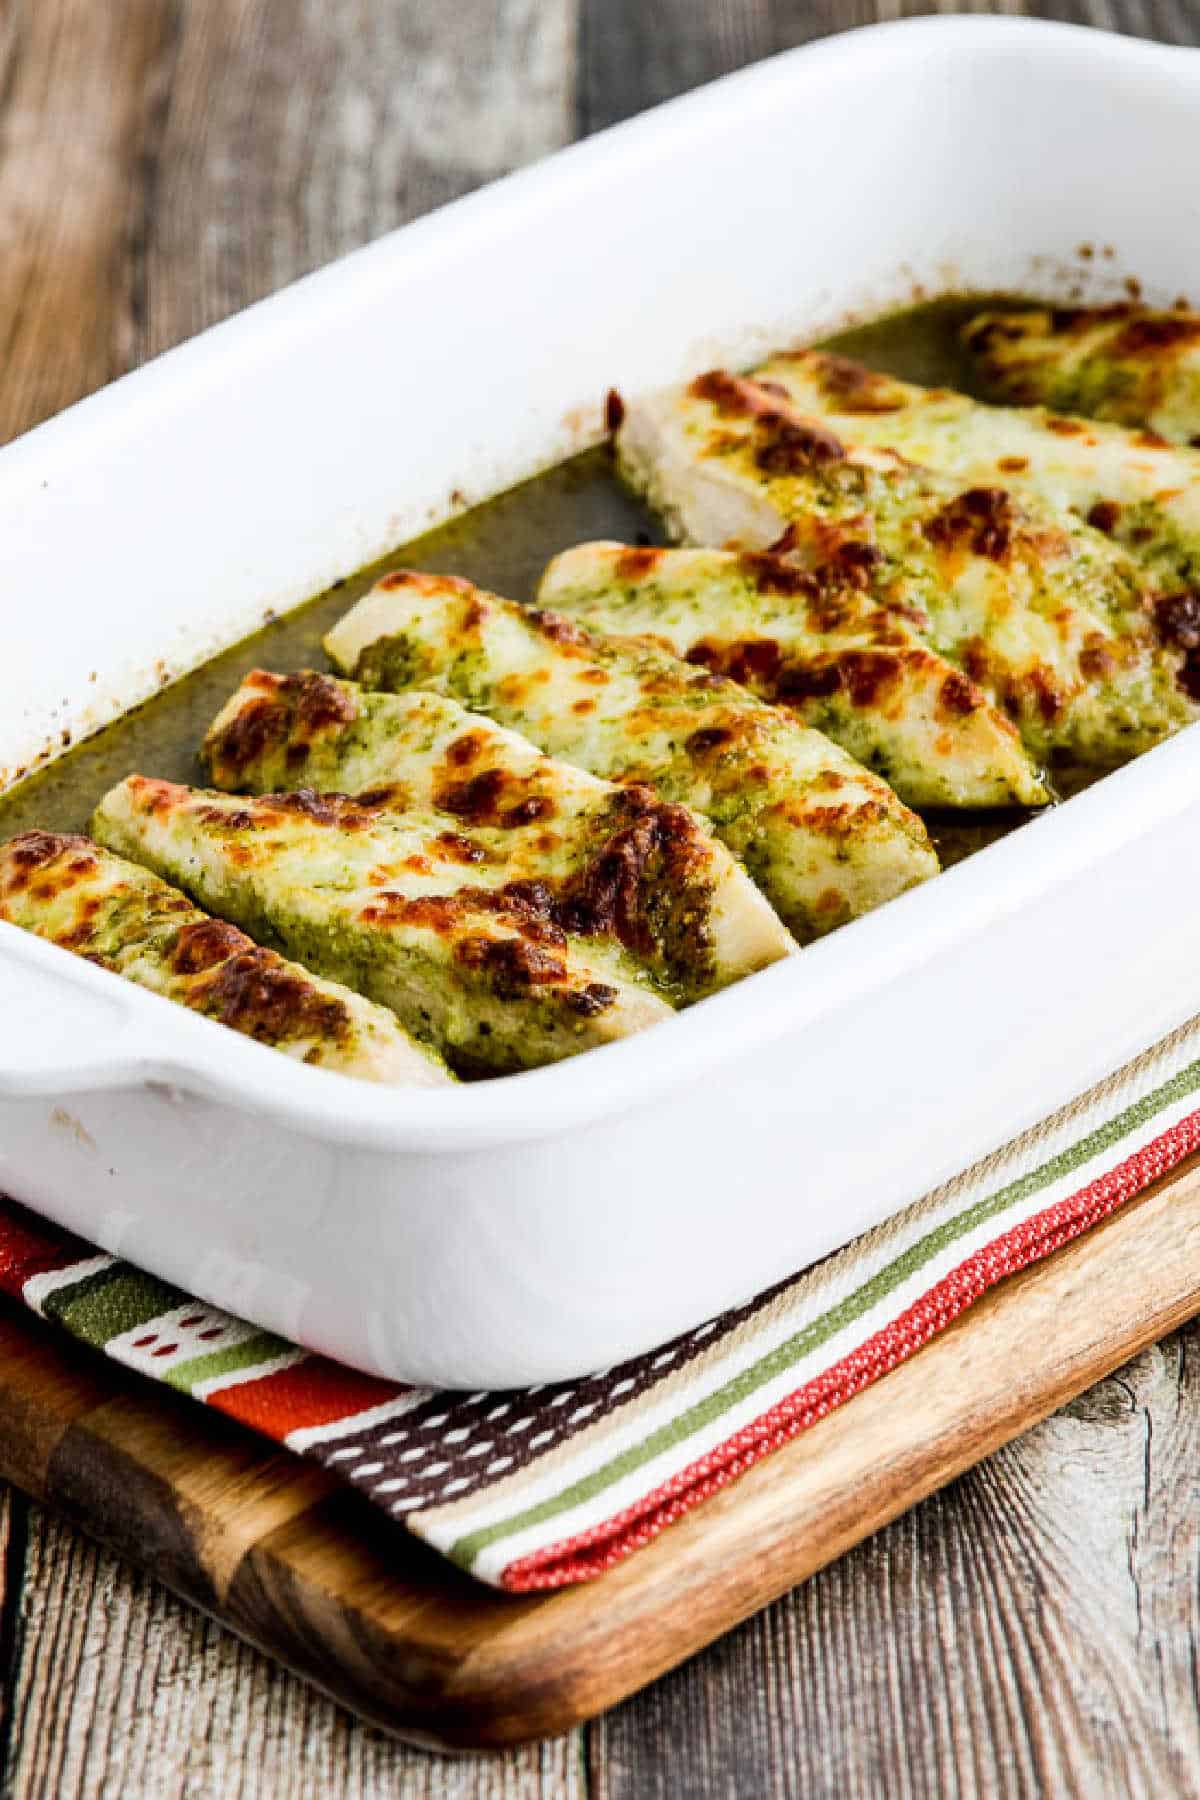
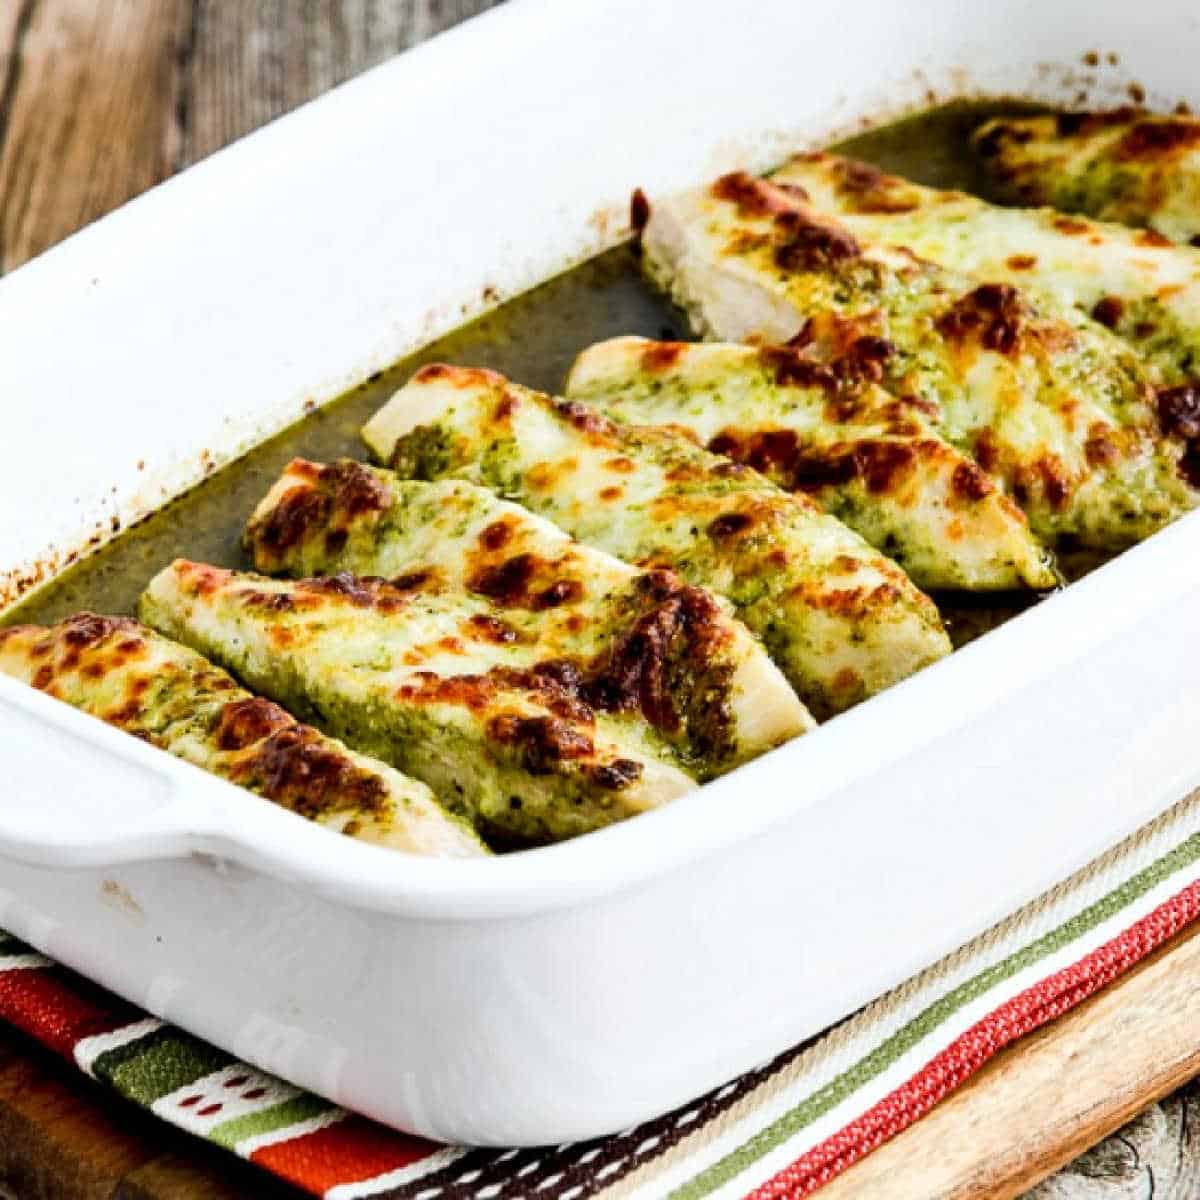
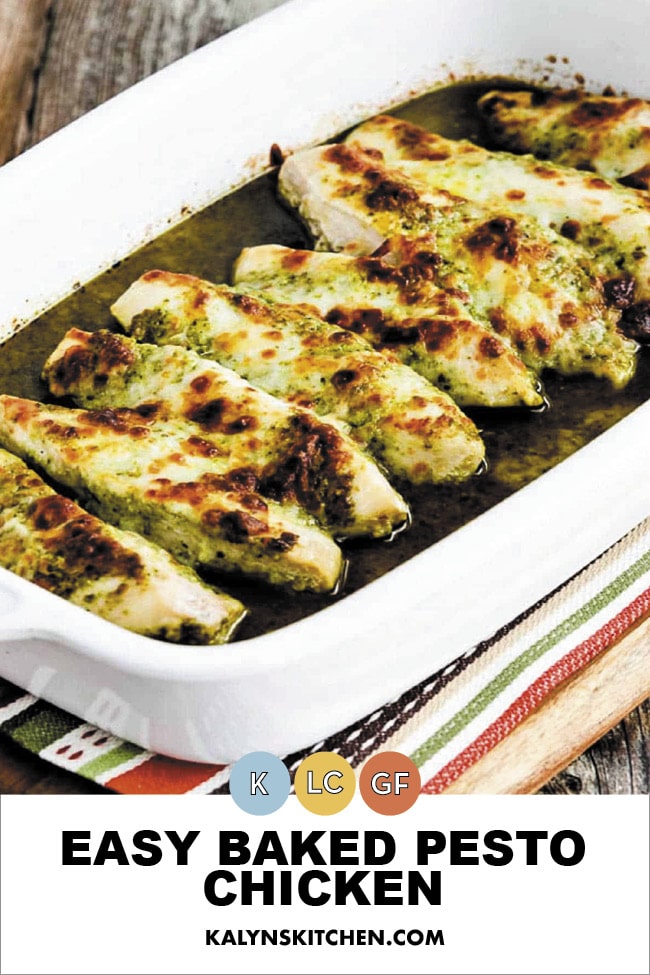
Easy Baked Pesto Chicken is a tasty dinner to make with purchased pesto, or use homemade pesto if you have some! And this easy five-ingredient low-carb baked chicken recipe is probably something the whole family will enjoy!
Pin Easy Baked Pesto Chicken to try it later!
When I first made Easy Baked Pesto Chicken, I loved what a flavorful dinner it was. But I didn’t realize it would become one of the most popular recipes on the blog. Now it’s been pinned millions of times and visited over and over on my website! And I’ve made this many times myself.
I got the inspiration for a Baked Pesto Chicken recipe years ago when I was browsing in The South Beach Diet Quick and Easy Cookbook. That was in the summer, and when it’s summer at my house there’s fresh basil on the counter, I’m freezing basil for winter, and I’m making Basil Pesto with Lemon. So it’s not surprising that a recipe using pesto would catch my eye.
But this recipe is also great with purchased pesto. I’m a fan of Kirkland Basil Pesto, so that’s what I’d use if I don’t have homemade pesto in the freezer. I hope you try the recipe if you’re also a pesto fan!
What ingredients do you need for this recipe?
(This is only a list of ingredients; please scroll down for complete printable recipe. Or if you use the JUMP TO RECIPE link at the top of the page, it will take you directly to the complete recipe.
boneless, skinless chicken breasts
salt and fresh ground black pepper for seasoning chicken
Basil Pesto (affiliate link), or Basil Pesto with Lemon
grated Mozzarella cheese
Is this baked chicken with pesto a kid-friendly dish?
A few years after I posted this recipe I started working out with a trainer named Wendy. Then one day she told me she had searched the recipe for her kids’ favorite chicken dish, and it was this recipe from my blog! So if you’re wondering if this can be kid-friendly, Wendy says her kids love this Baked Pesto Chicken. Wendy serves it with pasta for the kids, but I’d serve with one of the options below for a tasty low-carb meal.
Can you make Baked Pesto Chicken with pesto from the store?
You can certainly make this ultra-easy main dish with purchased basil pesto, which is what the inspiring recipe called for. But when I have some on hand, I’d always make it with my homemade pesto from the freezer.
How low in carbs is the Easy Baked Pesto Chicken?
This flavorful chicken dish only has 3 net carbs per serving, with 48 grams of protein! And this tasty chicken dish is also gluten-free.
How to Make Easy Baked Pesto Chicken:
(This is only a summary of the steps for the recipe; please scroll down for complete printable recipe. Or if you use the JUMP TO RECIPE link at the top of the page, it will take you directly to the complete recipe.)
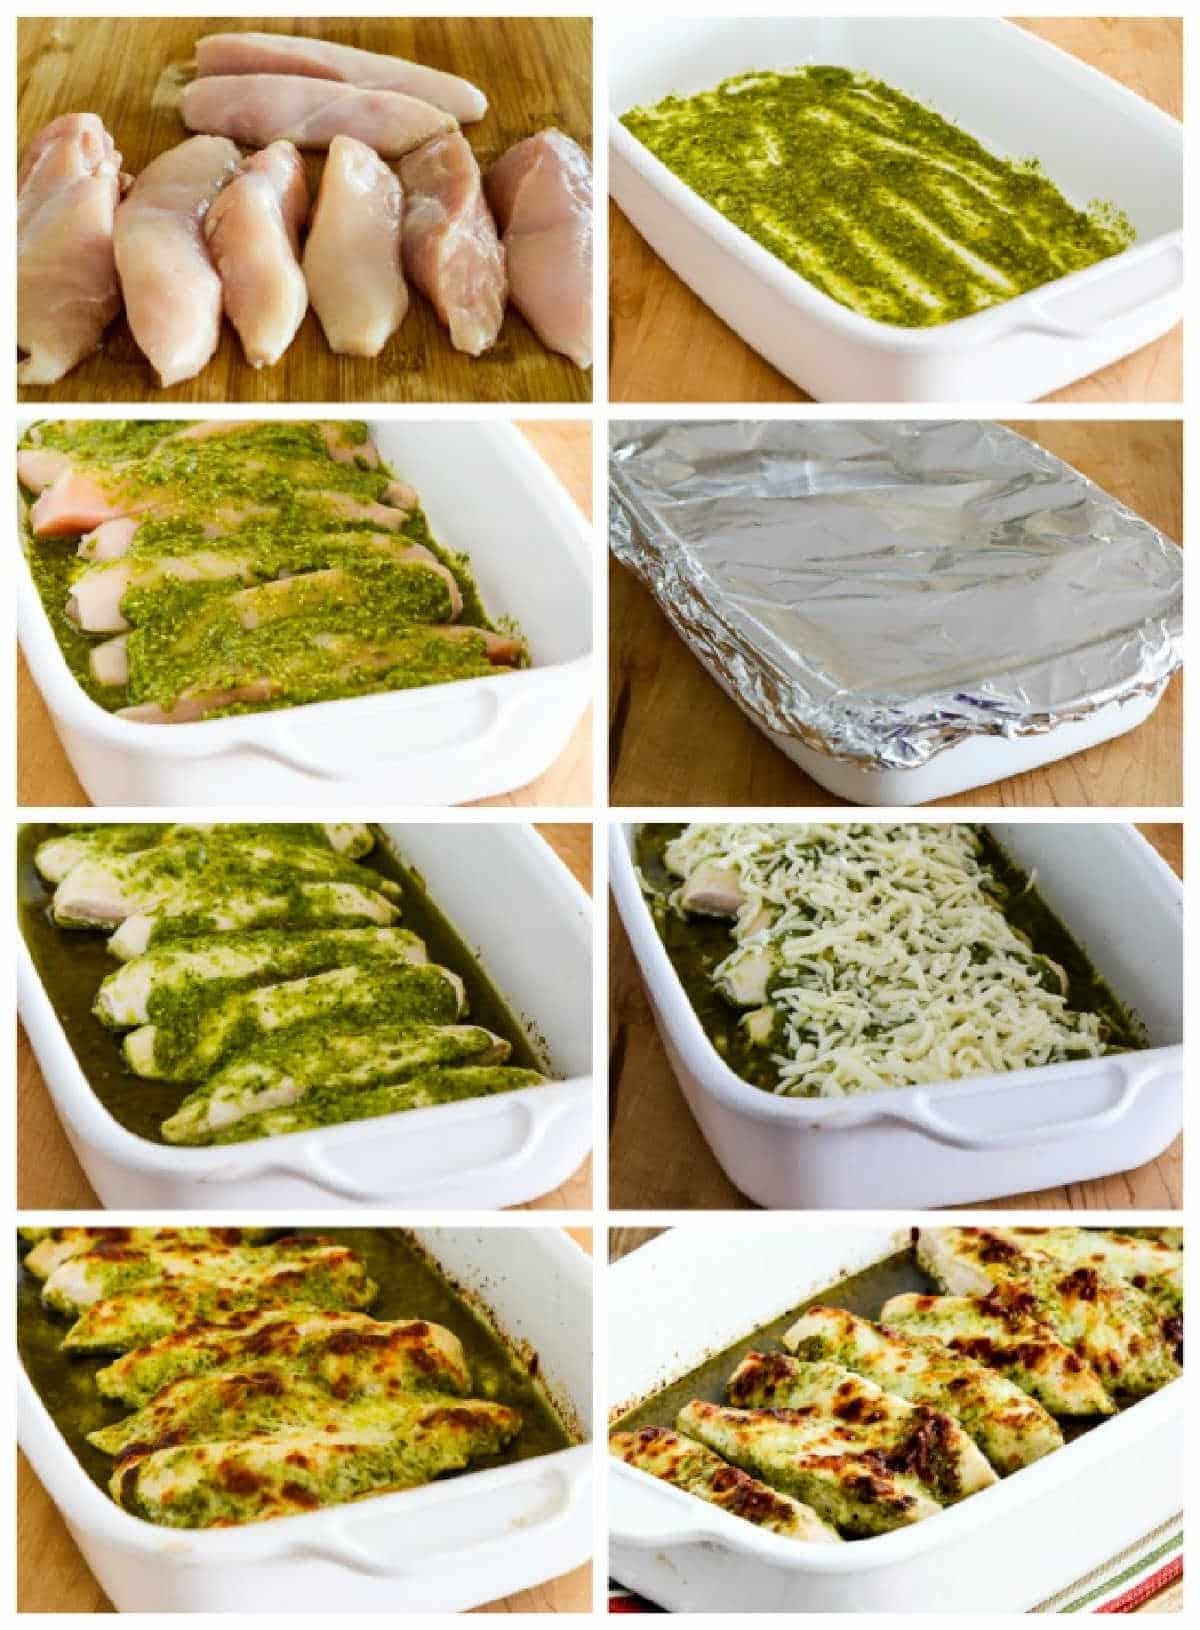
Trim chicken breasts and cut into lengthwise strips. (I save scraps in the freezer and use them to make homemade chicken stock.)
Spray casserole dish with non-stick spray, then spread 1/4 cup basil pesto over the bottom of the dish.
Lay chicken strips over the pesto and season with salt and fresh ground black pepper.
Spread another 1/4 cup of basil pesto over chicken strips.
Cover dish with foil and bake at 375F/190C for 25-30 minutes, or until the chicken is barely cooked through. (Don’t cook too long at this stage, or the chicken will be overcooked when the cheese is melted.)
Then sprinkle 1/2 cup grated mozzarella cheese (or a little more) over the top and bake about 5 minutes more, or until cheese is melted. (If your broiler is separate from the oven, start preheating it.)
I wanted the cheese to be lightly browned, so after 5 minutes I switched to broil for just long enough to get some color on the cheese.
That’s all there is to making this easy and delicious low-carb chicken dinner!
Serve Easy Baked Pesto Chicken hot, and I hope this will become a favorite in your household!
Make it a Low-Carb Meal:
Baked Pesto Chicken would be delicious with either Pureed Cauliflower with Garlic, Parmesan, and Goat Cheese or Easy Cauliflower Rice to smother with the flavorful sauce that will be left in the dish. (It would also be amazing with Greek Lemon Rice if you don’t mind having more carbs!)
Or serve with one of these low-carb side dishes:
Want more low-carb dinners with pesto?
If you still have more basil pesto after you make this, check out my other Amazing Recipes with Pesto!
Weekend Food Prep:
This recipe has been added to a category called Weekend Food Prep where you’ll find recipes you can prep or cook on the weekend and eat during the week! This recipe can easily be doubled if you want leftovers to reheat later.
Ingredients
4 boneless, skinless chicken breasts
salt and fresh ground black pepper for seasoning chicken
1/2 cup basil pesto (see notes)
1/2 cup grated mozzarella cheese (or more if you like it cheesy!)
Instructions
Preheat oven to 375F/190C. Trim all visible fat and tendons from chicken pieces, then cut each chicken breast lengthwise into 2 or 3 pieces. (I cut the larger ones into 3 strips and the smaller ones into 2 strips.)
Spray a 9″ x 12″ (or 8.5″ X 12.5″) baking dish with non-stick spray, then spread 1/4 cup basil pesto over the bottom of the dish.
Lay chicken strips over the pesto, then spread 1/4 cup more basil pesto over the chicken.
Cover the baking dish with aluminum foil (or use a baking dish with a tight-fitting lid) and bake the chicken for 25-30 minutes, just until chicken is barely firm and cooked through. (Don’t cook too much at this point, or the chicken will be overcooked by the time the cheese is melted.)
When chicken is barely cooked through, remove foil and sprinkle chicken with 1/2 cup grated mozzarella cheese (or more.)
Put dish back into the oven without foil and cook 5 minutes more, just until cheese is melted. (If your broiler is separate from the oven, start preheating it when you take the chicken out.)
After I melted the cheese for 5 minutes I switched my oven to broil and broiled a few minutes more, just long enough to get the cheese lightly browned.
Serve the Baked Pesto Chicken hot.
There will be some flavorful juice in the bottom of the dish when this is done, so you may want to serve with rice, Cauliflower Rice, or quinoa to soak up the juice.
Nutrition information is automatically calculated by the Recipe Plug-In I am using. I am not a nutritionist and cannot guarantee 100% accuracy, since many variables affect those calculations.
Did you make this recipe?
Did you make this recipe? Please leave a star rating (under the PRINT button in the recipe) or share a photo of your results on Instagram! THANKS!
Low-Carb Diet / Low-Glycemic Diet / South Beach Diet Suggestions: This Baked Pesto Chicken would be great for low-carb and Keto diets. If you use low-fat Mozzarella, it could work for any phase of the original South Beach Diet. For low-carb eating plans, full-fat Mozzarella would be preferred.
Find More Recipes Like This One: Use Casserole Recipes to find more recipes like this one. Use the Diet Type Index to find recipes suitable for a specific eating plan. You might also like to follow Kalyn’s Kitchen on Pinterest, on Facebook, on Instagram, on TikTok, or on YouTube to see all the good recipes I’m sharing there.
Historical Notes for this Recipe: This popular recipe was first posted in 2010 (probably with a photo that would make me shudder if I saw it now.) The recipe was updated in 2022 and last updated with more information in 2026.
We are a participant in the Amazon Services LLC Associates Program, an affiliate advertising program designed to provide a means for us to earn fees by linking to Amazon.com and affiliated sites. As an Amazon Associate, I earn from qualifying purchases.
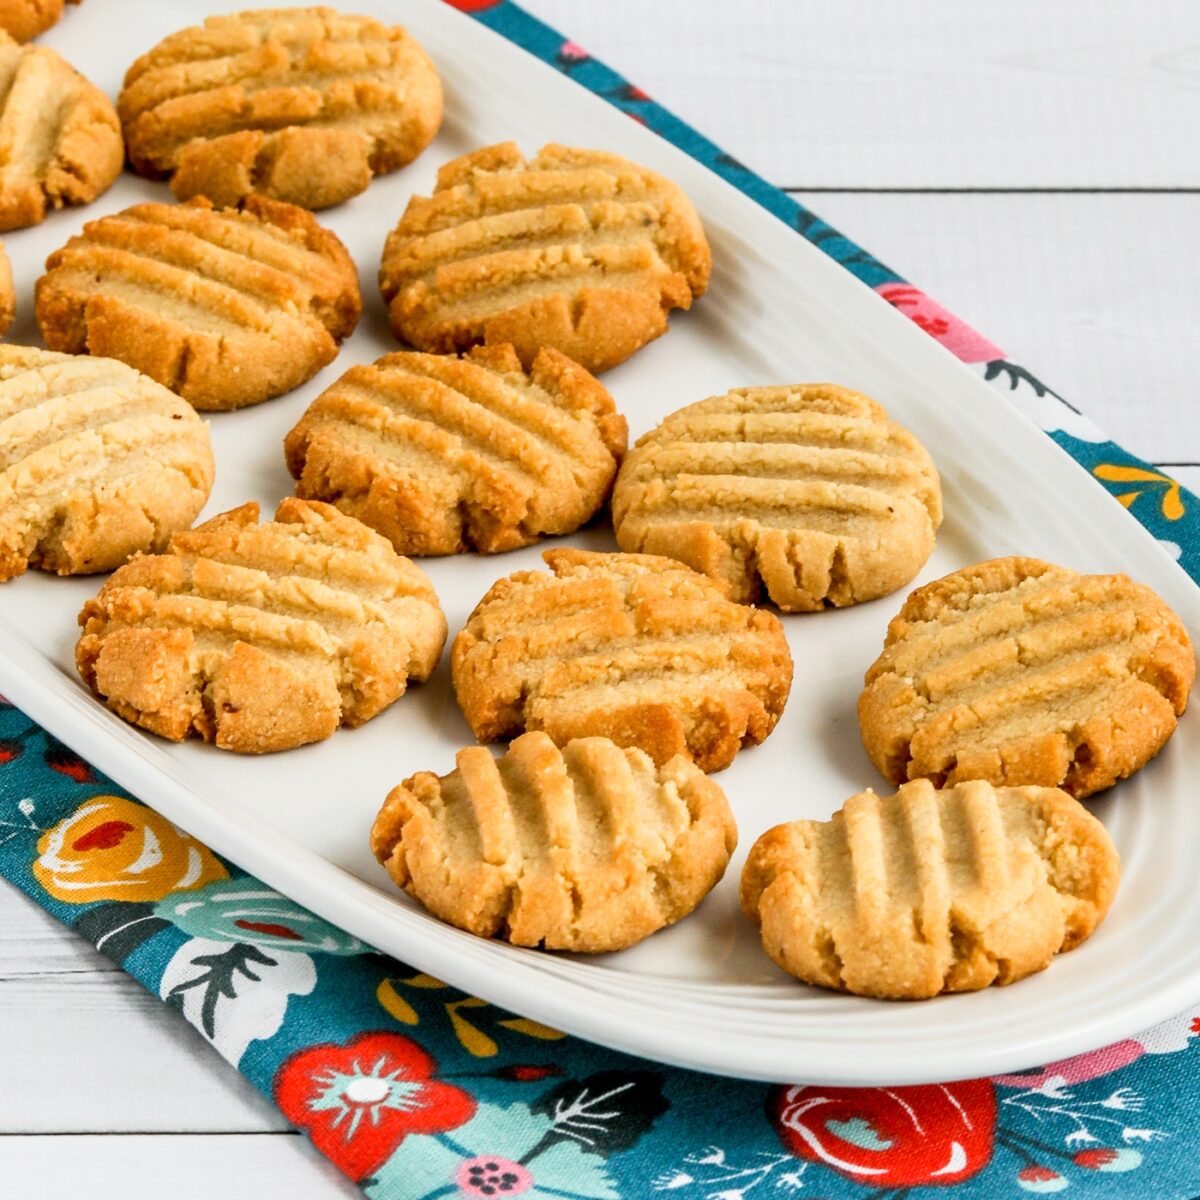
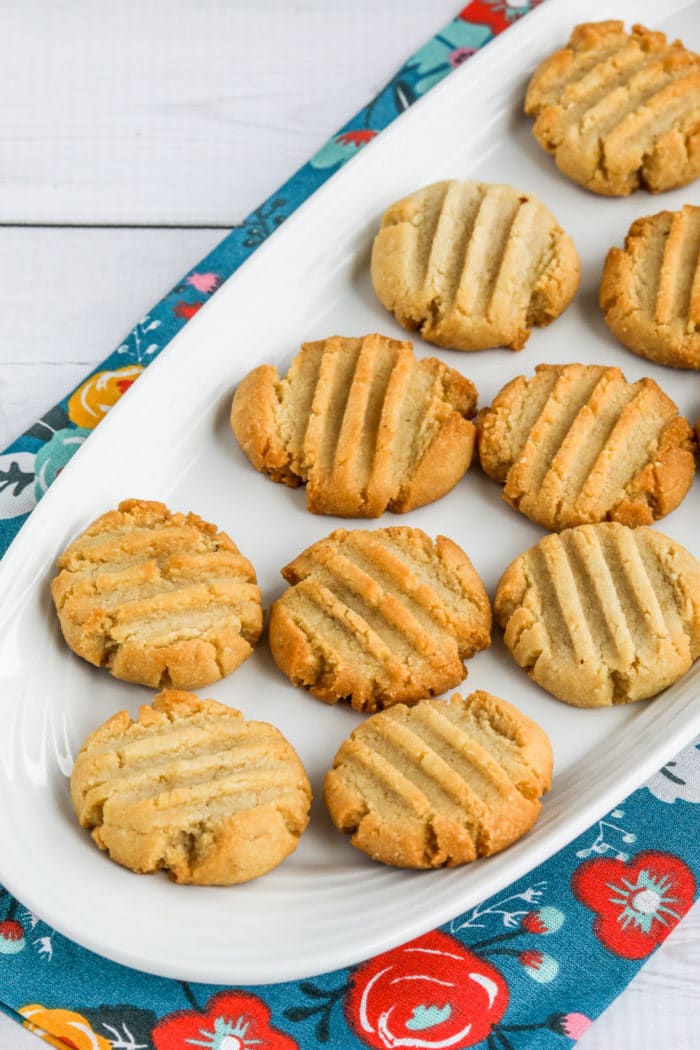
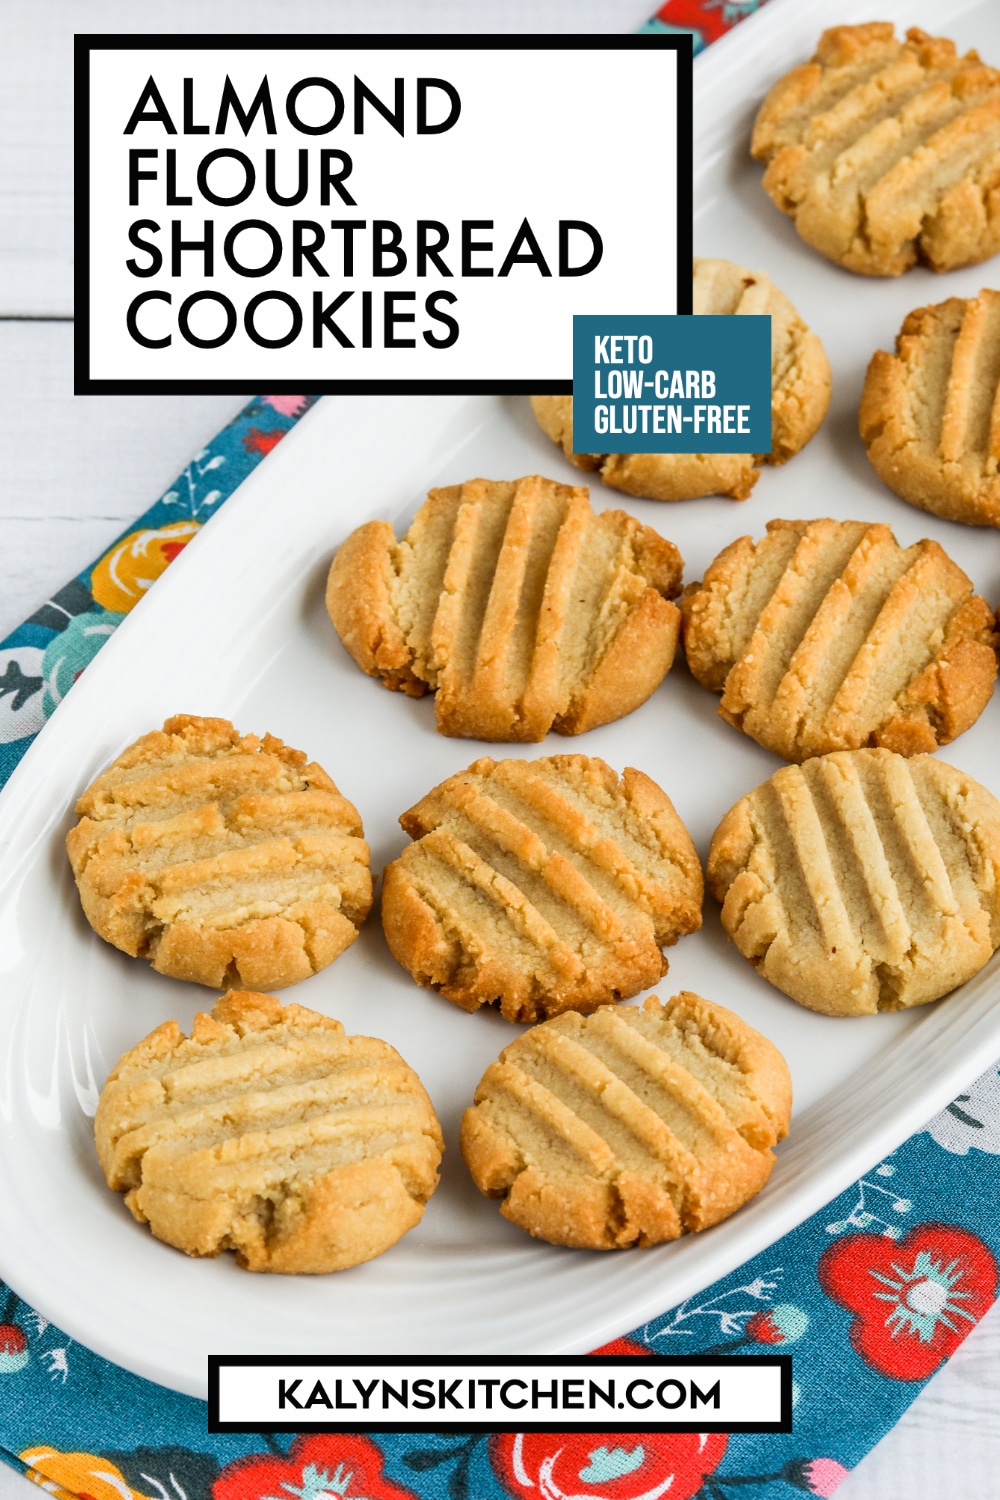
Almond Flour Shortbread Cookies are the perfect thing when you’re craving cookies and want an easy recipe that’s low in carbs! And these amazing gluten-free and keto shortbread cookies only take minutes to make!
PIN Almond Flour Shortbread Cookies to make them later!
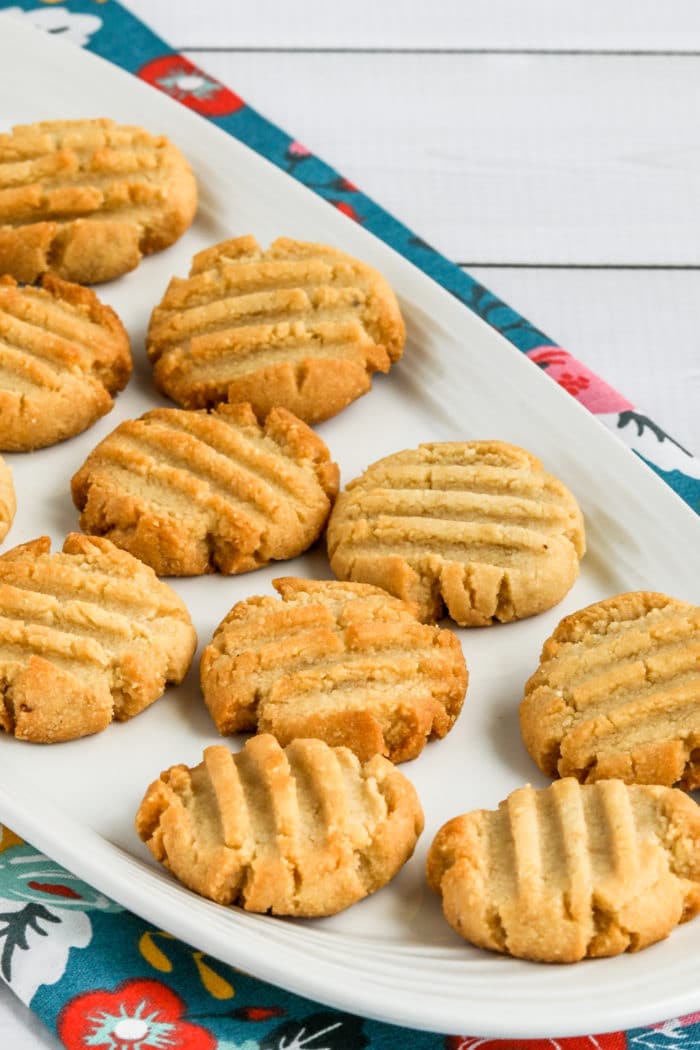
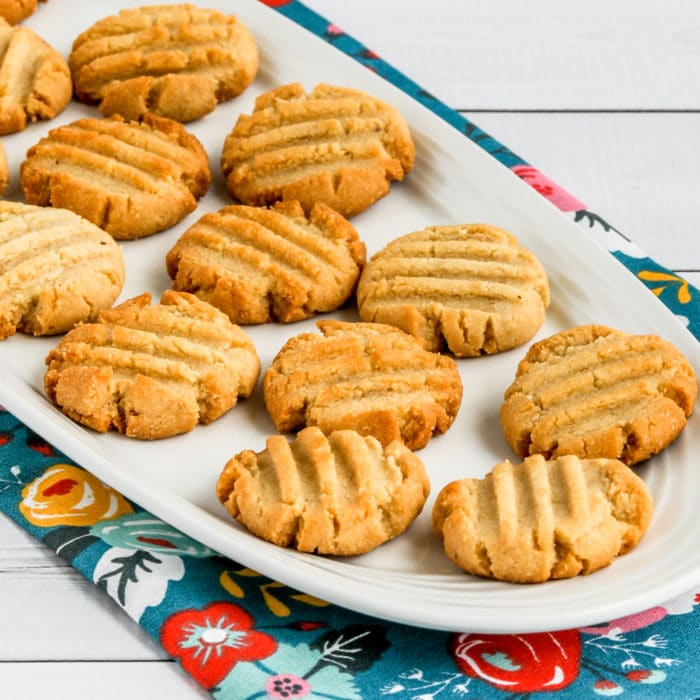
These amazing Almond Flour Shortbread Cookies would definitely be my favorite cookie to make during the holidays! So I’m featuring them for my Friday Favorites pick this week to encourage you to try them. And if you do make the shortbread cookies, I bet you’re going to end up making them all year long. These tasty little cookies can literally be made in under 30 minutes, and they’re low-carb, Keto, and gluten-free!
Even if you’re someone like me who’s not much into baking, these cookies are so quick and easy to make that you can whip them up in no time whenever you’re wanting something sweet. I hope you enjoy them too!
What ingredients do you need?
(This is only a list of ingredients; please scroll down for complete printable recipe. Or if you use the JUMP TO RECIPE link at the top of the page, it will take you directly to the complete recipe.)
What are Shortbread Cookies?
Shortbread is a classic cookie that traditionally has sugar, butter, flour, and salt and sometimes a touch of vanilla extract. Unlike many other cookies, shortbread does not contain any baking powder or baking soda. This keto almond flour shortbread cookie replaces the flour with almond flour, uses less butter because of the fat in the almond flour, and does use some vanilla.
What almond flour did we use for the Shortbread Cookies?
We tested this recipe with Costco Brand Kirkland Blanched Almond Flour. I think any brand of blanched almond flour will work fine, but I wouldn’t use unblanched almond flour.
Can you use regular Monkfruit for the Almond Flour Shortbread Cookies?
I’m sure some people are going to wonder if you can use Classic Monkfruit Sweetener in these cookies instead of the Powdered Monkfruit Sweetener (affiliate link) that’s recommended. I haven’t tested it that way, and I am going to guess that you need the super-fine powdered monkfruit to mix into a recipe like this with so few ingredients and no liquids. But if anyone successfully makes this with classic Monkfruit (or another non-powdered sweetener) please let us know in the comments!
Can you make Almond Flour Shortbread Cookies dairy-free?
I haven’t tried making a dairy-free version of these cookies, but I am guessing that Coconut Oil (affiliate link) will work for a dairy-free option. If anyone has good luck with that, let us know in the comments!
How low in carbs are these shortbread cookies?
These amazing cookies have only 1 net carb per small cookie, and 2 grams of protein!
How to Make Almond Flour Shortbread Cookies:
(This is only a summary of the steps for the recipe; please scroll down for complete printable recipe. Or if you use the JUMP TO RECIPE link at the top of the page, it will take you directly to the complete recipe.)
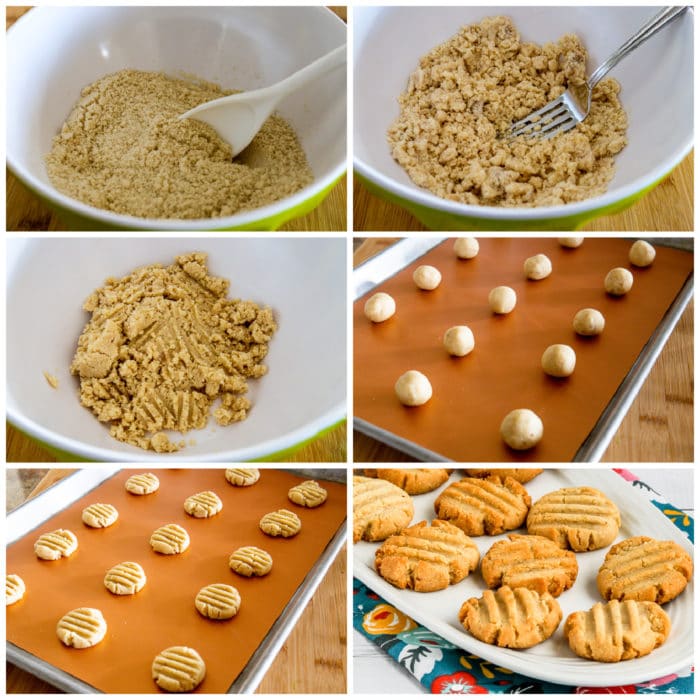
Preheat oven to 350F/176C. Line baking sheet with parchment paper or silicone baking mat.
Be sure your almond flour is at room temperature and not clumped.
Add softened butter, Lakanto Powdered Monkfruit Sweetener, salt, and vanilla extract, and mix with a fork.
Continue mixing until the mixture comes together into a loose dough.
Use a teaspoon to measure out a heaping teaspoon of dough, then roll with your clean hands into 15 small balls.
Use the fork to press the cookies down.
Bake cookies 9-10 minutes, or until they are starting to get firm.
Leave cookies on the baking mat to cool for 5 minutes.
Cookies can be stored in a container with a snap-tight lid or frozen.
More Tasty Cookies with Almond Flour:
Ingredients
1 cup blanched almond flour
3 T butter, softened
3 T Lakanto Powdered Monkfruit Sweetener (see notes)
1/8 tsp. salt
1/2 tsp. vanilla extract
Instructions
Preheat oven to 350F/176C. Line a baking sheet with parchment paper or use a silicone baking mat (affiliate link) like I did.
Be sure your almond flour is at room temperature and not clumped. (If you store it in the freezer, remove and let it warm up, then use a fork to break apart any lumps.)
Add softened butter, Lakanto Powdered Monkfruit Sweetener, salt, and vanilla extract, and mix with a fork.
Continue mixing until the mixture comes together into a loose dough.
Use a teaspoon to measure out a heaping teaspoon of dough, then roll with your clean hands into 15 small balls.
Use the fork to press the cookies down (either in straight lines or in a criss-cross pattern, whichever you prefer.)
Bake cookies 9-10 minutes, or until they are starting to get firm.
Leave cookies on the baking mat to cool for 5 minutes, or slightly longer. (Ours did get darker on the baking mat so remove them after 5 minutes if you prefer lighter cookies.)
Cookies can be stored in a container with a snap-tight lid or frozen.
Nutrition information is automatically calculated by the Recipe Plug-In I am using. I am not a nutritionist and cannot guarantee 100% accuracy, since many variables affect those calculations.
Did you make this recipe?
Did you make this recipe? Please leave a star rating (under the PRINT button in the recipe) or share a photo of your results on Instagram! THANKS!
Low-Carb Diet / Low-Glycemic Diet / South Beach Diet Suggestions: Almond Flour Shortbread Cookies are a perfect recipe for Keto or for any low-carb eating plan. These cookies are fairly high in fat for the original South Beach Diet, although I certainly wouldn’t judge if you ate a few occasionally.
Find More Recipes Like This One: Use Desserts and Baking to find more cookie recipes like this one. Use the Diet Type Index to find more recipes suitable for a specific eating plan. You might also like to follow Kalyn’s Kitchen on Pinterest, on Facebook, on Instagram, on TikTok, or on YouTube to see all the good recipes I’m sharing there.
Historical Notes for this Recipe: These tasty cookies were first posted in 2019, and the recipe has been extra popular ever since! The recipe was last updated with more information in 2025.
We are a participant in the Amazon Services LLC Associates Program, an affiliate advertising program designed to provide a means for us to earn fees by linking to Amazon.com and affiliated sites. As an Amazon Associate, I earn from qualifying purchases.
This website may contain affiliate links and advertising so that we can provide recipes to you. Read my disclosure policy.
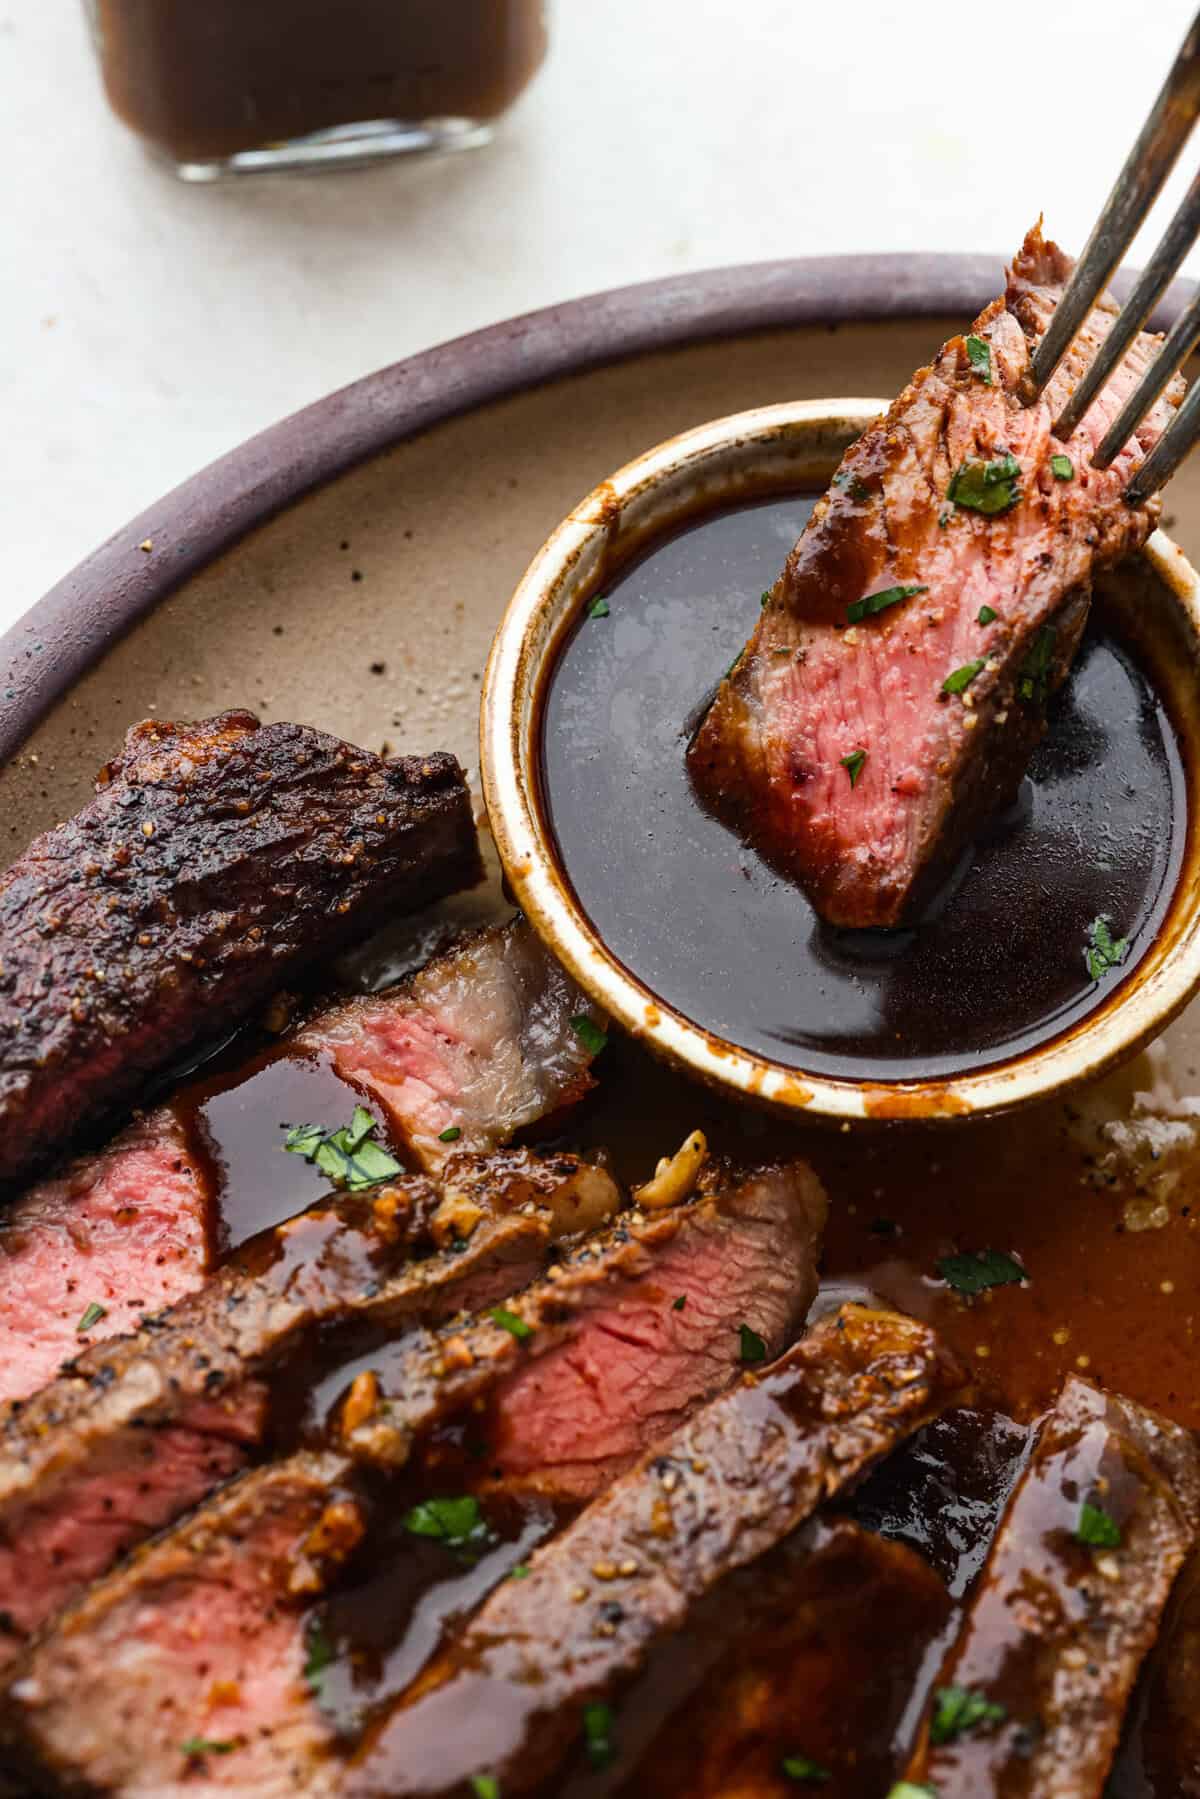
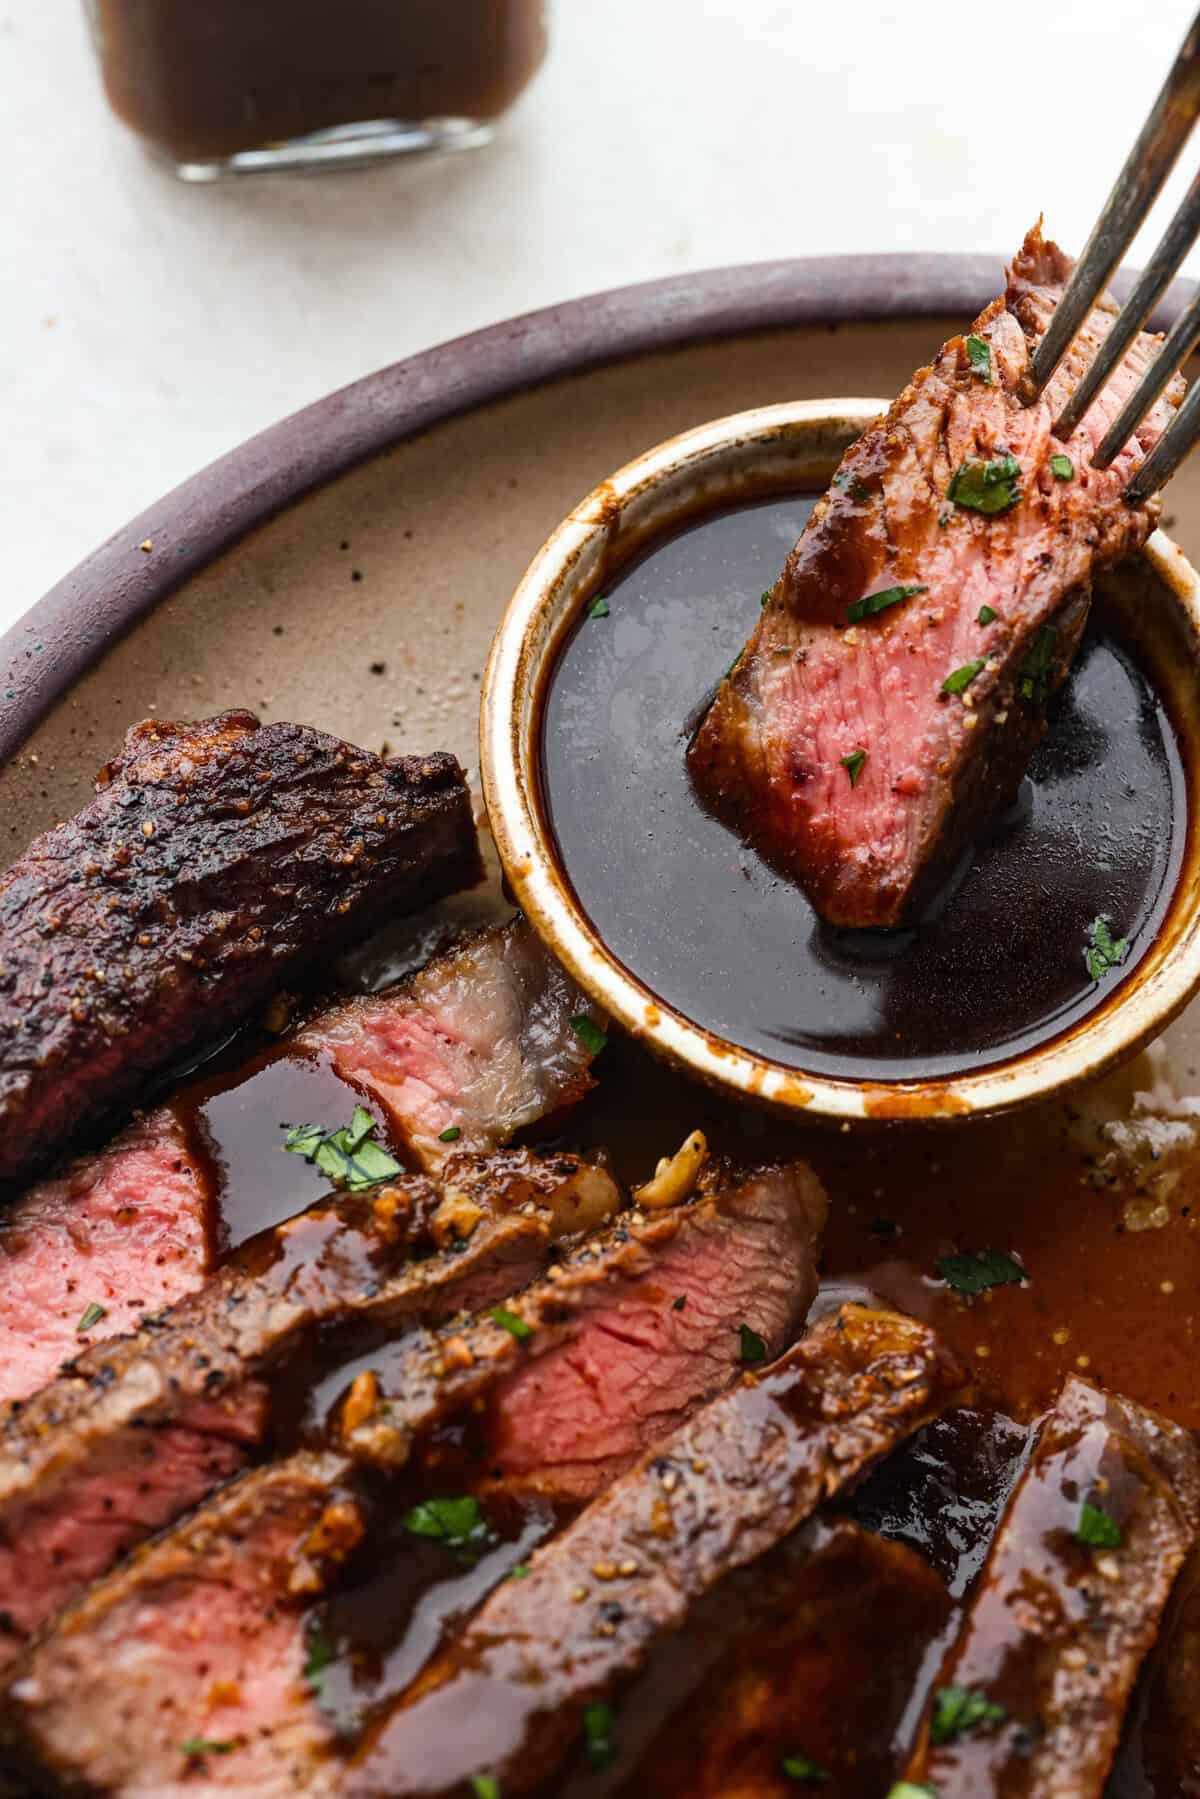
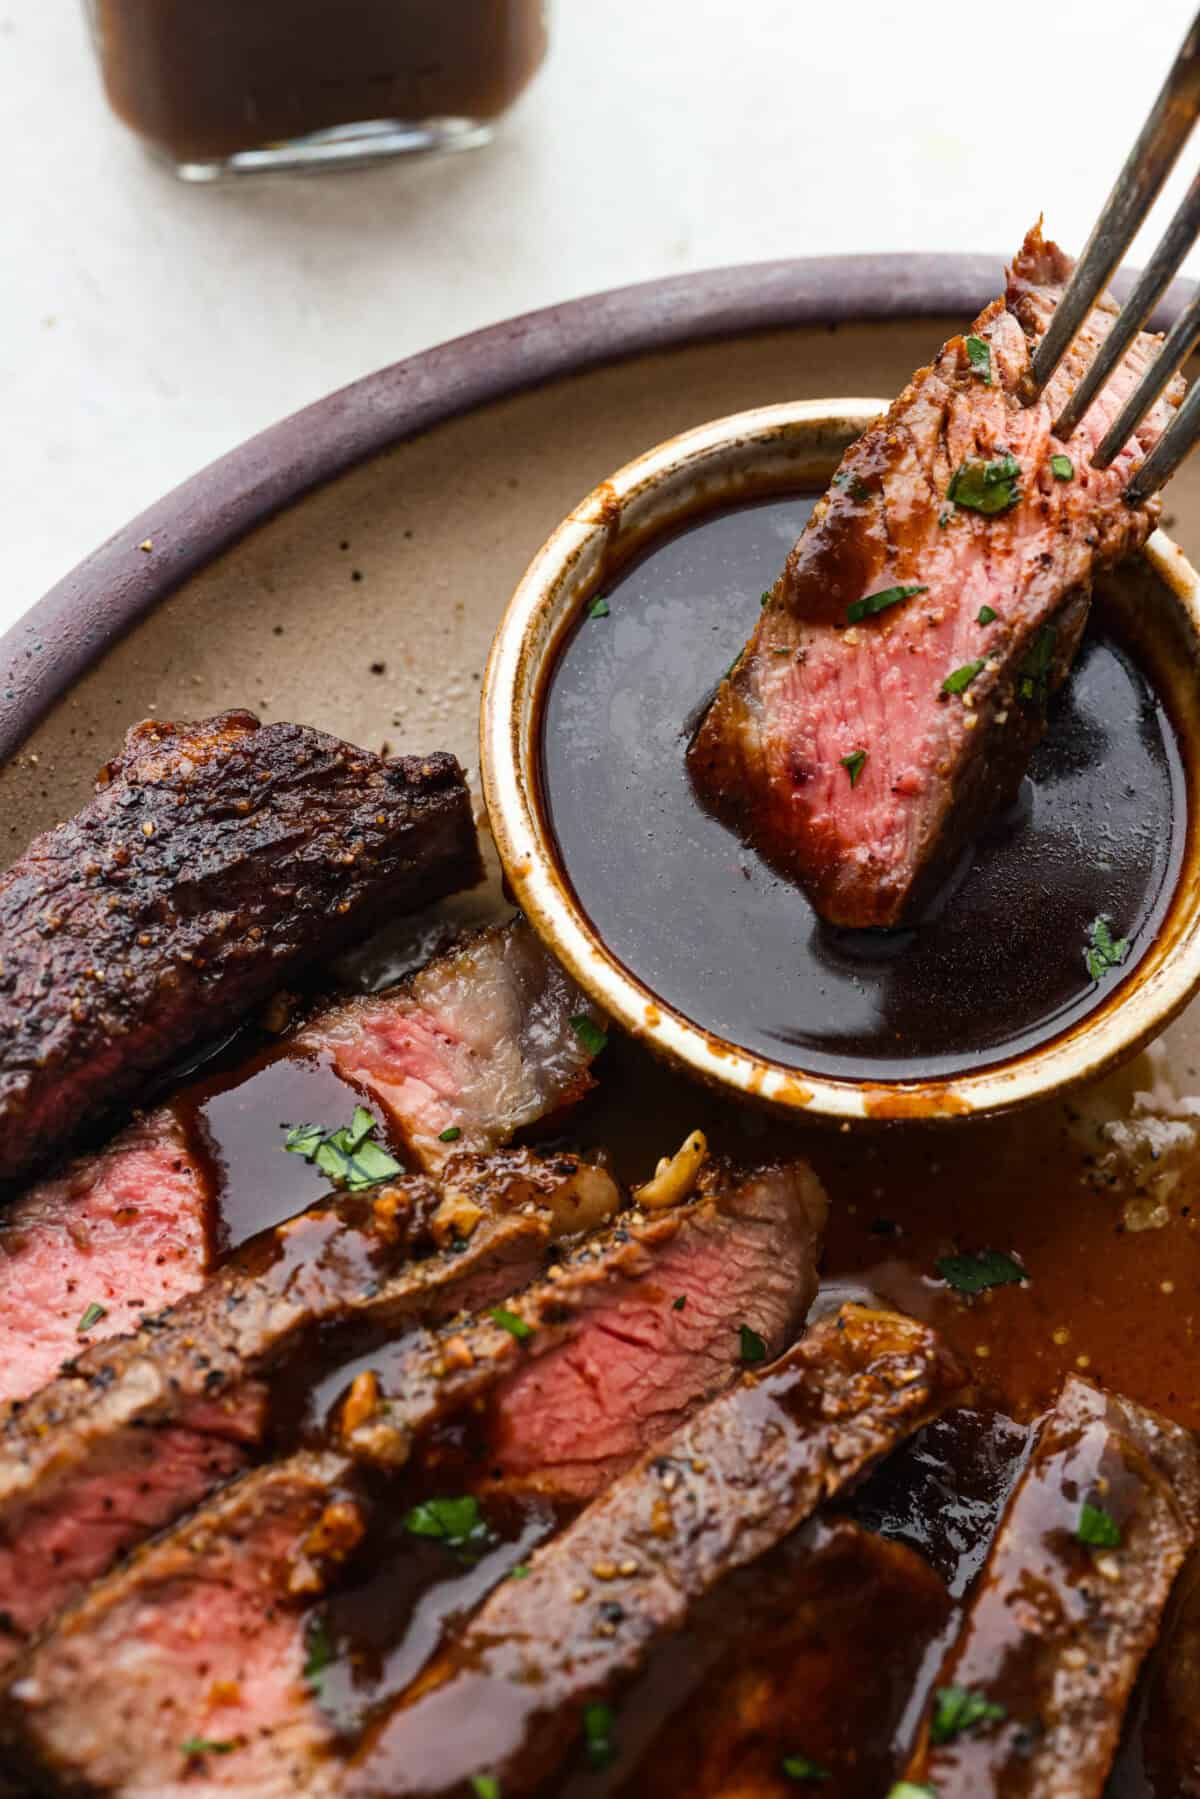
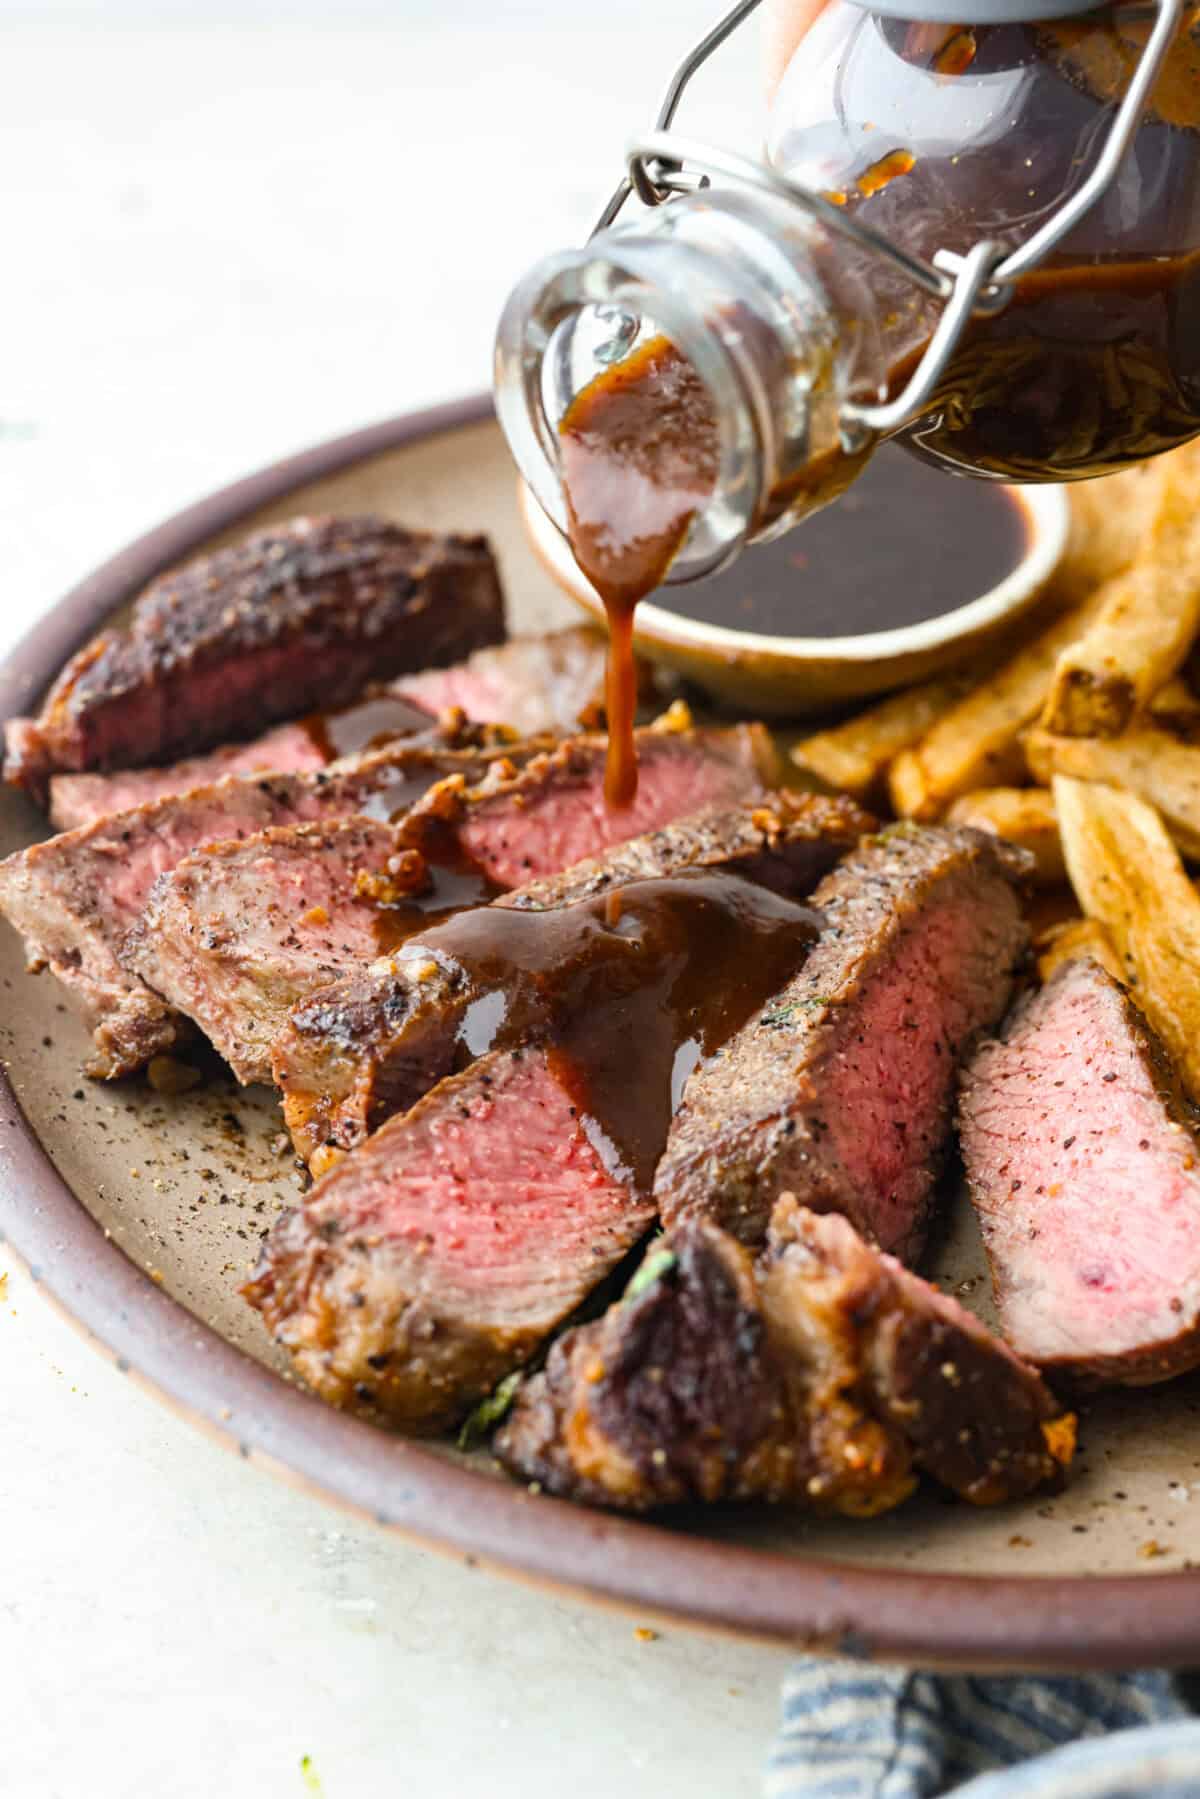
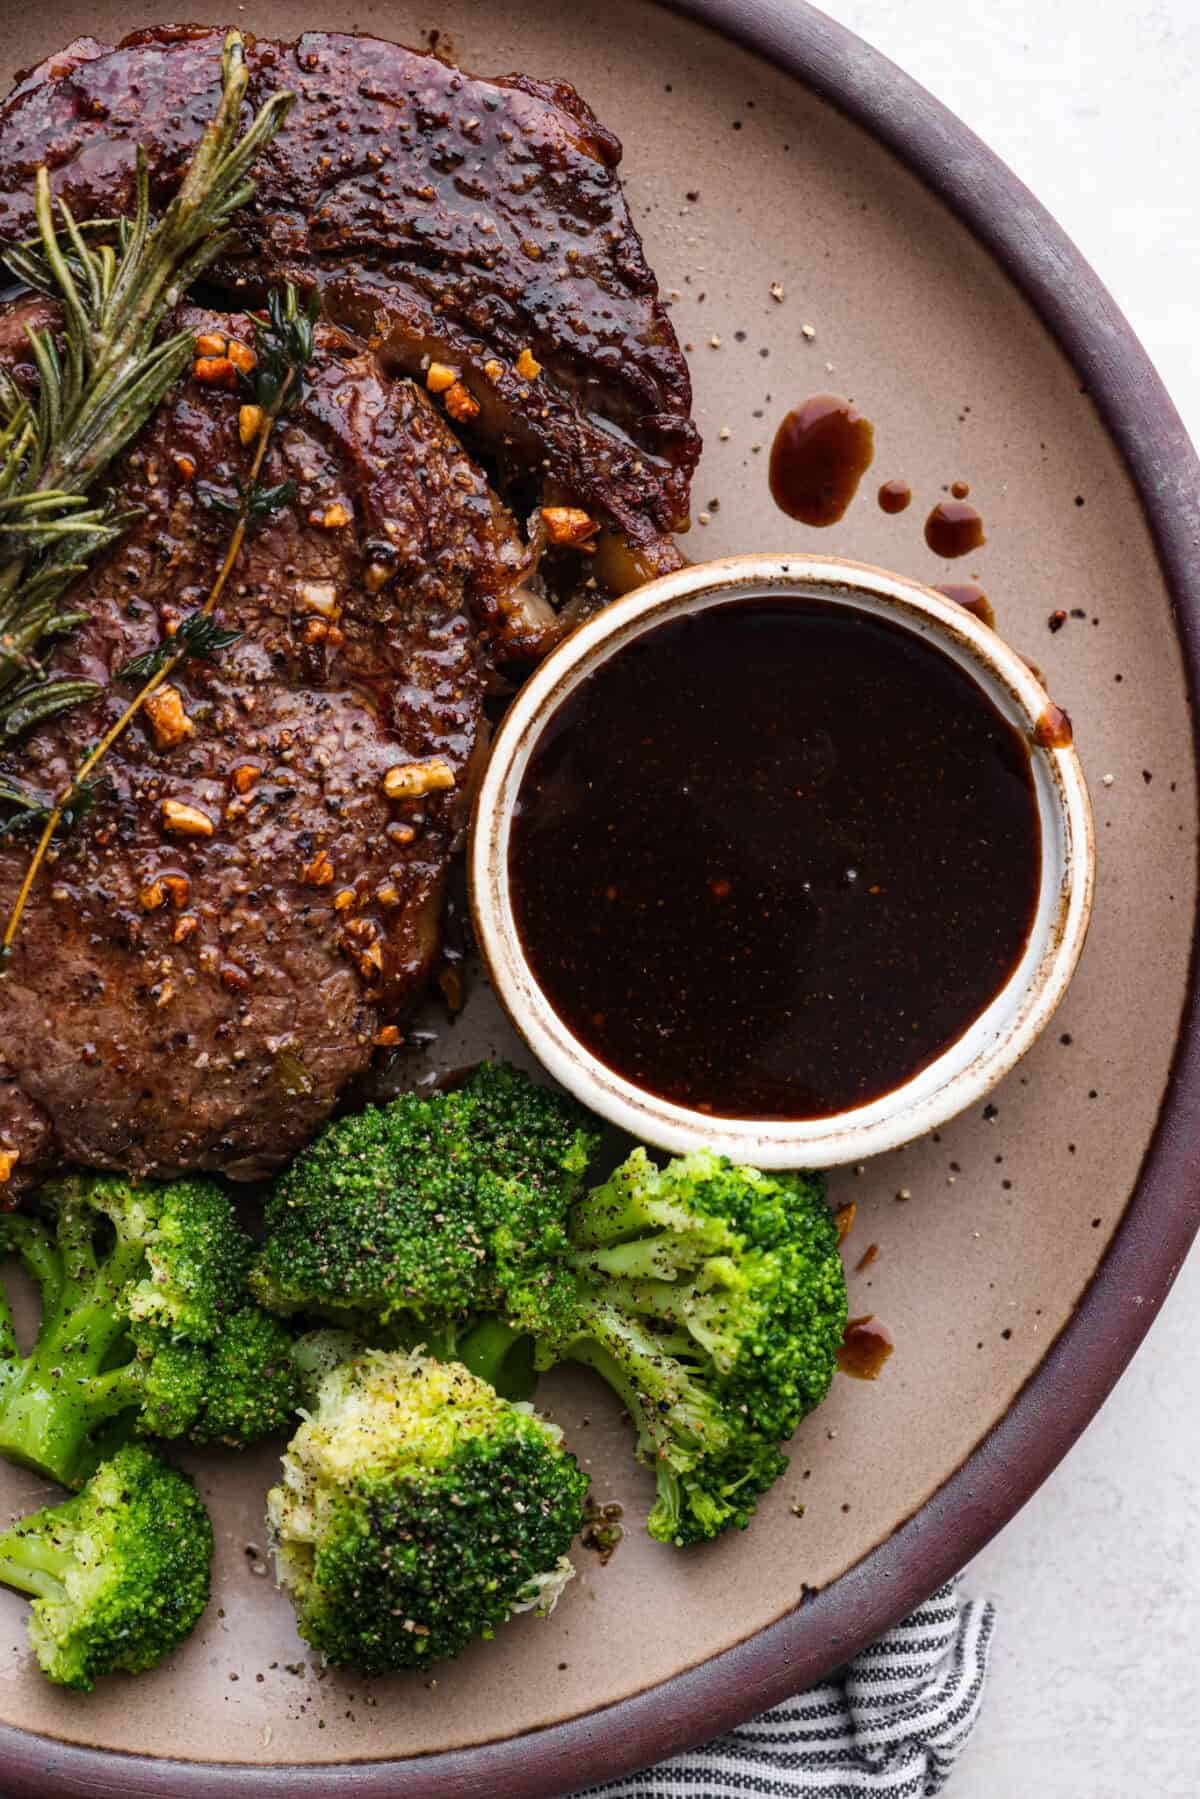
This A-1 copycat homemade steak sauce recipe is slightly sweet with a delicious tang from the vinegar. It’s perfect for drizzling over your favorite cut of tender, juicy meat.
Reasons You’ll Love This Recipe
Easy to Make: There are only a few simple ingredients that go into this amazing sauce, and you probably already have them in your pantry.
Customizable: You can easily adjust this homemade steak sauce recipe to suit your taste preferences.
Versatile: This sauce goes well with any steak you whip up, whether it’s a ribeye, T-bone, New York strip, skirt steak, or tuna steak.
Rich, Bold, Savory Steak Sauce
You will love the depth of flavor this homemade sauce gives any steak you make. If you like A-1, you will love this even more. It is similar, but will have ingredients you know and trust. Combined, they make the most incredible steaks taste even better! Trust me, you will want to have this on hand any time you make steaks!
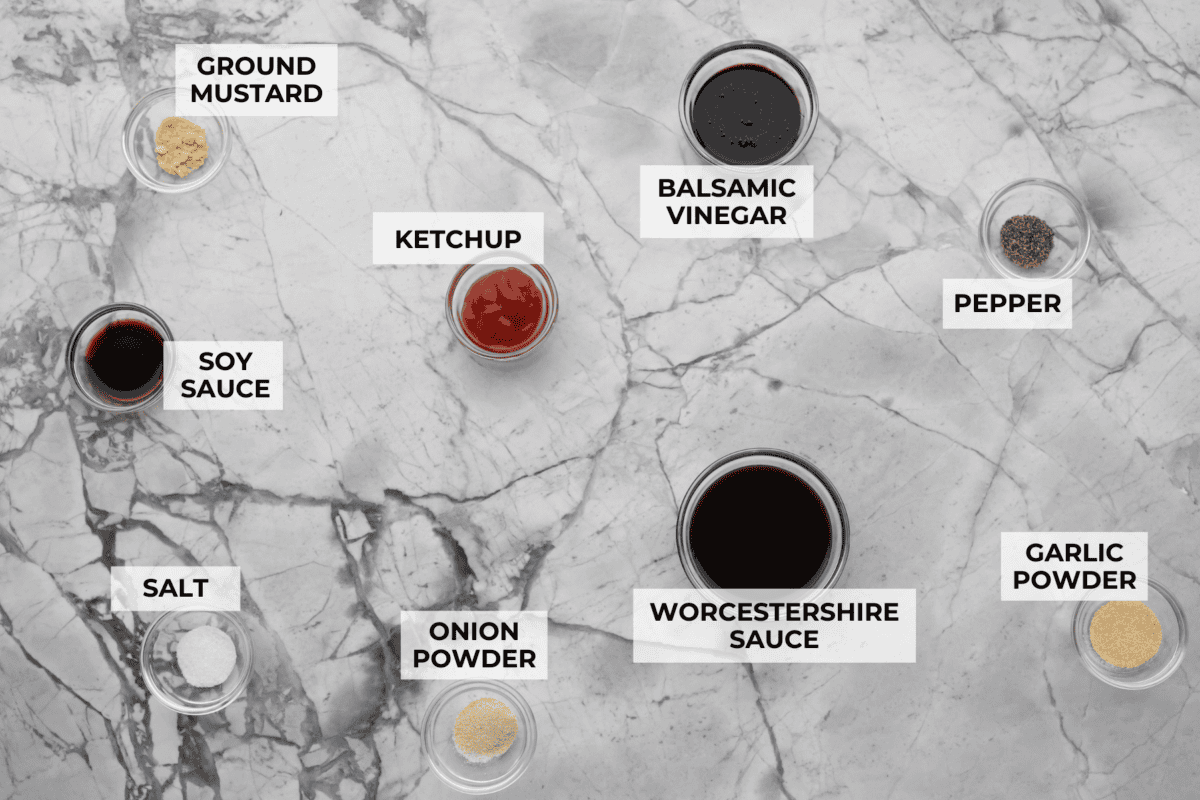
Ingredients Needed
How to Make Homemade Steak Sauce
This steak sauce recipe is just as good or better than A-1 steak sauce. I love being able to adjust the ingredients to use more of what I like and make it taste exactly how I want.
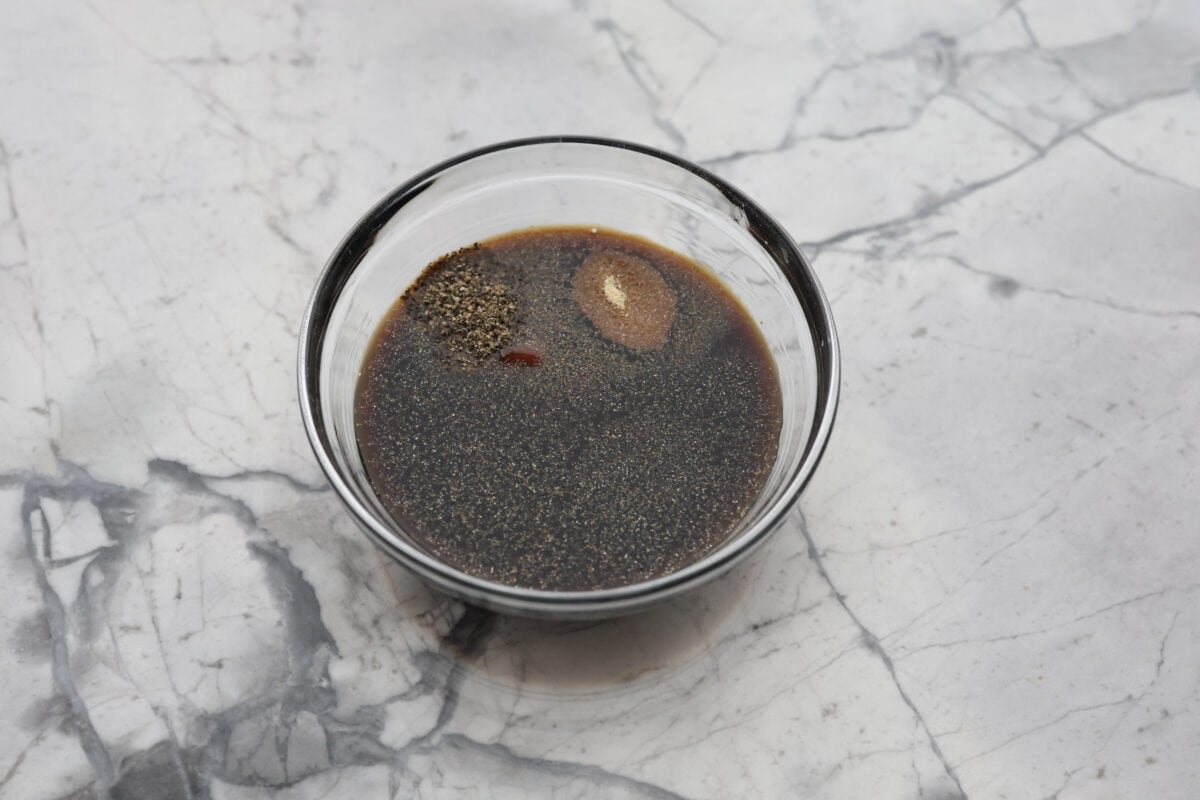
Combine: In a mixing bowl, add the Worcestershire sauce, balsamic vinegar, ketchup, soy sauce, onion powder, garlic powder, mustard powder, pepper, and salt.
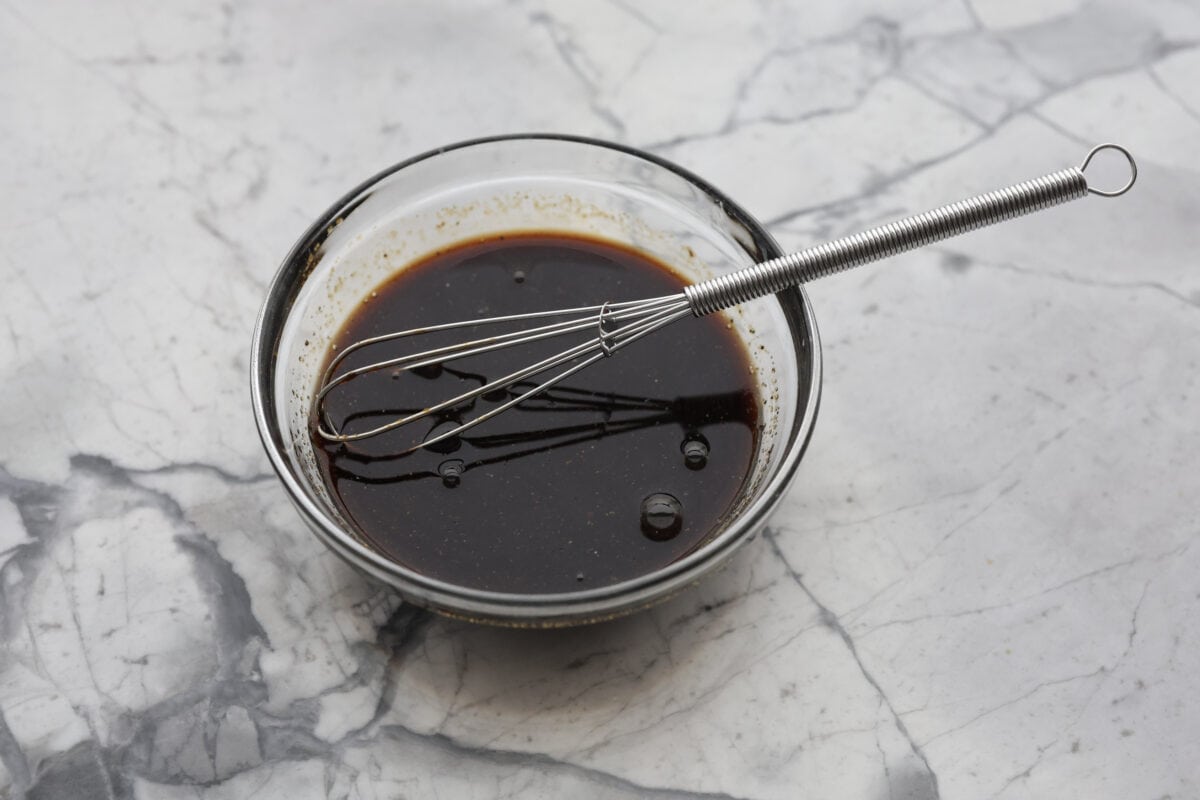
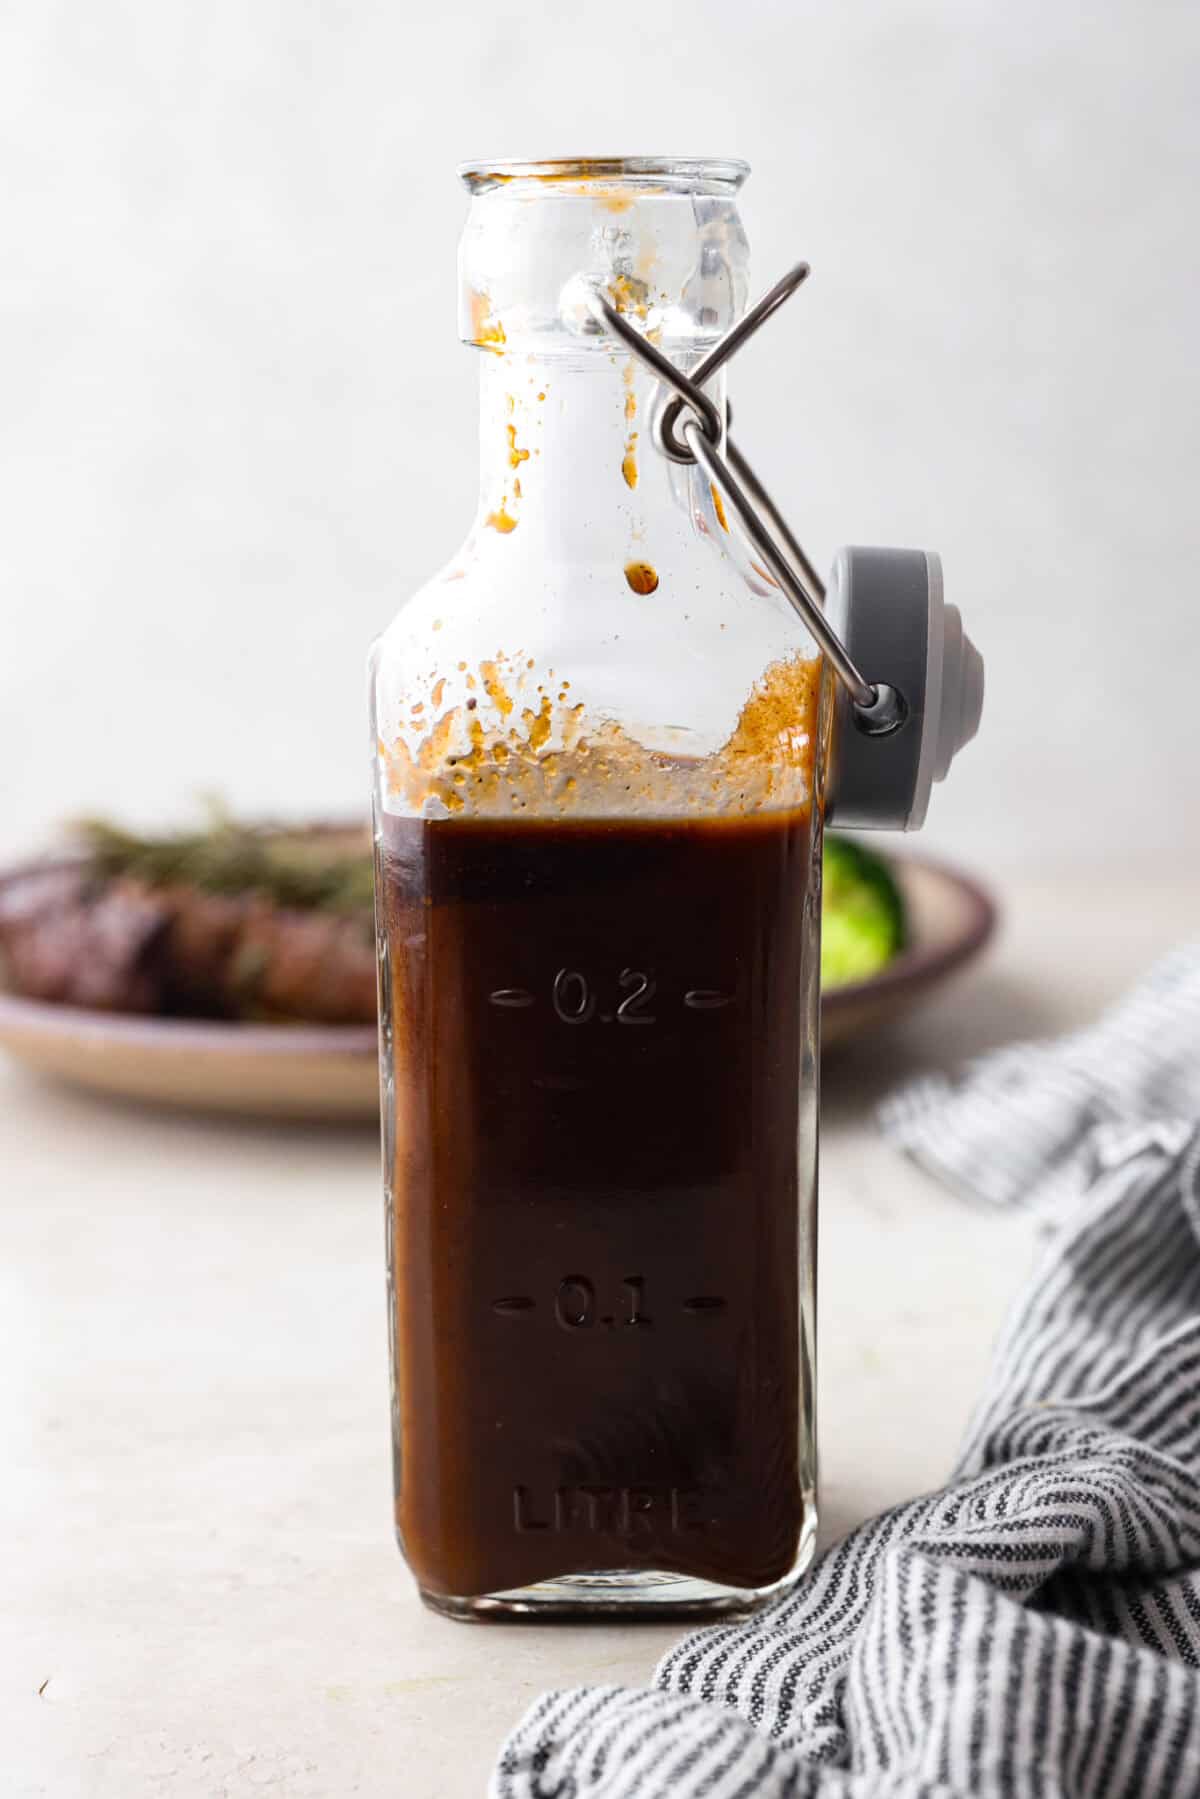
Stir: Whisk everything together and then serve or store right away.
Tips and Variations
This homemade steak sauce recipe is very straightforward. But you can always adjust something like this to make it suit your tastes. Here are some ideas to get you started.
Let it Sit: You can use this sauce right away, but I recommend letting it sit for a couple of hours to allow the flavors to meld together. Shake well before using.
Make it Spicy: If you want to, you can add some spice to this sauce by adding cayenne pepper to it.
Storing Steak Sauce
The nice thing about this homemade steak sauce is that will last you a couple of months! Here are the instructions for how to give it the longest shelf life.
Fridge: You can store any leftovers in an airtight container in the fridge for up to 2 months.
Freezer: I don’t recommend freezing this sauce, it keeps for a long time in the fridge and will be best kept there.
More Steak Sauces and Marinades
Most of the time, I like to make my steak with a simple marinade. But there are those special occasions when I like an incredibly flavorful sauce with my steak. Like when I make Steak Frites. Here are a few of my favorites!
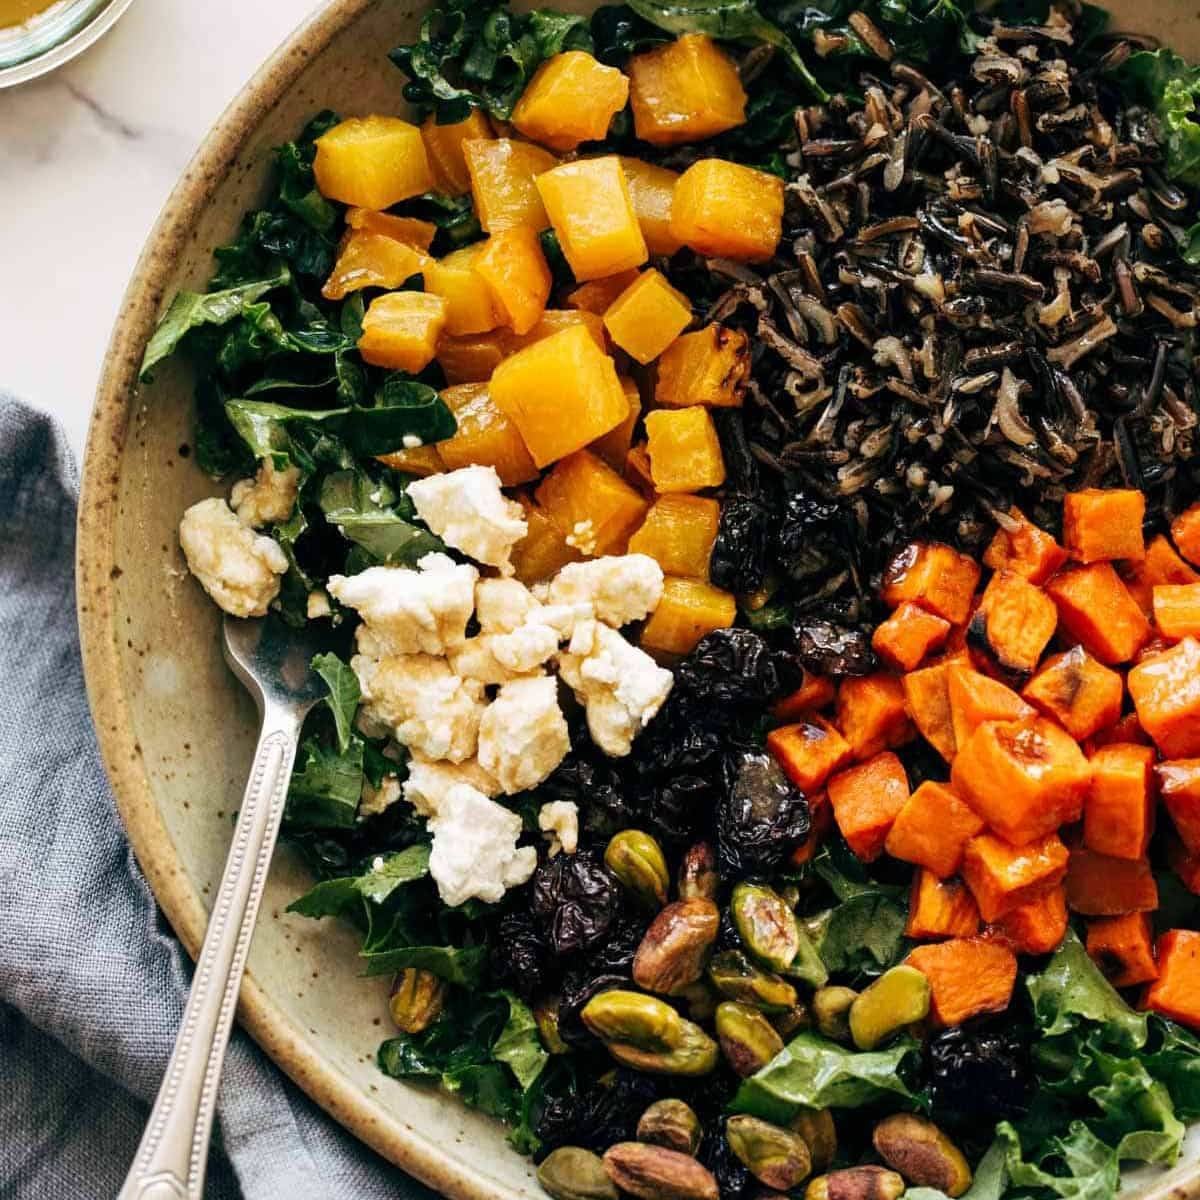
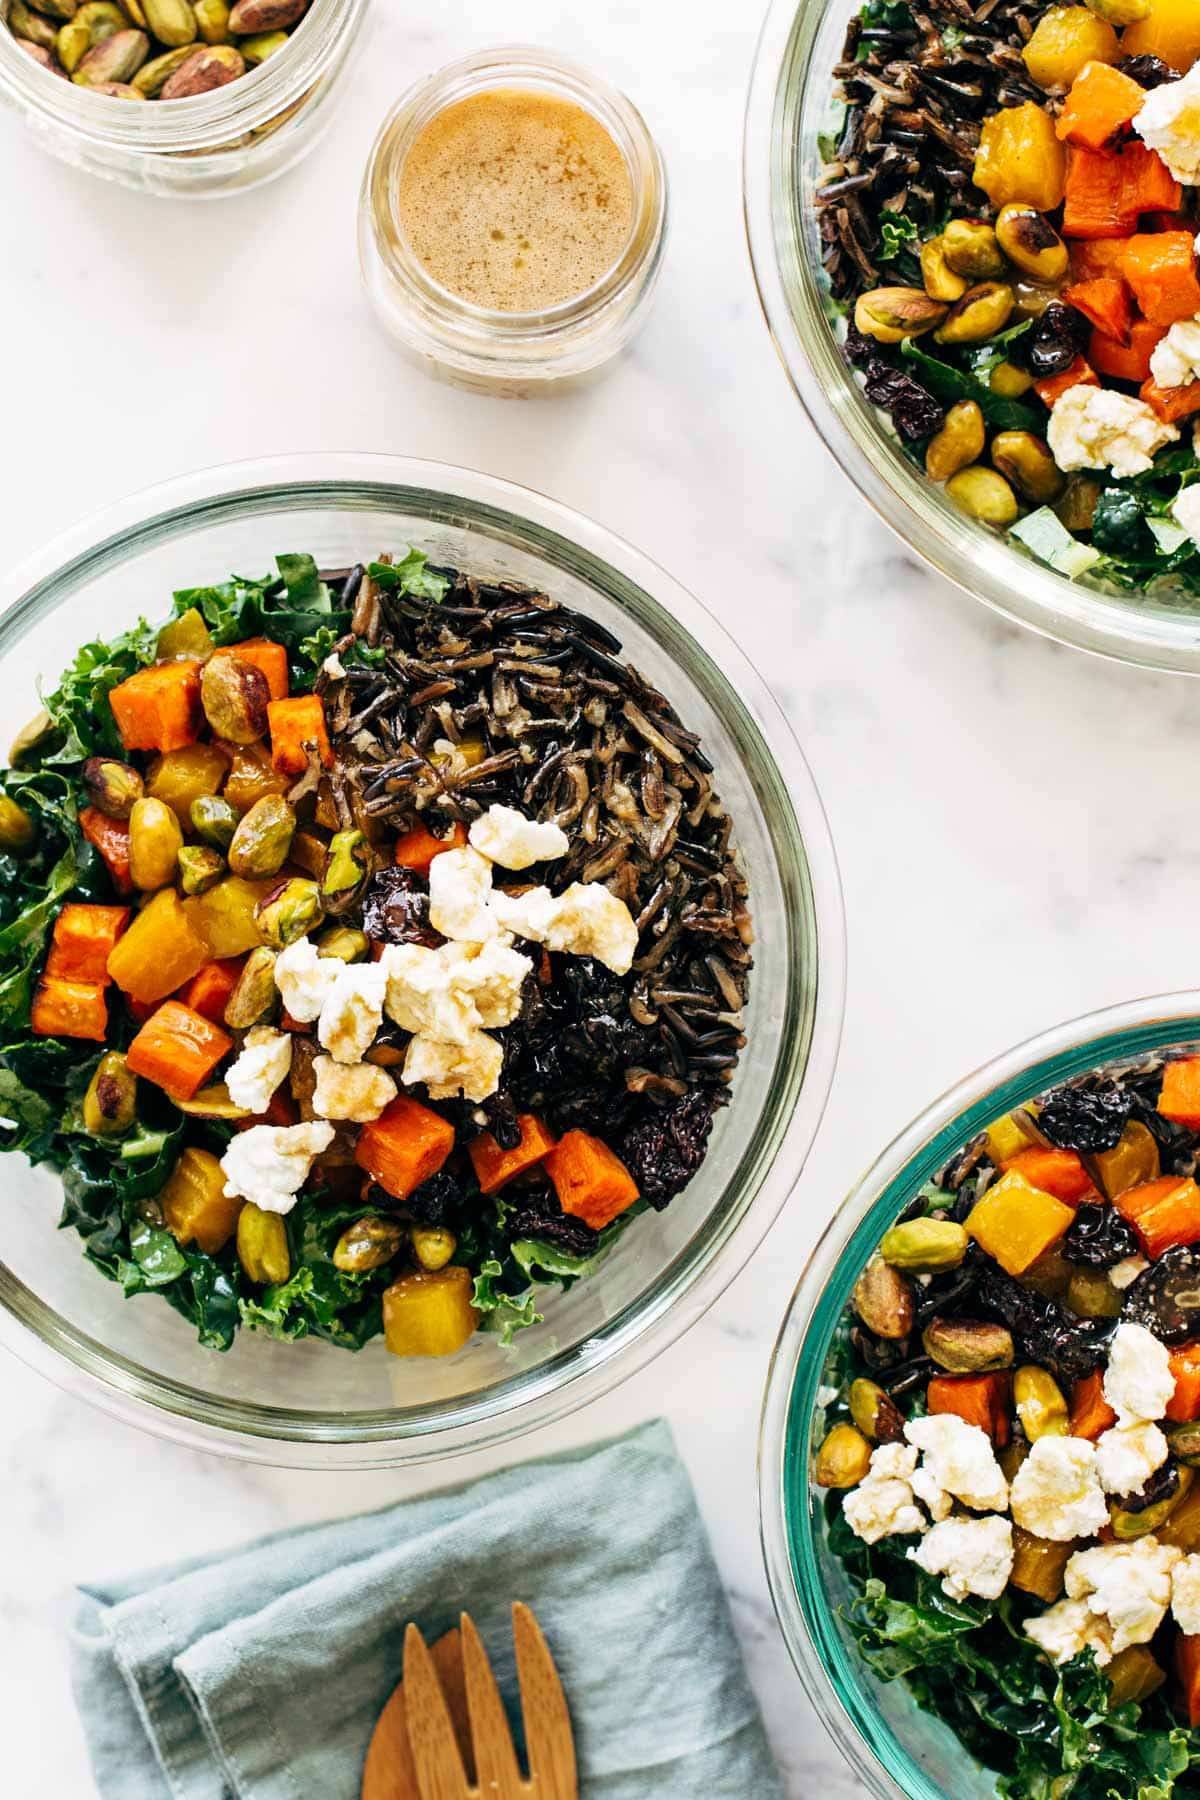
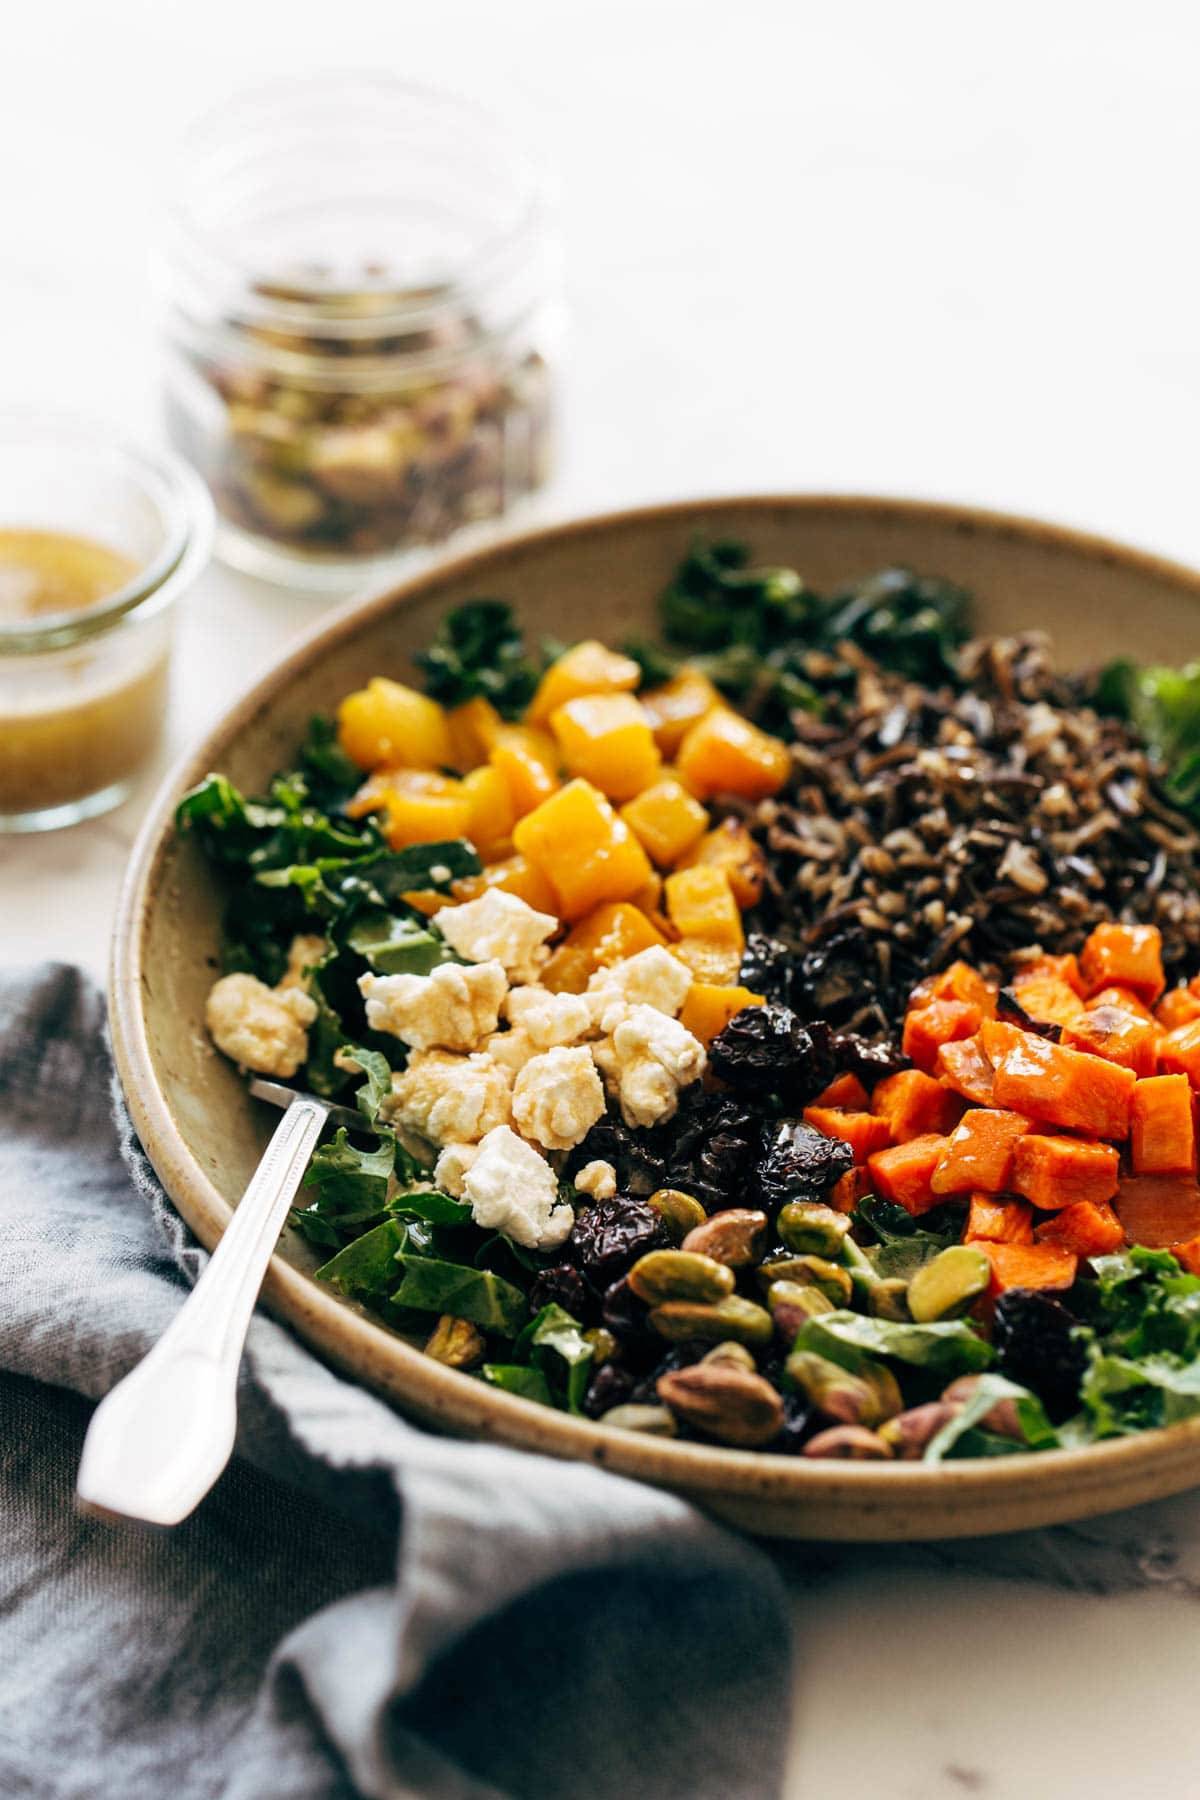
The BEST Grain Bowl! Roasted root vegetables, earthy grains, dried fruit, dark leafy greens, buttery goat cheese, and lusciously creamy balsamic dressing.
Watch How To Make These Grain Bowls
I Love a Good Grain Bowl.
What’s colorful and nutritious and playful and makes your tastebuds feel very alive? This bowl.
Roasted root vegetables, earthy grains, and dried fruit. Dark leafy greens, buttery goat cheese, and lusciously creamy balsamic dressing.
This grain bowl is:
really delicious
colorful
packed with nutrition
calorie-dense (in a good way)
super satisfying
adaptable (pick and choose your favorite roasted vegetables)
really good with or without protein
playful
A) Yes, it’s a slice of healthy eating heaven, and B) this is the salad / bowl situation you want gracing the shelves of your fridge this winter.
Like, for days. Because you can meal-prep it! THANK YOU GRAIN BOWLS for knowing what we need.
How To Make These Grain Bowls
We’re working with just three steps here. THREE STEPS.
Roast The Vegetables: Sweet potatoes and beets in the oven for 30 minutes. Done!
Cook the Rice: I’d start this right away since wild rice can take some time.
Make The Dressing: I like to blend this dressing so that it gets super smooth and almost creamy. Delicious!
Once you have all your elements ready to go, all you need to do is assemble in bowls.
How To Meal Prep This
One of the best things about these grain bowls is that they can stand up to some fridge time. Here’s how I like to store this for meal prep:
Keep the kale, goat cheese, and pistachios separate to maintain their freshness.
The roasted vegetables, wild rice, and dried cherries can sit tight in a little bit of balsamic dressing while it’s in the fridge and kinda just keeps getting better and better.
When you’re ready to eat, combine it all together and add a little more dressing to coat the greens. Meal prep superstar!
More Ideas For This Grain Bowl
This grain bowl is as versatile as it gets.
Eat it warm or cold. Eat it on its own for lunch, or add a fried egg for a breakfast hash situation (gah!), or top it with some grilled chicken or pan-fried halloumi (omg yum) for dinner. Use a different dressing, or make the balsamic dressing and put it all over everything.
Don’t have wild rice? Swap in quinoa, farro, or your favorite grain.
Don’t have the patience to roast beets? Get pre-cooked ones at the store.
Don’t LIKE beets? Sub in another favorite roasted vegetable.
Hate pistachios and/or goat cheese? Any nut/seed or crumbly cheese will work.
However you do it, this rainbowy grain bowl has totally got your back.
Frequently Asked Questions About This Recipe
Can I use a different grain?
Yep! Swap in quinoa, farro, or your favorite grain.
What other vegetables could I use?
Roasted carrots, cauliflower, and/or brussels sprouts would work great here.
What other cheese could I use?
Parmesa, feta, blue cheese, or some pan-fried halloumi would be delicious.
How can I add protein to this?
This would be perfect with some chicken (grilled, roasted, air-fried) or some chickpeas for a vegetarian-friendly option.
This website may contain affiliate links and advertising so that we can provide recipes to you. Read my disclosure policy.
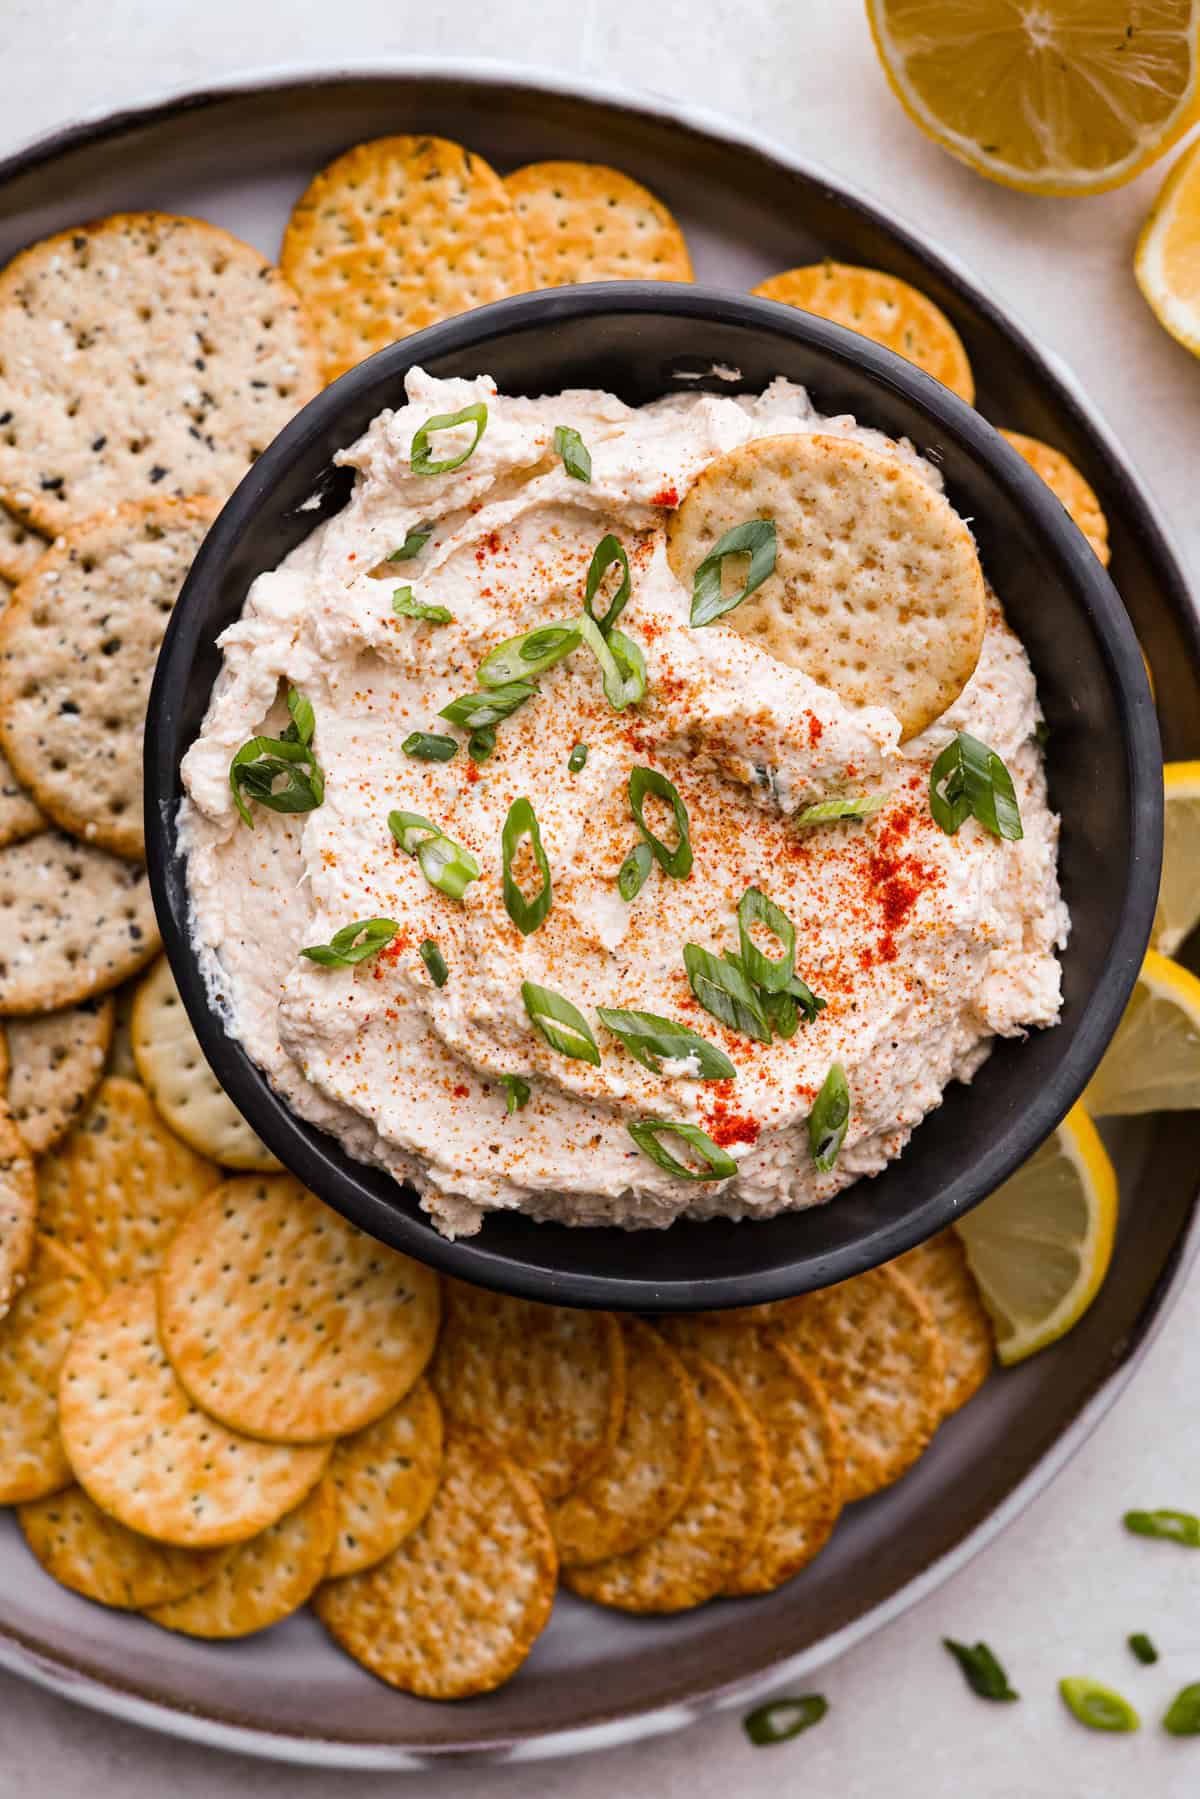
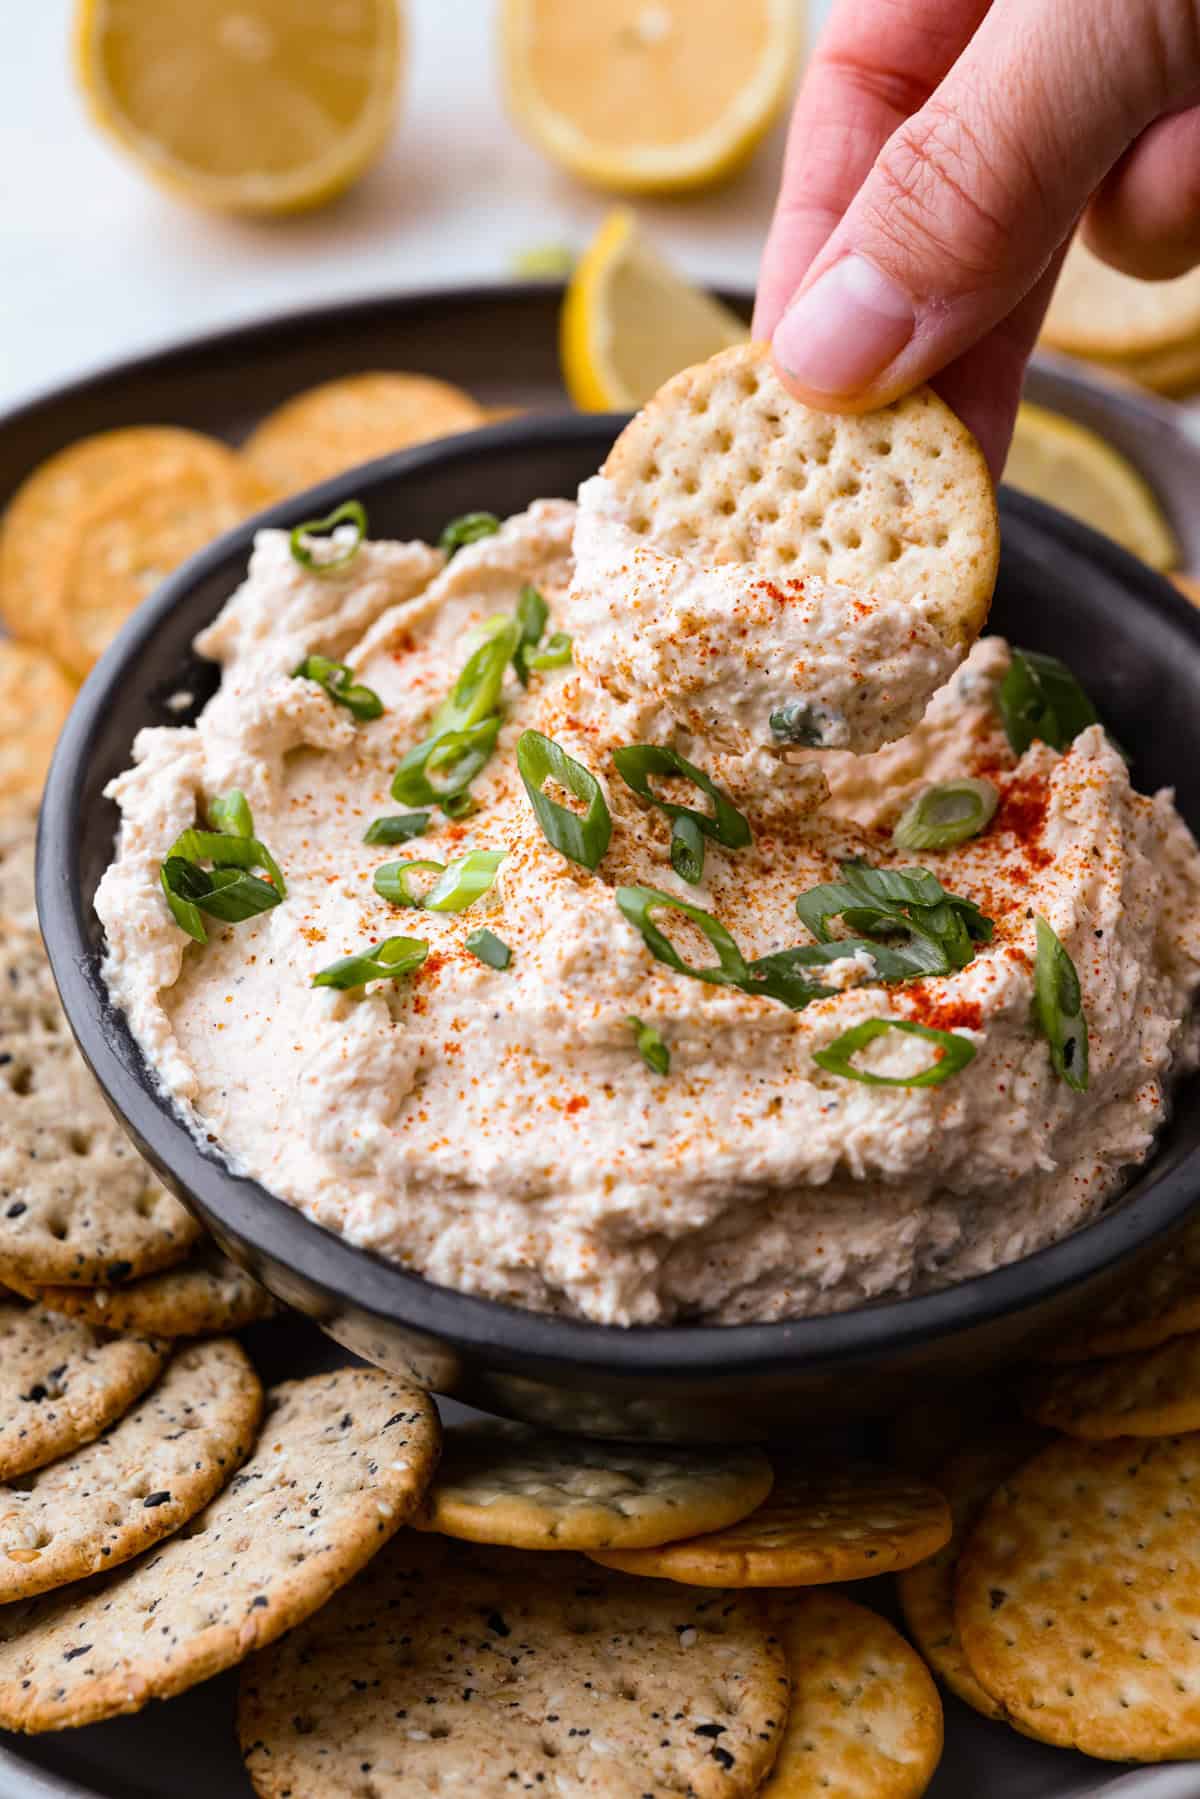
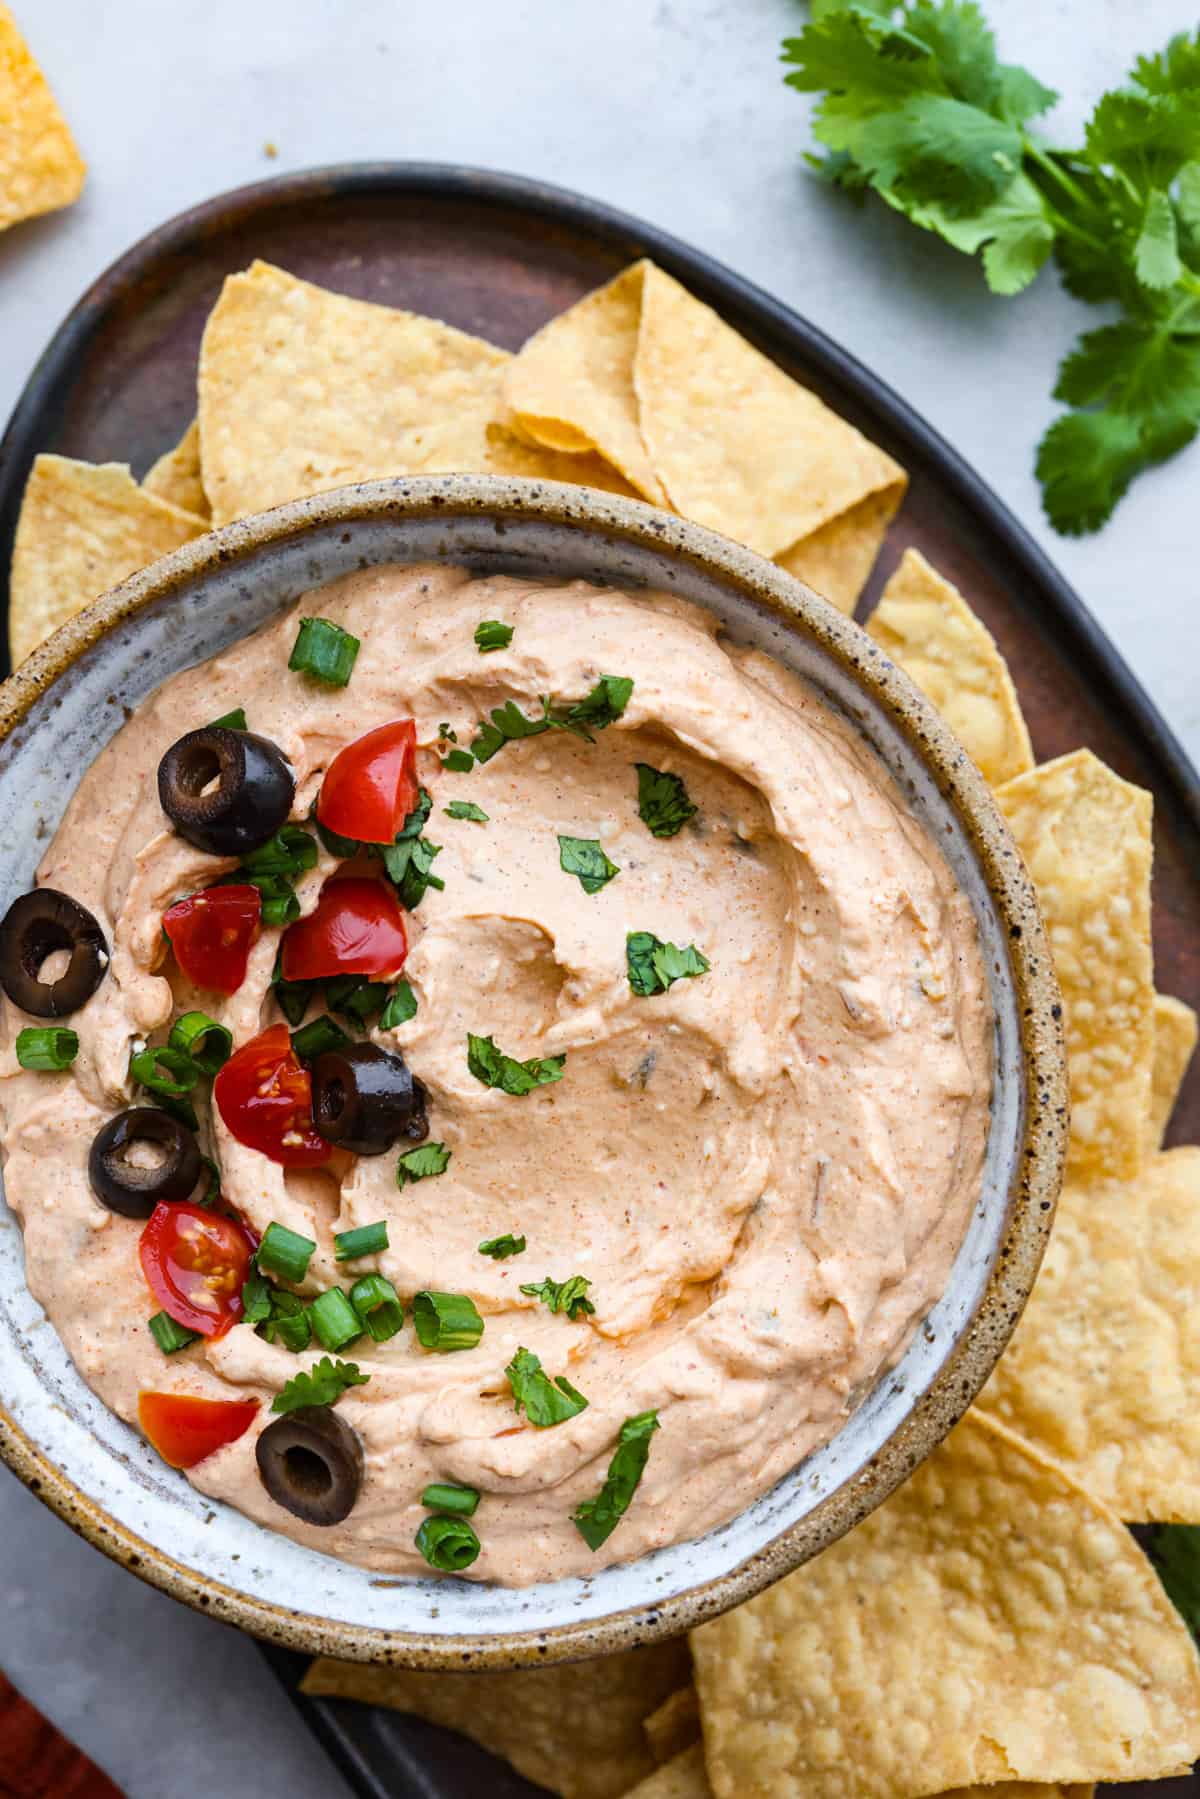
Spice up your appetizer game with Cajun Crab Dip! Packed with tender crab meat, bold Cajun seasoning, and a luscious, creamy base. This dip is irresistibly rich and full of flavor. Serve this at your next gathering with your favorite crispy crackers!
Reason You’ll Love This Recipe
Bold & Flavorful: You will love the combination of cajun spices, creaminess, and flaky crab for the perfect kick.
Quick & Easy: Simple ingredients and just 5 minutes of prep make this Cajun crab dip a breeze to whip up.
Crowd-Pleaser: Always a hit at parties, game days, and gatherings. Pair it with other fun appetizers like my bacon crackers, kielbasa bites, and stuffed mushrooms.
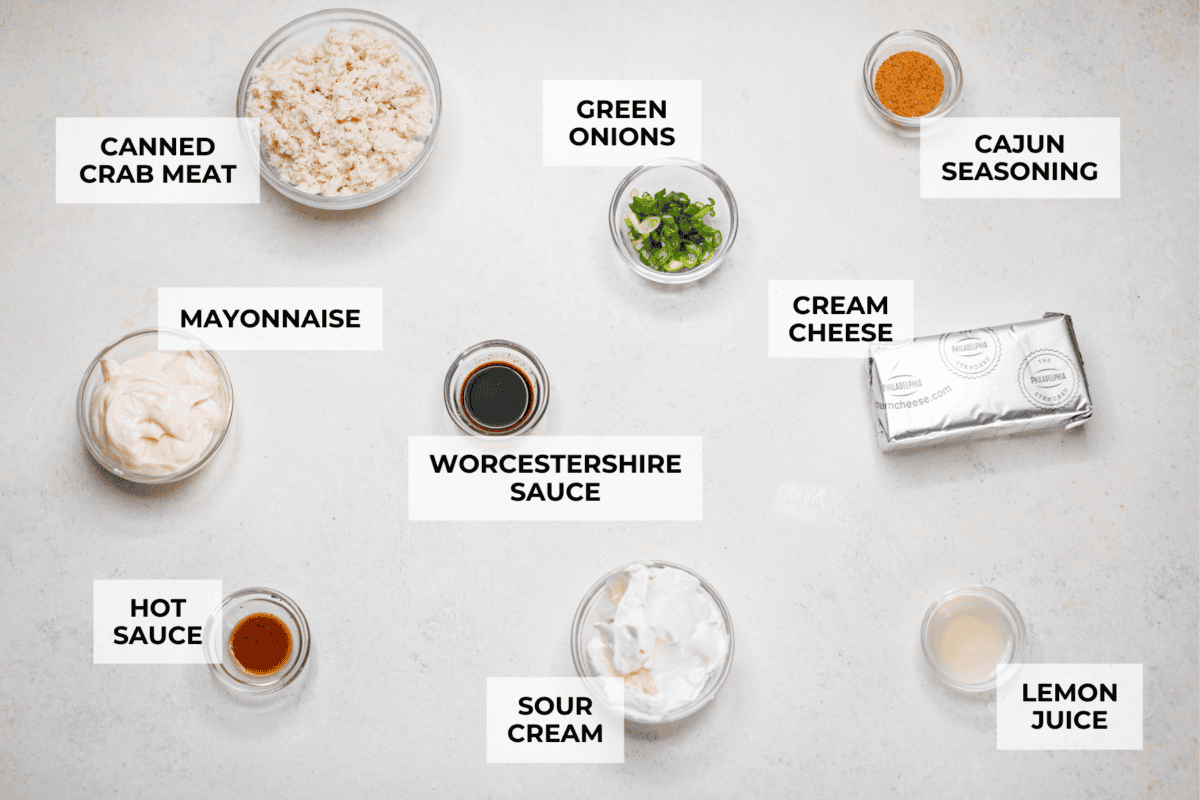
Ingredients Needed
How to Make Cajun Crab Dip
This Cajun crab dip is one of the easiest, most flavorful appetizers you can make! Just mix a few simple ingredients, chill or bake, and it’s ready to serve. If you love crab dips, you’ll also want to try my Crab Rangoon Dip!
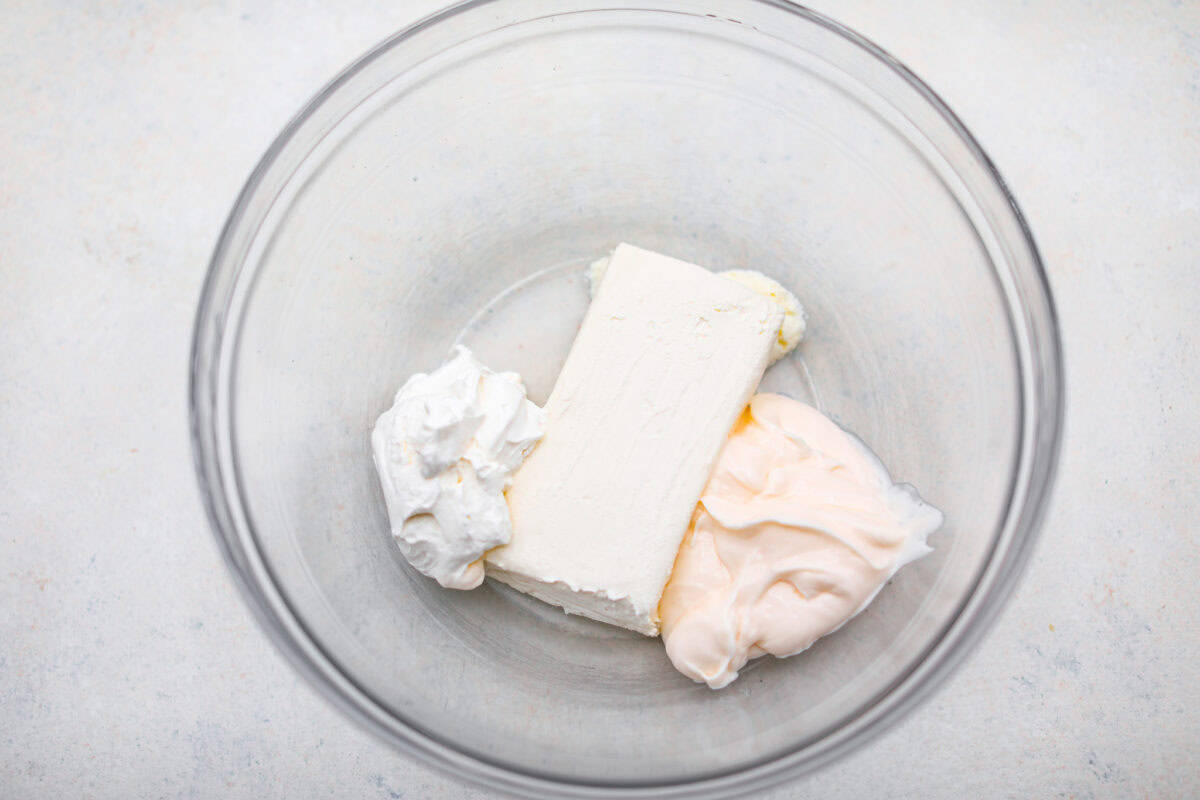
Make the Creamy Base: Add the cream cheese, mayo, and sour cream to a large bowl and beat with a hand mixer until smooth.
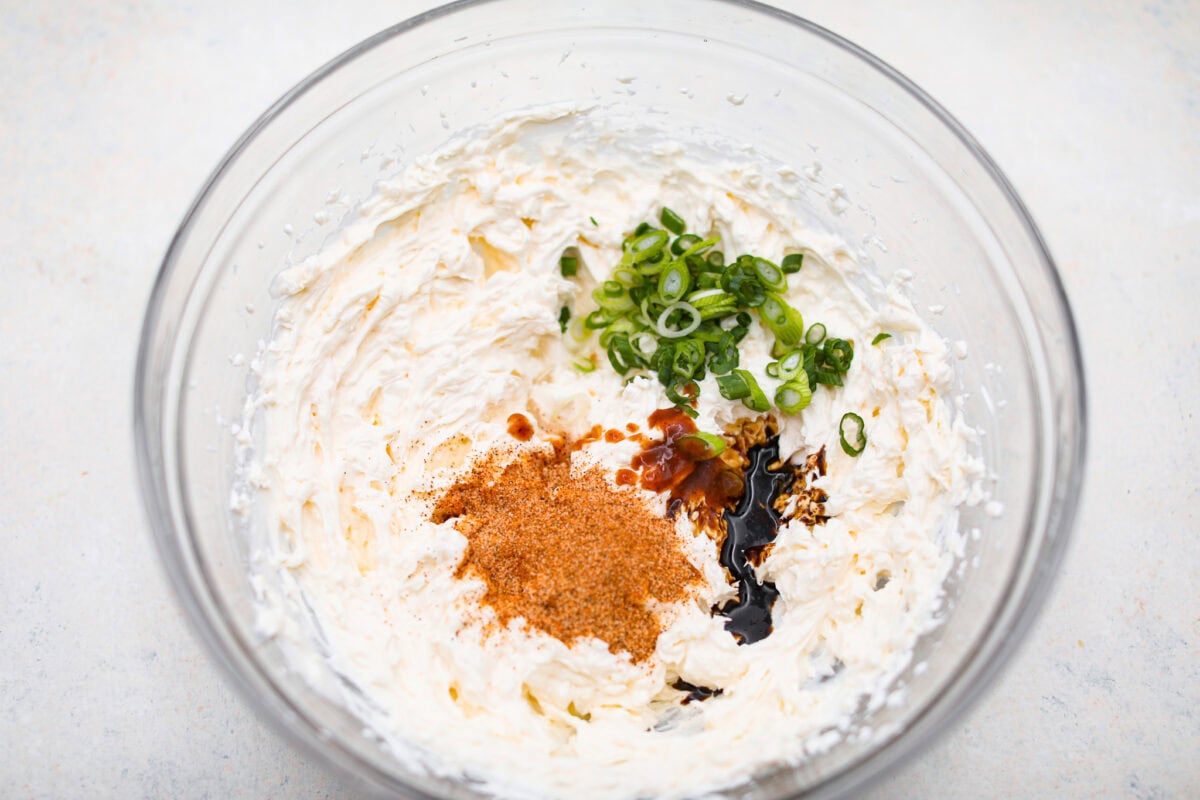
Mix in the Flavorings: Add the green onion, lemon juice, Cajun seasoning, hot sauce, and Worcestershire sauce and mix until combined.
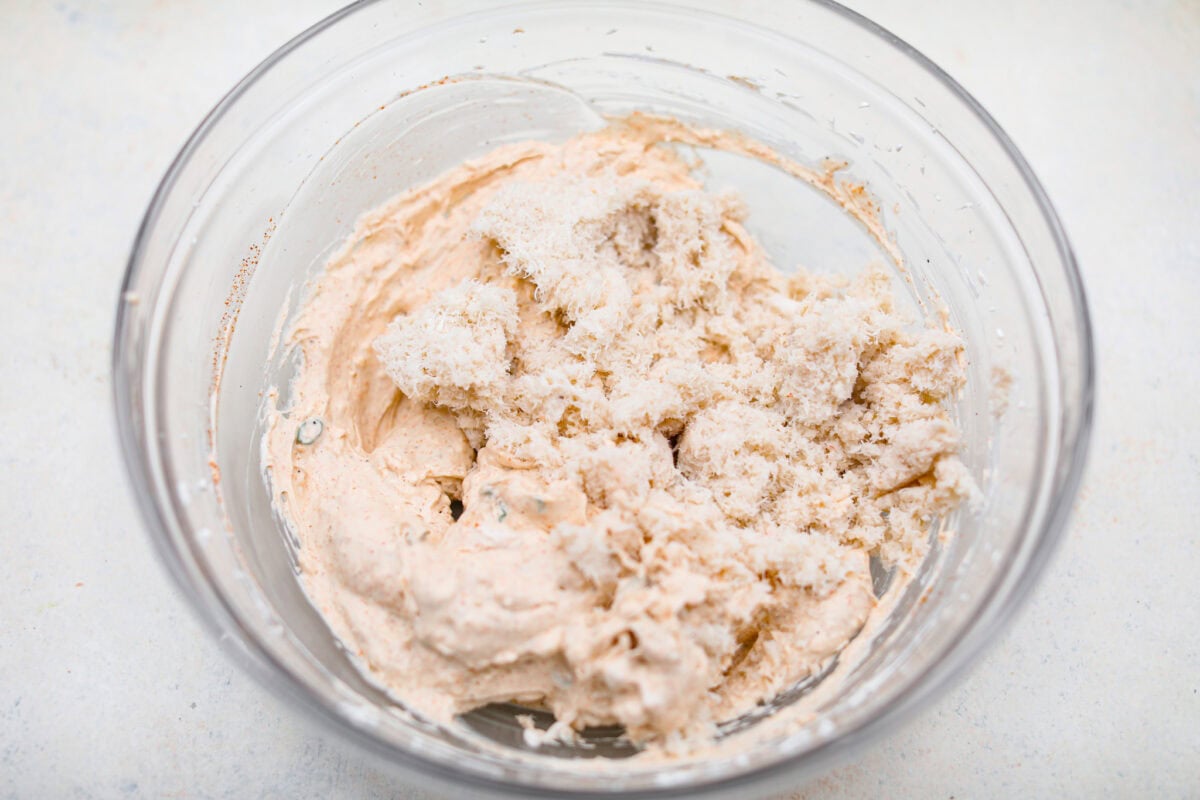
Stir in the Crab and Serve: Add the drained crab and mix until combined. Taste and add more Cajun seasoning or hot sauce if you want it spicier and to your preference. Transfer to a serving bowl, then serve with your choice of crackers or crusty bread.
Cajun Crab Dip Tips and Variations
This delicious seafood dip is super easy to switch up and make it how you like. Here are some ideas to get you started.
UseRoom Temp Cream Cheese! I highly recommend you use room-temperature cream cheese for the smoothest, creamiest dip. I like to set it on the counter for up to 2 hours before I prepare the dip to allow it to soften.
How well do I need to drain the crab? Drain the crab very well! Otherwise, the dip may end up soupy. I used the lid of the can to press down on the crab while it was still in the can until no more liquid would come out. If it’s still dripping liquid when you squeeze it, it’s not drained well enough!
Can I Use Imitation Crab Meat? You can substitute canned crab for imitation crab if you would like! Shred it well, chop it into fine pieces, and use it in place of the canned crab.
Make it spicy! Add more hot sauce to spice up the cajun crab dip to your liking.
How to Store Leftover Crab Dip
Cajun crab dip stores beautifully, making it perfect for enjoying over several days. The flavors meld together even more over time, so this easy appetizer will taste even better the next day!
In the Refrigerator: Store in the fridge in an airtight container or covered tightly with plastic wrap for up to 5 days.
Make Ahead: You can prepare this cajun crab dip beforehand, as long as it is served and discarded after the 5th day.
More Easy Dip Recipes
If you love how simple and delicious Cajun crab dip is, you’ll definitely want to try my addictive crack dip! Dips are perfect for parties, game days, or just snacking at home. Here are a few more to try next!
This website may contain affiliate links and advertising so that we can provide recipes to you. Read my disclosure policy.
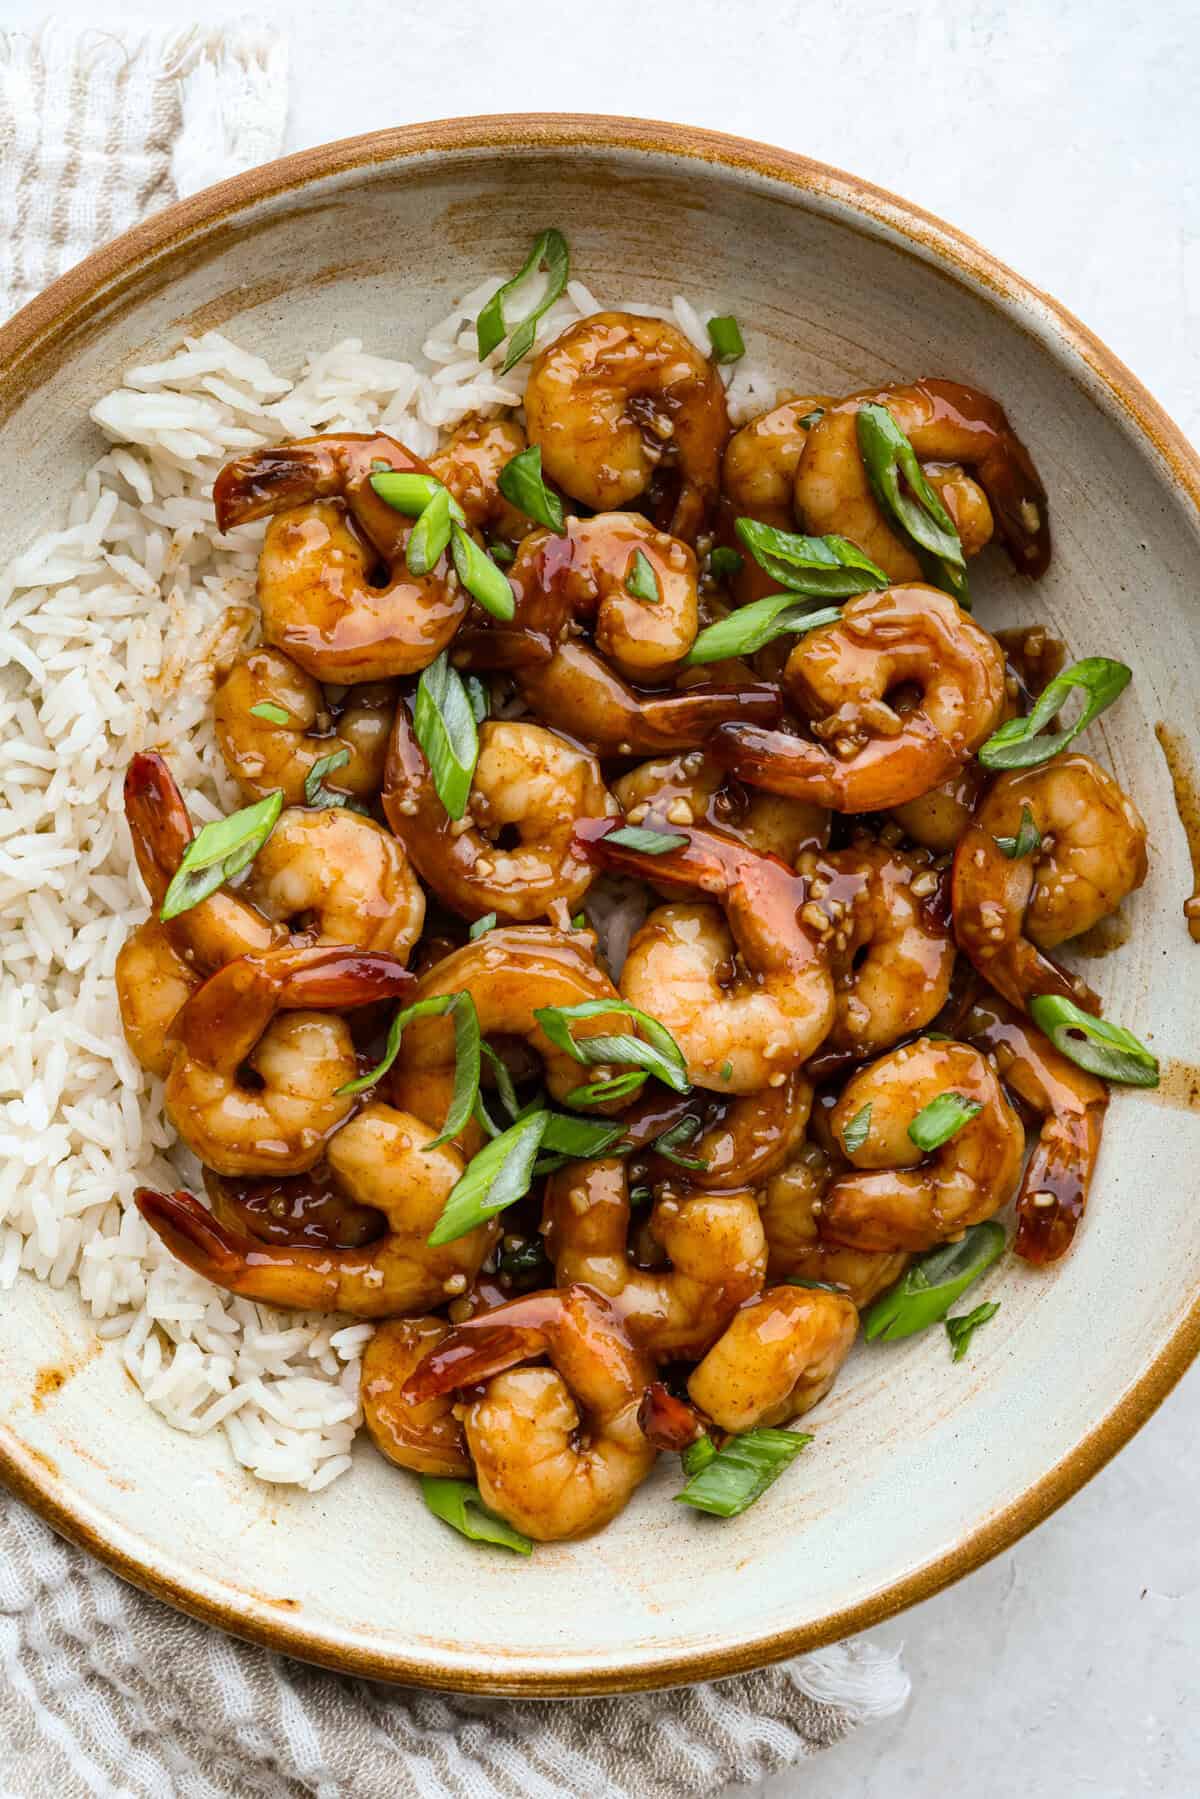
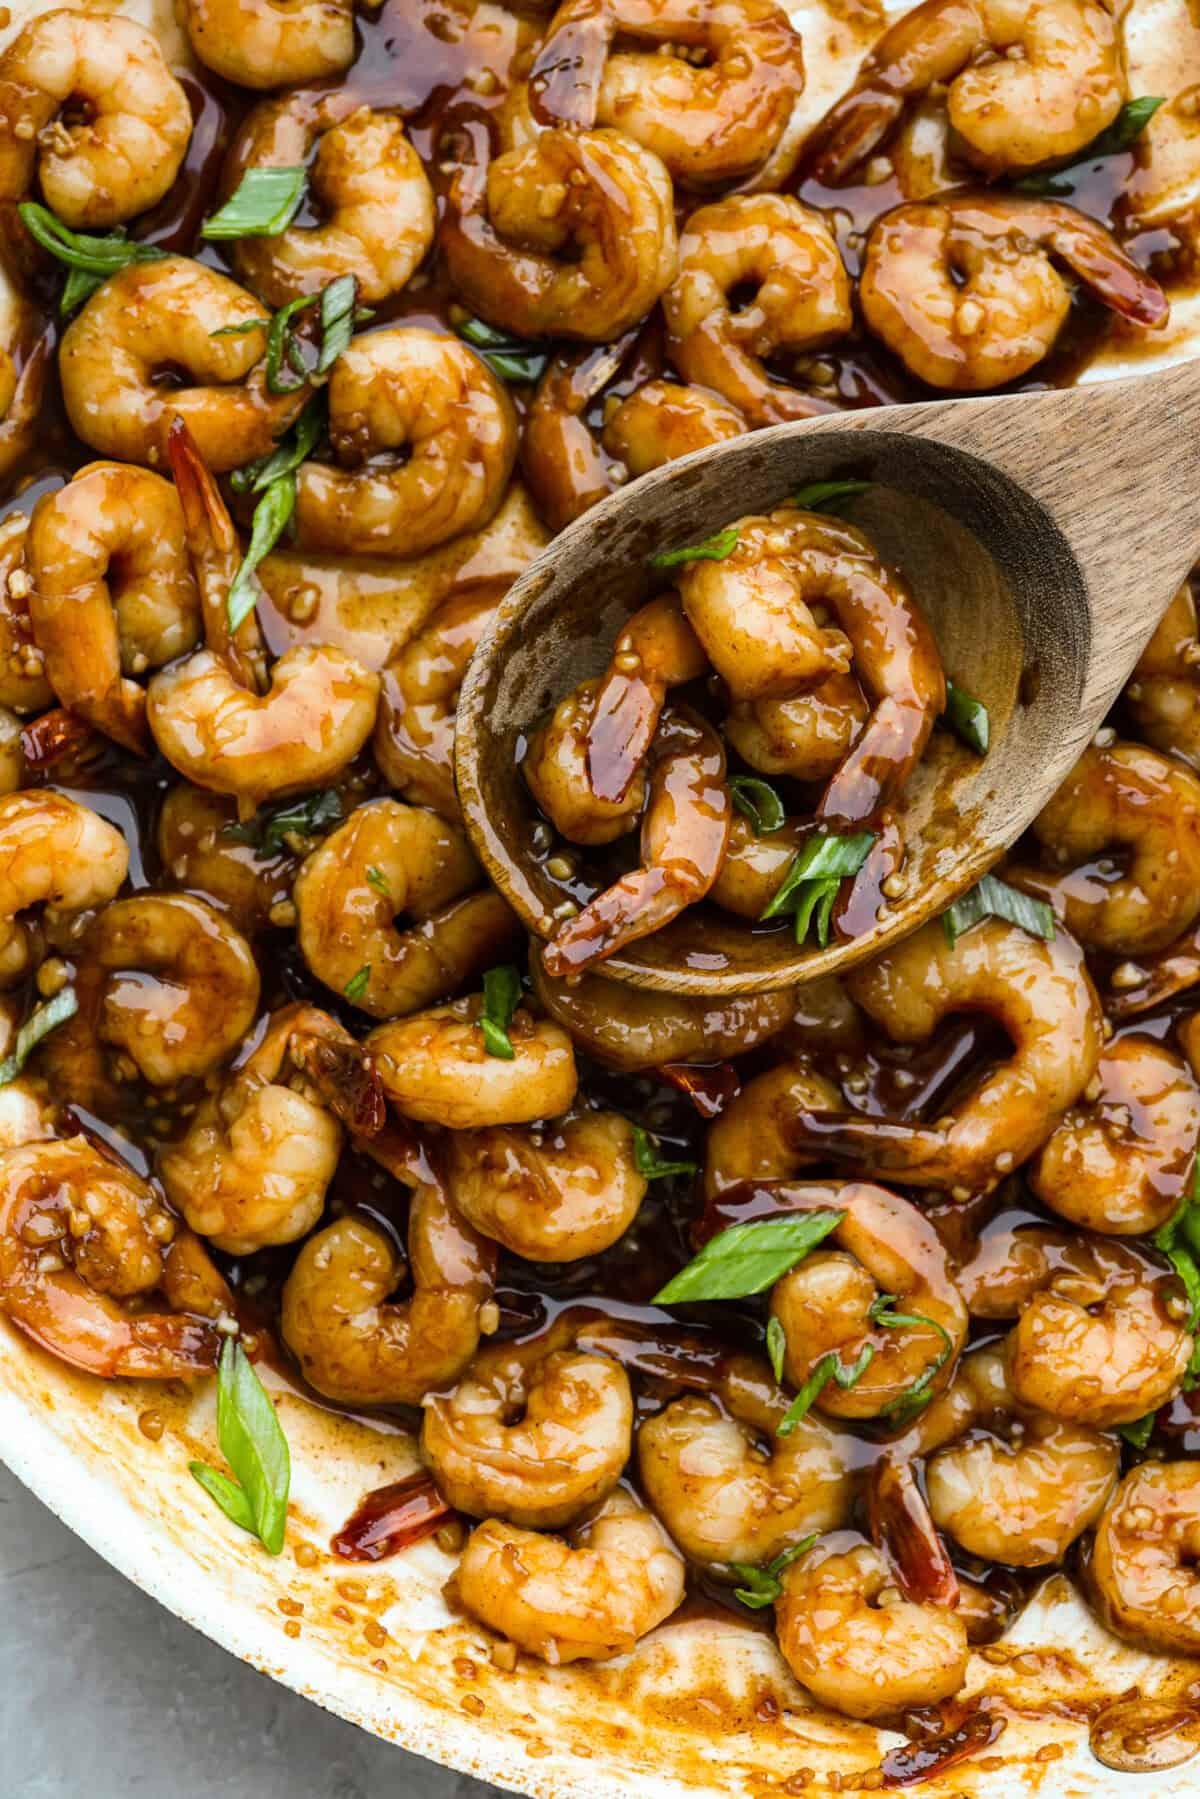
Bourbon shrimp are sticky, garlicky, and packed with flavor. Sweet brown sugar and a splash of bourbon create a quick, glossy glaze that makes this appetizer (or weeknight dinner!) totally irresistible.
Why You’ll Fall in Love with Every Bite
Signature Bourbon Flavor: If you loved the chicken version, this shrimp delivers the same sweet-savory bourbon flavor, caramelized in the skillet for a glossy, bourbon-kissed bite.
Brown Sugar Over Honey: I skip honey and use brown sugar for a richer caramel flavor that pairs better with bourbon.
Cornstarch for the Perfect Coat: I use a little cornstarch to thicken the sauce just enough so it clings to the shrimp!
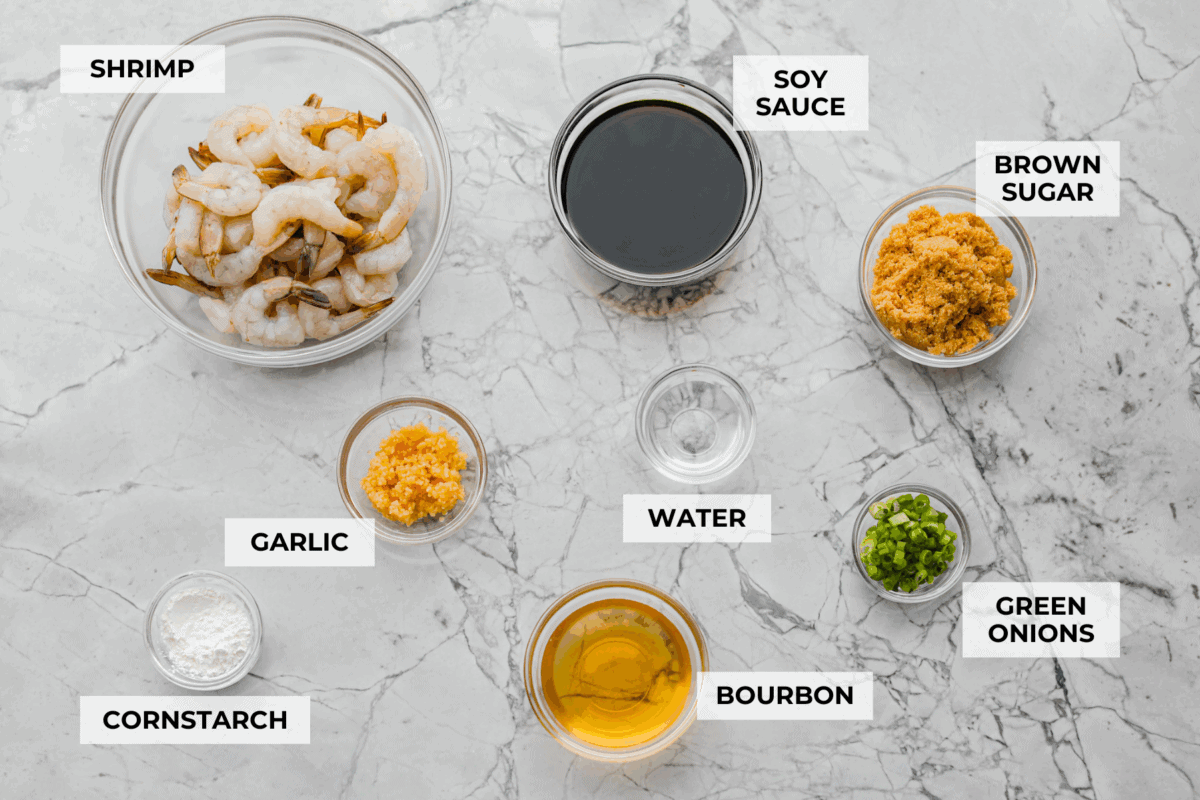
Ingredients for Bourbon Shrimp
Bourbon Substitute: If you don’t have bourbon or don’t want to use bourbon, then you can use apple cider instead!
Alcohol Cooks Off: The bourbon’s alcohol evaporates while cooking, leaving a rich flavor and making it kid-safe.
Tails Optional: Keep tails on for appetizers; remove them for an entrée.
Serving Options: Serve the bourbon shrimp as a party appetizer, pile it over rice or noodles for dinner, or tuck it into lettuce wraps.
How to Make Bourbon Shrimp
This recipe is super simple! Whisk together the marinade, let the shrimp soak up all those flavors, and then cook them quickly in a hot skillet. You’ll love how easy it is to get restaurant-quality shrimp right at home!
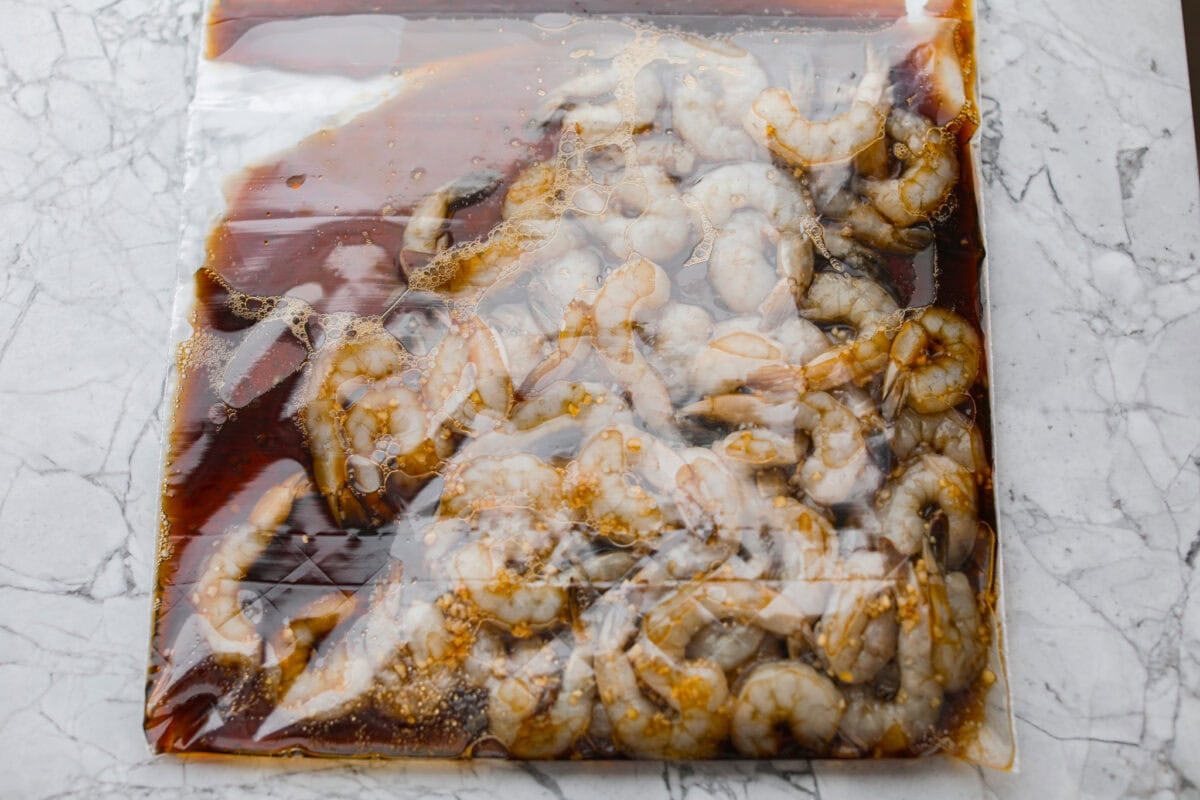
Marinate in the Sauce: Add bourbon, soy sauce, brown sugar, and minced garlic to a large ziplock bag. Close the bag and mash it around to combine. Add peeled and deveined shrimp, then refrigerate to marinate for 30 minutes to an hour.
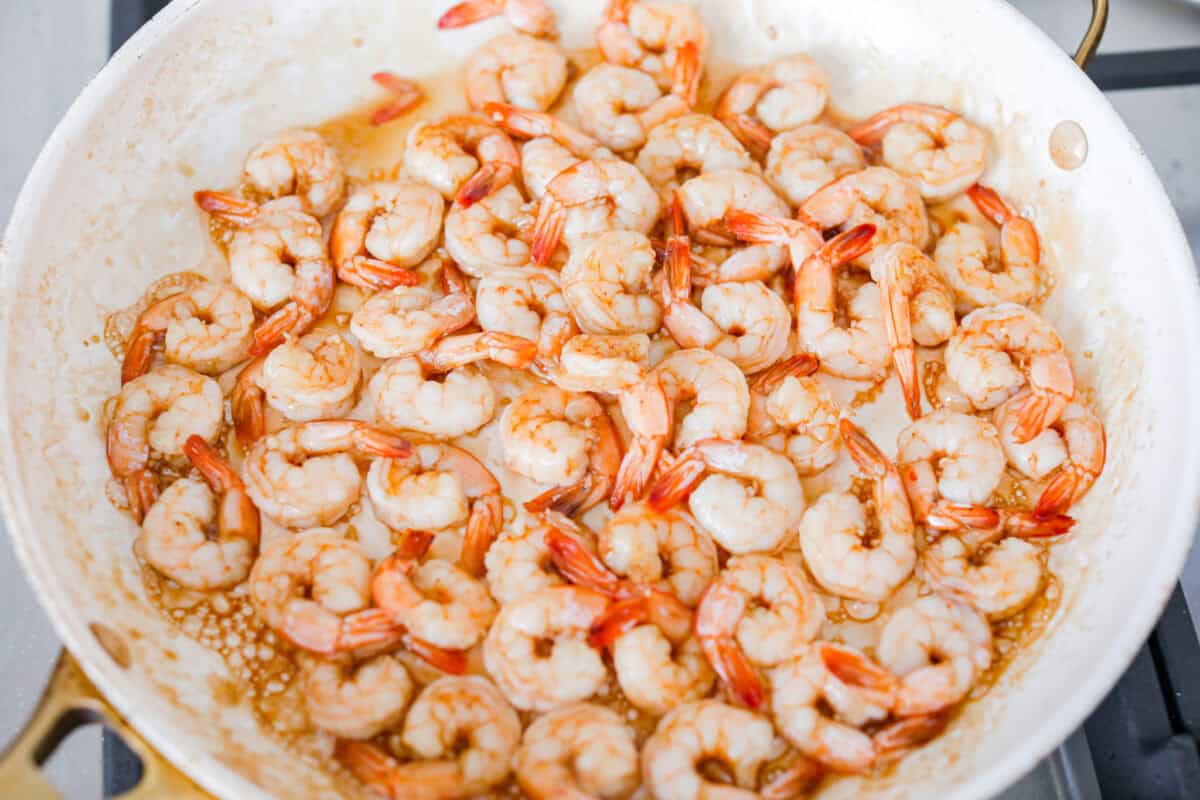
Cook: Heat a large 14-inch skillet over medium-high heat. Remove the shrimp from the bag and reserve the marinade. Add the shrimp to the pan and cook on both sides for about 2 minutes, until they are pink and cooked through. Do NOT overcook. Remove the cooked shrimp to a plate.
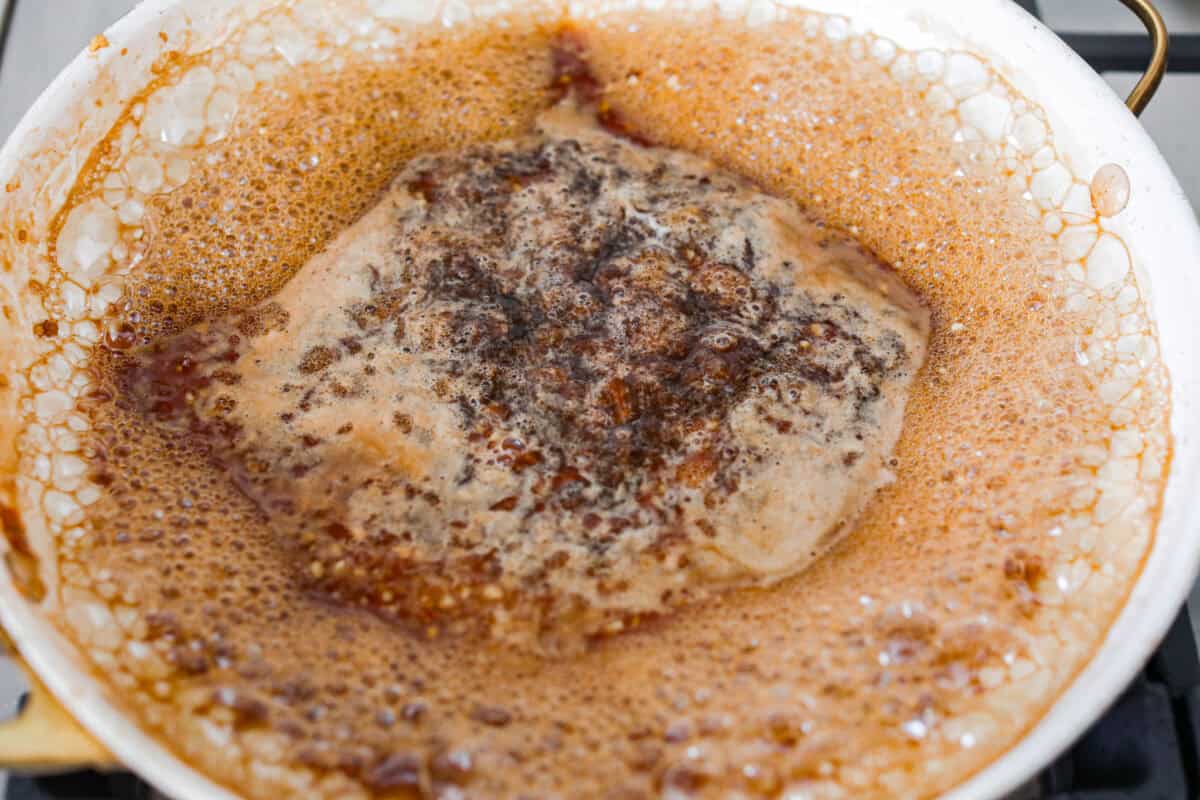
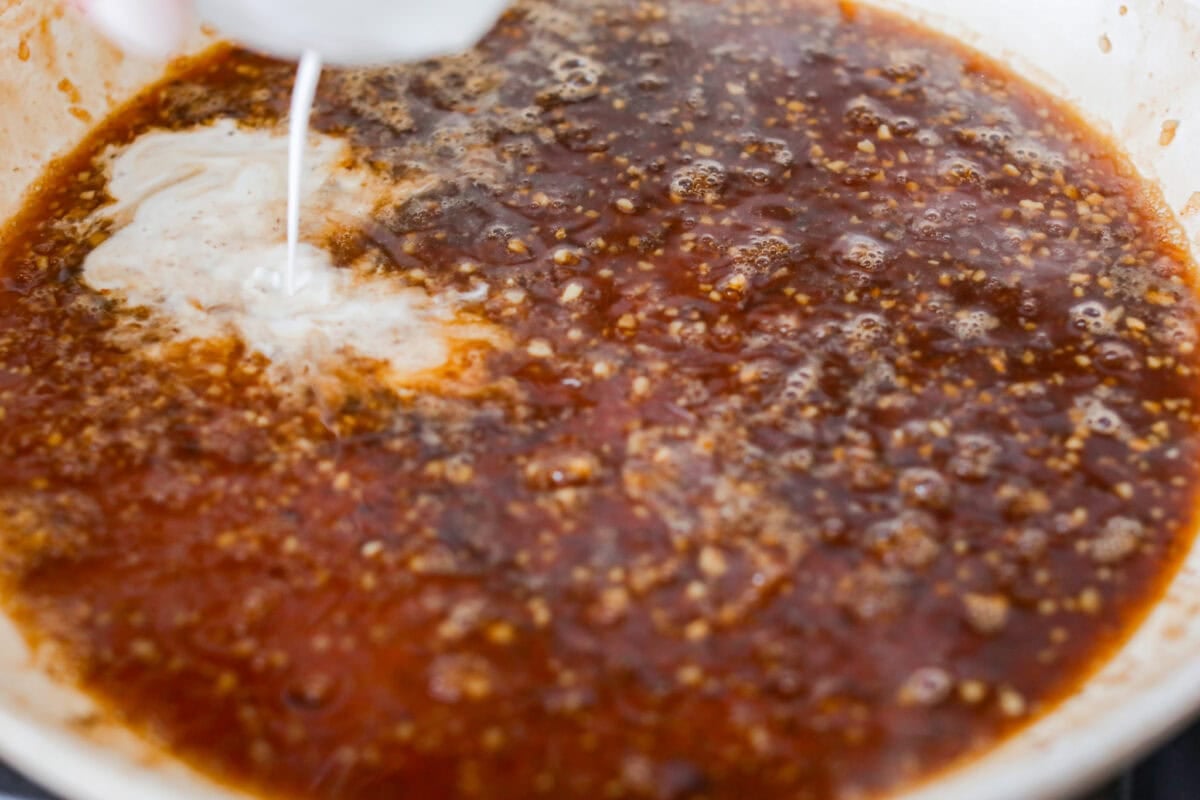
Simmer the Sauce: Add the marinade to the skillet and bring to a boil. Meanwhile, combine cornstarch and water in a small bowl to make a slurry.
Thicken and Coat Shrimp: Add the slurry to the skillet and whisk to combine. Reduce the heat to medium and continue to simmer for 3-4 minutes, until the sauce thickens. Add the shrimp back to the skillet, then toss to coat in the sauce. Turn off the heat, then garnish the bourbon shrimp with sliced green onions and serve immediately.
Alyssa’s Pro Tip
Marinate Carefully: Shrimp are delicate, and too much time in an acidic marinade can turn them rubbery. Aim for 30 minutes; one hour max.