Author: admin

  • Keto Travel Snacks {and Tips}

    Keto Travel Snacks {and Tips}

    Sticking to a keto diet while traveling can seem daunting, but with a little planning, it’s completely doable—and even enjoyable! This article shares practical travel tips and keto snack ideas to help you stay on track when you’re on the go.

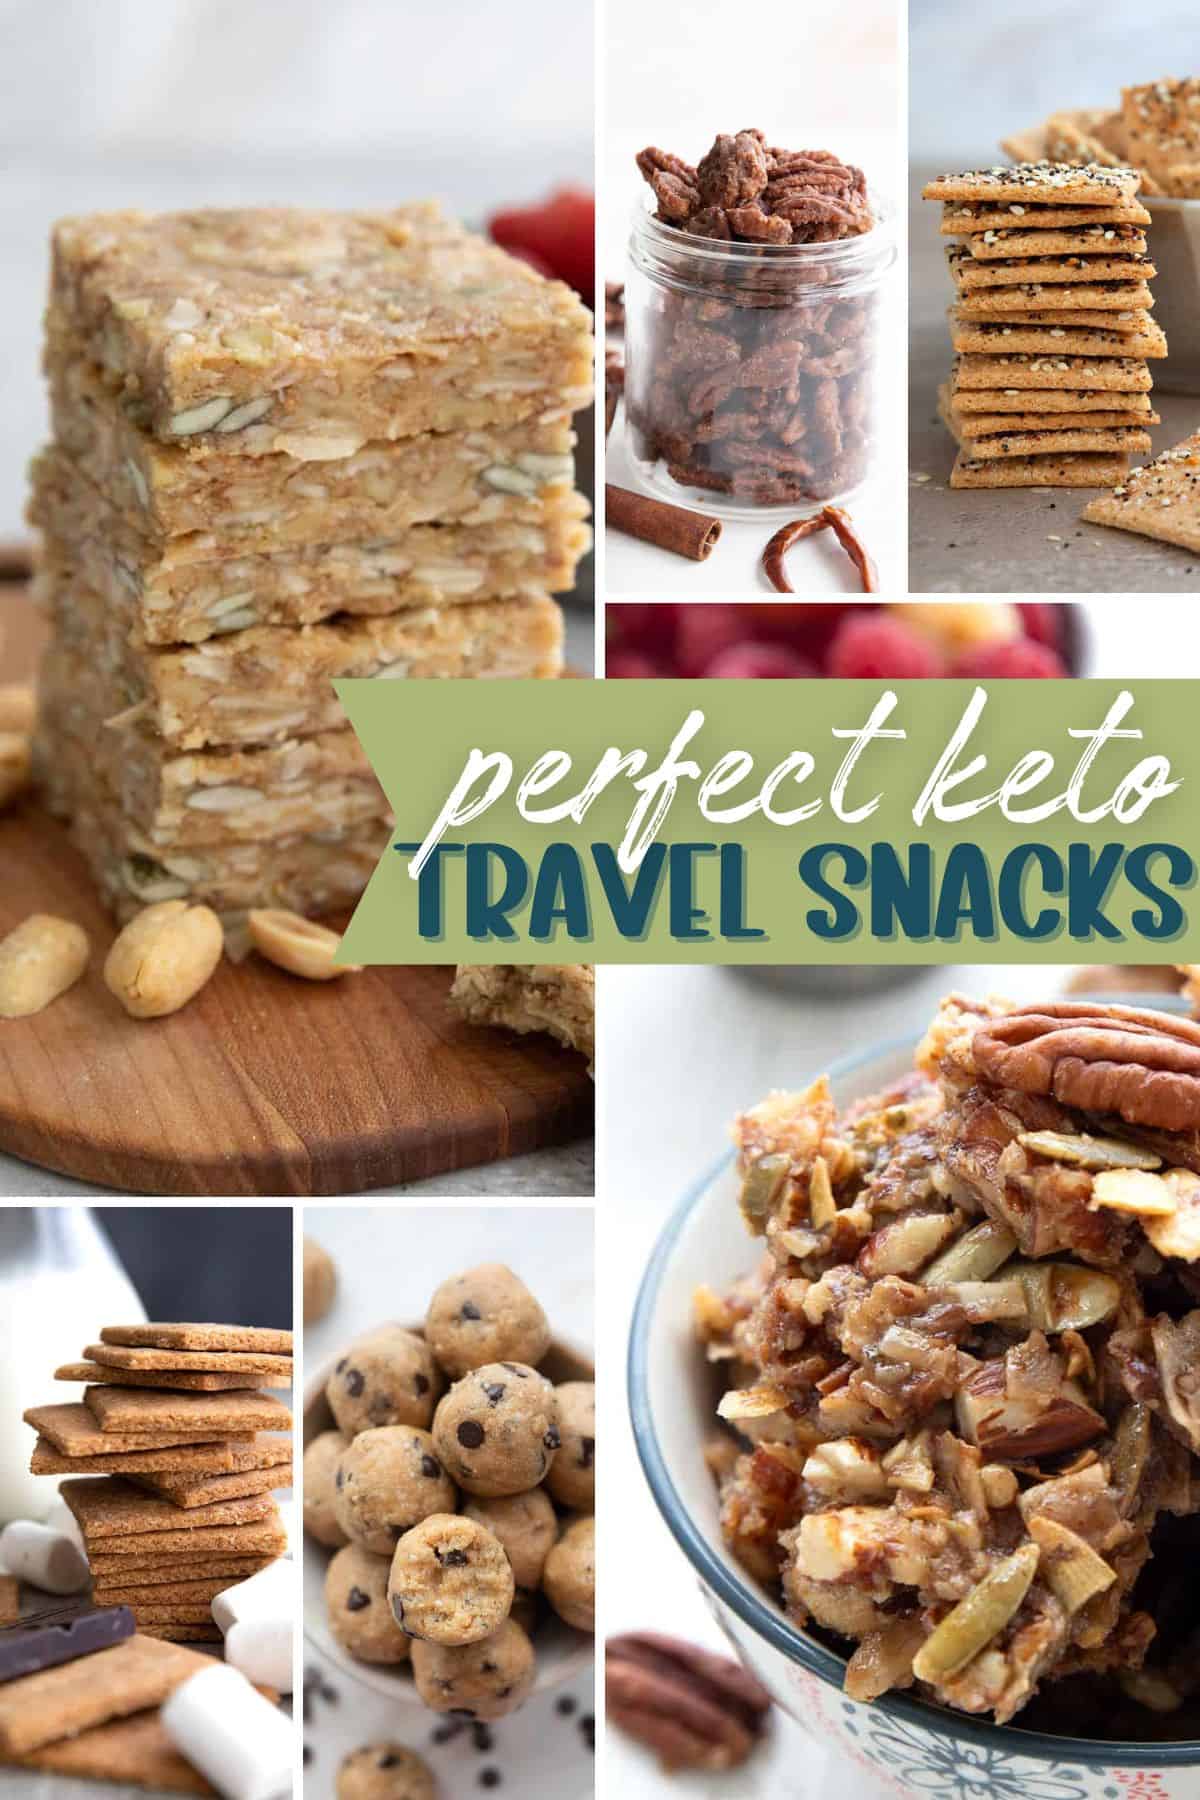
    Titled collage for Perfect Keto Travel Snacks.

    Now that my kids are getting older (and I am getting older too), I’ve been traveling quite a bit more. Sometimes it’s with my husband and sometimes it’s with friends. Sometimes it’s a road trip to a nearby locale and sometimes it’s a long haul flight across the world. Sometimes it’s roughing it in a rustic cabin, and occasionally it’s enjoying the comforts of a luxurious hotel.

    Regardless of the destination and the accommodations, I always stick to my keto-friendly diet. Diabetes doesn’t take a day off and I don’t either. It may be one of the toughest parts of being on a special diet – when your favorite foods aren’t readily available and you aren’t in control of the situation.

    But it’s certainly not impossible to do. Whether you’re navigating airport snacks or dining out in a new city, staying low-carb doesn’t have to mean missing out. I am sharing my best tips and keto-friendly strategies to help you stay on track wherever your adventures take you. And my favorite travel snacks too!

    A collage of 4 images from my travels: Clockwise from left - Morocco, Thailand, Copenhagen, Argentina.

    Keto Travel Tips

    Be prepared

    This goes almost without saying. It applies to just about everything when you embark on a low carb or keto diet. Even when staying at home, you need to think ahead and make sure you have all you need for success. But it’s even more critical when venturing out into the big wide world, full of carbs and sugars. Don’t just wing it, plan ahead so you can avoid temptation.

    • Snack It Up! You can’t carry full low carb meals with you everywhere you go, so a wide selection of low carb snackage is critical. Carry some shelf-stable items like beef or cheese sticks, nuts, low carb protein bars, and sugar-free chocolate or cookies.
    • Keep your cool: For long drives or plane rides, consider a small insulated cooler bag for more perishable items. Think cut-up veggies or a salad, or some hard-boiled eggs. I often travel with a little protein like sliced steak or chicken, or cooked sausage. Don’t forget to pack napkins and utensils too! Bamboo utensils are sustainable and earth-friendly if you have to toss them.
    • Research the destination: Traveling internationally? Read up on the rules and regulations of what you can and can’t bring into your destination country. Fresh foods, meat, and eggs are usually prohibited, but you can eat these items on the plane before you land.

    At the airport

    • The salad days: Be prepared to eat a lot of salad, especially if you get stuck in an airport. Airport restaurants can be pretty limited in scope but you can usually find salad with chicken. Make sure you check the label on the dressing, as that’s often where many unnecessary carbs come in.
    • Go bunless: I rarely advocate for fast food but in a pinch, you can order a burger without the bun. Or grab a breakfast sandwich and just eat the fillings!
    • Coffee bar: Skip the specialty drinks and get regular coffee. Ask if they have heavy cream instead of half and half or milk. Travel with your own sweetener – I really love the Caramel SweetDrops from SweetLeaf to make it feel like a treat.
    A collage of three images: keto granola bars, buffalo spices nuts, and keto peanut butter cups.

    Home away from home

    • Bring a mini pantry: Going somewhere with a kitchen? Perfect! Set aside some room in your luggage for your favorite low carb ingredients. Keto flours, sweeteners, and chocolate chips can be hard to find or expensive in other countries.
    • Check out the local market: Once you arrive, find the local grocery stores or markets for eggs, cream, and other fresh ingredients. Even if your room or rental only has a mini fridge and a microwave, you can grab a few items to heat and eat.
    • Mix it up: You can even go a step further here and create mixes for easy-to-make treats. I often mix up the dry ingredients for my keto brownies or keto pancakes and put it into ziplock bags to carry with me.
    • Stand alone bakeware: Most rental kitchens don’t have a great baking pans, so consider packing some silicone muffin liners that can stand up on their own.

    Dining out

    • Alert your companions: When not traveling with family, make your travel buddies aware of your dietary restrictions. Also be mindful of other people in your group with restrictions, so that you can all pick an appropriate restaurant. I’ve traveled across the globe with vegan friends and we find ways to make it work!
    • Ask for swaps: Don’t hesitate to request more veggies or a side salad instead of a starch. Or to have the burger on a lettuce wrap or over greens. Most restaurants want to accommodate.
    • Eyes wide open: Be mentally prepared for the challenge. Eating out on keto can be frustrating and sometimes your only option is to eat the toppings off a pizza. Simply being aware that it may not all work out perfectly can help you still have a good time!
    • Snack attack: Carry some snacks in your bag or purse, just in case there really are no good options.
    Titled image of keto butter pecan cookies on a white plate with a small cup of coffee.

    Keto Snack Ideas for Traveling

    Now let’s discuss ideas for keto goodies that travel well, even if you have no access to refrigeration. I’ve gotten a lot of practice at packing snacks for every destination. I often bring an assortment of homemade treats (when permitted by the destination country) and packaged snacks. Sometimes I find I hardly need them and sometimes I rely on them a lot.

    1. Keto Protein Balls: I often make a batch of these easy no-bake peanut butter protein balls for quick bites when traveling. Sometimes I shake it up a bit and make the chocolate protein balls. Both can last out of the fridge for up to 5 days.
    2. Keto Crackers: Items that are baked hard and dry like these keto crackers make great travel food. Store them in a hard-sided container so that they don’t become crumbs! My keto graham crackers are another fabulous and tasty option.
    3. Keto Granola: My crunchy keto granola clusters are a great on-the-go snack! But there are good store-bought options too. My favorite is Nutrail Pecan Cinnamon.
    4. Protein powder: If you’re trying to add more protein to your diet, low carb protein powder that comes in single serving packets is super helpful. You can add it to some nut milk or even water for an easy snack or meal replacement. I love the flavor options from Just Ingredients. Not all of them are low carb, but my favorites are the vanilla bean, the chocolate mint, and the peanut butter chocolate.
    5. Keto Cookies: Again, recipes that are baked crisp will travel better than softer cookies. My famous Keto Butter Pecan Cookies are ideal and I love them as a quick snack. They even make a great breakfast with a little peanut butter smeared on top!
    6. Keto Biscotti: These hard-baked biscuits are perfect for travel, as they can last for up to 10 days without getting stale.
    7. Keto Candied Pecans: One of my most popular recipes is the perfect travel snack! If you prefer savory nut snacks, check out these Buffalo Roasted Nuts.
    8. Keto Granola Bars: Crunchy and delicious, these bars keep you satisfied when you are on the go. Even if they crumble during travel, they’re great over some yogurt!
    9. Keto Protein Bars: While I love my homemade protein bars, I recommend store-bought options for traveling. They are individually packaged, making it easy to grab one when you are headed out on an adventure. My all-time favorite are the Think Keto Bars.
    10. Nut Butter: No sugar added peanut butter or almond butter always travel well, especially if you can find the little individual packets. When I travel domestically, I often take some of my homemade Keto Nutella in a jar.
    11. Tuna pouches: Many brands sell pouches with single servings of tuna or salmon. As they are entirely shelf-stable, they are a wonderful source of healthy protein while traveling.
    12. Pumpkin seeds: Another easy and tasty source of protein while traveling. There are some great flavors out there!
    13. Keto Muffins: Most keto muffins are too moist and fragile to travel well. But my famous Keto Pecan Pie Muffins are firmer and last well out of the fridge for up to 5 days. I have traveled with them on numerous occasions!
    14. Keto Breakfast Bars: These tender oatmeal-like bars can offer easy breakfast options. They can stay out of the fridge for up to 5 days and are extra delicious with some peanut butter smeared on top.
    15. Pepperoni or meat sticks: Be sure to check the rules of the countries you plan to visit. But individually packaged meat sticks can help see you through when hunger strikes.
    16. Keto Brownies: Not all brownies travel well, but these Keto Air Fryer Brownies are made individually in muffin liners so they are great for a tasty travel dessert.
    17. Keto Peanut Butter Cups: Whether you make your own or purchase some from a store, healthier sugar-free peanut butter cups can quell cravings and keep you from giving in to temptation.


    Nutritional Disclaimer

    Please note that I am not a medical or nutritional professional. I am simply recounting and sharing my own experiences on this blog. Nothing I express here should be taken as medical advice and you should consult with your doctor before starting any diet or exercise program. I provide nutritional information for my recipes simply as a courtesy to my readers. It is calculated using MacGourmet software and I remove erythritol from the final carb count and net carb count, as it does not affect my own blood glucose levels. I do my best to be as accurate as possible but you should independently calculate nutritional information on your own before relying on them. I expressly disclaim any and all liability of any kind with respect to any act or omission wholly or in part in reliance on anything contained in this website.

    Free Bonus: Secrets to Keto Baking!

    Sign up for your favorite recipes delivered straight to your inbox plus get our FREE bonus: Secrets to Keto Baking!
    Source link

  • Vegan Lentil Chili

    Vegan Lentil Chili

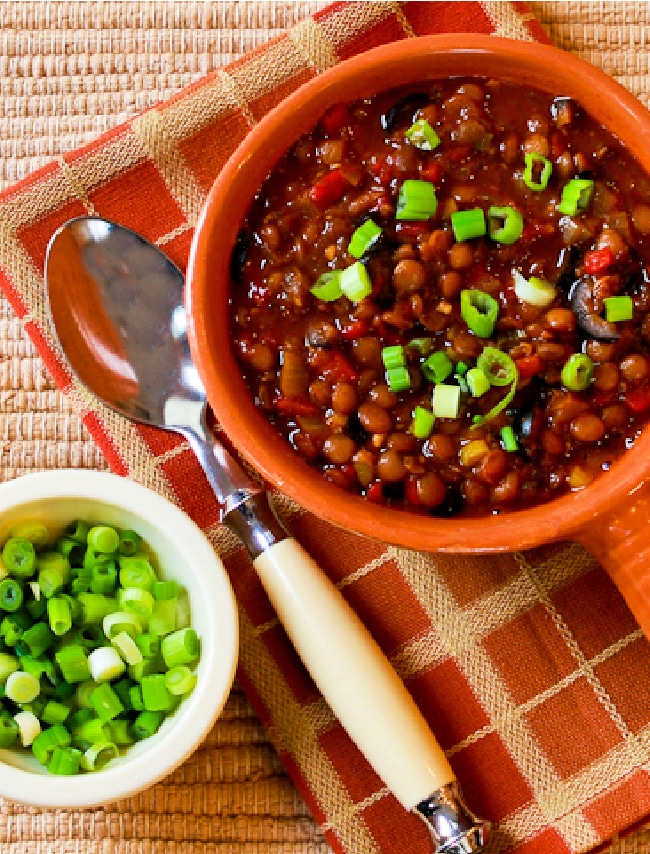
    This Vegan Lentil Chili has brown and red lentils, roasted red peppers, and olives and this flavorful meatless chili is also gluten-free. And even if you’re not vegan or vegetarian, you’ll love this lentil chili recipe!

    Pin the Vegan Lentil Chili to try it later!

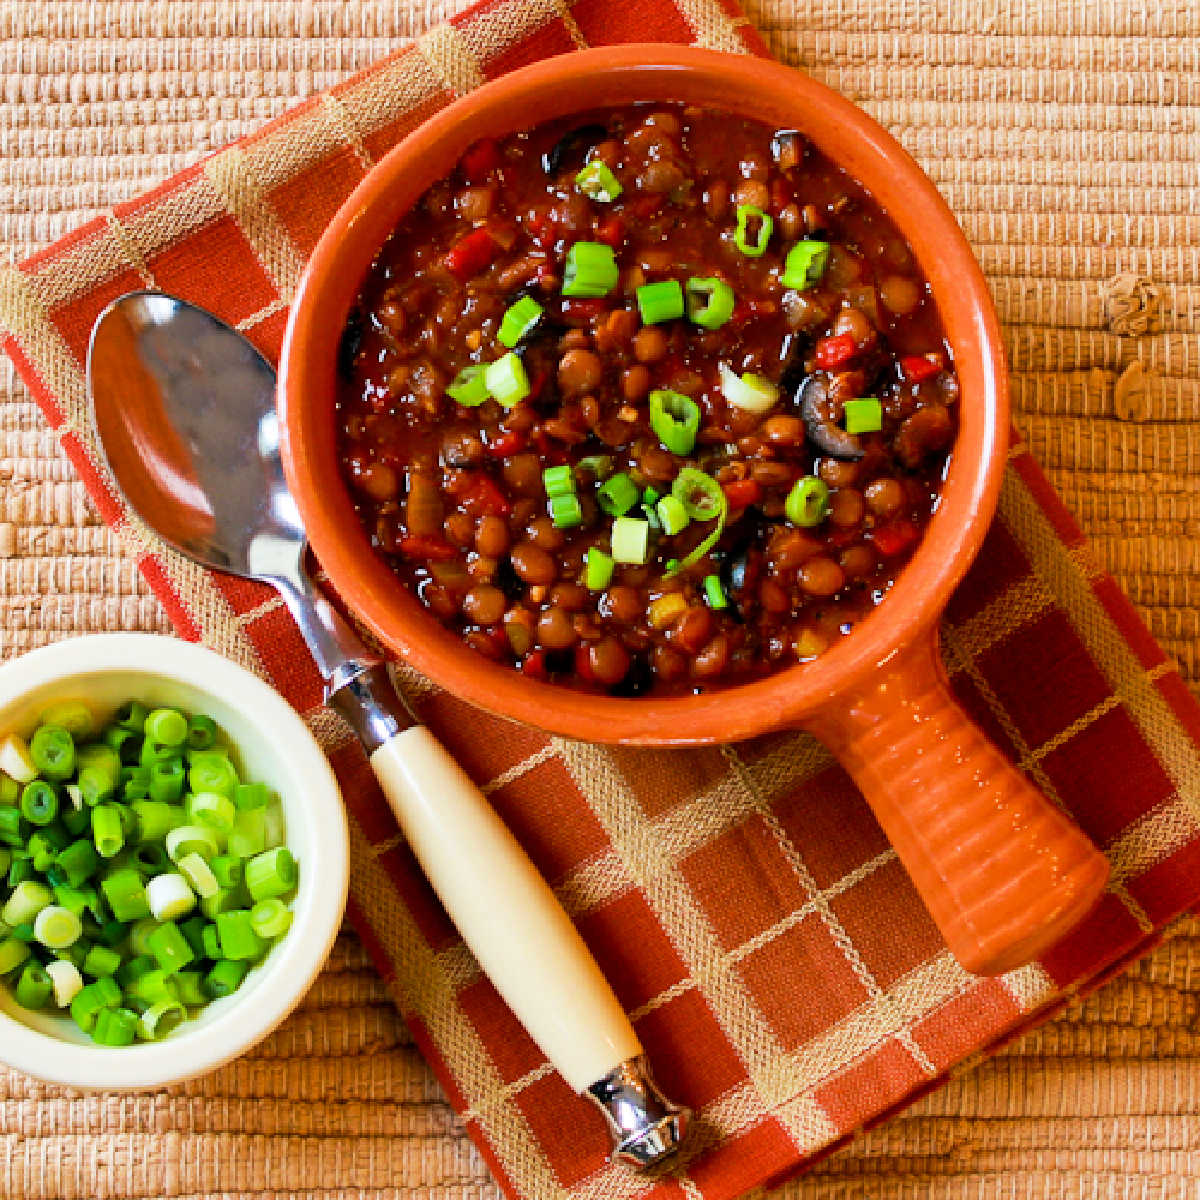
    Vegan Lentil Chili with Roasted Red Peppers, Olives, and Green Onion found on KalynsKitchen.com

    This Vegan Lentil Chili is is loaded with interesting and healthy plant-based ingredients that give it a wonderful combination of flavors. And this vegan chili recipe is so flavorful that I think it’s a perfect meatless dinner, even for people who aren’t vegans or even vegetarians.

    I couldn’t resist adding red lentils along with the regular brown lentils this recipe started out with. I also added roasted red peppers and sliced olives for a little more flavor, and used canned vegetable broth as the base of the chili.

    This was delicious as-is, but if you like tart flavors I think a generous squeeze of lime juice would add a pop or flavor to the Vegan Lentil Chili. And I’m guessing everyone who’s a fan of lentils will enjoy this tasty lentil chili recipe!

    What ingredients do you need?

    (This is only a list of ingredients; please scroll down for complete printable recipe. Or if you use the JUMP TO RECIPE link at the top of the page, it will take you directly to the complete recipe with ingredient amounts.)

    What are lentils?

    Lentils are the dried seeds of the lentil plant, and they’re legumes which are never eaten fresh but always dried right after ripening. There are many different kinds and colors of lentils, but the brown lentils and red lentils used in this recipe are the two I use most often.

    Is the Vegan Lentil Chili low in carbs?

    Lentils do have some carbs but they also have fiber, so this vegan chili with two types of lentils has about 16 net carbs per serving with 6 grams of protein.

    Why do I use brown and red lentils for Vegan Lentil Chili?

    You can definitely make this with all brown lentils if that’s have you have, but I love the additions of red lentils to this lentil chili recipe. Red lentils add a nice color to any recipe you use them in. They also cook more quickly than brown, green, or black lentils, so the red lentils will dissolve into the chili to thicken it.

    Want more tasty recipes for chili?

    Check out Healthy Chili Recipes Your Family Will Love! for more delicious chili recipes.

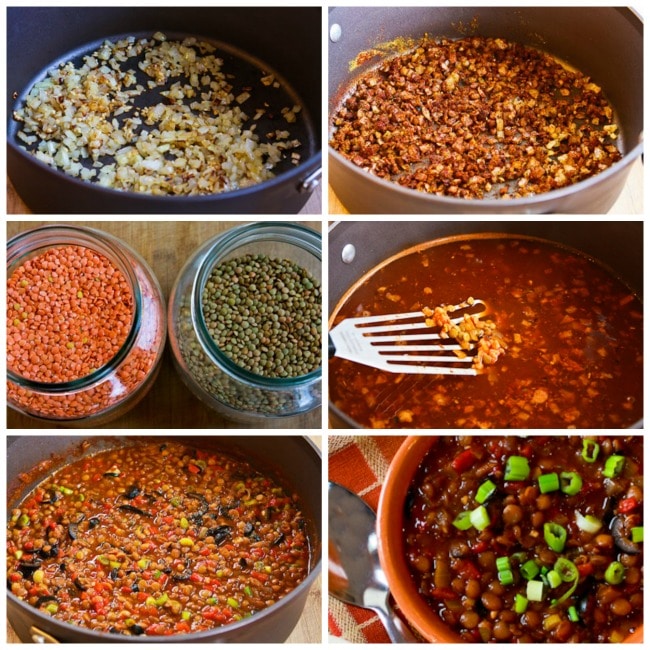
    Vegan Lentil Chili with Roasted Red Peppers, Olives, and Green Onion process shots collageVegan Lentil Chili with Roasted Red Peppers, Olives, and Green Onion process shots collage

    How to Make Vegan Lentil Chili:

    (This is only a summary of the steps for the recipe; please scroll down for complete printable recipe. Or if you use the JUMP TO RECIPE link at the top of the page, it will take you directly to the complete recipe.)

    1. Heat the oil and then cook the onions until they’re starting to brown. Add garlic and cook about one minute more.
    2. Then add the chile powder, ground cumin, dried oregano, and ground chipotle powder (or cayenne) and cook about 90 seconds more.
    3. You can use all regular brown-green lentils like you normally find in the grocery store, but if you have red lentils, they will dissolve a little faster and thicken the chili, and the red ones add a nice sweetness.
    4. When the spices are fragrant, add the brown lentils, red lentils, vegetable broth, water, and tomato sauce and start to simmer.
    5. When red lentils are mostly dissolved and brown ones are nicely tender, add the sliced green onion, sliced olives, and diced roasted red bell pepper and simmer about 15-20 minutes more.
    6. Serve the Vegan Lentil Chili hot, with a squeeze of lime juice if desired.

    Vegan Lentil Chili cropped photo of chili in serving bowl with green onionsVegan Lentil Chili cropped photo of chili in serving bowl with green onions

    More Vegan Recipes with Lentils

    Weekend Food Prep:

    This vegan lentil chile recipe has been added to a category called Weekend Food Prep where you’ll find ideas to prep or cook on the weekend and eat during the week!

    Ingredients

    • 2 tsp. olive oil
    • 1 medium onion, chopped in small pieces
    • 2 tsp. finely minced garlic
    • 2 T Chili Powder
    • 1 T ground cumin
    • 1 tsp. dried oregano (preferably Mexican oregano)
    • 1/8 tsp. ground Chipotle chile pepper (or cayenne; use more or less depending on how spicy you like it)
    • 1 cup brown lentils
    • 1/4 cup red lentils (or use more brown lentils if you don’t have red ones)
    • 3 14 oz. cans vegetable broth + 1 can water
    • 1 8 oz. can tomato sauce
    • 1/2 cup sliced green onions
    • 1 6 oz. can black olives, drained and sliced
    • 1 12 oz. jar roasted red peppers, drained and chopped
    • lime slices for serving (optional)

    Instructions

    1. Use a large dutch oven type pan so you have a big surface area for cooking the vegetables.
    2. Heat olive oil over medium heat, then saute the chopped onion until it’s starting to brown. Add garlic and saute about 1 minute more.
    3. Add the chili powder, ground cumin (affiliate link), dried oregano, and Chipotle or Cayenne powder and saute about 90 seconds more, or until the spices are fragrant.
    4. Add the brown lentils, red lentils, vegetable broth, water, and tomato sauce and heat until the mixture comes to a low boil. Reduce heat to a low simmer and let the mixture cook until red lentils are mostly dissolved and brown lentils are well-softened. Cooking time will depend on how fresh the lentils are, but I simmered this for slightly more than an hour, adding more water a couple of times. (Tomatoes make the lentils cook a bit more slowly, so if you’re in a hurry don’t add the tomato sauce until lentils are starting to get tender.)
    5. While the mixture cooks, slice the green onions, drain olives and cut into slices, and drain the roasted red pepper and chop into small pieces.
    6. When lentils are cooked, add green onion, olives, and roasted red pepper and let the mixture simmer 15-20 minutes more.
    7. Serve the Vegan Lentil Chili hot, with slices of lime to squeeze into each serving if desired.

    Notes

    This vegan chili freezes well. For best results, thaw in refrigerator overnight and then heat in microwave or in a small pan on the stove.

    Recipe created by Kalyn.

    Nutrition Information

    Yield

    6

    Serving Size

    1

    Amount Per Serving

    Calories 167Total Fat 7gSaturated Fat 1gUnsaturated Fat 6gCholesterol 0mgSodium 1010mgCarbohydrates 23gFiber 7gSugar 6gProtein 6g

    Nutrition information is automatically calculated by the Recipe Plug-In I am using. I am not a nutritionist and cannot guarantee 100% accuracy, since many variables affect those calculations.

    Did you make this recipe?

    Did you make this recipe? Please leave a star rating (under the PRINT button in the recipe) or share a photo of your results on Instagram! THANKS!

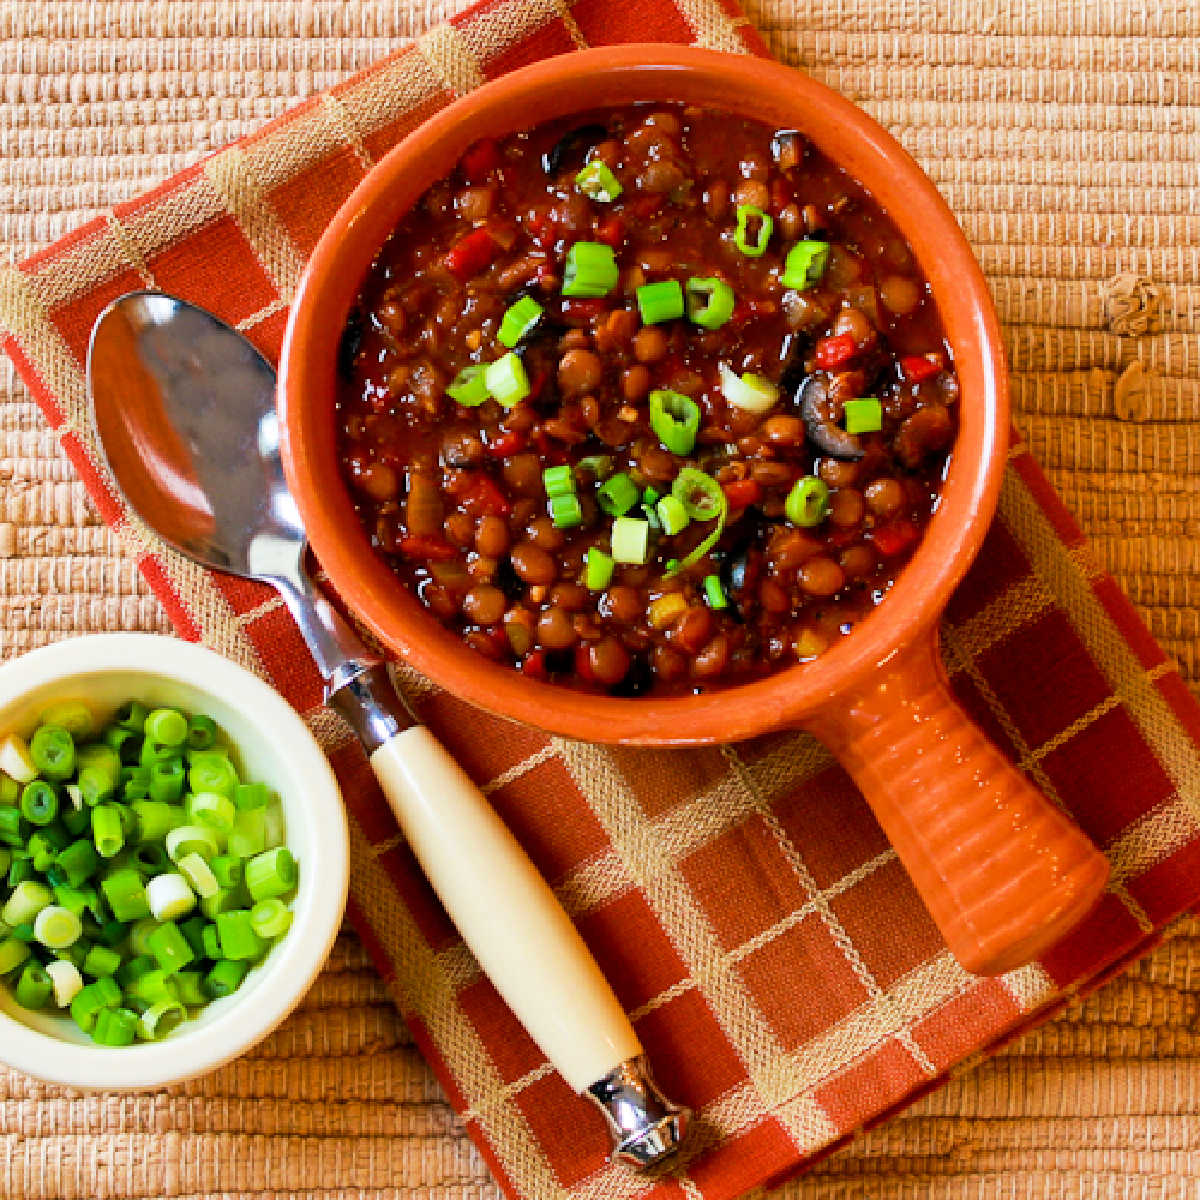
    Square image for Vegan Lentil Chili shown with one bowl of chili and spoon, with green onions on the side.Square image for Vegan Lentil Chili shown with one bowl of chili and spoon, with green onions on the side.

    Low-Carb Diet / Low-Glycemic Diet / South Beach Diet Suggestions:
    Vegan Lentil Chili would be too high in carbs for strict low-carb diet plans, but lentils have fiber so this recipe has only 16 net carbs per serving. Dried beans and lentils are approved for all phases of the original South Beach Diet, but they’re limited to 1/3 to 1/2 cup serving for Phase One. In a recipe like this Lentil Chili where there are lots of other healthy ingredients besides the lentils, you could have a larger serving.

    Find More Recipes Like This One:
    Use Soups and Stews to find more recipes like this one. Use the Diet Type Index to find more recipes suitable for a specific eating plan. You might also like to follow Kalyn’s Kitchen on Pinterest, on Facebook, on Instagram, on TikTok, or on YouTube to see all the good recipes I’m sharing there.

    Historical Notes for this Recipe:
    This Vegan Lentil Chili recipe was first posted in 2012. It was last updated with more information in 2025.

    Pinterest image of Vegan Lentil Chili

    We are a participant in the Amazon Services LLC Associates Program, an affiliate advertising program designed to provide a means for us to earn fees by linking to Amazon.com and affiliated sites. As an Amazon Associate, I earn from qualifying purchases.


    Source link

  • Peanut Butter Protein Balls – All Day I Dream About Food

    Peanut Butter Protein Balls – All Day I Dream About Food

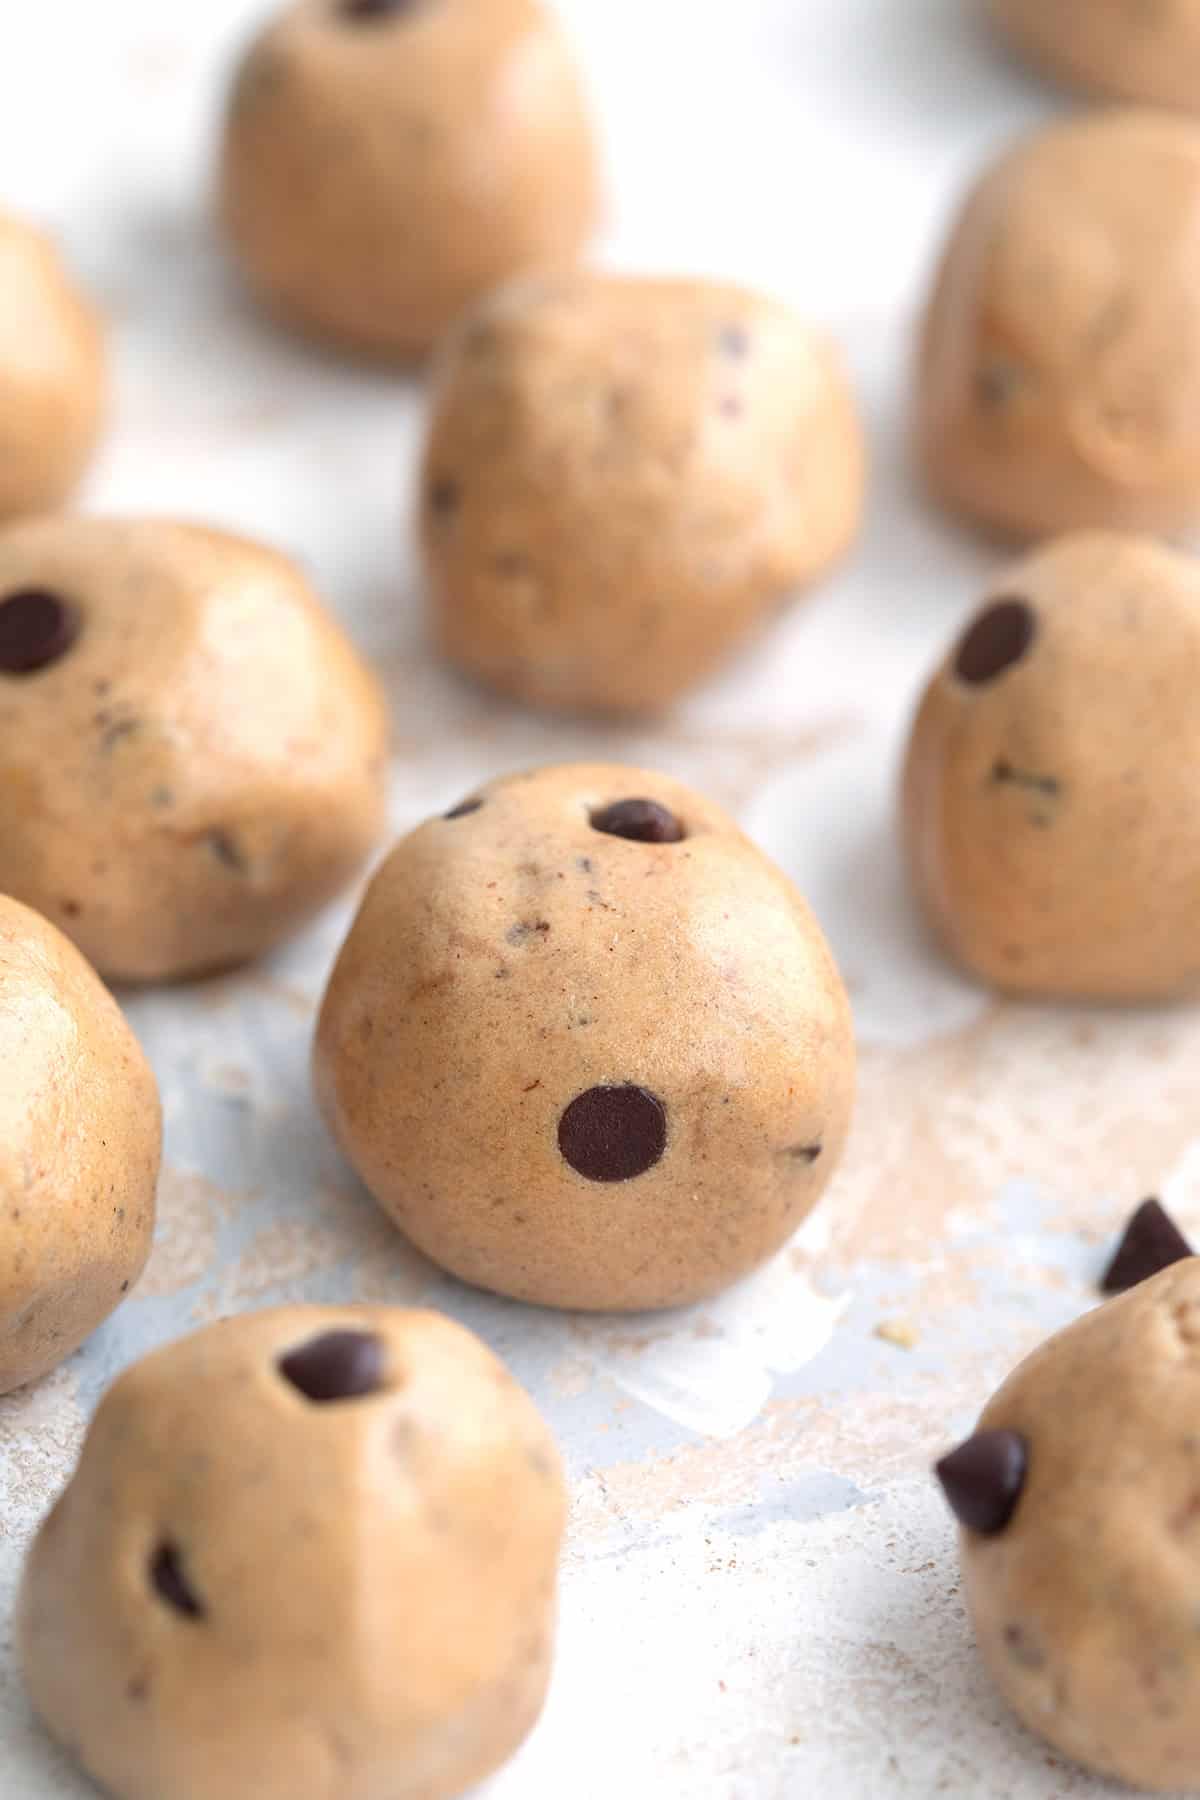
    These no-bake Peanut Butter Protein Balls give you a quick energy boost any time you need it. With 12g of protein and only 3.8g carbs per serving, this keto friendly snack helps you stay focused on your day.

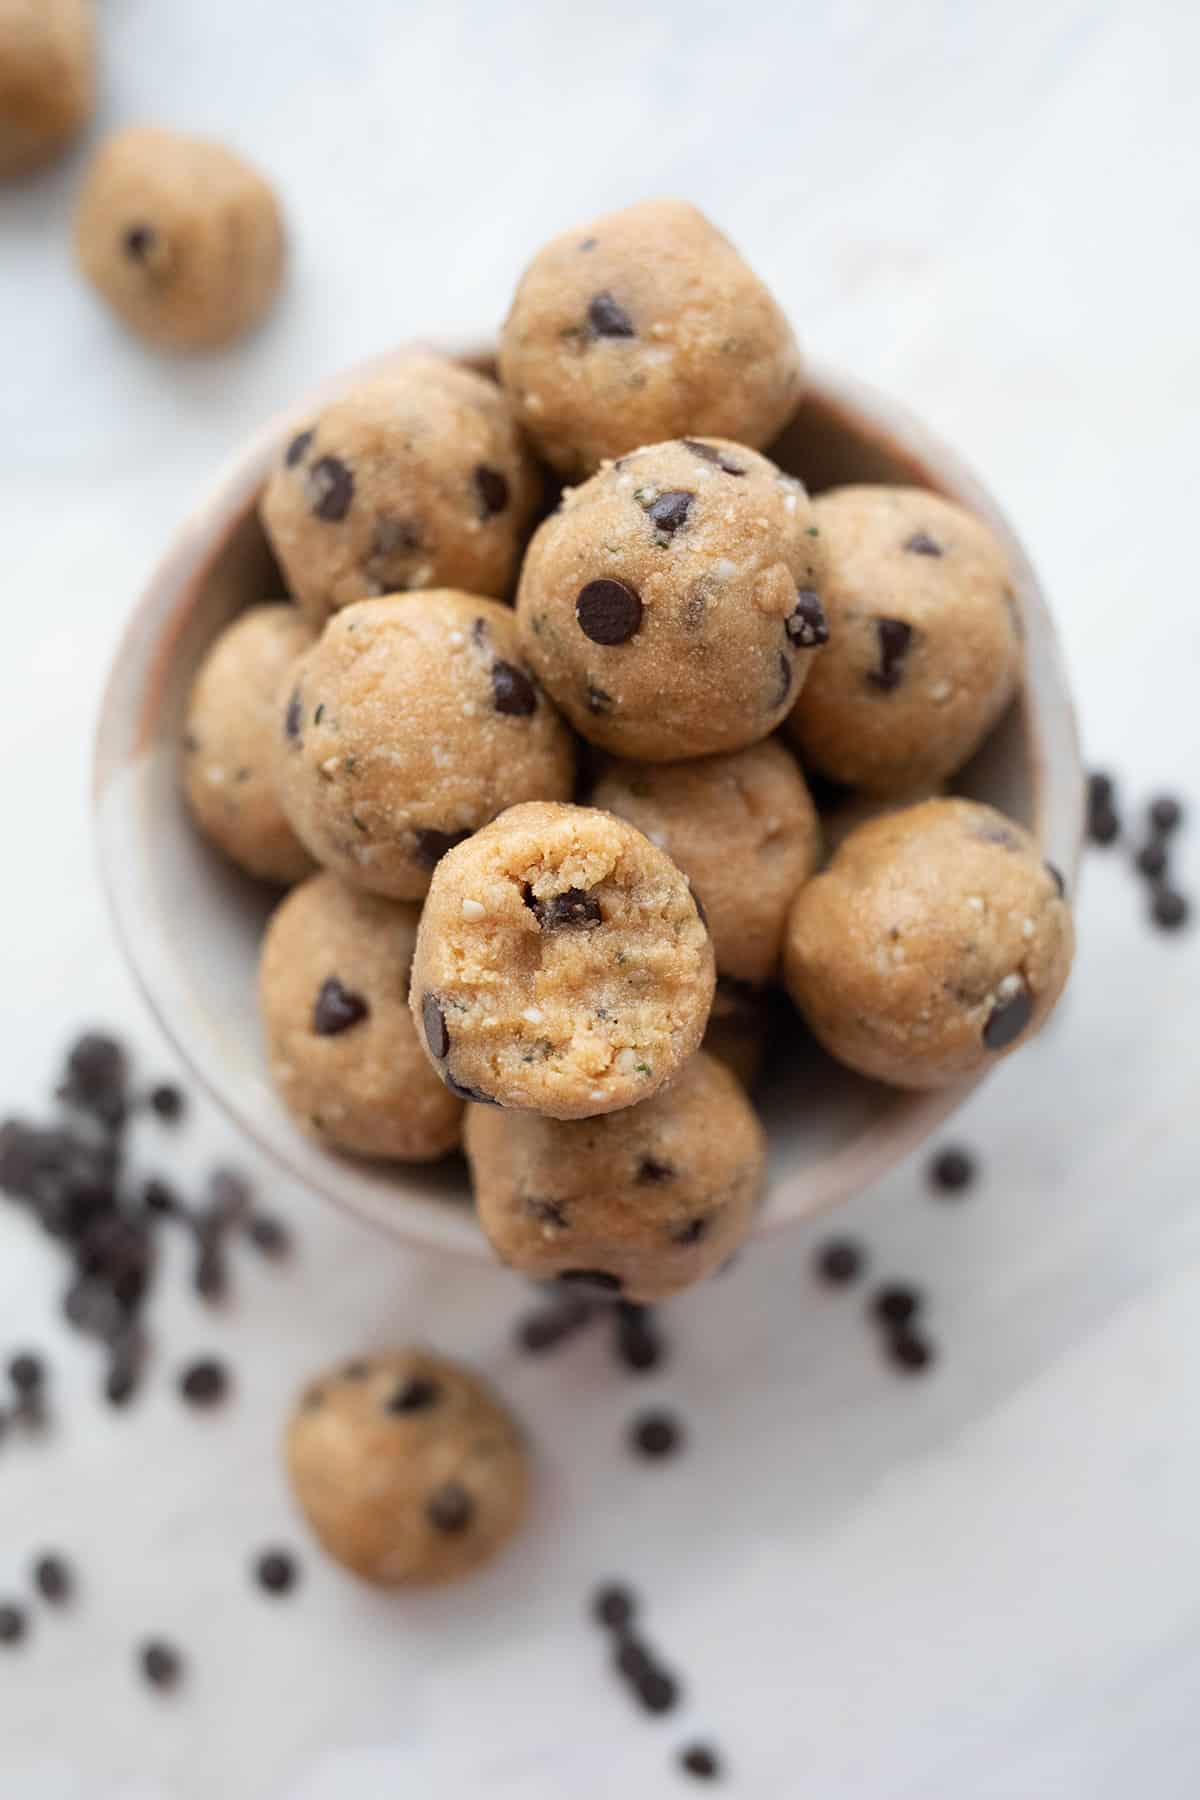
    Top down image of a pile of keto peanut butter protein balls with a bite taken out of one.

    When you’re trying to increase your protein intake, having a few easy keto snack ideas is paramount to success. And these no-bake Peanut Butter Protein Balls are one of my favorites. Made with creamy peanut butter, almond flour, and protein powder, they’re perfect for curbing hunger without the added carbs.

    I created this recipe a few years ago when I needed more low-carb high-protein recipes I could make quickly. I am often on the go, headed to a workout or to a child’s performance, and I need quick bites I can grab as I head out the door. I do not like to be caught out hungry and with no good keto options!

    Peanut Butter Protein Balls piled up in a brown bowl in front of a jar of peanut butter and a small bowl of chocolate chips.

    These keto protein balls became an instant hit for me, and for my readers too! They require no special equipment and no baking. Just you, your ingredients, and a good silicone spatula. And they pack a significant protein punch, with plenty of healthy fats too.

    Reader’s Thoughts

    “Peanut Butter protein balls popped on my screen today and I realized I had all the ingredients so these quick, no-bake treats became a lunchtime effort for me. Wowowow! My only challenge now is not eating them all! Thank you for this recipe – delicious, satisfying and EASY.” — Jeannine

    Close up shot of Peanut Butter Protein Balls with chocolate chips on a white table.

    Why we love this recipe

    • Easy to make: These no bake protein balls take all of 15 minutes to make!
    • No special equipment: It’s easy to just mix your ingredients by hand, so you don’t need to dirty a food processor.
    • Make ahead: This is a great recipe for storing in the fridge. They last up to two weeks so you can grab a bite whenever you need it.
    • Adaptable: You can adapt this recipe easily for your preferred nut butter, protein powder, flours, etc.
    • Great flavor: They taste like peanut butter cookie dough!
    • Great macros: With 12 grams of protein and less than 7 grams of carbs, these are a great snack for keto and low carb diets.

    Ingredient Notes

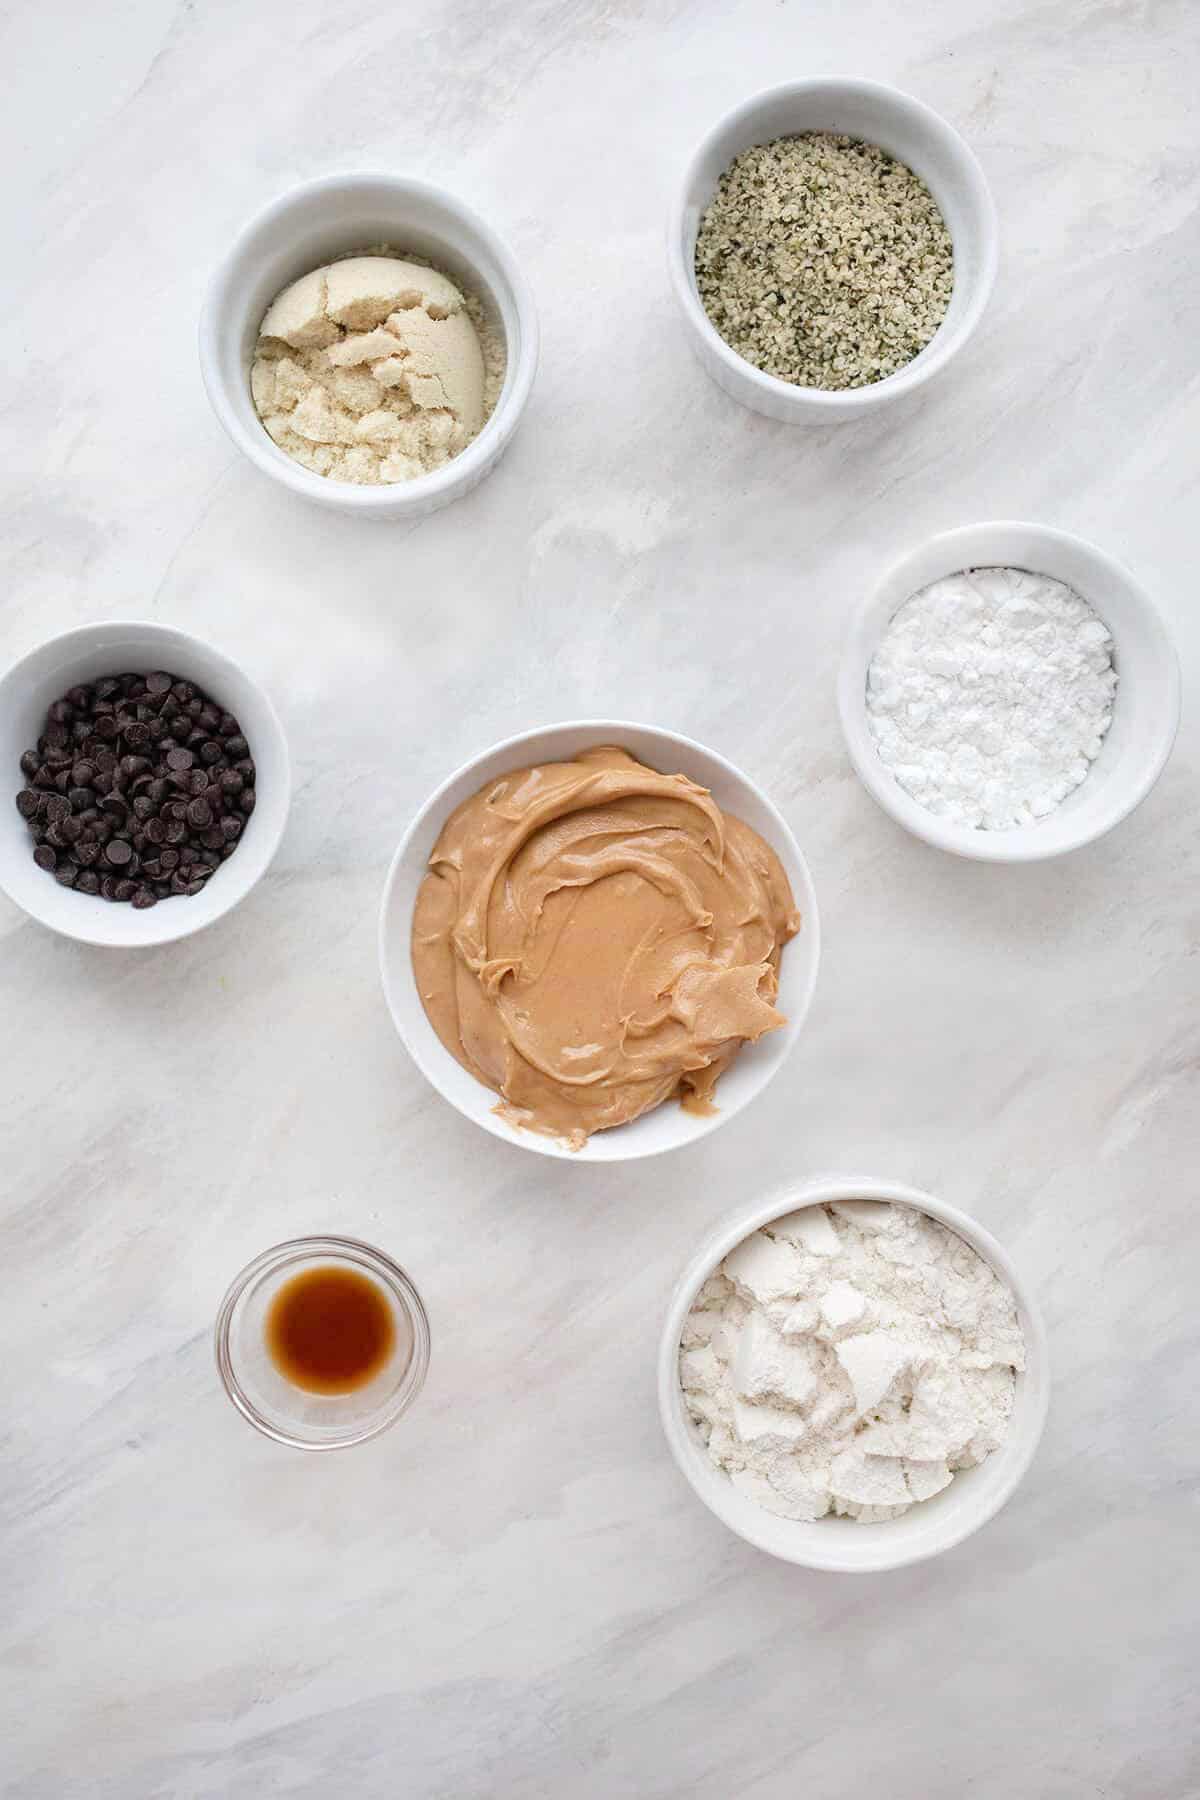
    Top down image of the ingredients needed for peanut butter protein balls.
    • Peanut butter: Use a natural creamy peanut butter. If it’s the kind that separates and has a lot of oil at the top, mix it in well. Other nut butters, like almond butter, will also work.
    • Protein powder: I recommend a protein isolate as it will give you a higher protein count. See expert tips for more protein options.
    • Sweetener: Powdered sweeteners like Swerve Confectioners work best, so they don’t get gritty. Check out the expert tips for more sweetener options.
    • Almond flour: You do need some flour to add bulk and create a dough. But it doesn’t have to be almond flour. You can use a few tablespoons of peanut flour or coconut flour too.
    • Hemp seeds: Hemp seeds have a surprising amount of protein and add a nutty crunch to the protein balls. This is entirely optional.
    • Chocolate chips: Mini chocolate chips work best in these, as it’s easier to roll them into balls.
    • Pantry staples: Butter or oil, vanilla extract, salt.

    Quick Overview: How to make Keto Protein Balls

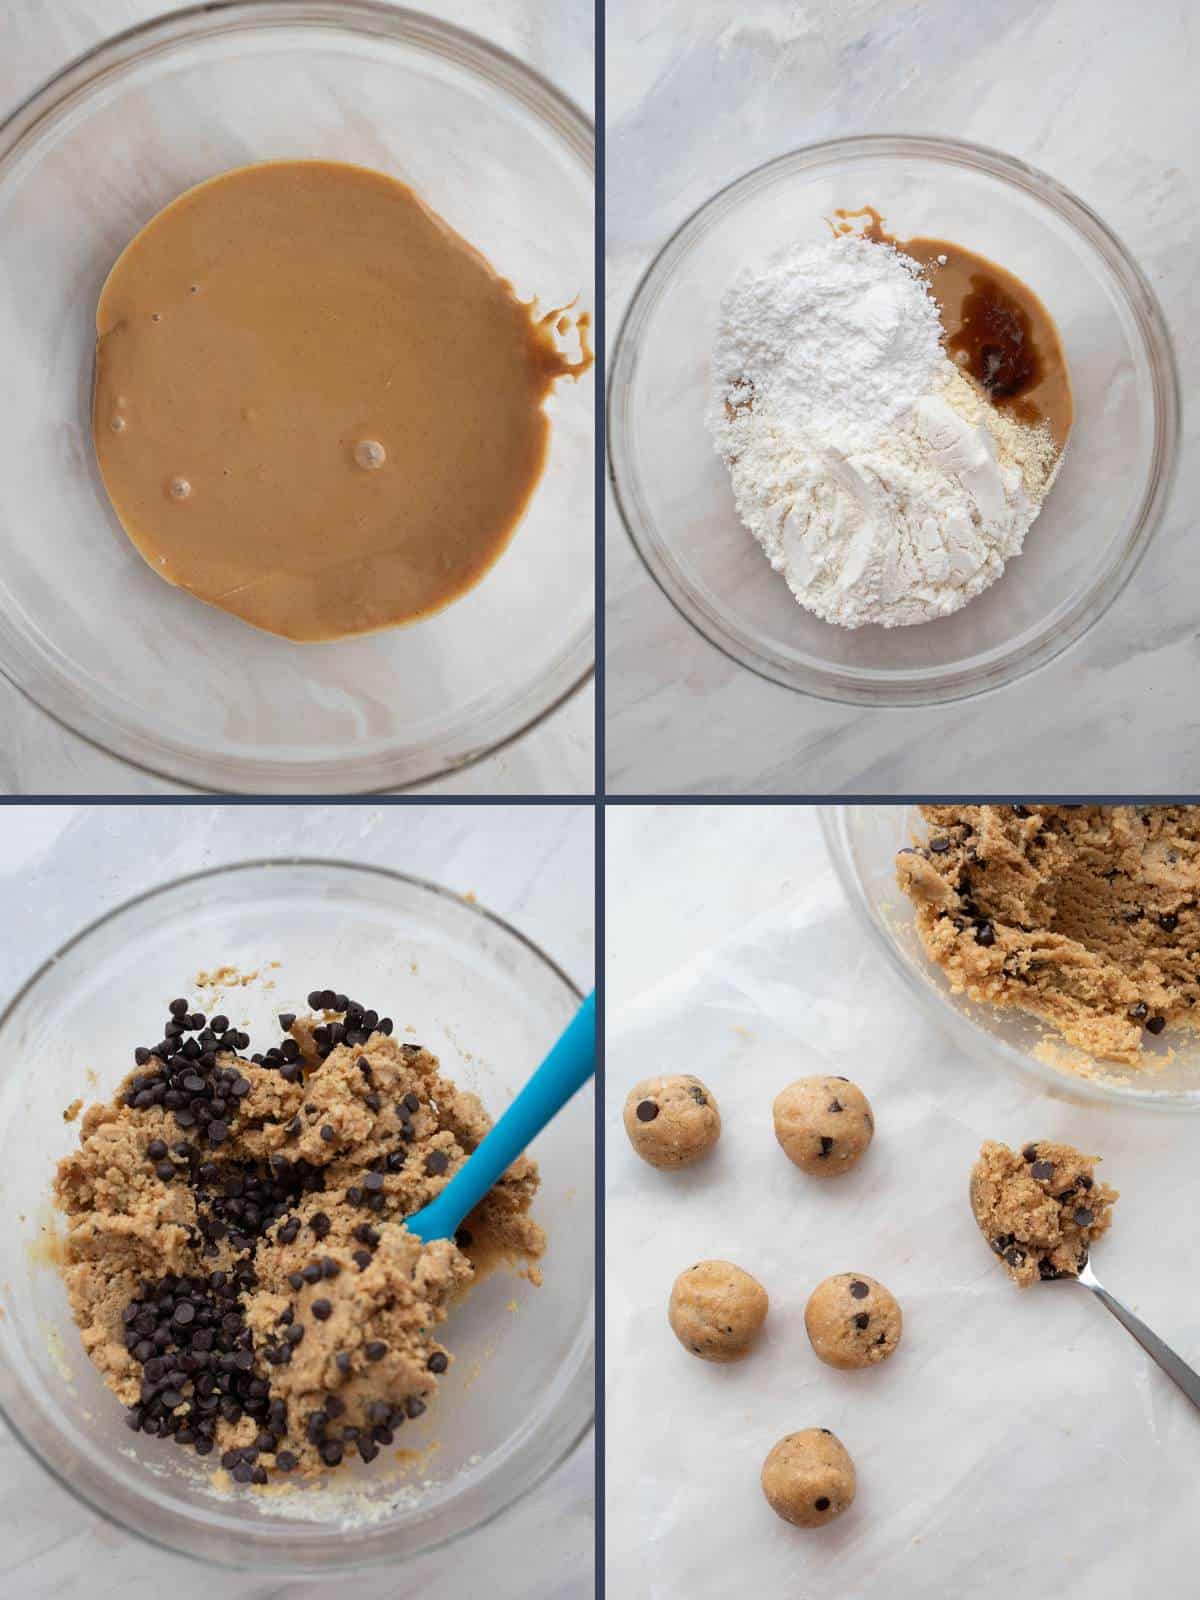
    A collage of four images showing how to make Peanut Butter Protein Balls.
    1. Melt the peanut butter: It’s a lot easier to mix in the sweetener, protein powder, and other ingredients if you melt the peanut butter first. I do this in the microwave but you can also do it in a pan on the stovetop over low heat.
    2. Add the other ingredients: Using a flexible silicone spatula, work the dry ingredients into the peanut butter until it become like a dough.
    3. Add the chocolate chips, if using: Stir in the chocolate chips until well distributed.
    4. Roll into balls: Use your hands to roll into 1 inch balls. You should get about 20 of them.
    Top down image of a pile of keto peanut butter protein balls with a bite taken out of one.

    Expert Tips

    You have a lot of choices for these keto protein balls, so you can customize and adjust as you see fit. You can use other nut or seed butters and different kinds of protein. And you can sweeten them more or less, according to your tastes.

    If your dough is too stiff and won’t hold together, add a bit more oil. If the dough is too goopy and you can’t roll it into balls, work in a bit more flour.

    Protein Options

    • Whey protein: I like a whey protein isolate as it has a higher protein content and a lower carb count. You can use vanilla or unflavored. If using vanilla, you may want to reduce the sweetener and the added vanilla extract.
    • Egg white protein powder: I find that plain egg white protein gives these protein balls a funny flavor. So if you want to use it, go for the vanilla variety and reduce sweetener and vanilla accordingly.
    • Plant protein: Pea protein, hemp protein, and other plant based protein powders should also work well here. Make sure they don’t have a greenish tinge as some do.
    • Collagen protein: You can also use collagen protein (aka collagen peptides) but it has a different consistency in recipes like this. So you will likely have to add additional flour to firm up the dough.

    Sweetener Options

    You can use your preferred sweetener for these Peanut Butter Protein Balls, but you may need to make some adjustments to get the correct consistency.

    Confectioner’s style powdered sweeteners add bulk without grittiness, so they are my preference. But it can be erythritol, allulose, or BochaSweet. I don’t recommend granular sweeteners as they just won’t mix in well enough.

    Concentrated extracts like stevia and monk fruit also work, but they don’t add any bulk and you may need to add some additional flour. Liquid allulose will throw off the liquid/dry balance, so you would need to add more flour there as well.

    Two peanut butter protein balls, a spoonful of peanut butter, and some chocolate chips sit in front of a brown bowl with more protein balls.

    Frequently Asked Questions

    What are the benefits of Peanut Butter Protein Balls?

    Protein balls have a number of advantages. They are easy to make and extremely portable for on-the-go snacks. And they are an excellent source of energy, with the ideal combination of protein, healthy fats, and fiber. They keep you full and satisfied for whatever the day throws your way!

    How do you store Keto Protein Balls

    Store the balls in a covered container on the counter for up to 5 days, or in the fridge for up to 2 weeks. They can also be frozen for several months.

    How many carbs are in protein balls?

    This recipe for peanut butter protein balls has 6.8g of carbs and 3g of fiber. The net carb count comes to 3.8g for 2 balls.

    More high protein recipes

    Top down image of a pile of keto peanut butter protein balls with a bite taken out of one.

    Peanut Butter Protein Balls Recipe

    Servings: 10 servings

    Prep Time 15 minutes

    Total Time 15 minutes

    These no-bake Peanut Butter Protein Balls give you a quick energy boost any time you need it. With 12g of protein and only 3.8g carbs per serving, this keto friendly snack helps you stay focused on your day.

    Prevent your screen from going dark

    • In a large microwave safe bowl, melt the peanut butter with the butter until it can be stirred together.

    • Add the protein powder, sweetener, almond flour, hemp seeds, and vanilla extract. Mix until a cohesive dough forms and you can roll into firm balls (see notes for any adjustments).

    • Stir in the chocolate chips until well distributed.

    • Roll into balls about 1 inch in diameter. You should get 20 balls. Refrigerate until firm.

    Depending on the choice of nut butter and protein powder, the consistency of the dough may differ. But it’s easy to adjust it as needed. If your dough is too stiff and won’t hold together, add a bit more oil. If the dough is too goopy and you can’t roll it into balls, work in a bit more flour.
    Storage Information: Store the balls in a covered container on the counter for up to 5 days, or in the fridge for up to 2 weeks. They can also be frozen for several months.

    Serving: 2balls | Calories: 192kcal | Carbohydrates: 6.8g | Protein: 12.1g | Fat: 14.6g | Fiber: 3g

    Nutritional Disclaimer

    Please note that I am not a medical or nutritional professional. I am simply recounting and sharing my own experiences on this blog. Nothing I express here should be taken as medical advice and you should consult with your doctor before starting any diet or exercise program. I provide nutritional information for my recipes simply as a courtesy to my readers. It is calculated using MacGourmet software and I remove erythritol from the final carb count and net carb count, as it does not affect my own blood glucose levels. I do my best to be as accurate as possible but you should independently calculate nutritional information on your own before relying on them. I expressly disclaim any and all liability of any kind with respect to any act or omission wholly or in part in reliance on anything contained in this website.

    Free Bonus: Secrets to Keto Baking!

    Sign up for your favorite recipes delivered straight to your inbox plus get our FREE bonus: Secrets to Keto Baking!


    Source link

  • Instant Pot Spaghetti Recipe – Pinch of Yum

    Instant Pot Spaghetti Recipe – Pinch of Yum

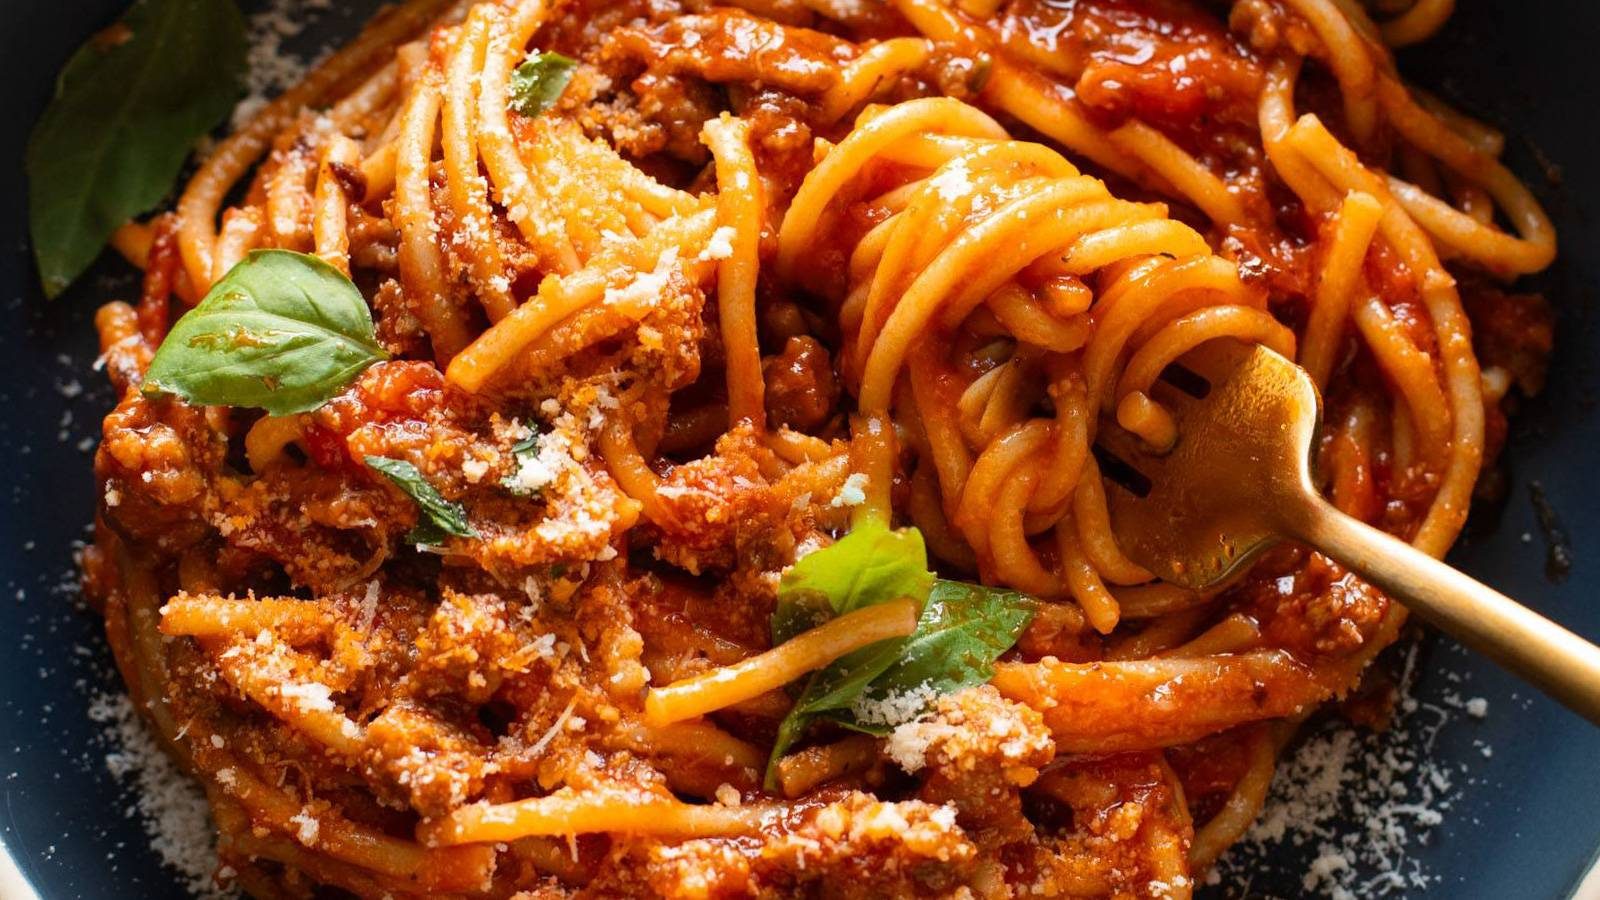
    My Kindergartener Can Make This Recipe – And I Actually, Genuinely Love It

    Lindsay Ostrom headshot.

    It’s a parenting first!

    I love the idea of matching your kid’s age to a number of goal recipes – for example, when you’re 5 years old – you learn how to make 5 recipes. (I got this idea from Nita and Jess at Healthy Happy Eaters – they are wonderful.)

    My daughter’s favorite dinner is spaghetti, so I thought making it in the Instant Pot might help it feel more manageable:

    • it’s one single pot.
    • no cutting board required.
    • it has higher sides so there’s less splattering.
    • no draining of boiling water.

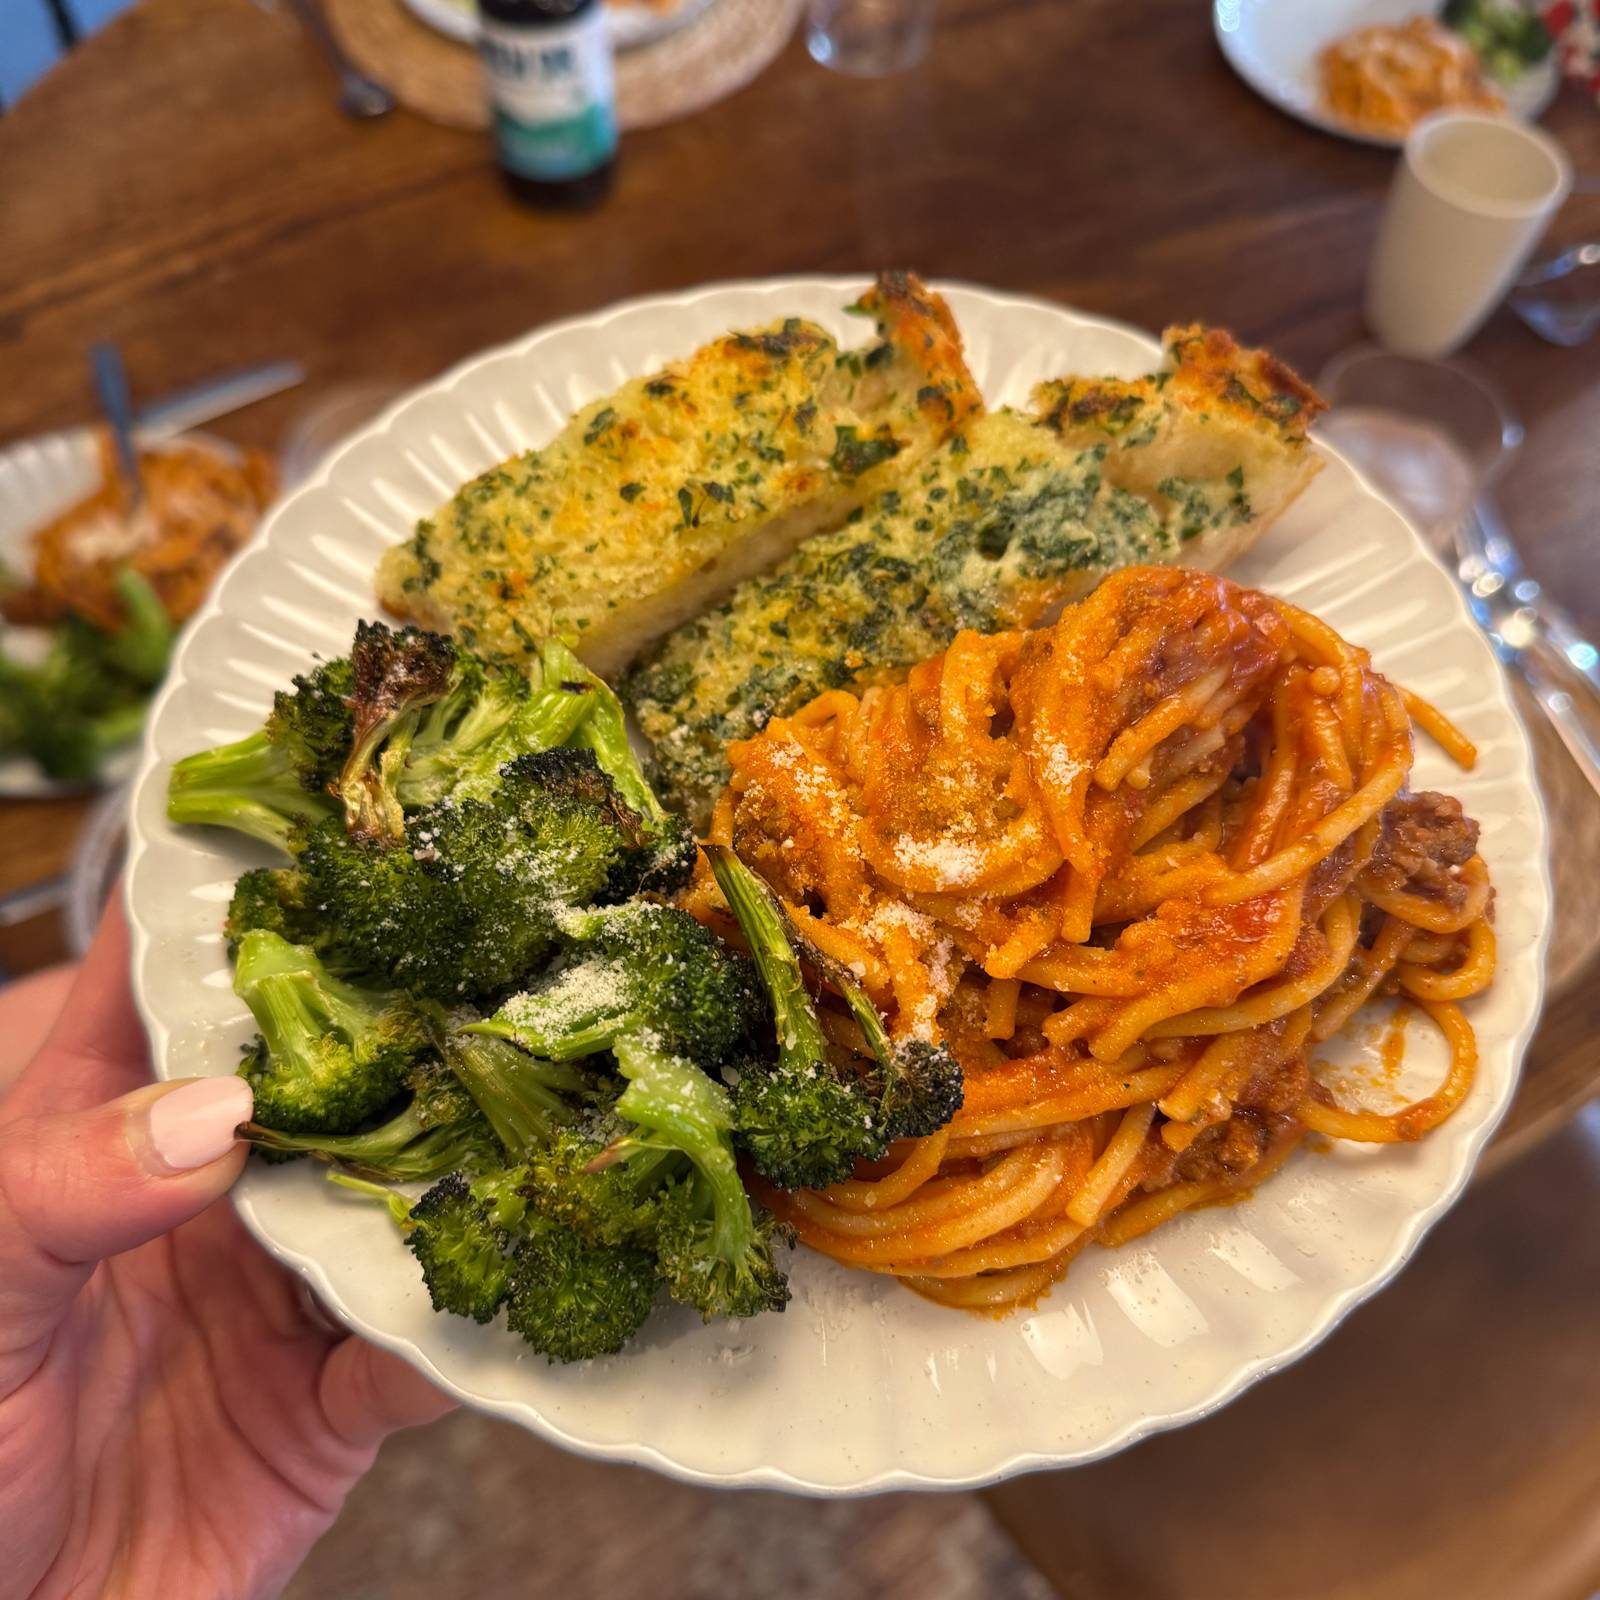
    We started making it this way “to help her” but quickly realized… Instant Pot spaghetti is actually kinda special. It’s silky, flavorful, and extra clingy. Makes for an ideal combo with house favorite garlic bread and air fryer broccoli.

    These days, when my family requests spaghetti for dinner (made by me, or my daughter), THIS is the spaghetti they are asking for. Some people might be offended by the breaking of the noodles, which you have to do to get them to fit – but in our house we roll with it and the shorter noodles work great for kids.

    The ratios are just how I like them: meaty, saucy, so comforting. A home run hit with my kids and my husband every time.

    (But I’d make this for myself even if I didn’t have kids!)

    Hope you love it! If you love easy dinner recipes – check out this mega page of all my favorites!

    Lindsay signature.

    Source link

  • Perfect Vegetable Risotto Recipe

    Perfect Vegetable Risotto Recipe

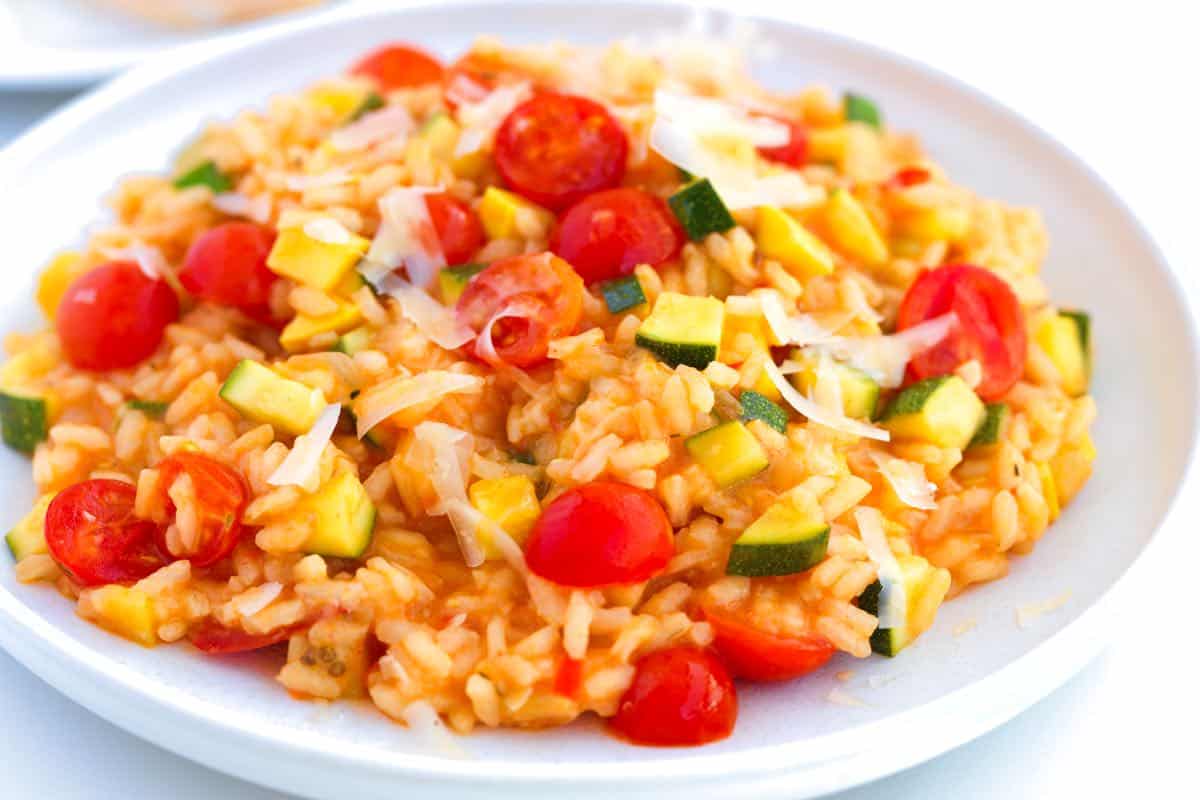
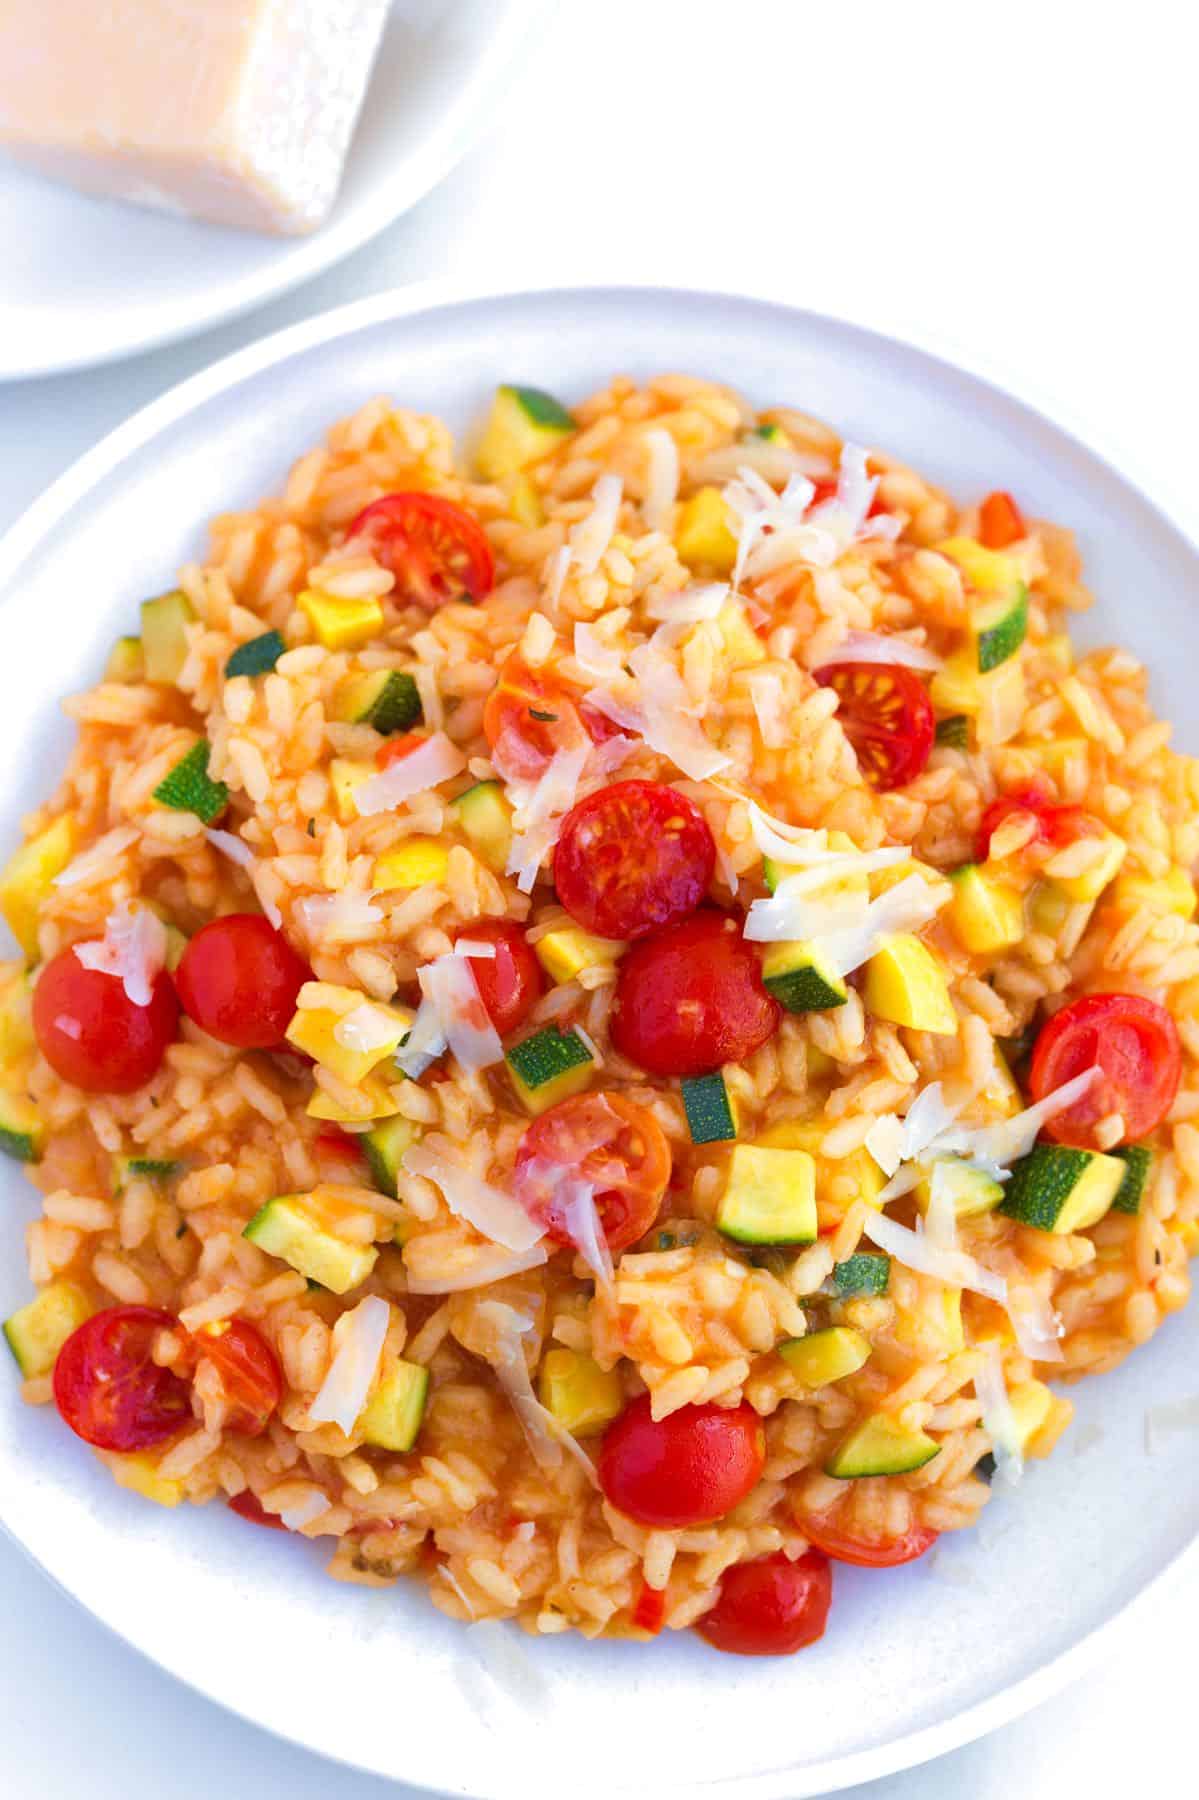
    This vegetable risotto recipe combines two of our favorite things: fresh veggies and super creamy risotto rice. It’s fun to make and with our tips to guide you, it’s easy!

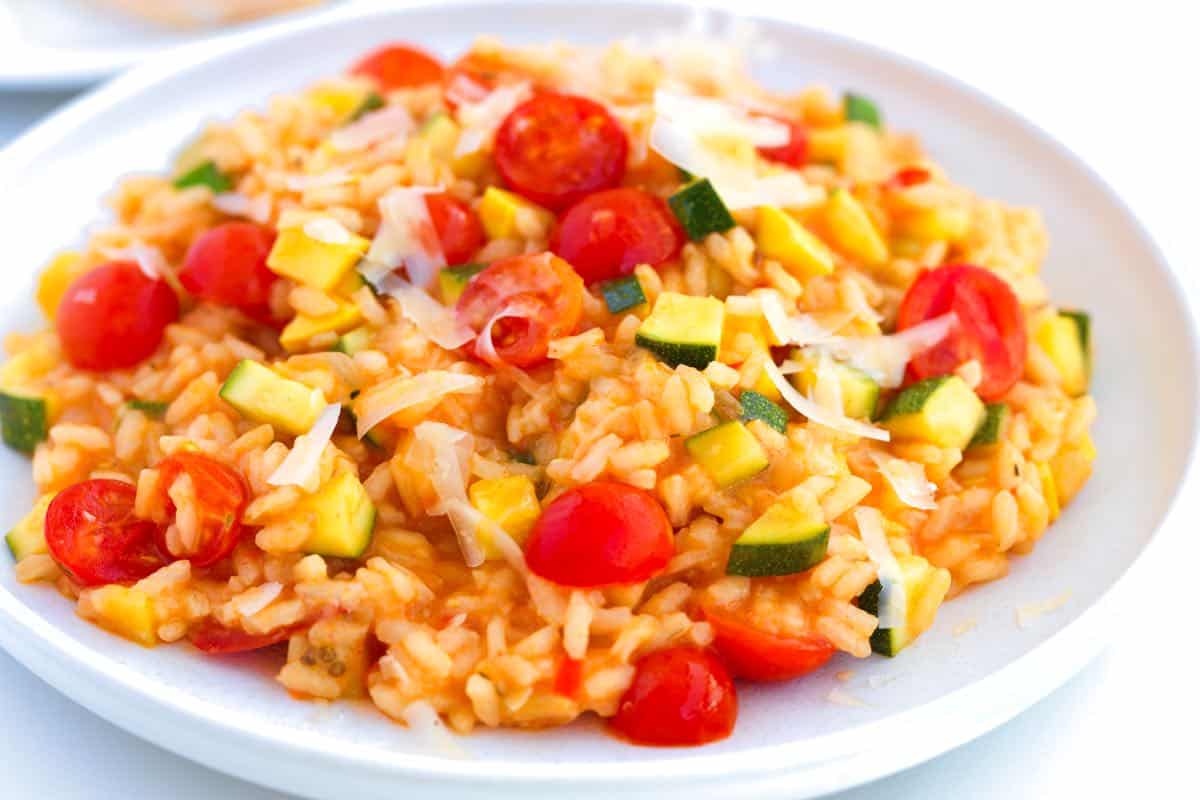
    Homemade Veggie Risotto

    We’re excited to share this recipe developed with our chef friend, Richard Hattaway. Thanks to Richard’s restaurant trick, making risotto at home is now easier than ever. Instead of the usual continuous cooking, this recipe breaks the process into two stages. You can do most of the cooking up to 4 days ahead, then finish it in just 10 minutes right before serving.

    Of course, you can still make the recipe all at once if you prefer, but this two-stage method makes risotto much more convenient for busy schedules. For another risotto recipe, see our mushroom risotto.

    Key Ingredients

    • Rice: The best rice for risotto are Arborio, Carnaroli, and Vialone Nano since they are all short-grain rice varieties with a high starch content. We use Carnaroli in our kitchen since it makes creamy risotto and is more forgiving when it comes to overcooking.
    • Broth: A good vegetable broth and even chicken broth work perfectly well in this recipe, but we love our easy tomato broth for a summery tomato risotto base (that is what we have used in our photos).
    • White Wine: Whenever you cook with wine, the most important thing to remember is to use something you enjoy. We use a light, dry white wine like Pino Gris, Albariño, Grüner Veltliner, or Sauvignon Blanc for this veggie risotto. Wine adds flavor and some acidity. If you prefer to leave it out, replace it with more broth and sprinkle a little fresh lemon juice over the risotto before serving.
    • Veggies: We love risotto with veggies. You have some leeway when it comes to the vegetables. We use yellow squash, zucchini, tomatoes, eggplant, and fresh herbs. These are the same veggies we use to make our reader favorite veggie lasagna.
    • Butter: There’s no cream in this risotto (thanks to the rice, it is creamy enough), but a generous pat of butter adds to the creamy, luxurious texture. For vegan risotto, use plant-based butter.
    • Parmigiano-Reggiano: I’m generous with the cheese and recommend you do the same. For a vegetarian risotto, swap the Parmigiano-Reggiano for a vegetarian-friendly cheese like mozzarella, ricotta, or vegetarian parmesan. For vegan risotto, swap for a bit of nutritional yeast.

    Find the full recipe with measurements below.

    How to Make Vegetable Risotto

    Tip 1: How to make risotto (a quick overview). Making risotto gets a bad rap for being complicated and fussy, but with a reliable method, it’s very doable. Here’s what happens step-by-step:

    1. Cook aromatics (onion, bell pepper, garlic).
    2. Toast the rice.
    3. Add wine and simmer until it reduces.
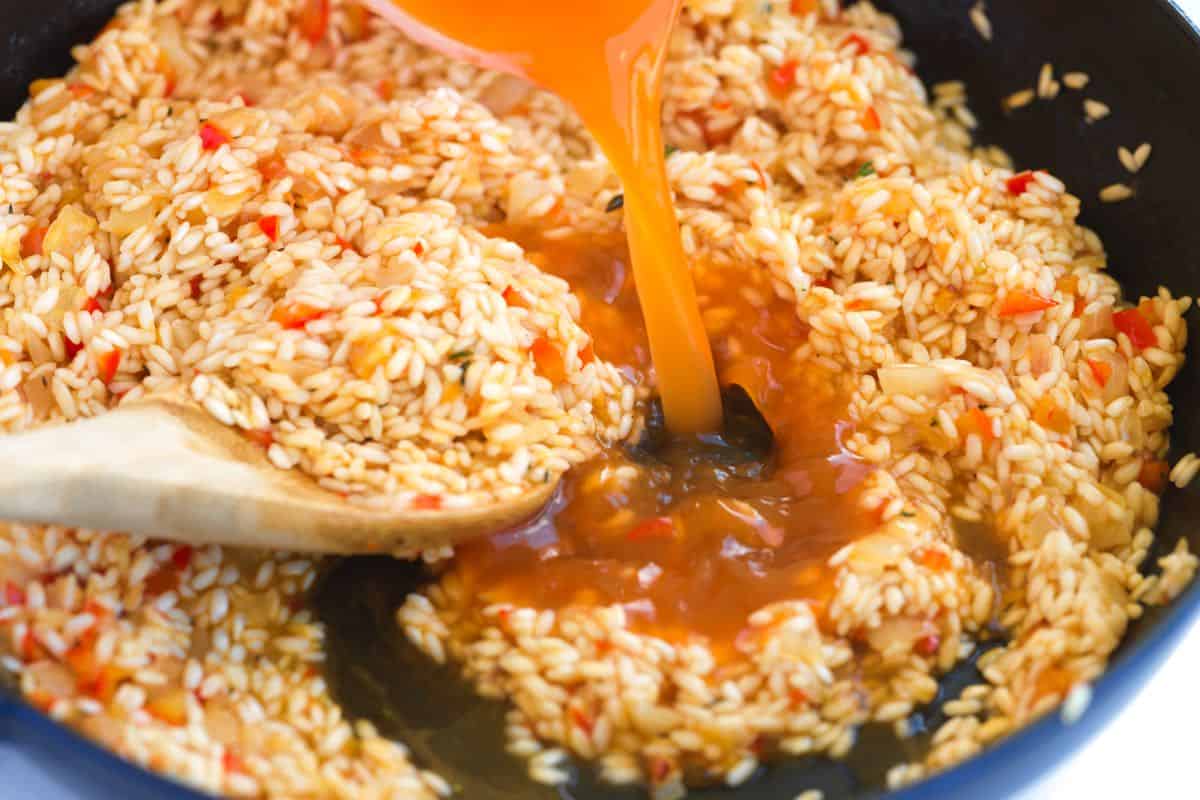
    4. Add broth gradually, stirring occasionally to prevent the rice from sticking.
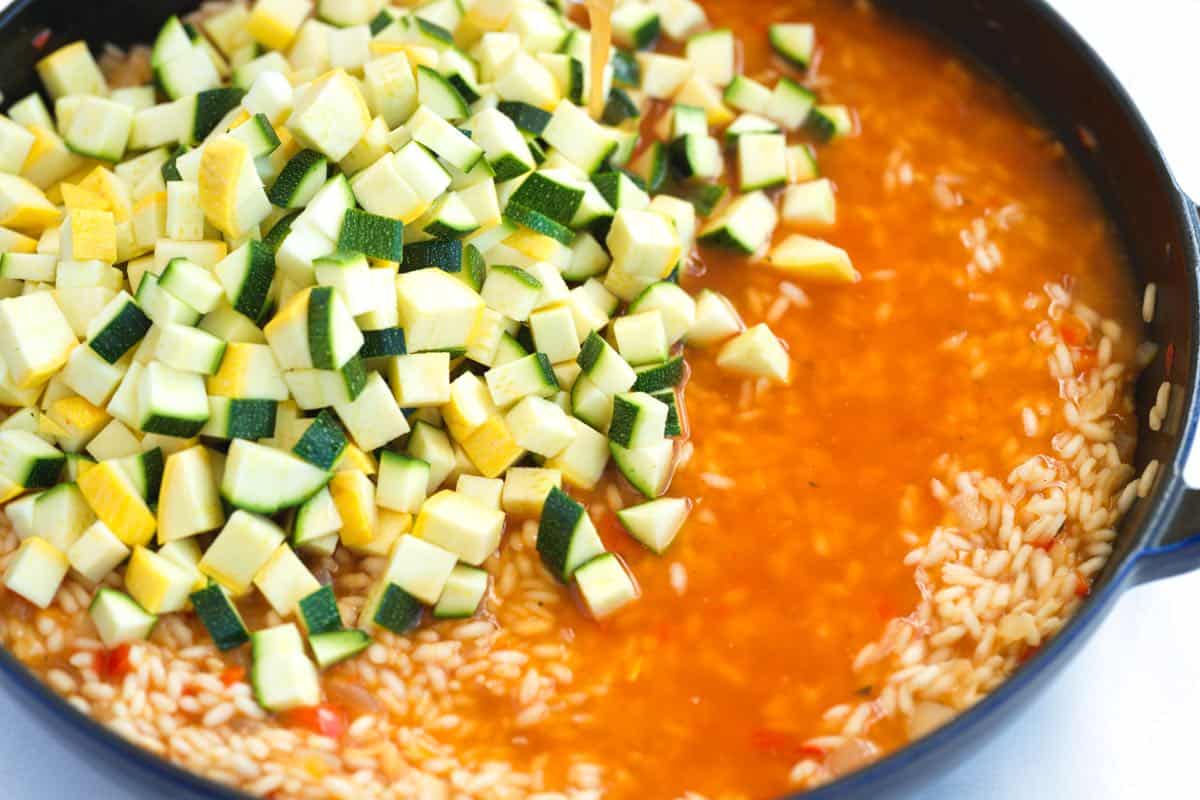
    5. Finish with quick-cooking vegetables (like zucchini and yellow squash).
    6. Stir in butter and cheese, and serve.
    Adding broth to risotto rice

    Tip 2: Use a heavy-bottomed pan and a wooden spoon. Choose a wide, heavy-bottomed pan so you have room to stir. A wooden spoon is ideal for risotto (a tip from Richard, who says it helps create a creamier texture).

    Tip 3: Continue adding broth as the rice cooks. Let the rice absorb liquid slowly. When the broth is mostly absorbed, add more. Stir occasionally, not constantly. Just enough to keep the rice from sticking. When the rice is almost tender but still firm in the center, it’s about 75% cooked.

    Tip 4: Use the two-part method (excellent for entertaining). When the rice is tender but still firm in the center (about 75% done), you can finish and serve, or pause and store the risotto for later.

    1. Part 1, store for later: Spread the partially cooked risotto on a baking sheet and cool quickly in the freezer. Transfer to containers and refrigerate for up to 4 days.
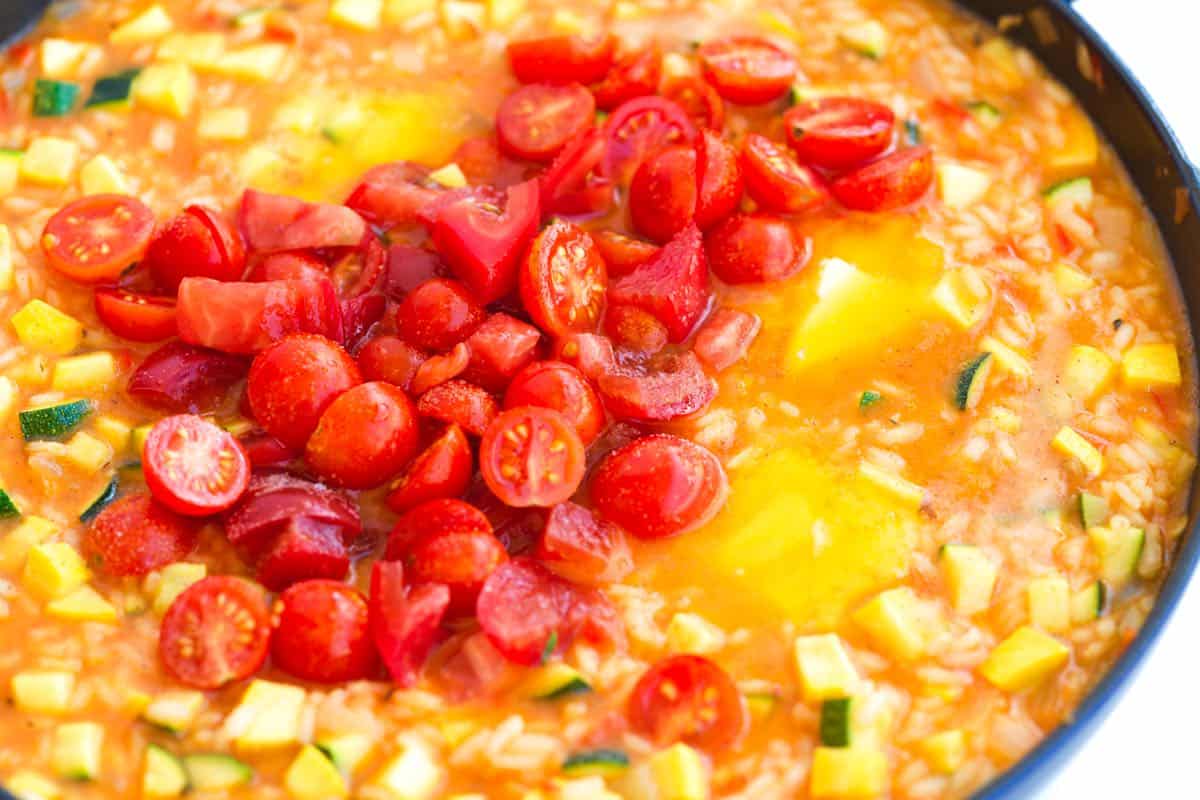
    2. Part 2, finish when ready to serve: Return the rice to your wide pan with chopped zucchini/yellow squash and a splash of broth. Stir often, adding more broth as needed, until the risotto is creamy and the rice is just tender. Season with salt and pepper, stir in chopped tomatoes, then finish with butter and Parmigiano-Reggiano.
    How to Make Vegetable Risotto: Cooking vegetables in risotto
    How to Make Vegetable Risotto: Adding tomatoes to risotto

    Tip 5: Add the optional eggplant puree. Roasted eggplant adds even more savory flavor and extra creaminess. We’ve included instructions below if you’d like to use it.

    Serving Suggestions

    This dish works really well on its own, but you can always add more to round out the meal. Consider a simple green salad with lemon vinaigrette or a homemade Caesar on the side.

    You can add some protein with poached shrimp, simple baked salmon, or these lemon chicken thighs. And, I love a nice slice of roasted garlic bread or focaccia with this olive oil bread dip.

    More Vegetable Recipes

    Vegetable Risotto

    Perfect Vegetable Risotto

    • PREP
    • COOK
    • TOTAL

    This vegetable risotto combines two of our favorite things: fresh veggies and super creamy risotto rice. It’s also fun to make. We use a wide, heavy-bottomed pan and wooden spoon for risotto. A stainless steel rondeau or a wide Dutch oven is excellent. For the broth, we love our tomato broth (it takes 30 minutes), but you can use your favorite homemade or store-bought broth in its place. You will need about 6 cups.

    If you are entertaining, we highly recommend making the risotto in stages. First, cook it until 75% done, cool the rice mixture, and then about 10 minutes before serving, reheat and finish the risotto. This way, you are not standing over a hot stove for 30+ minutes when your guests are there. This method is written into the recipe below.

    Makes 6 servings

    You Will Need

    6 cups vegetable broth, we highly recommend this tomato broth (1420ml)

    2 cups arborio rice or carnaroli rice (380g)

    1 cup dry white wine, see notes (236ml)

    ¼ cup olive oil (60ml)

    1 cup finely chopped onion, half large onion

    ¾ cup finely chopped red bell pepper, half large pepper

    3 cloves garlic, minced

    1 teaspoon fresh thyme leaves, chopped

    1 medium yellow squash, chopped small

    1 medium zucchini, chopped small

    1 ¼ cups cherry tomatoes or use chopped tomatoes, 6 ounces

    3 tablespoons salted butter

    Handful chopped fresh herbs like basil, chives, and green onion

    Parmigiano-Reggiano cheese for serving

    Directions

    • Make Rice Mixture
    • 1Cook aromatics: In a wide, heavy-bottom pan over medium heat, cook the garlic, onion, and bell pepper in olive oil until the onions turn translucent, about 3 minutes.

      2Toast the rice: Add the rice and thyme and cook, stirring for 3 to 5 minutes. When the rice sticks a little, pour 1 cup of white wine into the pot. Stir the rice and wine around the pan with a wooden spoon until mostly dry.

      3Add the broth: This step will take about 15 minutes. Begin by measuring out 3 ½ cups of broth, setting aside the remaining 2 ½ cups for later. Pour one third of the measured broth into the pan and keep the risotto at a low simmer while stirring often to prevent the rice from sticking. Once the pot becomes mostly dry, add another one third of the broth and repeat the process until all of the remaining stock has been added.

      4The rice will be about 75% done and will be somewhat tender while still having a raw bite in the center. This is the end of stage one. Either cool the partially cooked risotto to finish later or move on to finishing the risotto.

    • Cool Rice Mixture (optional for entertaining or making ahead)
    • 1You can skip this step if making the risotto from start to finish. When the rice mixture is 75% done, cool the risotto rice by spreading thin on a baking sheet and placing it in the refrigerator. When it is cool, transfer the risotto rice to a container or resealable bags, and store it in the fridge for up to 4 days. If you have a smaller family, like me, you can divide the rice mixture into two batches.

    • Finish Risotto
    • 1Add the squash and zucchini: About 10 minutes before serving, heat a wide, heavy-bottomed pan over medium heat. Add the cooled rice mixture, chopped yellow squash, and zucchini. If you skipped cooling the rice, simply add the squash and zucchini to your pan with the hot rice mixture.

      2Add the broth: Grab the remaining 2 ½ cups of broth. Pour in a third of the broth. Then, with the wooden spoon, stir the rice mixture constantly, ensuring it doesn’t stick to the pan. Once the pot is mostly dry, add another one third of the broth and repeat the process until all of the remaining stock has been added.

      3Season and add the tomatoes: Season the vegetable risotto with 1 ½ teaspoons of fine sea salt, and stir in the tomatoes.

      4To finish: Grate enough parmesan cheese over the top to cover the rice, add the butter, and finish with 5 twists of black pepper. Stir until the butter melts and the tomatoes are hot. The risotto should be creamy, the squash tender, and the tomatoes heated through. Serve immediately with fresh green herbs, green onion, and extra parmesan cheese on top.

    Adam and Joanne’s Tips

    • Eggplant puree: For even more flavor, stir in 1/2 cup of eggplant puree to the risotto at the same time as the tomatoes. To make eggplant puree, char the outside of a medium eggplant over a gas flame or under the broiler for about 10 minutes. Then, roast the eggplant in a 425°F (220°C) oven for 12 minutes or until the eggplant is completely soft. Remove the eggplant from the oven and let it cool. Scrape the softened eggplant flesh into a blender and puree until smooth.
    • Wine to use: Choose a lighter dry white wine like Pino Gris, Albariño, Grüner Veltliner, or Sauvignon Blanc
    • Wine substitution: If you prefer to leave the wine out, replace it with more broth and sprinkle a little fresh lemon juice over the risotto before serving.
    • Alternate methods: For the best, creamiest result, we do not recommend using a slow cooker or pressure cooker (Instant Pot) for making risotto.
    • The nutrition facts provided below are estimates.

    Nutrition Per Serving
    Serving Size
    1/6 of the recipe
    /
    Calories
    430
    /
    Total Fat
    16.4g
    /
    Saturated Fat
    5.7g
    /
    Cholesterol
    18.8mg
    /
    Sodium
    647.3mg
    /
    Carbohydrate
    57.8g
    /
    Dietary Fiber
    1.3g
    /
    Total Sugars
    4.7g
    /
    Protein
    6.2g


    AUTHOR:

    Joanne Gallagher

    Adam and Joanne of Inspired Taste

    We are Adam and Joanne Gallagher, the creators of Inspired Taste. Established in 2009, Inspired Taste grew from a childhood dream into one of the internet’s most trusted recipe sites with hundreds of reliable recipes, step-by-step videos, and expert tips.More About Us

    Source link

  • Sausage and Lentil Soup

    Sausage and Lentil Soup

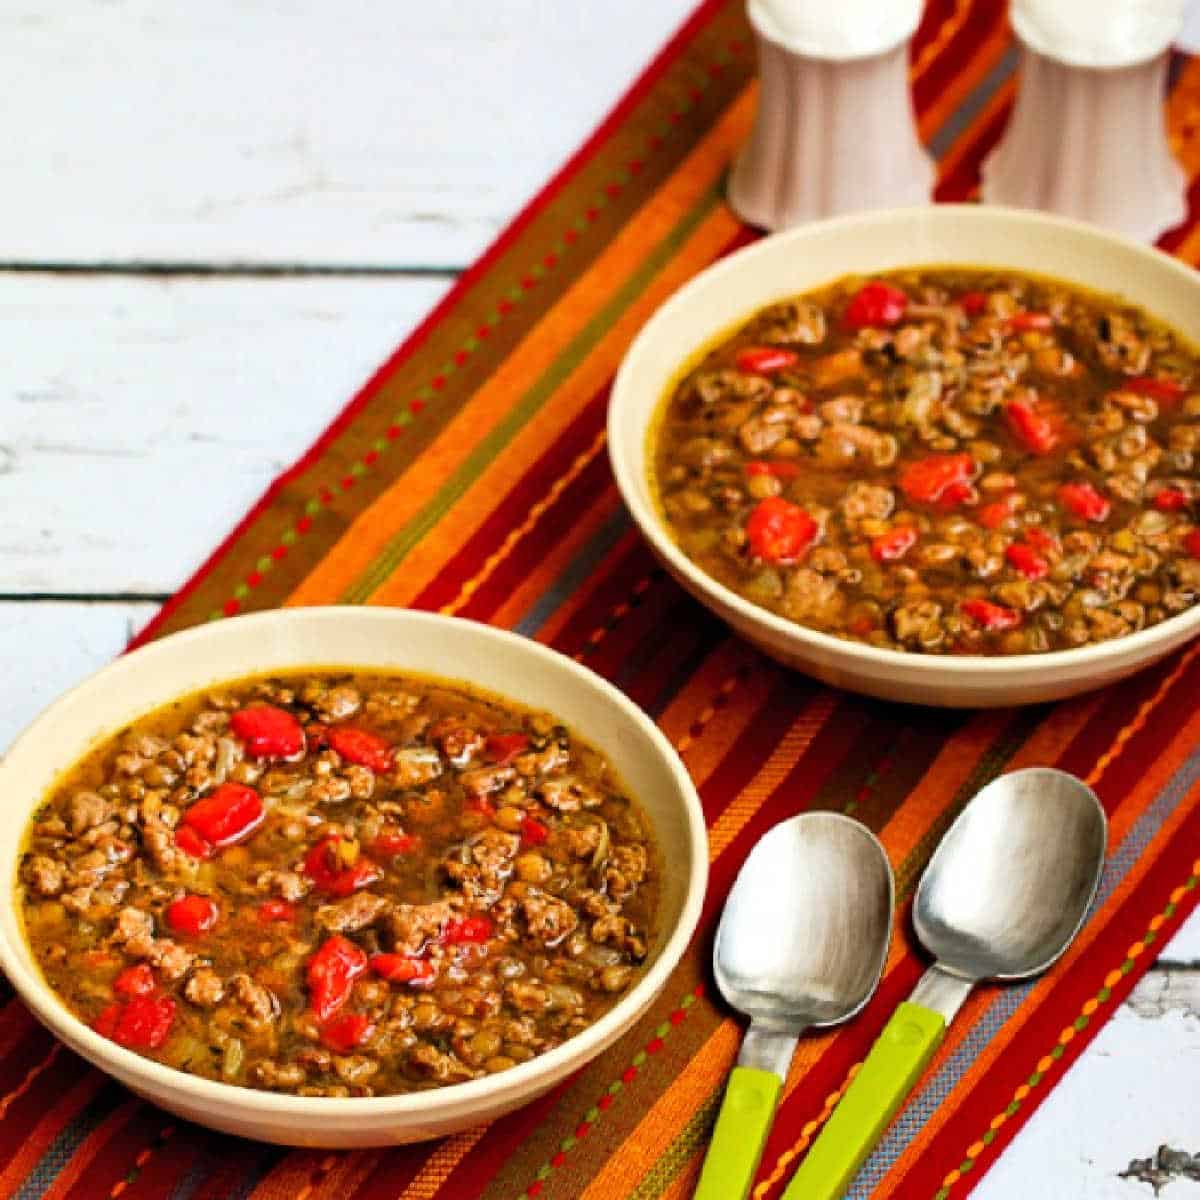
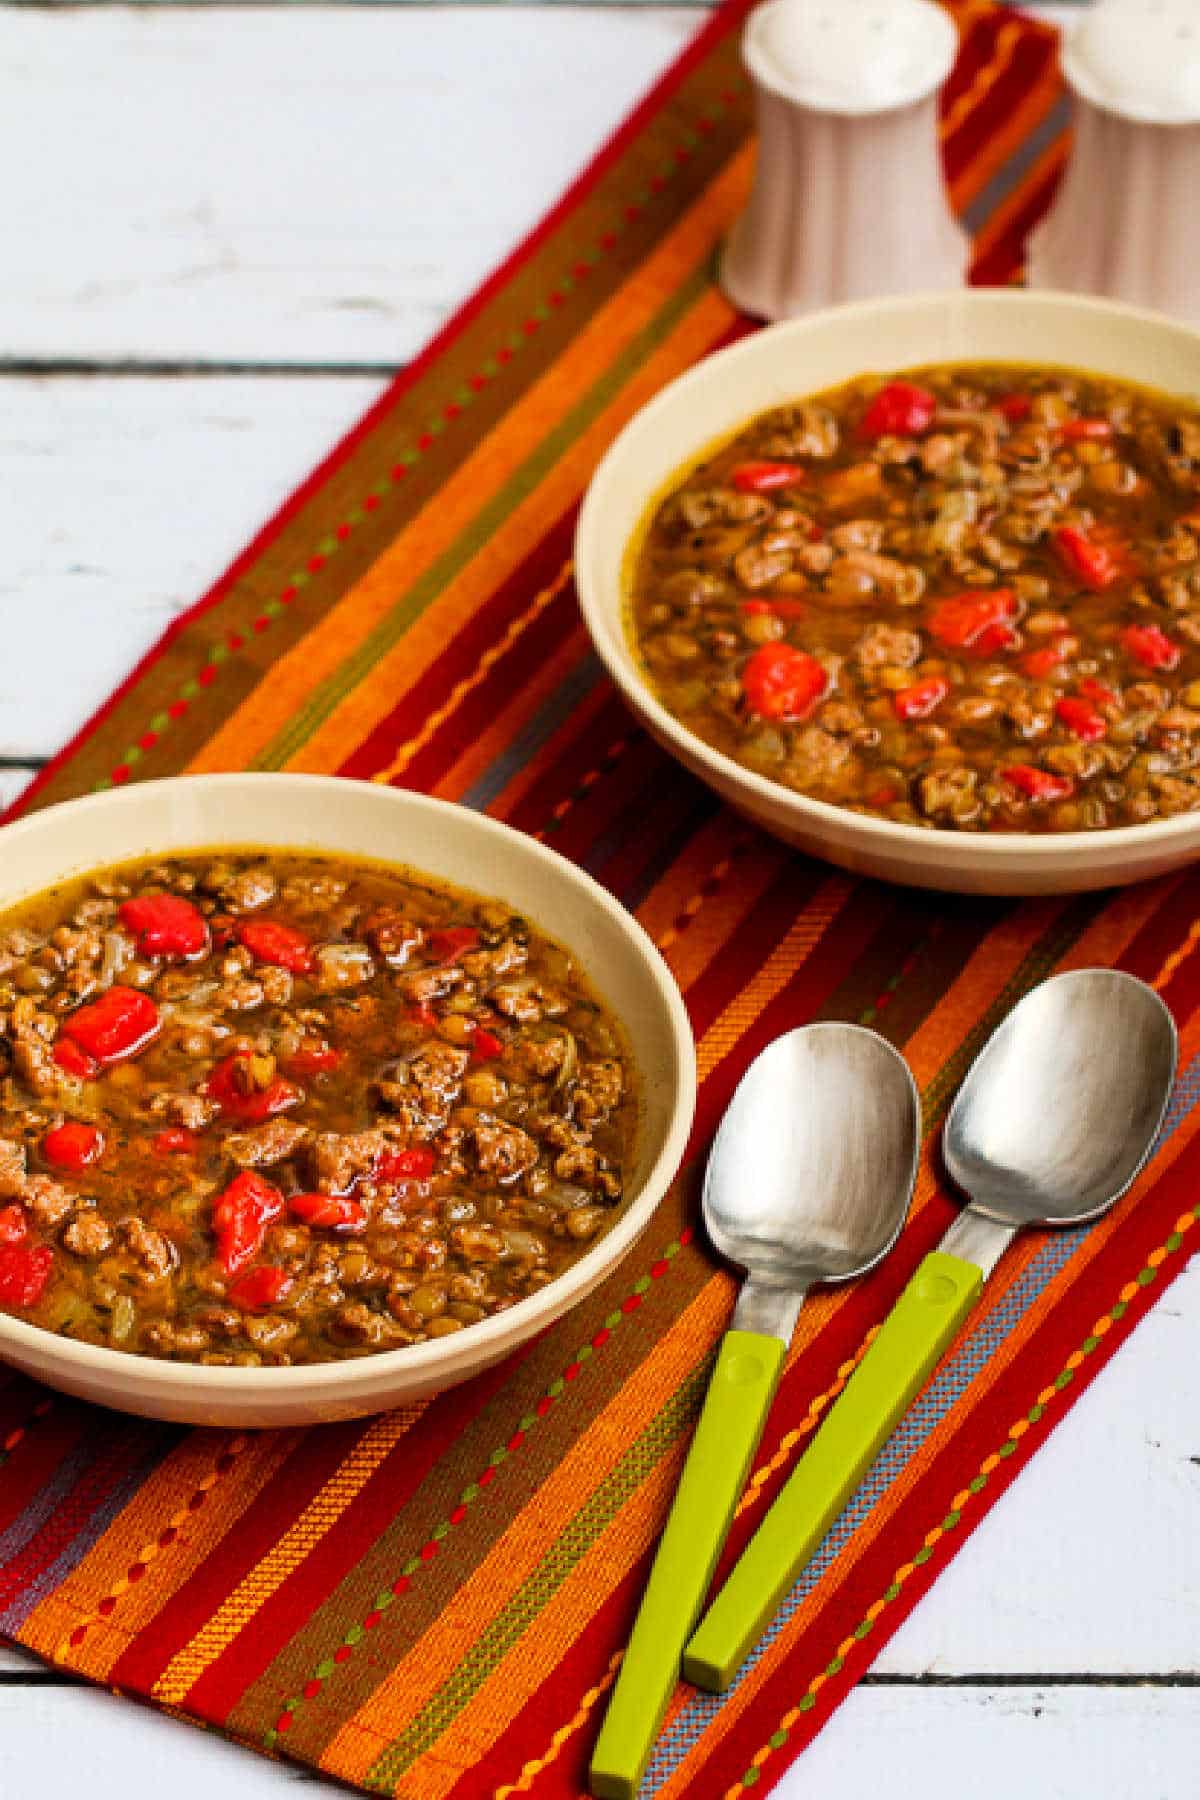
    This Sausage and Lentil Soup has roasted red pepper, and I love how spicy Italian Sausage adds flavor to this easy soup! And this recipe uses a generous amount of sausage and roasted peppers and not many lentils, so it’s surprisingly low in carbs!

    PIN the Sausage and Lentil Soup to try it later!

    Sausage and Lentil Soup shown in two serving bowls on red napkin

    This delicious Sausage and Lentil Soup is something I love to pull out of the freezer for an easy dinner, and it’s starting to feel like soup season in the northern hemisphere! And even though lentils have some carbs, this is definitely a carb-conscious soup with lots of sausage and peppers and not that many lentils. When I updated the recipe a few years ago I ended up using a whole package (19.5 oz.) of Italian sausage so there would be more sausage than lentils.

    And lentils are high in fiber too, so with only one cup of dried lentils in six servings this soup would be a good choice for low-carb eaters. I love sausage, lentils, peppers, and all the other flavors in this soup, hope you enjoy trying it!

    (This recipe was adapted to be a lower-carb version of Sausage, Lentil, and Tomato Soup. If anyone was a fan of that older recipe you can find the printer-friendly version back in the archives by using that link.)

    What ingredients do you need for this recipe?

    (This is only a list of ingredients; please scroll down for complete printable recipe. Or if you use the JUMP TO RECIPE link at the top of the page, it will take you directly to the complete recipe with ingredient amounts.)

    How low in carbs is this Sausage and Lentil Soup?

    This easy soup recipe with lots of sausage and peppers and only a small amount of lentils has only 10 net carbs per serving, with 8 grams of protein!

    What red pepper did I use for Sausage and Lentil Soup?

    I used roasted red pepper from a jar for this soup recipe, which made it quick and easy to get on the table! You can also use diced fresh red bell peppers; just add them a bit earlier in the cooking time.

    Can you use red lentils for this soup?

    I love red lentils (affiliate link) in soup and if you wanted to use them in this sausage lentil soup recipe they would cook a bit more quickly than the brown ones.

    Can you freeze the Sausage and Lentil Soup?

    I love stockpiling soup in the freezer during the winter, and this soup is great to freeze in individual containers and pull out later for a quick meal.

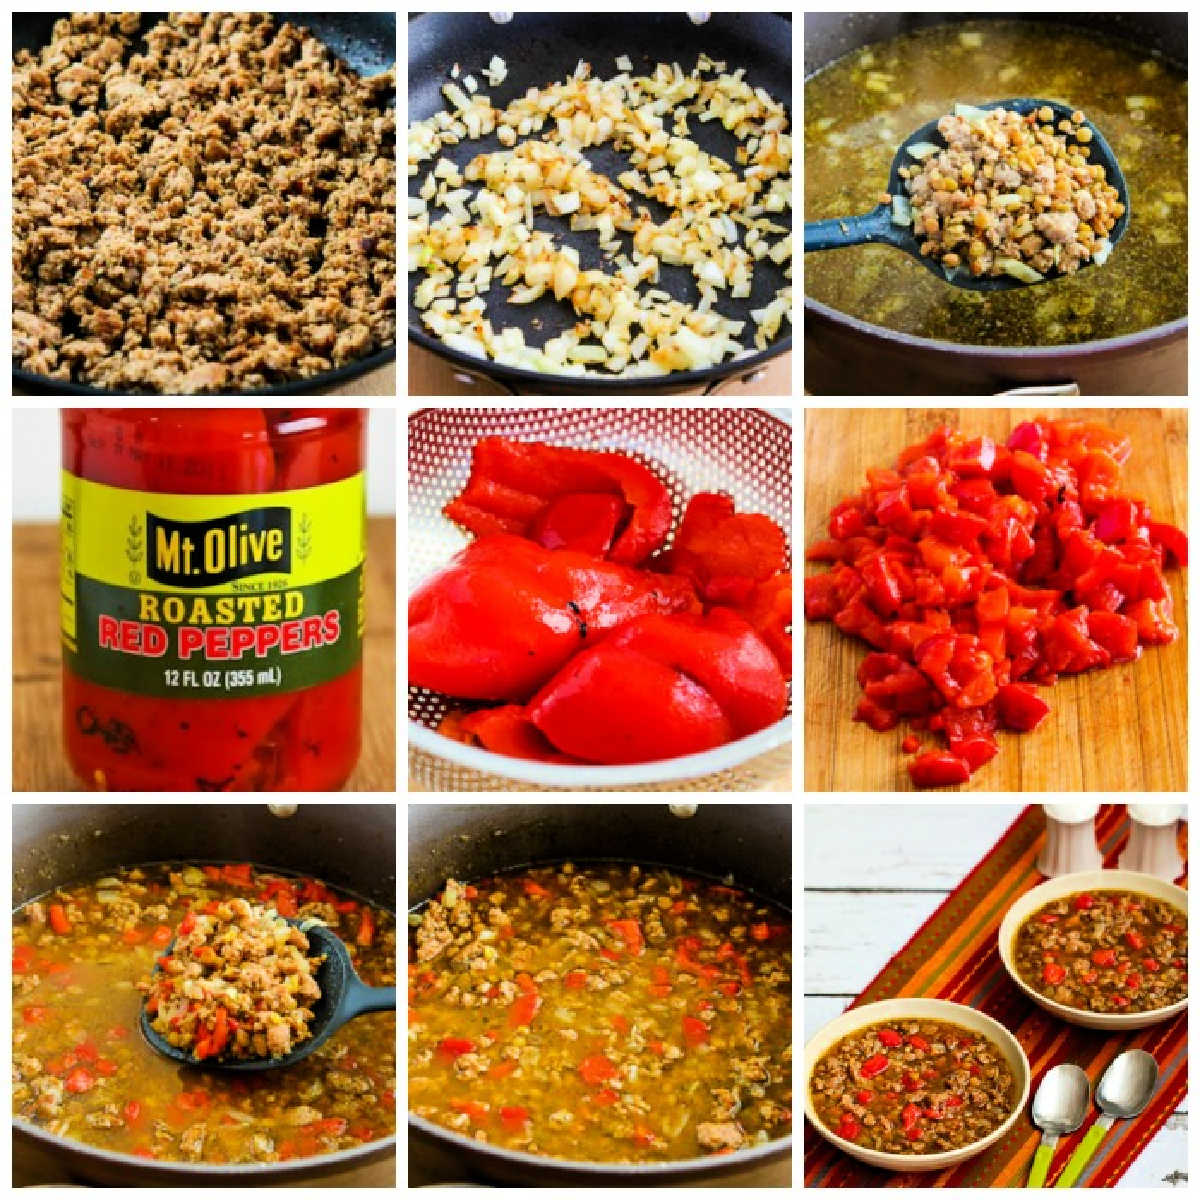
    Sausage and Lentil Soup process shots collageSausage and Lentil Soup process shots collage

    How to make Sausage and Lentil Soup:

    (This is only a summary of the steps for the recipe; please scroll down for complete printable recipe. Or if you use the JUMP TO RECIPE link at the top of the page, it will take you directly to the complete recipe.)

    1. Brown the sausage well and put it in the soup pot. (I used to use turkey Italian sausage for this soup, but now I can’t find that very often and pork sausage will also be delicious. Use either sweet or hot Italian sausage, whichever you prefer.)
    2. Brown the onions and add to the soup pot with the chicken stock or broth, lentils, ground fennel, dried thyme, and dried sage.
    3. Drain the roasted red peppers into a colander.
    4. Let the soup simmer until the lentils are tender, about 45 minutes.
    5. When the lentils are tender, chop the red peppers and add to the soup.
    6. Then let soup simmer about 45 minutes more, or until lentils are as soft as you prefer and flavors are well blended.
    7. Season the Sausage and Lentil Soup with salt and fresh-ground black pepper and serve hot.

    Make it a Carb-Conscious Meal:

    Easy Sausage and Lentil Soup would taste great served with one of these tasty low-carb breads:

    cropped image of Sausage and Lentil Soup with soup in two bowls on napkincropped image of Sausage and Lentil Soup with soup in two bowls on napkin

    Weekend Food Prep:

    This recipe for soup with sausage, peppers, and lentils has been added to a category called Weekend Food Prep where you’ll find recipes you can prep or cook on the weekend and eat during the week!

    Ingredients

    • 1 package (19.5 oz.) Italian Sausage (see notes)
    • 2 tsp. olive oil (or more, depending on your pan)
    • 1 onion, diced into small pieces
    • 1 cup brown lentils
    • 6 cups chicken broth (see notes)
    • 2 tsp. ground fennel (do not leave out)
    • 1 tsp. dried thyme
    • 1 tsp. rubbed sage (dried)
    • 1 12 oz. jar roasted red peppers

    Instructions

    1. Heat olive oil in heavy frying pan, add Italian sausage and brown well, breaking sausage into pieces as it cooks. (I like to use an old-fashioned Potato Masher (affiliate link) to break the meat apart.)
    2. Add sausage to soup pot.
    3. In same pan, adding more oil if needed, brown onions until softened and barely starting to brown.
    4. Add onions to soup pot.
    5. Rinse out pan with 1 cup chicken broth, then add to soup pot along with rest of broth, lentils, ground fennel, thyme, and sage.
    6. Cook at lowest possible simmer for about 45 minutes, until lentils are softened, but still holding their shape.
    7. Drain the roasted red peppers while the soup simmers, then chop into pieces about 1/2 inch square.
    8. Add red pepper to soup and cook about 45 minutes more (adding a little more broth or water if needed), until some lentils are starting to fall apart and all flavors are well blended.
    9. Season Sausage and Lentil Soup with salt and fresh ground black pepper and serve hot.

    Notes

    If you only find Italian Sausage in a one pound package, that will be fine. Use turkey or pork Italian sausage. whichever you prefer. You can use sweet or hot Italian sausage.

    Homemade chicken stock would be great for this recipe, but if you don’t have that just use 3 cans chicken broth plus a little water.

    Recipe created by Kalyn.

    Nutrition Information

    Yield

    6

    Serving Size

    1

    Amount Per Serving

    Calories 147Total Fat 7gSaturated Fat 2gTrans Fat 0gUnsaturated Fat 5gCholesterol 12mgSodium 1019mgCarbohydrates 14gFiber 4gSugar 5gProtein 8g

    Nutrition information is automatically calculated by the Recipe Plug-In I am using. I am not a nutritionist and cannot guarantee 100% accuracy, since many variables affect those calculations.

    Did you make this recipe?

    Did you make this recipe? Please leave a star rating (under the PRINT button in the recipe) or share a photo of your results on Instagram! THANKS!

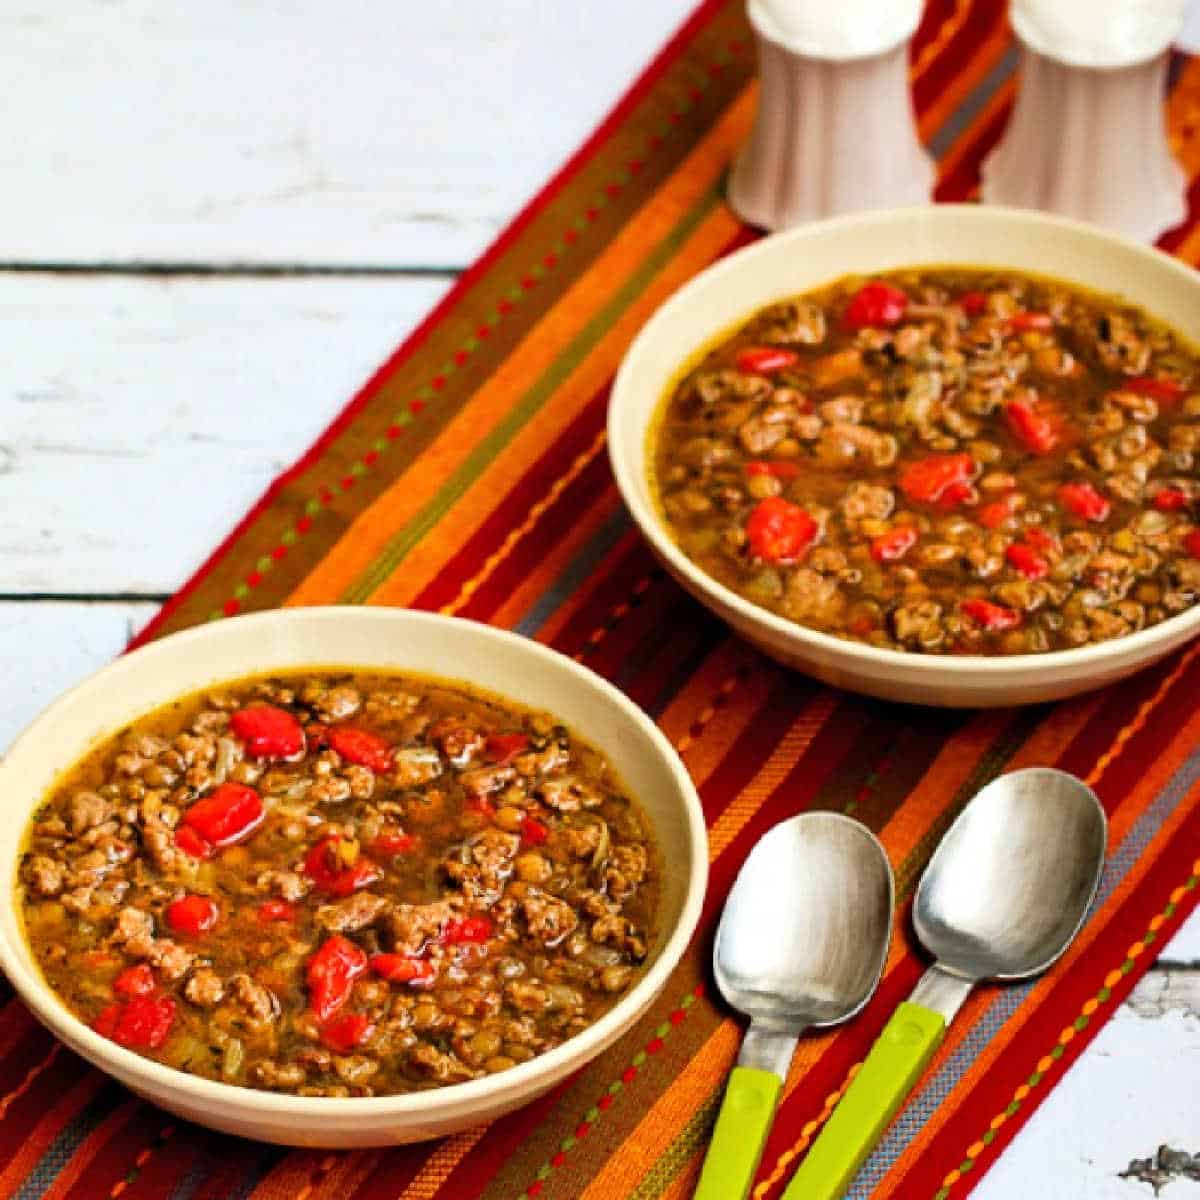
    square image of Sausage and Lentil Soup in two serving bowlssquare image of Sausage and Lentil Soup in two serving bowls

    Low-Carb Diet / Low-Glycemic Diet / South Beach Diet Suggestions:
    This Sausage and Lentil Soup has a lot of sausage and red peppers and a small amount of lentils, so it’s not much of a splurge for low-carb diets, but not low enough in carbs for strict Keto. With turkey Italian Sausage, this would be acceptable for any phase of the original South Beach Diet.

    Find More Recipes Like This One:
    Use Soup Recipes to find more recipes like this one. Use the Diet Type Index to find recipes suitable for a specific eating plan. You might also like to follow Kalyn’s Kitchen on Pinterest, on Facebook, on Instagram, on TikTok, or on YouTube to see all the good recipes I’m sharing there.

    Historical Notes for This Recipe:
    This delicious lentil soup with sausage was first posted in 2007 and I’ve enjoyed it so many times since then.  The recipe was last updated with more information and a adapted to be a slightly lower-carb version in 2025.

    Pinterest image of Sausage and Lentil Soup

    We are a participant in the Amazon Services LLC Associates Program, an affiliate advertising program designed to provide a means for us to earn fees by linking to Amazon.com and affiliated sites. As an Amazon Associate, I earn from qualifying purchases.


    Source link

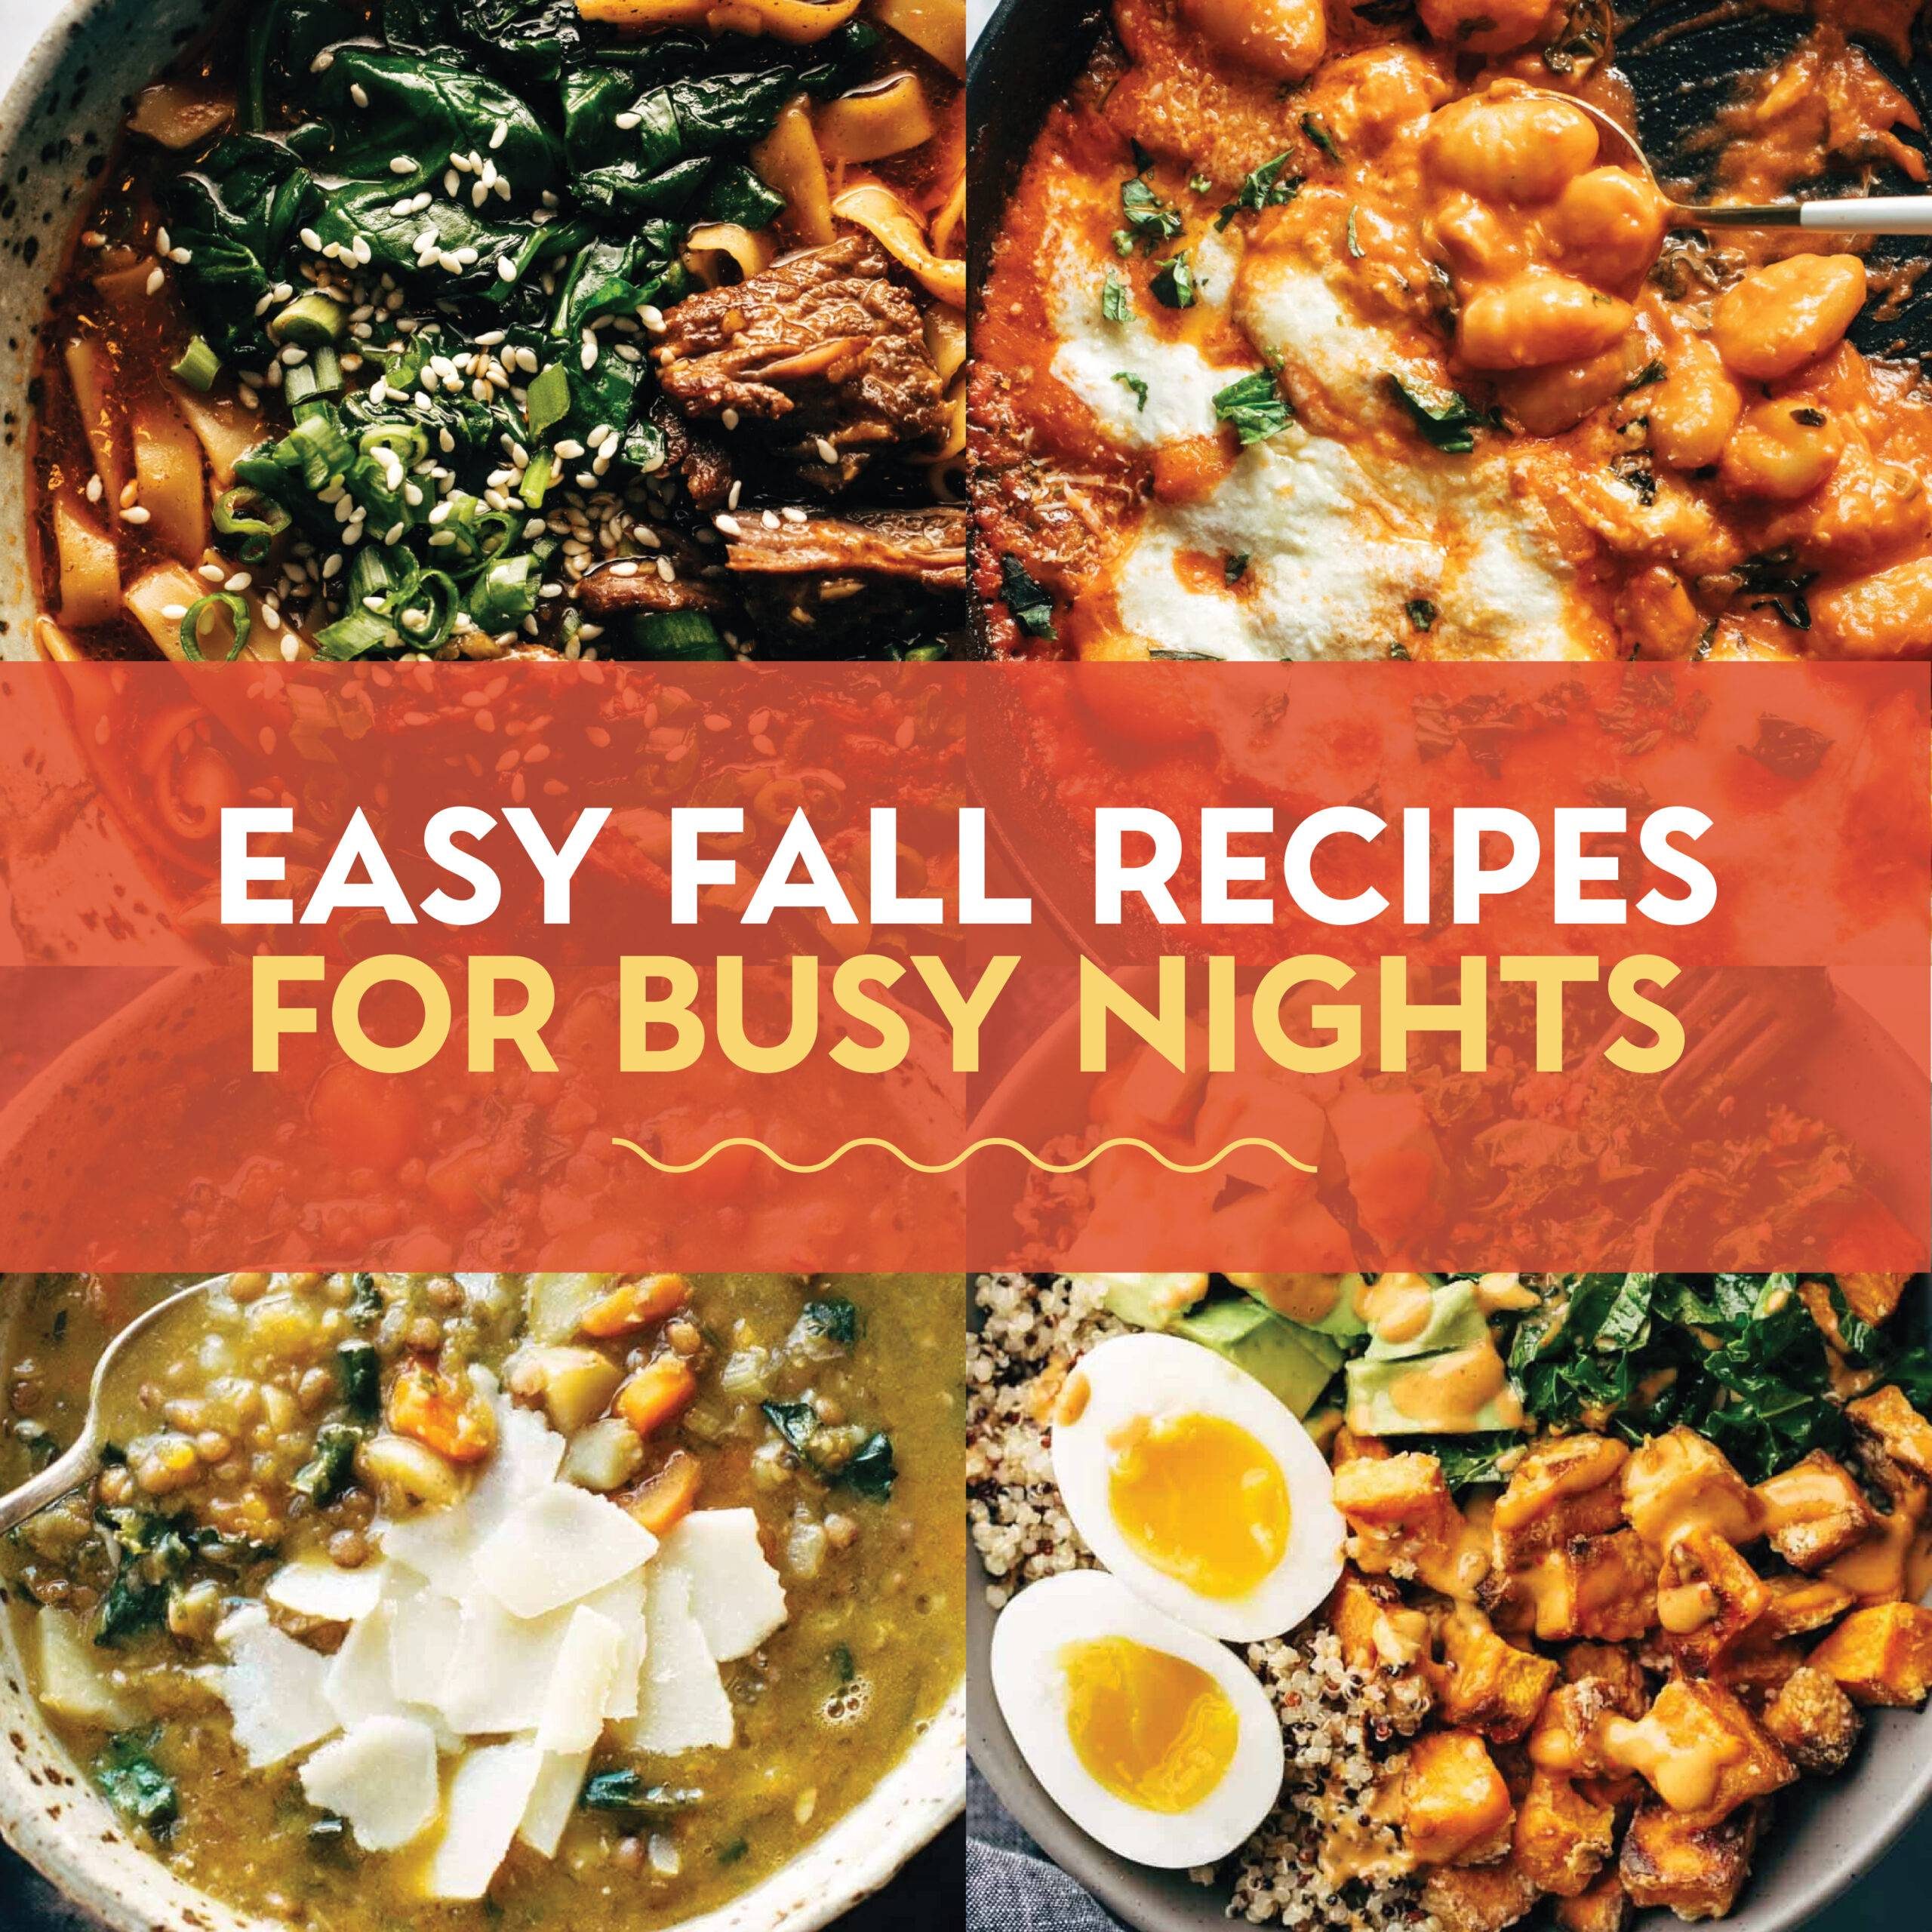
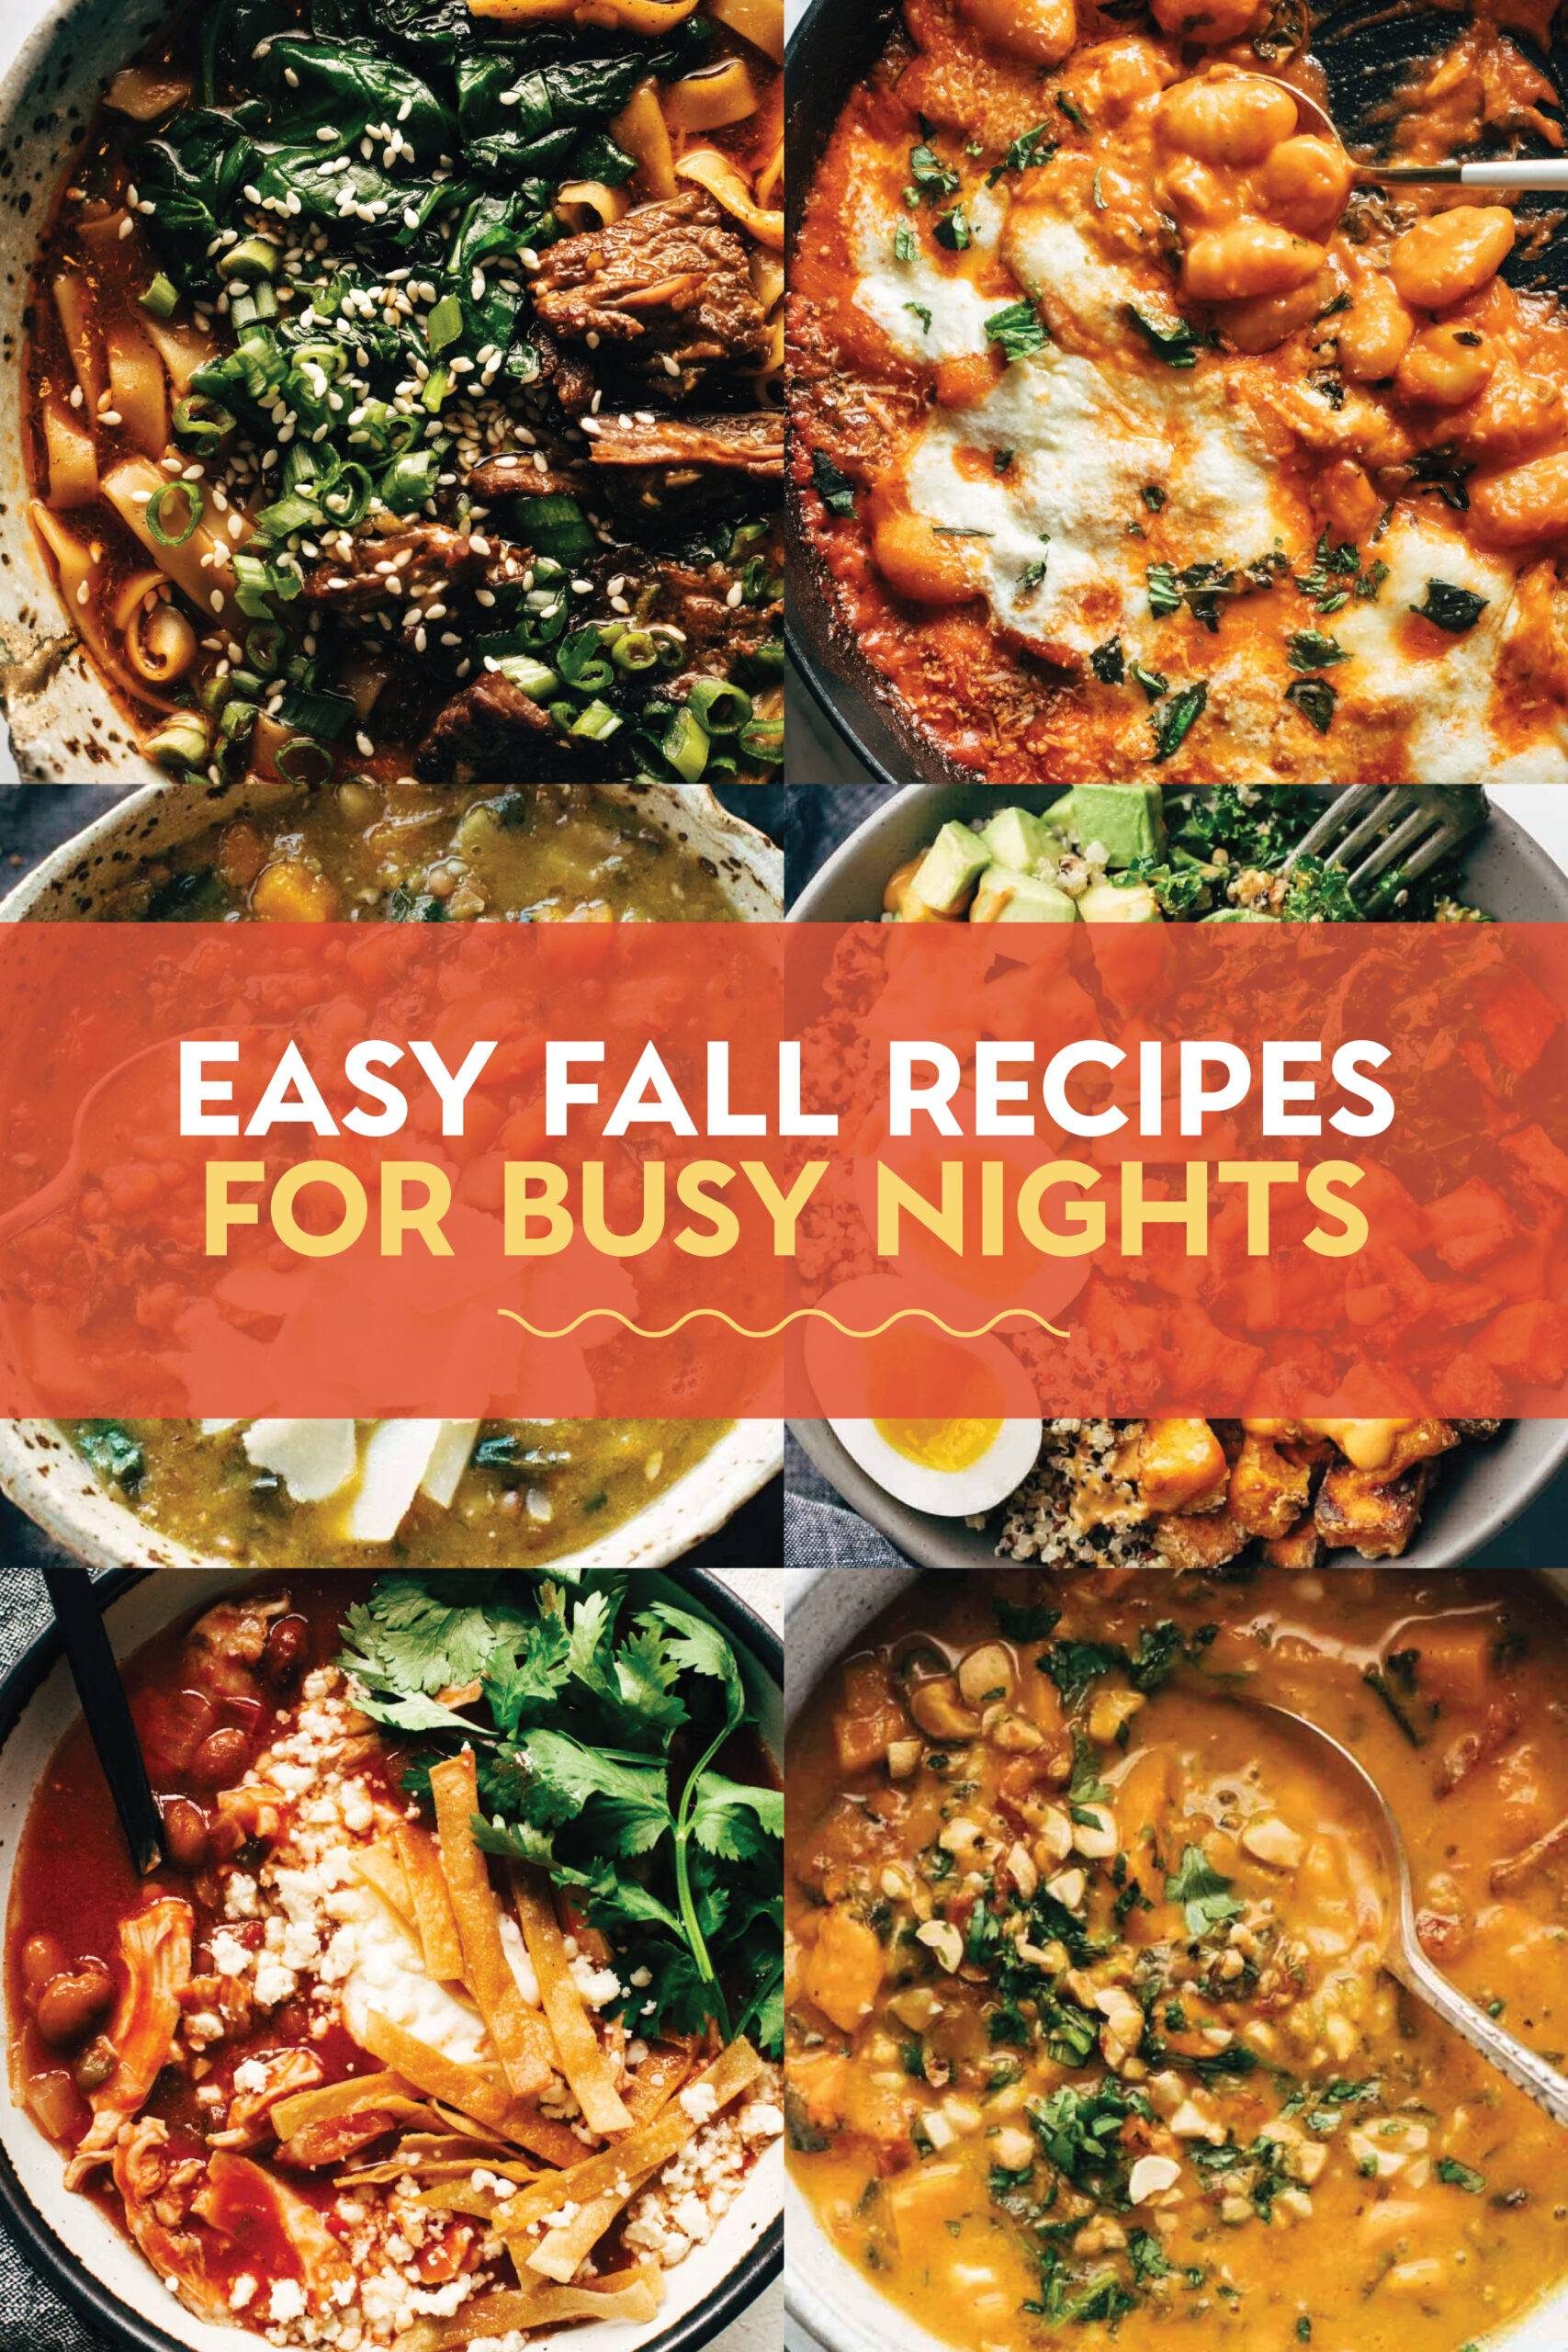
  • 22 Easy Fall Recipes for Busy Nights

    22 Easy Fall Recipes for Busy Nights

    Easy fall dinners that are cozy, simple, and totally doable for busy weeknights. Soups, curries, casseroles, and more!

    Easy fall recipes for busy nights.

    Fall feels like the best and busiest time of year! It’s the back-to-school transition, the arrival of evening activities, and all kinds of new routines. It feels like a lot, and somehow dinner still needs to be made!?

    These recipes are the weeknight lifesavers that I need when life feels a little crazy: cozy, simple, and very doable meals that don’t ask for much, but deliver big. Easy cozy soups, sheet pan dinners, crockpot meals, and more.

    Here are the easy fall dinners I’m making on repeat!


    Easy Fall Dinner Recipes

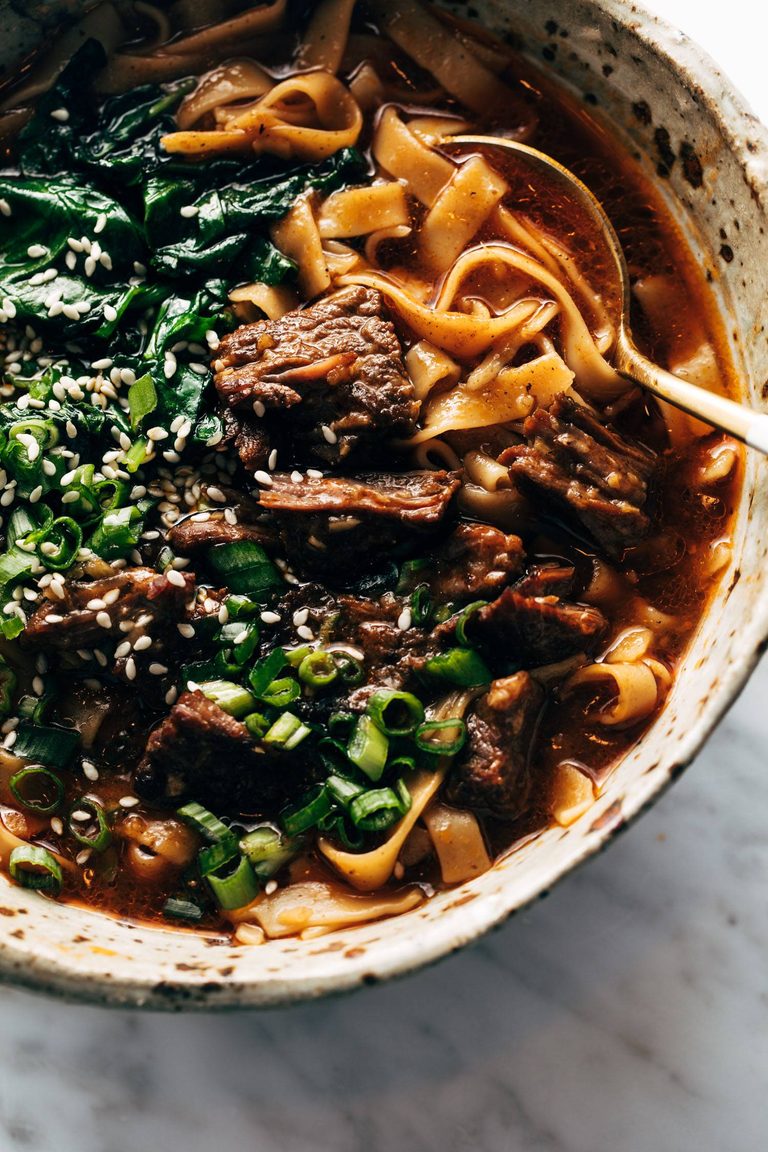
    Short rib noodle soup in a bowl.

    Instant Pot Spicy Short Rib Noodle Soup

    Short ribs simmer away in an Instant Pot or slow cooker, and are served in bowls with tender noodles and lots of delicious broth! This is one of my all-time cold-weather favorites.

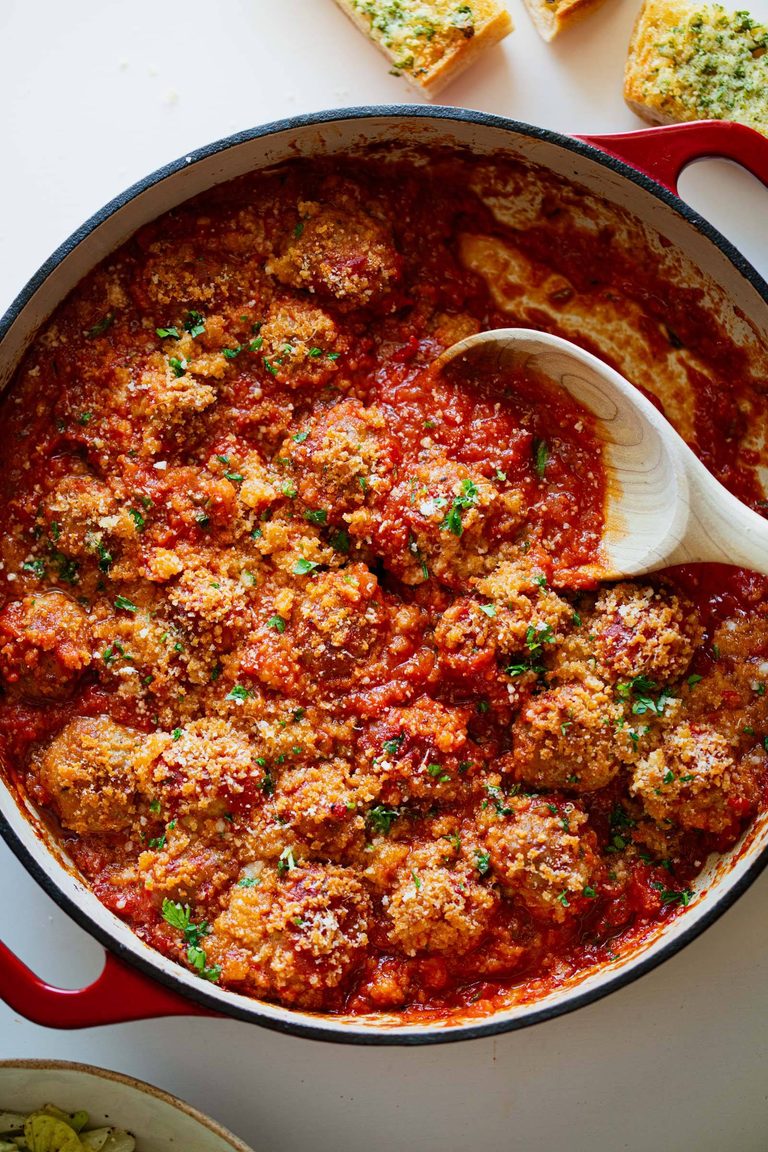
    Ricotta meatballs in a skillet.

    Ricotta Meatballs with the Crispy Topping

    One of the most popular weeknight dinners on the site! Homemade ricotta meatballs baked under a blanket of crispy topping. Serve it with garlic bread or pasta!

    Coconut chicken in a skillet.

    Chicken with Coconut Kale

    A luxurious-feeling but super easy one-skillet meal packed with protein! I love to serve this one over a pile of steamy rice.

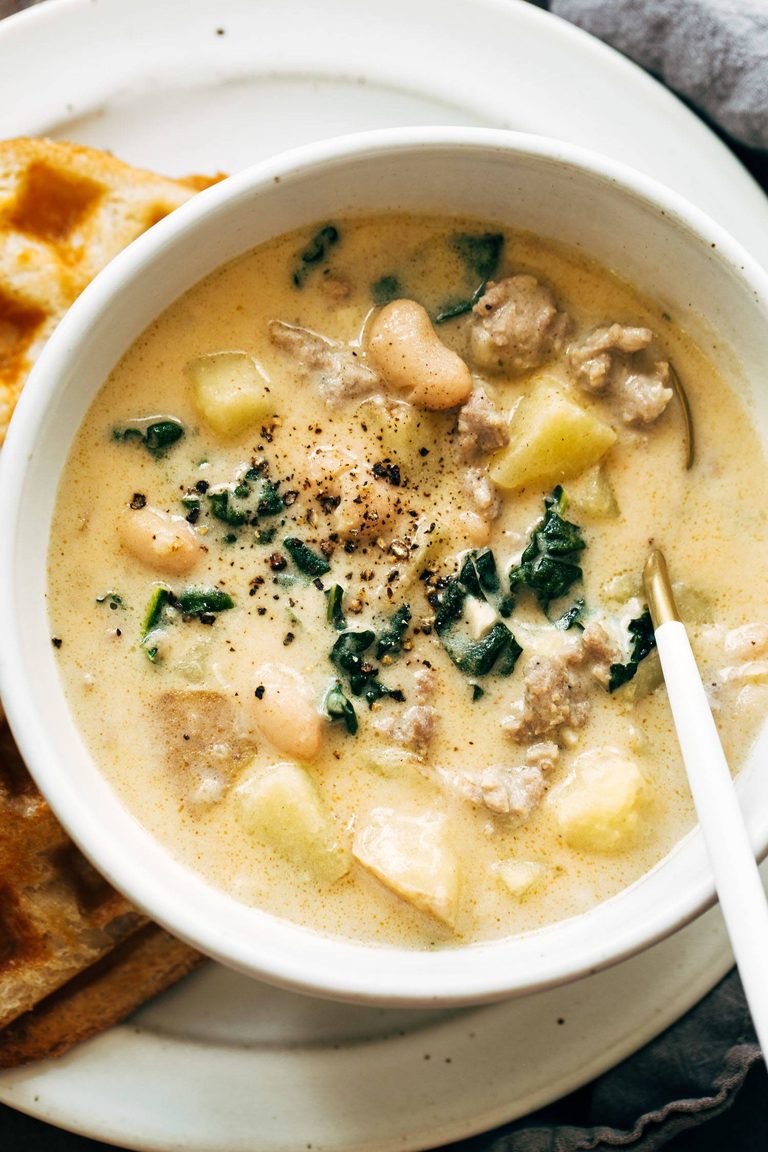
    Sausage, kale, and white bean soup in a bowl.

    Sausage, Kale, and White Bean Soup

    Such a simple, delicious, and cozy soup! Herby Italian sausage, kale, smoky paprika, creamy beans and potatoes, and a splash of cream.

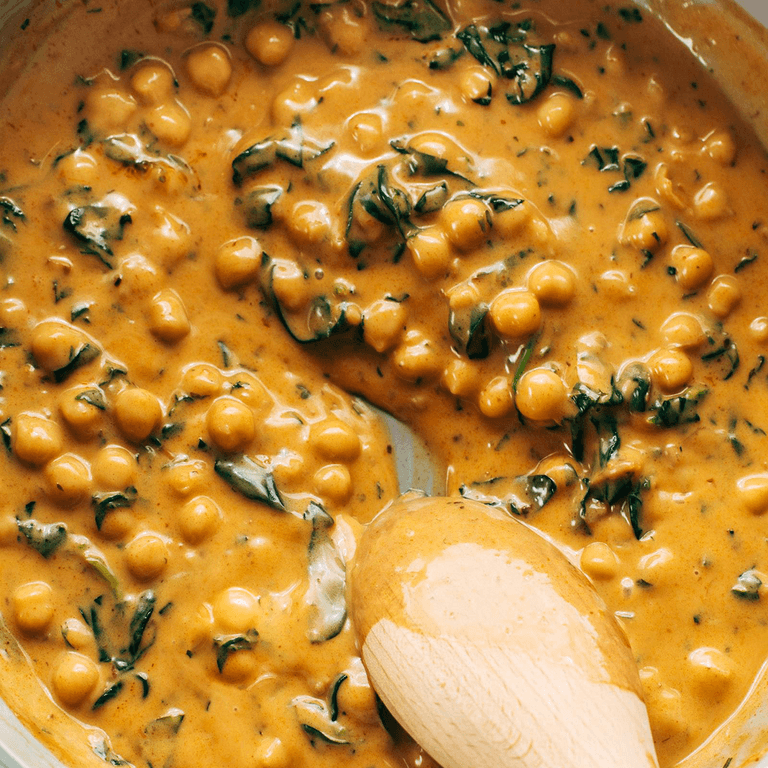
    Chickpea curry in a skillet.

    Steph’s Chickpea Curry with Spinach and Rice

    Amazingly creamy, saucy chickpea curry served over rice with a dollop of chili crisp and a side of cucumber salad. Ready in 20 minutes!

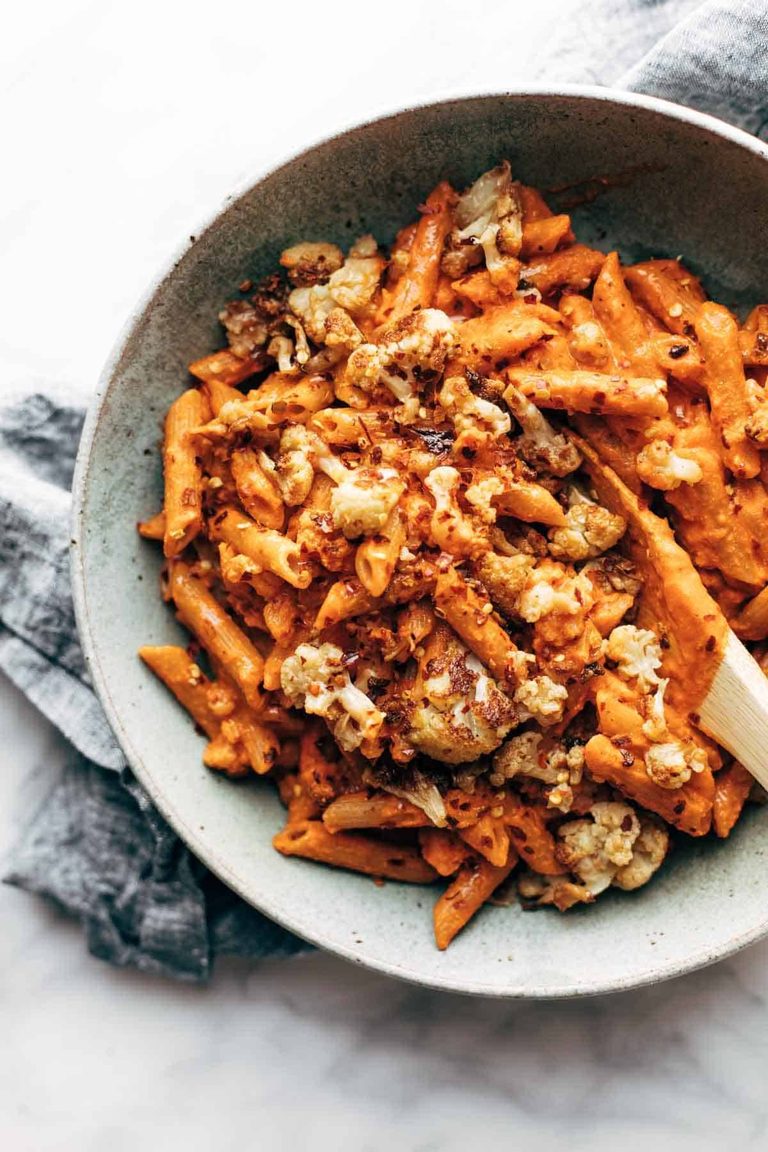
    Red pepper cashew pasta in a bowl.

    Red Pepper Cashew Pasta with Roasted Cauliflower

    Three-ingredient red pepper cashew sauce, roasted crispy cauliflower, and piles of noodles. Hearty and so delicious!

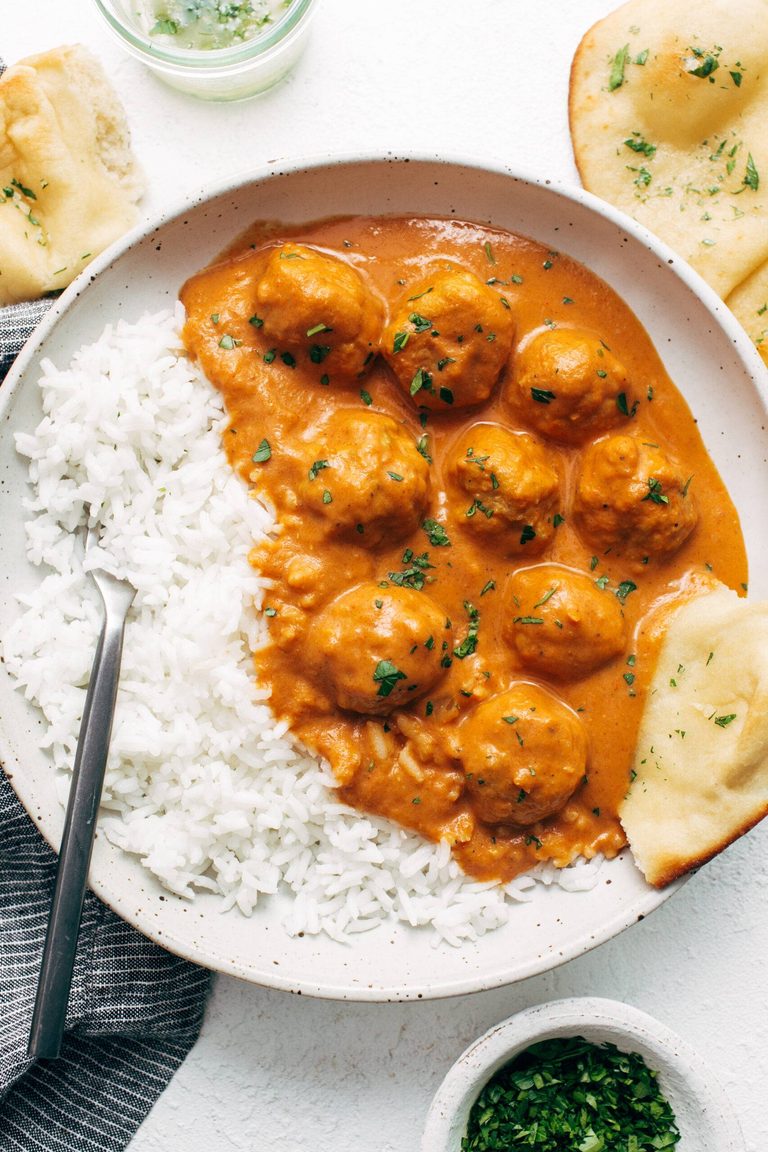
    Butter chicken meatballs in a bowl with rice.

    Butter Chicken Meatballs

    Storebought (or homemade) chicken meatballs covered in a rich and mildly spiced tomato gravy that is made luxurious with just a little bit of butter and cream. One of my family’s absolute favorites!

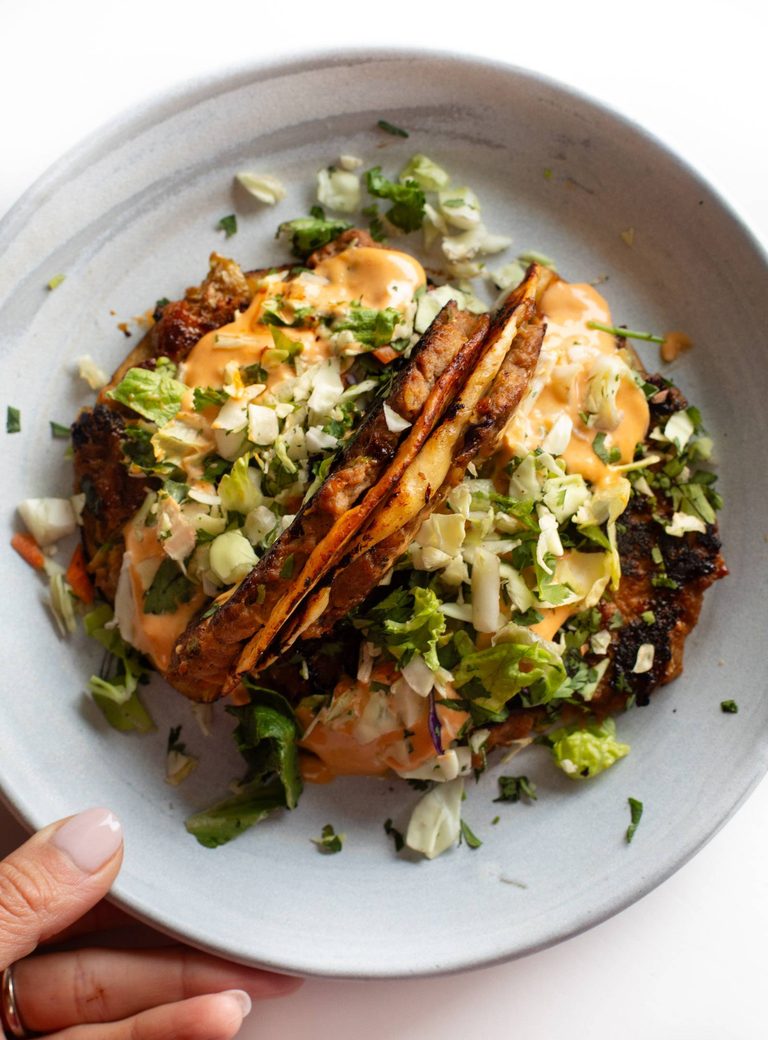
    Egg roll tacos on a plate.

    Brandon’s Egg Roll Tacos

    Egg rolls meet tacos! I love this! Easy to make and ridiculously good with a classic egg roll filling, crunchy veg, pillowy tortillas, and a spicy gochujang sauce.

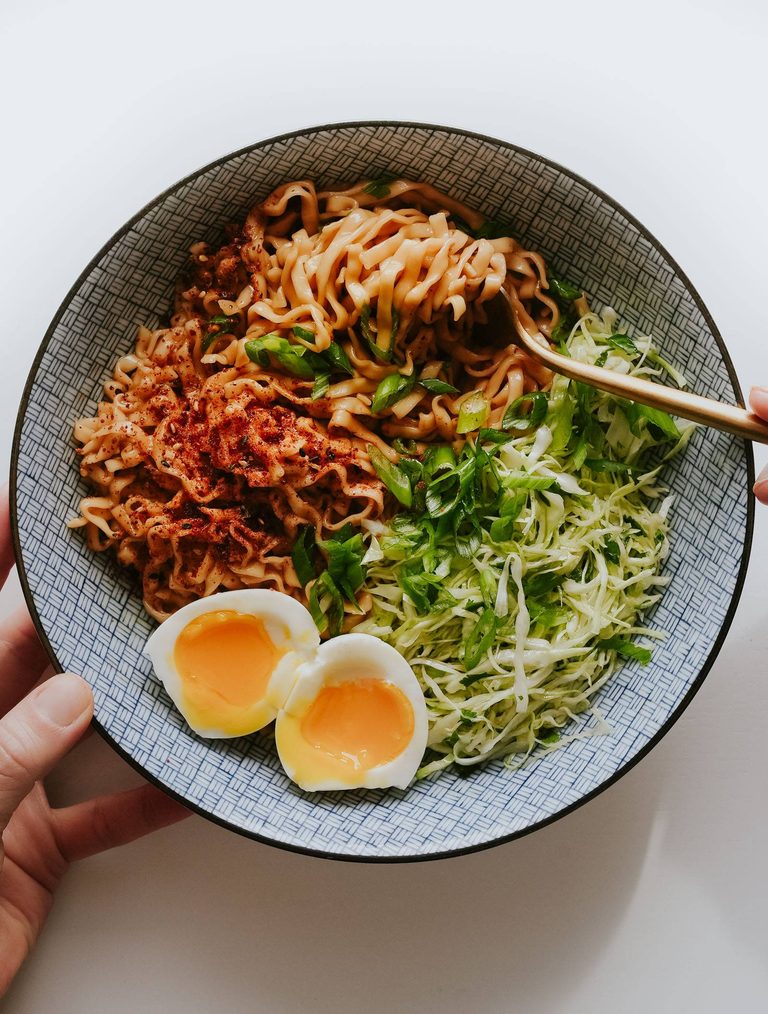
    Sesame butter noodles in a bowl with cabbage salad and egg.

    Shortcut Sesame Butter Noodles

    One of my favorite back-pocket recipes! Packaged noodles for ease, butter for creaminess, honey for sweetness, and sesame oil for depth. Just tangly slips of joy!

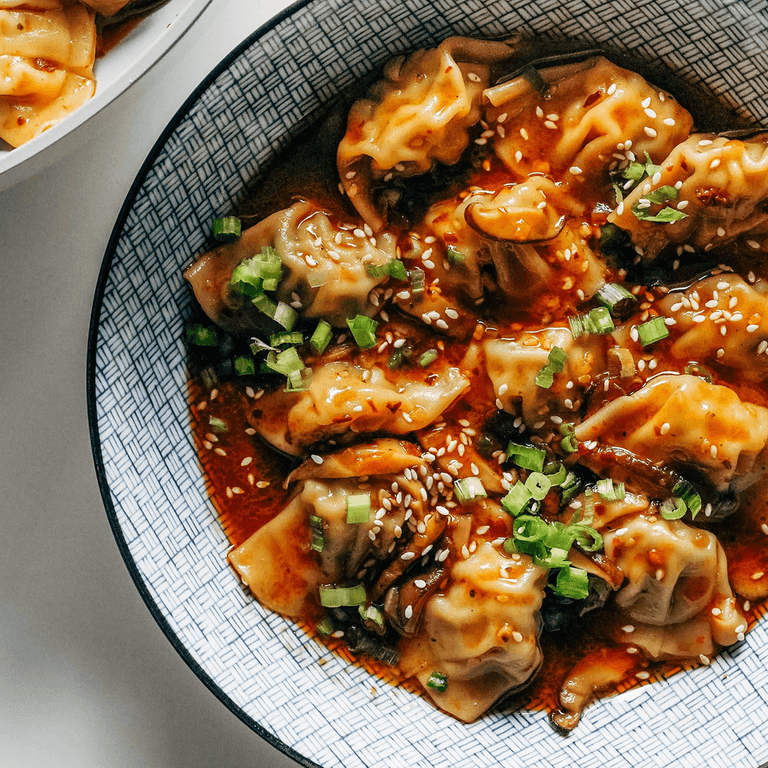
    Wontons in a chili sauce in a bowl.

    Chicken Wontons in Spicy Chili Sauce

    Big, beautiful, bossy flavors! Shiitake mushrooms and chicken wontons swim in a brothy flavor-filled sauce and get finished with a swirl of sesame oil and chili crisp on top.

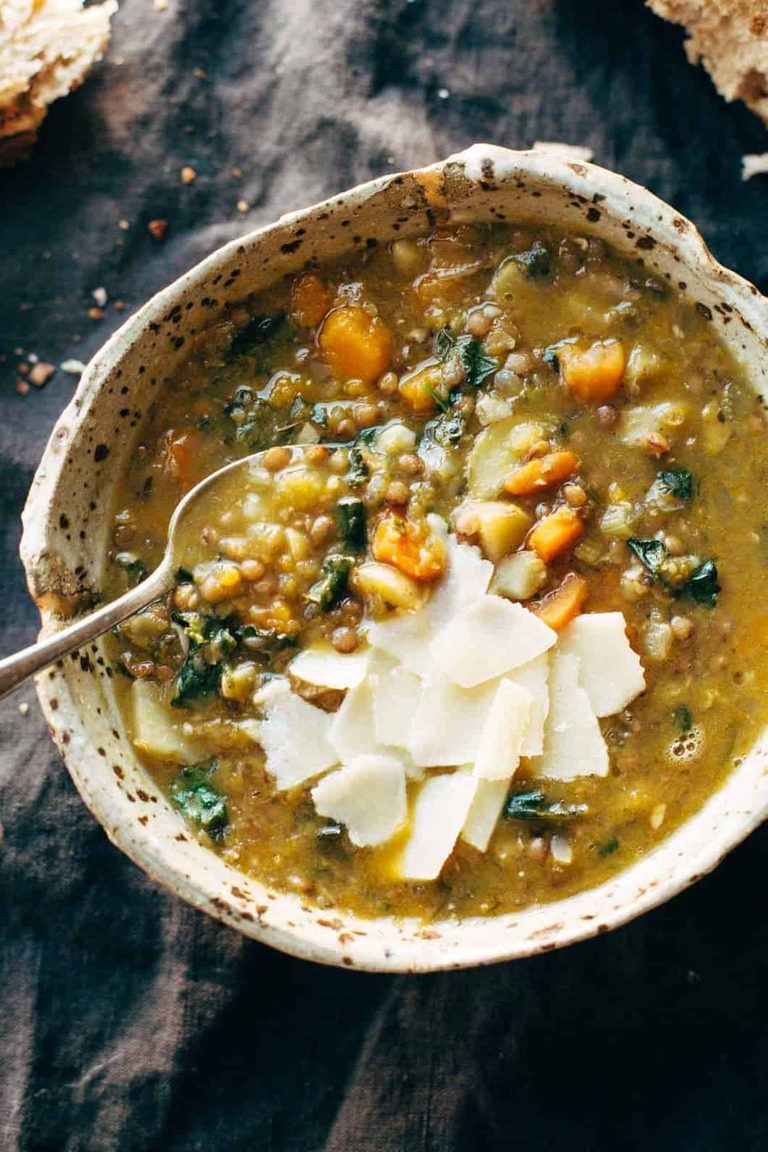
    Lentil soup in a bowl.

    The Best Detox Crockpot Lentil Soup

    This one is such a classic, and has been made so many times by so many of you! Lentils, squash, kale, and all sorts of soothing and nutritious things. Made in the crockpot so super hands-off, too!

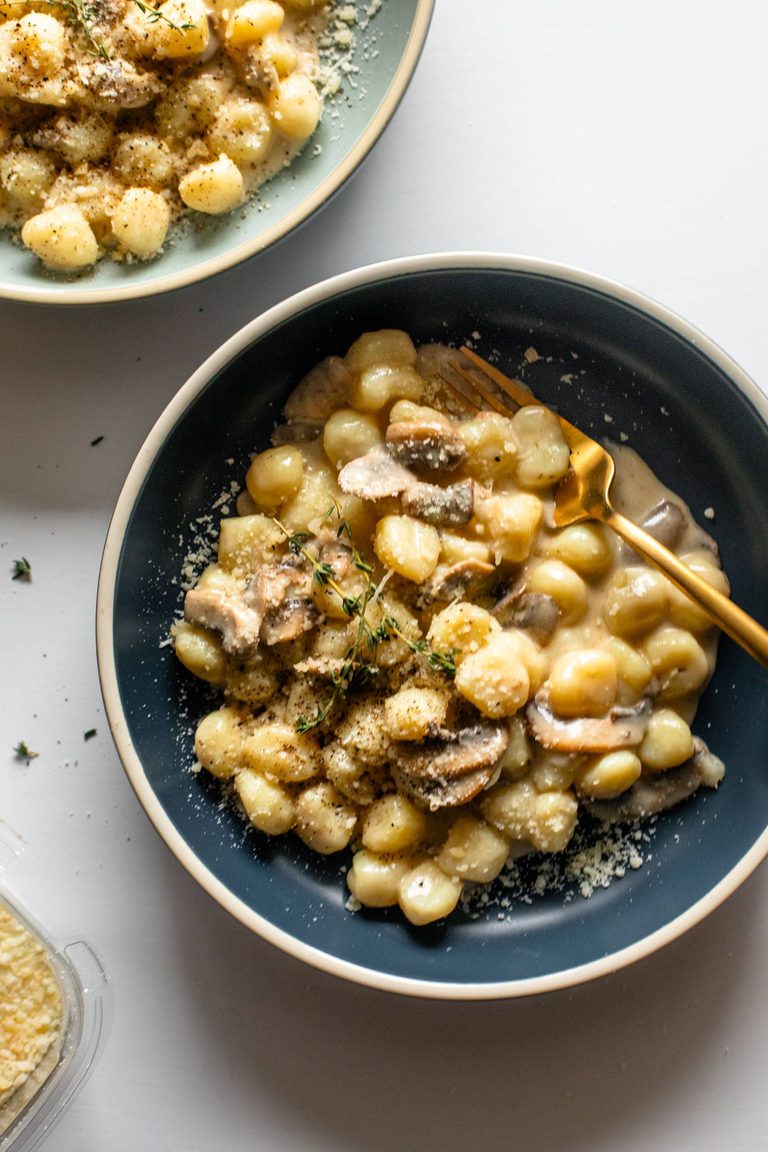
    Gnocchi in a bowl with mushroom sauce.

    Gnocchi with Creamy Mushroom Sauce

    Delicious pillowy gnocchi swimming in a silky creamy sauce that’s laced with thyme and loaded with little slips of garlic butter-browned mushrooms! This is fall!

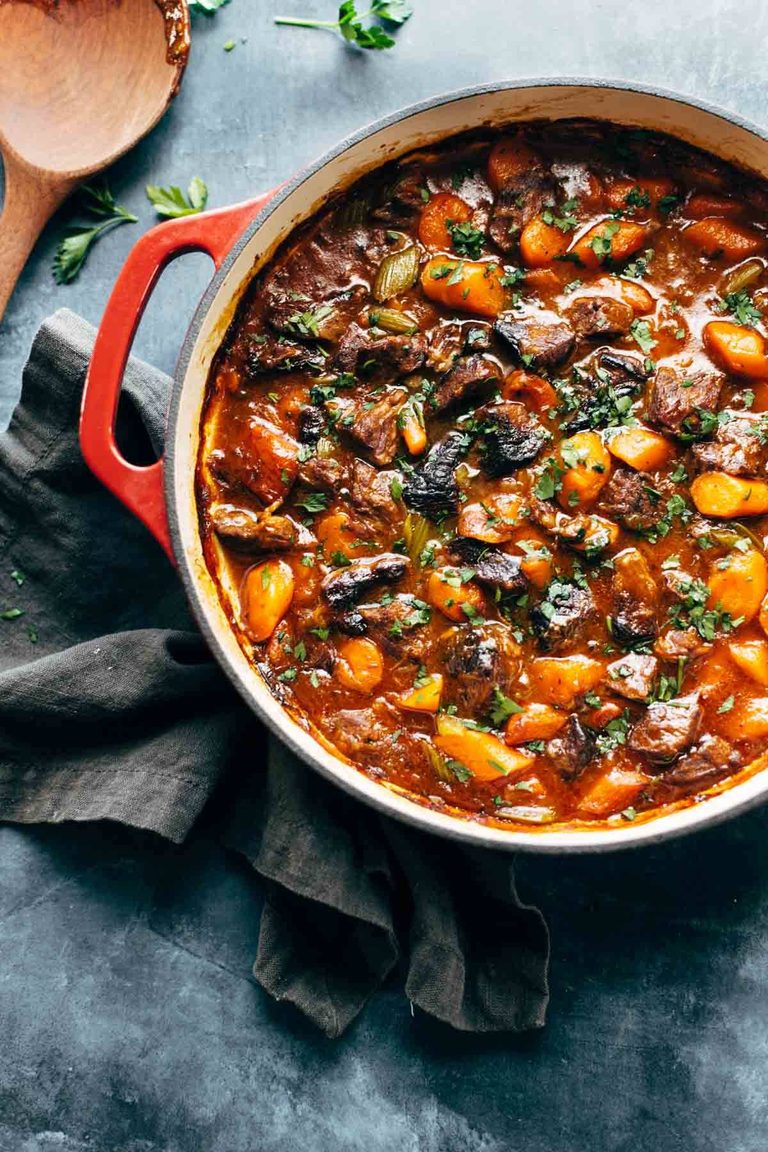
    Beef stew in a dutch oven.

    Life Changing Instant Pot Beef Stew

    Six ingredients, 45 minutes, SO EASY. The perfect, comforting meal that’s filling, heart, and incredibly simple to make.

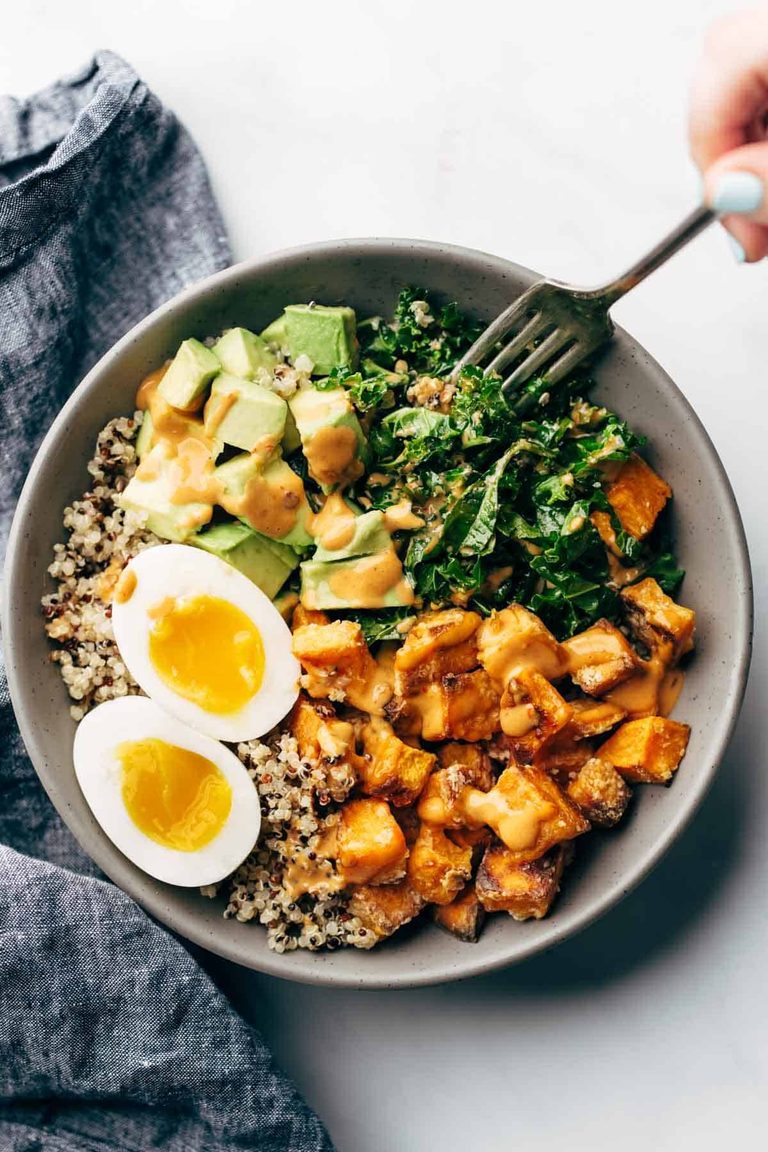
    Bowl with sweet potatoes, quinoa, kale, avocado, egg, and chipotle tahini.

    Chipotle Tahini Bowls

    The chipotle tahini in this recipe is in my top 10 sauces of all time. It’s perfectly smoky, luxuriously creamy, and the perfect spicy combo with a pile of roasted sweet potatoes.

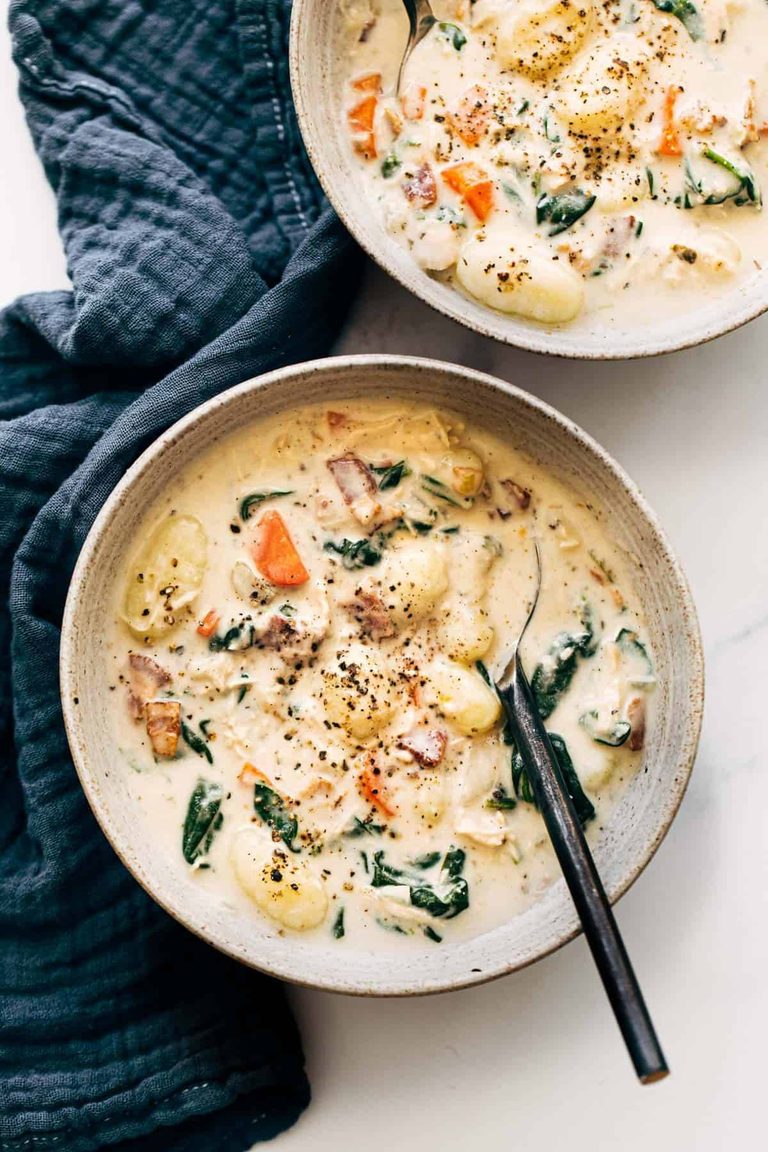
    Gnocchi soup in a bowl.

    Crockpot Chicken Gnocchi Soup

    Another crockpot favorite for fall soups! You let it simmer all day with chicken to make a delicious soup base, and then add creaminess and carby-ness with gnocchi before serving. Love this one!

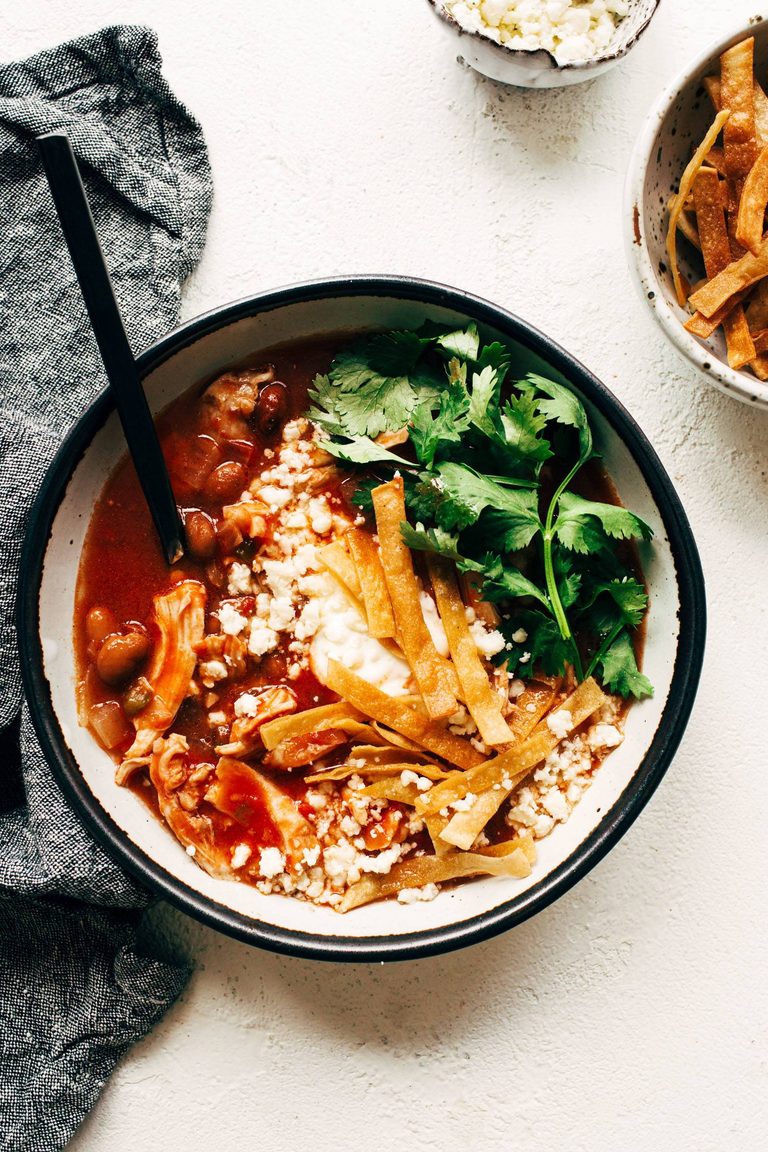
    Chicken tortilla soup in a bowl.

    Chicken Tortilla Soup

    Just a basic and super delicious chicken tortilla soup! I could eat this every week, and the bonus is that it makes for excellent leftovers for lunch.

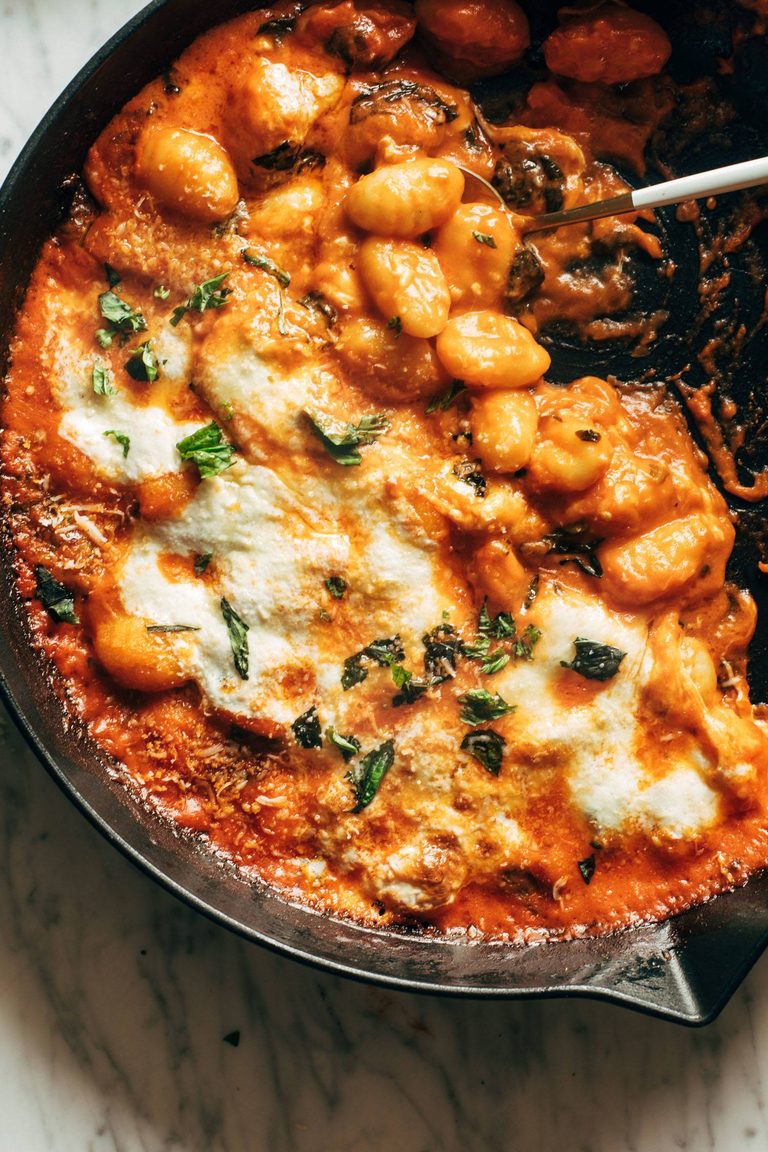
    Gnocchi in a skillet baked with cheese.

    Three Cheese Baked Gnocchi with Spinach

    This is so cheesy, cozy, and comforting and it really is a stunner all bubbled up in a skillet. Serve with bread and salad!

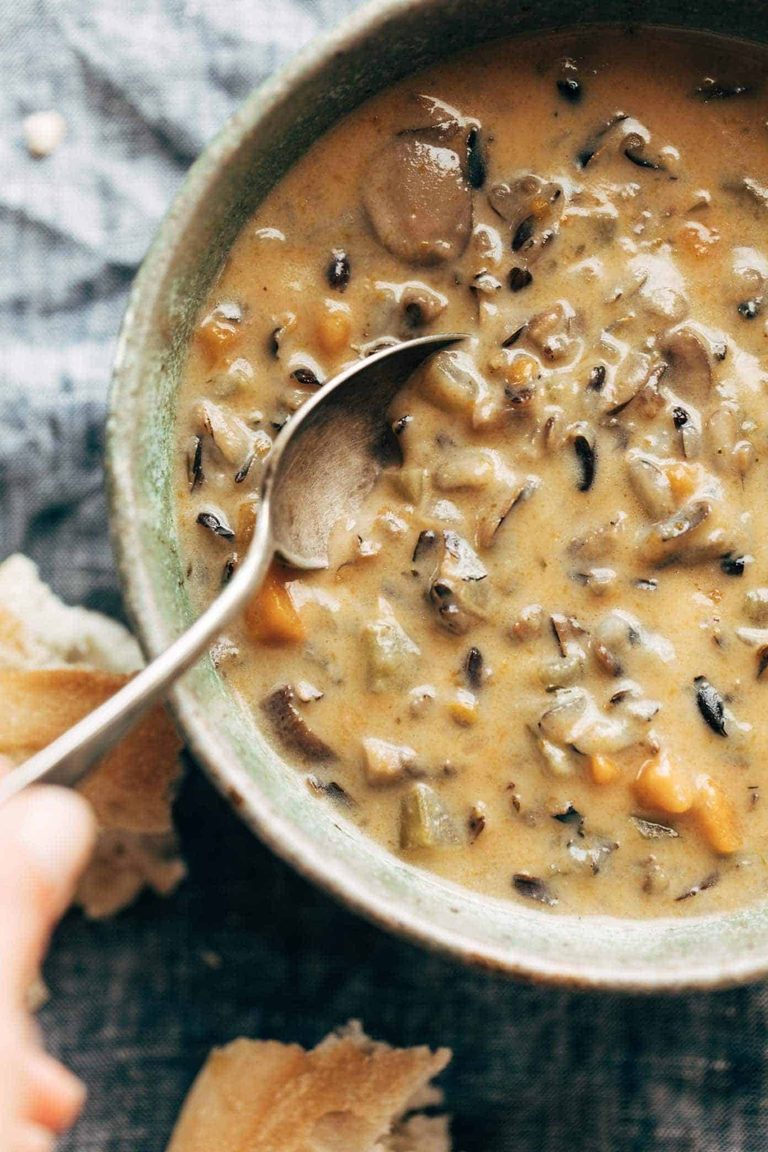
    Wild rice soup in a bowl.

    Instant Pot Wild Rice Soup

    This really is the best wild rice soup (and as a Minnesotan, I know these things!). You can even add chicken too if that’s your thing, or keep it veg with mushrooms only. Either way, it’s not fall without it!

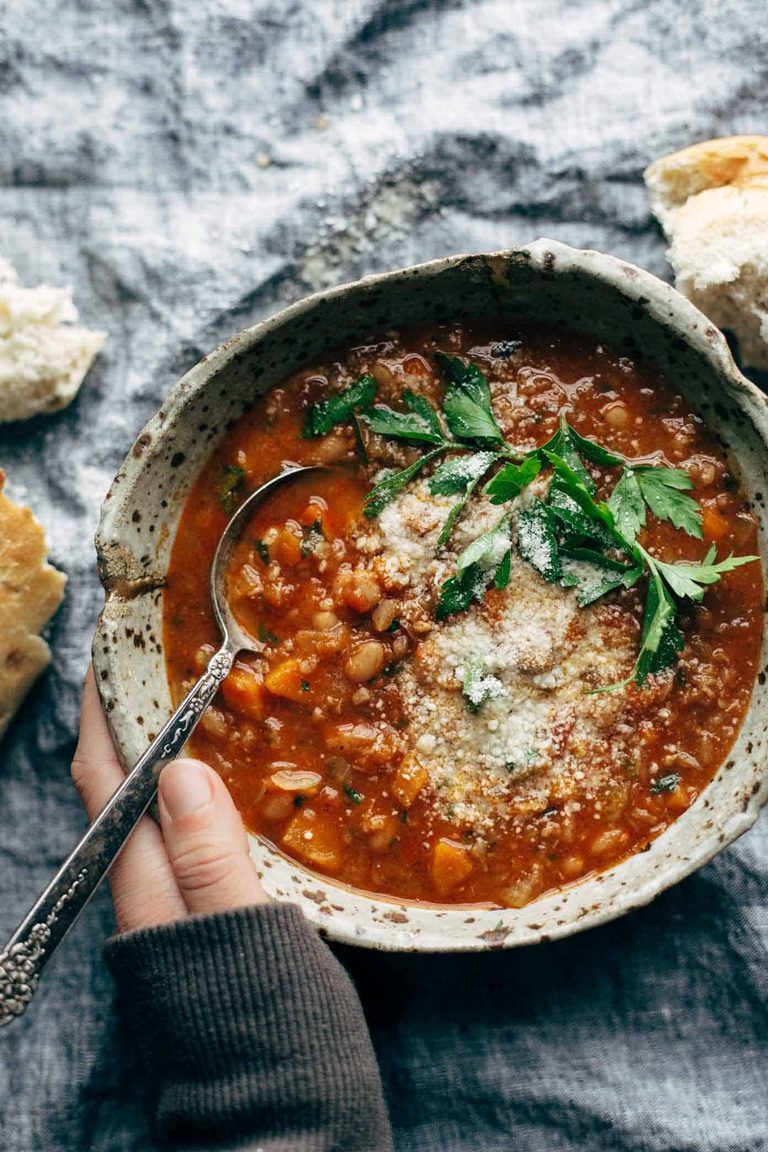
    Minestrone soup in a bowl.

    Instant Pot Minestrone Soup

    This soup has a shocking amount of veggies! And packed with cannelini beans and cheese, it’s the perfect balance of nourishing and nutritious but also filling and comforting. Made all in one pot!

    Spicy peanut soup in two bowls.

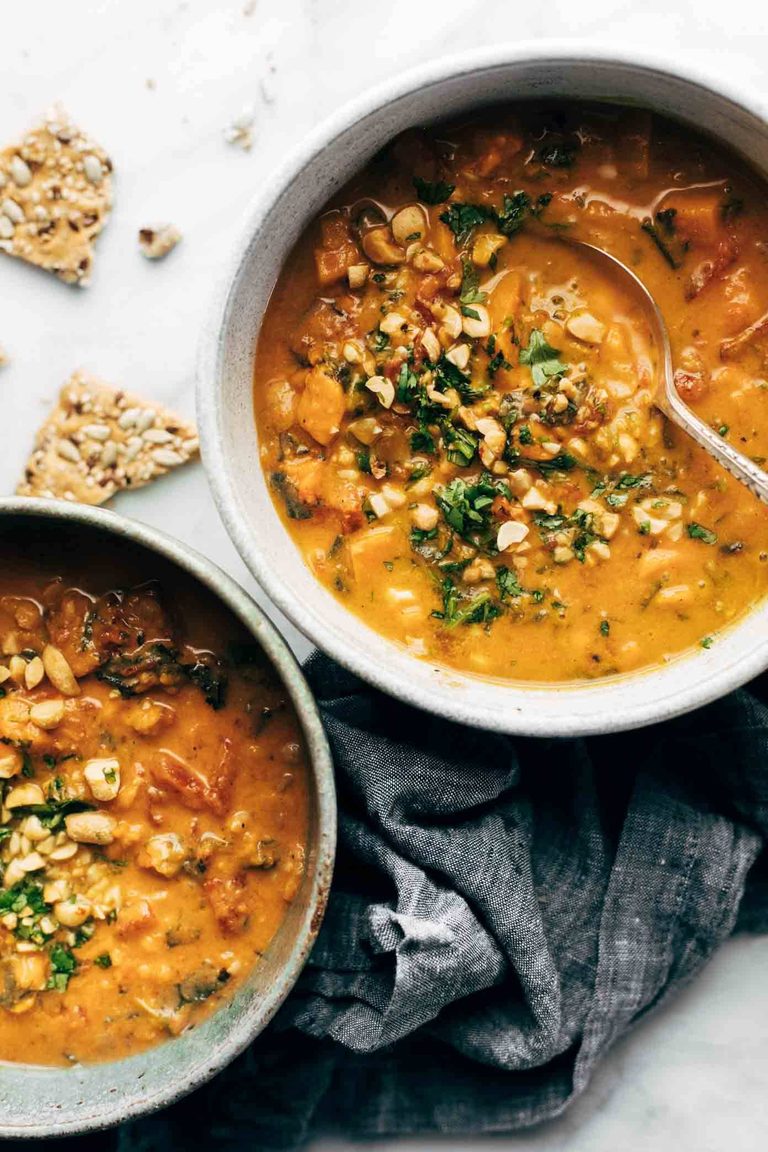
    Spicy Peanut Soup with Sweet Potato + Kale

    Another one of the most popular soups on the site! There’s something so magical about the sweet potatoes, coconut milk, and peanut butter coming together to make the most creamy (vegan!) bowl of deliciousness.

    Red curry chicken in a bowl with rice and broccoli.

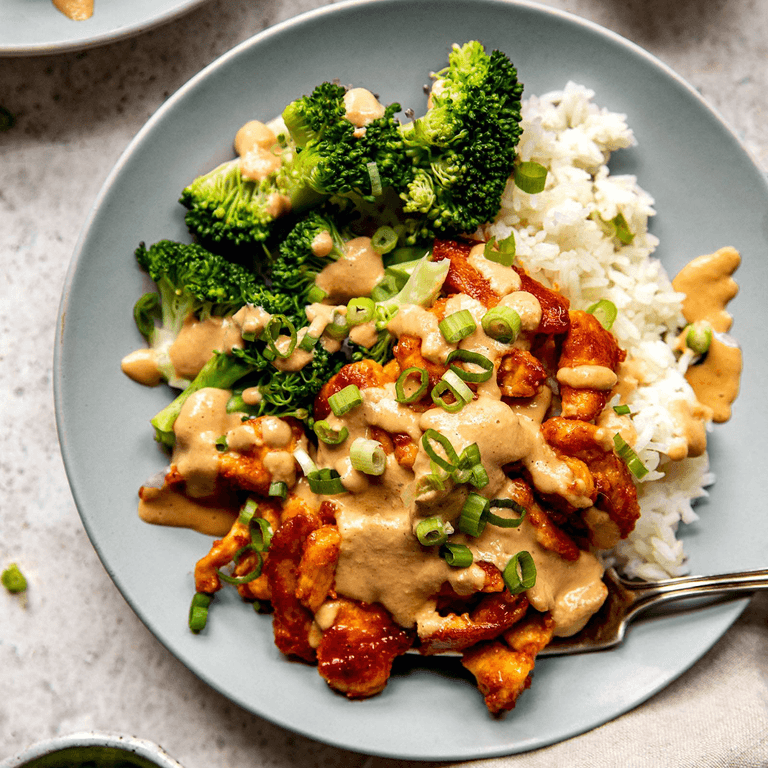
    Red Curry Chicken Stir Fry with Spicy Cashew Sauce

    Caramelized red curry chicken sits next to a bed of hot, fluffy rice and steamed broccoli and then totally sauced up with the BEST spicy cashew sauce. Ooof, this is so, so good.

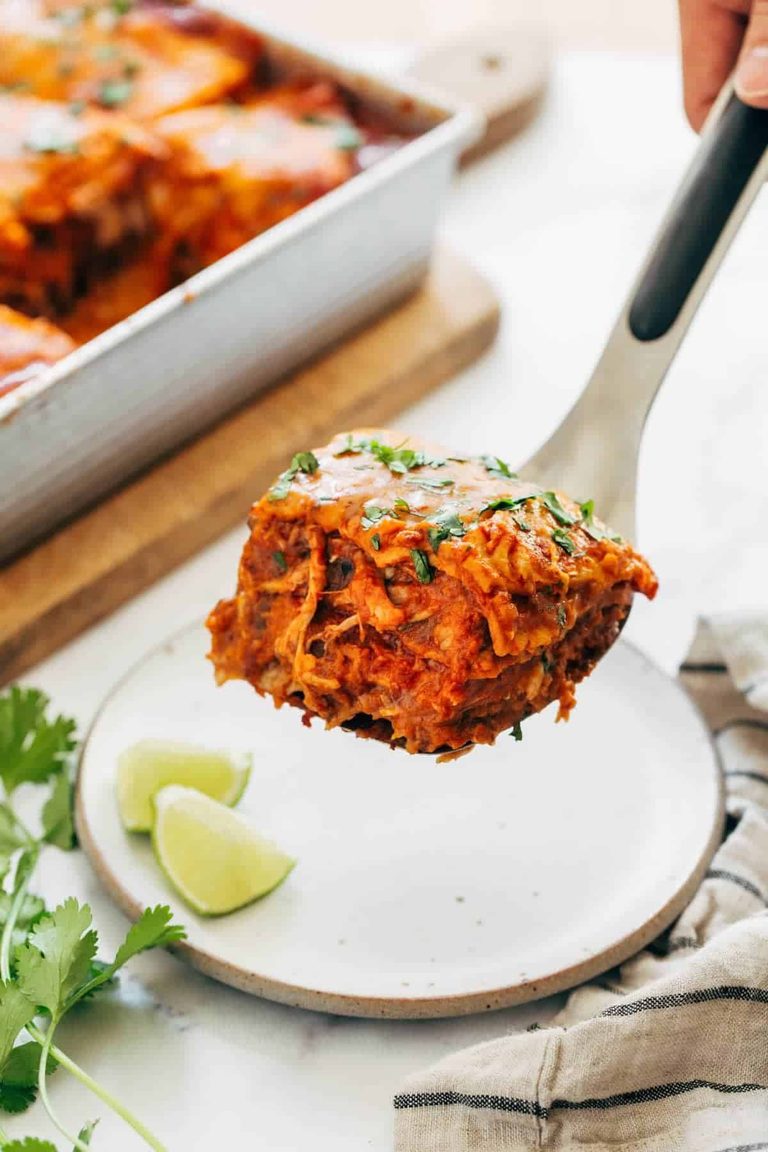
    Slice of chicken enchilada casserole on a spatula.

    Chicken Enchilada Casserole

    A five-ingredient stacked enchilada casserole layered with tortillas, beans, and chicken and covered with cheese and enchilada sauce. Basic, easy, filling, and so good.


    Little Things That Make Fall Cooking Easy

    I have a few favorite tricks and tools to make dinner easier throughout the week. Here’s what I recommend checking out! (FYI: Some links below are affiliate links!)

    • Air Fryer: I use this multiple times per week, if not every day. My favorite use is for the Air Fryer Chicken – it is the best chicken I’ve ever made and is quick enough to add to a dinner plate in under 15 minutes.
    • Instant Pot: Perfect for soups, and a whole lot of other things!
    • Slow Cooker: The OG of making dinner easier. There are several recipes above that use it, and so many others to enjoy! The bonus is that it also makes your house smell amazing on cozy chilly nights after school/work.
    • Freezer Meals: This kit of freezer meals is a lifesaver. You can prep up to 22 meals, stick them in the freezer, and pull them out to get dinner on the table (hands-off!) quickly and easily.

    Happy fall to you and yours! Here’s to making weenight cooking easier!

    Source link

  • Protein Cookie Dough Bark – All Day I Dream About Food

    Protein Cookie Dough Bark – All Day I Dream About Food

    Protein Cookie Dough Bark is a guilt-free snack to help fuel you through your busy day. This easy snack combines indulgent flavor with nutritious ingredients to keep your cravings in check!

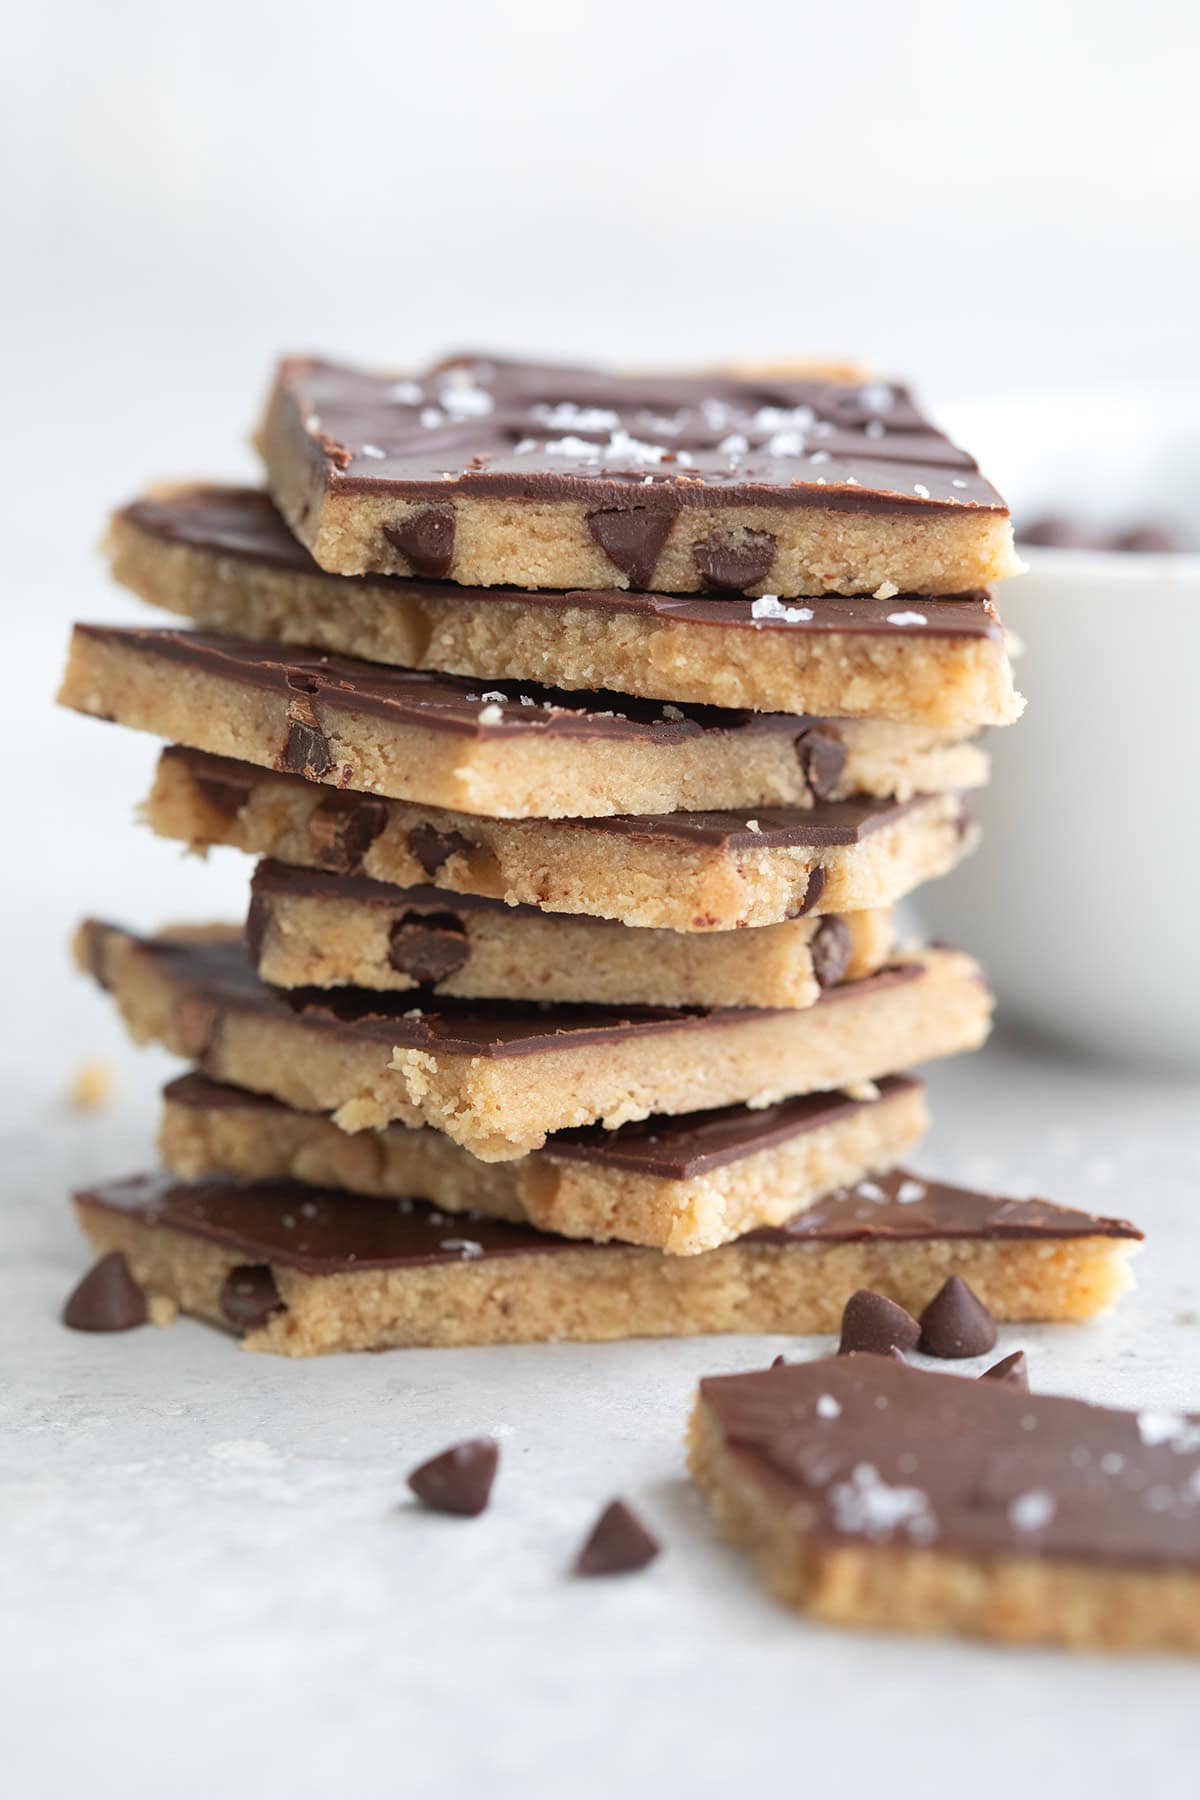
    Keto Cookie Dough Protein Bark pieces in a stack on a gray table top.

    Got a snacky tooth? Yeah, me too, and I am always on the hunt for low-carb high-protein recipes that satisfy. This Protein Cookie Dough Bark is a clear winner! Packed with healthy fats and 10 grams of protein, it’s perfect for a quick snack or post-workout treat.

    Keto Cookie Dough Protein Bark pieces in a stack on a gray table top.

    It can be tough sometimes to get enough protein into your diet. While the bulk of your nutrition should come from well-rounded meals, I do find that having some good healthy snacks on hand can help. Easy make-ahead recipes like Peanut Butter Protein Balls or Taco Bites provide quick protein hits when you need it.

    They help fill in any nutritional gaps and round out meals that might be a little short on this vital nutrient. And they’re a great way to ward off cravings for less nutritious options.

    Lately, I’ve been munching on this easy Protein Cookie Dough Bark. I keep it in the freezer and grab a piece or two after lunch. It feels a little indulgent but also healthy. That’s my favorite way to satisfy a snack attack!

    Cookie Dough Protein Bark piled up on a small wooden cutting board.

    Why you’ll love this protein snack

    • Super easy: This high protein snack takes all of 12 minutes of your time to make. You do need to let it freeze until firm, which takes about an hour.
    • Make ahead recipe: Keep the finished protein bark in the freezer, and it can last for up to a month!
    • Cookie dough flavor: It really does taste like keto cookie dough, so it’s great for snacking but also for dessert.
    • Adaptable: You can use your favorite sweeteners or protein powders for this recipe.
    • Great macros: With 9.6 grams of protein, 7.4 grams of carbs and 4.3 grams of fiber, it’s an ideal snack for low carb and keto diets.

    Ingredient Notes

    Top down image of ingredients needed for Keto Protein Cookie Dough Bark.
    • Almond butter: Nut butter helps provide some moisture and gives this keto snack a cookie dough texture. You can use other nut or seed butters instead of almond butter.
    • Butter: A little butter helps with flavor and texture. You can swap it for coconut oil or avocado oil if you prefer.
    • Sweetener: You will need a powdered sweetener, to avoid grittiness. You can also use highly concentrated sweeteners like pure stevia or pure monk fruit.
    • Protein powder: I recommend a vanilla protein powder for better flavor, but it can be whey, egg white, or vegan. Collagen may also work but the bark will be quite soft.
    • Almond flour: This helps stabilize the cookie dough bark. If you need to be nut-free, try using sunflower seed flour.
    • Keto chocolate: I like using mini chips for this recipe, as they distribute more evenly. For the topping, I just used Lily’s dark chocolate.
    • Coconut oil: This helps the chocolate melt more smoothly so you can spread it evenly over the bark. You can use other kinds of oil.
    • Salt: A little salt always helps intensify the sweetness. This protein bark is also great with a little flaked sea salt sprinkled on top.

    Step by Step Directions

    A collage of 6 images showing how to make Protein Cookie Dough Bark.
    1. Melt the almond butter: In a medium bowl, melt the almond butter and butter together, stirring until melted and smooth. You can do this in the microwave or over a pan of barely simmering water.
    2. Add the dry ingredients: Stir in the sweetener until well combined, working out any lumps with a silicone spatula. Add the protein powder, almond flour, and salt and stir well to combine. If the dough is dry and crumbly, add water 1 teaspoon at a time.
    3. Add the chocolate chips: Stir in the chocolate chips until well distributed.
    4. Roll out the dough: Gather the dough up into a ball and transfer to a large piece of parchment paper. Pat into a rough rectangle. Top with another piece of parchment and roll out to about 1/4 inch thickness. Remove the top parchment and transfer to a cookie sheet.
    5. Melt the chocolate: In a small bowl, melt the dark chocolate and coconut oil together until smooth. Spread the chocolate evenly overtop the cookie dough bark.
    6. Freeze the bark: Freeze until firm, at least 1 hour, then break with your hands or cut into pieces. Store in the freezer.
    A hand holding a piece of Protein Cookie Dough Bark above a white plate piled with more pieces of bark.

    Tips for Success

    Protein Cookie Dough Bark is a highly adaptable recipe, and you can use a number of different sweeteners, protein powders, or oils. But your choice of ingredients will affect the results some so you need to know how to adjust.

    Sweeteners: I recommend a bulk powdered sweetener such as Swerve or a powdered allulose, as it will give the bark a little more structure. You can use high intensity sweeteners but you may need to use a little more almond flour to get the right dough texture.

    Protein powder: Any whey, egg white, or plant-based protein should work. I used Just Ingredients Vanilla Bean, which is a casein-free protein that contains whey, collagen, and plant proteins. You could try collagen peptides but they may make the bark very soft and a bit gooey.

    If you only have unflavored protein, try adding additional sweetener (1 tablespoon or so) and some vanilla extract (1 teaspoon).

    Fats/oils: You want a nut or seed butter to give this bark the right consistency but it doesn’t have to be almond butter. It could be sunflower butter (for a nut-free version) or even peanut butter. You can also replace the butter with coconut oil.

    Water: I don’t specify a quantity of water because it will depend a great deal on the other ingredients you use. I needed about 2 teaspoons using the ingredients listed. But even that might change if, for example, your nut butter was very oily.

    If you find that your dough is too soft and wet, you will need to adjust by adding more dry ingredients. You could use more protein powder or more almond flour. The end consistency should be like a firm cookie dough.

    A stack of Protein Cookie Dough Bark on a gray table with a bowl of chocolate chips.

    Frequently Asked Questions

    Is raw almond flour safe to eat?

    Unlike wheat-based flour, which must be heat-treated to kill any food borne pathogens such as E. coli and Salmonella, uncooked almond flour is safe to consume. It is made from blanched raw almonds, and most people eat raw almonds without any concern.

    How do you store Protein Cookie Dough Bark?

    This cookie dough bark should be stored in the freezer to have some crispness. It gets quite soft when left at room temperature, although the fridge is also an option if you like it slightly softer.

    How many carbs are in Protein Cookie Dough Bark?

    Each serving of this tasty treat has 7.4g of carbs and 4.3 grams of fiber. That means each serving has 3.1 grams net carbs.

    Keto Cookie Dough Protein Bark pieces in a stack on a gray table top.

    Protein Cookie Dough Bark

    Servings: 8 servings

    Prep Time 12 minutes

    Total Time 1 hour 12 minutes

    Protein Cookie Dough Bark is a guilt-free snack to help fuel you through your busy day. This easy snack combines indulgent flavor with nutritious ingredients to keep your cravings in check!

    Prevent your screen from going dark

    • In a medium bowl, melt the almond butter and butter together, stirring until melted and smooth. You can do this in the microwave or over a pan of barely simmering water.

    • Stir in the sweetener until well combined, working out any lumps with a silicone spatula.

    • Add the protein powder, almond flour, and salt and stir well to combine. If the dough is dry and crumbly, add water 1 teaspoon at a time. (The mixture should be like cookie dough but should not be sticky.)

    • Stir in the chocolate chips until well distributed.

    • Gather the dough up into a ball and transfer to a large piece of parchment paper. Pat into a rough rectangle. Top with another piece of parchment and roll out to about 1/4 inch thickness. Remove the top parchment and transfer to a cookie sheet.

    • In a small bowl, melt the dark chocolate and coconut oil together until smooth. Spread the chocolate evenly overtop the cookie dough bark.

    • Freeze until firm, at least 1 hour, then break with your hands or cut into pieces. Store in the freezer.

    Storage Instructions: Store the bark in a covered container in the freezer for up to two months. 

    Serving: 43g (approximately) | Calories: 179kcal | Carbohydrates: 7.4g | Protein: 9.6g | Fat: 13.9g | Saturated Fat: 4.9g | Fiber: 4.3g

    Categories:

    Appetizers & Snacks,
    High Protein Recipes,

    Nutritional Disclaimer

    Please note that I am not a medical or nutritional professional. I am simply recounting and sharing my own experiences on this blog. Nothing I express here should be taken as medical advice and you should consult with your doctor before starting any diet or exercise program. I provide nutritional information for my recipes simply as a courtesy to my readers. It is calculated using MacGourmet software and I remove erythritol from the final carb count and net carb count, as it does not affect my own blood glucose levels. I do my best to be as accurate as possible but you should independently calculate nutritional information on your own before relying on them. I expressly disclaim any and all liability of any kind with respect to any act or omission wholly or in part in reliance on anything contained in this website.

    Free Bonus: Secrets to Keto Baking!

    Sign up for your favorite recipes delivered straight to your inbox plus get our FREE bonus: Secrets to Keto Baking!


    Source link

  • Seafood Stuffed Shells | The Recipe Critic

    Seafood Stuffed Shells | The Recipe Critic

    This website may contain affiliate links and advertising so that we can provide recipes to you. Read my disclosure policy.

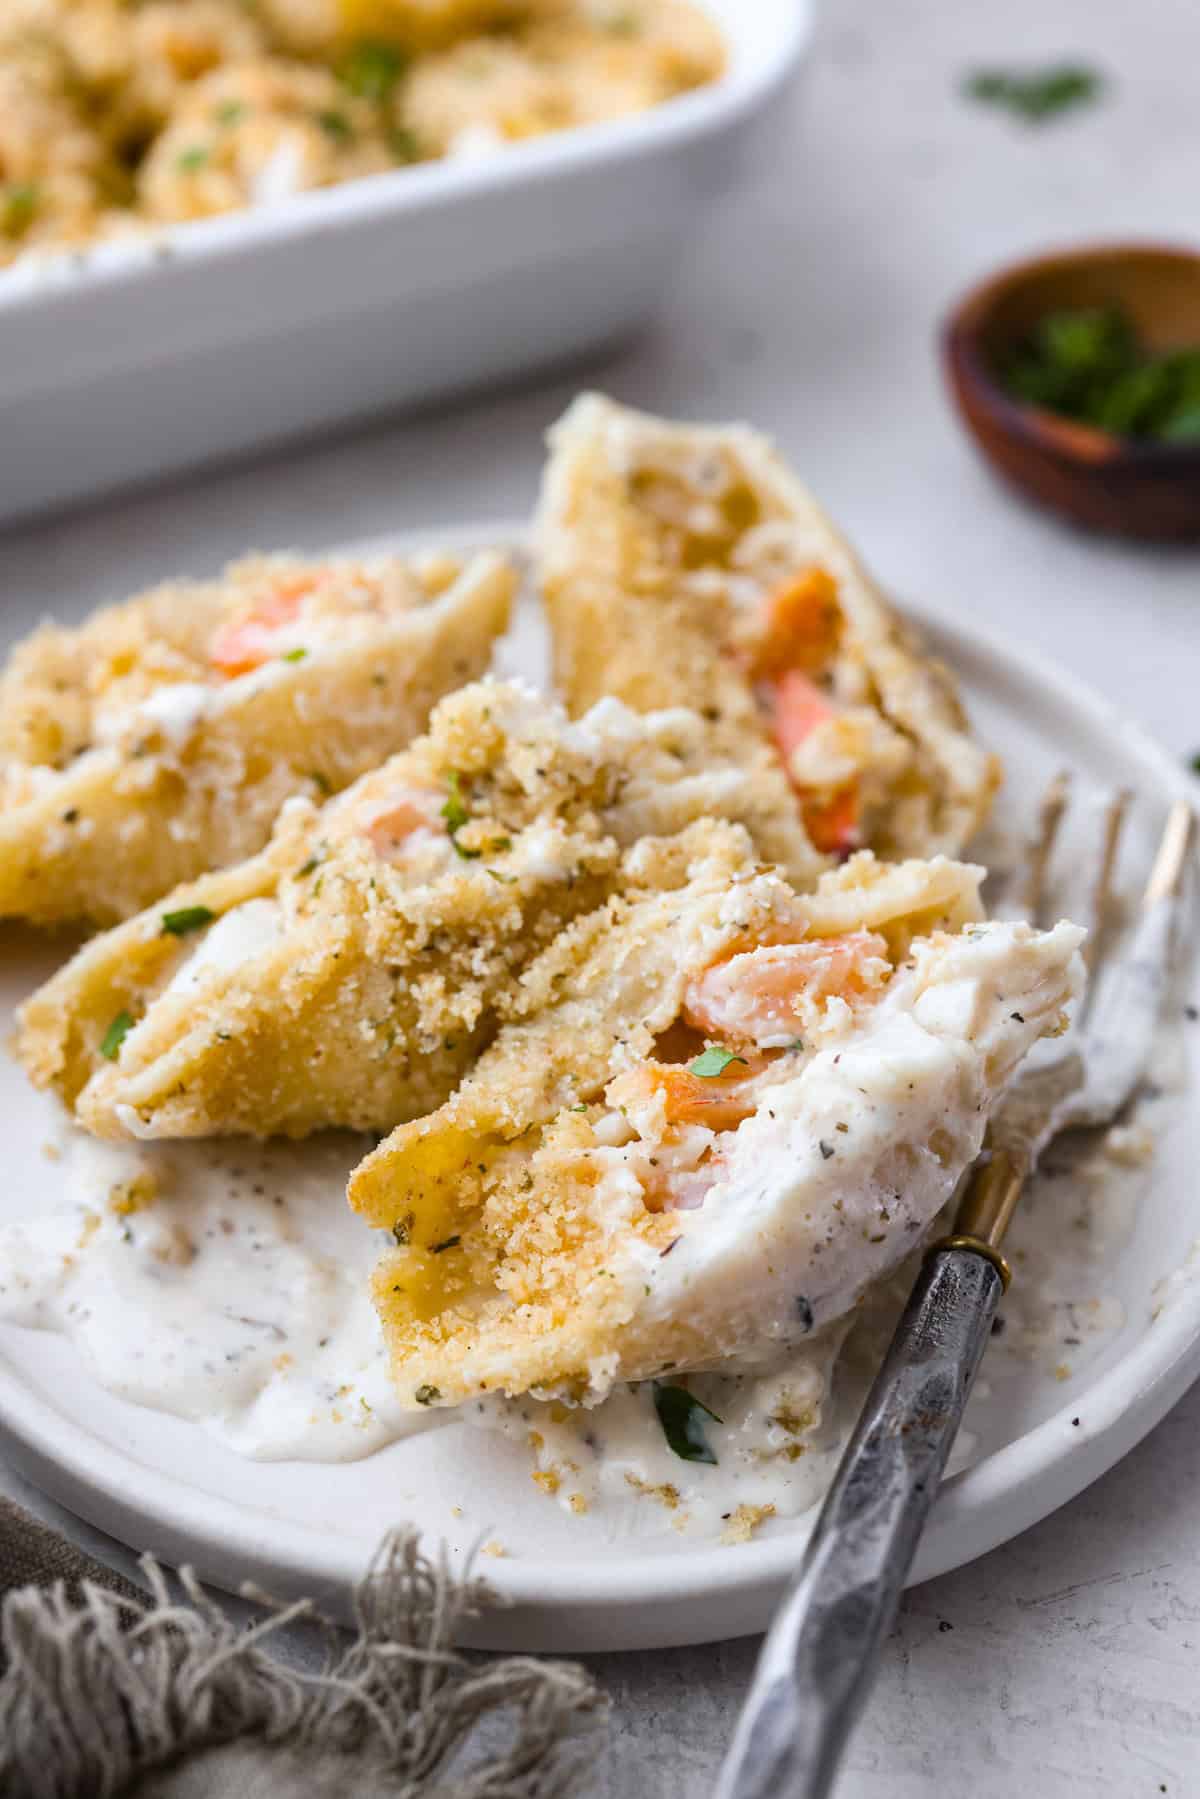
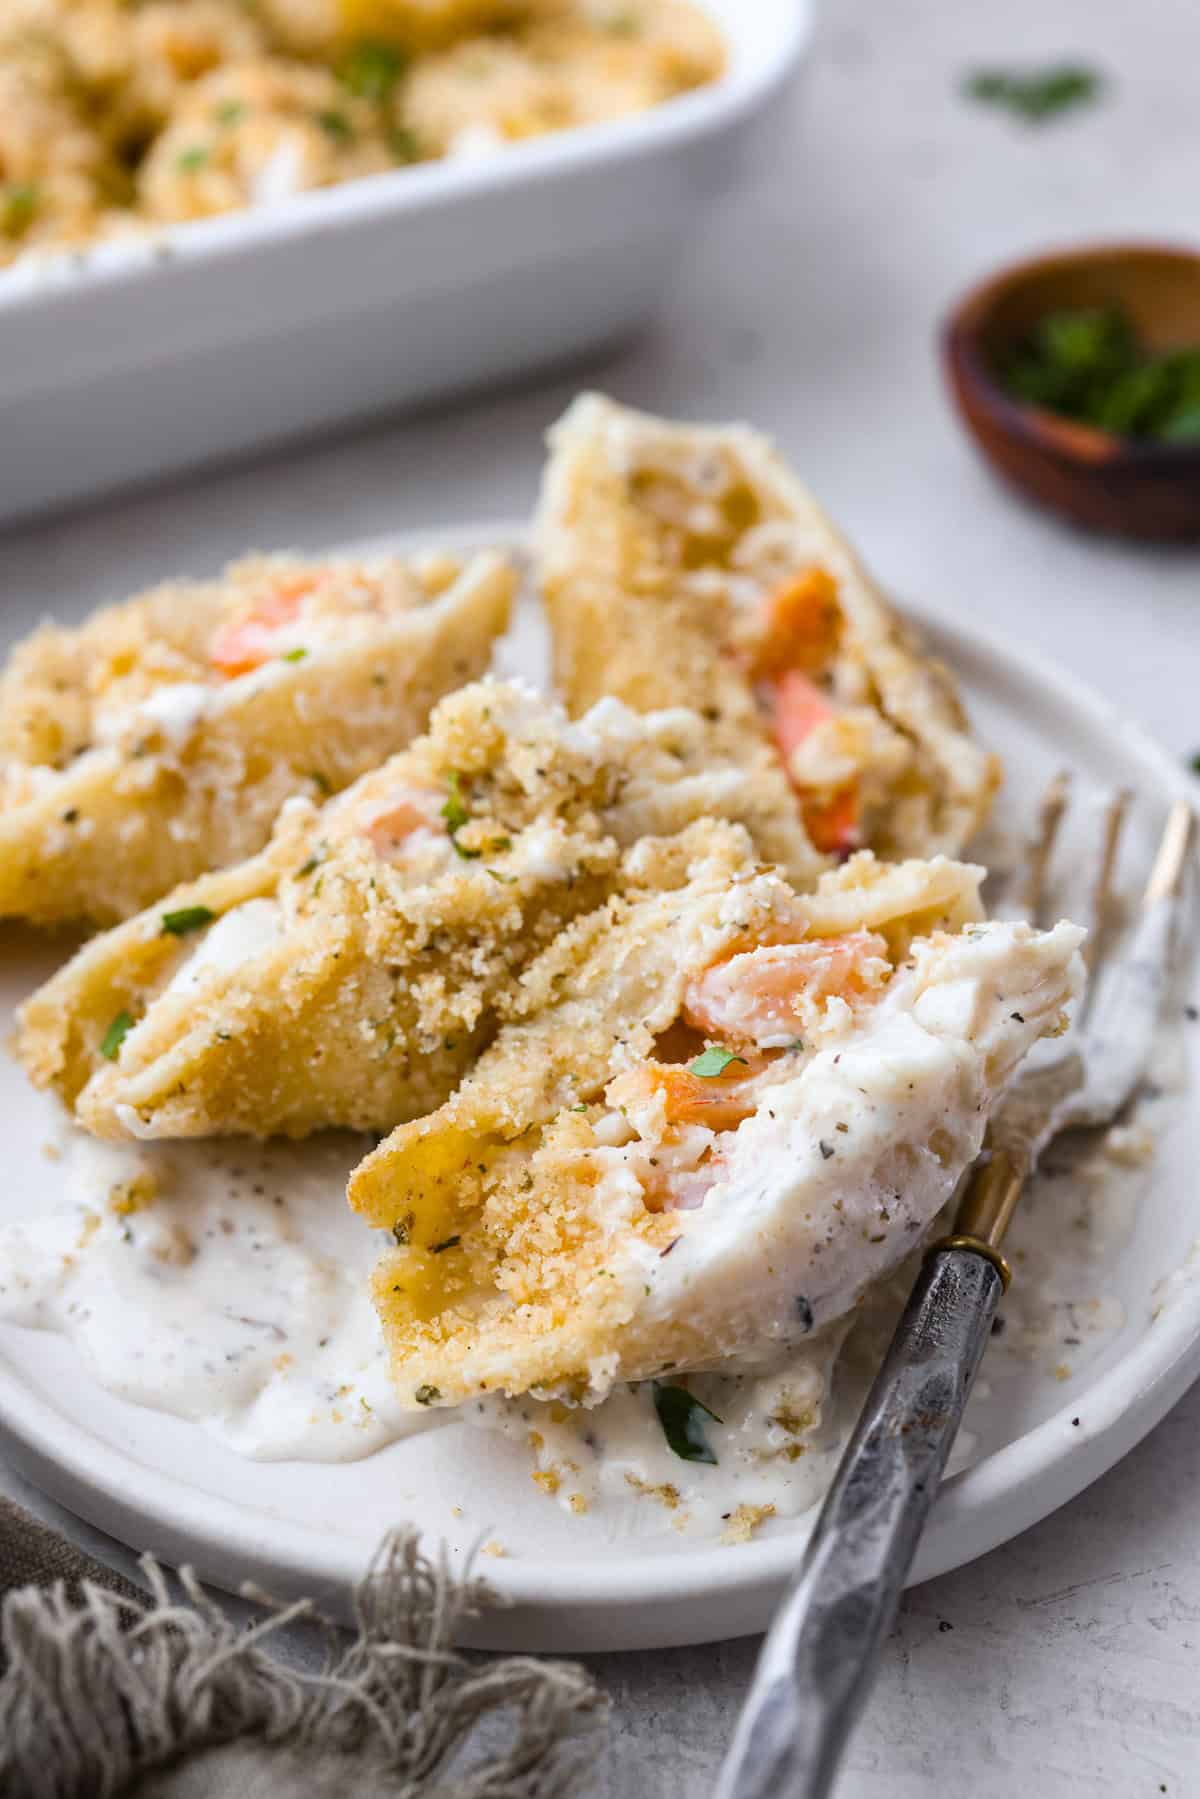
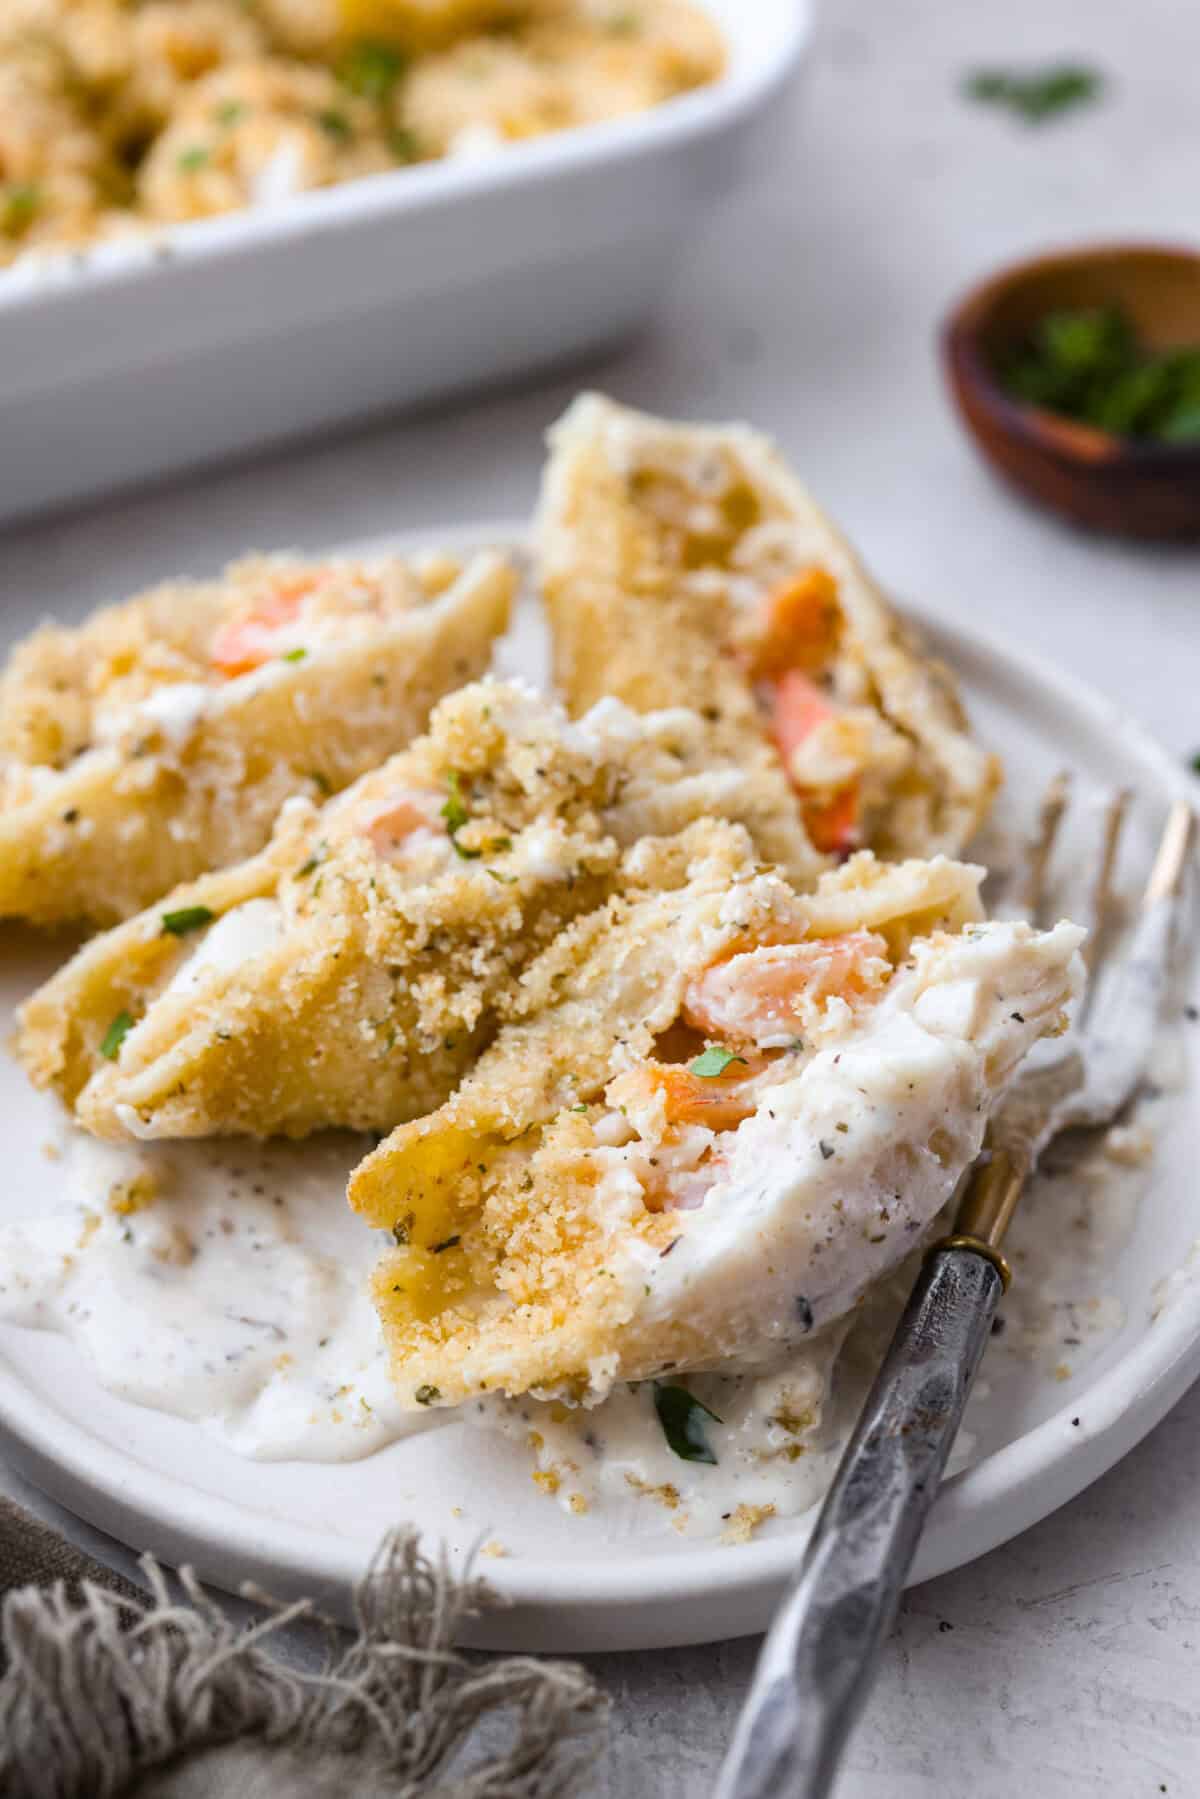
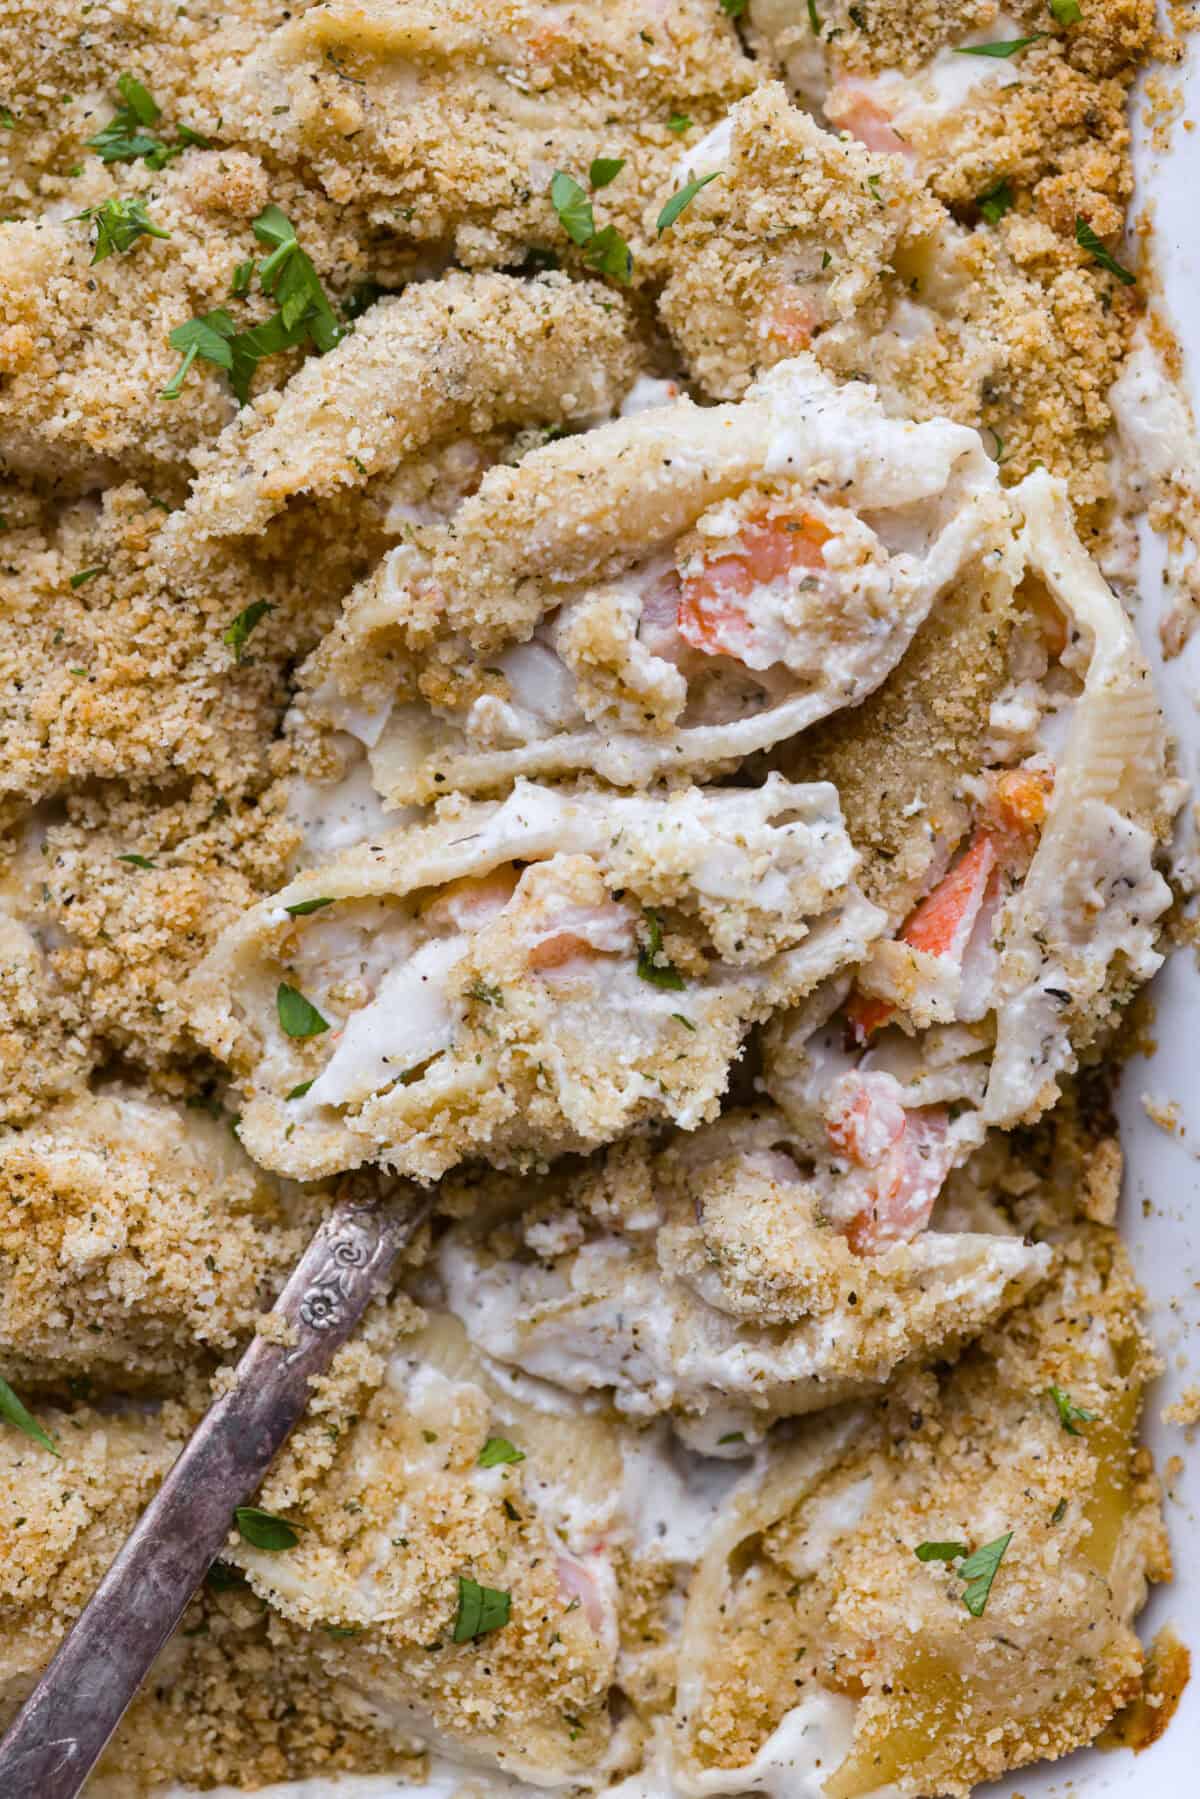
    If you loved my seafood lasagna, you are going to love these Jumbo pasta shells, which are generously filled with a creamy, savory seafood filling and coated in a rich Alfredo-based sauce.

    Side shot of plated seafood stuffed shells.

    Reasons You’ll Love This Recipe

    • Indulgence in Every Bite! This seafood stuffed shells recipe has the best flavor and is the perfect choice for a date night in, or a comforting meal to impress your loved ones!

    • Make it a Meal! Seafood stuffed shells are delicious on their own but would be amazing served with breadsticks, a fresh green salad, and a better-than-anything cake for dessert.
    • Simple Assembly! This dish comes together easier than you think! It can be on the table in about 45 minutes, which includes prep and cook time! 

    Seafood Lovers Dream

    Is it true that you either love seafood or hate it? Where are my seafood lovers at? This recipe combines creamy, cheesy deliciousness with succulent crab and shrimp, all loaded in a jumbo pasta shell. All my seafood-loving follower’s dreams just came true!

    How to Make Seafood Stuffed Shells

    You’re going to want to make this seafood stuffed shells recipe again and again. The prep and assembly time is only about 20 minutes, and then the oven does the rest of the work. It looks and tastes really elegant, but it’s actually so easy to make!

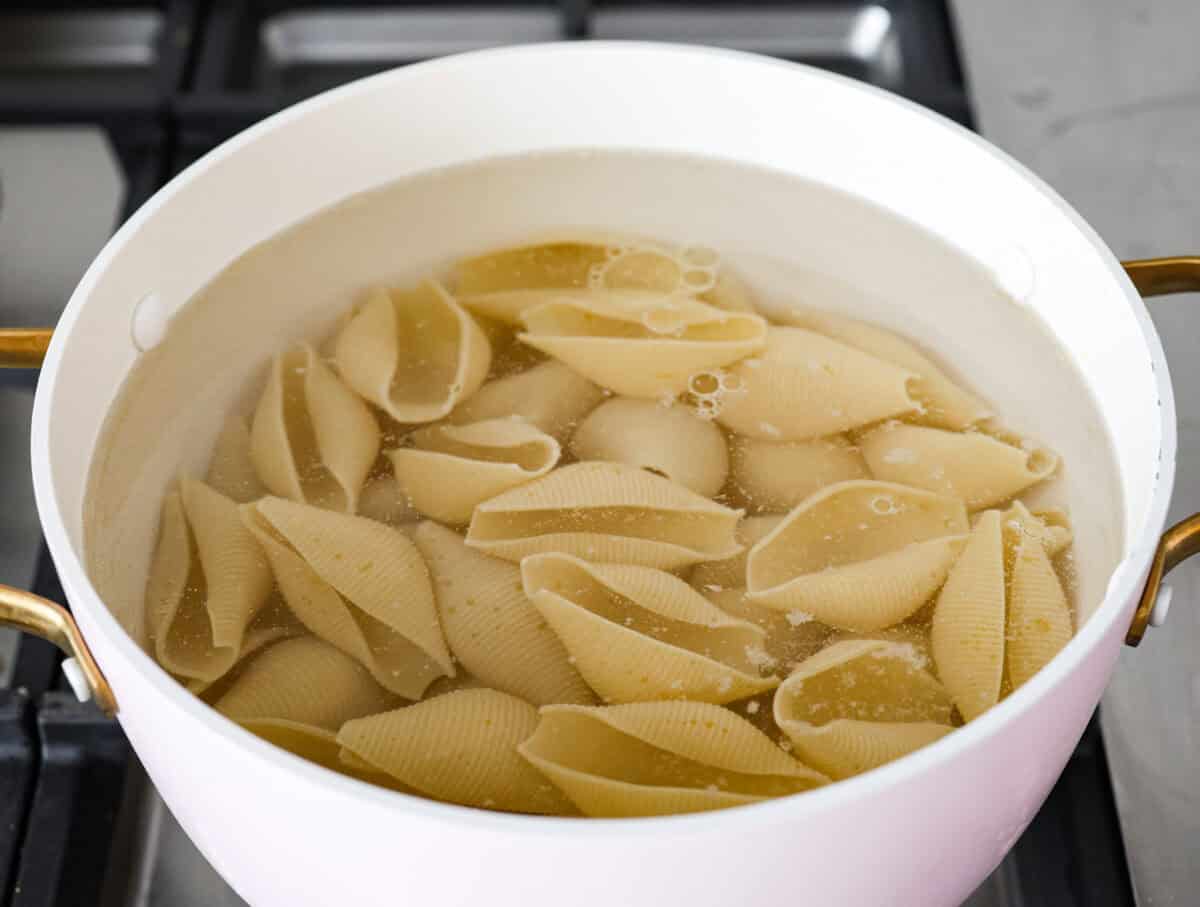
    1. Cook the Shells: Preheat oven to 350 degrees Fahrenheit and spray a 9×13-inch baking dish with cooking spray. Cook the shells according to the package directions until they are al dente. Drain and set aside.
    2. Make the Filling: In a large bowl, stir the ricotta cheese, egg, old bay seasoning, Italian seasoning, Dijon mustard, salt, and black pepper. Fold the shrimp and crabmeat into the filling mixture.
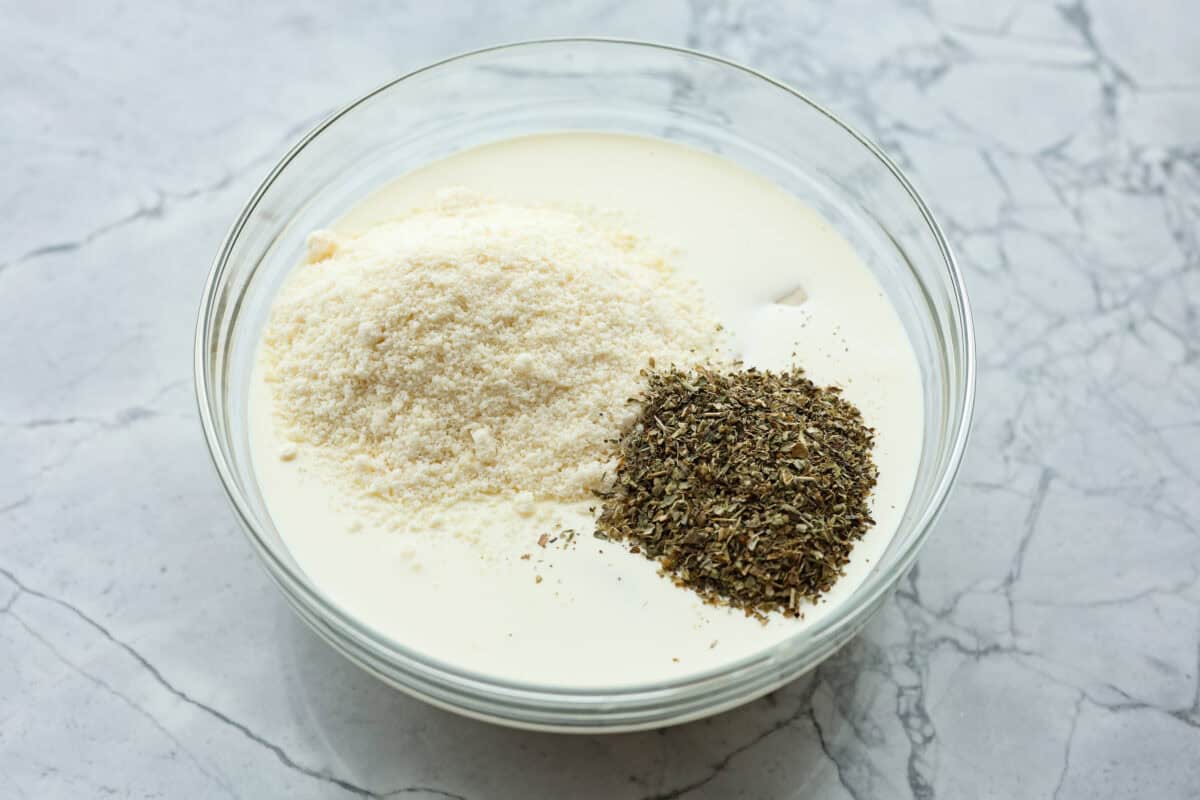
    3. Make the Sauce: In a separate bowl, whisk together the alfredo sauce, heavy cream, parmesan cheese, Italian seasoning, and salt and pepper to taste. Pour about ½ cup of the sauce into the bottom of the baking dish.
    4. Fill the Shells: Take one jumbo shell in one hand and stuff it with about 2 tablespoons of the filling seafood mixture.
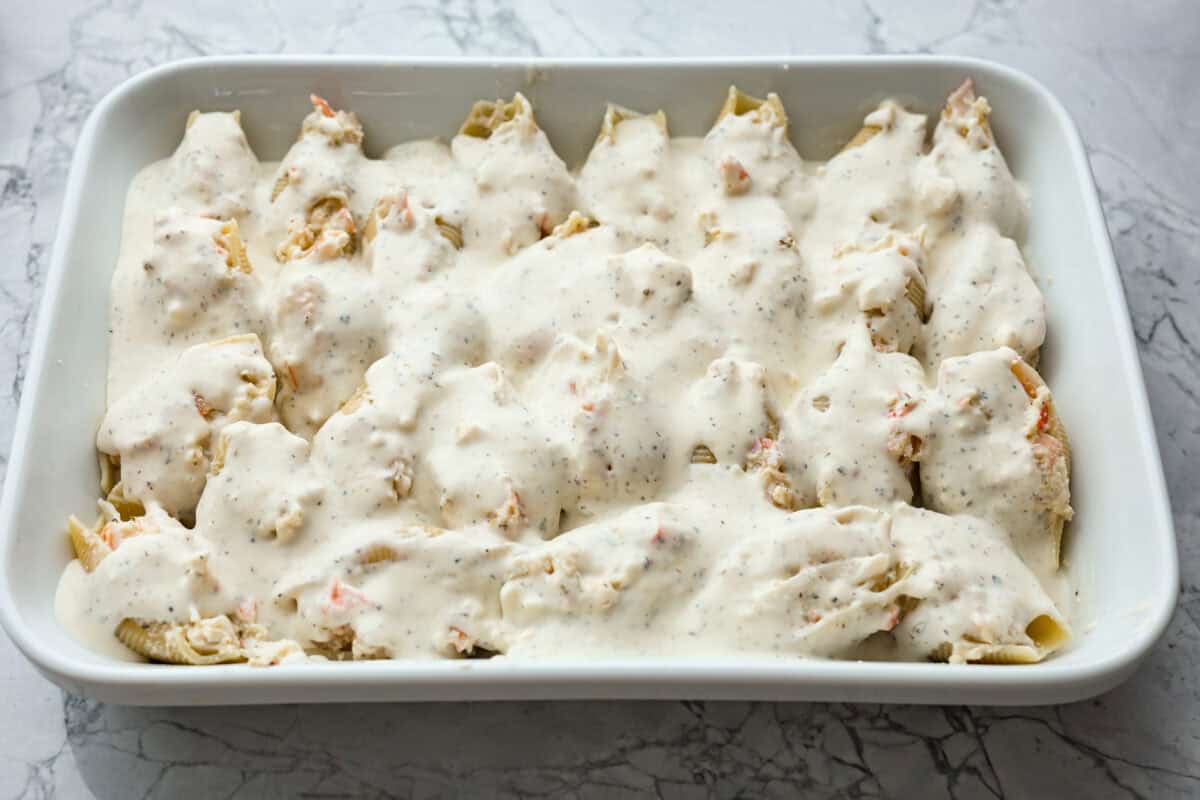
    5. Pour Over the Sauce: Place the seafood stuffed shells open-side up in the sauce-lined baking dish. Until the filling has been used and the dish has been filled. Pour the rest of the sauce over the stuffed shells.
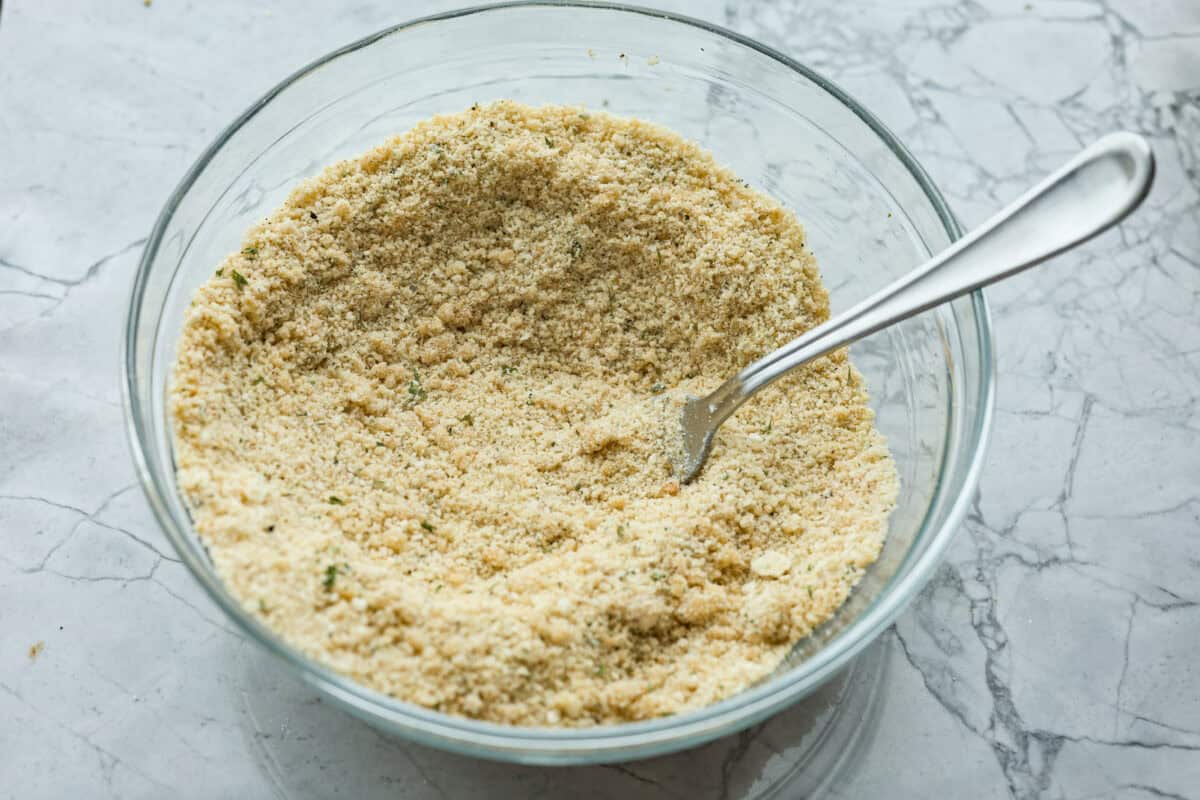
    6. Make the Topping and Bake: In a small bowl, whisk together the bread crumbs, parmesan cheese, butter, and seasoning. Sprinkle the crumb topping over the sauce-covered shells and bake for 20-25 minutes, until the shells are heated through and the topping is browned. Remove the seafood stuffed shells from the oven and let rest for a few minutes before serving.

    Seafood Stuffed Shells Tips and Variations

    Here are my top tips for making these shells stuffed with seafood!

    • Using Uncooked Shrimp: If you use uncooked shrimp, boil it for a moment in the same water you boiled the pasta in, just until it turns pink, then remove and use as directed. 
    • What Size Shrimp Should I Use? I like to use small shrimp for this recipe, even salad-size shrimp, so you get more in each shell. If you can only find larger shrimp, coarsely chop them before adding them to the filling. 
    • Crab Meat Option: You can use real crab meat in this seafood stuffed shells recipe if you prefer. 

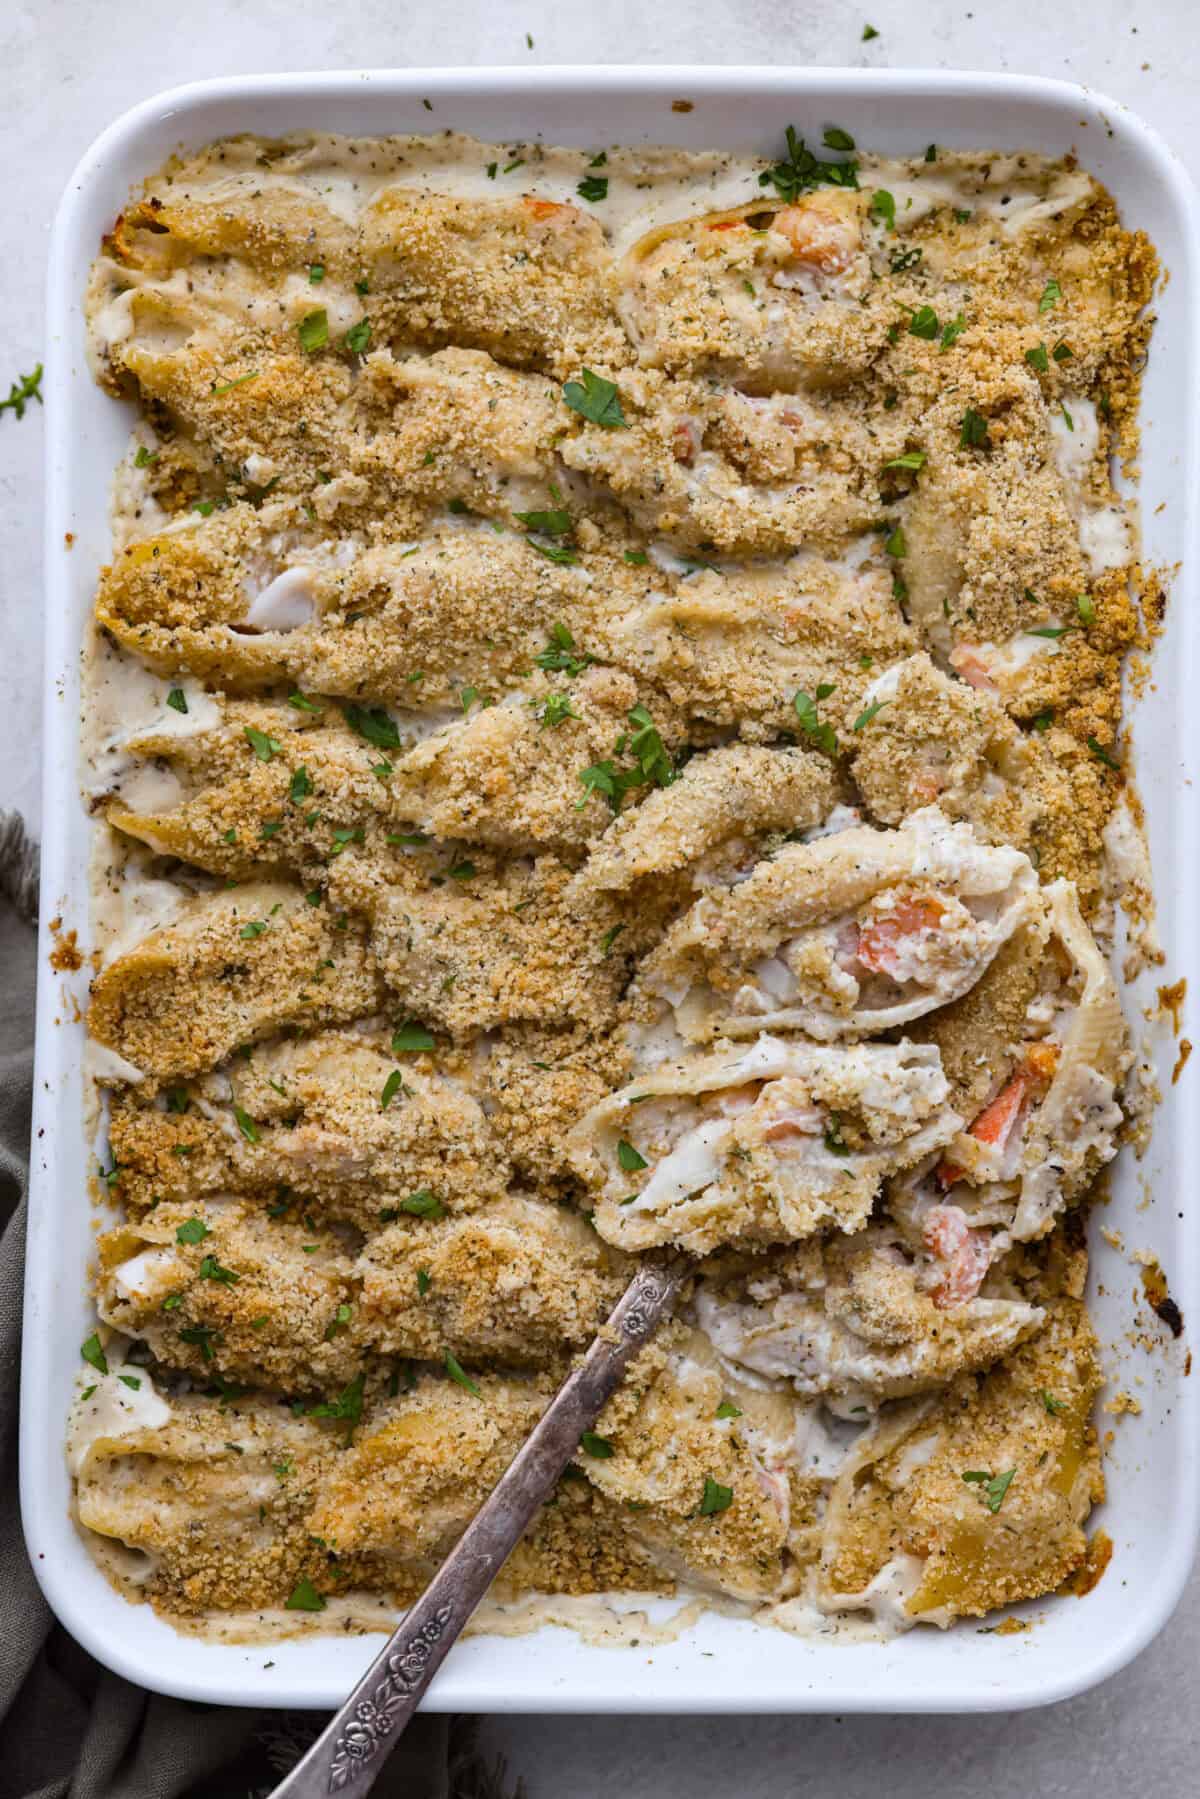
    Overhead shot of a baking dish with seafood stuffed shells and a serving spoon. Overhead shot of a baking dish with seafood stuffed shells and a serving spoon.

    Make Ahead and Storing Options

    • In the Refrigerator: Store leftover seafood stuffed shells in the fridge in an airtight container for up to 3 days. 
    • Make Ahead: Prepare all the elements of the dish and assemble, leaving off the crumb topping. Store the prepared casserole in the fridge for up to 3 days or in the freezer for up to 2 months before topping with crumb mixture and baking. 
    • Bake from Frozen: Preheat oven to 350 degrees Fahrenheit, cover the seafood stuffed shells dish with foil and bake for 45-50 minutes, remove the foil, sprinkle the crumb mixture over, and bake uncovered for another 10-15 minutes.

    Close up shot of seafood stuffed shells on a serving spoon in the baking dish. Close up shot of seafood stuffed shells on a serving spoon in the baking dish.

    More Delicious Seafood Recipes

    If you liked these seafood stuffed shells, you would love my creamy lemon garlic seafood pasta. You should also try these other seafood-inspired recipes.

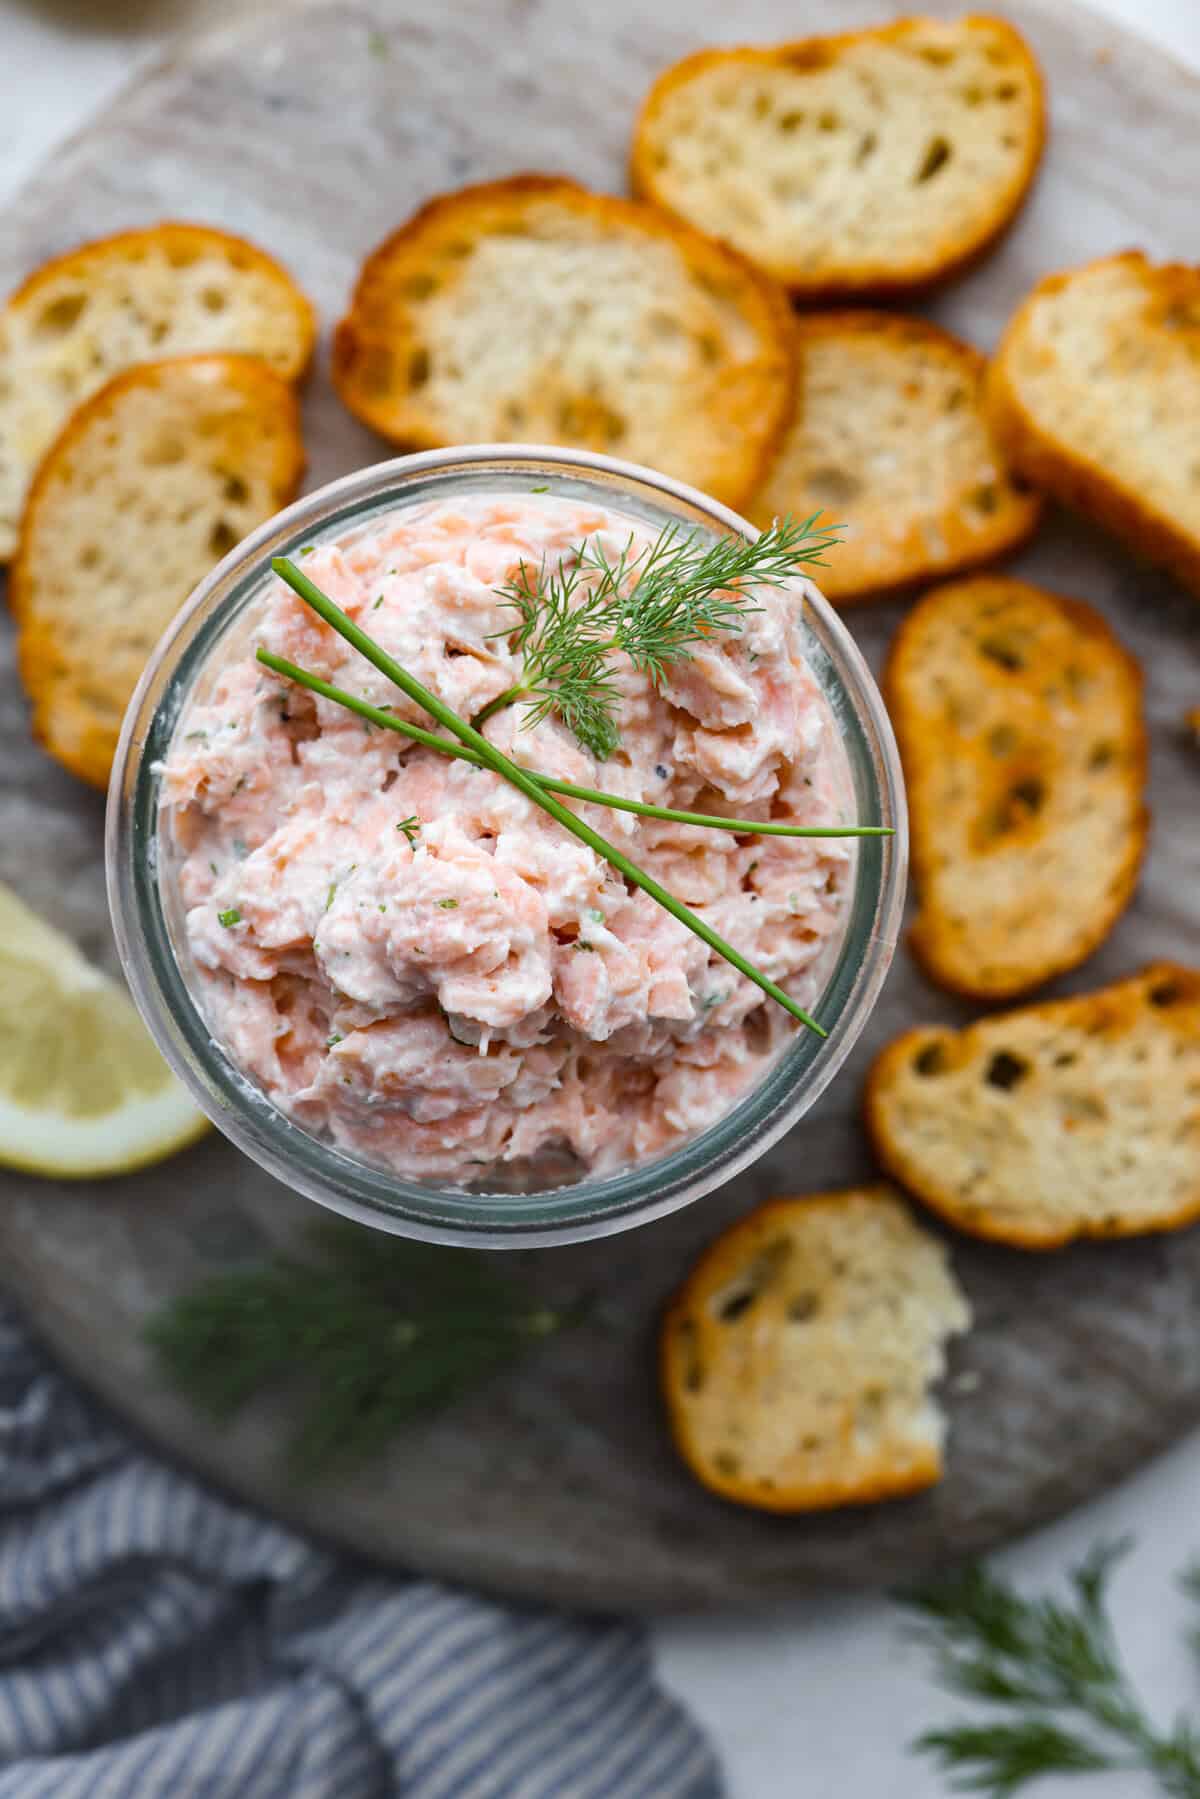
    Salmon Rillettes

    2 hours 40 minutes

    Sushi Bake

    1 hour 3 minutes

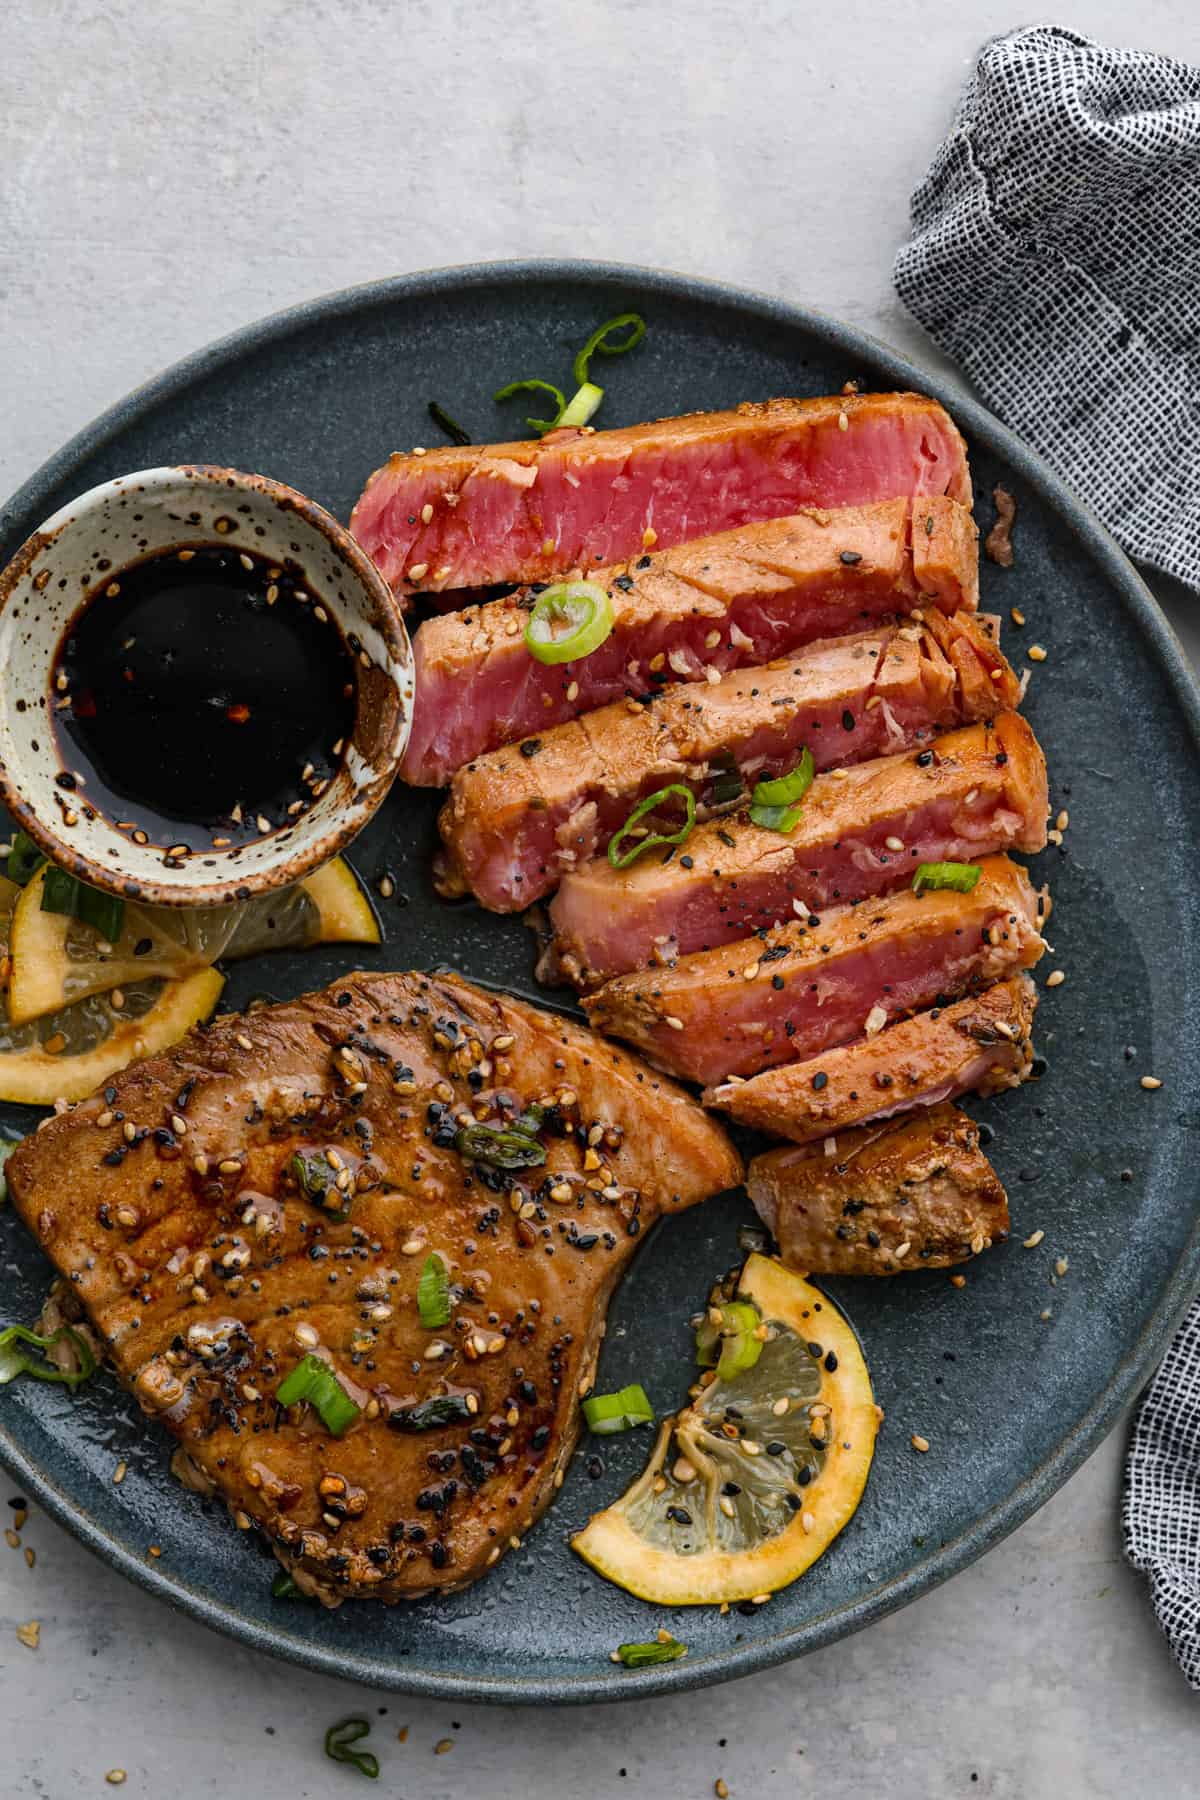
    Tuna Steak

    34 minutes

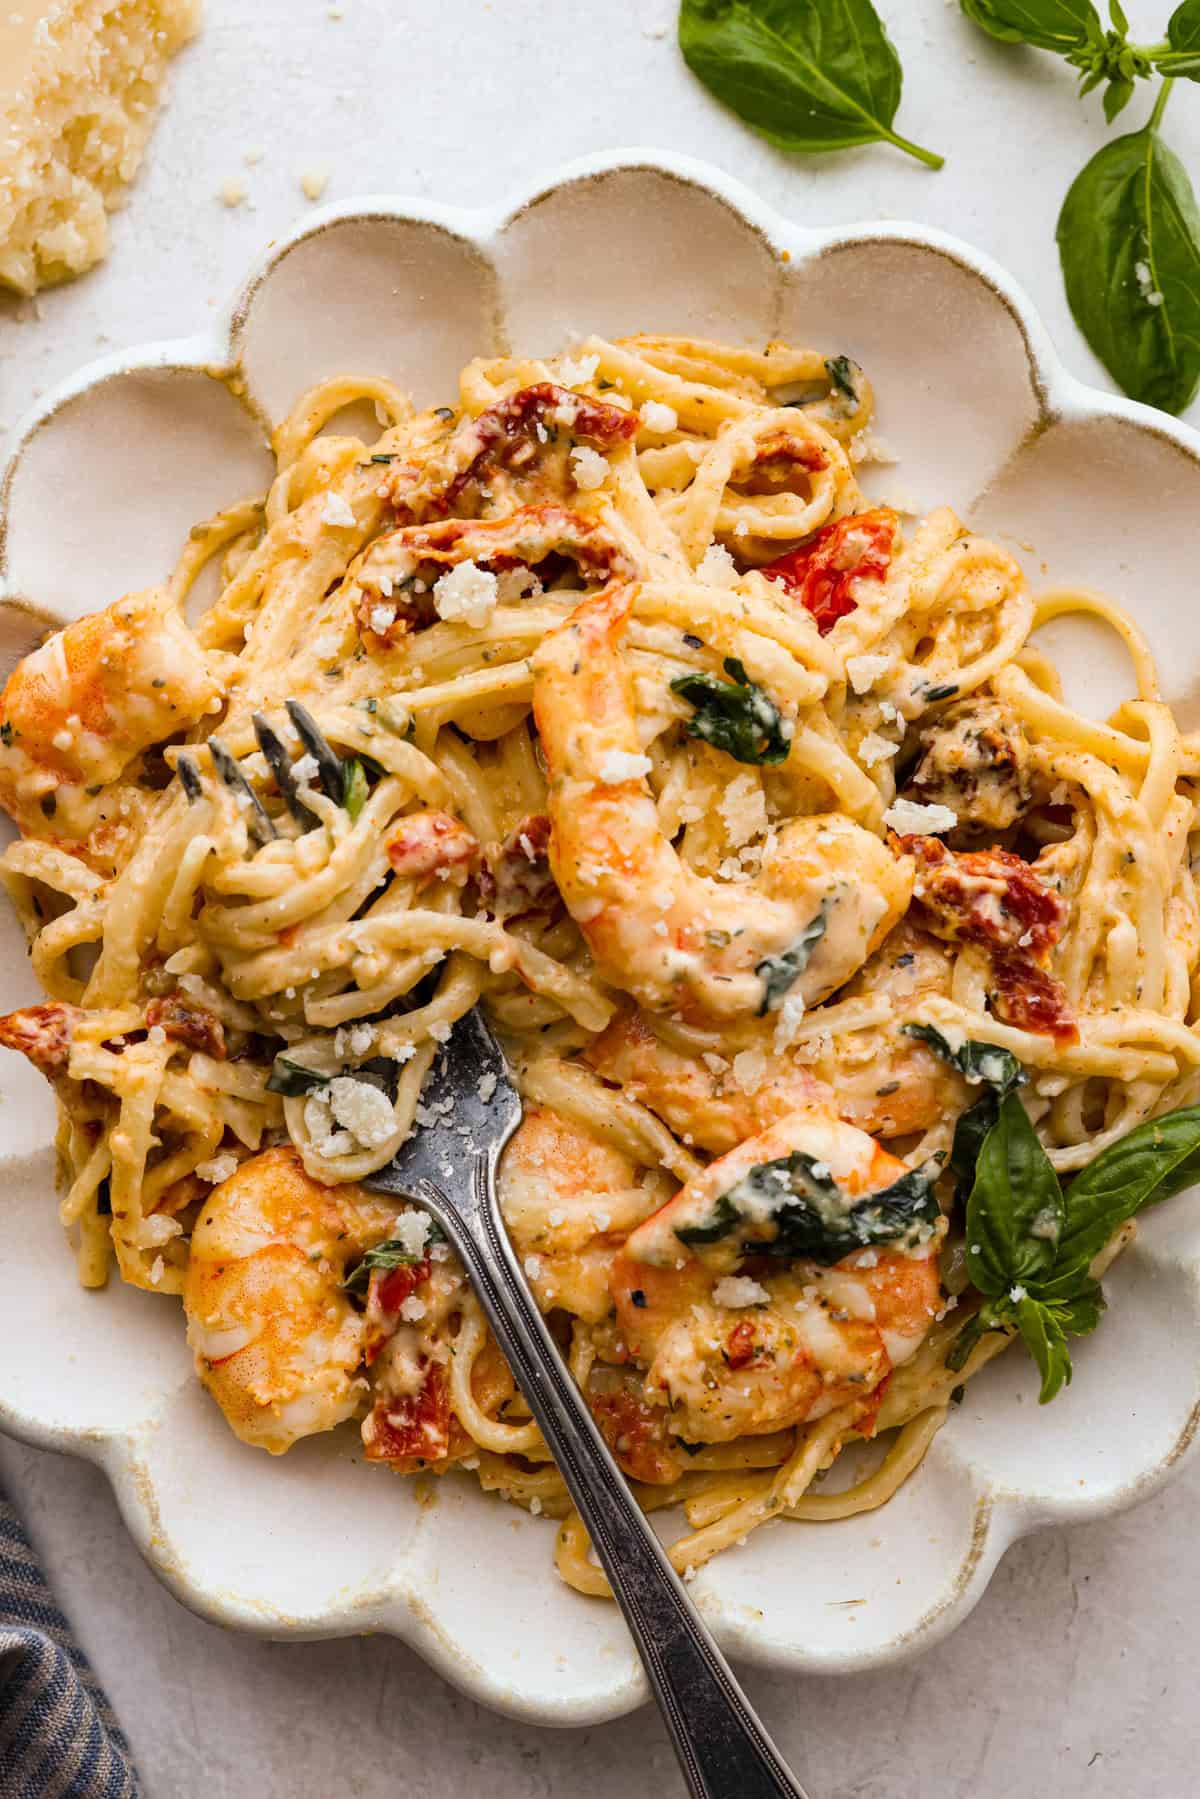
    Marry Me Shrimp Pasta

    30 minutes

    Pin this now to find it later

    Pin It


    Source link

  • Sheet Pan Meatballs with Tomato Salad and Green Sauce Recipe

    Sheet Pan Meatballs with Tomato Salad and Green Sauce Recipe

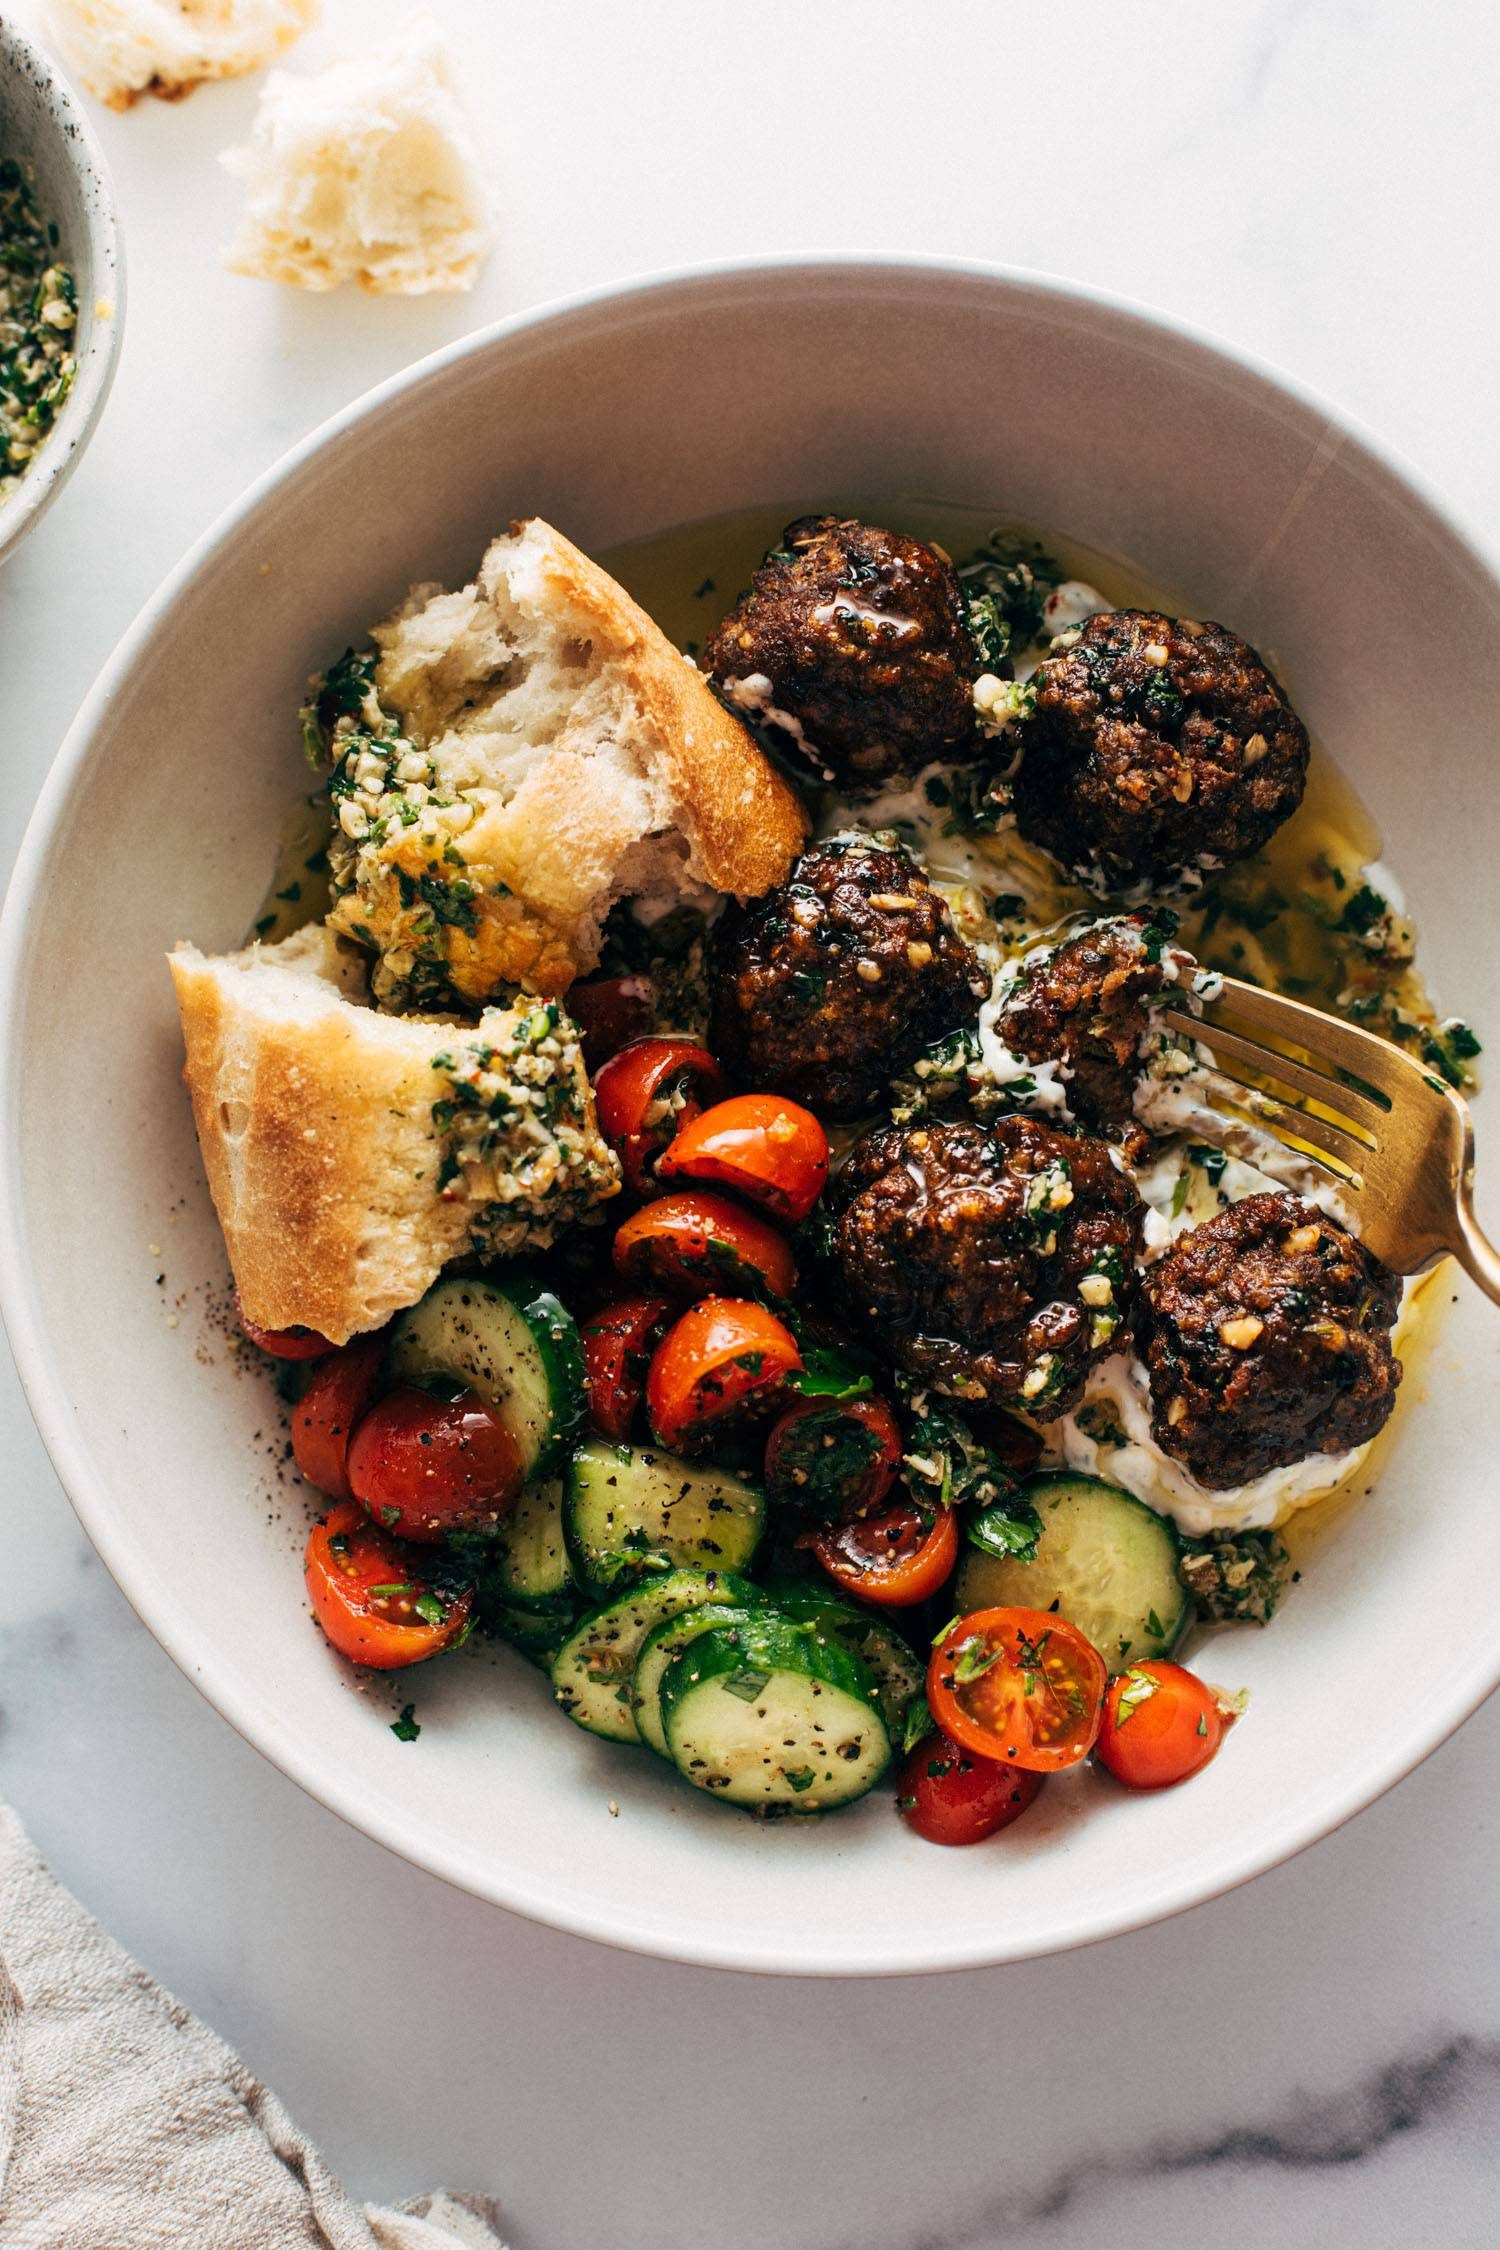
    Juicy little sheet pan meatballs that are salty, zesty, briney, and so so delicious. Pile them on tzatziki, spoon some punchy green sauce over top, and serve with a simple salad and crusty bread.

    This post is sponsored by ButcherBox

    We’re no strangers to sheet pan meatballs around here. We love to love them! Easy clean-up, no frying mess, but still oven-crisp goodness, and they’re always the easiest option for straight-off-the-pan sneaks.

    Super juicy and deeply flavored thanks to some delicious briney green sauce – made with parsley, cilantro, walnuts, capers, garlic, and more – that will go not only inside but also on top of these little beauties. Serve them alongside some juicy marinated tomatoes, swoop them through tzatziki, douse them in that green sauce, grab yourself a buttery hunk of crusty bread, and let’s have the best meatball party in town, shall we?

    Salty, Zesty, Briney Goodness

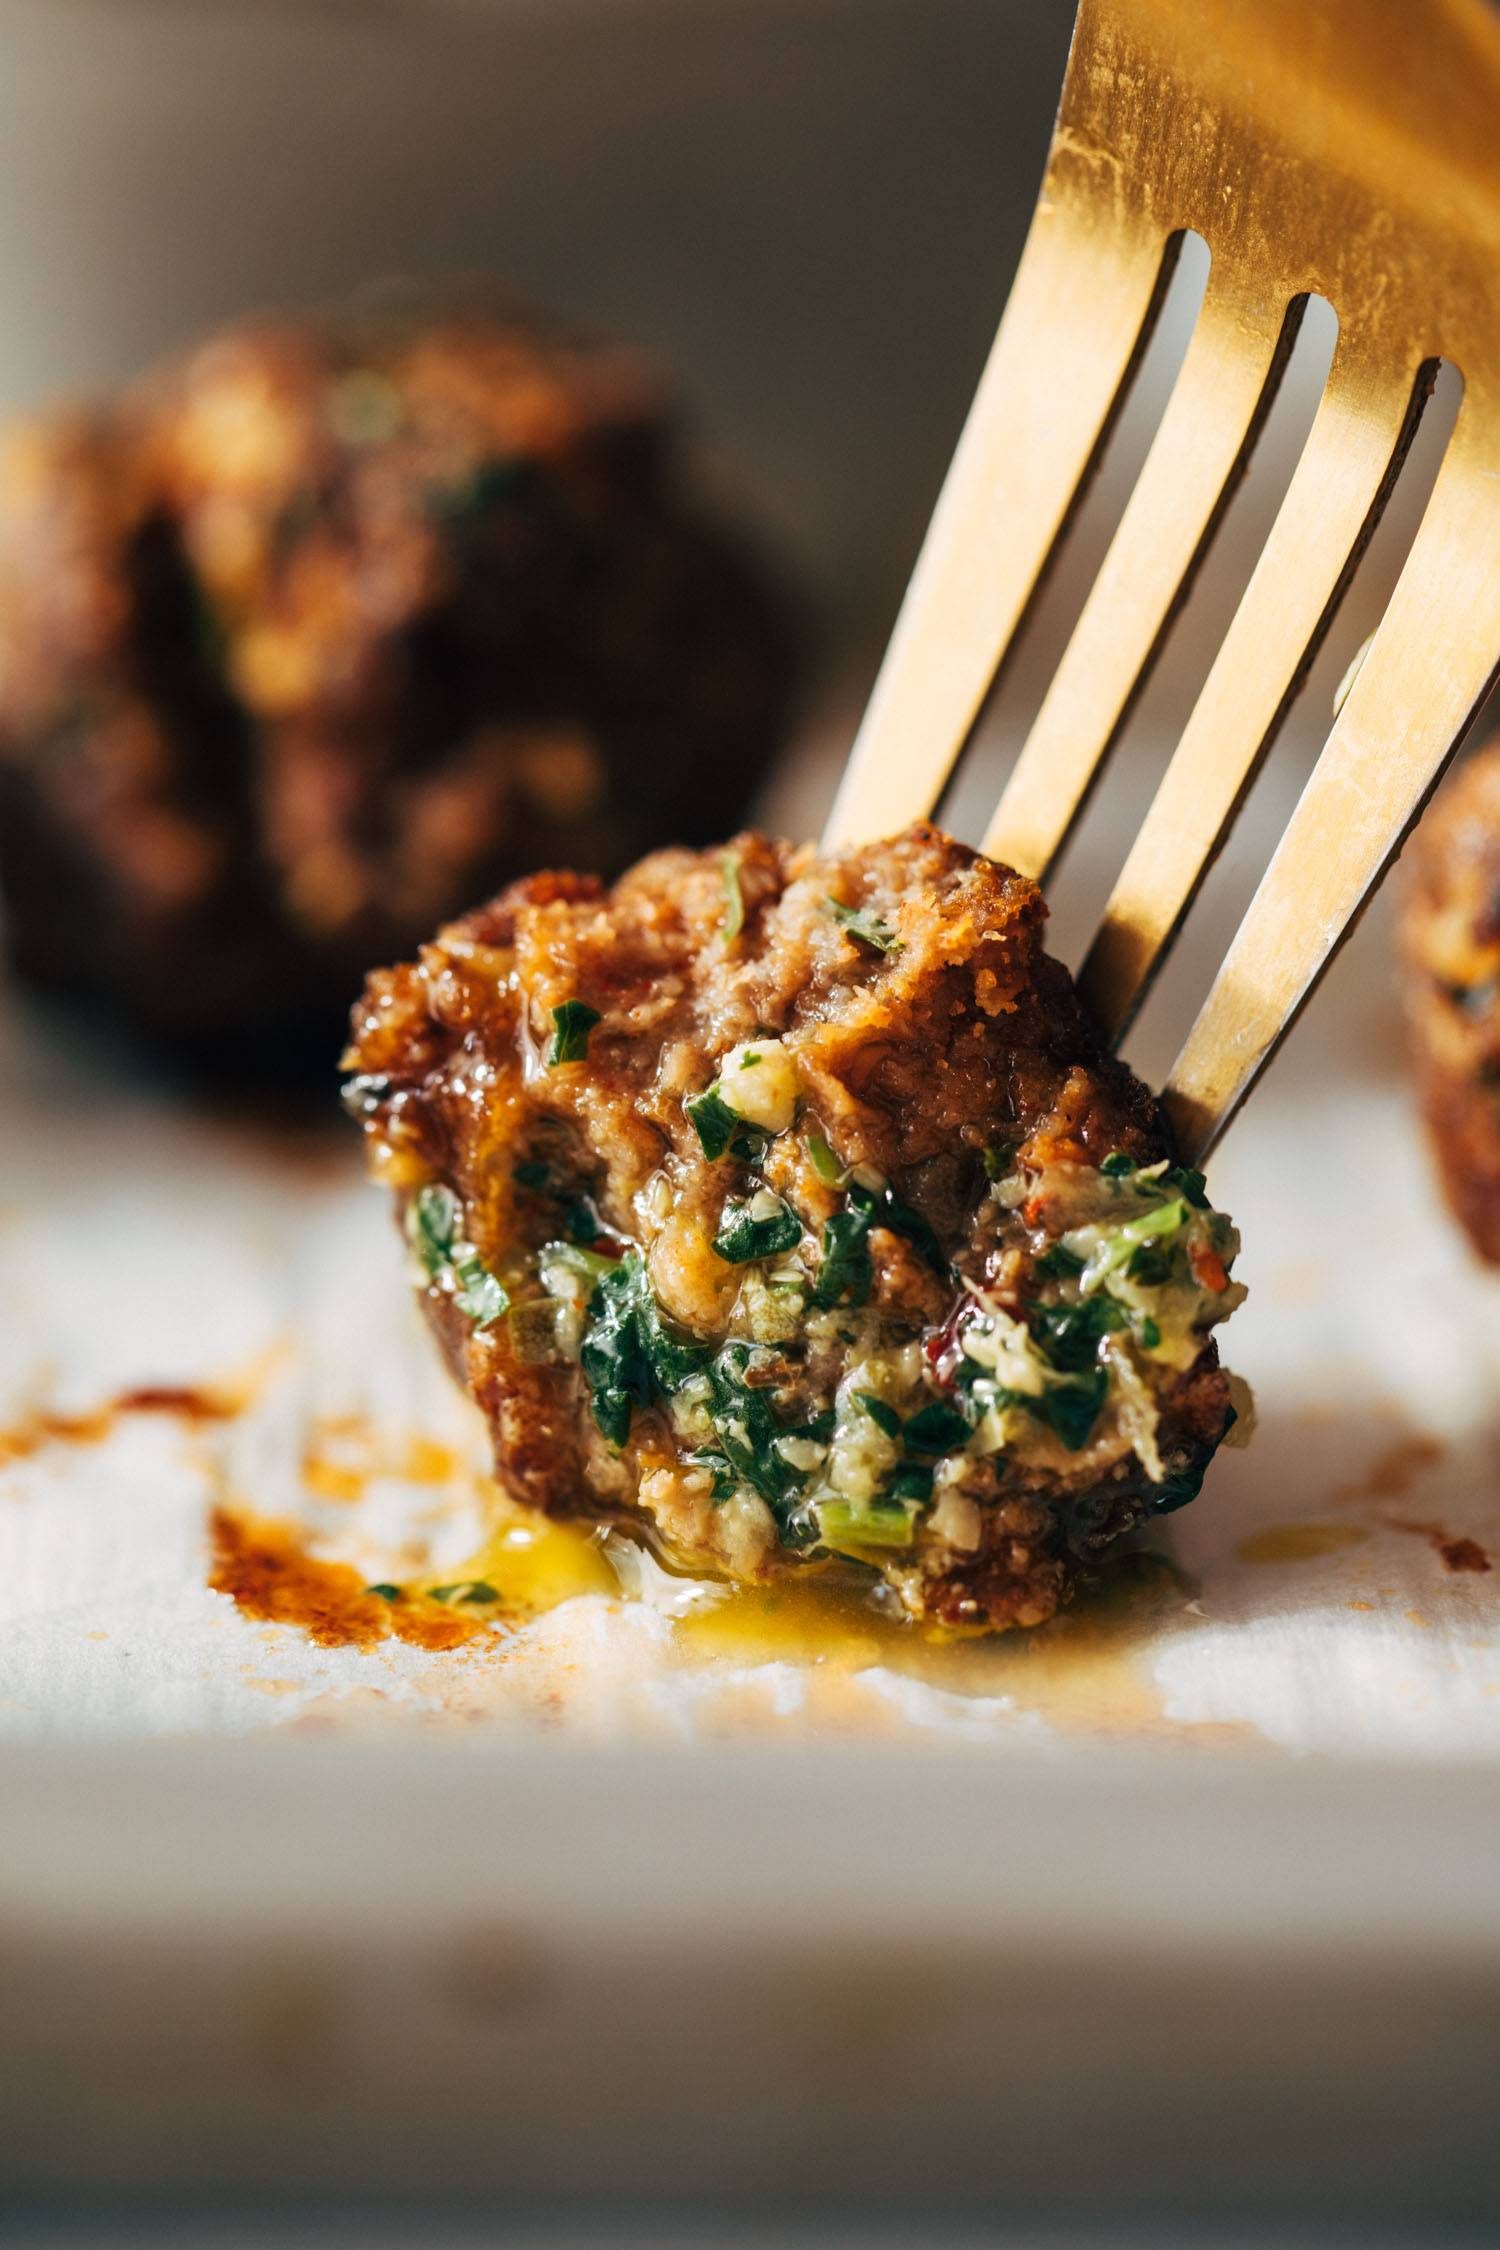
    This isn’t just any old meatball. Not only is the quality of beef A+ (we’re using ButcherBox Grass-Fed Grass-Finished – more on that later), but that little green sauce magic concoction in the mixture brings a whole explosion of flavor with salty brininess from the capers, a little zest from the lemon, and our favorite punch of all punches, the garlic punch. It all just sort of swims together to bring maximum flavor to this little guy. It’s like a whole meal of tastes in one bite!

    And you better believe you save some of that green sauce to put on top of your meatballs, and bread, and any kind of veggies. We’re nothing if not sauce hogs.

    Prefer To Watch Instead Of Read?

    Fork piercing a meatball

    A Word About This ButcherBox Beef

    Okay, if you’re not on the ButcherBox train yet, we highly recommend you climb aboard! The quality of their meat and seafood is top-notch.

    This is why we love them:

    • They are a certified B Corp company, which means they are mission-driven to do some environmental good in this world and that is always something we can get behind.
    • They source from family farms and are committed to humane practices, and have a focus on sustainability for their seafood offerings which we also feel really good about!
    • Plus, sustainable and recyclable insulation and packaging whenever possible? Yes, please.

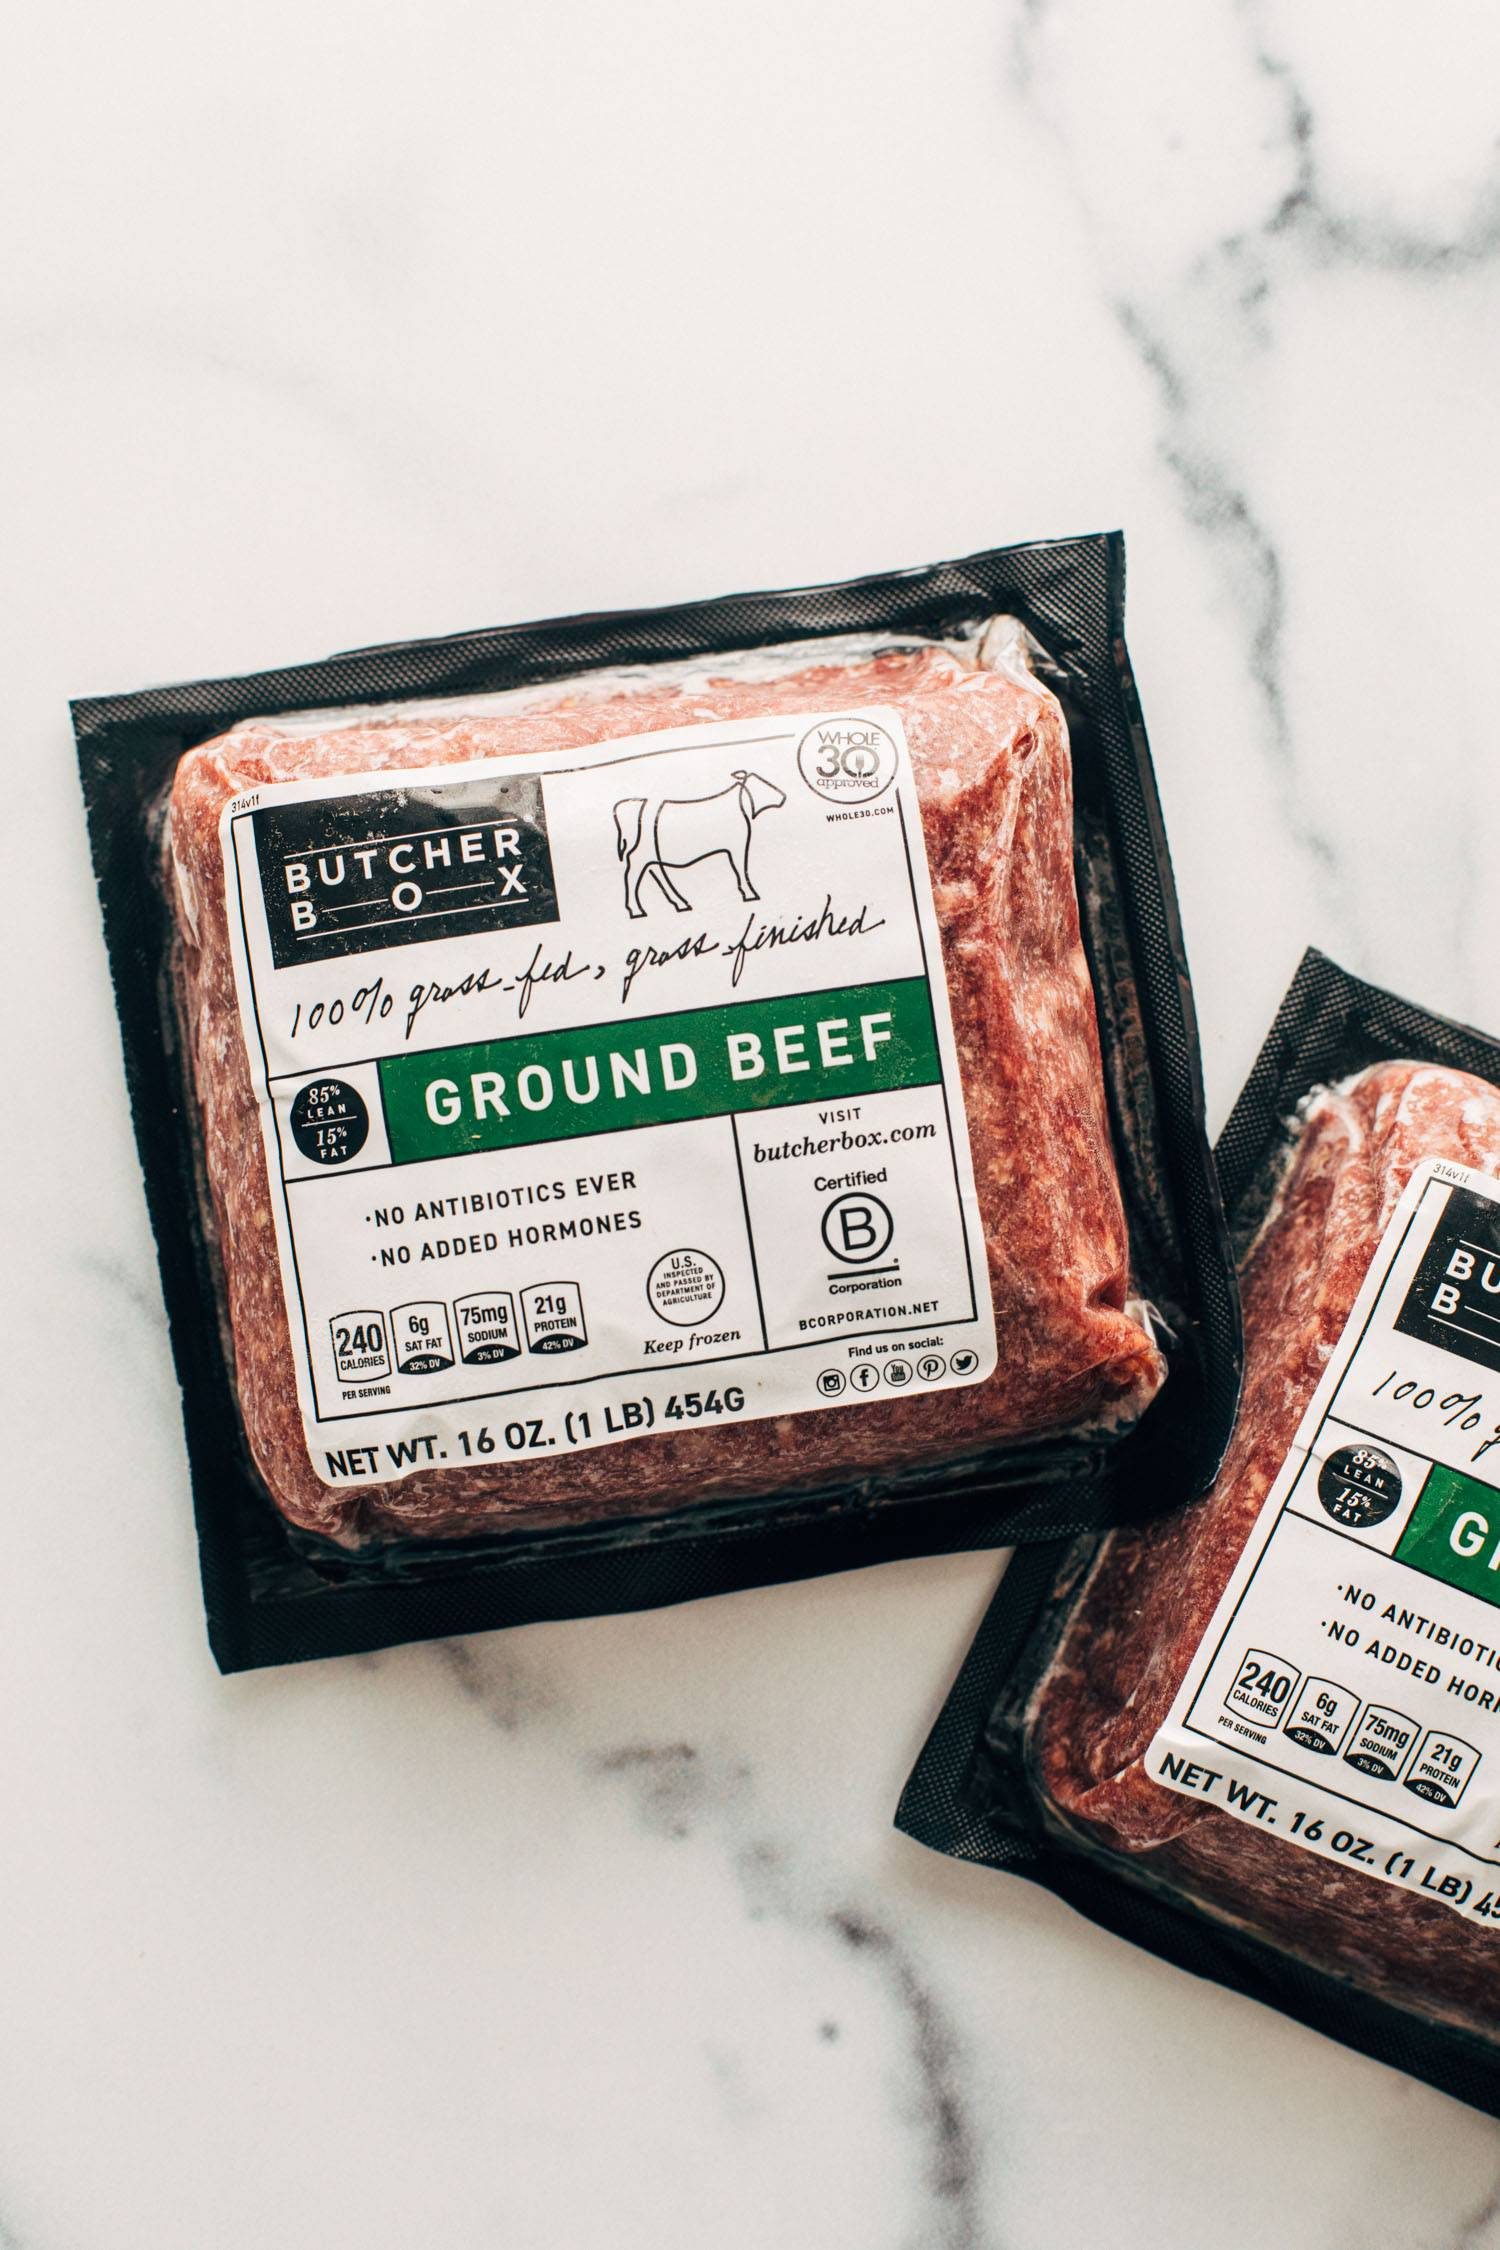
    There is so much care put behind their product and it really shows. And, ultimately, this grass-fed, grass-finished ground beef is SO flavorful and cooks up beautifully.

    ButcherBox has a deal going right now where you get two pounds of free (yes, FREE) grass-fed grass-finished ground beef in every single box for the life of your membership. WHAT.

    Click here to learn more about the boxes (or add this deal to your existing membership)!

    For burgers, for spaghetti, for meatballs, and everything else in between, this ground beef is such good quality and it is a total freezer essential. And it’s free in every box right now. Do not miss this deal!

    ButcherBox ground beef packages

    How To Make These Meatballs (Sheet Pan FTW!)

    Get your sheet pans and your food processor at the ready and let’s get down to business.

    1. Green Sauce. Pulse everything up in a food processor until chopped very finely (but not a paste). This is your flavor base! Transfer half of the flavor base to a large bowl for the meatballs and then use the rest make your sauce.
    2. Meatballs. Mix the egg, paprika, salt, panko, ground beef, and reserved flavor base green sauce in a bowl until evenly distributed. Roll into balls. Place the rolled meatballs on sheet pan, brush with olive oil, and bake!

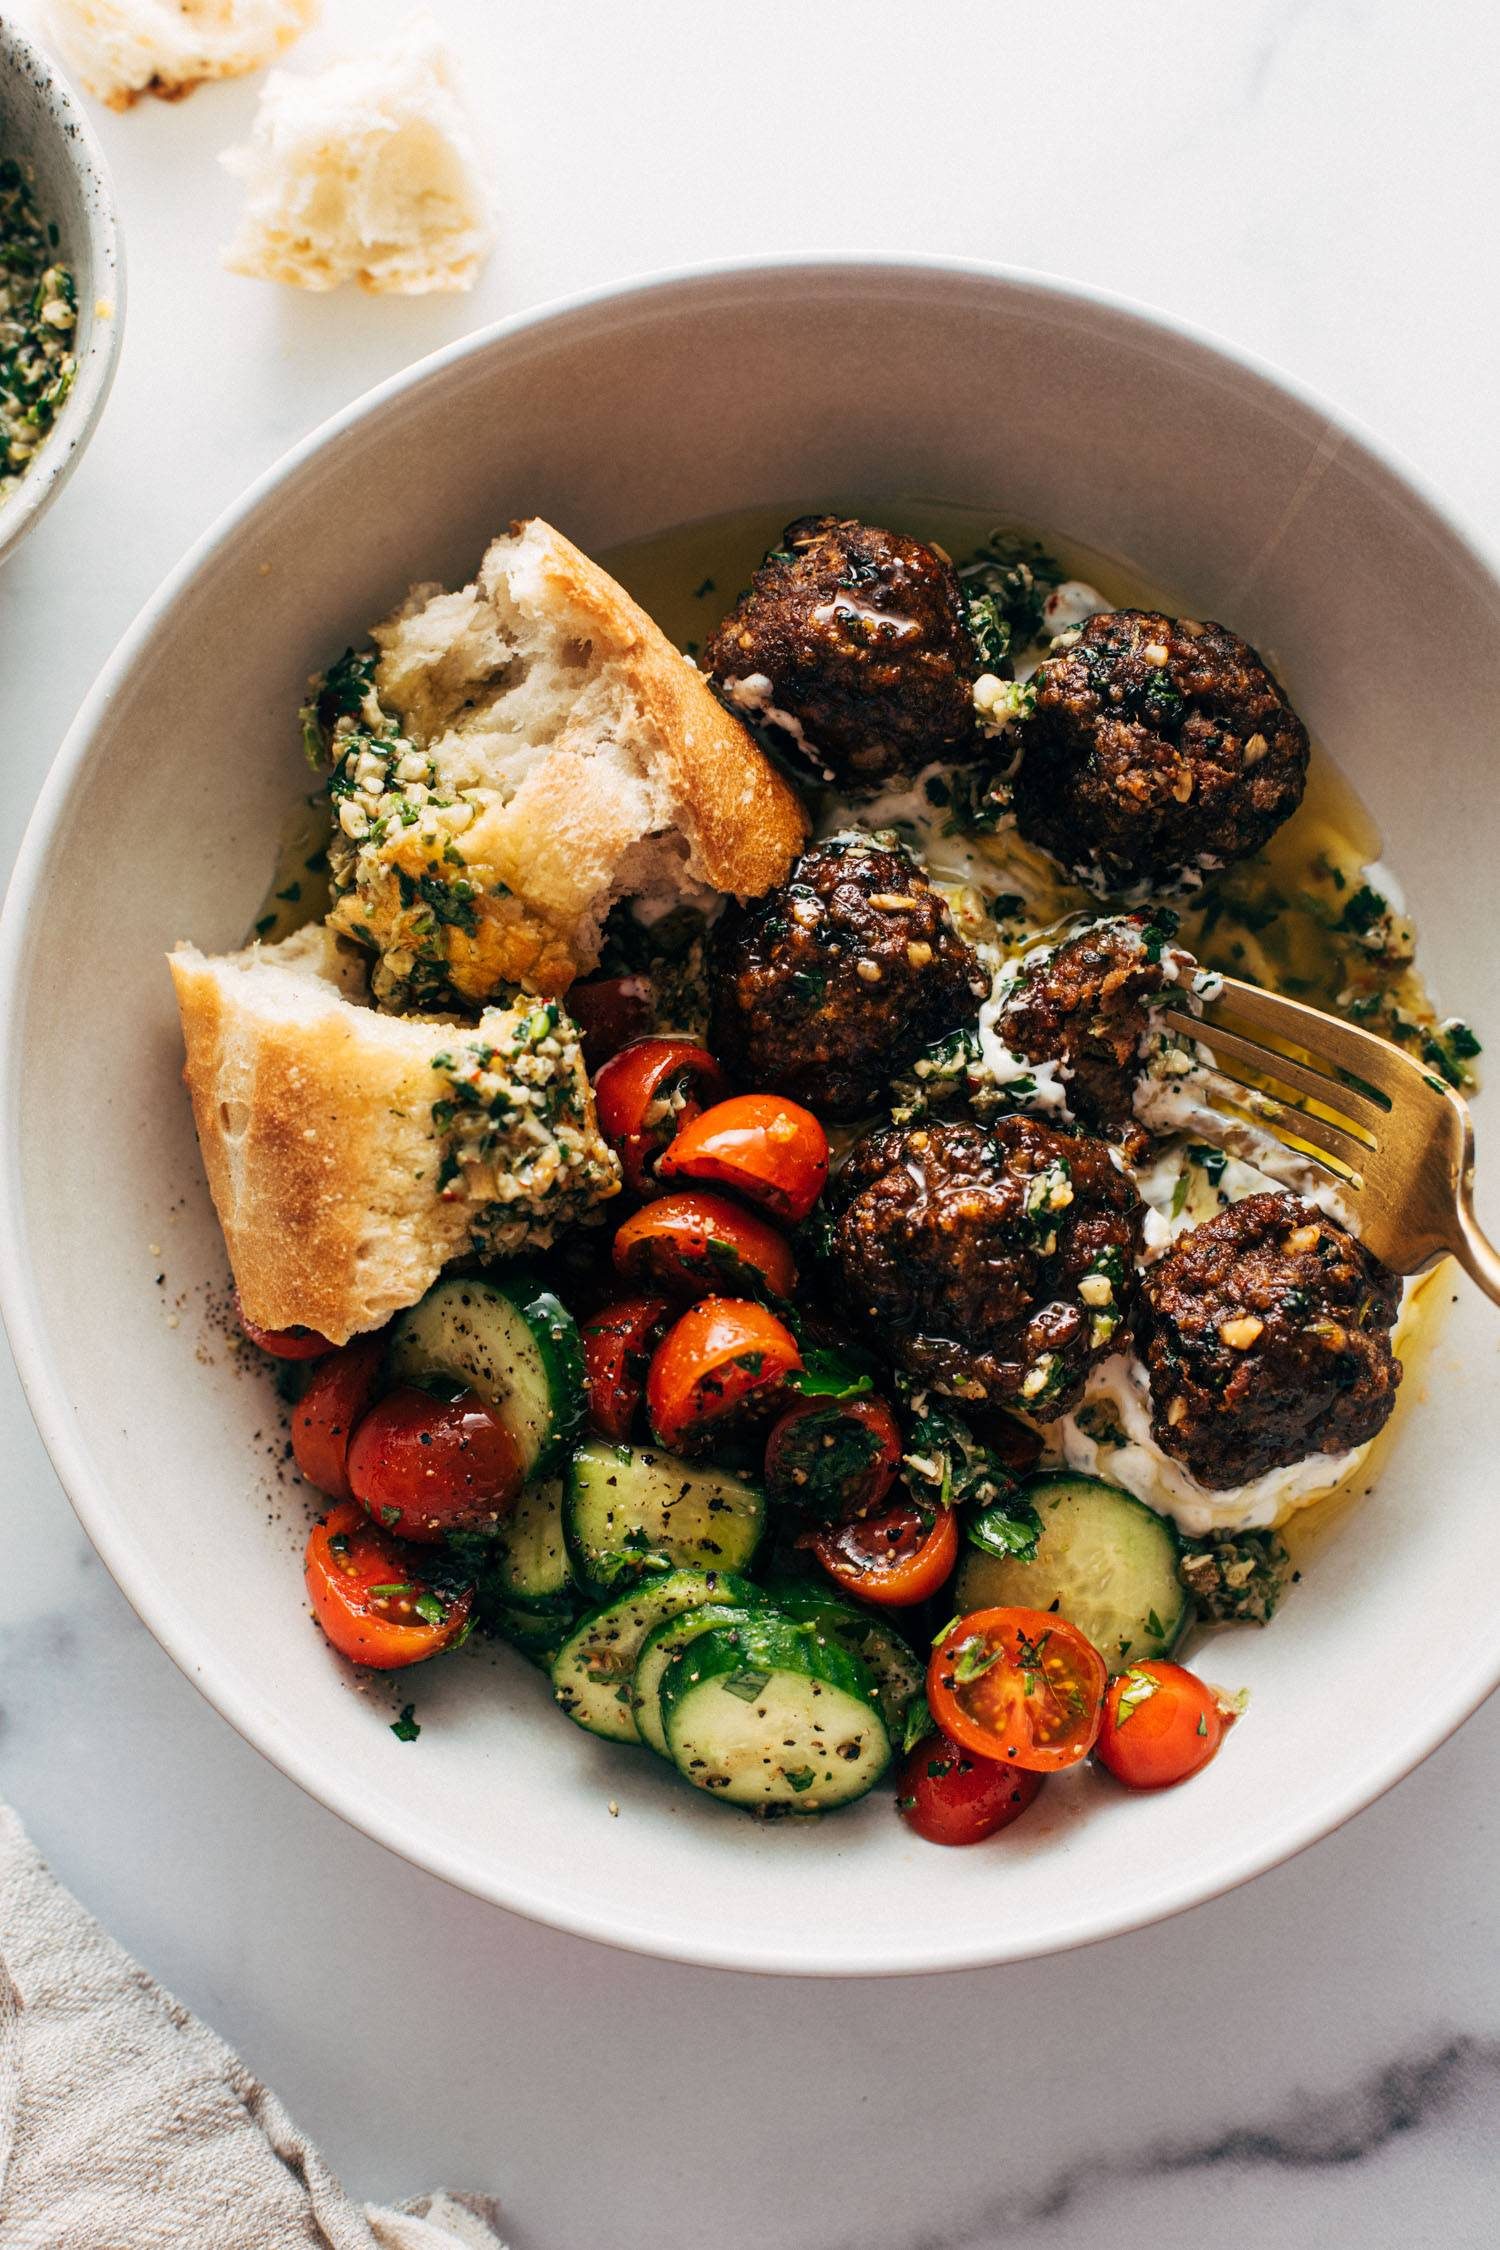
    Then serve those meatballs over creamy tzatziki, heavily dolloped with your green sauce, along with a pile of tzatziki and simple tomato salad, add a big torn-off hunk of rustic bread, and oof, what a satisfying flavor extravaganza you’re in for!

    Meatballs in a bowl with a tomato salad, fork, and bread

    Will these juicy delicious little sheet pan meatballs absolutely steal your hearts? Yes. Does green sauce, just in general, make the world better? Also yes. Let’s get to it, pals.


    Print

    clock clock iconcutlery cutlery iconflag flag iconfolder folder iconinstagram instagram iconpinterest pinterest iconfacebook facebook iconprint print iconsquares squares iconheart heart iconheart solid heart solid icon

    Description

    Juicy little sheet pan meatballs that are salty, zesty, briney, and so so delicious. Pile them on tzatziki, spoon some punchy green sauce over top, and serve with a simple salad and crusty bread.


    1. Preheat the oven to 425 degrees. 
    2. Make your tomato salad and throw in some sliced cucumbers too!
    3. Pulse the garlic, parsley, cilantro, capers, and walnuts in a food processor until chopped very finely (but not creamy / not a paste – you just want a fine chop! and you could do this by hand as well). This is your flavor base!
    4. Transfer half of the flavor base to a large bowl for the meatballs. Add all other meatball ingredients and mix thoroughly with your hands to combine. Roll into balls and bake for 10-12 minutes.
    5. Add the other half of the flavor base to a smaller bowl; add lemon zest and lemon juice, olive oil, and salt and pepper to taste to make your sauce. Add red pepper flakes for heat if you want. It should look similar to a loose pesto or chimichurri.
    6. Serve meatballs over a swipe of tzatziki, with a hunk of rustic bread and a scoop of tomato salad. And drizzle, dip, and swish all of it through that punchy green sauce! BIG, BIG FLAVORS! So good!

    • Prep Time: 15 minutes
    • Cook Time: 30 minutes
    • Category: Dinner
    • Method: Bake
    • Cuisine: Mediterranean-Inspired

    Keywords: sheet pan meatballs, meatball bowls, green sauce

    Thank you to ButcherBox for sponsoring this recipe!


    More Meatball Recipes We Can’t Stop Talking About

    Source link