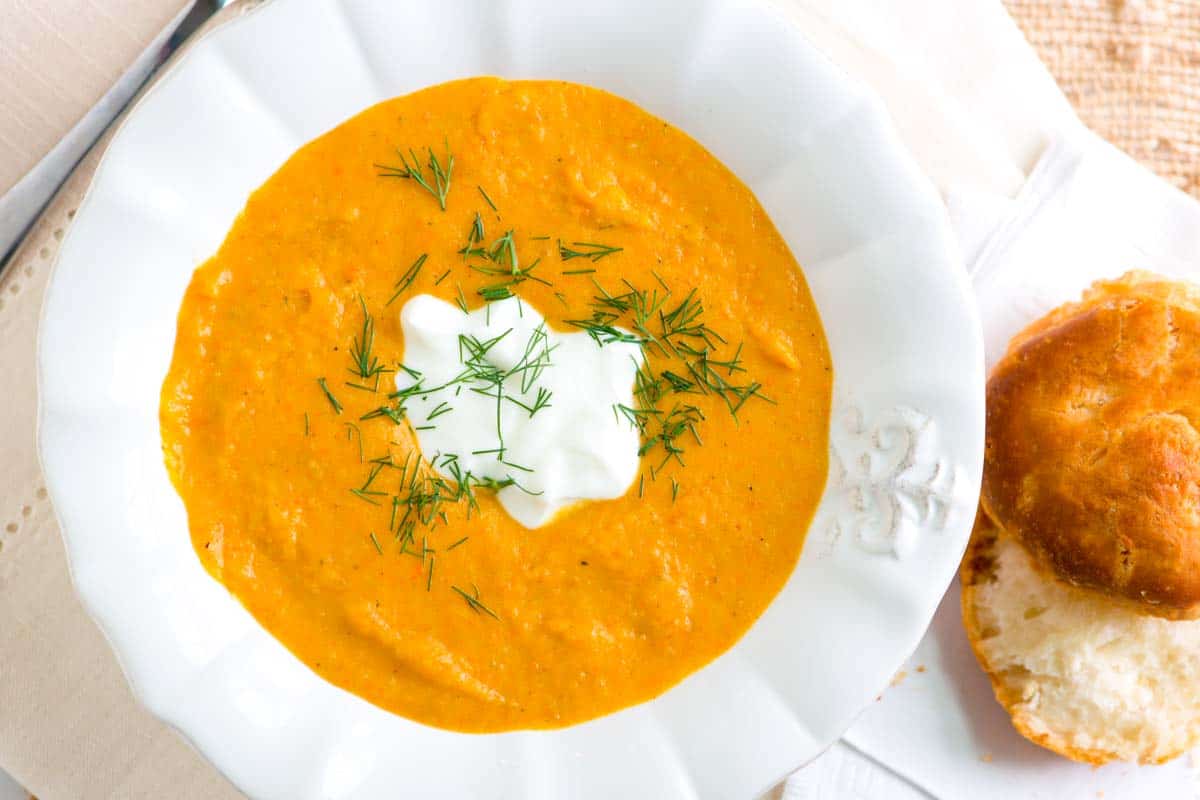
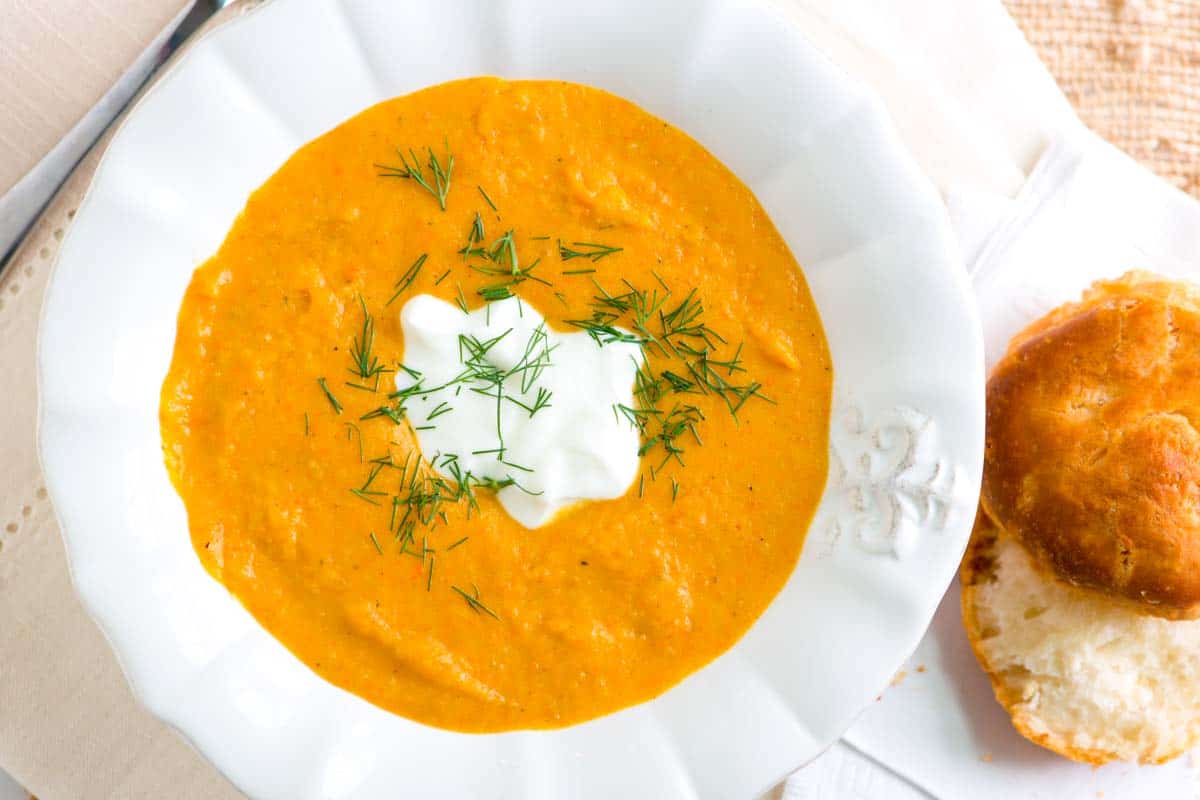
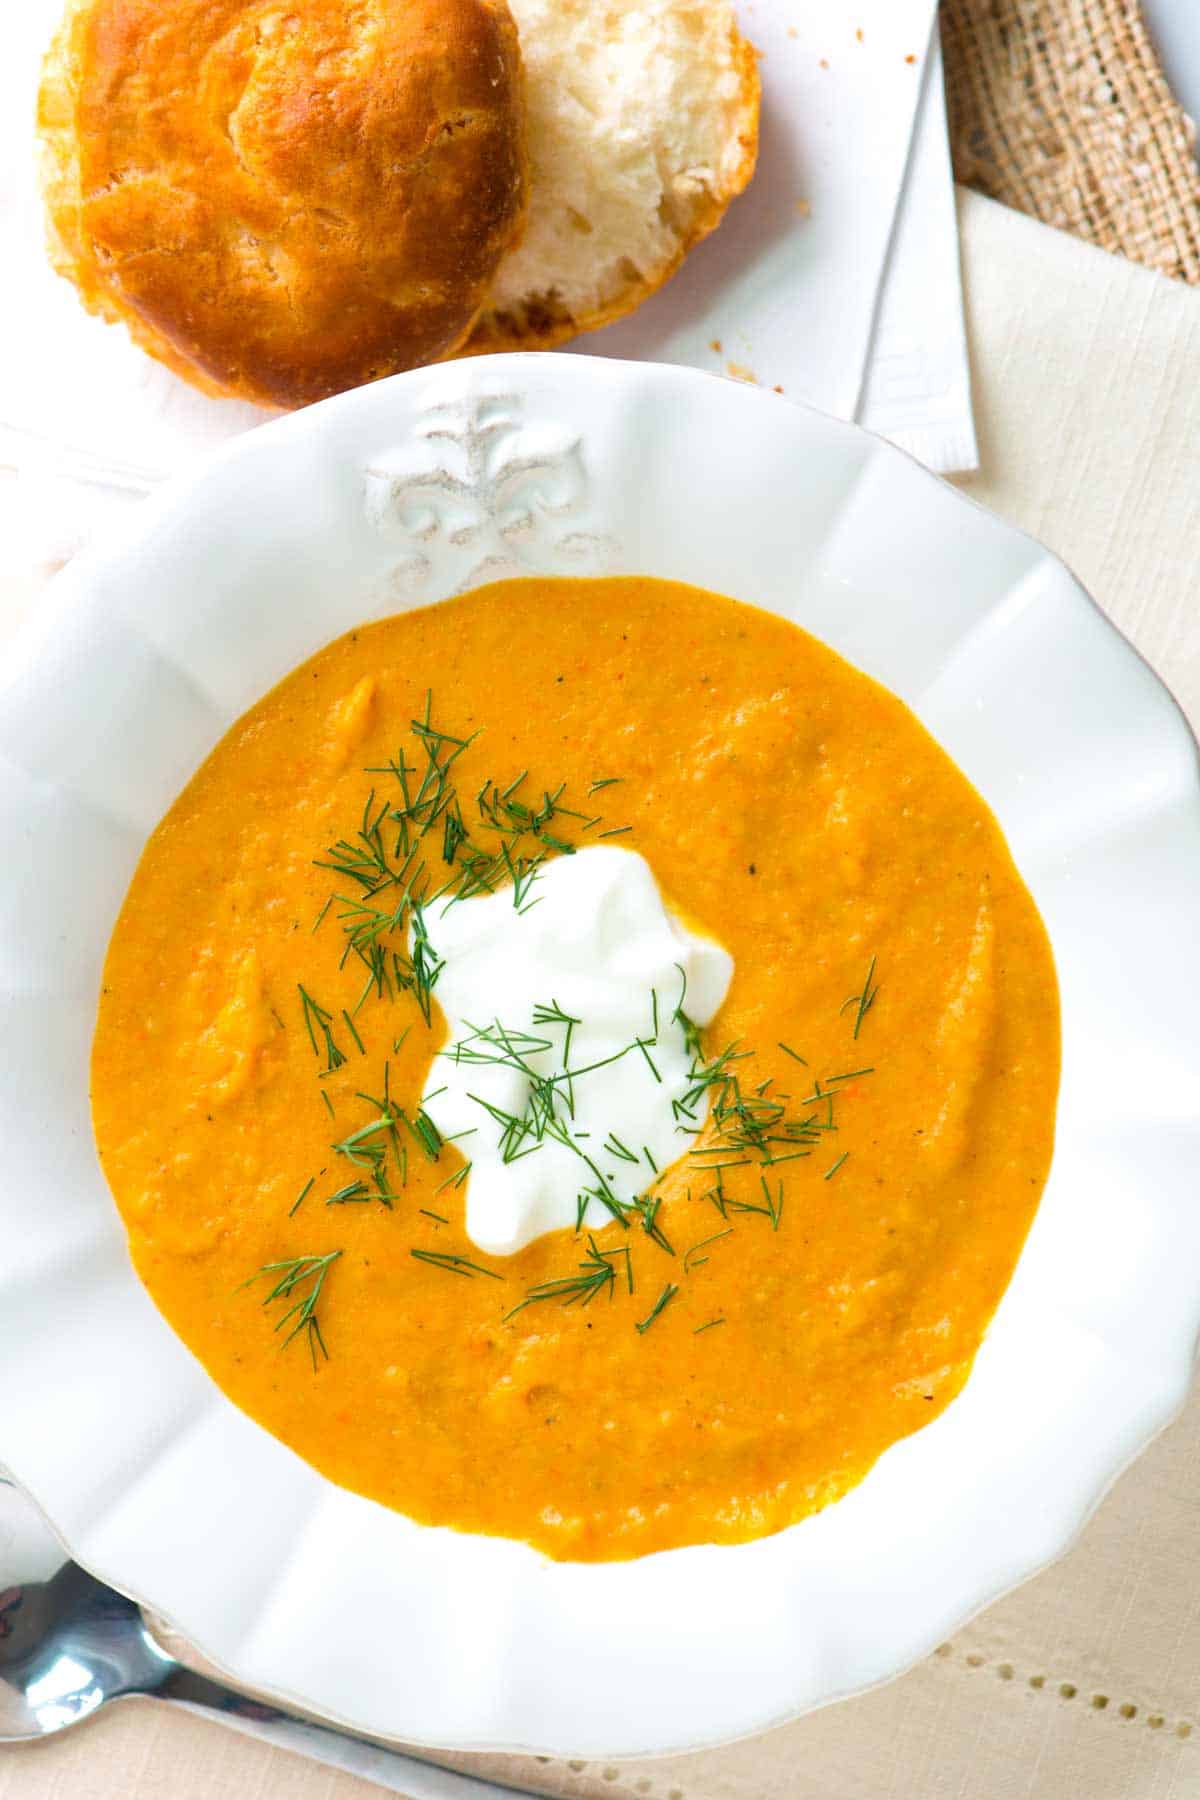
How to make curried coconut carrot soup with apple, potatoes and coconut milk. This simple soup is hearty, thick, and very satisfying! Jump to the Curried Coconut Apple Carrot Soup Recipe or read on to see our tips for making it.
– This Recipe is Sponsored by Pillsbury –
How to Make Curried Apple, Potato and Carrot Soup
We love hearty soups that are thick and satisfying and this easy soup recipe absolutely delivers! Just like when making our creamy vegetable soup, we blend in potatoes to make the soup thick and creamy. In addition to the potatoes, this curried soup combines apples, celery, coconut milk, and just enough curry powder to add spice and amazing flavor.
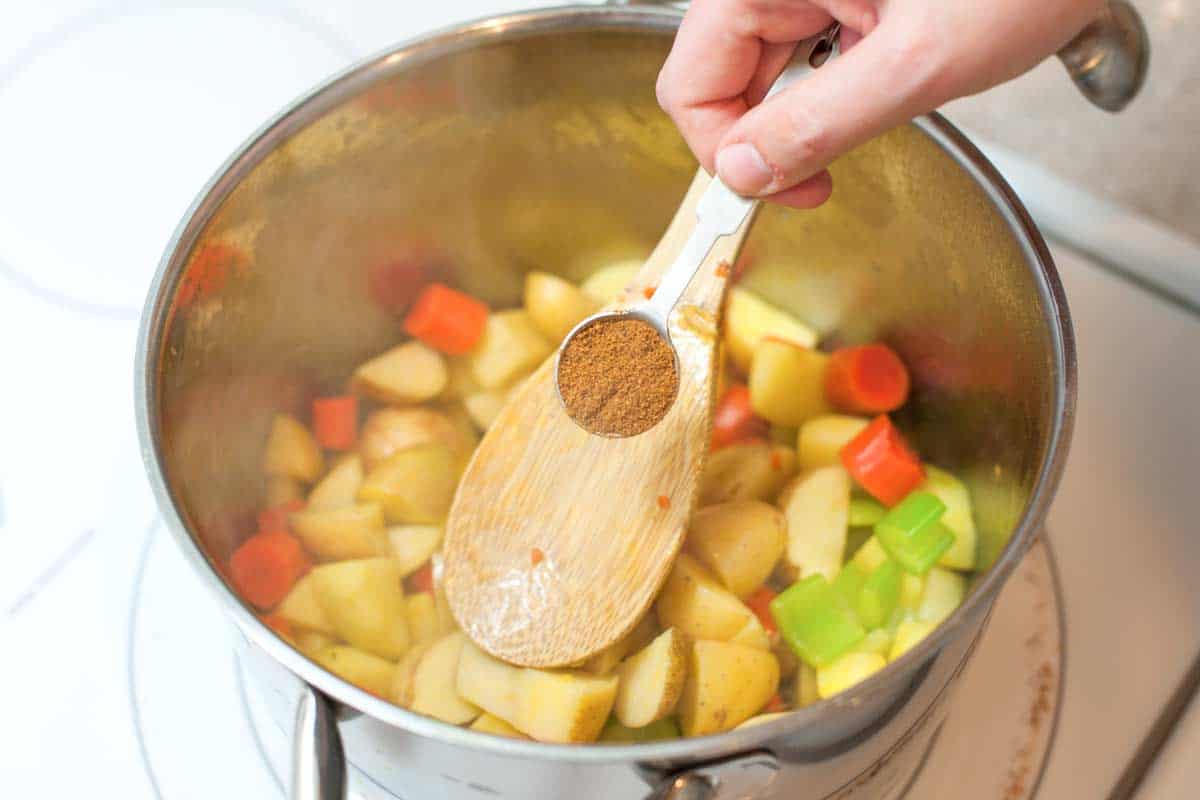
The soup is really simple to make. Start by adding lots of carrots, celery, apples and potatoes to a big pot with some olive oil. Cook them until slightly softened, and then add curry powder, which is a spice blend with coriander, mustard seeds, cumin and more.
When there’s a little color on the vegetables and they are starting to soften, we add creamy unsweetened coconut milk as well as chicken or vegetable stock. [Here’s our homemade chicken stock as well as our recipe for homemade veggie broth]
After simmering for a 10 to 15 minutes, the vegetables and apple will be soften enough to blend. We use an immersion blender to puree the soup until creamy, but adding the soup to a blender will work, too.
Just before serving, as an optional step, you can stir in some half-and half or cream, making it luxurious. We also love to serve it with a dollop of yogurt on top. For a dairy-free soup, simply eliminate this from the recipe. It is still excellent without it. Or add a drizzle of our favorite tahini sauce on top, instead.
Recipe updated, originally posted October 2012. Since posting this in 2012, we have tweaked the recipe to be more clear. – Adam and Joanne
Curried Coconut Apple Carrot Soup
PREP
COOK
TOTAL
Just before serving, we stir in some half-and half or cream, making it luxurious and serve it with a dollop of yogurt on top. If you wanted the carrot soup to be dairy-free simply eliminate this from the recipe. It is still excellent without it. Or add a drizzle of our favorite tahini sauce on top instead.
Makes approximately 4 large or 6 small servings
You Will Need
2 tablespoons extra-virgin olive oil
1 pound carrots, peeled and chopped (5 to 6 medium)
2 Granny Smith apples, peeled and chopped
3 stalks celery, chopped
1 pound yellow or red potatoes, chopped (3 to 4 medium)
1 1/2 teaspoons curry powder
1/4 teaspoon red pepper flakes
1 (14 ounce) can light coconut milk
2 cups chicken stock, see our homemade chicken stock recipe
1/3 cup half and half, optional
2 tablespoons fresh lime juice
Salt and fresh ground black pepper
1/4 cup plain yogurt
Fresh chopped herbs such as dill or cilantro
Freshly baked Pillsbury biscuits or rolls
Directions
1Heat 3-quart saucepan over medium heat, add olive oil then add carrots, apples, celery and the potatoes. Cook, stirring occasionally, 5 to 8 minutes or until vegetables and apples begin to sweat.
2Stir in curry powder, red pepper flakes and 1 teaspoon of salt. Cook 2 minutes, and then add coconut milk and chicken stock. Simmer soup until the vegetables are soft, about 20 minutes.
3Use an immersion blender to blend the soup until creamy. Remove from heat then add half-and-half and lime juice. Taste for seasoning and adjust with salt and/or pepper.
4Divide soup between bowls then top with 1 tablespoon of yogurt and a sprinkle of fresh chopped dill. Serve with warm biscuits or bread rolls.
Adam and Joanne’s Tips
Nutrition Facts: The nutrition facts provided below are estimates. We have used the USDA database to calculate approximate values.
If you make this recipe, snap a photo and hashtag it #inspiredtaste — We love to see your creations on Instagram and Facebook! Find us: @inspiredtaste
Nutrition Per Serving Serving Size 1/6 of the recipe / Calories 302 / Total Fat 18.4g / Saturated Fat 12g / Cholesterol 2.2mg / Sodium 194.7mg / Carbohydrate 32.7g / Dietary Fiber 5.8g / Total Sugars 12.2g / Protein 6.4g
AUTHOR:
Joanne Gallagher
We are Adam and Joanne Gallagher, the creators of Inspired Taste. Established in 2009, Inspired Taste grew from a childhood dream into one of the internet’s most trusted recipe sites with hundreds of reliable recipes, step-by-step videos, and expert tips.More About Us
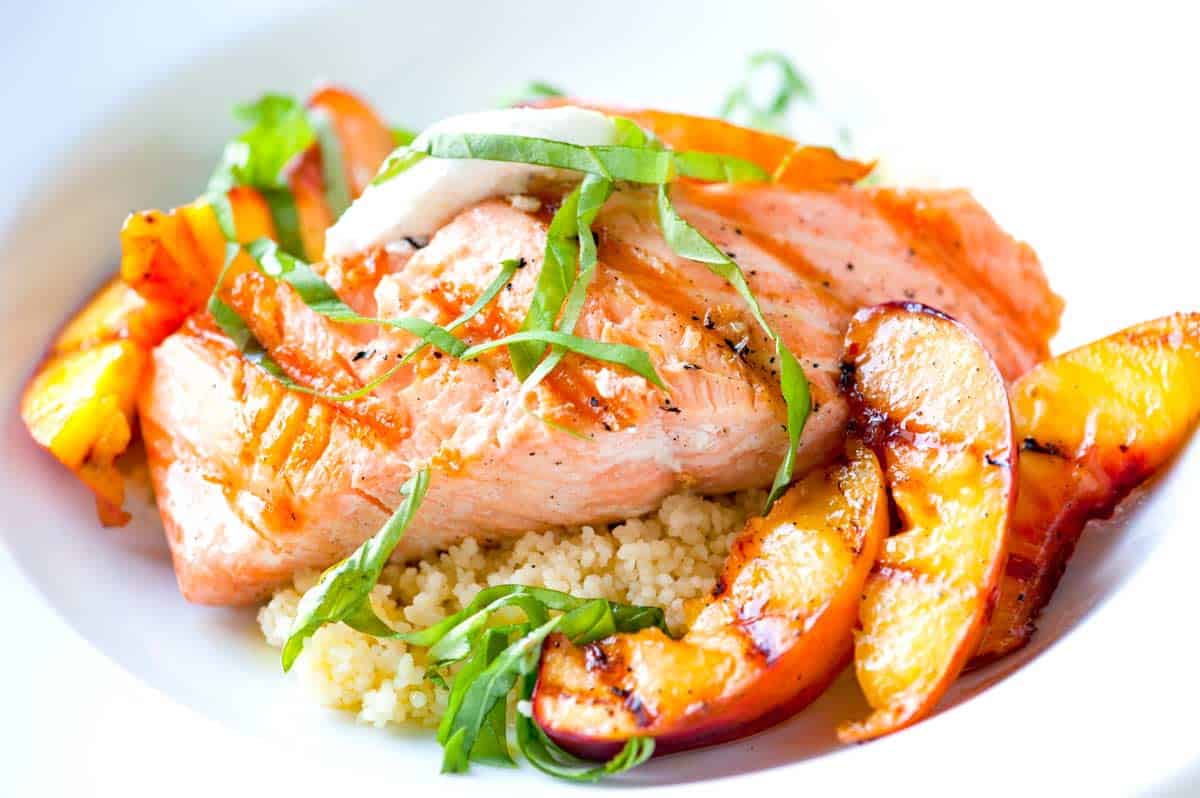
How to make grilled salmon topped with grilled nectarines and goat cheese. Jump to the Grilled Salmon Recipe with Nectarines and Goat Cheese or read on to see our tips for making it.
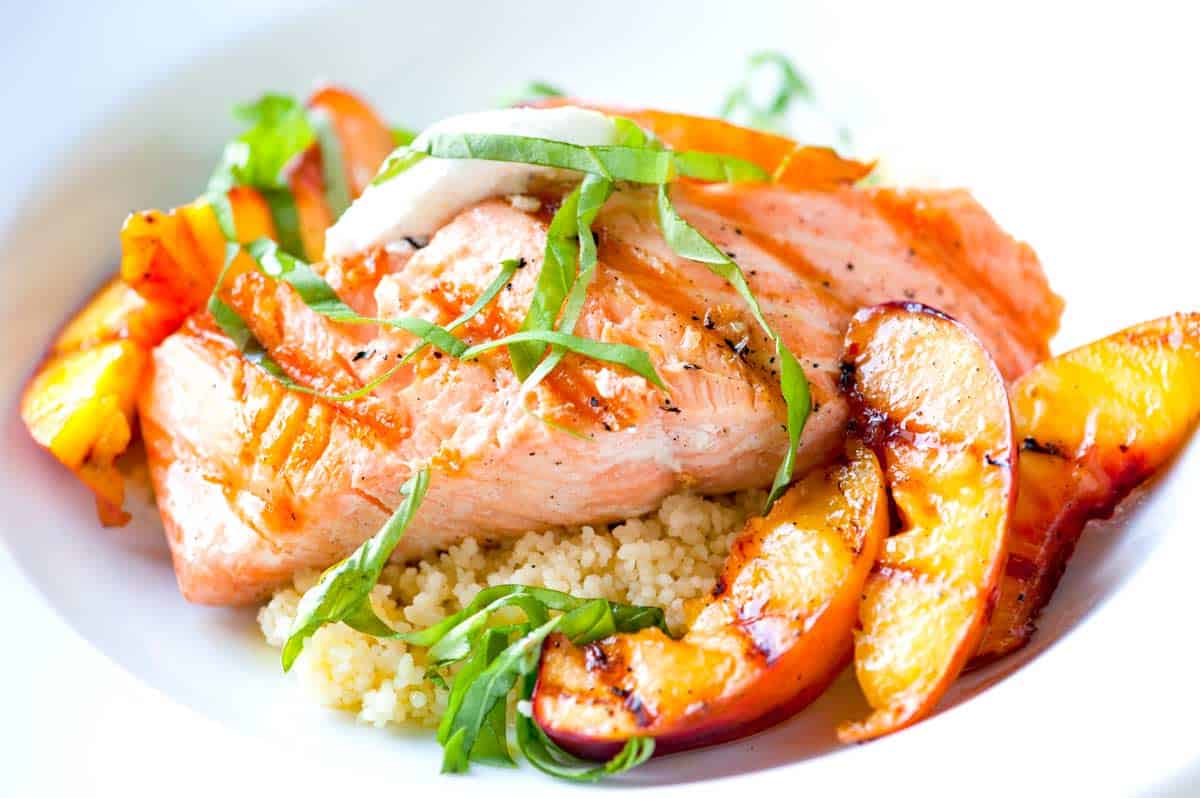
The salmon is simply grilled — only with salt, pepper and olive oil. That’s okay, though, because we toss nectarines in maple syrup mixed with a pinch of red pepper flakes and grill them. Everything comes together on a bed of couscous with fresh basil and a dollop of goat cheese on top.
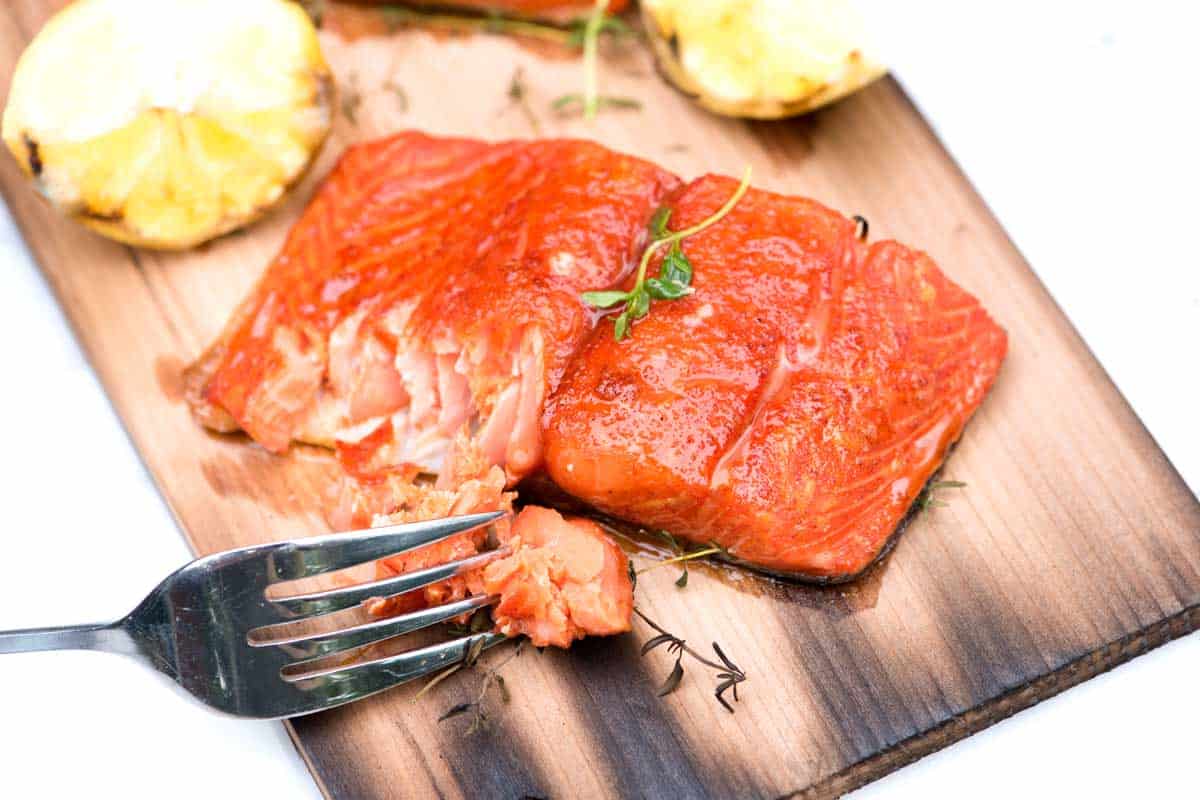
YOU MAY ALSO LIKE: Grilling salmon on a cedar plank is genius. If you haven’t tried it, let me tell you, you need to. Jump to the Sweet Citrus Cedar Plank Salmon Recipe.
How to Cook Salmon and Nectarines on the Grill
You can grill salmon one of two ways — outside or indoors using a cast iron grill pan.
If you are outside, prepare the grill for cooking over medium-hot charcoal or moderate heat for gas grills. For an indoor cast iron grill pan it should be lightly oiled, well-seasoned and over medium-high heat.
To prepare the salmon, rub with a little olive oil then season with salt and pepper. Grill the salmon, 5 to 6 minutes on each side (depending on thickness).
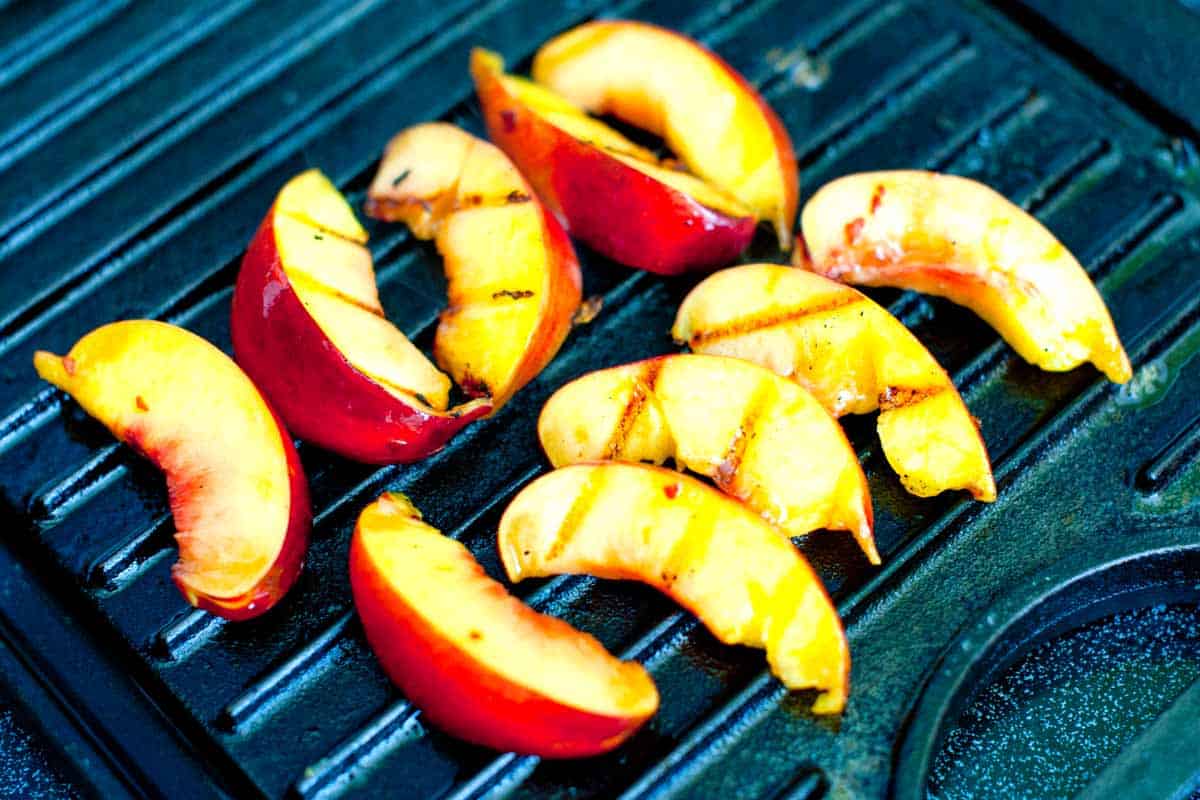
While the salmon grills, thrown on some nectarines or peaches. To grill them, remove the pit then cut into wedges. Toss with a little olive oil then add some maple syrup and a pinch of red pepper flakes — this makes them a little sweet with a spicy kick.
Throw them onto the grill and cook until you begin to see grill marks and they are warmed through — about 2 minutes on each side.
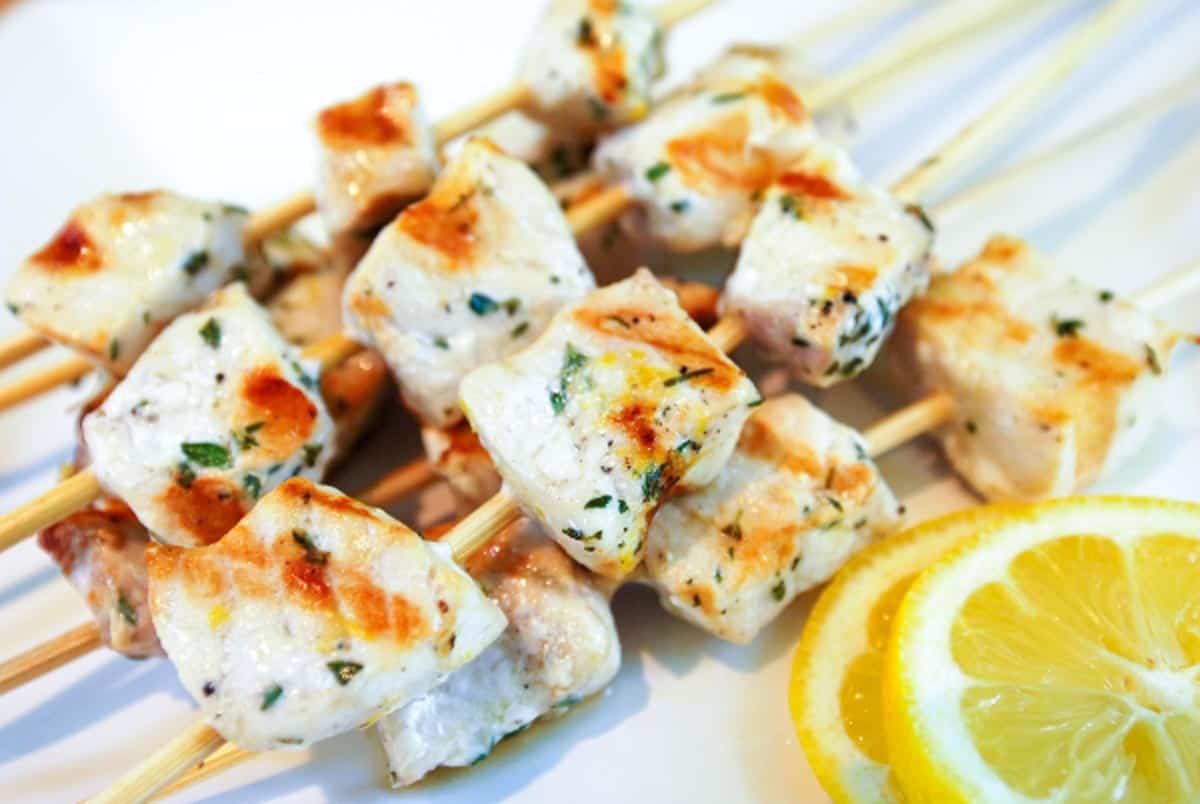
YOU MAY ALSO LIKE: How to make perfectly marinated and grilled swordfish kabobs with lemon, pepper and thyme. Jump to the Lemon Pepper Grilled Swordfish Kabobs Recipe.
Recipe updated, originally posted September 2011. Since posting this in 2011, we have tweaked the recipe to be more clear. – Adam and Joanne
Grilled Salmon Recipe with Nectarines and Goat Cheese
PREP
COOK
TOTAL
The nectarines can be replaced with peaches or other stone fruit (apricots would be lovely).
Makes 2 servings
You Will Need
2 salmon fillets, six ounces each
Olive oil
Salt and fresh ground black pepper
1 medium nectarine, pit removed and cut into wedges
1 tablespoon maple syrup
1/4 teaspoon crushed red pepper flakes
1 cup cooked couscous or rice
2 ounces fresh goat cheese
Handful basil leaves, chopped
Directions
1Prepare a grill for cooking over medium heat. (If using outdoor grill, it needs to have very clean grates). If grilling inside, heat a lightly oiled, well-seasoned grill pan over medium-high heat.
2Wipe salmon fillets dry with paper towels. Brush on both sides with olive oil. Season with salt and black pepper. Grill the salmon, turning once and cooking for five to six minutes on each side, or until it can easily be flaked with a fork. (If you have one, take the salmon off the heat when an internal thermometer reads 135 degrees F).
3Meanwhile, toss nectarine wedges with a teaspoon of olive oil, the maple syrup and crushed red pepper flakes. Place onto the grill and cook until warmed through and grill marks appear, about 2 minutes on each side.
4Serve salmon on a bed of rice or couscous topped with grilled nectarines, a few crumbles of goat cheese and fresh basil.
Adam and Joanne’s Tips
If you make this recipe, snap a photo and hashtag it #inspiredtaste — We love to see your creations on Instagram and Facebook! Find us: @inspiredtaste
AUTHOR:
Joanne Gallagher
We are Adam and Joanne Gallagher, the creators of Inspired Taste. Established in 2009, Inspired Taste grew from a childhood dream into one of the internet’s most trusted recipe sites with hundreds of reliable recipes, step-by-step videos, and expert tips.More About Us
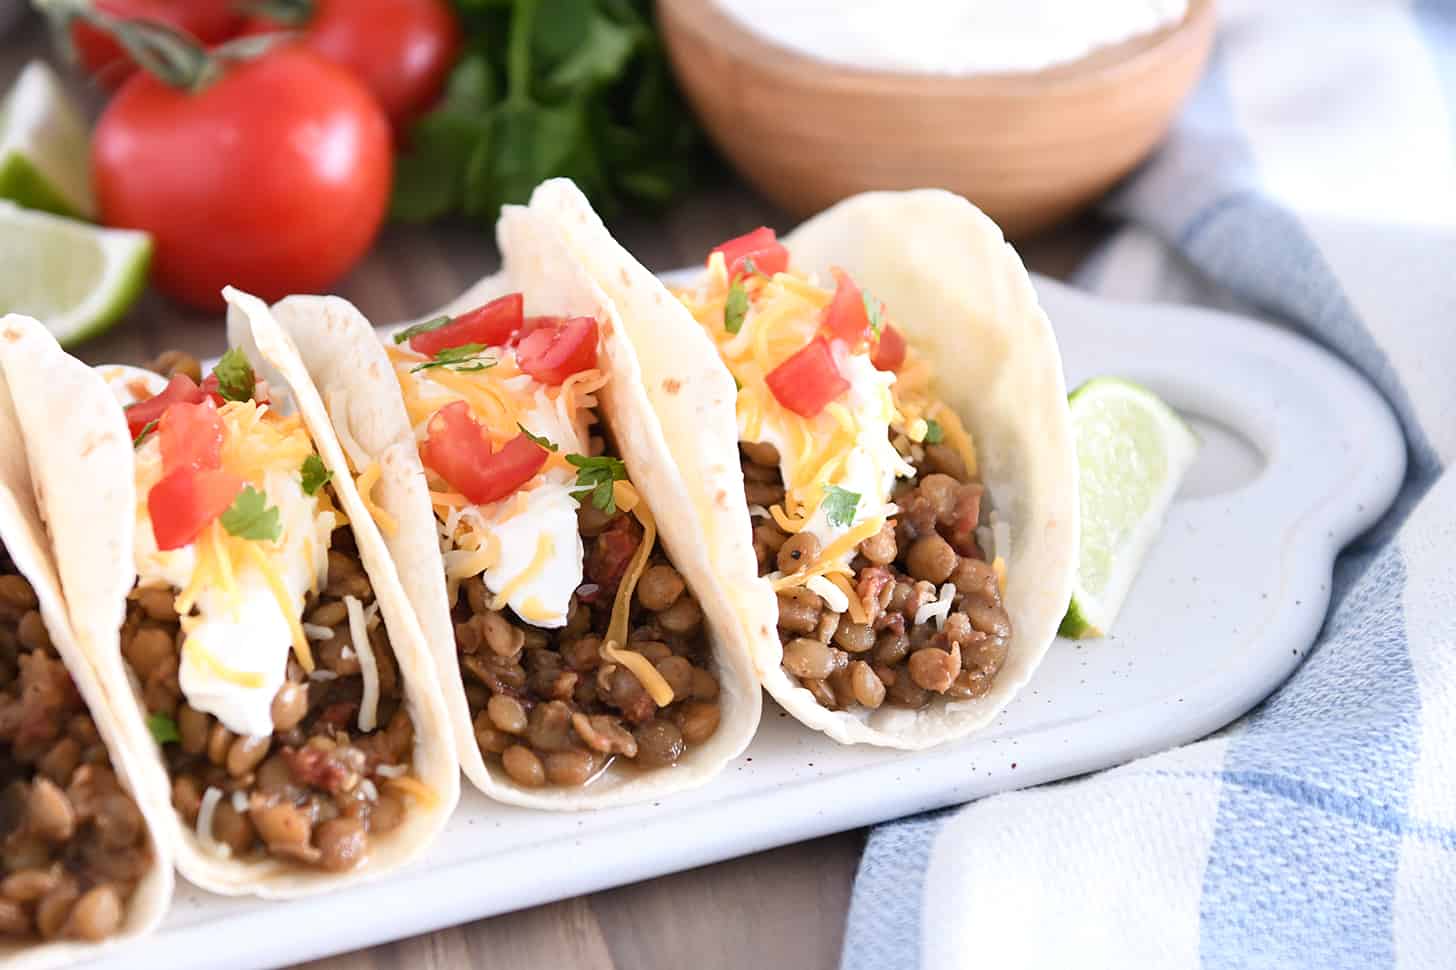
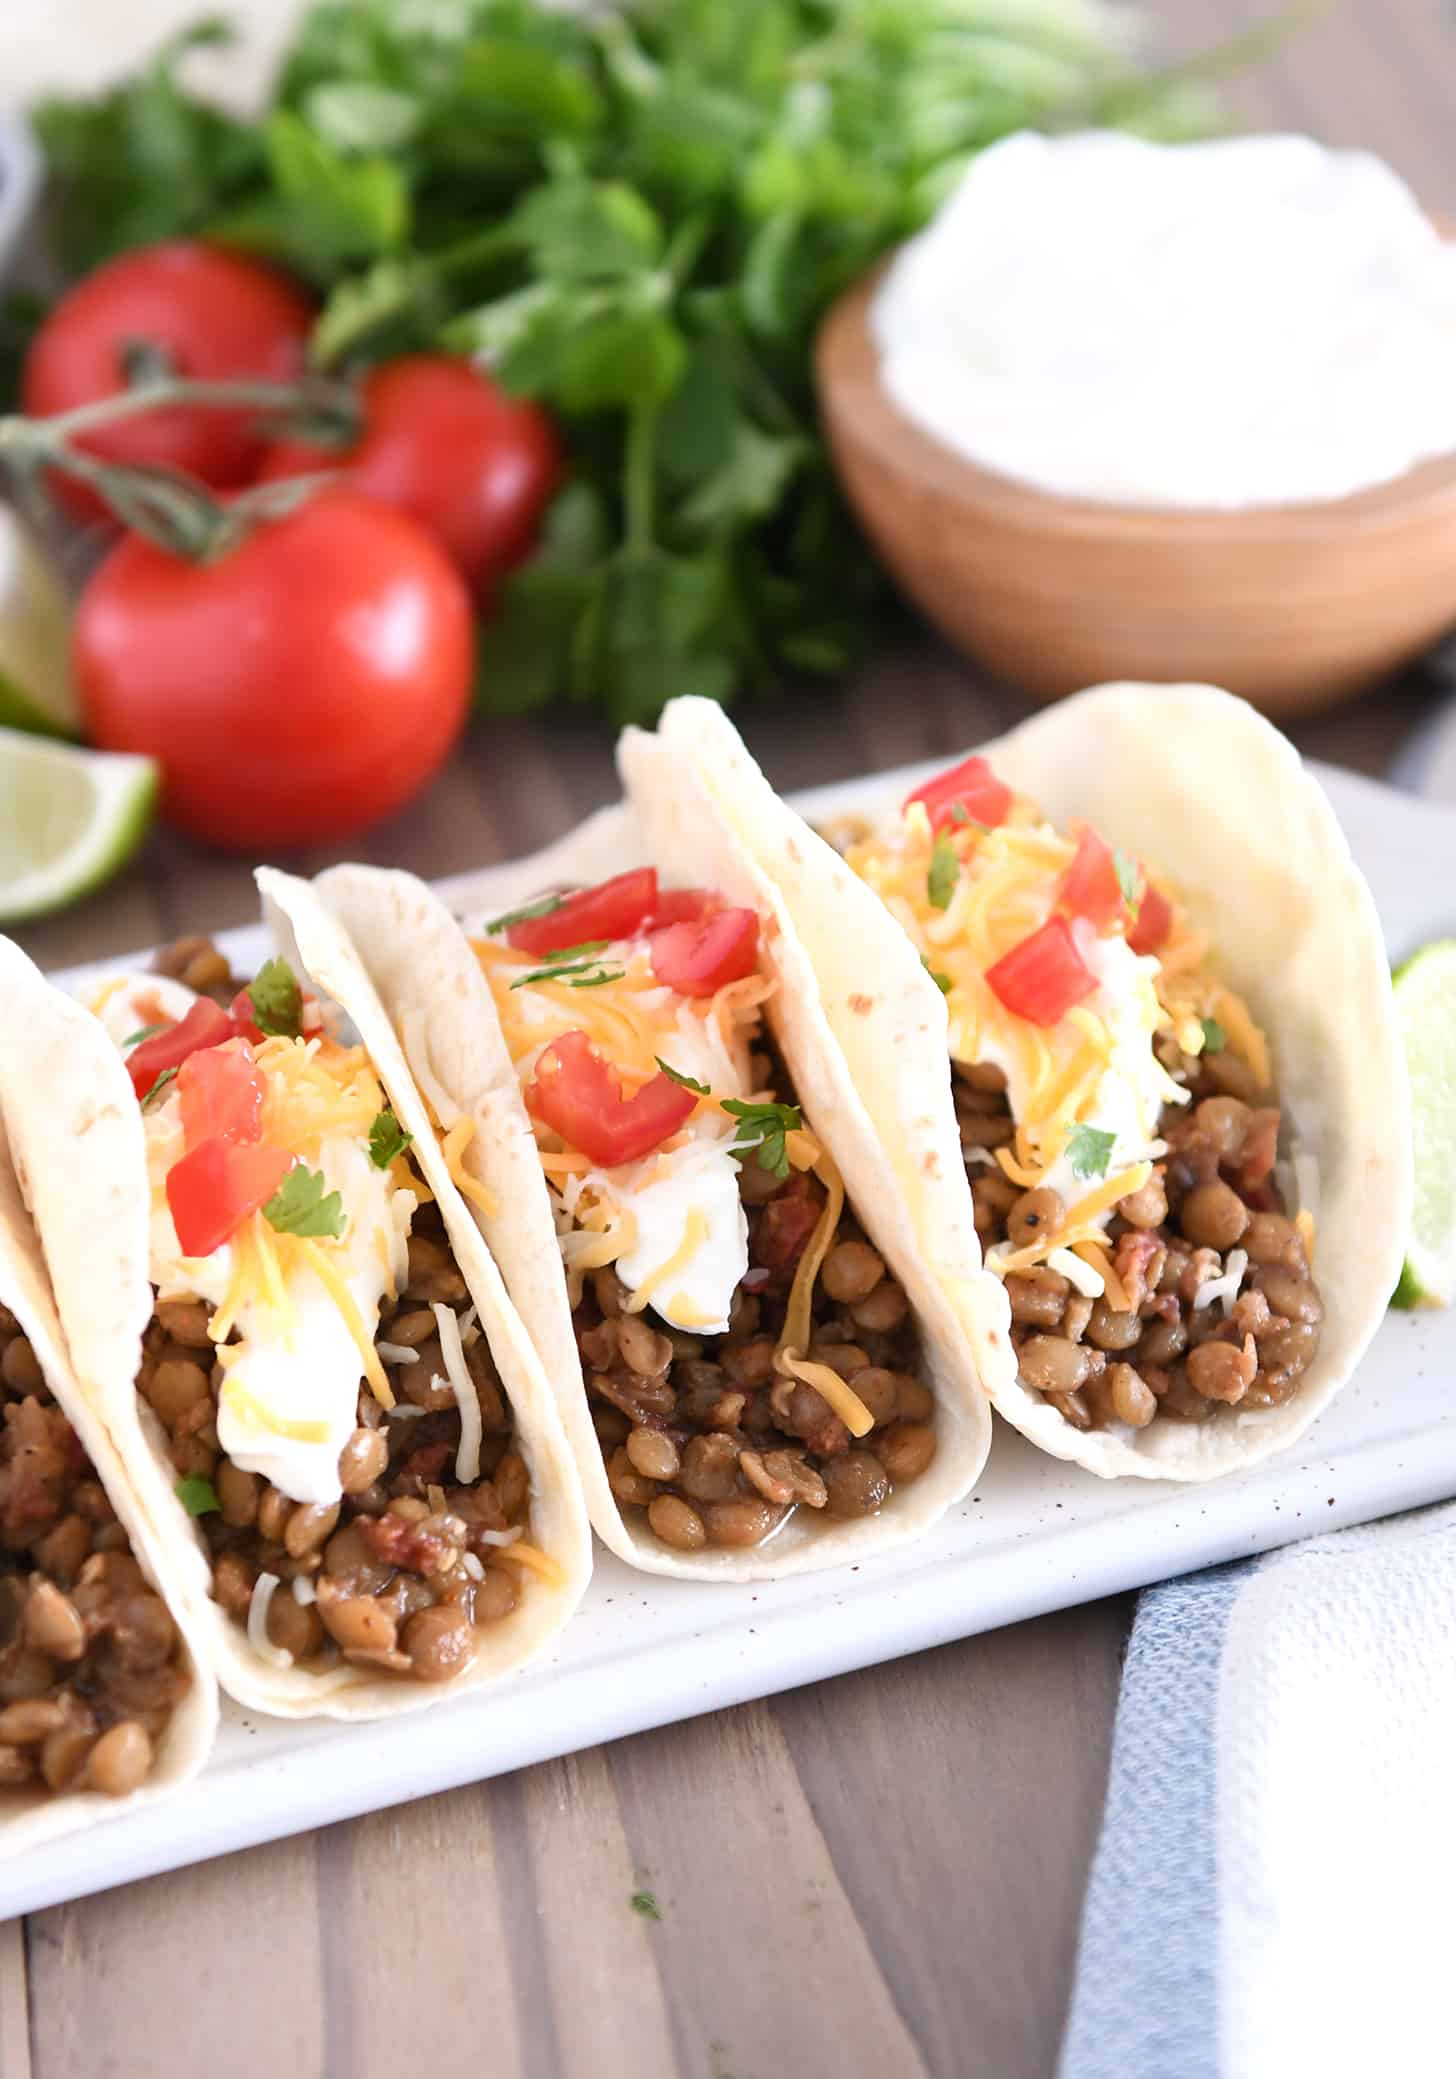
These delicious and hearty lentil tacos can be made in a pressure cooker or on the stovetop. They are so easy to make, and the warm, smoky flavors are amazing!
Have you had lentil tacos before? You won’t even miss the meat. They are so flavorful and so good!
How to Make Lentils for Tacos
The easiest way to make the filling for these lentil tacos is in a pressure cooker!
Using this cooking method is hands off and so much faster than cooking on the stovetop (although I do have instructions for that, if you need!).
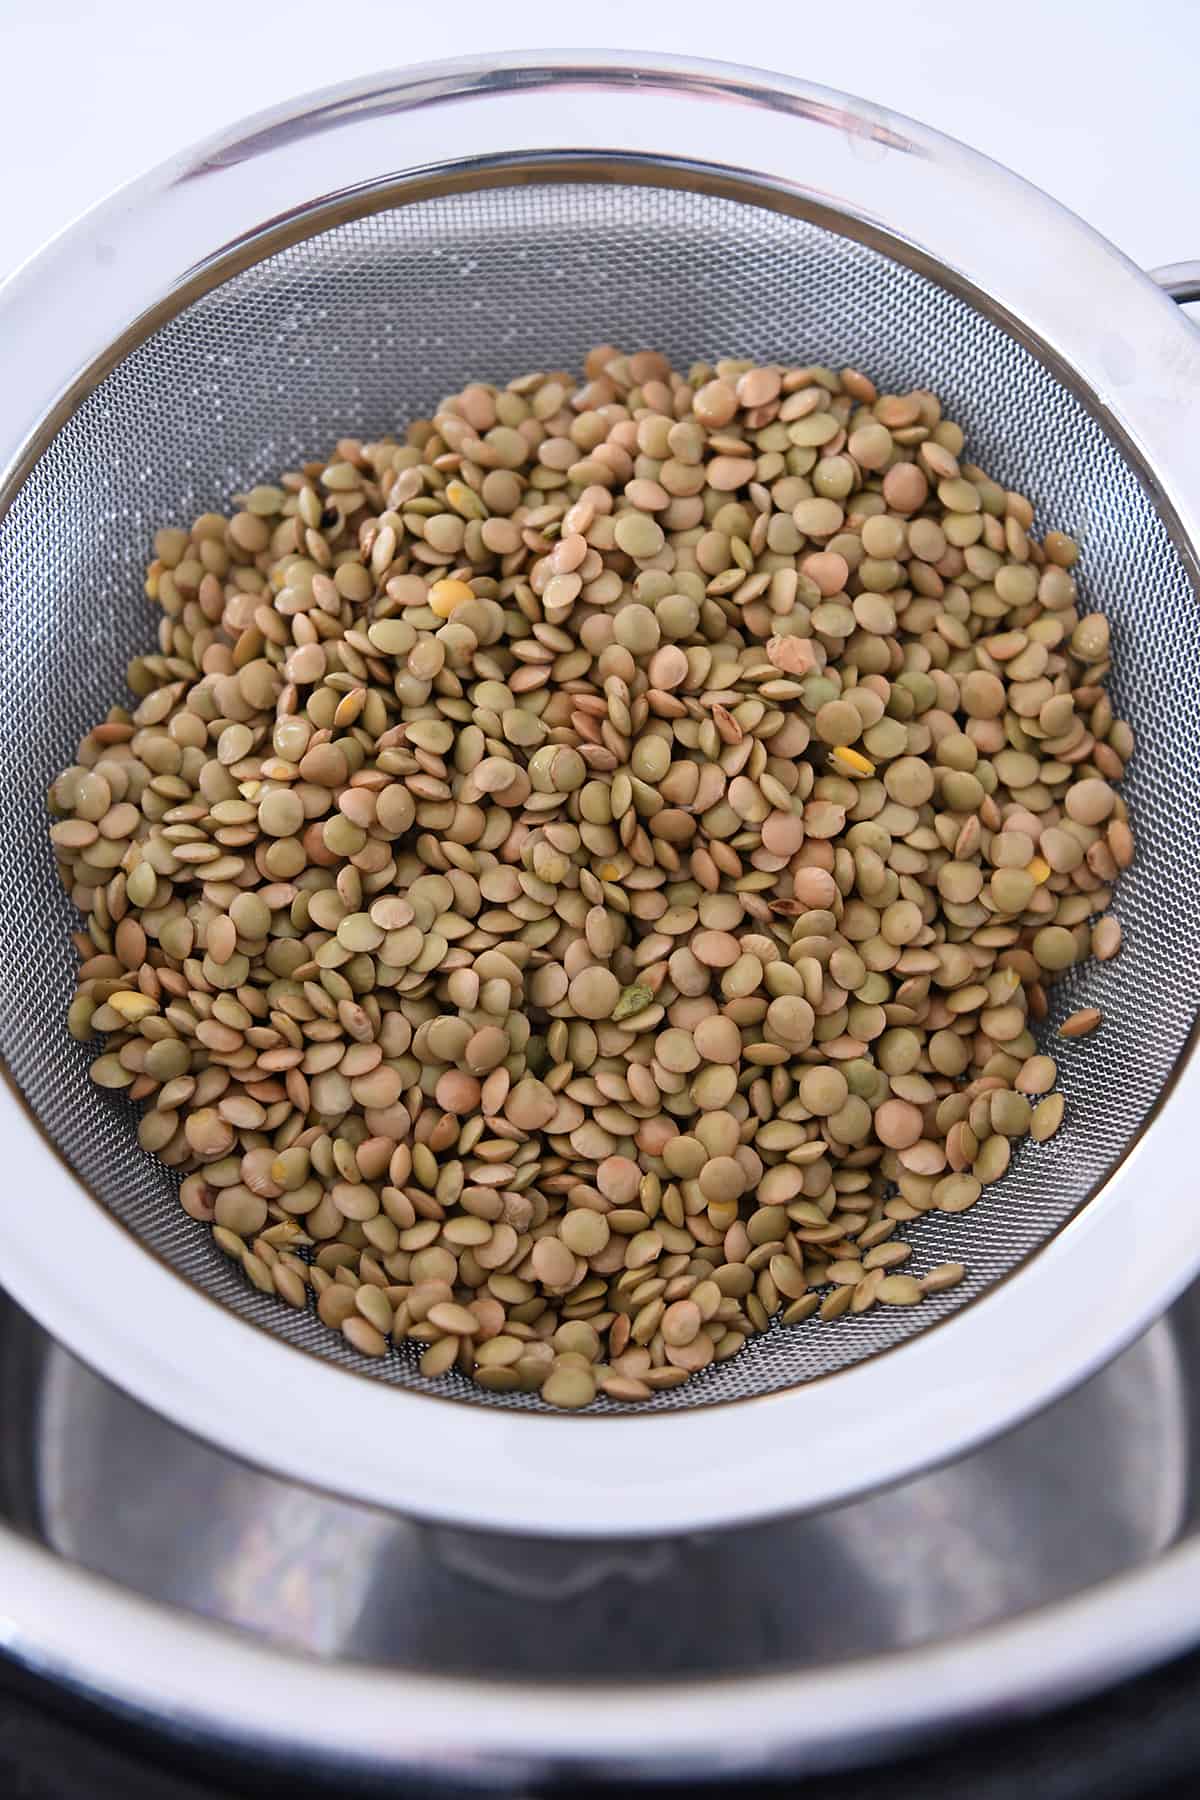
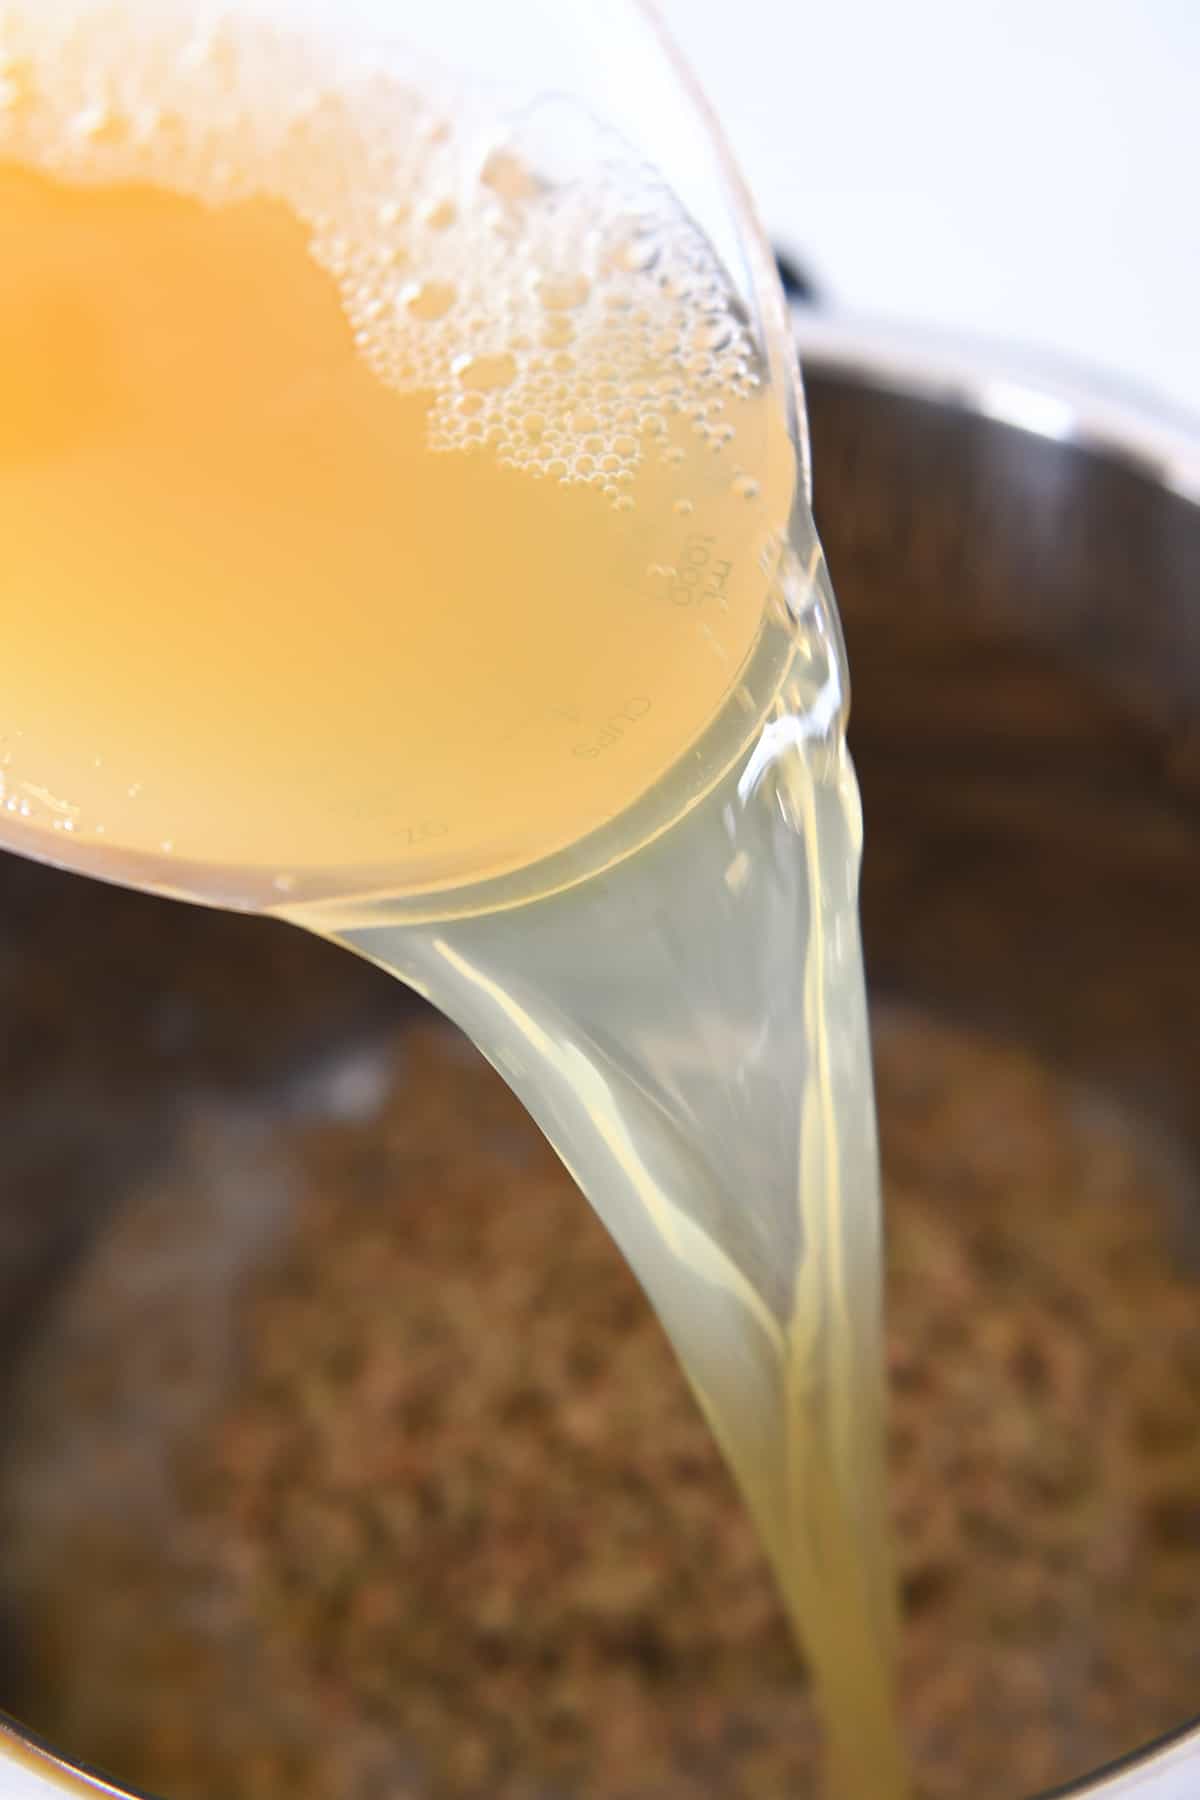
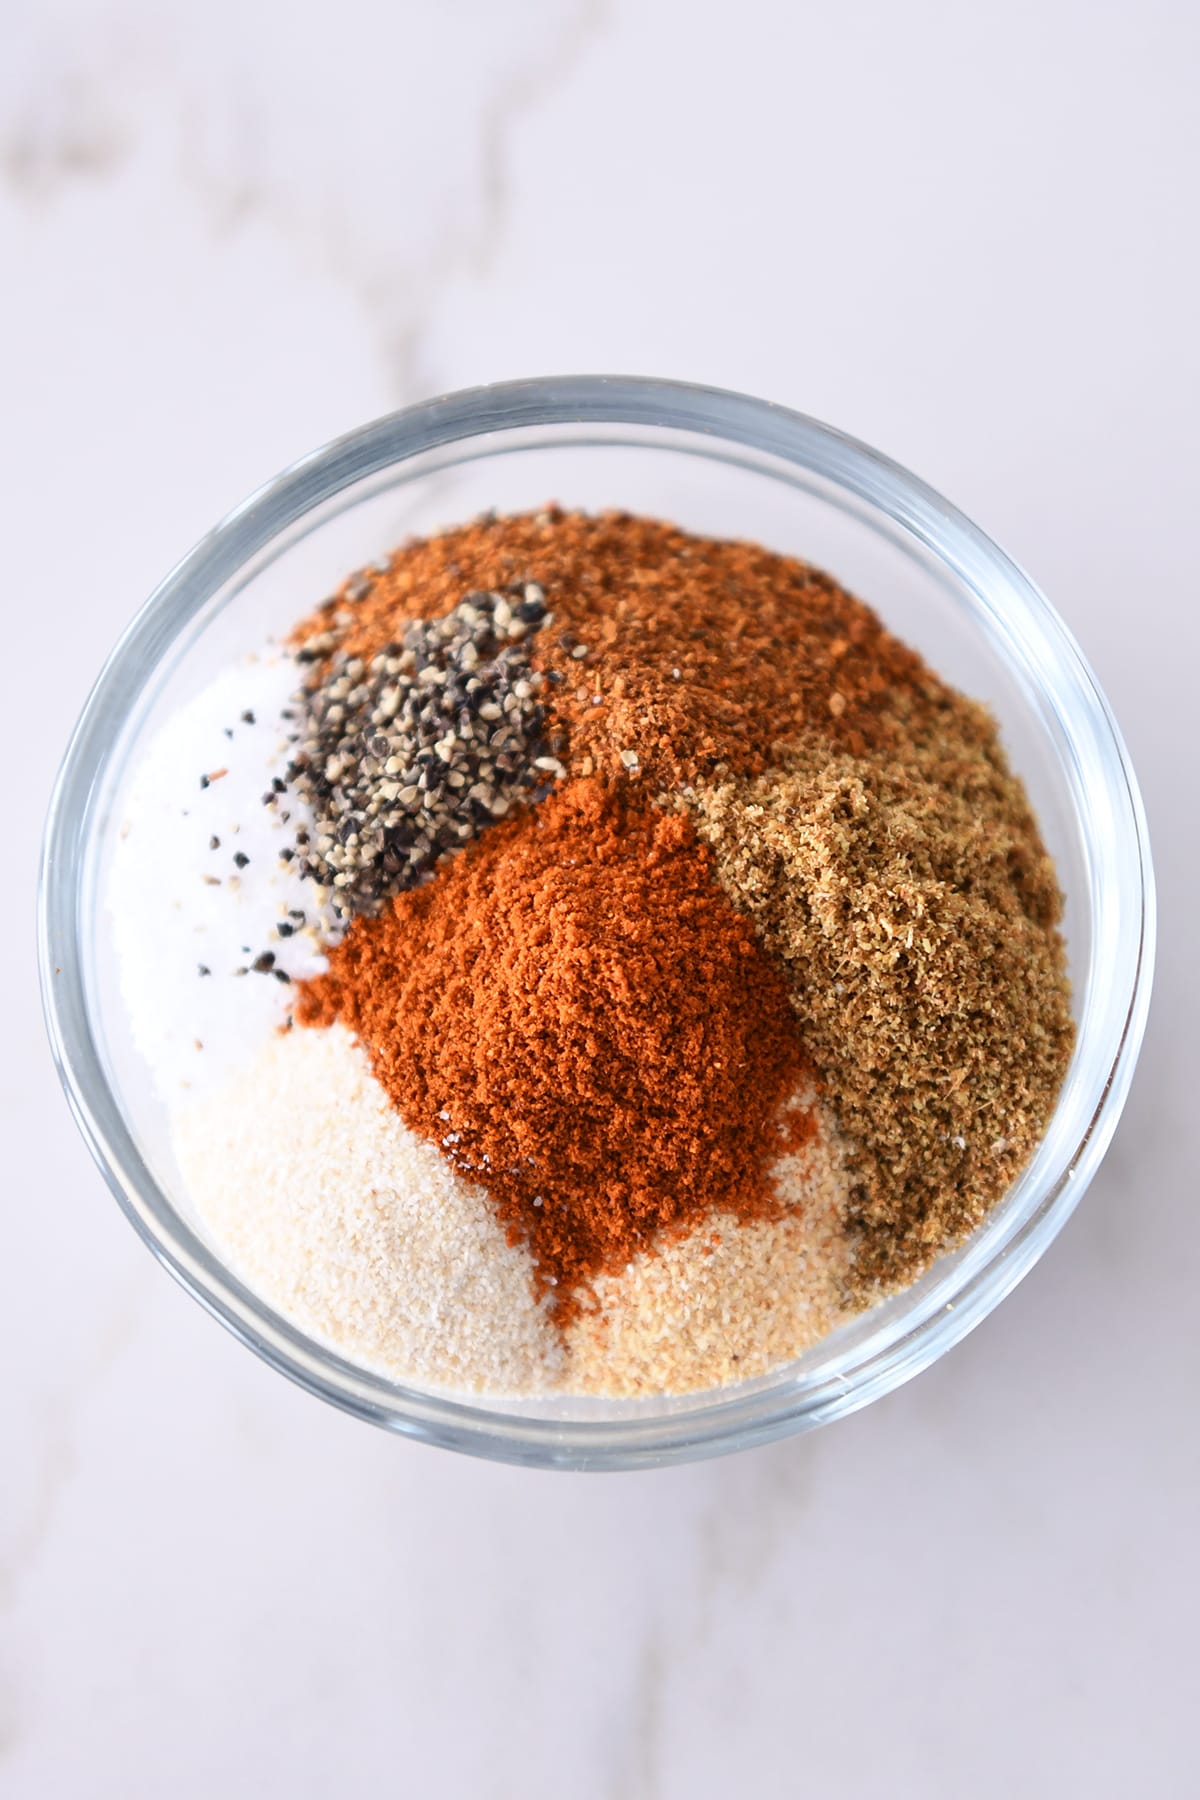
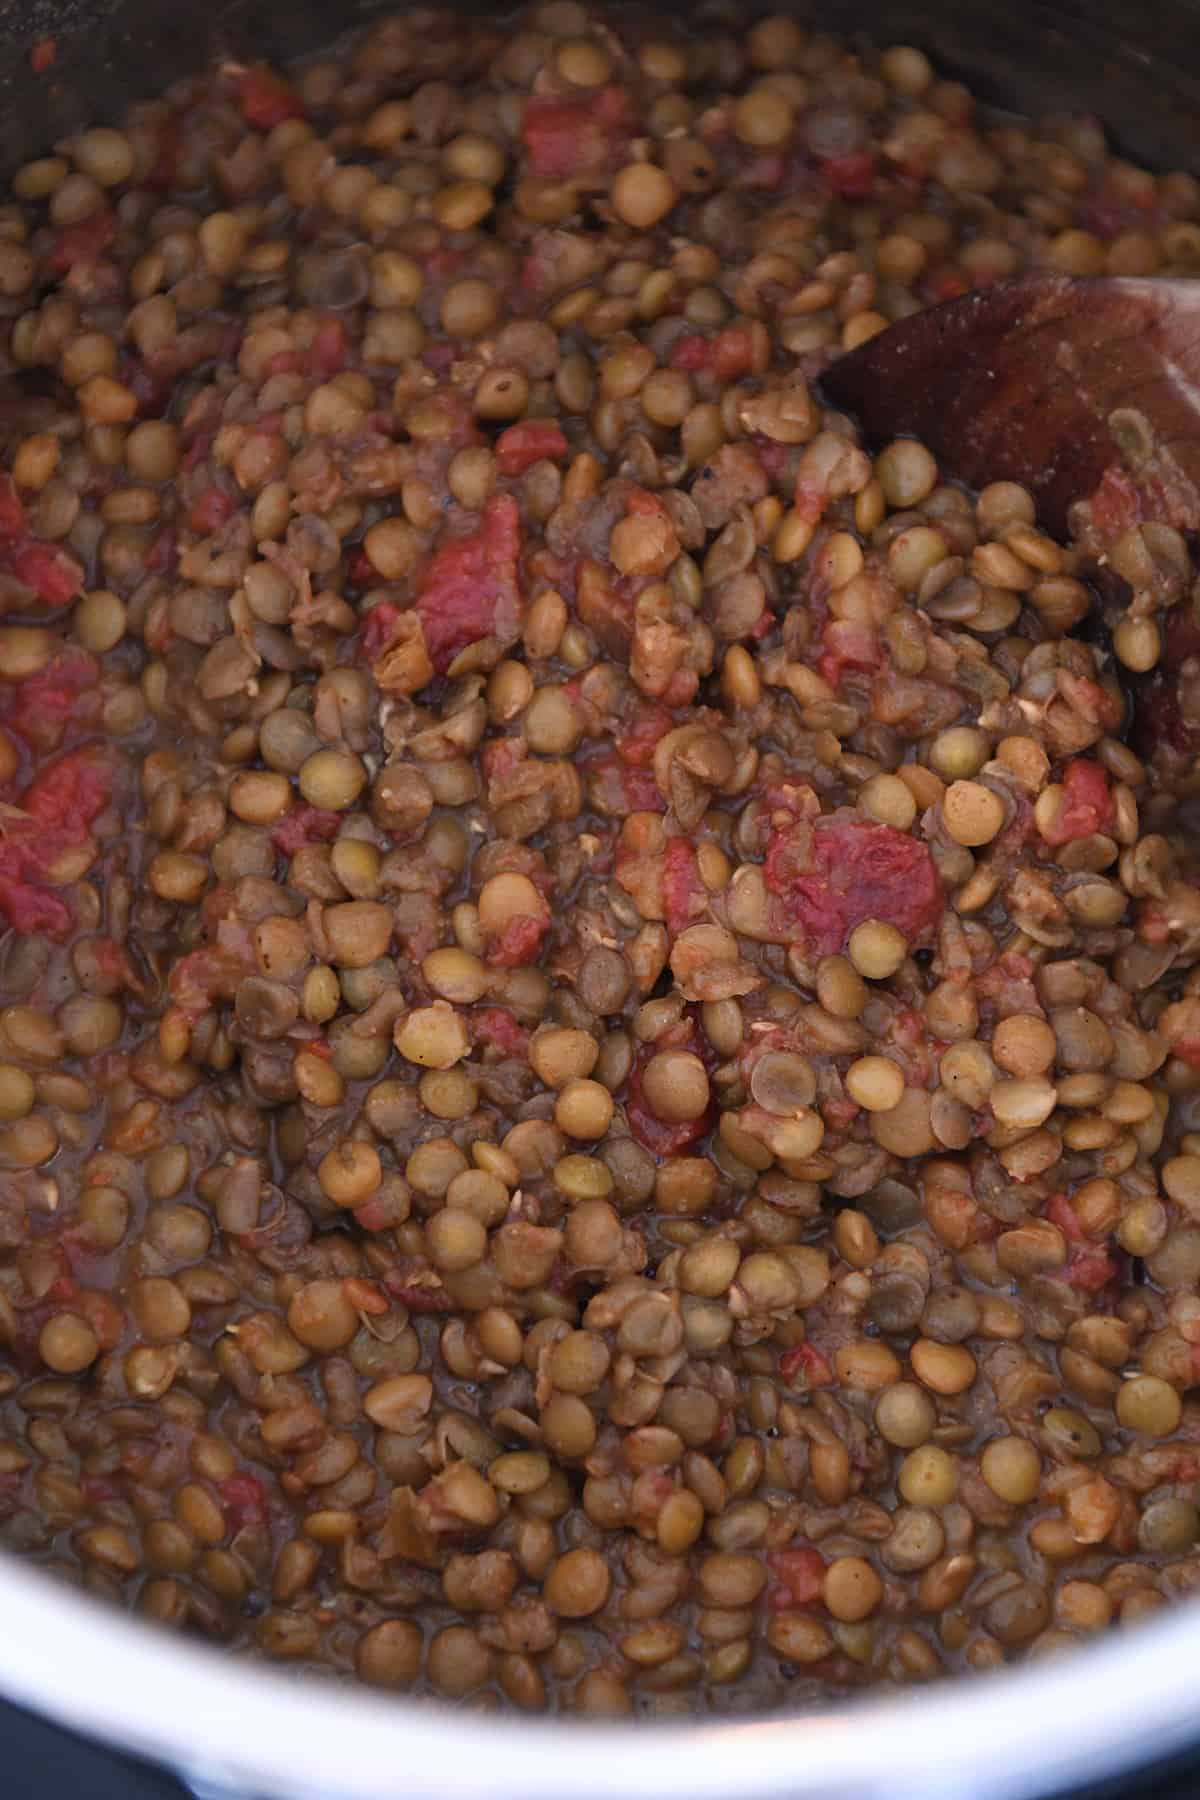
Combine brown or green lentils, broth and simple pantry seasonings in a pressure cooker.
Secure the lid and valve and cook for 12 minutes.
Let the pressure naturally release 10 minutes before releasing the remaining pressure.
Stir in salsa for a boost of fresh, yummy flavor.
For the stovetop, combine the lentils, broth and seasonings in a saucepan. Bring to a simmer, cover, reduce the heat to medium-low, and cook for 40 to 45 minutes until the lentils are tender. Stir in the salsa.
A Few Bonus Tips for Success
I have a few things to say. I think you should listen. (If you’ve identified a “mom voice” you are really dialed in – these two sentences are repeated often at my house – I’m not entirely sure how often the listening part happens but it doesn’t stop me from saying what I have to say. 🤣)
First, make sure to choose a brand (or homemade recipe) of broth and salsa that has great flavor. Both will have a significant impact on the overall flavor of the lentils.
Second, if you are unsure what kind of lentils to use, brown or green lentils will work best in this recipe. Red or yellow lentils break down quite a bit more and may have a mushy consistency in this recipe.
Third, make sure to season the lentil mixture with additional salt and pepper before serving, if needed!
Serving Suggestions
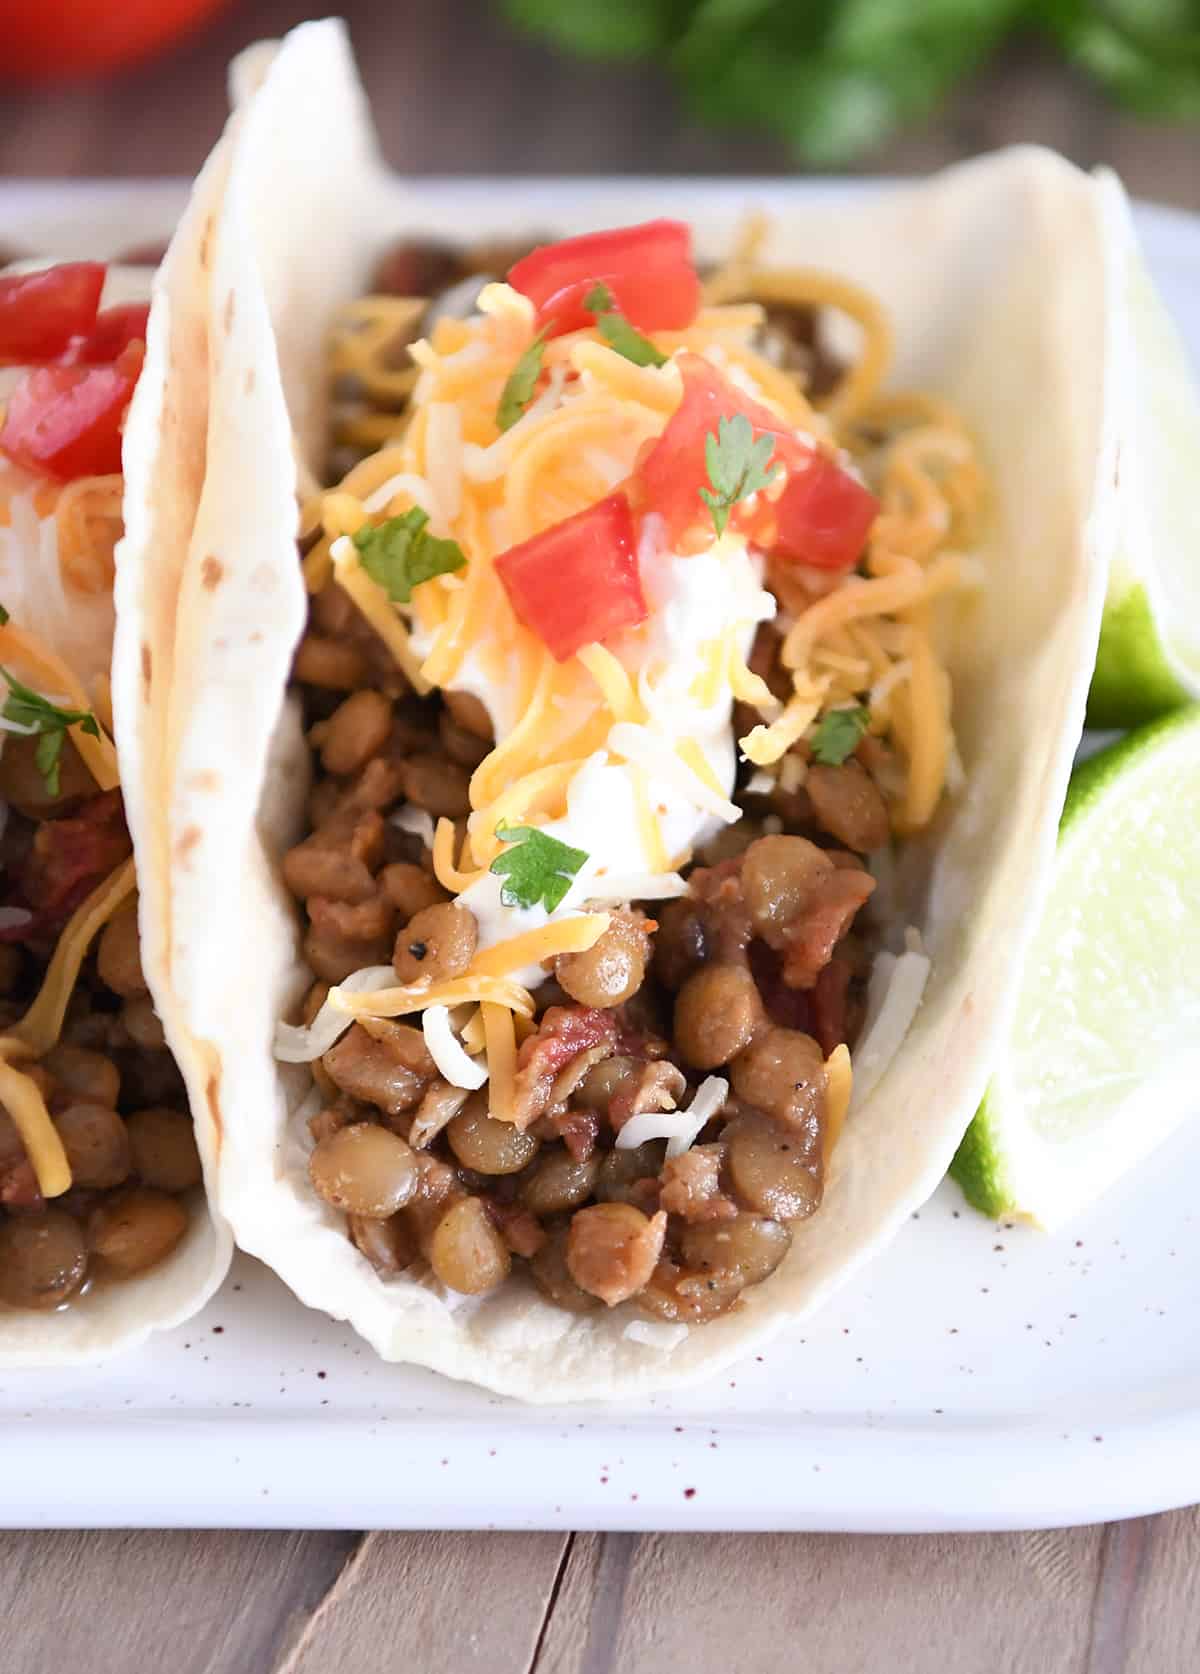
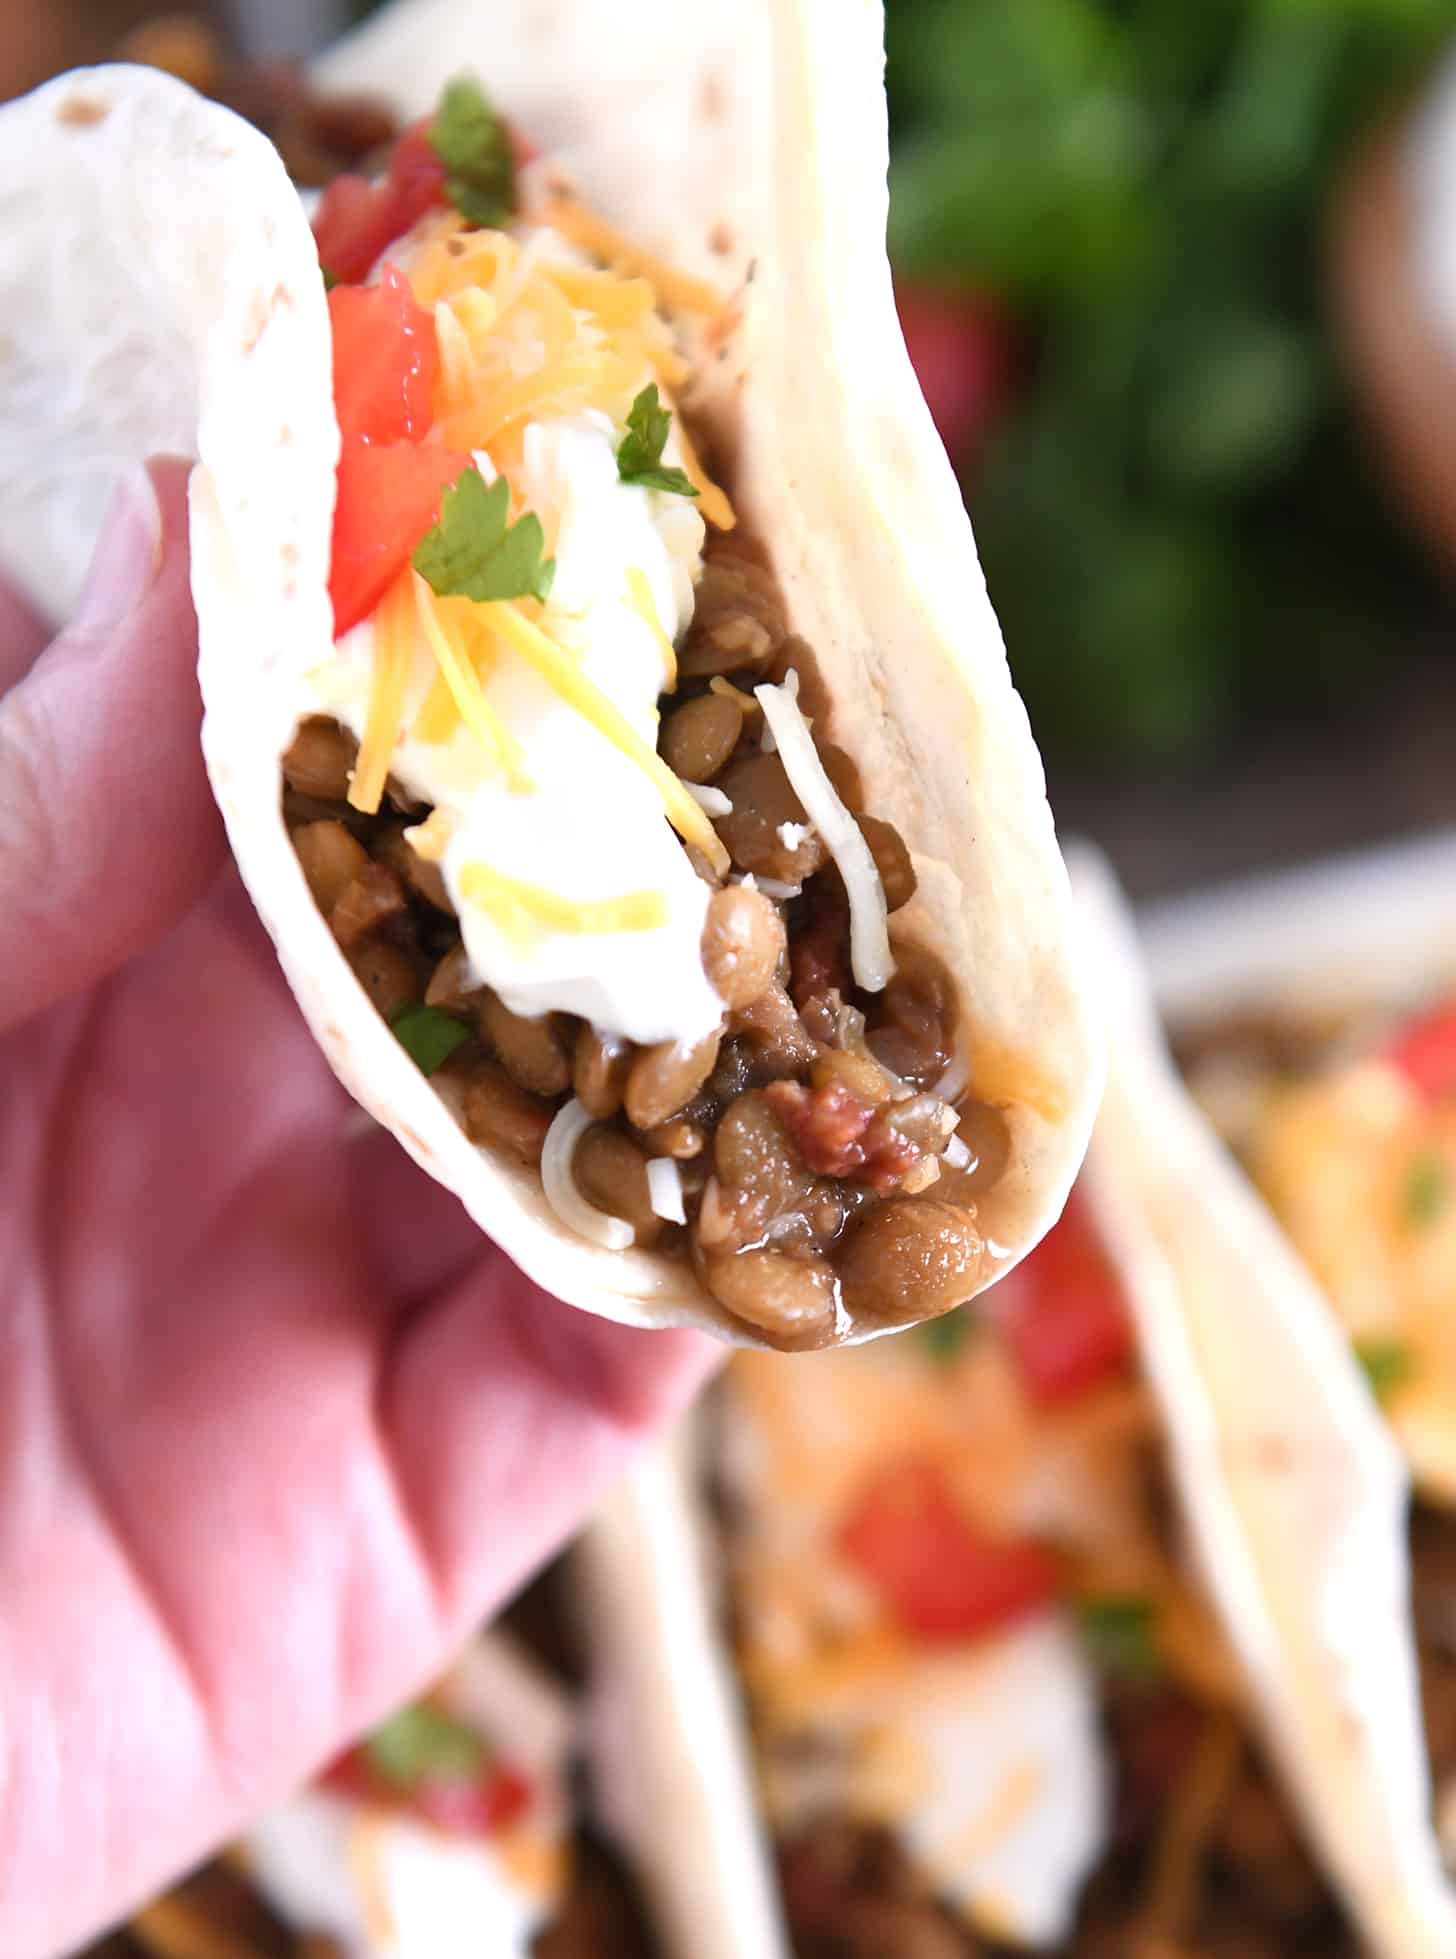
The flavorful lentils can be served in hard or soft tortilla shells with taco toppings of your choice and they work beautifully in taco salad, as well.
I often eat the leftover lentil mixture alongside eggs with a sprinkle of cheese for breakfast or lunch. A terrific combo!
If you are looking for meatless meal inspiration, these lentil tacos should be at the top of your list! They are so simple and fast to make, and they provide a wonderfully nutritious and hearty meal.
I promise, you won’t even miss the meat. However, if you are currently learning to embrace meatless meals (or training your family to do so 😉), these lentils can be combined with ground beef or cooked chicken for an extremely yummy compromise.
One Year Ago: Creamy Beef and Tomato Noodle Soup Two Years Ago: Crazy Good Kale and Wild Rice Salad Three Years Ago: Peanut Butter Banana Bread Four Years Ago: Banana Cream Cheese Coffee Cake with Chocolate Chip Streusel Five Years Ago: Chicken and Vegetable Dumpling Soup Six Years Ago: Sheet Pan Balsamic Chicken + Veggies Dinner {30-Minute Meal} Seven Years Ago: Yum Yum Bowls with Knockoff Cafe Yumm Sauce Eight Years Ago: German Pancake {Whole Grain Option} with Butter Syrup Nine Years Ago: Amazing Romaine Salad with Light Poppy Seed Vinaigrette Ten Years Ago: Roasted Maple-Glazed Pork Tenderloin
Instant Pot Lentil Tacos
Yield: 12to 15 tacos
Prep Time: 10 minutesmins
Cook Time: 12 minutesmins
Pressure Release:: 10 minutesmins
1 ½cups(300 g) dried brown or green lentils, rinsed and drained
3 ½cupschicken or vegetable broth (see note)
2teaspoonschili powder
1teaspoonground cumin
½teaspoonsalt
½teaspoonsmoked or sweet paprika
½teaspoongarlic powder
½teaspoononion powder
¼teaspooncoarsely, ground black pepper
1cupred or green salsa (preferably thick and chunky vs thin and watery)
12 to 15soft or crunchy taco shells
Taco toppings of choice
Prevent your screen from going dark
In a 6-quart electric pressure cooker, combine the lentils, broth, chili powder, cumin, salt, paprika, garlic powder, onion powder and pepper.
Secure the lid and valve and cook on high for 12 minutes. Let the pressure naturally release for 10 minutes before releasing remaining pressure.
Drain off any excess liquid, if desired. Stir in salsa and season to taste with additional salt and pepper, if needed (this is important for flavor!).
Optional: lightly mash the lentils, if desired.
The lentil mixture will thicken a bit if left to sit/keep warm in the pressure cooker.
Serve the lentils warm in taco shells with your choice of toppings.
Stovetop Variation: bring the lentils, broth and seasonings to a simmer in a medium saucepan. Cover, reduce the temperature to medium-low, and cook for 40 to 45 minutes until the lentils are tender. Stir in the salsa, season with additional salt and pepper, if needed, and mash the lentils, if desired. Broth: each brand/variety of broth will have a distinctive flavor, so make sure to use a broth that you already know you like the flavor of, as it will impact the overall flavor of the lentils. Salsa: see above note for broth. Same applies for the salsa. Use one you love! It is preferable to use a thick and chunky variety here so there isn’t excess liquid in the lentil mixture. Refrigerate or Freeze: the cooked lentils keep well in a covered container in the fridge for several days (the flavor gets even better!). They can also be frozen to thaw, reheat and serve later.
Disclaimer: I am a participant in the Amazon Services LLC Associates Program, an affiliate advertising program designed to provide a means for me to earn fees by linking to Amazon.com and affiliated sites. As an Amazon Associate I earn from qualifying purchases.
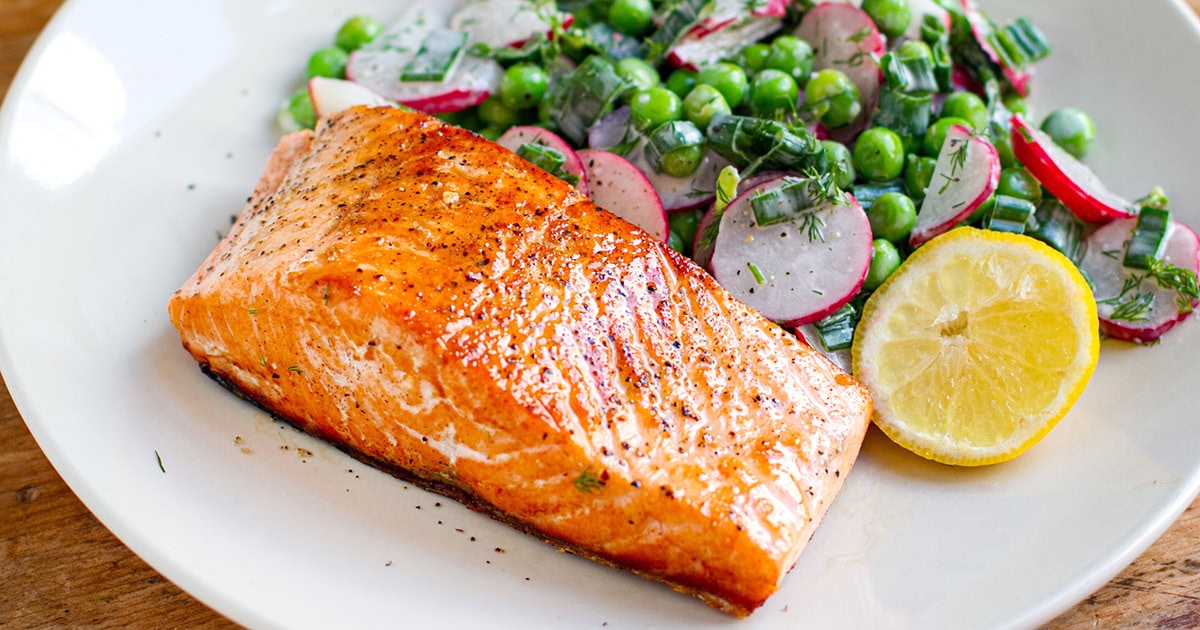
Crispy skin pan-fried salmon paired with a fresh, creamy green pea and radish salad—this is a healthy dinner recipe that’s quick, flavorful, and perfect any time of year, but especially spring.
Jump to: ℹ️ Overview | 🛒 Ingredients | 📷 How To Make | 👩🍳 Recipe Tips | 🥗 Serving Suggestions | 📝 Full Recipe Card | 🍽 More Healthy Dinner Recipes
This pan-fried salmon with green pea salad is one of those meals that feels like spring on a plate but works beautifully year-round.
The salmon is pan-fried until the skin turns super crispy, while the inside stays tender, pink, and flaky. The salad balances it out with crunchy radishes, sweet peas, and a creamy dill dressing that’s like a lighter, fresher ranch.
I’ve made this plenty of times, and it’s the kind of recipe that makes you feel both satisfied and light at the same time. Packed with protein, healthy fats, and fiber, it’s as nutrient-dense as it is delicious. Plus, the whole dish comes together in under 30 minutes—weeknight win!
👩🍳 You might also like these salmon dinner recipes: teriyaki salmon bowls, Mediterranean salmon bowl, orange teriyaki baked salmon, salmon bites with sweet chili glaze, sheet pan salmon & veggies, or these salmon dinner ideas. For high-protein and high-fiber recipes, check out my Mediterranean fish with white bean purée.
What You’ll Need
Here is what you’ll need for this pan-fried salmon recipe. Find the full measurements in the recipe card below.
Salmon fillets – Choose skin-on for that golden, crispy finish. Plus, olive oil to achieve that perfect sear, salt and pepper for seasoning, and lemon wedges for a final squeeze to lift the whole dish.
For the salad: Green peas (sweet and slightly starchy, they add a pop of freshness. Frozen works perfectly here), radishes (peppery crunch for balance), fresh dill & green onions (herbal, fresh, and a little oniony bite).
For the dressing: Greek yogurt & mayonnaise (creamy base for the dressing, like a lighter ranch. Swap sour cream if you prefer), lemon juice to brighten things up, salt, and pepper for seasoning.
How To Make Pan-Fried Salmon With Pea Salad
Find the full recipe and nutritional information below. Here are some handy step-by-step photos for how to make crispy skin salmon in a frying pan. Plus, that lovely pea and radish salad.
Defrost peas in boiling water, then drain and cool.
Slice radishes thinly and add to a bowl with peas, dill, green onions, yogurt, mayo, lemon juice, salt, and pepper. Mix and taste.
Bring the salmon to room temperature before cooking. Pat dry the salmon fillets, especially the skin.
Heat olive oil in a skillet until hot.
Cook salmon skin-side down for 5–6 minutes, sprinkle flesh with salt and pepper.
Flip and cook for another 3 minutes, then quickly sear the sides.
Serve salmon with salad and a squeeze of lemon.
Recipe Tips
Crispy skin secret: Make sure your salmon is patted dry and the pan is hot before adding the fish.
Make-ahead salad: You can prep the salad 1 day in advance. Keep dressing separate until ready to serve.
Storage: Leftover salmon keeps in the fridge for 2 days. The salad is best fresh but can hold up for 24 hours.
Variations: Add cucumber for extra crunch, swap dill for parsley, or mix in a little Dijon mustard for punchier dressing.
Serving Suggestions
Pan-fried salmon pairs with so many dishes. While I love it with this vibrant radish and pea salad, you can also serve it with any of these side dishes:
💬 If you’ve tried this pan-fried salmon with pea salad or any other recipe on the blog then don’t forget to rate the recipe and let me know how you got on in the comments below, I love hearing from you! You can also FOLLOW ME on Instagram, Facebook, Pinterest, YouTube, and or sign up to my Newsletter to see more of my delicious food.
Want to Save This Recipe?
Enter your email & I’ll send it to your inbox. Plus, get great new recipes from me every week!
By submitting this form, you consent to receive emails from Cooked & Loved
Crispy skin pan-fried salmon paired with a fresh, creamy green pea and radish salad—this is a healthy dinner recipe that’s quick, flavorful, and perfect any time of year but especially spring.
Remove salmon from the fridge and let it come to room temperature. Pat dry with some kitchen paper towels.
Place peas in a bowl of boiling water for a few minutes to defrost, then drain and rinse under cold water.
Slice radishes thinly, halving larger ones. Add to a large mixing bowl with peas, dill, green onions, yogurt, mayo, lemon juice, salt, and pepper. Mix well and adjust seasoning to taste. Set aside.
Heat olive oil in a large skillet over high heat. Once hot, place salmon fillets skin-side down. Reduce heat to medium-high.
Season the flesh with salt and pepper, and cook skin-side down for 5–6 minutes until crispy.
Flip and cook for another 3 minutes, then briefly sear the sides (10–20 seconds) if needed.
Serve salmon with the green pea salad and lemon wedges.
Can I use fresh peas? Yes! Just blanch them briefly until tender.
Do I need skin-on salmon? For the crispiest texture, yes. But skinless will still taste great.
How do I know when salmon is done? The flesh should be opaque and flake easily but still slightly pink inside.
What’s the best pan for crispy salmon? A cast-iron or stainless steel skillet works best for that golden sear.
Crispy skin secret: Make sure your salmon is patted dry and the pan is hot before adding the fish.
Make-ahead salad: You can prep the salad 1 day in advance. Keep dressing separate until ready to serve.
Storage: Leftover salmon keeps in the fridge for 2 days. The salad is best fresh but can hold up for 24 hours.
Variations: Add cucumber for extra crunch, swap dill for parsley, or mix in a little Dijon mustard for punchier dressing.
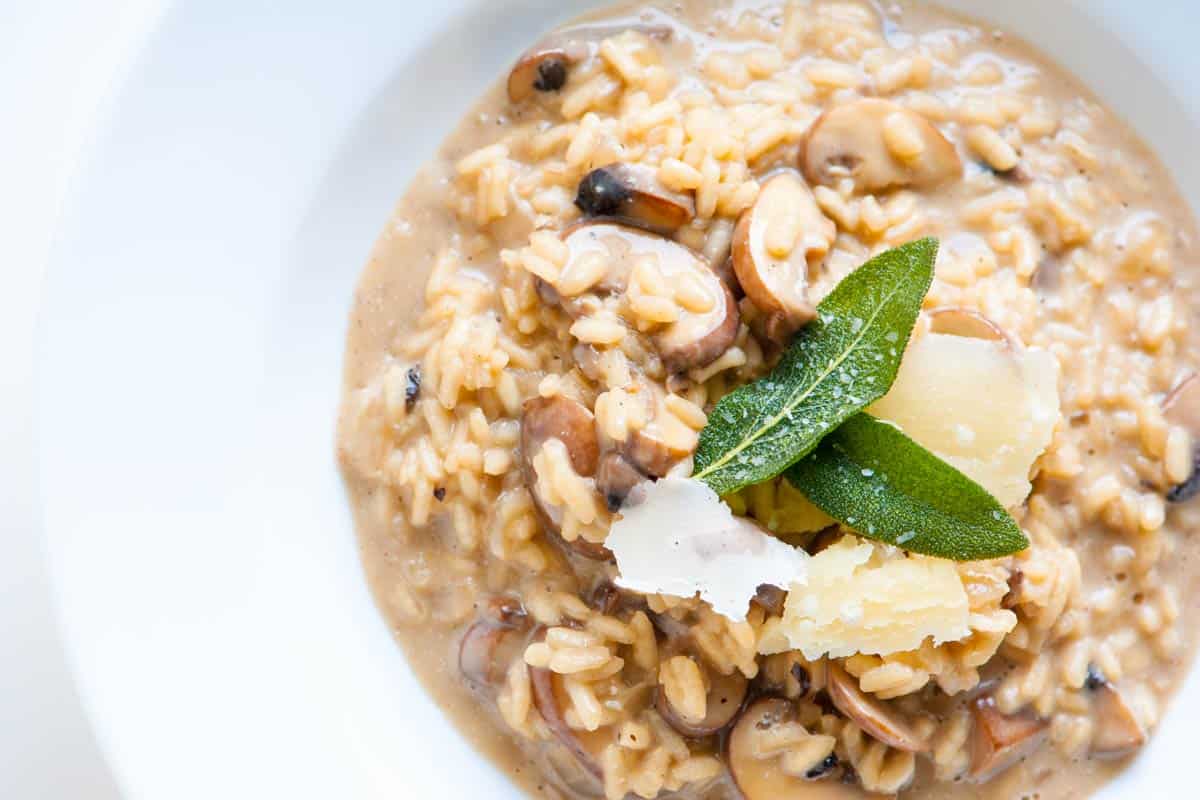
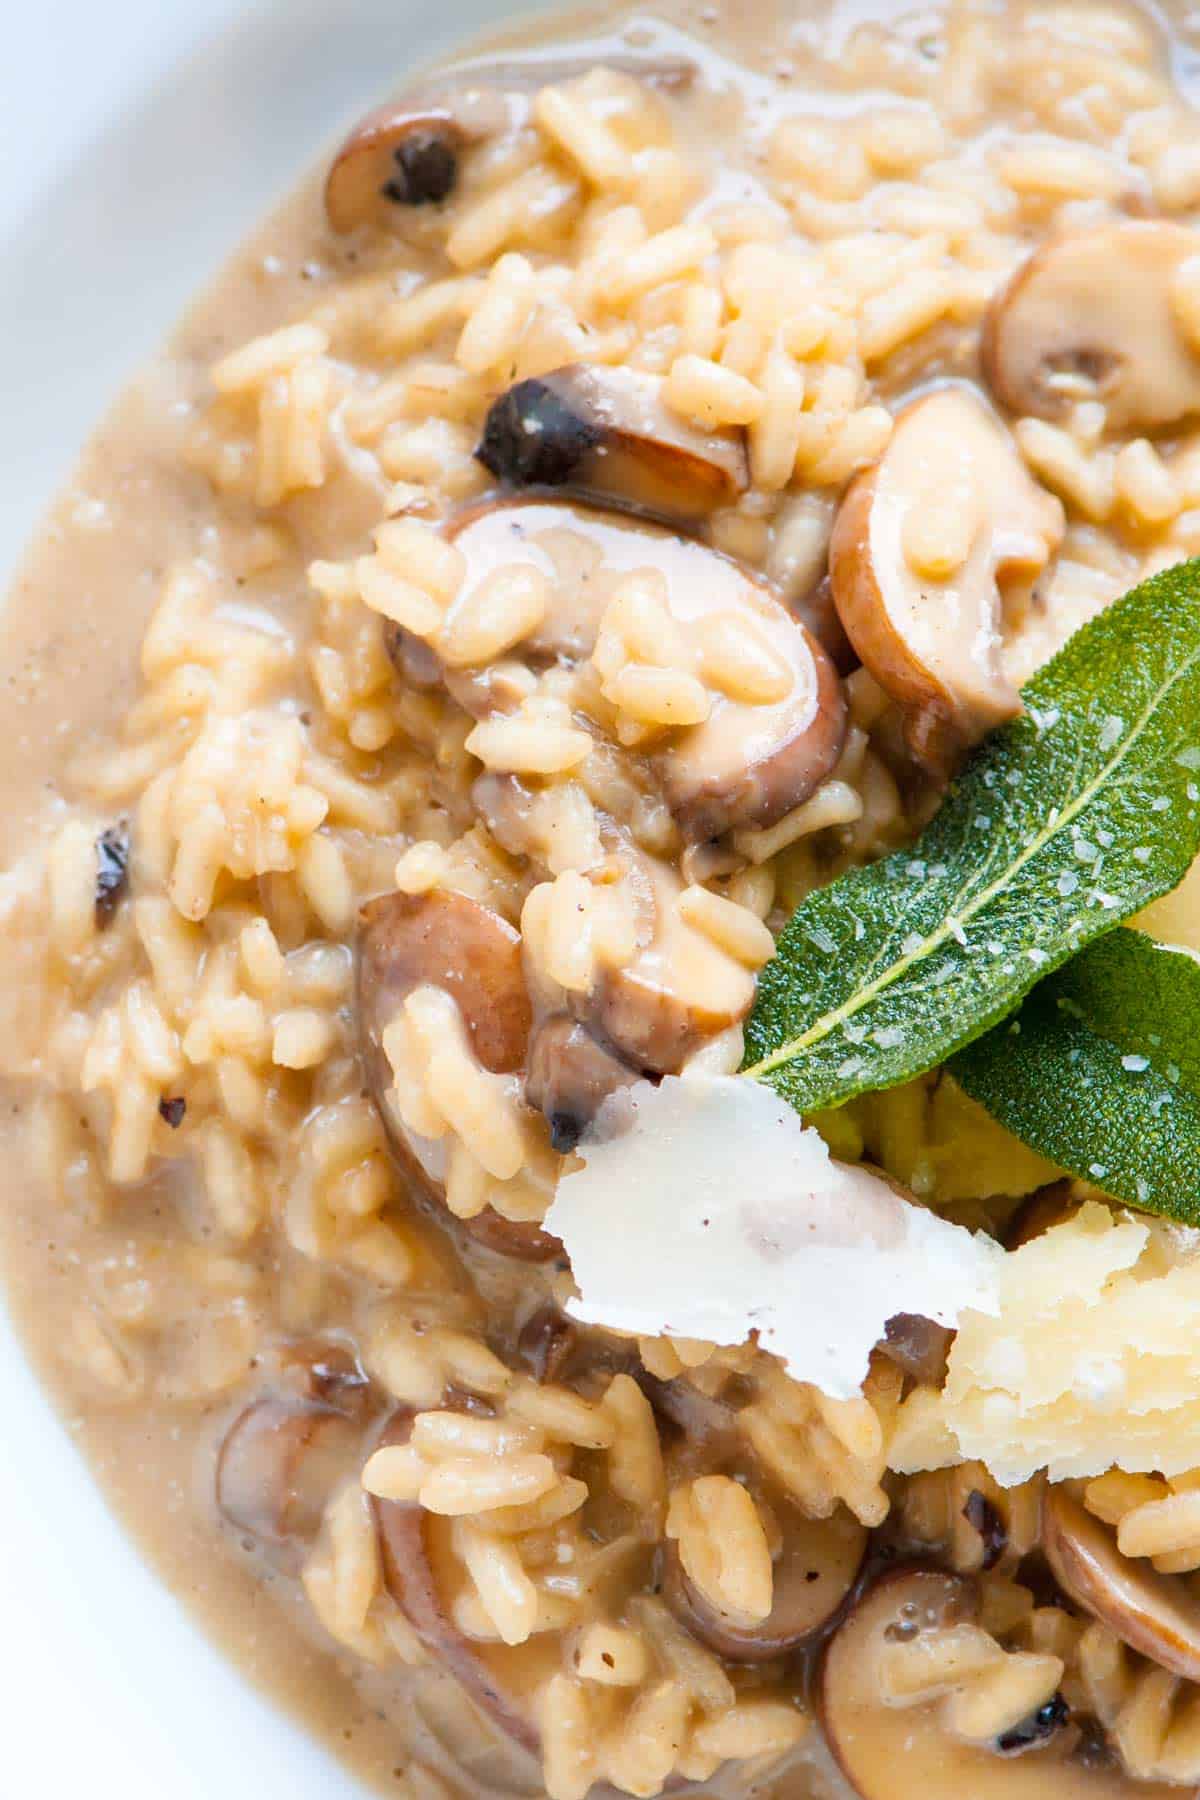
I love this easy mushroom risotto recipe so much! It’s unbelievably creamy and tastes incredible, thanks to perfectly cooked mushrooms and an easy, umami-packed broth!
Mushroom risotto is a labor of love, but this mushroom risotto is totally doable with our easy recipe! It’s not a “throw everything into a pan and walk away” deal, but the steps are simple, and you’ll be rewarded with creamy mushroom risotto rivaling your favorite restaurants.
For more incredible risotto recipes, I highly recommend our vegetable risotto made with tomato broth and lots of fresh veggies! For a quicker mushroom dish that still wows, try our mushroom pasta!
Key Ingredients
Mushrooms: You can use your favorite mushrooms for this recipe, but I love cremini or wild mushrooms. I remove the stems and then use them to infuse my broth with mushroom flavor. Then, I slice the mushroom caps for the risotto.
Rice: The best rice for risotto are Arborio, Carnaroli, and Vialone Nano, all short-grain rice varieties with a high starch content. We use Carnaroli in our kitchen because it makes creamy risotto and is more forgiving of overcooking.
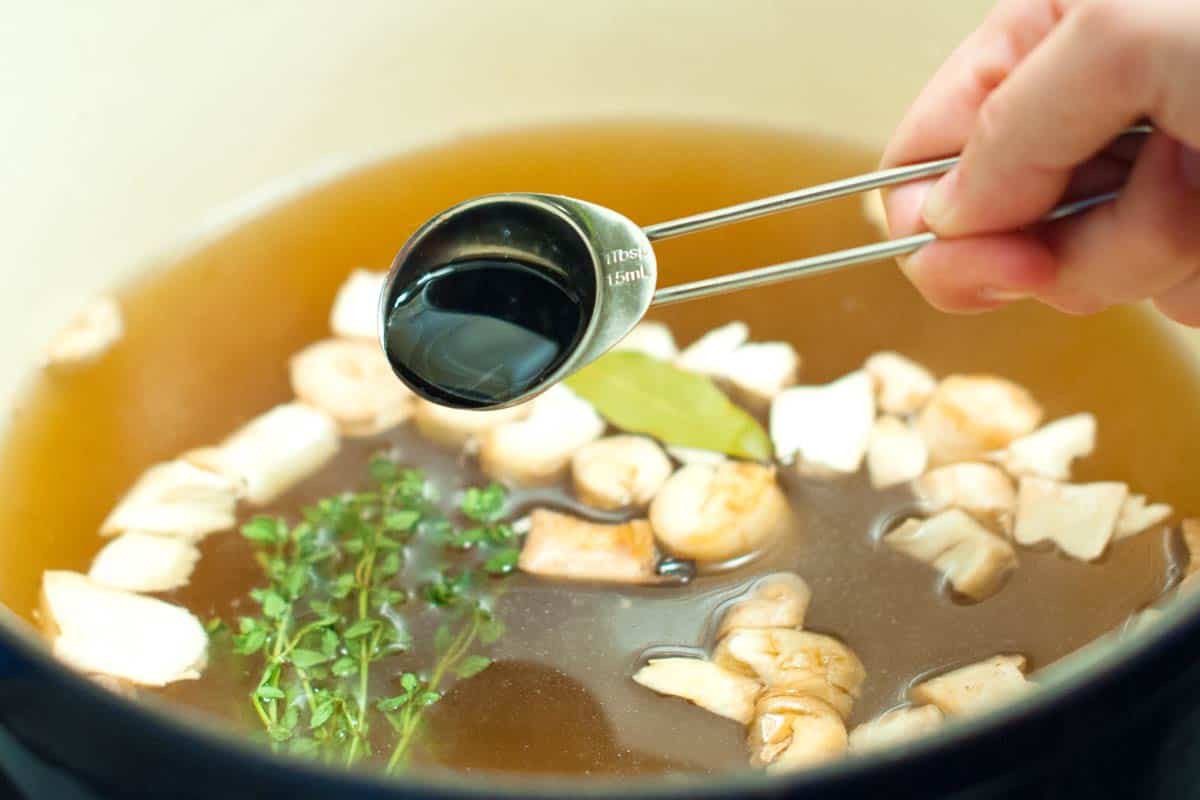
Broth: A good vegetable broth or chicken broth works well in this recipe. I love doctoring it up a bit and simmering my broth with the discarded mushroom stems, thyme, a bay leaf, and a bit of soy sauce. These add extra flavor and nicely complement the mushrooms in our risotto.
White Wine: Whenever you cook with wine, the most important thing to remember is to use something you enjoy. I use a light, dry white wine like Pino Gris, Albariño, Grüner Veltliner, or Sauvignon Blanc for this mushroom risotto. Wine adds flavor and some acidity. If you prefer to leave it out, replace it with more broth and sprinkle a little fresh lemon juice over the risotto before serving.
Cheese: To make this risotto creamy, I stir in mascarpone cheese (or cream cheese) and lots of Parmigiano-Reggiano cheese at the end.
How to Make Mushroom Risotto
This mushroom risotto starts with a flavorful base. I enhance store-bought or homemade stock by simmering it with mushroom stalks (saved from prepping the mushrooms!), thyme, a bay leaf, and a bit of soy sauce for richness.
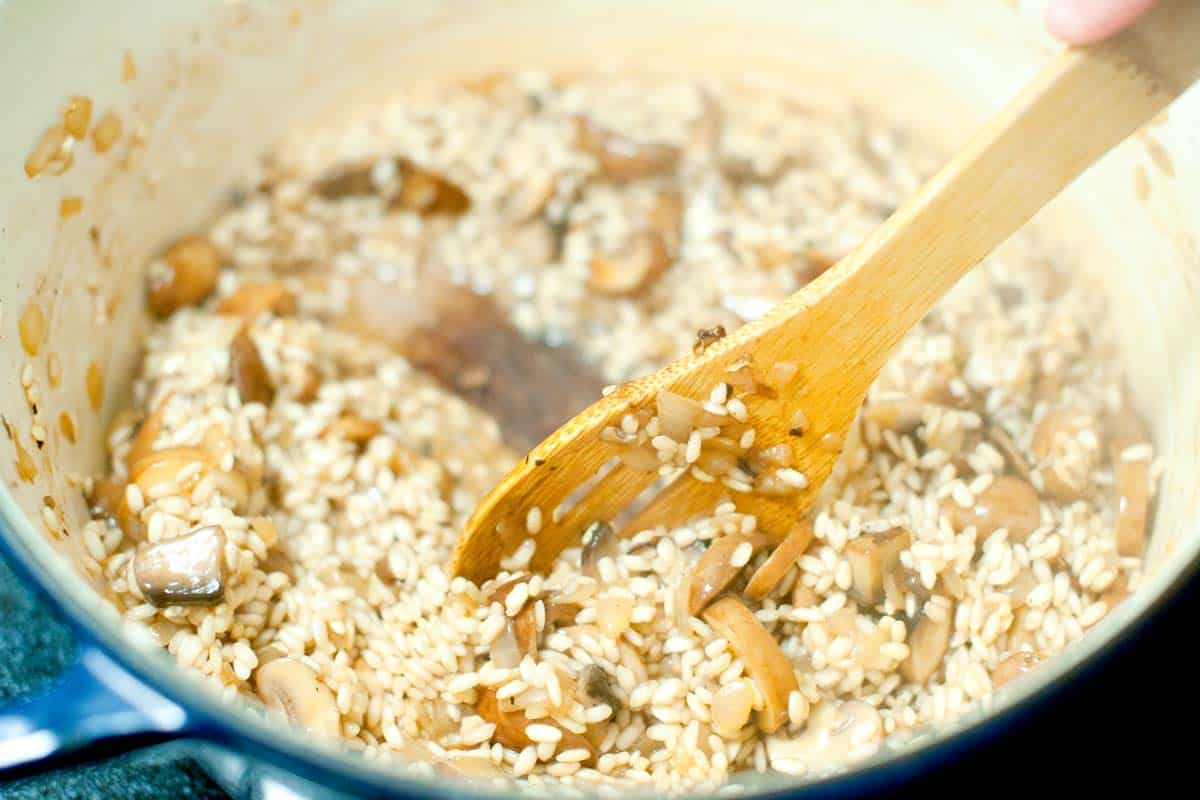
Next, I cook sliced mushrooms and onions in butter until they’re soft and golden brown. Then, I add the arborio rice to the pan, stirring to toast it in the butter (yum!).
In goes some white wine. I let it reduce, then slowly incorporate the warm mushroom broth. You want to add the broth a little at a time, allowing it to be fully absorbed by the rice before adding more. As you add the broth, remember to stir frequently. Stirring is the key to achieving that luxuriously creamy texture risotto is known for.
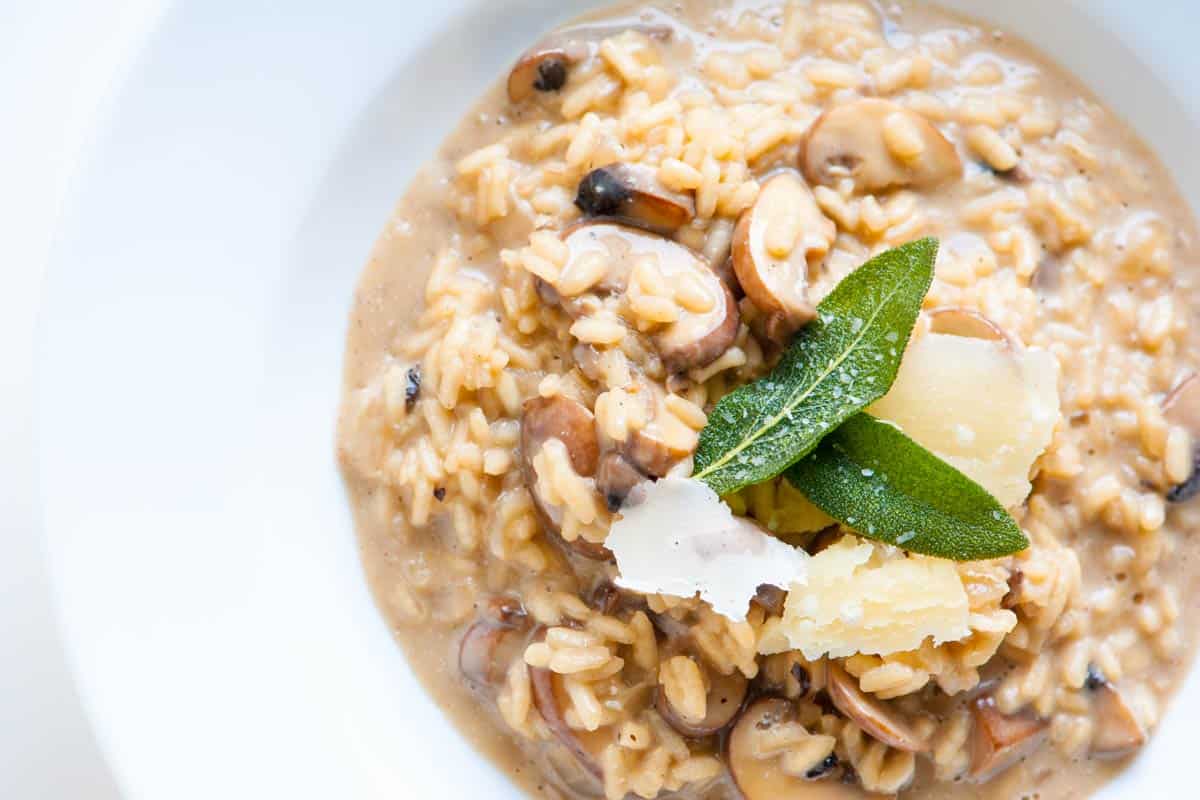
After 20 to 25 minutes of adding stock and stirring, the rice is nearly cooked. So, you can stir in mascarpone cheese and parmesan and season to taste with salt and pepper. Of course, you could stop there, but if you are up to it, fry a few sage leaves in oil to place on top of the risotto. It takes less than a minute (I shared how to make them in the recipe below).
Creamy Mushroom Risotto
PREP
COOK
TOTAL
This incredibly creamy mushroom risotto is the perfect dinner for two or to make for your next dinner party. It’s easy to make and can be customized to your liking with different types of mushrooms and stock (try vegetable stock to make this vegetarian).
For wild mushrooms, clean them (if necessary) and tear or slice thicker mushrooms into smaller pieces. Smaller wild mushrooms can be left whole.
4 Servings
You Will Need
Mushroom Risotto
4 tablespoons butter
2 cups mushrooms such as button, cremini, or wild mushrooms
8 cups chicken broth or vegetable broth
2 sprigs fresh thyme
1 bay leaf
1 tablespoon soy sauce
1 medium onion, finely chopped
1 ¾ cups arborio risotto rice
3/4 cup dry white wine
1/3 cup mascarpone cheese or cream cheese
1/3 cup fresh grated Parmigiano-Reggiano cheese, plus more for serving
Salt and fresh ground black pepper
Homemade mushroom powder, optional
Fried Sage Leaves
1 tablespoon olive oil
12 sage leaves for garnish
Directions
1Clean mushrooms by wiping them with a dry paper towel. Remove mushroom stems, roughly chop them, and set aside. Cut mushroom caps into 1/4-inch thick slices. (If large, cut into bite-sized pieces.)
2Make the mushroom broth. Pour broth into a 3-quart saucepan. Add chopped mushroom stems, thyme, bay leaf, and soy sauce. Bring to a boil, then reduce to a simmer. Cook at a low simmer, uncovered, for 30 minutes. Strain stock and discard the stems, thyme, and bay leaf. You should have about 6 cups of broth; if not, add water or more broth.
3In a 3-quart deep heavy saucepan, melt butter over medium-high heat. Add mushroom slices and onion, then cook for 5 minutes. Stir in the rice and cook for 1 minute. Pour in the wine, then cook until reduced by half.
4Add 1/2 cup of the mushroom-infused stock and cook over medium-high heat, constantly stirring, until the rice has absorbed the liquid. Repeat this until 5 to 5 ½ cups of broth have been added and the rice is cooked but slightly chewy.
5Stir in the mascarpone cheese and grated Parmesan cheese. Season to taste with salt, pepper, and 1/2 to 1 teaspoon of mushroom powder (optional).
6Make fried sage leaves. Heat the olive oil over medium-high heat in an 8-inch skillet. Add sage leaves, a few at a time, in a single layer. Fry for 15 seconds, but do not brown. Transfer the leaves from the skillet to paper towels and sprinkle with a pinch of salt.
7Serve risotto in individual shallow bowls. Top each with a few sage leaves and parmesan cheese shavings.
Adam and Joanne’s Tips
Make-ahead: The mushroom infused stock can be made up to 2 days in advance. Keep it in an airtight container in the refrigerator. Warm before adding to the risotto.
Wine to use: Choose a lighter dry white wine like Pino Gris, Albariño, Grüner Veltliner, or Sauvignon Blanc
Wine substitution: If you prefer to leave the wine out, replace it with more broth and sprinkle a little fresh lemon juice over the risotto before serving.
The nutrition facts provided below are estimates. Sodium will vary based on the which brand of stock you choose.
Nutrition Per Serving Serving Size 1/4 of the recipe / Calories 461 / Total Fat 25.7g / Saturated Fat 14.1g / Cholesterol 61.7mg / Sodium 592.1mg / Carbohydrate 35.9g / Dietary Fiber 0.9g / Total Sugars 2.7g / Protein 17.1g
AUTHOR:
Joanne Gallagher
We are Adam and Joanne Gallagher, the creators of Inspired Taste. Established in 2009, Inspired Taste grew from a childhood dream into one of the internet’s most trusted recipe sites with hundreds of reliable recipes, step-by-step videos, and expert tips.More About Us
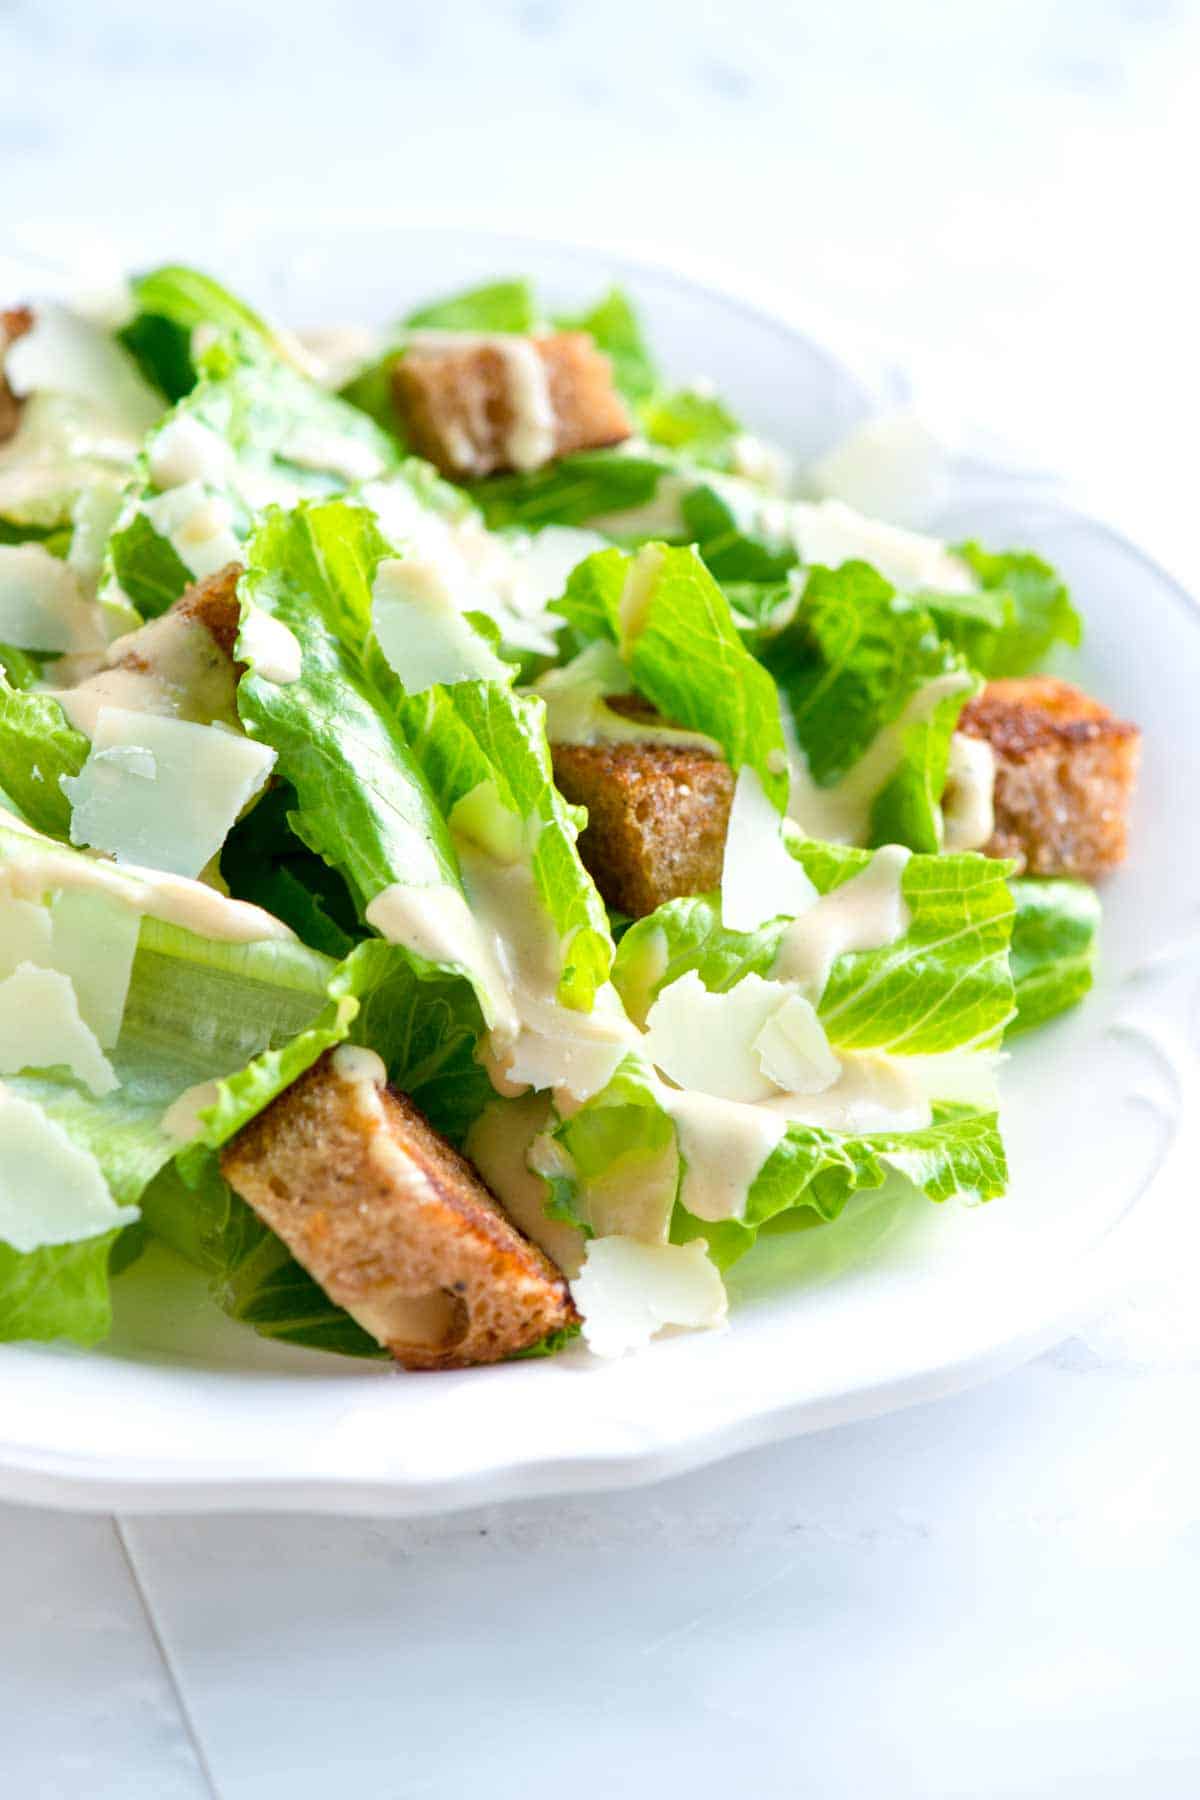
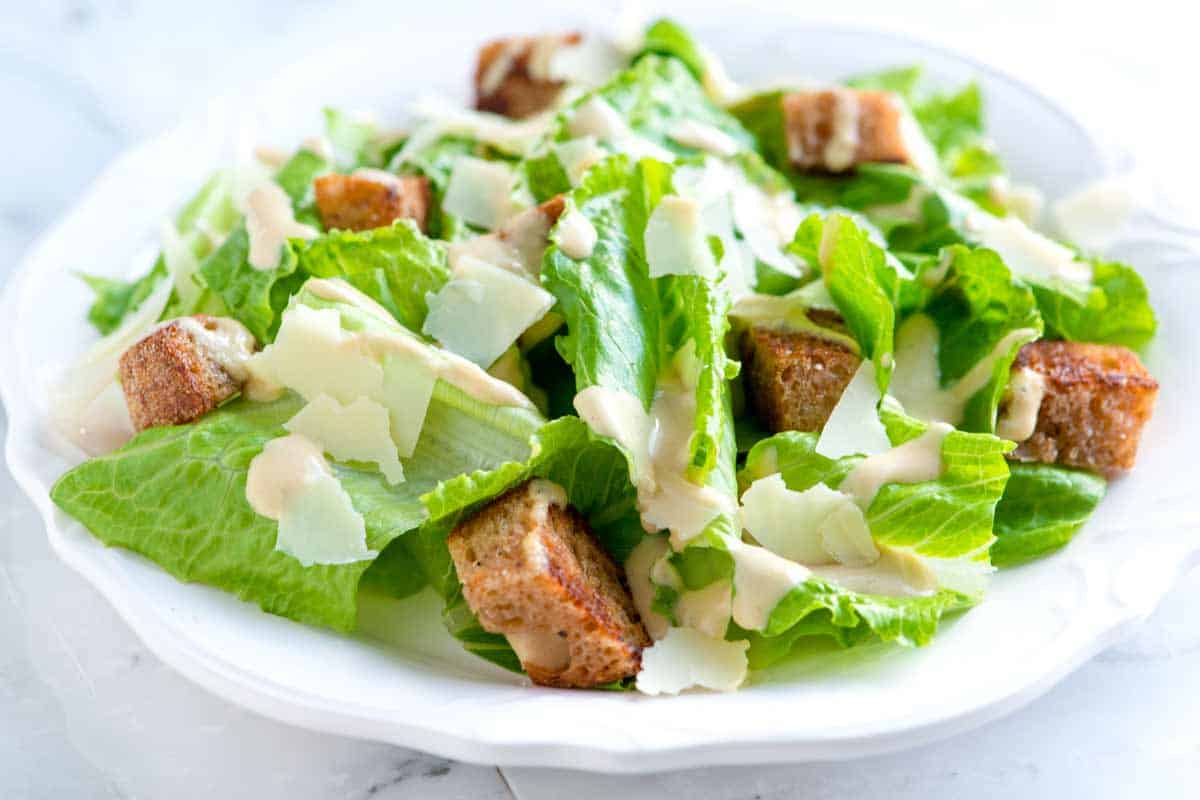
I love this simple Caesar dressing made without eggs or mayonnaise. Our eggless dressing is easy to make, light, and super flavorful!
You’ll love this egg-free Caesar dressing recipe. Instead of using egg yolk as our base to make the dressing creamy, we make a vinaigrette-style dressing with garlic, lemon, anchovy, parmesan, and olive oil. It’s delicious and still surprisingly creamy!
I love Caesar salad (especially chicken Caesar salad), and making your dressing at home is easy and tastes much better than store-bought. To see my classic dressing made with egg yolks, see this Caesar dressing.
Key Ingredients
Parmesan Cheese: I always add a handful of parmesan to my salad, but I also love adding a few tablespoons of grated parmesan to the dressing for extra flavor. I do the same when making my Italian dressing.
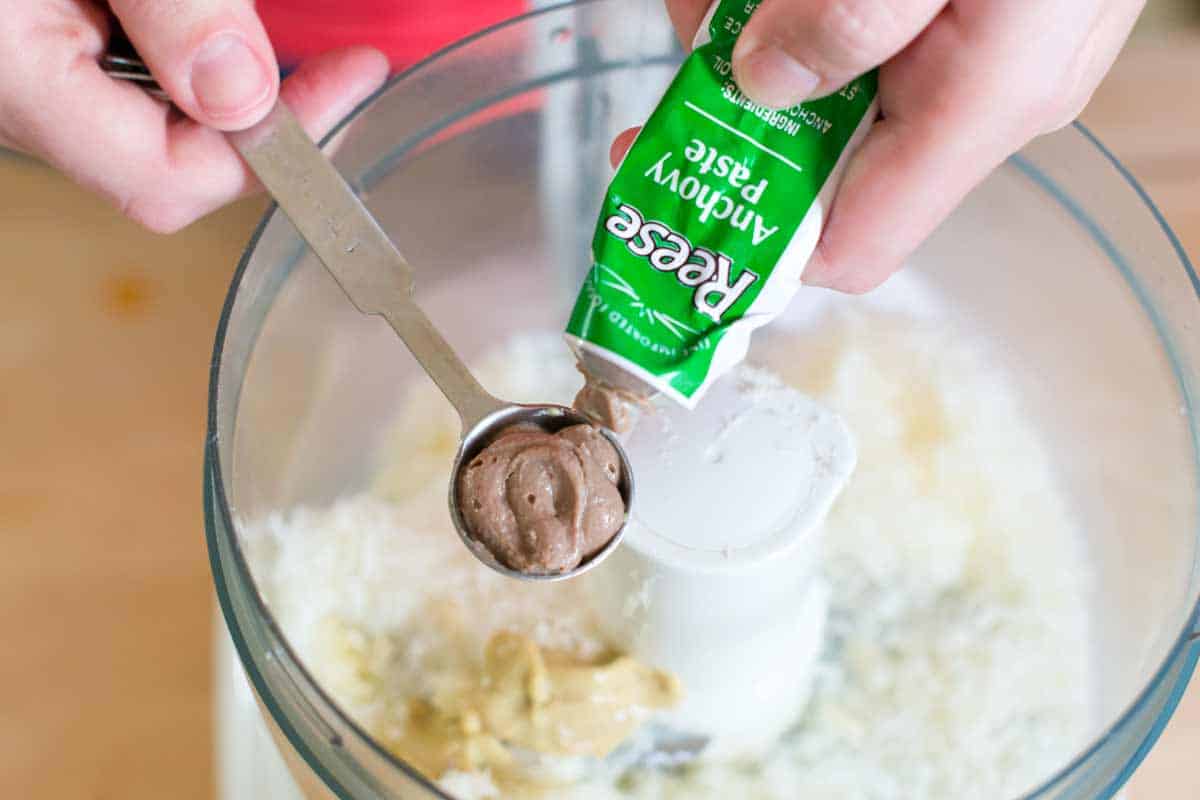
Anchovies: These little fish add a savory depth to the dressing we associate with classic Caesar salad. You can use whole anchovies or anchovy paste.
Olive Oil: I prefer a light and fruity olive oil for this simple dressing. Since you’ll be using 1/4 cup, choose one you really enjoy the taste of.
Garlic: I use one clove, which gives it a mild garlic flavor. You can adjust the amount depending on how much you love raw garlic.
Lemon: Fresh lemon juice cuts through the richness of the dressing and emulsifies with the olive oil to create a smooth vinaigrette.
Mustard and Worcestershire: Mustard acts as an emulsifier, helping to bind the ingredients together, while Worcestershire sauce adds a savory, umami flavor that we all associate with Caesar salad.
Sour Cream: This is optional but makes the dressing super creamy!
How to Make Eggless Caesar Dressing
You can make this dressing by hand, but a food processor blender makes it quick and creamy. To make it, add the parmesan, garlic, lemon juice, mustard, anchovy, and Worcestershire sauce and blend until smooth. Then, stream in the olive oil with the food processor running until you’ve got a thick and creamy dressing.
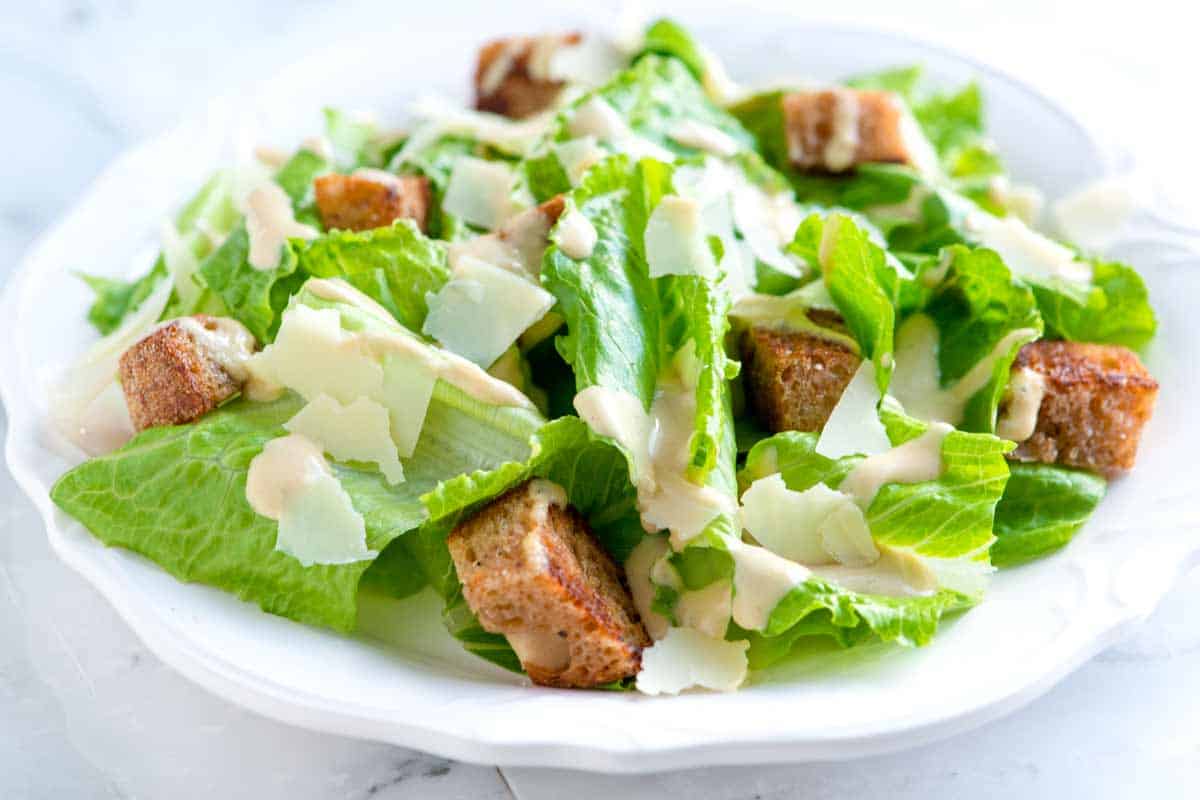
For extra creamy dressing, add a tablespoon or two of sour cream. (I always do this and love how creamy it makes the dressing.) Then, toss your eggless dressing with Romaine lettuce, add more cheese, and a handful of homemade croutons!
Easy Eggless Caesar Dressing
PREP
COOK
TOTAL
You can make this homemade egg-free Caesar dressing by hand, but it’s quicker and creamier when made in a food processor or blender. The sour cream is optional, but makes it extra creamy.
Makes 4 to 6 servings
You Will Need
1 cup (30g) finely grated parmesan cheese
1 garlic clove, peeled and finely chopped
2 tablespoons fresh lemon juice
1 teaspoon anchovy paste or 1 to 2 anchovies, smashed and minced
1 teaspoon Dijon mustard
2 teaspoons Worcestershire sauce
1/4 cup (60ml) extra-virgin olive oil
2 tablespoons sour cream, optional
Salt and fresh ground black pepper
Directions
Make Dressing
1Add the parmesan cheese, garlic, lemon juice, mustard, anchovy, and Worcestershire sauce to the bowl of a food processor or blender. Turn the machine on and let it run for 15 to 20 seconds.
2Scrape the sides with a spatula, turn the machine on, and let it run for 15 to 20 seconds.
3With the machine running, slowly drizzle in the olive oil.
4Add sour cream (if using) and season with salt and pepper. Let the machine run for 15 to 20 seconds until thick and creamy.
Adam and Joanne’s Tips
Storing: Eggless Caesar dressing will last up to 3 days in the refrigerator. Store it in an airtight jar or container. I do not recommend freezing this dressing. The emulsification will break as it thaws.
The nutrition facts provided below are estimates. We did not include additional salt.
Nutrition Per Serving Serving Size 1/6 of the recipe / Calories 147 / Total Fat 13.6g / Saturated Fat 4g / Cholesterol 11.3mg / Sodium 271.5mg / Carbohydrate 1.6g / Dietary Fiber 0g / Total Sugars 0.5g / Protein 5.4g
AUTHOR:
Adam Gallagher
We are Adam and Joanne Gallagher, the creators of Inspired Taste. Established in 2009, Inspired Taste grew from a childhood dream into one of the internet’s most trusted recipe sites with hundreds of reliable recipes, step-by-step videos, and expert tips.More About Us
From smooth and creamy hummus to crisp, cool salads, here are 20 appetizer recipes that we can’t stop making. They are easy to make, great for parties, and many are ideal for warmer-weather cookouts and BBQs.
Most people think of appetizers as the start of the meal, but after years of cooking and entertaining ourselves, they are also perfect for combining to make a main meal.
Some of my favorites right off the bat are the smoked salmon dip (we did live in the PNW, so this one had to make it, right?), our easy bacon-wrapped jalapeños, and our regular readers would be mad if I didn’t highlight our original hummus recipe! On a similar note, Joanne wouldn’t let me off the hook if I didn’t mention her guacamole. She makes it all the time, and it’s always one of the first things to go. Find all 20 appetizer recipes below!
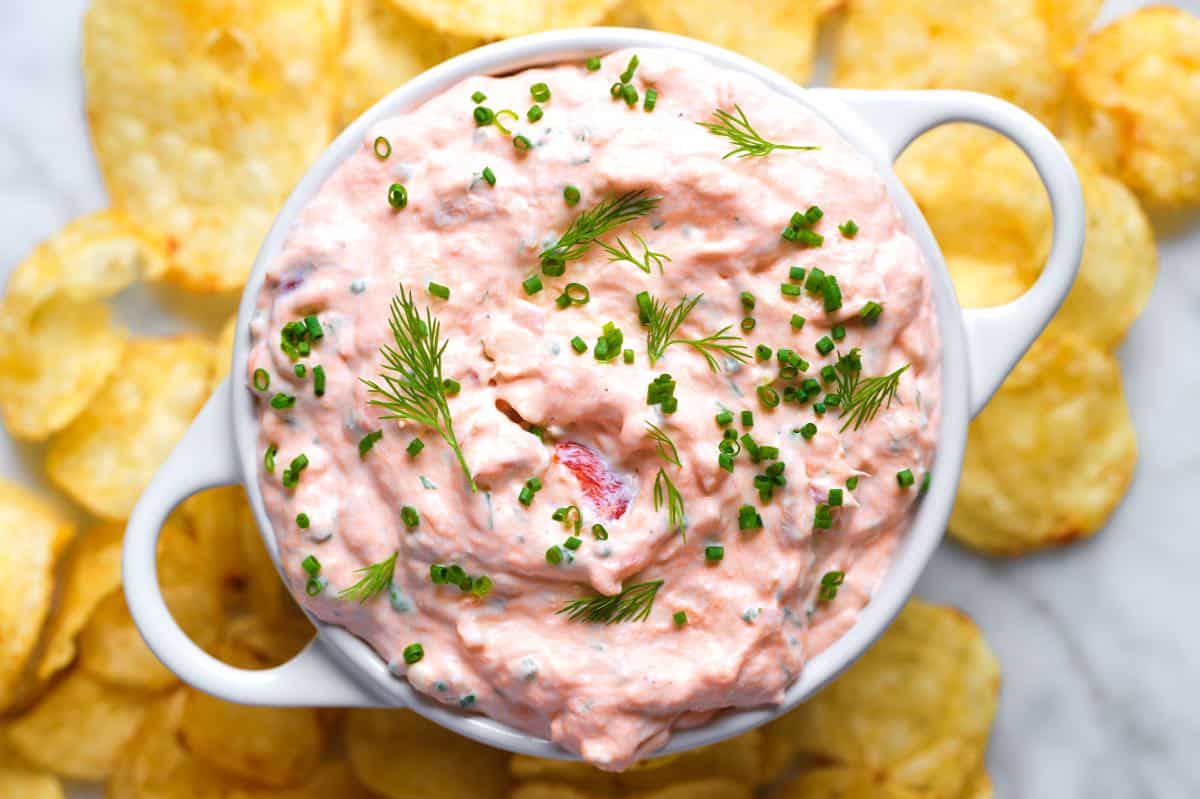
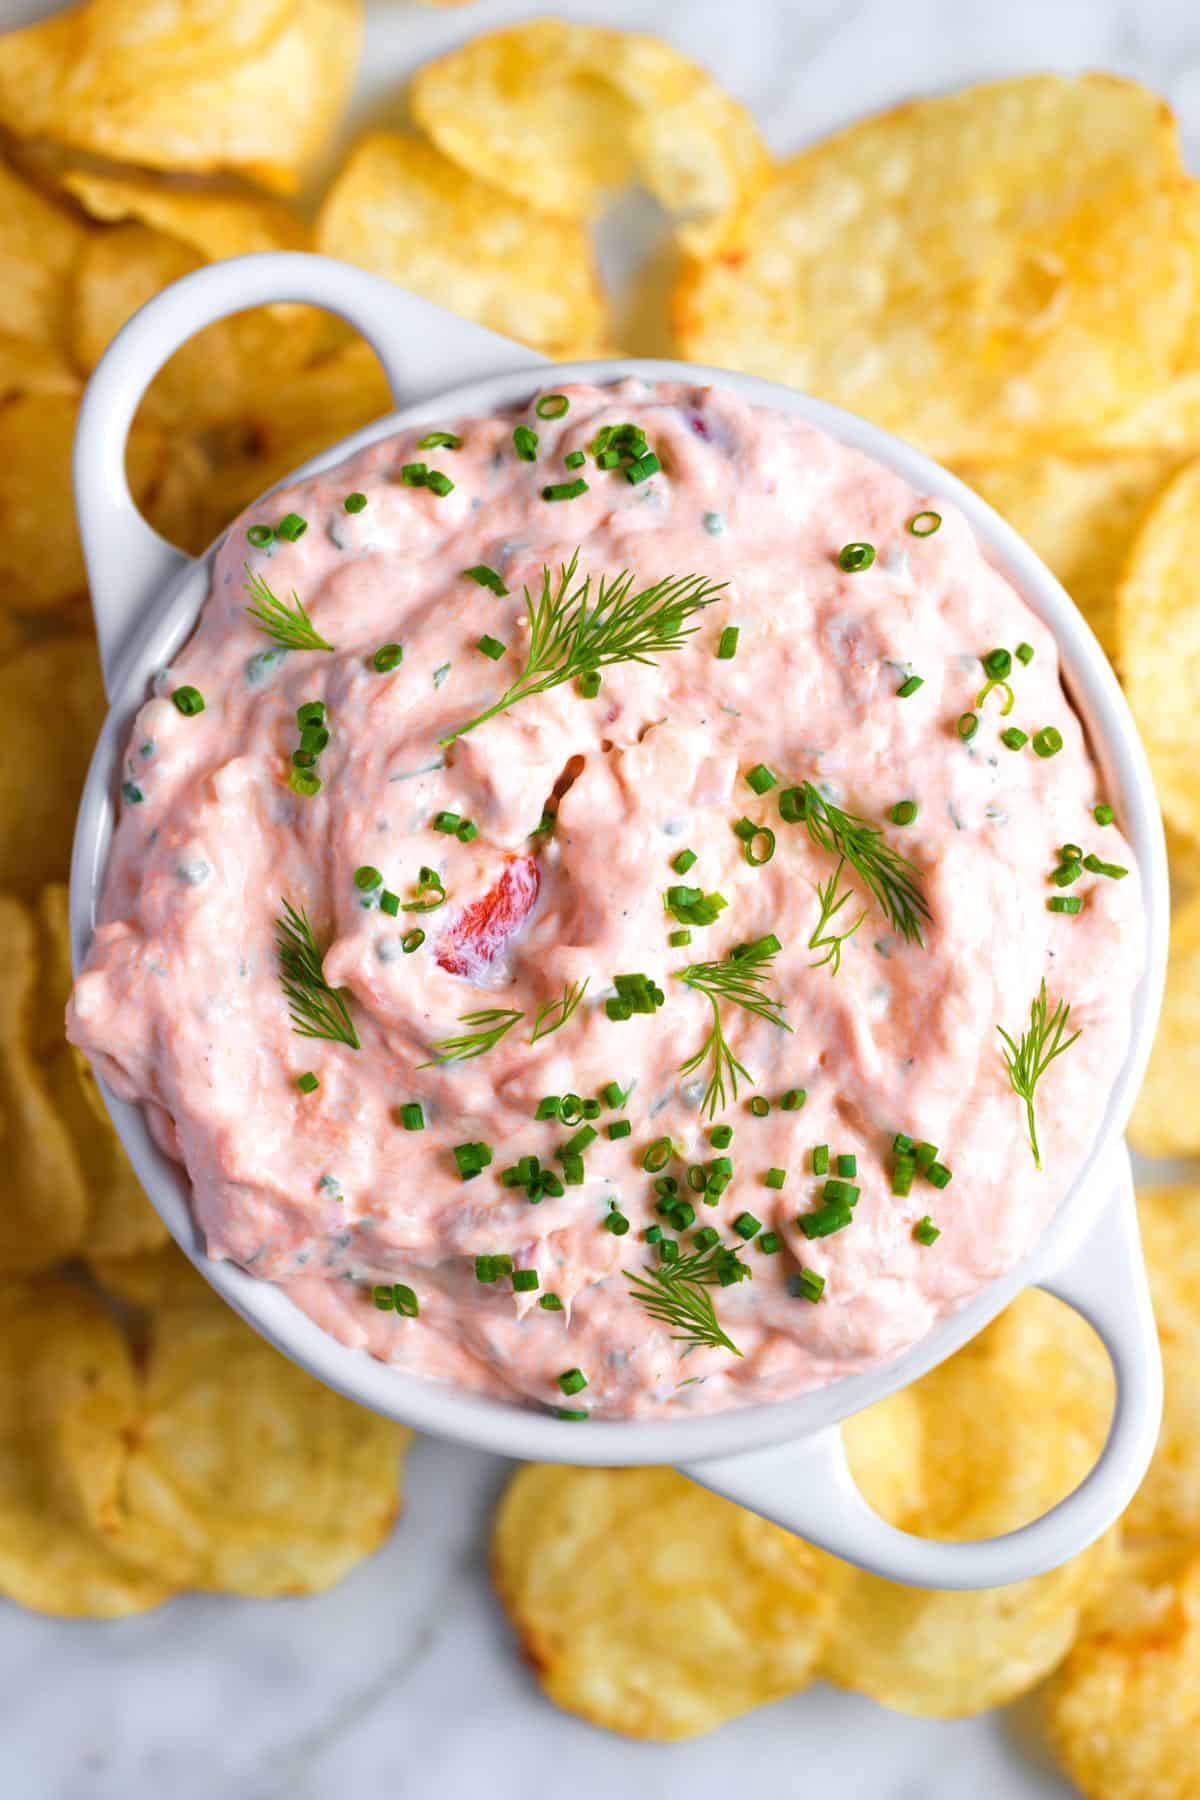
Easy Smoked Salmon Dip
You’ll love our smoked salmon dip recipe. It’s incredibly creamy and absolutely delicious. I love serving it with thick kettle chips, crackers, sliced bread, or even spread onto bagels.
Easy Smoked Salmon Dip
I can’t get enough of this creamy, delicious salmon dip! We love smoked salmon and are always looking for more ways to use it. This smoked salmon dip has quickly turned into one of my favorite recipes!
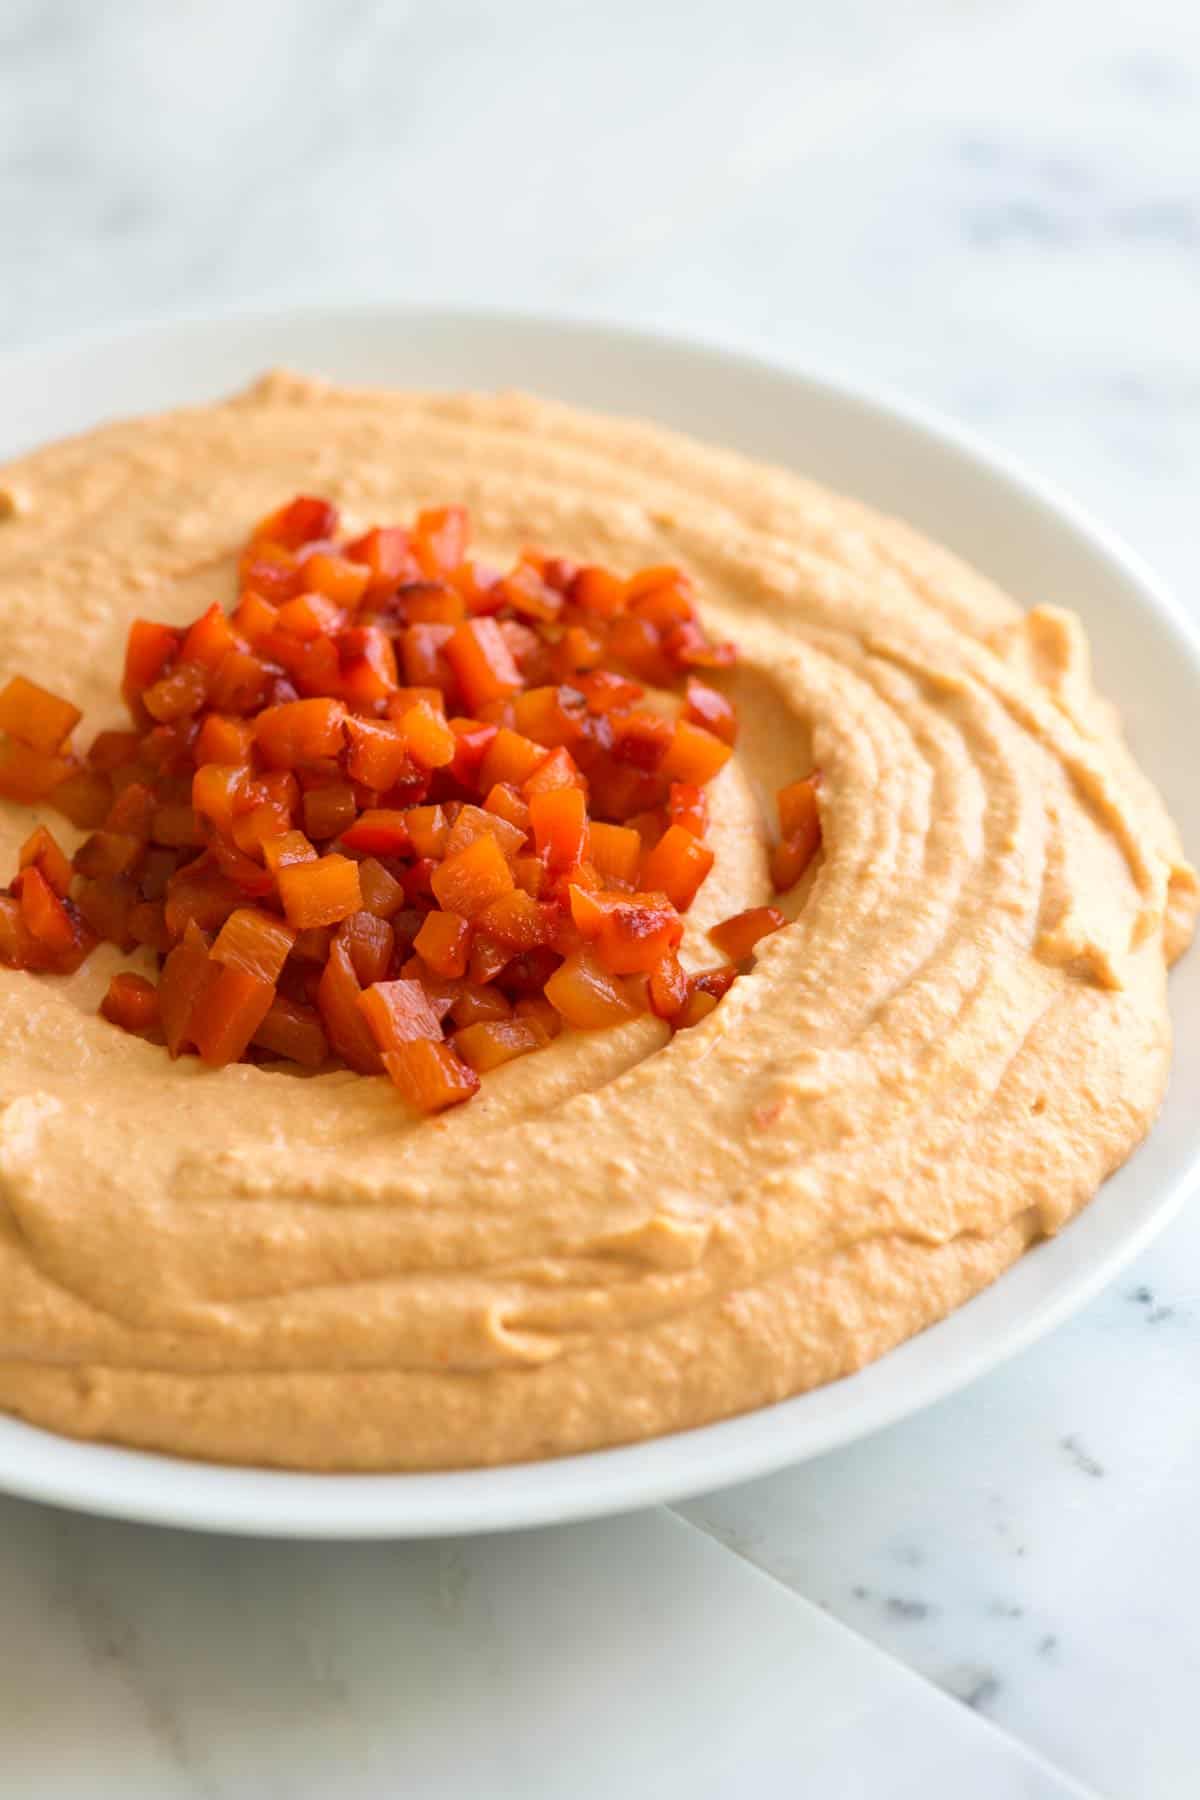
Easy Roasted Red Pepper Hummus
My easy roasted red pepper hummus is made with sweet red bell peppers, chickpeas, garlic, and tahini. It’s super simple to make and tastes much better than the hummus you can buy at the store.
Easy Roasted Red Pepper Hummus
After falling in love with how easy it is to make hummus at home, we’ve been playing around with more of our favorite store-bought hummus flavors. I love roasted peppers, and am excited to share this roasted red pepper hummus recipe with you! It’s creamy, smooth, and so delicious.
Perfect Guacamole
My family swears by this guacamole recipe! The best, most authentic guacamole starts with fresh ingredients and a few simple tricks that guarantee perfect texture and flavor. All you need are avocados, onion, cilantro, lime, tomato, and salt. It’s so simple, and so good!
Perfect Guacamole
I’m not kidding when I say this homemade guacamole does not last long in my house. The whole family loves it so much my teenage niece has even made it her special dish for years (and that’s how you know it’s good!).
Seriously Good 7 Layer Dip
I’m planting my flag and declaring this the ultimate 7 layer dip. Arguably the best party appetizer you can serve, this dip features delicious layers of homemade black bean puree, guacamole, spiced sour cream, cheese, and more.
Seriously Good 7 Layer Dip
What makes this dip so delicious is the black bean puree, which we make from scratch. By cooking our own beans, we pack in so much flavor from fresh garlic, onion, and spices. It’s an easy step that makes all the difference in the world. Once you try seven layer dip made with this puree, I know you’ll never go back.
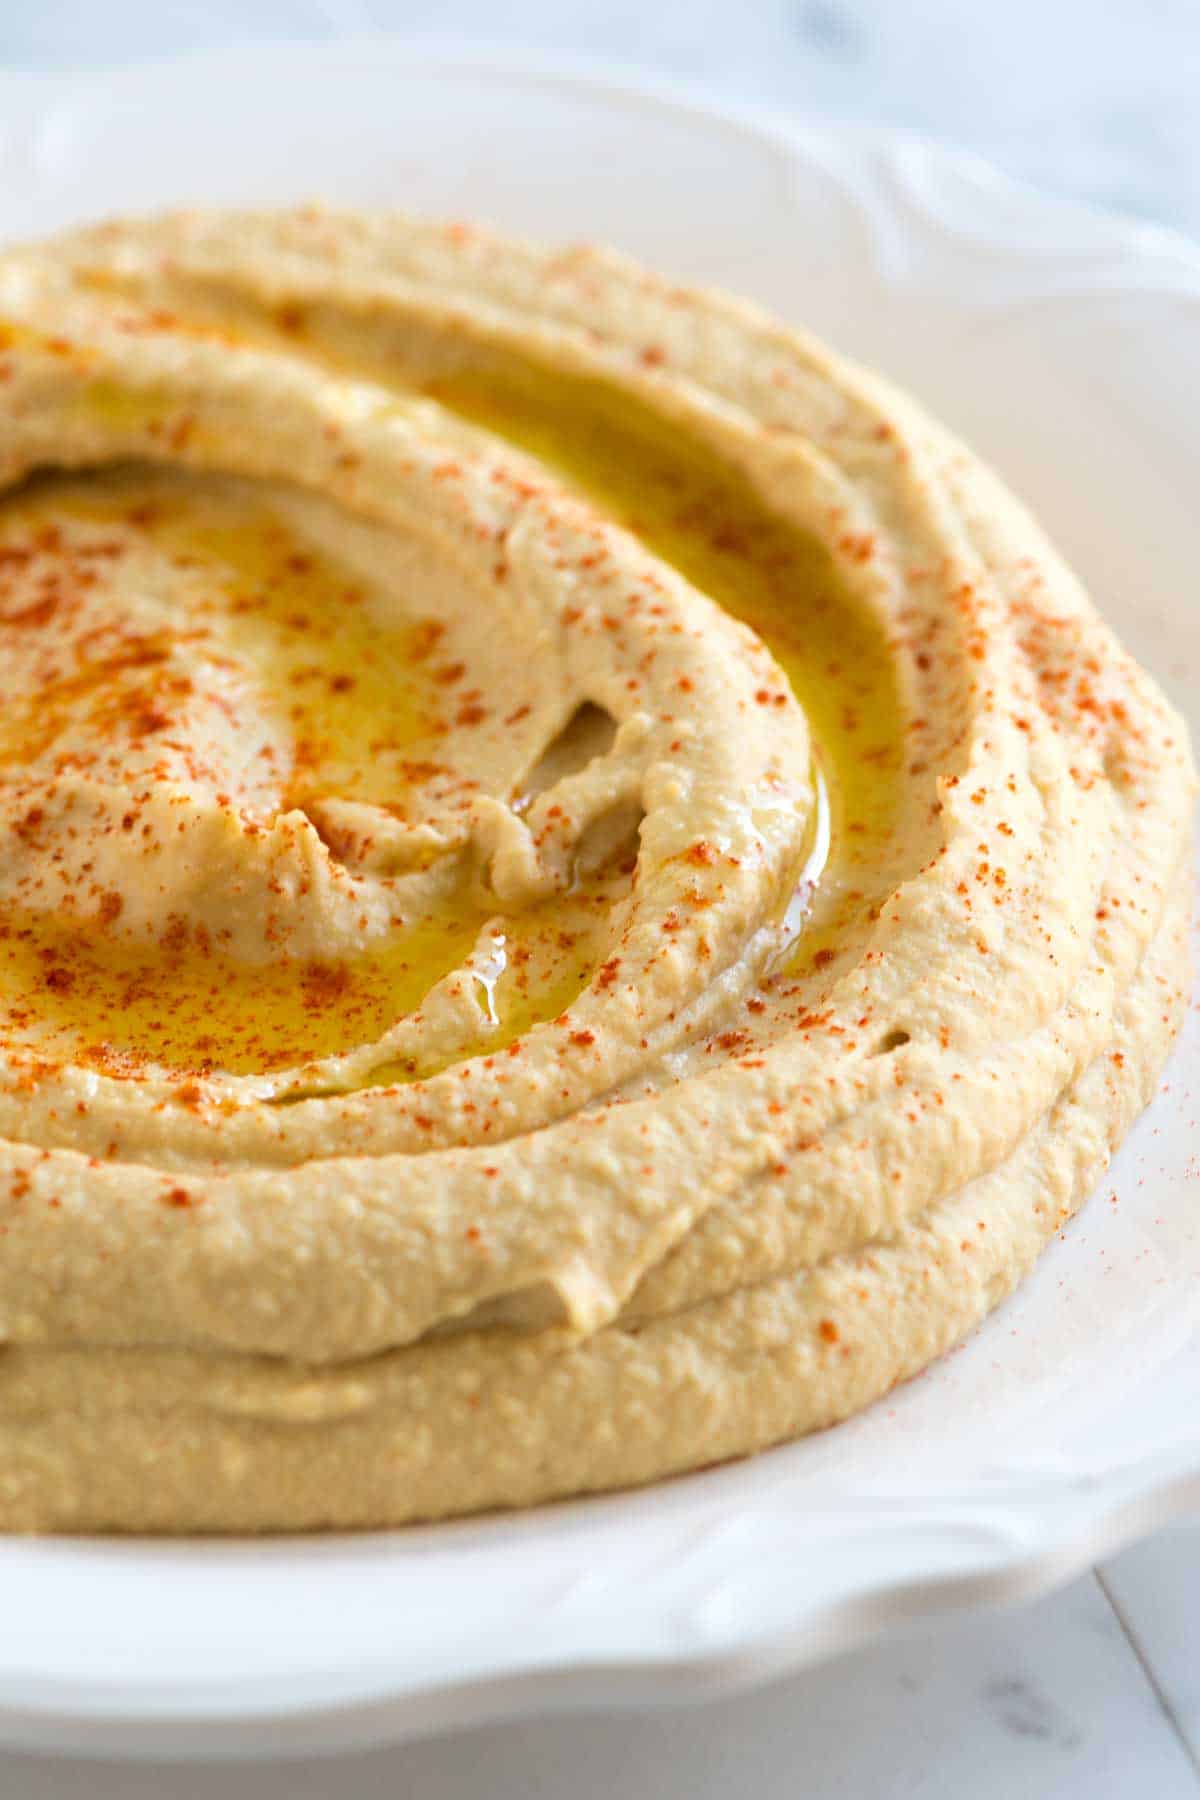
Easy Hummus (Better than Store-Bought)
My favorite hummus recipe! With a few simple tricks, you can make the best creamy, smooth homemade hummus, and yes, it’s better than store-bought.
Easy Hummus (Better than Store-Bought)
Hummus is a delicious spread (or dip) made from chickpeas, tahini, lemon, and spices. It is a popular dish in the Middle East and the Mediterranean. You can find it in most grocery stores, but trust me, you’ll want to skip those and make your own. Homemade hummus is just so much better!
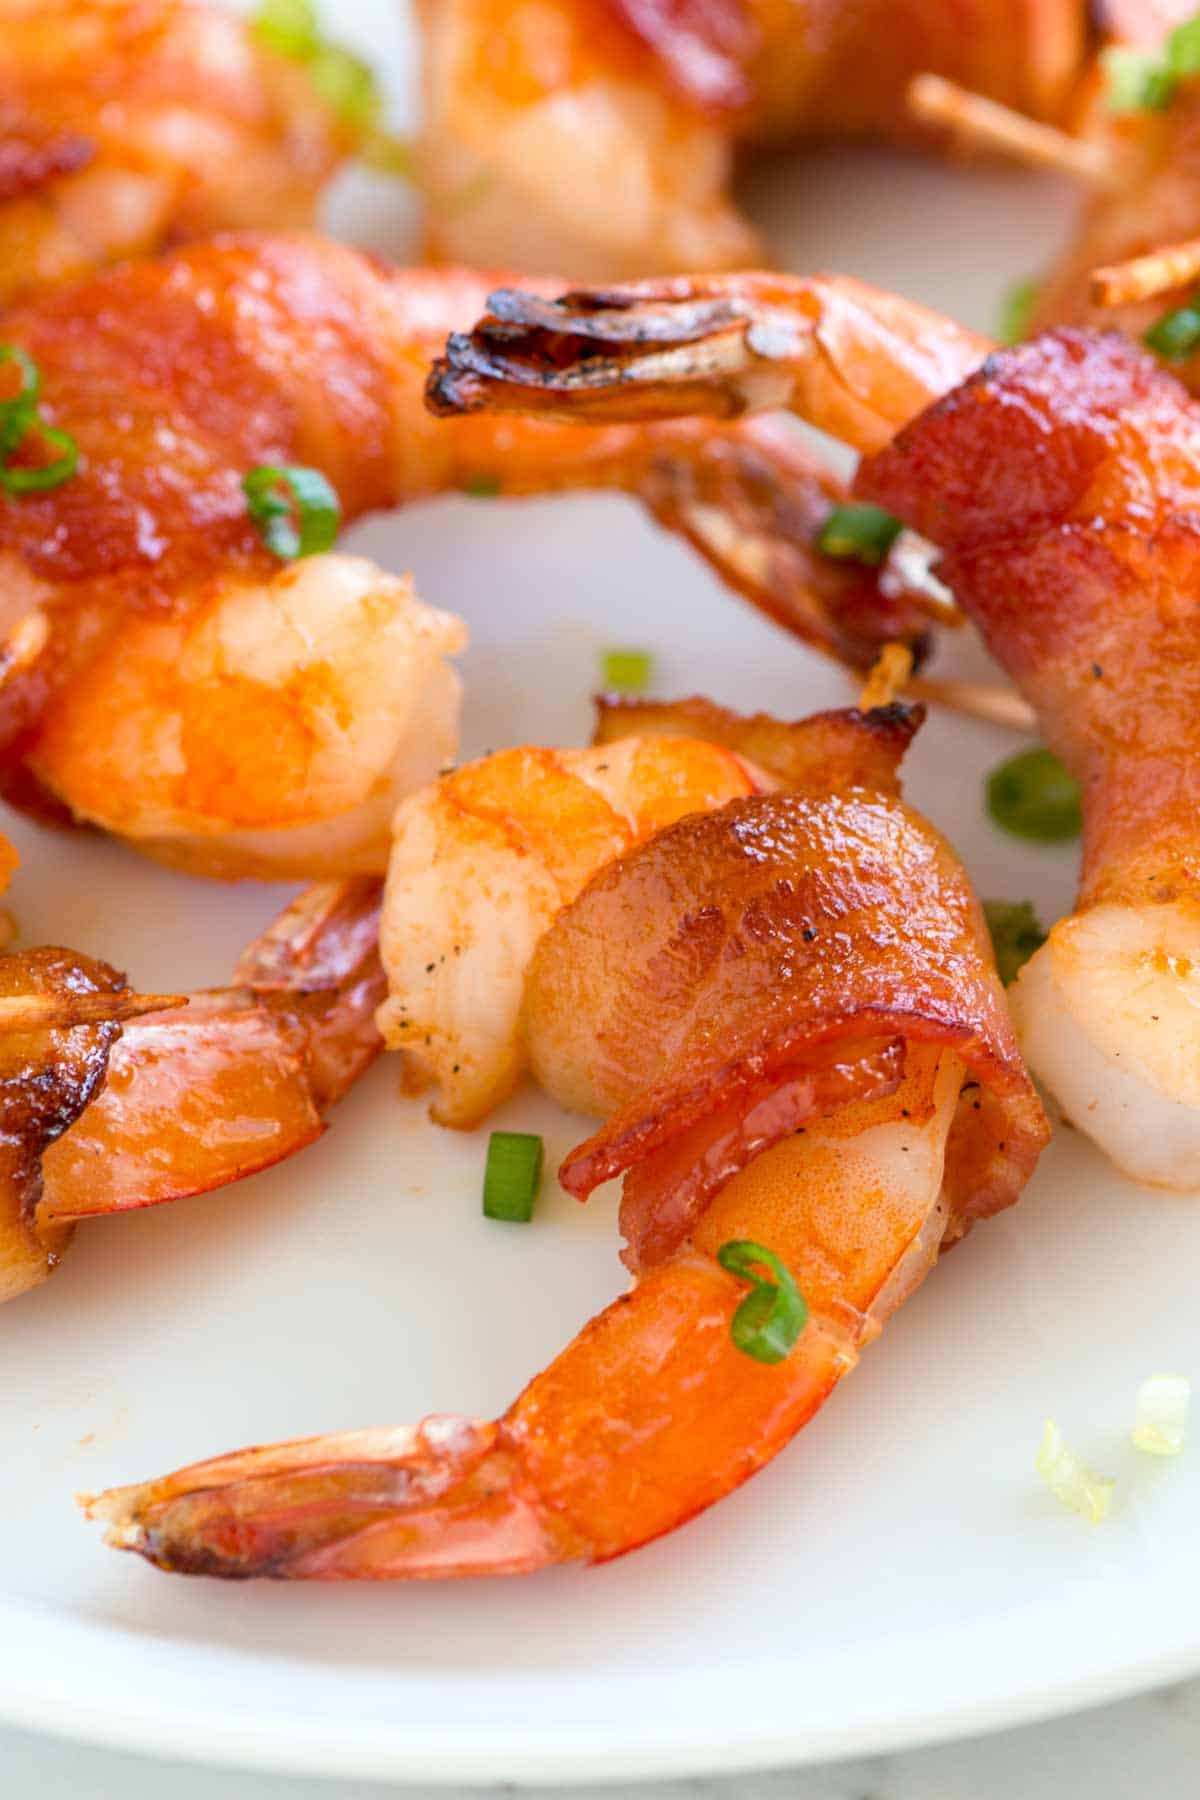
Easy Bacon Wrapped Shrimp
These bacon wrapped shrimp are the ultimate party appetizer! They’re coated in a spicy maple glaze and are perfect for any party. With our recipe, you’ll have crispy bacon and perfectly cooked shrimp!
Easy Bacon Wrapped Shrimp
Our bacon wrapped shrimp recipe is incredibly easy to make! The shrimp are so juicy and flavorful. They are high on my list of favorite appetizer recipes! We coat them in an irresistible spicy maple glaze that will have everyone coming back for more.
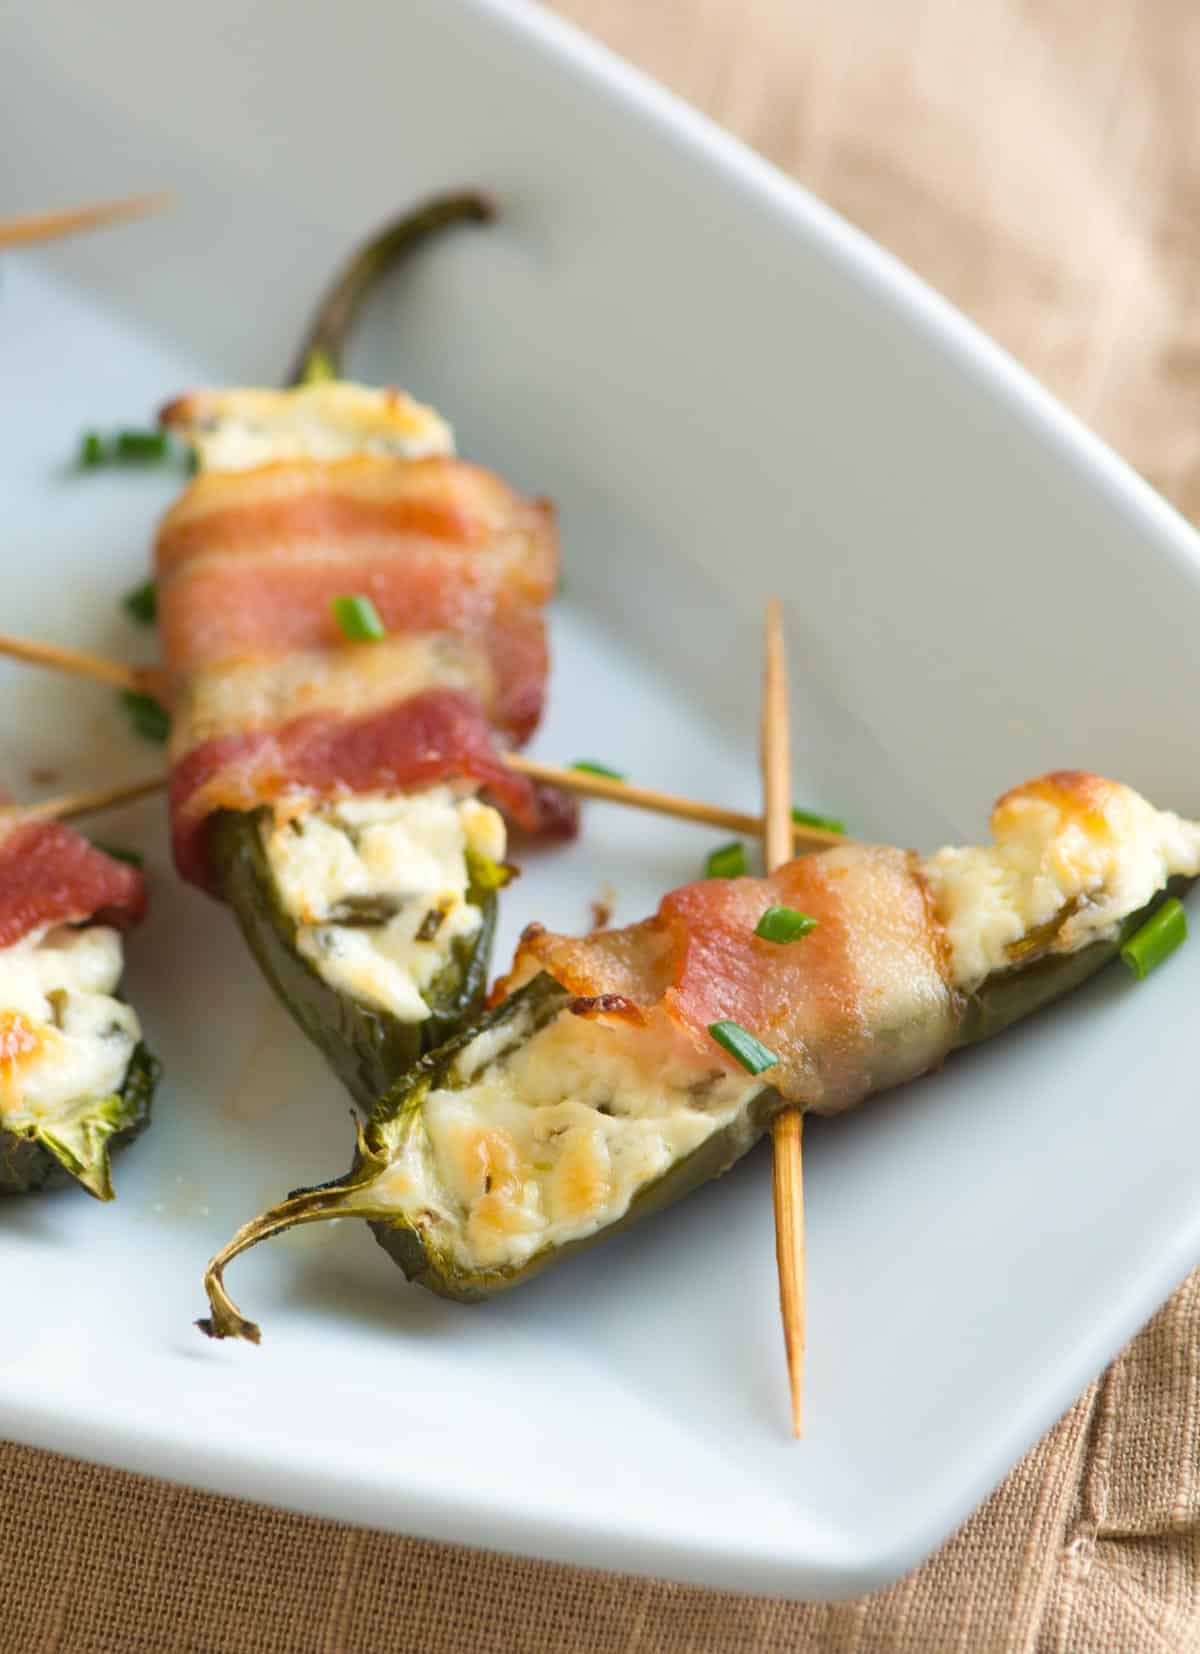
Easy Bacon Wrapped Jalapeno Poppers
Learn how to make the easiest, most delicious jalapeño poppers! With my recipe, you’ll have perfect, bacon-wrapped poppers in no time. Make an extra batch because these fly off the plate!
Easy Bacon Wrapped Jalapeno Poppers
These bacon wrapped jalapeño poppers are shockingly good. I’ll take a few of these over the store-bought fried poppers sold in grocery stores any day! Thin bacon is the secret to these incredible cream cheese stuffed poppers. Its fat renders down into the filling and over the peppers. So good!
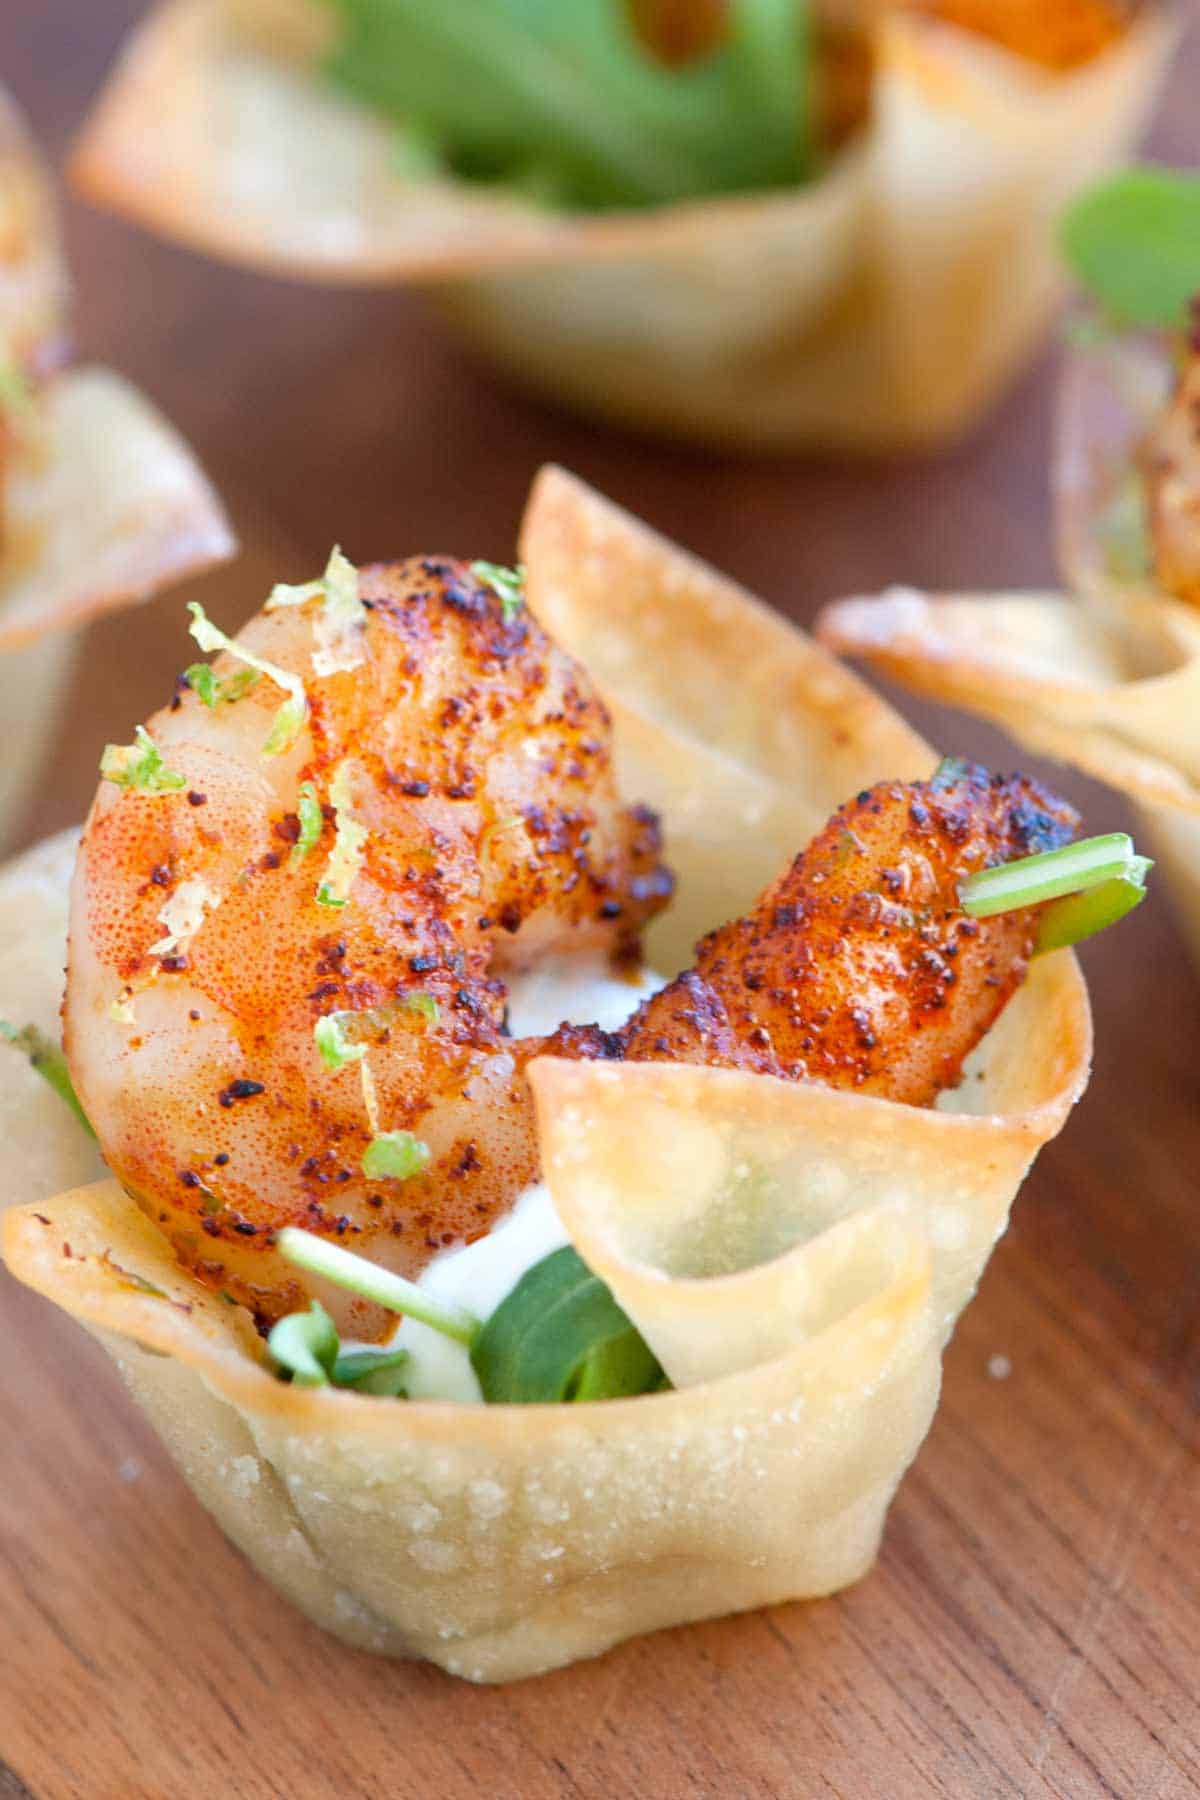
Chili Lime Shrimp Wonton Cups
These chili lime shrimp wonton cups are the perfect party appetizer! We bake wonton wrappers in the oven until crisp, fill them with arugula and lime sour cream, and then top them with a big juicy chili lime baked shrimp.
Chili Lime Shrimp Wonton Cups
These easy wonton cups are like mini shrimp tacos. The shrimp are spiced with chili powder, the lime brightens everything up, and the arugula keeps the whole thing fresh. So many of our readers have made these for parties with great success!
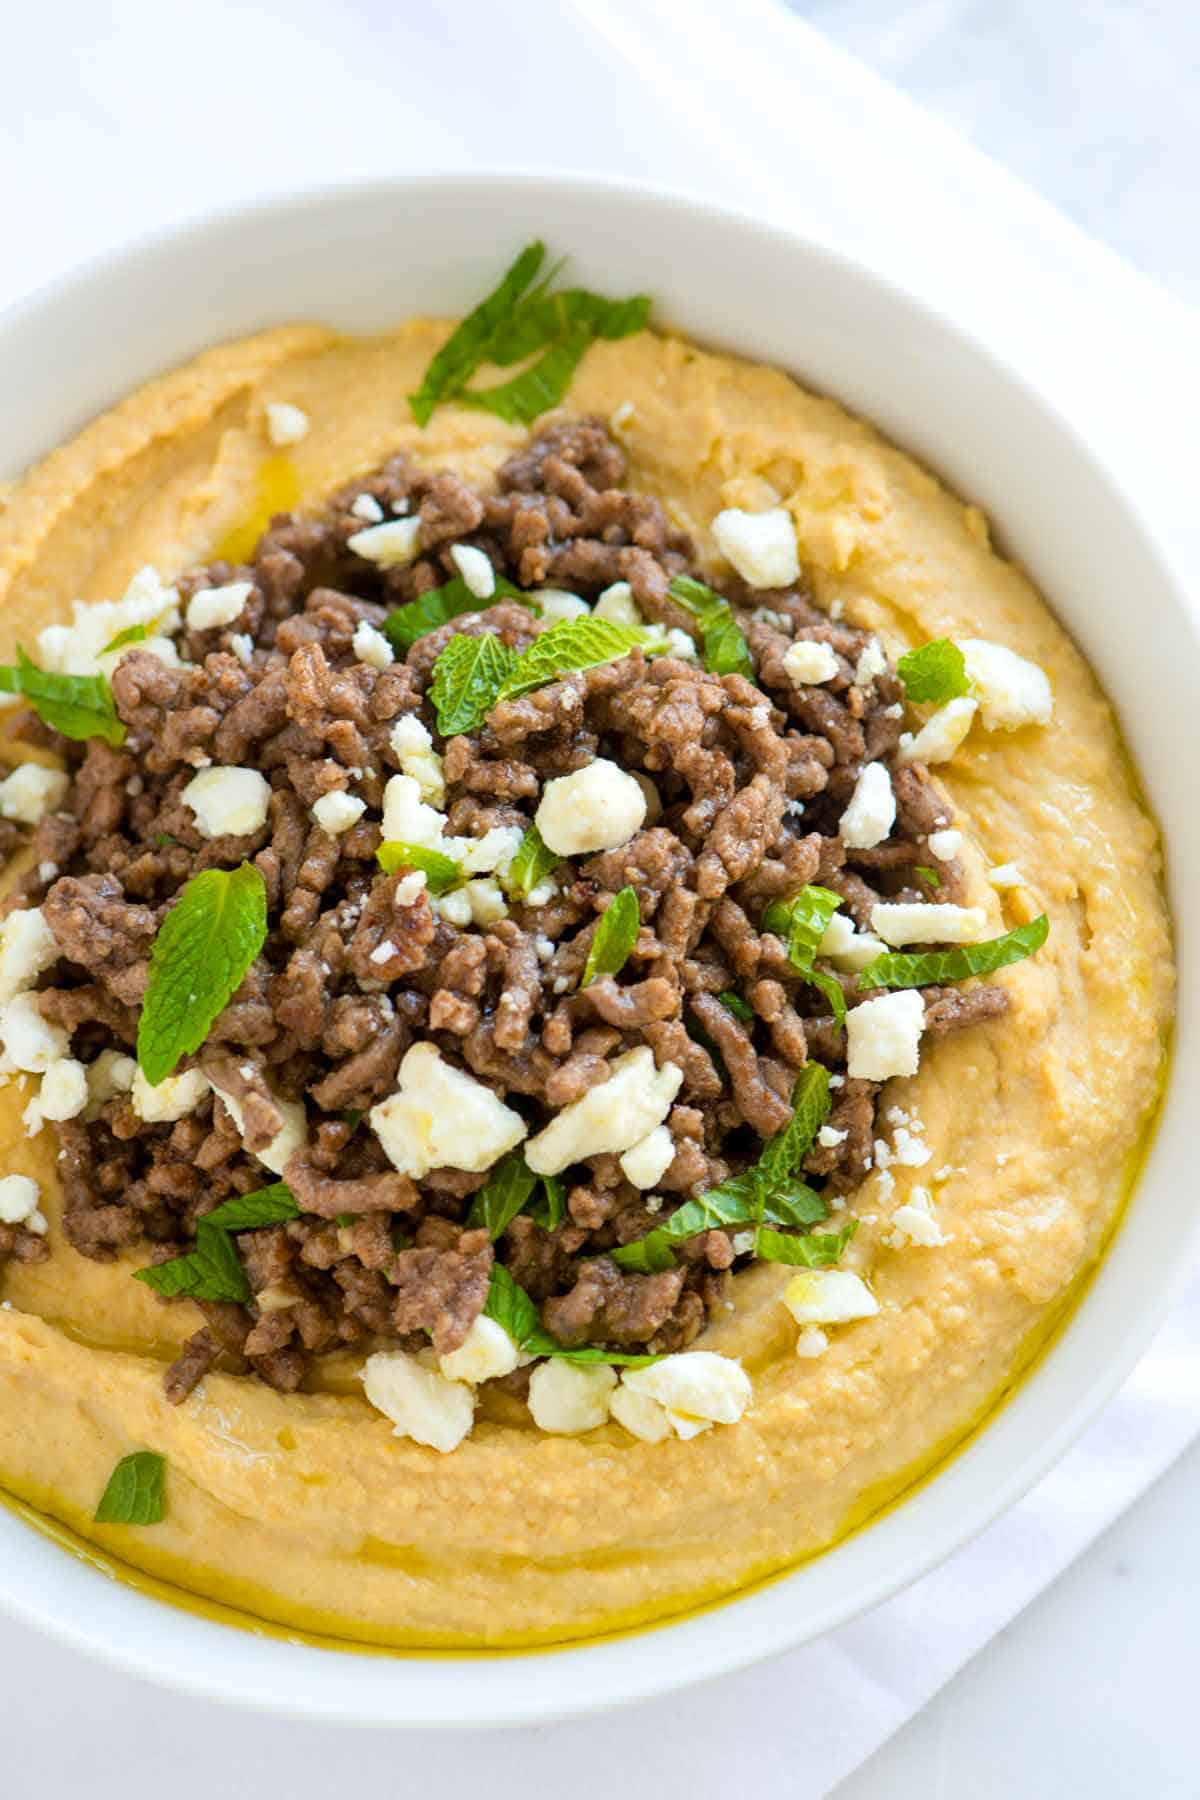
Hummus with Spiced Ground Beef, Feta and Mint
How to make hummus topped with spiced ground beef, feta cheese and mint.
Hummus with Spiced Ground Beef, Feta and Mint
A spiced up and easy ground beef recipe with cumin, coriander and spicy cayenne pepper that’s added to a big bowl of creamy hummus.
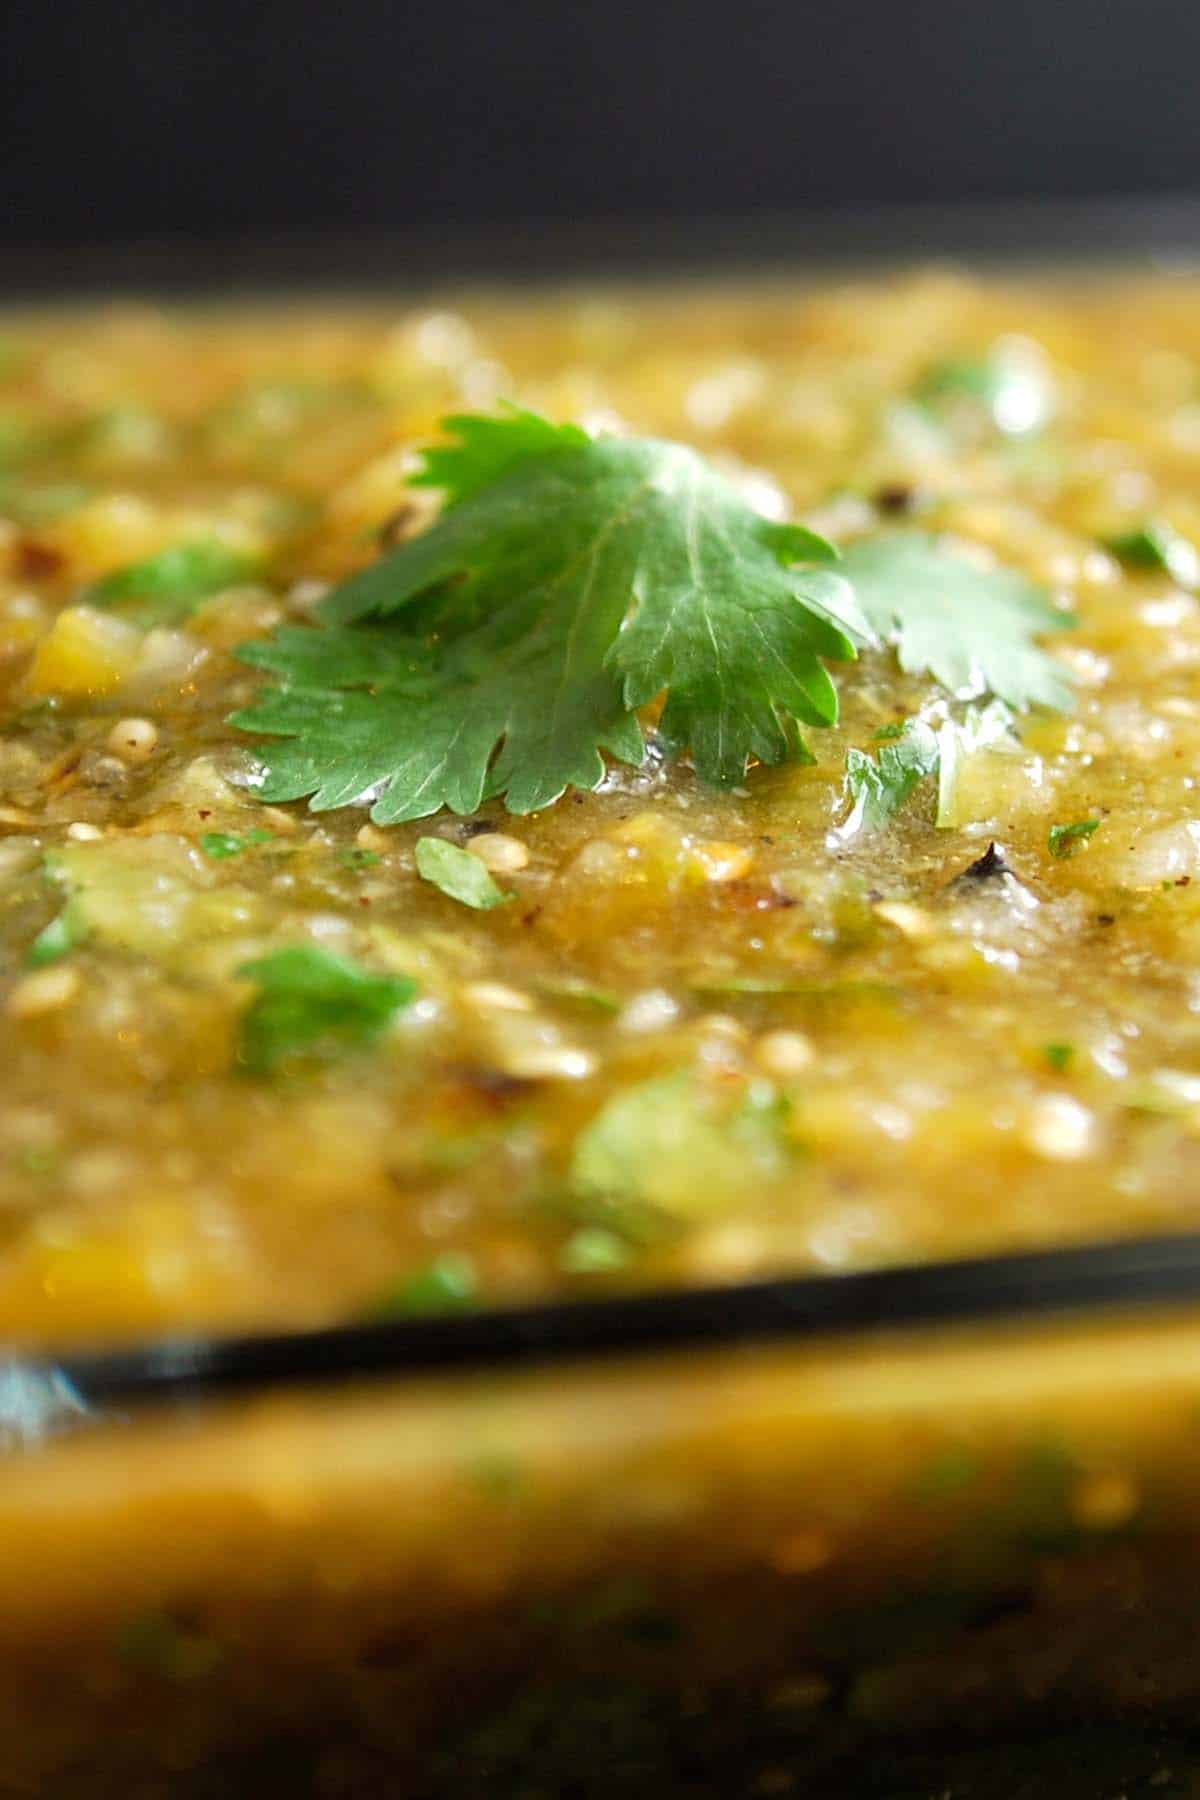
Roasted Tomatillo Salsa Verde
Our Mexican salsa verde recipe made with roasted tomatillos, chile peppers, and garlic is genuinely one of my favorite homemade salsa recipes! It’s easy, incredibly flavorful, and makes everything taste better. Trust me, once you try it, you’ll be hooked!
Roasted Tomatillo Salsa Verde
We shared this roasted tomatillo salsa recipe years ago, and so many of our readers have kept coming back to it over the years. This one is a keeper! To make this easy green salsa, we roast tomatillos alongside other ingredients like chiles and garlic, guaranteeing so much flavor!
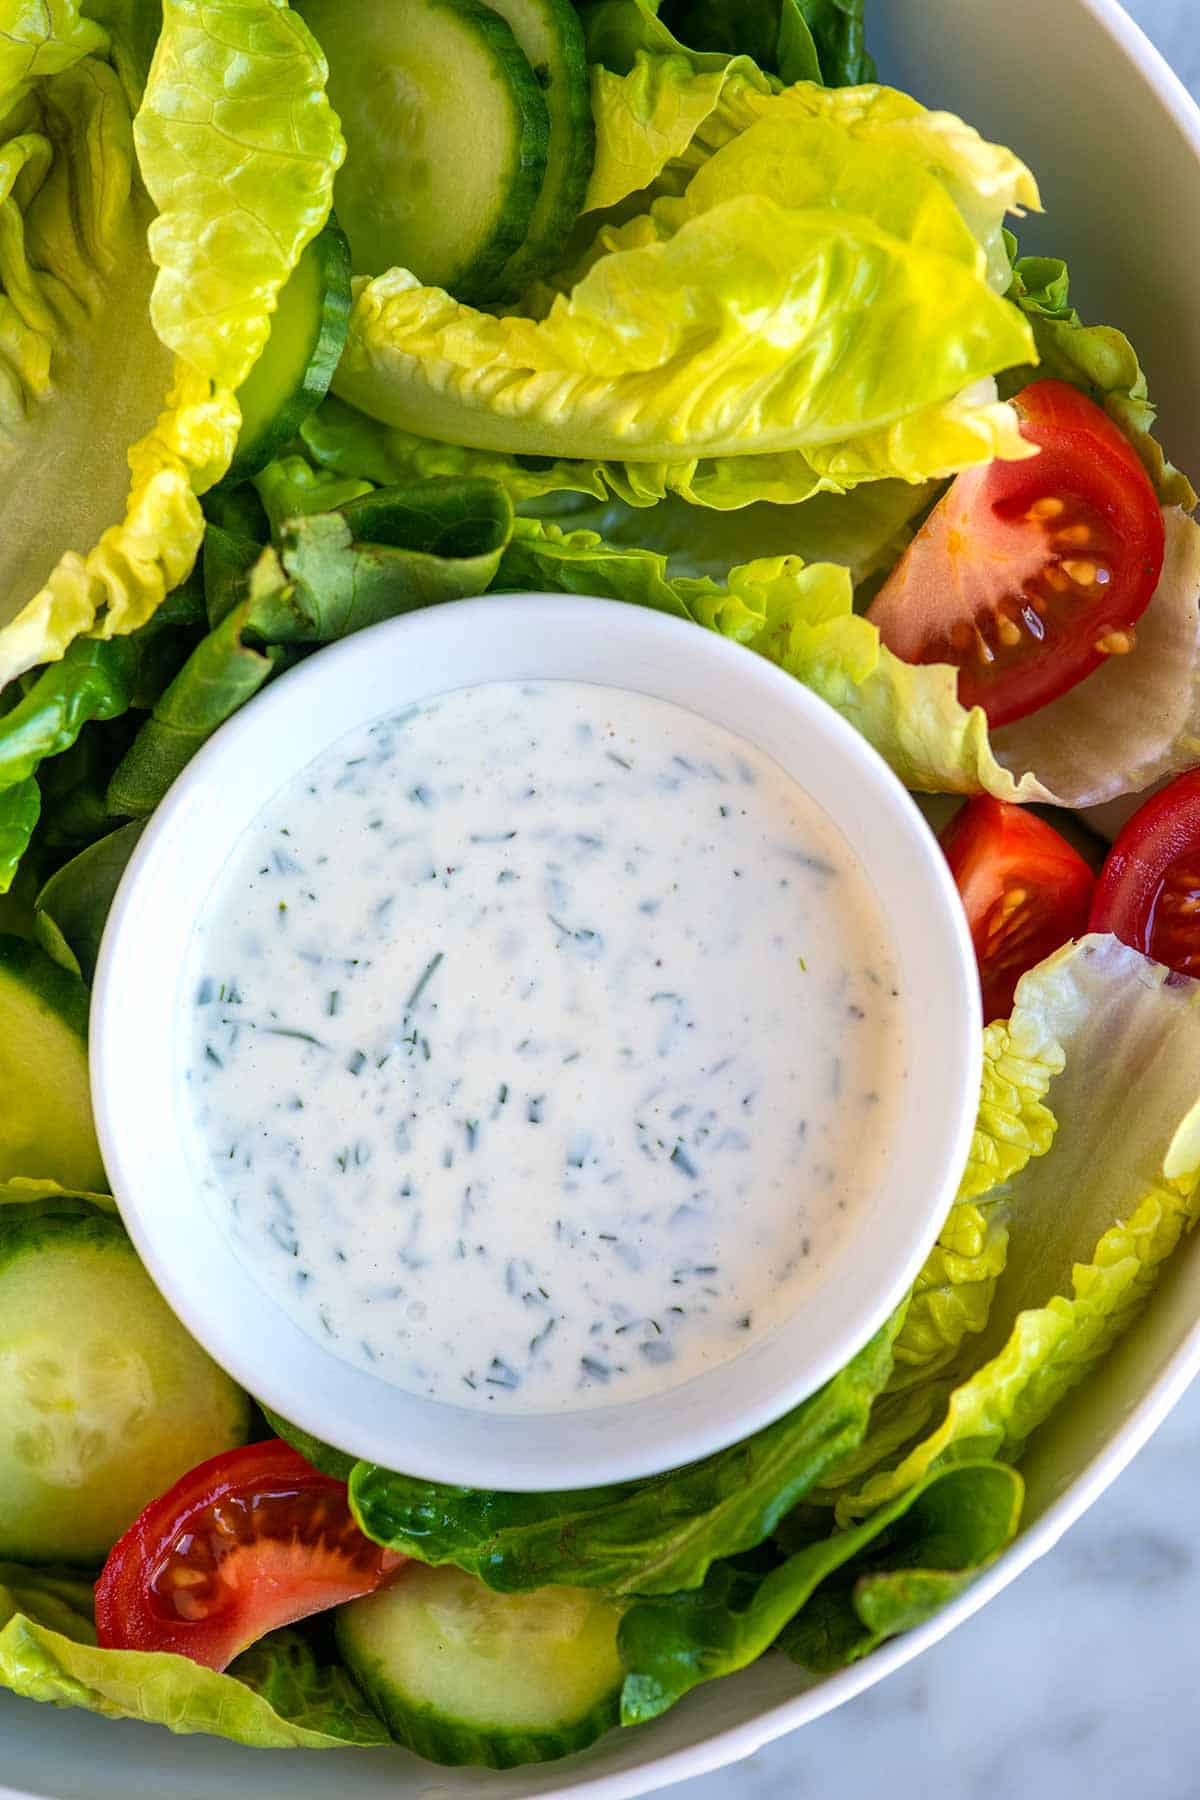
Easy Homemade Ranch & Veggies
This homemade ranch dressing recipe is so easy and delicious that it will make you ditch the store-bought bottles for good. It’s extra creamy and perfect for salads and dipping!
Easy Homemade Ranch
I’ve always loved ranch dressing, and this homemade version is truly the best I’ve had. My homemade ranch dressing is incredibly simple to make and tastes so much better than what you can buy at the store (promise). Serve it with lots of colorful veggies for a super easy appetizer.
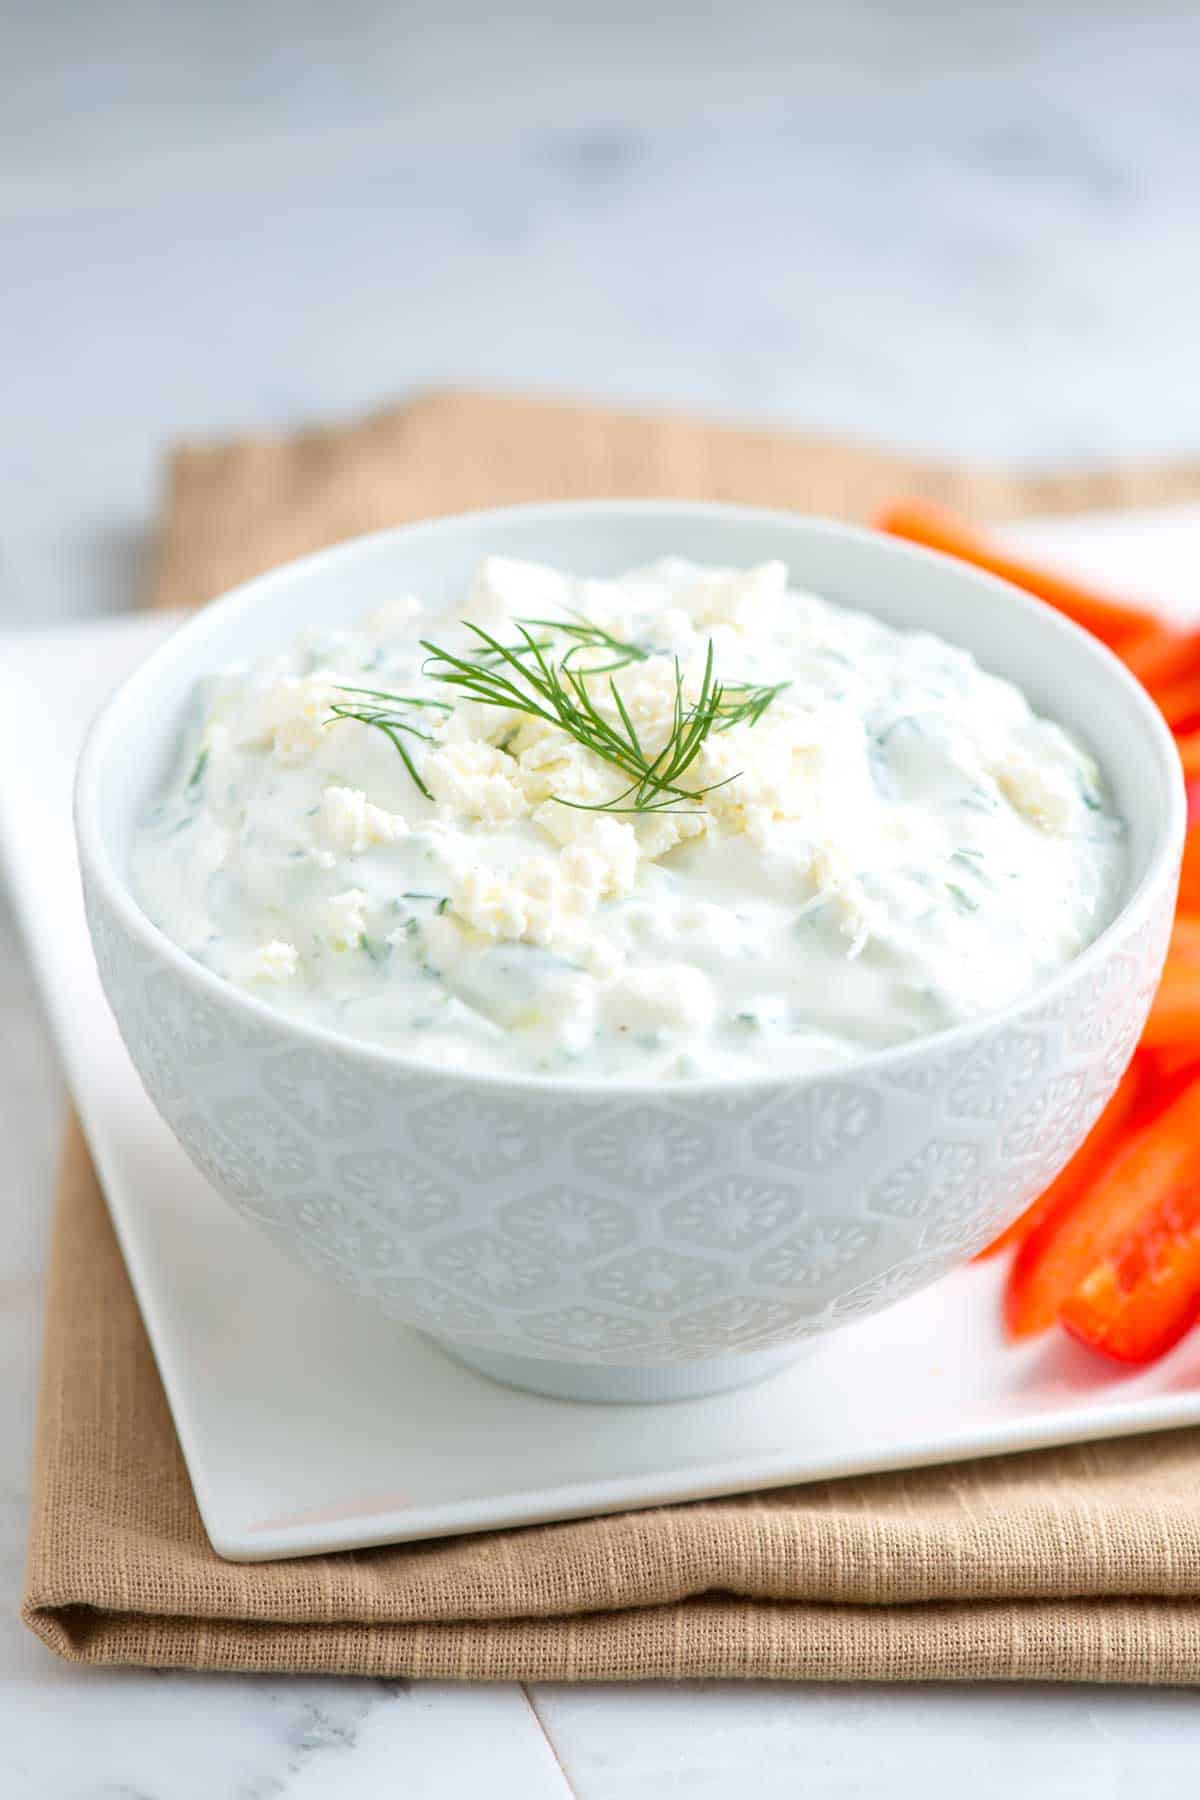
Feta Tzatziki
We love this thick, creamy tzatziki with feta cheese and fresh herbs! It’s delicious as a sauce or dip with veggies, pita chips, grilled meats, and sandwiches.
Feta Tzatziki
We absolutely love tzatziki sauce around here! It’s so versatile, and we’ll happily spoon it onto just about anything. This recipe takes classic tzatziki to the next level by adding tangy feta cheese for extra flavor and creaminess.
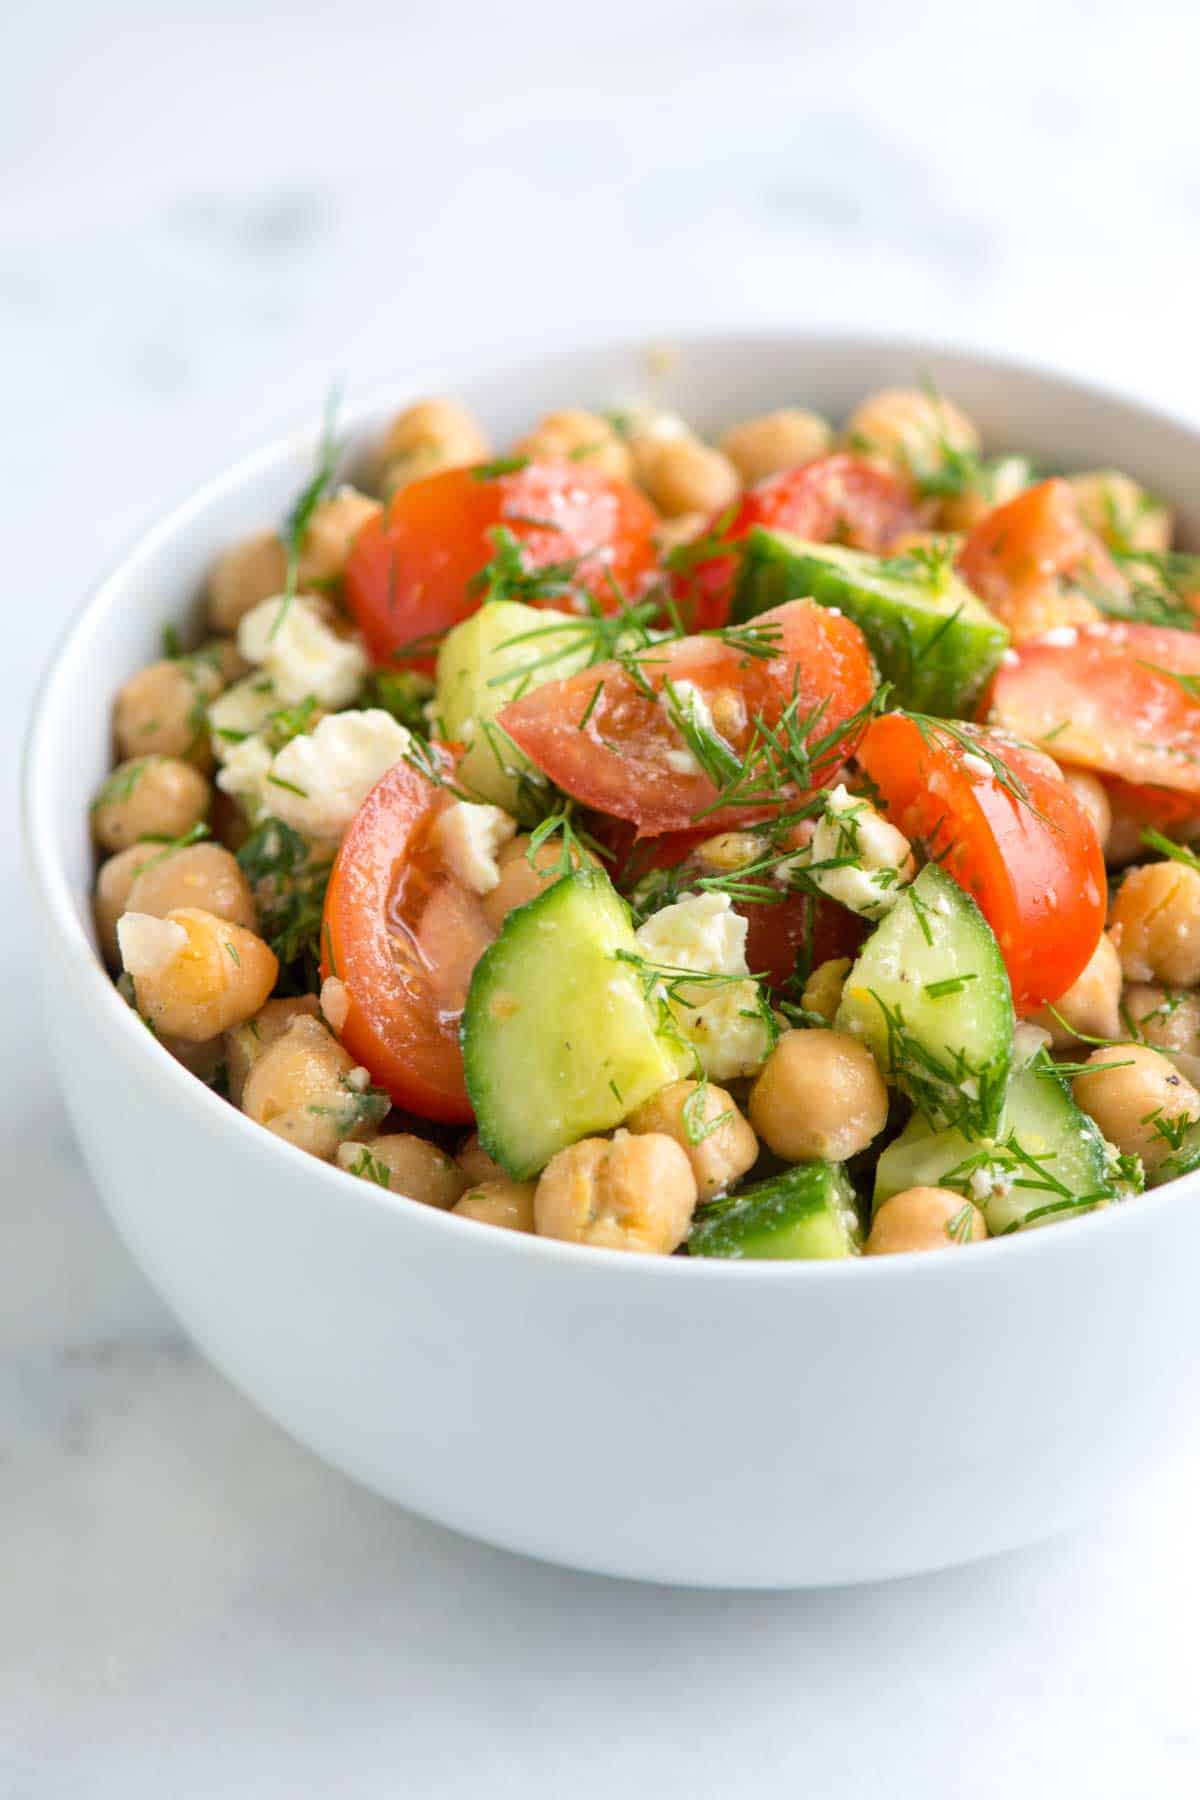
Easy Chickpea Salad
I can’t get enough of this easy chickpea salad recipe with lemon and dill. I’ve been making this delicious salad with chickpeas for years and fall in love all over again every time I do.
Easy Chickpea Salad
Thanks to the dill and lemon vinaigrette, this chickpea salad has the most delicious Mediterranean vibe. It’s super fresh, incredibly flavorful, and perfectly filling as a healthy, speedy lunch or dinner (thanks to those hearty chickpeas!).
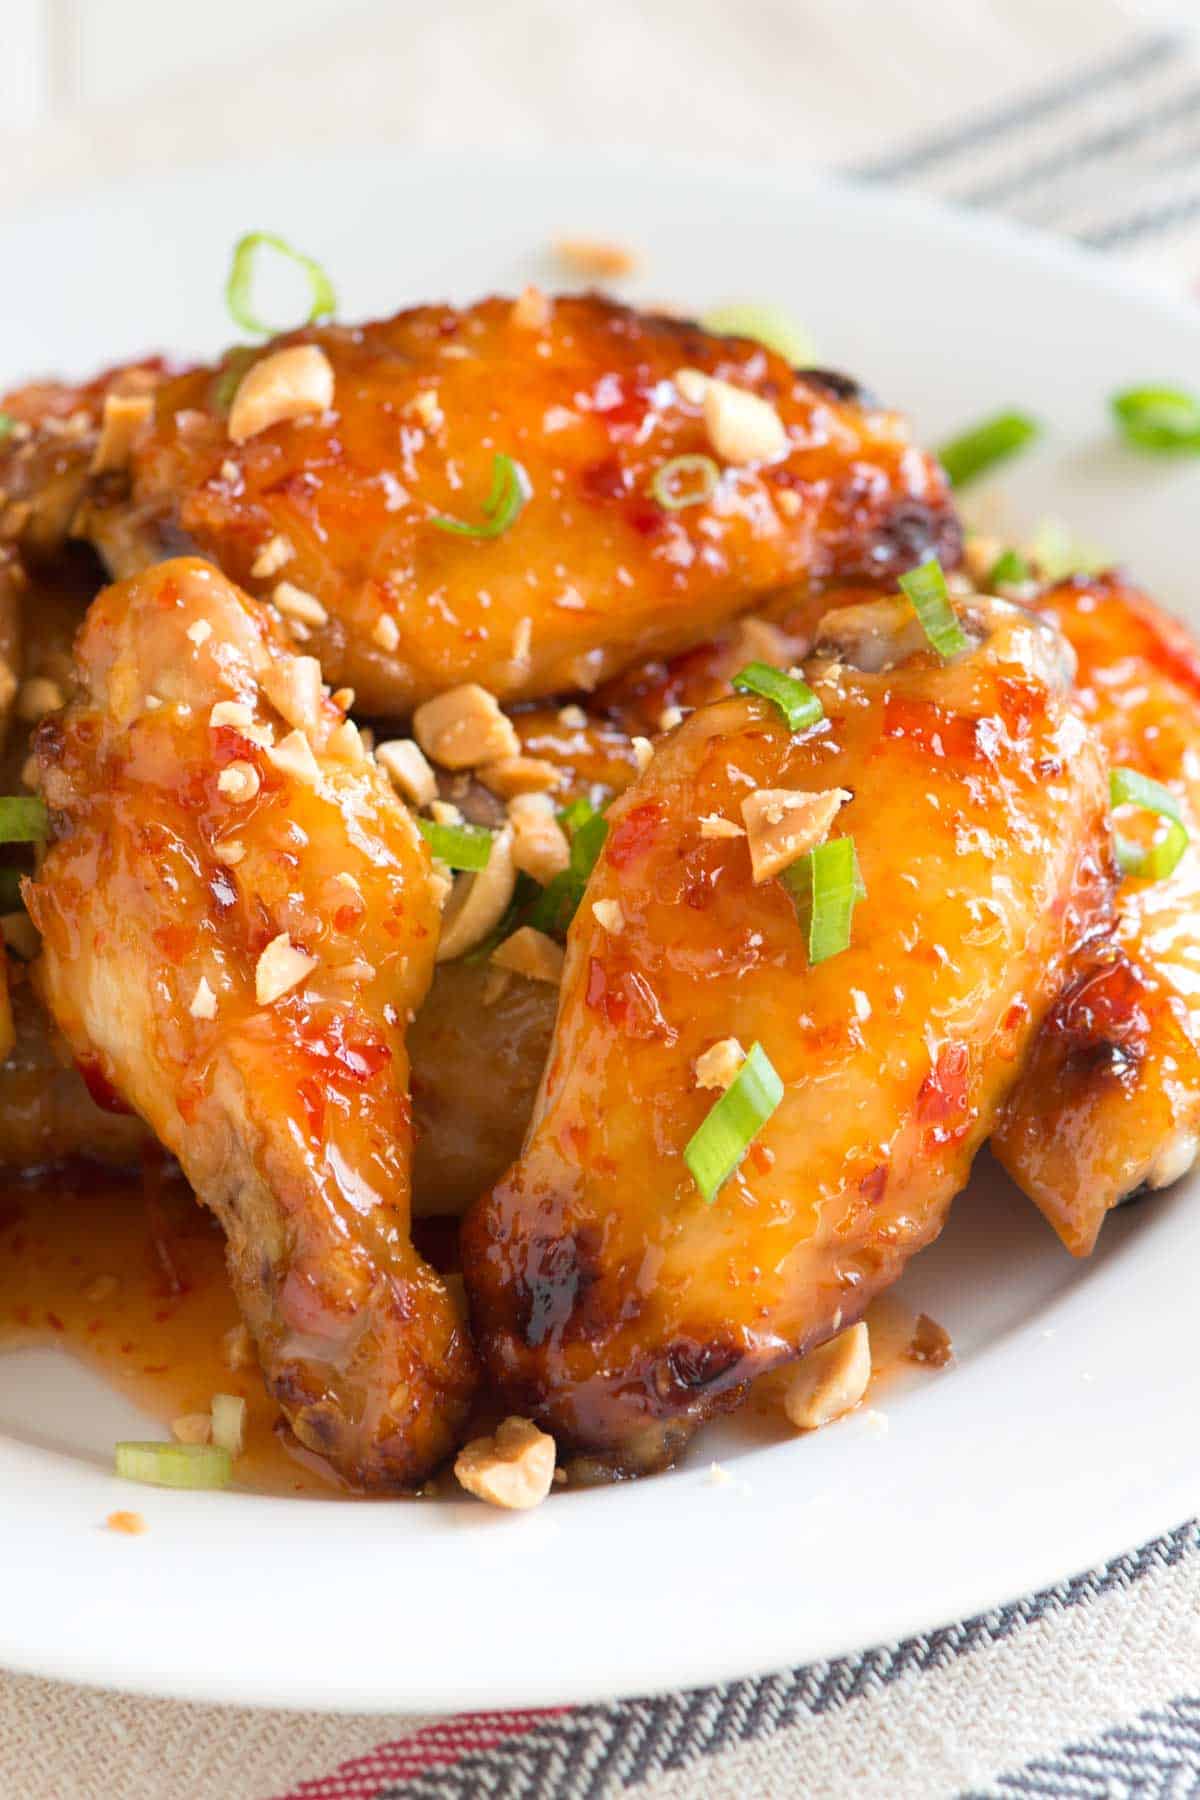
Easy Sweet Chili Chicken Wings
Our Thai sweet chili chicken wings are out of this world delicious and so simple to make. You’ll bake the wings to sticky perfection and then toss them with even more delicious sticky Asian sweet chili glaze. So good!
Easy Sweet Chili Chicken Wings
Our sweet chili wings are sticky, sweet, and spicy, with a bit of crunch, thanks to a handful of chopped peanuts and sliced green onion sprinkled on top. They are easy, too. The sweet chili glaze only needs three ingredients!
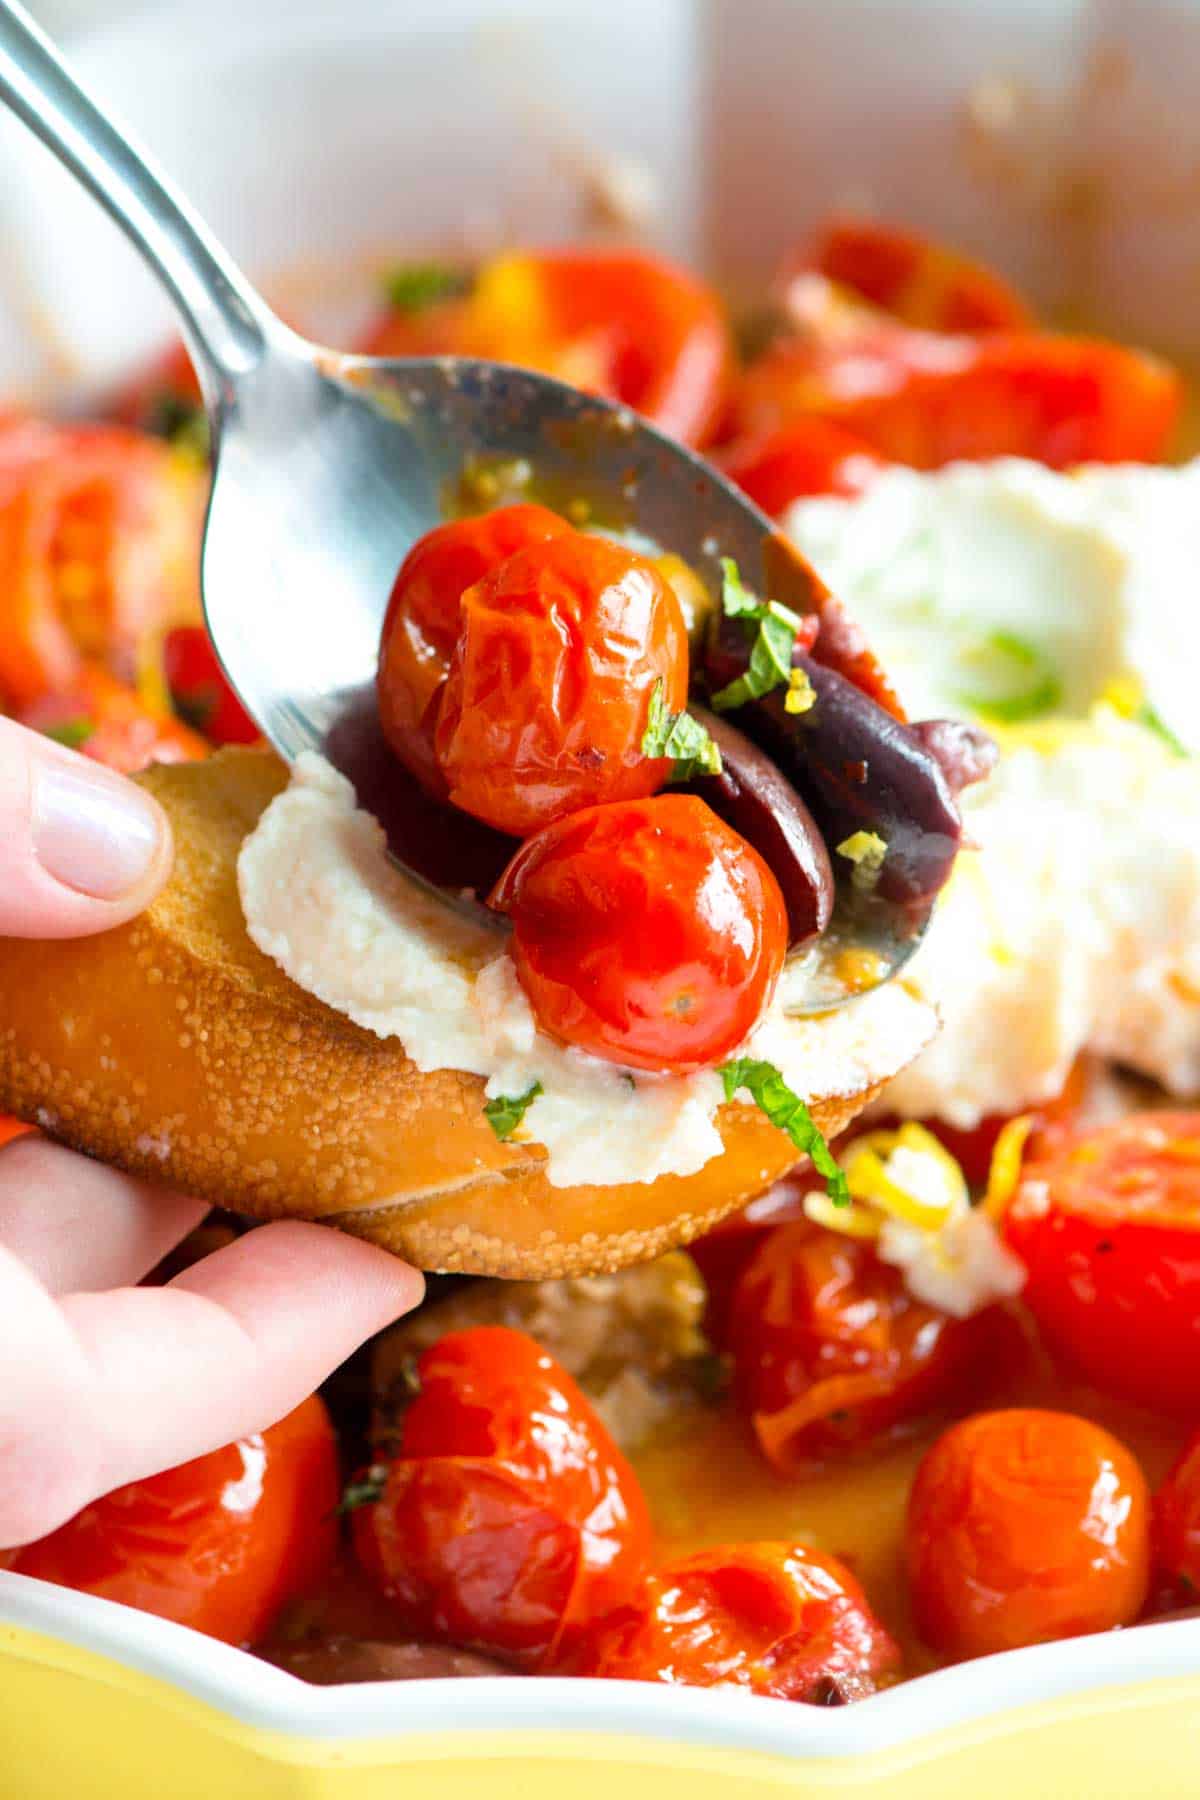
Roasted Tomatoes with Ricotta and Mint
These roasted tomatoes with ricotta are perfect when served as an appetizer (or even dinner with toast).
Roasted Tomatoes with Ricotta
As they roast in the oven, the tomatoes release their juices, which taste incredible with creamy ricotta cheese. You have to serve this one family style right out of the baking dish – no fuss.
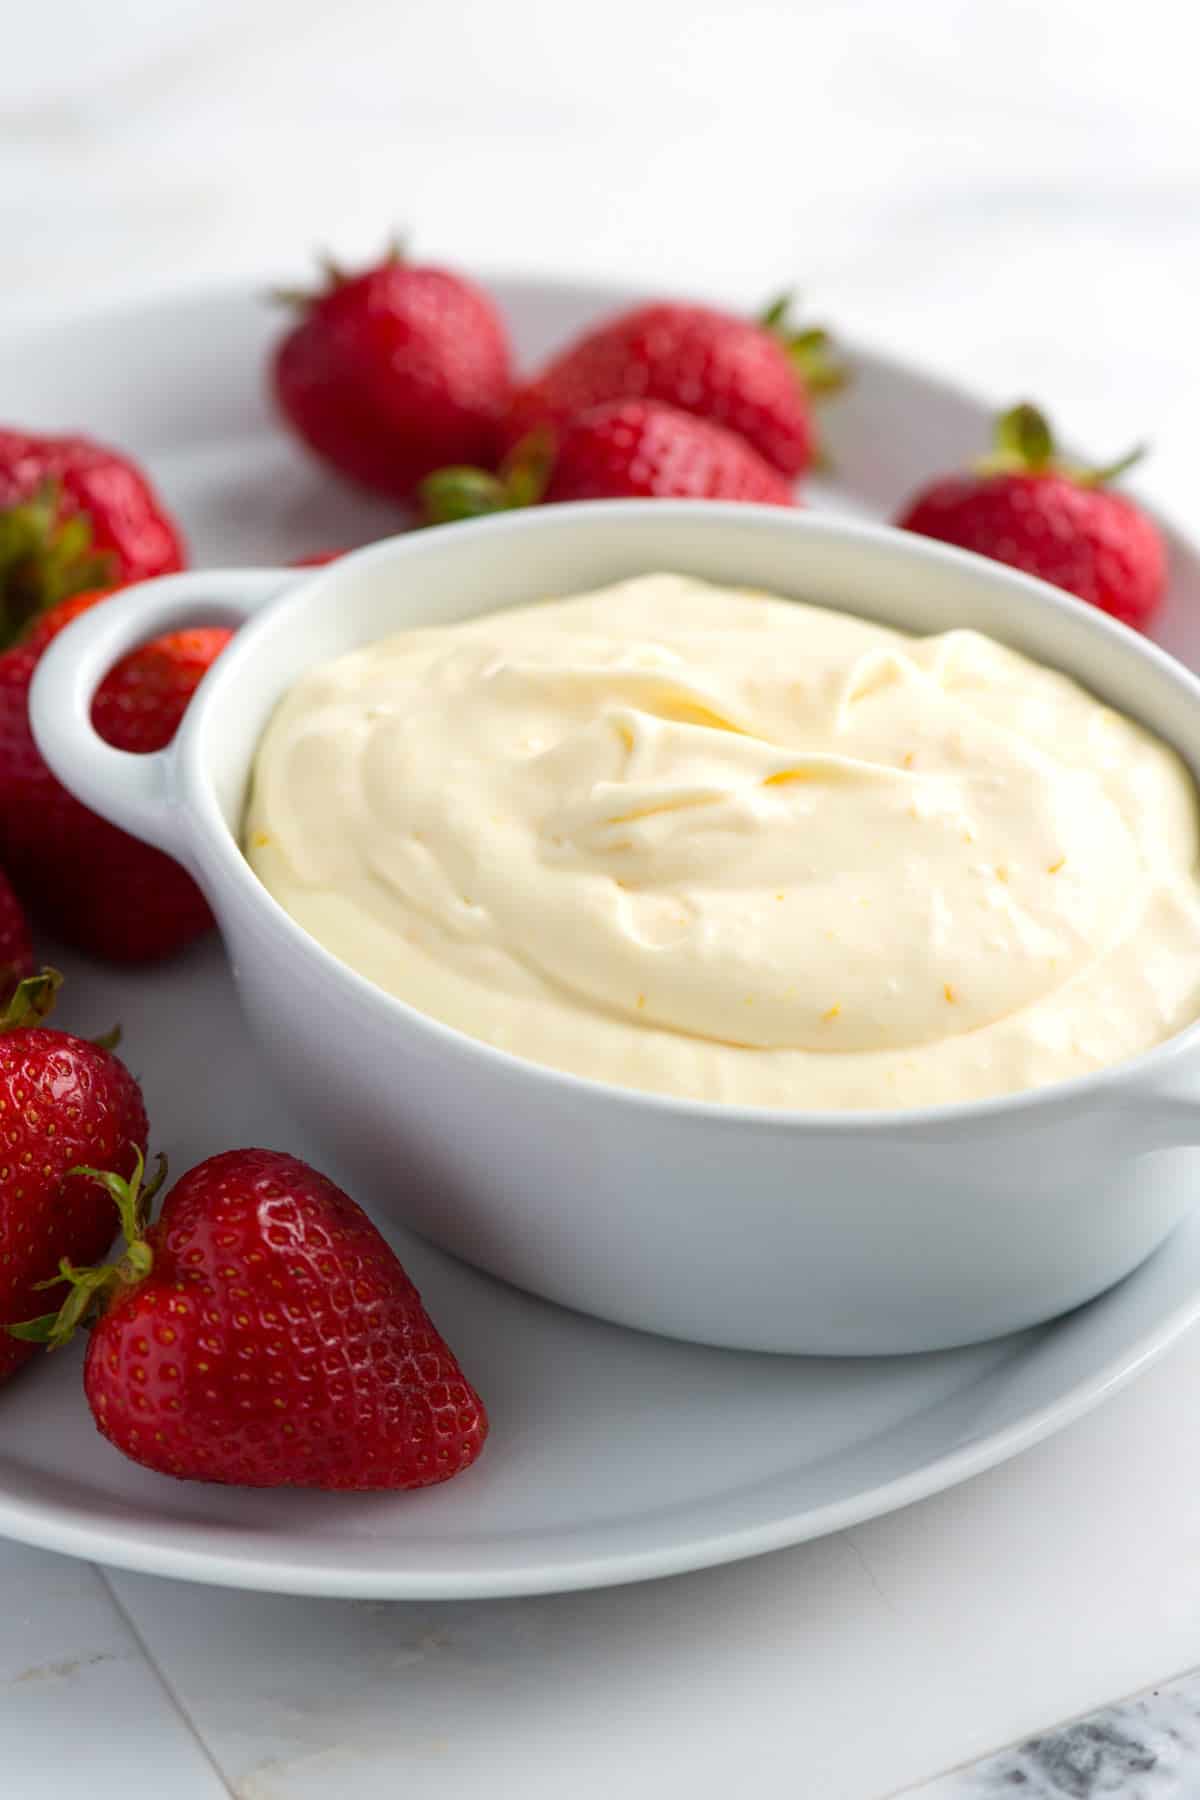
Easy Fruit Dip
This is the most delicious fruit dip recipe I’ve made! Our recipe combines cream cheese, cream, and orange. It’s insanely good!
Easy Fruit Dip
Imagine you’re at a party with a table filled with tempting treats. At one end, you see chocolate cupcakes. At the other end, there’s a bowl of this irresistible creamy fruit dip. Where will you find me? I’ll be practically attached to that fruit dip bowl, happily devouring it. Honestly, I hardly even need the fruit – this dip is so good that I could eat it with a spoon!
Cheese Pinwheels
Our easy cheese pinwheels made with puff pastry, two cheeses, and roasted red peppers are such a delicious appetizer! These cute little pinwheels fly off the plate!
These puff pastry pinwheels are high on my list of best hors d’oeuvres. They are simple, pretty on the plate, taste incredible, and are perfect for making in advance! In our recipe below, we spread puff pastry with Boursin cheese, add lots of parmesan, and top with roasted red pepper for sweetness and color.
Buffalo Chicken Pizza Sticks
Thanks to store-bought (or homemade) pizza dough, you can make this easy buffalo chicken pizza with shredded chicken tossed in buffalo wing sauce and cheddar cheese.
Buffalo Chicken Pizza Sticks
This buffalo chicken pizza is so incredibly easy. You can use homemade pizza dough or buy pre-made dough from the store.
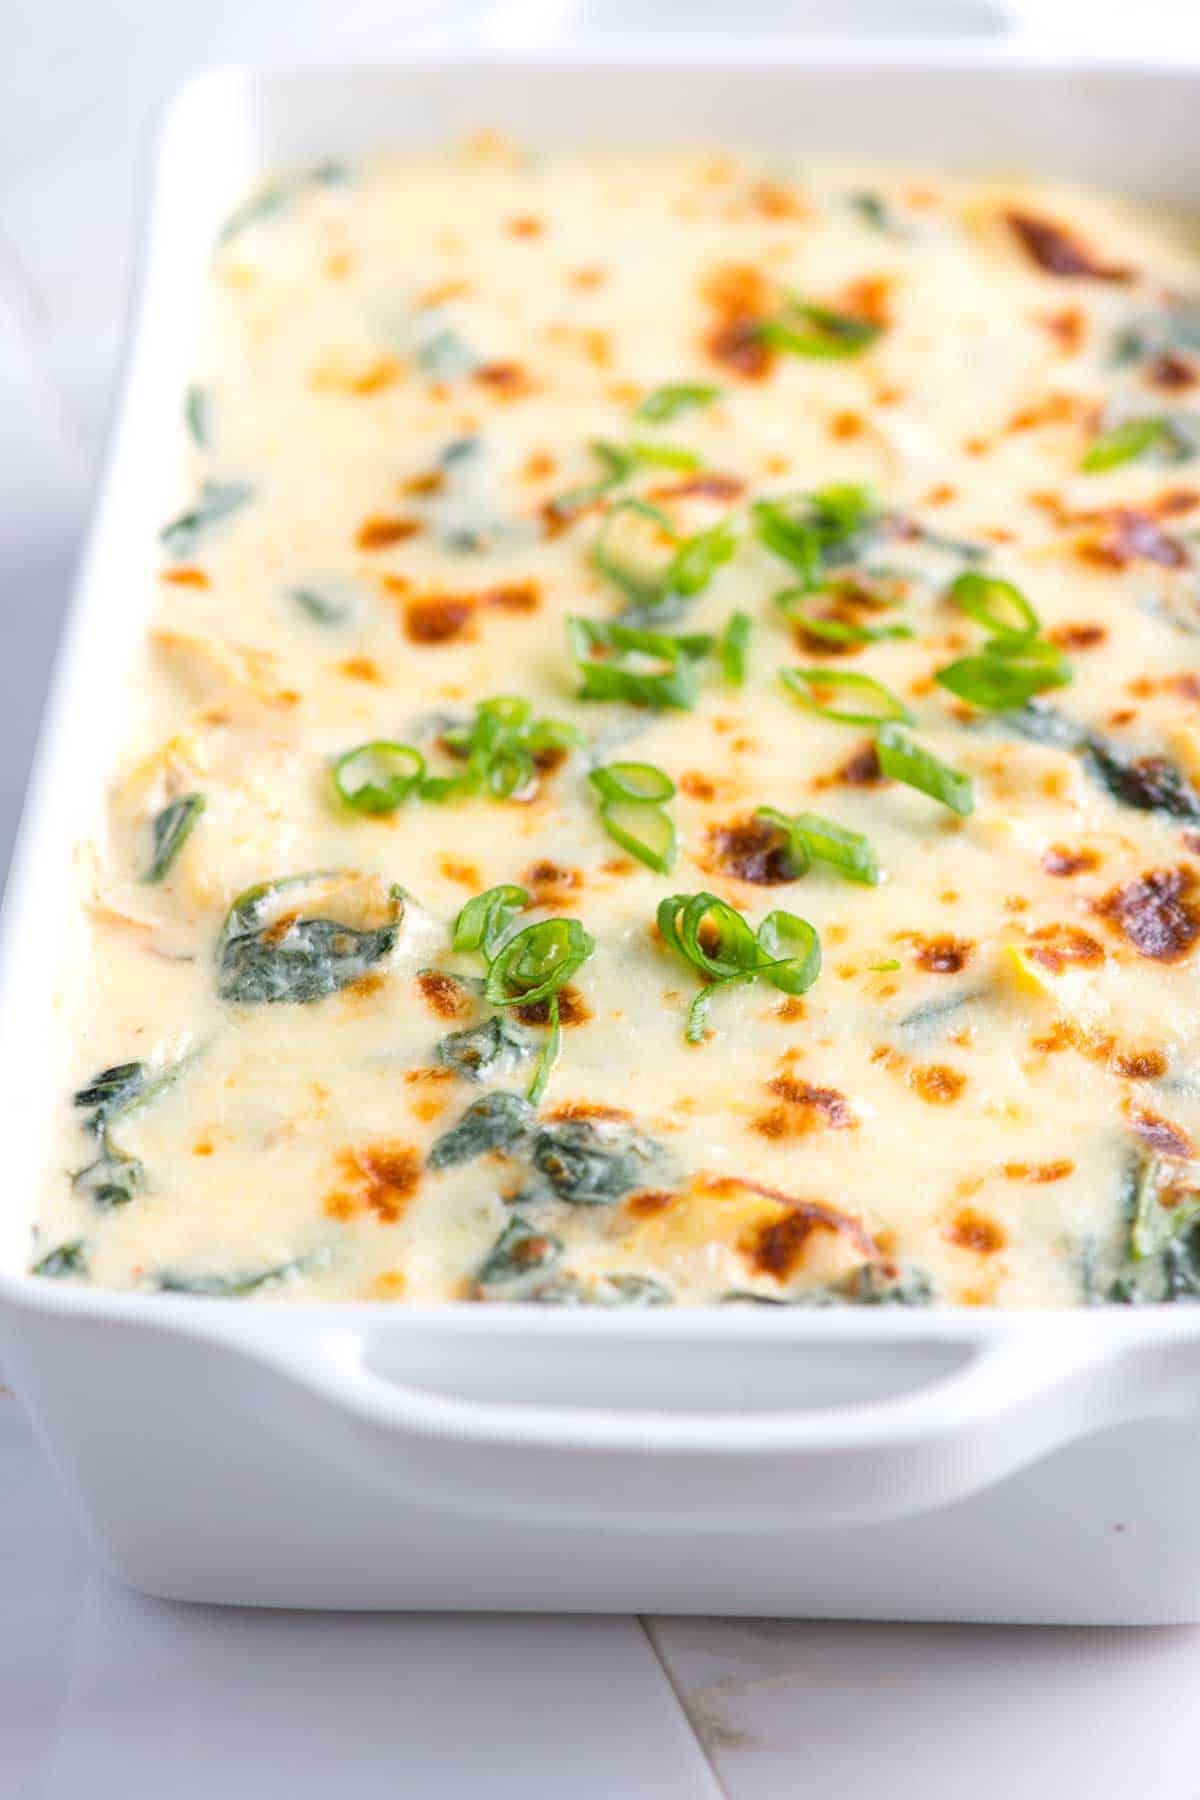
Easy Spinach Artichoke DIp
My family and friends love this homemade spinach and artichoke dip so much! We serve it hot and make it with three cheeses! It’s so creamy and delicious!
Easy Spinach Artichoke Dip
We love this warm, gooey spinach and artichoke dip with not one but three cheeses, lots of artichoke, fresh spinach, and garlic.Serve this with pita bread, tortilla chips, crusty bread, or vegetables. It’s incredibly delicious and so creamy!
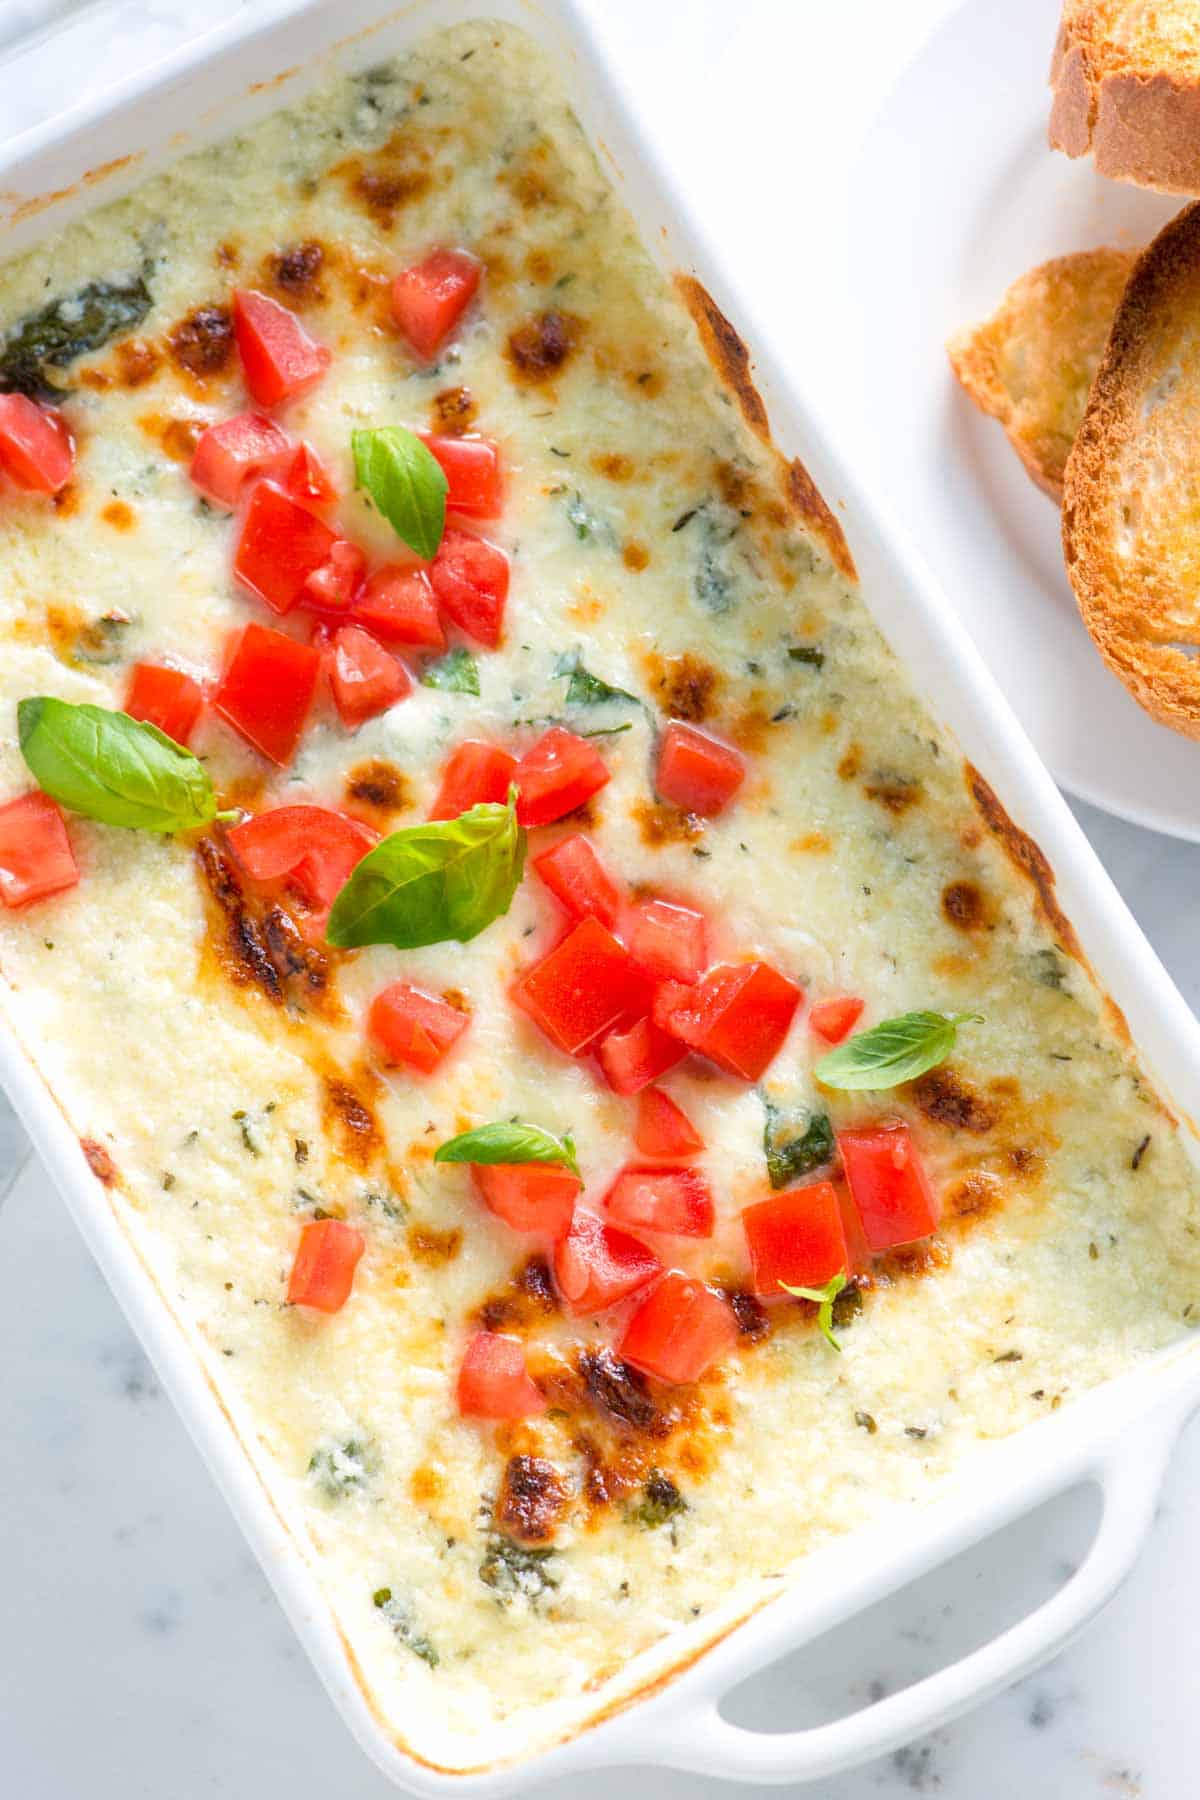
Cheese Dip
This cheese dip is so easy to make and impossible to resist. We combine tangy sour cream with lots of gooey mozzarella, plus fresh basil, and bake it until it’s bubbly and golden. It’s perfect with sliced bread, and don’t be surprised when it’s the first thing to disappear!
Cheese Dip
Every time we make this cheese dip, we’re asked for the recipe. And now, it is yours to share, too! It’s almost too easy to put together, requiring only stirring the ingredients in a bowl and baking in the oven until bubbly.
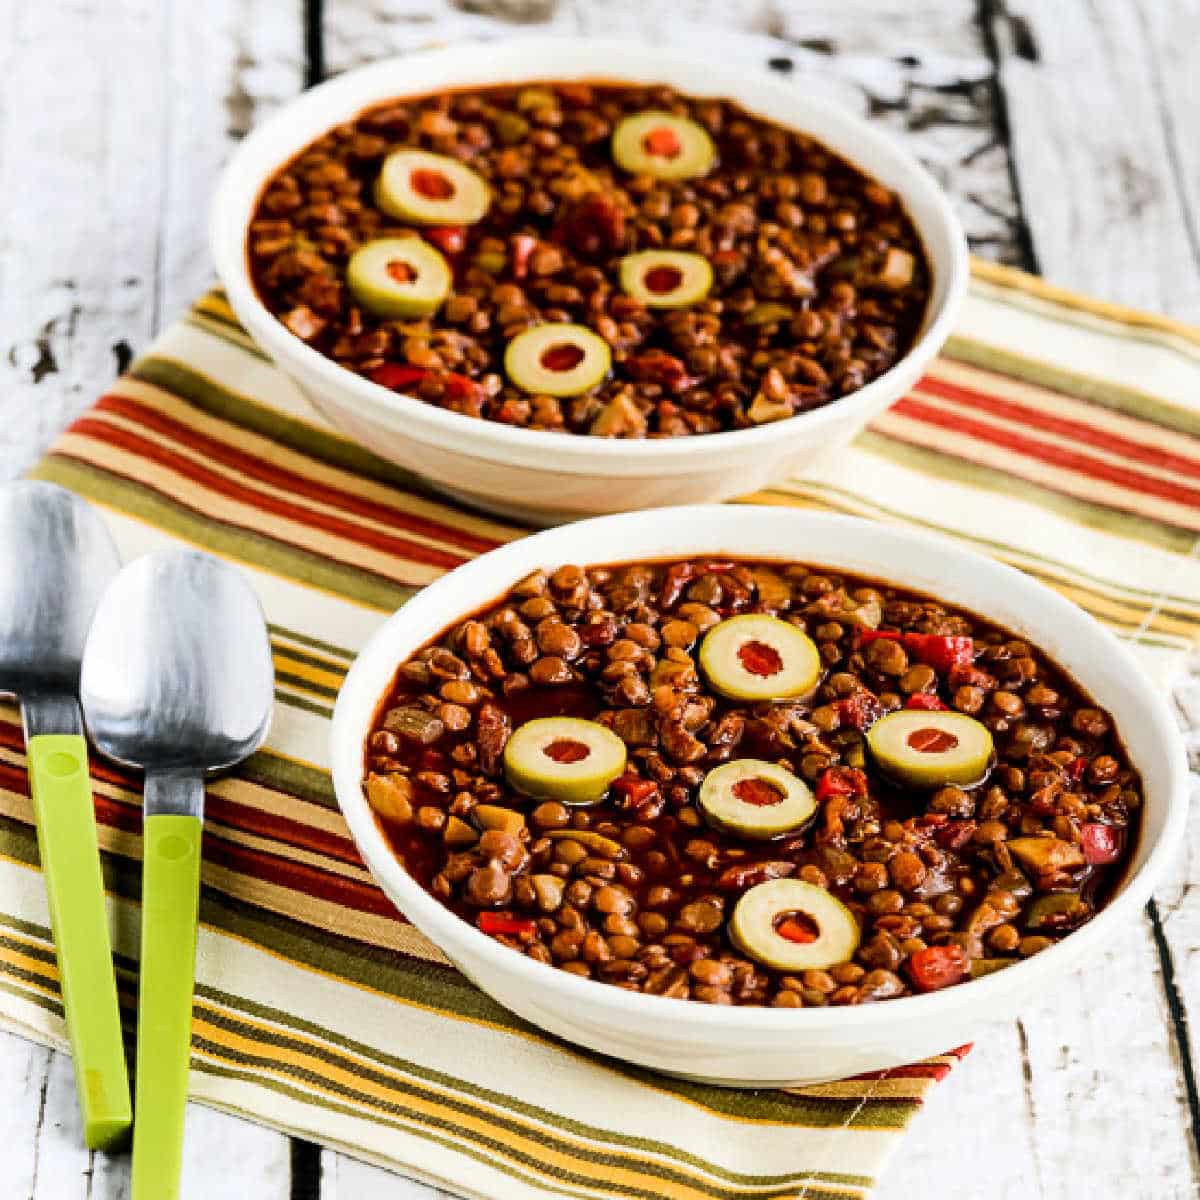
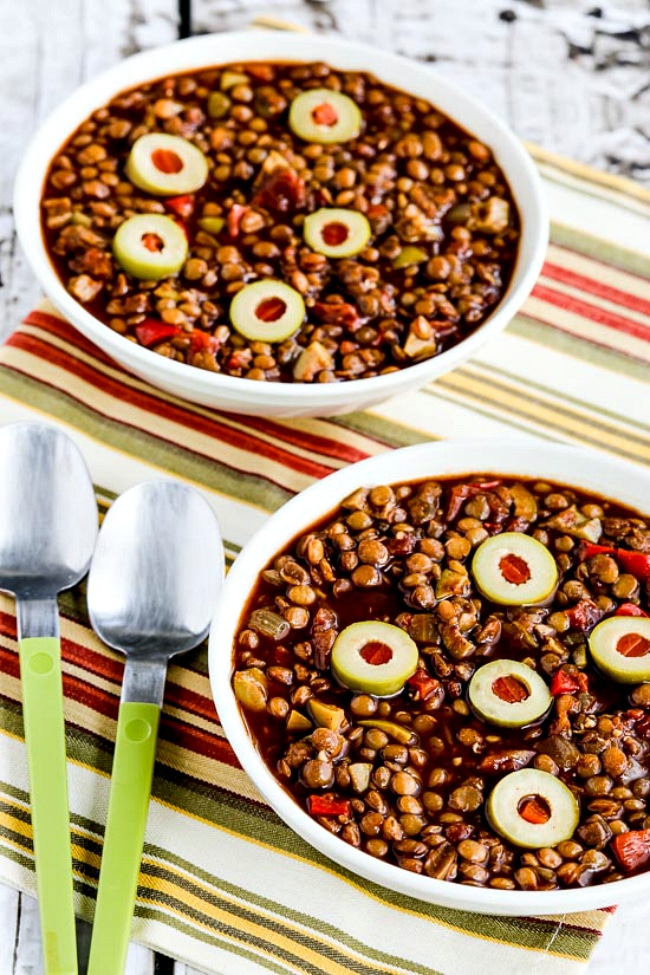
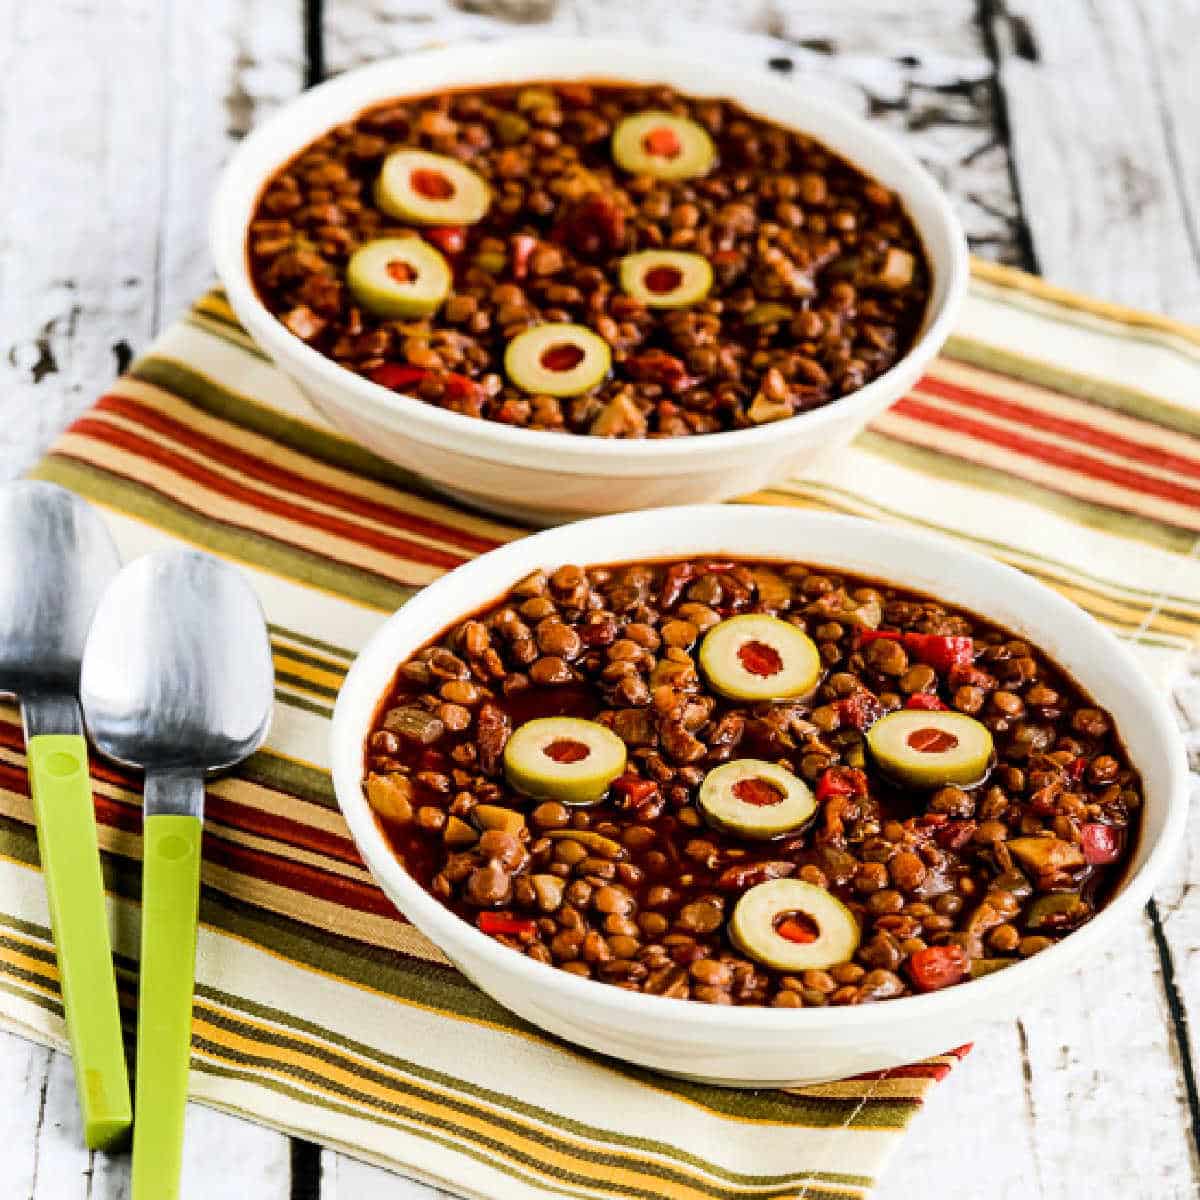
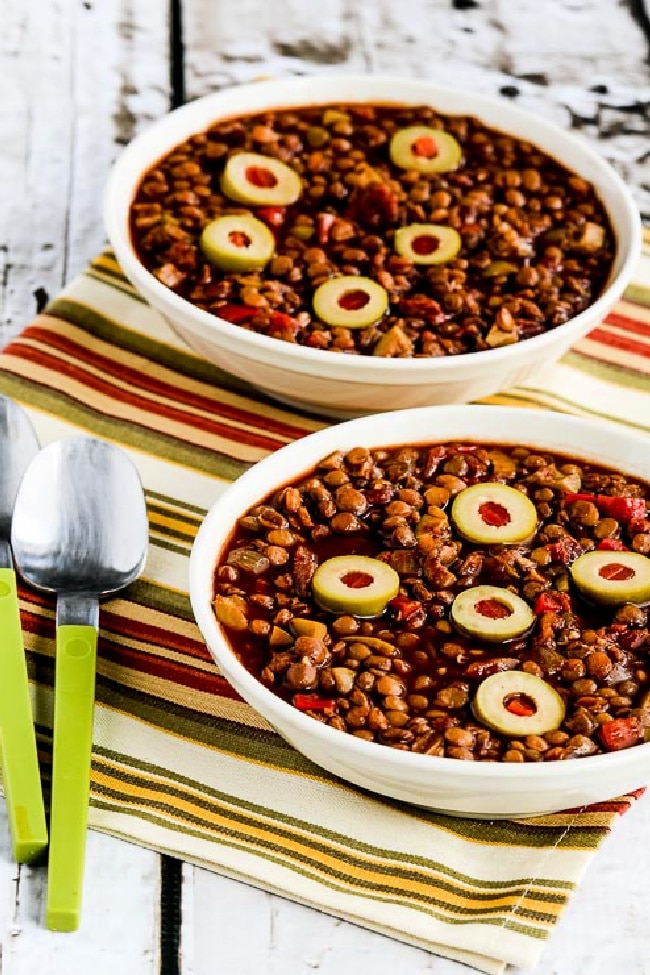
Vegan Picadillo is a delicious lentil stew with peppers, green olives, tomatoes, and just a hint of chocolate. And this tasty lentil picadillo recipe is a tasty meatless main dish whether or not you’re vegan!
PIN the Vegan Picadillo to try it later!
Vegan Picadillo (with Lentils, Peppers, and Green Olives) is a recipe I first made with my nephew Jake when he cooked with me for the blog for many years. And from the first bite this was one of Jake’s favorites out of all the recipes we tried together.
I loved the sound of the inspiring stew recipe with lentils, sweet bell peppers, green olives, onion, garlic, chile powder and a hint of cocoa powder. Then when we tried the recipe Jake and I kicked it up a little, adding oregano, some canned tomatoes, a bit of Green Tabasco Sauce (affiliate link) and extra green olives. We ate this with a generous shake of green Tabasco, and the Vegan Picadillo was a satisfying meatless dish that we both loved.
And recently I made this again and took new pictures, which show off the recipe a lot better! And this time I added a little green olive juice to the Picadillo for even more flavor, plus I had the idea of garnishing the stew with sliced green olives, which probably appeals to all the green olive fans like myself!
What ingredients do you need for this recipe?
(This is only a list of ingredients; please scroll down for complete printable recipe. Or if you use the JUMP TO RECIPE link at the top of the page, it will take you directly to the complete recipe with ingredient amounts.)
What is Picadillo?
The word “picadillo” means to mince, referring to small pieces of meat that usually make up the bulk of this dish, and of course in this Vegan Picadillo the meat is replaced with lentils. Picadillo is a traditional dish all over Latin America where it’s usually made with beef and includes things like raisins, tomatoes, and olives. Read more about Picadillo to find out what recipe variations are used in different countries.
Is the Vegan Picadillo recipe low in carbs?
Lentils do have some carbs of course, but they’re also a good source of fiber, and this delicious Picadillo made with lentils only has about 14 net carbs per serving and it has 8 grams of protein.
Is this Vegan Lentil Picadillo gluten-free?
This delicious Picadillo recipe is gluten-free and dairy-free.
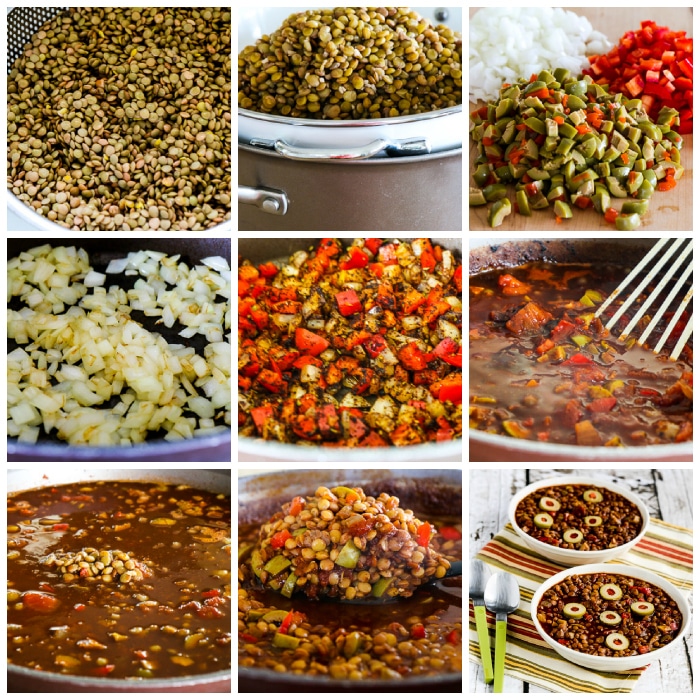
How to Make Vegan Picadillo (with Lentils, Peppers, and Green Olives):
(This is only a summary of the steps for the recipe; please scroll down for complete printable recipe. Or if you use the JUMP TO RECIPE link at the top of the page, it will take you directly to the complete recipe.)
Rinse lentils and pick out any broken ones.
Then simmer with garlic, salt, and water until lentils are soft. Drain over a pan to catch the liquid.
While lentils cook, chop the onions, red pepper, and green olives.
Brown onions in a little olive oil in a pot that’s large enough to hold all the stew.
Add the minced garlic, diced red pepper, ground Ancho chile and Dried Oregano and cook a few minutes more.
Then add diced tomatoes with juice, tomato sauce, cocoa powder, Monkfruit Sweetener, and diced green olives and simmer about 10 minutes.
Add the cooked lentils, 1 cup (or more) of the lentil cooking water and simmer 20-25 minutes on low heat.
Add the Green Tabasco Sauce and 1-2 T green olive juice and stir.
Serve the Vegan Picadillo hot. I loved this with some sliced green olives for garnish, so pretty!
You can top the Picadillo with a dollop of Greek yogurt or sour cream if you don’t care whether it’s vegan.
More Meatless Recipes with Lentils:
Weekend Food Prep:
This Vegan Picadillo recipe has been added to a category called Weekend Food Prep to help you find recipes you can prep or cook on the weekend and eat during the week!
Ingredients
1 1/2 cups dried brown or green lentils, rinsed and picked over
4 tsp. minced garlic
3/4 tsp. salt
1 T olive oil
1 onion, finely chopped
1 medium red bell pepper, diced medium
1 T ground chile power (see notes)
1 tsp. dried oregano
one 8 oz. can tomato sauce
one 14.5 oz. can petite diced tomatoes, not drained
2 tsp. cocoa powder
2 tsp. granulated Monkfruit sweetener (see notes)
1 cup diced green olives
1 cup or more lentil cooking water
1 T Green Tabasco Sauce, plus more for serving if desired
2 T green olive brine
Instructions
Pick over the lentils to remove any that look too dark or too light, rinse the lentils and put them in a medium-sized saucepan.
Add minced garlic, salt, and 6 cups hot water, and bring lentils to a boil.
Reduce heat to a low simmer and cook uncovered until lentils are soft, about 20-25 minutes. (If you have old lentils that have been in the pantry a while they make take significantly longer to cook, so try some to see when they’re done.)
When lentils are soft, drain them into a colander placed over a bowl or large measuring cup to catch the liquid.
While lentils cook, chop the onion, bell pepper, and green olives.
Heat oil in a heavy dutch oven type pan that’s large enough to hold all the stew.
Add the onions and saute over medium-high heat until onions are just starting to brown.
Add the minced garlic, diced bell pepper, chile powder, and oregano, and cook 3-4 minutes more.
Add diced tomatoes and juice, tomato sauce, cocoa powder, Monkfruit Sweetener (affiliate link) or sweetener of your choice, and diced green olives and simmer about 10 minutes.
Then add cooked lentils and 1 cup or more of lentil cooking water, and simmer 20-25 minutes more on low heat.
Stir in the Green Tabasco Sauce (affiliate link) and green olive juice as desired.
Serve hot, topped a generous dash of green Tabasco sauce if desired.
If you don’t care about the recipe being vegan, this is also good with Greek yogurt or sour cream.
Nutrition information is automatically calculated by the Recipe Plug-In I am using. I am not a nutritionist and cannot guarantee 100% accuracy, since many variables affect those calculations.
Did you make this recipe?
Did you make this recipe? Please leave a star rating (under the PRINT button in the recipe) or share a photo of your results on Instagram! THANKS!
Low-Carb Diet / Low-Glycemic Diet / South Beach Diet Suggestions: Lentils have some carbs but they also have a lot of fiber, so if you check the nutritional information you might find this is lower in carbs than you think, although too high in carbs for Keto. Vegan Picadillo is loaded with low-glycemic ingredients, and it would be approved for any phase of the original South Beach Diet. Remember that serving size is limited for the South Beach Diet Phase One.
Find More Recipes Like This One: Use Soups and Stew Recipes to find more recipes like this one. Use the Diet Type Index to find recipes suitable for a specific eating plan. You might also like to follow Kalyn’s Kitchen on Pinterest, on Facebook, on Instagram, on TikTok, or on YouTube to see all the good recipes I’m sharing there.
Historical Notes for this Recipe: This Vegan Picadillo recipe with lentils was first posted in 2012. The recipe was updated with better photos in 2017 and last updated with more information in 2025.
We are a participant in the Amazon Services LLC Associates Program, an affiliate advertising program designed to provide a means for us to earn fees by linking to Amazon.com and affiliated sites. As an Amazon Associate, I earn from qualifying purchases.
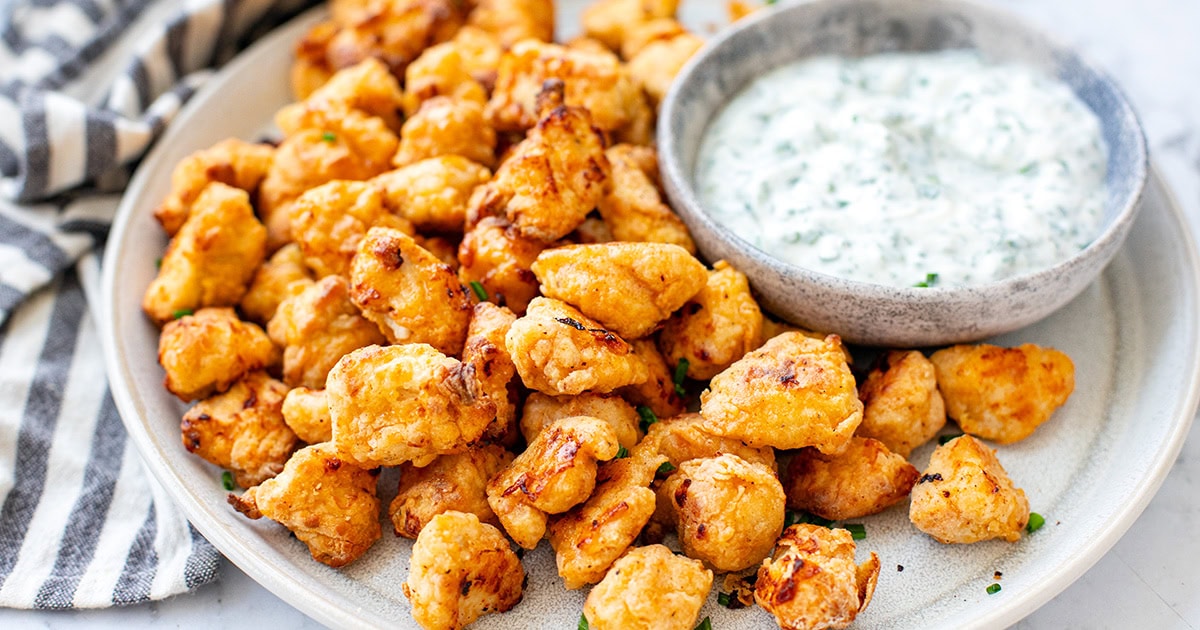
These healthy chicken bites are like the snacky, protein-packed cousin of popcorn chicken—crispy, juicy, and baked or air-fried to golden perfection. Serve them as the main protein for dinner or use as a protein-rich snack or lunchbox addition.
Jump to: ℹ️ Overview | 🛒 Ingredients | 📷 How To Make | 📹 Watch The Video | 👩🍳 Recipe Tips | 🥗 Serving Suggestions | 📝 Full Recipe Card | 🍽 More Healthy Chicken Recipes
These tasty chicken bites remind me of popcorn chicken, but without the greasy aftermath. The chicken is marinated in spiced yogurt, which tenderises and adds big flavor, then coated in a seasoned flour blend for that addictive outer crunch. I tested this recipe both in the oven and the air fryer and they both come out golden and crispy, which tender chicken inside.
Each serving is high in protein, lower in fat, and great for both grown-ups and kids. They double up as a healthy weeknight dinner recipe and a protein-snack you can grab out of the fridge or add to your breakfast. Whether you’re meal prepping or snacking straight off the tray (guilty!), this one’s a reliable go-to. I often make these for my popcorn chicken bowls.
👩🍳 You might also like: Sriracha chicken bites, chicken karaage, air fryer bbq chicken wings, honey soy chicken meatballs, air fryer kielbasa, or my healthy chicken patties.
What You’ll Need
Here is what you’ll need for this chicken bites recipe. Find the full measurements in the recipe card below.
For the chicken marinade
Chicken breast – lean and tender. Thighs work too if you prefer something juicier.
Plain yogurt – tenderises and keeps the chicken moist. Greek yogurt also works.
All-purpose flour + cornflour – the combo makes them crispy and light. Cornflour is the real crunch MVP.
Spices: paprika, garlic powder, onion powder, black pepper – flavor all the way through.
Olive oil spray – helps everything get golden without actual frying.
How To Make Chicken Bites (Baked or Air-Fried)
Find the full recipe and nutritional information below. Here are some handy step-by-step photos for how to marinate and cook these chicken bites in the oven and in the air fryer.
Cut chicken into bite-sized pieces.
Mix yogurt and marinade spices in a bowl. Toss in the chicken and marinate for at least 30 minutes (overnight is even better).
Combine coating ingredients in a separate bowl.
Coat chicken using the “sandwich” method: spread some coating on a plate, add chicken, top with more coating, and toss gently.
Place on a lined tray or in air fryer basket. Spray with olive oil generously.
Baking: Preheat oven to 210°C / 410°F. Bake for 15 minutes, flip, spray again, then bake for 10 more minutes.
Air Frying: Preheat to 200°C / 400°F. Lightly oil the basket, place chicken in a single layer, spray with oil, and cook for 12 minutes, flipping halfway. Let rest for 5 minutes to crisp up fully.
Watch The Video
Recipe Tips
Make-ahead: Marinate the chicken the night before, or coat it and refrigerate until ready to cook.
Storage: Keep leftovers in an airtight container in the fridge for up to 3 days. Reheat in the air fryer or oven for best texture.
Freezer-friendly: Freeze after cooking. Reheat straight from frozen.
Extra crispy tip: Don’t overcrowd the pan or basket—that hot air needs room to work!
Add heat: A little cayenne or chili powder goes a long way if you like a kick.
Gluten-free? Use GF flour and potato starch instead.
Serving Suggestions
These are super versatile. Serve them with your favorite dip—healthy yogurt ranch dressing, aioli (sun-dried tomato or rosemary chili), bang bang sauce—or pile into a wrap, salad bowl, or lunchbox. I often serve them with air-fried chips or roasted sweet potatoes for a fun, high-protein dinner that doesn’t feel like “healthy food.” And of course, you must try my popcorn chicken bowls.
💬 If you’ve tried this chicken bites or any other recipe on the blog then don’t forget to rate the recipe and let me know how you got on in the comments below, I love hearing from you! You can also FOLLOW ME on Instagram, Facebook, Pinterest, YouTube, and or sign up to my Newsletter to see more of my delicious food.
Want to Save This Recipe?
Enter your email & I’ll send it to your inbox. Plus, get great new recipes from me every week!
By submitting this form, you consent to receive emails from Cooked & Loved
These healthy chicken bites are like the snacky, protein-packed cousin of popcorn chicken—crispy, juicy, and baked or air-fried to golden perfection. Find step-by-step photos and more recipe tips above.
Marinate: Mix yogurt, spices, and salt in a bowl. Add chicken and coat well. Cover and refrigerate for at least 30 minutes (or overnight).
Coating: Mix all coating ingredients in a bowl.
Coat: Spread half the coating on a plate, lay chicken on top, sprinkle remaining coating, and toss gently to coat.
Bake: Preheat to 210°C / 410°F. Line a tray, place chicken on it, and spray with oil. Bake for 15 minutes, flip, spray again, bake another 10 minutes.
Air Fryer: Preheat to 200°C / 400°F. Lightly oil the basket and spread chicken in a single layer. Spray with oil and air fry for 12 minutes, flipping halfway.
Let rest for a few minutes to finish crisping before serving.
Can I use chicken thighs? Yes! They’re juicier and just as delicious.
Can I prep this in advance? Definitely. Marinate overnight or coat in advance and store in the fridge.
Can I freeze it? Yes—cook first, then freeze. Reheat in the oven or air fryer until crisp.
Any sauce pairings? These go with everything: ranch, garlic aioli, spicy mayo, Romesco, you name it.
Can I double the recipe? Go for it! Just cook in batches if using an air fryer so everything crisps up properly.
Make-ahead: Marinate the chicken the night before, or coat it and refrigerate until ready to cook.
Storage: Keep leftovers in an airtight container in the fridge for up to 3 days. Reheat in the air fryer or oven for best texture.
Freezer-friendly: Freeze after cooking. Reheat straight from frozen.
Extra crispy tip: Don’t overcrowd the pan or basket—that hot air needs room to work!
Add heat: A little cayenne or chili powder goes a long way if you like a kick.
Gluten-free? Use GF flour and potato starch instead.
This orange teriyaki baked salmon with red onions is a delicious, healthy dinner meal. This salmon recipe is Paleo, Whole30, and gluten-free friendly and can be served with a side of vegetables, salad or with rice if desired. This post has recently been updated!
Jump to: ℹ️ Overview | 🛒 Ingredients | 📷 How To Make | 🥗Serving Suggestions | 📝 Go To Full Recipe | 🐟 More Salmon & Fish Recipes
Orange Teriyaki Baked Salmon
One of my favourite quick and easy dinners is a tray of baked salmon served alongside a large salad or some stir-fried vegetables. For this delicious meal, I made orange teriyaki sauce, which works beautifully with the fatty salmon.
I love adding red onions rings both for the flavour and because they make this dish look so pretty when it comes out of the oven. I think it’s the purple against the bright orange colour, and the juxtaposition of the geometrical shapes.
This teriyaki baked salmon is super easy to make and I know you will love it!\
You may also like my Mediterranean fish with white bean purée.
Making Orange Teriyaki Salmon
You can use salmon fillets or steaks in this recipe, with or without the skin. In fact, any other type of fish will work well with the orange teriyaki sauce (as would shrimp or chicken). In this recipe, I only cooked two fillets but you can easily fit 4-6 on a baking tray, simply double up the sauce ingredients.
The sauce is super versatile and you can use it on chicken wings or pork skewers. You can also check out my go-to paleo stir-fry sauce, which is similar to this.
For other lovely salmon recipes, check out this baked Salmon Loaf with cucumber and dill salad, or my Japanese baked salmon balls.
What To Serve With Teriyaki Salmon
I served this baked salmon with a simple stir-fry of Chinese cabbage and carrots with some garlic, lemon juice and sesame oil. I also like to serve some pickled radish or ginger.
You can also make a batch of my coconut cauliflower rice, or white rice if you desire, or make a simple side salad. If you like the salmon and salad combo, check out my pan-fried salmon with pea radish salad.
My orange ginger asparagus would be a nice complementary dish as well and if you want something more starchy, try miso sweet potatoes, which you could start baking a little earlier, then finish both at the same time.
Want to Save This Recipe?
Enter your email & I’ll send it to your inbox. Plus, get great new recipes from me every week!
By submitting this form, you consent to receive emails from Cooked & Loved
A delicious and healthy meal of orange teriyaki salmon baked in the oven with red onions. This baked salmon recipe is gluten-free, Paleo and Whole30 friendly. The recipe below also includes a simple vegetable stir-fry to serve on the side.
For the stir-fried vegetables
Preheat the oven to 200 C / 400 F. Leave the salmon out of the fridge for at least 10 minutes before cooking, to come to room temperature.
Place the salmon fillets, skin side down, on a flat baking tray lined with parchment/baking paper. Surround with onion rings, sprinkle with orange zest, sea salt and then drizzle evenly with olive oil.
Place the tray in the oven, middle shelf, and cook for 8 minutes. In the meantime, combine the sauce ingredients in a small bowl and whisk together.
Remove the salmon from the oven and pour the sauce over the top making sure to cover the salmon and the onions. Fold the edges of the paper inwards, as to prevent the sauce from spilling out. Sprinkle with sesame seeds. Place back in the oven for 7-8 more minutes.
While the salmon is finishing cooking, stir-fry the vegetables in a little coconut oil over medium-high heat for 4-5 minutes, stirring frequently. Add garlic, salt, pepper and lemon juice towards the end and stir through. Finally, drizzle and stir through the sesame oil.
Serve salmon alongside the veggies for a tasty, healthy dinner.
Tamari is a gluten-free soy sauce. You can also use coconut aminos. Nutrition label below is for salmon with onions and sauce with a veggie side. Actual macros may vary.

 YOU MAY ALSO LIKE: Grilling salmon on a cedar plank is genius. If you haven’t tried it, let me tell you, you need to. Jump to the Sweet Citrus Cedar Plank Salmon Recipe.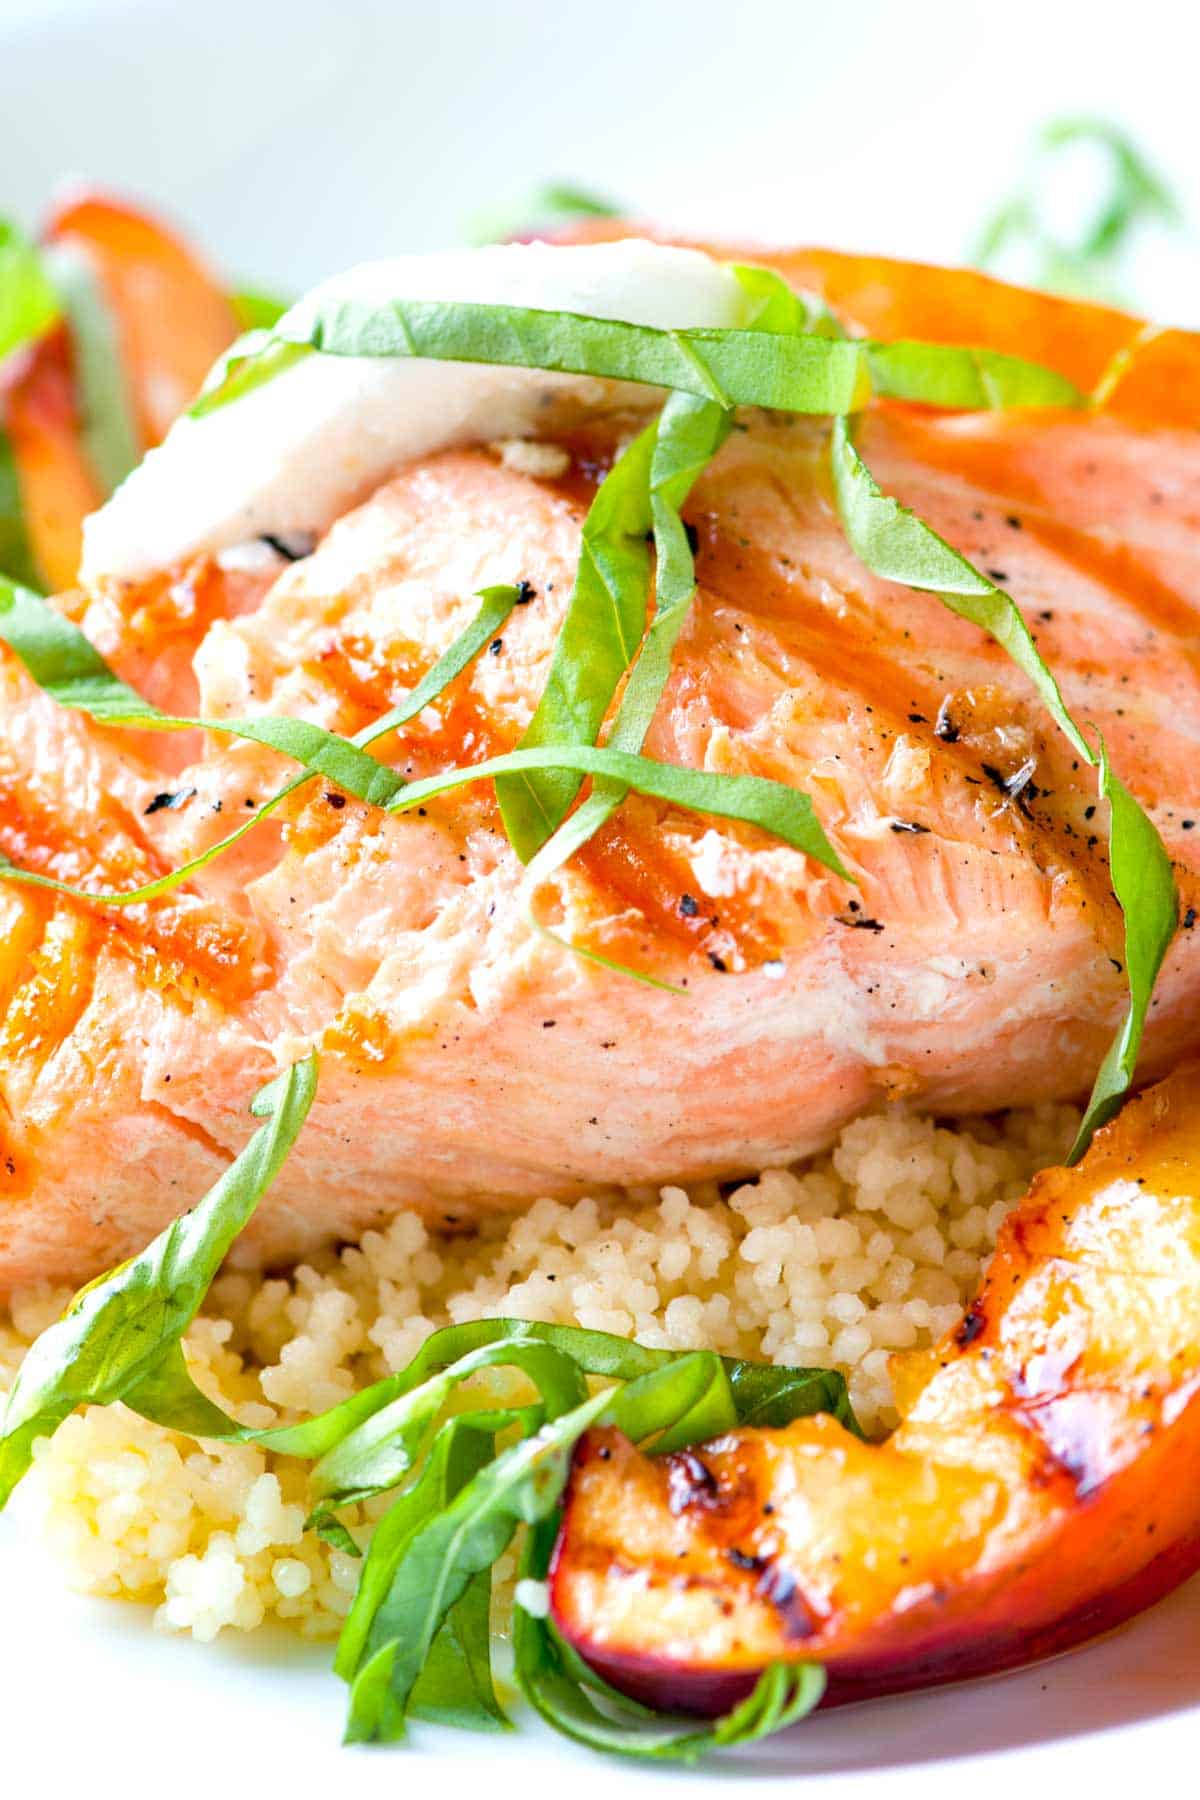
 YOU MAY ALSO LIKE: How to make perfectly marinated and grilled swordfish kabobs with lemon, pepper and thyme. Jump to the Lemon Pepper Grilled Swordfish Kabobs Recipe.