Tag: Sauce

  • Steak Rice Bowls With Tangy Chipotle Sauce

    Steak Rice Bowls With Tangy Chipotle Sauce

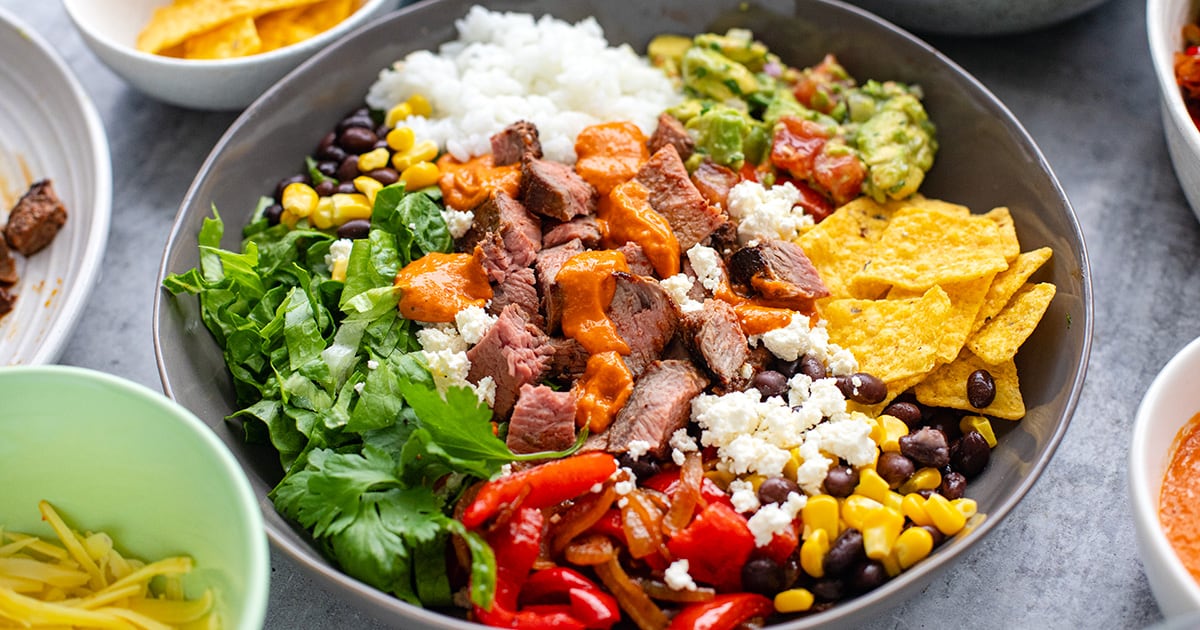
    If you love a good steak rice bowl, this one’s a keeper. You get tender taco-seasoned steak, caramelized veggies, and a creamy chipotle sauce that ties it all together.


    Jump to: ℹ️ Overview | 🛒 Ingredients | 📷 How To Make | 📹 Watch The Video | 👩‍🍳 Recipe Tips | 🥗 Serving Suggestions | 📝Full Recipe Card | 🍽 More Tex-Mex Recipes


    At A Glance

    • Ready In: 40 minutes
    • 🍽 Serves: 4
    • 🌱 Diet: Gluten-free (check your chipotle + toppings)
    • 💪 Nutrition Highlights: High in protein, fiber-rich with beans and veggies
    • 🥕 Main Ingredients: Steak, rice, black beans, corn, avocado, chipotle sauce
    • 🔥 Flavor Profile: Smoky, creamy, tangy, slightly spicy, fresh, and hearty
    • 🧊 Meal-Prep Friendly: Keeps 3–4 days in the fridge, great for batch cooking
    • 🍴 Best Served With: Extra lime wedges, crushed corn chips, fresh herbs

    If you love tacos, burritos and all things Tex-Mex, you will love this steak and rice bowl recipe. It’s one of my go-to meals when I want something satiating, nutritious and with bold flavors. It feels a bit special but is secretly very doable on a weeknight.

    You’ve got juicy, pan-seared steak (can also be chicken or shrimp), sweet caramelized onions and peppers, and my special creamy and tangy chipotle sauce that pulls everything together.

    What makes it stand out is the balance: smoky heat from the chipotle, freshness from the avocado salsa, and a bit of crunch from those corn chips (don’t skip them!). It’s inspired by those classic burrito bowls but with a slightly richer, more homemade feel.

    It’s also one of those meals where everyone can build their own bowl, which is always a win in my house.

    👩‍🍳 You might also like these recipes: garlic butter steak bites, steak and potatoes with chimichurri salsa, arugula steak salad, cumin butter beef steak, or slow cooker steak bites.

    What You’ll Need

    Here is what you’ll need for this saucy chipotle steak and rice bowl recipe. Find the full measurements in the recipe card below.

    For the steak

    • Beef steaks (rump, sirloin, or similar) – main protein, rich and hearty
    • Taco spice blend – adds warmth, smokiness, and depth
    • Salt – helps bring out the natural flavor of the beef
    • Olive oil – for a good sear

    For the rice (not pictured)

    • White or brown rice – your base, fluffy and comforting. You can use pre-cooked rice here
    • Salt – seasons the rice properly (don’t skip this step!)

    For the toppings

    • White onion – turns sweet and jammy when cooked
    • Red bell pepper – adds sweetness and colour
    • Olive oil + salt – helps everything caramelize nicely
    • Avocado – creamy and rich (balances the spice)
    • Tomato – freshness and juiciness
    • Red onion – a bit of bite
    • Cilantro/coriander – bright and herby
    • Lime juice – acidity to lift everything
    • Salt – brings it all together
    • Black beans – fiber + plant protein boost
    • Sweet corn – pops of sweetness

    For tangy chipotle sauce

    • Light mayo – creamy base
    • Chipotle in adobo sauce – smoky heat (this is the star!)
    • Fire-roasted peppers – extra depth and sweetness, you can use roast your own peppers or use the ones from the jar like I do.
    • Semi-dried tomatoes – little bursts of umami and tang, sun-dried tomatoes also work.
    • Garlic – punchy and savory, I like using fresh, but powder will work.
    • Water + salt – to thin and balance.

    Other toppings

    • Cheese (cheddar or/and feta) – salty richness, you pick which cheese you want
    • Lettuce – freshness and crunch
    • Corn chips – texture (trust me, so good here)
    • Extra herbs – optional but worth it, I would usually go for cilantro (coriander)

    How To Make Steak Rice Bowls

    Find the full recipe and nutritional information below. Here are some handy step-by-step photos for how to make these steak and rice bowls with my secret chipotle sauce.

    • Cook the rice with salt and set aside.
    • Season steak with taco spice and salt; let it sit at room temp.
    • Blend all chipotle sauce ingredients until smooth and drizzle-ready.
    • Cook onions and peppers in olive oil until soft, slightly charred, and caramelized.
    • Sear steak in a hot pan for 3.5–4 minutes per side, rest, then dice into cubes.
    • Combine avocado salad ingredients in a bowl and toss. Set aside.
    • Assemble bowls: rice → veggies → steak → toppings.
    • Finish with chipotle sauce and crushed corn chips.

    Watch The Video

    Recipe Tips

    • Don’t overcook the steak – medium or medium-rare keeps it juicy. Let it rest before cutting.
    • Slice steak against the grain – even if you cube it, this makes it more tender.
    • Layer your seasoning – a little salt at each stage = better flavor overall.
    • Adjust the sauce heat – add more or less chipotle depending on your spice tolerance.
    • Make it low-carb – skip the rice and serve over lettuce or cauliflower rice.
    • Meal prep tip: store components separately and assemble fresh for best texture.
    • Storage: keeps 3–4 days in the fridge; sauce may thicken—just stir in water.
    • Make-ahead: sauce and rice can be made 1–2 days ahead.

    Serving Suggestions

    I love serving these steak bowls with extra lime wedges and a little sprinkle of fresh coriander right at the end—it just wakes everything up.

    If you’re feeding a crowd, set everything out buffet-style and let people build their own bowls. It’s casual, fun, and everyone gets exactly what they want (always a win). And if you’re like me… keep a little extra chipotle sauce on the side. You’ll want it.

    PS. If you don’t love chipotle sauce, try the same bowl with my cilantro lime sauce.

    💬 If you’ve tried this steak rice bowls with tangy chipotle sauce or any other recipe on the blog then don’t forget to rate the recipe and let me know how you got on in the comments below, I love hearing from you! You can also FOLLOW ME on Instagram, Facebook, Pinterest, YouTube, and or sign up to my Newsletter to see more of my delicious food.

    Want to Save This Recipe?

    Enter your email & I’ll send it to your inbox. Plus, get great new recipes from me every week!

    By submitting this form, you consent to receive emails from Cooked & Loved

    If you love a good steak rice bowl, this one’s a keeper. You get tender taco-seasoned steak, caramelized veggies, and a creamy chipotle sauce that ties it all together. Find step-by-step photos and more recipe tips above.

    • Cook rice with salt and set aside.

    • Season steak with taco spice and salt; bring to room temp.

    • Heat oil and cook onions and peppers for 10 minutes on medium-high, then 5 minutes lower heat until caramelized.

    • Blend chipotle sauce ingredients until smooth; adjust water for drizzling consistency.

    • Combine avocado salad ingredients and toss through in a bowl.

    • Heat skillet on high, add oil, and cook steak 3.5–4 minutes per side. Rest 2 minutes, then dice.

    • Assemble bowls with rice, veggies, steak, and toppings.

    • Drizzle with chipotle sauce and finish with crushed corn chips.

    • What cut of steak works best? Rump, sirloin, flank, or strip all work well—just don’t overcook.
    • Can I make this dairy-free? Yes—skip the cheese or use a dairy-free option.
    • Is the chipotle sauce spicy? Mild to medium. Adjust chipotle to taste and sauce heat by adding more or less chipotle depending on your spice tolerance.
    • Can I freeze it? The steak and rice freeze well, but fresh toppings are best added later.
    • No chipotle? Try smoked paprika + a little hot sauce for a similar vibe.
    • Why add acid (lime)? It brightens everything and balances the richness—small detail, big difference.
    • Don’t overcook the steak – medium or medium-rare keeps it juicy. Let it rest before cutting.
    • Slice steak against the grain – even if you cube it, this makes it more tender.
    • Layer your seasoning – a little salt at each stage = better flavor overall.
    • Make it low-carb – skip the rice and serve over lettuce or cauliflower rice.
    • Meal prep tip: store components separately and assemble fresh for best texture.
    • Storage: keeps 3–4 days in the fridge; sauce may thicken—just stir in water.
    • Make-ahead: sauce and rice can be made 1–2 days ahead.

    Calories: 681kcal | Carbohydrates: 74g | Protein: 36g | Fat: 28g | Saturated Fat: 7g | Polyunsaturated Fat: 4g | Monounsaturated Fat: 14g | Trans Fat: 0.01g | Cholesterol: 76mg | Sodium: 1524mg | Potassium: 1211mg | Fiber: 12g | Sugar: 8g | Vitamin A: 1828IU | Vitamin C: 63mg | Calcium: 156mg | Iron: 4mg
    Keywords: Tex Mex, steak bowls, burrito bowls, steak and rice recipes, rice bowls

    More Tex-Mex Recipes


    Source link

  • Tangy BBQ Sauce Recipe

    Tangy BBQ Sauce Recipe

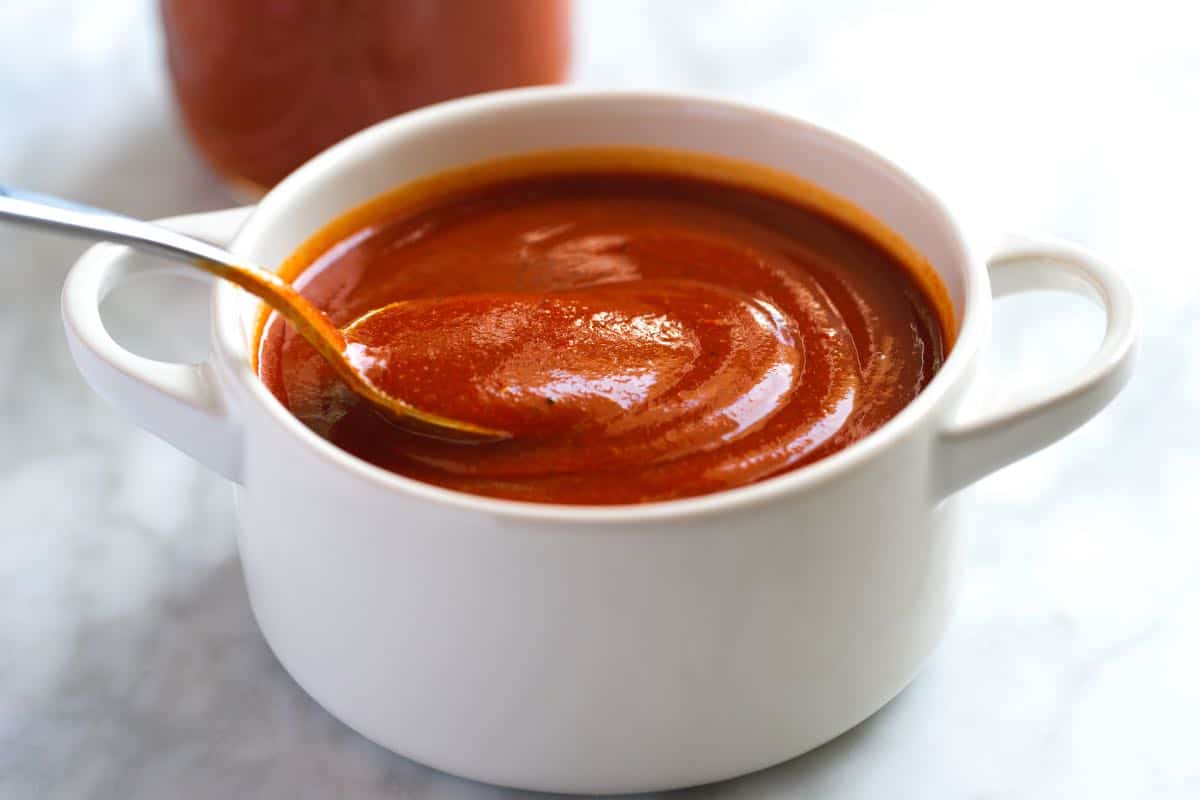
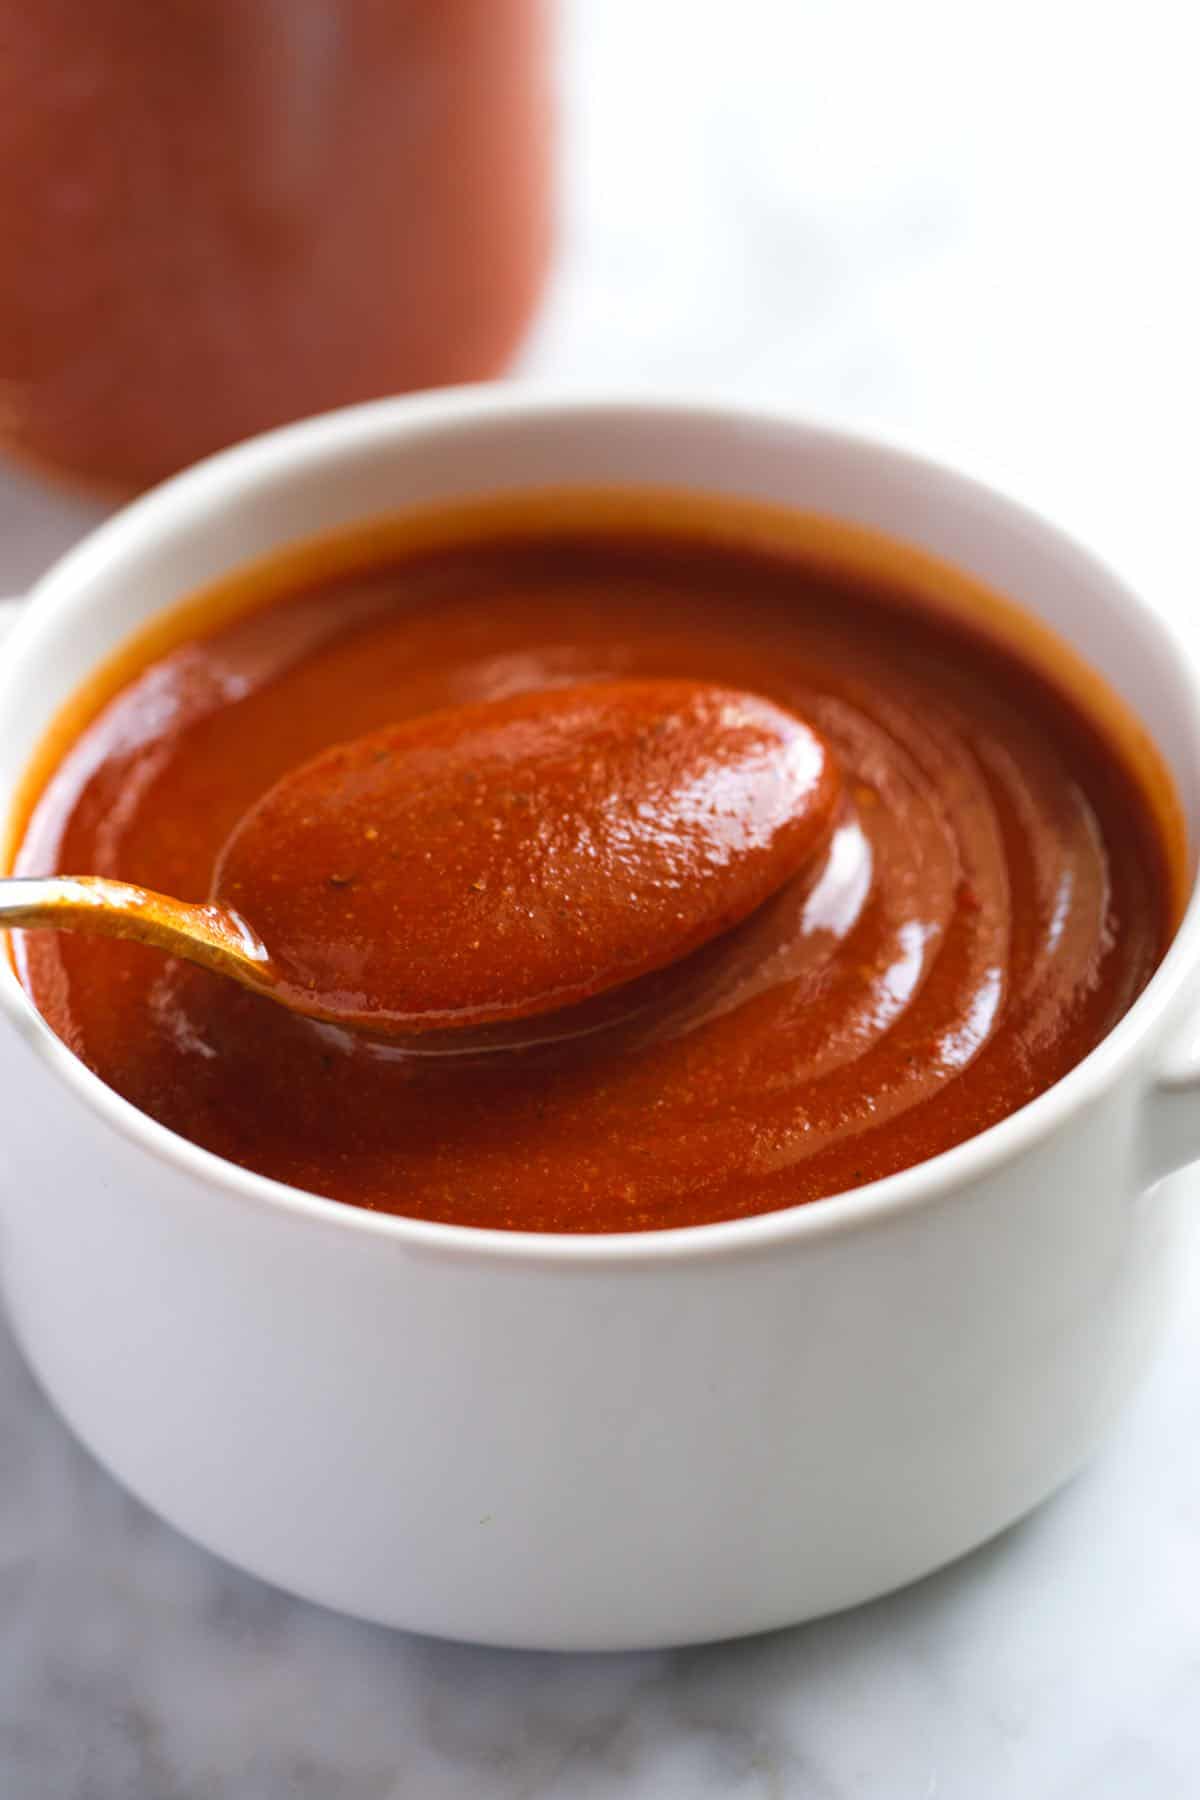
    This easy homemade BBQ sauce recipe is ready in about 15 minutes, uses pantry staples, and is so much better than store-bought!

    Homemade BBQ Sauce

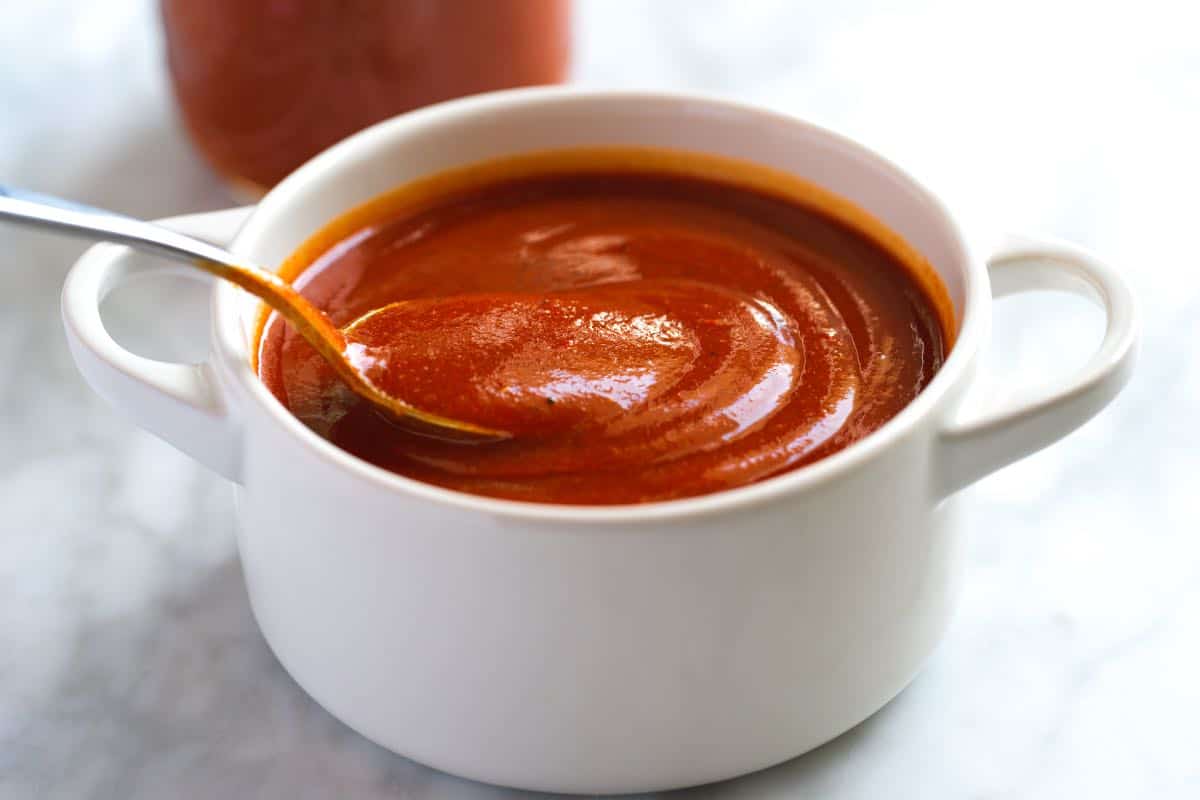
    This quick BBQ sauce is a delicious blend of Kansas City and Memphis styles, offering the best of both worlds. It’s slightly thicker than tangy Memphis style BBQ sauce but not as sugary sweet as the classic Kansas City version.

    Our recipe is the perfect DIY replacement for those store-bought bottles. It tastes better, and after looking at a few store-bought nutrition labels, this homemade version has significantly less sugar added, with more flavor! I use this sauce for our oven-baked beef ribs, and love it.

    Key Ingredients

    • Ketchup: We recommend using organic or natural ketchup for a thicker, less sweet sauce. Homemade ketchup also works!
    • Brown Sugar and Molasses: These add a rich sweetness to the sauce. I love how the molasses adds a richer flavor than brown sugar alone.
    • Pineapple Juice: Until testing this recipe, we had never used pineapple juice in barbecue sauce. But after tasting the sauce, we are sold! It’s sweet and tart. I love it! Look for pineapple juice with no sugar added.
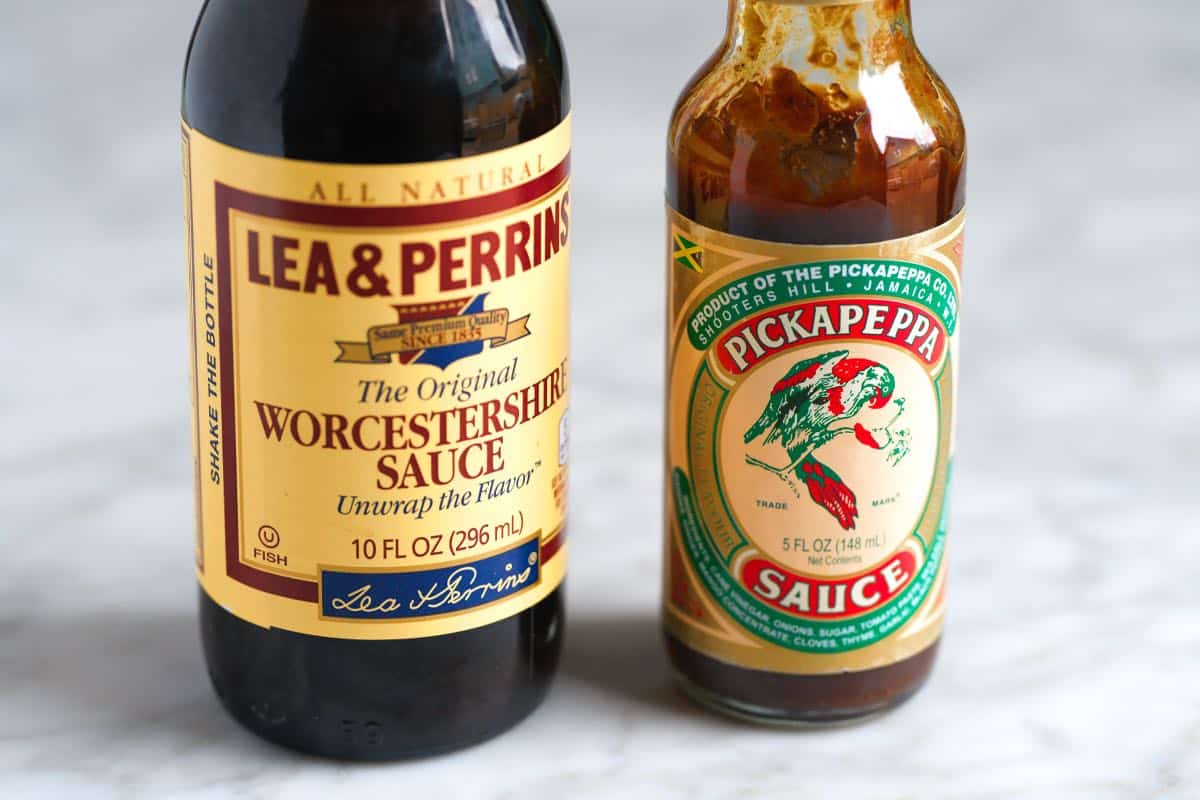
    • Worcestershire or Pickapepper Sauce: You can use either, but my favorite is Pickapepper sauce. If you’ve not heard of it before, you’ll find it near the condiments and where Worcestershire is sold. Pickapepper is a little thinner, slightly sweeter, and more aromatic than more savory Worcestershire. It’s also vegan, so if you hope to make a vegan BBQ sauce, use Pickapepper.
    • Apple Cider Vinegar: I love tangy BBQ sauces, so we add some apple cider vinegar to balance the sweetness from ketchup, brown sugar, molasses, and pineapple juice.
    • Spices: You probably already have most (if not all) of the spices you need in your kitchen. We add smoked paprika, mustard powder (or mustard, see our tips section), garlic powder, onion powder, and ground turmeric. For spice, which is optional, add cayenne pepper or Aleppo pepper.

    Find the full recipe with measurements below.

    How to Make the Best BBQ Sauce

    Tip 1: This sauce takes minutes to make. If you can add ingredients to a saucepan, you can make this easy BBQ sauce. Once you make it, try it slathered onto these tender baked ribs or stir it into our oven pulled pork (amazing!).

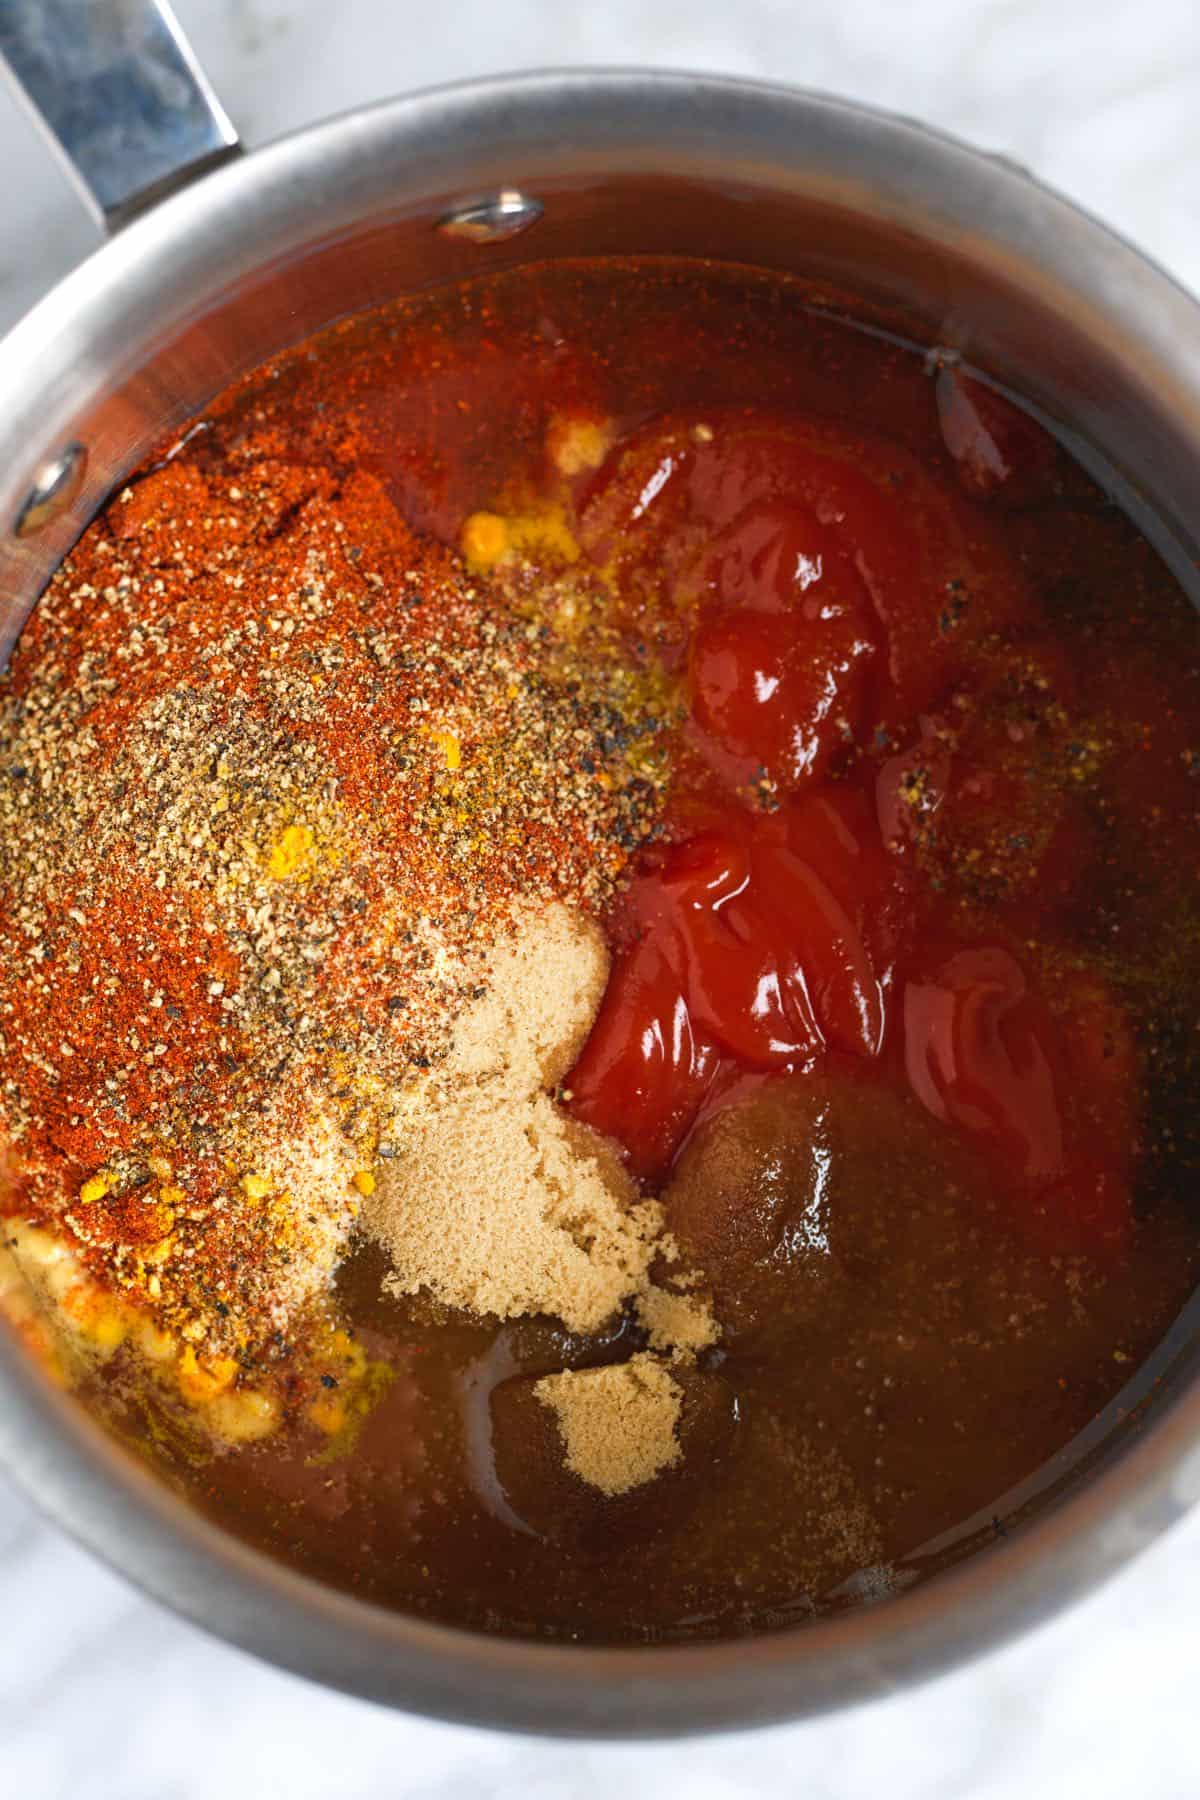
    Simply whisk everything together in a saucepan until it bubbles. Once it bubbles, reduce the heat and cover for 8 minutes. Then uncover the sauce and transfer it to jars so its ready for your next meal.

    Ingredients for bbq sauce in a pan

    Tip 2: Let it sit. At first taste, you might find the sauce too sweet or vinegary, but as it sits in the fridge, the flavors will bloom and become one. I love this sauce immediately, but it gets even better after an hour or two if you can wait.

    Ways to Use This Sauce

    This really is the perfect substitute for store-bought barbecue sauce. We use it for so many of the recipes on Inspired Taste. Here are some of our favorites:

    More Sauce Recipes

    Tangy Homemade BBQ Sauce

    Tangy BBQ Sauce

    • PREP
    • COOK
    • TOTAL

    If you can add ingredients to a saucepan, you can make this BBQ sauce. This homemade sauce is better than anything you can buy at the store! It’s made with pantry staples like ketchup, brown sugar, and cider vinegar and is ready in under 20 minutes. Store it in an airtight container in the fridge for up to 1 month!

    Makes 3 cups

    You Will Need

    1 ½ cups (390g) ketchup, see tips

    5 tablespoons (65g) packed light brown sugar

    1 tablespoon molasses

    6 ounces (177ml) pineapple juice with no added sugar (3/4 cup)

    2 tablespoons Worcestershire sauce or Pickapepper sauce, see tips

    2 tablespoons apple cider vinegar

    1 tablespoon plus 1/4 teaspoon smoked paprika

    2 teaspoons mustard powder, like Coleman’s, see tips

    1 ½ teaspoons garlic powder

    1 teaspoon onion powder

    1/8 teaspoon ground turmeric

    1/4 teaspoon fine sea salt

    1 teaspoon fresh ground black pepper

    1/4 teaspoon Aleppo pepper or cayenne pepper, optional for heat

    Directions

      1Whisk all the ingredients in a medium saucepan over medium-low heat. Continue to whisk as you bring the sauce to a simmer. Since the saucepan is over lower heat, this will take a few minutes, but keeping the heat low prevents the sugars in the sauce from scorching.

      2Once the BBQ sauce bubbles, cover the saucepan with its lid and reduce the heat to the lowest flame or setting. Leave the sauce covered for 8 minutes.

      3Transfer to jars and let cool. Keep refrigerated for up to one month.

      4At first, this homemade barbecue sauce tastes sweeter and vinegary. However, after it has cooled, the flavors mellow a little, and the sauce becomes one.

    Adam and Joanne’s Tips

    • Ketchup: This sauce is best when made with thicker varieties of ketchup with no high fructose corn syrup added. You can use homemade ketchup, or we have found that organic or natural options like Hunt’s 100% Natural or Heinz Simply work nicely in this recipe.
    • Pickapepper and Worcestershire sauce: These umami-rich condiments are used as seasonings in soups, stews, and sauces. Pickapepper is a little thinner and a bit sweeter than the more savory Worcestershire, but in most circumstances, they are interchangeable. As a bonus, Pickapeppa sauce is naturally vegan, so if you want to make vegan barbecue sauce, Pickapepper is the right choice.BBQ Sauce Ingredients: Worcestershire Sauce vs. Pickapepper Sauce
    • Dry mustard: Coleman’s dry mustard is excellent here, but you can substitute it with other mustard powders, such as prepared Coleman’s mustard or Dijon mustard. When substituting prepared mustard for dry, you will need a bit more. Start with one tablespoon of prepared mustard and go from there.
    • Making BBQ sauce on the grill: You can also make this BBQ sauce on the grill. Be mindful of the hotter areas of your grill. Keep the sauce over the coolest, most indirect heat so the sugars don’t burn.
    • Making vegan BBQ sauce: Use vegan-reviewed brands of ketchup, sugar, and molasses, as well as Pickapepper sauce, instead of Worcestershire.
    • The nutrition facts provided below are estimates.

    Nutrition Per Serving
    Serving Size
    2 tablespoons
    /
    Calories
    38
    /
    Total Fat
    0.1g
    /
    Saturated Fat
    0g
    /
    Sodium
    199.6mg
    /
    Carbohydrate
    9.3g
    /
    Dietary Fiber
    0.2g
    /
    Total Sugars
    7.4g
    /
    Protein
    0.2g


    AUTHOR:

    Joanne Gallagher

    Adam and Joanne of Inspired Taste

    We are Adam and Joanne Gallagher, the creators of Inspired Taste. Established in 2009, Inspired Taste grew from a childhood dream into one of the internet’s most trusted recipe sites with hundreds of reliable recipes, step-by-step videos, and expert tips.More About Us

    Source link

  • The Best Pizza Sauce Recipe

    The Best Pizza Sauce Recipe

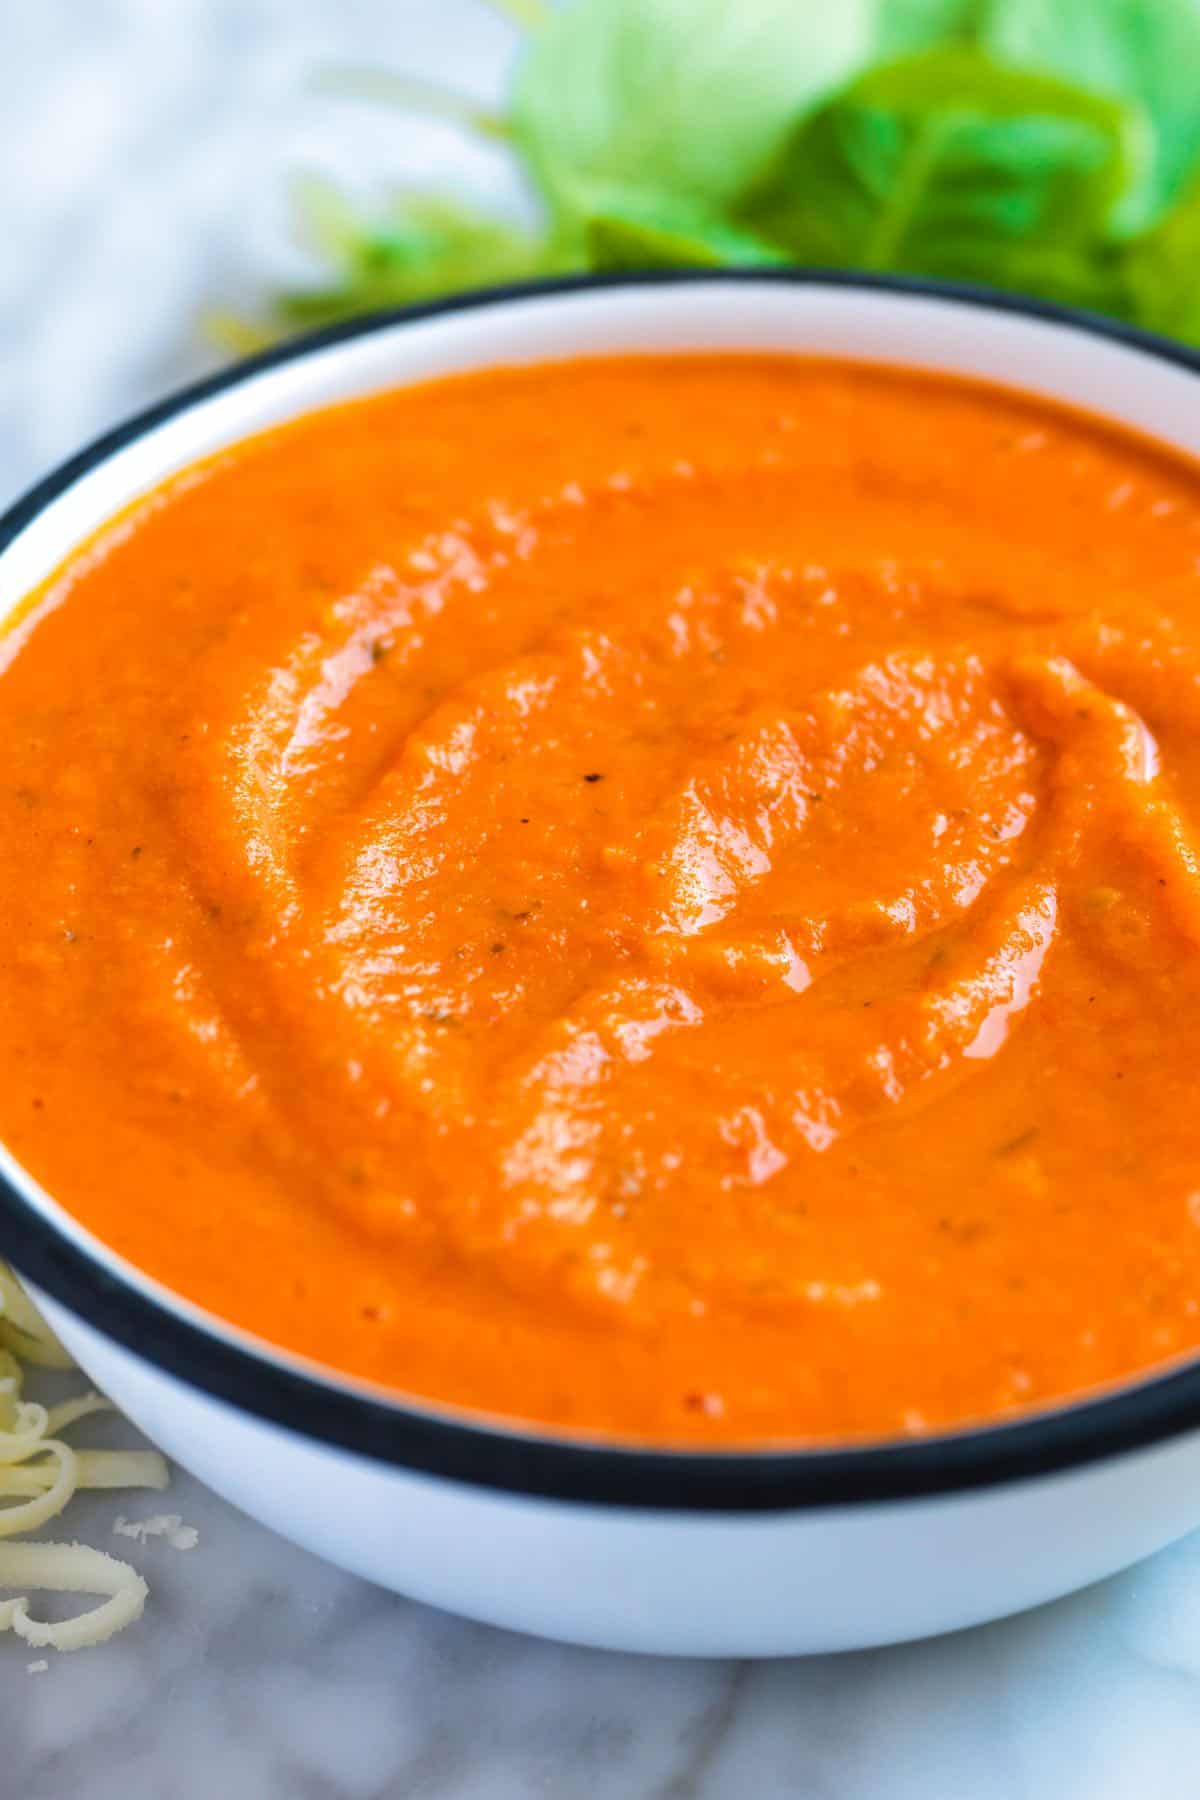
    This easy homemade pizza sauce recipe is made completely from scratch with fresh ingredients! Try this delicious sauce on your next pizza, and you’ll never look back.

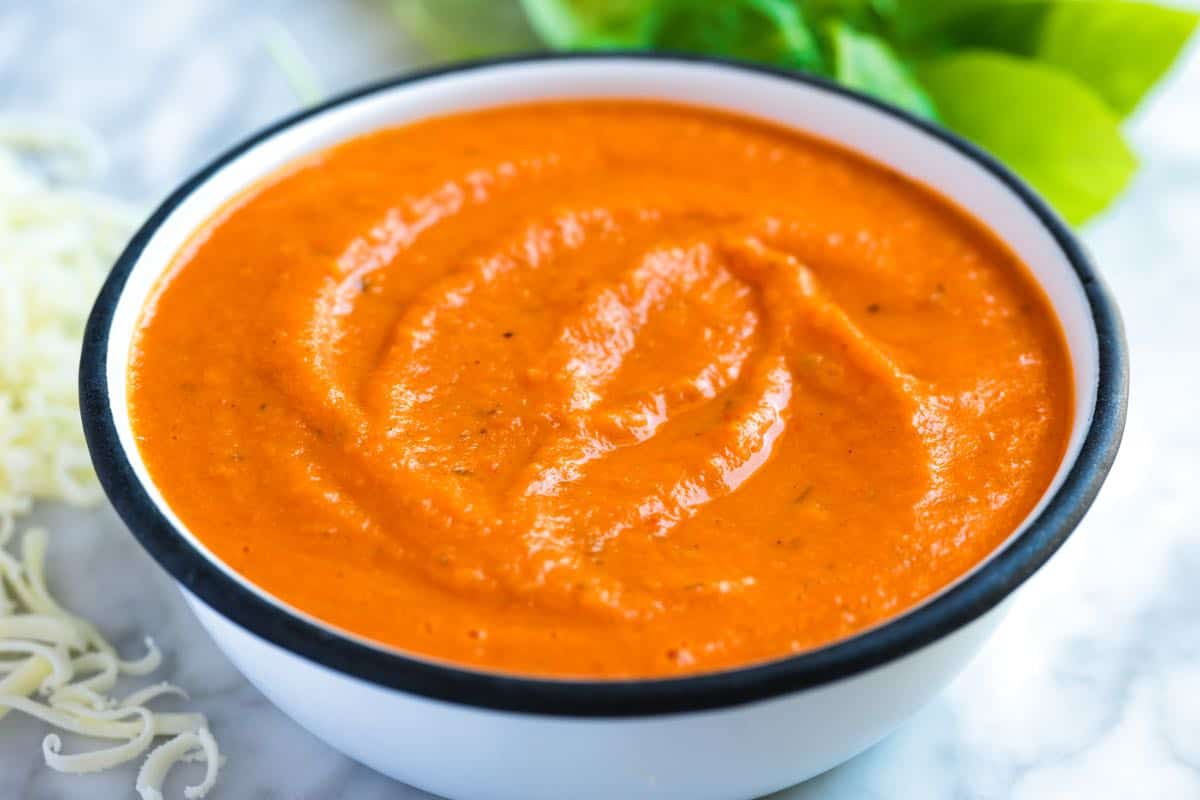
    Homemade Pizza Sauce

    I make a new batch of this pizza sauce every few weeks. I love it that much. I use it to make homemade pizza and have even started tossing it with pasta and gnocchi (so good!).

    If you can put a few ingredients into a pot, you can make this delicious sauce. It is a must-try!

    Key Ingredients

    • Fresh tomatoes: The star of this sauce! Using fresh tomatoes keeps this pizza sauce light on its feet. I find sauces made with tomato paste heavy and rich. I have successfully used cherry, vine-ripened, heirloom, and Roma tomatoes in this recipe. Canned tomatoes should also work, if that is all that you have. We recommend using canned whole peeled tomatoes.
    • Garlic and onion: Add so much flavor. We cook them with fresh tomatoes so they become soft and sweet.
    • Oregano and red pepper flakes: These work so well with pizza! Use crushed red pepper or more flavorful gochugaru (Korean pepper flakes).
    • Olive oil: Makes our pizza sauce velvety and rich (similar to how we use olive oil to make marinara sauce).

    Find the full recipe with measurements below.

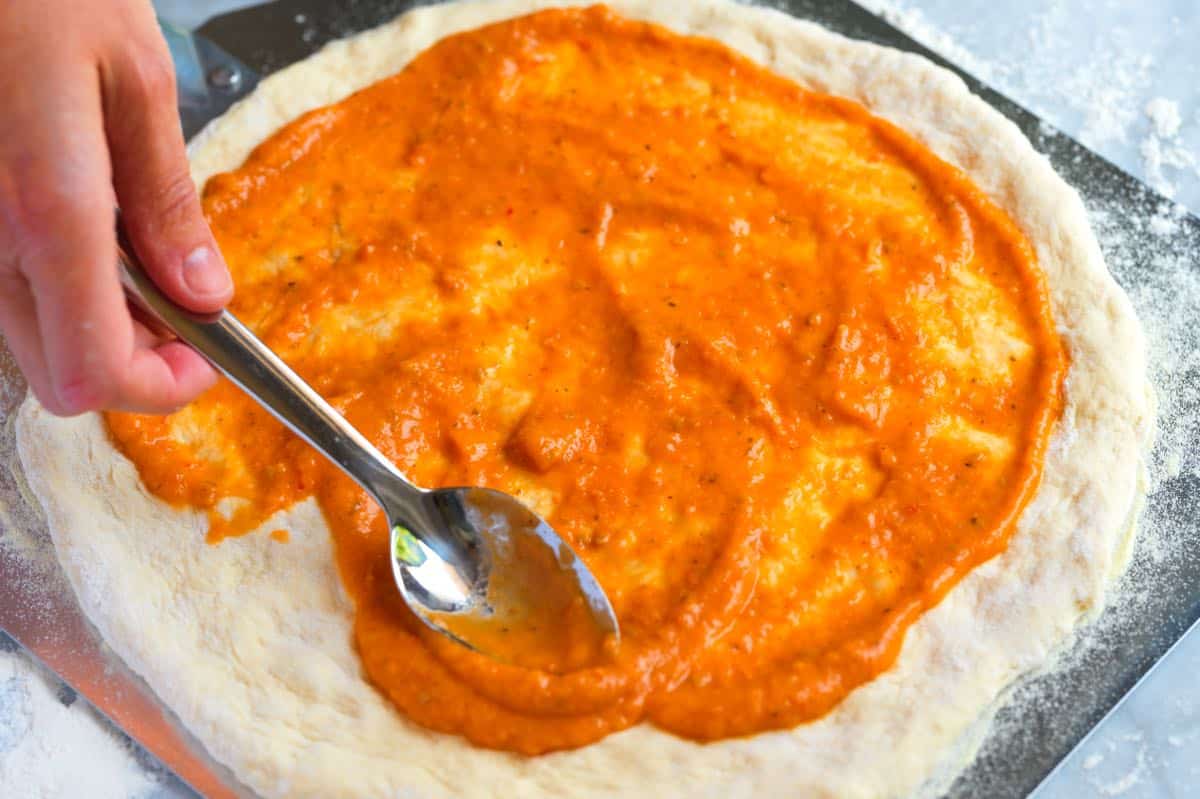
    Spreading homemade pizza sauce over pizza dough

    How to Make Our Favorite Pizza Sauce

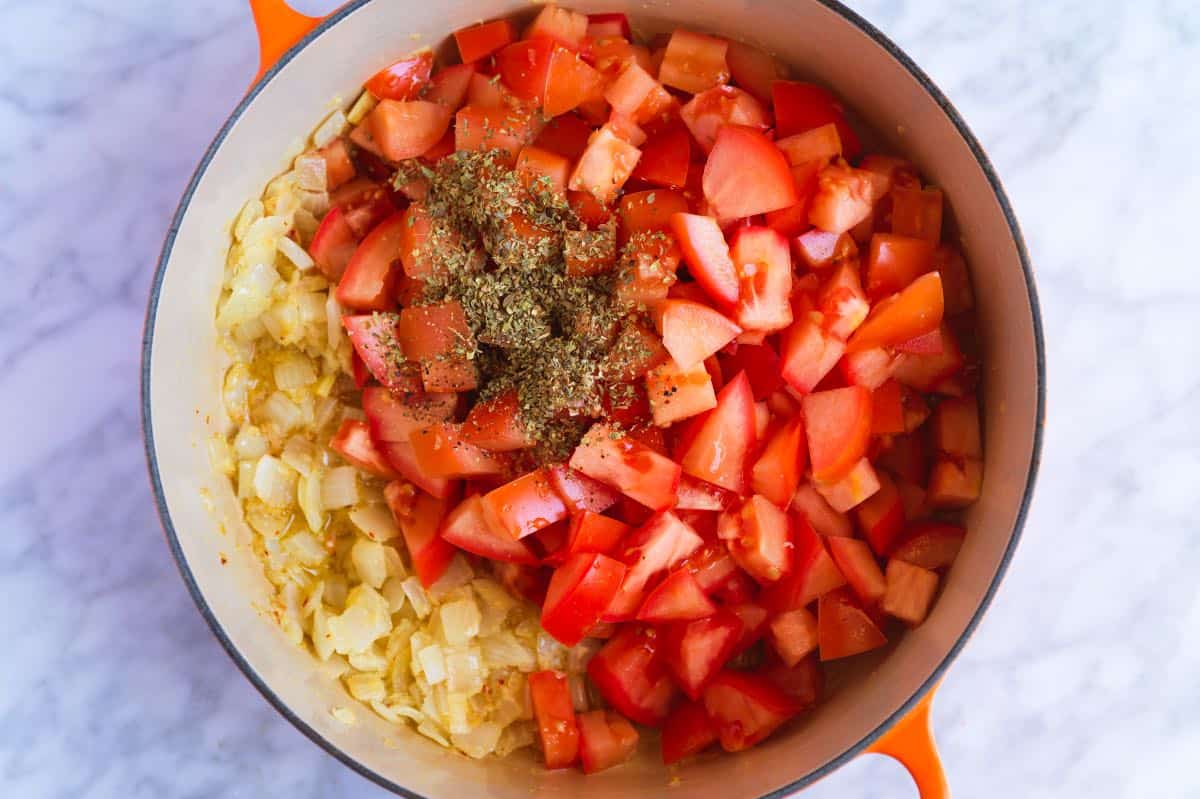
    Tip 1: Start by simmering the sauce covered. To make pizza sauce, you’ll combine fresh tomatoes with olive oil, garlic, onion, pepper, oregano, and salt in a covered saucepan and simmer for 30 minutes. This helps break the tomatoes down into a flavorful sauce.

    Making pizza sauce with fresh tomatoes and garlic

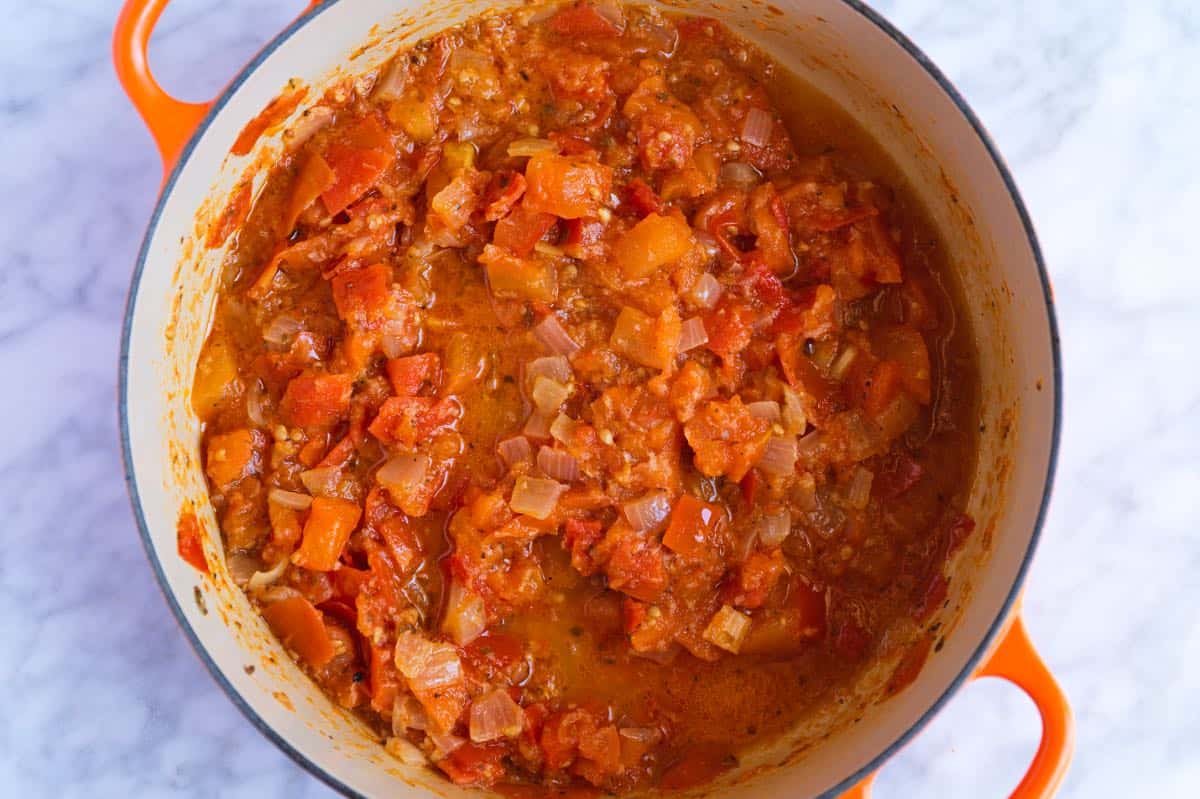
    Tip 2: Finish simmering uncovered to thicken. Uncover the pot and continue to simmer for another 30 minutes. During this time, the sauce will concentrate its flavor and become incredibly flavorful. When the sauce is done cooking, blend until your desired consistency.

    Cooked pizza sauce

    Ways to Use Homemade Pizza Sauce

    Make pizza! Stretch your pizza dough and spoon on your sauce. I keep the sauce application pretty light. You should be able to see through the sauce. Here’s our easy pizza dough recipe! I love using this sauce to make our family’s favorite cheese pizza. For an easier option, make flatbread pizza!

    Beyond pizza, this amazing sauce is also great for pasta, lasagna, and gnocchi. Whenever a recipe calls for pasta sauce, use this pizza sauce instead. The garlicky tomato sauce works well in almost any recipe that uses red sauce.

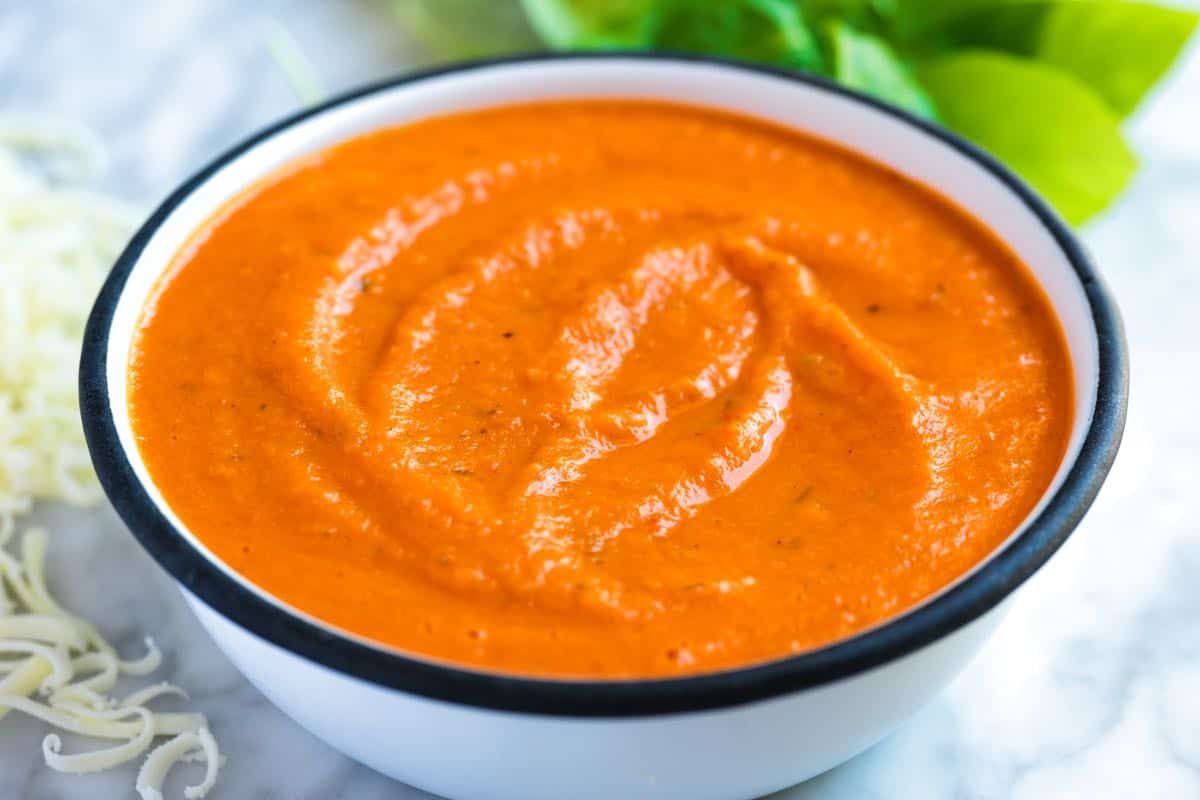
    Homemade Pizza Sauce made with fresh tomatoes.

    The Best Pizza Sauce

    • PREP
    • COOK
    • TOTAL

    This flavorful pizza sauce recipe is made with fresh tomatoes, onion, garlic, and oregano, and it’s completely free of any added sugar. You can use this light and garlicky sauce to make your own homemade pizza or try it with pasta (it’s delicious).

    Makes 2 cups

    You Will Need

    4 cups (760g) chopped fresh tomatoes, 5 to 6 medium

    4 tablespoons olive oil

    3 cloves garlic, minced or finely grated

    3/4 cup (100g) chopped onion

    Pinch red pepper flakes or gochugaru (Korean pepper flakes)

    1 teaspoon dried oregano

    4 twists black pepper

    1/4 teaspoon fine sea salt, plus more to taste

    Directions

      1Over low heat, combine olive oil, garlic, onion, and pepper flakes in a medium saucepan. Cover the pot and cook for 5 minutes.

      2Add the tomatoes, oregano, and black pepper. Simmer, covered, for 30 minutes.

      3Uncover, and continue to simmer for another 30 minutes, stirring every once and a while.

      4Season with salt — start with 1/4 teaspoon and add from there. Use an immersion blender or stand blender to puree the sauce.

    Adam and Joanne’s Tips

    • Canned tomatoes: We love fresh tomatoes for this sauce and have even found that the more lackluster winter tomatoes in stores work perfectly well for this pizza sauce. That said, you can use canned tomatoes. We recommend using drained whole peeled tomatoes.
    • The nutrition facts provided below are estimates.

    Nutrition Per Serving
    Serving Size
    1/4 cup
    /
    Calories
    43
    /
    Total Fat
    3.6g
    /
    Saturated Fat
    0.5g
    /
    Cholesterol
    0mg
    /
    Sodium
    38.8mg
    /
    Carbohydrate
    2.8g
    /
    Dietary Fiber
    0.8g
    /
    Total Sugars
    1.3g
    /
    Protein
    0.5g


    AUTHOR:

    Joanne Gallagher

    Adam and Joanne of Inspired Taste

    We are Adam and Joanne Gallagher, the creators of Inspired Taste. Established in 2009, Inspired Taste grew from a childhood dream into one of the internet’s most trusted recipe sites with hundreds of reliable recipes, step-by-step videos, and expert tips.More About Us

    Source link

  • Weeknight Homemade Spaghetti Sauce Recipe

    Weeknight Homemade Spaghetti Sauce Recipe

    I love this easy homemade spaghetti sauce recipe! It is ready in under 45 minutes, and you can use your favorite ground meat to make it. I love ground beef, turkey, or sausage!

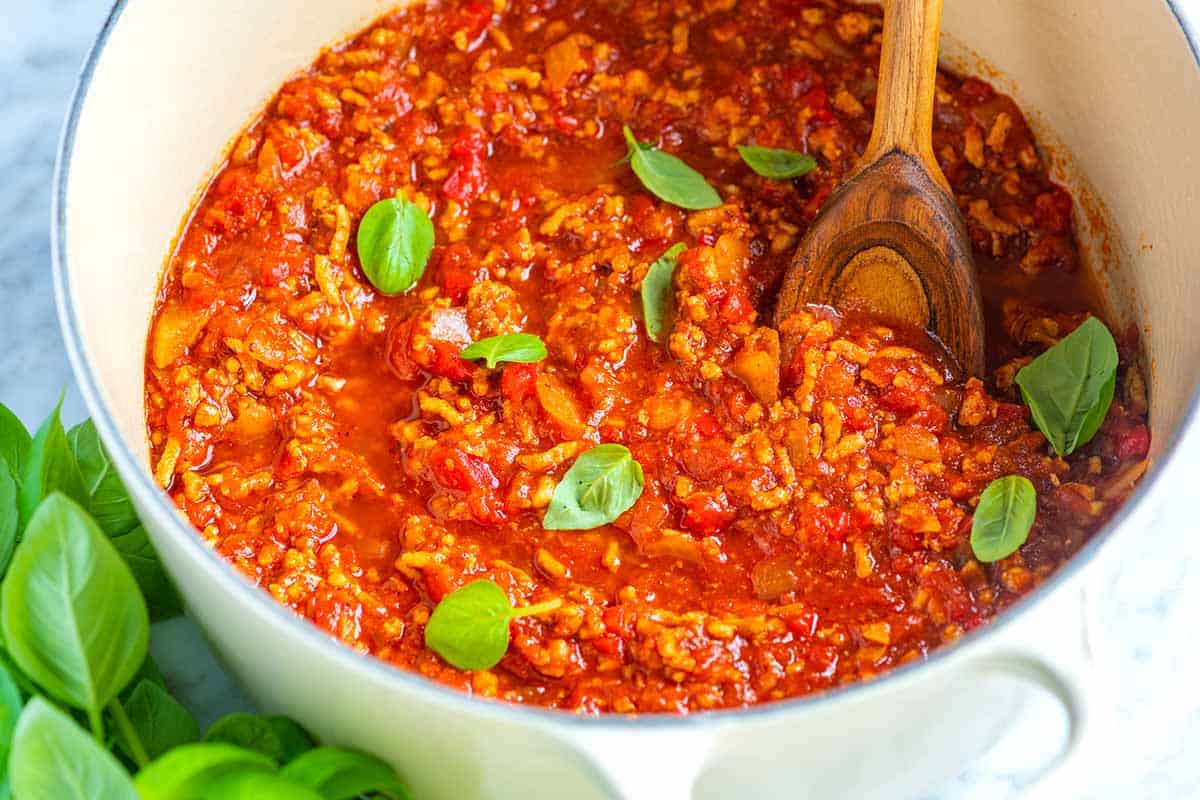
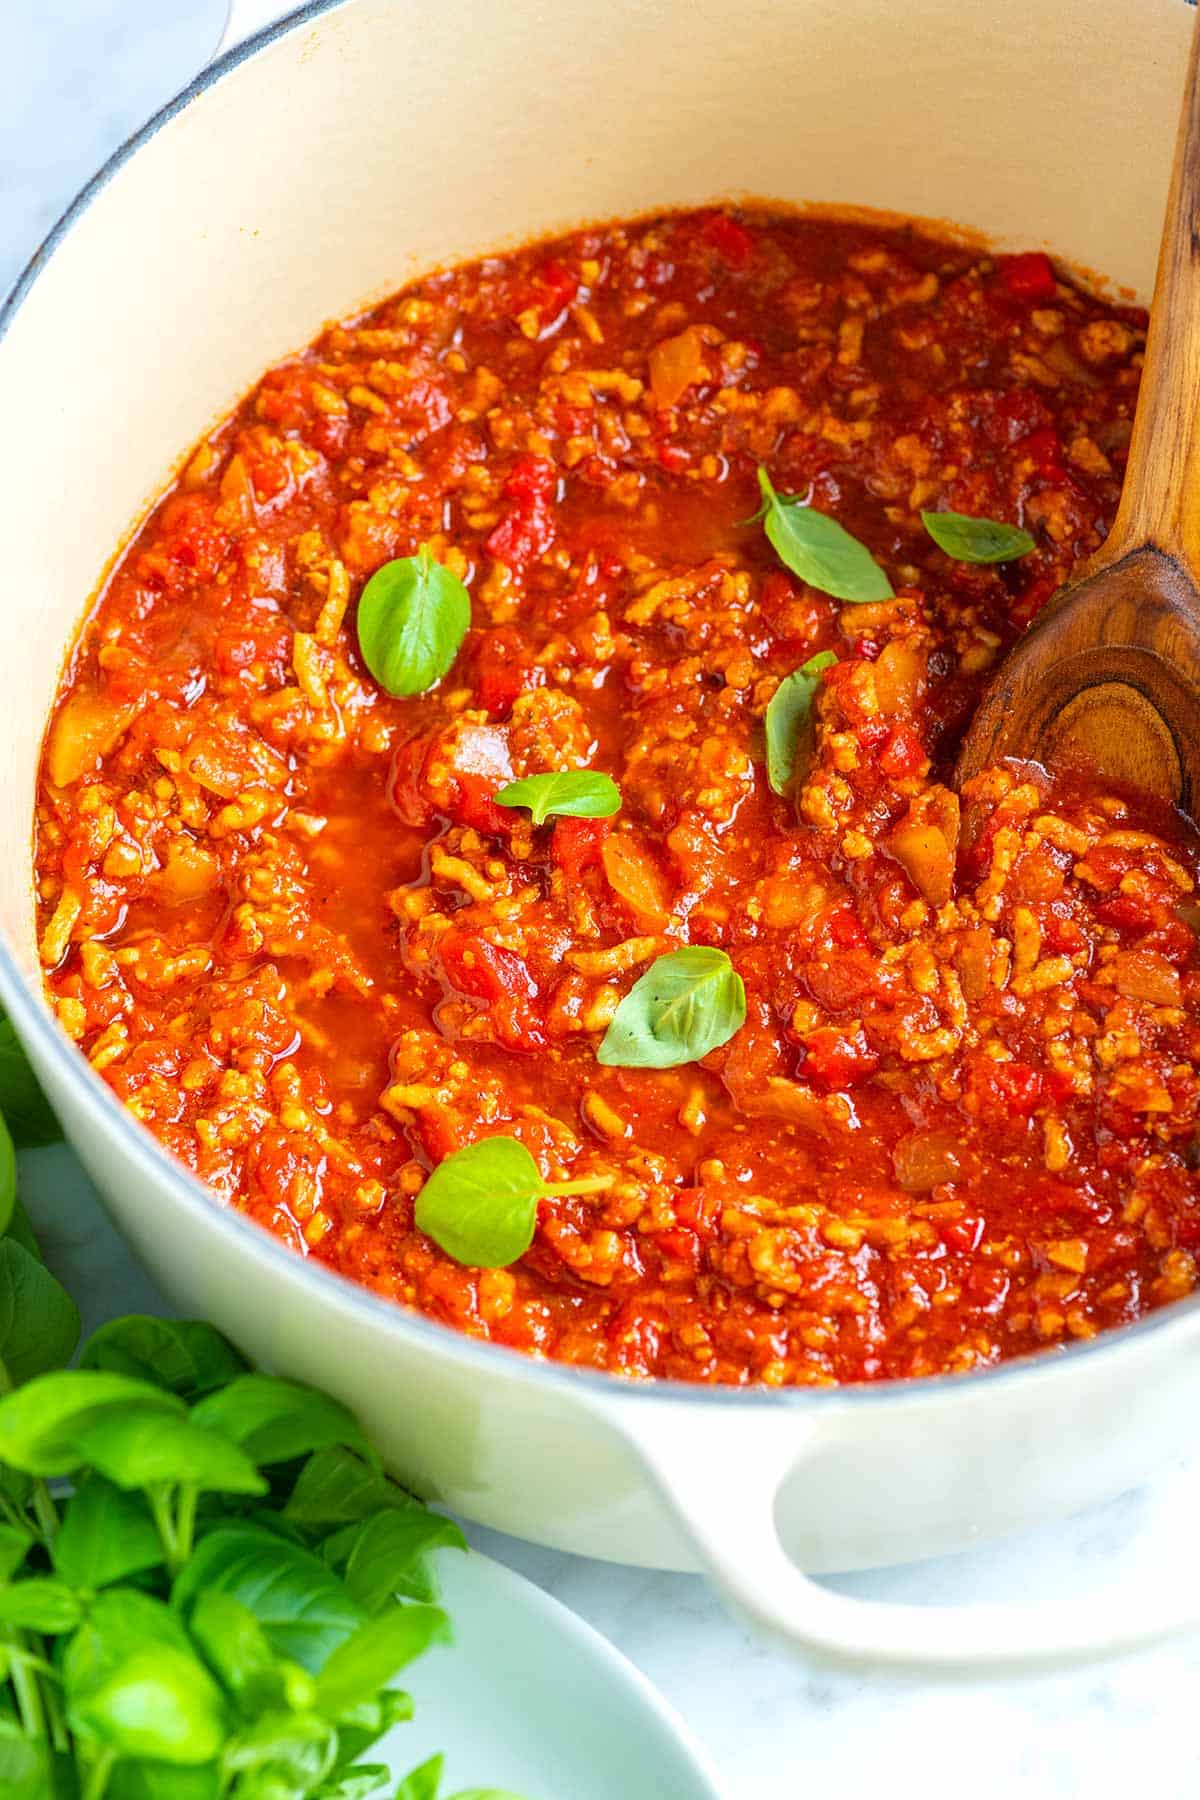
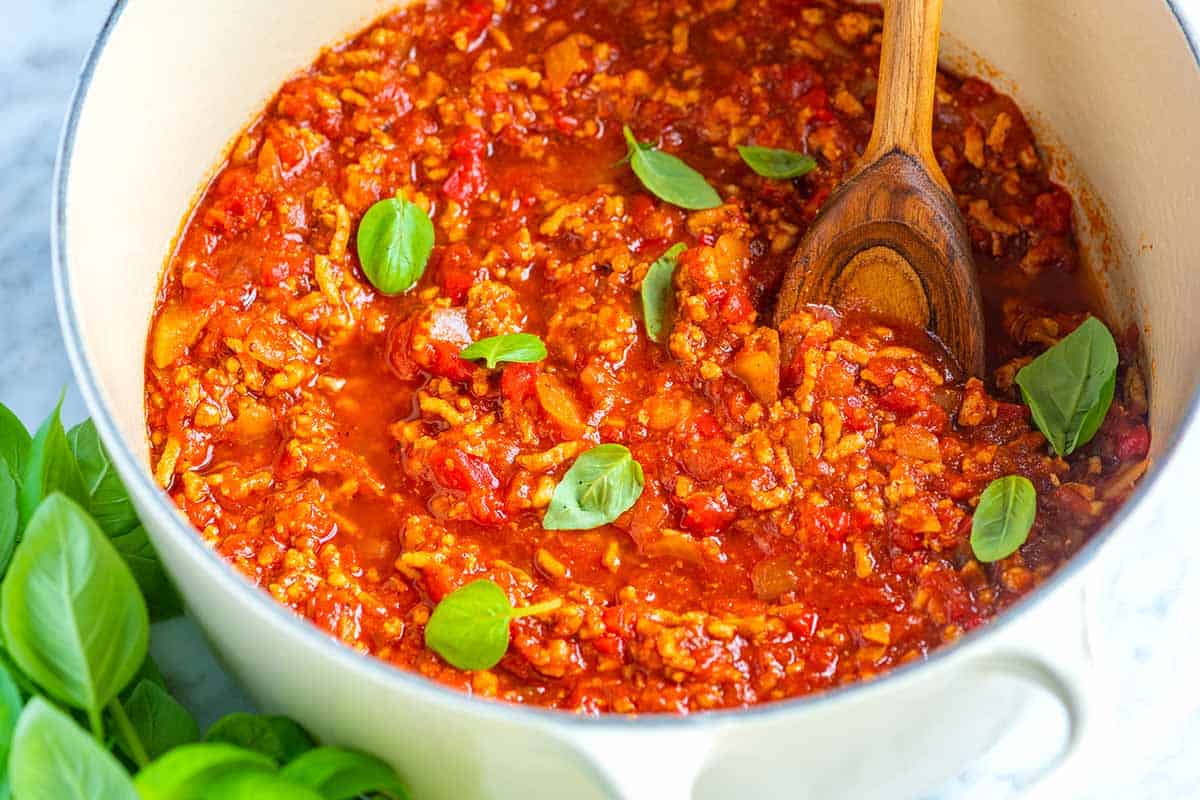
    Pot of Homemade Spaghetti Sauce

    Like you, we live busy lives and need dinner on the table quickly. That’s why I love this easy homemade spaghetti sauce. It’s quick and easy to make, plus it lasts in the freezer for months, which means I have a delicious meal anytime I need it.

    This simple meat sauce can be made in about 45 minutes. We love using this sauce when making our weeknight spaghetti. For a more authentic, slowly cooked meat sauce, try my favorite bolognese recipe with ground beef, milk, white wine, and tomato.

    Key Ingredients

    • Ground meat: You can use any ground meat for this recipe. Ground turkey or chicken are great choices if you prefer a leaner option. Ground beef and pork offer a richer flavor. Choose whichever you like and have available. Check out our veggie spaghetti recipe if you want a meatless option.
    • Tomatoes and tomato paste: Canned crushed tomatoes are the foundation of this spaghetti sauce, and they make it super easy to prepare.
    • Onion, garlic, and spices: We like to keep this recipe simple because it’s a quick and easy weeknight meal. You probably already have most of the ingredients in your pantry.
    • Broth or wine: After browning our meat, we deglaze the pot with a bit of liquid. Water is fine, but for more flavor try chicken broth or your favorite dry wine (red or white will do the trick). I use white wine when making this homemade bolognese.

    Find the full recipe with measurements below.

    Tips for Making Homemade Spaghetti Sauce

    Tip 1: Browning the meat. We make this spaghetti sauce all the time, and it never disappoints. We start by browning ground meat in a little oil. We prefer ground turkey to keep things lean, but any ground meat, such as beef, pork, chicken, or even lamb, works great. Once the meat is browned, we add chopped onion and cook until it softens. Then we toss in garlic, tomato paste, and spices to build even more flavor.

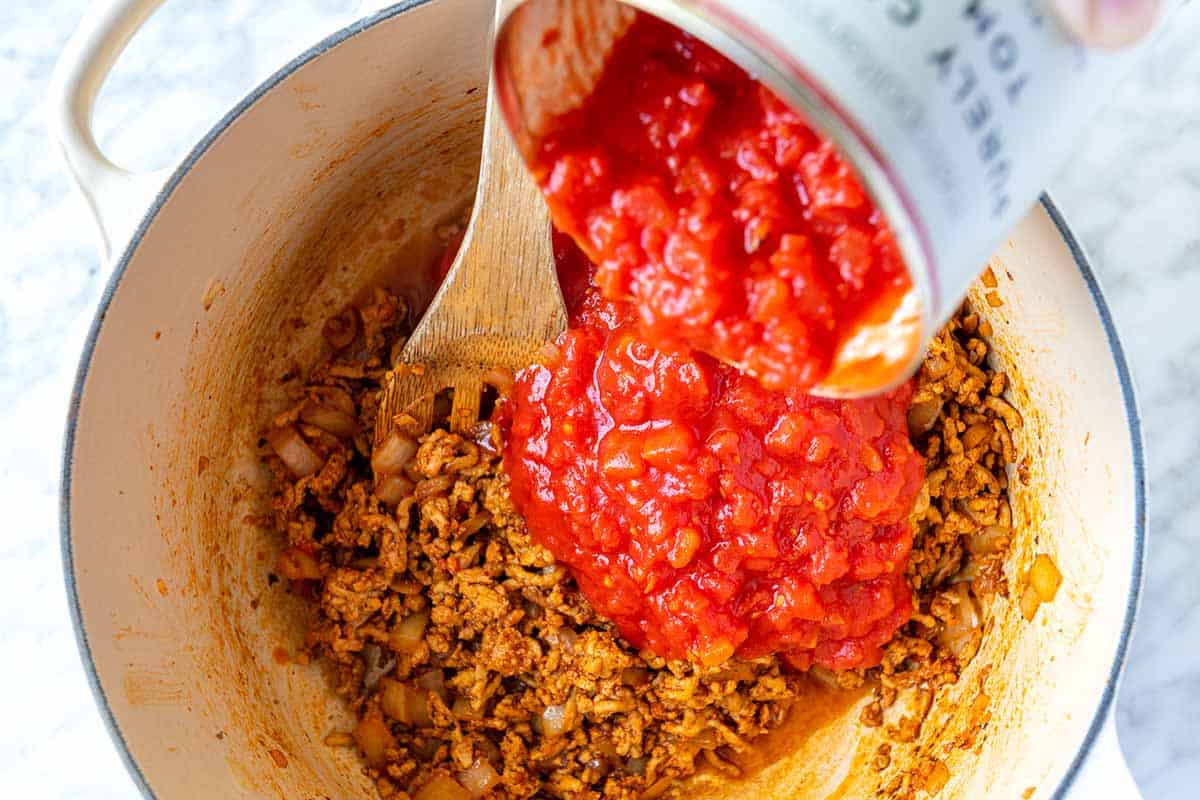
    Tip 2: Deglaze pot for extra flavor. By deglazing the pot with a splash of liquid we capture all those tasty bits stuck on the bottom. You can use water, broth, or even wine (whatever you have on hand). Just be sure to scrape the bottom well! Once the pot is clean, we stir in canned tomatoes and let everything simmer for 20 to 30 minutes or until the sauce thickens.

    How to Make Spaghetti Sauce - Adding tomatoes to the pot with browned meat

    Tip 3: Make it your own. As the sauce simmers, we taste it regularly and adjust the seasoning. Don’t be afraid to add more salt, pepper, or spices. If the sauce tastes too acidic, a pinch of sugar can balance it out. If it seems bland, add a dash of fish sauce, minced anchovies, or even mushroom powder for a rich and savory flavor.

    Ways to Use Homemade Spaghetti Sauce

    We use this homemade sauce in so many ways. It’s perfect tossed with cooked spaghetti (like in this spaghetti recipe) or other pasta shapes. I love it with homemade gnocchi or ricotta gnocchi. It’s also excellent spooned over veggie noodles, like roasted spaghetti squash or zucchini noodles. I also love serving it next to some homemade garlic bread or focaccia bread and a side salad.

    Homemade Spaghetti Meat Sauce

    Weeknight Homemade Spaghetti Sauce

    • PREP
    • COOK
    • TOTAL

    We’ve made this easy homemade spaghetti sauce countless times and are always happy that we did. The sauce starts with a base of ground meat. We love keeping the sauce on the leaner side and use ground turkey, but any ground meat like beef, sausage, pork, chicken, and lamb will work.

    Makes about 5 cups of sauce

    You Will Need

    1 pound (450g) lean ground meat like ground beef or ground turkey

    3 tablespoons olive oil

    1 cup (130g) chopped onion

    3 garlic cloves, minced (1 tablespoon)

    2 tablespoons tomato paste

    1/2 teaspoon dried oregano

    Pinch crushed red pepper flakes

    1 cup water, broth, or dry red wine

    1 (28oz) can crushed tomatoes

    Salt and fresh ground black pepper

    Handful of fresh basil leaves, plus more for serving


    Optional Ingredients, See Tips

    2 to 3 teaspoons fish sauce

    1 to 2 teaspoons mushroom powder, try homemade mushroom powder

    3 to 4 anchovy fillets, minced with some of their oil or use anchovy paste

    Pinch sugar

    1 leftover rind from a wedge of parmesan

    Directions

      1Heat the oil in a large pot over medium-high heat (we use a Dutch oven).

      2Add the meat and cook until browned, about 8 minutes. Use a wooden spoon to break the meat into smaller crumbles as the meat cooks.

      3Add the onions and cook, stirring every once in a while, until softened, about 5 minutes.

      4Stir in the garlic, tomato paste, oregano, and red pepper flakes and cook, stirring continuously for about 1 minute.

      5Pour in the water and use a wooden spoon to scrape up any bits of meat or onion stuck to the bottom of the pot.

      6Stir in the tomatoes, 3/4 teaspoon of salt, and a generous pinch of black pepper.

      7Bring the sauce to a low simmer. Cook uncovered for 25 minutes. As it cooks, stir and taste the sauce a few times so you can adjust the seasoning accordingly (see notes for seasoning suggestions).

      8Remove the spaghetti sauce from the heat and stir in the basil.

    Adam and Joanne’s Tips

    • Storing: This homemade spaghetti sauce can be made in advance and should last in your refrigerator for up to 3 days and in your freezer for about 3 months.
    • If the sauce’s flavor doesn’t pop, you need more salt.
    • If the sauce is too acidic, a pinch of sugar will do the trick.
    • If the sauce is lacking in flavor, consider adding a few dashes of fish sauce or a few minced anchovies (both add a rich, savory flavor).
    • Adding a leftover rind of a parmesan wedge to the sauce while adding the tomatoes adds richness and extra flavor. It won’t melt all the way. Remove what’s left before serving.
    • The nutrition facts provided below are estimates.

    Nutrition Per Serving
    Serving Size
    2/3 cup sauce
    /
    Calories
    167
    /
    Total Fat
    9.9g
    /
    Saturated Fat
    1.9g
    /
    Cholesterol
    39.1mg
    /
    Sodium
    500.2mg
    /
    Carbohydrate
    8.7g
    /
    Dietary Fiber
    2.1g
    /
    Total Sugars
    4.8g
    /
    Protein
    12.9g


    AUTHOR:

    Joanne Gallagher

    Adam and Joanne of Inspired Taste

    We are Adam and Joanne Gallagher, the creators of Inspired Taste. Established in 2009, Inspired Taste grew from a childhood dream into one of the internet’s most trusted recipe sites with hundreds of reliable recipes, step-by-step videos, and expert tips.More About Us

    Source link

  • The Best Burger and Sauce

    The Best Burger and Sauce

    This website may contain affiliate links and advertising so that we can provide recipes to you. Read my disclosure policy.

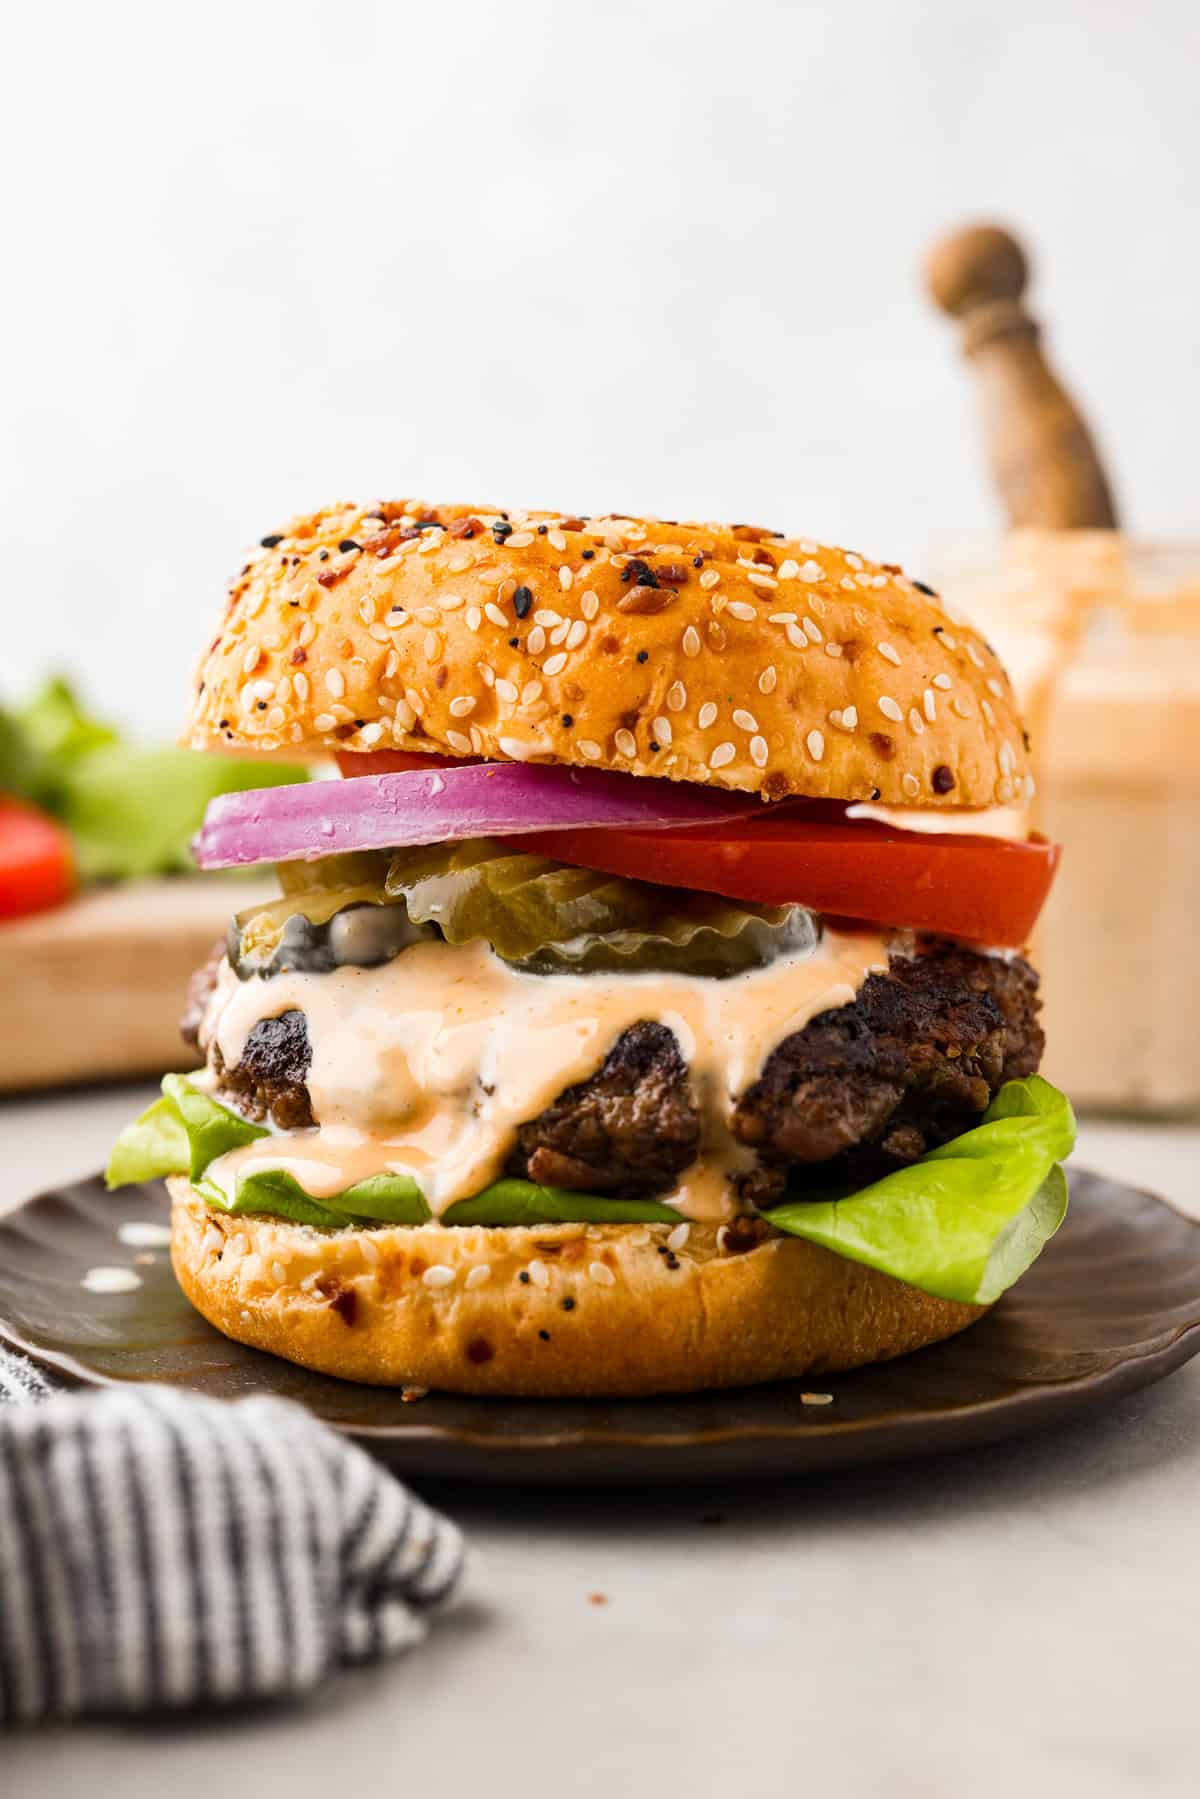
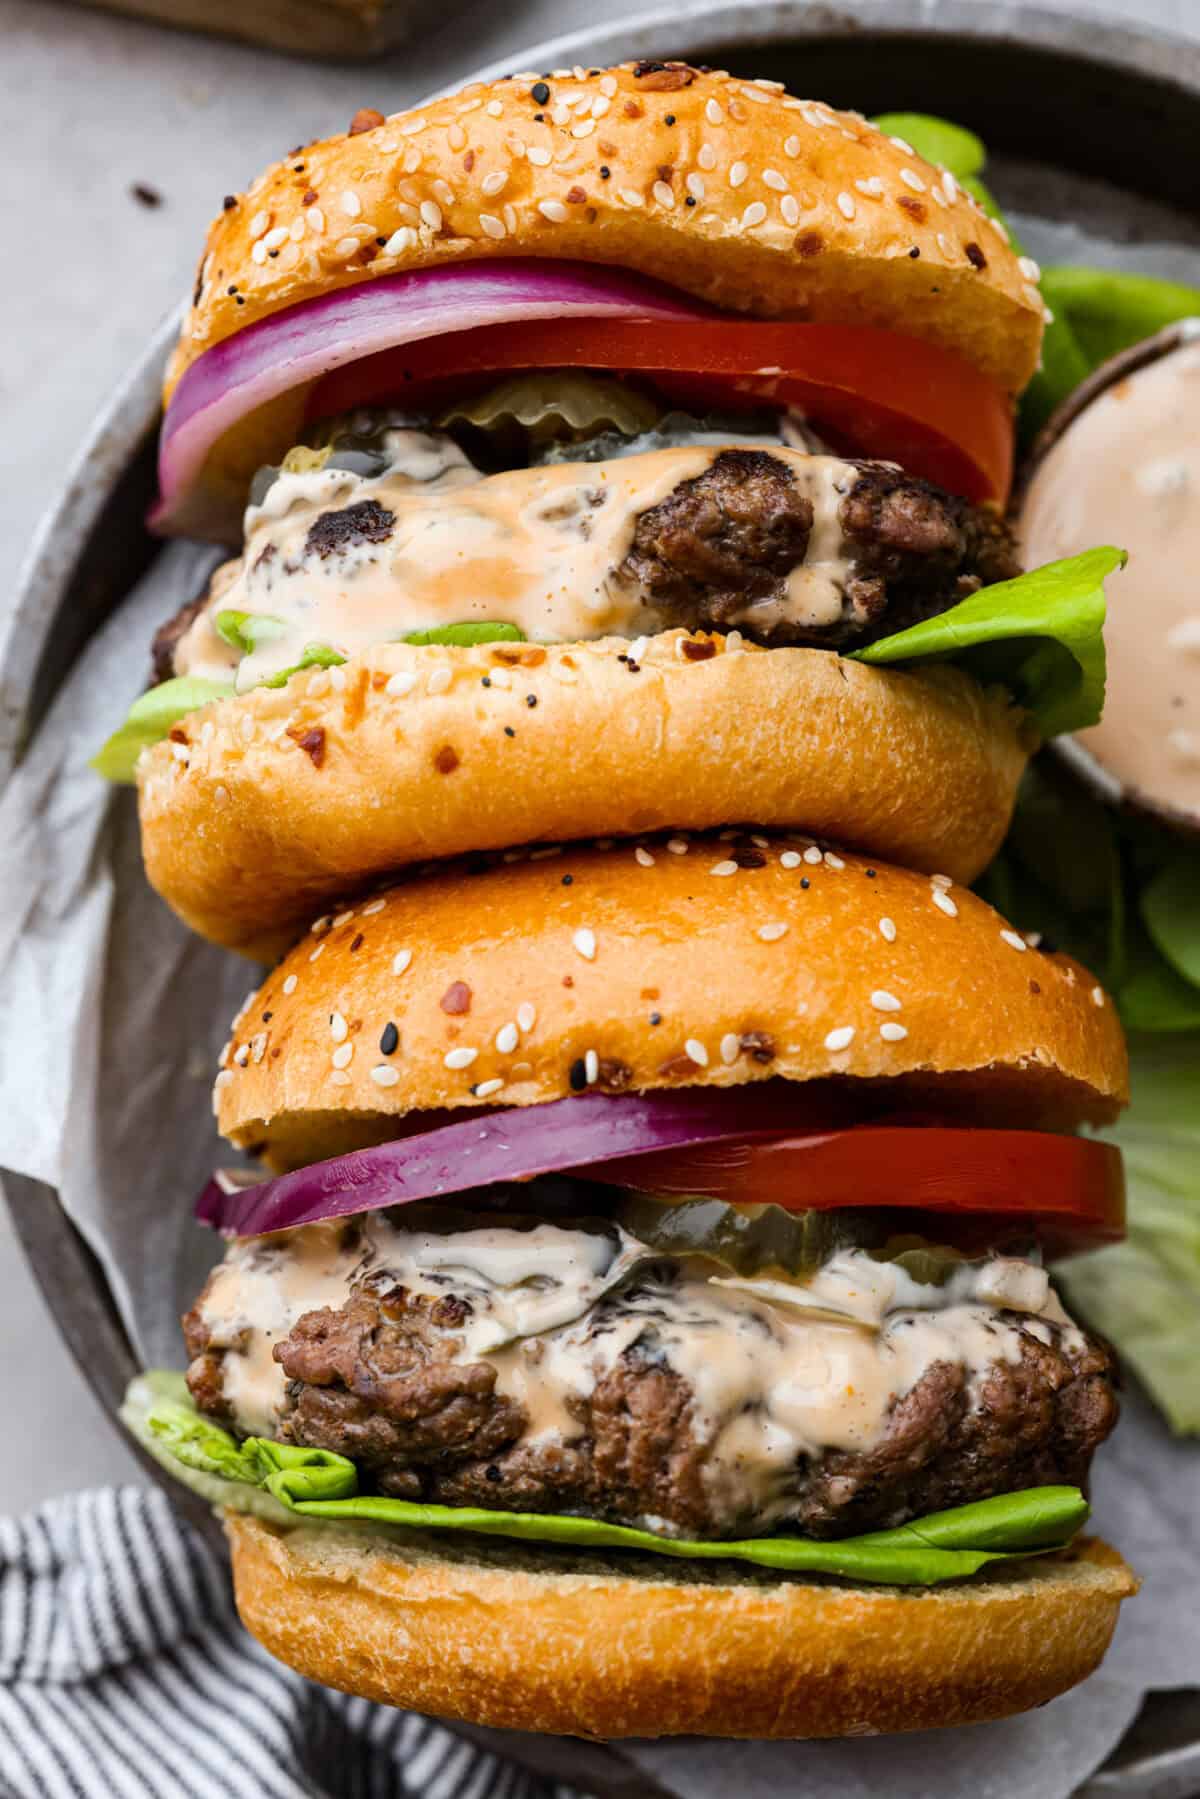
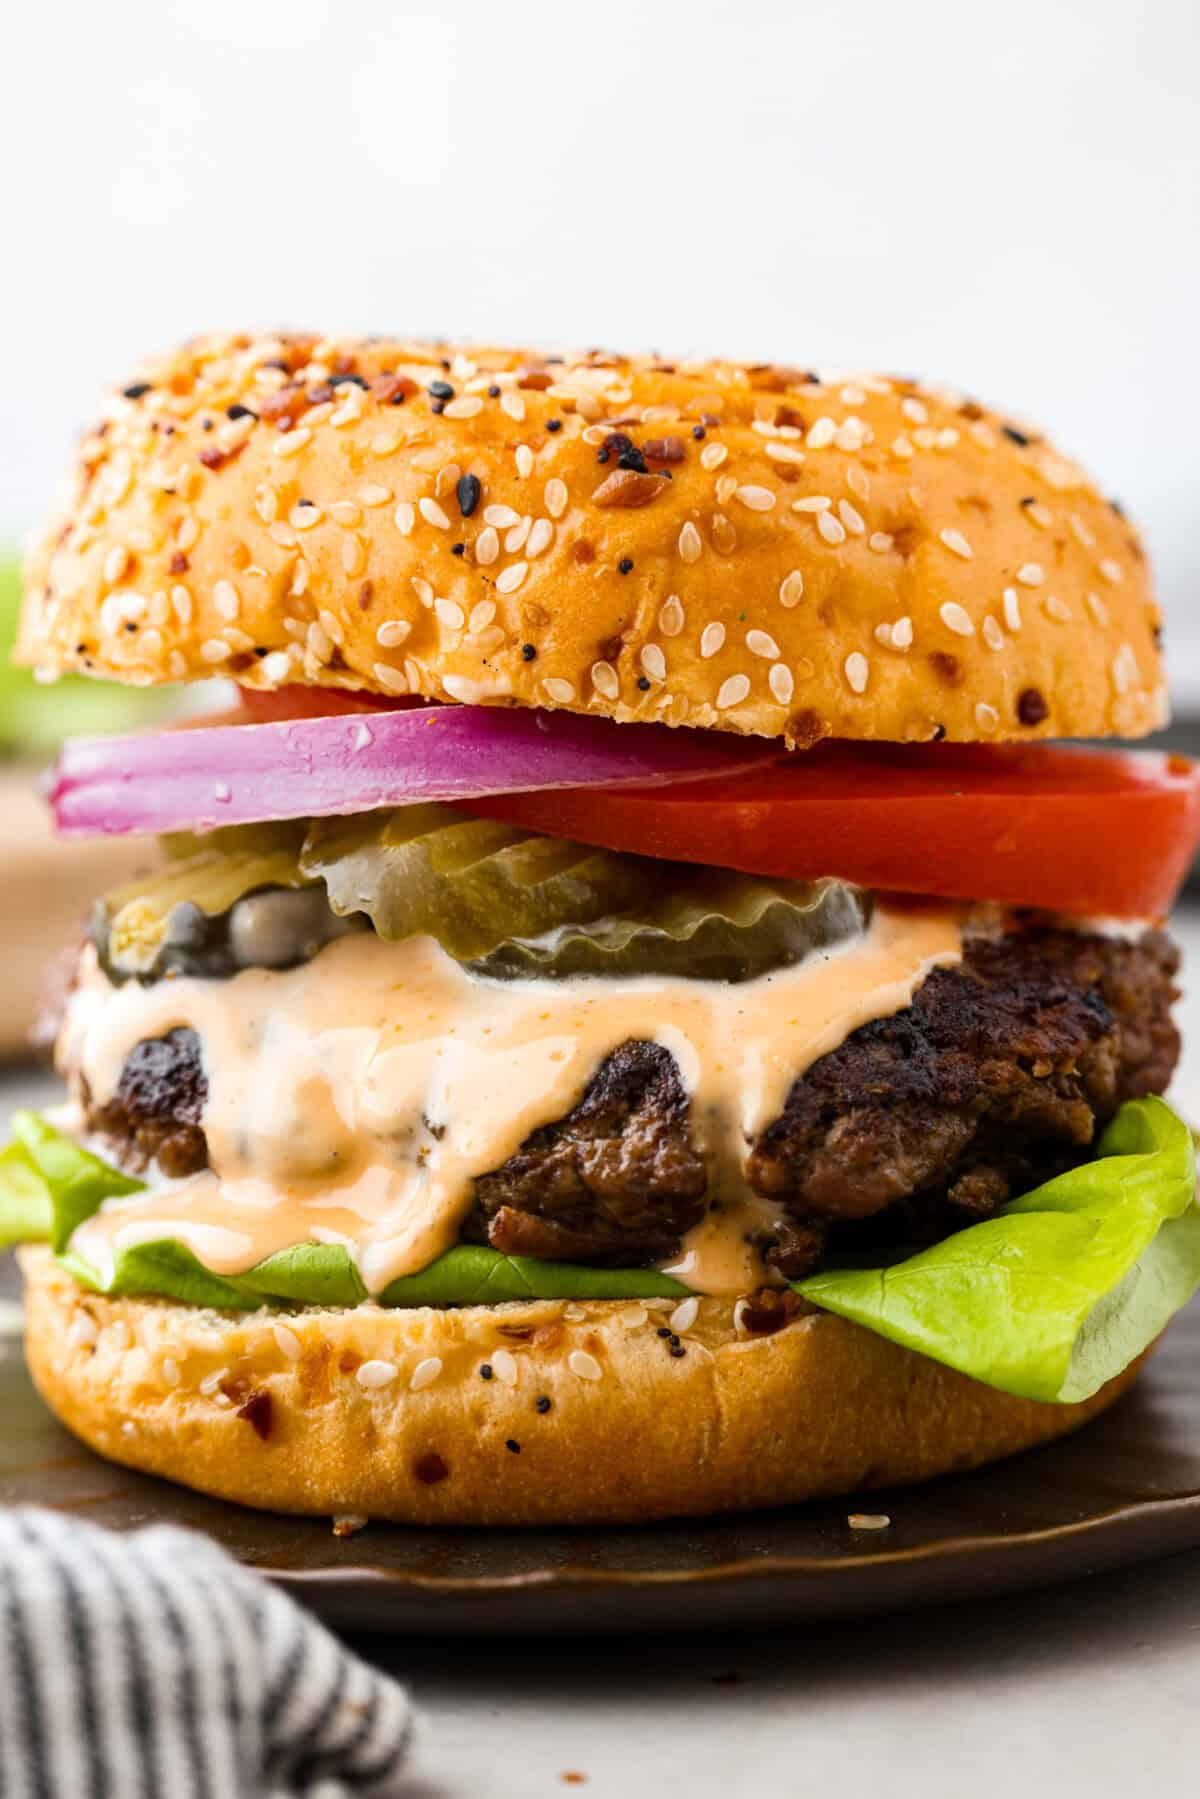
    Get ready for the ultimate burger experience topped with my irresistible Secret Sauce. The flavor packed into this burger is a delicious twist on a classic favorite.

    You’ll love this burger recipe because the juicy patties are packed with flavor from the onion and garlic powder, and the Secret Sauce adds a creamy, tangy kick that will leave you craving more. Want a more adult flavor, make my Blue Cheese Burgers. Pair your burgers with crispy fries for a classic combo, or opt for a side salad for a fresh contrast to the savory goodness of the burgers.

    A burger ready to eat loaded with sauce and toppings.

    Why You’ll Love This Recipe

    1. Unique: This recipe uses my secret sauce to up the flavor. It’s so delicious that you won’t want burgers served any other way.
    2. Easy: This recipe is easy to make, and you will be enjoying it in less than 30 minutes!
    3. Affordable: Using ground beef and pantry staple ingredients, this recipe will not break the bank when you go to the grocery store!

    Ingredients to Make Burgers Flavorful 

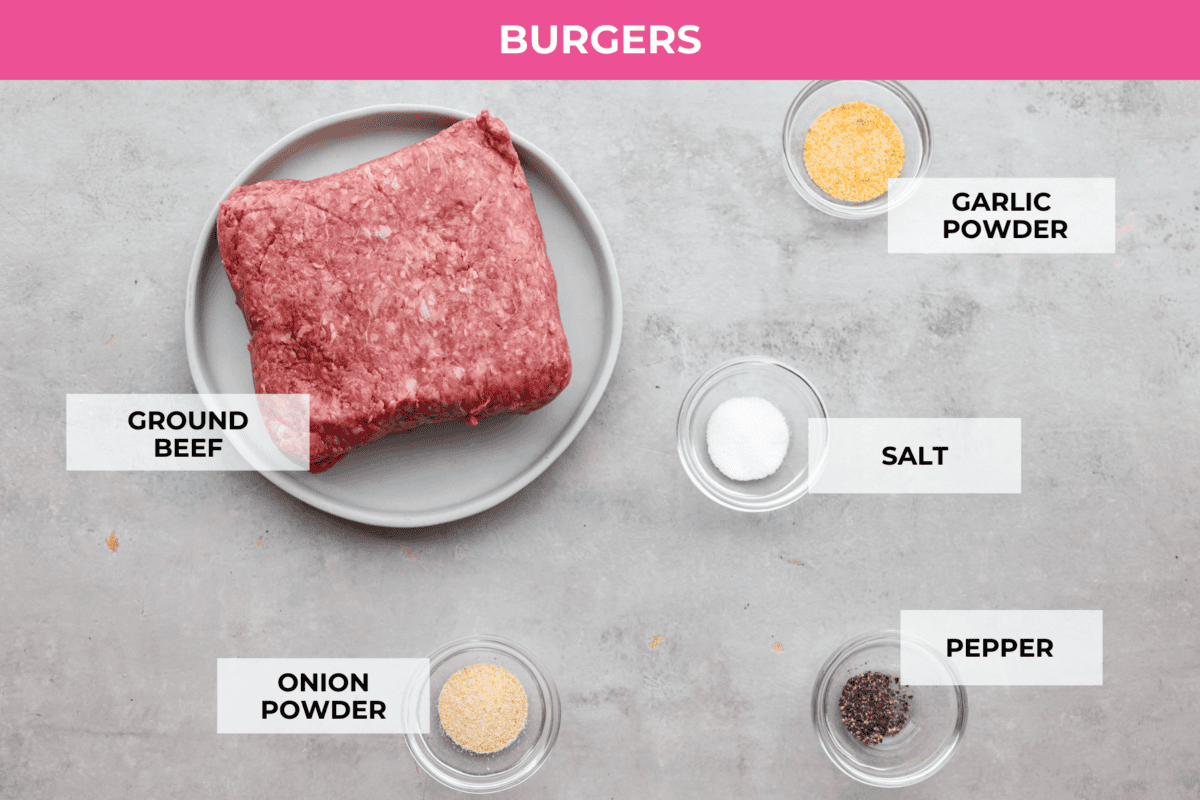
    Sure, you could just grab some meat and grill it up! But if you want to LOVE your burger, you need to season it first!!

    • Ground Beef: I used 80/20 lean ground beef. Higher fat content makes a juicier burger!
    • Garlic Powder and Onion Powder: These seasonings add in delicious flavor that goes with just about anything.
    • Salt and Cracked Black Pepper: To season the meat.
    • Buns: I used sesame buns, but use your favorite hamburger buns!
    A top view of ingredients in bowls and each individually labeled.

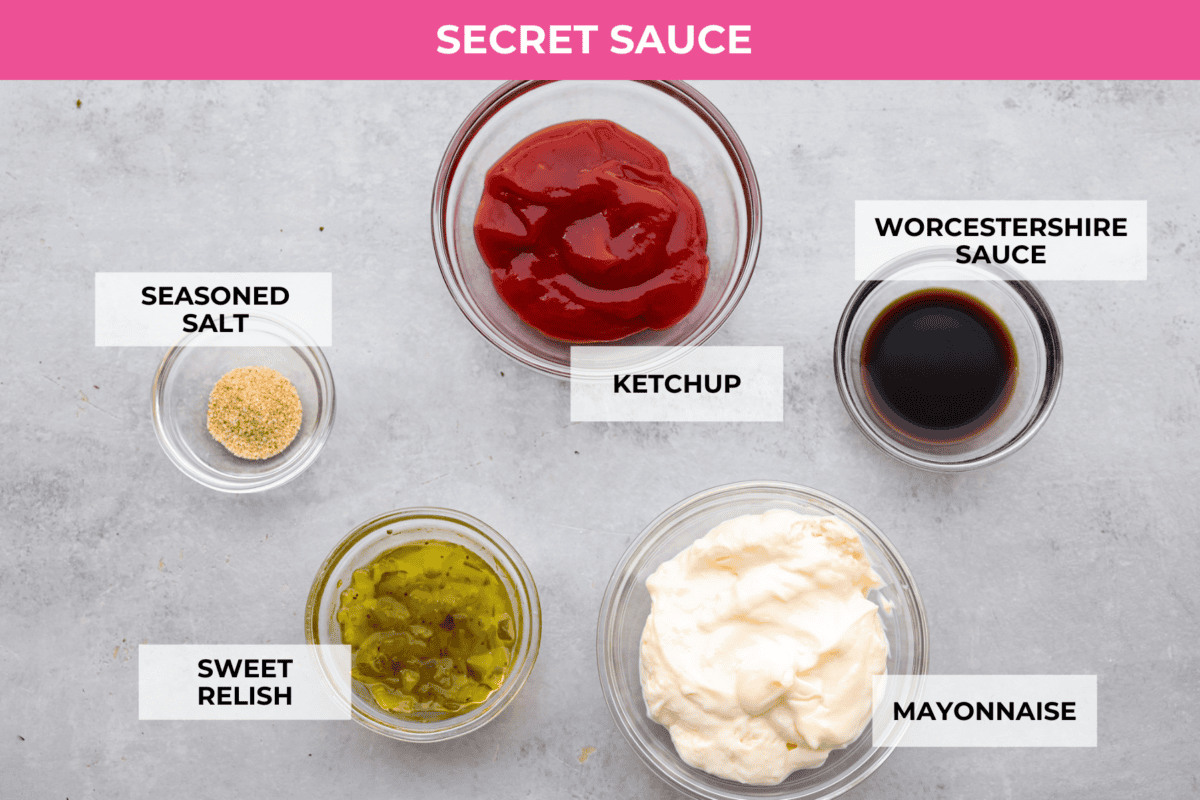
    What’s in the Secret Sauce?

    This sauce is so delicious, you won’t want to keep it a secret after you try it! Everyone will want to use this sauce!

    • Mayonnaise: Smooth and tangy, it adds creaminess to the sauce.
    • Ketchup: Sweet and tangy, the ketchup brings a vibrant tomato flavor to the mix.
    • Sweet relish: Offering a sweet crunch, it’s made from finely chopped pickled cucumbers and onions and adds a tang to the sauce.
    • Worcestershire sauce: With its savory and tangy notes, it adds depth and richness to the sauce.
    • Seasoned salt: A balanced blend of herbs and spices, it enhances the overall flavor with its seasoning.
    The top view of the sauce ingredients all individually labeled.

    How to Make the Best Burger Patty

    This is definitely a great go-to recipe when you are in charge of hosting the next family BBQ. It’s easy to throw together, especially if you ever need to make plenty to feed everyone! 

    Burgers

    1. Prepare the Grill: Heat up your grill to medium-high heat while you prepare the patties.
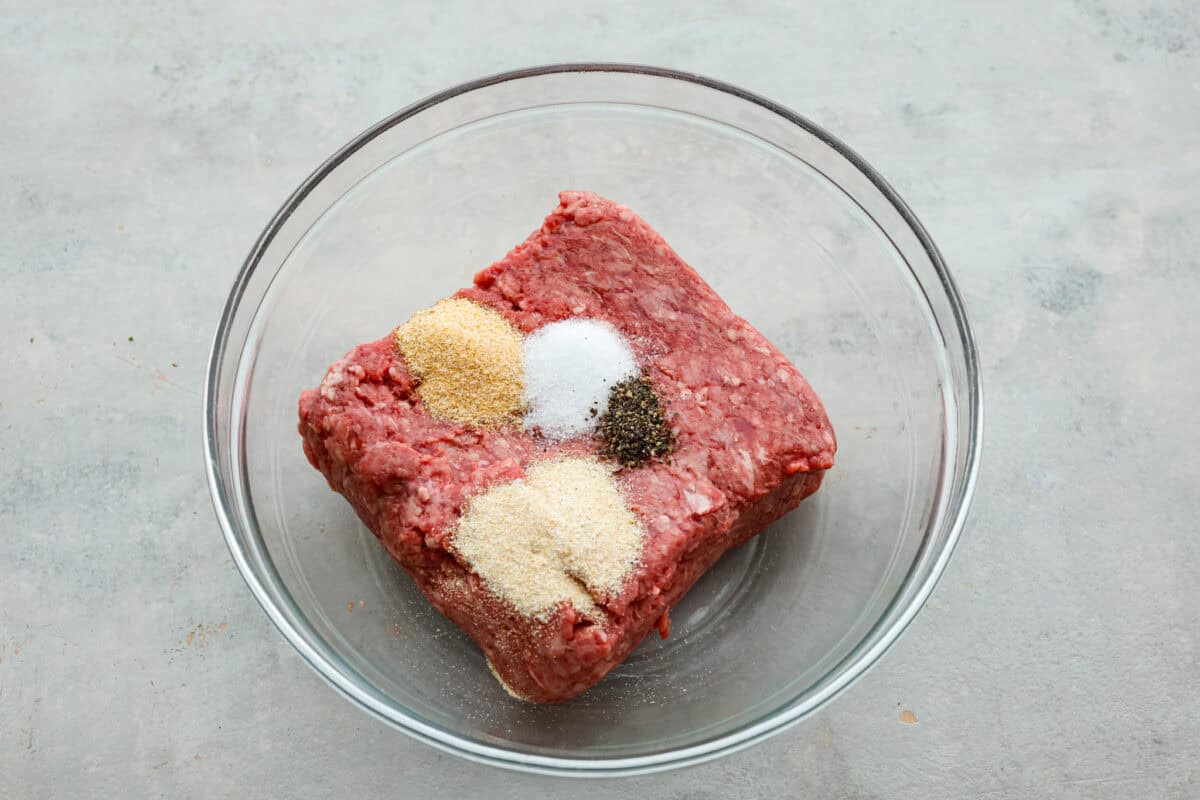
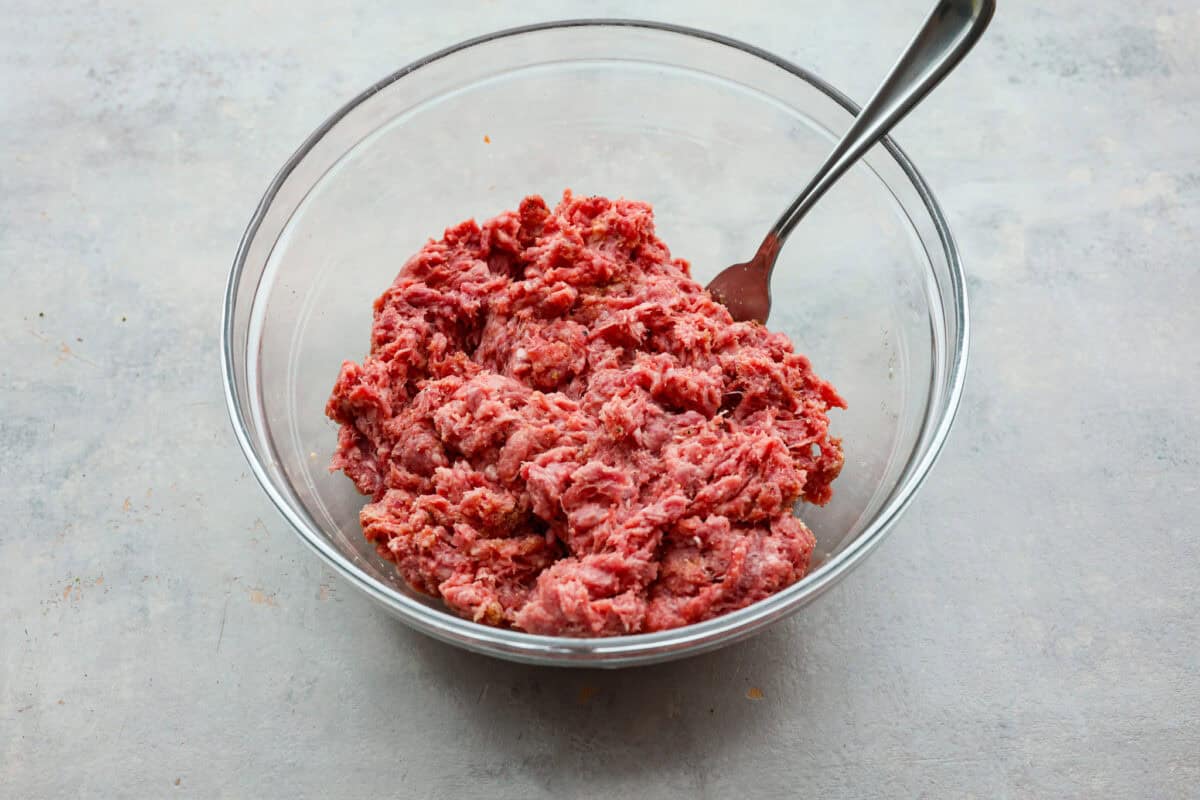
    2. Combine: Add the ground beef and seasonings to a large bowl and mix to combine.
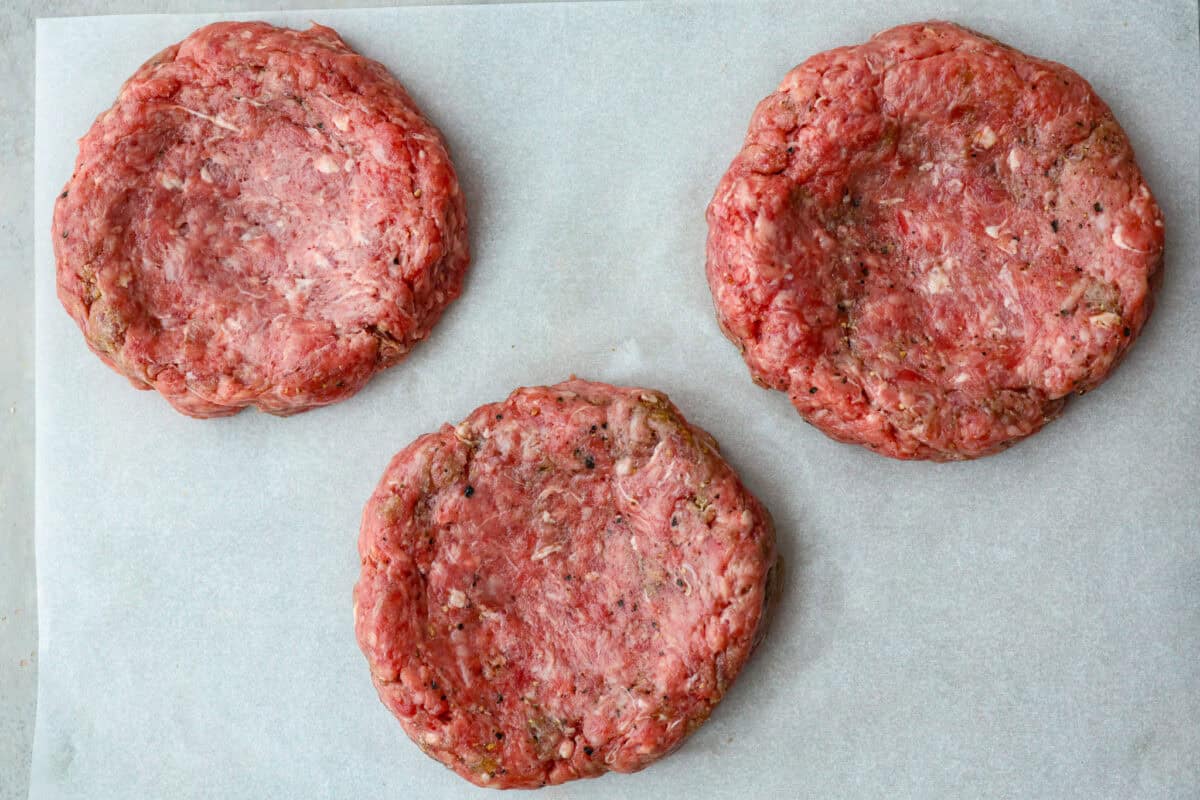
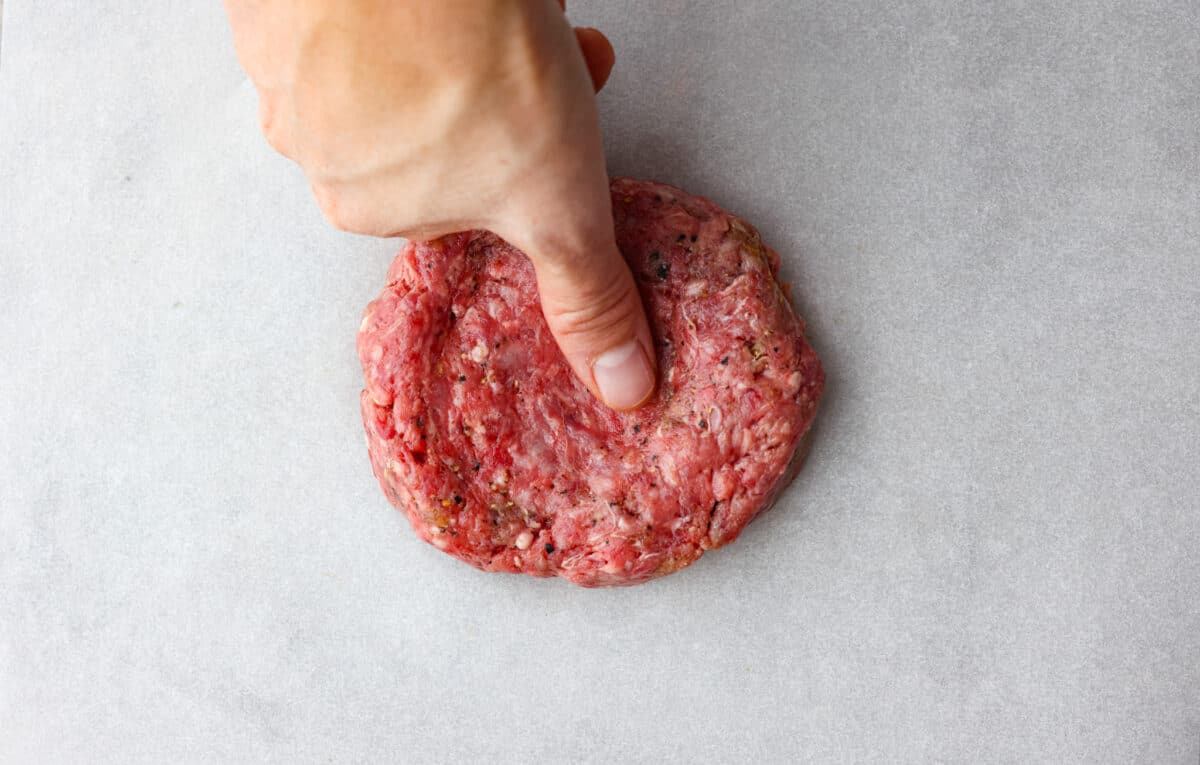
    3. Shape Patties: Shape the patties to be about 1-inch thick, making an indention in the center of each patty. This creates a flat burger and prevents the middle from mounding as it cooks.
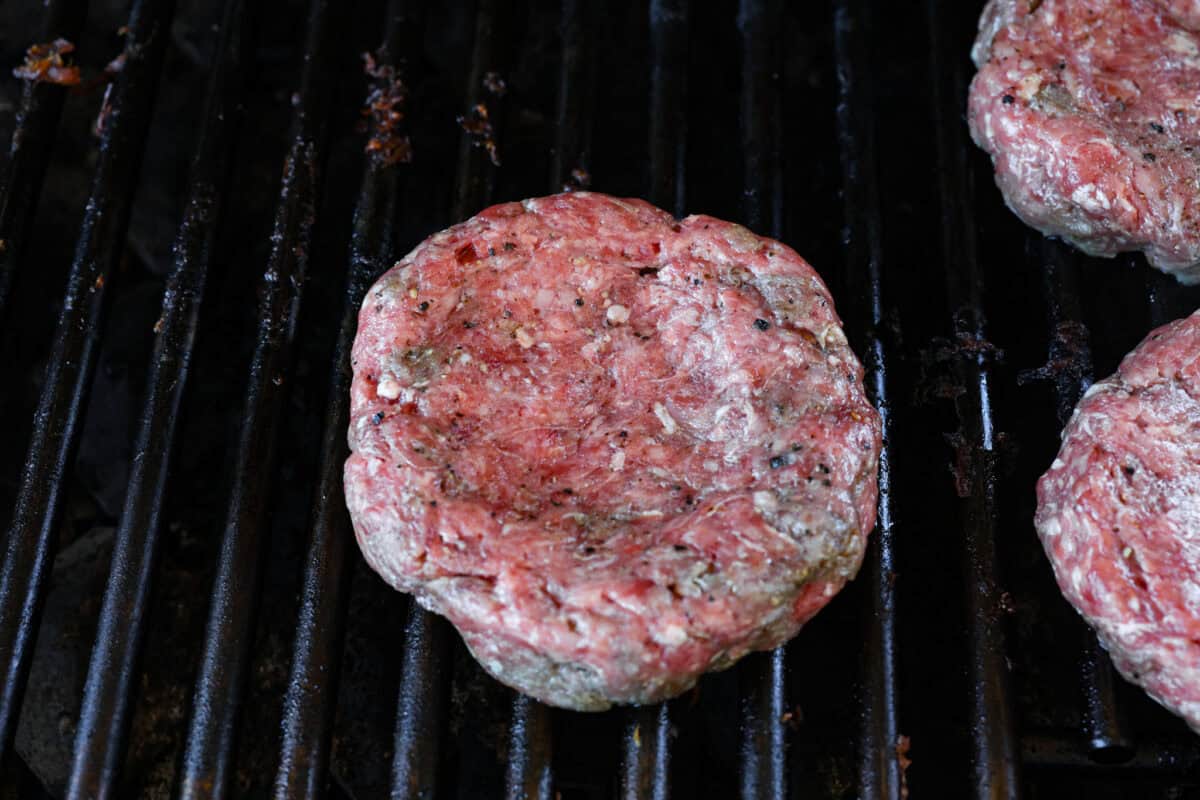
    4. Cook: Place the burgers on the grill. Allow this side of the patty to cook for about 4-6 minutes, but make sure it doesn’t burn. Flip them over and cook to the desired doneness.

    Secret Sauce

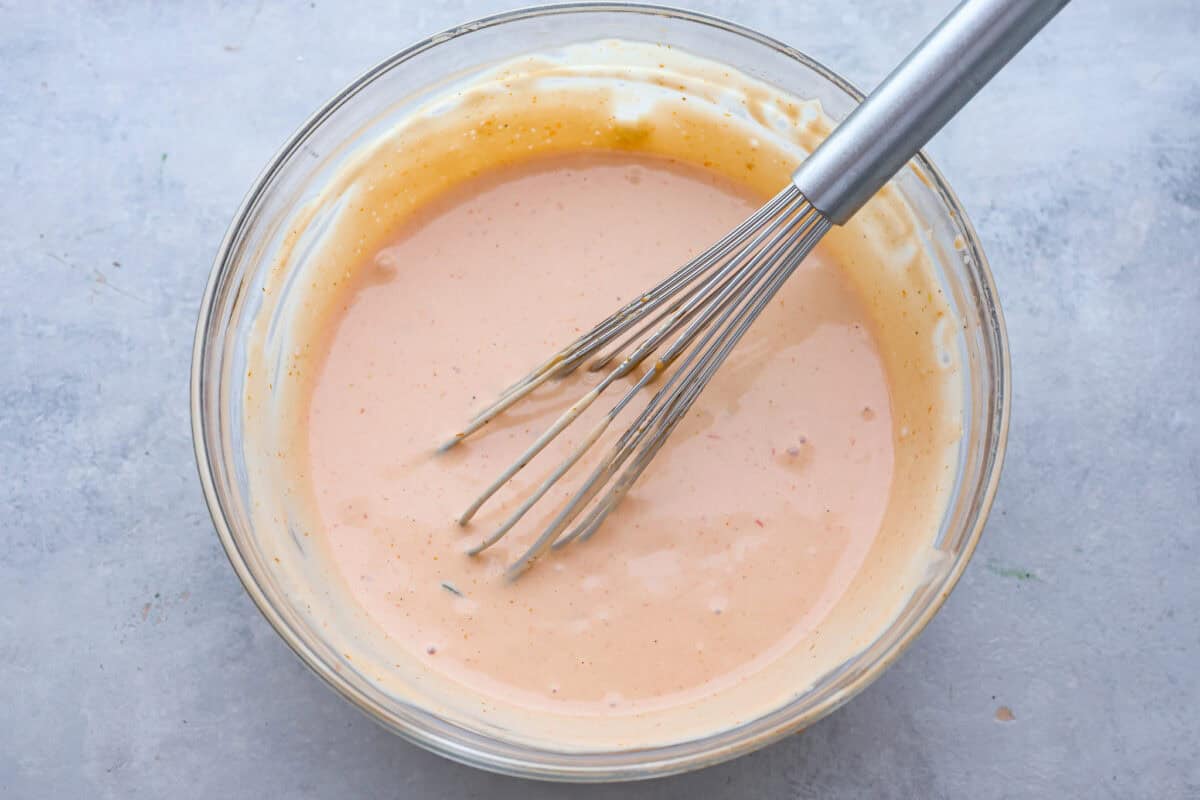
    1. Combine: Add all of the sauce ingredients to a small bowl and whisk to combine. Taste and adjust ingredients to your liking.
    2. Toppings: Assemble the burgers and serve with the special sauce and all of your favorite hamburger toppings!

    How Do I Know When a Burger is Done?

    The temperature of ground beef is ready to eat when it reaches 160 degrees Fahrenheit. You can check this by using a meat thermometer!

    2 burgers laid on they side on a plate.

    Burger Topping Ideas

    This best burger and secret sauce would not be complete without delicious toppings! Here are some ideas on what you can use on a hamburger:

    • Lettuce: I think the best lettuce for burgers is iceberg lettuce or butter lettuce.
    • Tomatoes: Beefsteak tomatoes are the heartiest tomatoes and are perfect for a burger!
    • Cheese: I like to use Sharp cheddar or melted American cheese.
    • Pickles: You can use Dill or bread and butter pickles, depending on which flavor you like.
    • Onions: Try freshly sliced red onions or even some caramelized onions
    • Bacon: It adds in a yummy flavor!
    • Mushrooms: I like to sautée my mushrooms before adding them to a burger.
    • Avocado: You can use avocado slices or whip up some fresh guacamole.
    • Egg: I know it sounds strange, but trust me on this one: there is nothing like a fried egg on a burger!
    • Jalapeños: Add a few jalapeño slices for a spicy kick.
    • Sauce: Want to change up the sauce? Try barbecue sauce or fry sauce!

    A close up of a burger on a plate.

    Tips for Making a Good Burger

    There are so many different ways to cook a burger. This recipe is all about grilling them on your BBQ so you can get that smokey charbroiled taste. Here are a couple of things to keep in mind when you are preparing your burgers for your next meal! 

    • Make sure that you prepare your toppings before cooking the burgers so they are all ready to go as soon as the burgers come off the grill
    • Remember to shape your patties about 1” wider so that the buns will help because once they are on the grill, they will shrink.
    • Do not overwork the meat
    • It helps if you make an indentation in the center of the patty to prevent it from rising and plumping in the middle. 
    • Seasoning the burgers with salt and pepper right before you place them on the grill helps toughen the meat
    • When you place the patties on the grill, let them sear well and brown(takes about 3-5 mins) before you flip them and do not press down on the burger. 

    Sides for Your Burger

    As far as sides go, there are a variety of things that pair well with a burger. You can choose fries, chips, salad, green or potato, a fruit salad, fresh veggies, and whatever else you love having at your BBQs! 

    Classic Potato Salad Recipe

    30 minutes

    Pin this now to find it later

    Pin It


    Source link

  • Roasted Cabbage With Parmesan Sauce & Pangrattato

    Roasted Cabbage With Parmesan Sauce & Pangrattato

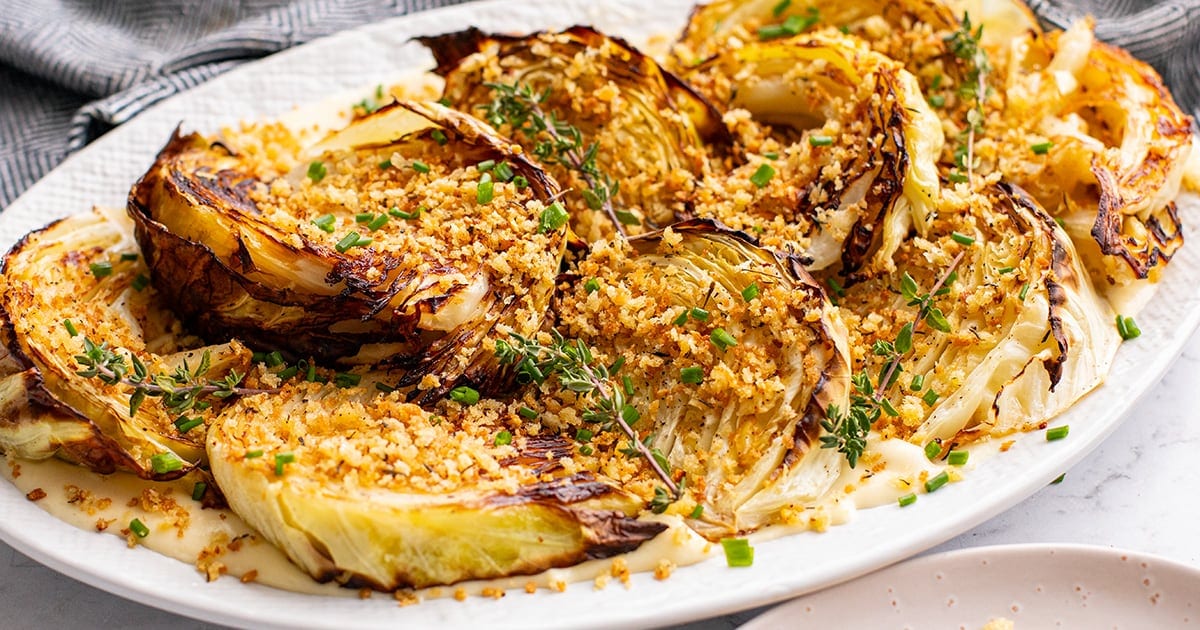
    Roasted cabbage with parmesan sauce and pangrattato (Italian breadcrumbs) – a flavor-packed, crunchy, creamy side dish perfect for holidays or cozy Sunday dinners.


    Jump to: ℹ️ Overview | 🛒 Ingredients | 📷 How To Make | 📹 Watch The Video | 👩‍🍳 Recipe Tips | 🥗 Serving Suggestions | 📝 Full Recipe Card | 🍽 More Vegetable Side Dishes


    This roasted cabbage is cheesy, crunchy and straight-up delicious. It’s the kind of dish that makes people ask for the recipe.

    You’ve got wedges of cabbage roasted until golden and just-tender, with charred edges that add a smoky sweetness. Then there’s the Parmesan sauce: creamy, garlicky, and packed with umami. And to top it off? Pangrattato. Italian breadcrumbs that are garlicky, crispy, herby, and salty in the best way. It’s giving gourmet but without the fuss.

    I’ve made this for Sunday roasts and dinner parties—people always go back for seconds. Bonus: it’s vegetarian-friendly and surprisingly filling, so you can serve it as a centrepiece dish.

    Tip: You can repurpose this recipe to make roasted Brussels sprouts or roasted cauliflower with parmesan sauce.

    👩‍🍳 You might also like these cabbage recipes: cabbage pie, tuna and cabbage patties with spicy garlicky mayonnaise, sautéed cabbage with garlic, lemon, and butter, Indian cabbage, Japanese cabbage, or these other cabbage recipes. Check out my parmesan crusted Brussels sprouts sides as well.

    What You’ll Need

    Here is what you’ll need for this roasted cabbage with parmesan sauce and pangrattato recipe. Find the full measurements in the recipe card below.

    For the roasted cabbage:

    • White cabbage – like Drumhead; it softens beautifully and holds shape. Can sub with Savoy or even red, but not Napa. I have this lovely Napa cabbage recipe for you to try.
    • Olive oil – helps get those crispy edges.
    • Salt & pepper – don’t skimp; they bring everything to life.

    For the pangrattato:

    • Olive oil & butter – for rich flavor and golden crumbs.
    • Garlic – adds that punch.
    • Dried thyme – earthy and herby.
    • Panko breadcrumbs – extra crunchy; regular crumbs work too, just not as light.

    For the parmesan sauce:

    • Butter & flour – classic roux base for creamy sauces.
    • Garlic – just a touch, but adds that lovely aroma.
    • Chicken stock – adds depth (use veg stock for full veg version).
    • Light cream – for a silky finish.
    • Parmesan – salty, nutty, umami magic.

    How To Make Roasted Cabbage With Parmesan Sauce & Pangrattato

    Find the full recipe and nutritional information below. Here are some handy step-by-step photos for roasted cabbage with parmesan sauce and pangrattato.

    • Preheat oven to 395°F / 200°C.
    • Cut cabbage into 1-inch wedges or steaks.
    • Brush with olive oil, season both sides, roast 25 minutes middle rack.
    • Move to top rack for another 5 minutes to get crispy edges.
    • Meanwhile, make the pangrattato: sauté garlic in olive oil and butter, then add breadcrumbs, thyme, salt, and pepper. Cook until golden and crispy.
    • For the parmesan sauce: melt butter, whisk in flour, then garlic. Slowly whisk in chicken stock, followed by cream and parmesan. Stir until smooth and melty.
    • To assemble: spread sauce on a platter, top with cabbage wedges, and sprinkle generously with pangrattato. Or layer it however you like.

    Watch The Video

    Recipe Tips/Variations

    • Cabbage cuts: Steaks work just as well as wedges, just watch for thickness—about 1 inch is ideal.
    • Make-ahead: Roast the cabbage and prep the pangrattato in advance. Reheat cabbage in the oven and crisp pangrattato in a dry skillet.
    • Storage: Keep leftovers in the fridge for up to 3 days. Reheat in the oven to maintain crispness.
    • Add-ins: A pinch of nutmeg in the sauce or a squeeze of lemon before serving adds extra zing. Crispy bacon or pancetta would add a little extra saltiness.
    • Make it vegetarian: Use veggie stock in the sauce, and you’re good to go.

    Serving Suggestions

    This dish shines as a holiday side (hello Thanksgiving or Christmas!), but I also love it as a meatless main with roast potatoes and a big leafy salad. It’s also a dream alongside grilled chicken or a juicy steak. Basically? It plays well with so many things.

    💬 If you’ve tried this roasted cabbage with parmesan sauce and pangrattato or any other recipe on the blog then don’t forget to rate the recipe and let me know how you got on in the comments below, I love hearing from you! You can also FOLLOW ME on Instagram, Facebook, Pinterest, YouTube, and or sign up to my Newsletter to see more of my delicious food.

    Want to Save This Recipe?

    Enter your email & I’ll send it to your inbox. Plus, get great new recipes from me every week!

    By submitting this form, you consent to receive emails from Cooked & Loved

    Roasted cabbage with parmesan sauce and pangrattato (Italian breadcrumbs) – a flavor-packed, crunchy, creamy side dish perfect for holidays or cozy Sunday dinners. Find step-by-step photos and more recipe tips above.

    • Preheat oven to 395°F / 200°C.

    • Line a flat baking tray with parchment or lightly grease it. Arrange cabbage wedges cut-side down.

    • Brush both sides with olive oil, sprinkle with salt and pepper.

    • Roast on the middle rack for 25 minutes, then move to a higher rack for 5 more minutes to crisp up.

    • For the pangrattato, heat olive oil and butter in a skillet. Add garlic, cook 10 seconds. Stir in breadcrumbs, thyme, salt, and pepper. Cook 2–3 minutes until golden. Set aside.

    • For the sauce, melt butter in a saucepan. Add flour and stir into a roux. Add garlic, then slowly whisk in stock until smooth. Stir in cream and parmesan. Let it melt, taste and season as needed.

    • To serve, spread sauce on a serving dish, top with roasted cabbage, and sprinkle over pangrattato. Garnish with fresh thyme if you like.

    • Can I cut the cabbage in steaks instead of wedges Absolutely. Just keep them about 1 inch thick so they hold together well and cook evenly.
    • Can I make this dairy-free? Yes – use plant-based butter and cream, and a vegan parmesan or nutritional yeast.
    • Make-ahead: Roast the cabbage and prep the pangrattato in advance. Reheat cabbage in the oven and crisp pangrattato in a dry skillet.
    • Storage: Keep leftovers in the fridge for up to 3 days. Reheat in the oven to maintain crispness.
    • Add-ins: A pinch of nutmeg in the sauce or a squeeze of lemon before serving adds extra zing. Crispy bacon or pancetta would add a little extra saltiness.
    • Make it vegetarian: Use veggie stock in the sauce, and you’re good to go.

    Calories: 260kcal | Carbohydrates: 16g | Protein: 7g | Fat: 20g | Saturated Fat: 9g | Polyunsaturated Fat: 1g | Monounsaturated Fat: 8g | Trans Fat: 0.2g | Cholesterol: 43mg | Sodium: 862mg | Potassium: 315mg | Fiber: 4g | Sugar: 5g | Vitamin A: 581IU | Vitamin C: 52mg | Calcium: 195mg | Iron: 1mg

    Keywords: Roasted cabbage with parmesan sauce and pangrattato, Roasted cabbage with parmesan sauce, oven-roasted cabbage

    More Vegetable Side Dishes


    Source link

  • Essential Mignonette Sauce Recipe

    Essential Mignonette Sauce Recipe

    If you love oysters, then you need this mignonette sauce recipe in your life. It’s shockingly easy and made with shallots, red wine vinegar, and pepper.

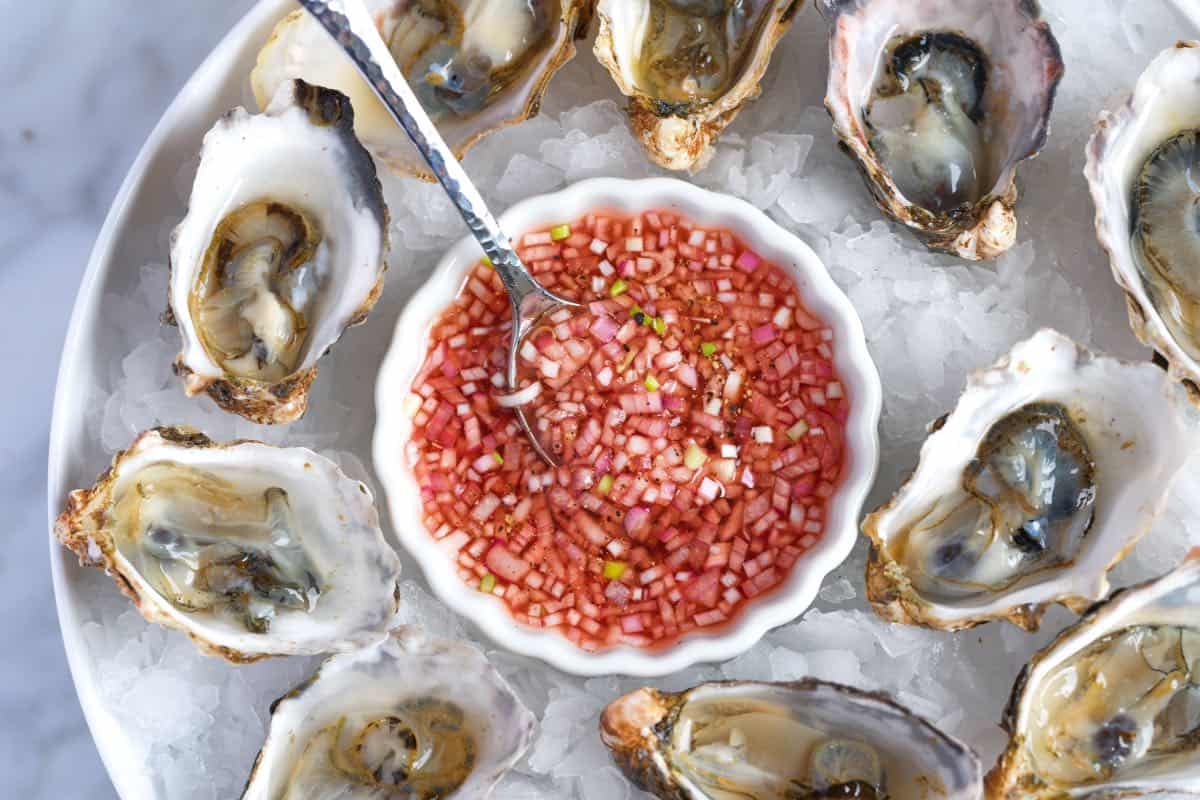
    Classic Mignonette Sauce

    This is our family’s essential mignonette. Mignonette (French) is roughly translated to “cute” or “dainty,” which seems fitting since it’s always served with a tiny spoon in a tiny bowl (haha).

    I love this sauce with fresh oysters and think you will, too! This one is super classic, but try our herb mignonette for a herby, sweeter twist!

    Key Ingredients

    • Shallots: I mince my shallots finely and use a lot. The vinegar cuts their sharpness and gently pickles them. We hand-mince our shallot instead of using a food processor. (A food processor creates a more mushy situation that tastes stronger in the sauce.)
    • Pepper: You can use white or black peppercorns. I like both. White pepper tastes more mellow and less spicy than black pepper, but both work nicely in this sauce.
    • Vinegar: We have used red wine vinegar in our photos, but white wine vinegar and champagne vinegar are also excellent choices. Use something you enjoy the taste of. My favorite widely available brand of red wine vinegar is Pompeian, but you can always look in specialty stores and online for more high-end options.

    Find the full recipe with measurements below.

    How to Make Mignonette Sauce

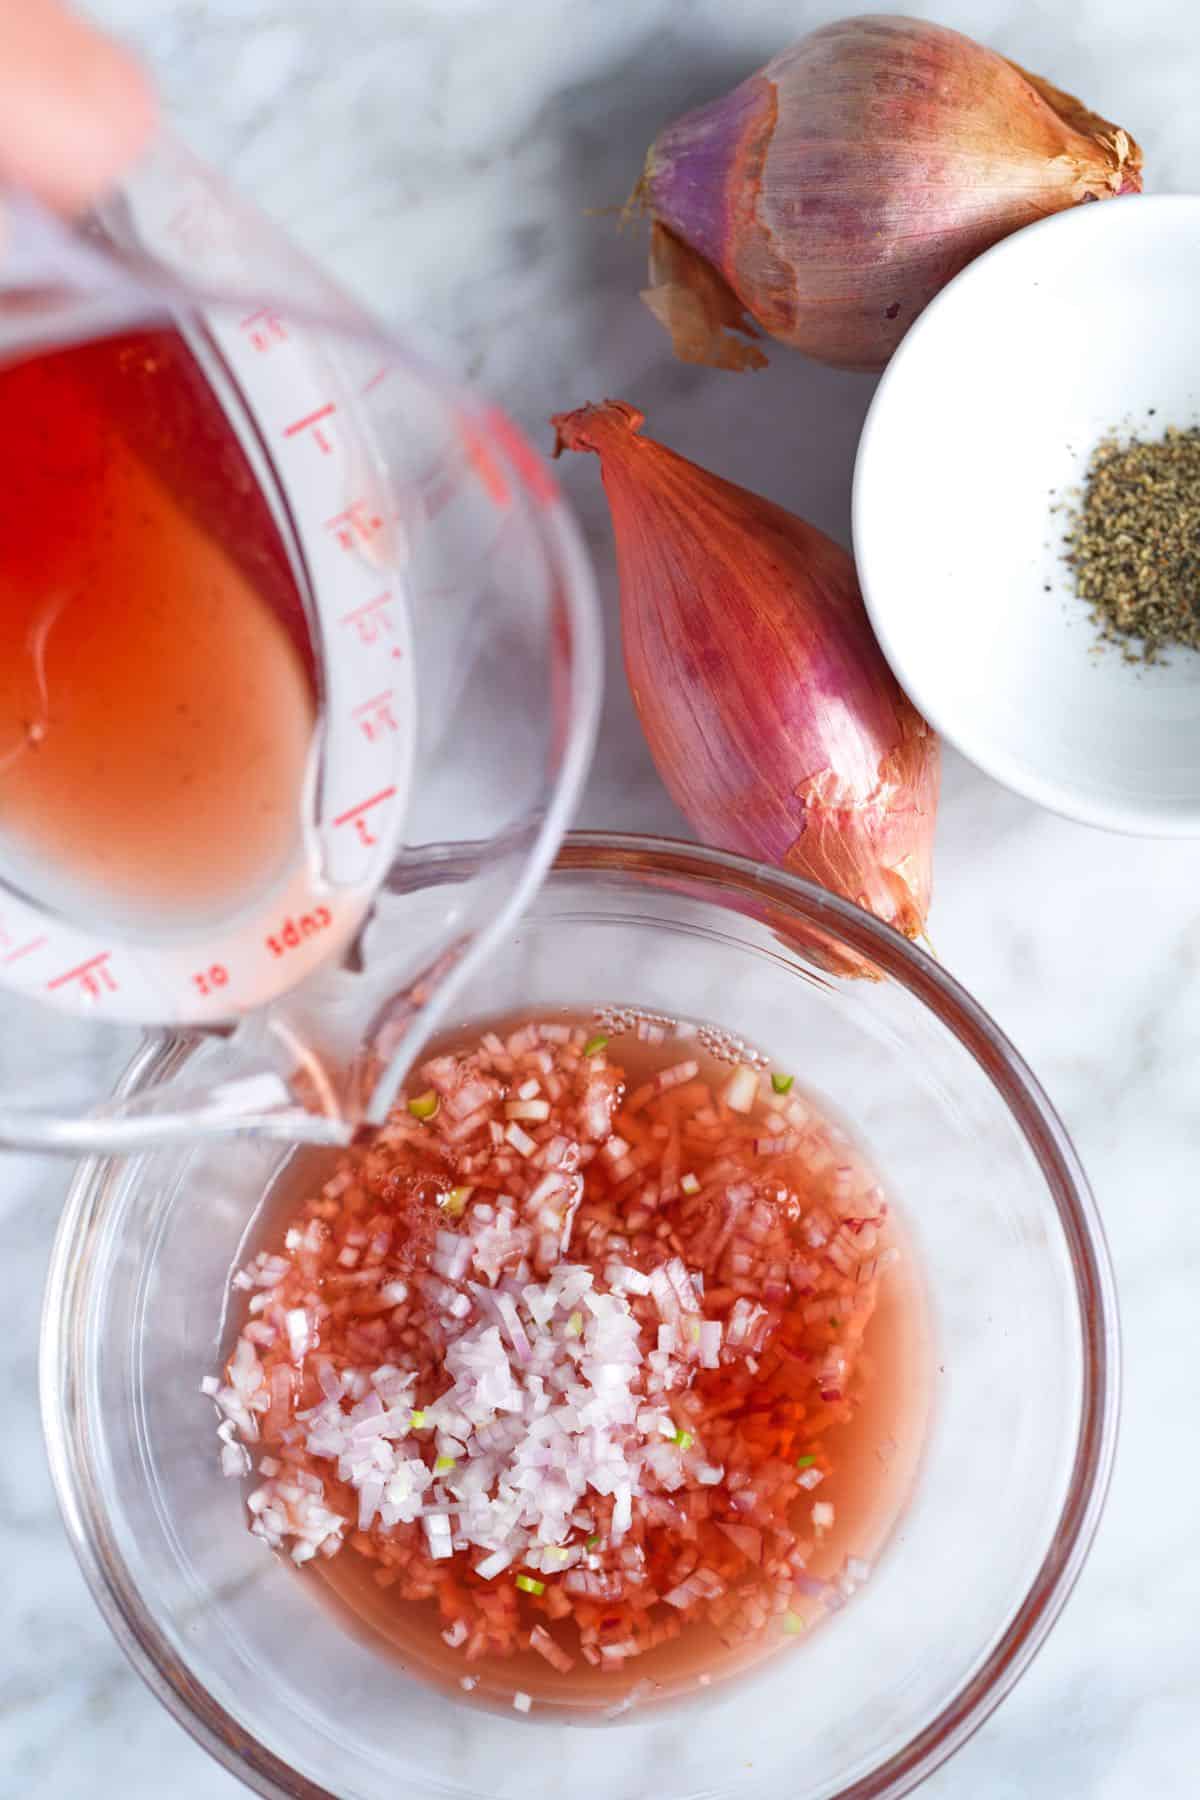
    Tip 1: Make the sauce. To make a classic mignonette for oysters, combine the finely minced shallots with vinegar and pepper. I also add a small pinch of sea salt, but that’s optional!

    Making mignonette sauce for oysters

    Tip 2: Let it sit in the fridge for a bit. After making it, store the sauce in the fridge for at least two hours so the shallots can mellow and pickle before serving it. And, here’s a fun fact about mignonette: it lasts in the fridge for a month! I actually love it after it has sat for a while in the refrigerator.

    More Sauce Recipes

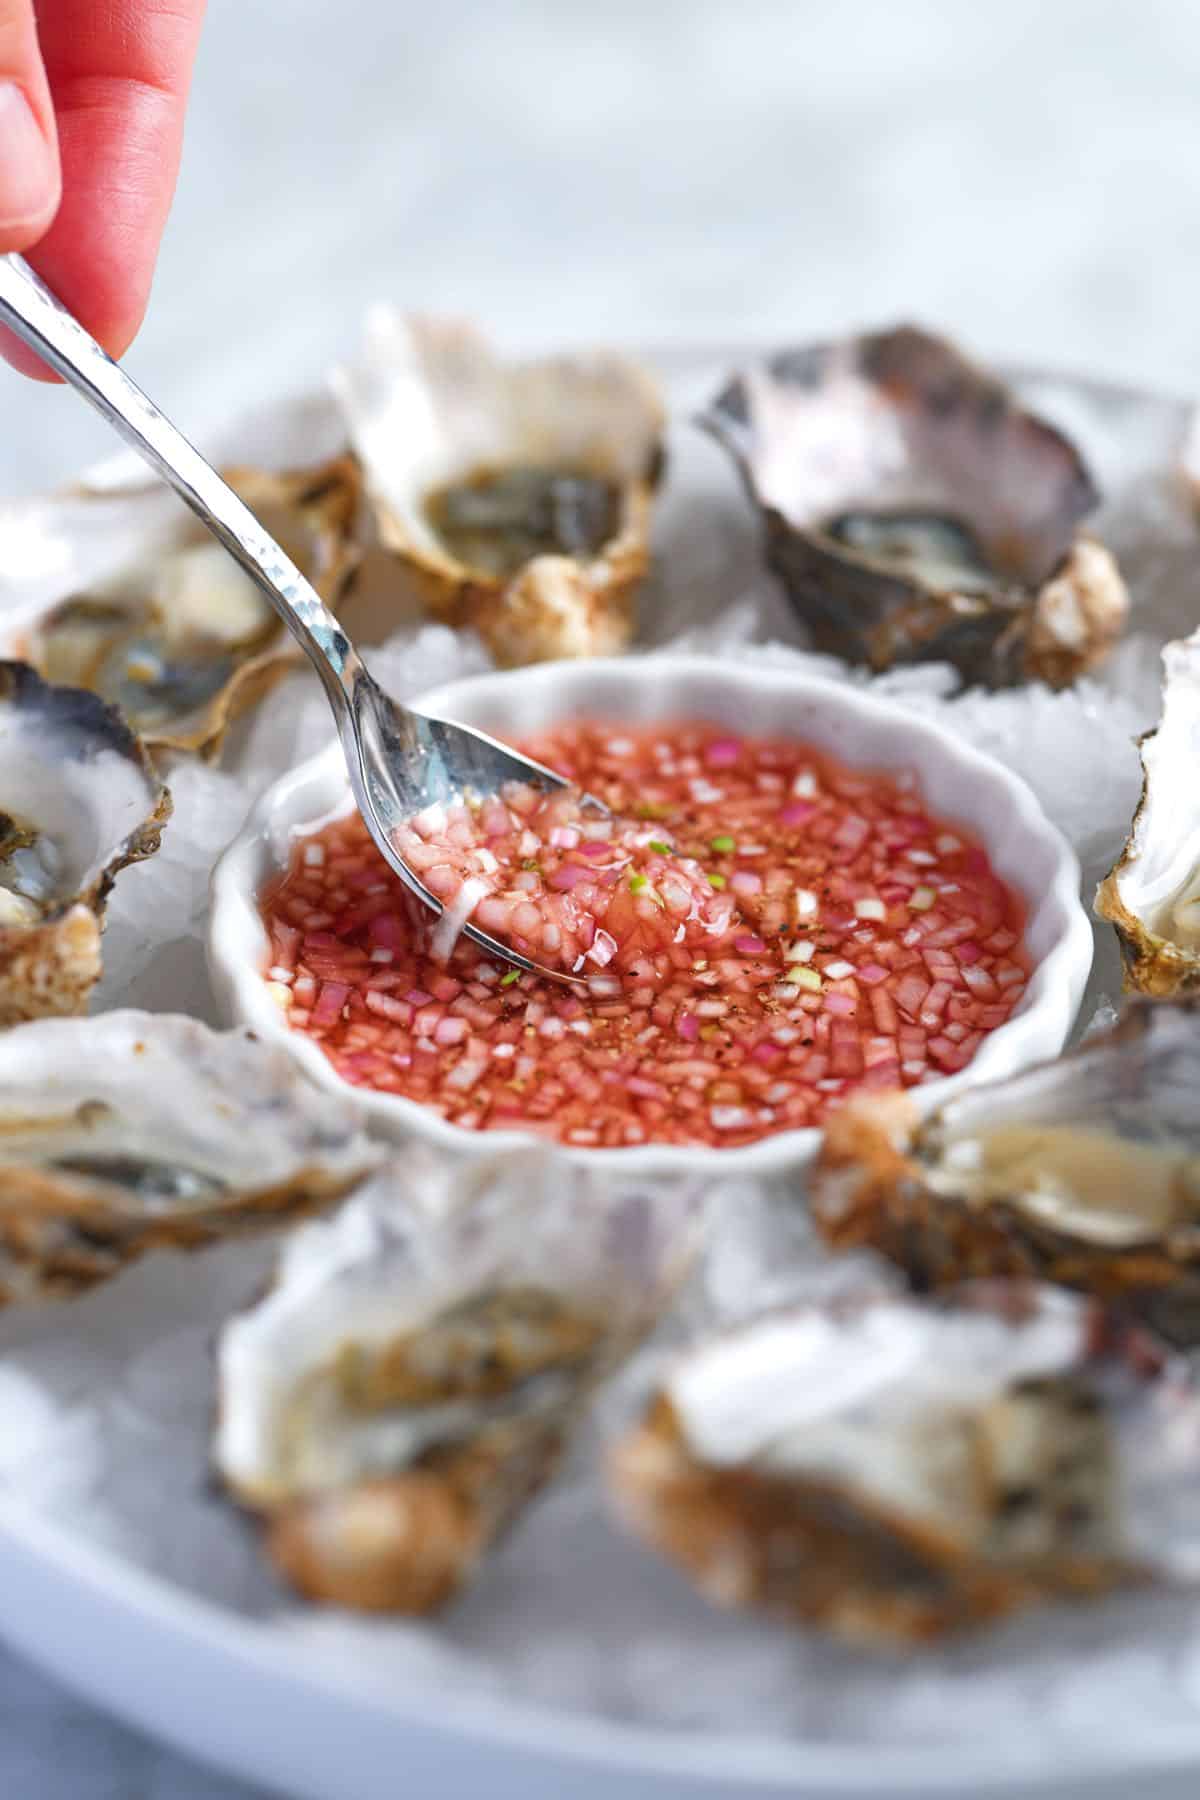
    Mignonette Sauce with Oysters

    Essential Mignonette Sauce

    • PREP
    • TOTAL

    If you love oysters, then you need this essential sauce in your life. It’s shockingly easy and made with shallots, red wine vinegar, and pepper. We have used red wine vinegar in our photos, but white wine vinegar and champagne vinegar are also excellent choices. Use something you enjoy the taste of. My favorite widely available brand of red wine vinegar is Pompeian, but you can always look in specialty stores and online for more high-end options.

    Makes 4 ounces or just over 1/3 cup

    You Will Need

    ¼ cup finely diced shallots, 1 to 2 shallots (30g)

    ⅓ to ½ cup red wine vinegar, white wine vinegar, or champagne vinegar; use something you enjoy (80-120ml)

    ¼ to ½ teaspoon coarsely ground black or white peppercorns

    Small pinch of fine sea salt, optional

    Directions

      1Make the sauce: Combine the shallots, vinegar, pepper, and a small pinch of salt in a non-reactive bowl or glass jar. Taste and adjust with more pepper. The vinegar will taste sharp at first, but it mellows as the shallots sit in the fridge. If the sauce tastes too abrasive, stir in a small pinch of sugar to balance it.

      2Refrigerate: Cover and refrigerate for at least 2 hours before serving so the shallots can soften and pickle.

      3Serve: Shuck your oysters and spoon the sauce into a small ramekin. Serve on the side and add a spoonful to each oyster just before eating. I like to go heavy on the shallots. Then repeat.

    Adam and Joanne’s Tips

    • Storing: This keeps for up to 1 month in the refrigerator. It will continue to mellow over time (which I enjoy). If it loses some of its brightness, stir in a splash of fresh vinegar to perk it up.
    • The nutrition facts provided below are estimates.

    Nutrition Per Serving
    Serving Size
    1/4 of the recipe
    /
    Calories
    13
    /
    Total Fat
    0g
    /
    Saturated Fat
    0g
    /
    Cholesterol
    0mg
    /
    Sodium
    42.2mg
    /
    Carbohydrate
    1.9g
    /
    Dietary Fiber
    0.4g
    /
    Total Sugars
    0.8g
    /
    Protein
    0.3g


    AUTHOR:

    Joanne Gallagher

    Previous Post: Perfect French Toast
    Next Post: Easy Potato Leek Soup

    Source link

  • 5-Minute Burger Sauce | The Recipe Critic

    5-Minute Burger Sauce | The Recipe Critic

    This website may contain affiliate links and advertising so that we can provide recipes to you. Read my disclosure policy.

    This burger sauce is a game-changer for your cookouts, adding a delicious twist to your favorite meals. Whip it up in minutes and enjoy a flavorful blend that’s perfect for burgers or as a dip for fries.

    My family is obsessed with this special sauce! I cannot wait for you to enjoy it yourself. Making different sauce recipes at home is such a great way to elevate meals! Try some of our other favorites like this alfredo sauce, this cheese sauce, or our copycat Cane’s sauce.

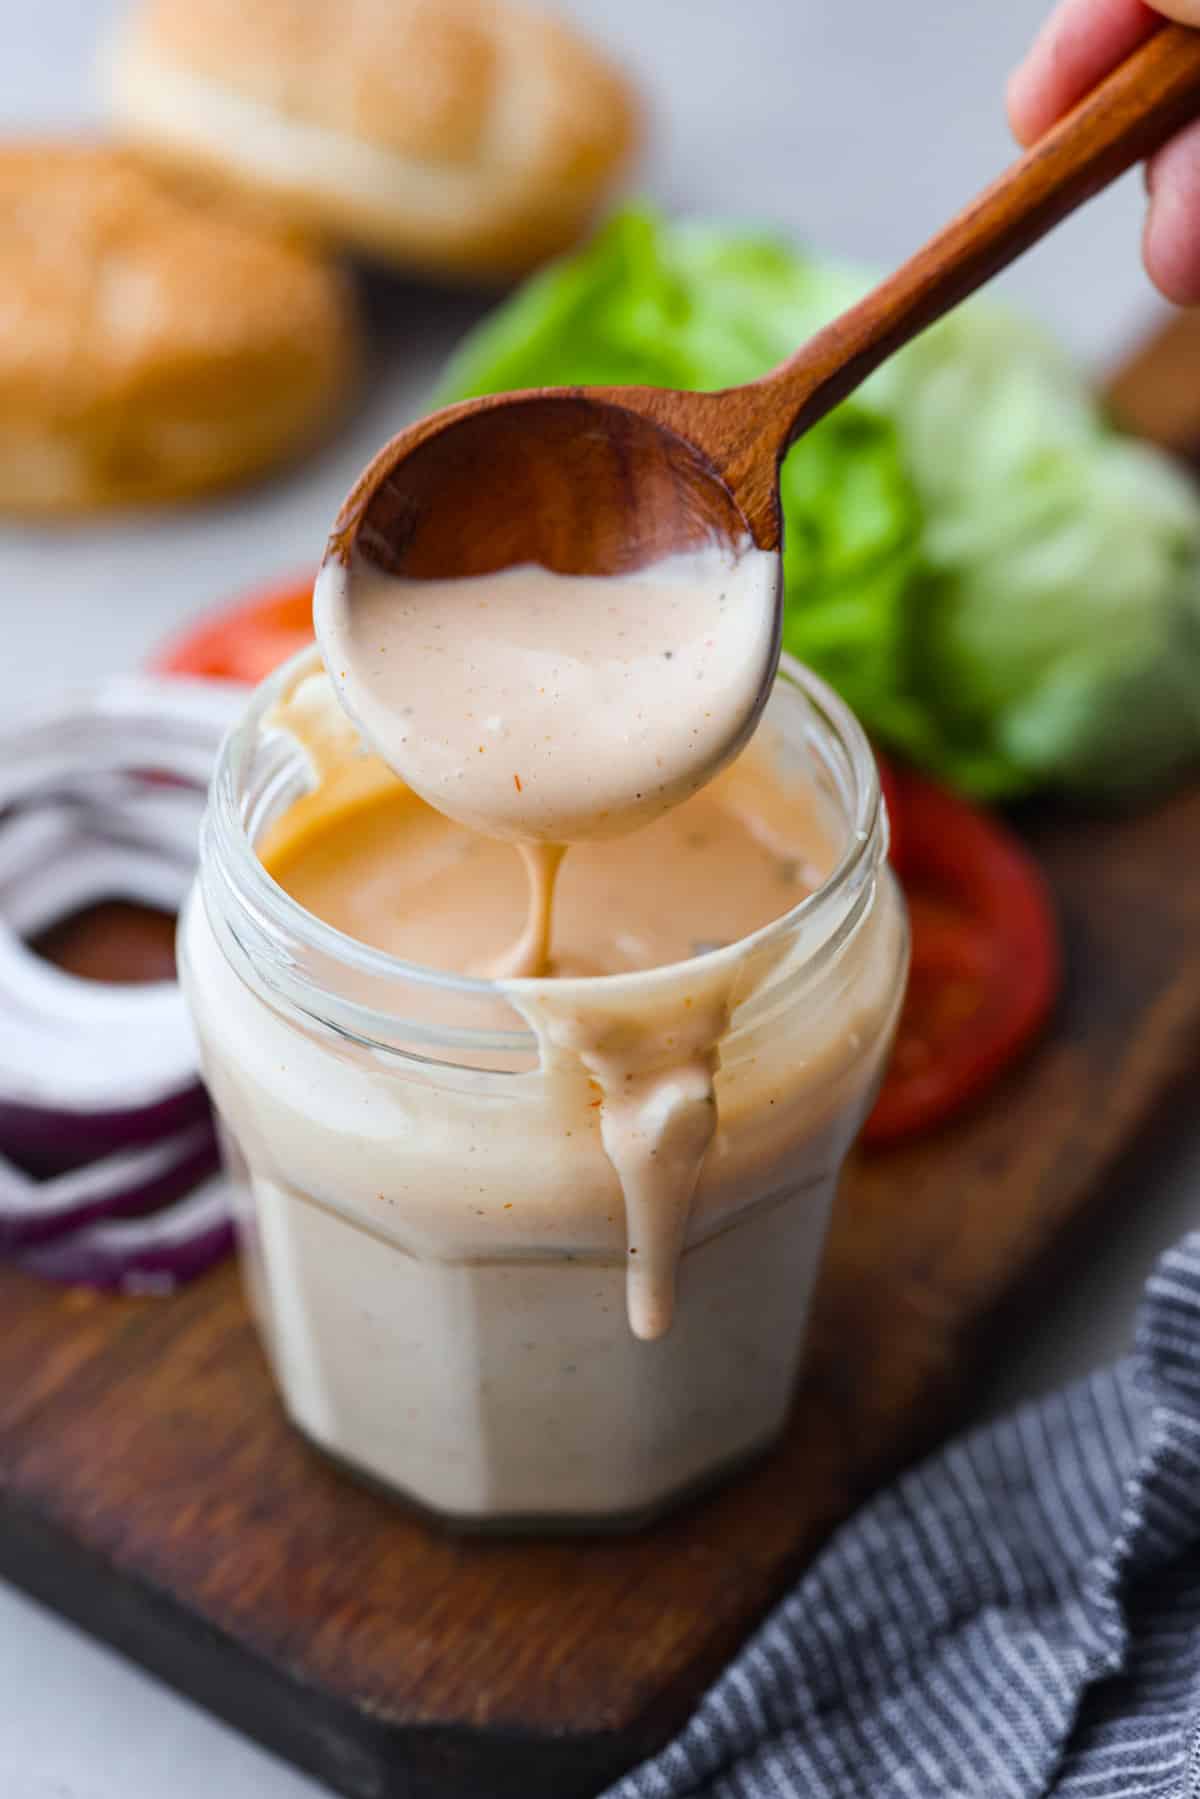
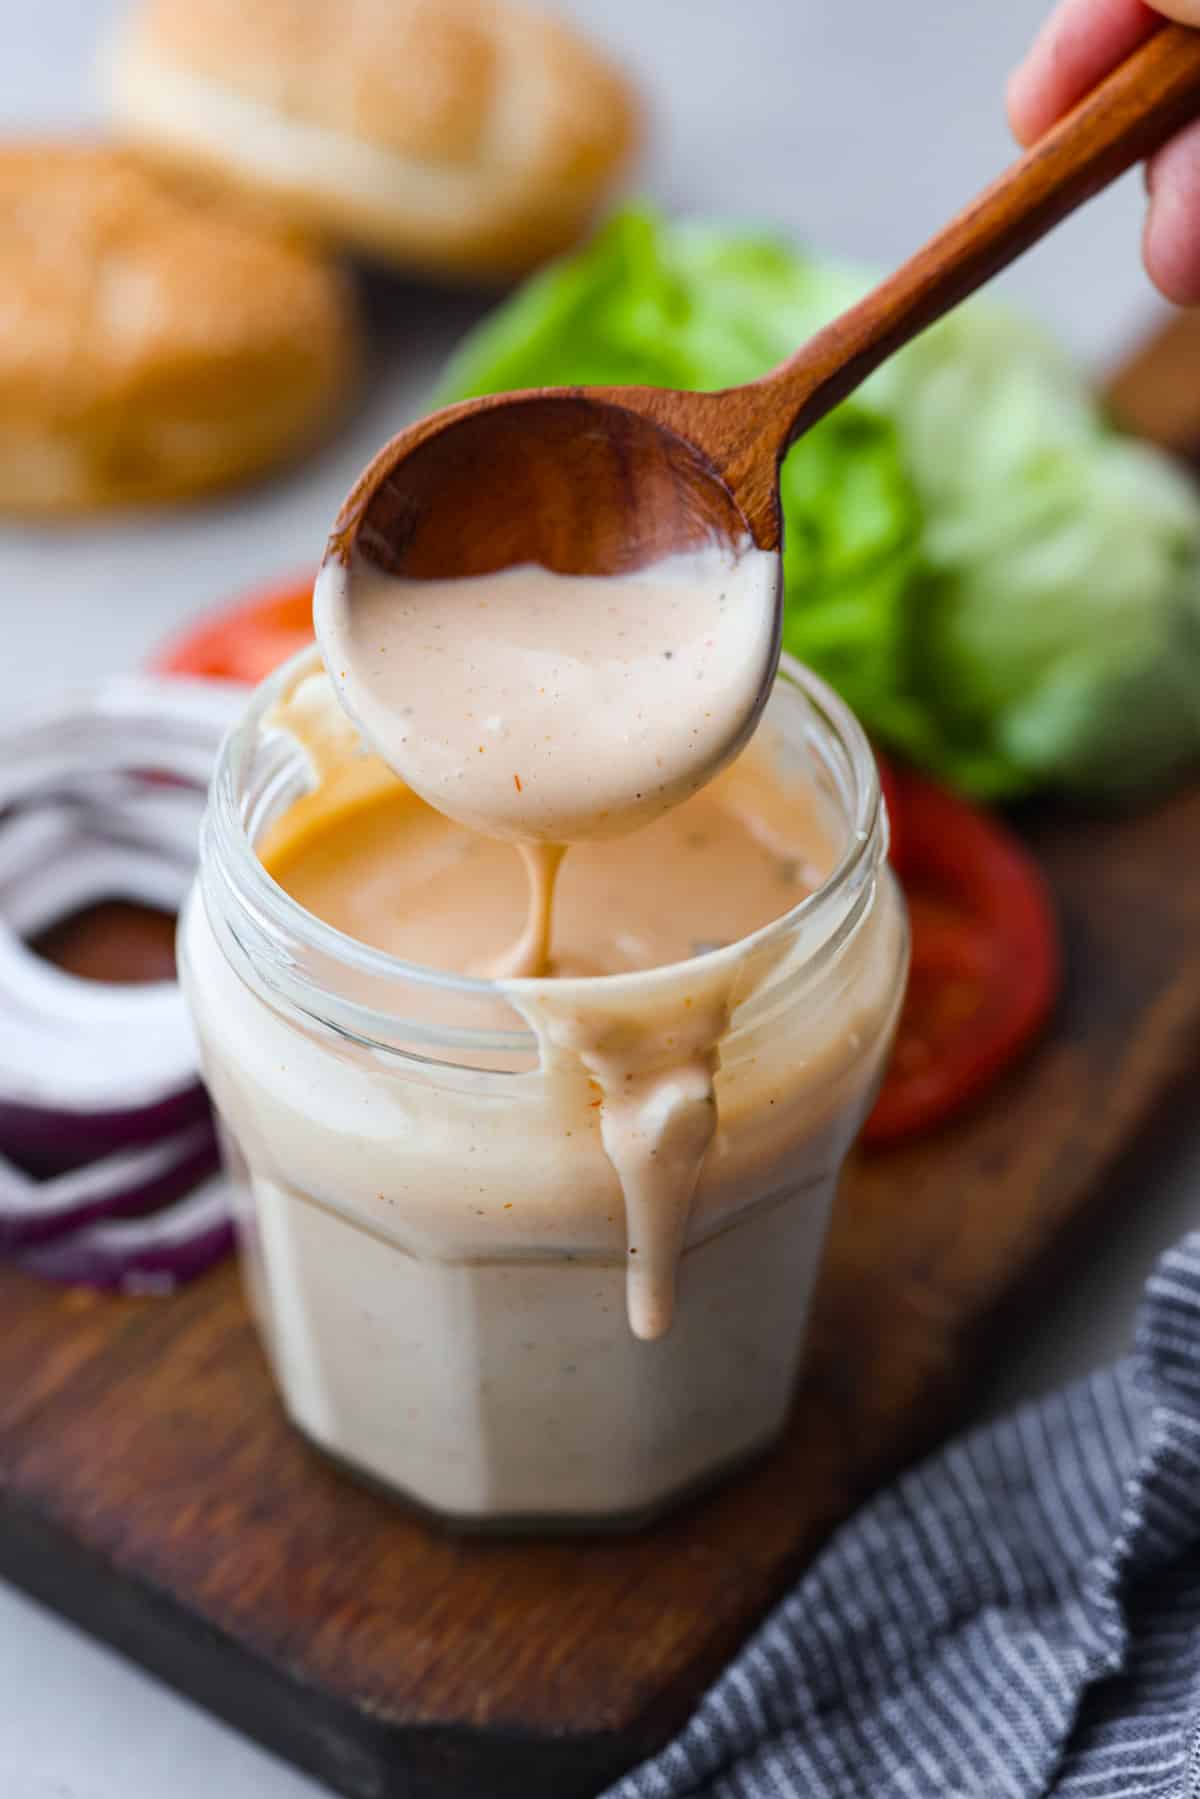
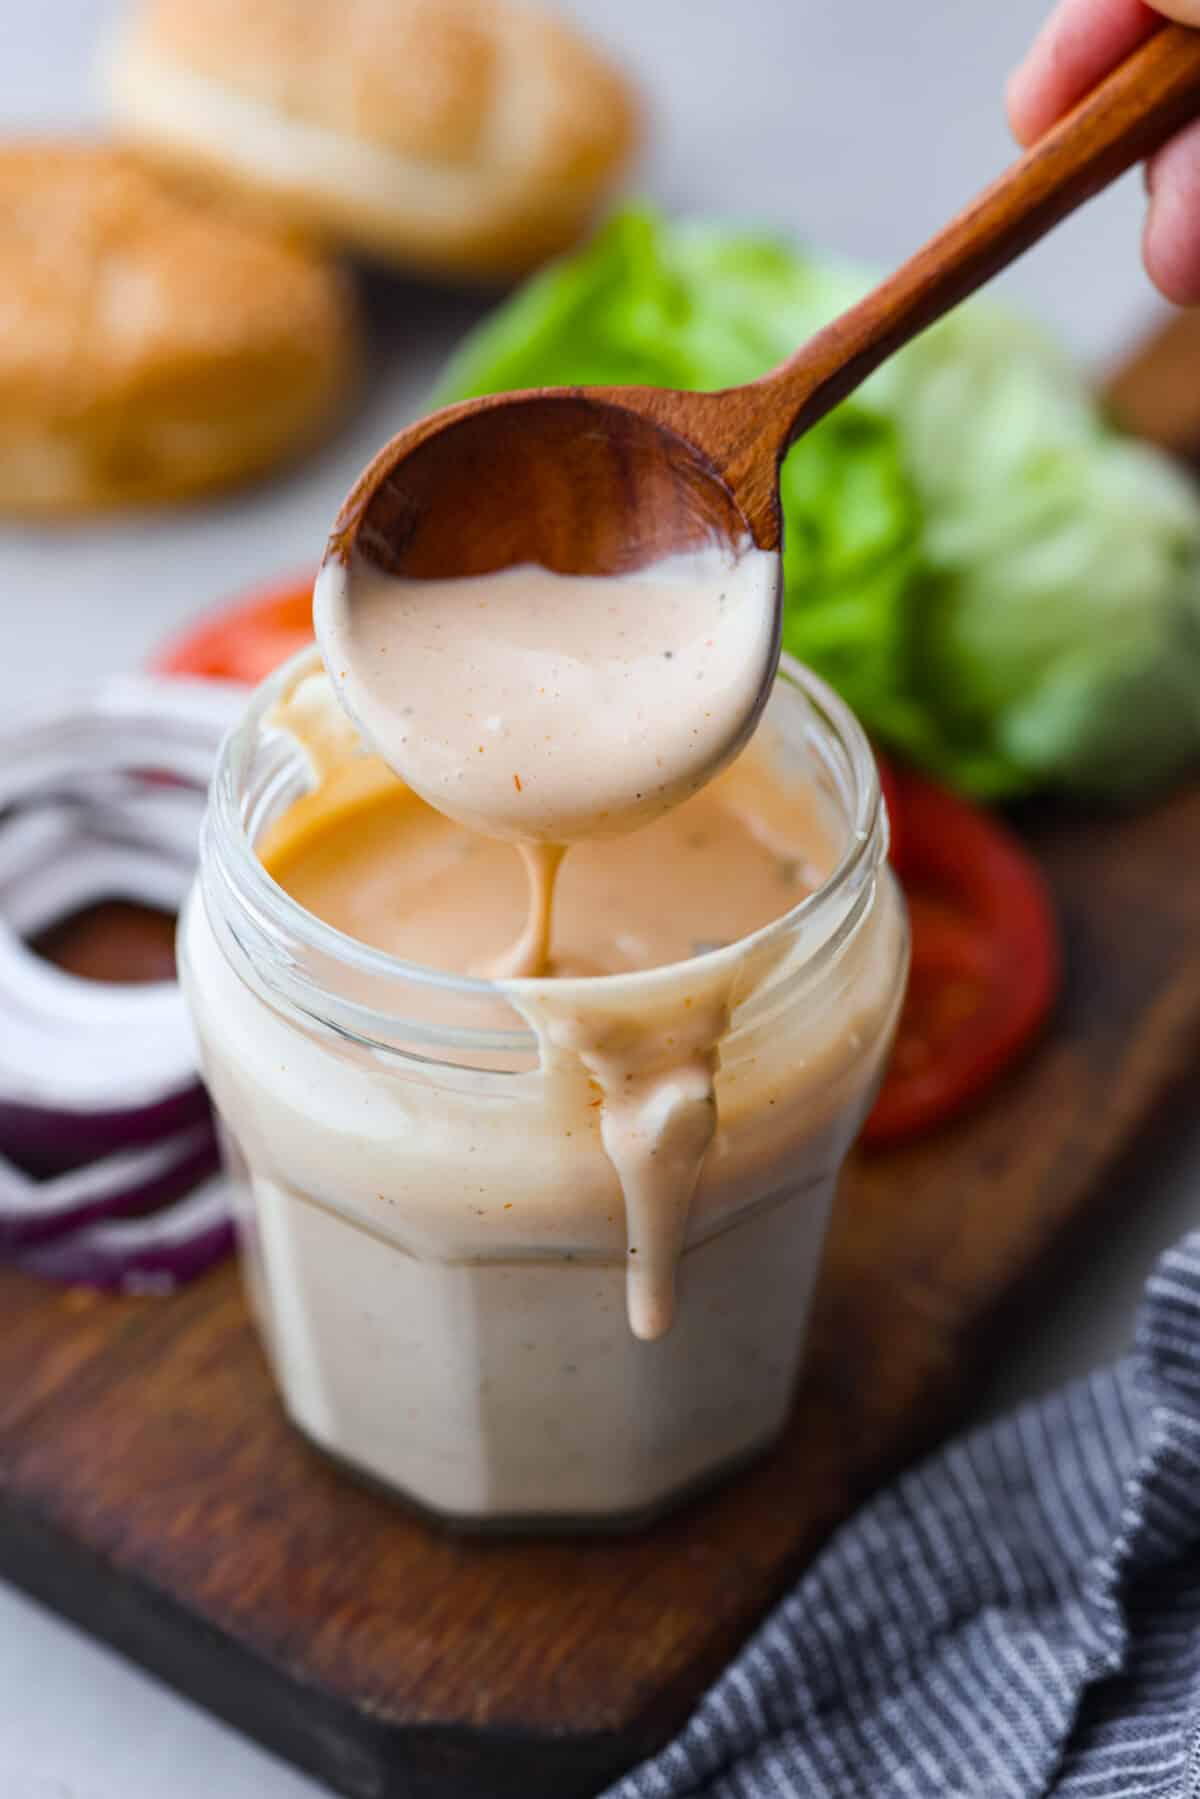
    Burger sauce in a jar with a wooden spoon.

    Reasons You’ll LOVE This Burger Sauce

    • Quick and Easy to Make: Whipping up this spread is as simple as stirring together some of your pantry staple ingredients. It can be whipped up in less than 5 minutes!
    • Versatile:  While it’s perfect on burgers and as a dip for French fries, it’s also incredible with other grilled meats, drizzled over roasted vegetables, and spooned onto sandwiches and wraps.
    • Unbeatable Flavor: This secret sauce will totally take your burger game to the next level! It’s creamy with a blend of perfectly balanced sweet, savory and tangy flavors. You’re going to love it!

    Burger Sauce Recipe

    Take your hamburgers from ordinary to extraordinary with this sensational burger sauce! It could not be easier to make and you can use it on everything from burgers and chicken tenders to fries and onion rings. It adds so much flavor to foods, you’re going to want to try it with everything!

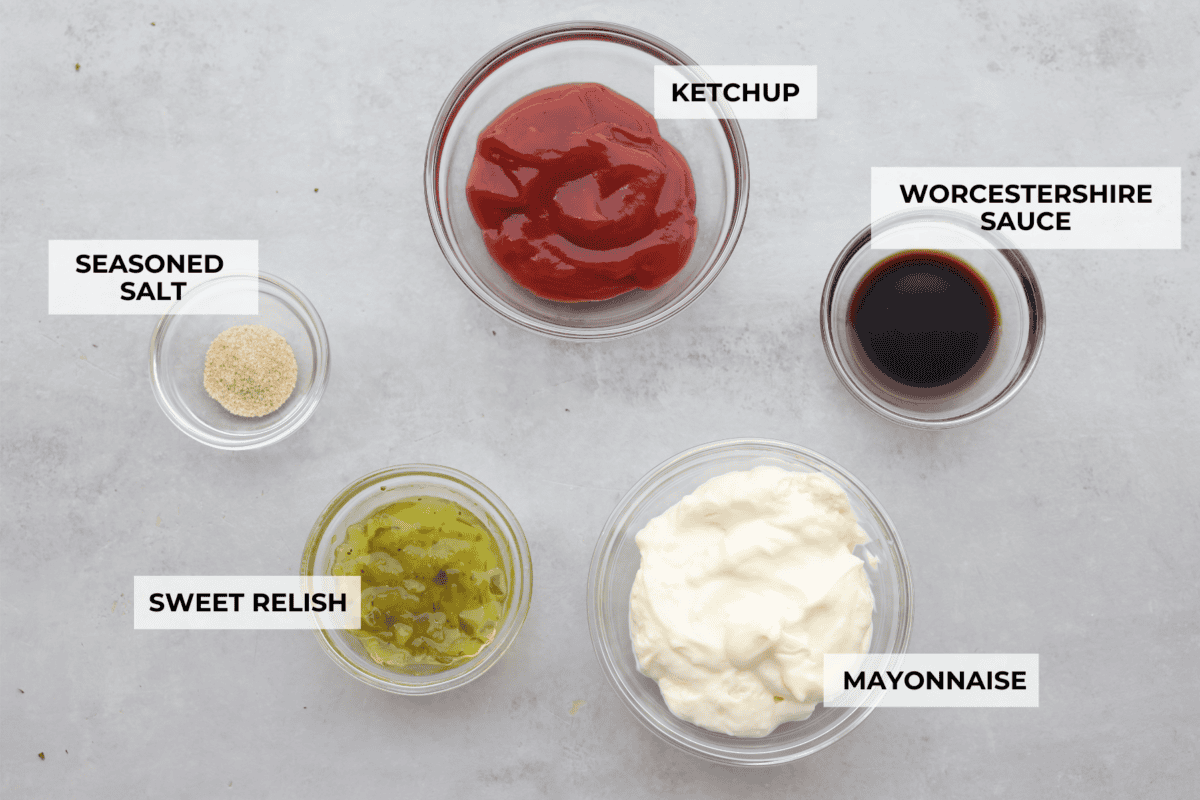
    It’s a simple mix of mayo, ketchup, sweet relish and a hint of both Worcestershire sauce and seasoning salt for a taste that is absolutely heavenly. Have this available at your next backyard barbecue and everyone will be asking you for the recipe!

    Ingredients You’ll Need

    With just 5 simple ingredients you can make this burger sauce recipe any day of the week. In fact, you probably have everything needed in your kitchen right now! Exact measurements can be found in the recipe card below.

    • Mayonnaise: The base of the burger sauce that makes it perfectly creamy.
    • Ketchup: Adds sharp flavor and a touch of sweetness to balance out the mayo.
    • Sweet Relish: It’s a combination of tart, sweet, and salty making it an absolute must in this recipe.
    • Worcestershire Sauce: For a deep, complex taste.
    • Seasoned Salt: To enhance and bring out all of the delicious flavors.
    A top view of the ingredients in individual glass bowls and each labeled.

    How to Make Burger Sauce

    This irresistible burger sauce is ready to serve in just about 5 minutes! It’s so good, you’re going to want to keep this on-hand at all times! Want a BBQ burger sauce? Make my copycat Red Robbin campfire sauce!

    1. Mix Ingredients: Add all of the sauce ingredients to a small bowl and whisk to combine.
    2. Test the Flavor: Taste and adjust ingredients to your liking if needed.
    3. Refrigerate: Chill until ready to serve. The longer it chills the more the flavors meld.
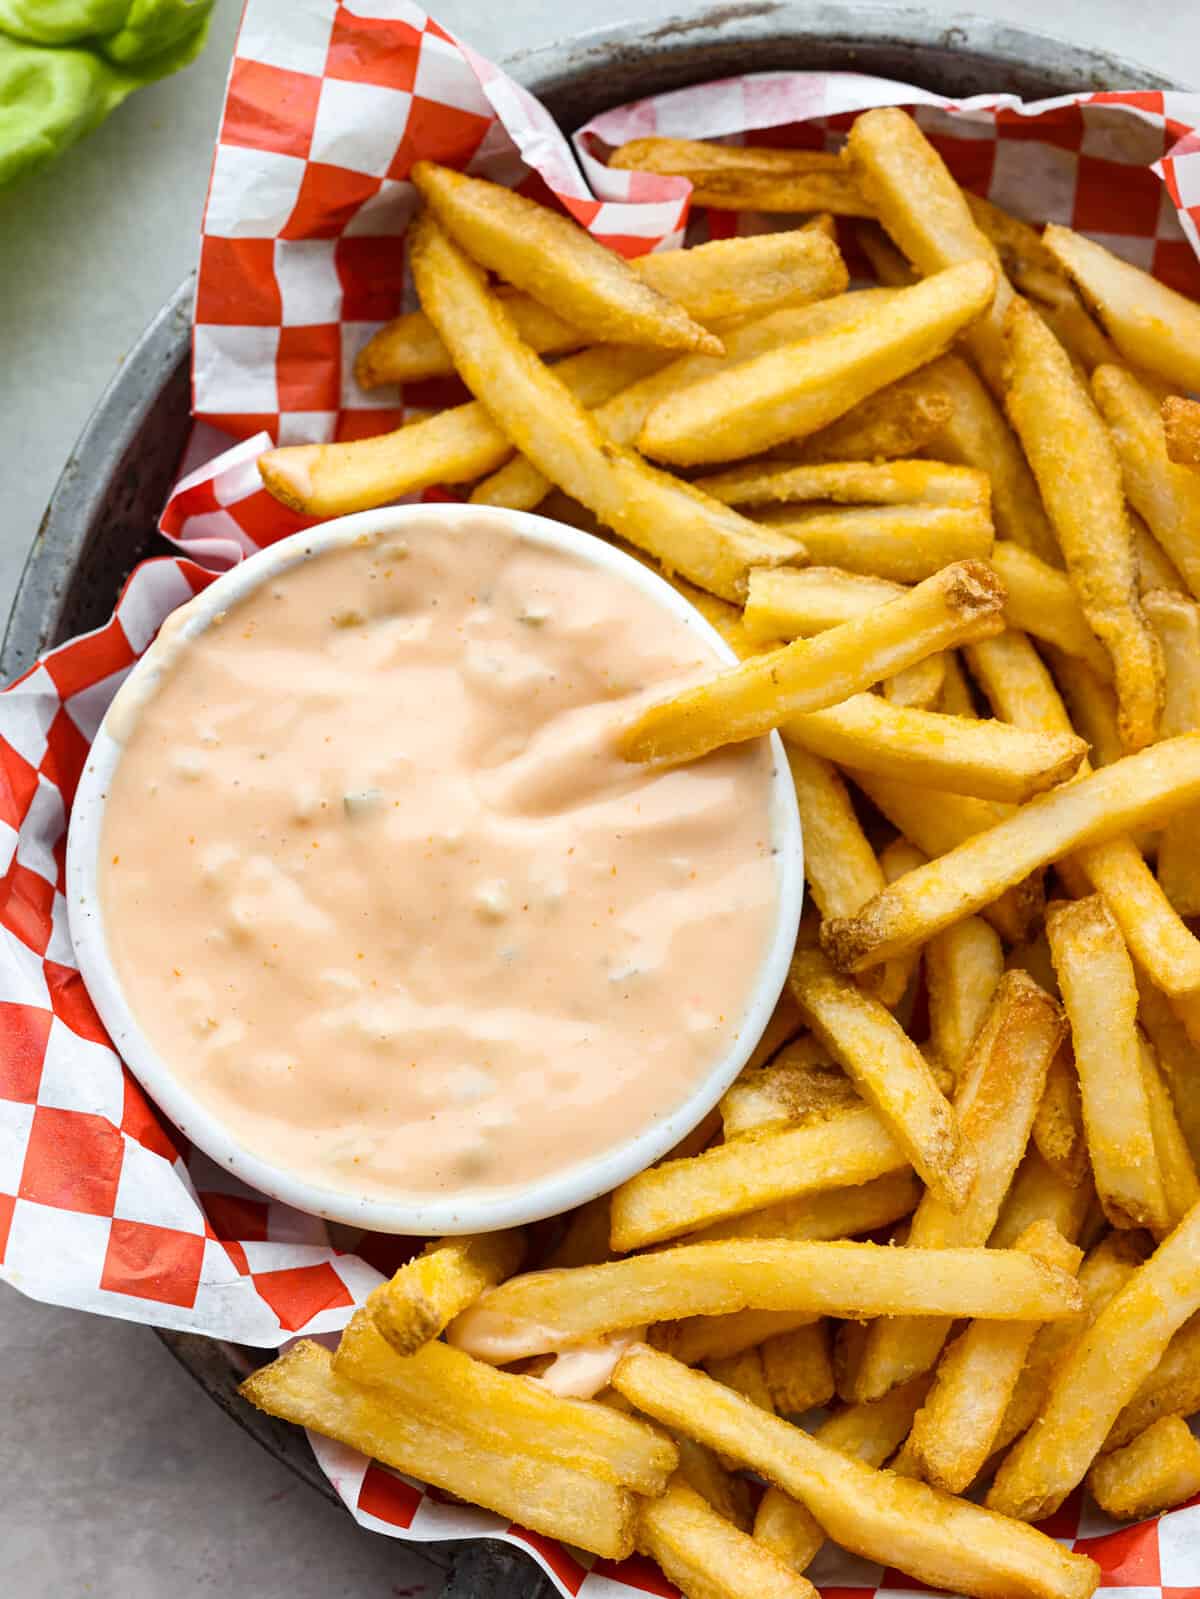
    4. Enjoy: Use as a sauce on burgers or as a dipping sauce for fries.

    Change up the Flavor

    Burger sauce can be made just the way you like it! Here are some ideas to adjusting the flavors.

    • Mayonnaise Substitution: It is best to enjoy the thick, rich texture of real mayonnaise but substitute it for Miracle Whip or a veganaise mayo for a preferred taste.
    • Adjust the Sweetness: If you like your burger sauce a little sweeter, add a pinch of granulated sugar. It will help balance out the salty, tangy flavor.
    • Heat: Make this burger sauce spicy if you want! Try adding a dash or two of hot sauce like Tabasco sauce. You can also sprinkle in some cayenne pepper to bring on some extra heat.

    A close up of a jar of burger sauce.

    Storing Leftovers

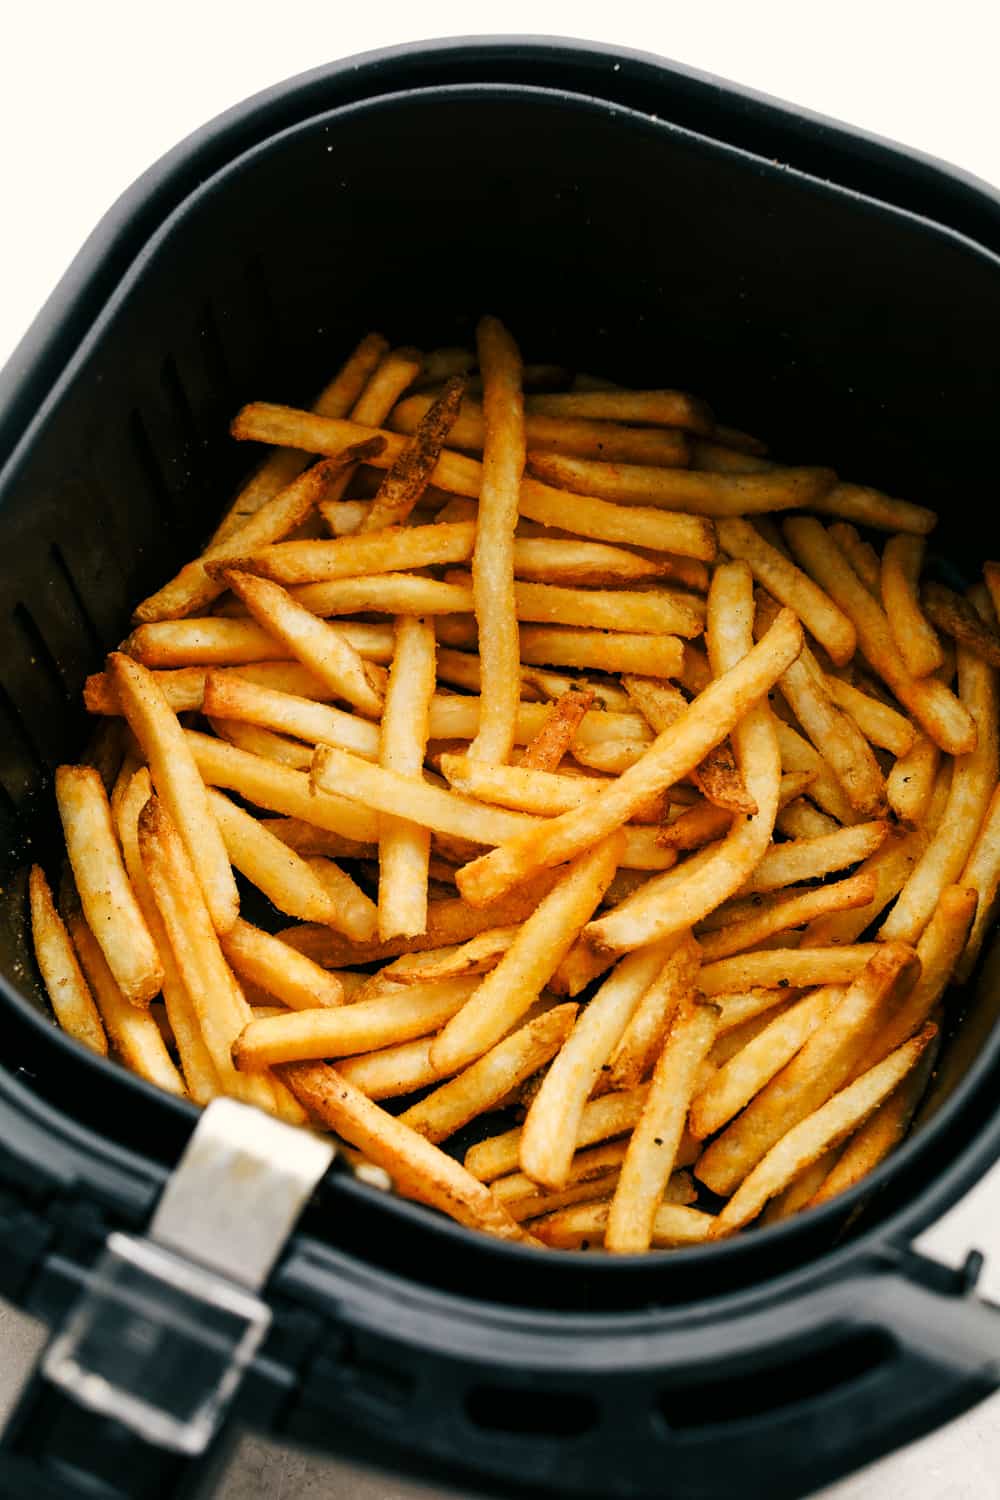
    Be sure to save any leftover sauce! This burger sauce is so versatile and can be used for more than just burgers. My kids love this sauce with a quick and easy batch of air fryer French fries!

    • In the Refrigerator: Store burger sauce in an airtight jar or container for 4-5 days. Give it a quick stir before using it!

    Burger sauce being spread onto a patty that is on a bun with lettuce.

    More Delicious Sauce Recipes

    Homemade sauces not only taste better than store-bought, but they’re also free of additives and preservatives! In addition, they’re super easy to mix up and usually only take a few simple ingredients to make. Most of which you probably already have in your pantry! Here are some other favs:

    Easy Homemade BBQ Sauce

    15 minutes

    Pin this now to find it later

    Pin It


    Source link

  • Sheet Pan Meatballs with Tomato Salad and Green Sauce Recipe

    Sheet Pan Meatballs with Tomato Salad and Green Sauce Recipe

    Juicy little sheet pan meatballs that are salty, zesty, briney, and so so delicious. Pile them on tzatziki, spoon some punchy green sauce over top, and serve with a simple salad and crusty bread.

    This post is sponsored by ButcherBox

    We’re no strangers to sheet pan meatballs around here. We love to love them! Easy clean-up, no frying mess, but still oven-crisp goodness, and they’re always the easiest option for straight-off-the-pan sneaks.

    Super juicy and deeply flavored thanks to some delicious briney green sauce – made with parsley, cilantro, walnuts, capers, garlic, and more – that will go not only inside but also on top of these little beauties. Serve them alongside some juicy marinated tomatoes, swoop them through tzatziki, douse them in that green sauce, grab yourself a buttery hunk of crusty bread, and let’s have the best meatball party in town, shall we?

    Salty, Zesty, Briney Goodness

    This isn’t just any old meatball. Not only is the quality of beef A+ (we’re using ButcherBox Grass-Fed Grass-Finished – more on that later), but that little green sauce magic concoction in the mixture brings a whole explosion of flavor with salty brininess from the capers, a little zest from the lemon, and our favorite punch of all punches, the garlic punch. It all just sort of swims together to bring maximum flavor to this little guy. It’s like a whole meal of tastes in one bite!

    And you better believe you save some of that green sauce to put on top of your meatballs, and bread, and any kind of veggies. We’re nothing if not sauce hogs.

    Prefer To Watch Instead Of Read?

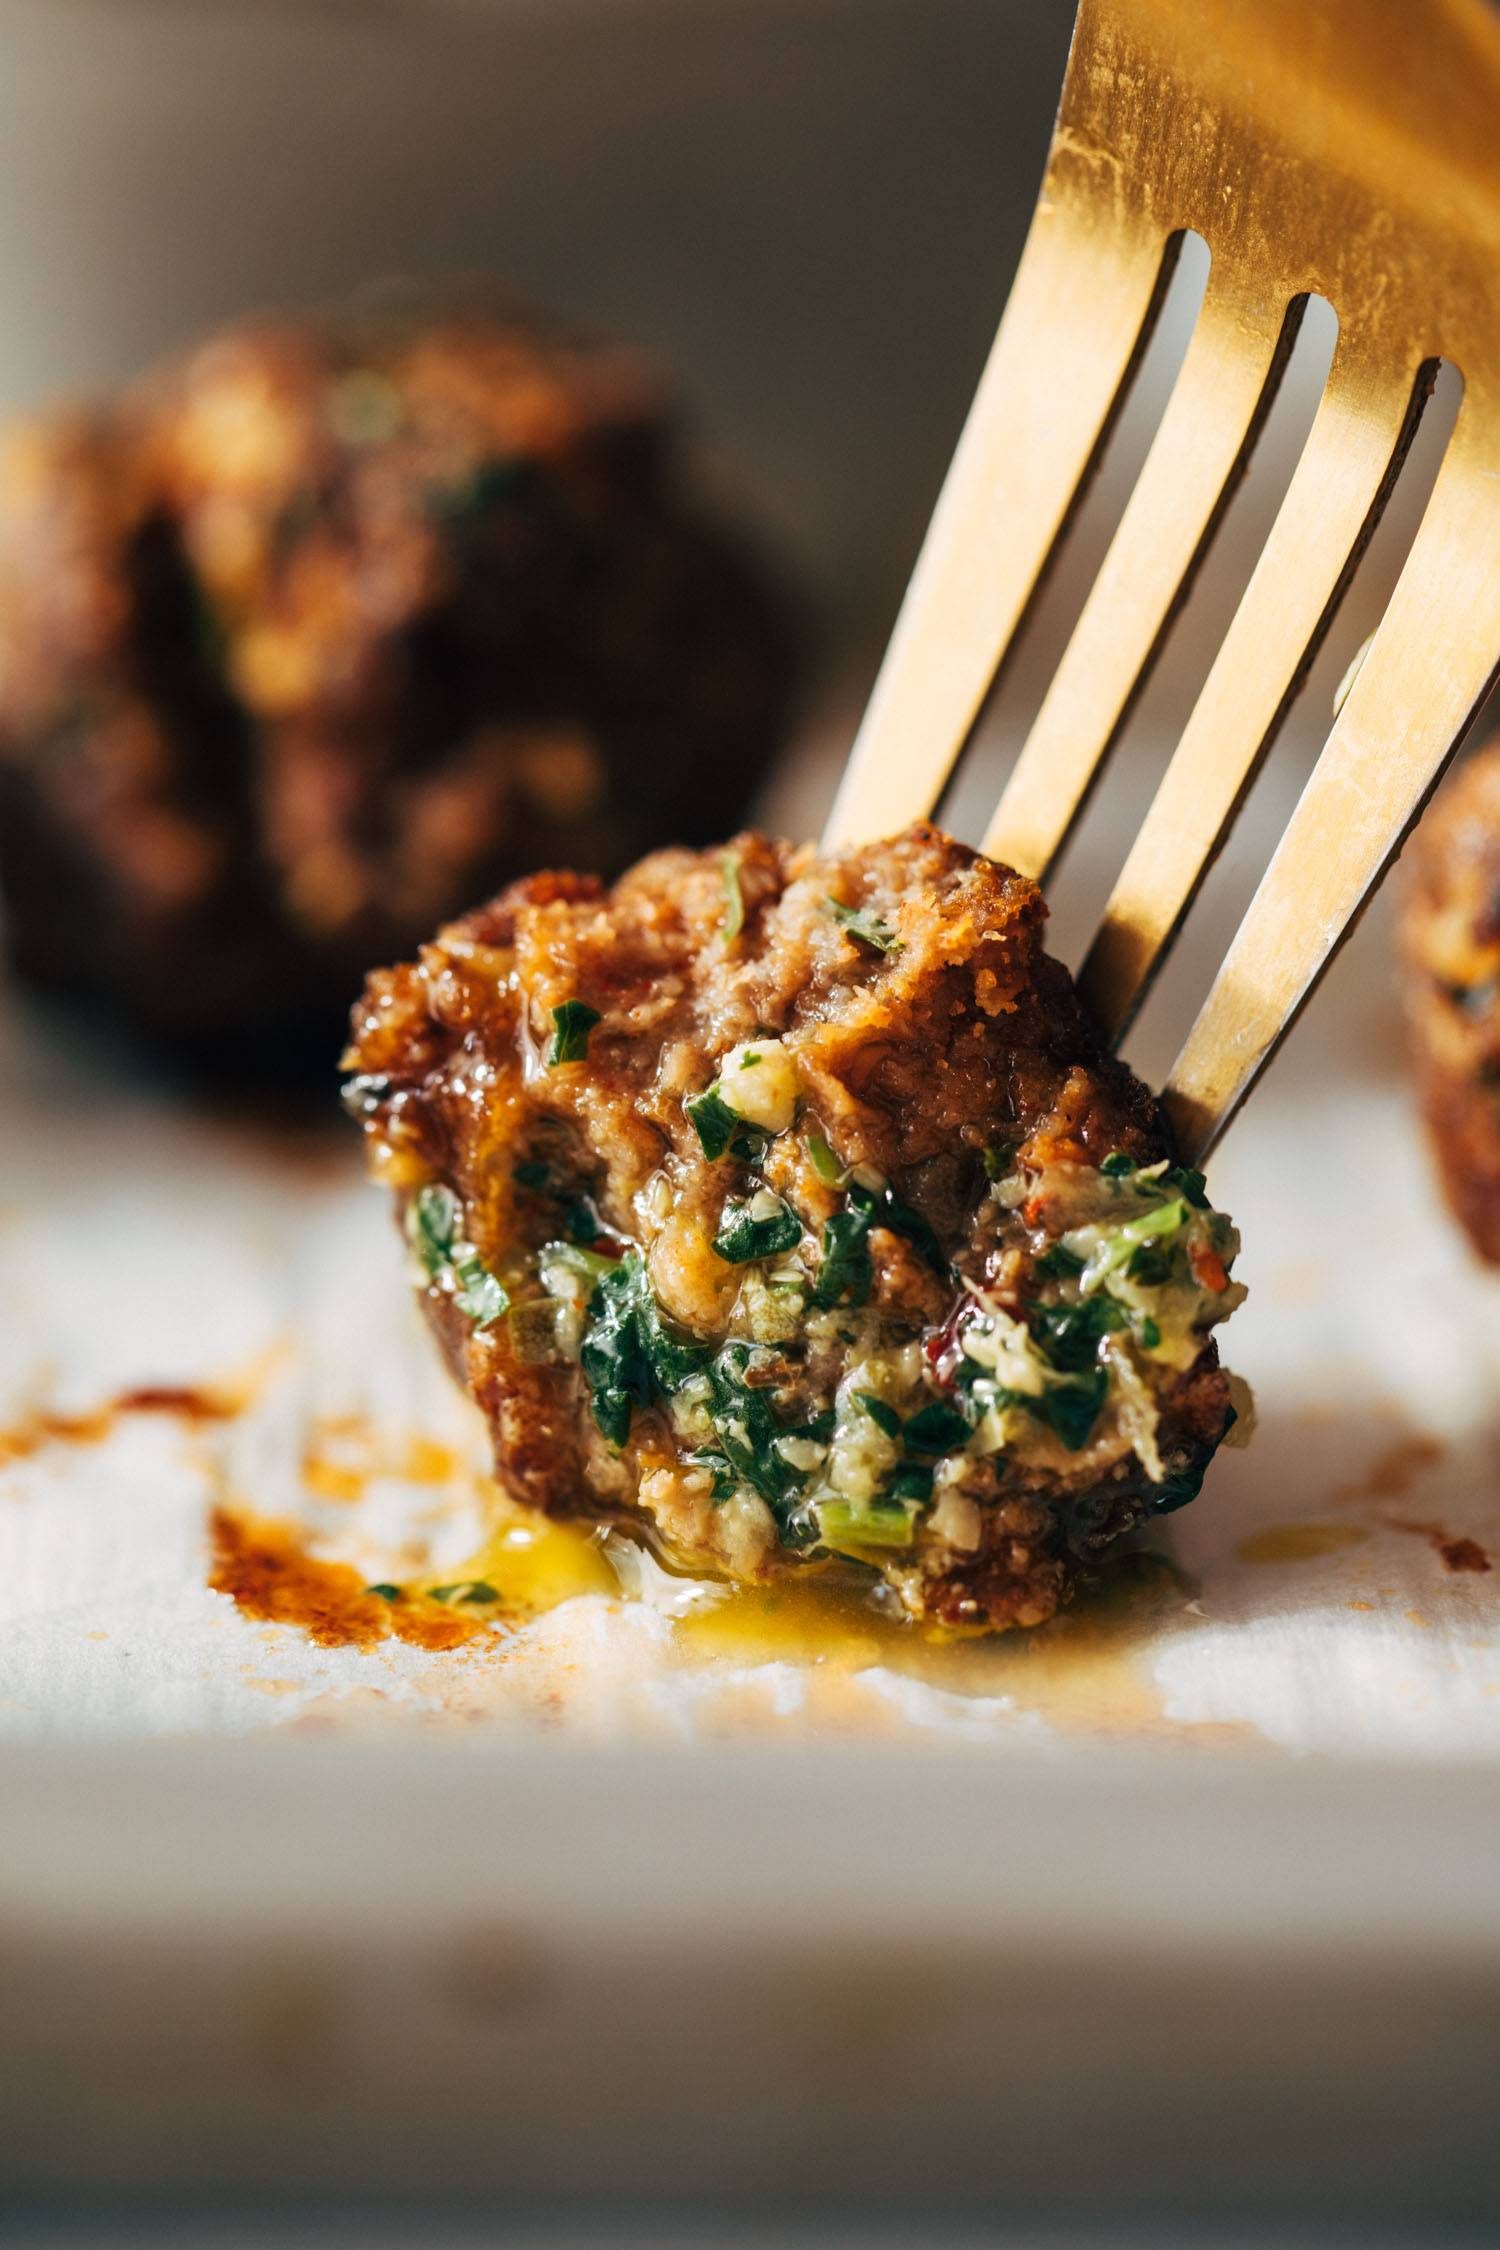
    Fork piercing a meatball

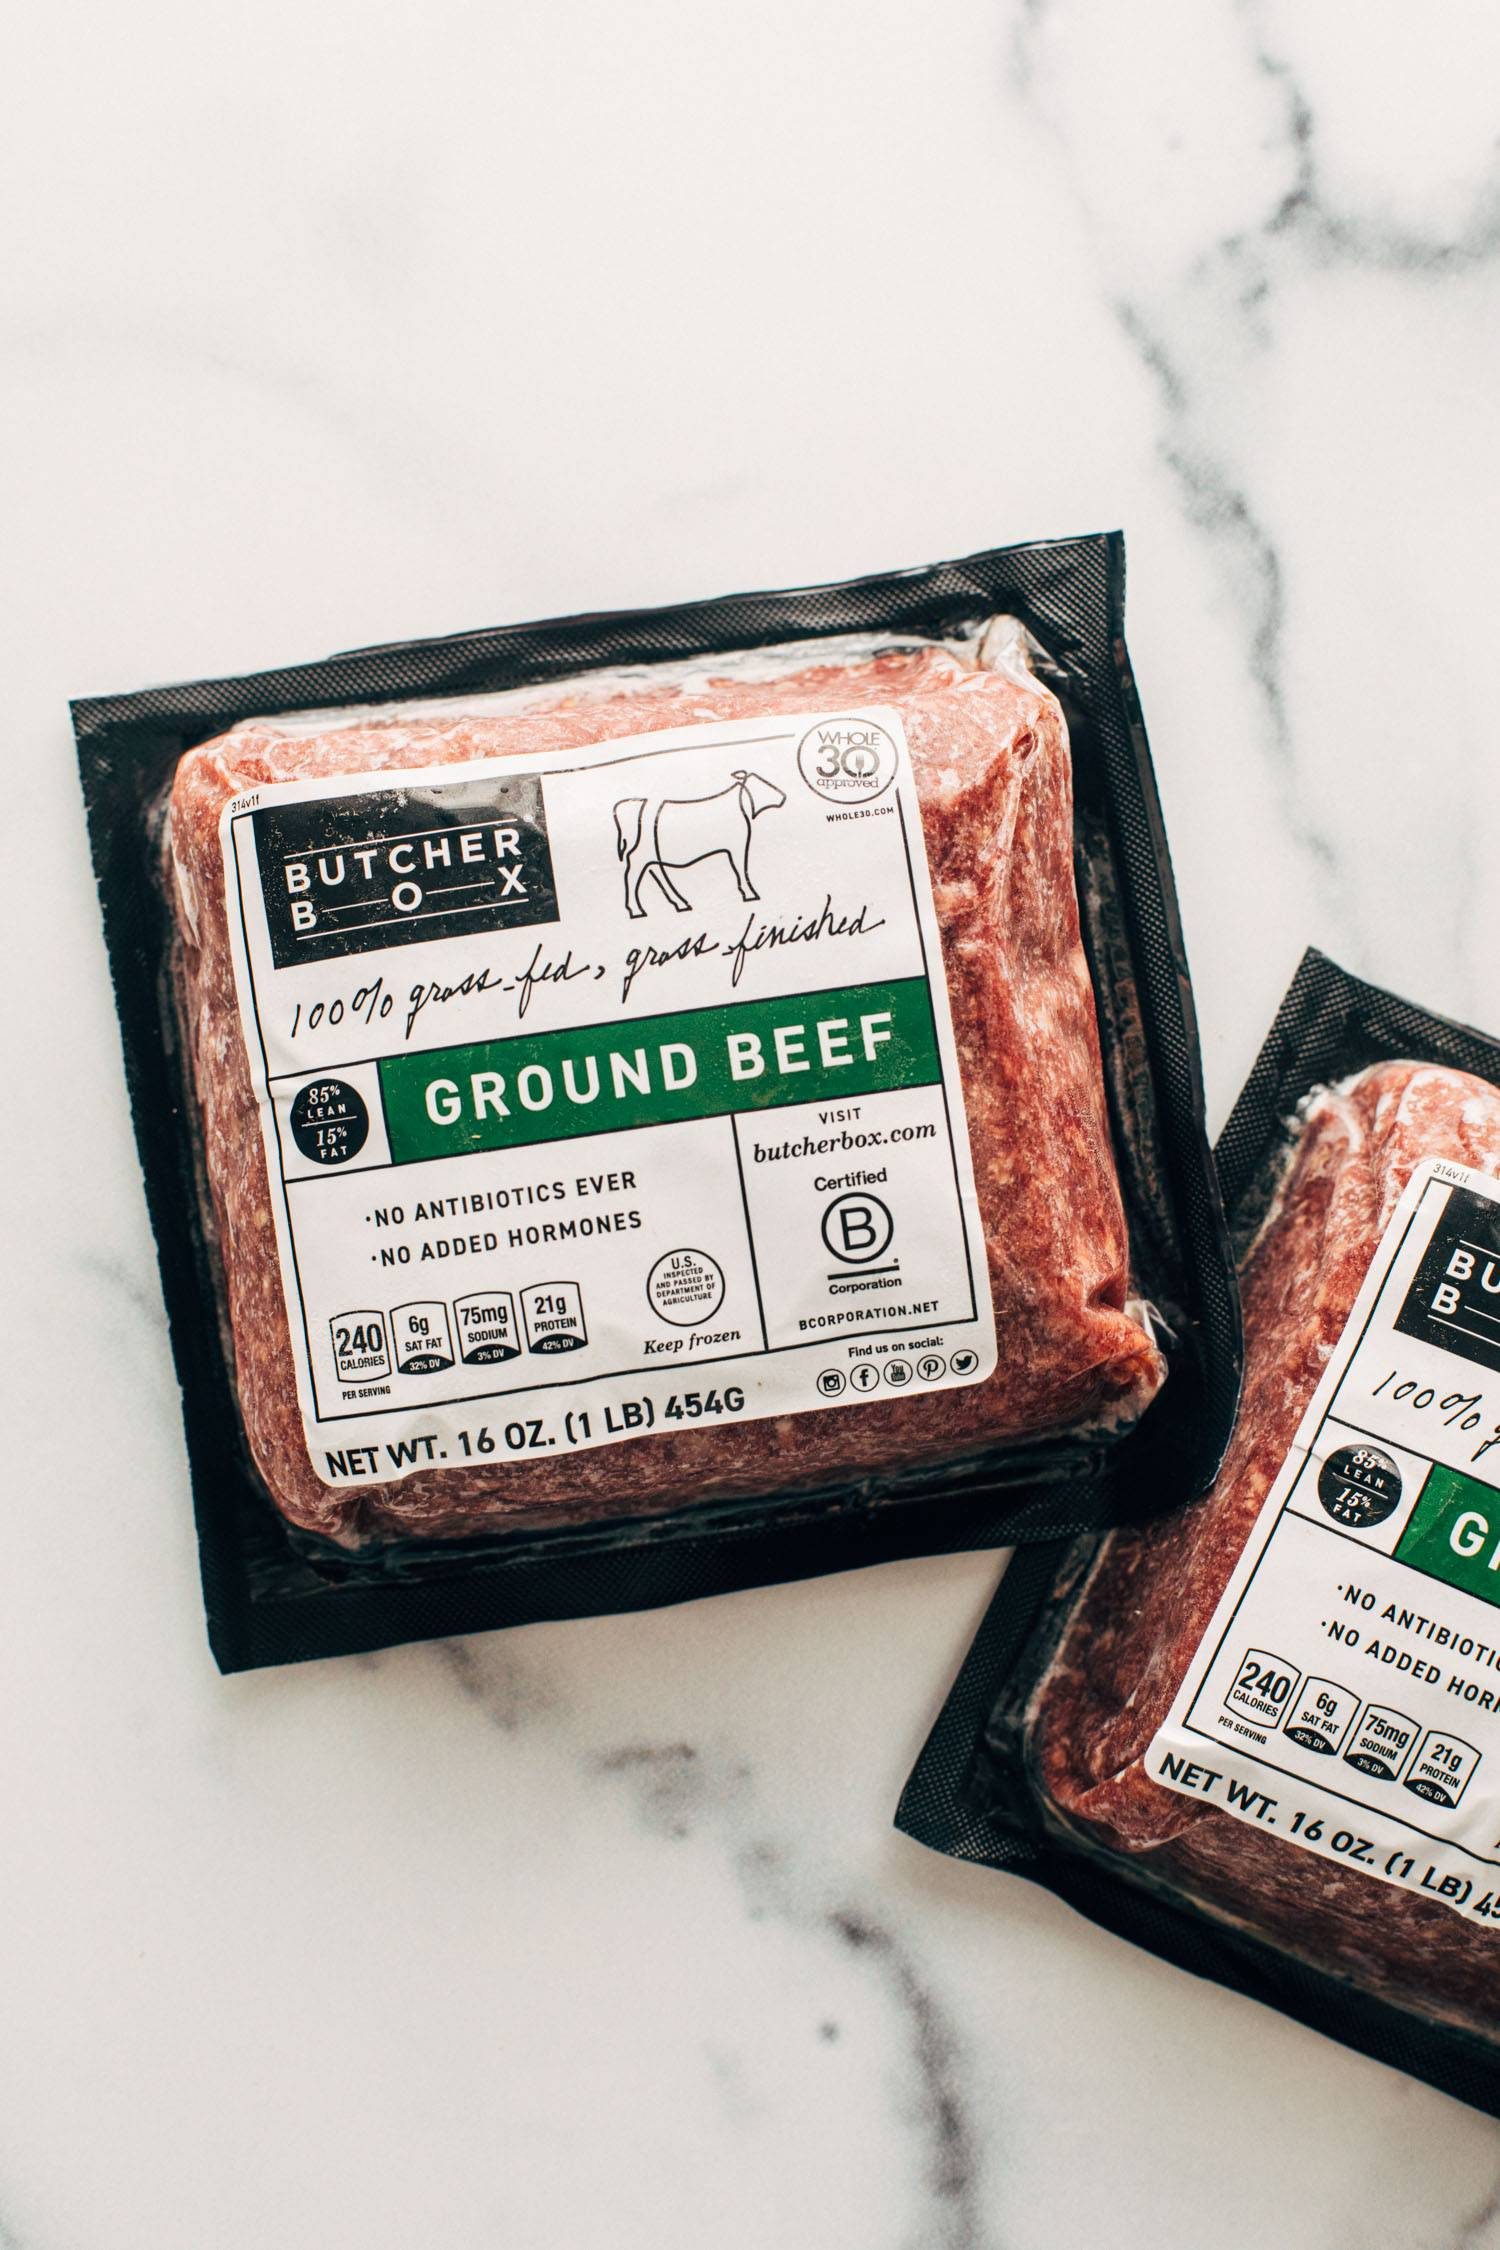
    A Word About This ButcherBox Beef

    Okay, if you’re not on the ButcherBox train yet, we highly recommend you climb aboard! The quality of their meat and seafood is top-notch.

    This is why we love them:

    • They are a certified B Corp company, which means they are mission-driven to do some environmental good in this world and that is always something we can get behind.
    • They source from family farms and are committed to humane practices, and have a focus on sustainability for their seafood offerings which we also feel really good about!
    • Plus, sustainable and recyclable insulation and packaging whenever possible? Yes, please.

    There is so much care put behind their product and it really shows. And, ultimately, this grass-fed, grass-finished ground beef is SO flavorful and cooks up beautifully.

    ButcherBox has a deal going right now where you get two pounds of free (yes, FREE) grass-fed grass-finished ground beef in every single box for the life of your membership. WHAT.

    Click here to learn more about the boxes (or add this deal to your existing membership)!

    For burgers, for spaghetti, for meatballs, and everything else in between, this ground beef is such good quality and it is a total freezer essential. And it’s free in every box right now. Do not miss this deal!

    ButcherBox ground beef packages

    How To Make These Meatballs (Sheet Pan FTW!)

    Get your sheet pans and your food processor at the ready and let’s get down to business.

    1. Green Sauce. Pulse everything up in a food processor until chopped very finely (but not a paste). This is your flavor base! Transfer half of the flavor base to a large bowl for the meatballs and then use the rest make your sauce.
    2. Meatballs. Mix the egg, paprika, salt, panko, ground beef, and reserved flavor base green sauce in a bowl until evenly distributed. Roll into balls. Place the rolled meatballs on sheet pan, brush with olive oil, and bake!

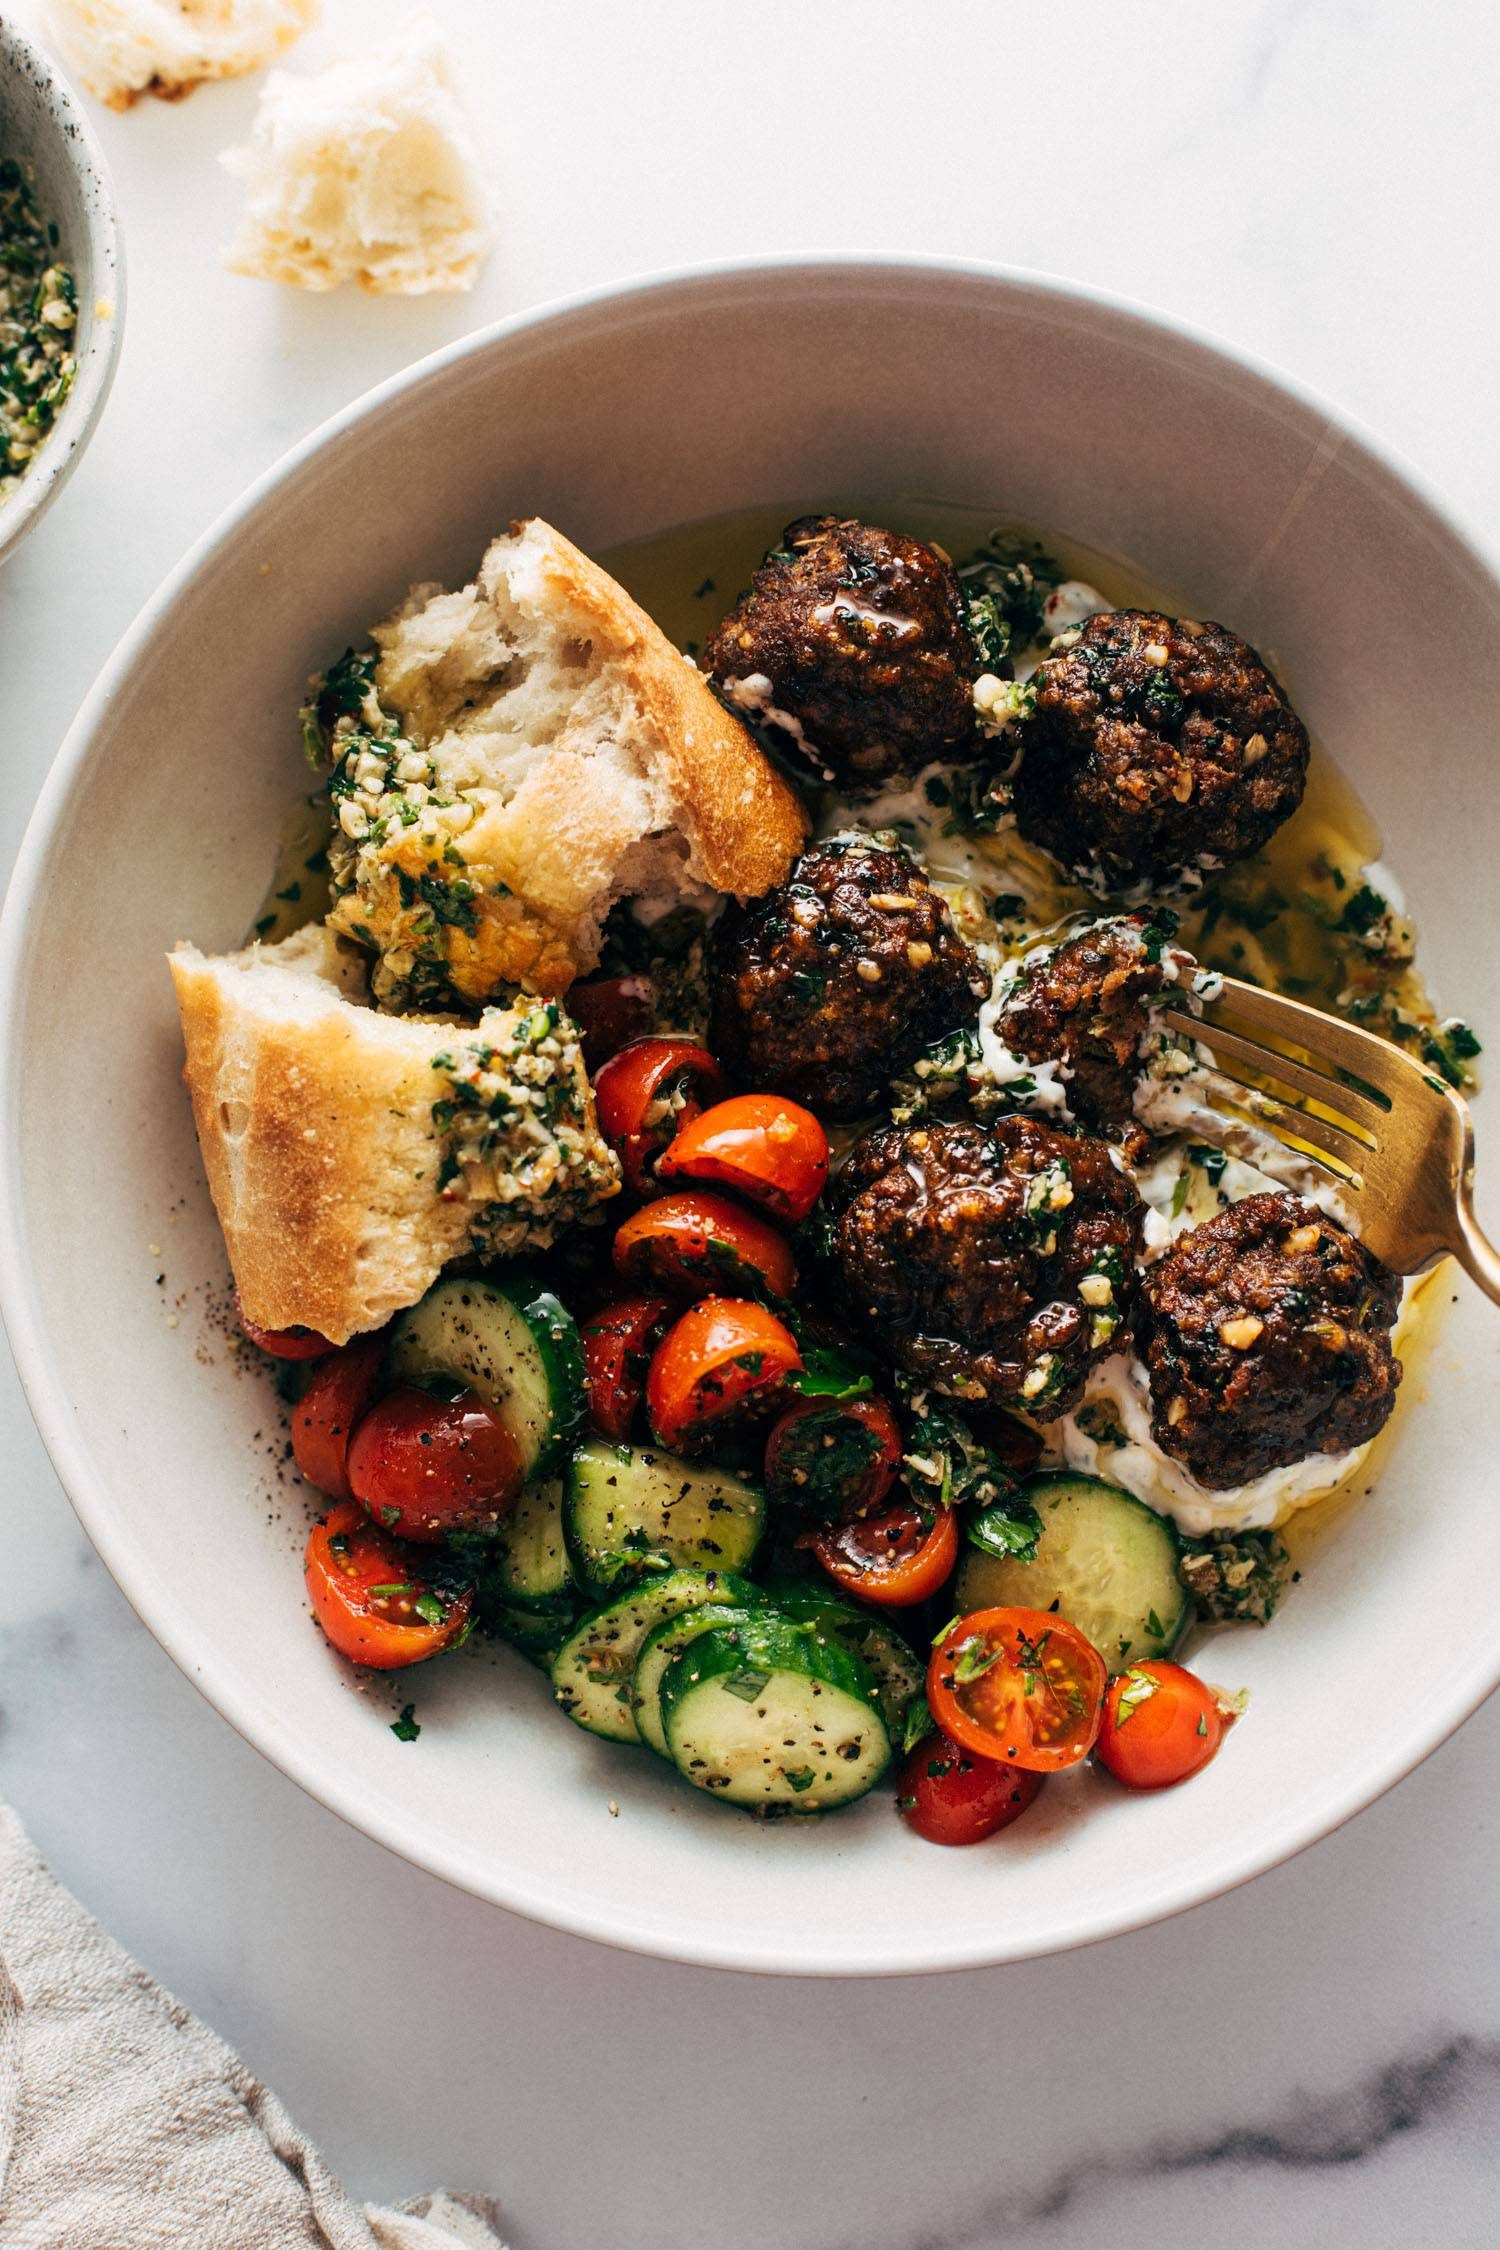
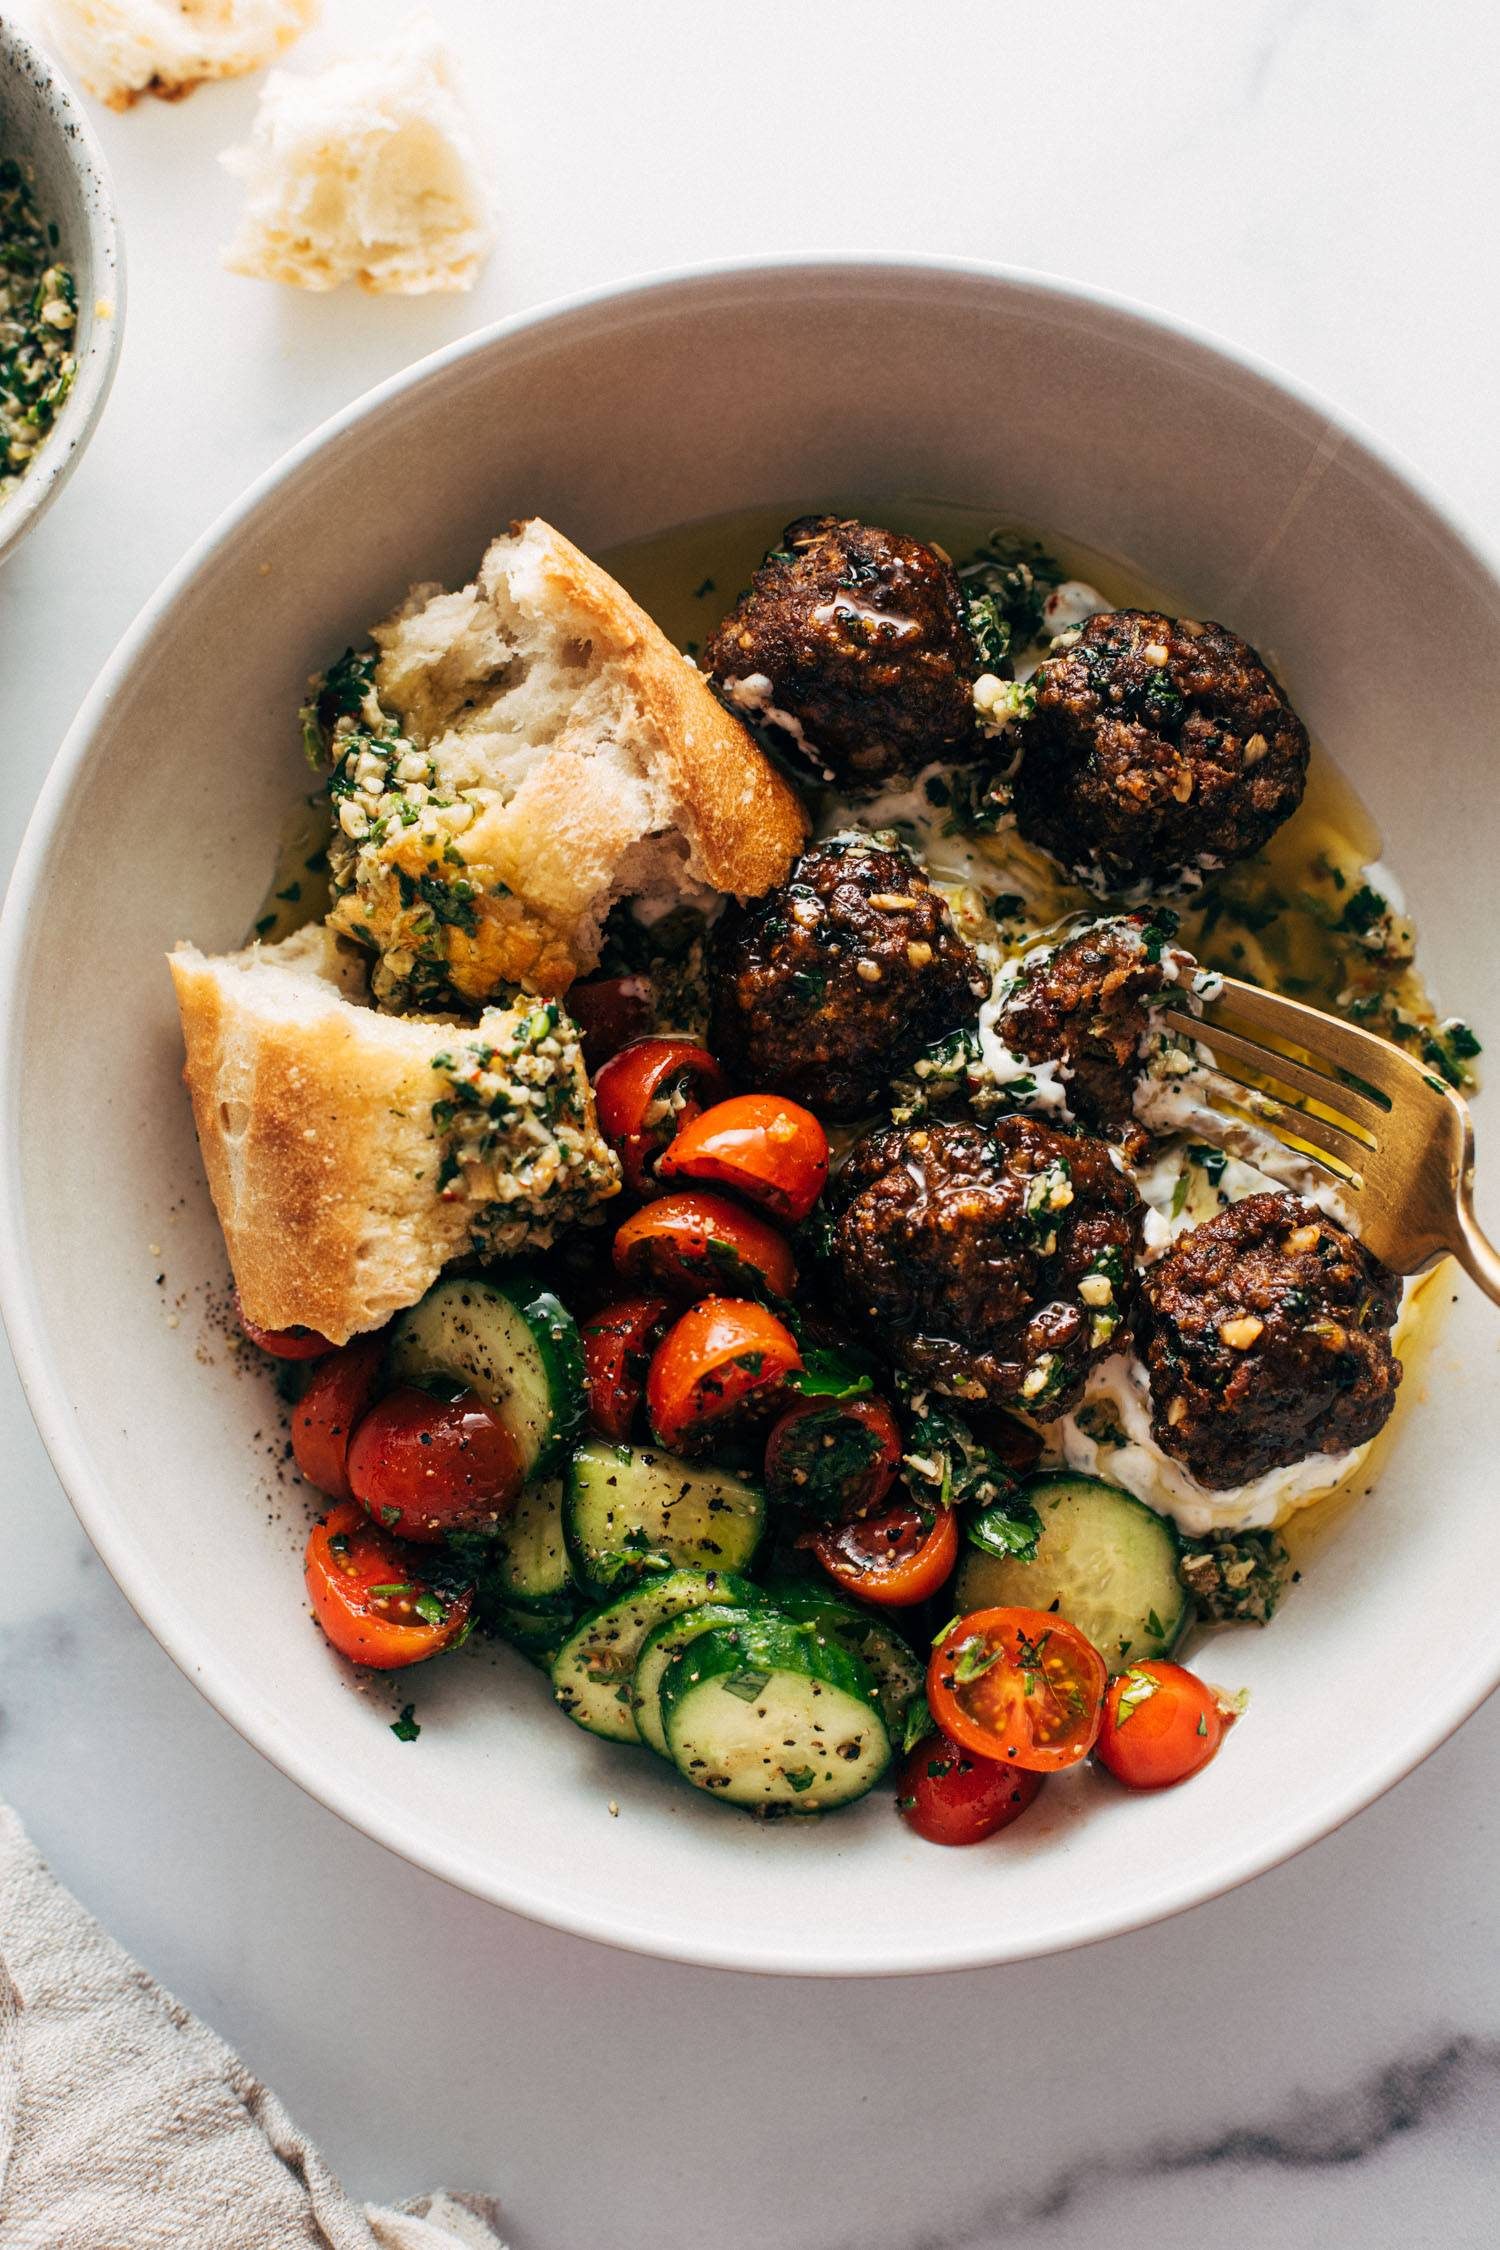
    Then serve those meatballs over creamy tzatziki, heavily dolloped with your green sauce, along with a pile of tzatziki and simple tomato salad, add a big torn-off hunk of rustic bread, and oof, what a satisfying flavor extravaganza you’re in for!

    Meatballs in a bowl with a tomato salad, fork, and bread

    Will these juicy delicious little sheet pan meatballs absolutely steal your hearts? Yes. Does green sauce, just in general, make the world better? Also yes. Let’s get to it, pals.


    Print

    clock clock iconcutlery cutlery iconflag flag iconfolder folder iconinstagram instagram iconpinterest pinterest iconfacebook facebook iconprint print iconsquares squares iconheart heart iconheart solid heart solid icon

    Description

    Juicy little sheet pan meatballs that are salty, zesty, briney, and so so delicious. Pile them on tzatziki, spoon some punchy green sauce over top, and serve with a simple salad and crusty bread.


    1. Preheat the oven to 425 degrees. 
    2. Make your tomato salad and throw in some sliced cucumbers too!
    3. Pulse the garlic, parsley, cilantro, capers, and walnuts in a food processor until chopped very finely (but not creamy / not a paste – you just want a fine chop! and you could do this by hand as well). This is your flavor base!
    4. Transfer half of the flavor base to a large bowl for the meatballs. Add all other meatball ingredients and mix thoroughly with your hands to combine. Roll into balls and bake for 10-12 minutes.
    5. Add the other half of the flavor base to a smaller bowl; add lemon zest and lemon juice, olive oil, and salt and pepper to taste to make your sauce. Add red pepper flakes for heat if you want. It should look similar to a loose pesto or chimichurri.
    6. Serve meatballs over a swipe of tzatziki, with a hunk of rustic bread and a scoop of tomato salad. And drizzle, dip, and swish all of it through that punchy green sauce! BIG, BIG FLAVORS! So good!

    • Prep Time: 15 minutes
    • Cook Time: 30 minutes
    • Category: Dinner
    • Method: Bake
    • Cuisine: Mediterranean-Inspired

    Keywords: sheet pan meatballs, meatball bowls, green sauce

    Thank you to ButcherBox for sponsoring this recipe!


    More Meatball Recipes We Can’t Stop Talking About

    Source link

  • Failproof Hollandaise Sauce Recipe

    Failproof Hollandaise Sauce Recipe

    How to make incredible homemade hollandaise sauce! Using a blender and a short list of simple ingredients, this hollandaise sauce recipe is practically failproof and extra easy!

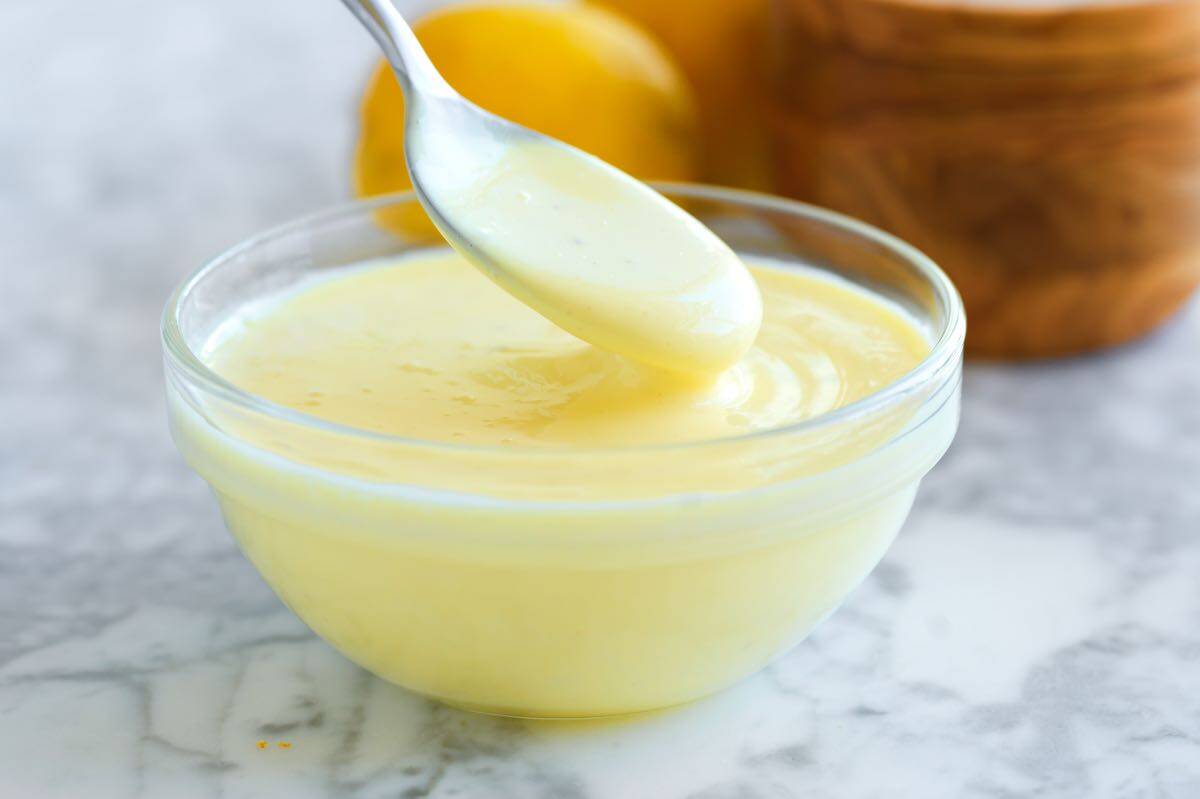
    Hollandaise Sauce

    There are very few homemade sauces that hit as well as hollandaise. It’s creamy, velvety, decadent, and incredible with eggs (hello, Eggs Benedict), as a dip for vegetables, and with simple seafood dishes.

    Hollandaise was one of the first sauces I learned how to make in culinary school. We made it by hand with a whisk, and in large batches (my arms were so tired!). This home cook friendly hollandaise sauce recipe skips the whisk and calls on a blender, which means you’ll have a delicious batch of hollandaise in under 5 minutes! For another classic sauce, see our Homemade Mayonnaise.

    Key Ingredients

    • Melted Butter: Butter makes up the majority of this sauce, so spoiler, you need quite a bit of it. I use clarified butter for hollandaise. It’s easy to do, and I’ve shared how in the recipe below. You can make it with plain melted butter, but the clarifying process removes water and milk solids, which can cause our sauce to separate or break. Also, it tastes super rich and buttery, so your sauce tastes better. So, for the best hollandaise sauce, use clarified butter.
    • Egg Yolks: Classic hollandaise uses egg yolks. You can save the whites for scrambled later (as a note, scrambled egg whites with hollandaise spooned on top is really delicious).
    • Lemon Juice: You only need a little bit, but the lemon cuts through the richness of our sauce. Freshly squeezed really is best.
    • White Wine (optional): This is a tip from Chef Richard, who, for many years, was tasked with making hollandaise for brunch service at a very high-end hotel. You only need a couple of teaspoons, so only add this if you already have a bottle open! It makes the sauce more interesting and does a similar job as the lemon, cutting through the richness of the butter and egg yolks.
    • Salt and Pepper: Don’t forget to season your sauce and use a bit of pepper. Cayenne pepper is popular, but we skip that and use ground white pepper, which harmonizes a bit better with the sauce.

    Find the full recipe with measurements below.

    How to Make Hollandaise Sauce

    Tip 1: Use a blender. Hollandaise sauce is a rich, creamy, and decadent emulsion of egg yolks and butter. While some classic recipes call for making it by hand with a bowl and whisk, a blender is a game-changer for home cooks (kind of like how a food processor is a game-changer when making mayo). It simplifies the process and gives you a beautiful sauce every time. That said, I shared how we make it by hand below anyway, in case you wanted to give it a go.

    Tip 2: Use HOT butter. Drizzling hot (not warm) melted butter into the blender is key. If the butter isn’t hot enough, the sauce won’t thicken properly.

    Streaming hot butter into a blender with egg yolks

    Tip 3: Make it right before serving. Hollandaise is best served immediately. Prepare your other dishes first, then make the sauce just before serving.

    Tip 4: Keep it warm. Since the sauce is mostly butter, it will start to cool and thicken as it sits. To keep it warm, you can set the blender jar in a bowl of lukewarm water (hot from the tap) until you’re ready to serve.

    Tip 5: Fixing broken hollandaise sauce. While our blender method is more foolproof, this classic sauce can still break if your butter is added too quickly or isn’t hot enough. Here’s what to do if your sauce breaks (note, I use a blender, but you can do this in a bowl with a whisk):

    1. Pour your broken sauce into a bowl.
    2. Add 1 to 2 teaspoons of warm water to the blender.
    3. Turn the blender on, and slowly pour the broken sauce back into the blender through the lid opening. The sauce should re-emulsify and become smooth again. Hooray!

    Serving Suggestions

    Use your delicious hollandaise for dishes like Eggs Benedict (especially on a homemade English muffin) and Eggs Florentine. It’s also fantastic with poached eggs, vegetables like roasted asparagus, and simple seafood dishes like poached salmon.

    Homemade Hollandaise Sauce

    Failproof Hollandaise Sauce

    • PREP
    • COOK
    • TOTAL

    Here’s our favorite recipe for hollandaise sauce. Using a blender and hot butter are the secrets for the best results. I prefer clarified butter, which does add a step, but clarifying butter removes the water and milk solids, which can cause your sauce to break. Also, it tastes more buttery and rich! For my favorite way to use this sauce, see our Homemade Eggs Benedict Recipe.

    Makes 3/4 cup

    You Will Need

    12 tablespoons unsalted butter (170g)

    3 large egg yolks, cold from the fridge

    1 ½ tablespoons warm water

    2 teaspoons fresh lemon juice, plus more to taste

    2 teaspoons white wine, optional

    ½ teaspoon fine sea salt

    ¼ teaspoon ground white pepper, plus more to taste, see tips

    Directions

    • Make Clarified Butter
    • 1Melt the butter: Place the butter in a small saucepan to melt, then bring the melted butter to a gentle simmer and cook for 2 to 3 minutes, until a foamy layer forms on top and the butter underneath appears clear and golden.

      2Remove foamy layer: Use a spoon to skim all the foam from the top, and discard it. Set the saucepan of butter aside until you are ready to make your hollandaise sauce.

    • Blender Hollandaise (Preferred Method)
    • 1Blend the eggs: Add the egg yolks, water, lemon juice, white wine, salt, and white pepper to a blender. Pulse for about 5 seconds to combine.

      2Re-heat the butter: Place the saucepan of butter over low heat and heat until steamy, about 30 seconds. Your butter needs to be hot for the sauce to thicken.

      3Emulsify the sauce: With the blender running, remove the center insert from the lid. Slowly and steadily pour the hot clarified butter through the opening, stopping just before any milky white milk solids fall in from the bottom of the saucepan. The sauce will thicken and emulsify. If the sauce gets too thick at any point, whisk in a tablespoon of warm water to thin it.

      4Season and serve: Taste and adjust with more salt, pepper, or lemon juice as needed. Serve immediately or keep the blender jar in a bowl of warm water. If serving at the table, and it starts to thicken too much, stir in a little warm water to thin it back out to a creamy sauce.

    • Classic Hollandaise Made by Hand
    • 1Set up your double boiler: Fill a small saucepan with about an inch of water and bring it to a gentle simmer. Place a heat-proof bowl on top, making sure the bottom of the bowl does not touch the water.

      2Re-heat the butter: Heat the clarified butter in a small saucepan until it is hot.

      3Whisk the yolks: Add your egg yolks, water, lemon juice, and white wine to the bowl and whisk them constantly. Keep a close eye on them. If they get too hot, lift the bowl off the heat to prevent them from scrambling, then set it back down once they’ve cooled off. The yolks will go from a liquid to frothy, and then they will start to thicken.

      4Slowly add the butter: Once the yolks have thickened a bit, SLOWLY drizzle in the hot, melted butter. It’s crucial to add it a little at a time to prevent the sauce from “breaking.” Whisk continuously to incorporate the butter as you add it.

      5Adjust and finish: If the sauce gets too thick at any point, whisk in a tablespoon of warm water to thin it. Once all the butter is incorporated, season the hollandaise with salt and white pepper.

    Adam and Joanne’s Tips

    • Storing: Hollandaise is best enjoyed right away. You can keep it in an airtight container in the refrigerator for up to 3 days, but you need to take care when reheating it as it is easy to break (butter separates).
    • Reheating hollandaise: I do not recommend a microwave and prefer to reheat on the stove. Pour your sauce into a saucepan over low heat. Add a little bit of melted butter and a tablespoon of warm water. Whisk it as it warms up so it turns into a smooth, creamy sauce. Adding more warm water if it is too thick.
    • Clarified butter vs. melted butter: You can use plain melted butter in this recipe. Clarified butter is an extra fail-safe to prevent the sauce from breaking, AND it tastes richer and buttery. The sauce is still lovely when made with plain butter, though.
    • Pepper: White pepper fades into the sauce and is a bit more delicate, but you can use black pepper or for heat, cayenne.
    • The nutrition facts provided are estimates.

    Nutrition Per Serving
    Serving Size
    1 tablespoon
    /
    Calories
    87
    /
    Total Fat
    9.5g
    /
    Saturated Fat
    5.7g
    /
    Cholesterol
    57.4mg
    /
    Sodium
    111.7mg
    /
    Carbohydrate
    0.2g
    /
    Dietary Fiber
    0g
    /
    Total Sugars
    0g
    /
    Protein
    0.6g


    AUTHOR:

    Joanne Gallagher

    Adam and Joanne of Inspired Taste

    We are Adam and Joanne Gallagher, the creators of Inspired Taste. Established in 2009, Inspired Taste grew from a childhood dream into one of the internet’s most trusted recipe sites with hundreds of reliable recipes, step-by-step videos, and expert tips.More About Us

    Source link