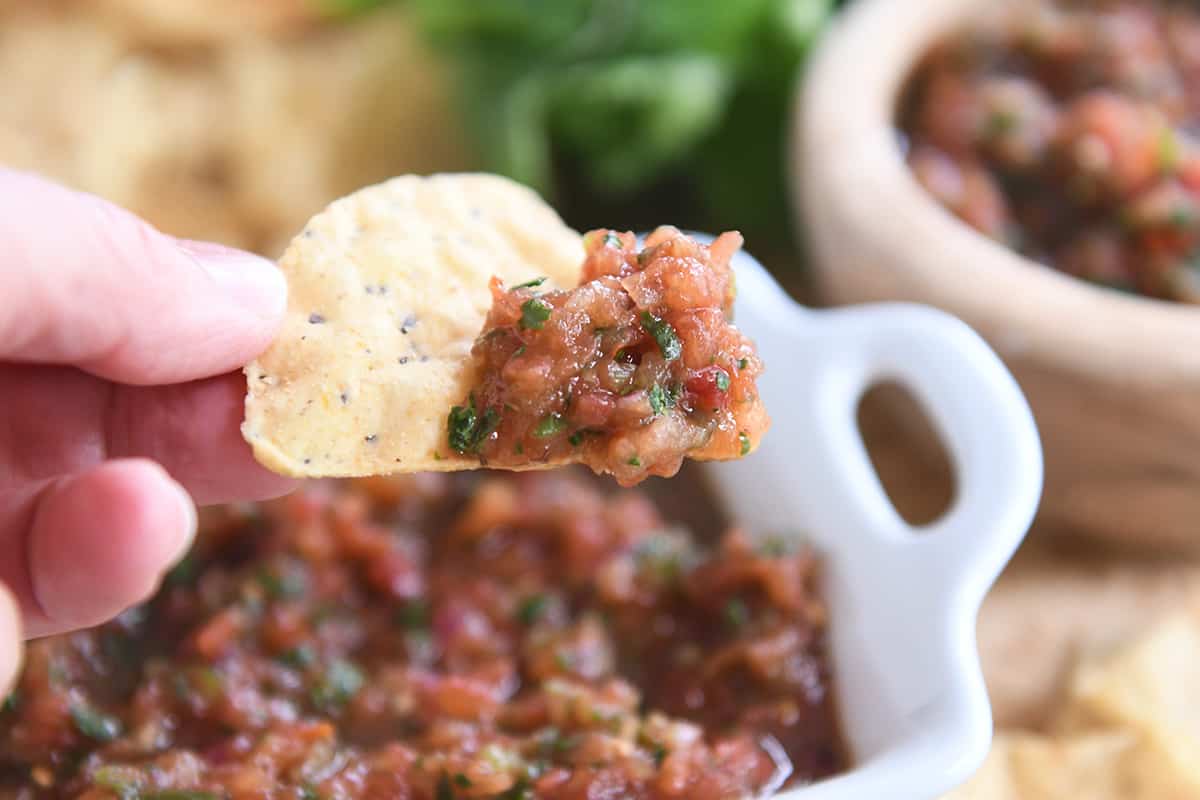
Tag: Homemade

  • Quick and Easy Homemade Salsa

    Quick and Easy Homemade Salsa

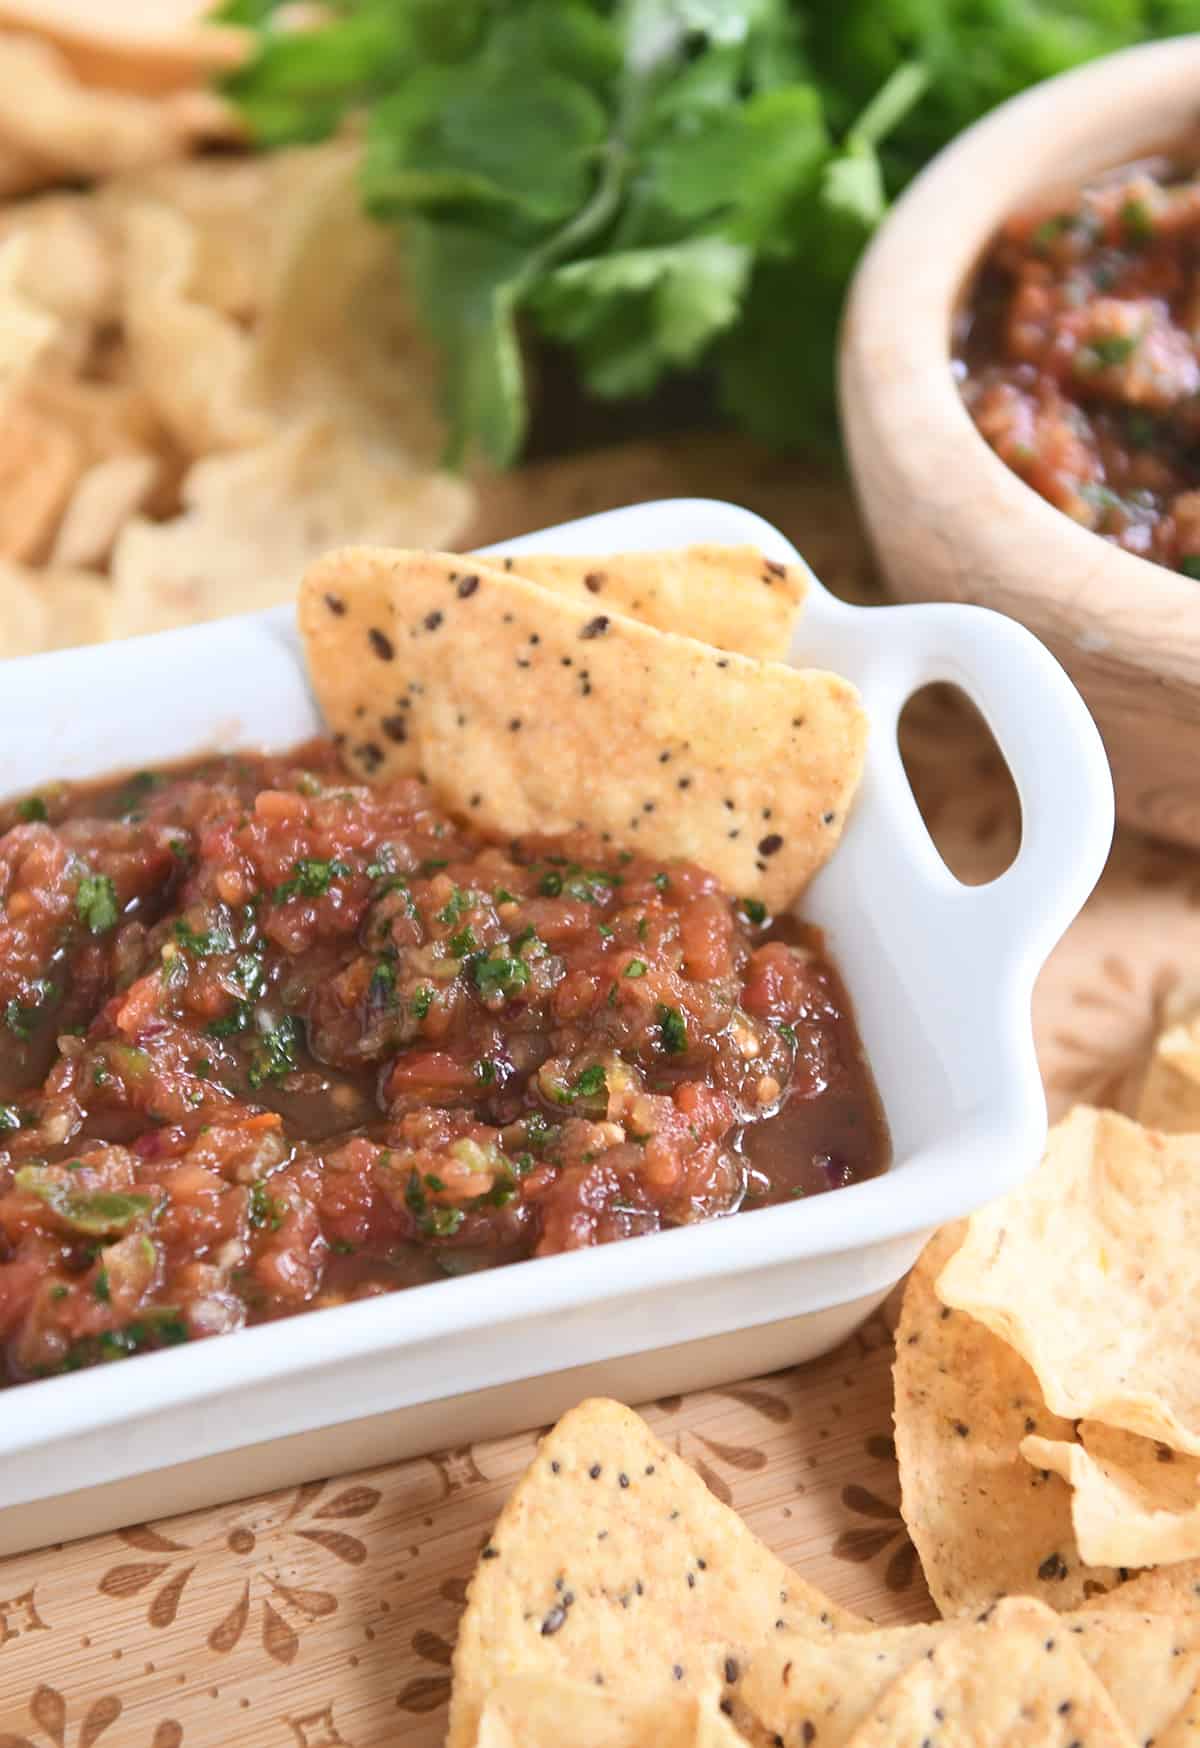
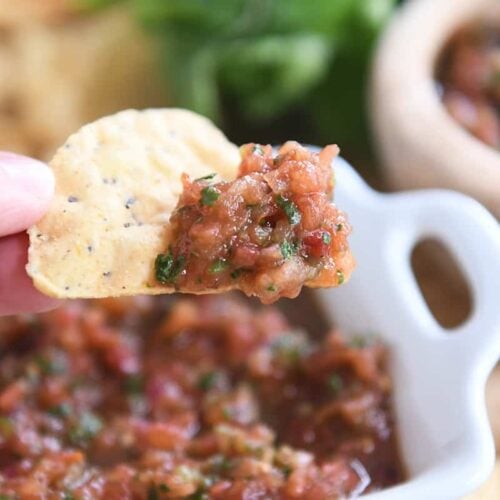
    This quick and easy homemade salsa is almost too good to be true. So fast and so simple, this fresh-tasting salsa will be yours in a matter of minutes!

    There is definitely a time and a place for real deal homemade salsa that can sit nice and pretty on your pantry shelves all year long.

    But when that level of effort is not in the cards (hi. me. most every day lately), this delicious, quick and easy version is for you.
    How to Make Salsa in 5 Minutes or Less

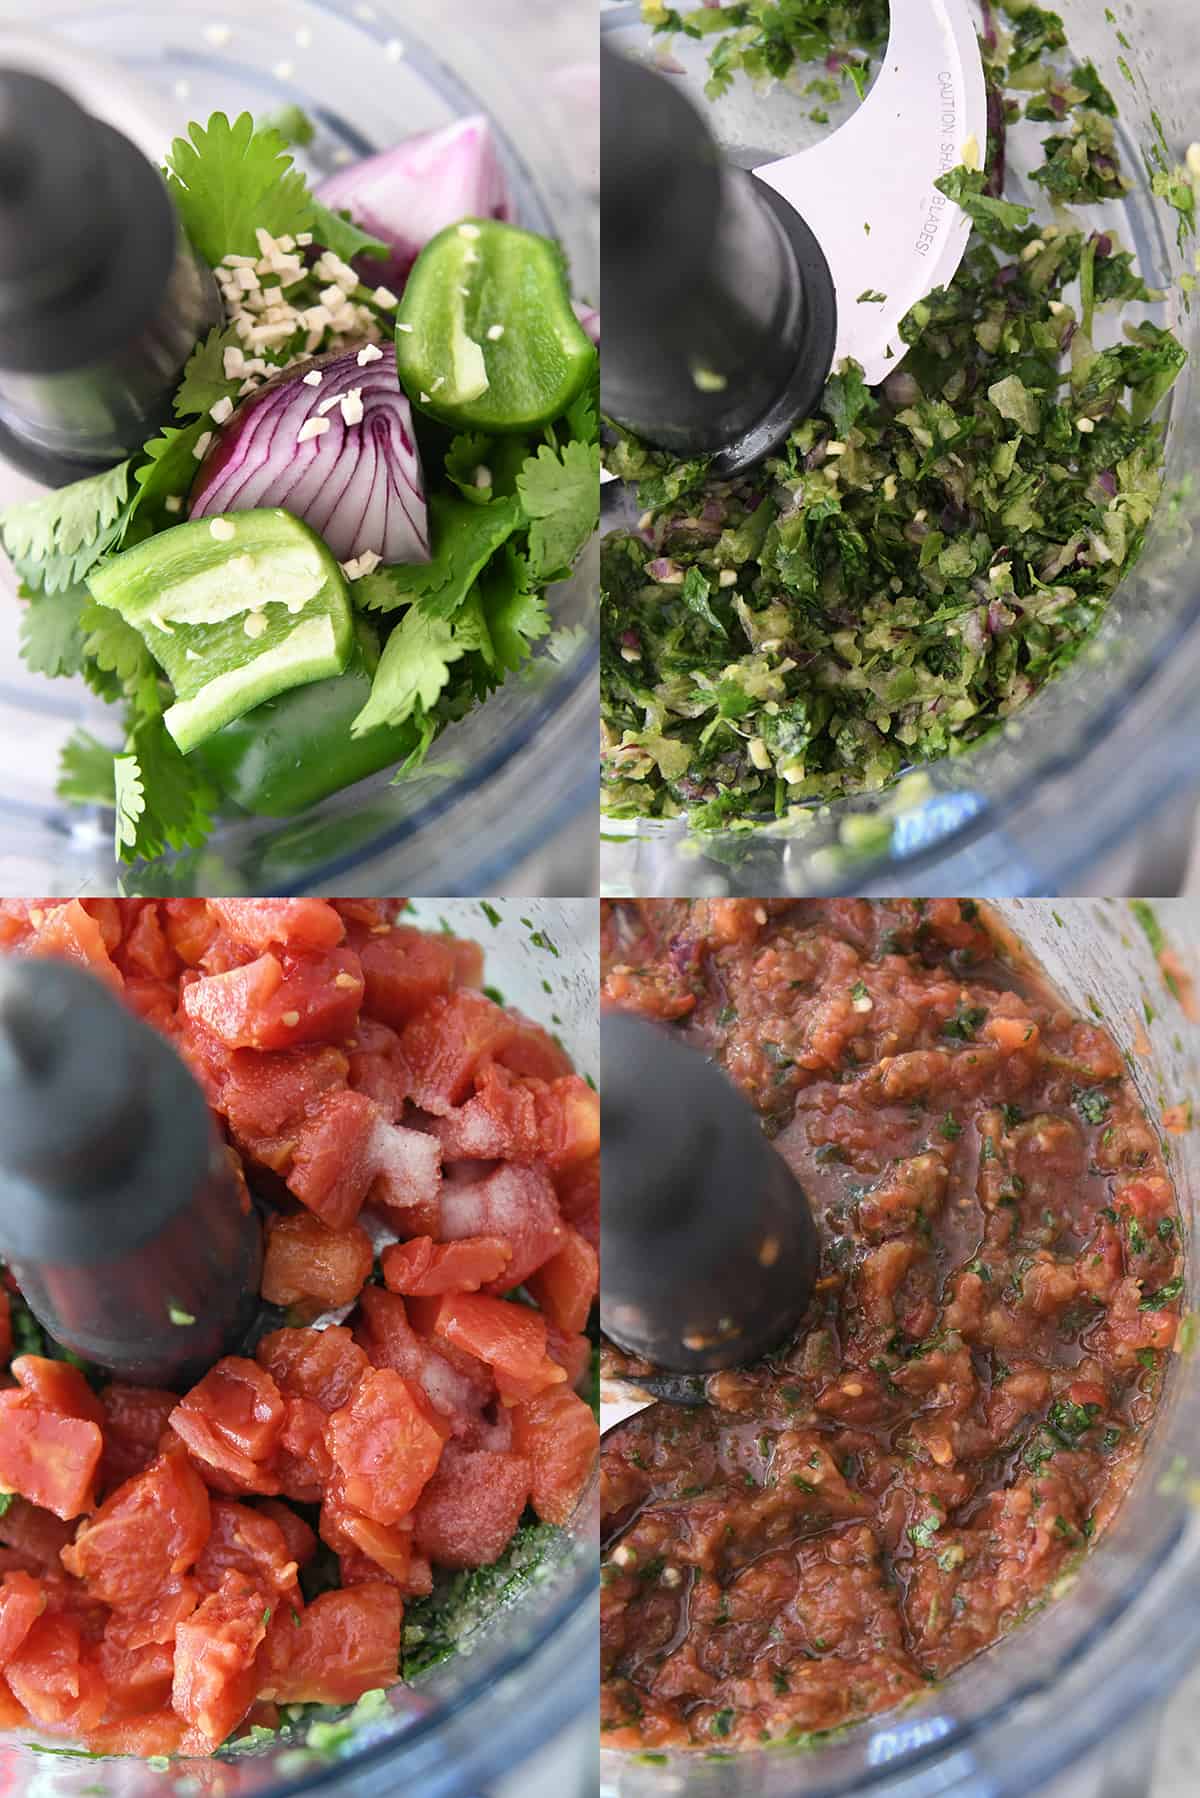
    Step 1: chop up the cilantro, jalapeño, onion and garlic in a food processor*

    Step 2: add the tomatoes, salt and lime juice

    Step 3: pulse until your heart tells you it’s time to stop

    Step 4: grab the chips and dig in

    *Equipment Tip: I use a food processor for this recipe. But check out the notes below in the recipe for using a blender.
    Fresh and Flavorful

    Before you turn your nose up at canned tomatoes, give this salsa a chance. Otherwise, you’ll be missing out.

    The fresh flavors of the cilantro, lime juice, onion and garlic transform the canned tomatoes into a salsa worthy of any occasion.

    I’ve been making a version of this quick and easy homemade salsa for over ten years. In fact, if you’ve been around long enough you’ll recognize this old recipe.

    I took that recipe, plus a few notes from readers over the years, and created a slightly easier (if that’s even possible) and fresher version.

    Best Salsa Ever

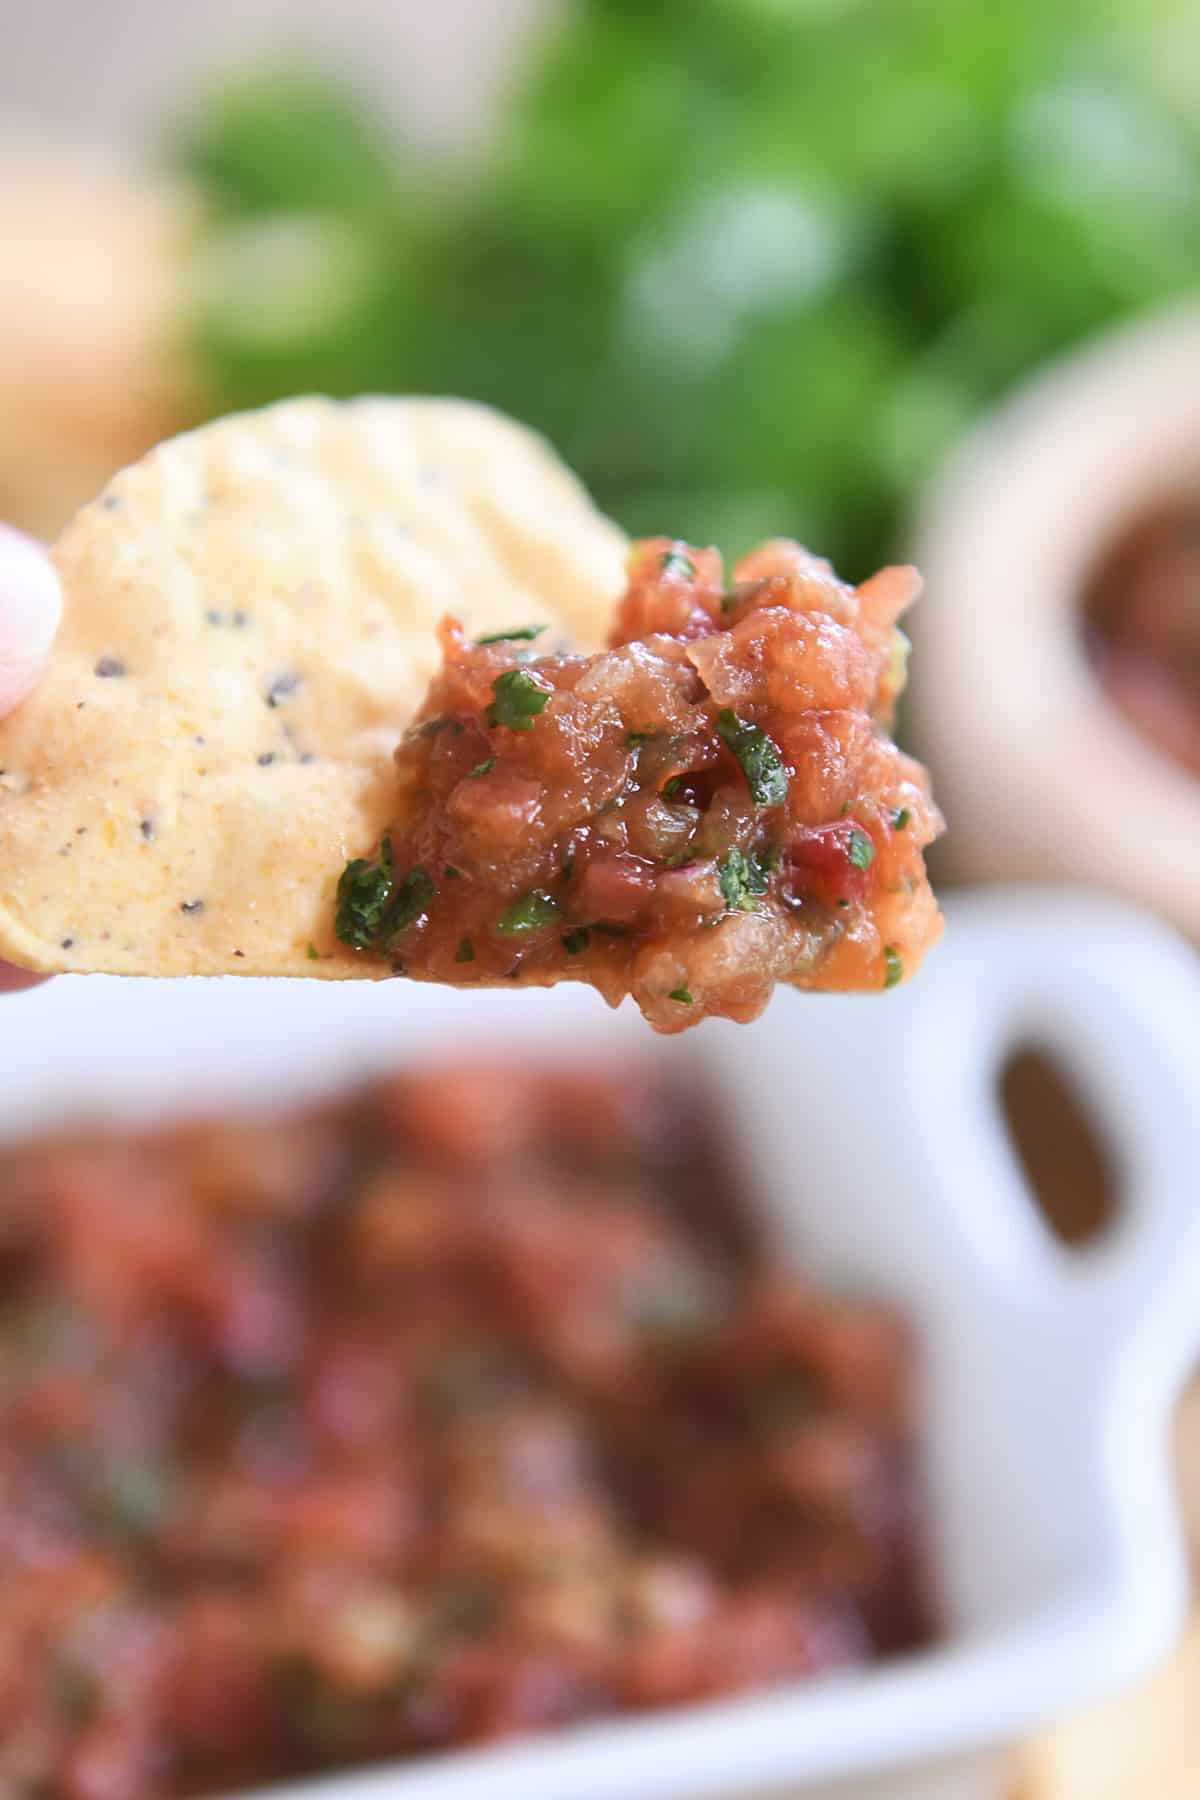
    This salsa is so good that people have a really hard time believing it’s made from canned tomatoes.

    All the while, I’m sitting over here smug as a bug in a rug that I didn’t have to put my big pioneer girl pants on and peel fresh tomatoes. And we all still got crazy delicious salsa out of the deal. How ’bout that.

    I’ll never, ever turn my back on this epic 5-star homemade salsa recipe, but when I need fabulous, fresh-tasting salsa in a pinch AND want to delegate the making of it to my kids, this quick and easy version is where it’s at.
    One Year Ago: Loaded Fresh Basil and Sweet Corn Couscous Green Salad 
    Two Years Ago: Amazing Grilled Pork and Veggie Salad 
    Three Years Ago: Lemon Swig Sugar Cookies with Divine Lemon Frosting {No Rolling or Cutting Out!}
    Four Years Ago: Instant Pot Spaghetti 
    Five Years Ago: My Go-To Brownie Recipe {One-Bowl Deep, Dark Chocolate Brownies}
    Six Years Ago: Chicken Taco Salad {InstantPot, Slow Cooker, or Stovetop} 
    Seven Years Ago: Baked Orange-Glazed Meatballs
    Eight Years Ago: Glazed Lemon Yogurt Sheet Cake
    Nine Years Ago: Sour Cream Lime Tart {Or Pie!} 
    Ten Years Ago: Broiled Parmesan and Lemon Chicken 
    Quick and Easy Homemade Salsa

    • ½ bunch cilantro (about 1/2 cup packed – see note)
    • 1 jalapeño pepper, stem and seeds removed (leave seeds if you want more heat)
    • ¼ of a medium red onion
    • ½ to 1 teaspoon minced garlic (about 2-3 cloves)
    • 2 cans (15-ounces each) regular or fire-roasted diced tomatoes, well-drained
    • 1 teaspoon salt
    • 1 teaspoon sugar (optional, but I like how it balances the flavors)
    • 2 tablespoons fresh lime juice

    Prevent your screen from going dark

    • Add the cilantro, jalapeño, red onion and garlic to a food processor (see note for blender). Pulse until the ingredients are finely chopped.

    • Add the tomatoes, salt and lime juice. Pulse until the salsa reaches desired consistency. I tend to like the tomatoes finely chopped, but you can leave it chunkier.

    • Add additional salt and lime juice to taste, if needed (important!). Serve immediately or refrigerate for up to a week. Extra liquid can be drained off before serving, if desired.

    Cilantro: I don’t usually measure this exactly, I just grab half of the cilantro bunch by the leafy ends and twist off the top part, leaving most of the stems. I throw the leafy bunch into the food processor.
    Red Onion: 1/4 of a medium onion equates to about a 2- or 3-inch piece of onion. Use more or less to taste.
    Blender: I haven’t tried this with a blender, but I *think* it should work. The trickiest part will be chopping up the cilantro, onion, and garlic in the first step. If your blender may struggle with that step, finely chop those ingredients before adding them to the blender with the tomatoes, salt and lime juice. Then use the blender to pulse all the ingredients until desired consistency is reached. 

    Serving: 1 serving, Calories: 19kcal, Carbohydrates: 5g, Protein: 1g, Fat: 1g, Saturated Fat: 1g, Sodium: 438mg, Fiber: 1g, Sugar: 3g
    Recipe Source: from Mel’s Kitchen Cafe (updated from this old recipe as well as from reader feedback over the years – thanks Heather J. for the inspiration to update this recipe after sending me your famous quick salsa recipe!)

    Disclaimer: I am a participant in the Amazon Services LLC Associates Program, an affiliate advertising program designed to provide a means for me to earn fees by linking to Amazon.com and affiliated sites. As an Amazon Associate I earn from qualifying purchases.
    Source link

  • Easy Homemade Breadcrumbs Recipe

    Easy Homemade Breadcrumbs Recipe

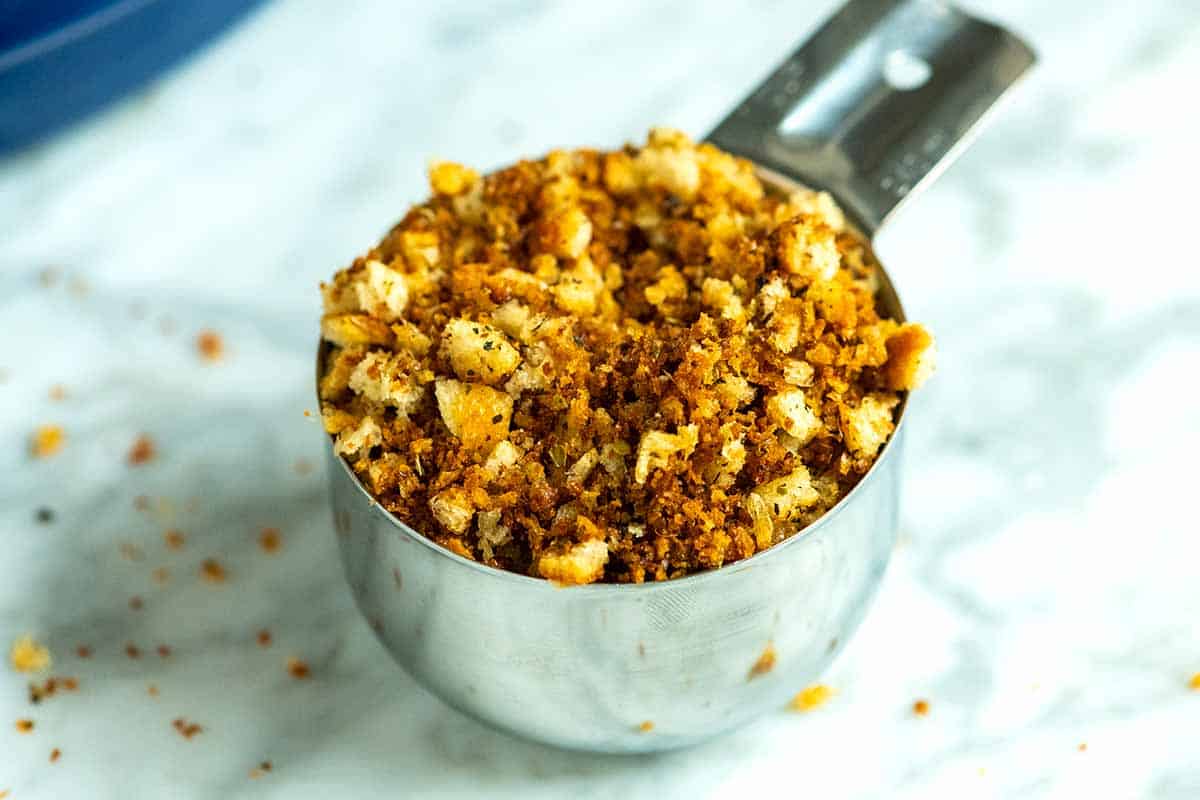
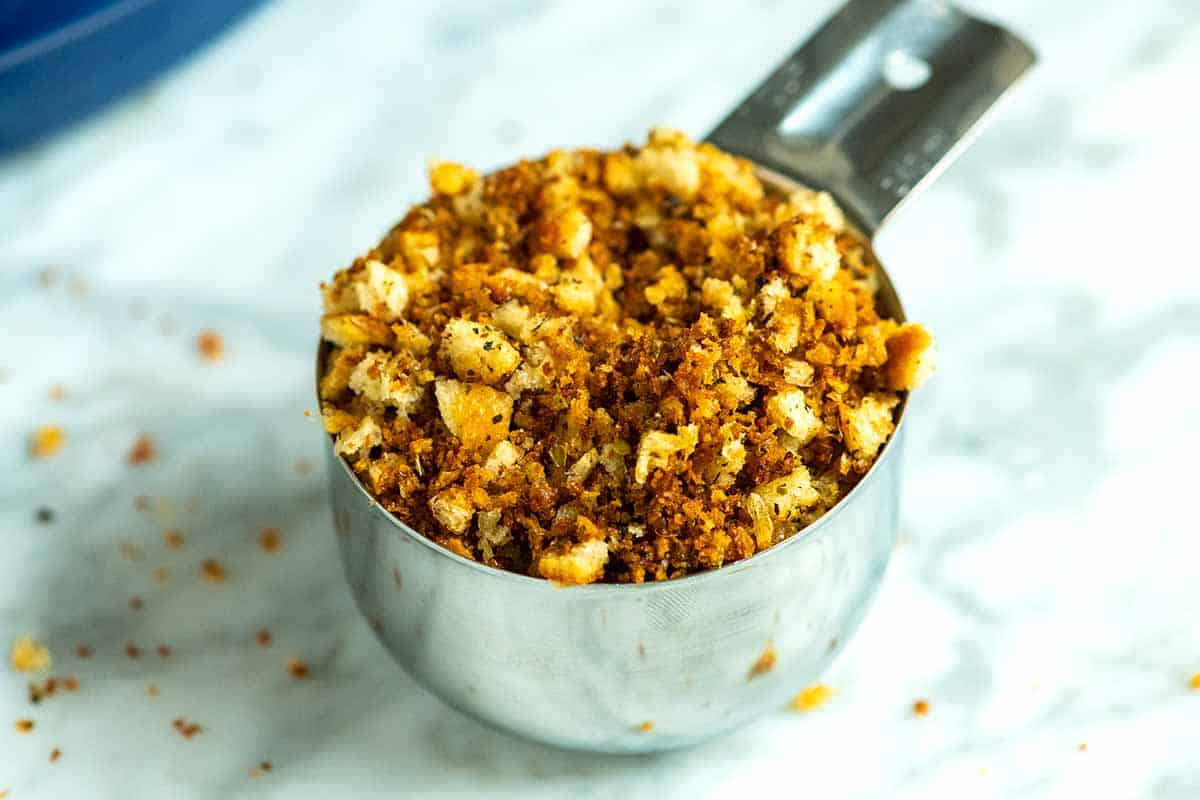
    Making homemade breadcrumbs is easy! We love using these bread crumbs for meatballs, meatloaf, breaded chicken, and so much more!

    Homemade Breadcrumbs

    While you can easily find breadcrumbs at the grocery store, I’ve recently discovered the joy of making my own. You can use almost any bread you have lying around. Better yet, stale bread or the harder end of a bread loaf are ideal.

    Another benefit is that you have complete control over the texture. You can make them as fine or coarse as you like. Another option is to make homemade croutons and smash them into bits.

    How to Make Homemade Breadcrumbs

    Tip 1: Use a food processor. I love using my food processor or blender to make bread crumbs (for smaller batches you can also use a spice grinder). Slice or cube your bread into small pieces, and then pulse until the bread breaks down into your desired size. Depending on how much bread you have and how powerful your food processor or blender is, you might need to do this in batches.

    Making bread crumbs using a food processor

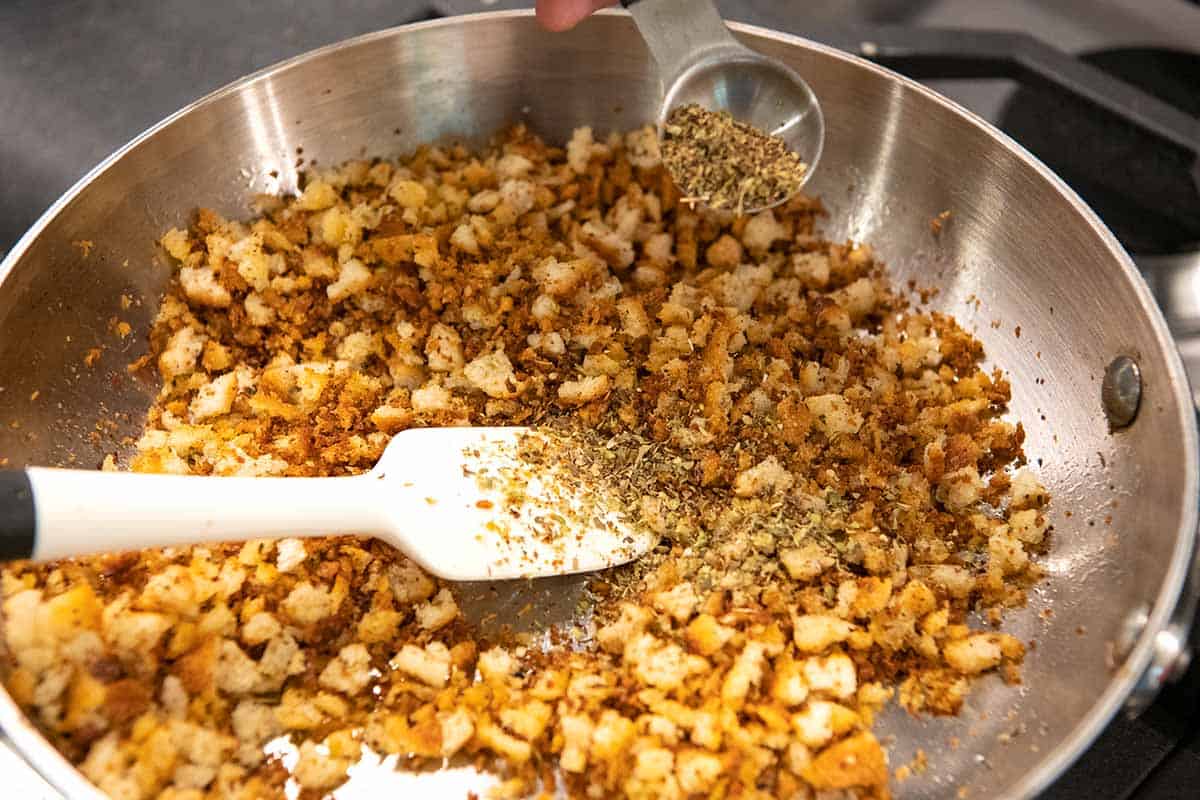
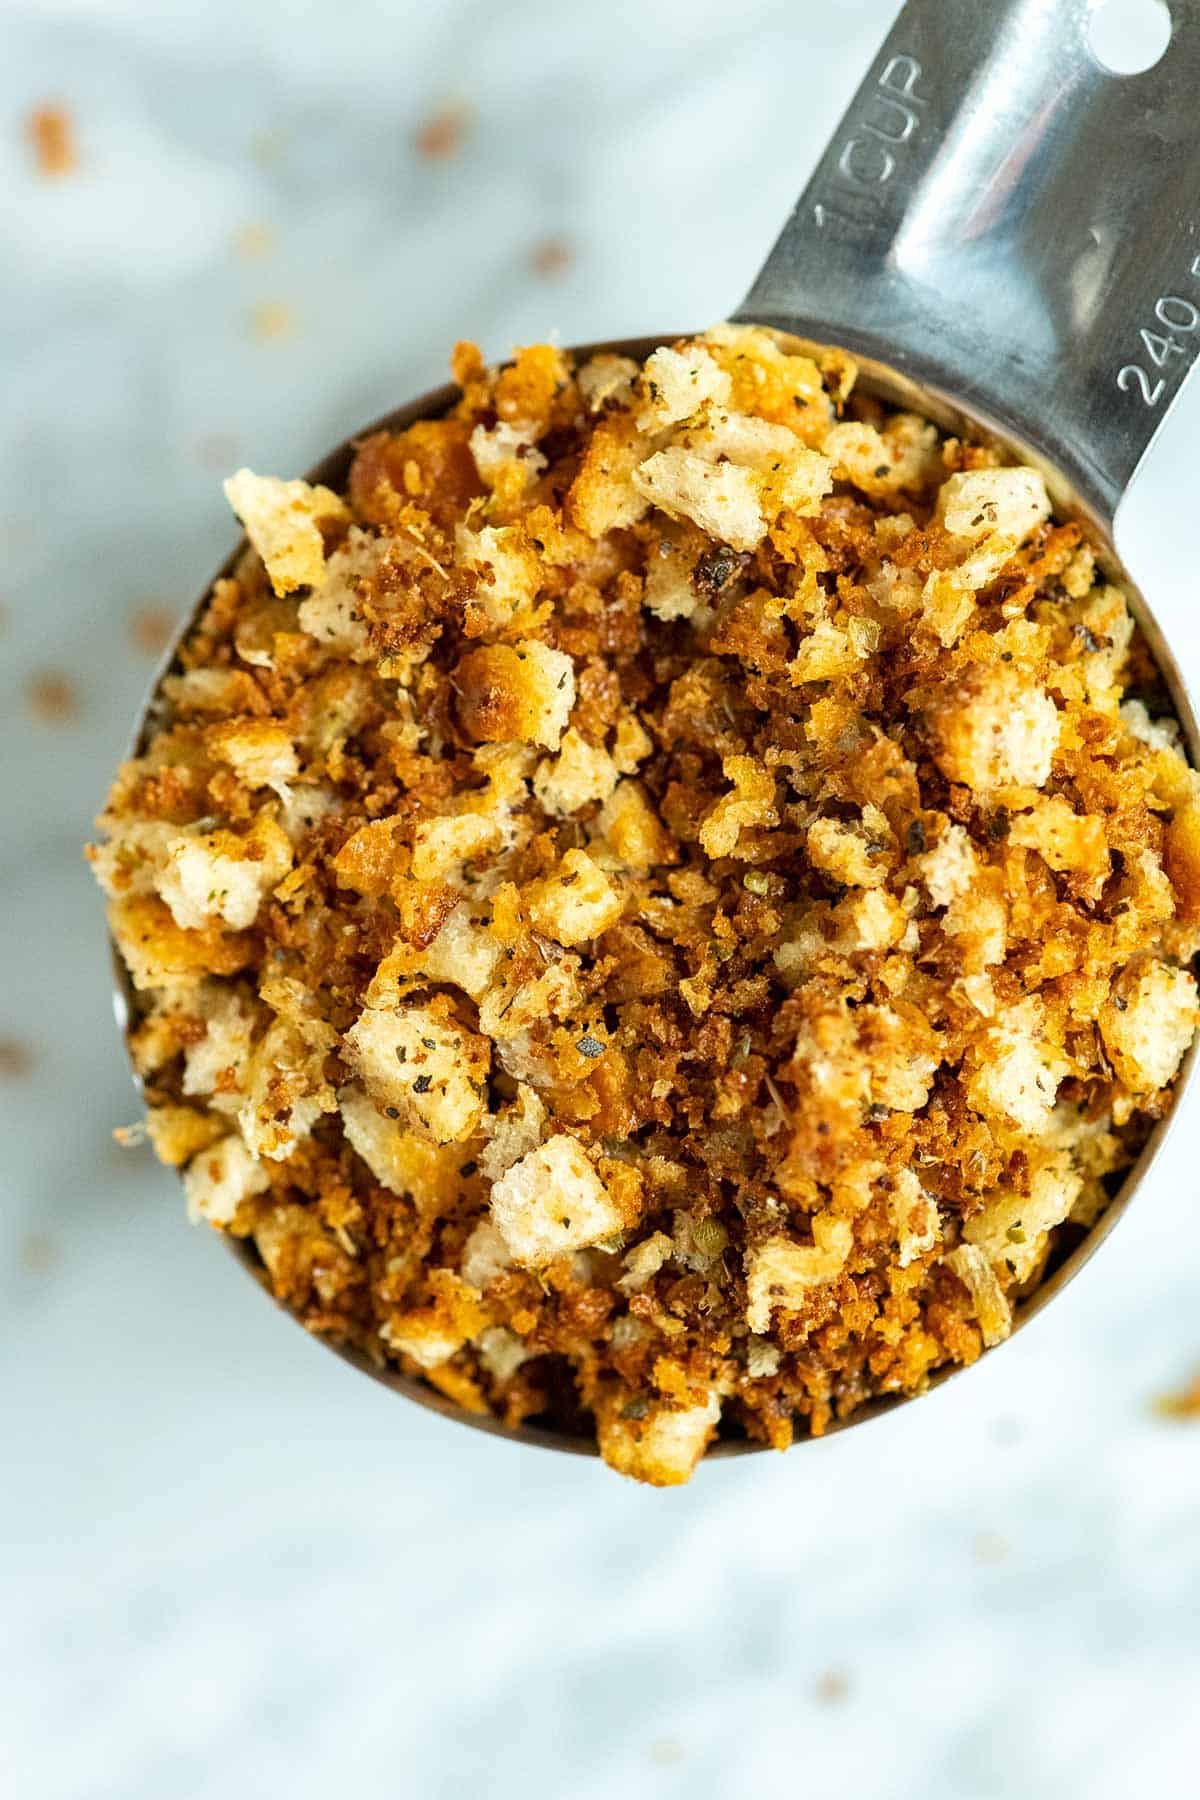
    Tip 2: Toasting your breadcrumbs. Depending on what you plan to do with them, you can make fresh bread crumbs or toast them in a skillet until golden and crisp. To toast my breadcrumbs, I stir them with olive oil or butter and seasonings over medium heat until they are golden and crisp (I’ve included tips for Italian breadcrumbs below in the recipe).

    I love the oil (or butter) and spices, but you can skip them and toast the breadcrumbs in a dry pan for plain breadcrumbs.

    Toasting bread crumbs in a skillet with spices.

    Ways to Use Breadcrumbs

    Use homemade bread crumbs anytime you would have used store-bought. Some of my favorites ways to use them, include our popular turkey meatloaf, our easy chicken parmesan, and my favorite stuffed mushrooms.

    If you are making them for a specific recipe, you can dial in the texture. For example, I prefer finer breadcrumbs in our recipes for meatballs and meatloaf, but I like them coarser when using them as a crunchy salad topping.

    Homemade breadcrumbs

    Easy Homemade Breadcrumbs

    • PREP
    • COOK
    • TOTAL

    Breadcrumbs are easy to make at home and can be spiced up any way you like. Remember that you can control how fine or coarse the crumbs are. When making them for meatballs, we want them a bit finer. If we make breadcrumbs for a crunchy topping, we keep them more rustic and coarse. For Italian breadcrumbs, use Italian seasoning when toasting the breadcrumbs.

    Makes 1 cup

    You Will Need

    2 to 3 cups cubed bread (about 2 ounces)

    2 tablespoons olive oil or melted butter

    1/4 teaspoon fine sea salt

    1/4 teaspoon fresh ground black pepper

    2 to 3 teaspoons Italian seasoning or dried herbs, optional

    Directions

      1Cut the bread into small pieces. (The smaller the pieces, the easier for your device to break them down.)

      2Add the bread pieces to your food processor or blender and pulse until they break down into your desired size of breadcrumbs.

      3For toasted breadcrumbs, add breadcrumbs, olive oil, salt, pepper, and dried herbs to a wide skillet over medium heat. Cook, stirring often, until they are golden and crisp, about 5 minutes.

      4Alternatively, heat the oven to 300°F. Toss the breadcrumbs with the olive oil, salt, pepper, and dried herbs. Add the mixture to a rimmed baking sheet and spread it into an even layer. Bake for 5 minutes, stir, and then bake another 3 to 5 minutes or until the breadcrumbs are golden and crisp.

    Adam and Joanne’s Tips

    • Storing: Cool and store the breadcrumbs in an airtight container. They can be kept at room temperature for a few days or in the freezer for up to a month. If they soften a little, throw them into a hot skillet for a few minutes to crisp them up.
    • Fresh vs. toasted: Depending on what you plan to do with them, you can leave bread crumbs fresh (an excellent option for meatballs or meatloaf) or toast them in a skillet or bake in the oven until golden and crisp.
    • Do you need to cut off the crust? This is up to you, but we never cut off the crusts when making bread crumbs. I love the different colors and textures you achieve when using the middle and the bread crusts.
    • No food processor or blender: If your bread is hard and stale, add it to a bag and beat it into submission with something heavy like a rolling pin, heavy pan, or mallet. This method doesn’t work well for softer, fresh bread, so if that’s all you have, consider baking the bread to dry it out, just like we do when making homemade croutons.
    • The nutrition facts provided below are estimates.

    Nutrition Per Serving
    Serving Size
    1/4 cup
    /
    Calories
    137
    /
    Total Fat
    8 g
    /
    Saturated Fat
    1.2g
    /
    Cholesterol
    0mg
    /
    Sodium
    287.4mg
    /
    Carbohydrate
    14.3g
    /
    Dietary Fiber
    0.8g
    /
    Total Sugars
    1.6g
    /
    Protein
    2.6g


    AUTHOR:

    Joanne Gallagher

    Adam and Joanne of Inspired Taste

    We are Adam and Joanne Gallagher, the creators of Inspired Taste. Established in 2009, Inspired Taste grew from a childhood dream into one of the internet’s most trusted recipe sites with hundreds of reliable recipes, step-by-step videos, and expert tips.More About Us

    Source link

  • Homemade Steak Sauce | The Recipe Critic

    Homemade Steak Sauce | The Recipe Critic

    This website may contain affiliate links and advertising so that we can provide recipes to you. Read my disclosure policy.

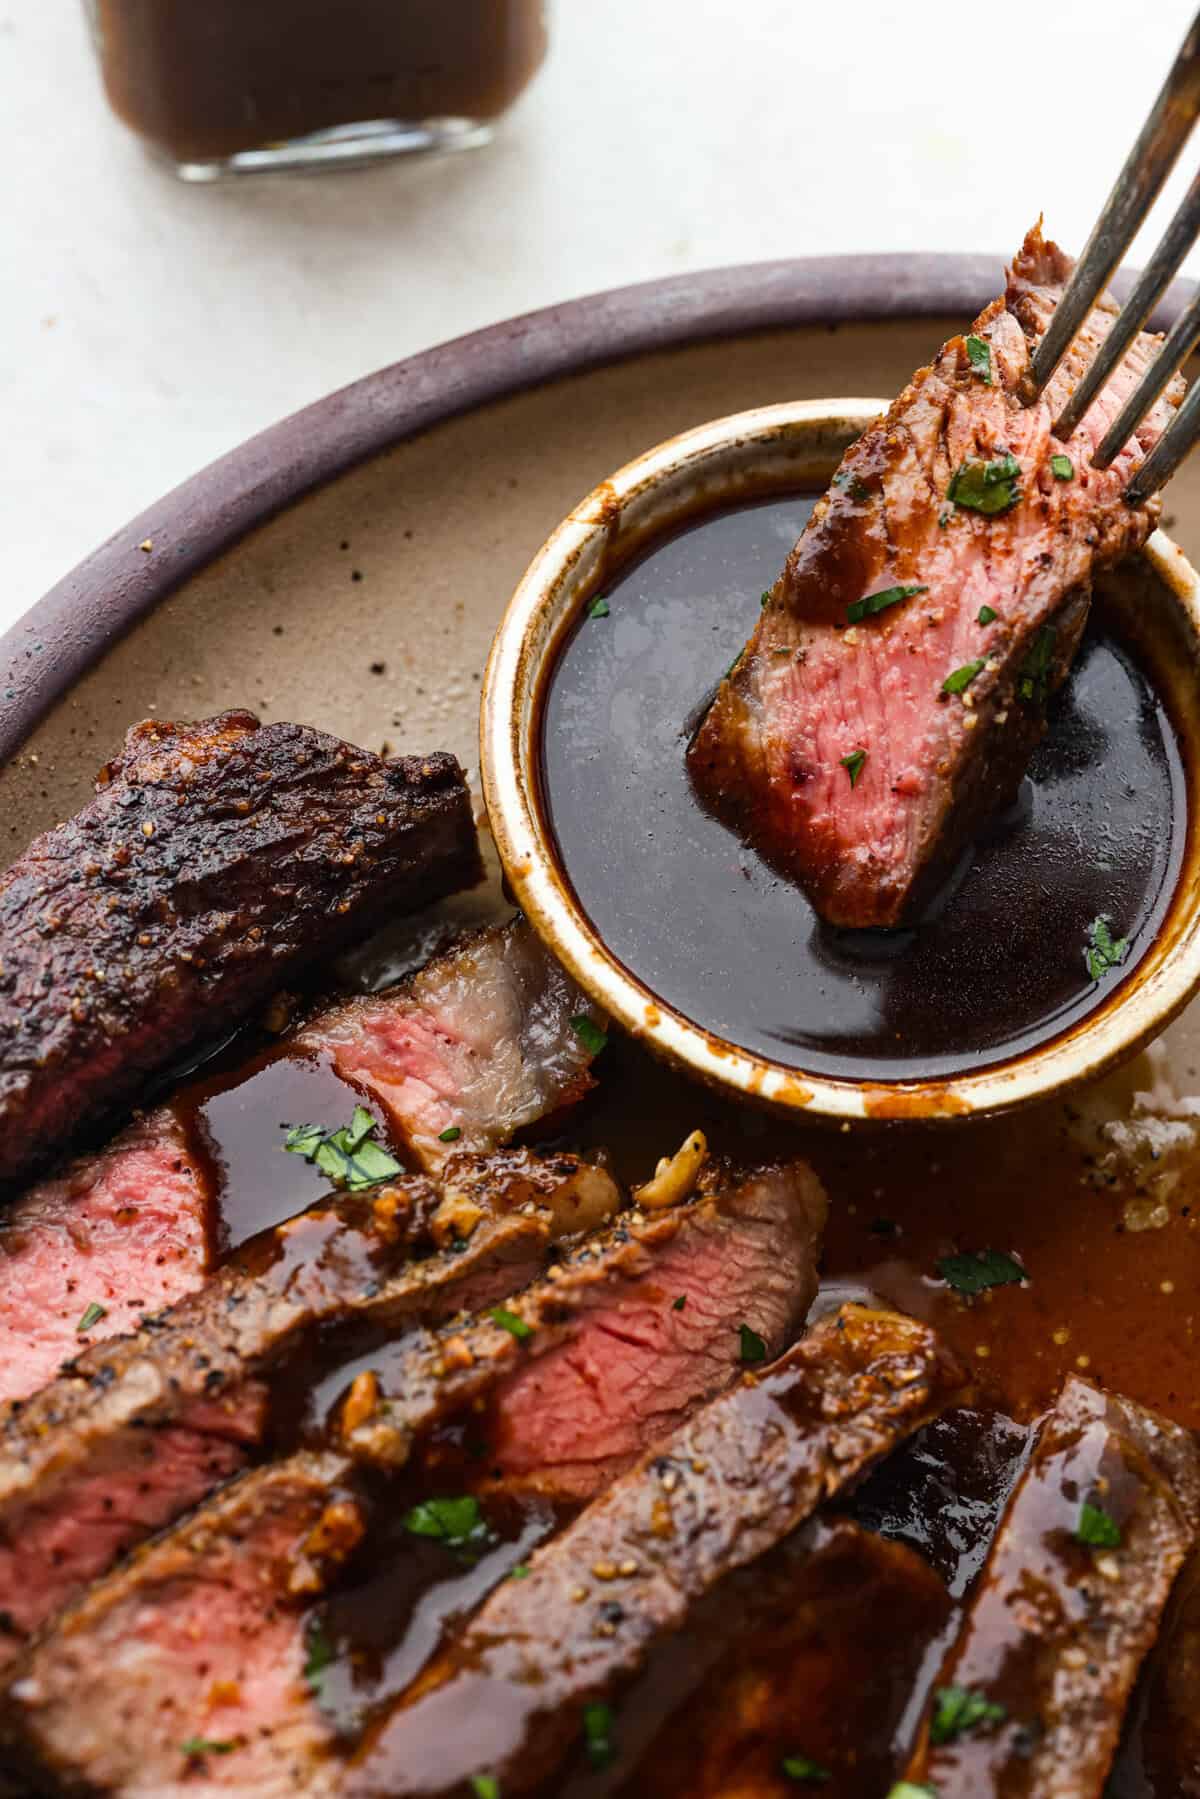
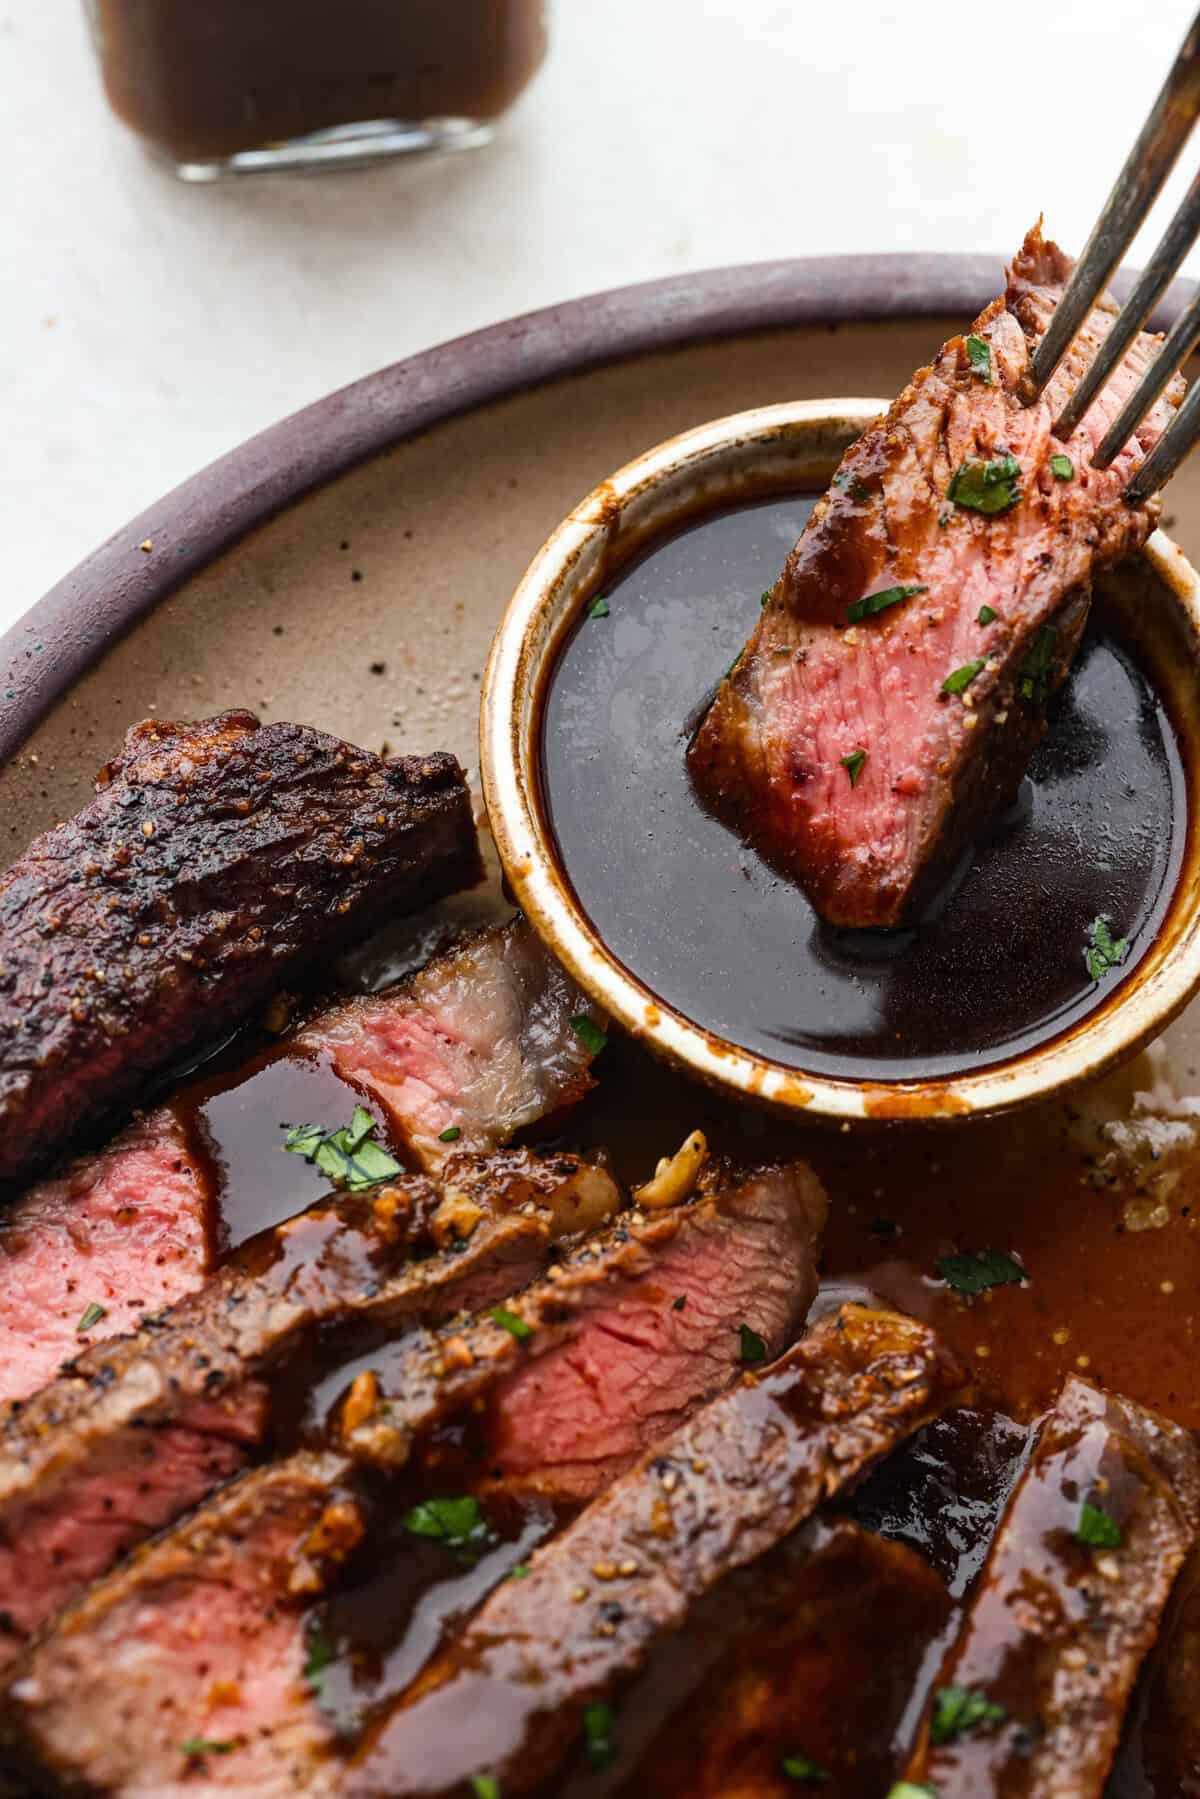
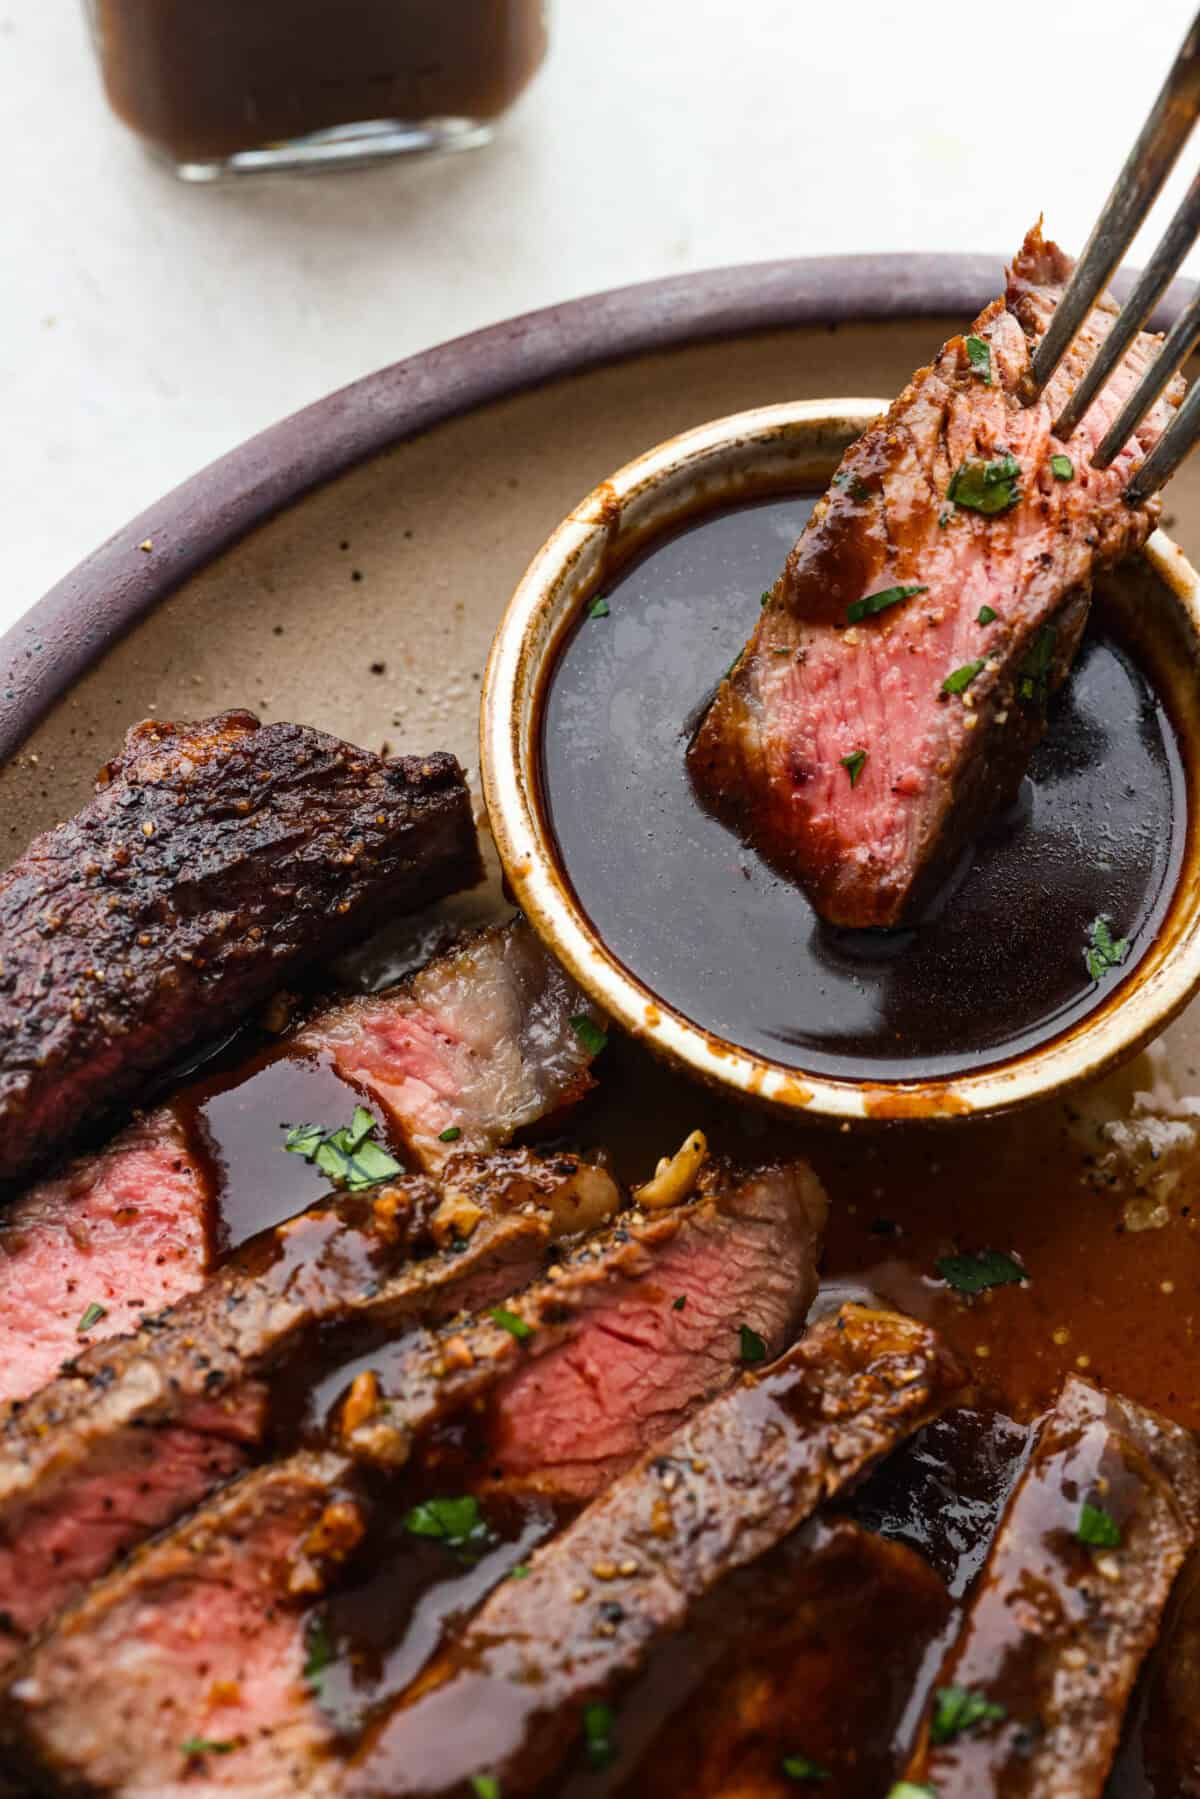
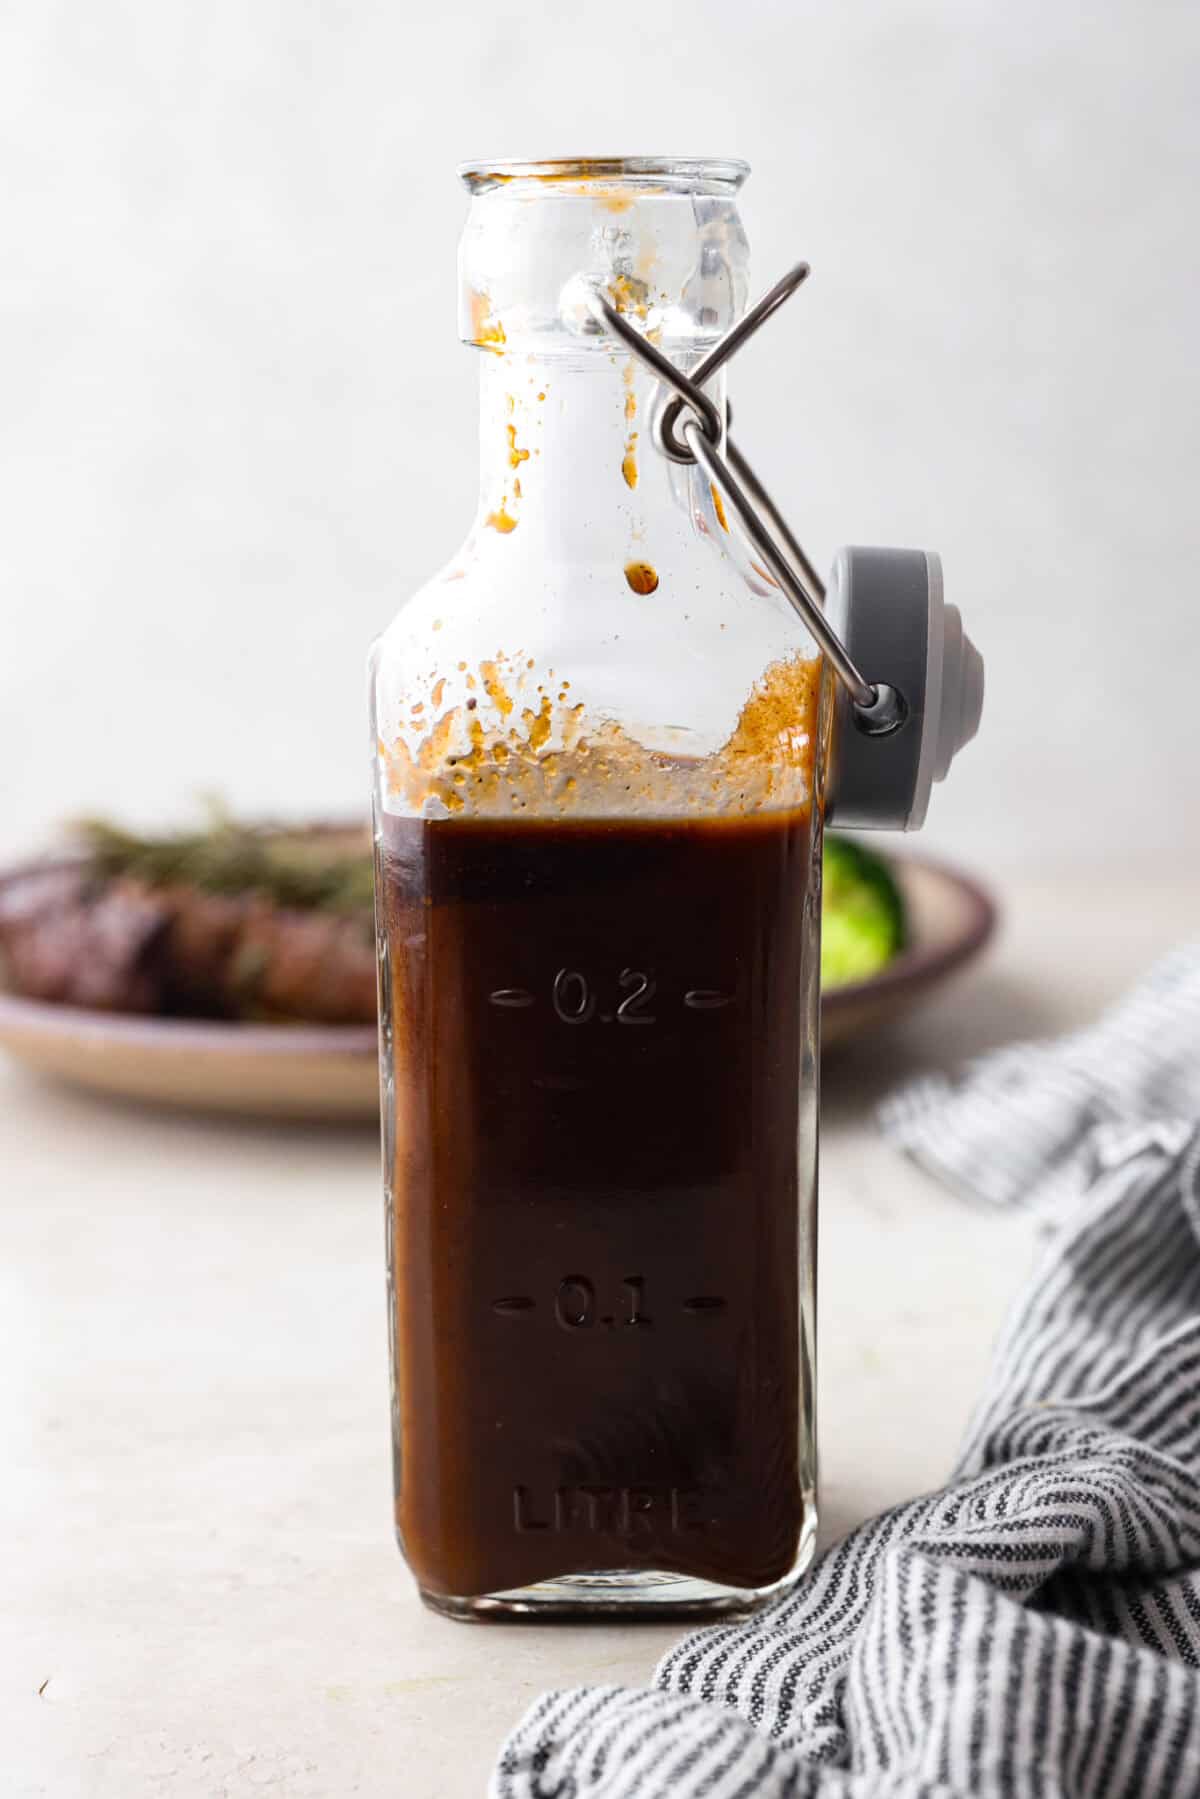
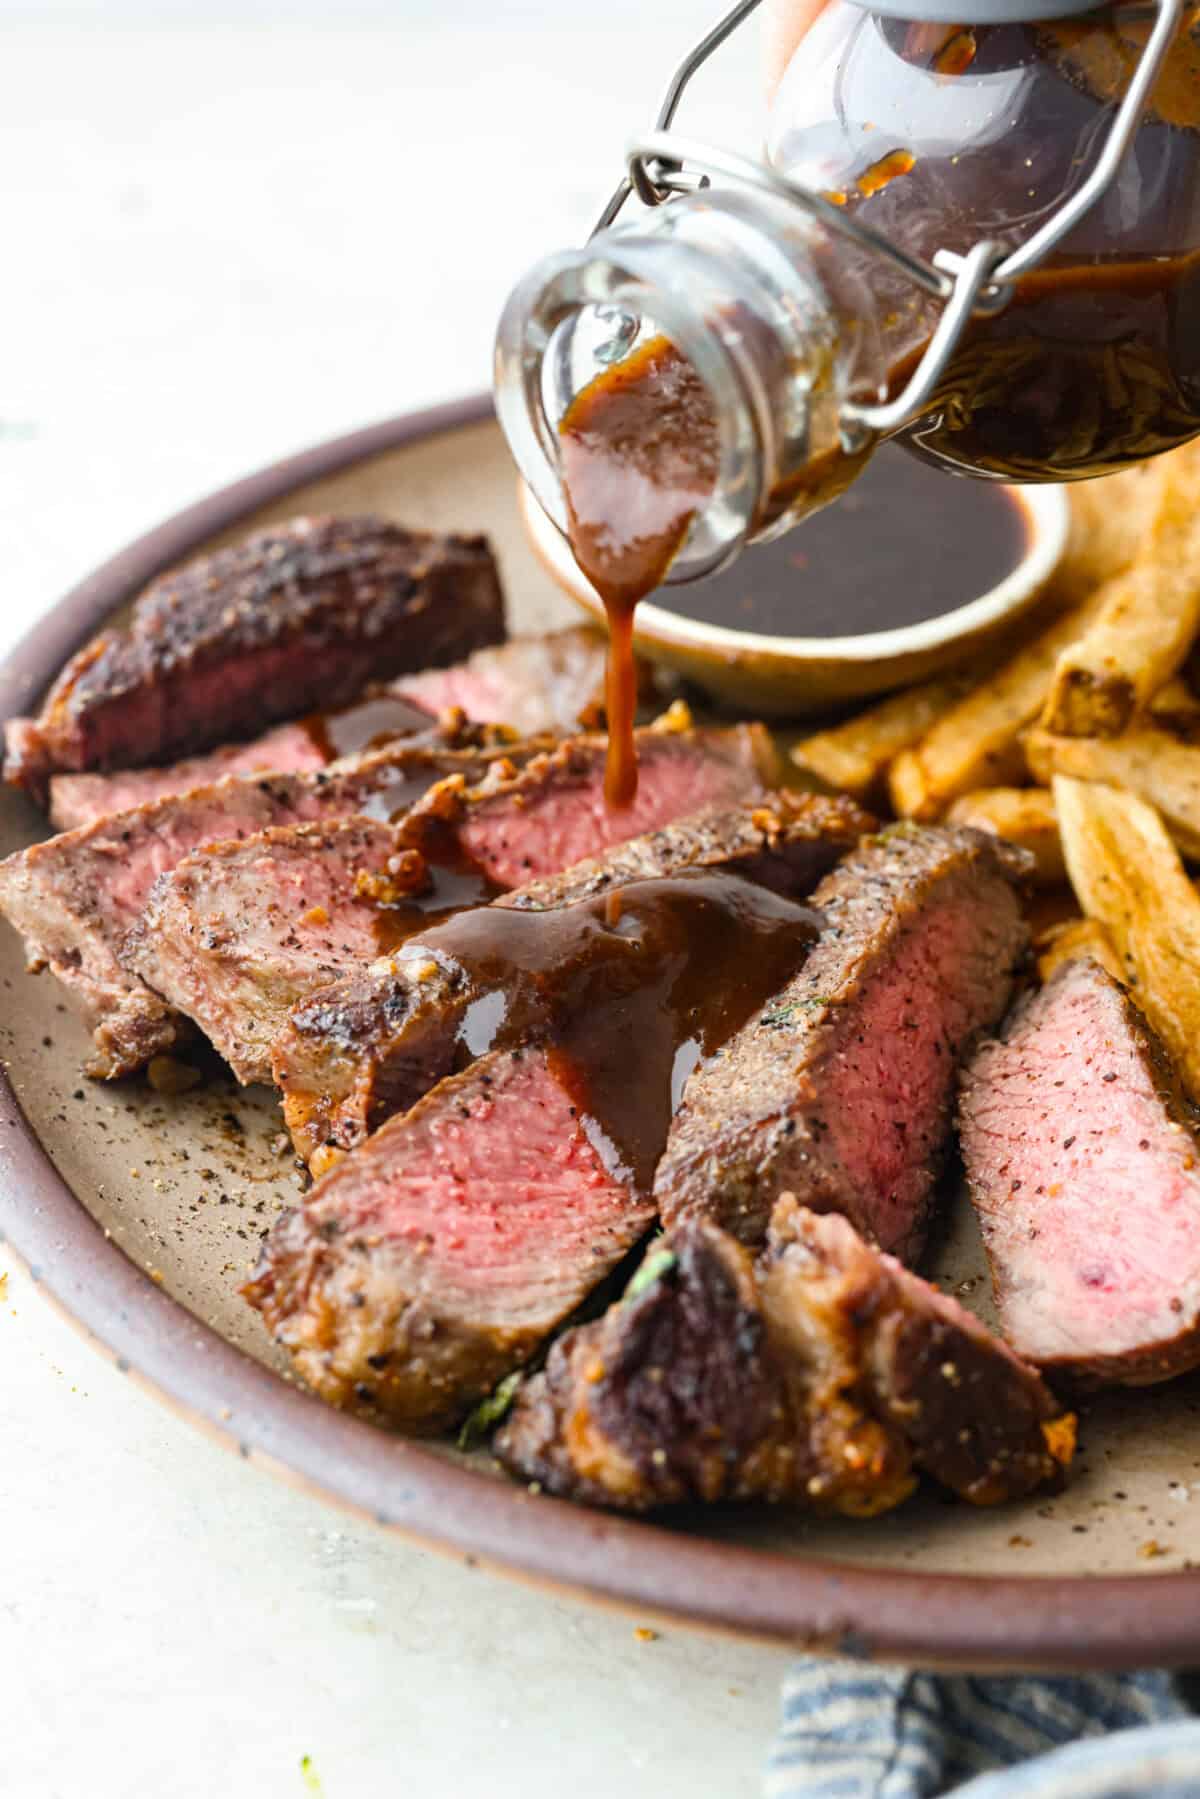
    This A-1 copycat homemade steak sauce recipe is slightly sweet with a delicious tang from the vinegar. It’s perfect for drizzling over your favorite cut of tender, juicy meat.

    Angle shot of someone dipping a piece of steak into the homemade steak sauce.

    Reasons You’ll Love This Recipe

    • Easy to Make: There are only a few simple ingredients that go into this amazing sauce, and you probably already have them in your pantry.
    • Customizable: You can easily adjust this homemade steak sauce recipe to suit your taste preferences.
    • Versatile: This sauce goes well with any steak you whip up, whether it’s a ribeye, T-bone, New York strip, skirt steak, or tuna steak.

    Rich, Bold, Savory Steak Sauce

    You will love the depth of flavor this homemade sauce gives any steak you make. If you like A-1, you will love this even more. It is similar, but will have ingredients you know and trust. Combined, they make the most incredible steaks taste even better! Trust me, you will want to have this on hand any time you make steaks!

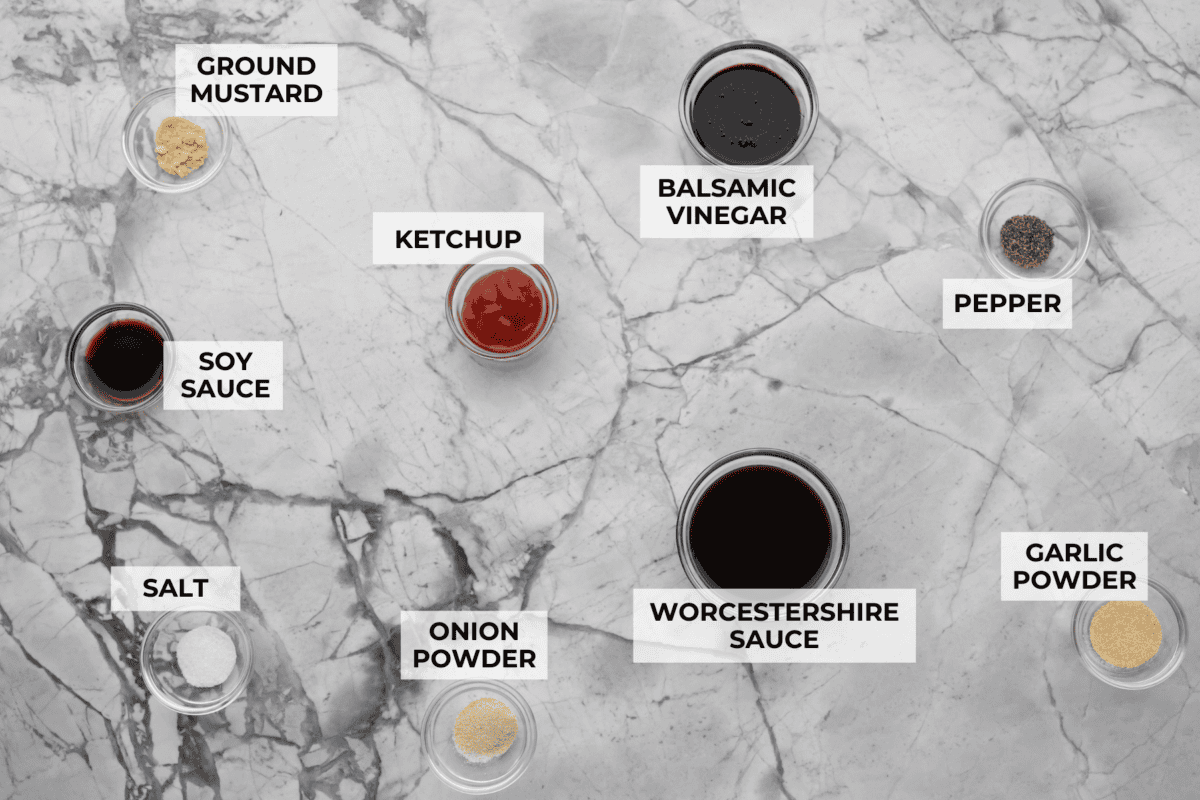
    Ingredients Needed

    How to Make Homemade Steak Sauce

    This steak sauce recipe is just as good or better than A-1 steak sauce. I love being able to adjust the ingredients to use more of what I like and make it taste exactly how I want.

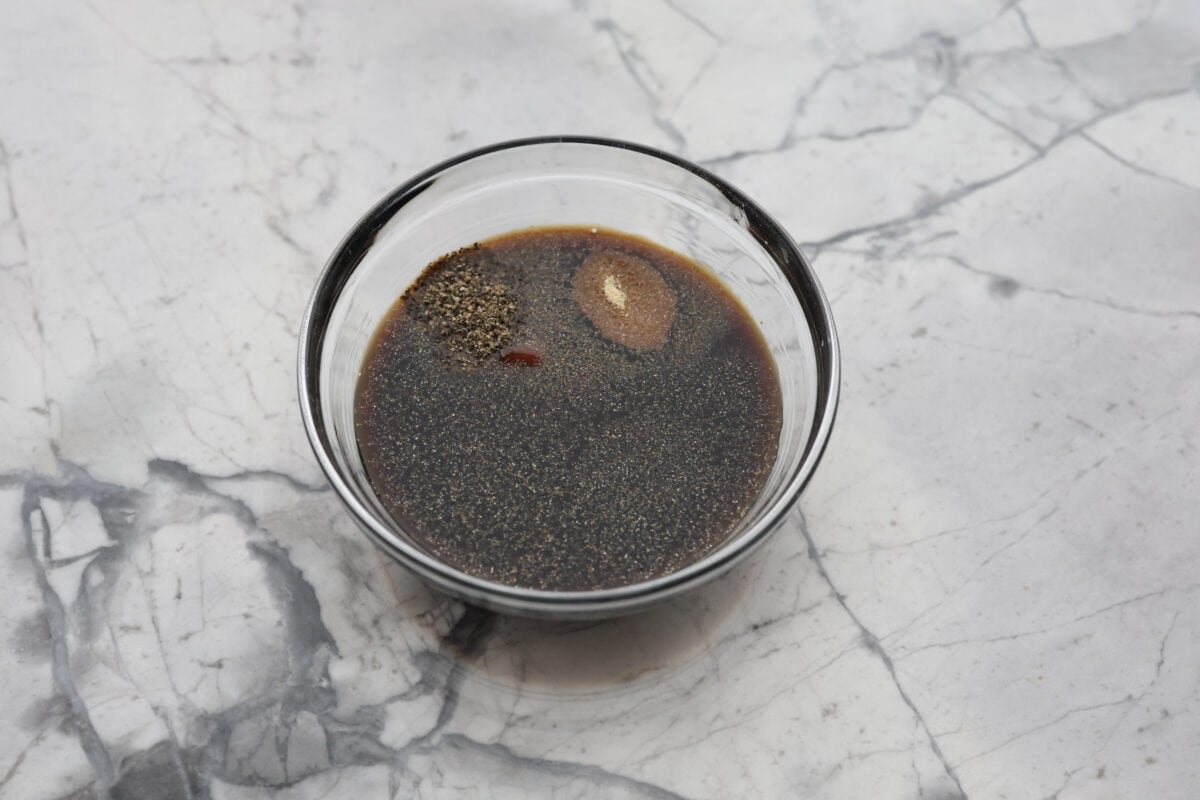
    1. Combine: In a mixing bowl, add the Worcestershire sauce, balsamic vinegar, ketchup, soy sauce, onion powder, garlic powder, mustard powder, pepper, and salt.
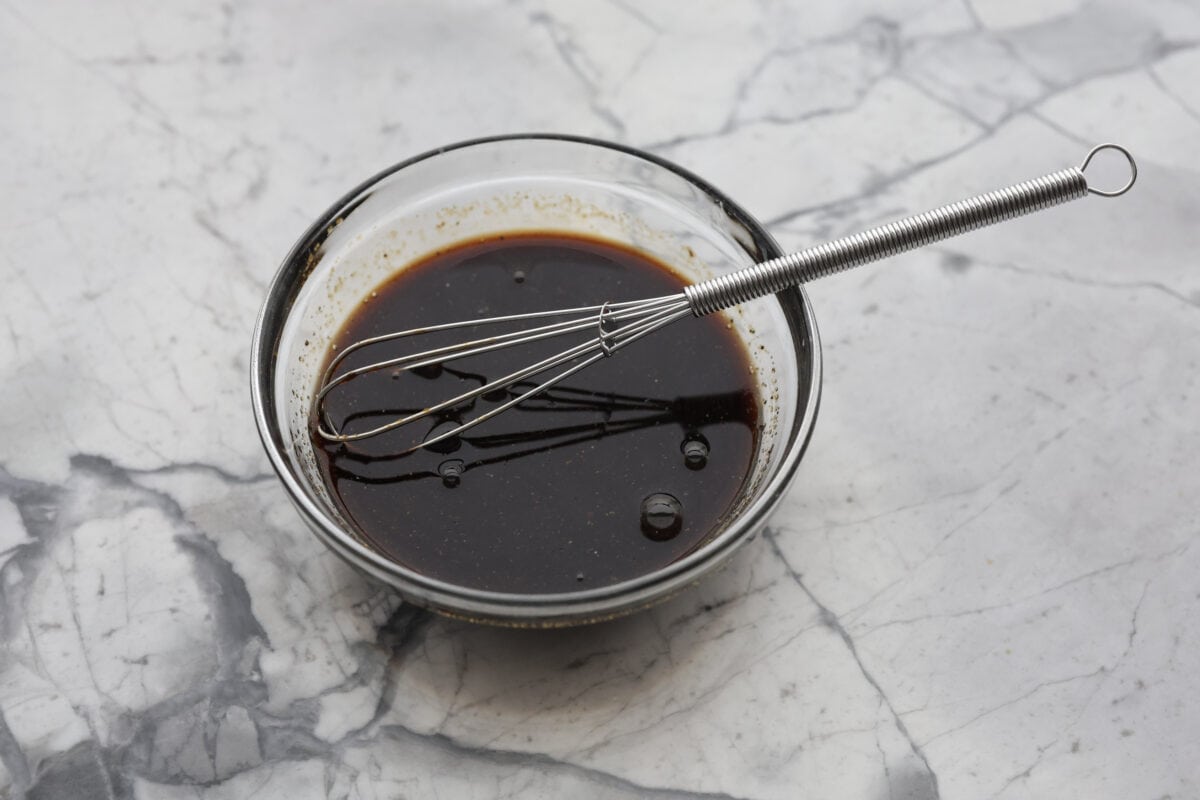
    2. Stir: Whisk everything together and then serve or store right away.
    Side shot of homemade steak sauce in a bottle.

    Tips and Variations

    This homemade steak sauce recipe is very straightforward. But you can always adjust something like this to make it suit your tastes. Here are some ideas to get you started.

    • Let it Sit: You can use this sauce right away, but I recommend letting it sit for a couple of hours to allow the flavors to meld together. Shake well before using. 
    • Make it Spicy: If you want to, you can add some spice to this sauce by adding cayenne pepper to it.

    Storing Steak Sauce

    The nice thing about this homemade steak sauce is that will last you a couple of months! Here are the instructions for how to give it the longest shelf life.

    • Fridge: You can store any leftovers in an airtight container in the fridge for up to 2 months. 
    • Freezer: I don’t recommend freezing this sauce, it keeps for a long time in the fridge and will be best kept there.

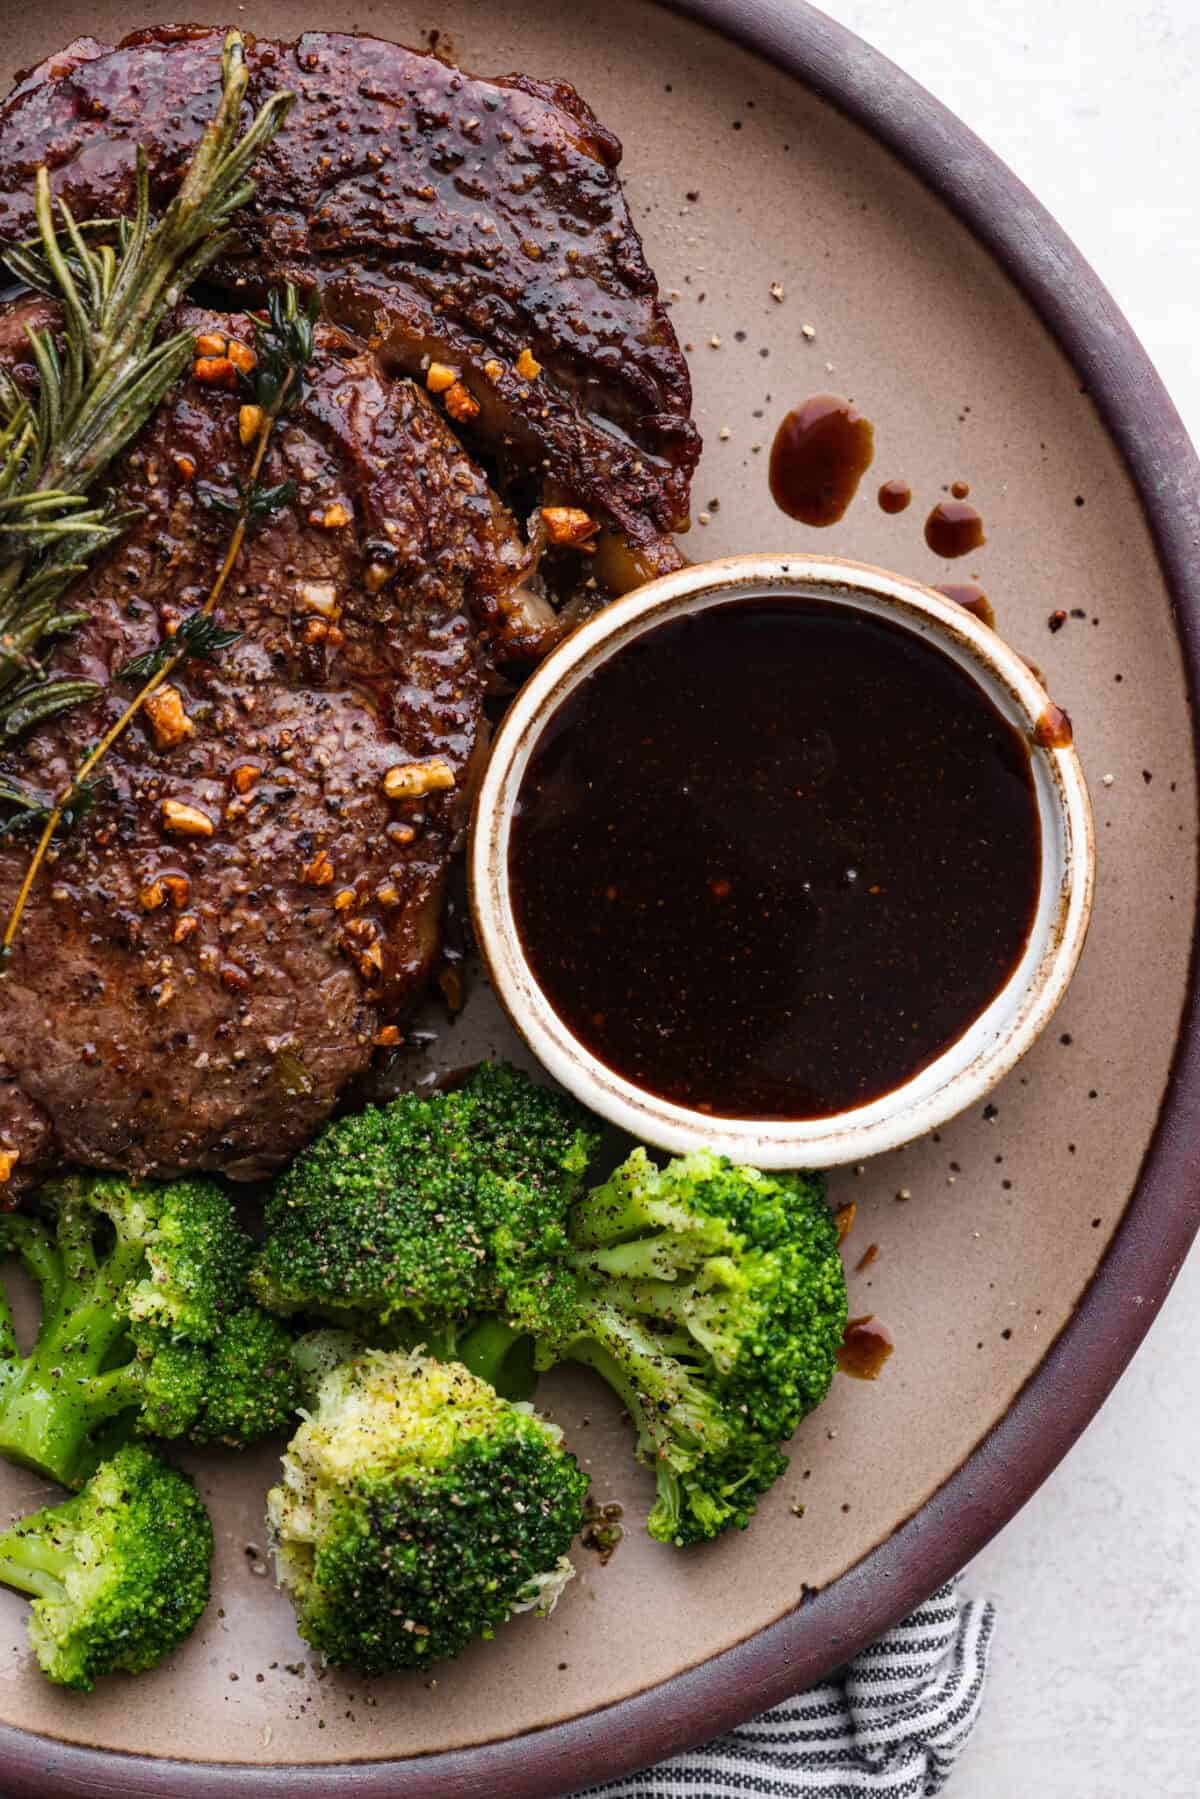
    Overhead shot of a plate with steak next to broccoli, and a small bowl of homemade steak sauce.

    More Steak Sauces and Marinades

    Most of the time, I like to make my steak with a simple marinade. But there are those special occasions when I like an incredibly flavorful sauce with my steak. Like when I make Steak Frites. Here are a few of my favorites!

    Bearnaise Sauce

    35 minutes

    Pin this now to find it later

    Pin It


    Source link

  • Easy Homemade BBQ Seasoning | The Recipe Critic

    Easy Homemade BBQ Seasoning | The Recipe Critic

    This website may contain affiliate links and advertising so that we can provide recipes to you. Read my disclosure policy.

    My homemade BBQ seasoning brings bold, smoky flavor to just about anything! It’s the perfect blend of sweet, savory, and just a little kick, ready to shake onto chicken, veggies, ribs, and more.

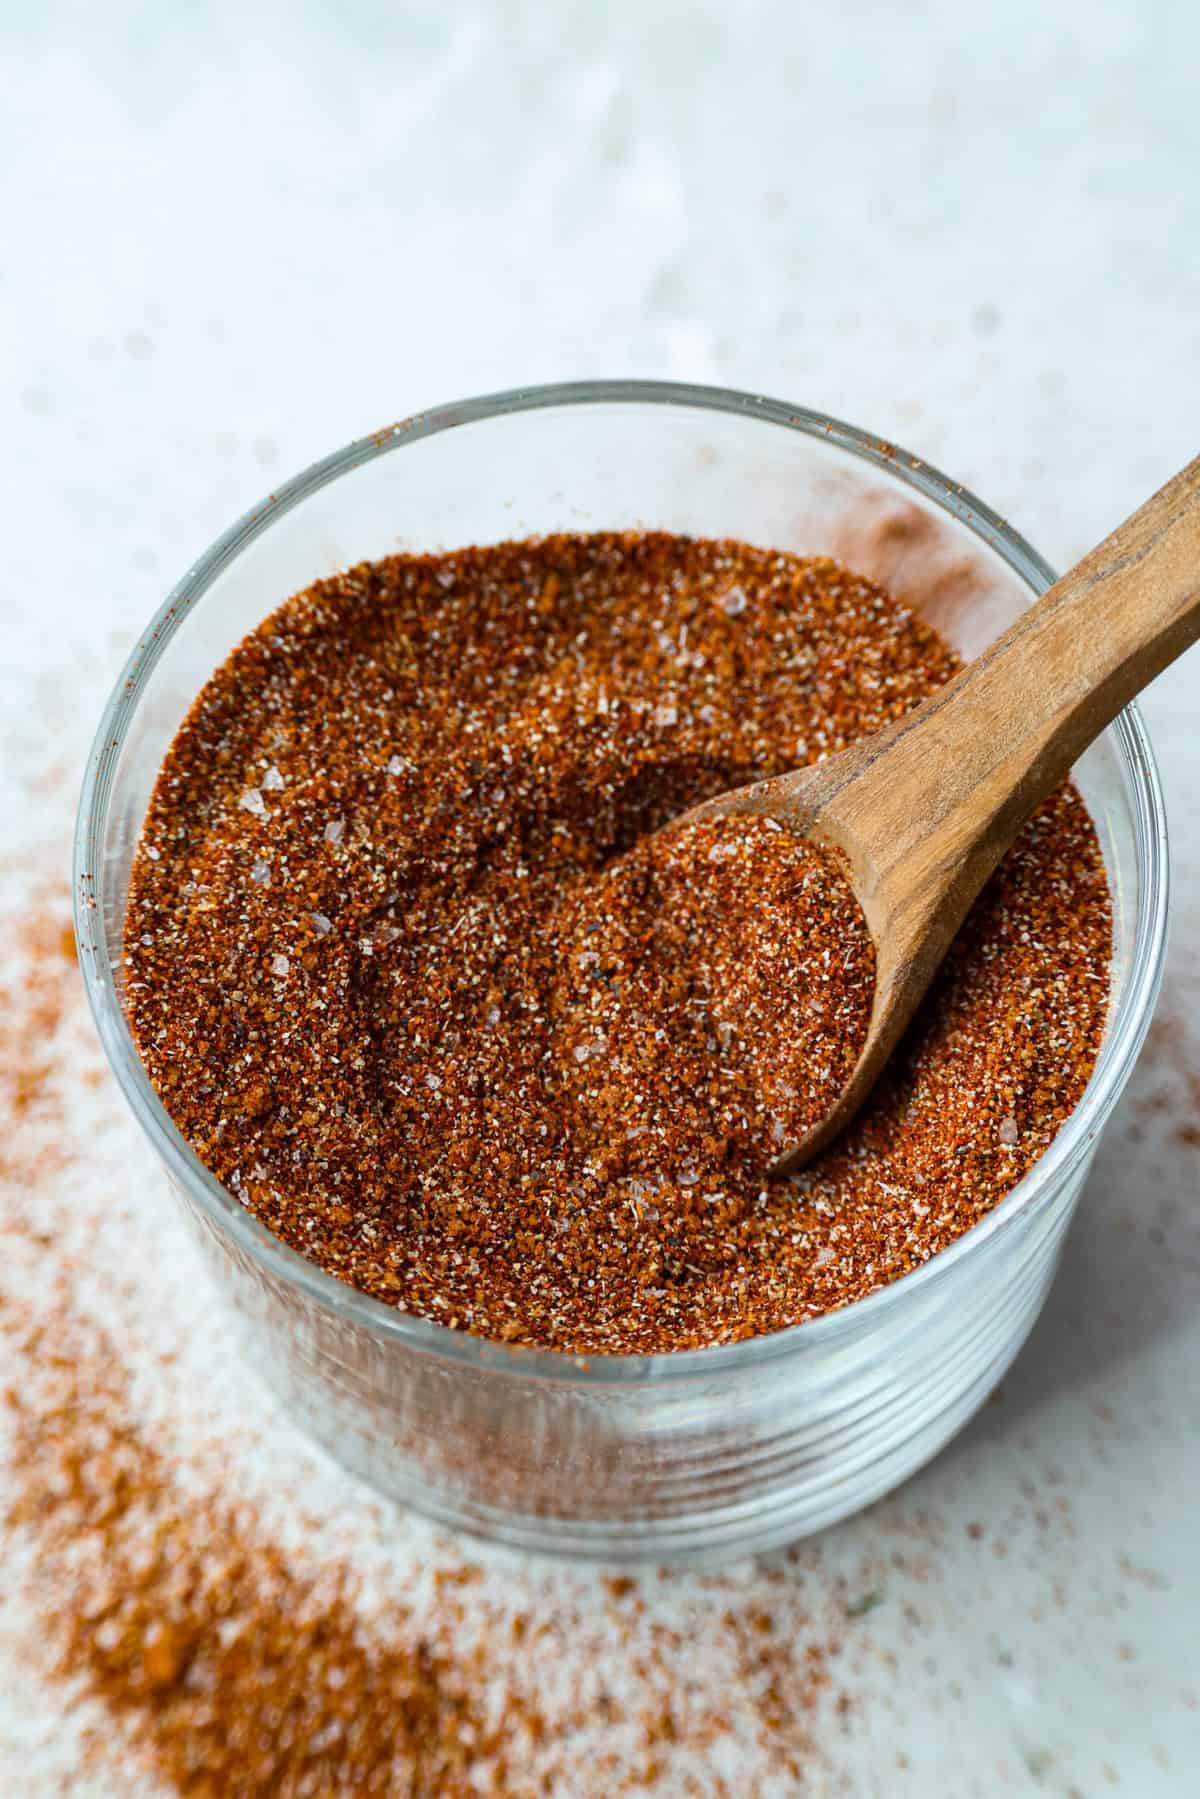
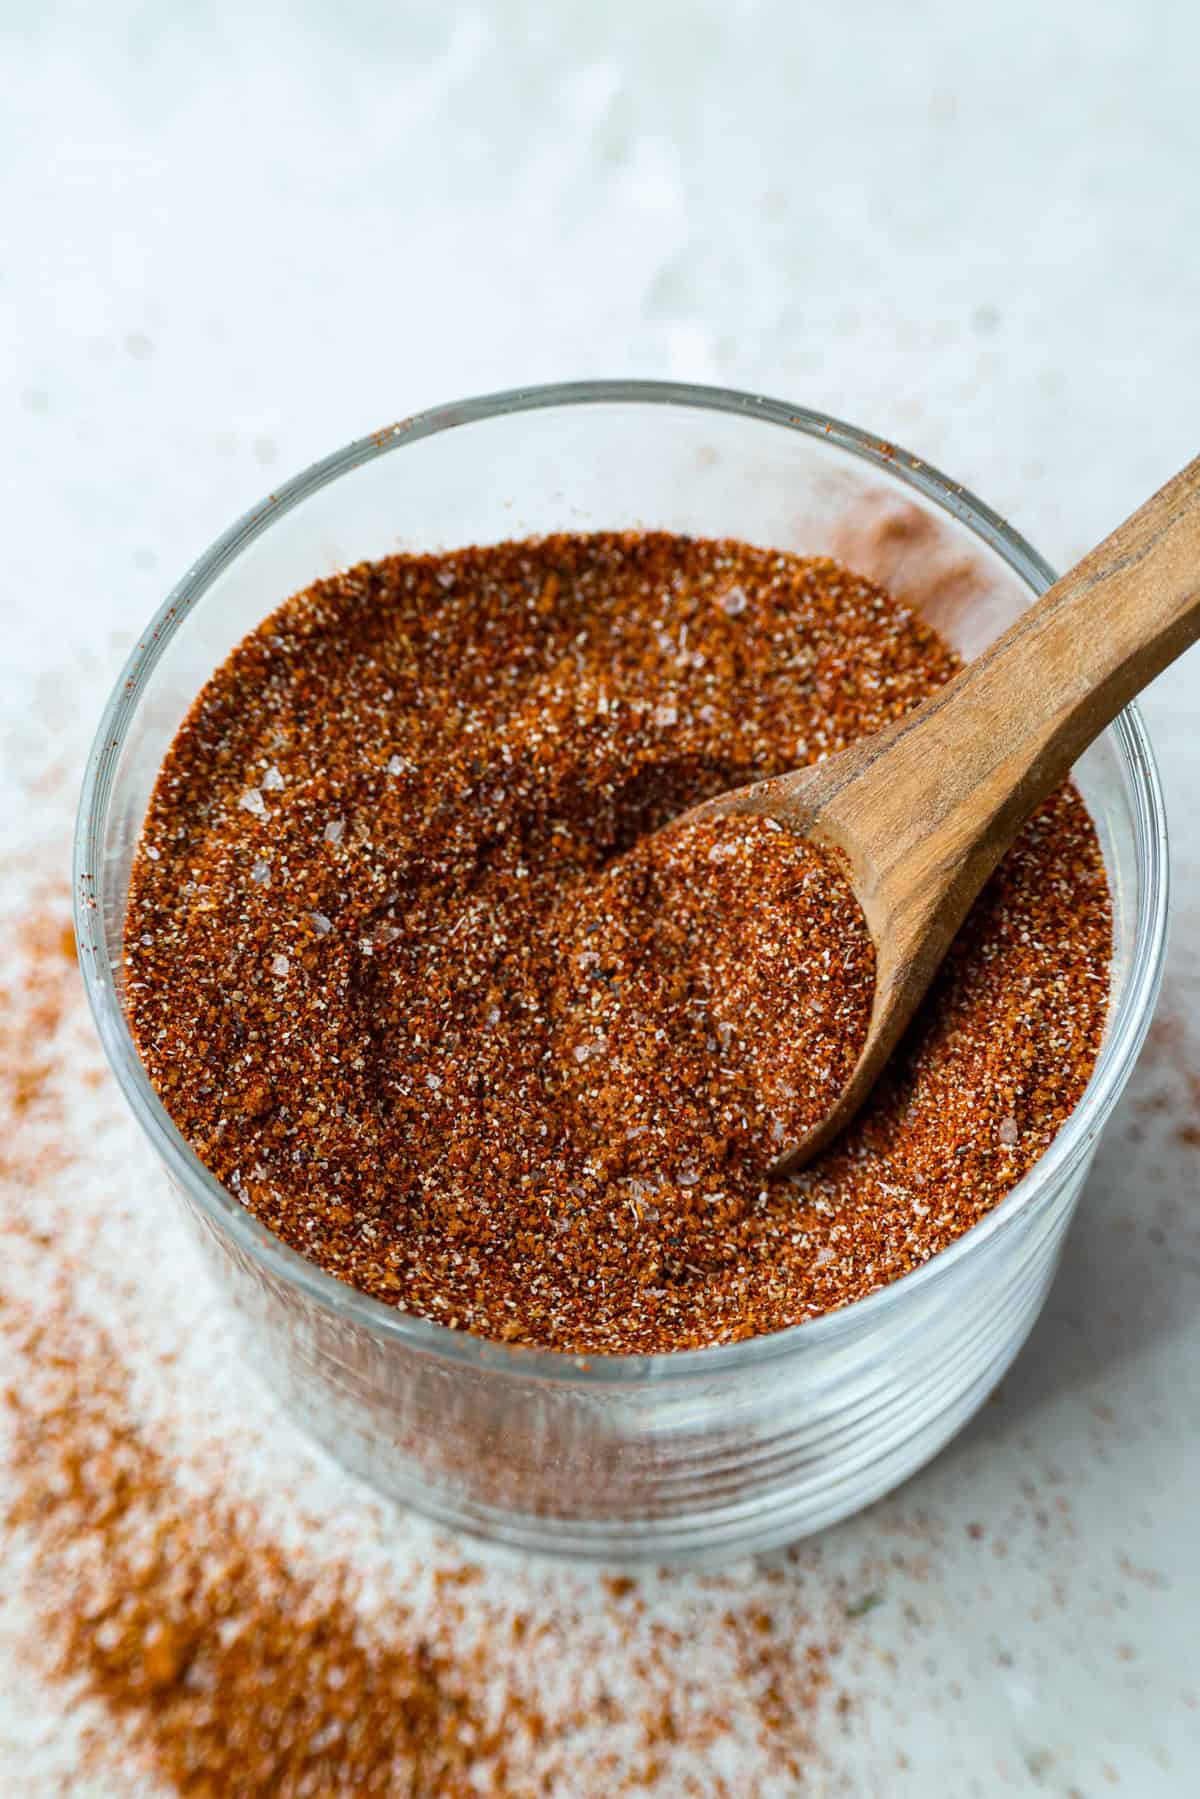
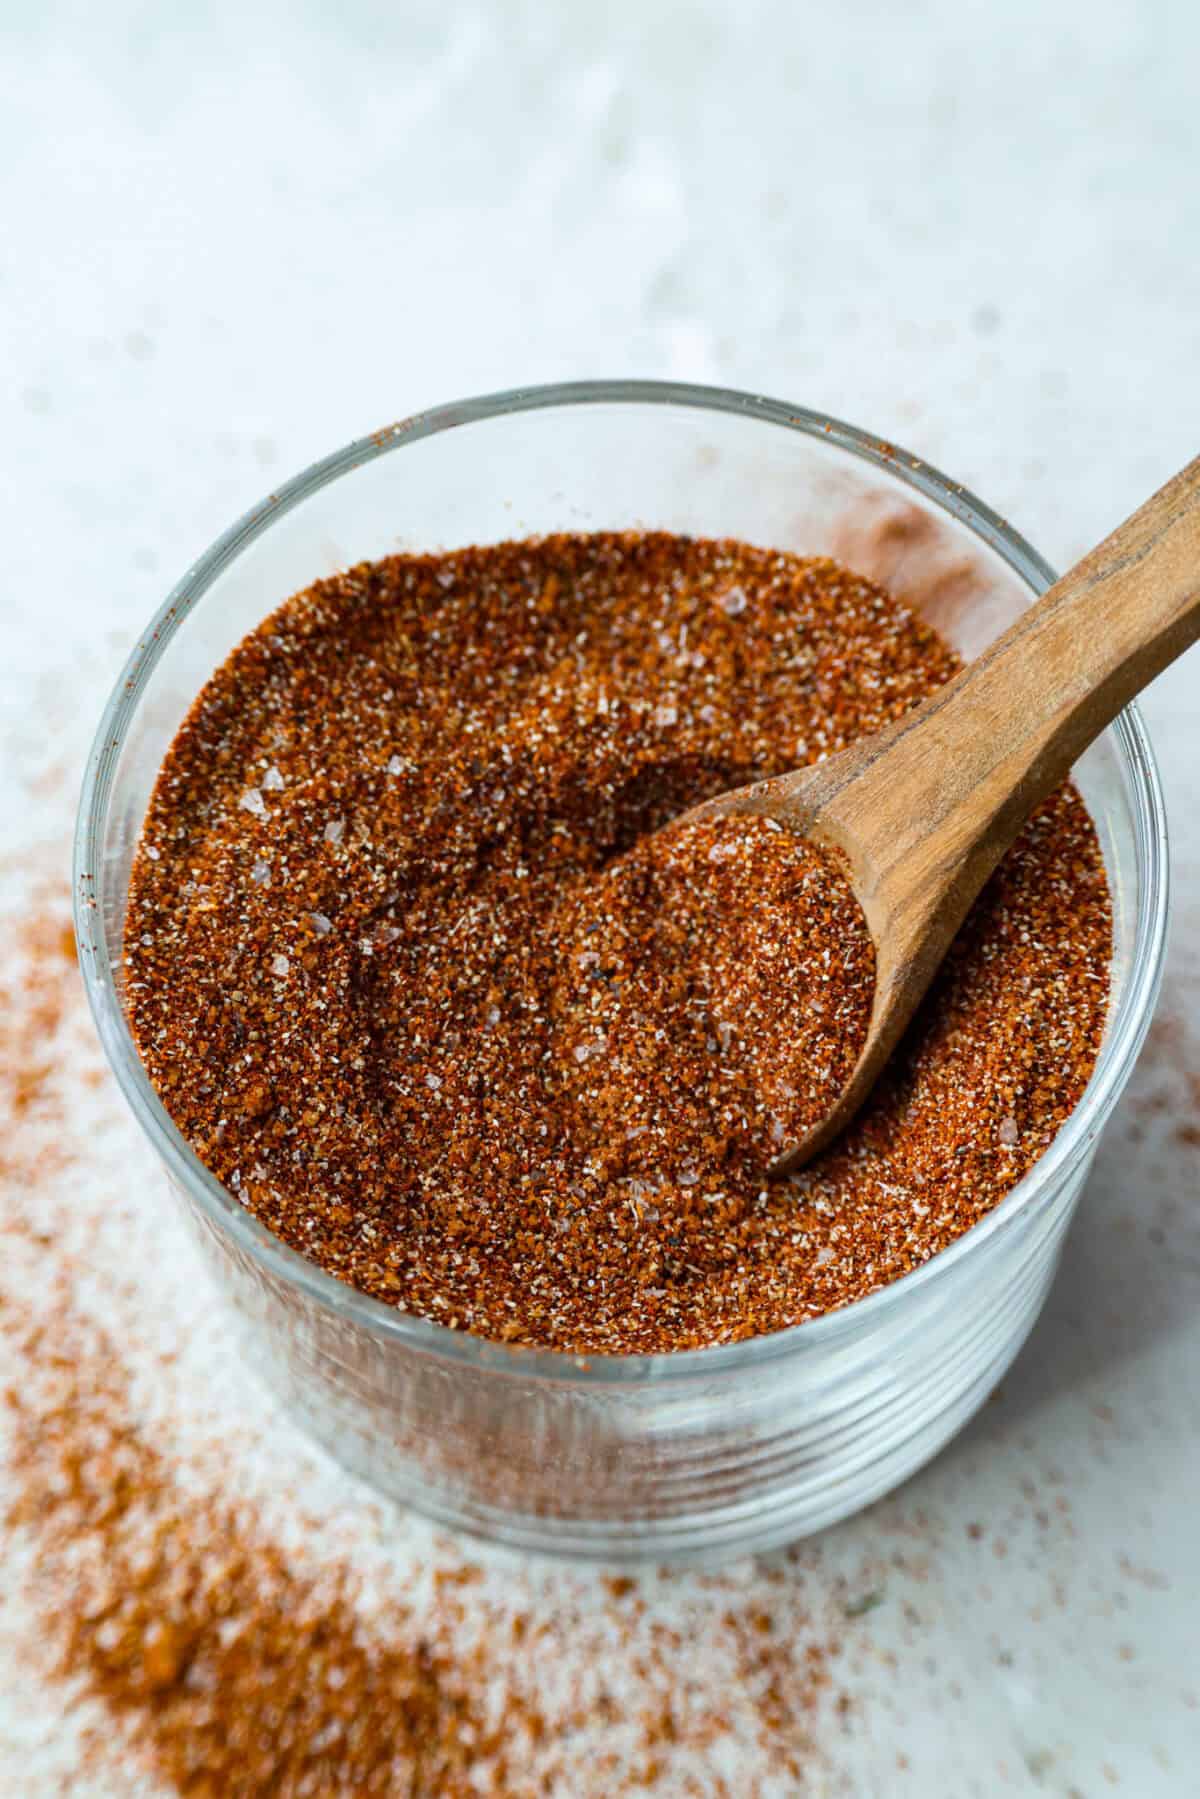
    Overhead shot of a jar of homemade BBQ seasoning with a small wooden spoon.

    Why You’ll Want to Keep This on Hand

    • Big flavor, few ingredients: Just a few pantry spices turn into a tasty blend that you can use all BBQ season long!
    • Totally customizable: Dial up the heat or sweetness to make it your own.
    • Use it on EVERYTHING: Perfect for grilling, roasting, or seasoning snacks like popcorn and roasted nuts!

    BBQ Seasoning Ingredients

    Overhead shot of labeled ingredients.
    • Paprika: Use smoked paprika for a more smoky flavor.
    • Sugar: Brown sugar adds a sweet balance, but feel free to cut it back if you want more spice than sweet in your bbq rub.
    • Spice level: This blend’s got a little kick—skip or reduce the cayenne pepper if you’re not into the heat.

    How to Make BBQ Seasoning

    Get ready to level up your grilling game! This easy BBQ seasoning mix comes together in minutes and brings rich, smoky depth with a touch of sweetness to everything you add it to!

    1. Add Spices: In a small bowl, add paprika, brown sugar, kosher salt, chili powder, garlic powder, onion powder, black pepper, and cayenne pepper.
    2. Mix: Whisk all of the ingredients together until evenly mixed, then store in an airtight container.

    How to Store Homemade Seasoning

    This is great to have in the spice cabinet to add great flavor to so many different recipes.

    • Storing: Store your homemade seasoning in a spice jar or an airtight container in a cool, dark place.
    • How long does BBQ Seasoning Last? If you make sure it is in an airtight container, it will keep at room temperature for 1 year.

    Two steaks seasoned with homemade bbq seasoning.

    How Do I Use BBQ Seasoning?

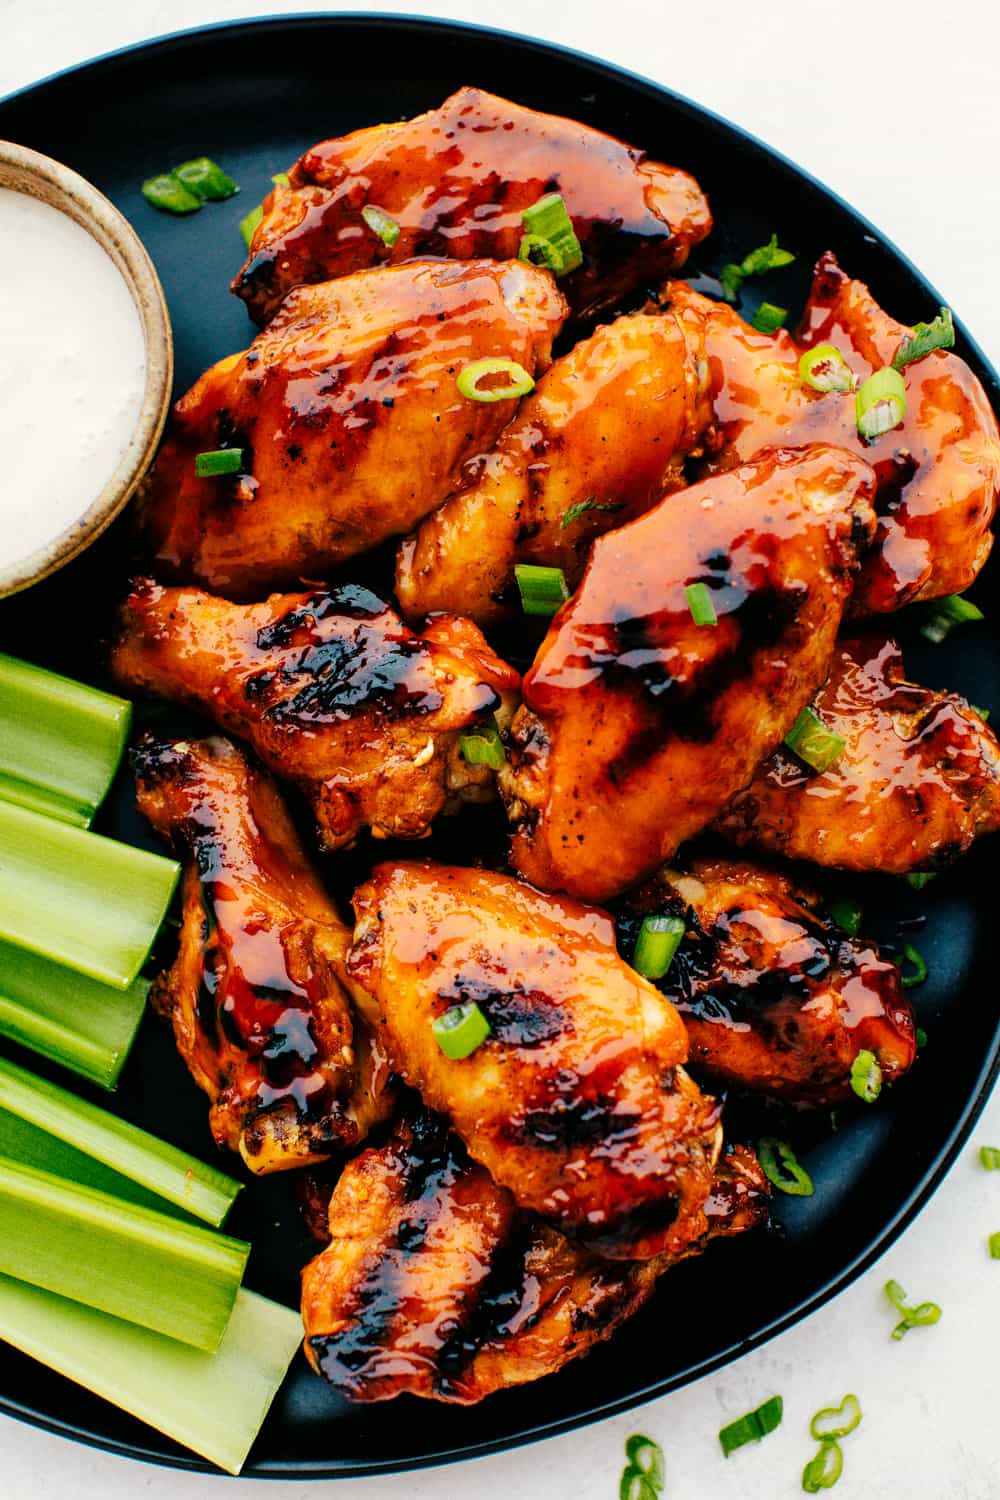
    This spice blend is great for meat rubs, seasoning vegetables, steak, pork, shrimp, and more. Here are a few more options for you to try!

    Juicy Air Fryer Hamburgers

    20 minutes

    Pin this now to find it later

    Pin It


    Source link