Tag: Grilled

  • Grilled Shrimp Salad

    Grilled Shrimp Salad

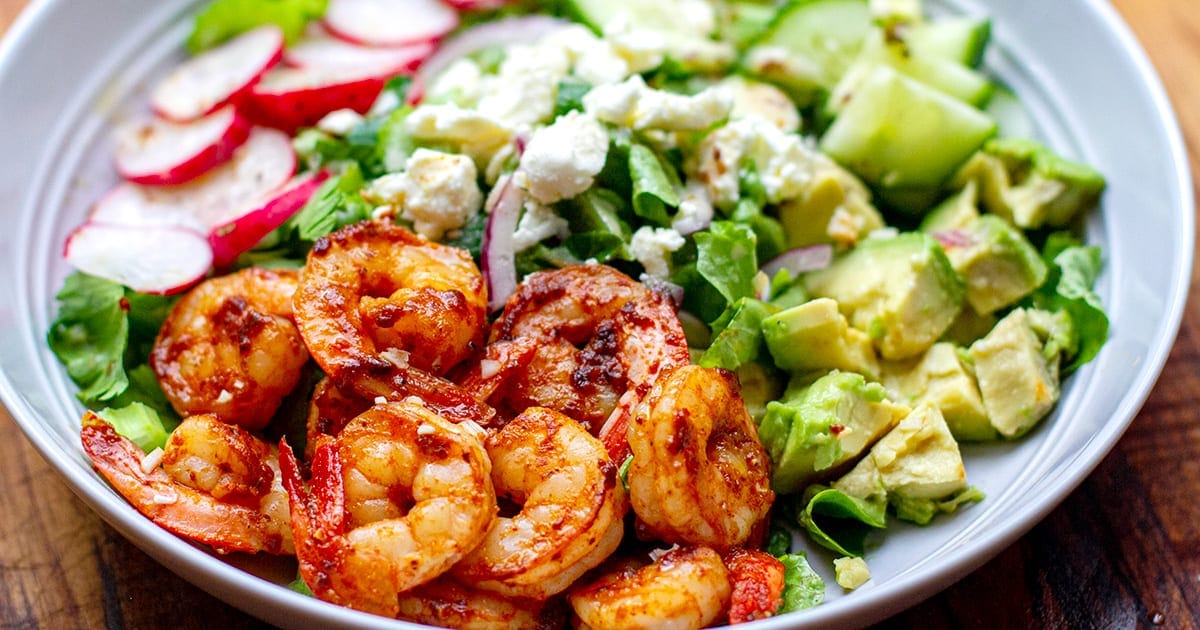
    My spice-rubbed, grilled shrimp salad recipe is paired with avocado, crunchy vegetables like radish, cucumbers and celery, and topped with feta cheese for extra flavour. The shrimp is seasoned with a delicious smokey rub and can be grilled in a skillet, on a barbecue or under a broil. This recipe is gluten-free, low-carb and keto-friendly.


    This is a grilled shrimp salad I often make for lunch or a light dinner. When I say light, I mean healthy, as this dish is actually quite satiating. Shrimp, or prawns for my Aussies, is high in protein and with plenty of fibre from all the vegetables and healthy fats in avocado and feta, this salad is a hearty one.

    What I love about it is that you can use it as a template and swap out vegetables based on what you have on hand. It also goes with a variety of dressings. I have enjoyed it with lemon honey and mustard vinaigrette (in the recipe), my yogurt ranch dressing, a Mexican-inspired lime and coriander based sauce, or with a few drizzles of Balsamic and olive oil.

    This shrimp salad is low-carb and keto-friendly and can be served without feta for a Whole30 and Paleo version. 

    Grilled Shrimp Salad Tips

    • I recommend getting large shrimp, without the shell, to save you on prep time. 
    • You can use frozen shrimp to cut on costs. To defrost quickly, add a handful or as many pieces as you need to a bowl of warm water and leave for 5 minutes. Once the water is cold, replace it with more warm water. The shrimp will defrost in no time! Alternatively, you can thaw it out overnight in the fridge.
    • The spice rub is the key to deliciosu grilled shrimp and the smoked paprika is a must here. It gives the shrimp lovely smokey flavour. 
    • Make sure the skillet or BBQ are hot! If it’s still heating up when you add the shrimp, it will start to stew rather than sizzle and brown. 
    • Don’t overcook the shrimp or the meat will get tough and rubbery. 

    More Shrimp Salad Recipes


    Full Recipe 

    Find the full list of ingredients, instructions, and a nutritional breakdown below. If you have questions or cook this recipe, please let me know in the comments, and make sure to rate this recipe so it’s easy for others to find.

    Want to Save This Recipe?

    Enter your email & I’ll send it to your inbox. Plus, get great new recipes from me every week!

    By submitting this form, you consent to receive emails from Cooked & Loved

    Learn how to make a delicious and healthy grilled shrimp salad with avocado, crunchy vegetables, and feta. Top with your favourite dressing like the lemon honey and mustard vinaigrette in this recipe, and enjoy a protein-rich meal that’s great for you. The recipe is for 2 satiating servings so double up or divide down if you need to adjust.

    • Prepare the shrimp.Remove the shell if needed but can leave the tail. Pat dry the shrimp.
    • Season the shrimp.Add the rub ingredients to a large bowl and mix in the shrimp. Rub the spices and oil all over using your hands. Set aside. You can do this ahead of time and store the shrimp in an airtight container in the fridge for up to 24 hours.
    • Grill the shrimp.Preheat a large skillet or the barbecue over high heat (e.g. 8 on the Induction stove). Add about 2 tablespoons of oil to a skillet and spray or brush the barbecue griddle with a little oil. Once hot, add the prawns and cook for 2-3 minutes on each side depending on size, or until just cooked through. Once both sides are done, toss them in a pan a few times and remove them from heat. I like to let them sit in a bowl for a few minutes to finish cooking.
    • Make the salad.Prepare the salad ingredients and whisk the dressing. You can do this before you cook the prawns or during the time. Assemble the salad bowls by dividing all ingredients evenly. Dress the salad with the dressing, then top it with the shrimp and some feta.

    Calories: 537kcal | Carbohydrates: 19g | Protein: 26g | Fat: 42g | Saturated Fat: 8g | Polyunsaturated Fat: 4g | Monounsaturated Fat: 27g | Trans Fat: 0.01g | Cholesterol: 183mg | Sodium: 1310mg | Potassium: 805mg | Fiber: 6g | Sugar: 9g | Vitamin A: 607IU | Vitamin C: 12mg | Calcium: 234mg | Iron: 2mg

    Keywords: shrimp avocado salad, shrimp salad with lettuce, prawn recipes, Low-Carb, Gluten-Free, Keto, Shrimp Recipes, Shrimp salad, Prawn Salad, Grilled shrimp recipes, spiced shrimp, shrimp rub

    More Shrimp Recipes You Might Like

    [mv_video doNotAutoplayNorOptimizePlacement=”false” doNotOptimizePlacement=”true” jsonLd=”true” key=”bmwep0qptjsellvvhxwh” ratio=”16:9″ thumbnail=”https://mediavine-res.cloudinary.com/v1576707923/b0rgnnmdabk1fxknxgu0.jpg” title=”Grilled Shrimp With Three Sauces” volume=”70″]
    Source link

  • Easy Lemon Grilled Tilapia | The Recipe Critic

    Easy Lemon Grilled Tilapia | The Recipe Critic

    This website may contain affiliate links and advertising so that we can provide recipes to you. Read my disclosure policy.

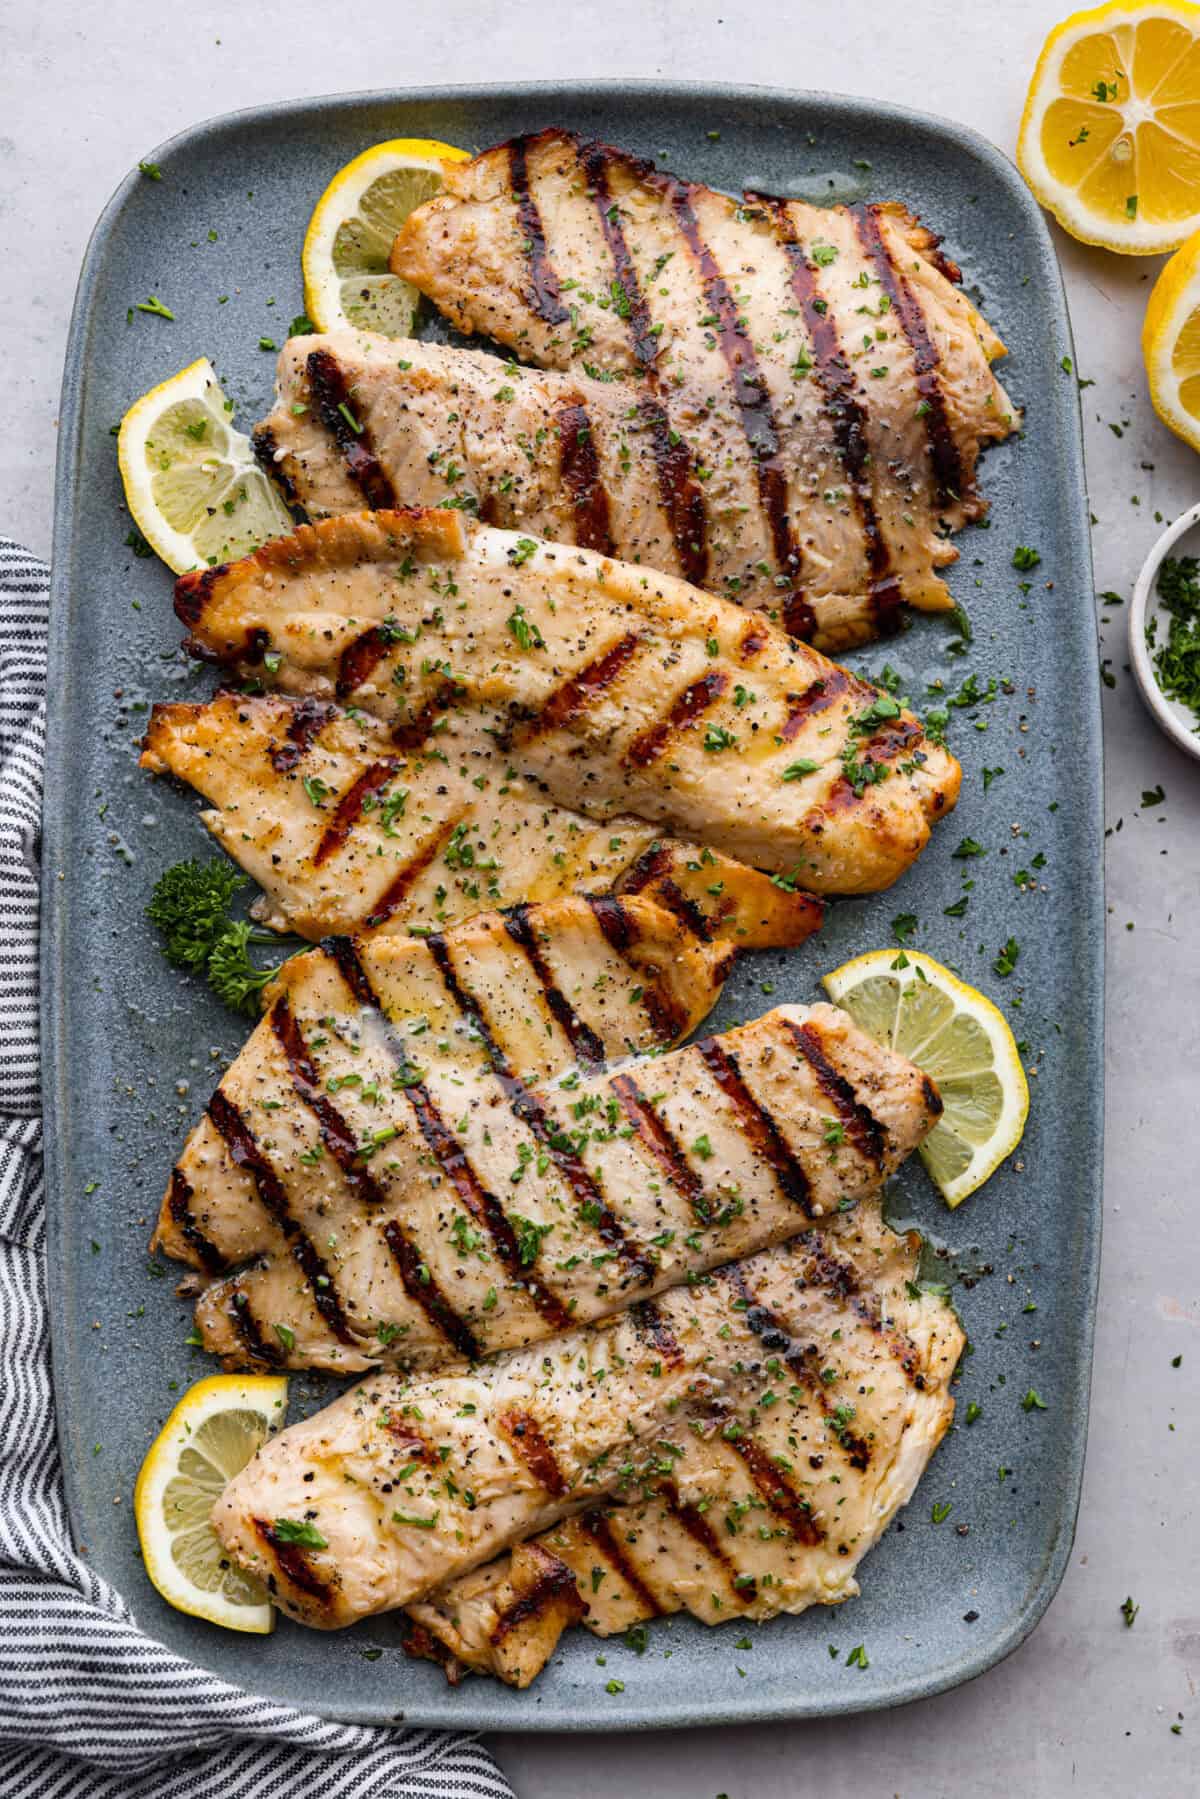
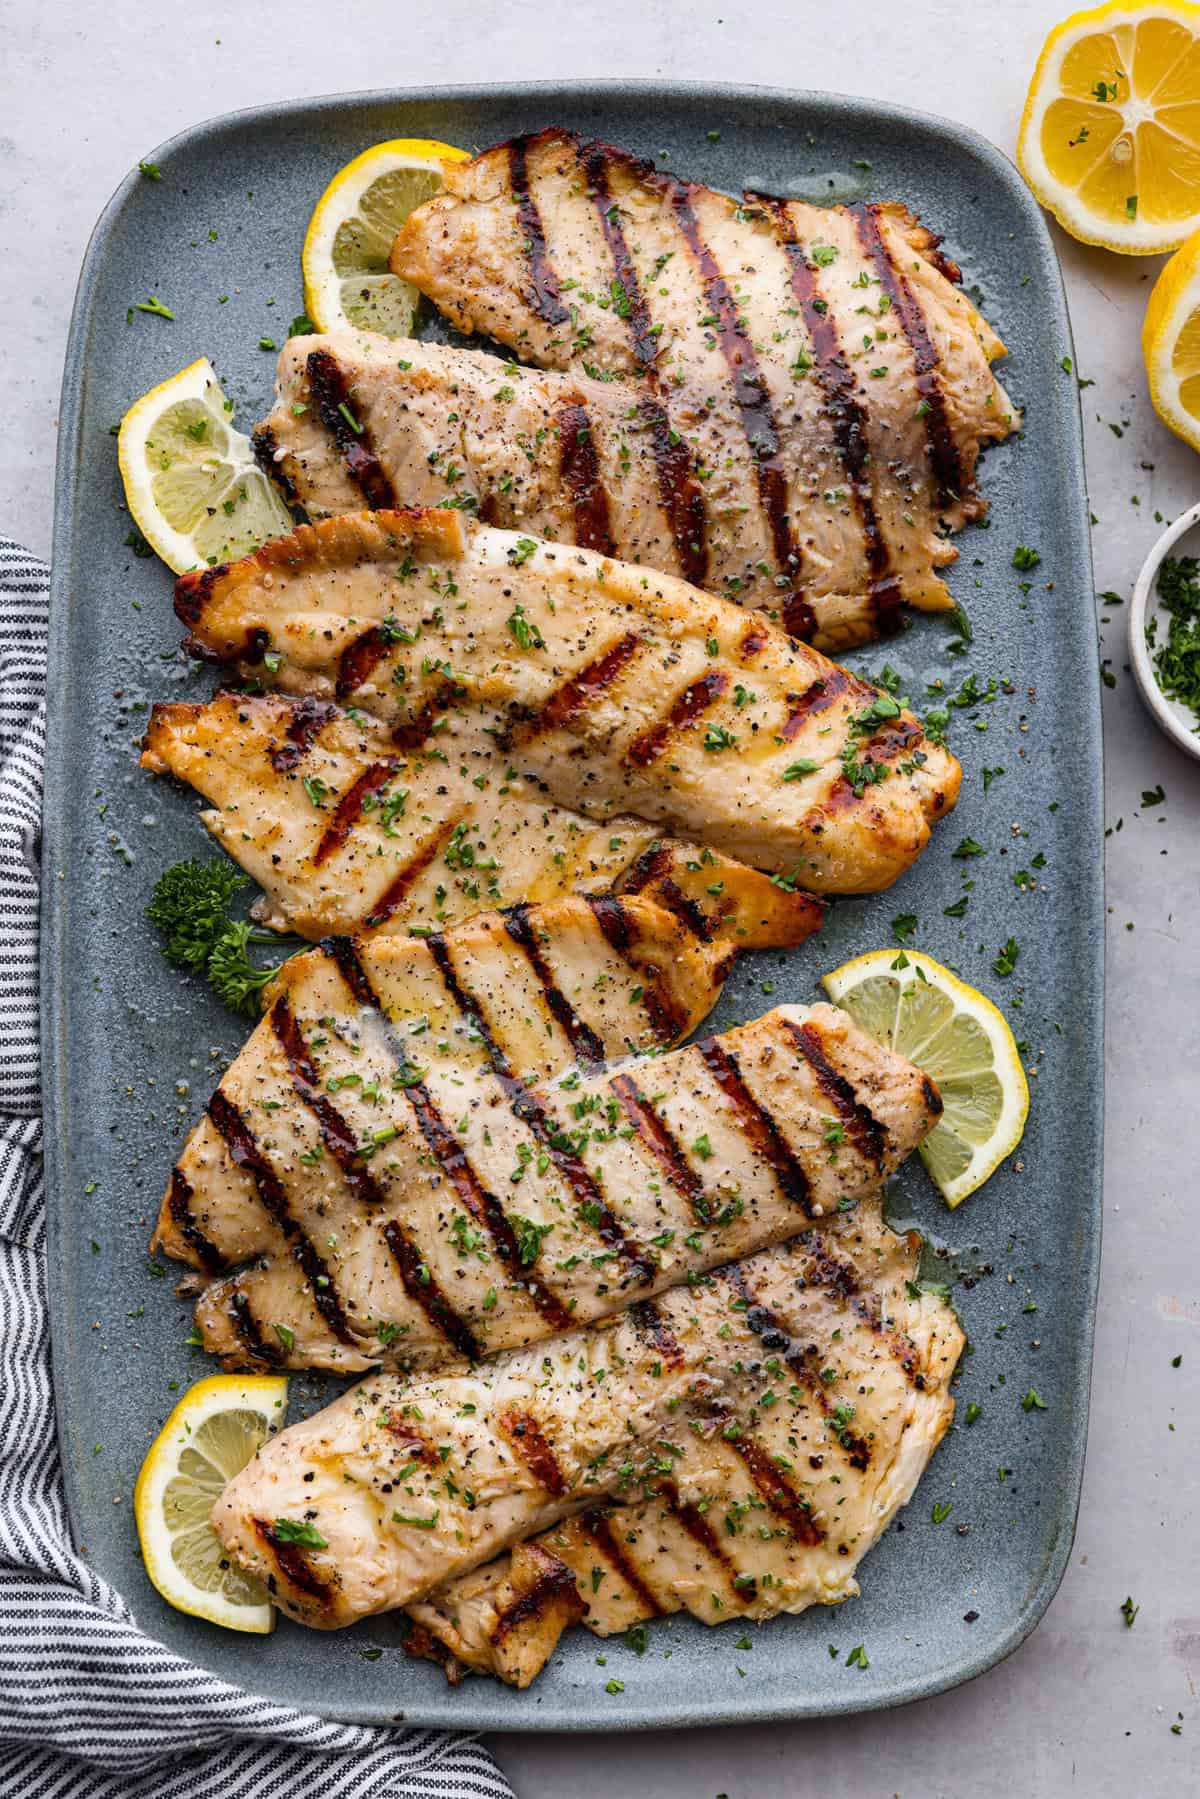
    Fire up the grill! This grilled tilapia is deliciously seasoned and has the best flaky texture. Mix a few simple ingredients for the marinade, give it a little time to get super tasty and then it is grilled to perfection in a matter of minutes!

    Grilling recipes are some of the best! They are easy, quick to prepare and have the best smoky flavor. I love to pair this grilled tilapia with grilled sides like grilled zucchini, grilled Mexican street corn and this fresh grilled caesar salad!

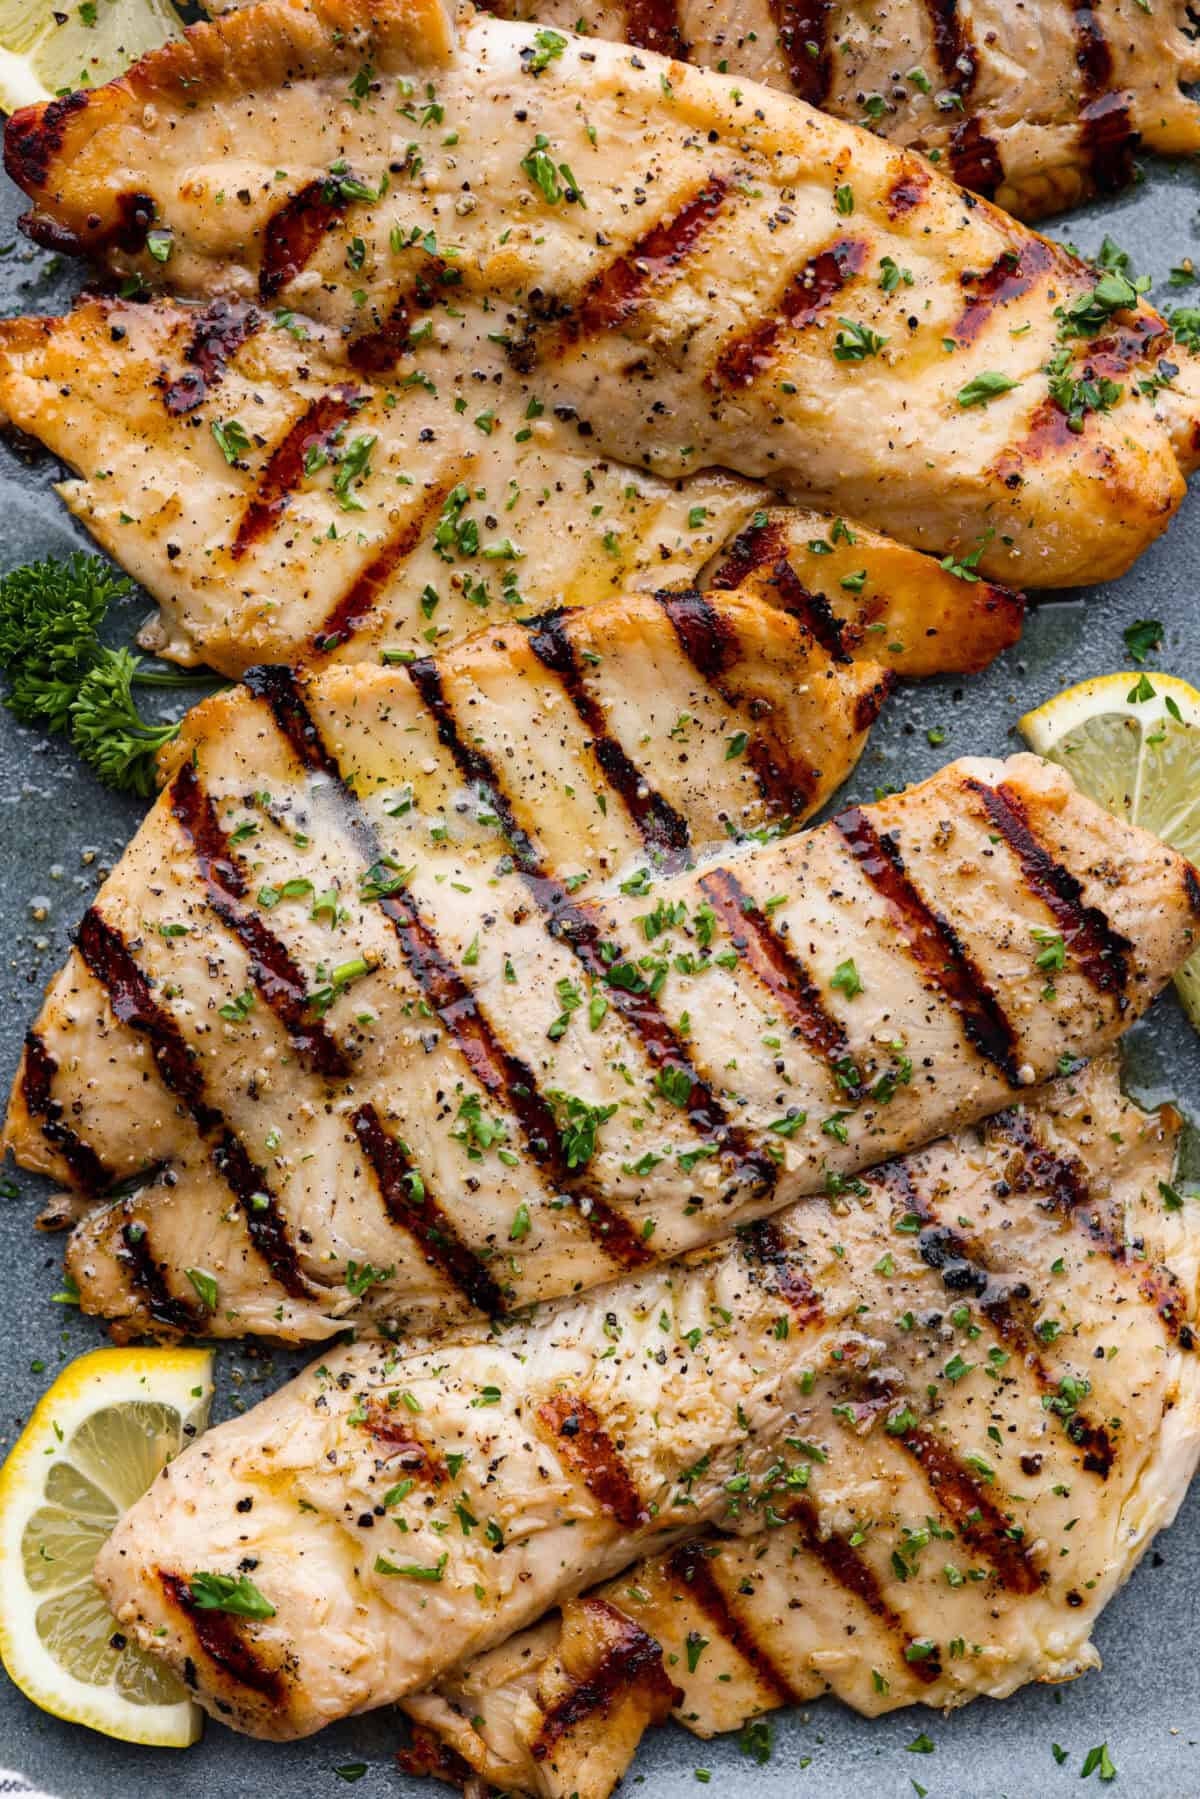
    Top view of grilled tilapia on a platter.

    Reasons You Will Love This Recipe

    • Quick and Simple: Making grilled tilapia is so easy and can be ready to serve in just over 30 minutes including marinating time.
    • Light and Filling: Fish is a great source of lean protein and includes essential healthy fats.
    • Versatile: This is the perfect dinner that pairs with EVERYTHING!
    • Filled with Bright Flavors: Fresh lemon and garlic create the best flavors combined with the smokiness of grilling. You will love the taste and texture of this fish!

    What You Need to Make Grilled Tilapia

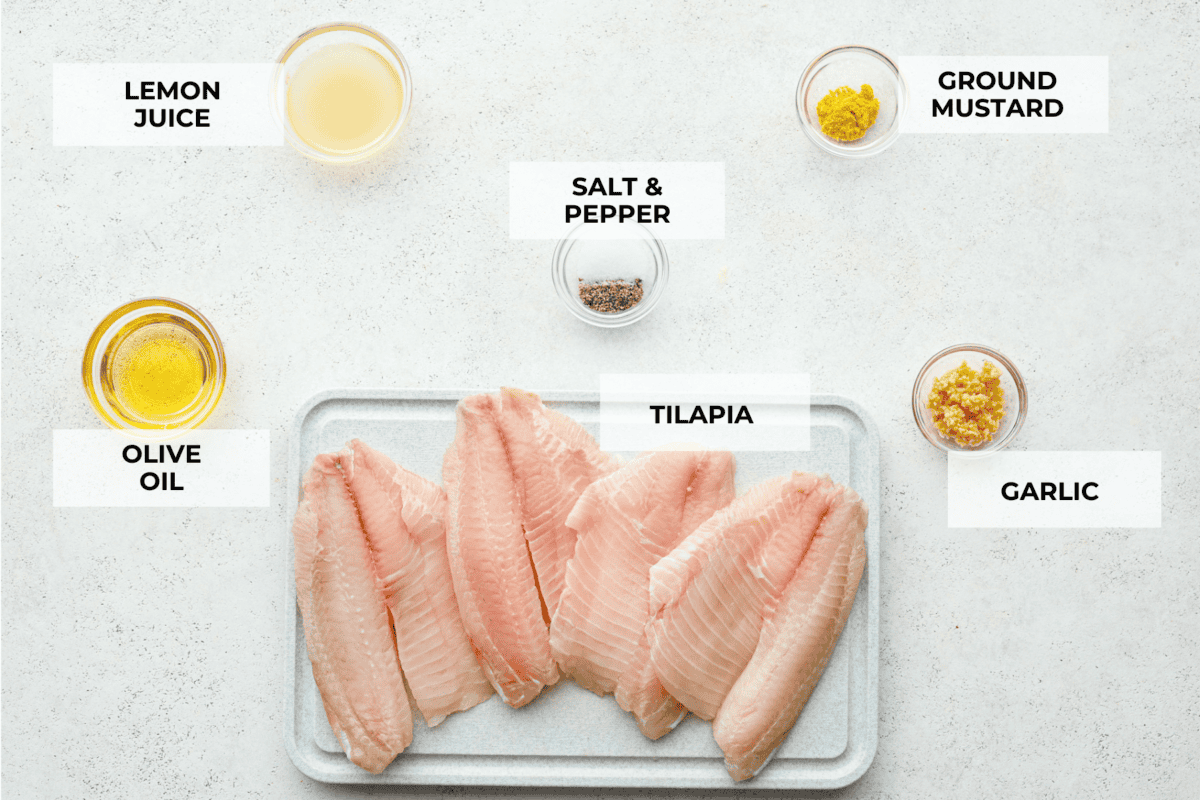
    You’ll only need a handful of simple ingredients to make this super tasty grilled tilapia! They come together for tender tilapia that will rival even the best seafood restaurant! The complete list of ingredients and measurements are listed in the recipe card at the bottom of the post.

    • Fresh Lemon Juice: Lemon adds fresh flavor to almost any grilled fish.
    • Olive Oil: Provides the marinade with a bit of fat and also is used for cooking the filets on the grill.
    • Garlic: Minced fresh garlic adds a delicious savory taste.
    • Seasoning: A simple blend of fresh ground black pepper, salt and mustard powder brings out all of the flavor in the fish.
    • Tilapia Filets: This recipe calls for 4 tilapia filets to feed 4 people.
    Top view of all of the ingredients laid out individually and labeled.

    How to Make Grilled Tilapia

    Tilapia is one of the easiest proteins to grill! Marinate the fish for about 30 minutes, and then grill it for less than 12 minutes. You will want to make this recipe all season long!

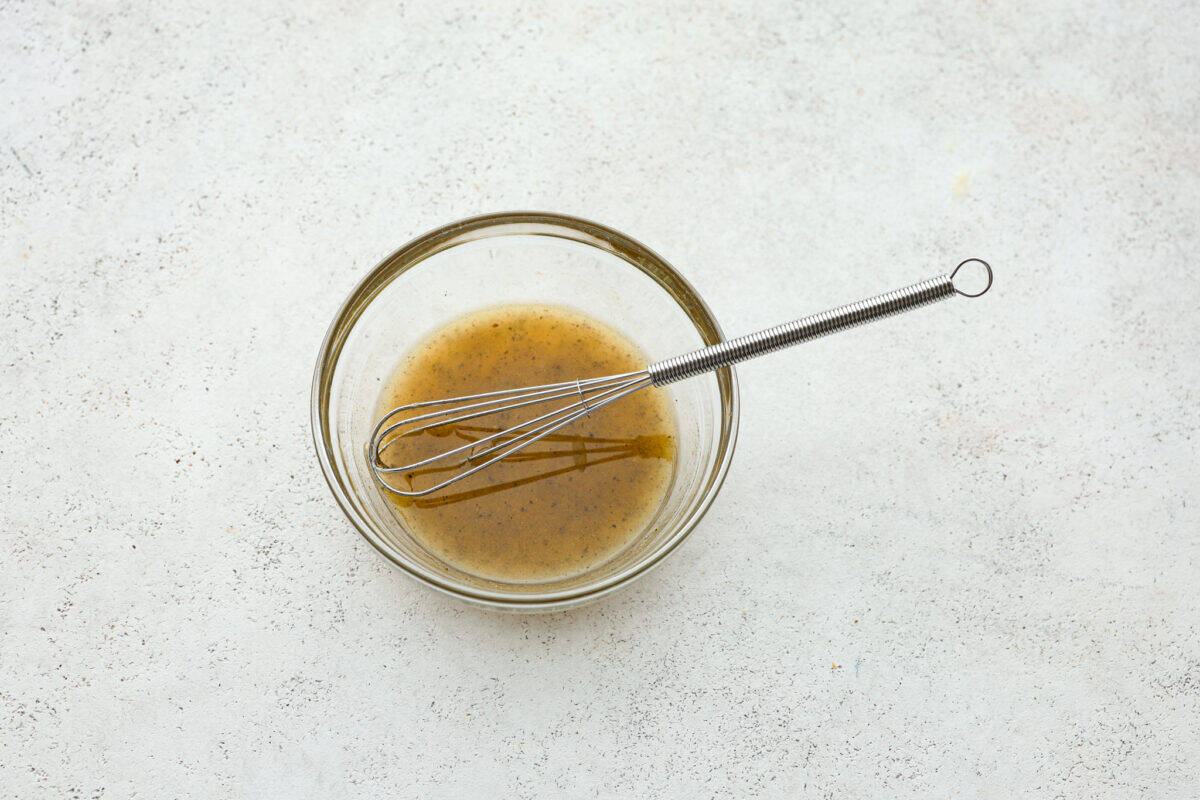
    1. Make the Marinade: Whisk together the lemon juice, olive oil, garlic, black pepper, salt, and mustard powder to prepare the marinade.
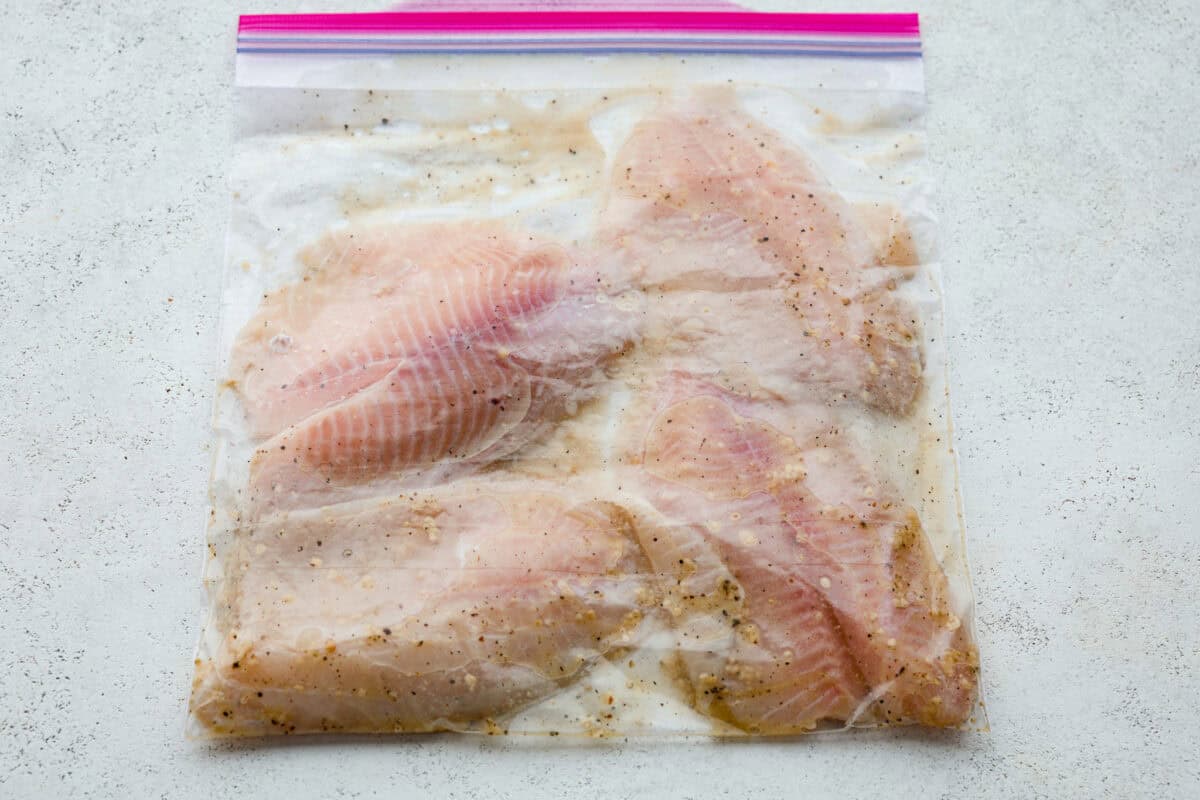
    2. Marinate the Fish: Pour the marinade into a large sealable bag or container and place the tilapia filets into the container. Marinate the tilapia for 30 minutes to an hour. While the filets are marinating, preheat a grill to 400 degrees Fahrenheit.
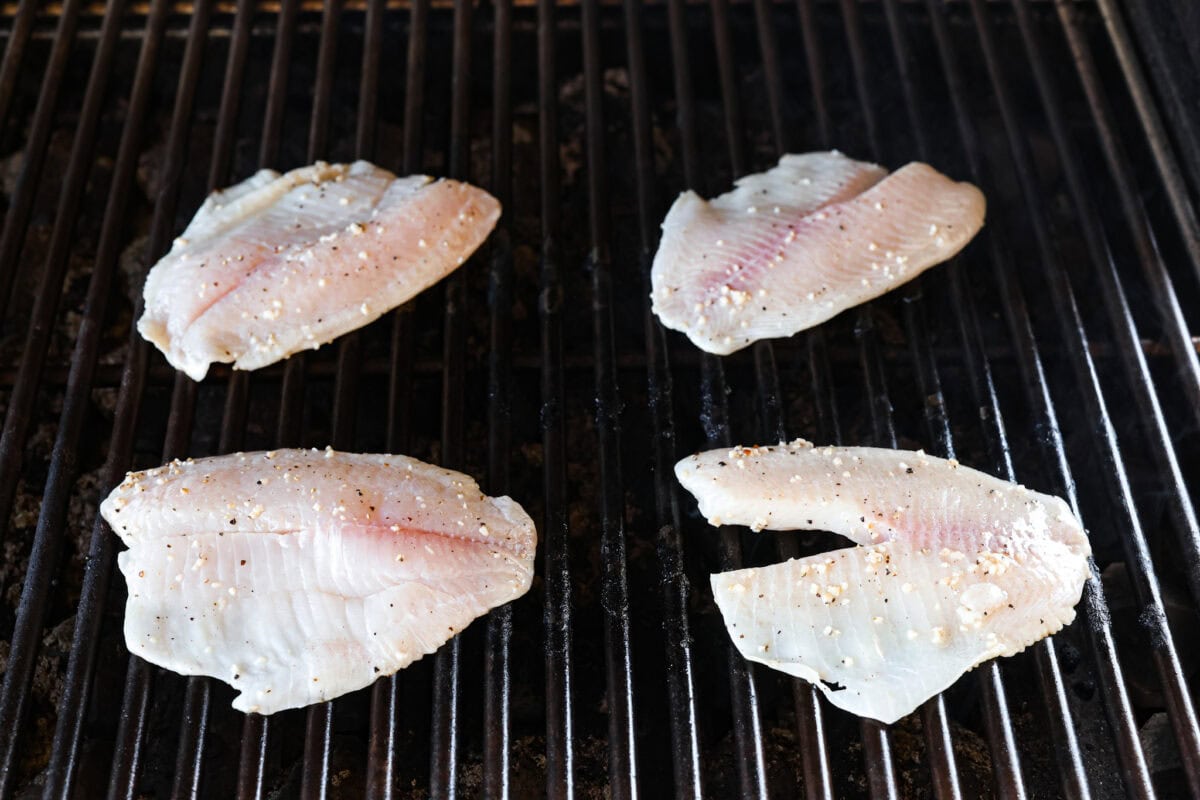
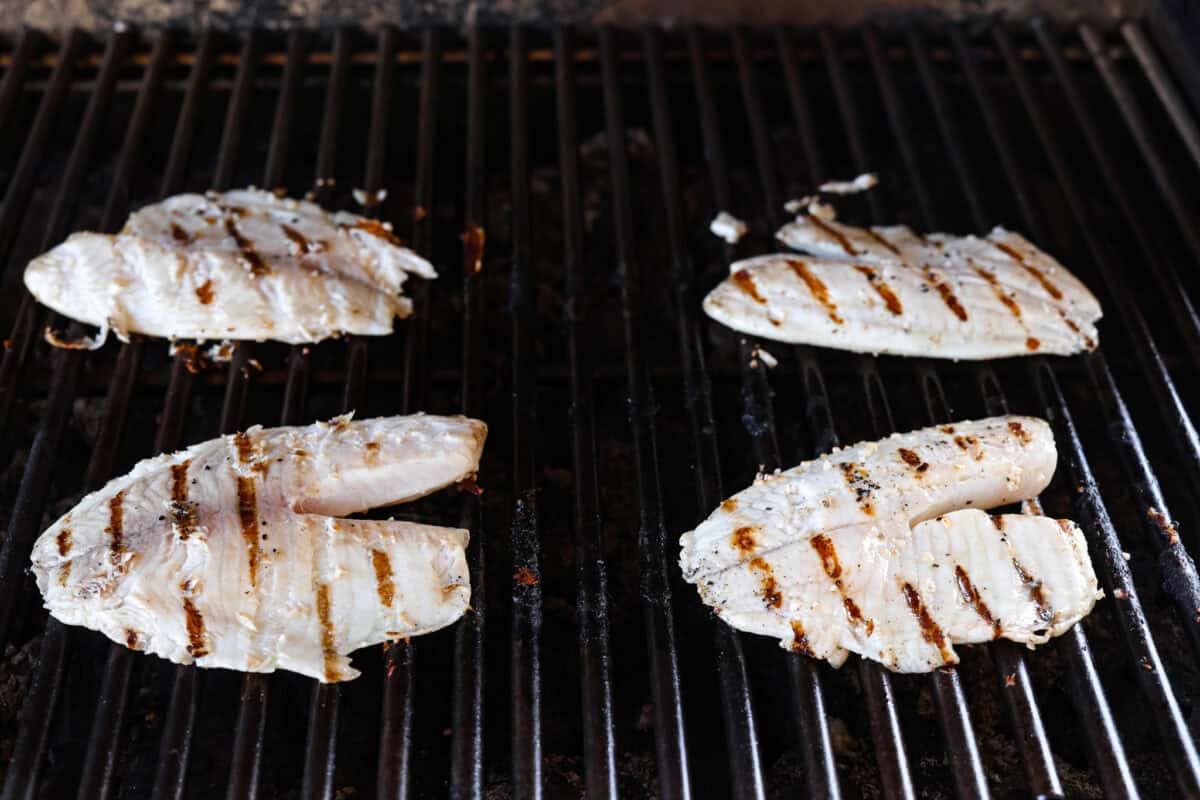
    3. Grill: Once the tilapia filets are ready, remove them from the marinade. Brush the grill with olive oil and grill the filets for 4-6 minutes per side. The filets should easily come off the grill, if they are sticking give them another 1-2 minutes.
    4. Serve: Remove the grilled tilapia from the grill and enjoy!

    How to Know When Tilapia is Cooked

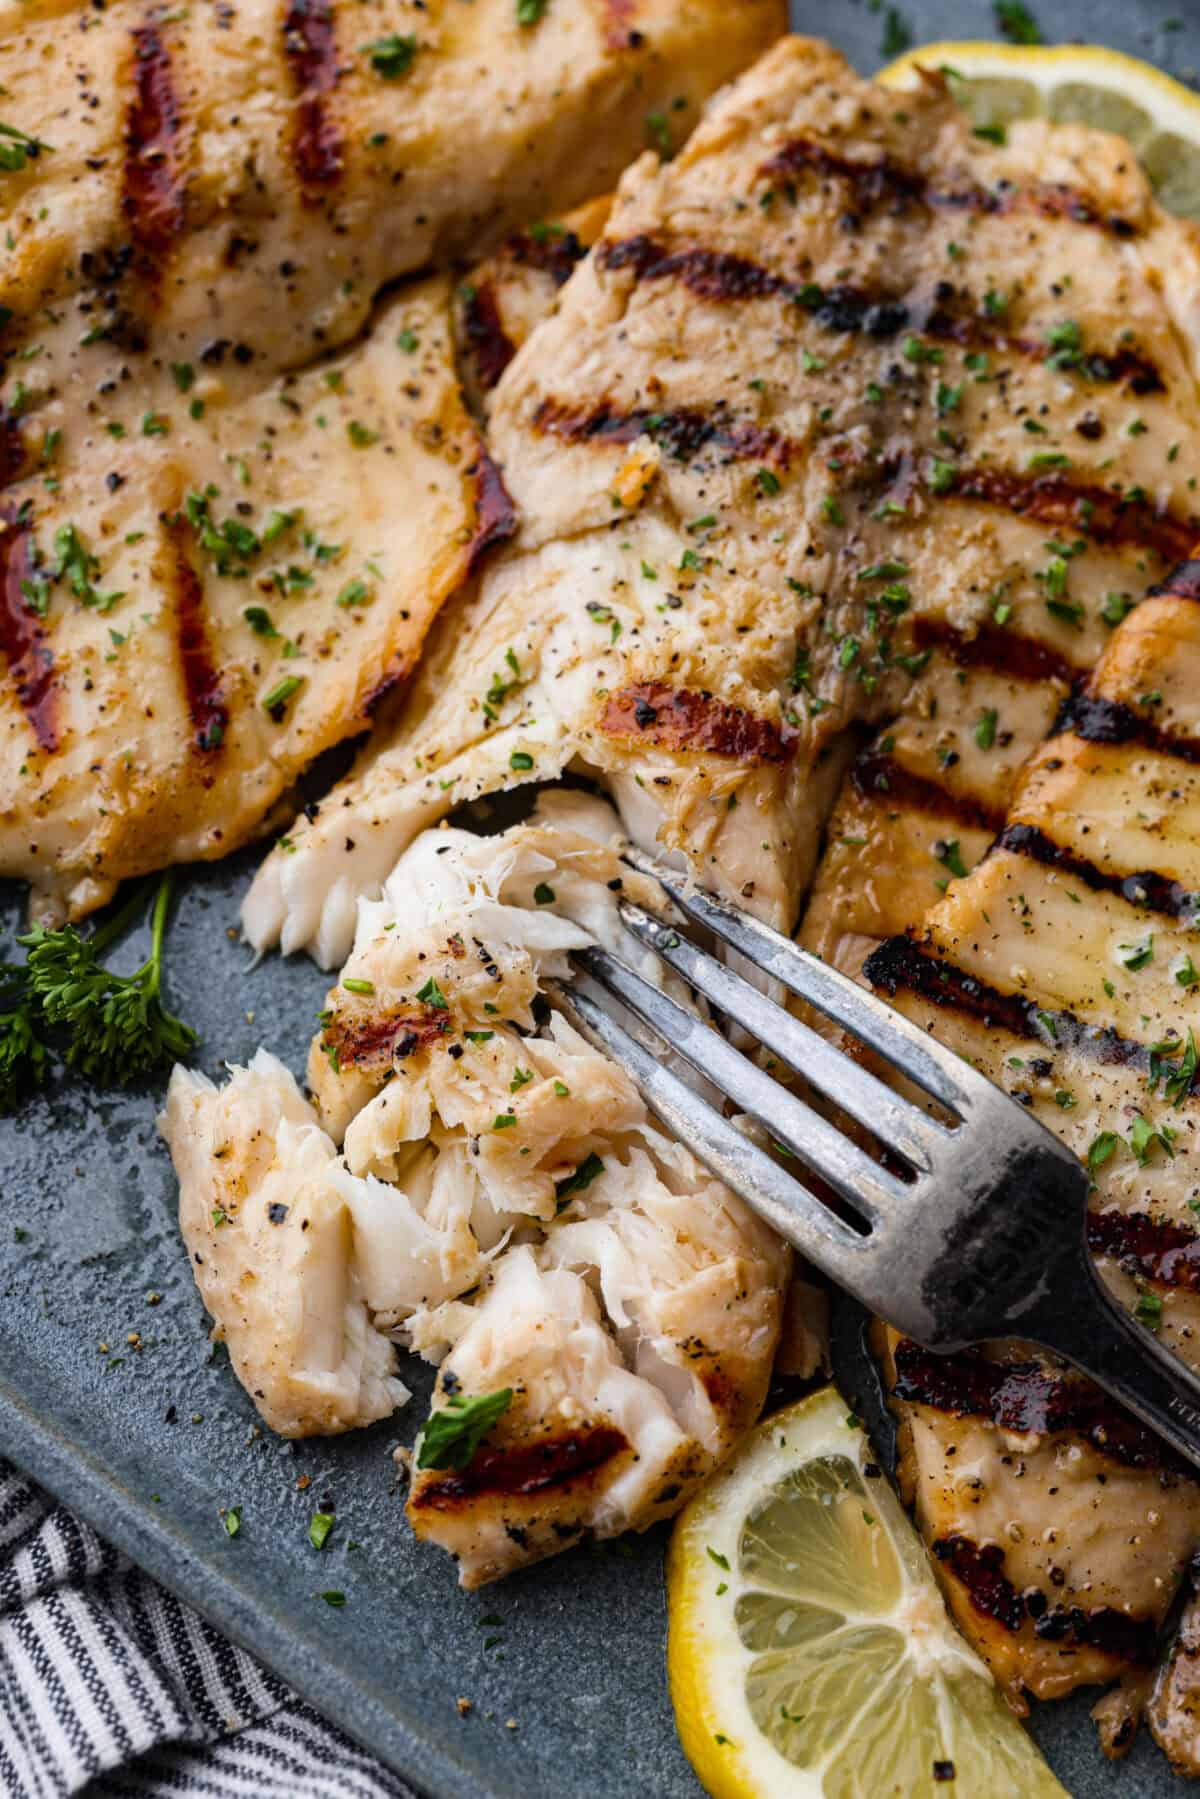
    You’ll know your fish is cooked through when it’s completely opaque. However, you definitely don’t want to overcook it, or it will become dry. Additionally, you can use a meat thermometer to check and see if it has an internal temperature of 145 degrees Fahrenheit.

    Tips for Grilling Tilapia

    Here are a few things to keep in mind when grilling tilapia. They are simple tips, but will ensure your fish turns out perfect!

    • Serving Options: This dish goes great with rice, couscous and your favorite vegetable side like grilled asparagus!
    • Thaw Filets: If using frozen, be sure they are thawed before you marinate. Thaw overnight in the fridge or place packaged frozen filets in cold water for about 10 minutes.
    • Discard the Marinade: Be sure to discard the used marinade after using.
    • Cook Time: The fillets I used were a little on the thicker side, so about 5 minutes was perfect. If your fillets are thinner, reduce the time.

    Close up of grilled tilapia.

    How to Store Leftover Tilapia

    Although grilled tilapia is best served right away, here’s how to store leftovers to enjoy them later!

    • In the Refrigerator: Once it has cooled, then place it in an airtight container or wrap it tightly in plastic wrap. Put it in your fridge, and your fish will stay good for up to 3 days.
    • Reheating: The quickest way to reheat your grilled tilapia is in the air fryer for a couple of minutes at 350 degrees. You can also reheat it over medium heat on the stove with a little melted butter in the pan.

    Close of of tilapia on a plate with a fork.

    More Seafood Recipes

    We love to enjoy seafood dishes often because they are satisfying yet light and typically contain many nutrients. Here are some of our favorite fish recipes that we make on repeat. And if you’re looking for more, browse through our many other seafood recipes!

    Baked Cajun Garlic Butter Cod

    25 minutes

    Pin this now to find it later

    Pin It


    Source link

  • Grilled Fish Tacos

    Grilled Fish Tacos

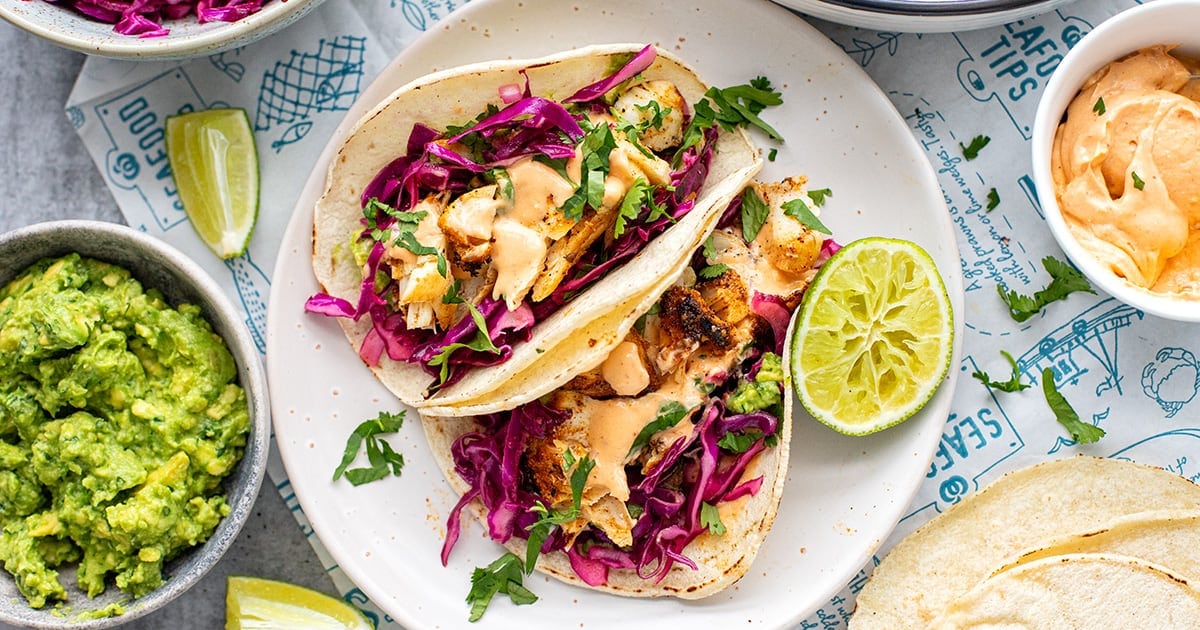
    Healthy, blackened grilled fish tacos with crunchy cabbage slaw, easy guacamole, and creamy chipotle sauce. This is my go-to recipe that I have made many times — easy enough for Taco Tuesday and weeknight dinners, delicious enough for guests! I include air fryer instructions as well.


    Jump to: ℹ️ Overview | 🛒 Ingredients | 📷 How To Make | 📹 Watch The Video | 👩‍🍳 Recipe Tips | 🥗 Serving Suggestions | 📝 Full Recipe Card | 🍽 More Tex Mex Recipes


    These grilled fish tacos are my go-to when I want something fresh, satisfying, and a little smoky. The fish is marinated in a Tex-Mex-style spice blend with lime juice that chars beautifully when cooked—hello, blackened fish tacos magic!

    The other important players are the pickled cabbage slaw and creamy chipotle mayo sauce, which give you that crunchy, creamy, zesty combo every taco needs. And I know guac isn’t traditional in fish tacos, but I love including in, and my family loves it.

    This fish taco recipe is healthy, with good fats from the avocado and fish, and it’s macro-friendly too: high protein, under 500 cals for 3 tacos, and even low-carb if you use low-carb tortillas. I’ve made these tacos a dozen times— they are super reliable and always a hit.

    Tip: No time to marinate or grill the fish? Use this recipe idea for store-bought frozen battered fish fingers, which you can air fry or bake in the oven.

    👩‍🍳 You might also like these Taco Tuesday recipes, my healthy sweet potato and black bean tacos, baked chicken tacos, BBQ ground chicken tacos, or chorizo breakfast tacos. For an appetizer, try my shrimp and avocado taco bites.

    What You’ll Need

    Here is what you’ll need for this grilled fish tacos recipe. Find the full measurements in the recipe card below.

    For the Blackened Fish

    • White fish fillets (like ling, mahi-mahi, cod or whiting): mild and flaky—perfect for tacos. You can use salmon or even prawns if you’re out of white fish.
    • Lime juice + olive oil: tenderizes and adds zing.
    • Tex Mex spices (cumin, smoked paprika, cayenne or chili powder, oregano, garlic & onion powder): for that smoky, earthy, spicy crust.
    • Salt: always essential to bring it all together.

    For other toppings

    • Pickled Cabbage Slaw: Red cabbage and red onion: crunchy and colorful, but you could also use white cabbage. Plus lime juice, olive oil, coriander seed powder, sugar, and salt: adds that quick-pickle tang. Tip: Make this ahead—gets even better after sitting.
    • Chipotle Sauce for Fish Tacos: Light mayo + sour cream or Greek yogurt: creamy base. Chipotle in Adobo sauce: smoky heat. Tomato sauce + water: balance, sweetness and texture. Make it spicier? Add more chipotle or a dash of hot sauce.
    • Easy Guacamole: Ripe avocado, lime, fresh cilantro (coriander), salt, olive oil: creamy, citrusy base layer. Skip if you’re in a rush—but I never do.

    How To Make Grilled Fish Tacos

    Find the full recipe and nutritional information below. Here are some handy step-by-step photos for how to make blackened pan-fried or grilled fish tacos.

    • Marinate the fish in lime juice, oil, and spices for 15-20 minutes (or longer).
    • Grill or pan-fry the fish for 4–5 minutes per side until cooked and blackened. Then flake into smaller pieces.
    • Heat the tortillas and set aside to keep warm.
    • Mix the slaw ingredients and set aside. This can be done while fish is marinating.
    • Mash avocado with lime, salt, coriander, and a splash of oil.
    • Whisk the chipotle fish taco sauce in a small bowl. Set aside. This can also be done in advance.
    • Assemble tacos: guac → slaw → fish → chipotle sauce → fresh coriander and lime juice.

    Air Fryer Method

    If you’re using an air fryer to make fish for fish tacos, preheat it to 400°F (200°C) and lightly spray the basket with oil to prevent sticking. Place the marinated fish fillets in a single layer—don’t overcrowd—and cook for 8–10 minutes, flipping halfway. The fish should be golden and slightly charred on the edges, and it should flake easily with a fork when done. Thinner fillets might only need 7–8 minutes, while thicker ones like mahi-mahi may take closer to 12. Once cooked, let the fish rest for a minute before flaking into chunks for your tacos.

    Watch The Video

    Recipe Tips

    • Fish type: Use any firm white fish, but salmon works too for a richer flavor.
    • Marinate ahead: Up to 24 hours in the fridge.
    • Make ahead: You can prep the slaw, sauce, and guac 1 day ahead. Store separately in airtight containers. Guacamole is probably best fresh, though.
    • Storage: Store cooked fish, slaw, and sauces separately. Eat within 2 days.
    • Taco bar idea: Serve everything separately and let everyone build their own!

    Serving Suggestions

    These fish tacos are perfect as-is, but if you’re feeding a crowd or want a bigger spread, add some tortilla chips, extra guac, and maybe a margarita or two. A side of black beans, Mexican red rice, or grilled corn would also be delish! You can also try my Mexican salad with corn and black beans. For sauce, check out my cilantro lime sauce or my salsa tatemada for a different vibe. And if serving a crowd, try one of these Mexican appetizers, or with my pineapple rum sour.

    💬 If you’ve tried this grilled fish tacos or any other recipe on the blog then don’t forget to rate the recipe and let me know how you got on in the comments below, I love hearing from you! You can also FOLLOW ME on Instagram, Facebook, Pinterest, YouTube, and or sign up to my Newsletter to see more of my delicious food.

    Want to Save This Recipe?

    Enter your email & I’ll send it to your inbox. Plus, get great new recipes from me every week!

    By submitting this form, you consent to receive emails from Cooked & Loved

    Healthy, blackened grilled fish tacos with crunchy cabbage slaw, easy guacamole and creamy chipotle sauce—easy enough for Taco Tuesday and weeknight dinners, delicious enough for guests! I include air fryer instructions as well. Find step-by-step photos and more recipe tips above.

    For the pickled cabbage slaw:

    • Marinate the fish: In a bowl, drizzle the fish with lime juice and olive oil. Sprinkle all spices and salt evenly on both sides. Rub in and set aside for 15–20 minutes (or up to 24 hrs in the fridge).

    • Prepare toppings: Combine slaw ingredients in a bowl, toss and set aside. Mix chipotle mayo sauce ingredients in a small bowl until smooth. Mash guacamole ingredients in another bowl.

    • Cook the fish: Grill, broil, or pan-fry fish. For pan-frying: heat 1 tablespoon olive oil in a skillet over medium-high heat. Cook fish 4–5 minutes each side until blackened/browned and cooked through. Cover with lid after flipping to help it steam. Grill on the BBQ for 5-6 minutes each side or until just cooked through.Rest for 1 minute, then flake with two forks and pour any juices over.

    Air Fryer Method

    • If you’re using an air fryer, preheat it to 400°F (200°C) and lightly spray the basket with oil to prevent sticking. Place the marinated fish fillets in a single layer—don’t overcrowd—and cook for 8–10 minutes, flipping halfway. The fish should be golden and slightly charred on the edges, and it should flake easily with a fork when done. Thinner fillets might only need 7–8 minutes, while thicker ones like mahi-mahi may take closer to 12. Once cooked, let the fish rest for a minute before flaking into chunks for your tacos.

    • Heat tortillas in a dry skillet or oven.

    • Assemble tacos: Spread guacamole on tortilla, then cabbage slaw, then fish, sauce, and extra coriander and lime if you like.

    • Can I use frozen fish? Yes! Just make sure it’s fully thawed and patted dry before marinating.
    • Is the chipotle sauce spicy? It has a mild to medium heat. Add more chipotle or a dash of hot sauce if you want it spicier.
    • What tortillas work best? Small soft corn or flour tortillas are my go-to, but you can also use grain-free or low-carb tortillas here.
    • What’s the best way to reheat leftovers? Fish is best reheated gently in a skillet or microwave at 50% power. Assemble tacos fresh.
    • Fish type: Use any firm white fish, but salmon works too for a richer flavor.
    • Marinate ahead: Up to 24 hours in the fridge.
    • Make ahead: You can prep the slaw, sauce, and guac 1 day ahead. Store separately in airtight containers. Guacamole is probably best fresh though.
    • Storage: Store cooked fish, slaw, and sauces separately. Eat within 2 days.
    • Taco bar idea: Serve everything separately and let everyone build their own!

    Serving: 3tacos | Calories: 490kcal | Carbohydrates: 52g | Protein: 30g | Fat: 20g | Saturated Fat: 4g | Polyunsaturated Fat: 5g | Monounsaturated Fat: 10g | Trans Fat: 0.01g | Cholesterol: 61mg | Sodium: 920mg | Potassium: 958mg | Fiber: 12g | Sugar: 7g | Vitamin A: 1097IU | Vitamin C: 40mg | Calcium: 134mg | Iron: 3mg

    Keywords: Grilled Fish Tacos, Fish Tacos, Healthy Fish Tacos, Blackened Fish Tacos

    More Tex Mex Recipes


    Source link

  • Grilled Salmon Recipe with Nectarines and Goat Cheese

    Grilled Salmon Recipe with Nectarines and Goat Cheese

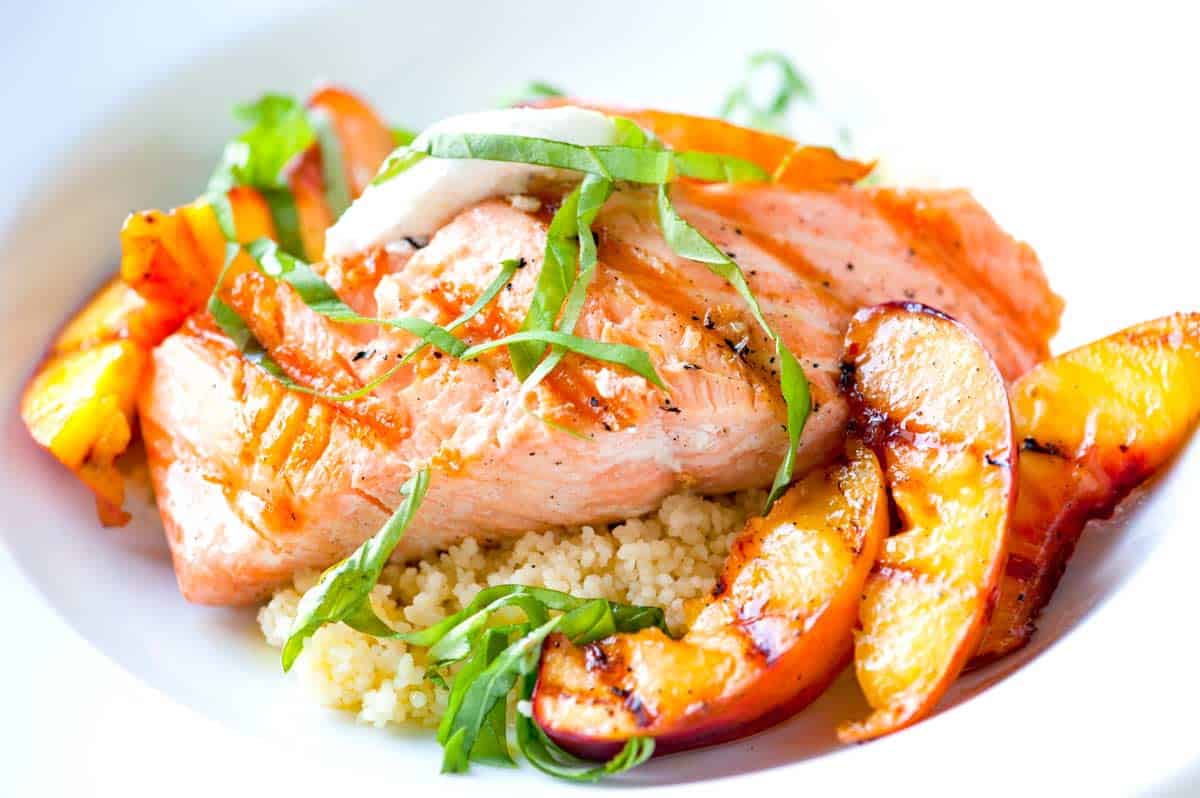
    How to make grilled salmon topped with grilled nectarines and goat cheese. Jump to the Grilled Salmon Recipe with Nectarines and Goat Cheese or read on to see our tips for making it.

    Grilled Salmon Recipe with Nectarines and Goat Cheese

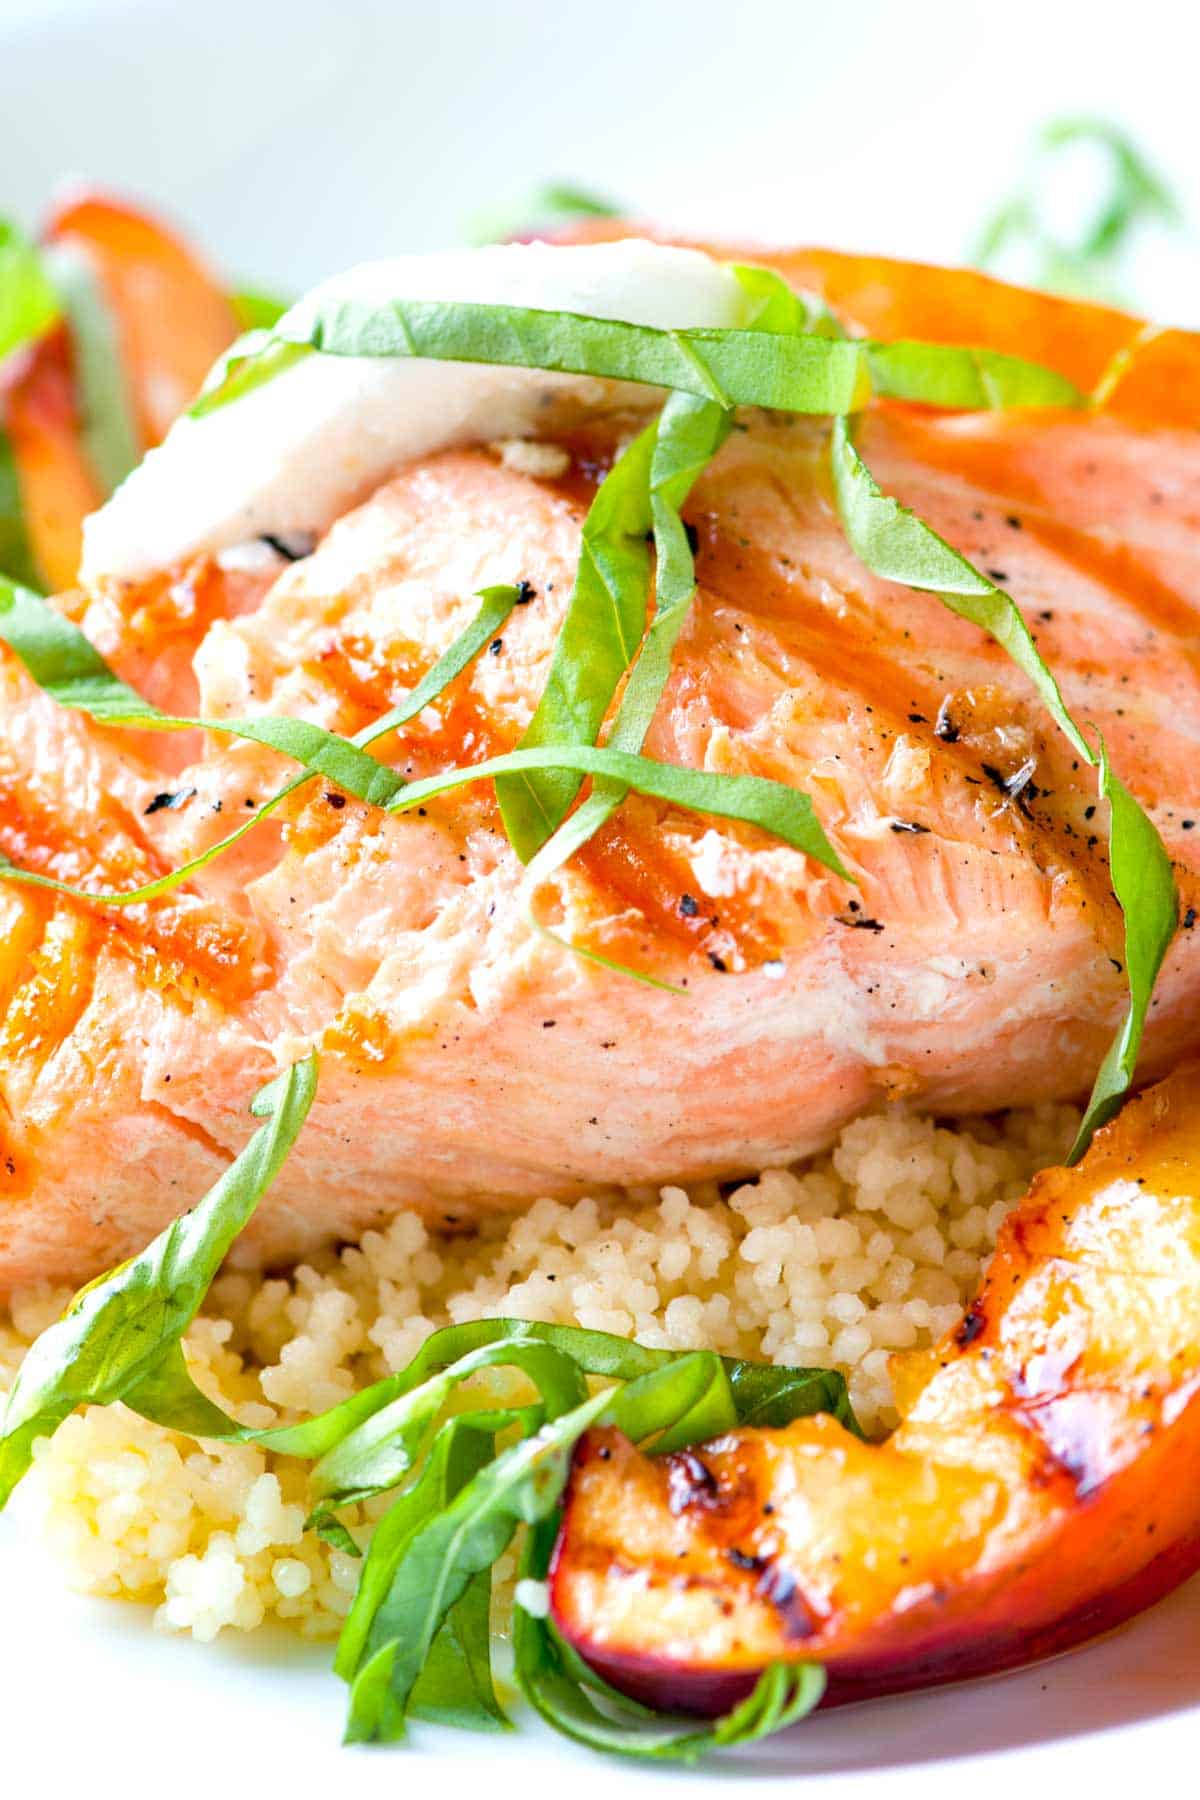
    The salmon is simply grilled — only with salt, pepper and olive oil. That’s okay, though, because we toss nectarines in maple syrup mixed with a pinch of red pepper flakes and grill them. Everything comes together on a bed of couscous with fresh basil and a dollop of goat cheese on top.

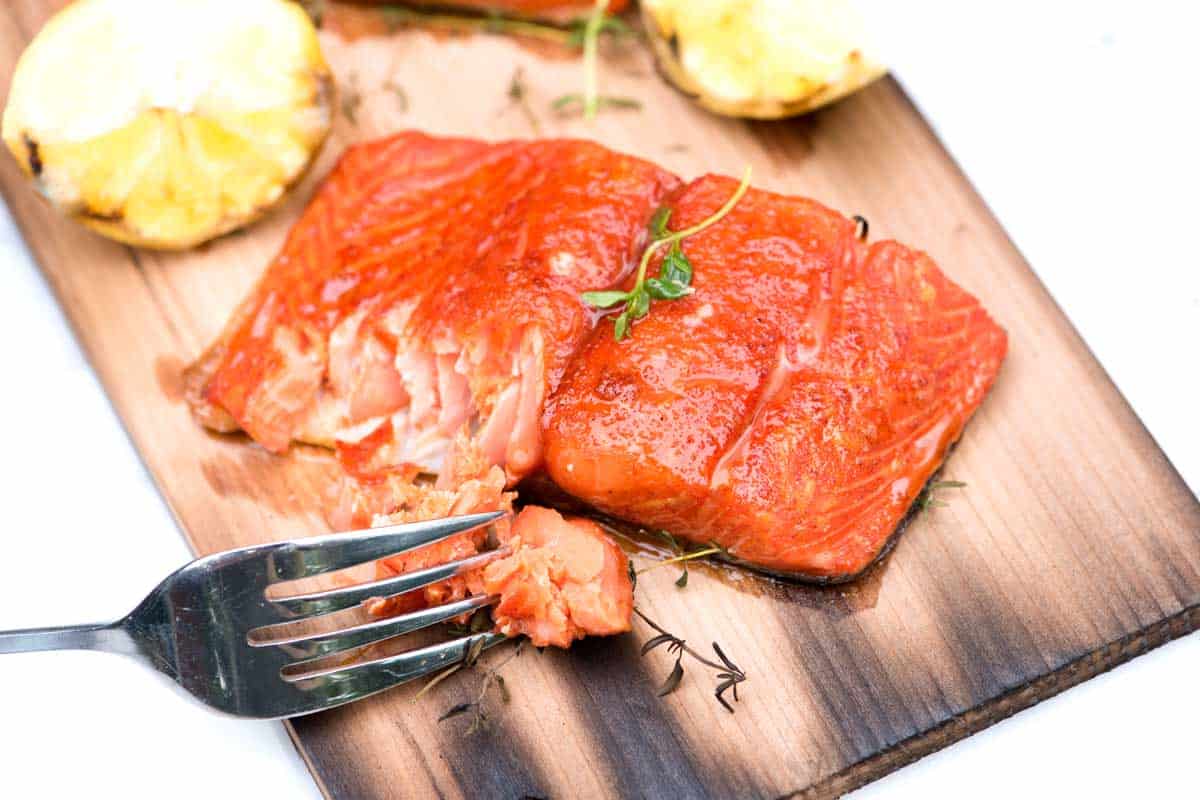
    Cedar Plank Salmon RecipeYOU MAY ALSO LIKE: Grilling salmon on a cedar plank is genius. If you haven’t tried it, let me tell you, you need to. Jump to the Sweet Citrus Cedar Plank Salmon Recipe.
    How to Cook Salmon and Nectarines on the Grill

    You can grill salmon one of two ways — outside or indoors using a cast iron grill pan.

    How to Cook Salmon and Nectarines on the Grill

    If you are outside, prepare the grill for cooking over medium-hot charcoal or moderate heat for gas grills. For an indoor cast iron grill pan it should be lightly oiled, well-seasoned and over medium-high heat.

    To prepare the salmon, rub with a little olive oil then season with salt and pepper. Grill the salmon, 5 to 6 minutes on each side (depending on thickness).

    Grilling nectarines

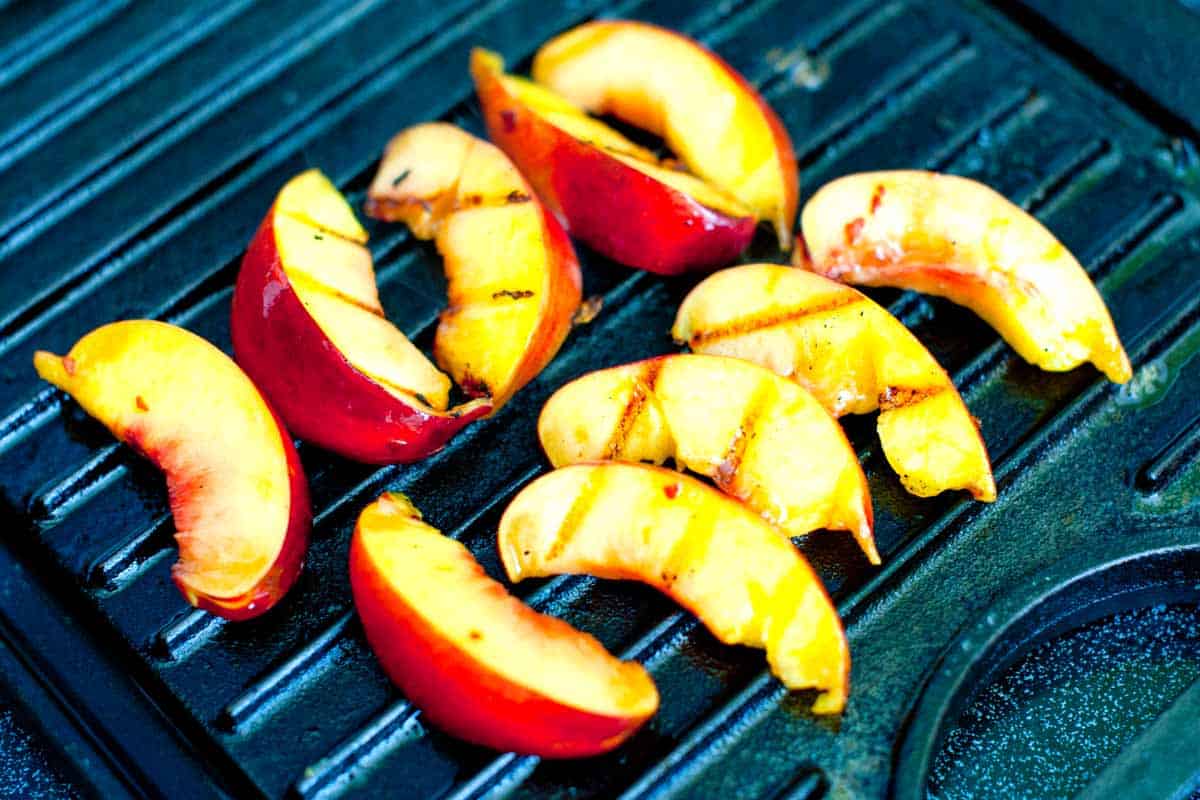
    While the salmon grills, thrown on some nectarines or peaches. To grill them, remove the pit then cut into wedges. Toss with a little olive oil then add some maple syrup and a pinch of red pepper flakes — this makes them a little sweet with a spicy kick.

    Throw them onto the grill and cook until you begin to see grill marks and they are warmed through — about 2 minutes on each side.

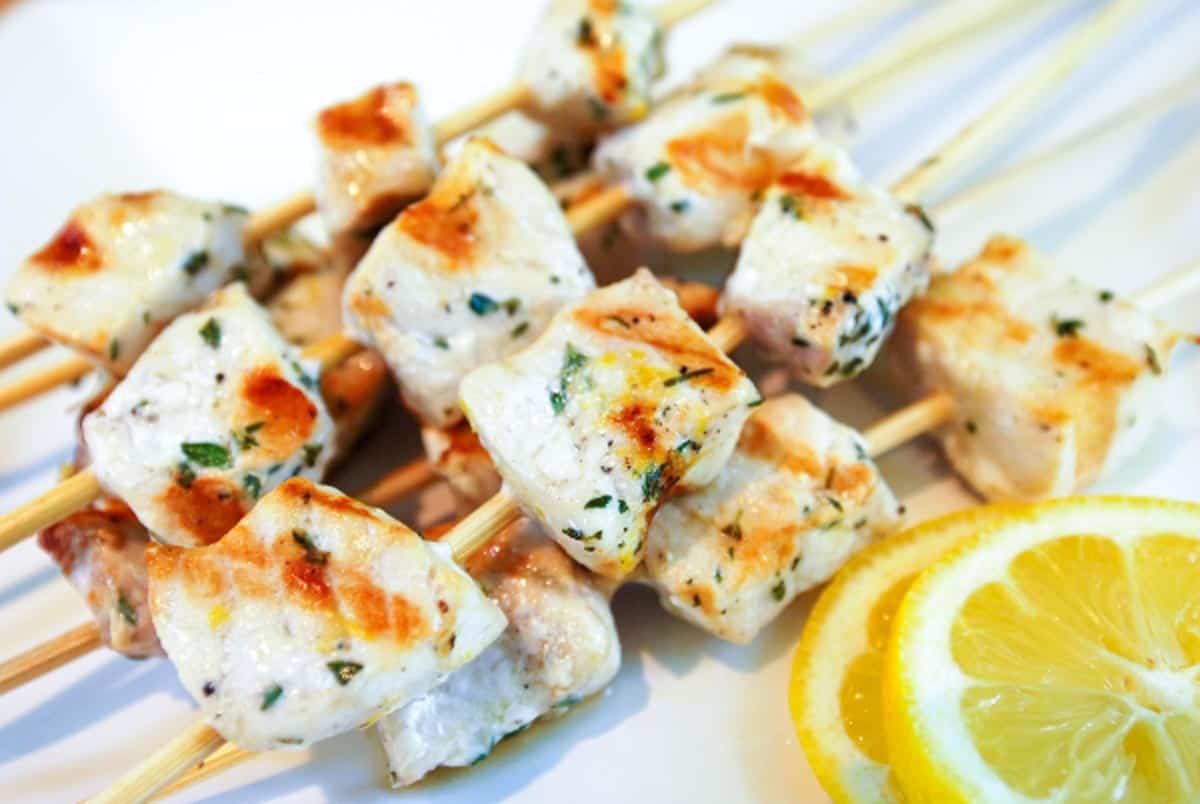
    Lemon Pepper Grilled Swordfish KabobsYOU MAY ALSO LIKE: How to make perfectly marinated and grilled swordfish kabobs with lemon, pepper and thyme. Jump to the Lemon Pepper Grilled Swordfish Kabobs Recipe.

    Recipe updated, originally posted September 2011. Since posting this in 2011, we have tweaked the recipe to be more clear. – Adam and Joanne

    Grilled Salmon Recipe with Nectarines and Goat Cheese

    • PREP
    • COOK
    • TOTAL

    The nectarines can be replaced with peaches or other stone fruit (apricots would be lovely).

    Makes 2 servings

    You Will Need

    2 salmon fillets, six ounces each

    Olive oil

    Salt and fresh ground black pepper

    1 medium nectarine, pit removed and cut into wedges

    1 tablespoon maple syrup

    1/4 teaspoon crushed red pepper flakes

    1 cup cooked  couscous or rice

    2 ounces fresh goat cheese

    Handful basil leaves, chopped

    Directions

      1Prepare a grill for cooking over medium heat. (If using outdoor grill, it needs to have very clean grates). If grilling inside, heat a lightly oiled, well-seasoned grill pan over medium-high heat.

      2Wipe salmon fillets dry with paper towels. Brush on both sides with olive oil. Season with salt and black pepper. Grill the salmon, turning once and cooking for five to six minutes on each side, or until it can easily be flaked with a fork. (If you have one, take the salmon off the heat when an internal thermometer reads 135 degrees F).

      3Meanwhile, toss nectarine wedges with a teaspoon of olive oil, the maple syrup and crushed red pepper flakes. Place onto the grill and cook until warmed through and grill marks appear, about 2 minutes on each side.

      4Serve salmon on a bed of rice or couscous topped with grilled nectarines, a few crumbles of goat cheese and fresh basil.

    Adam and Joanne’s Tips

    If you make this recipe, snap a photo and hashtag it #inspiredtaste — We love to see your creations on Instagram and Facebook! Find us: @inspiredtaste


    AUTHOR:

    Joanne Gallagher

    Adam and Joanne of Inspired Taste

    We are Adam and Joanne Gallagher, the creators of Inspired Taste. Established in 2009, Inspired Taste grew from a childhood dream into one of the internet’s most trusted recipe sites with hundreds of reliable recipes, step-by-step videos, and expert tips.More About Us


    Source link

  • Grilled Swordfish Recipe with Coriander and Lime

    Grilled Swordfish Recipe with Coriander and Lime

    How to cook swordfish on the grill with coriander and lime. Jump to the Grilled Swordfish with Coriander and Lime Recipe or read on to see our tips for making it.

    Grilled Swordfish Recipe with Coriander and Lime

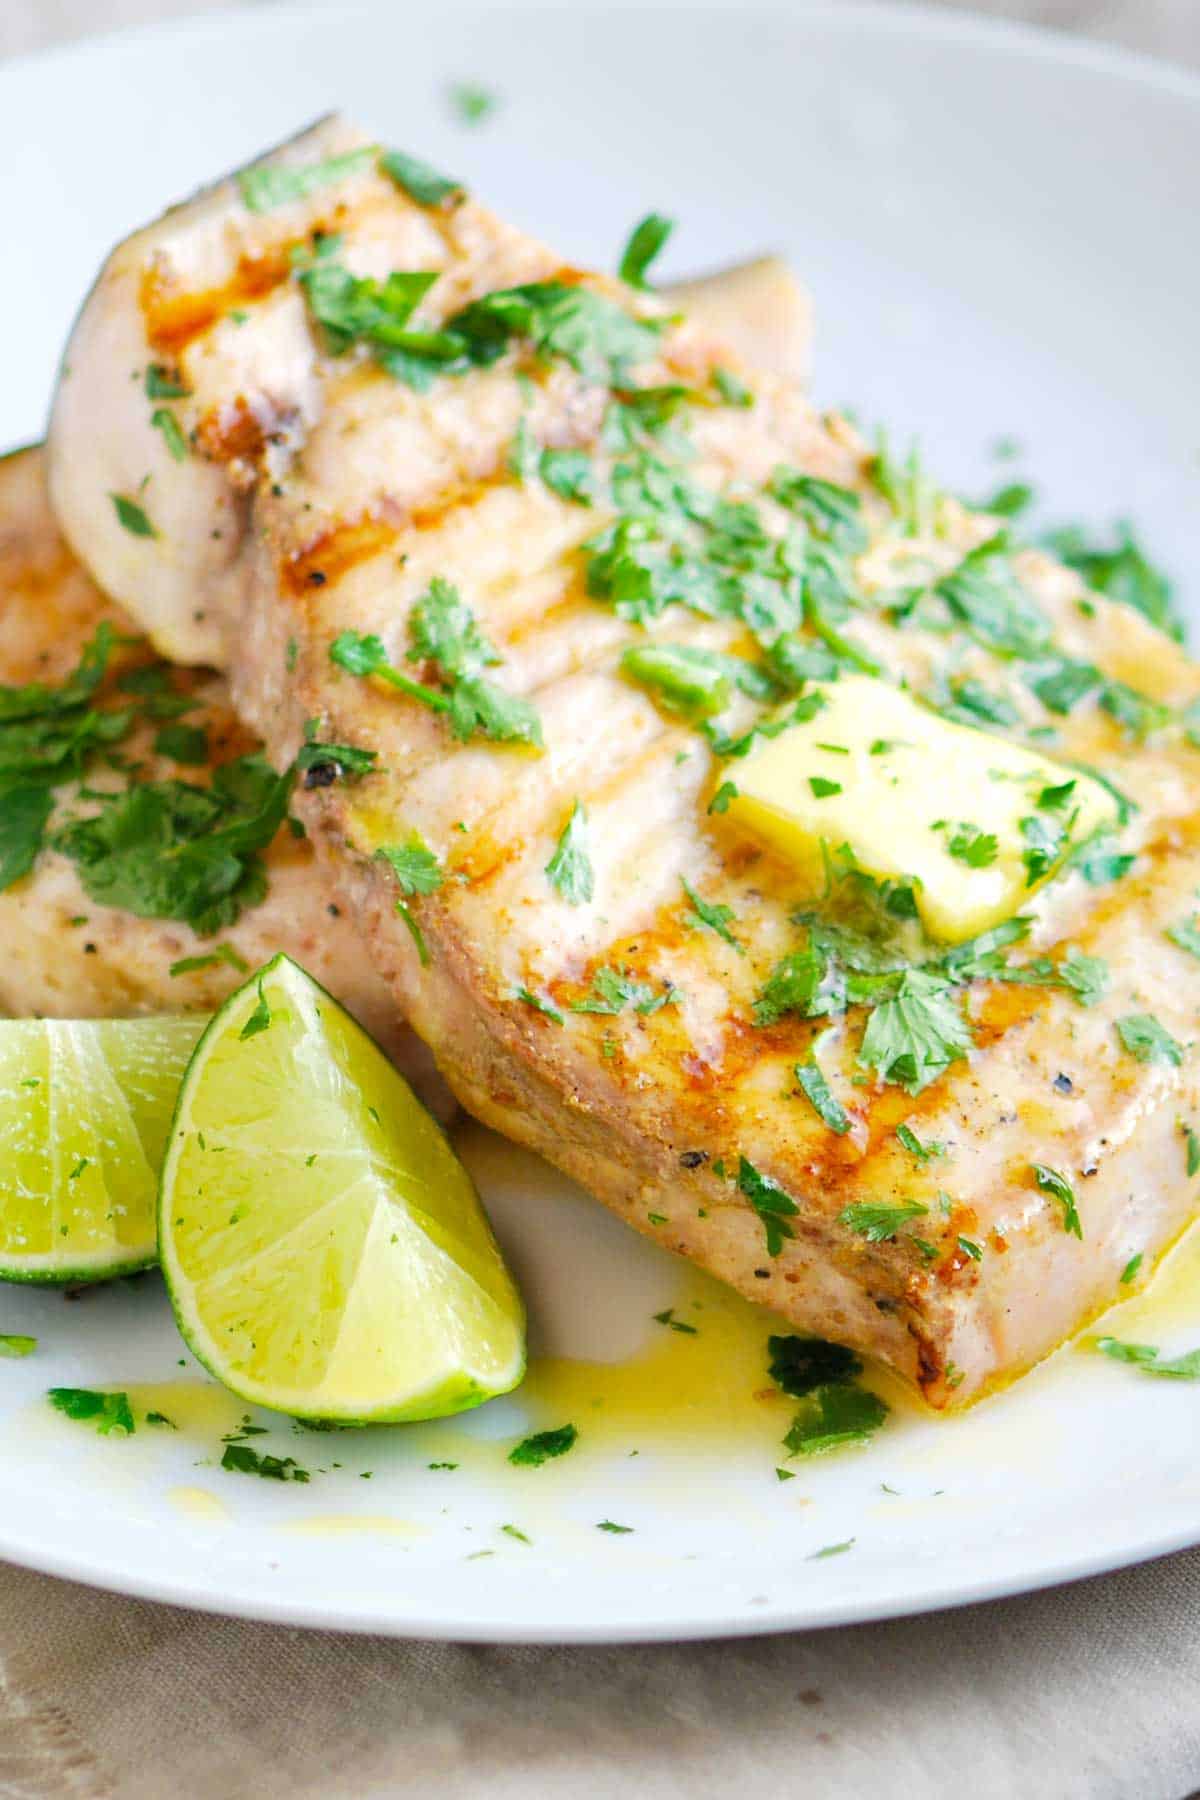
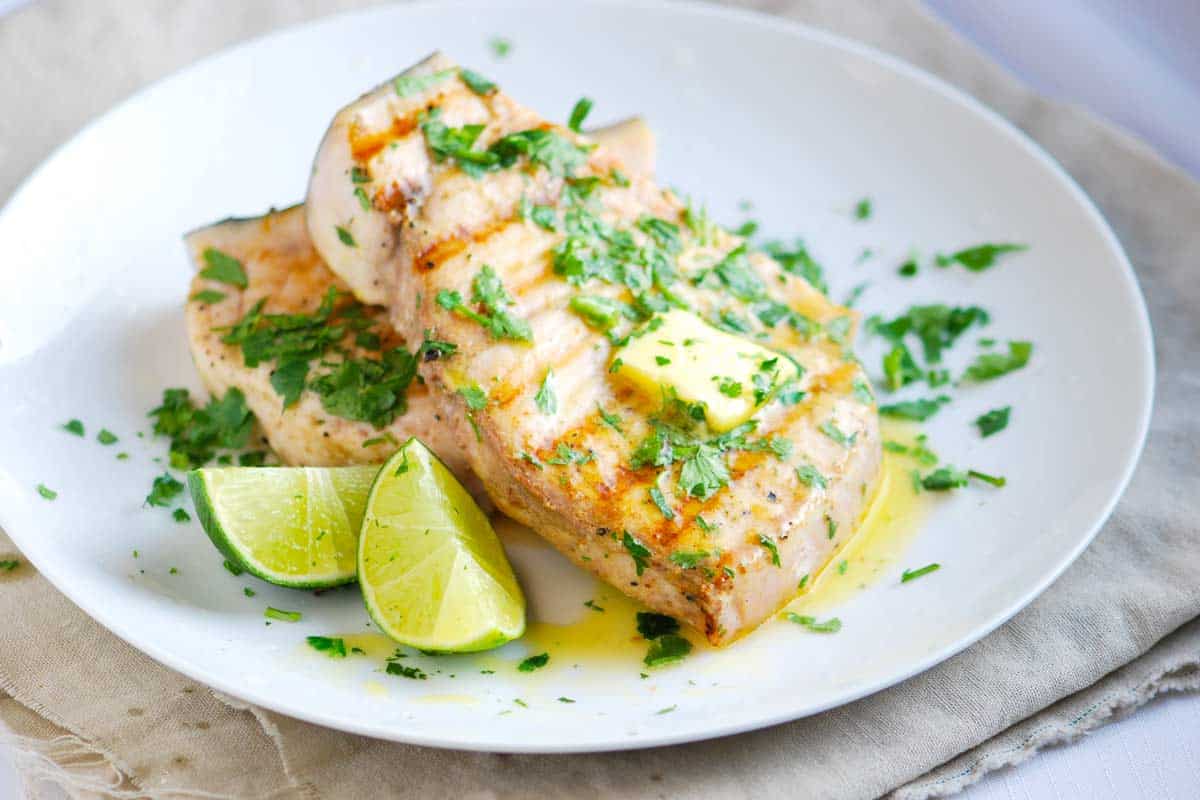
    When it comes to grilled seafood, we like things to be simple. This grilled swordfish is exactly that. We season the fish with salt, pepper and coriander then grill on both sides. For serving, we add a little butter, a generous squeeze of lime and cilantro.

    Cedar Plank Salmon RecipeYOU MAY ALSO LIKE: Grilling salmon on a cedar plank is genius. If you haven’t tried it, let me tell you, you need to. Jump to the Sweet Citrus Cedar Plank Salmon Recipe.

    Like most seafood these days, it’s important to take care when buying swordfish. Look for sustainable options. Monterey Bay Aquarium’s Seafood Watch Program is my favorite resource for finding out what the best options are. When it comes to swordfish, the sustainability depends on where and how it was fished.

    If you can’t find sustainable swordfish.  Try this recipe with Mahi Mahi or Striped Bass.

    How to Grill Swordfish with Coriander and Lime

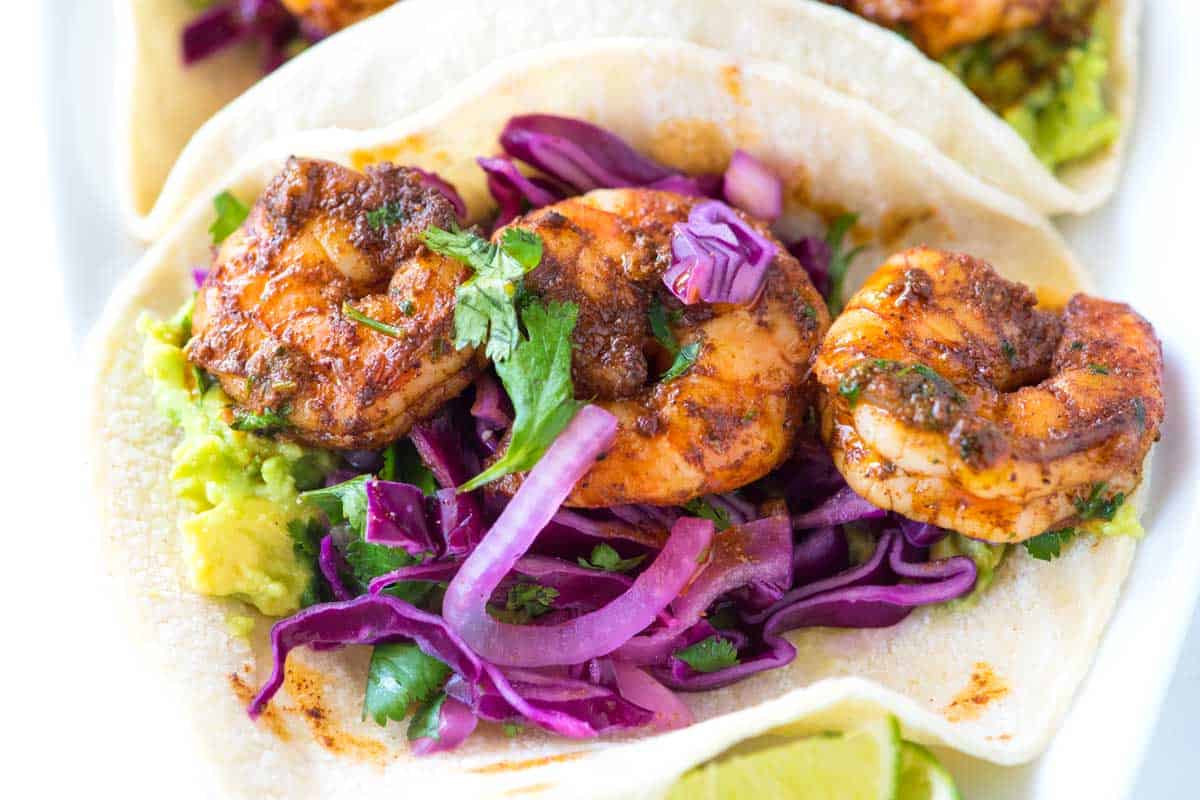
    Chile Butter Shrimp Tacos RecipeYOU MAY ALSO LIKE: Meet your new favorite shrimp taco recipe. There’s chile butter shrimp, mashed avocado and a quick and crunchy slaw. Jump to the Chile Butter Shrimp Tacos Recipe.
    Recipe updated, originally posted August 2010. Since posting this in 2010, we have tweaked the recipe to be more clear. – Adam and Joanne

    Grilled Swordfish Recipe with Coriander and Lime

    • PREP
    • COOK
    • TOTAL

    This is a simple recipe. We season the fish with salt, pepper and coriander then grill on both sides. For serving, we add a little butter, a generous squeeze of lime and cilantro. If you can’t find sustainable swordfish. Try this recipe with Mahi Mahi or Striped Bass.

    Makes 2 servings

    You Will Need

    2 swordfish steaks, 6 ounces each

    2 tablespoons extra-virgin olive oil

    1/2 teaspoon ground coriander

    Salt and fresh ground black pepper

    2 tablespoons butter, at room temperature

    1 lime, halved

    Handful of cilantro leaves, coarsely chopped

    Directions

      1Heat grill to medium-high heat.

      2Brush both sides of the swordfish with the olive oil then season with coriander, a pinch of salt and a few grinds of black pepper.

      3Grill swordfish steaks until just cooked through, about 3 minutes per side (depending on thickness of steaks). Transfer the steaks to plates. Top each steak with a tablespoon of butter, a generous squeeze of lime juice and cilantro.

    Adam and Joanne’s Tips

    If you make this recipe, snap a photo and hashtag it #inspiredtaste — We love to see your creations on Instagram and Facebook! Find us: @inspiredtaste


    AUTHOR:

    Adam Gallagher

    Previous Post: Creamy Pasta with Yogurt, Bacon and Snap Peas
    Next Post: Crispy Beer Battered Fried Apples Recipe


    Source link

  • Grilled Salmon

    Grilled Salmon

    Pinterest Hidden Image

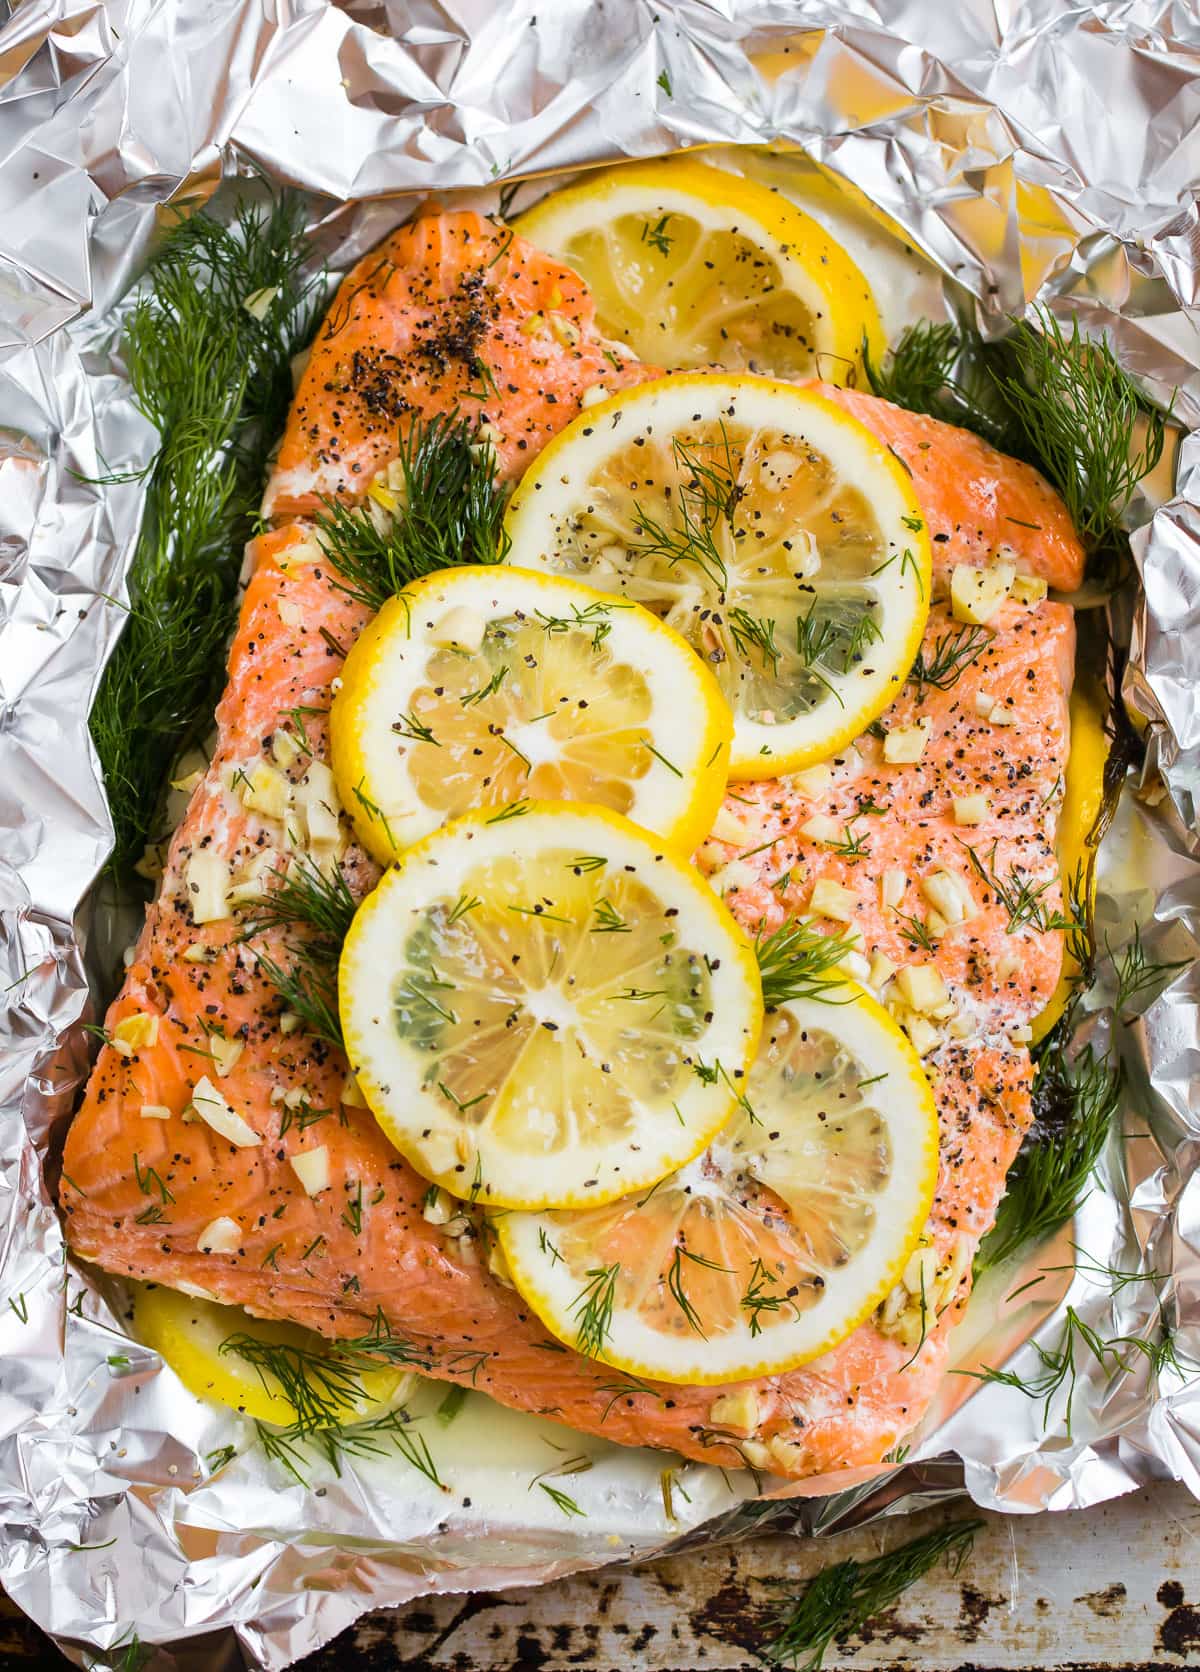
    Grab your big girl (or big boy) apron, your tongs, and your attitude, because we’re conquering culinary fears with this easy, perfect, you-can’t-mess-it-up Grilled Salmon.

    The best Grilled Salmon in Foil topped with lemon and dill

    How to Grill Perfect Salmon Every Time

    Even if you are intimidated to cook fish (I was for years!) or intimidated to use the grill (yep, I was scared of that too), this grilled salmon recipe is foolproof.

    I’ve included all the best tips for how to grill salmon, ways to flavor salmon, what to serve with salmon, and more!

    This post is your grilled salmon toolkit.

    This recipe is based on my go-to Baked Salmon.

    Before grilling season leaves us, I’ve had on my mind to adapt, test, and perfect that much loved baked salmon recipe to the grill. Today is the day!

    • Read on for detailed photos and step-by-steps for how to cook grilled salmon.
    • At the bottom of the post, I’ve included a recipe for grilled salmon with lemon and dill (and garlic and butter). It’s a lovely combination.
    • You can follow those flavor recommendations or use the same grilling method with one of the other suggested variations below.
    Best Grilled Salmon in Foil topped with dill and lemon to serve with vegetables

    The Easiest Way to Grill Salmon

    While you can grill salmon without foil (see these classic Grilled Salmon Fillets and Cedar Plank Salmon for recipes), for a foolproof method that works especially well for a large piece of salmon, use the foil packet method.

    • Using foil to make a packet around the salmon keeps the salmon moist when grilling. It ensures the salmon turns out perfectly tender and flaky, not dry.
    • With the foil method, you also don’t need to worry about the salmon falling apart or sticking to the grill grates.

    Avoid sad, stuck-on, dry salmon: use foil to grill! Want to test your salmon grilling skills? Check out my Grilled Salmon, sans foil.

    Fresh salmon to be cooked to 145 degrees F on the grill for Grilled Salmon in Foil

    How to Make the Best Grilled Salmon in Foil

    1. Start by Selecting The Best Fish

    • Look for salmon that is bright pink in color, that smells fresh but not fishy, and, if possible, is wild caught.
    • For more information on how to pick salmon, see How to Cook Salmon.

    2. Lay a Large Sheet of Foil on a Baking Sheet

    • You’ll want a piece large enough to fully wrap around your piece of fish, with plenty of overhang on all sides to make a foil packet.
    • I recommend using a heavy-duty foil or at least slightly thicker foil, as it is less prone to tearing.
    • The baking sheet is there so it’s easy to carry to your grill. When you’re done grilling, you can slide the foil packet right back onto it, then carry it straight to the kitchen (or your table).
    • If you do not want your food to touch the foil directly, lay a sheet of parchment paper on top of the foil to act as a barrier. Cooking food directly in foil has been noted as a health concern by some, so do whatever makes you the most comfortable.
    Fresh lemon slices and dill in foil to be topped with salmon for Grilled Salmon in Foil

    3. Place Half of the Herbs and Citrus on the Foil

    • Most often, I do a simple grilled salmon: a few sprigs of herbs and lemon slices. I like dill, but you can use any mix of fresh herbs and citrus that you like.
    • If you use a stronger herb like rosemary or dill, be more sparing on the herbs. Herbs like parsley or cilantro are more delicate, so you can be more generous.
    • For citrus, use lemon, lime, or orange (or try all 3!). Of these, lime is the strongest.
    • Of course, you don’t have to use lemon and herbs—you can use salmon that’s rested in your favorite marinade, or a different blend of herbs and seasonings.

    4. Arrange the Salmon on Top

    • Place the salmon on the foil skin side down, flesh side up.
    • If you realize your sheet of foil is too small, simple tuck a second one behind it.
    Fresh salmon, lemon slices, and dill on foil to be grilled for Grilled Salmon in Foil

    5. Add Butter, Garlic, and Seasonings

    • For grilled salmon, I’ve been loving the flavor of melted butter. Two tablespoons are all you need for a full 1 ½ pounds of fish. Worth it!
    • If you prefer not to use butter or need the grilled salmon dairy free, you can use olive oil or another cooking oil of choice.
    • For seasonings, I like minced fresh garlic, along with plenty of kosher salt and black pepper.
    • Be generous with the salt and pepper! The more fish you have, the more you need.
    • Place more herbs and citrus on top.
    • For other ways to flavor the salmon, try Salmon Seasoning for a dry rub or this go-to easy Salmon Marinade.
    Grilled asparagus and Grilled Salmon in Foil cooked to 145 degrees on the grill

    6. Seal the Foil Packet and GRILL!

    • A large piece of salmon should be grilled over medium heat, about 375 to 400 degrees F. This recipe is written for a gas grill, and it also works for a charcoal grill, Traeger grill, or Big Green Egg.
    • Once you close the grill lid, the salmon should cook for 14-18 minutes, until almost completely cooked through at the thickest part. The cooking time will vary based on the thickness of your salmon.
    Grilled Salmon in Foil with the skin removed topped with lemon and dill

    How to Tell When Salmon is Finished Cooking

    The eternal question! The greatest of salmon crimes (in addition to under seasoning) is overcooking.

    • As this Salmon Temperature Guide outlines, the best way to tell if salmon is done is to use an instant read thermometer like this one. Remove the salmon at 135 degrees F, then let it rest.
    • The FDA recommends cooking salmon to 145 degrees F, but its temperature will continue to rise as it rests.
    • If you don’t have a meat thermometer, you can check for doneness by taking a sharp knife and peeking into the thickest part of your salmon. If it is beginning to flake, but still has a little translucency in the middle, it is done.
    • If your piece is thinner (around 1-inch thick) check several minutes early to ensure your salmon does not overcook. If your piece is very thick (1 1/2 inches or more), it may need longer.
    Grilled Salmon in Foil topped with lemon and dill and a side of grilled asparagus on a white plate

    What to Serve with Grilled Salmon

    More Ways to Season Grilled Salmon

    In addition to the dill and lemon grilled salmon below, here are more tasty suggestions to keep the recipe feeling fresh:

    • Grill Salmon in Foil with Capers. For a bright, slightly Italian spin, use a few sprigs of thyme in place of the dill and reduce the salt to ½ teaspoon. Sprinkle the finished fish with 1 to 2 tablespoons of drained capers.
    • Grilled Salmon with Lime. Use lime for the lemon and cilantro in place of dill. Enjoy alongside a Skinny Margarita.
    • Grilled BBQ Salmon. Instead of the melted butter and garlic, brush 1/4 cup of BBQ sauce (try this homemade barbecue sauce) on the salmon before grilling. Top with lemon slices as directed.
    • Grilled Salmon with Soy Sauce. For an Asian spin on your Grilled Salmon in Foil, swap out the melted butter for 1/4 cup of soy sauce. Drizzle the soy sauce over the salmon and top with garlic as directed before placing on the grill. Because of the high sodium content in soy sauce, you can also omit or reduce the added salt. This version would be delicious served with Asian Noodle Salad.
    • Grilled Salmon with Brown Sugar. A sweet twist on this Grilled Salmon in Foil! Stir 1/4 cup brown sugar into 1/4 cup melted butter, and brush evenly over the salmon. Top with the garlic, salt, pepper, and lemon as directed.
    • Grilled Salmon Marinade. Takes all of 2 minutes to put together. It uses soy sauce for salt and umami, honey or pure maple syrup for sweetness (salmon loves sweet!), and Dijon mustard for balance and zip.

    More Ways to Cook Salmon

    Yes, we adore baked or grilled salmon in foil, but there are also many other healthy salmon recipes that don’t use foil.

    Asparagus, lemon, and dill served with Grilled Salmon in Foil on a white plate

    Recipe Tips and Tricks

    • Skip the Flip. You do not need to flip salmon when grilling (in fact, if you do try to flip it, you’re very likely to have it stick and fall apart). The foil packet method in this recipe does an especially good job making sure the salmon cooks evenly without flipping.
    • The Skin Can be On or Off. The skin is easy to remove after salmon is cooked, you can grill it with the skin off or on. Leaving the skin on can help the keep the salmon moist and deter overcooking, so if you are on the fence or new to cooking salmon, leave it on. If you prefer the skin is off for presentation purposes, if you grill the salmon in foil, you can remove the skin, since you don’t need to worry about the salmon falling apart.
    • Start Grilling Skin-Side Down. If you decide to grill salmon directly on the grill grates instead of using foil, grill it skin side down. Do not grill it face side down, as the flesh is likely to tear and stick. With the foil packet, you don’t need to worry about sticking. You can also place a cast iron skillet on the grill and make Pan Seared Salmon.

    How to make grilled salmon. Easy step-by-step for PERFECT, flaky salmon in foil. Tips for how to know when salmon is done and seasoning ideas!

    • 1 ½ pound side of salmon skin off or on
    • 1 small bunch of fresh dill divided
    • 1 medium lemon plus additional for serving
    • 2 tablespoons melted unsalted butter or canola oil or olive oil
    • 3 cloves minced garlic
    • ¾ teaspoon kosher salt
    • ¼ teaspoon freshly ground black pepper

    • Remove the salmon from the refrigerator and let stand at room temperature for 10 minutes while you prepare the other ingredients. Preheat an outdoor grill to medium (about 375°F). Line a rimmed baking sheet (large enough to hold your piece of salmon) with a large piece of aluminum foil. If you prefer your food not to touch the foil directly, lay a piece of parchment paper on top (be sure none of it pokes out when the packet is sealed).

    • Lightly coat the foil with baking spray. Then, arrange a few sprigs of dill down the middle. Cut the lemons into thin slices and arrange half of the slices down the middle with the dill. Place the salmon on top.

    • Drizzle the salmon with the melted butter. Sprinkle with the salt and pepper. Scatter the garlic over the top, then lay a few more springs of dill and the remaining lemon slices on top of the salmon. Chop a tablespoon or so of the remaining dill and reserve for serving.

    • Fold the sides of the aluminum foil up and over the top of the salmon until it is completely enclosed. If your piece of foil is not large enough, place a second piece on top and fold the edges under so that it forms a sealed packet. Leave a little room inside the foil for air to circulate.

    • Carefully slide the wrapped salmon onto the grill. Close the grill and grill the salmon for 14-18 minutes, until the salmon is almost completely cooked through at the thickest part. The cooking time will vary based on the thickness of your salmon side. If your piece is thinner (around 1-inch thick) check several minutes early to ensure your salmon does not overcook. If your piece is very thick (1 1/2 inches or more), it may need longer.

    • Open the grill, and carefully open the foil so that the top of the fish is completely uncovered (be careful of hot steam). Close the grill, and continue grilling until the fish is cooked through completely, about 3 minutes more. Watch the salmon closely to make sure it doesn’t overcook. Remove the salmon from the grill (I like to use the foil to lift it right back on top of the baking sheet). If it still appears a bit underdone, you can wrap the foil back over the top, and let it rest for a few minutes. Do not let it sit too long—salmon can progress from “not done” to “over done” very quickly. As soon as it flakes easily with a fork, it’s ready.

    • To serve, cut the salmon into portions. Remove the topmost sprigs of dill and discard. Sprinkle with freshly chopped dill and top with an extra squeeze of lemon as desired.

    • This recipe is best enjoyed the day that it is made, as salmon usually dries out when reheated. If you have leftover salmon, try serving it room temperature over a salad the next day or flaking and scrambling it with eggs.
    • TO MAKE DAIRY FREE: Swap olive oil or the oil of your choice for the unsalted butter.
    • TO MAKE WHOLE30/PALEO: Swap olive oil or the oil of your choice for the unsalted butter
    • For more tips about how to tell when salmon is done or ideas to vary up this recipe to different tastes, see blog post above.

    Serving: 1serving (6 oz)Calories: 301kcalCarbohydrates: 3gProtein: 34gFat: 17gSaturated Fat: 5gCholesterol: 109mgPotassium: 871mgFiber: 1gSugar: 1gVitamin A: 262IUVitamin C: 15mgCalcium: 27mgIron: 2mg

    Source link

  • Grilled Bourbon Steak Recipe | The Recipe Critic

    Grilled Bourbon Steak Recipe | The Recipe Critic

    This website may contain affiliate links and advertising so that we can provide recipes to you. Read my disclosure policy.

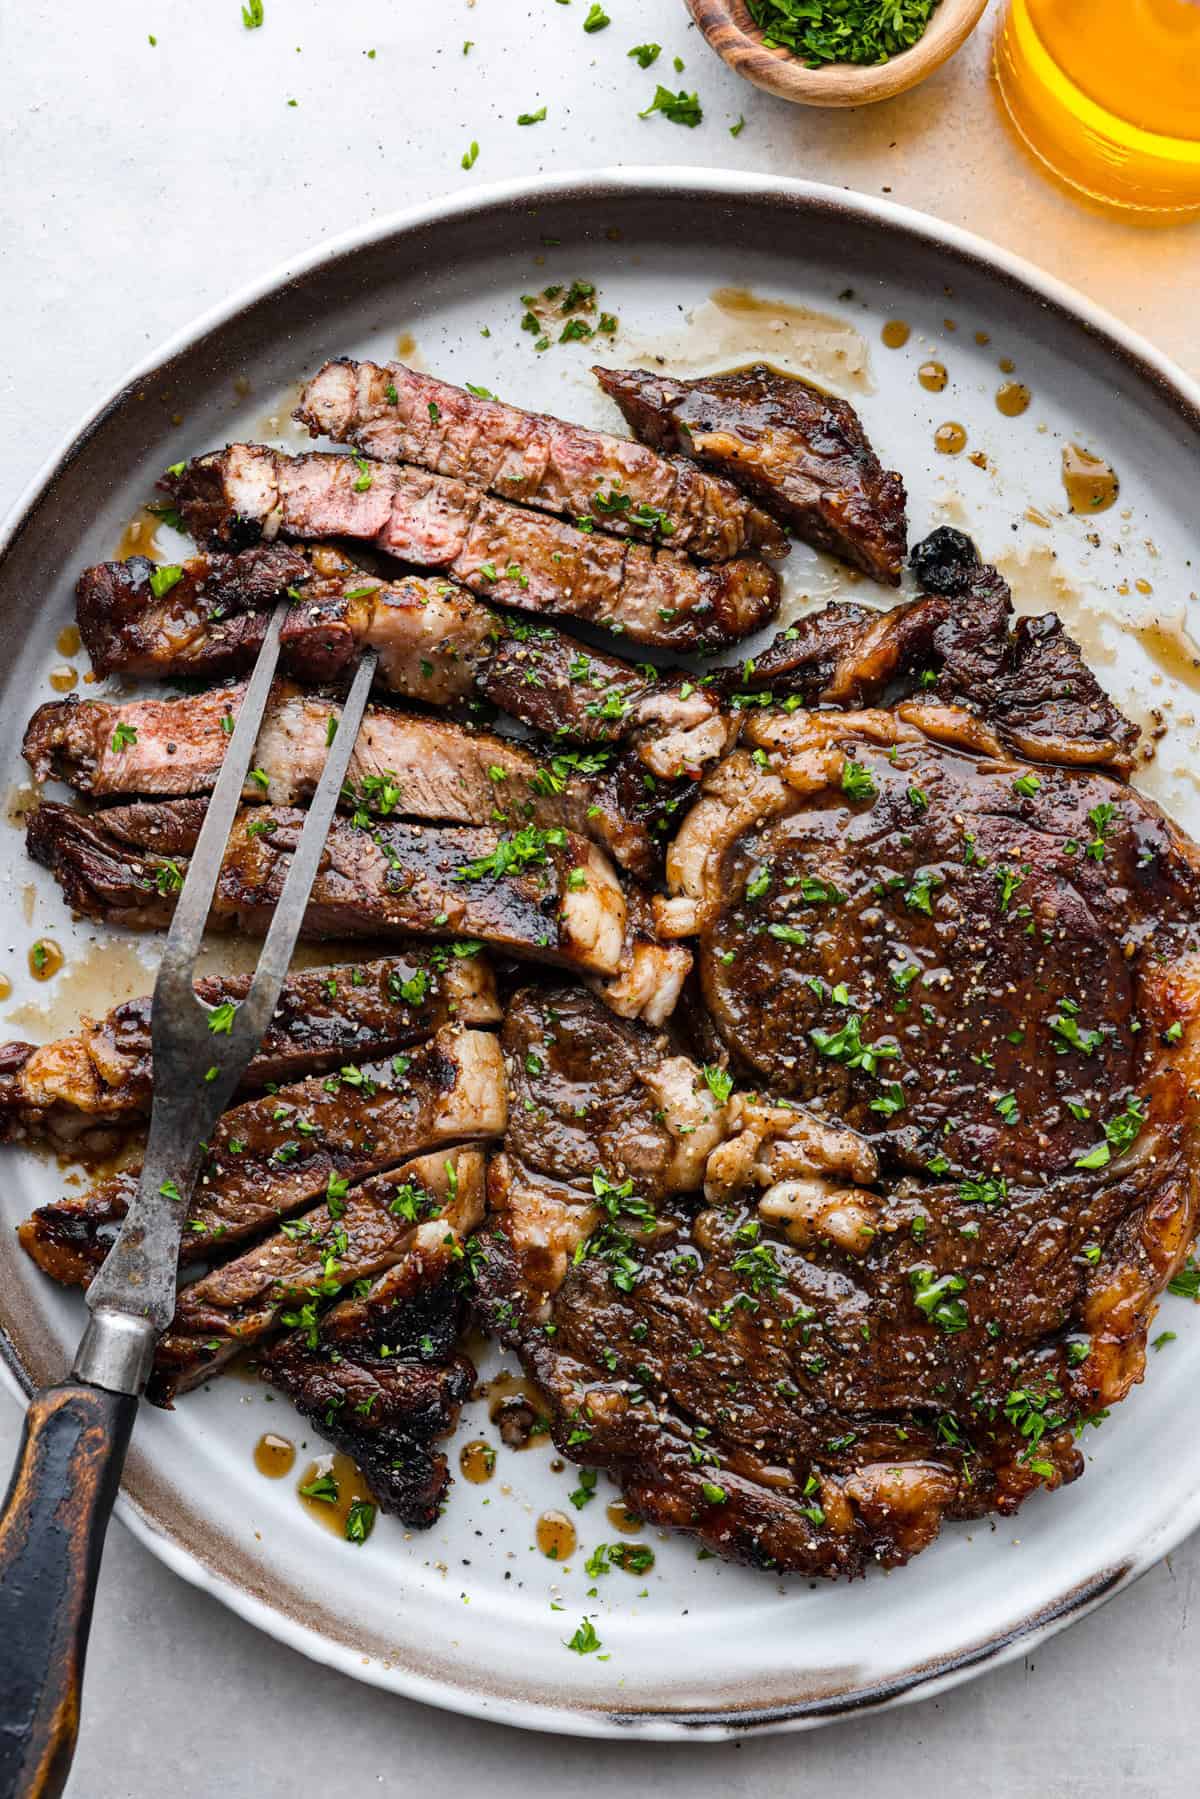
    Fire up the grill for these mouthwatering Grilled Bourbon Steaks! Marinated in a blend of whiskey, brown sugar, and savory spices, these steaks are sure to be a hit at your next barbecue.

    It’s grilling season, and I couldn’t be more excited! Make this a complete meal by serving this steak with some delicious grilled sides like grilled corn, grilled vegetable kabobs and watermelon for your next BBQ.

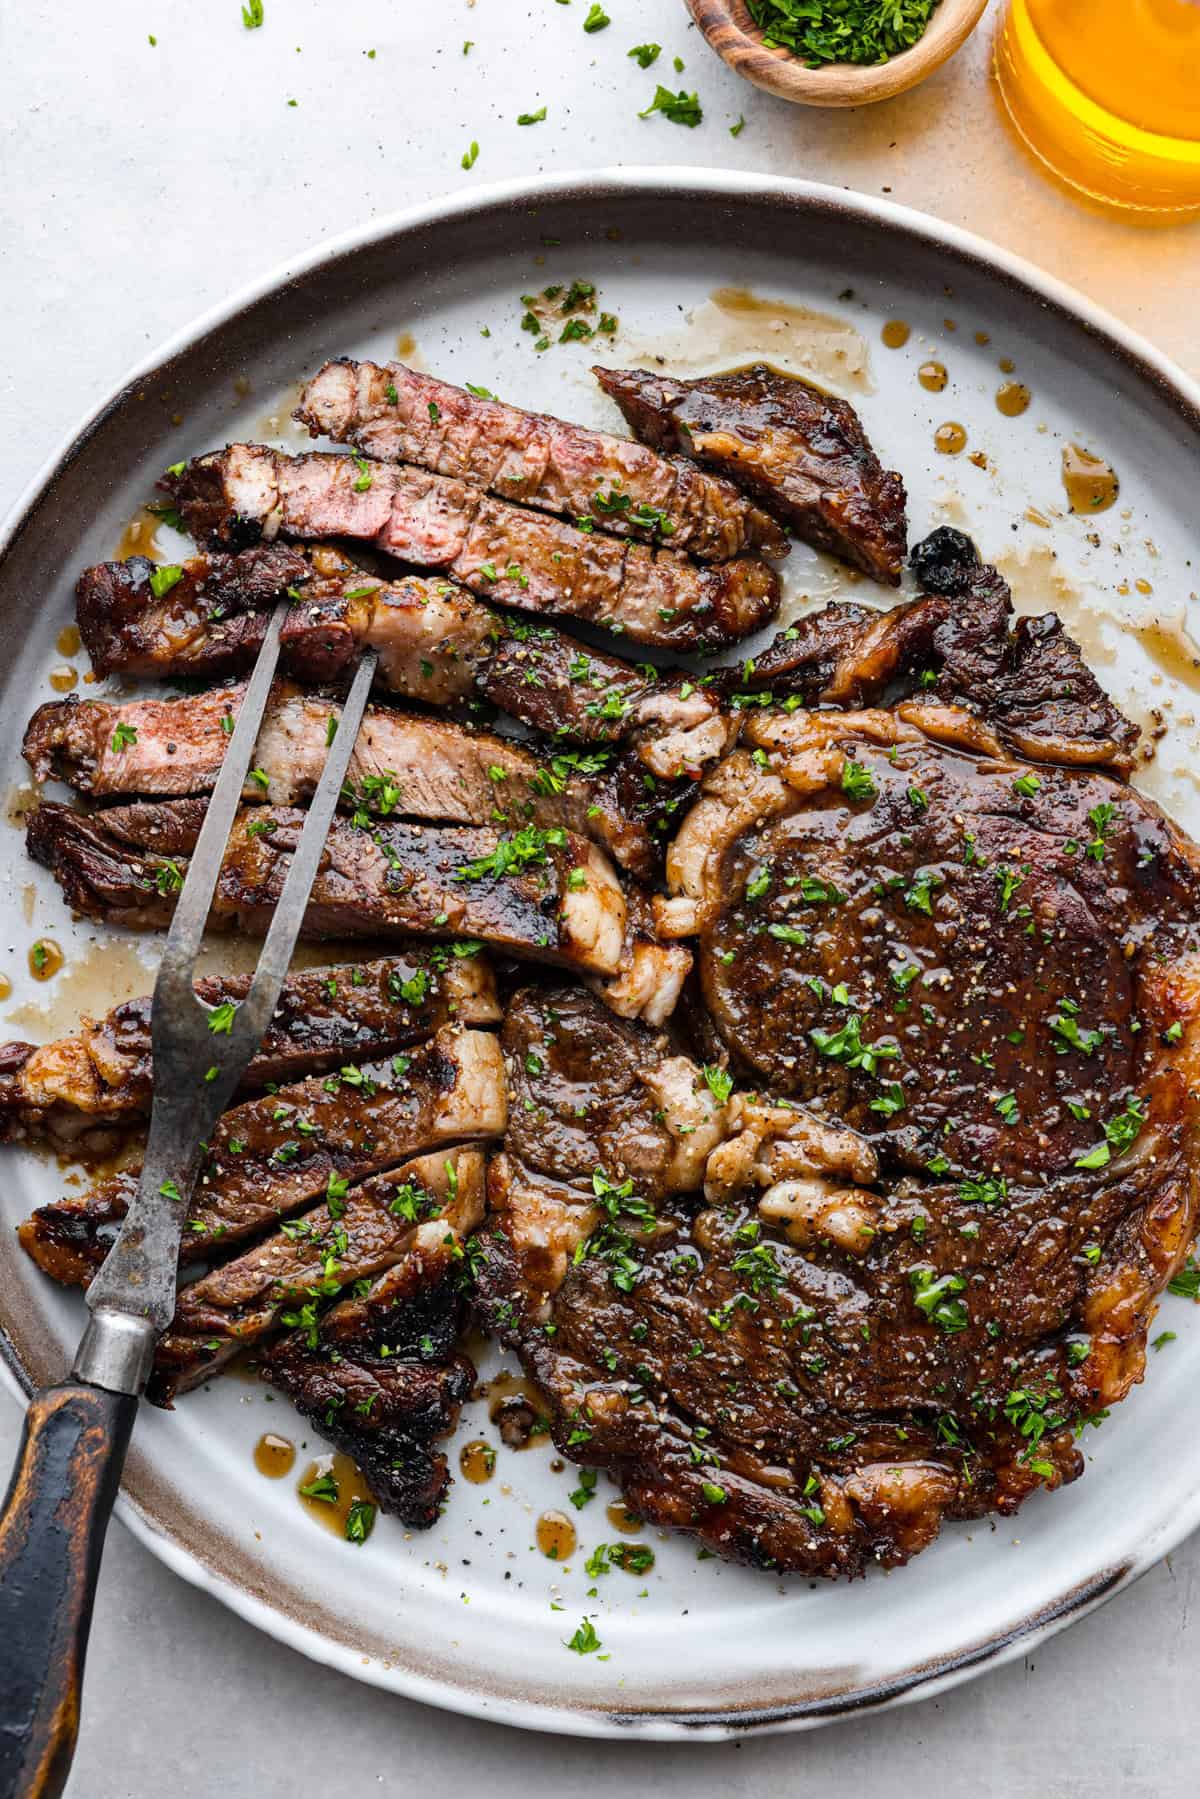
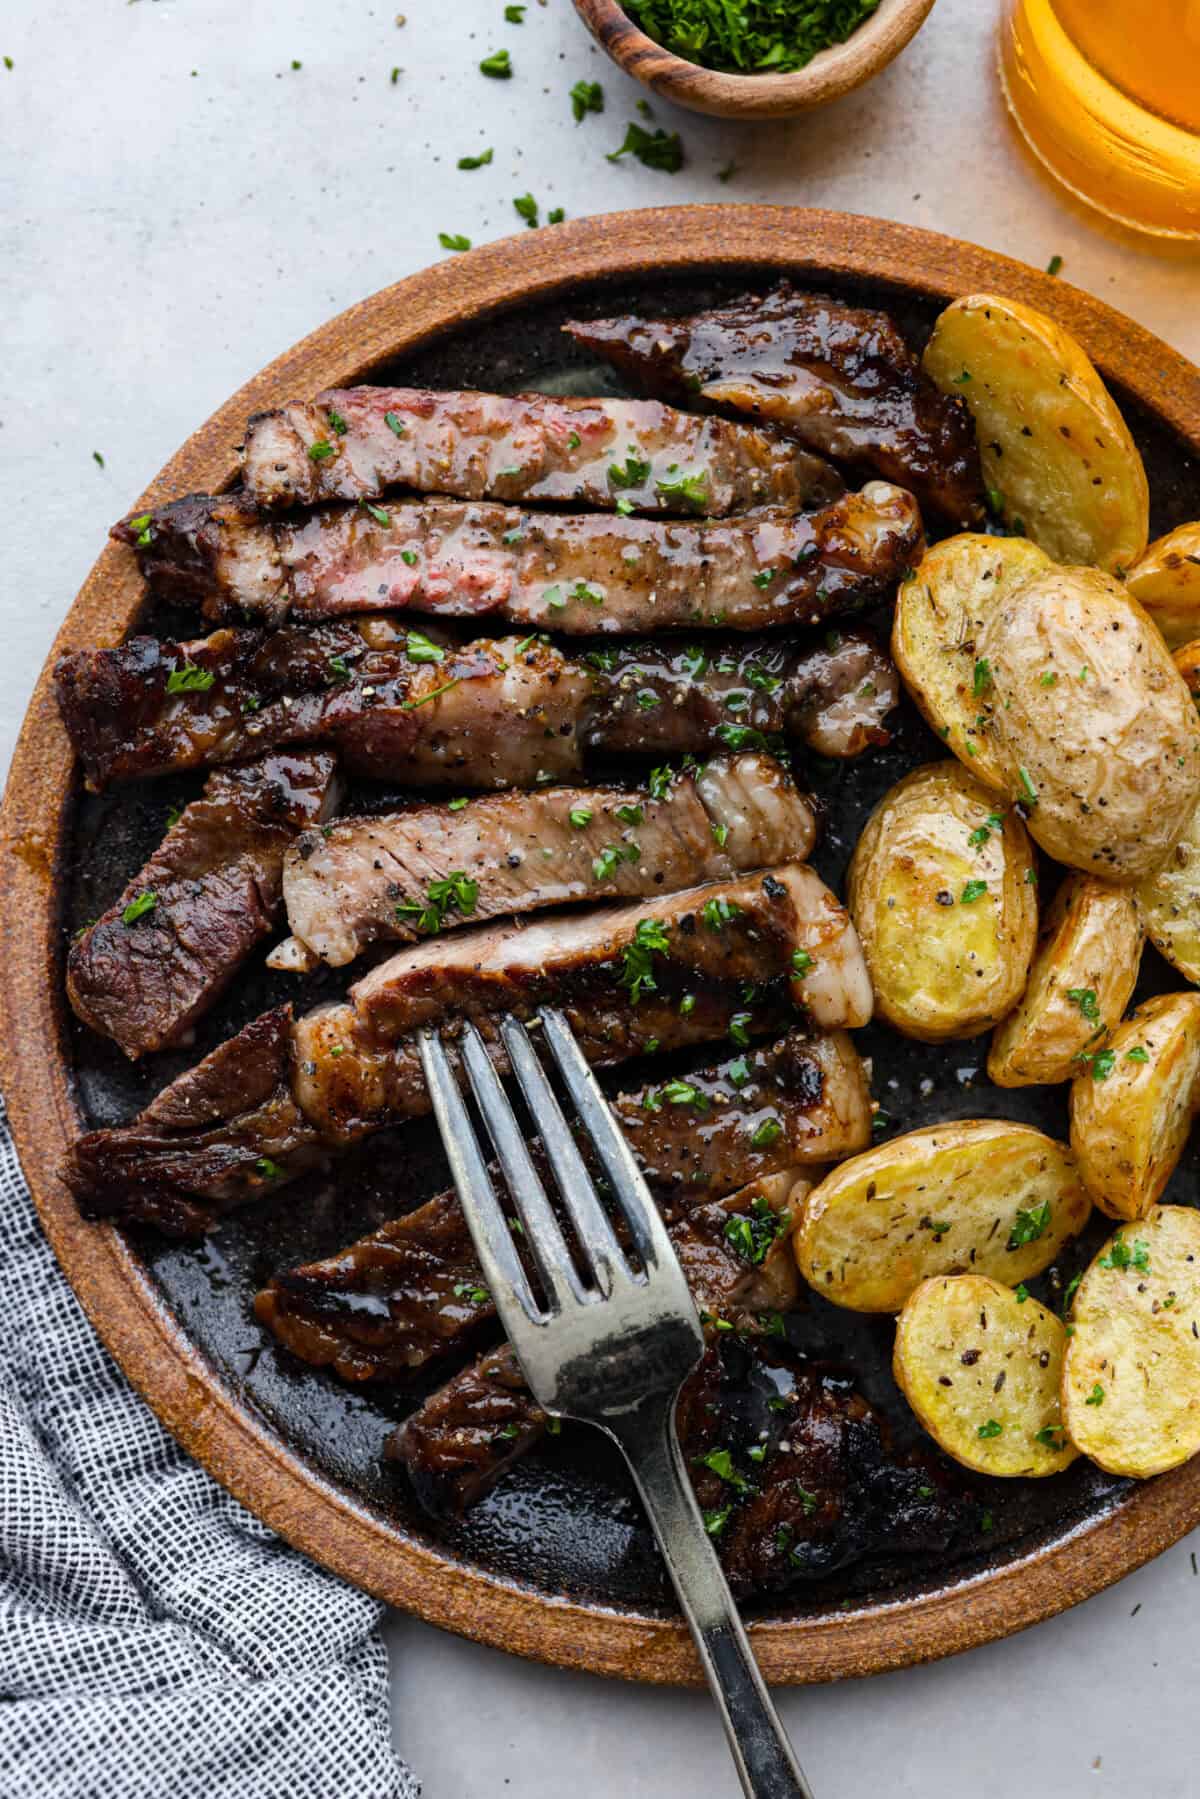
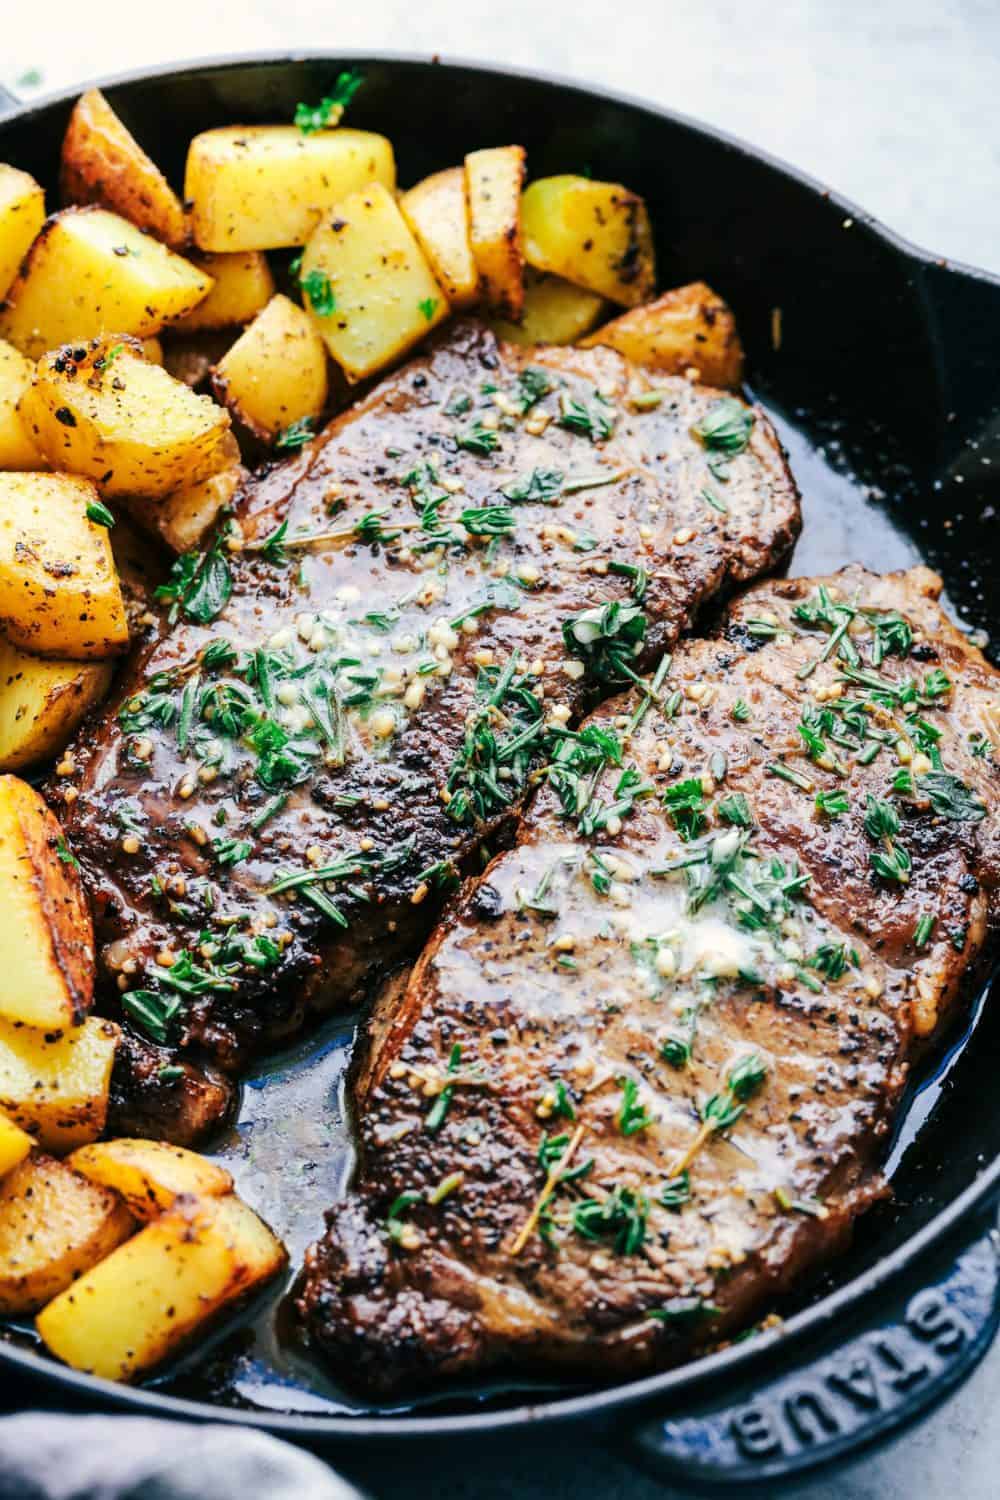
    Sliced bourbon steak on a plate.

    Reasons You Will Love This Recipe

    • Quick and Simple: Making grilled bourbon steak is so easy! Once these have marinated, they can be ready to serve in less than 15 minutes.
    • Perfectly Tender and Juicy: This bourbon marinade will tenderize the ribeyes, so that they are super moist with incredible flavor.
    • Balanced Flavor: The marinade is deliciously balanced with sweet, savory and tangy flavors. Even if you’re not a fan of drinking bourbon, you will LOVE the marinade!
    • Great for Summer BBQs: Serve this with a delicious summer salad, veggies and some fruit for a backyard BBQ meal everyone will love!

    Ingredients Needed

    This grilled bourbon steak recipe only requires a handful of simple ingredients. Once you whip up the marinade and let your steak marinate for 1-4 hours, then you are on your way to juicy, flavorful ribeyes! Check out the recipe card at the bottom of the post for exact measurements.

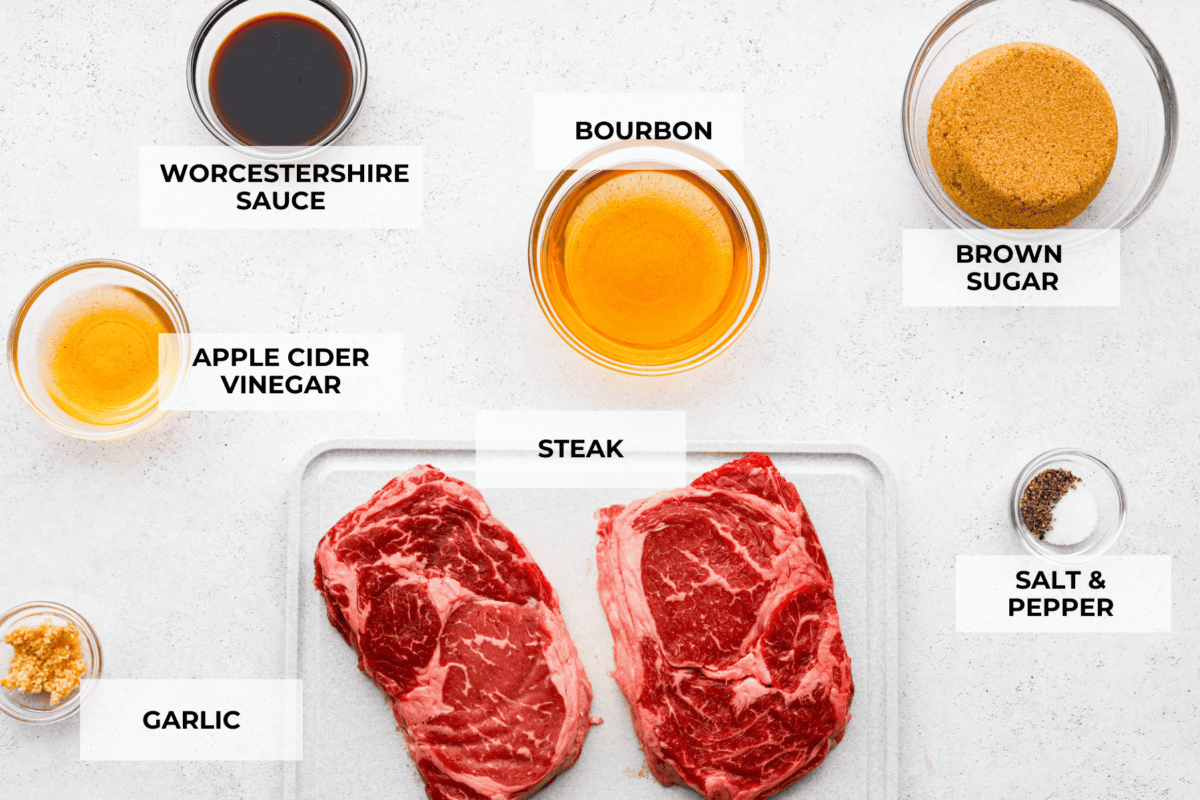
    • Ribeye Steaks: Choose ribeye steaks with plenty of marbling. This will ensure that they are nice and tender after being cooked. If you want to know about other cuts of meat and substitutions, see my post about that here.
    • Bourbon Whiskey: Any brand will work to add flavor and break down the enzymes in the meat, yielding a tender, juicy steak!
    • Brown Sugar: Balances the tanginess of the bourbon, vinegar, and Worcestershire sauce with a hint of sweetness.
    • Apple Cider Vinegar: Adds bright flavor and also helps to tenderize the meat.
    • Worcestershire Sauce: Includes a blend of vinegar, garlic, chiles, molasses and more for a wonderful umami taste.
    • Garlic: 3 cloves of freshly minced garlic will infuse the steak with savory flavor.
    • Salt and Pepper: To taste!
    A top view of all of the ingredients individually laid out on a counter and labeled.

    How to Make Grilled Bourbon Steak

    Grilled bourbon steaks are really simple to make, and they are loaded with a big punch of flavor! Just be sure to plan enough time for the marinating and resting time. It will be just enough time to make my cheesy baked Tennessee Onions!

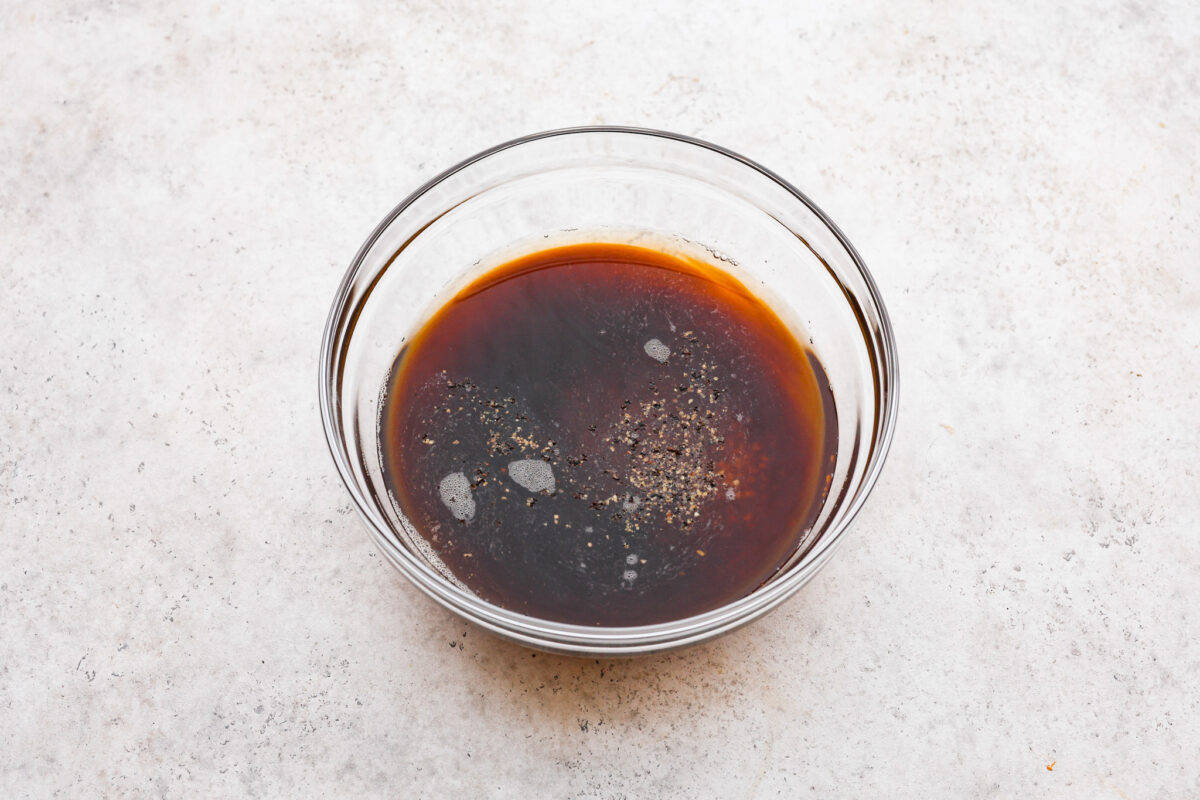
    1. Make the Marinade: In a medium bowl, whisk together the whiskey, brown sugar, vinegar, Worcestershire sauce, garlic, salt and pepper.
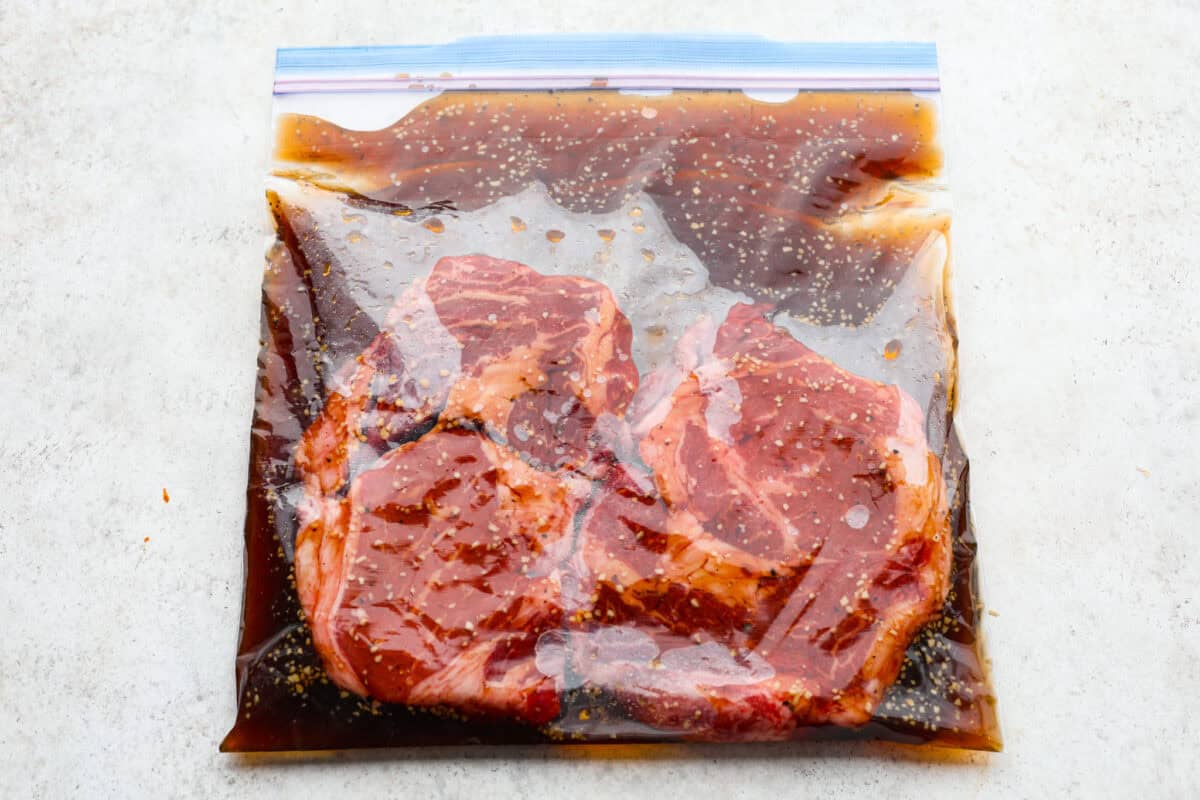
    2. Marinate the Steaks: Pour the marinade into a sealable bag, add the steaks to the bag and seal it shut. Allow the steaks to marinate for between 1-4 hours in the fridge.
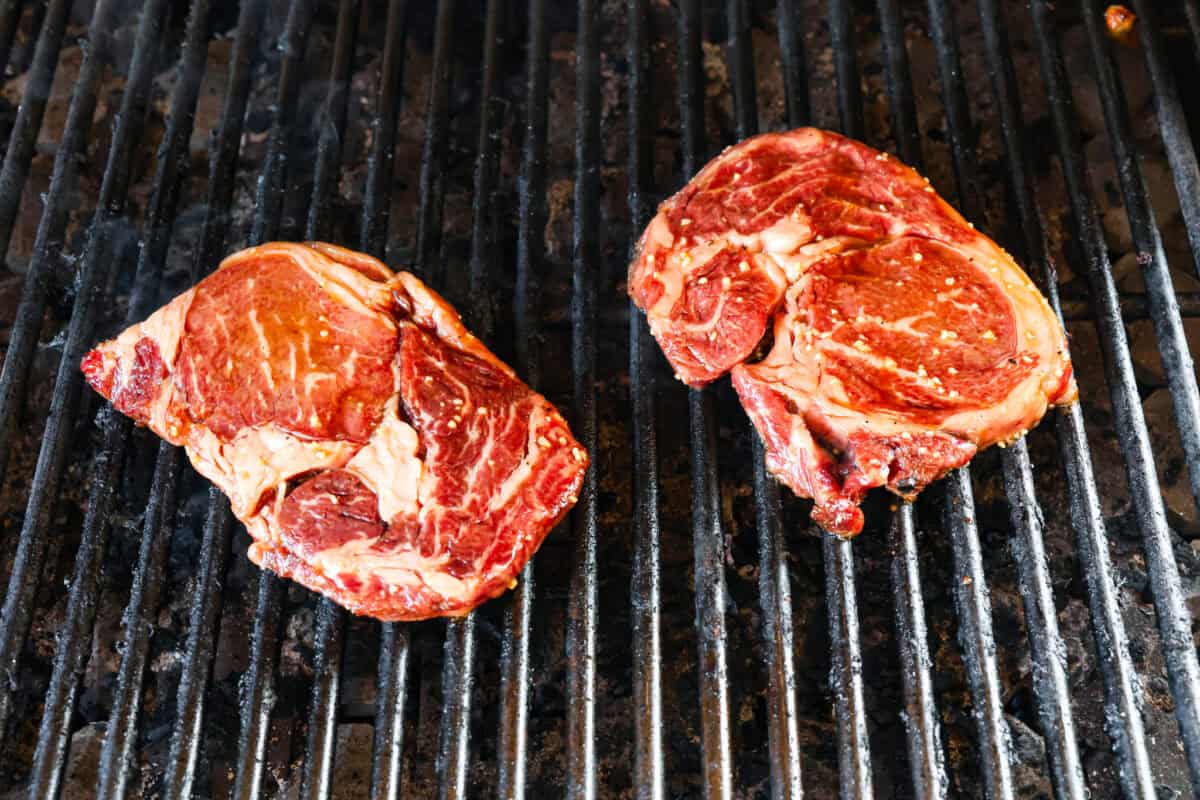
    3. Heat the Grill: While the steak is marinating, heat a grill up to 400 degrees Fahrenheit. When the steaks have marinated, remove them from the fridge and allow them to rest at room temperature for 30 minutes. Remove the steaks from the bag and discard the marinade.
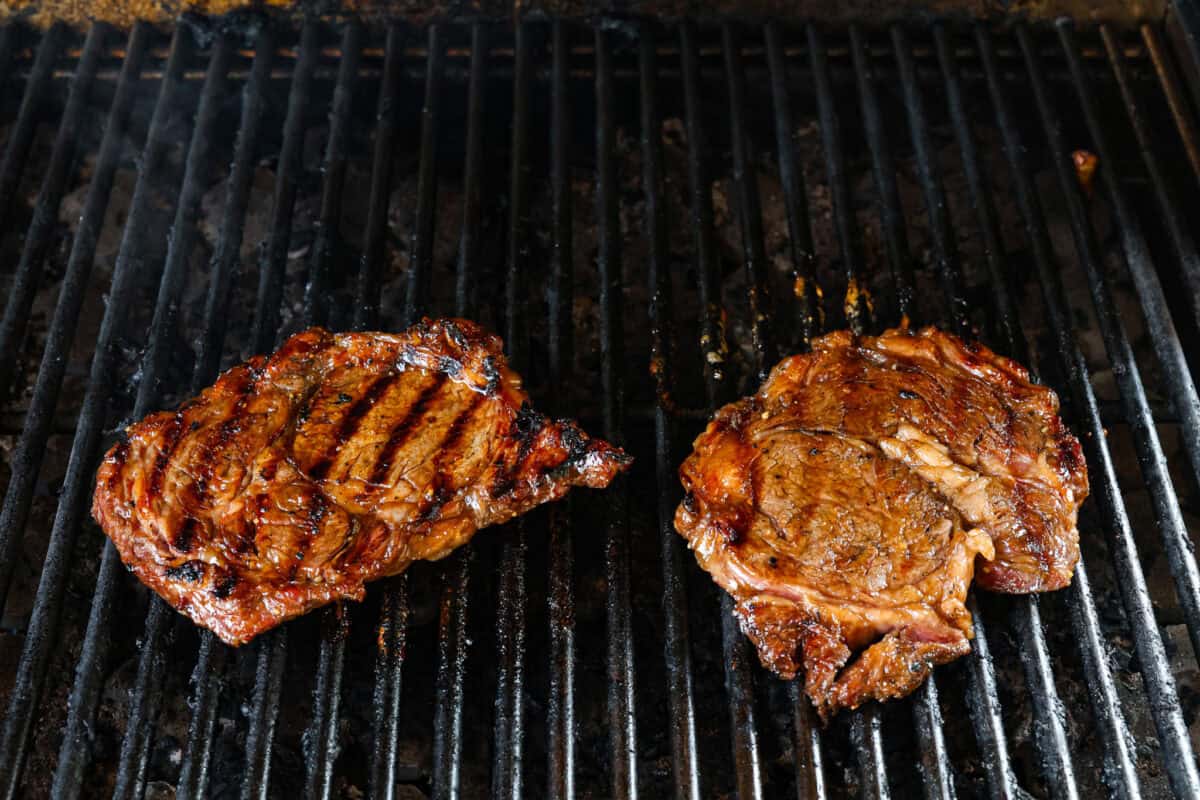
    4. Grill the Steaks: Brush the grill with oil and grill the steaks about 4-5 minutes per side. The internal temperature should reach between 120-155 degrees fahrenheit, depending on how rare you’d like the steak to be.
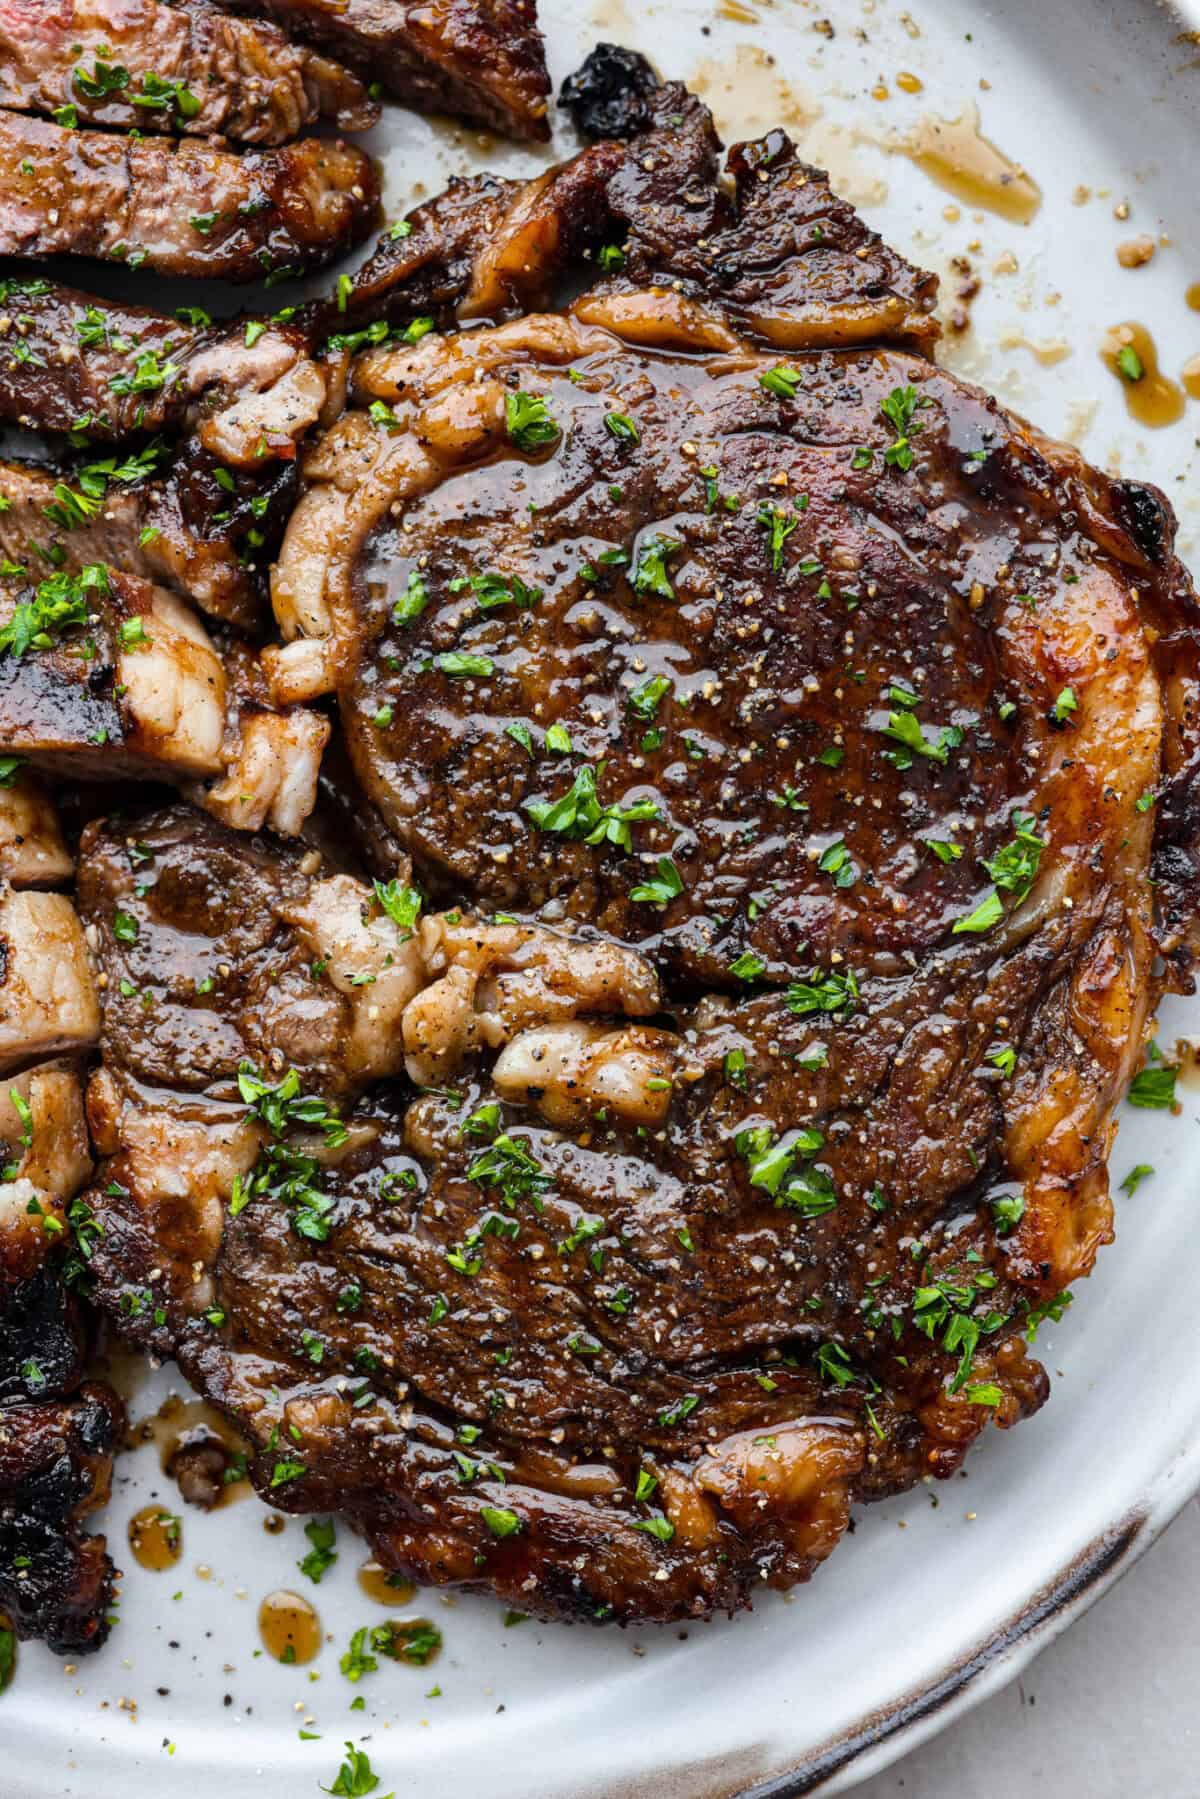
    5. Let Rest and Serve: Remove the grilled steaks from the grill and place on a clean plate to cool for at least 5 minutes before serving.

    Tips for the Best Grilled Bourbon Steak

    • Other Steak Varieties: You can also use strip steak or New York steak for this recipe.
    • Cooking the Steak: Pay attention to how long you cook your steak to have it cooked to your preferred doneness. My steaks were 1-inch thick and I ended up cooking them for 4 minutes on each side at 400 degrees on the grill and they came out medium.
    • Use a Meat Thermometer: Using a thermometer is the best way to know when the steak has reached your desired temperature. Refer to my graphic in this guide for how to ribeye for temperatures of each level of steak doneness. You’ll also find more tips and tricks listed!
    • Allow Steak to Rest: For the juiciest, most tender steak, be sure to rest the ribeye after cooking. This allows the juices to reabsorb and distribute throughout the meat.

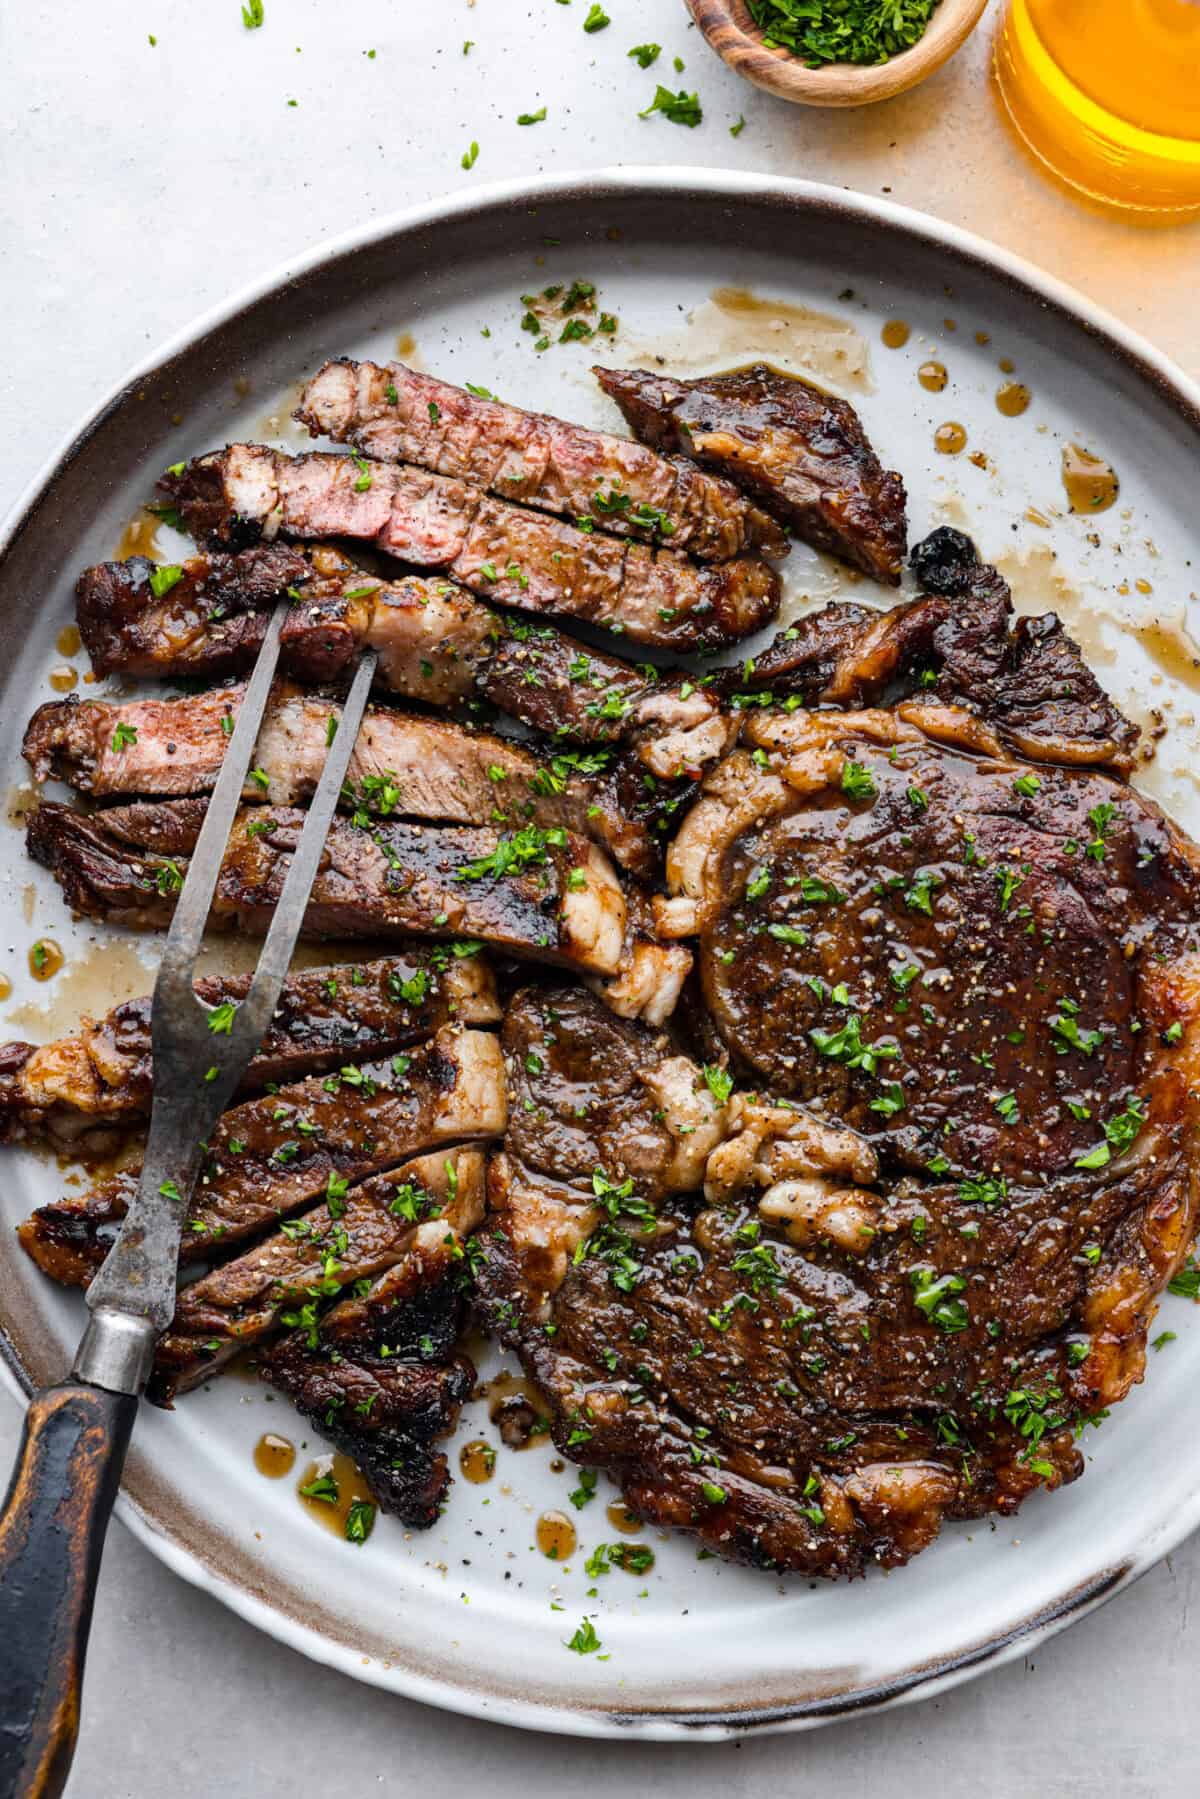
    A close up of grilled bourbon steak on a plate.

    Storing and Reheating Leftover Ribeye Steak

    Grilled bourbon steak stores and reheats really well for an easy lunch or dinner the next day! You can even freeze it for later!

    • In the Refrigerator: Store leftovers in the fridge for up to 3 days in an airtight container.
    • In the Freezer: You can either wrap your steak in plastic wrap or keep it in an airtight container. It will stay good for up to 2 months.
    • Reheating: First, thaw your steak overnight in the fridge. Next, let it sit at room temperature for 30 minutes. You can then warm it up in a skillet until internal temperatures reach at least 120 degrees Fahrenheit.

    Steak and potatoes on a plate, ready to eat.

    More Irresistible Steak Recipes

    Looking for more perfectly cooked, flavorful steak recipes? You are going to love these other juicy, incredible steaks. They are all so easy to make and are all tried and true recipes that my family enjoys all the time!

    Creamy Garlic Steak Bites with Mushrooms

    20 minutes

    Pin this now to find it later

    Pin It


    Source link

  • Grilled Tri-Tip Recipe | The Recipe Critic

    Grilled Tri-Tip Recipe | The Recipe Critic

    This website may contain affiliate links and advertising so that we can provide recipes to you. Read my disclosure policy.

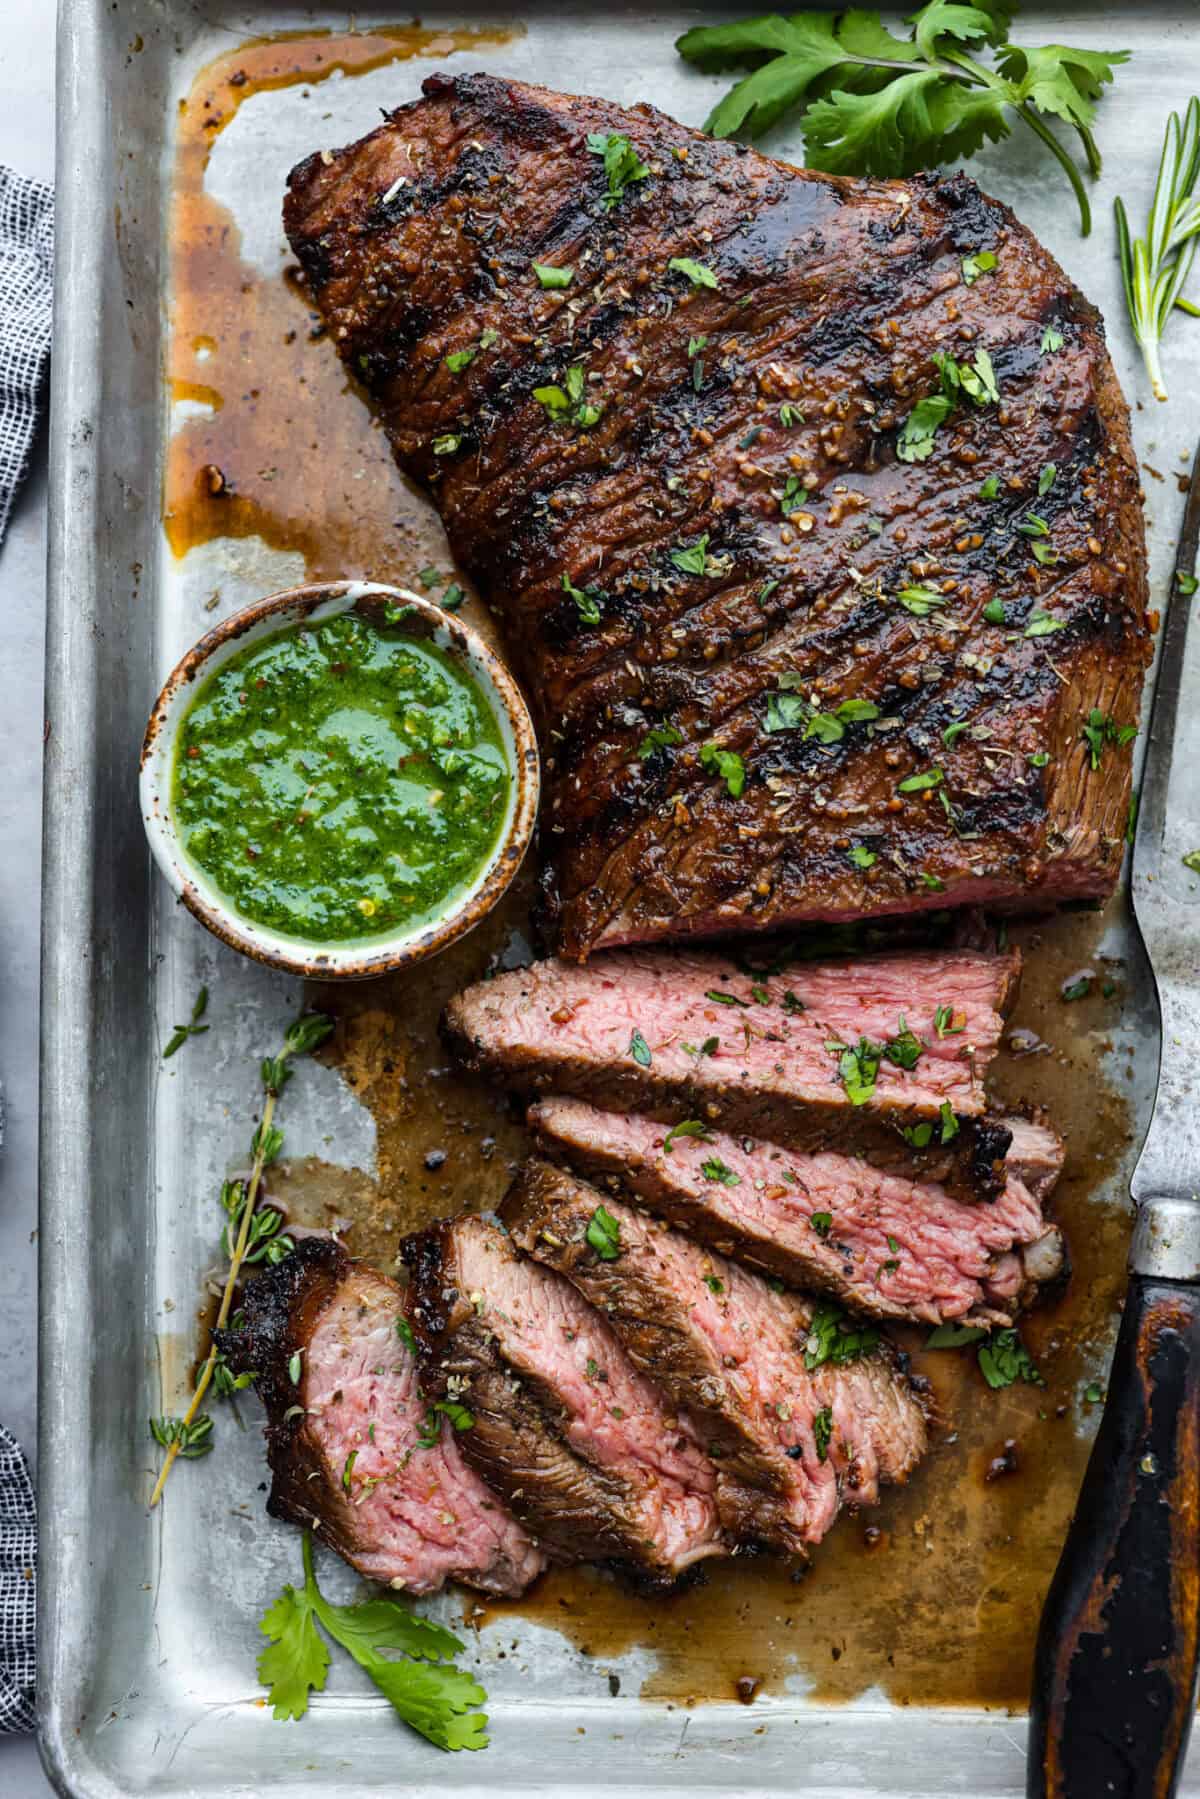
    Grilled Tri-Tip is a flavorful, juicy steak that will be the star of your barbecue! It’s marinated in a simple, yet tasty marinade, then grilled to perfection. Serve with my sweet and savory chimichurri sauce and your favorite sides for an impressive meal that everyone will love!

    If you’re looking for what sides to serve alongside this tri-tip, we’ve got you covered! Try our cool and creamy classic potato salad, chilled cucumber tomato salad and the best baked beans. As the temperatures warm up, you’ll want these delicious side dishes at every cookout!

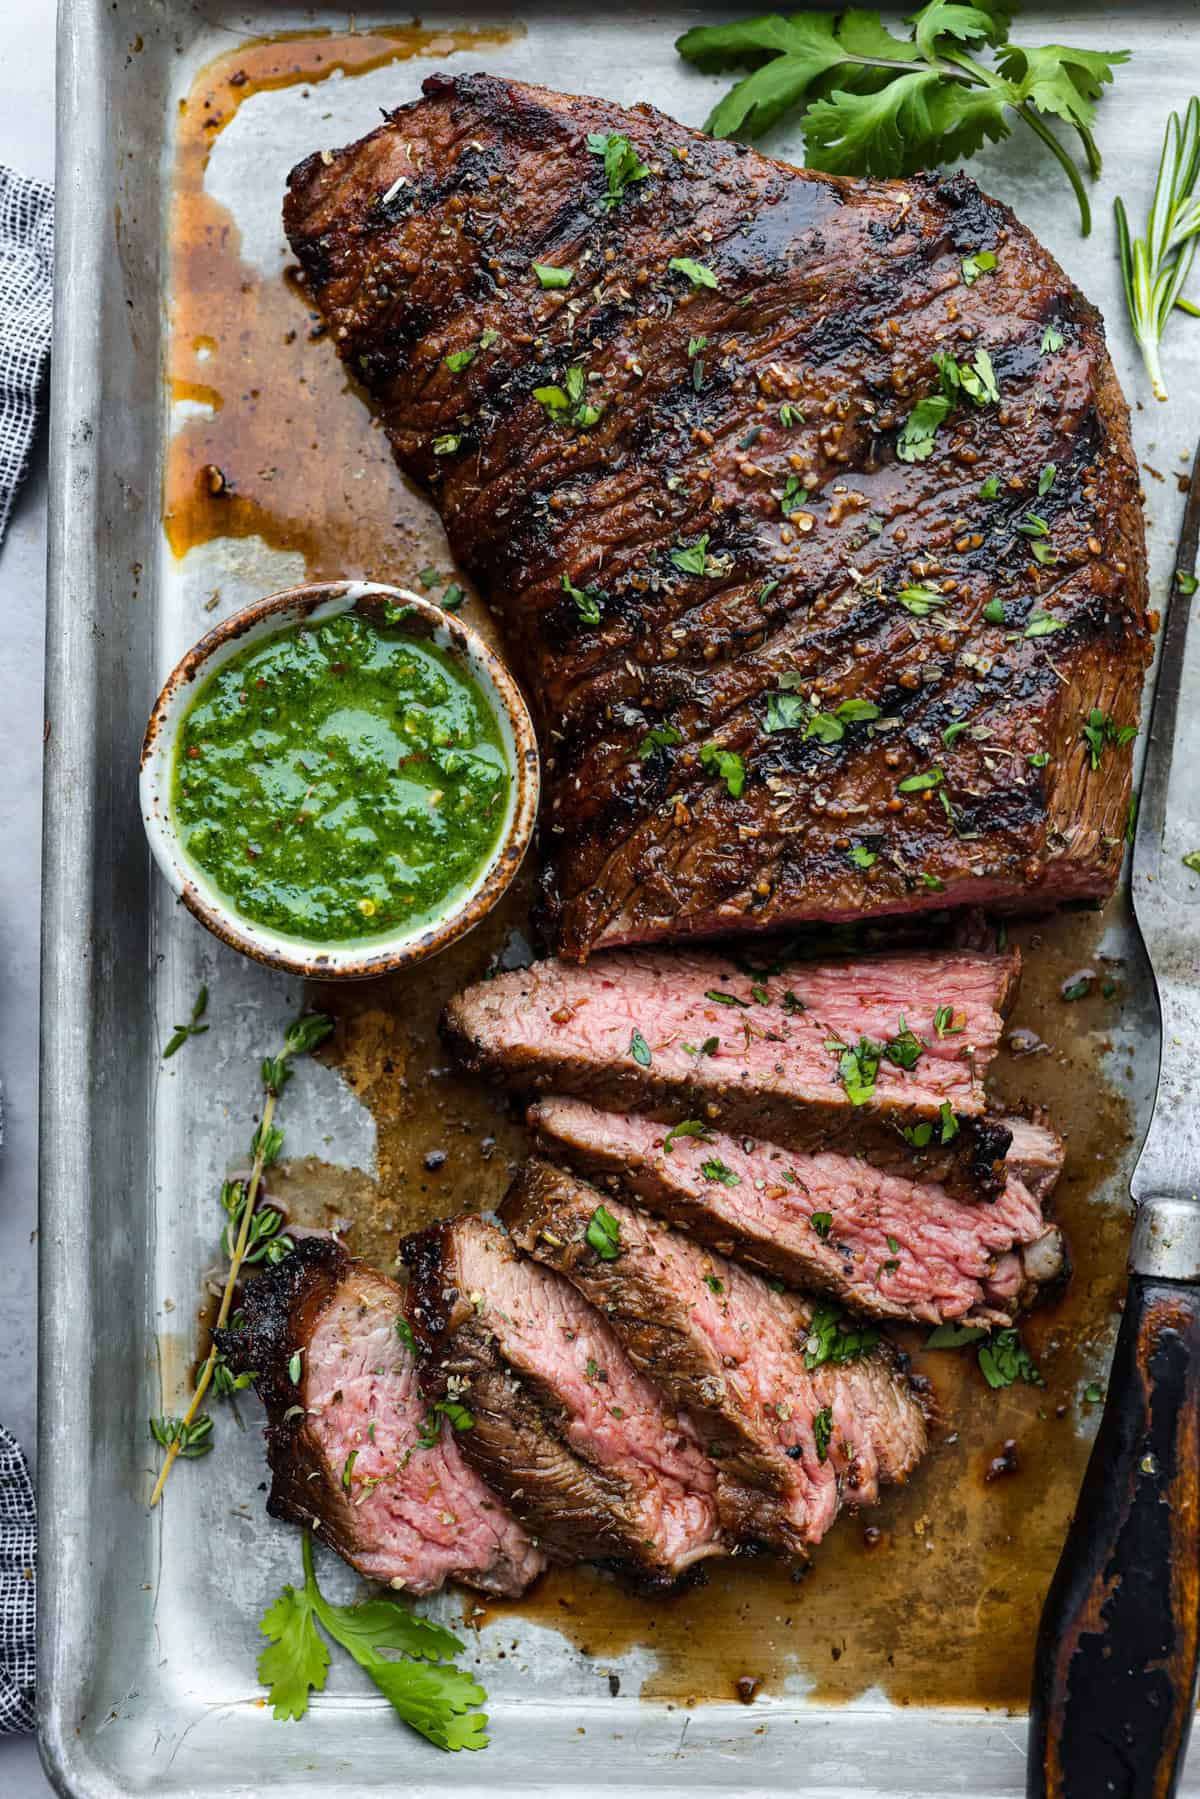
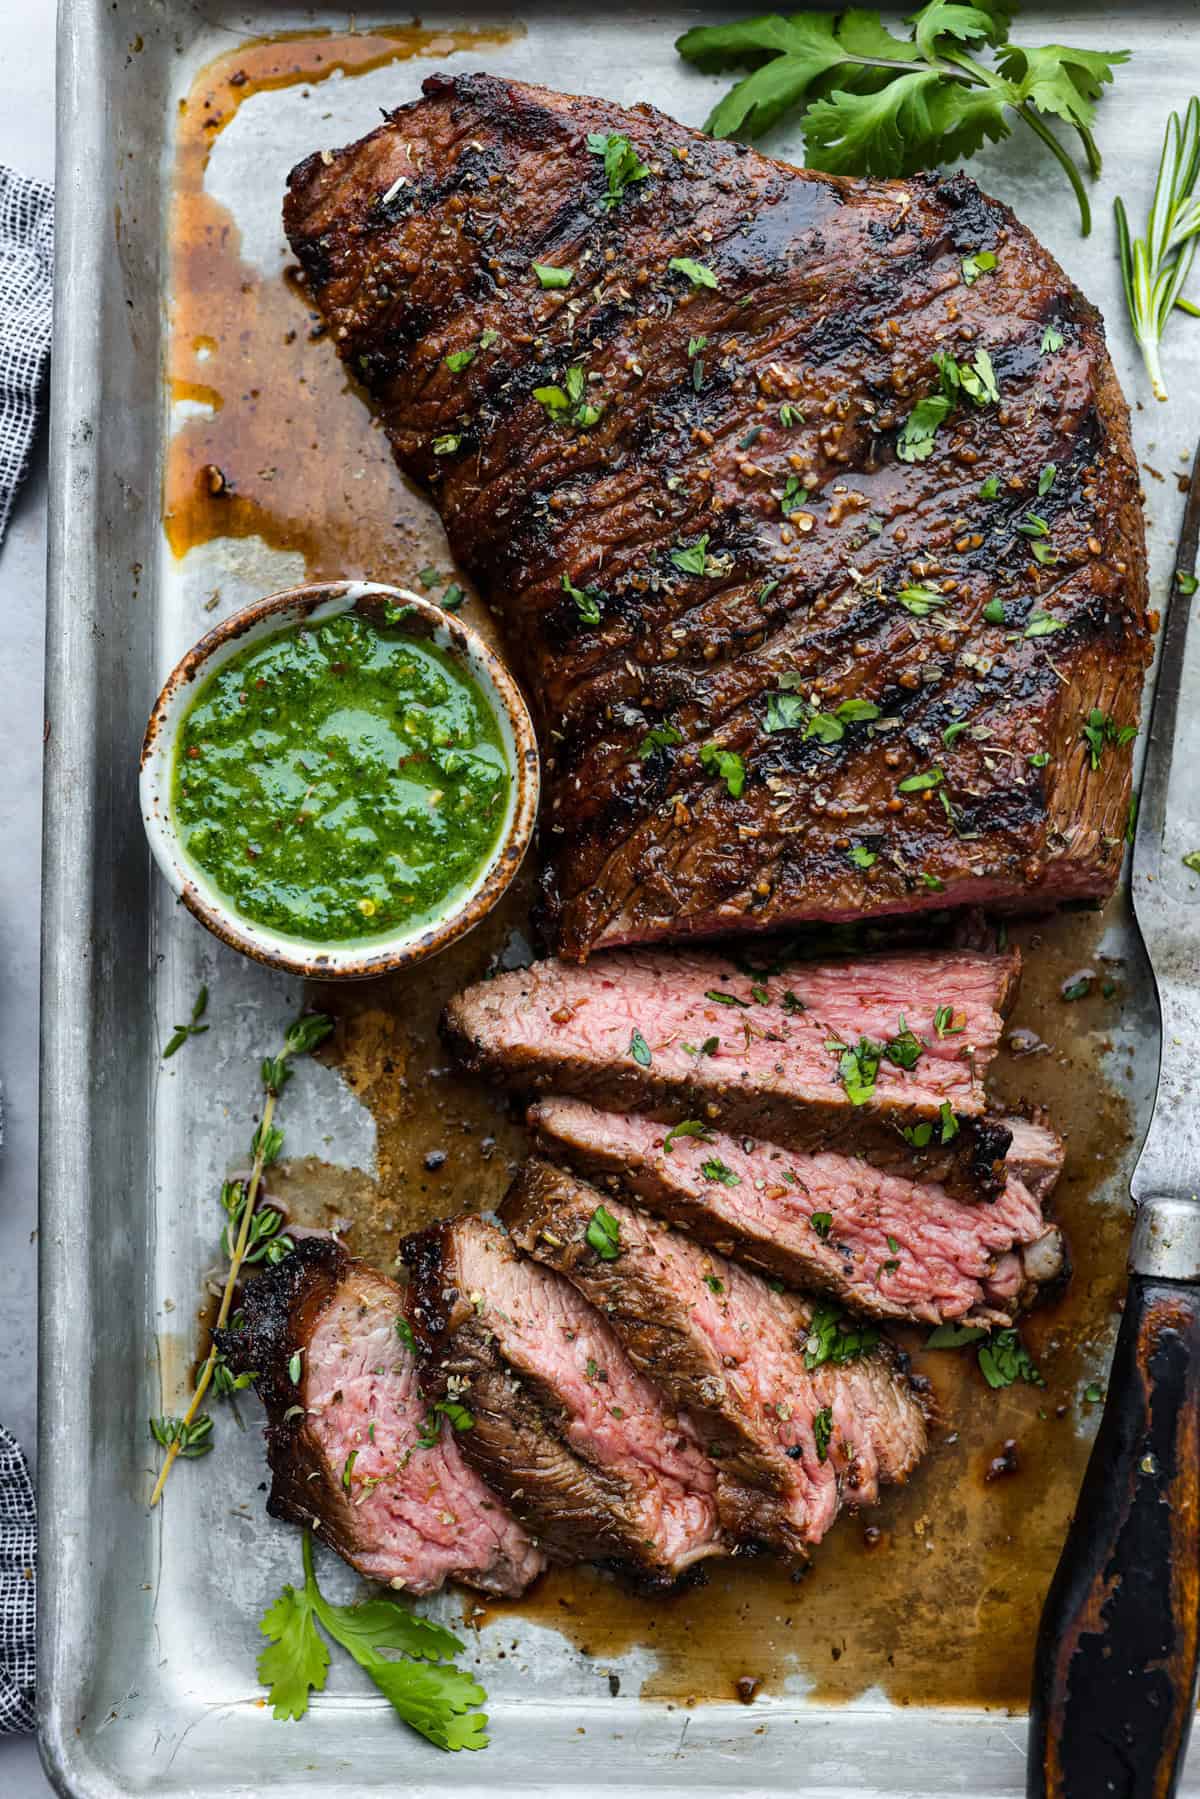
    Overhead shot of grilled tri-tip that has a few slices taken off and a small bowl of chimichuri sauce next to it.

    Reasons You Will Love This Recipe

    • Wonderfully Tender and Tasty: This grilled tri-tip is rich with flavor, and will satisfy all of your steak cravings!
    • Easy Recipe: Grilling a well-seasoned steak is soeasy and doesn’t take too much time either! Once this has time to marinate, it can be on the table in less than 15 minutes.
    • Perfect for Backyard BBQs: Pair this with a fresh, crisp broccoli salad, a vibrant fruit salad and grilled corn. Don’t forget dessert!

    Grilled Tri-Tip

    Tri-tip is a delicious cut of beef! It’s less expensive than other steaks such as the rib-eye, but it’s just as flavorful. It has plenty of great marbling (fat running through the meat), which makes it really juicy and tender as long as you don’t overcook it.

    Ingredients Needed

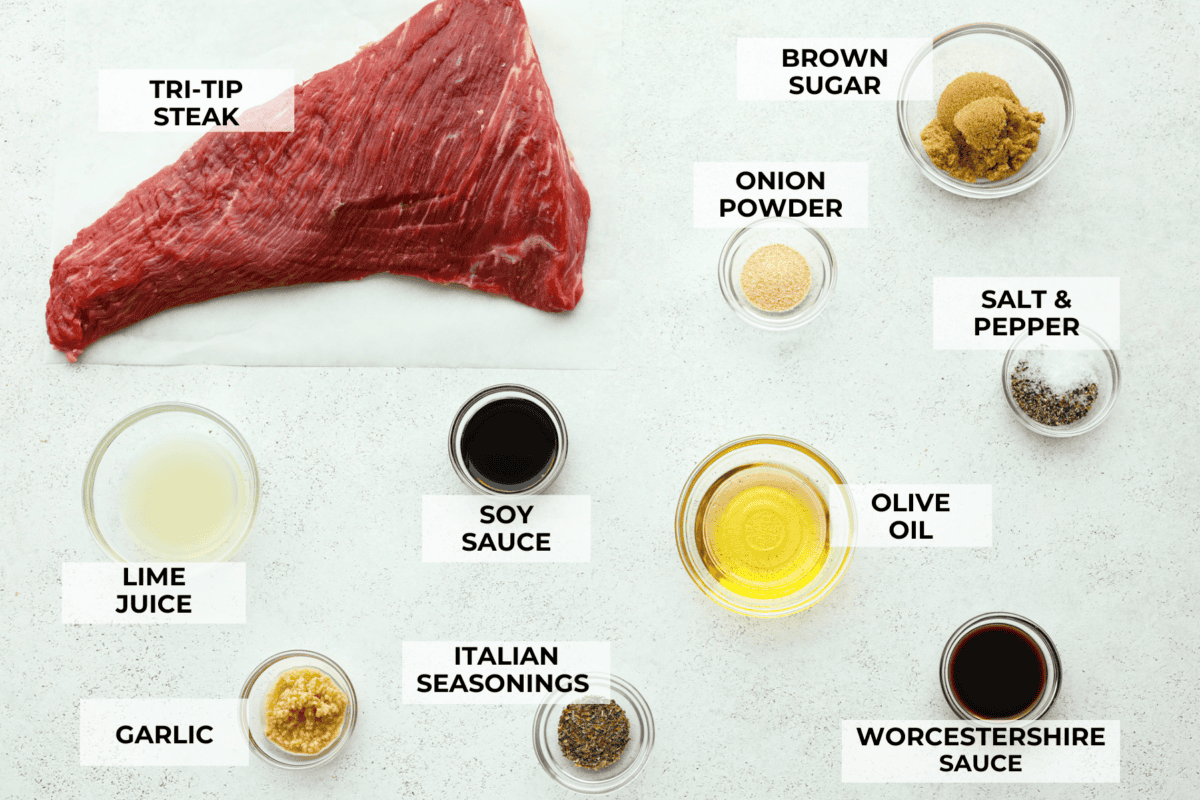
    This grilled tri-tip is marinated in a mix of simple yet really flavorful ingredients. In fact, you may already have everything you need in your kitchen right now! To get started, check out the recipe card at the bottom of the post for exact measurements.

    • Tri-Tip Steak: Because a tri-tip steak has more fat, it will be much more flavorful than top sirloin. Two to three pounds of tri-tip will feed approximately 4 people.

    Marinade

    • Olive Oil: Adds moisture for maximum juiciness.
    • Fresh Lime Juice: The acidity that will help to tenderize the meat.
    • Soy Sauce: Adds a salty, umami flavor.
    • Brown Sugar: Gives the marinade a hint of sweetness that then balances the more savory ingredients.
    • Worcestershire Sauce: Has a sweet, tangy, and spiced flavor that really adds something special to the marinade.
    • Fresh Garlic: A must in any good marinade!
    • Onion Powder: For savory onion flavor.
    • Italian Seasoning: I love to make my own Italian seasoning, but you can certainly use store-bought.
    • Cracked Black Pepper & Kosher Salt: To bring out and enhance all of the flavors.
    Overhead shot of labeled ingredients in separate bowls.

    How to Make Grilled Tri-Tip Steak

    After trying this incredible tri-tip steak, the whole family will be requesting it on repeat. Lucky for you, it takes very little effort to prep! In addition, it only needs 10 minutes on the grill!

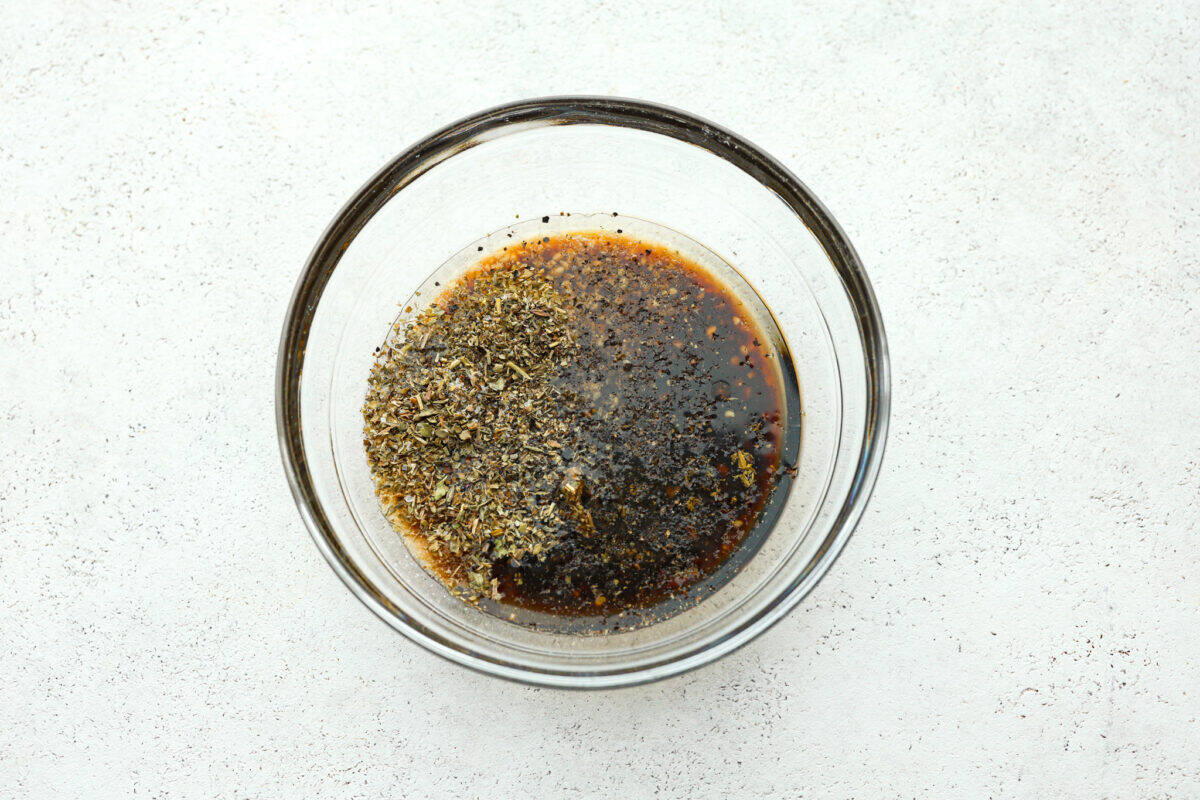
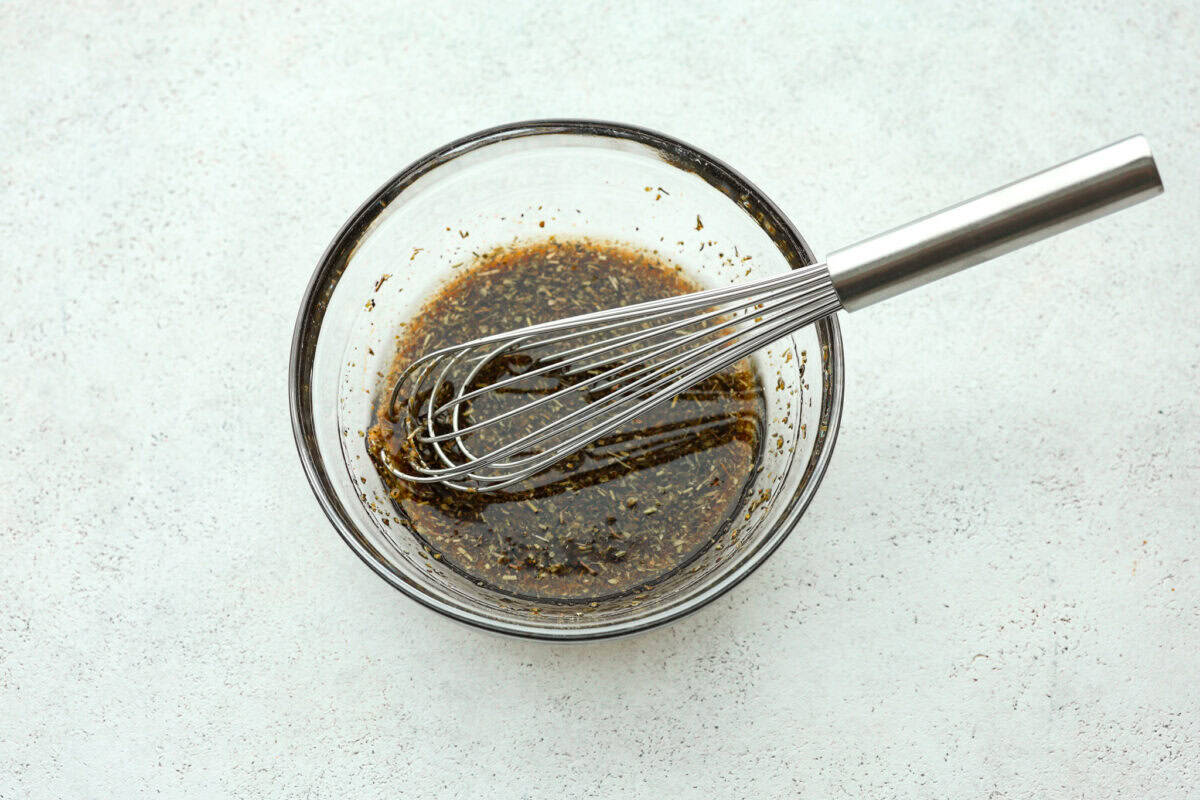
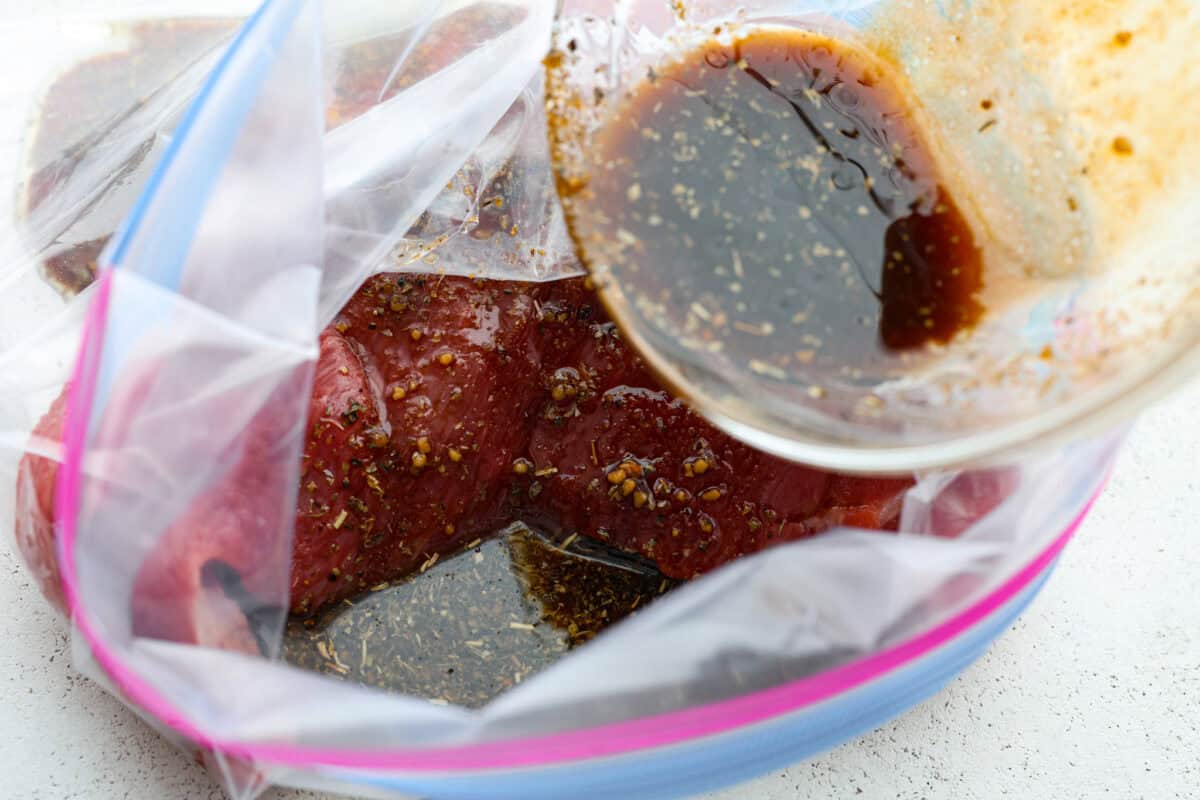
    1. Make the Marinade: In a medium bowl, whisk together the marinade ingredients.
    2. Marinate the Steak: First, place 2-3 pounds of tri-tip steak in a gallon-sized sealable plastic bag. Next, pour your marinade into the bag. Then, marinate for one hour or up to 24 hours.
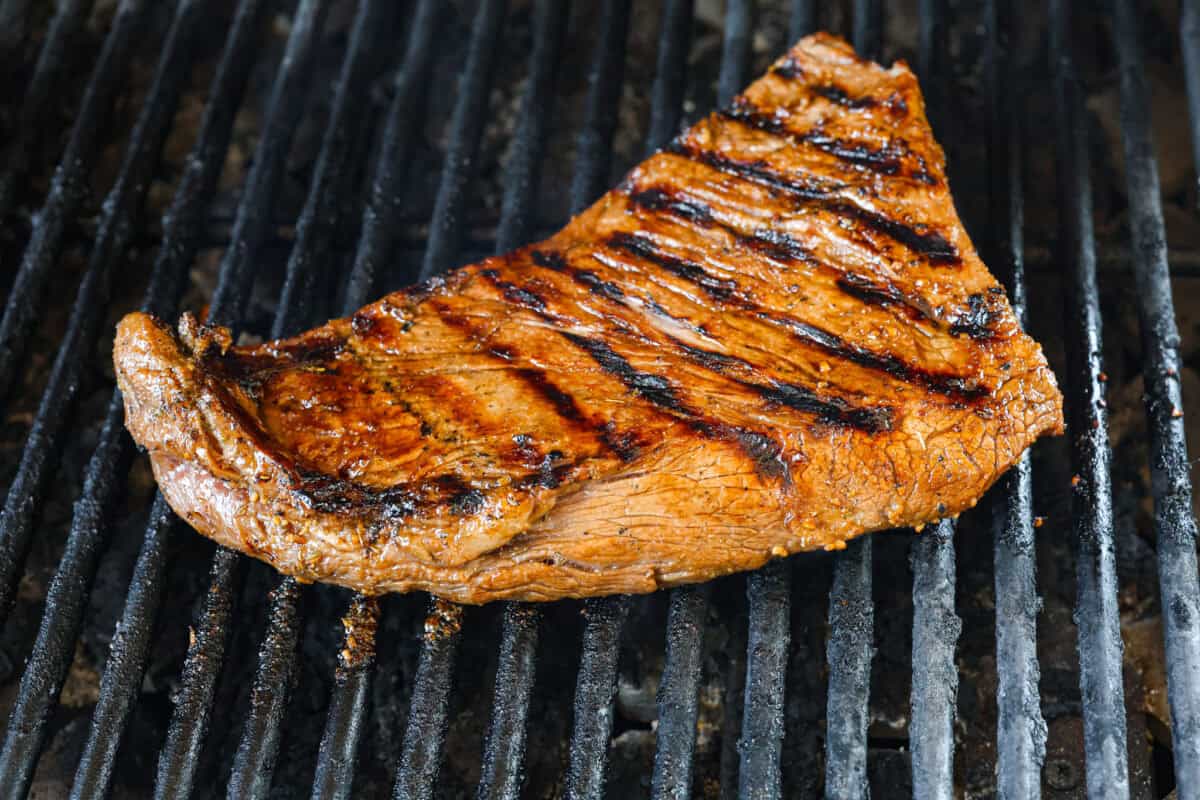
    3. Prep: Preheat the grill to 350 degrees Fahrenheit. Remove the meat from the bag, place it on the hot grill, then discard the bag and any leftover marinade.
    4. Grill the Steak: Sear the meat on both sides over direct heat, about 5 minutes per side. Next, move the meat to the section of your grill with indirect heat. Cover the grill lid and turn the meat as needed to cook through. Cook until the instant-read meat thermometer reads 130 degrees Fahrenheit when inserted in the thickest part for medium rare. Feel free to cook the tri-tip to reach your preferred doneness.
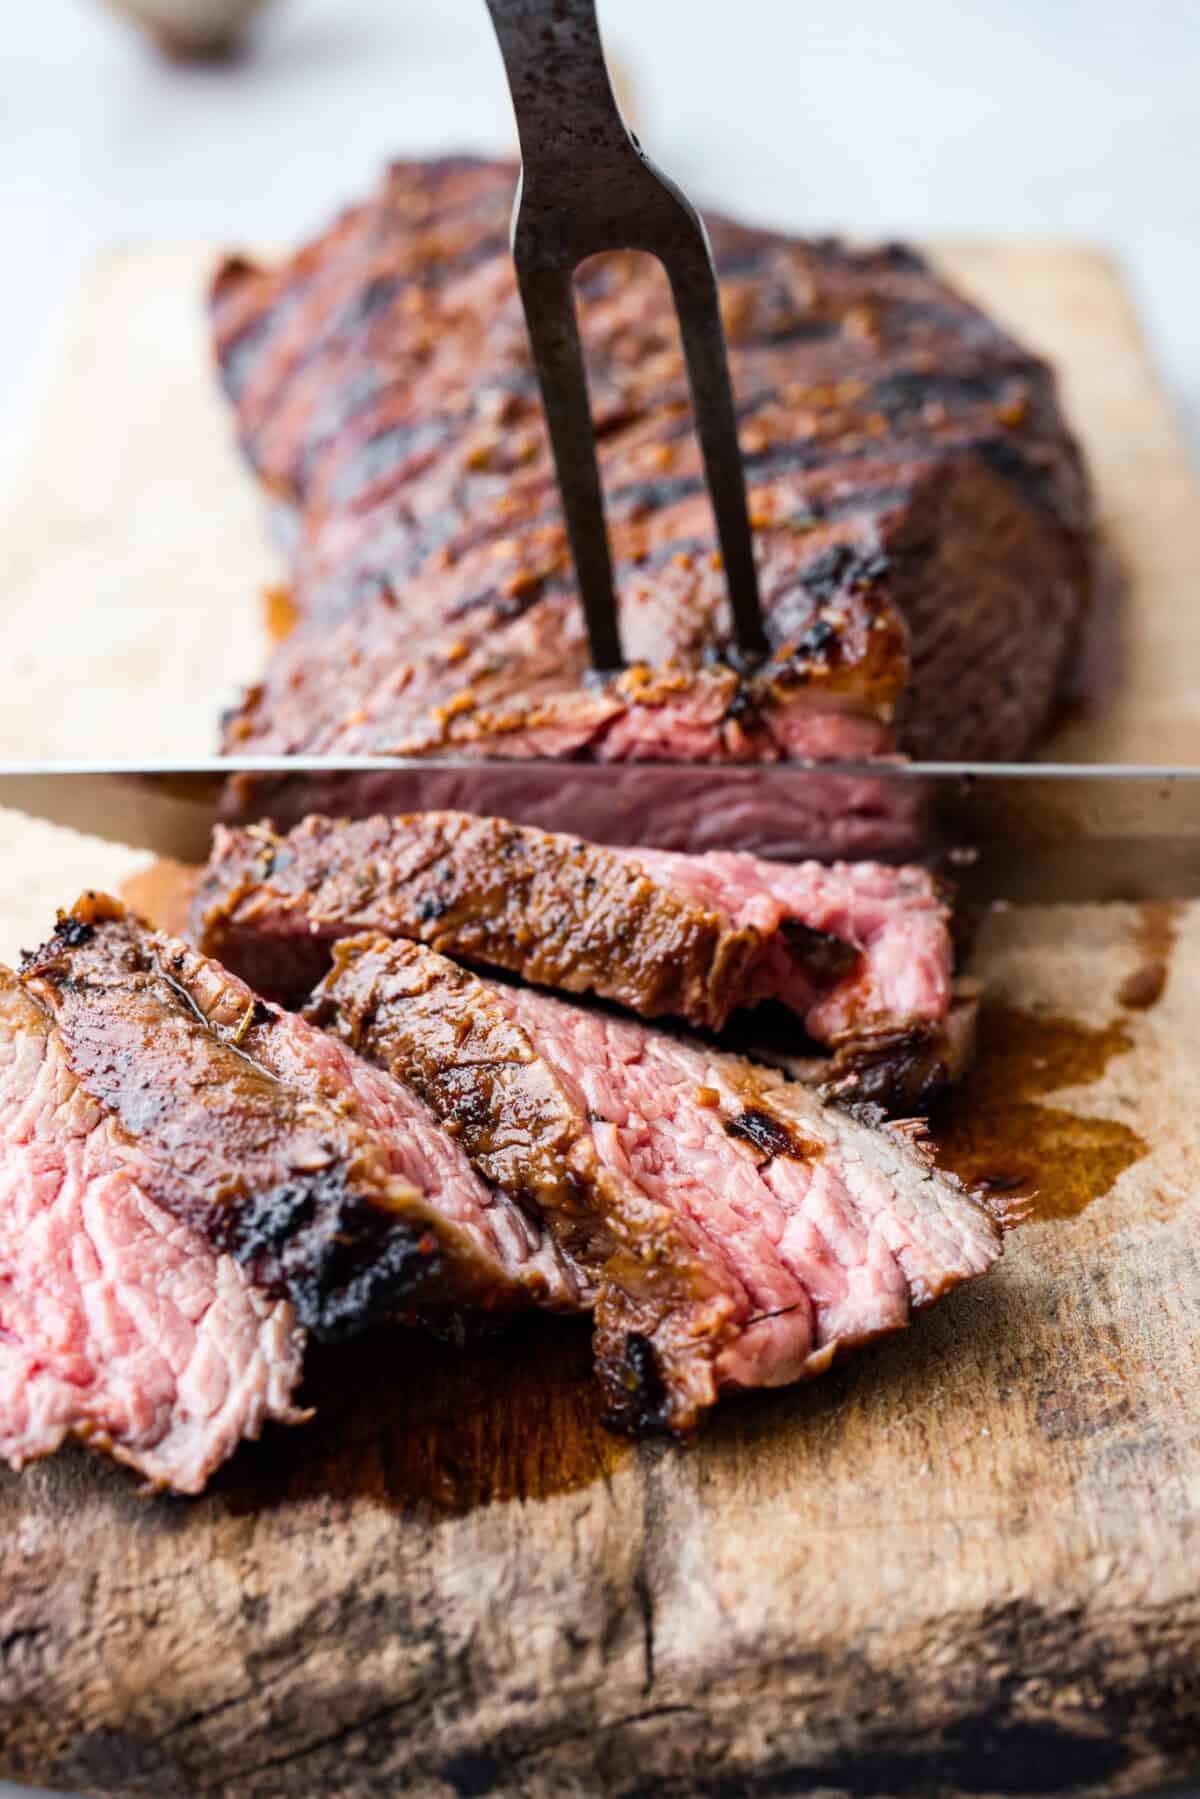
    5. Rest the Meat: Remove the tri-tip from the grill and allow the meat to rest for at least 5-10 minutes before slicing. Slice the meat against the grain and enjoy!

    Tips and Variations

    Follow these tips and variation ideas, so that your steak turns out absolutely perfect!

    • Change the Juice: Try using lemon juice or orange juice in place of the lime juice!
    • Soy Sauce Substitutions: Low-sodium soy sauce can also be used in place of soy sauce. For a gluten-free option, use tamari!
    • Internal Temperature: Use an instant-read thermometer to know precisely when the steak has reached your desired temperature. When inserted in the thickest part of the meat, the instant-read thermometer should read 130 degrees Fahrenheit for a medium-rare steak. For medium doneness, you’ll want it to be between 140 and 150 degrees Fahrenheit, and for medium well, you want your steak to be 150 to 155 degrees Fahrenheit.
    • Let it Rest: It’s important to let your steak rest for at least 5-10 minutes before slicing into it. This allows time for the juices to redistribute throughout the meat. If you cut into it as soon as it comes off the grill, all of the wonderful flavor will end up on your plate instead of inside the meat.
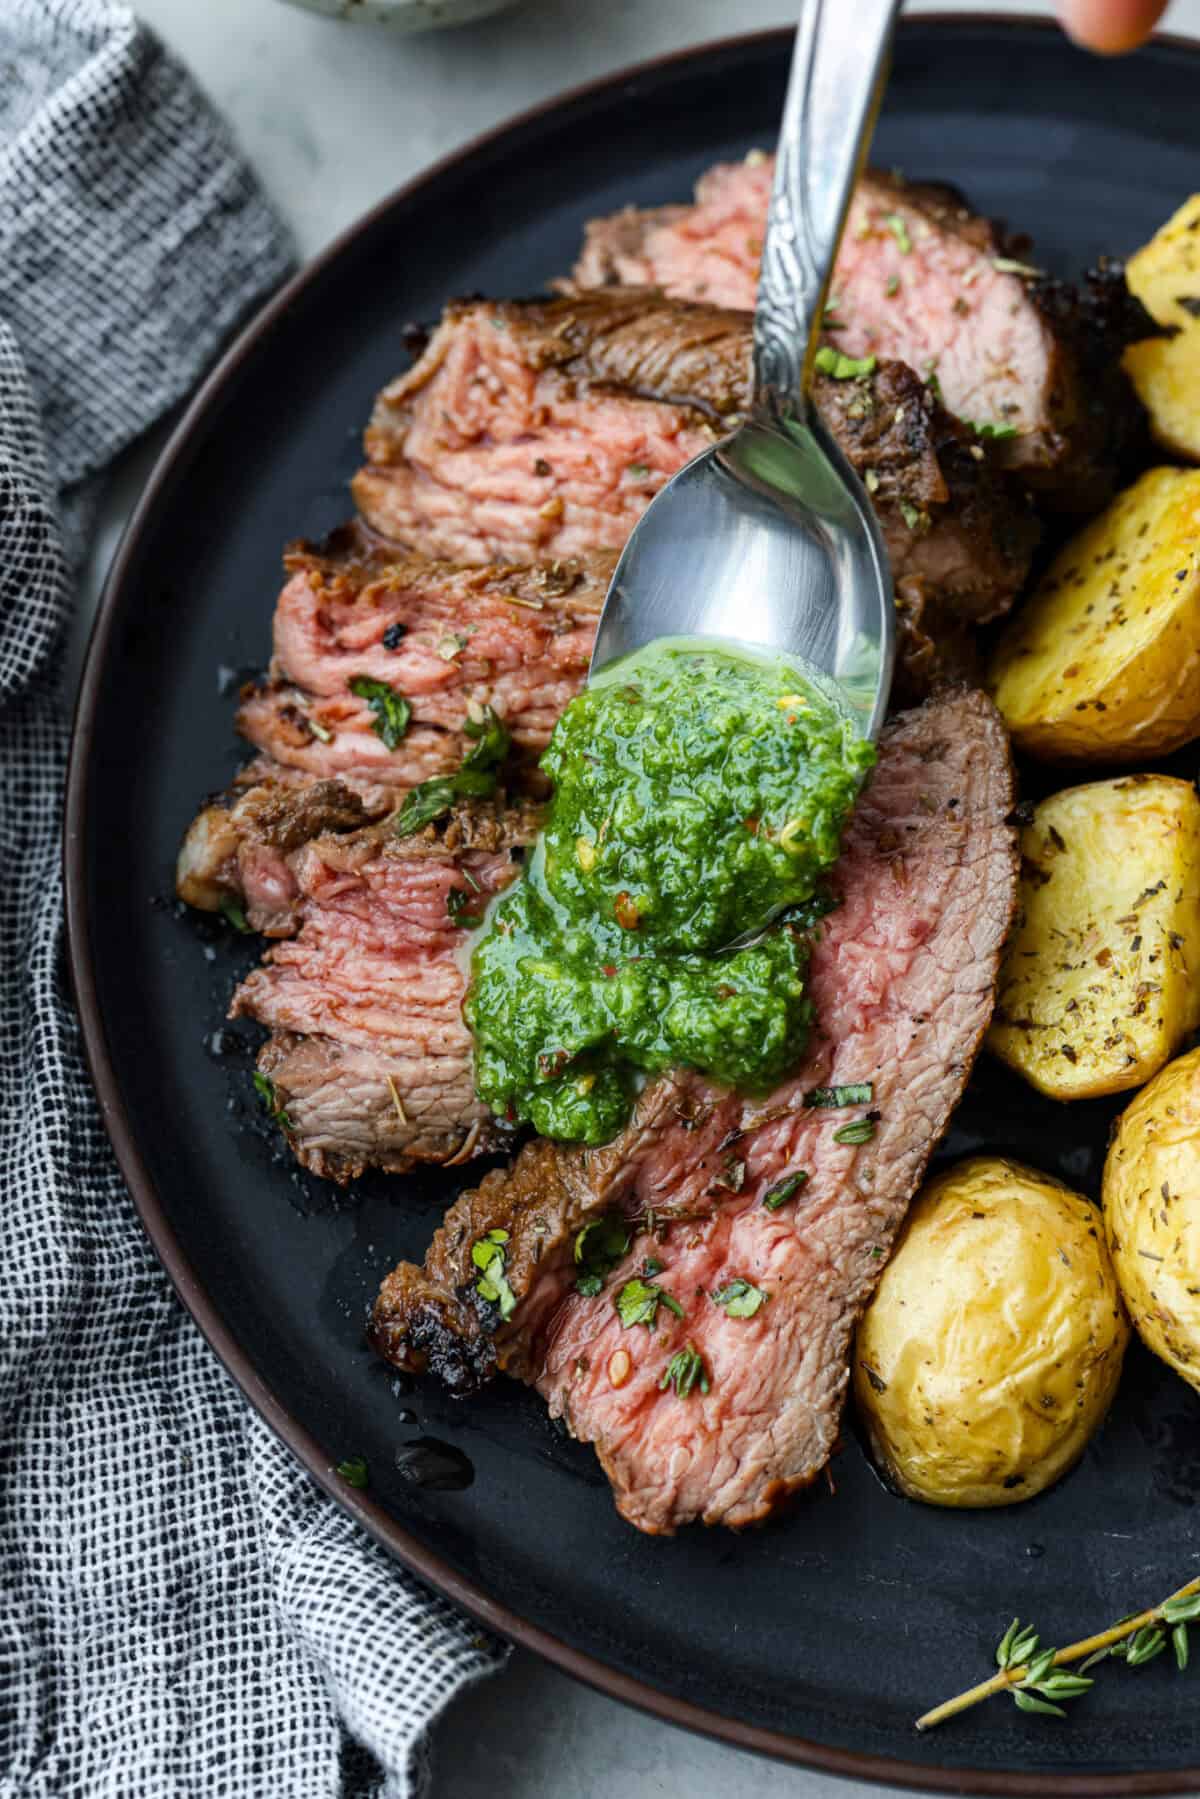
    • Sauces to Serve With Tri-Tip: Serve with my tasty chimichurri sauce! For a creamy sauce, try my homemade horseradish sauce.

    Close up shot of slicing the meat.

    Storing Leftover Tri-Tip

    This grilled tri-tip makes fantastic leftovers. You can easily reheat slices for a sandwich or salad the next day.

    • Refrigerate: Once the steak is completely cool, transfer it to an airtight container and store it in the fridge for 3-4 days.
    • Reheat: To warm the leftover steak and keep it from becoming dry, heat it low and slow. Use the oven and warm it up at 200 to 250 degrees F, until heated through.

    Overhead shot of chimichurri sauce being poured over slices of meat on a plate.

    More Grilled Steak Recipes

    Grilled steak is on repeat at our house this time of year! We simply cannot get enough! Here are a few more of my favorite tried and true steak recipes that we love.

    Grilled Flank Steak with Asian-Inspired Marinade

    1 hour 15 minutes

    Pin this now to find it later

    Pin It


    Source link