This website may contain affiliate links and advertising so that we can provide recipes to you. Read my disclosure policy.
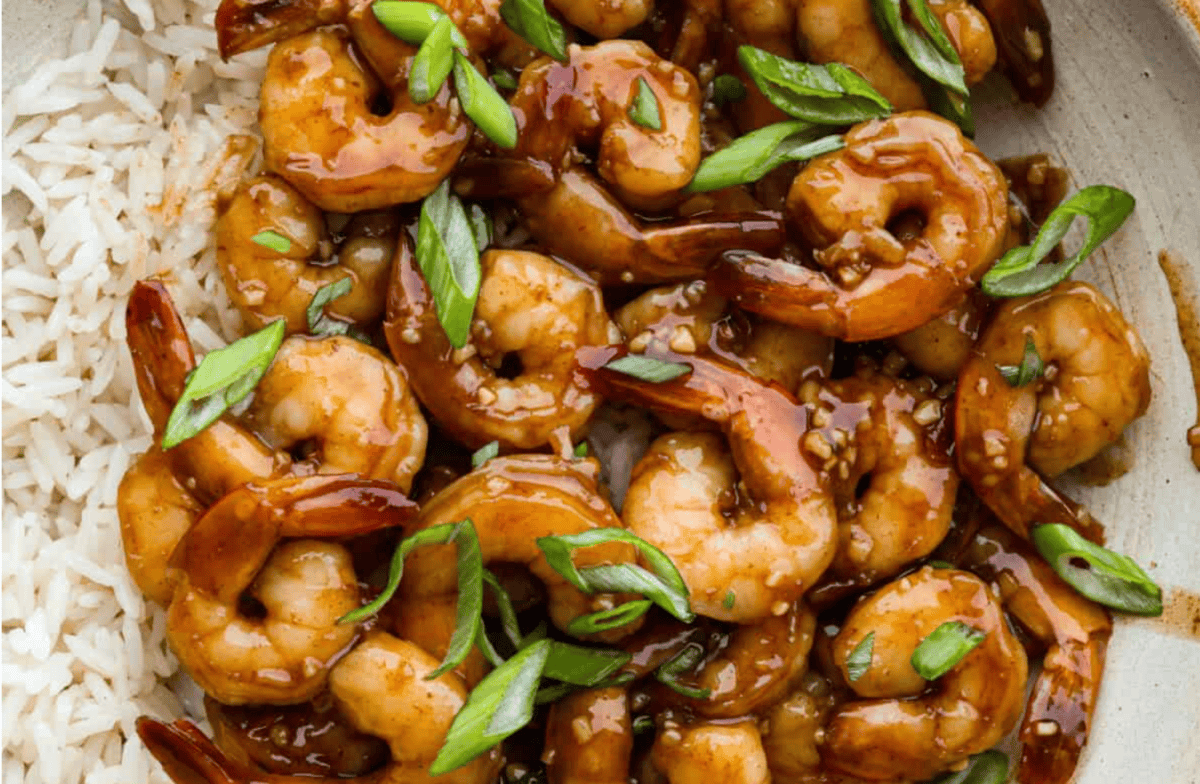
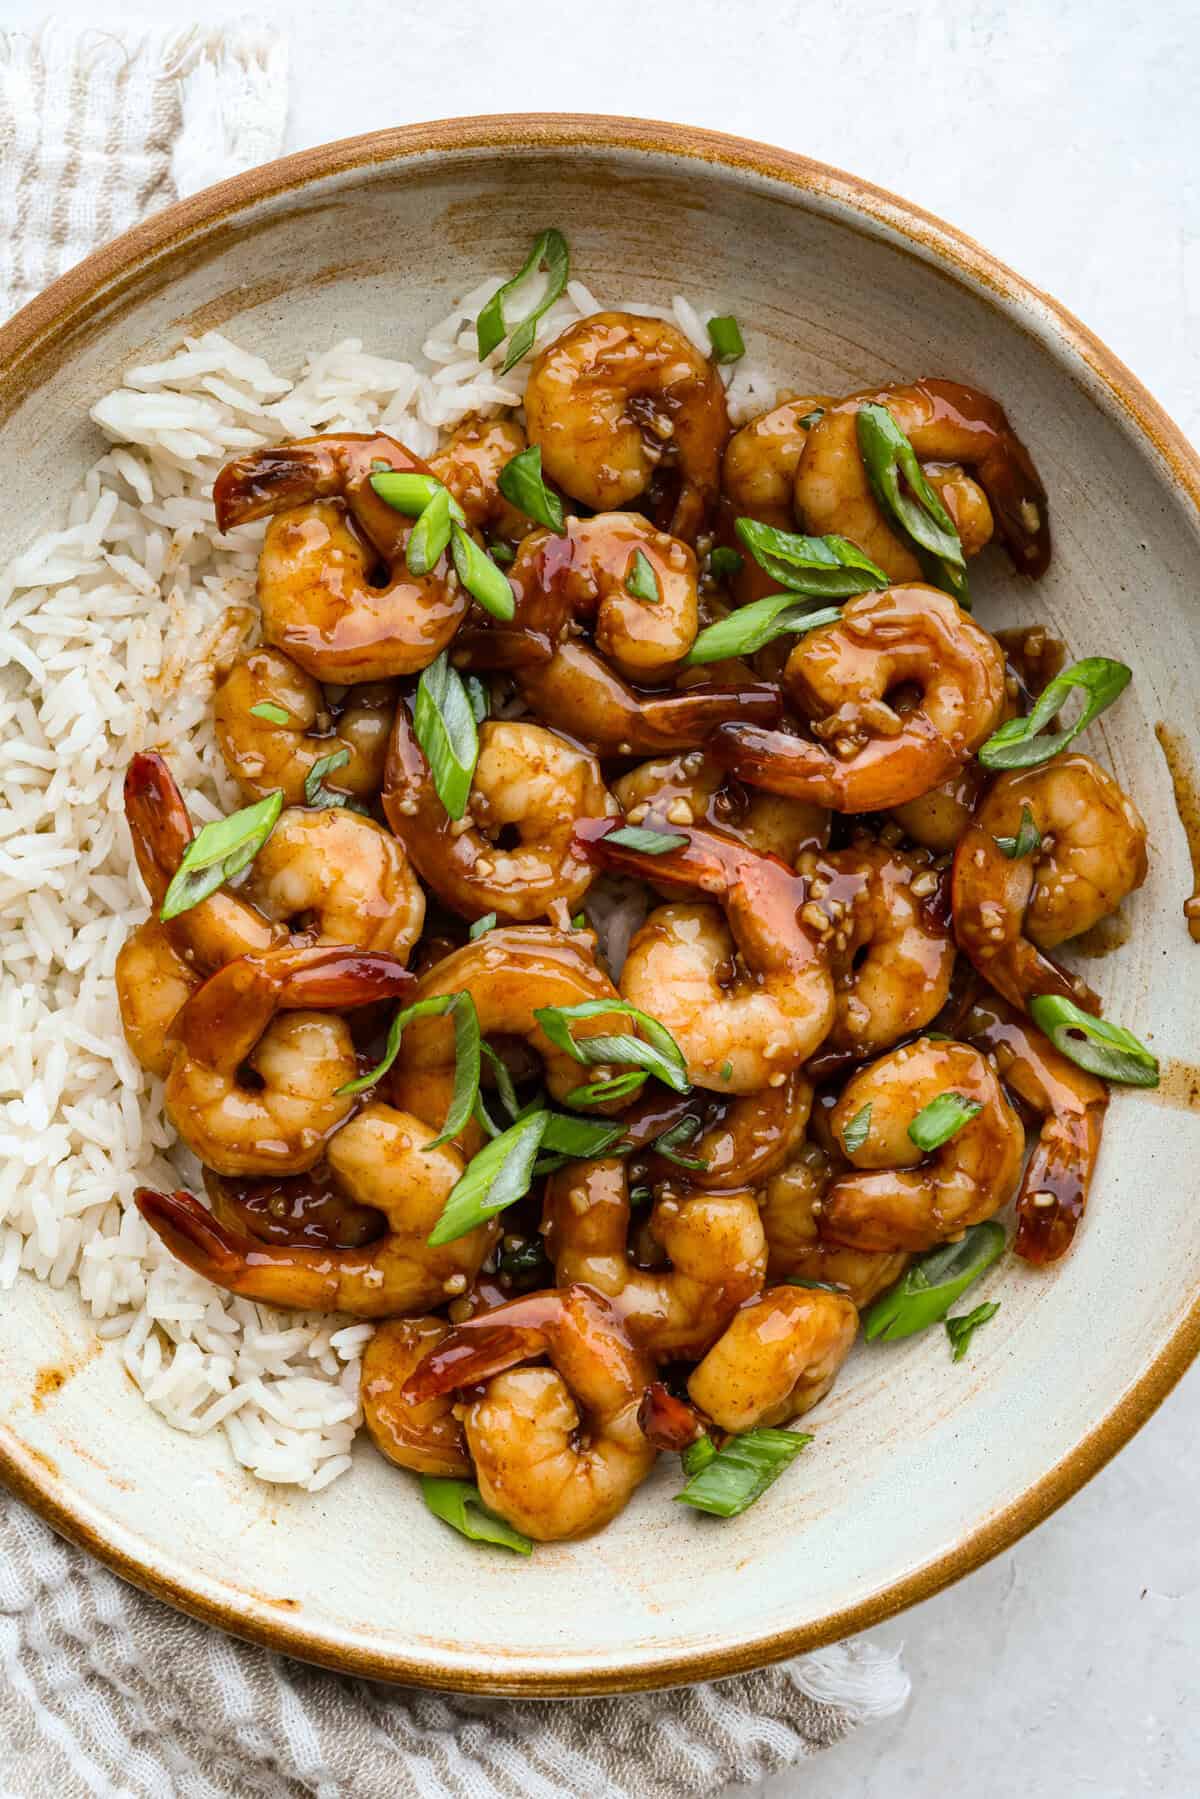
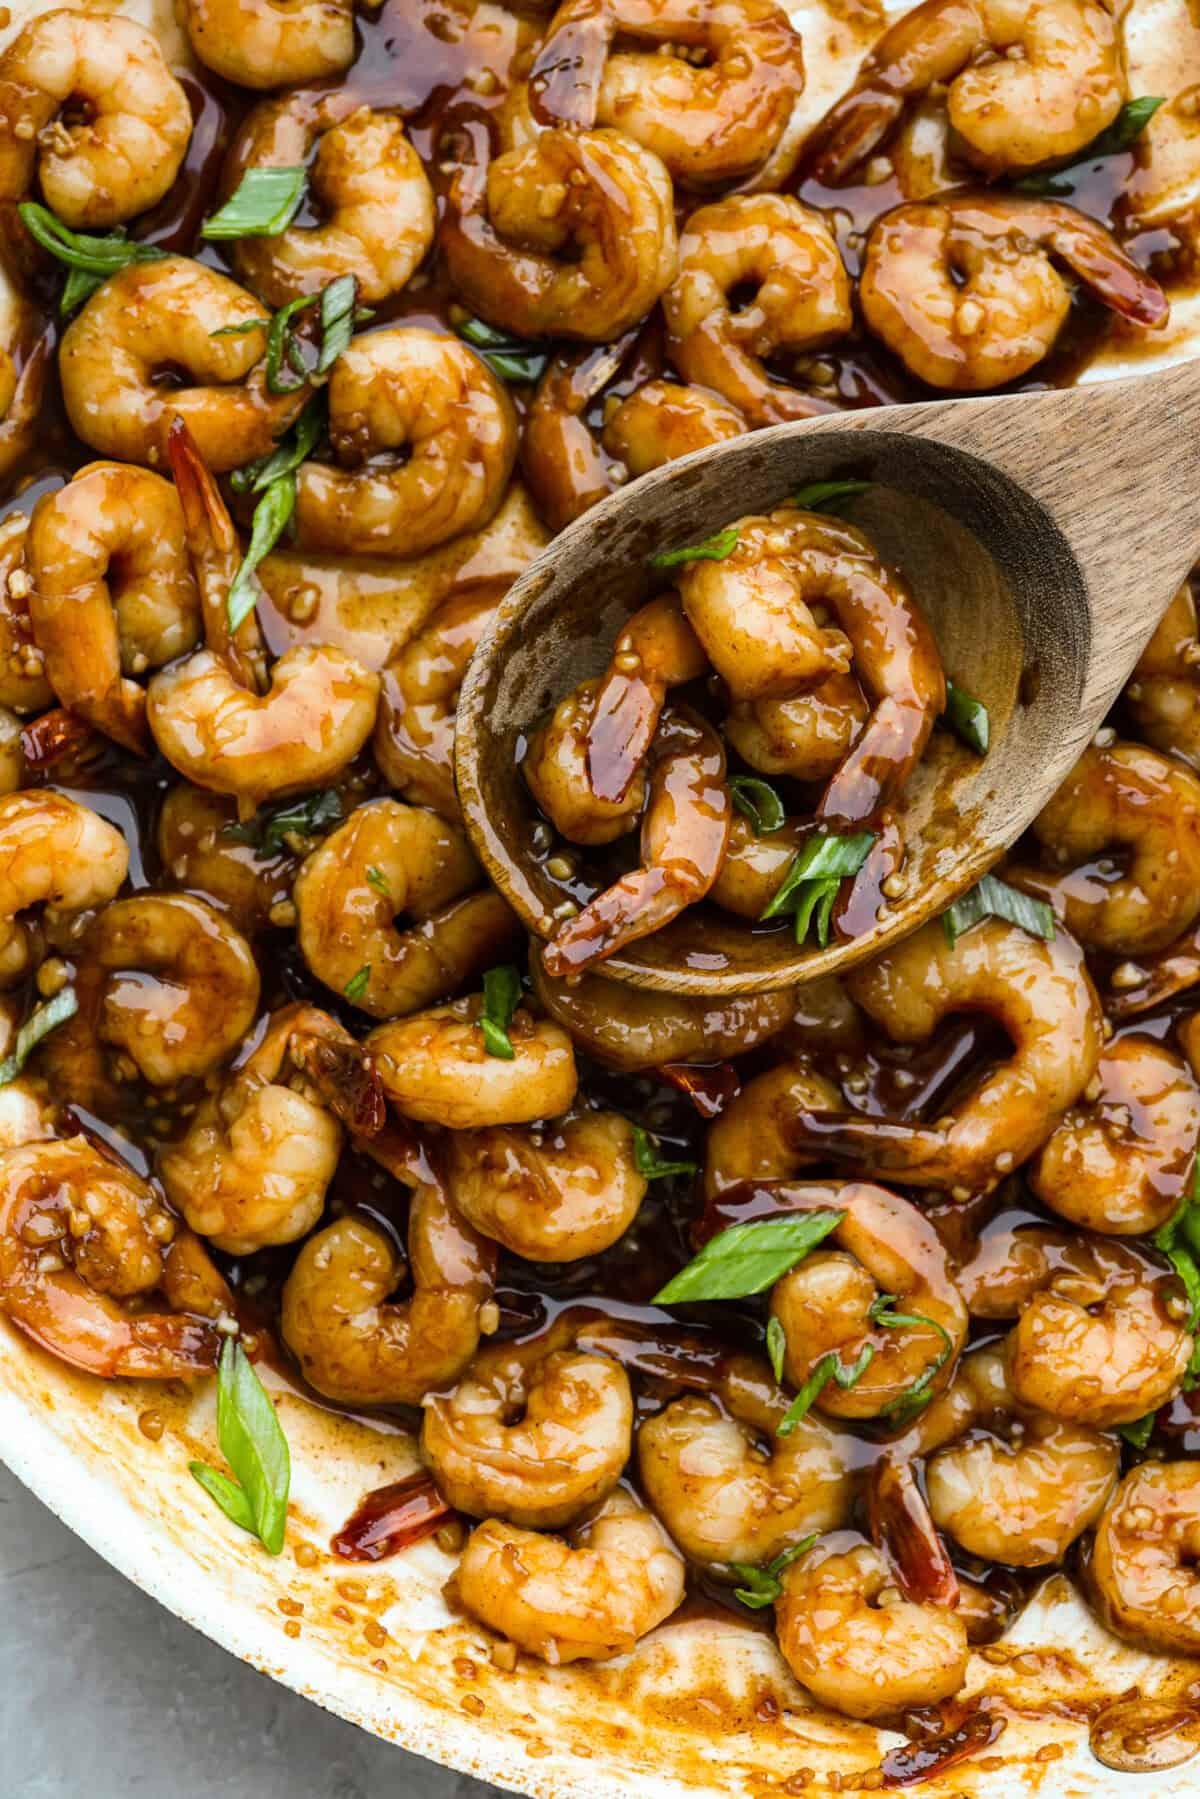
Bourbon shrimp are sticky, garlicky, and packed with flavor. Sweet brown sugar and a splash of bourbon create a quick, glossy glaze that makes this appetizer (or weeknight dinner!) totally irresistible.
Why You’ll Fall in Love with Every Bite
Signature Bourbon Flavor: If you loved the chicken version, this shrimp delivers the same sweet-savory bourbon flavor, caramelized in the skillet for a glossy, bourbon-kissed bite.
Brown Sugar Over Honey: I skip honey and use brown sugar for a richer caramel flavor that pairs better with bourbon.
Cornstarch for the Perfect Coat: I use a little cornstarch to thicken the sauce just enough so it clings to the shrimp!
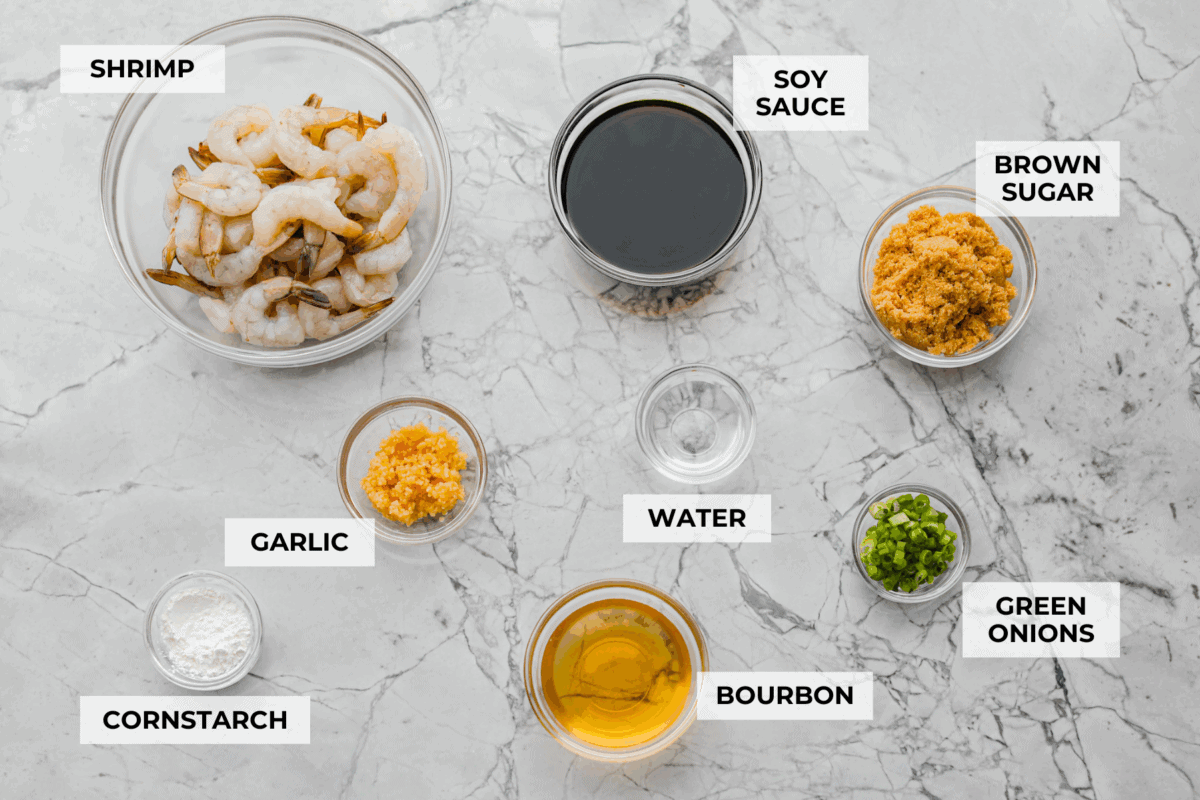
Ingredients for Bourbon Shrimp
Bourbon Substitute: If you don’t have bourbon or don’t want to use bourbon, then you can use apple cider instead!
Alcohol Cooks Off: The bourbon’s alcohol evaporates while cooking, leaving a rich flavor and making it kid-safe.
Tails Optional: Keep tails on for appetizers; remove them for an entrée.
Serving Options: Serve the bourbon shrimp as a party appetizer, pile it over rice or noodles for dinner, or tuck it into lettuce wraps.
How to Make Bourbon Shrimp
This recipe is super simple! Whisk together the marinade, let the shrimp soak up all those flavors, and then cook them quickly in a hot skillet. You’ll love how easy it is to get restaurant-quality shrimp right at home!
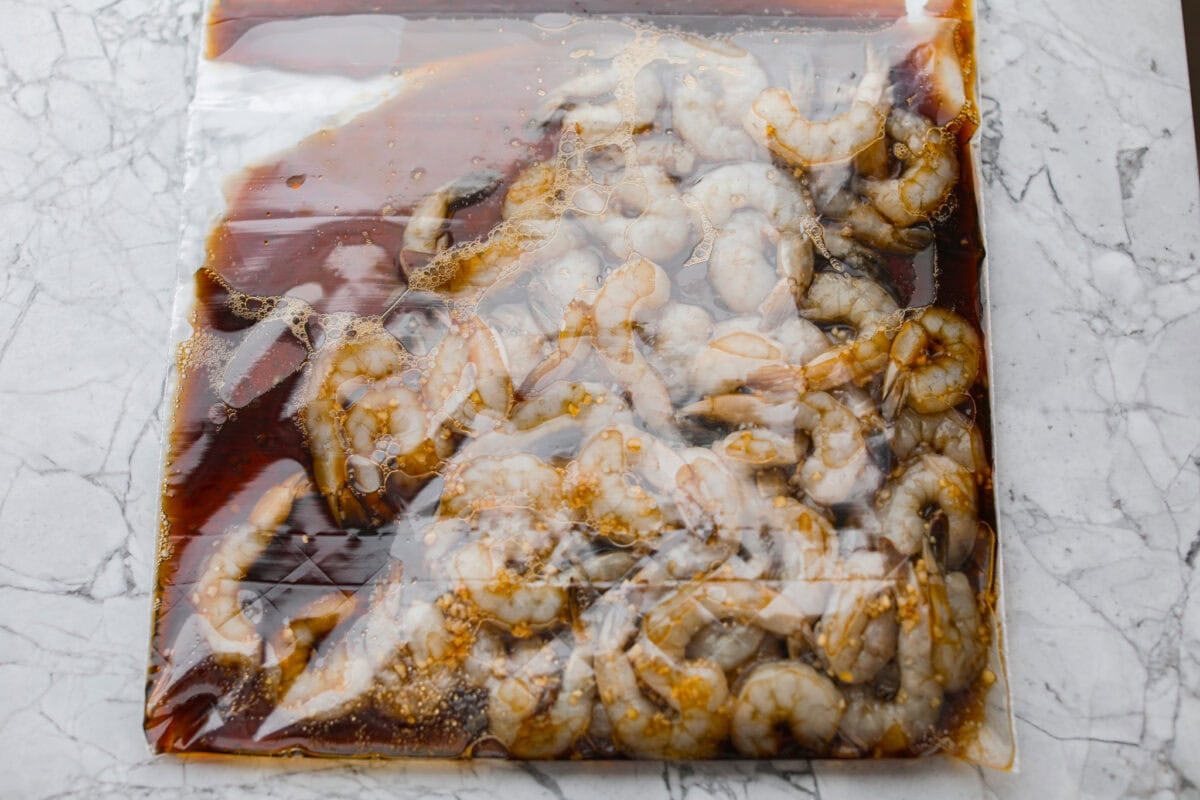
Marinate in the Sauce: Add bourbon, soy sauce, brown sugar, and minced garlic to a large ziplock bag. Close the bag and mash it around to combine. Add peeled and deveined shrimp, then refrigerate to marinate for 30 minutes to an hour.
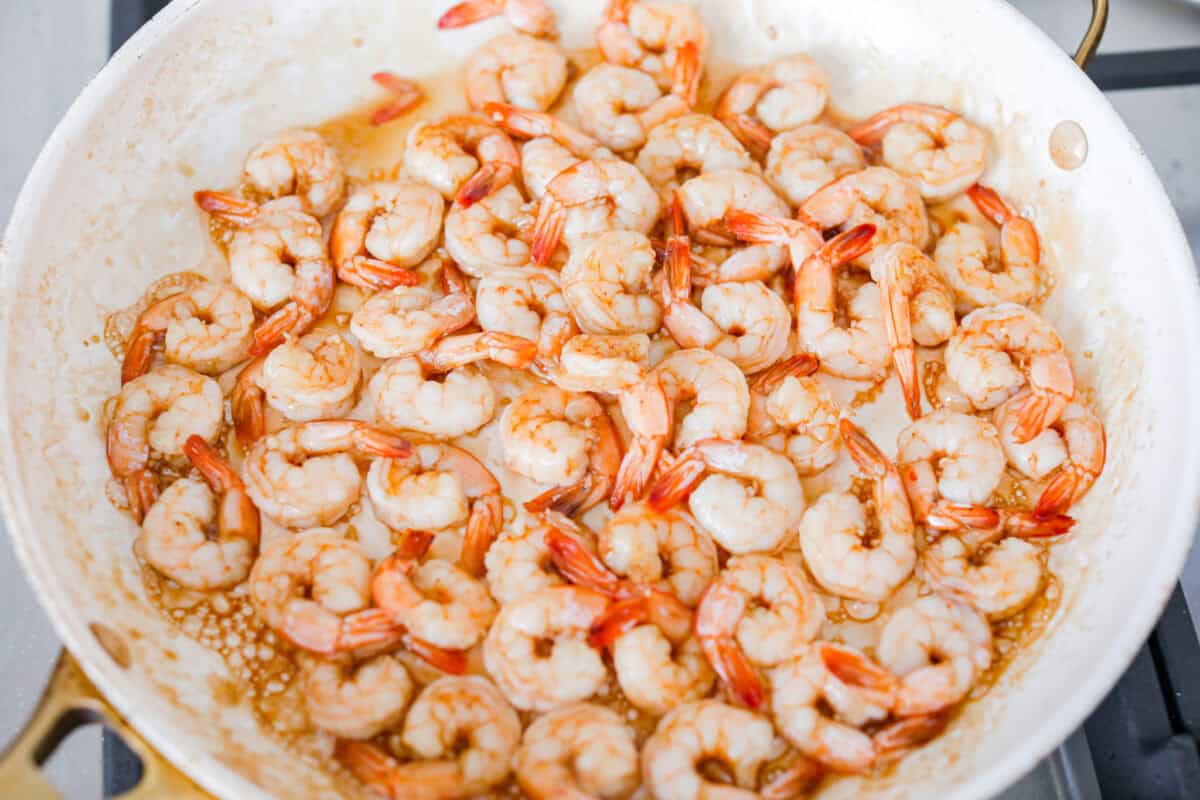
Cook: Heat a large 14-inch skillet over medium-high heat. Remove the shrimp from the bag and reserve the marinade. Add the shrimp to the pan and cook on both sides for about 2 minutes, until they are pink and cooked through. Do NOT overcook. Remove the cooked shrimp to a plate.
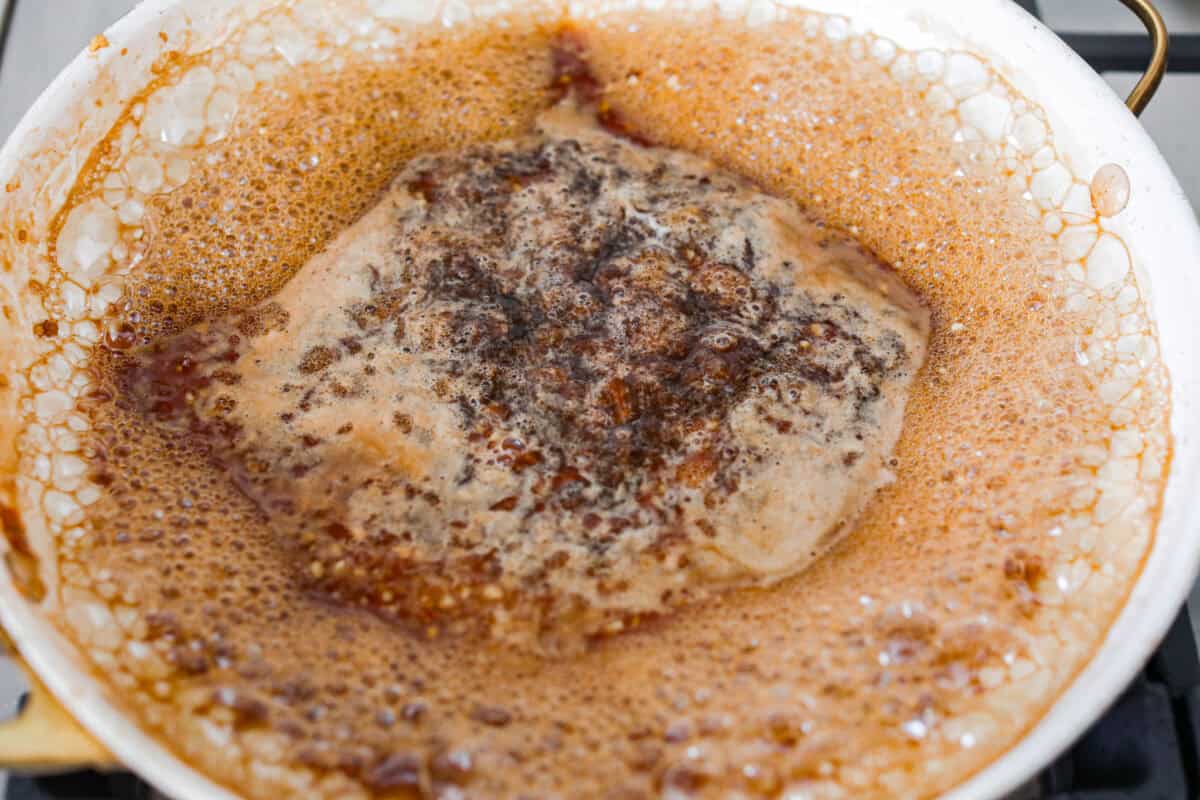
Simmer the Sauce: Add the marinade to the skillet and bring to a boil. Meanwhile, combine cornstarch and water in a small bowl to make a slurry.
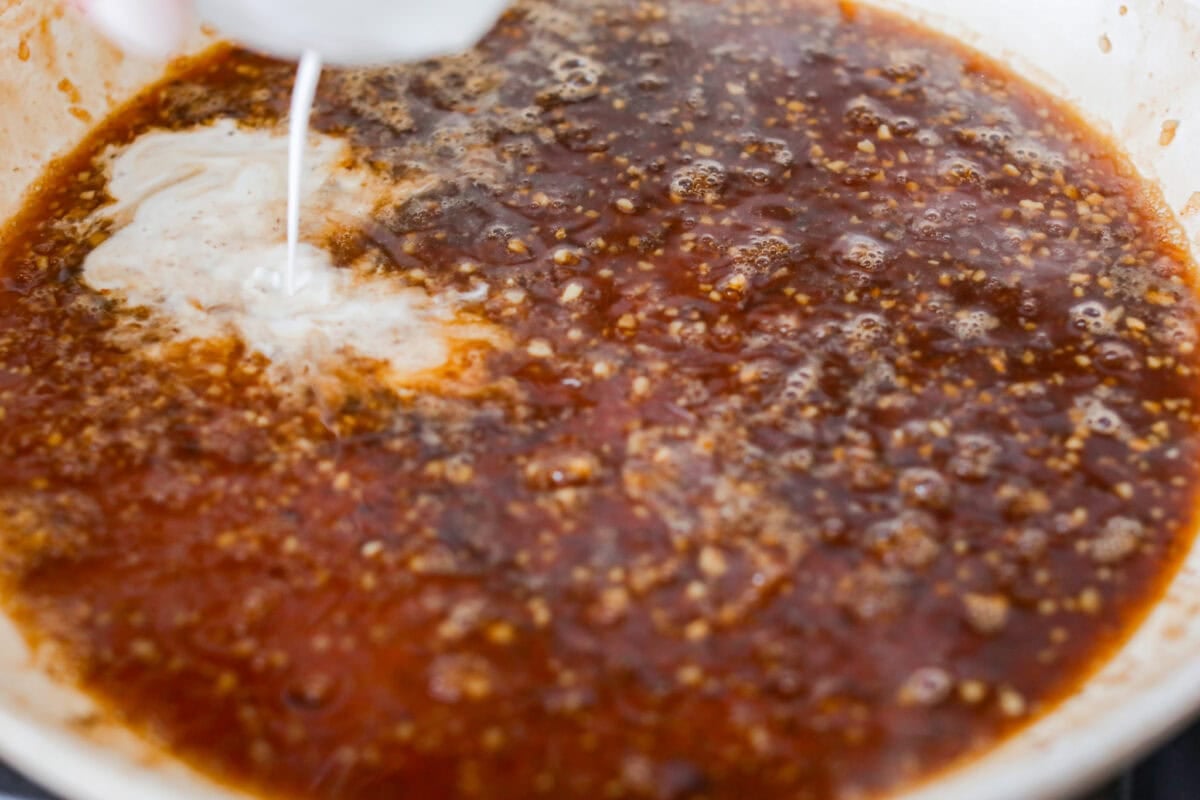
Thicken and Coat Shrimp: Add the slurry to the skillet and whisk to combine. Reduce the heat to medium and continue to simmer for 3-4 minutes, until the sauce thickens. Add the shrimp back to the skillet, then toss to coat in the sauce. Turn off the heat, then garnish the bourbon shrimp with sliced green onions and serve immediately.
Alyssa’s Pro Tip
Marinate Carefully: Shrimp are delicate, and too much time in an acidic marinade can turn them rubbery. Aim for 30 minutes; one hour max.
This website may contain affiliate links and advertising so that we can provide recipes to you. Read my disclosure policy.
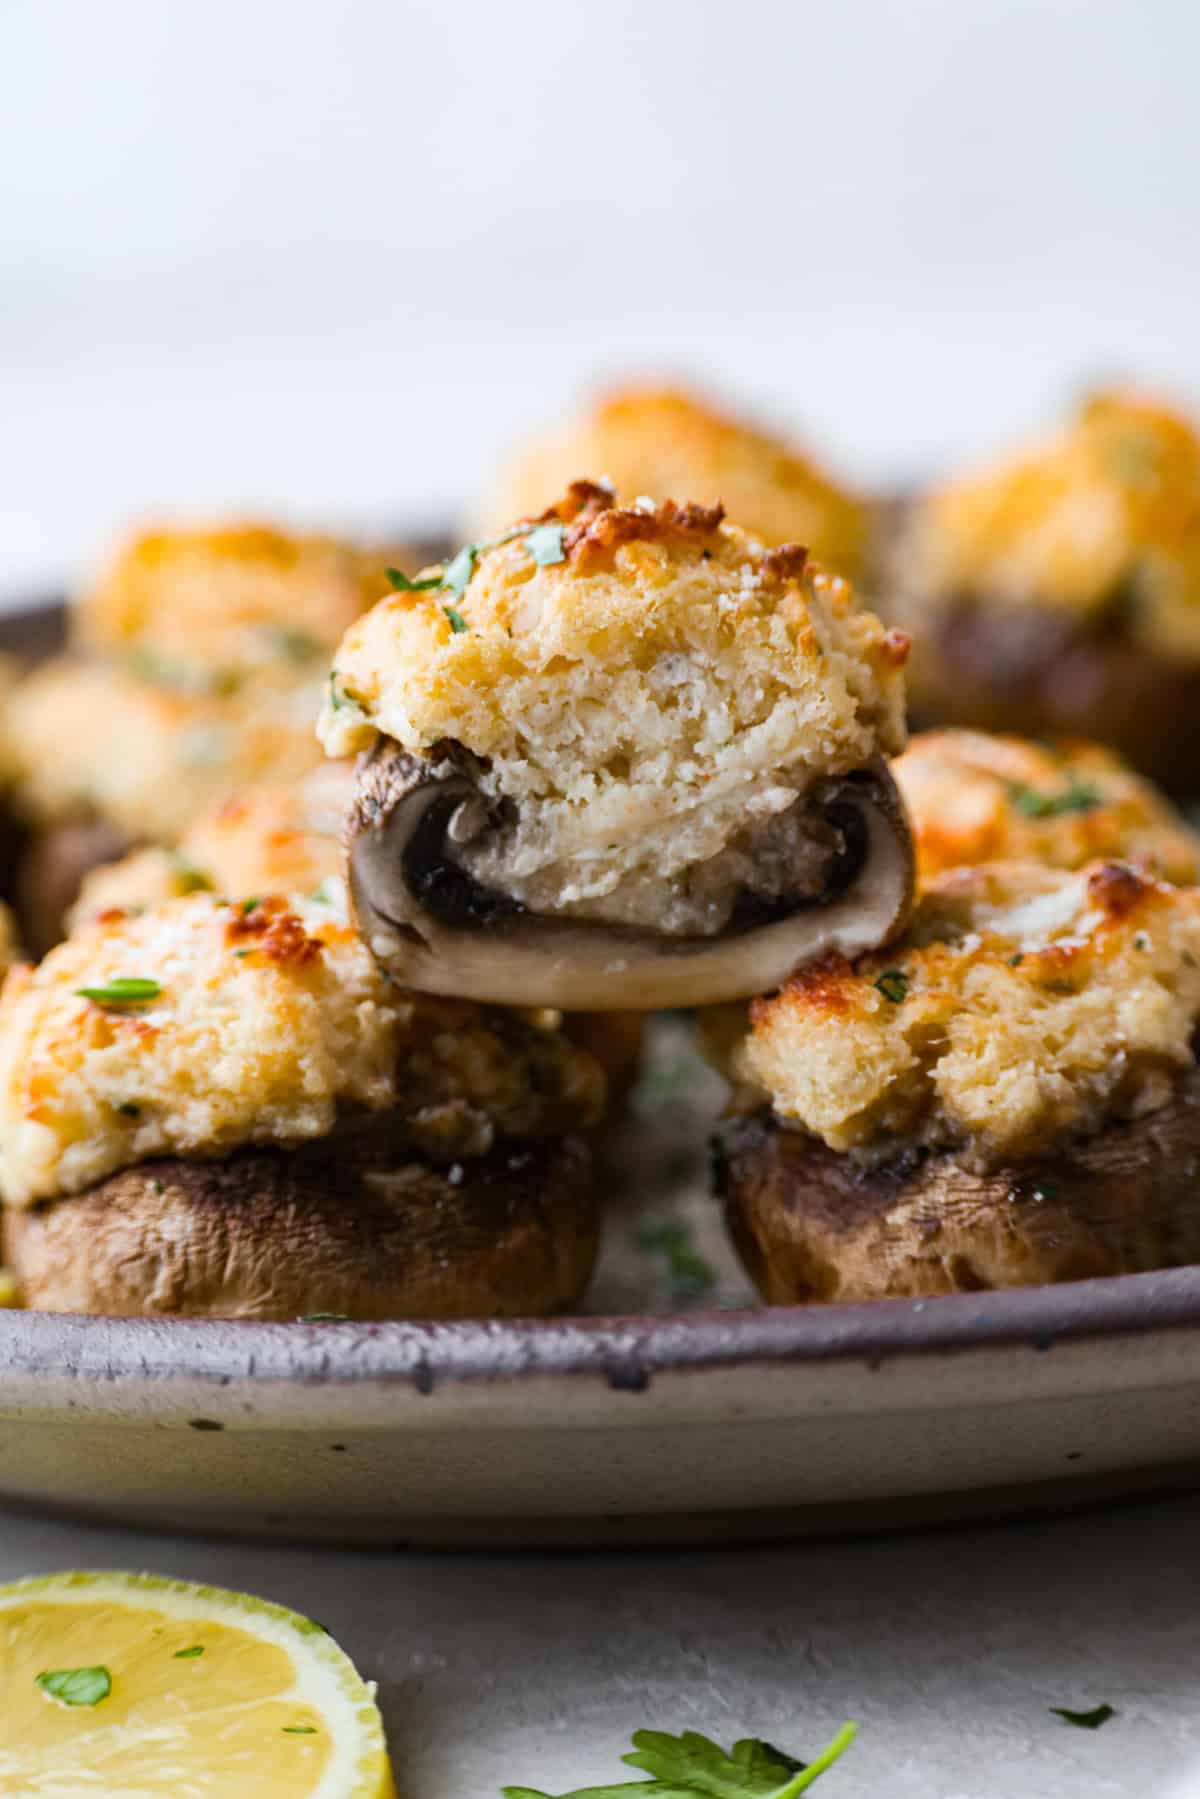
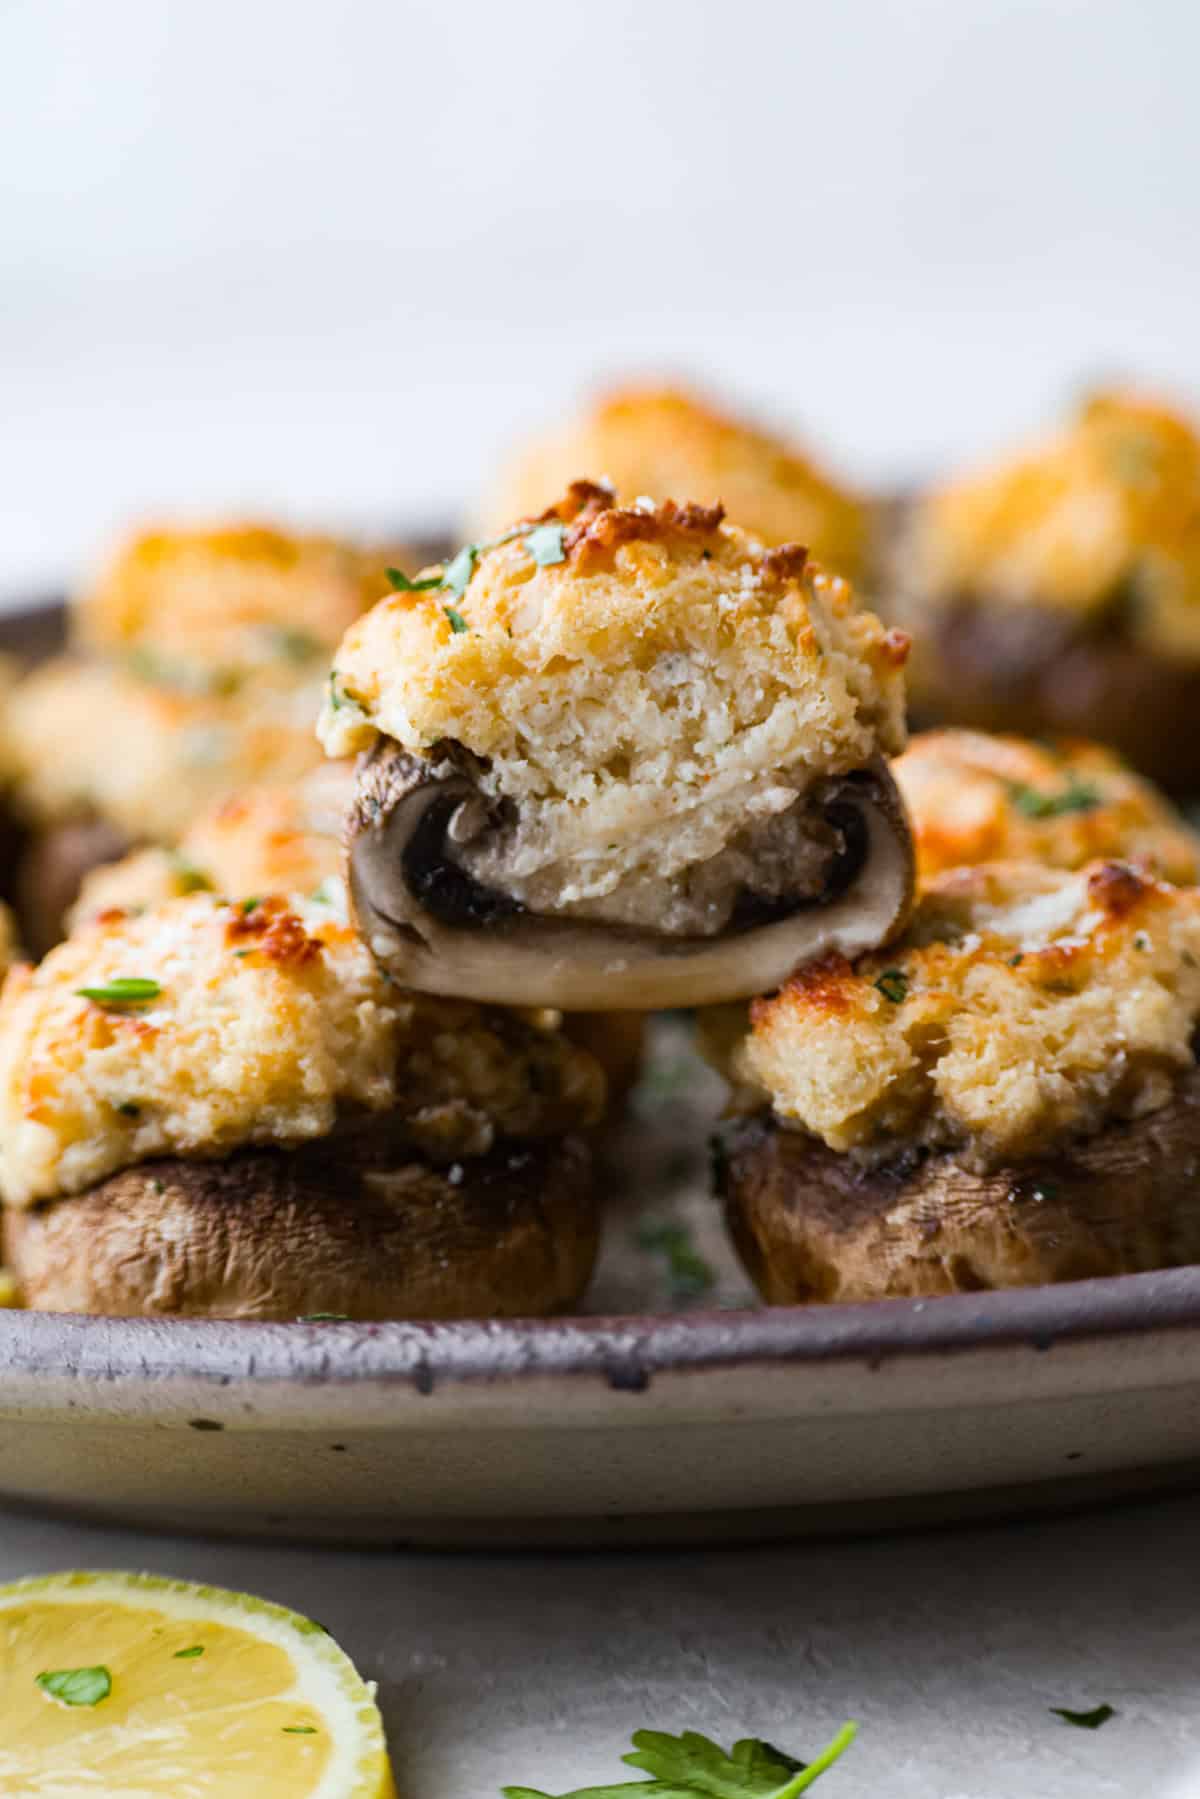
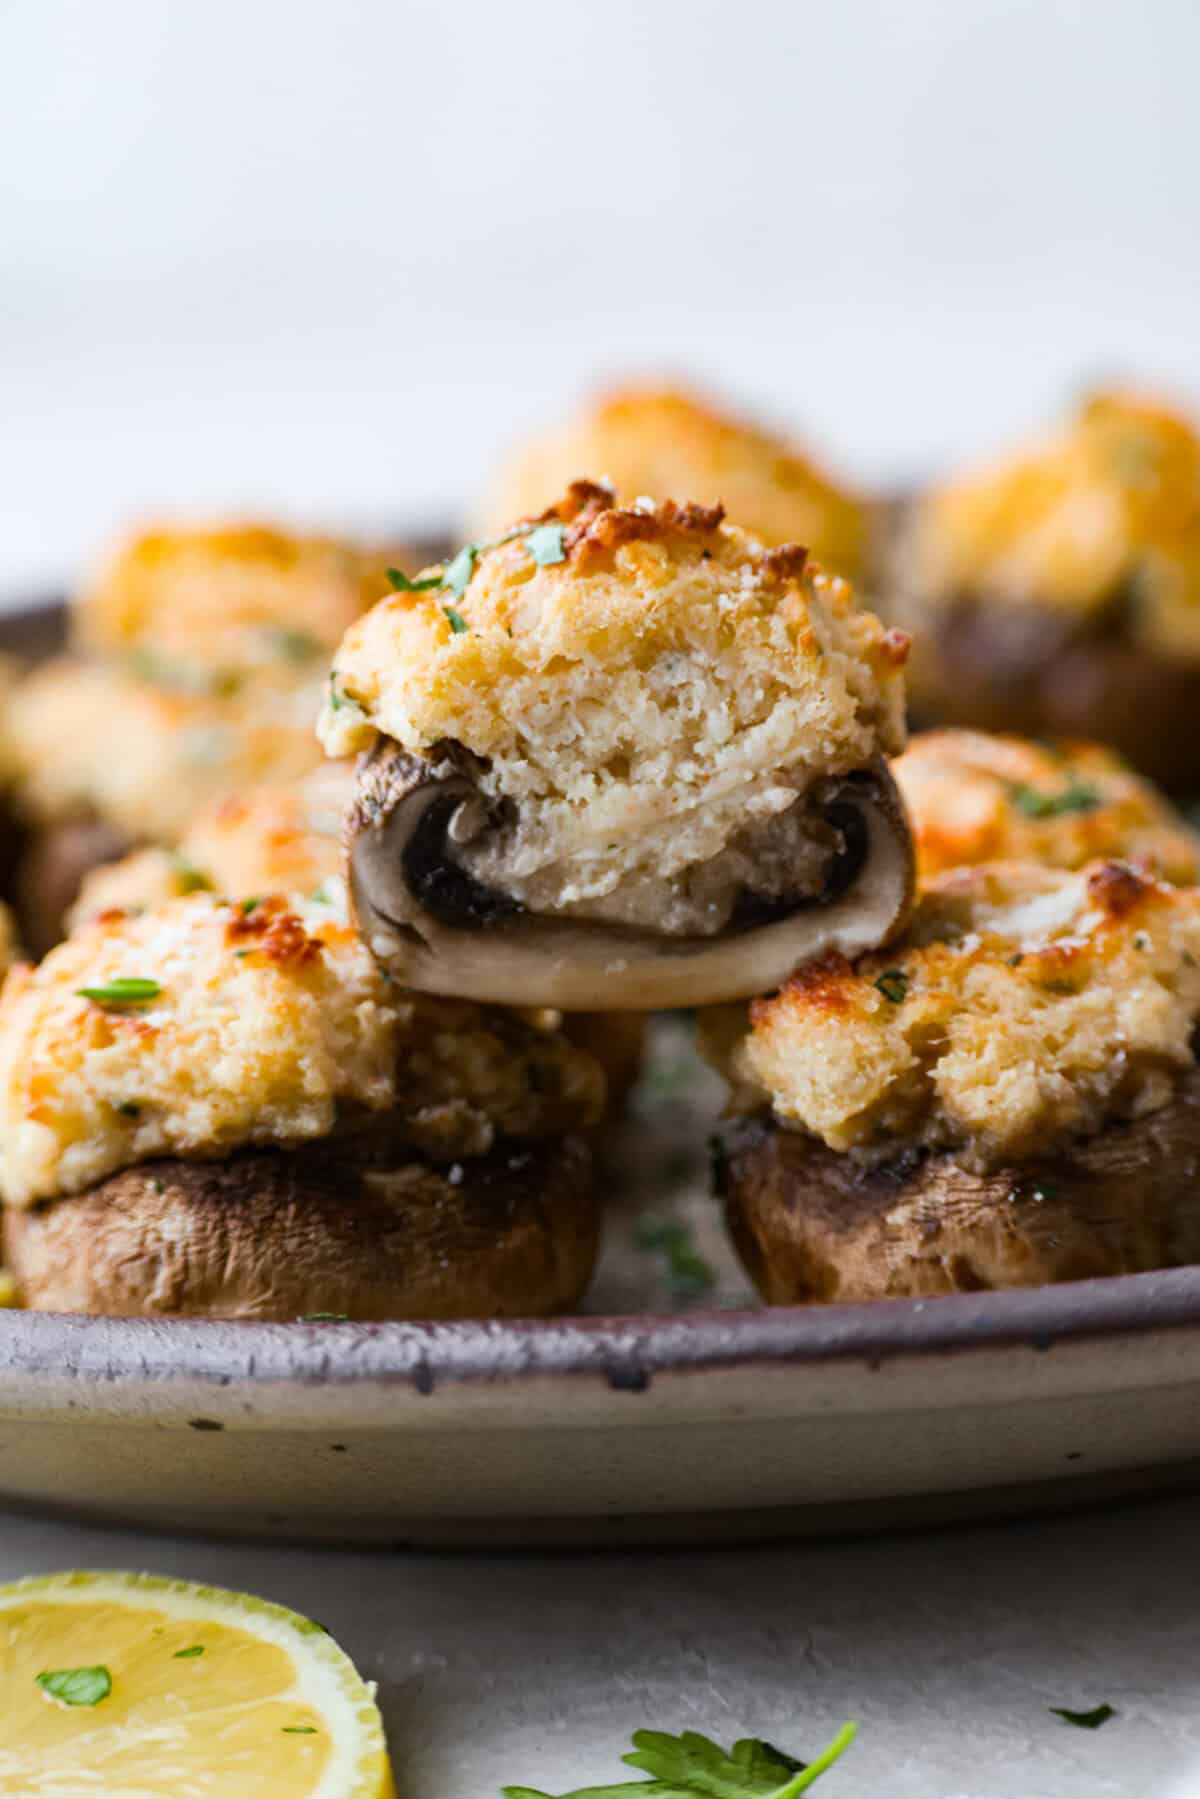
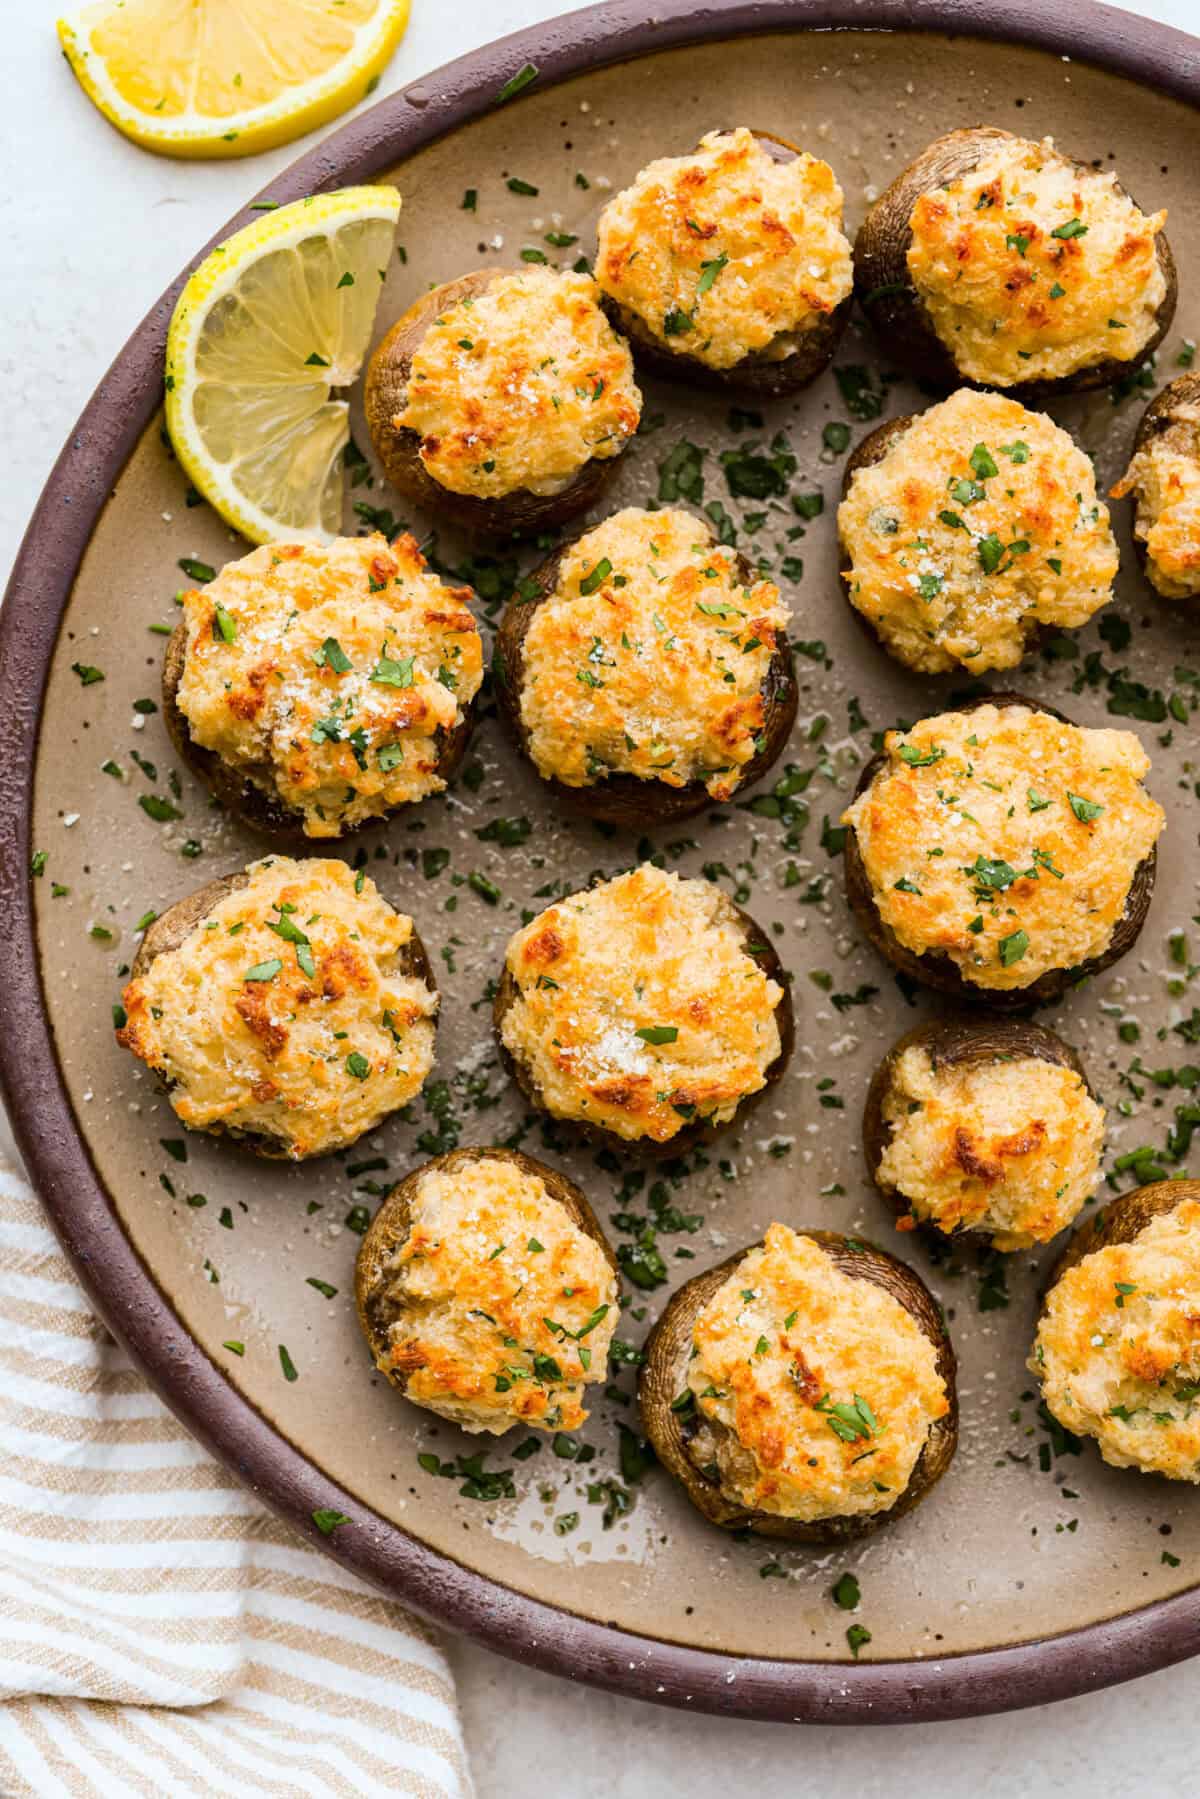
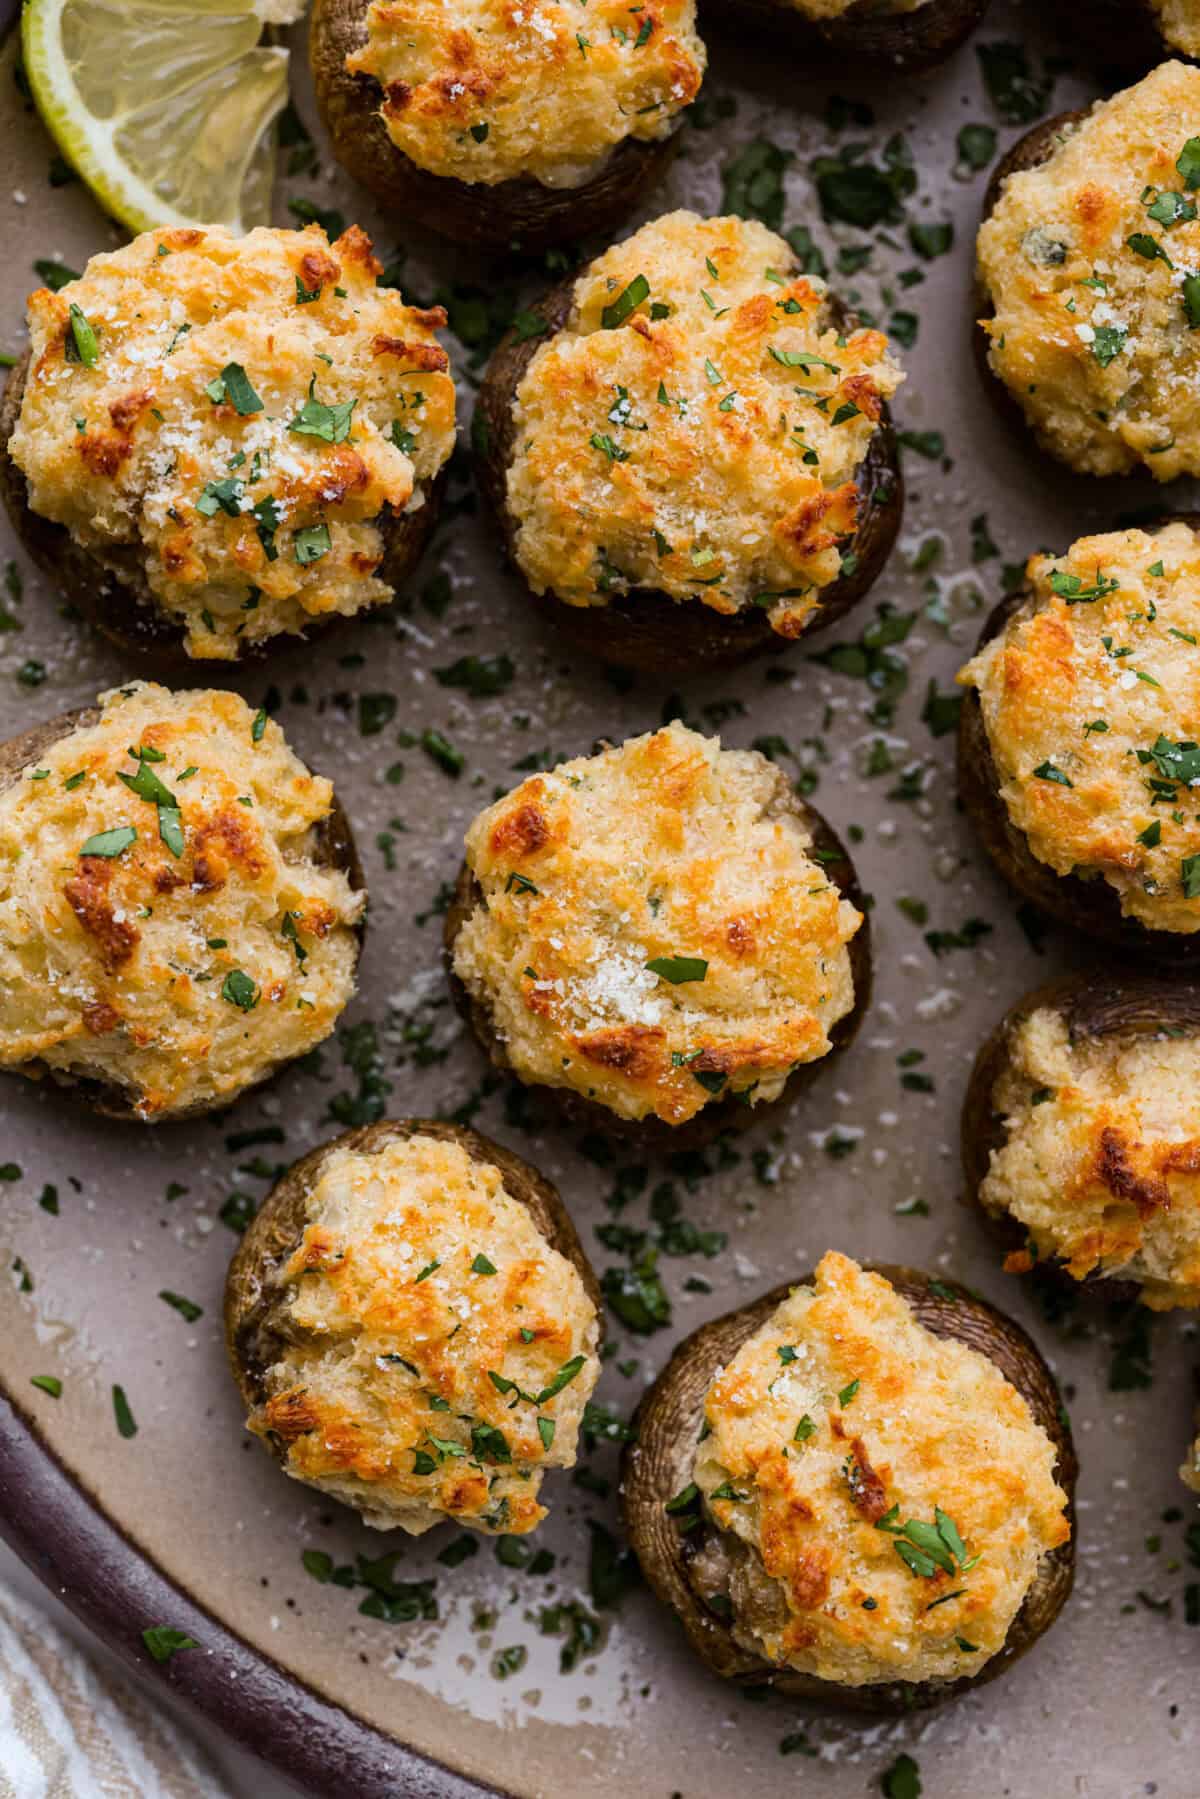
These Crab Stuffed Mushrooms are a deliciously savory appetizer, perfect for impressing guests at any gathering. With a rich crab filling in every bite, they’re sure to be a crowd favorite!
Reasons You’ll Love This Recipe
Packed with Flavor: The combination of crab, cheese, and other flavorings creates a savory, irresistible filling.
Low-Carb: A great choice for anyone following a low-carb or keto-friendly diet.
Impressive Presentation: I love stuffed mushrooms for game day, parties, and the holidays because they look fancy and are sure to impress guests. Make it a complete spread with jalapeño poppers, air fryer chicken wings, and 7-layer dip!
The BEST Appetizer
I don’t know about you, but I love stuffed mushroom appetizers! These crab stuffed mushrooms are no exception. The creamy, savory seafood filling with a crunchy texture from the panko that just melts in your mouth! I could seriously eat the whole batch! I know you guys will love these!
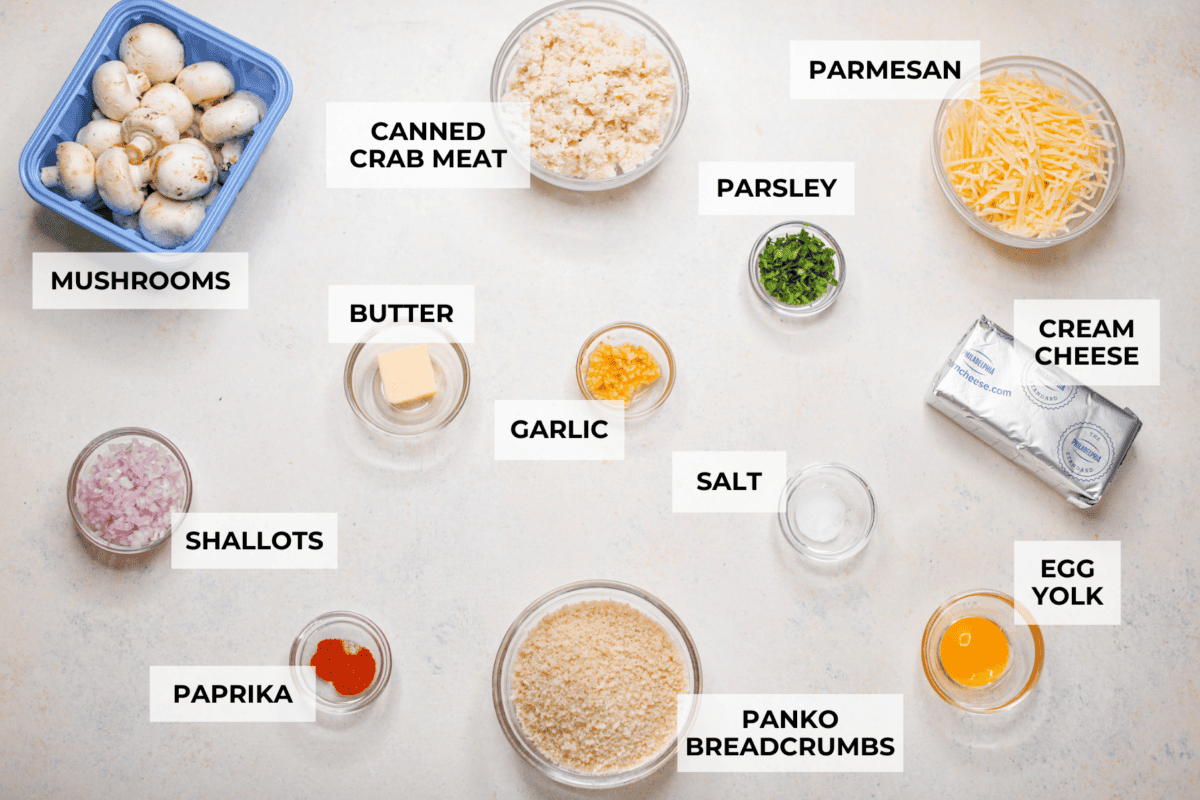
Crab Stuffed Mushroom Ingredients
How to Make Crab Stuffed Mushrooms
These adorable crab stuffed mushrooms are easy to prepare and taste absolutely amazing! Perfect for your next get-together, game day, or holiday celebration! Don’t have the energy to stuff mushrooms, but want that same flavor? Make my stuffed mushroom dip!
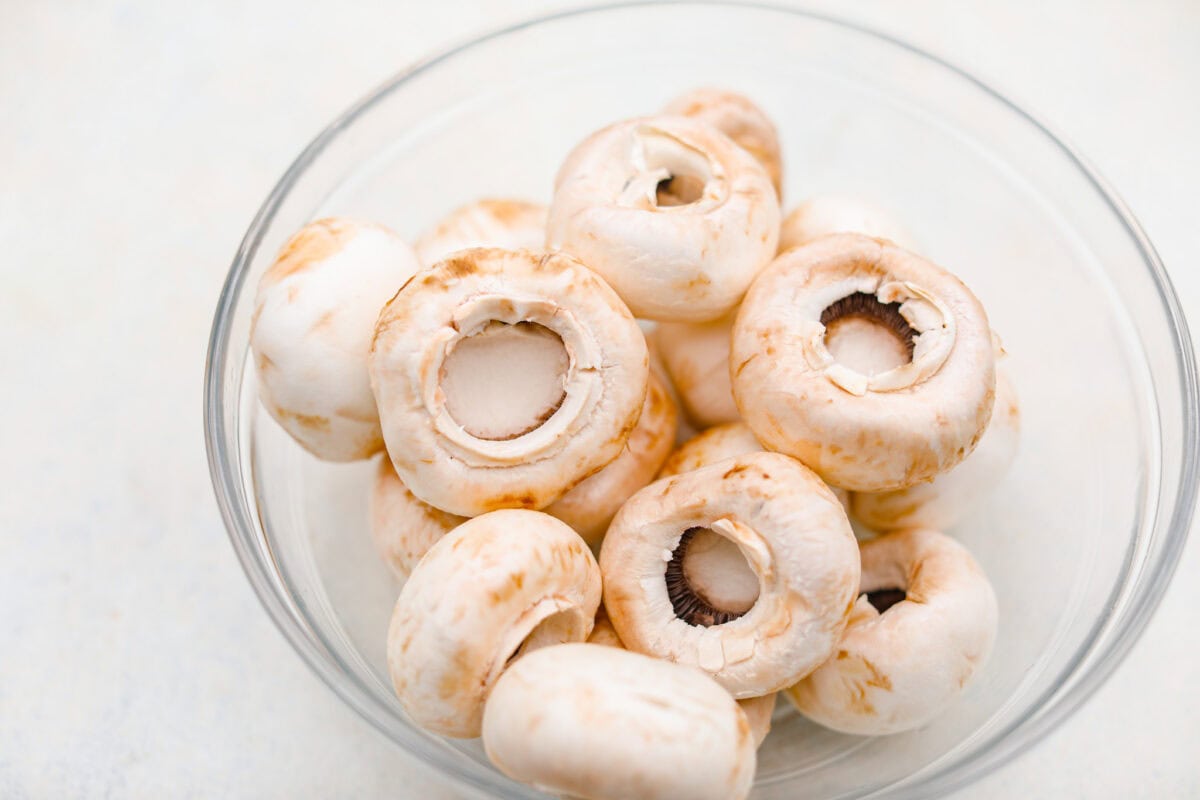
Prep Mushrooms: Preheat the oven to 350 degrees Fahrenheit and either grease a sheet pan or line it with parchment paper. Clean and destem the mushrooms, discarding the stems or reserving them for a separate recipe. Place the mushroom caps top-side down on the sheet pan.
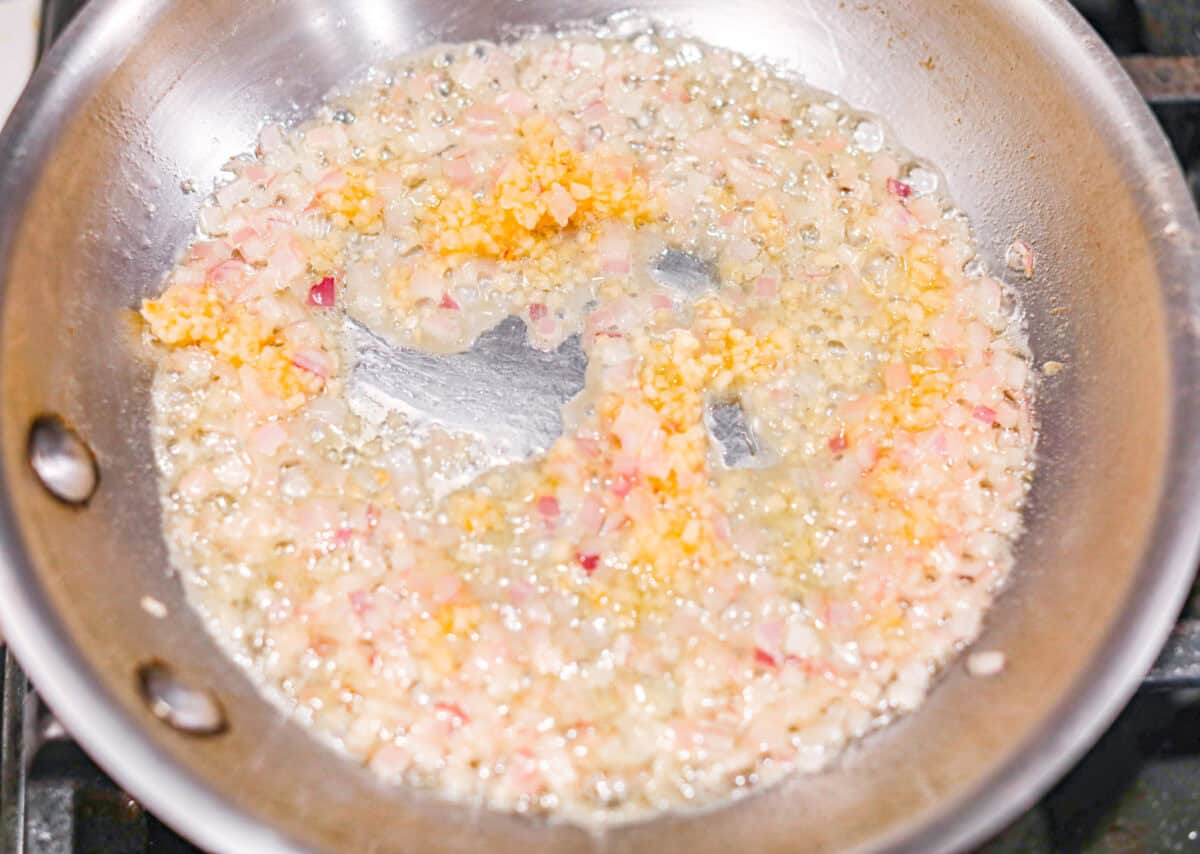
Sauté: Add the butter to a small skillet and melt over medium heat. Add the shallot and garlic and cook for 1-2 minutes, until the shallots pale in color. Remove the shallot mixture from the heat and set aside in a small bowl.
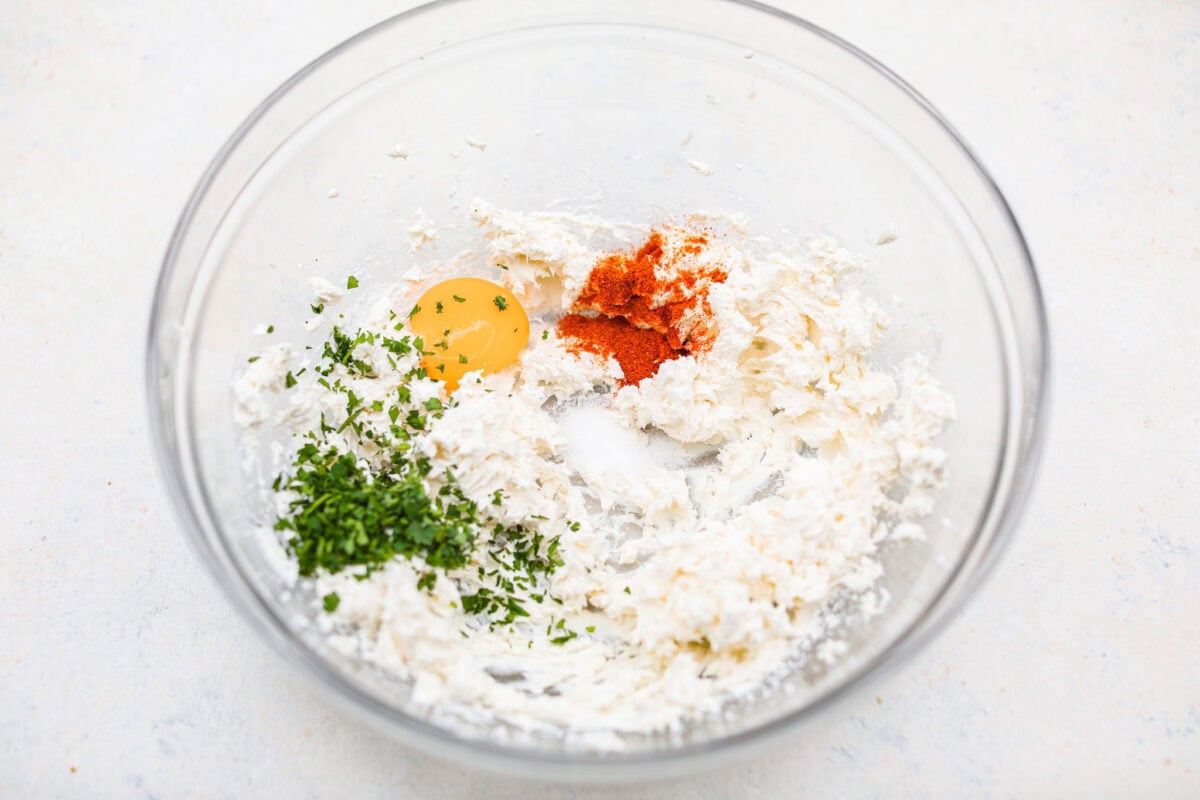
Beat Cream Cheese: Add the cream cheese to a large bowl and beat with a hand mixer until smooth. Add the egg yolk, parsley, paprika, and salt and beat until combined.
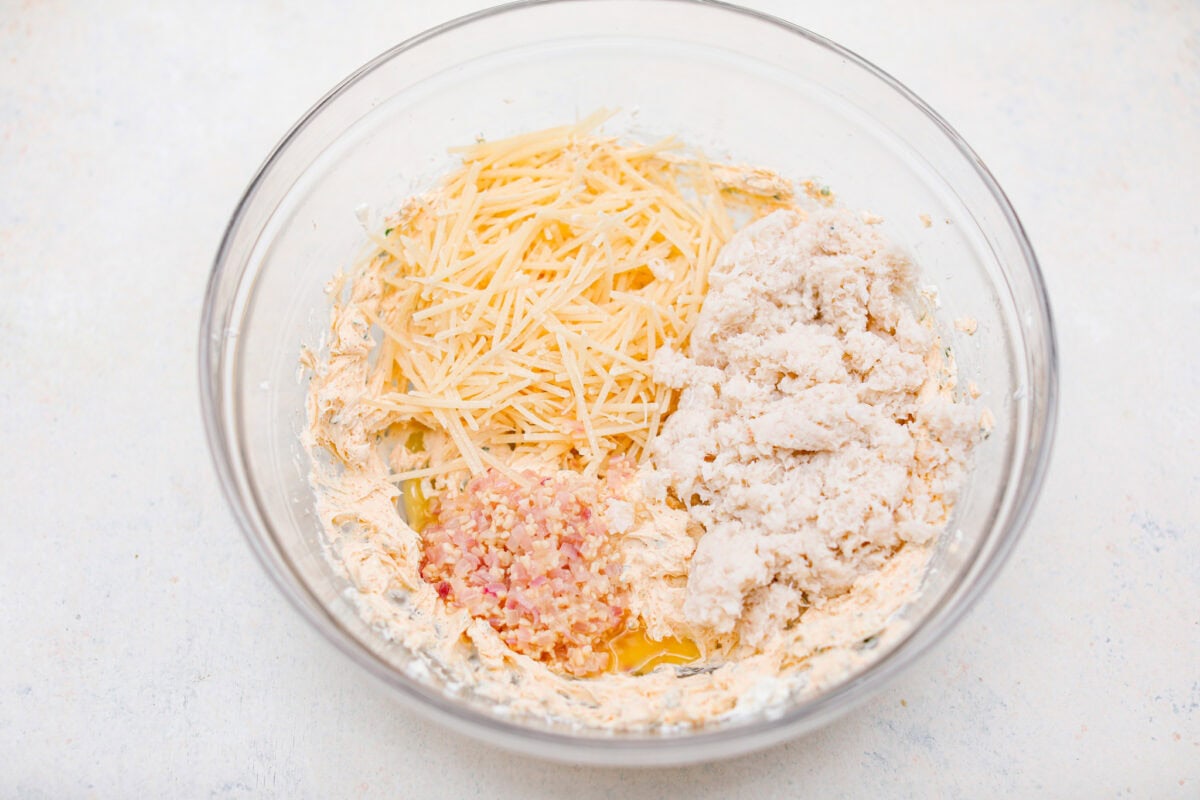
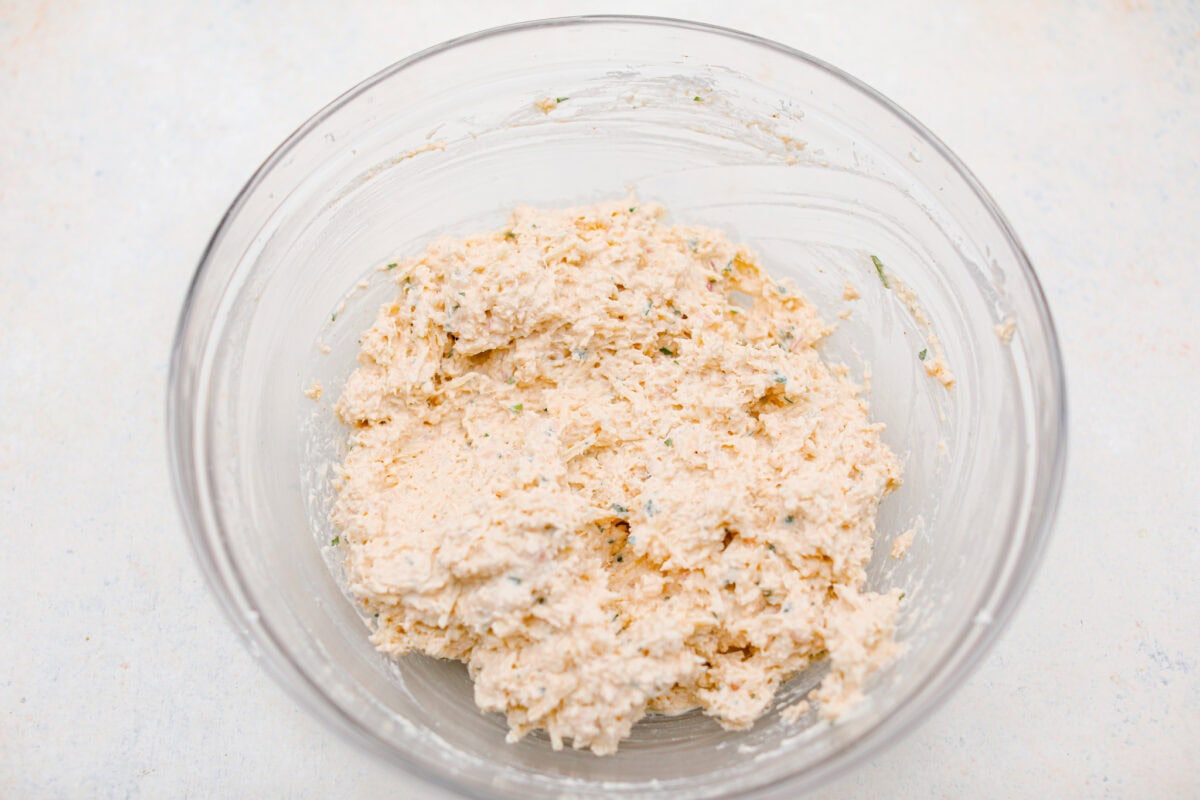
Mix in Shallot Mixture: Add the crabmeat, parmesan cheese, and shallot mixture and mix until combined. At this stage, it will become very soft and wet.
Transfer to a Bag: Beat in the panko, transfer the crab mixture to a large ziplock bag, and snip off the end of it.
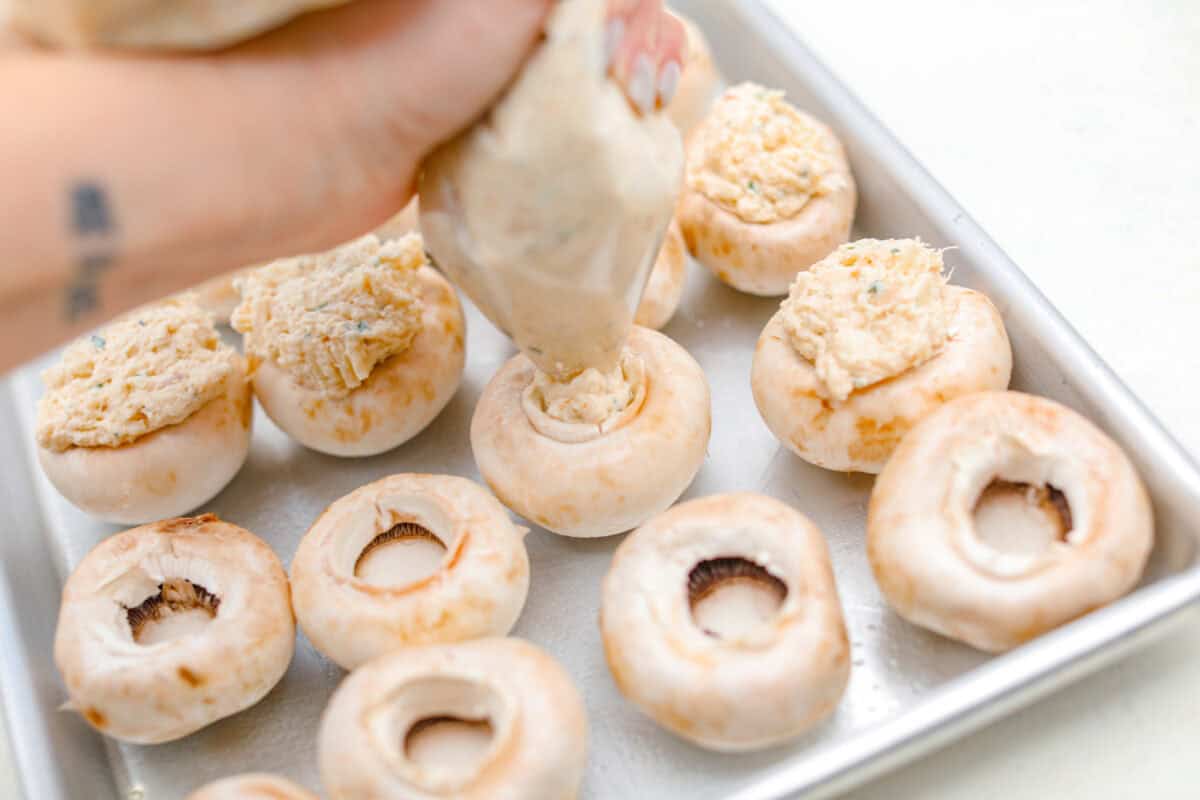
Fill Mushrooms and Bake: Squeeze the crab mixture into the centers of the mushrooms, letting it mound on top. Bake for 25 minutes or so, until the tops begin to brown. Serve crab stuffed mushrooms warm.
Tips for Crab Stuffed Mushroom
Looking to elevate your crab stuffed mushrooms? Here are some helpful tips to ensure they turn out perfectly every time!
What kind of mushrooms should I use? I used white button mushrooms for this recipe, but you may use baby bella mushrooms (also called cremini mushrooms).
How do I avoid soggy crab stuffed mushrooms? Sometimes, stuffed mushrooms can end up soggy due to their high water content. Avoid this by partially baking the mushrooms before they are filled. Clean and destem the mushrooms and place them top down on a parchment or aluminum foil-lined baking sheet. Bake at 375 degrees Fahrenheit for about 15 minutes, until the mushrooms release their water and fill with liquid. Tip off the liquid and pat the mushrooms dry with paper towels then proceed to fill them with the crab mixture. Bake as directed. This can be done up to 24 hours before filling them with the crab.
Can I use Imitation Crab? I used canned lump crab meat for this filling. But you can use shredded and finely chopped imitation crab. Reduce the amount of panko breadcrumbs to ½ cup, only adding more if needed to absorb any excess liquid. Imitation crab has significantly less moisture than canned crab, so less panko will be needed.
How do I brown the tops better? Sometimes, the tops of the mushrooms take a while to brown. You can turn the broiler to HIGH and broil for 2-3 minutes until the tops are a deep golden brown. Be sure to keep a close eye on them so they don’t burn!
Make Ahead Instructions
Prepare Ahead: These crab stuffed mushrooms are great for preparing ahead of time! You can prepare them all the way through step 8 up to 24 hours in advance. Place the filled mushrooms in an airtight container lined with 1-2 paper towels on the bottom. This prevents them from rolling around as well as absorbing any excess moisture. Store in the refrigerator until you are ready to bake them. Give the mushrooms an additional 5-8 minutes or so to bake since they will be chilled and will need more time to cook through.
Storing Leftovers: These are best served fresh, so I don’t recommend storing leftovers. If you do end up storing them, keep them in an airtight container in the fridge for 2-3 days. Reheat in the oven at 350 degrees Fahrenheit for 10-15 minutes or in the air fryer at 370 degrees Fahrenheit for 4-5 minutes.
This website may contain affiliate links and advertising so that we can provide recipes to you. Read my disclosure policy.
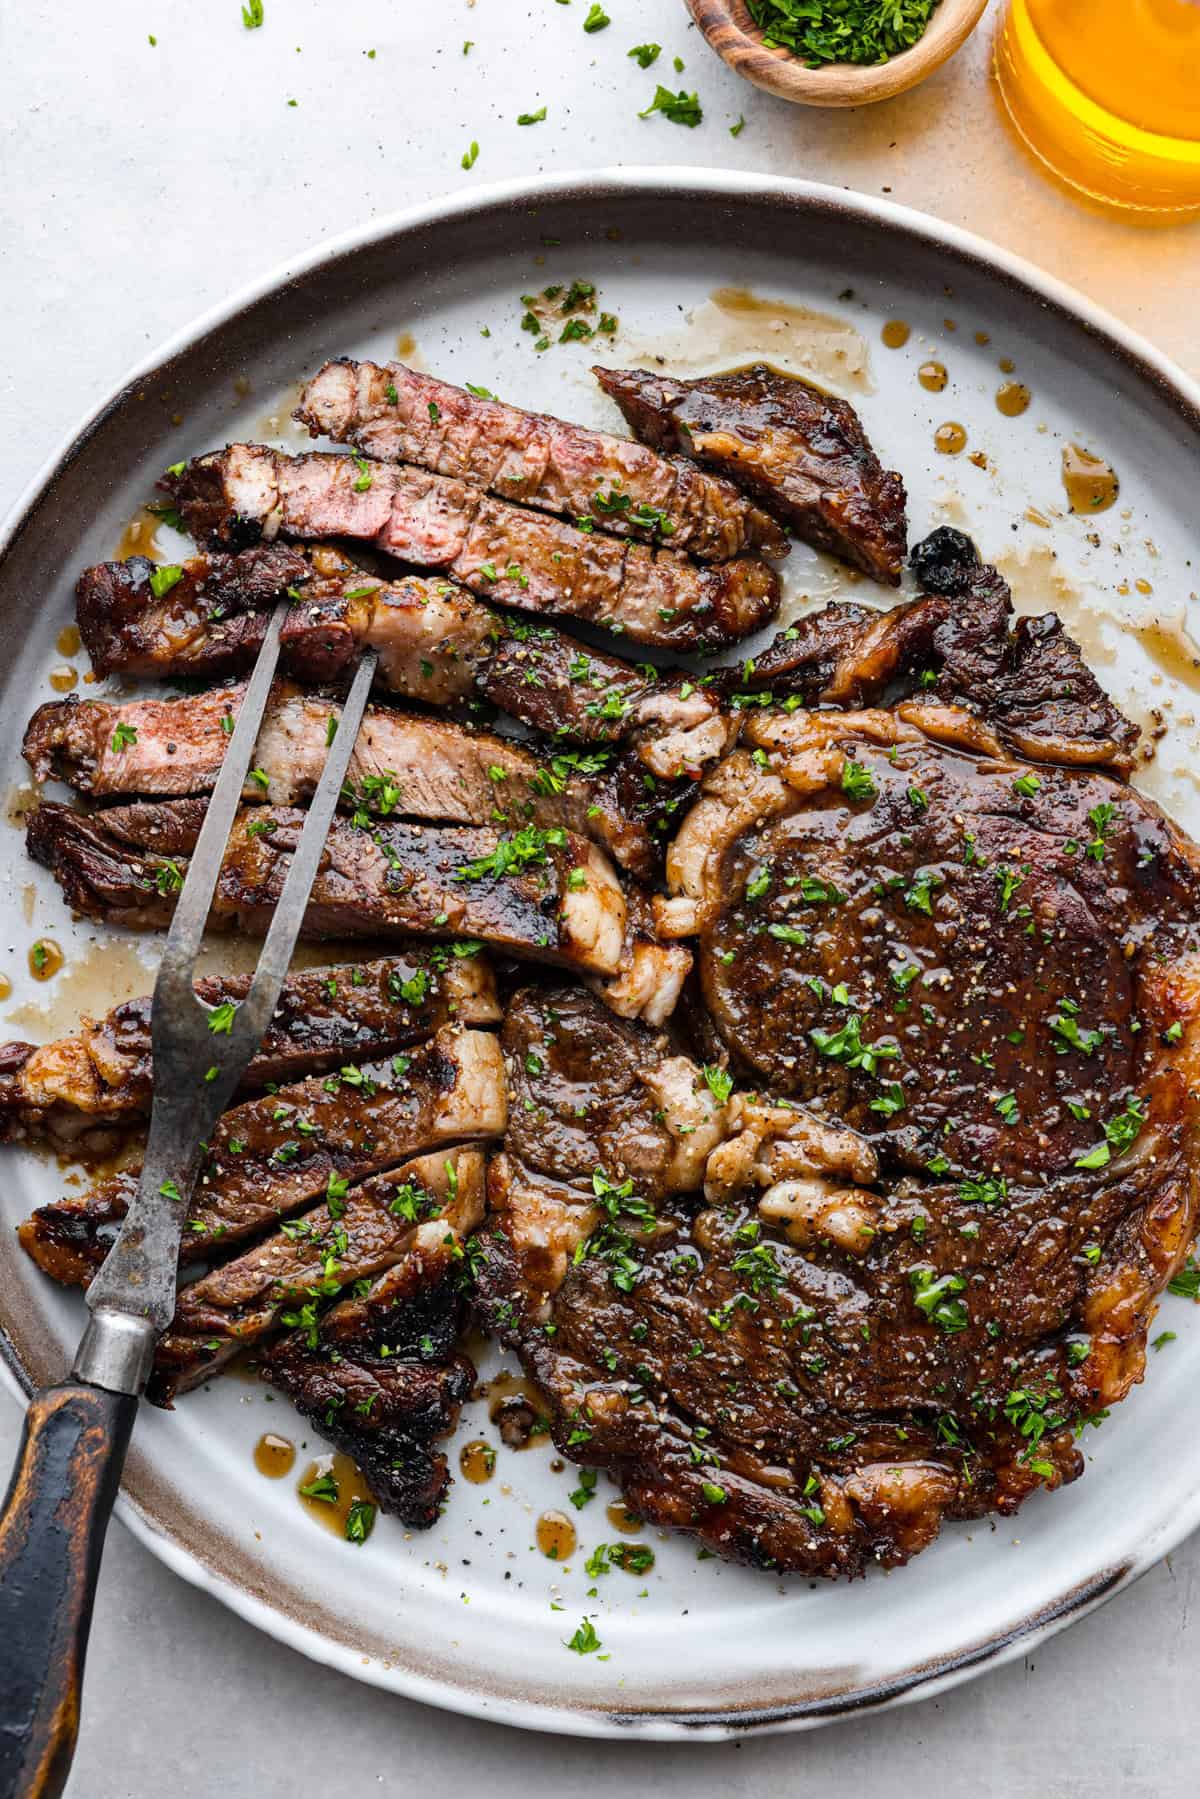
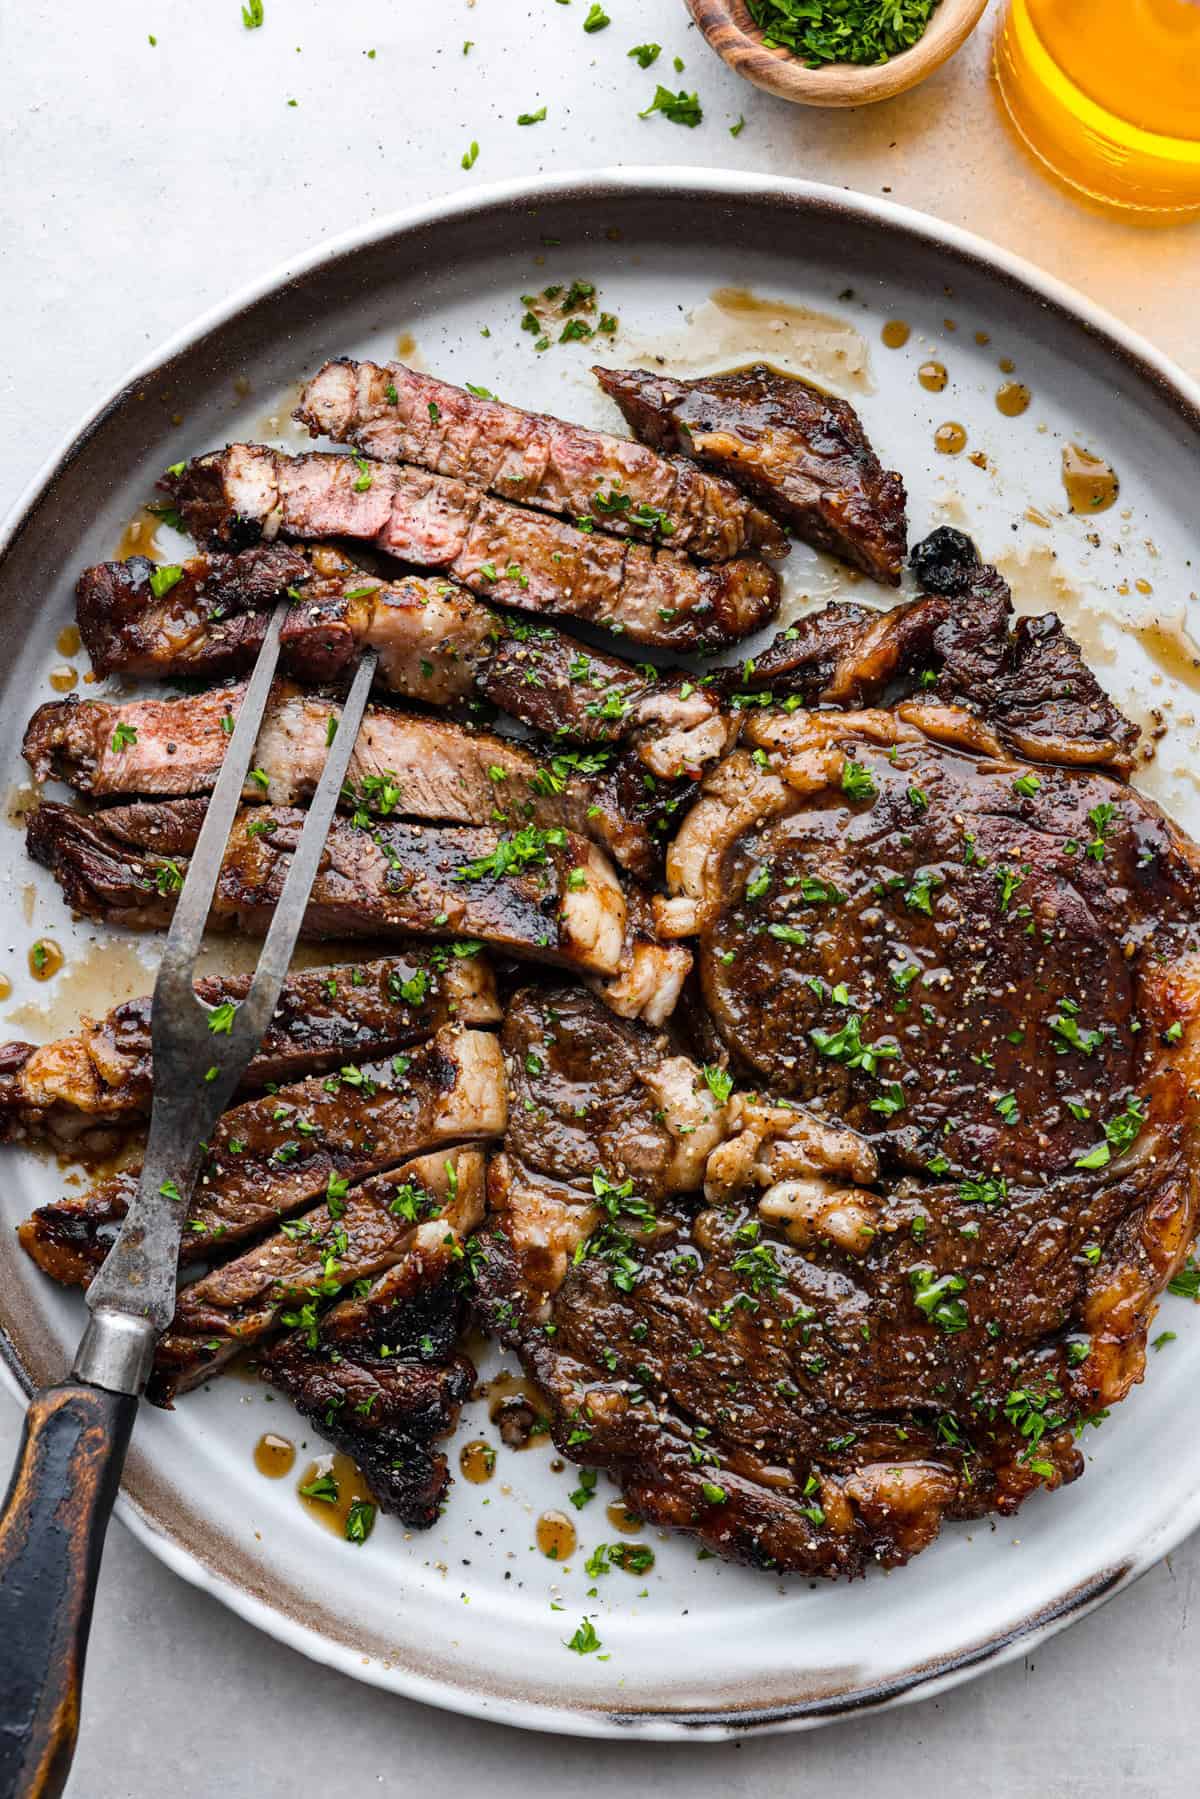
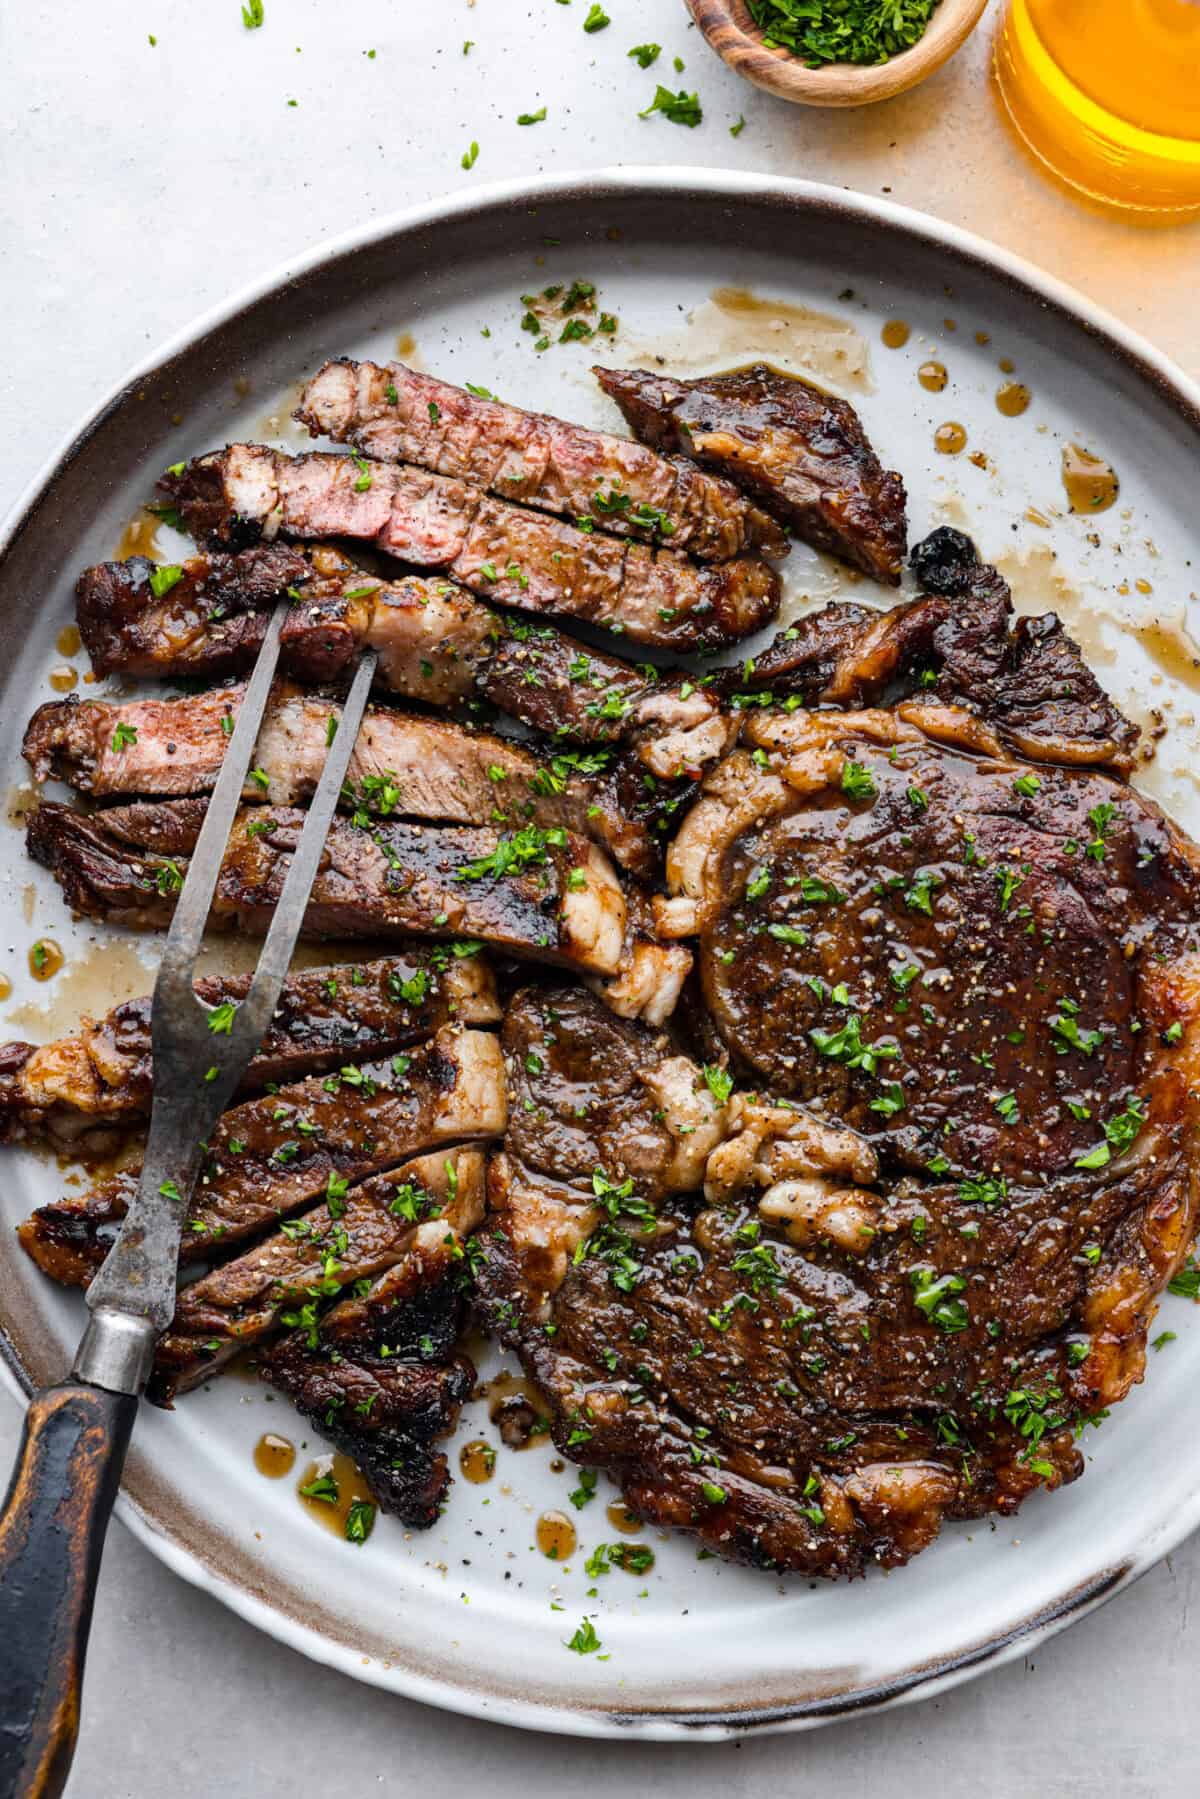
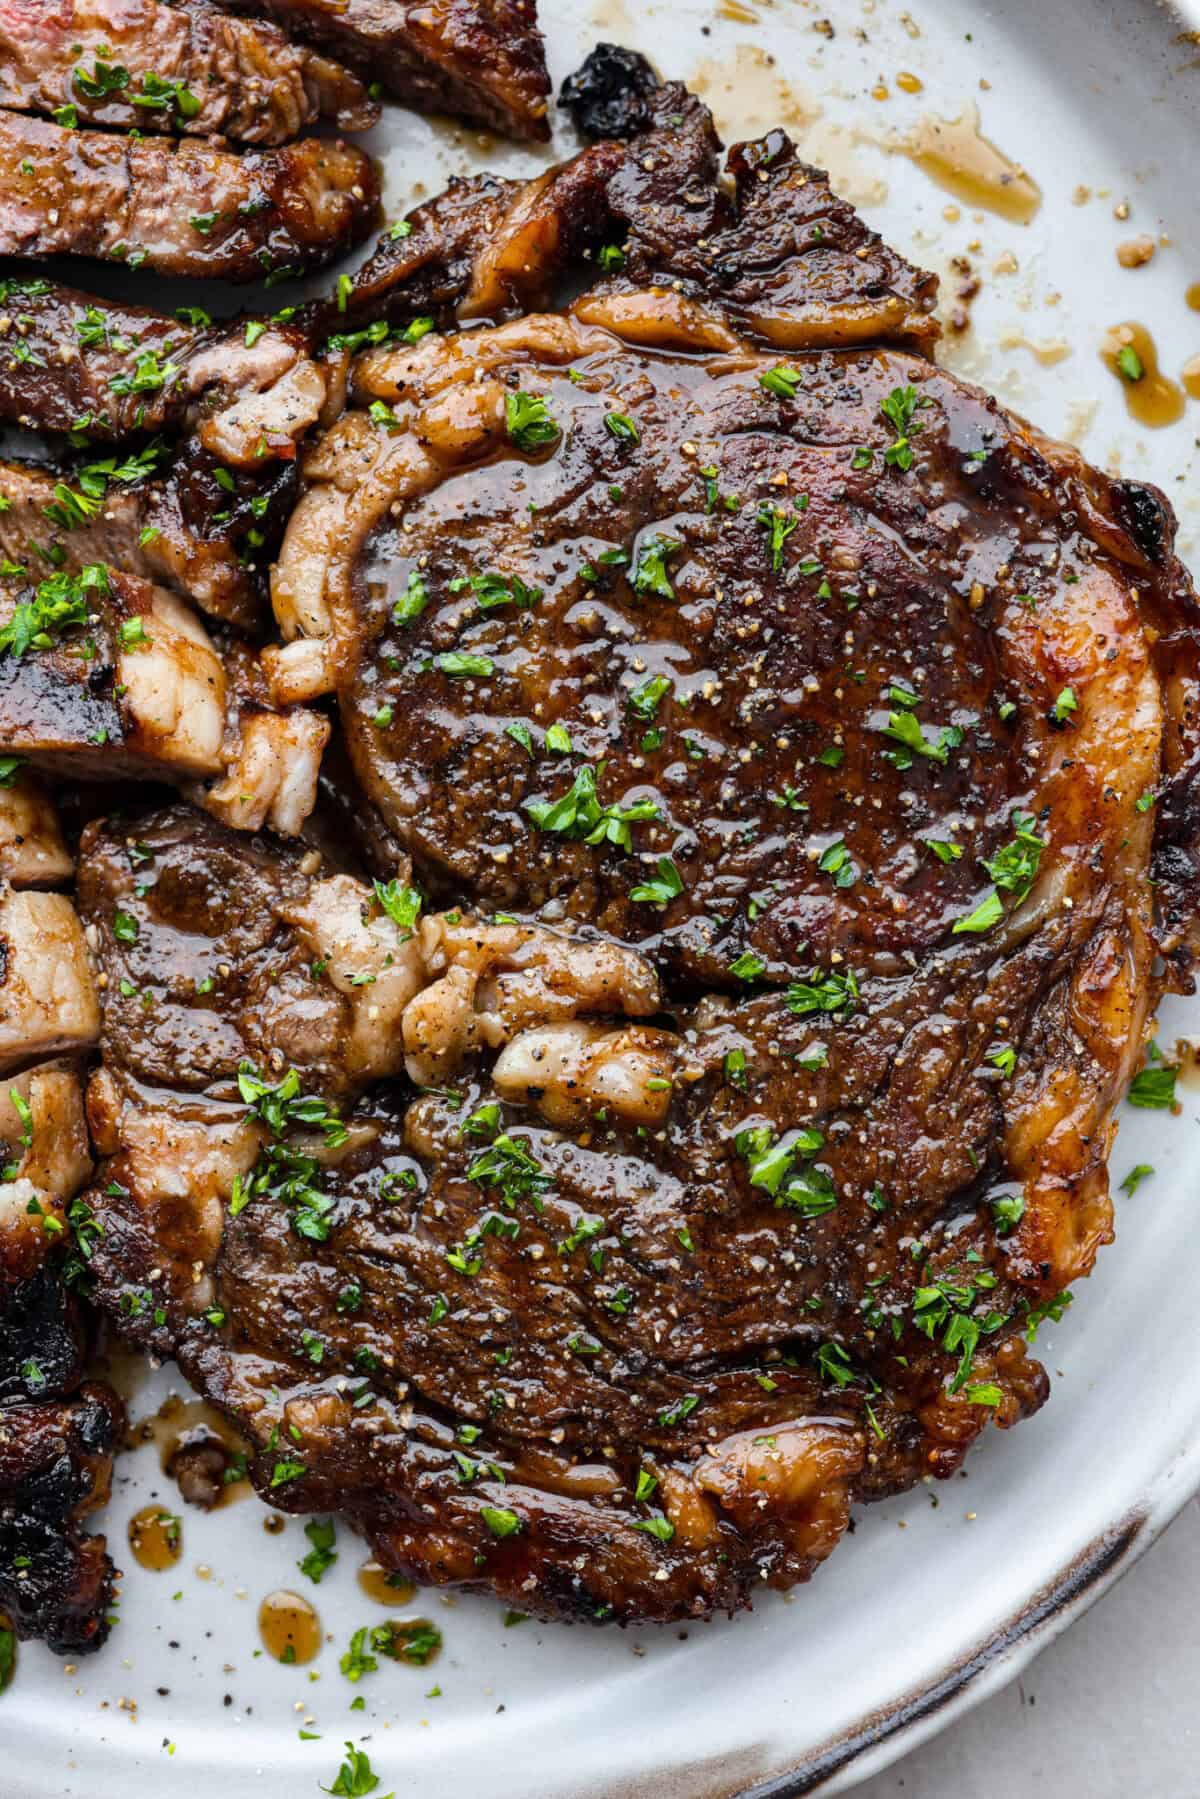
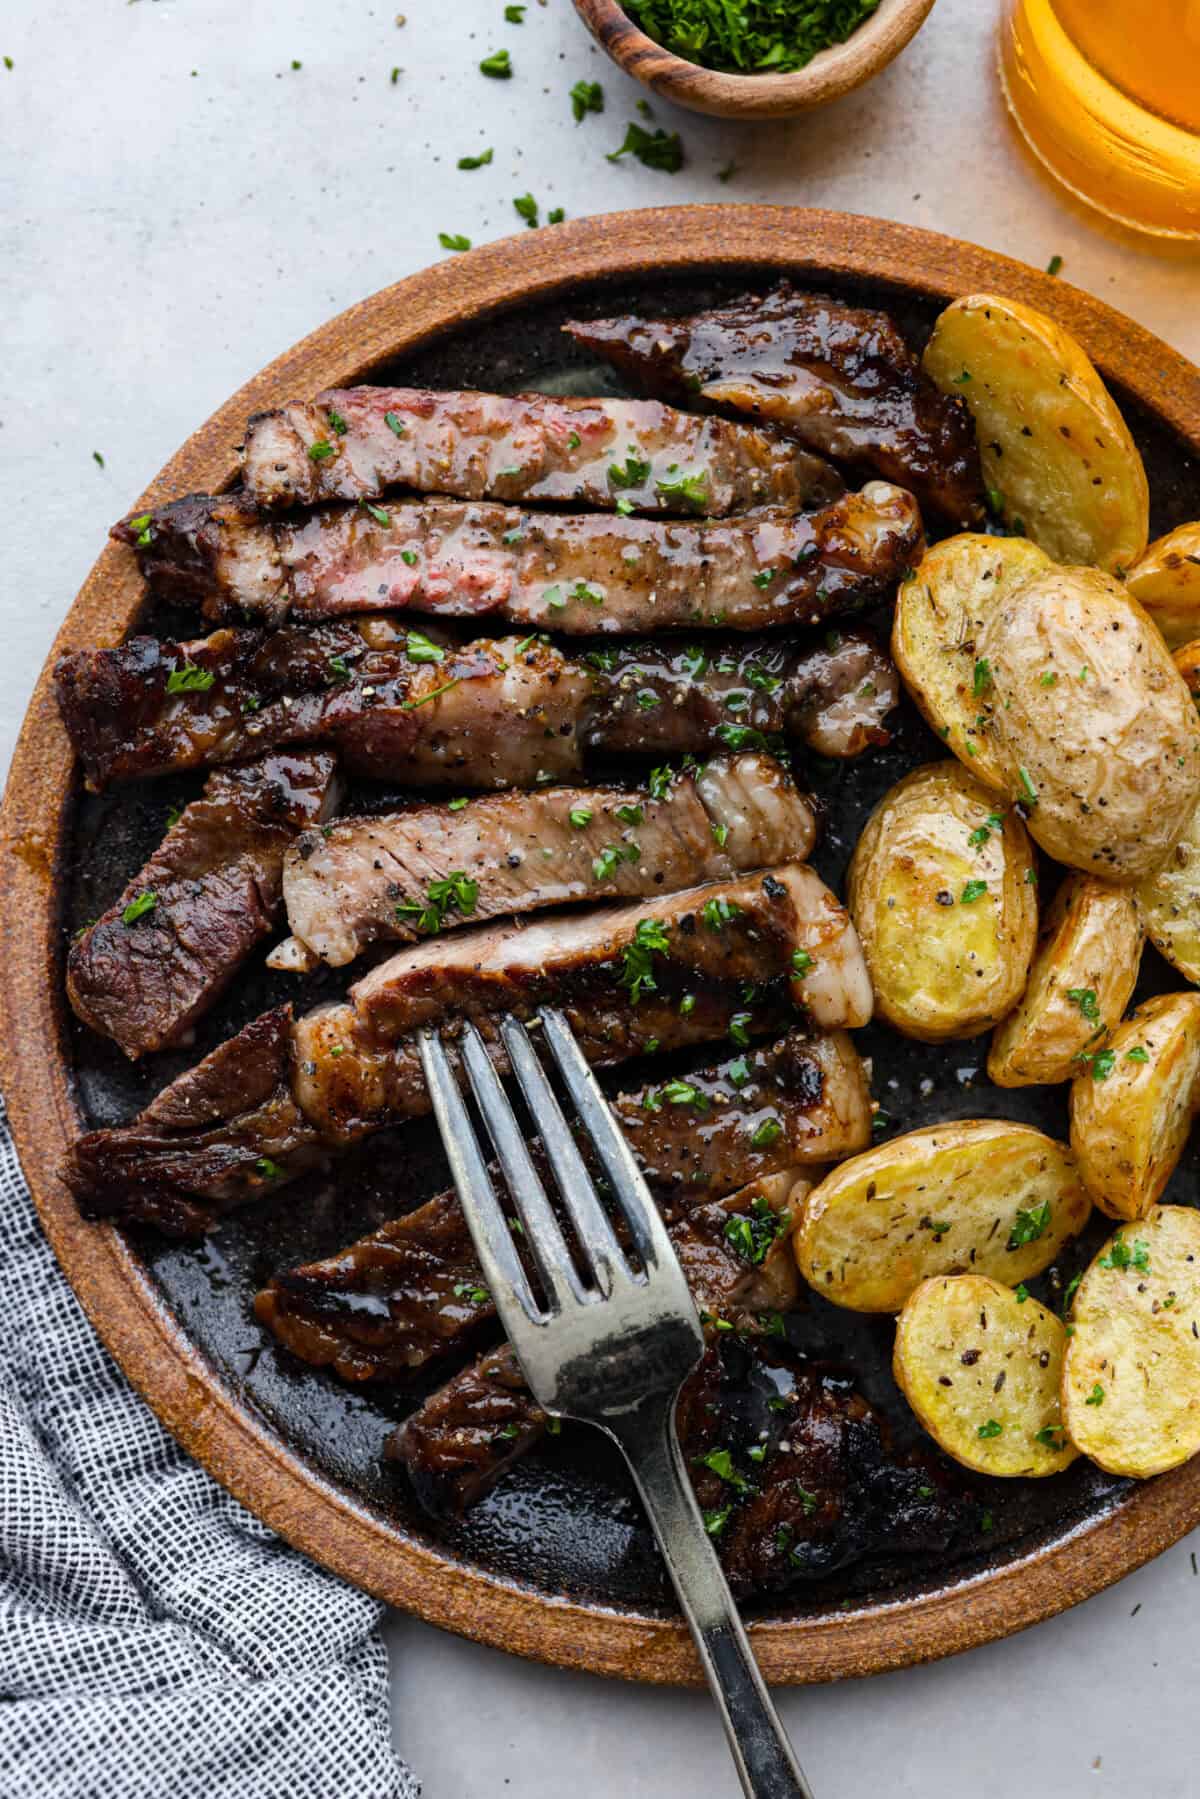
Fire up the grill for these mouthwatering Grilled Bourbon Steaks! Marinated in a blend of whiskey, brown sugar, and savory spices, these steaks are sure to be a hit at your next barbecue.
It’s grilling season, and I couldn’t be more excited! Make this a complete meal by serving this steak with some delicious grilled sides like grilled corn, grilled vegetable kabobs and watermelon for your next BBQ.
Reasons You Will Love This Recipe
Quick and Simple: Making grilled bourbon steak is so easy! Once these have marinated, they can be ready to serve in less than 15 minutes.
Perfectly Tender and Juicy: This bourbon marinade will tenderize the ribeyes, so that they are super moist with incredible flavor.
Balanced Flavor: The marinade is deliciously balanced with sweet, savory and tangy flavors. Even if you’re not a fan of drinking bourbon, you will LOVE the marinade!
Great for Summer BBQs: Serve this with a delicious summer salad, veggies and some fruit for a backyard BBQ meal everyone will love!
Ingredients Needed
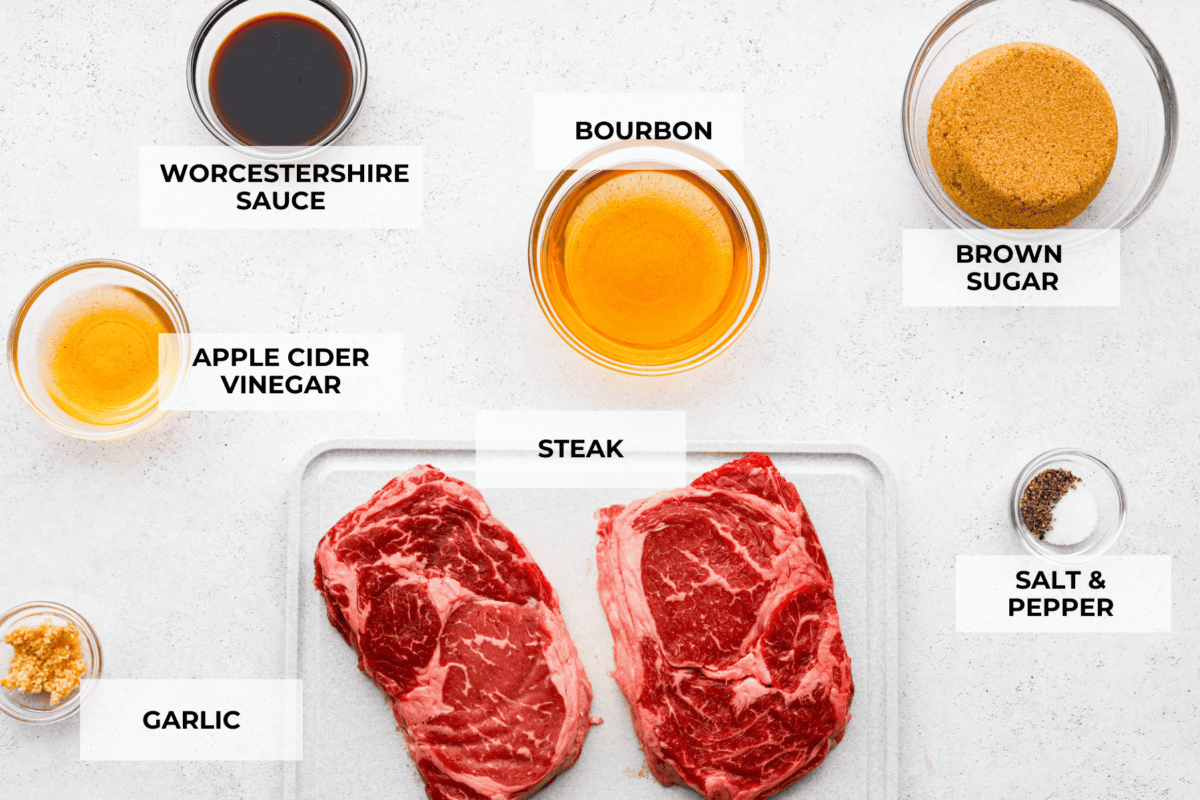
This grilled bourbon steak recipe only requires a handful of simple ingredients. Once you whip up the marinade and let your steak marinate for 1-4 hours, then you are on your way to juicy, flavorful ribeyes! Check out the recipe card at the bottom of the post for exact measurements.
Ribeye Steaks: Choose ribeye steaks with plenty of marbling. This will ensure that they are nice and tender after being cooked. If you want to know about other cuts of meat and substitutions, see my post about that here.
Bourbon Whiskey: Any brand will work to add flavor and break down the enzymes in the meat, yielding a tender, juicy steak!
Brown Sugar: Balances the tanginess of the bourbon, vinegar, and Worcestershire sauce with a hint of sweetness.
Apple Cider Vinegar: Adds bright flavor and also helps to tenderize the meat.
Worcestershire Sauce: Includes a blend of vinegar, garlic, chiles, molasses and more for a wonderful umami taste.
Garlic: 3 cloves of freshly minced garlic will infuse the steak with savory flavor.
Salt and Pepper: To taste!
How to Make Grilled Bourbon Steak
Grilled bourbon steaks are really simple to make, and they are loaded with a big punch of flavor! Just be sure to plan enough time for the marinating and resting time. It will be just enough time to make my cheesy baked Tennessee Onions!
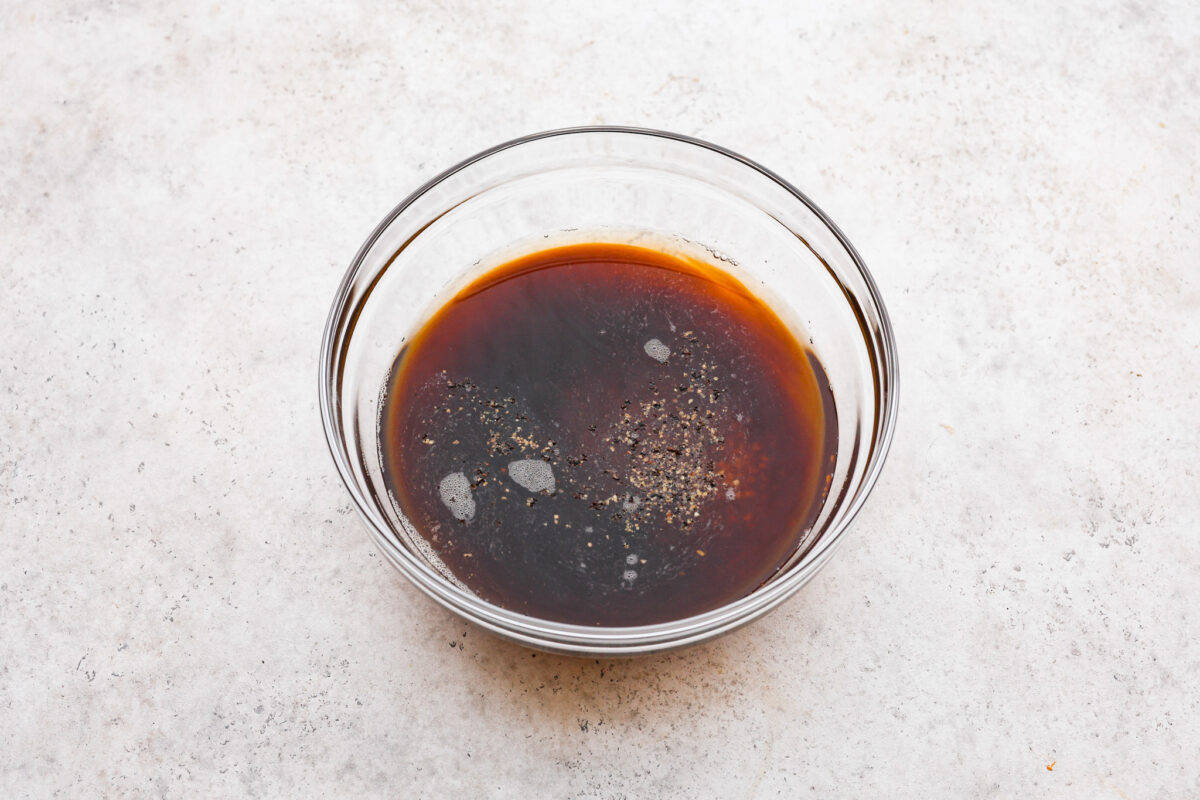
Make the Marinade: In a medium bowl, whisk together the whiskey, brown sugar, vinegar, Worcestershire sauce, garlic, salt and pepper.
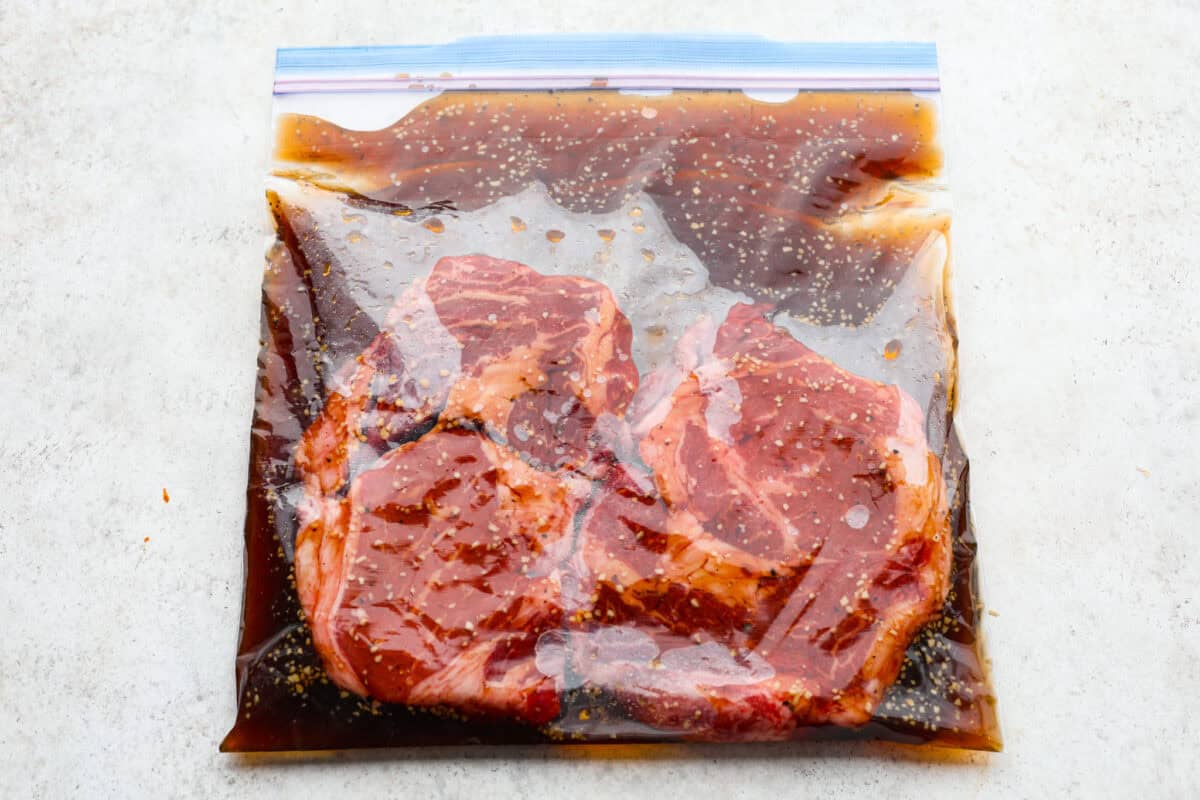
Marinate the Steaks: Pour the marinade into a sealable bag, add the steaks to the bag and seal it shut. Allow the steaks to marinate for between 1-4 hours in the fridge.
Heat the Grill: While the steak is marinating, heat a grill up to 400 degrees Fahrenheit. When the steaks have marinated, remove them from the fridge and allow them to rest at room temperature for 30 minutes. Remove the steaks from the bag and discard the marinade.
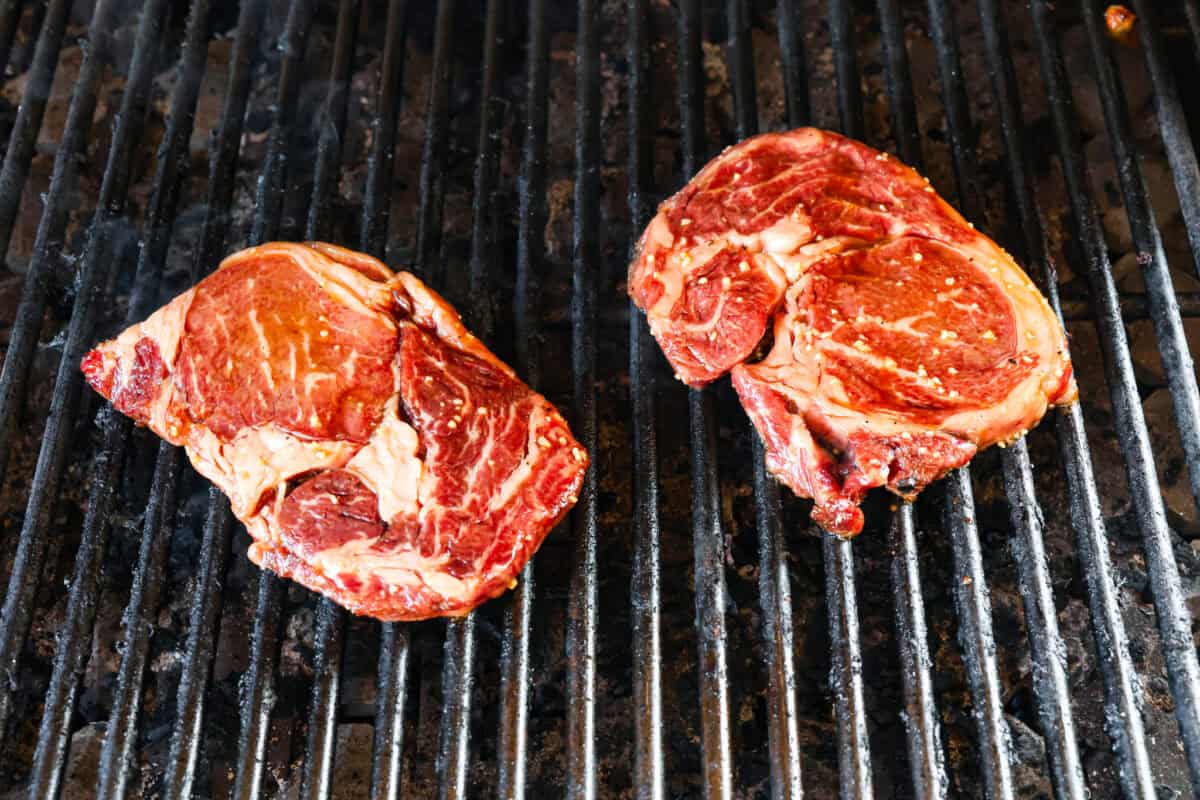
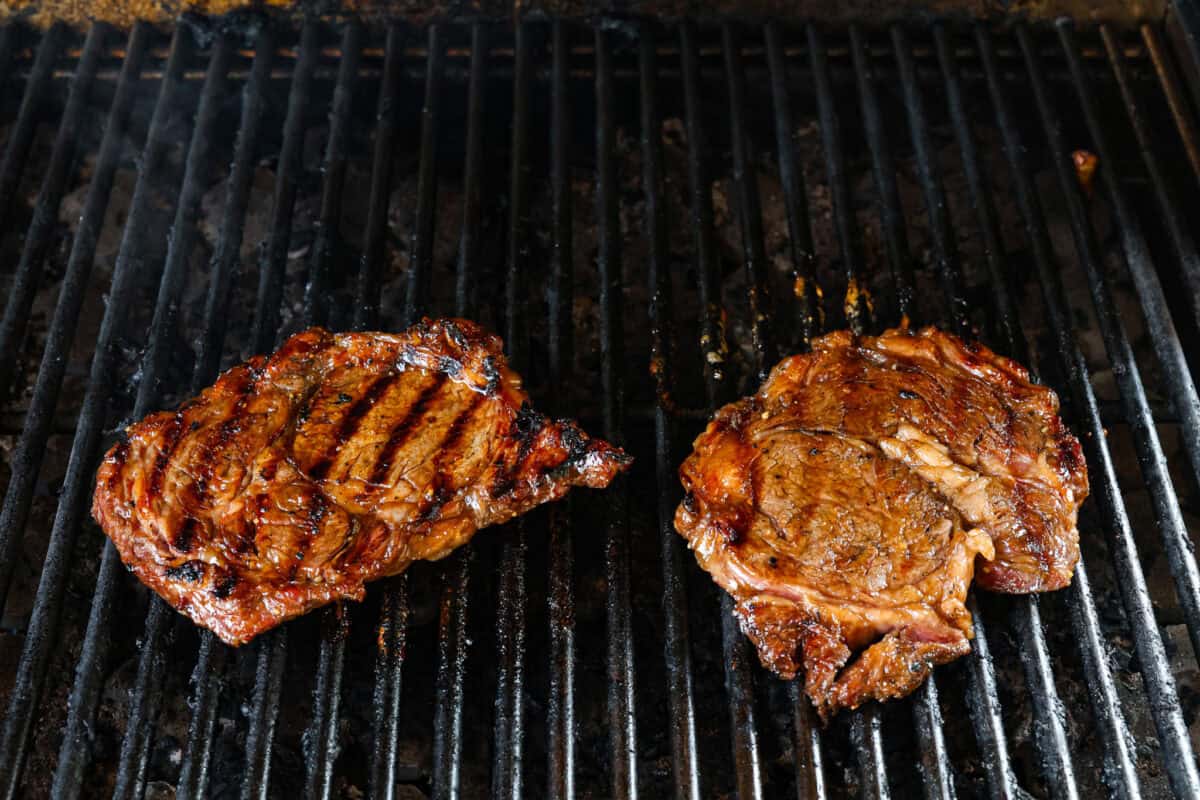
Grill the Steaks: Brush the grill with oil and grill the steaks about 4-5 minutes per side. The internal temperature should reach between 120-155 degrees fahrenheit, depending on how rare you’d like the steak to be.
Let Rest and Serve: Remove the grilled steaks from the grill and place on a clean plate to cool for at least 5 minutes before serving.
Mix the marinade.Marinate the steak.Heat the grill and grill the steak for 4-5 minutes.Flip the steak and cook to the desired doneness.
Tips for the Best Grilled Bourbon Steak
Other Steak Varieties: You can also use strip steak or New York steak for this recipe.
Cooking the Steak: Pay attention to how long you cook your steak to have it cooked to your preferred doneness. My steaks were 1-inch thick and I ended up cooking them for 4 minutes on each side at 400 degrees on the grill and they came out medium.
Use a Meat Thermometer: Using a thermometer is the best way to know when the steak has reached your desired temperature. Refer to my graphic in this guide for how to ribeye for temperatures of each level of steak doneness. You’ll also find more tips and tricks listed!
Allow Steak to Rest: For the juiciest, most tender steak, be sure to rest the ribeye after cooking. This allows the juices to reabsorb and distribute throughout the meat.
Storing and Reheating Leftover Ribeye Steak
Grilled bourbon steak stores and reheats really well for an easy lunch or dinner the next day! You can even freeze it for later!
In the Refrigerator: Store leftovers in the fridge for up to 3 days in an airtight container.
In the Freezer: You can either wrap your steak in plastic wrap or keep it in an airtight container. It will stay good for up to 2 months.
Reheating: First, thaw your steak overnight in the fridge. Next, let it sit at room temperature for 30 minutes. You can then warm it up in a skillet until internal temperatures reach at least 120 degrees Fahrenheit.
More Irresistible Steak Recipes
Looking for more perfectly cooked, flavorful steak recipes? You are going to love these other juicy, incredible steaks. They are all so easy to make and are all tried and true recipes that my family enjoys all the time!
This website may contain affiliate links and advertising so that we can provide recipes to you. Read my disclosure policy.
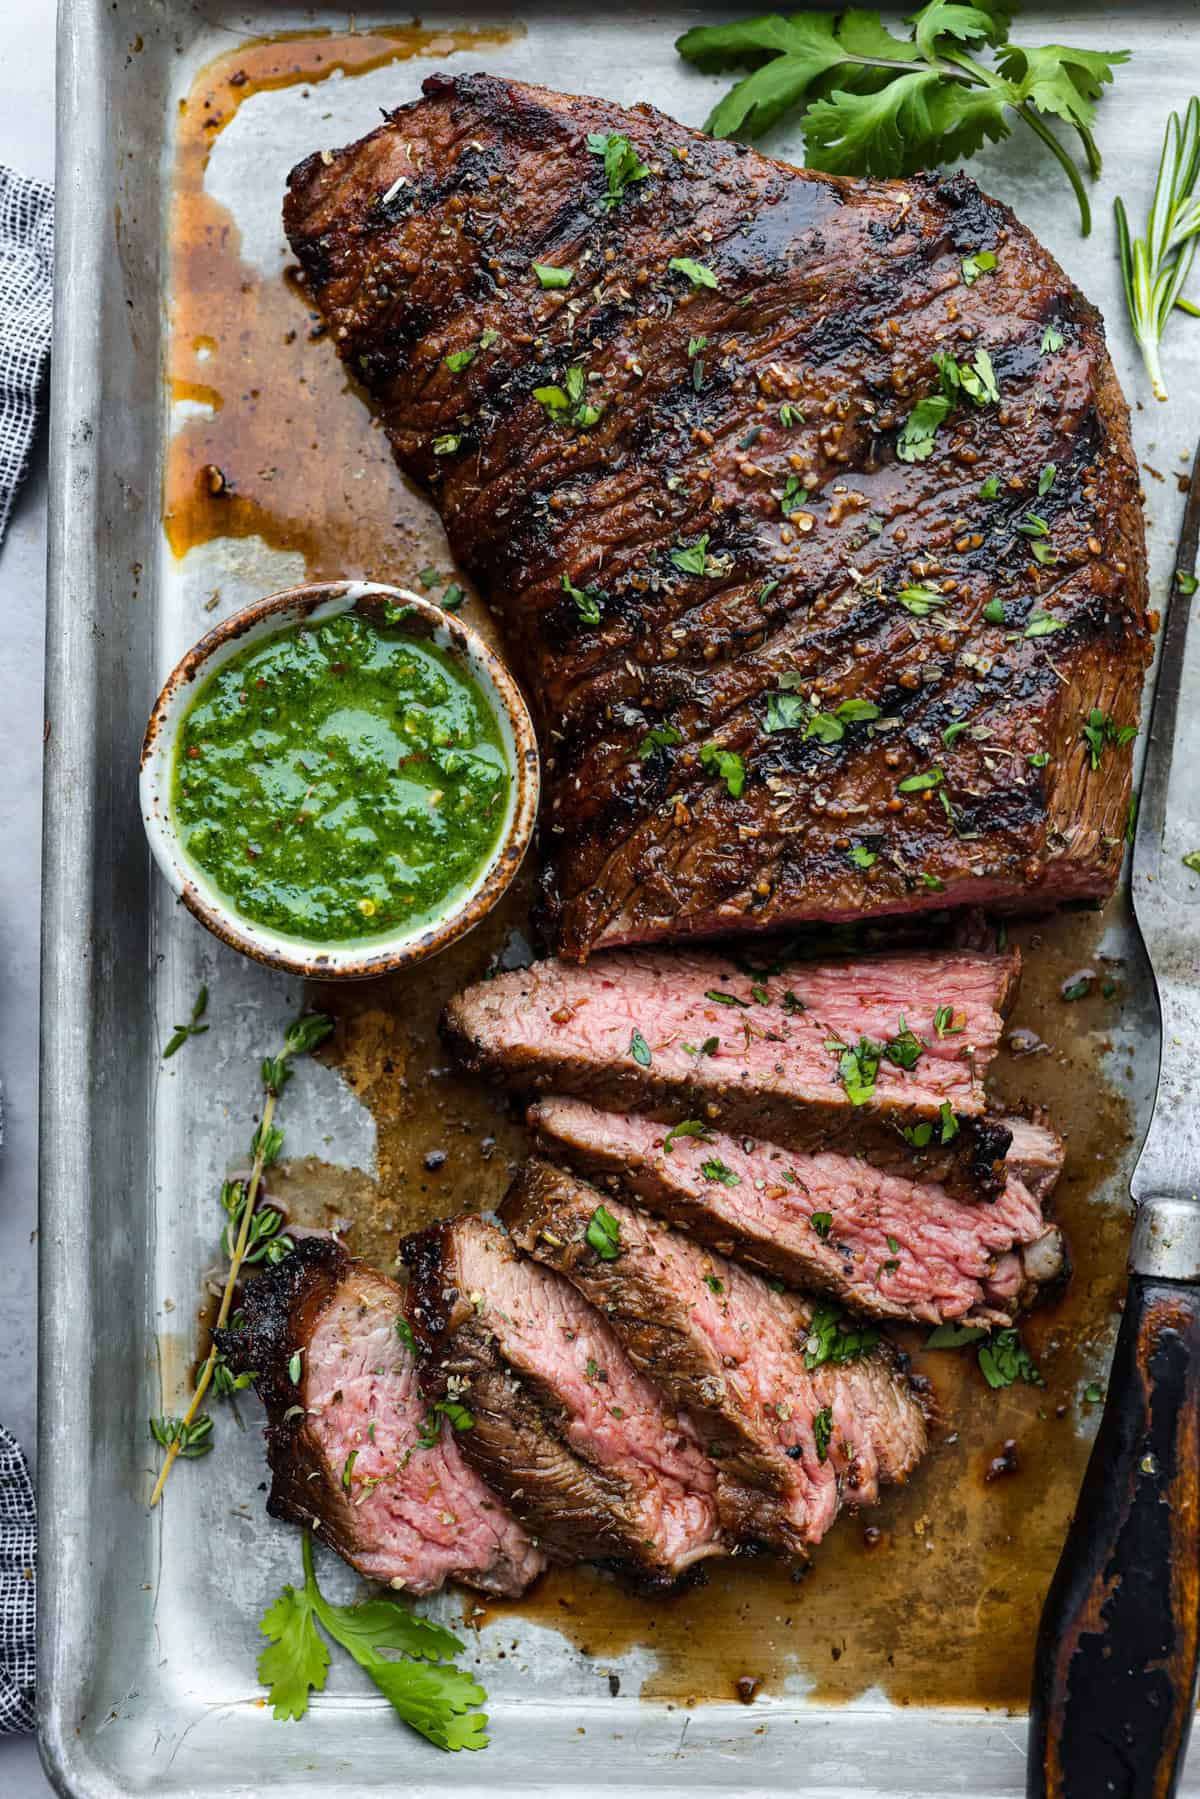
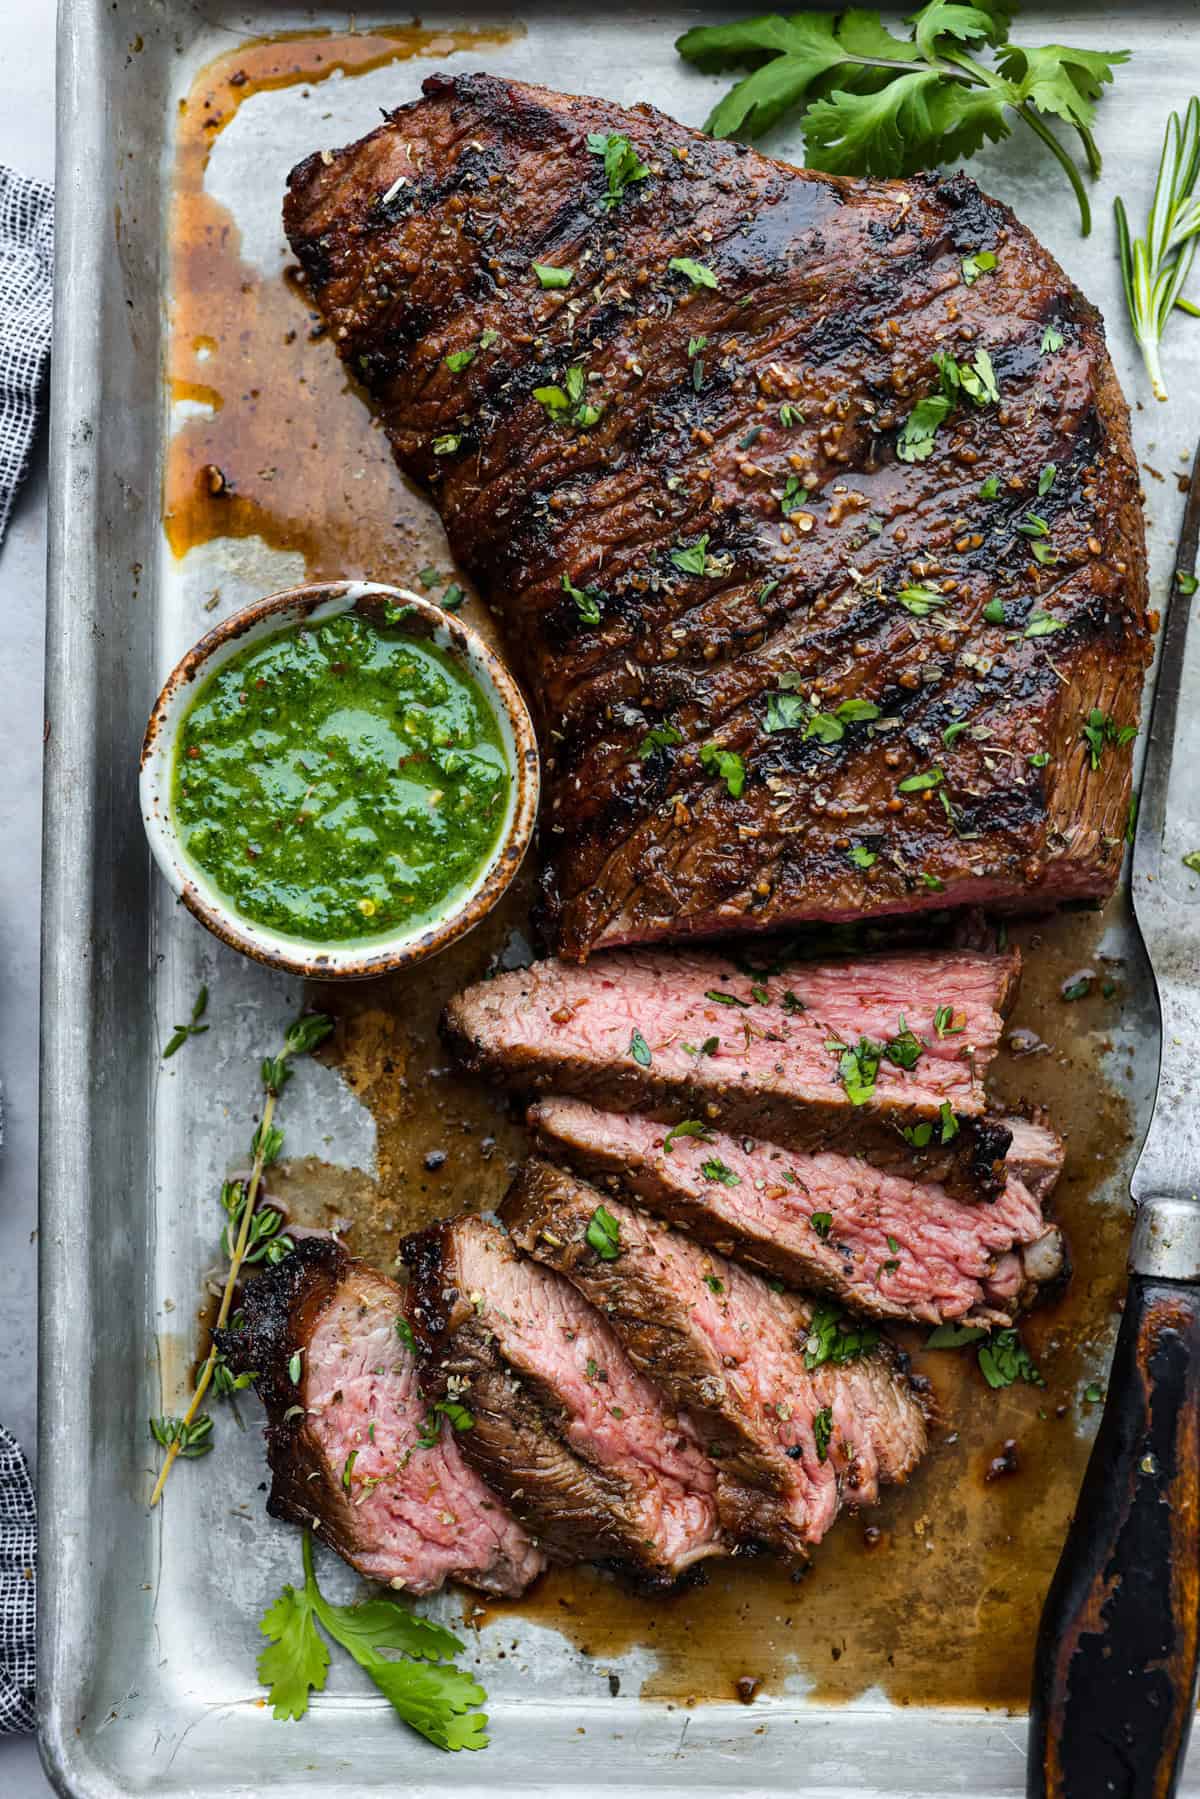
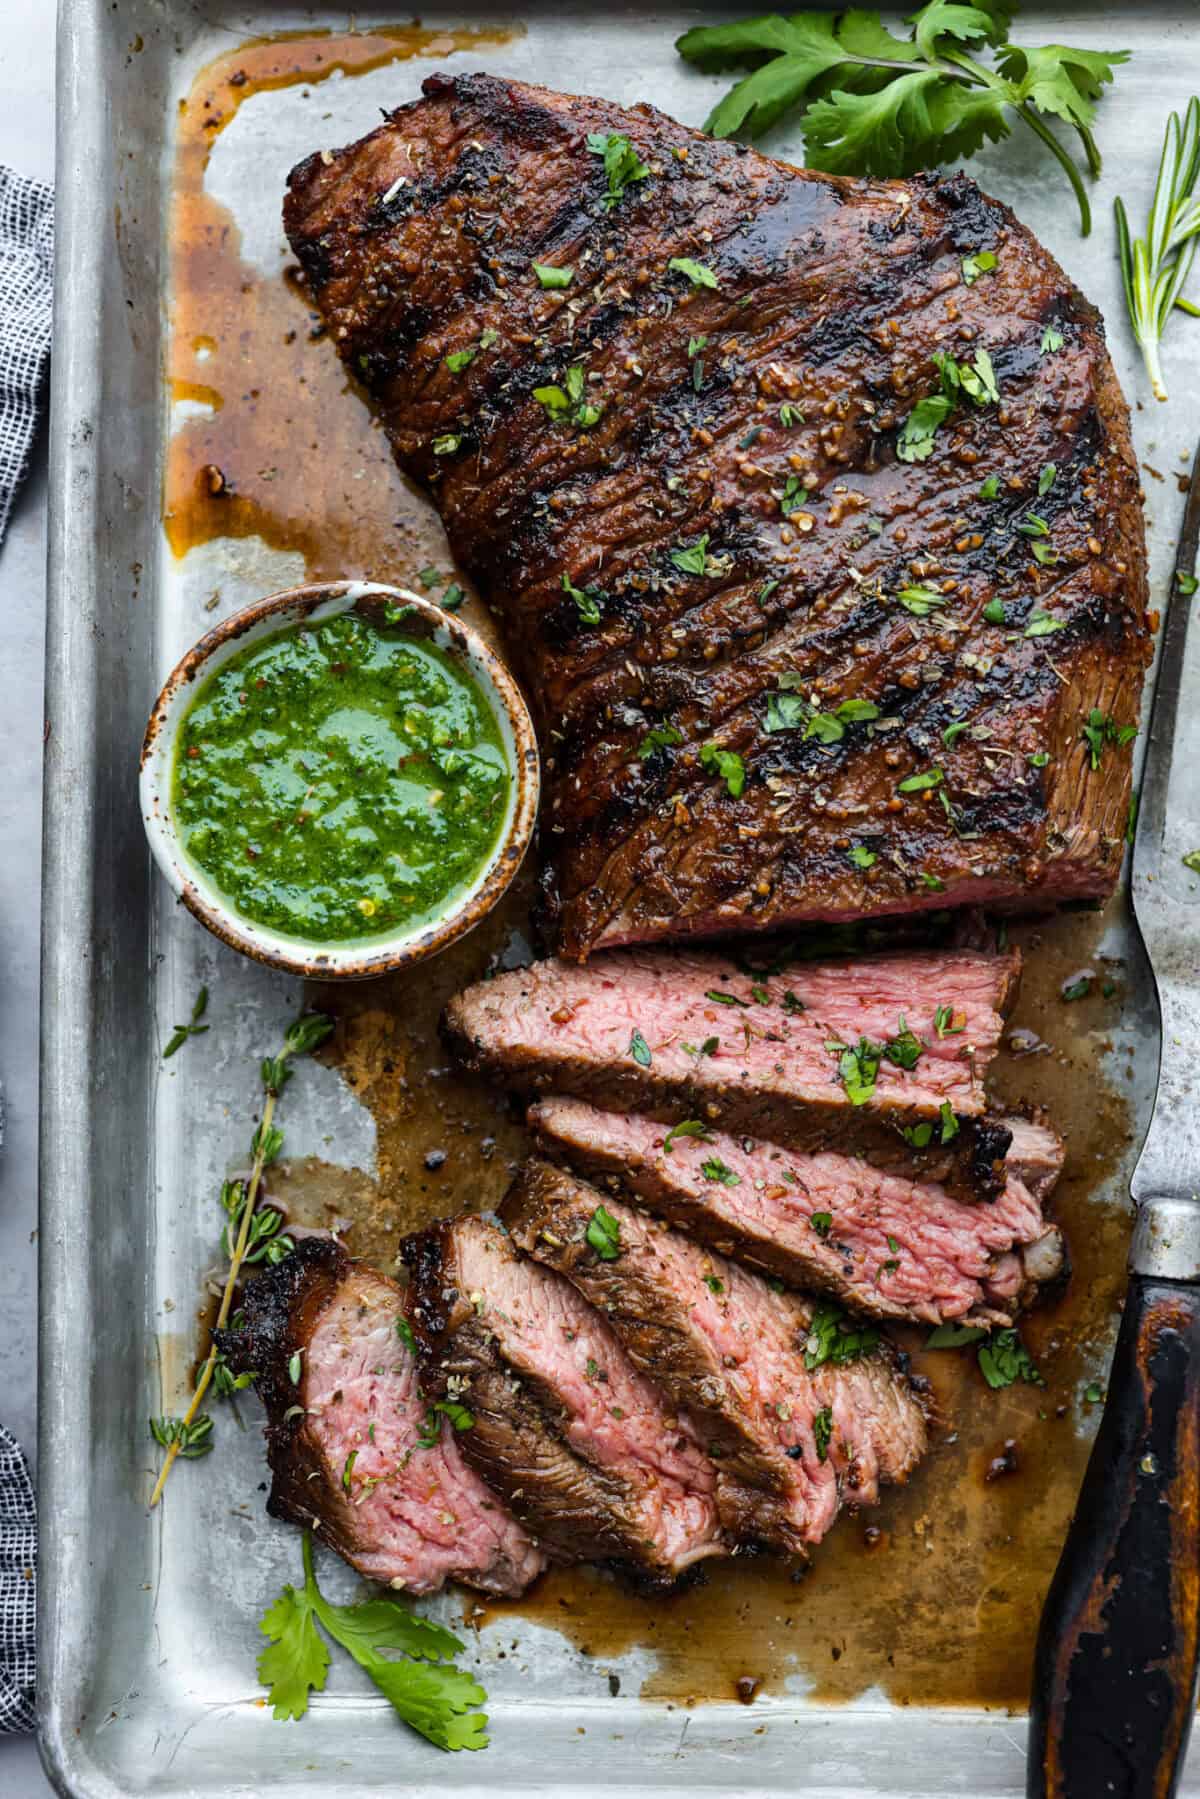
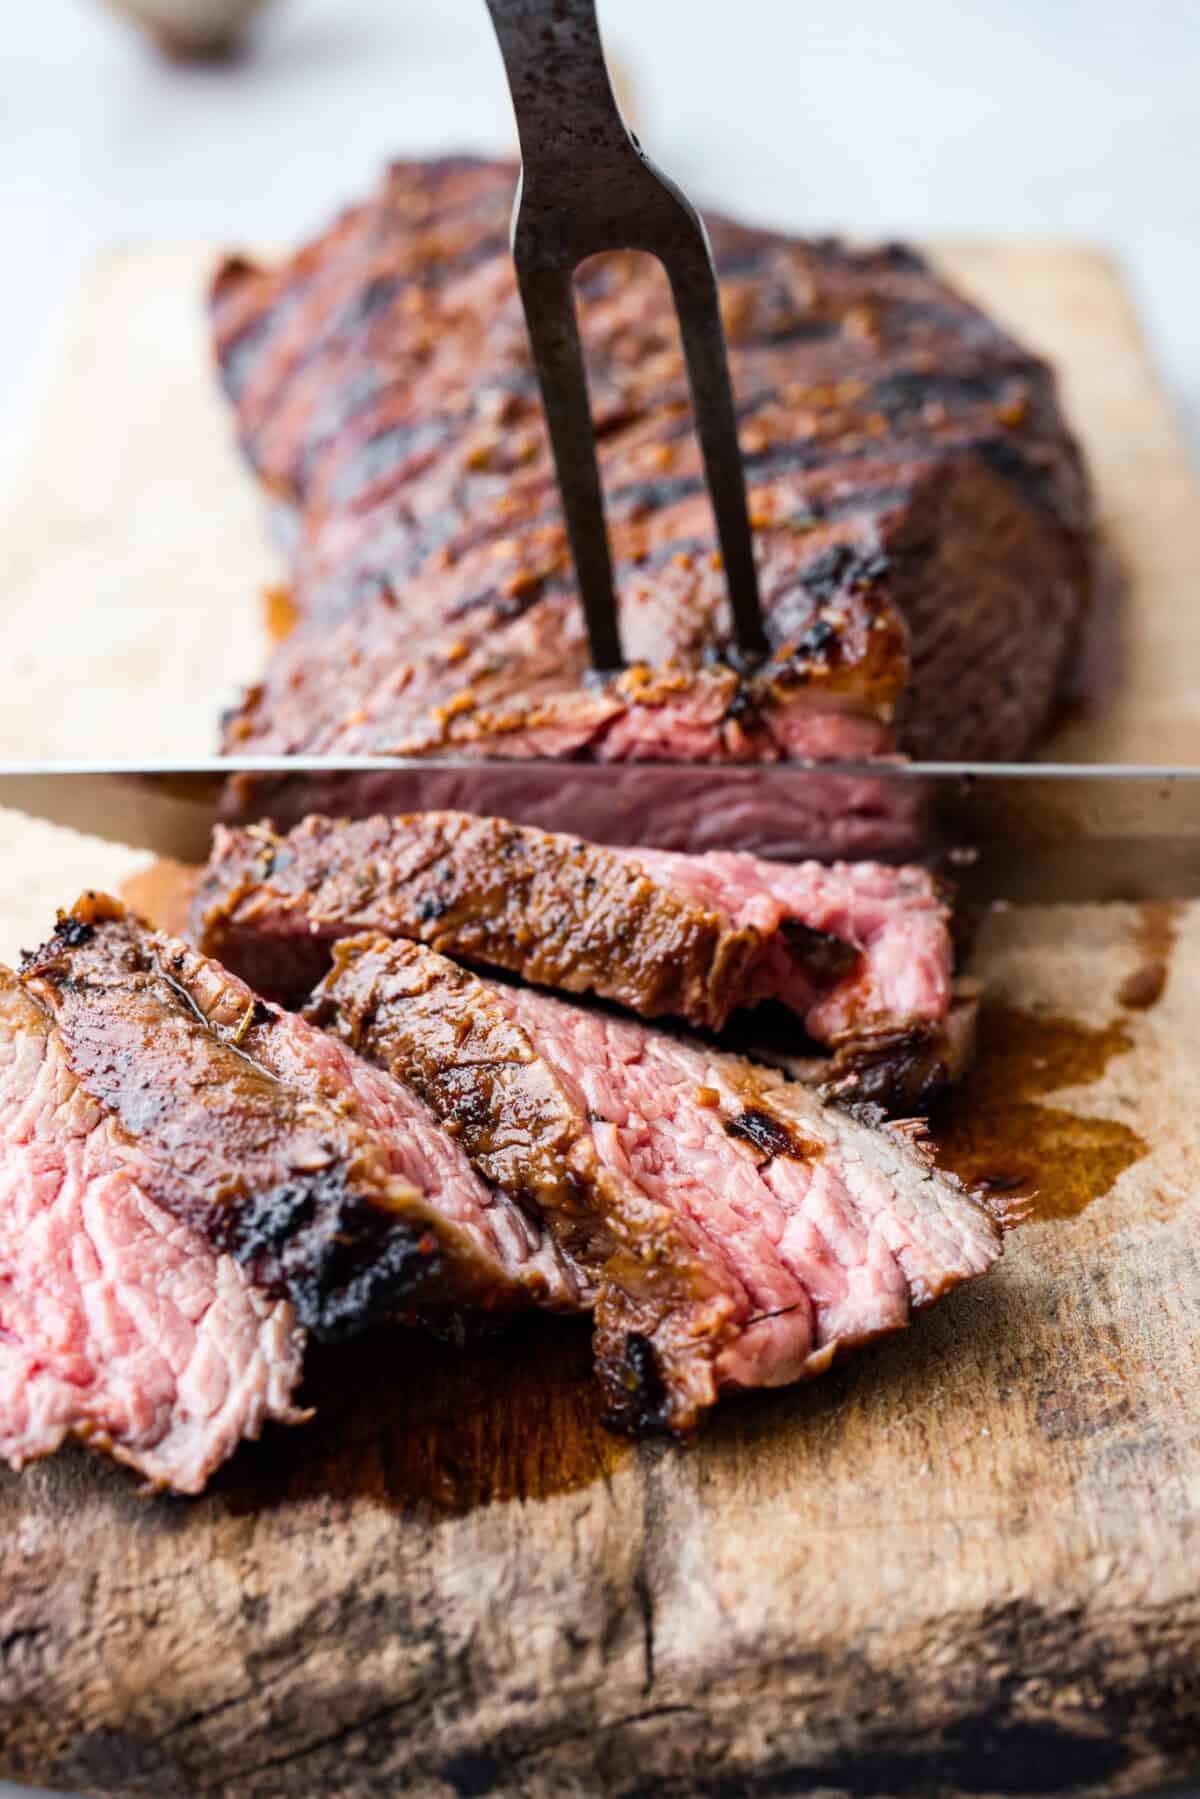
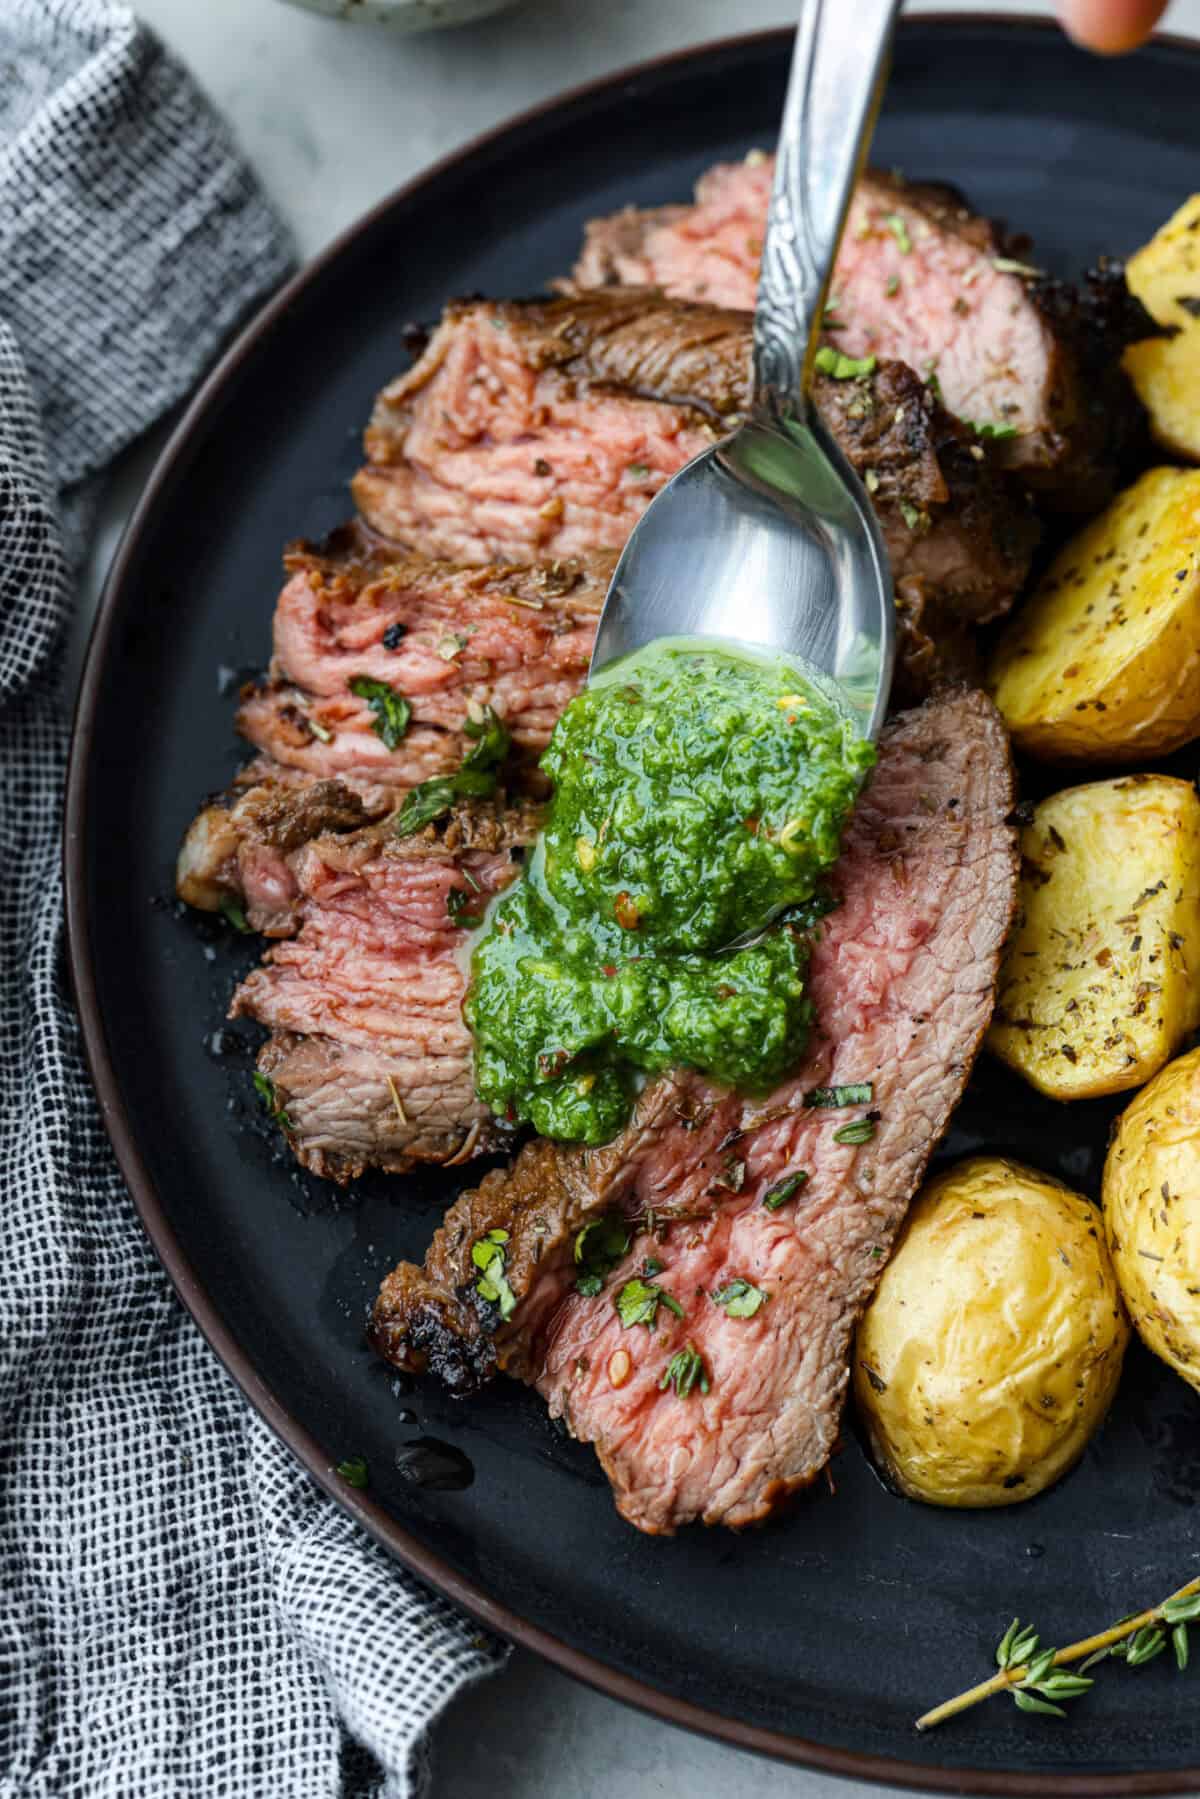
Grilled Tri-Tip is a flavorful, juicy steak that will be the star of your barbecue! It’s marinated in a simple, yet tasty marinade, then grilled to perfection. Serve with my sweet and savory chimichurri sauce and your favorite sides for an impressive meal that everyone will love!
If you’re looking for what sides to serve alongside this tri-tip, we’ve got you covered! Try our cool and creamy classic potato salad, chilled cucumber tomato salad and the best baked beans. As the temperatures warm up, you’ll want these delicious side dishes at every cookout!
Reasons You Will Love This Recipe
Wonderfully Tender and Tasty: This grilled tri-tip is rich with flavor, and will satisfy all of your steak cravings!
Easy Recipe: Grilling a well-seasoned steak is soeasy and doesn’t take too much time either! Once this has time to marinate, it can be on the table in less than 15 minutes.
Perfect for Backyard BBQs: Pair this with a fresh, crisp broccoli salad, a vibrant fruit salad and grilled corn. Don’t forget dessert!
Grilled Tri-Tip
Tri-tip is a delicious cut of beef! It’s less expensive than other steaks such as the rib-eye, but it’s just as flavorful. It has plenty of great marbling (fat running through the meat), which makes it really juicy and tender as long as you don’t overcook it.
Ingredients Needed
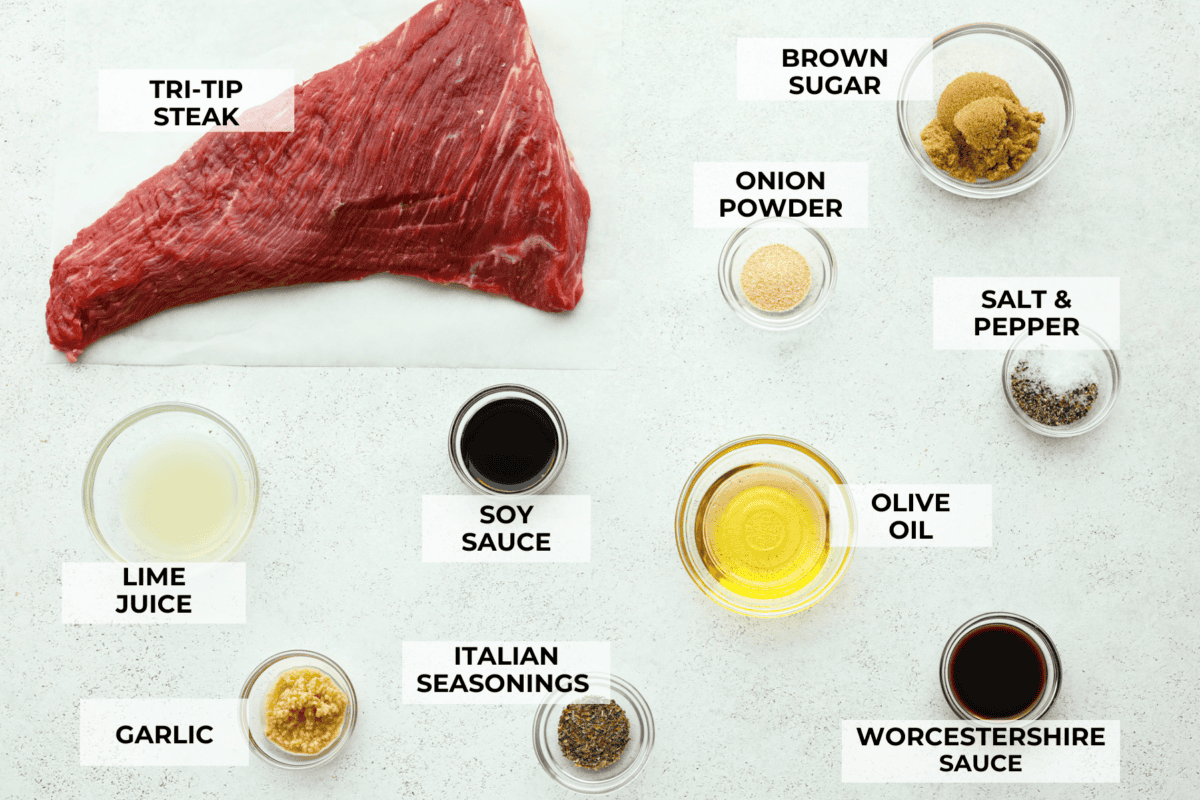
This grilled tri-tip is marinated in a mix of simple yet really flavorful ingredients. In fact, you may already have everything you need in your kitchen right now! To get started, check out the recipe card at the bottom of the post for exact measurements.
Tri-Tip Steak: Because a tri-tip steak has more fat, it will be much more flavorful than top sirloin. Two to three pounds of tri-tip will feed approximately 4 people.
Marinade
Olive Oil: Adds moisture for maximum juiciness.
Fresh Lime Juice: The acidity that will help to tenderize the meat.
Soy Sauce: Adds a salty, umami flavor.
Brown Sugar: Gives the marinade a hint of sweetness that then balances the more savory ingredients.
Worcestershire Sauce: Has a sweet, tangy, and spiced flavor that really adds something special to the marinade.
Fresh Garlic: A must in any good marinade!
Onion Powder: For savory onion flavor.
Italian Seasoning: I love to make my own Italian seasoning, but you can certainly use store-bought.
Cracked Black Pepper &Kosher Salt: To bring out and enhance all of the flavors.
How to Make Grilled Tri-Tip Steak
After trying this incredible tri-tip steak, the whole family will be requesting it on repeat. Lucky for you, it takes very little effort to prep! In addition, it only needs 10 minutes on the grill!
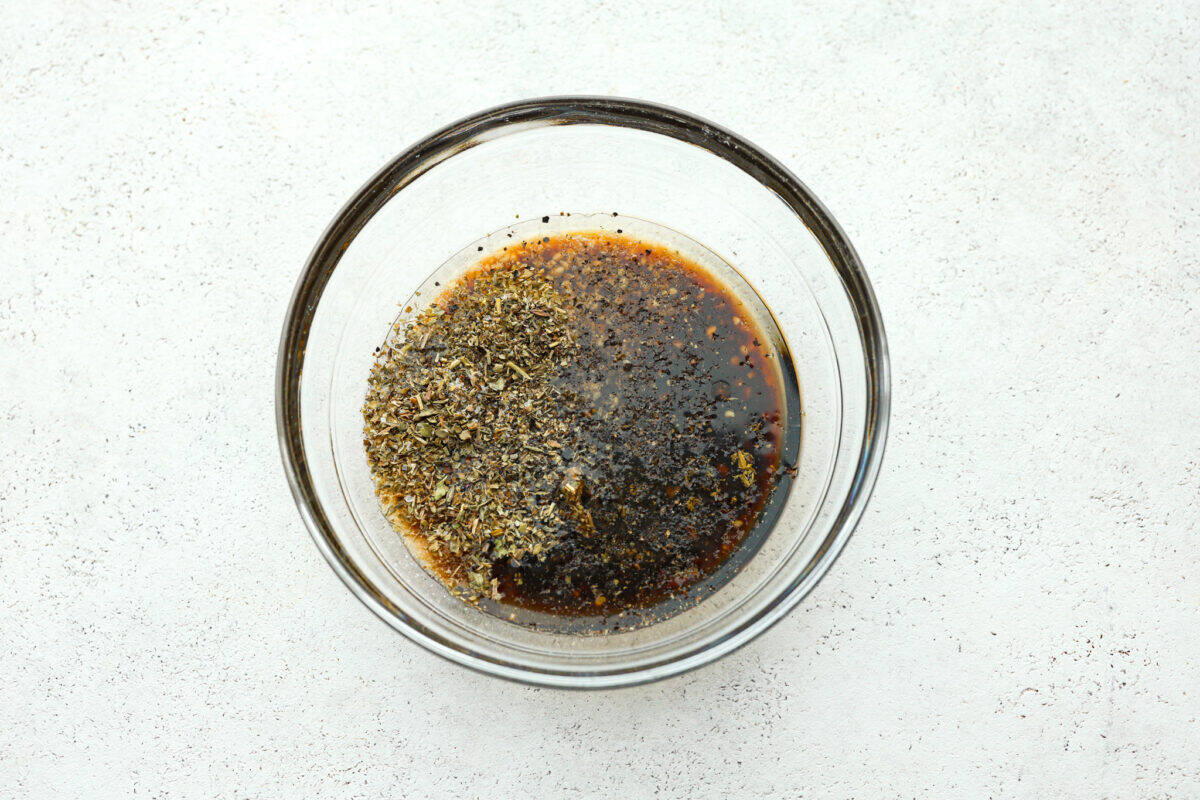
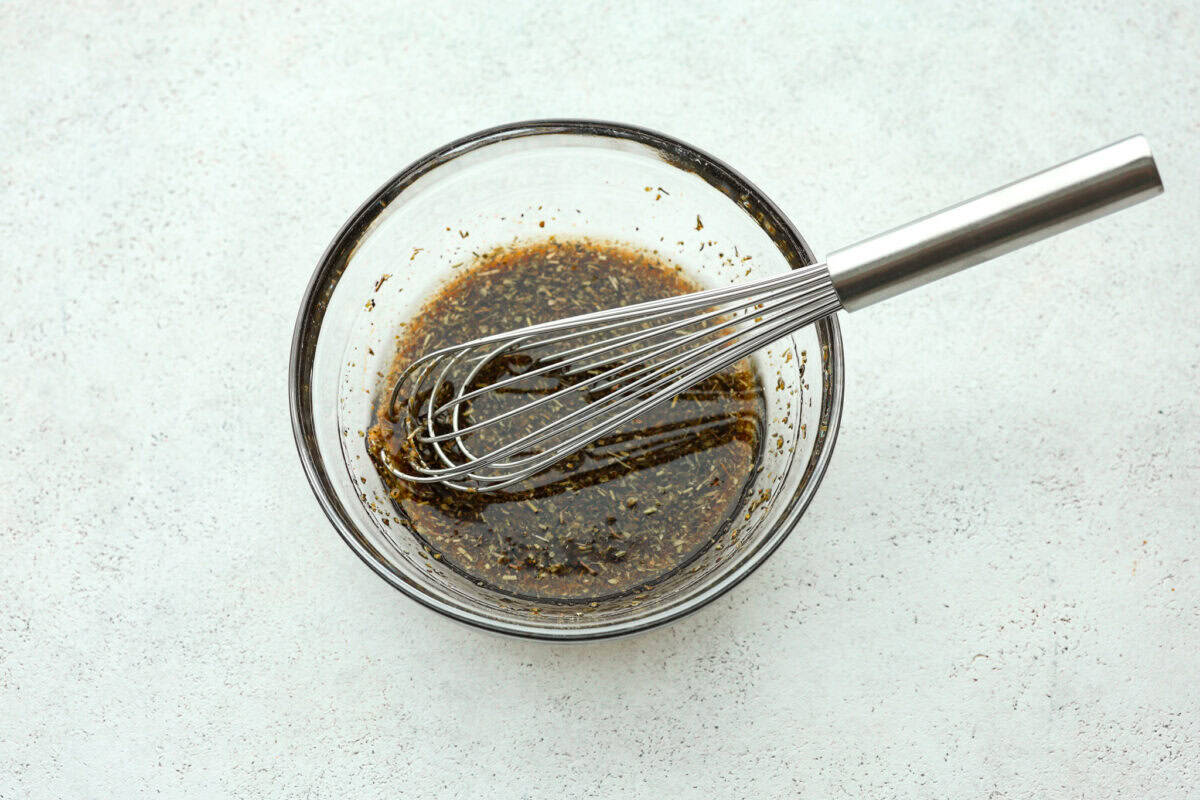
Make the Marinade: In a medium bowl, whisk together the marinade ingredients.
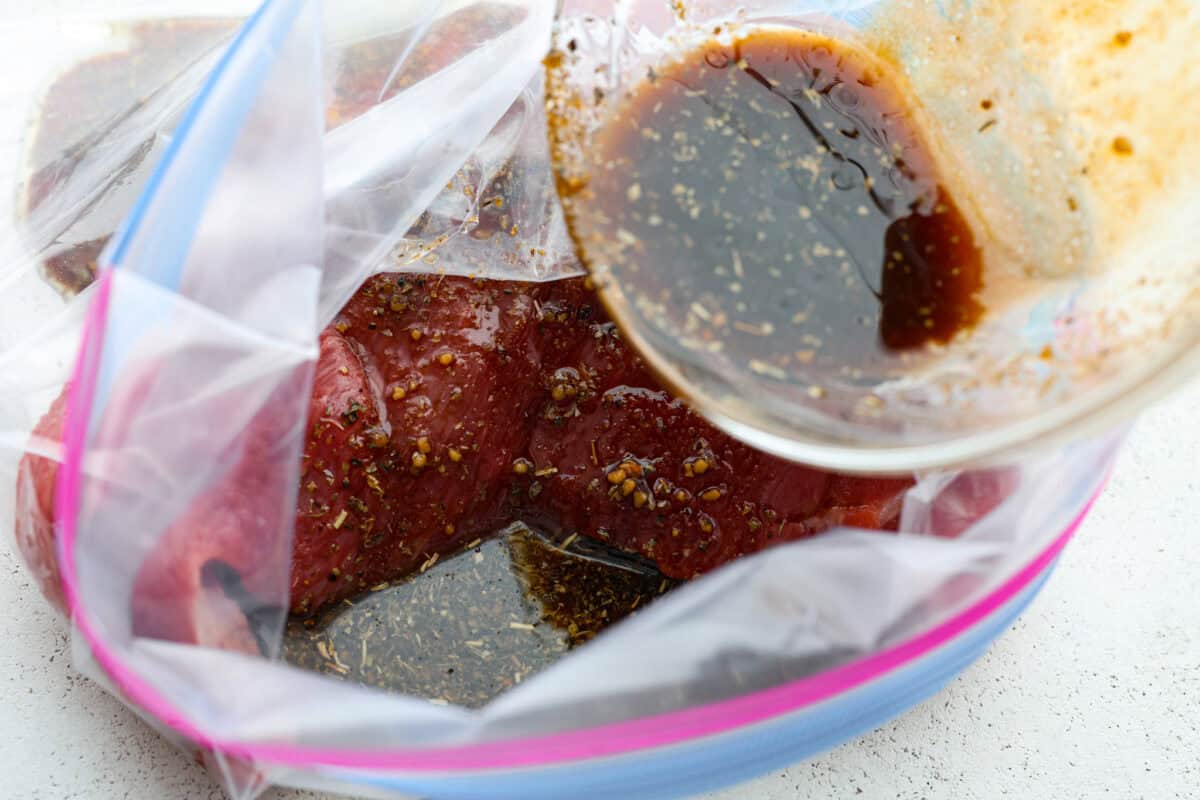
Marinate the Steak: First, place 2-3 pounds of tri-tip steak in a gallon-sized sealable plastic bag. Next, pour your marinade into the bag. Then, marinate for one hour or up to 24 hours.
Prep: Preheat the grill to 350 degrees Fahrenheit. Remove the meat from the bag, place it on the hot grill, then discard the bag and any leftover marinade.
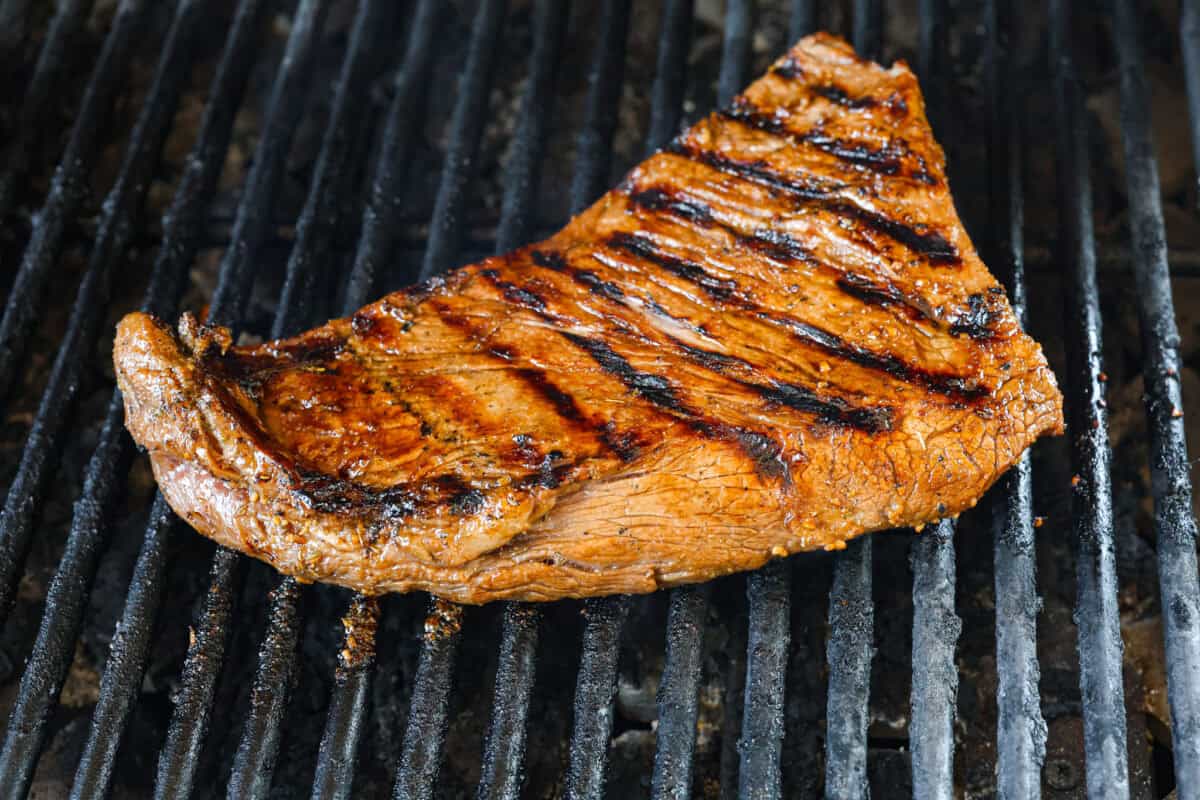
Grill the Steak: Sear the meat on both sides over direct heat, about 5 minutes per side. Next, move the meat to the section of your grill with indirect heat. Cover the grill lid and turn the meat as needed to cook through. Cook until the instant-read meat thermometer reads 130 degrees Fahrenheit when inserted in the thickest part for medium rare. Feel free to cook the tri-tip to reach your preferred doneness.
Rest the Meat: Remove the tri-tip from the grill and allow the meat to rest for at least 5-10 minutes before slicing. Slice the meat against the grain and enjoy!
Add the marinade ingredients to a bowl.Whisk the marinade to combine.Pour the marinade into the bag and marinate before grilling.Grill the tri-tip.
Tips and Variations
Follow these tips and variation ideas, so that your steak turns out absolutely perfect!
Change theJuice: Try using lemon juice or orange juice in place of the lime juice!
Soy Sauce Substitutions: Low-sodium soy sauce can also be used in place of soy sauce. For a gluten-free option, use tamari!
Internal Temperature: Use an instant-read thermometer to know precisely when the steak has reached your desired temperature. When inserted in the thickest part of the meat, the instant-read thermometer should read 130 degrees Fahrenheit for a medium-rare steak. For medium doneness, you’ll want it to be between 140 and 150 degrees Fahrenheit, and for medium well, you want your steak to be 150 to 155 degrees Fahrenheit.
Let it Rest: It’s important to let your steak rest for at least 5-10 minutes before slicing into it. This allows time for the juices to redistribute throughout the meat. If you cut into it as soon as it comes off the grill, all of the wonderful flavor will end up on your plate instead of inside the meat.
Sauces to Serve With Tri-Tip: Serve with my tasty chimichurri sauce! For a creamy sauce, try my homemade horseradish sauce.
Storing Leftover Tri-Tip
This grilled tri-tip makes fantastic leftovers. You can easily reheat slices for a sandwich or salad the next day.
Refrigerate: Once the steak is completely cool, transfer it to an airtight container and store it in the fridge for 3-4 days.
Reheat: To warm the leftover steak and keep it from becoming dry, heat it low and slow. Use the oven and warm it up at 200 to 250 degrees F, until heated through.
More Grilled Steak Recipes
Grilled steak is on repeat at our house this time of year! We simply cannot get enough! Here are a few more of my favorite tried and true steak recipes that we love.
This website may contain affiliate links and advertising so that we can provide recipes to you. Read my disclosure policy.
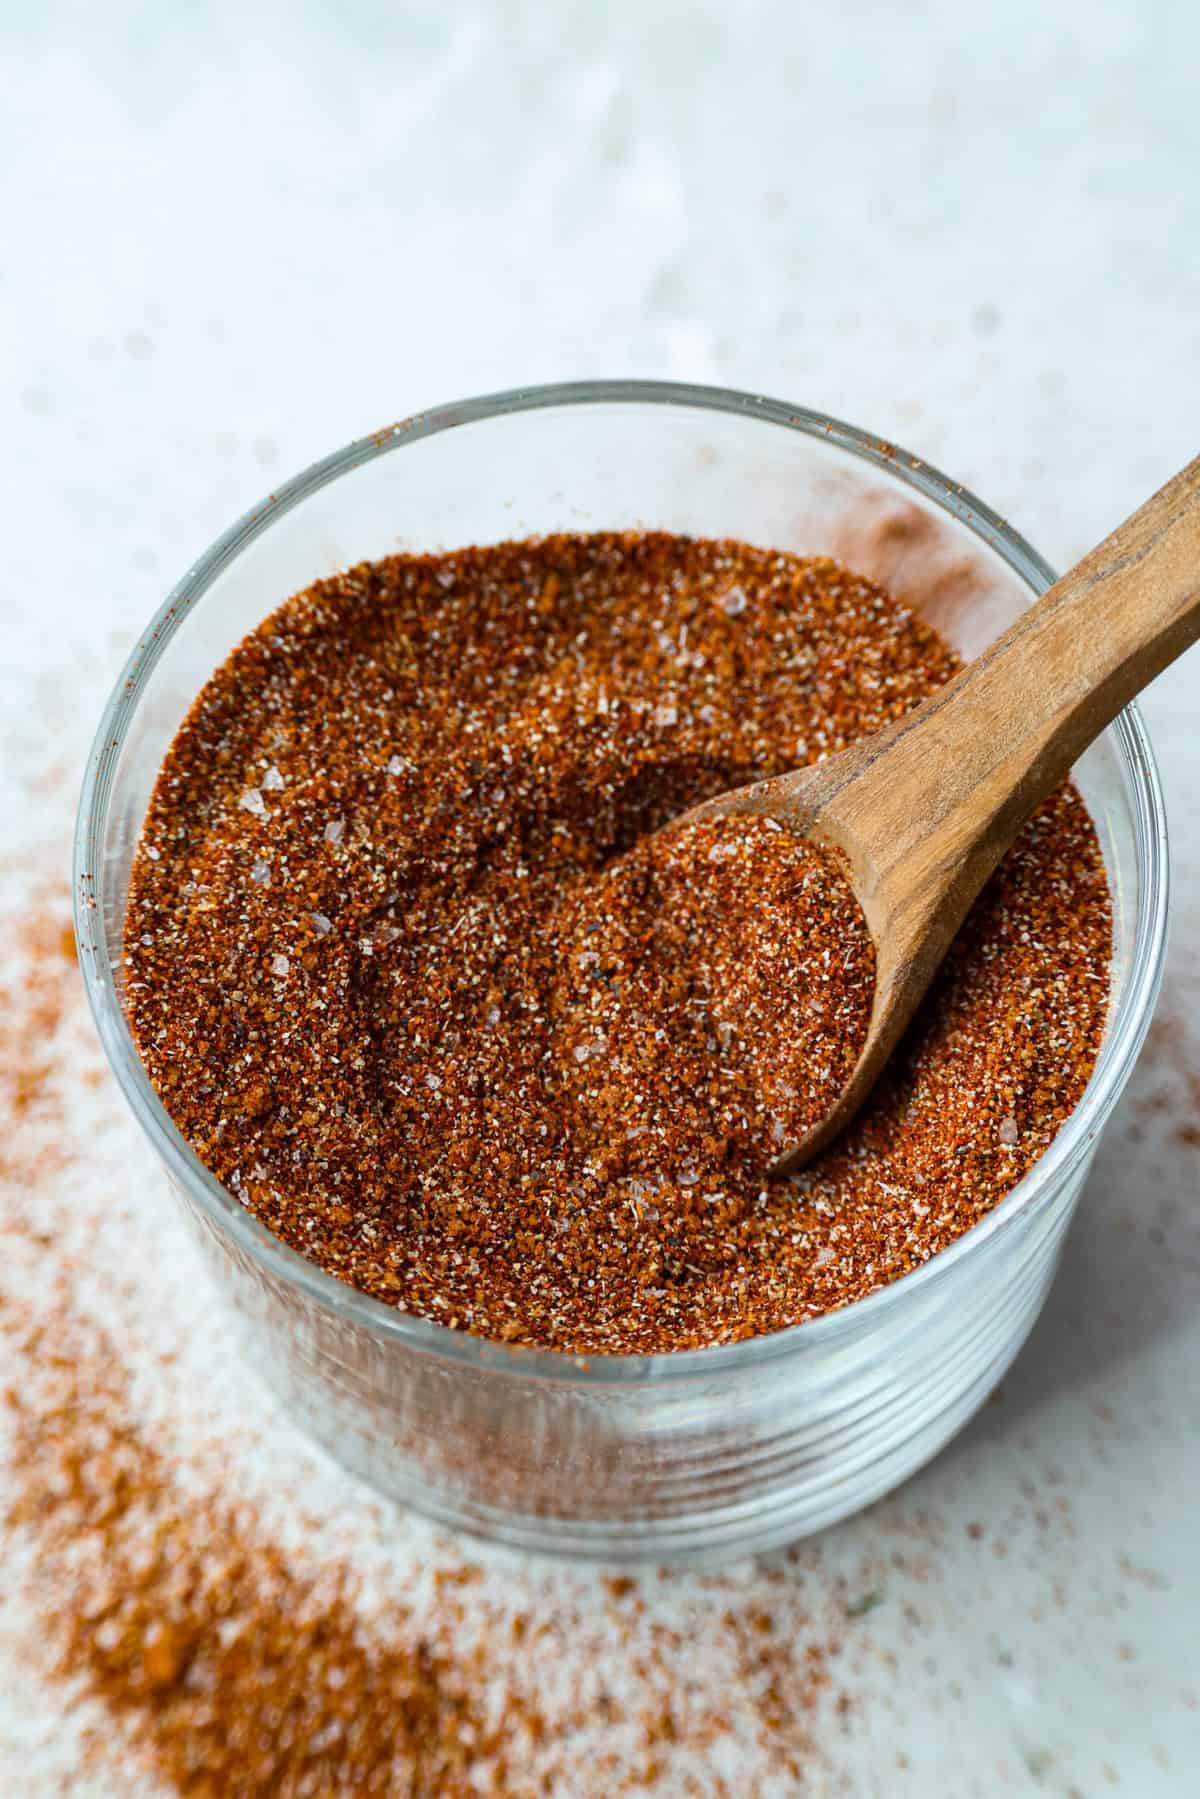
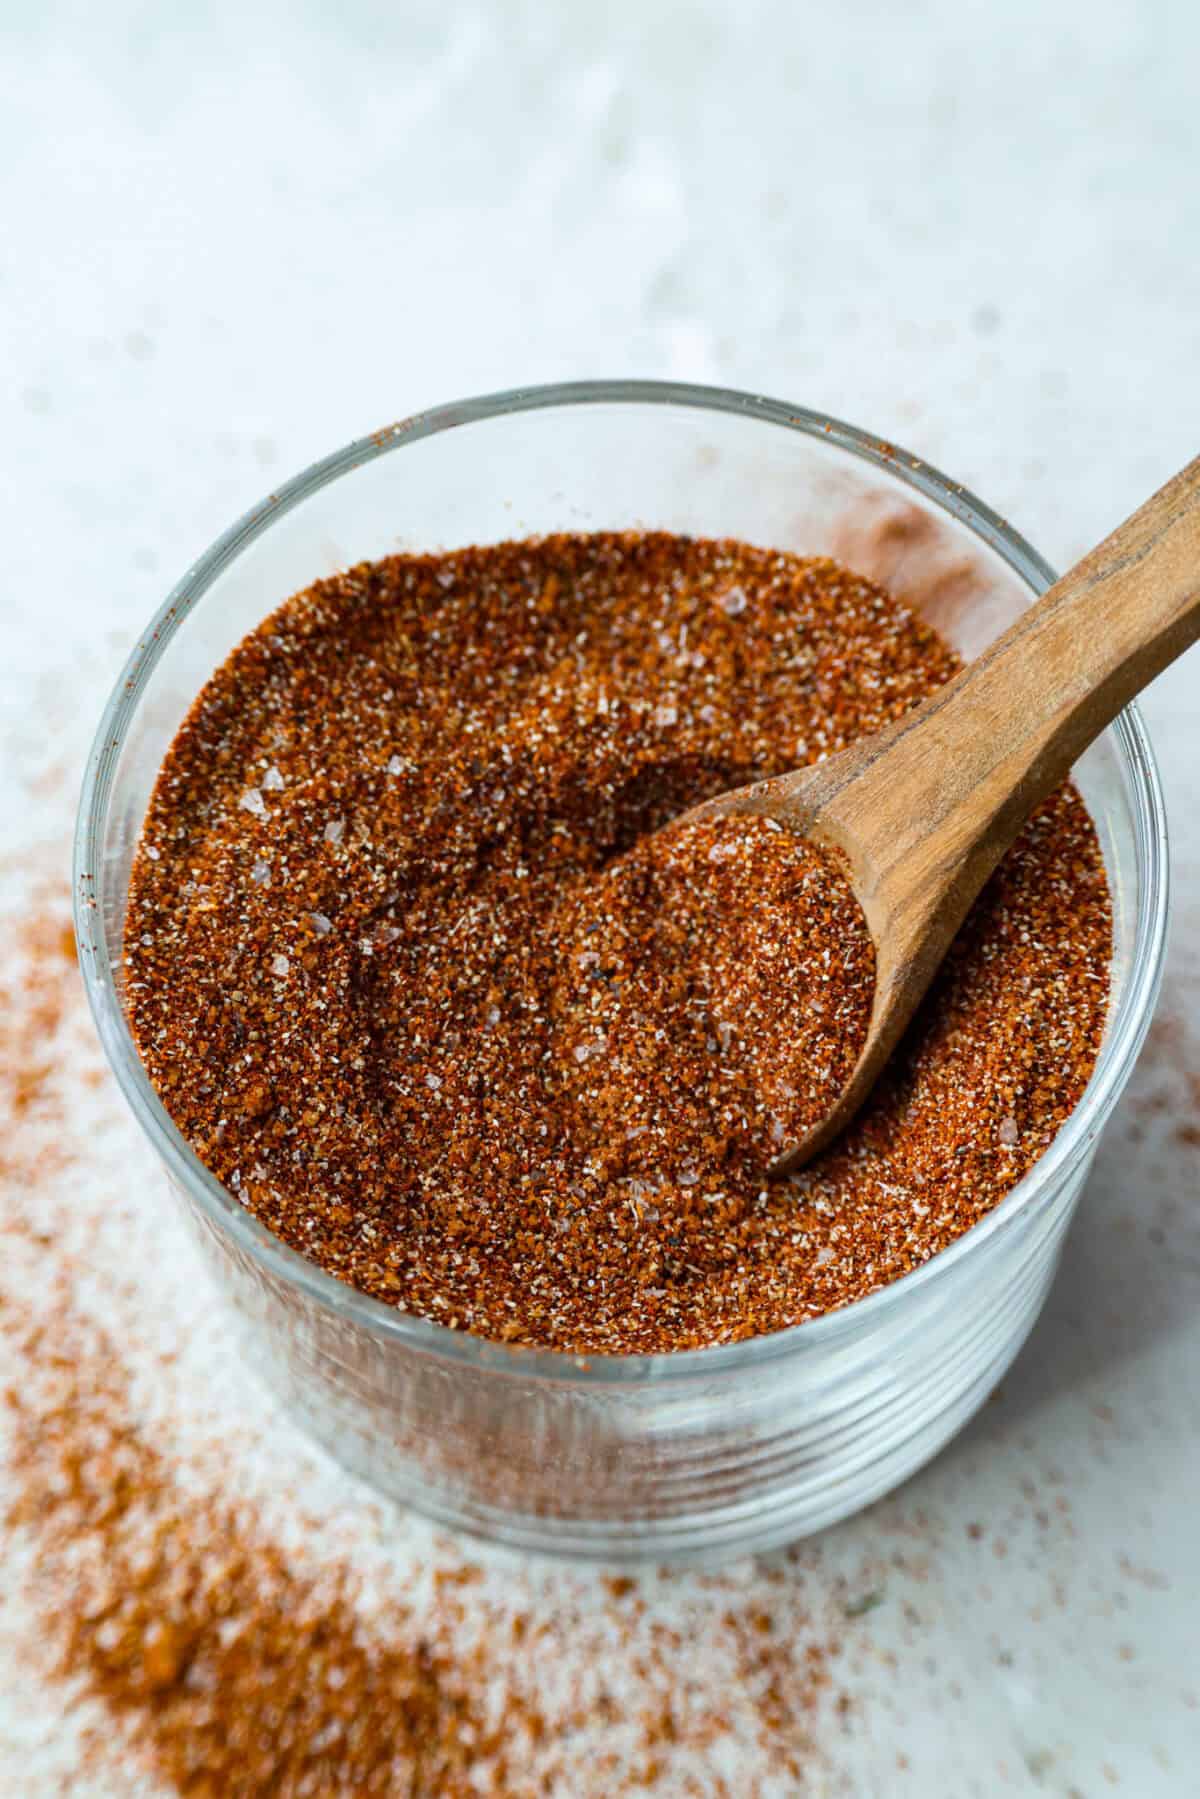
My homemade BBQ seasoning brings bold, smoky flavor to just about anything! It’s the perfect blend of sweet, savory, and just a little kick, ready to shake onto chicken, veggies, ribs, and more.
Why You’ll Want to Keep This on Hand
Big flavor, few ingredients: Just a few pantry spices turn into a tasty blend that you can use all BBQ season long!
Totally customizable: Dial up the heat or sweetness to make it your own.
Use it on EVERYTHING: Perfect for grilling, roasting, or seasoning snacks like popcorn and roasted nuts!
BBQ Seasoning Ingredients
Paprika: Use smoked paprika for a more smoky flavor.
Sugar: Brown sugar adds a sweet balance, but feel free to cut it back if you want more spice than sweet in your bbq rub.
Spice level: This blend’s got a little kick—skip or reduce the cayenne pepper if you’re not into the heat.
How to Make BBQ Seasoning
Get ready to level up your grilling game! This easy BBQ seasoning mix comes together in minutes and brings rich, smoky depth with a touch of sweetness to everything you add it to!
Add Spices: In a small bowl, add paprika, brown sugar, kosher salt, chili powder, garlic powder, onion powder, black pepper, and cayenne pepper.
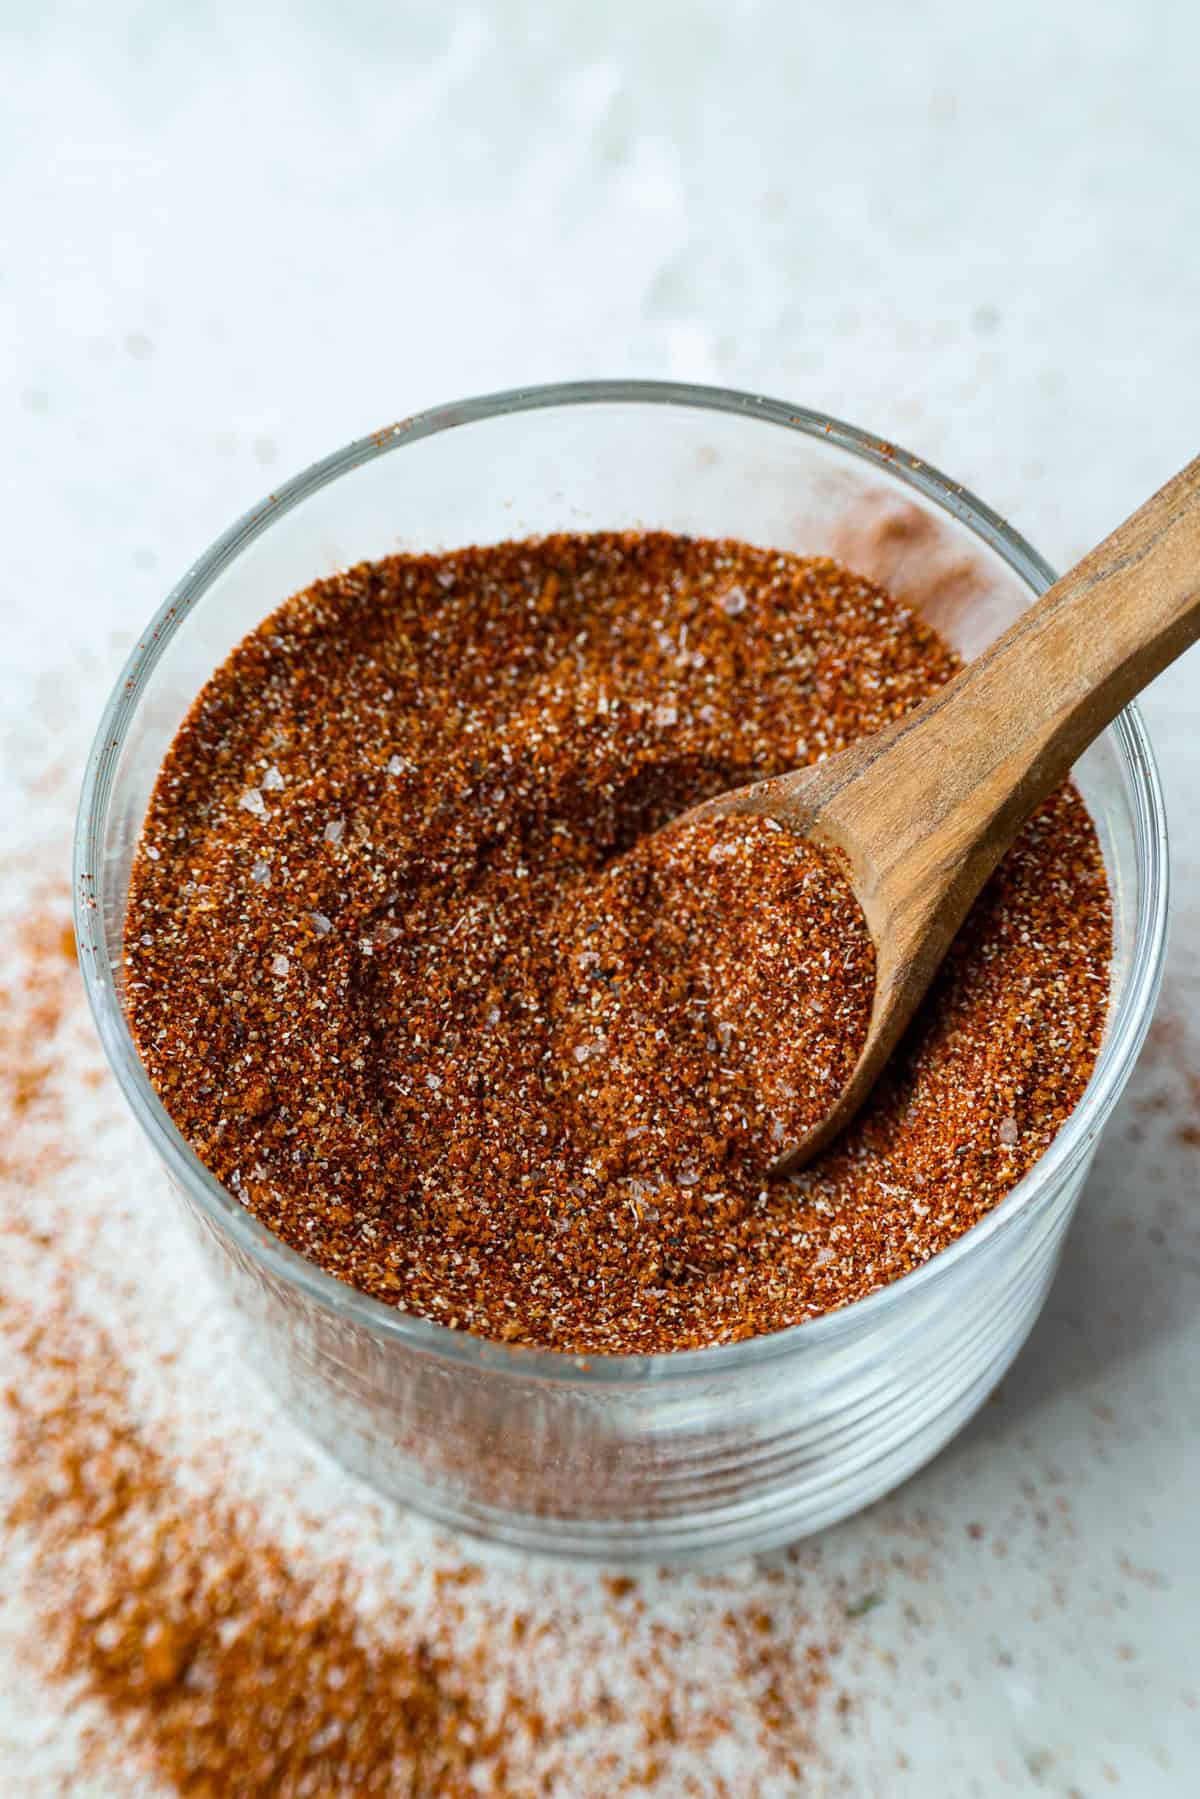
Mix: Whisk all of the ingredients together until evenly mixed, then store in an airtight container.
How to Store Homemade Seasoning
This is great to have in the spice cabinet to add great flavor to so many different recipes.
Storing: Store your homemade seasoning in a spice jar or an airtight container in a cool, dark place.
How long does BBQ Seasoning Last? If you make sure it is in an airtight container, it will keep at room temperature for 1 year.
How Do I Use BBQ Seasoning?
This spice blend is great for meat rubs, seasoning vegetables, steak, pork, shrimp, and more. Here are a few more options for you to try!