Tag: Bone

  • Homemade Bone Broth Recipe

    Homemade Bone Broth Recipe

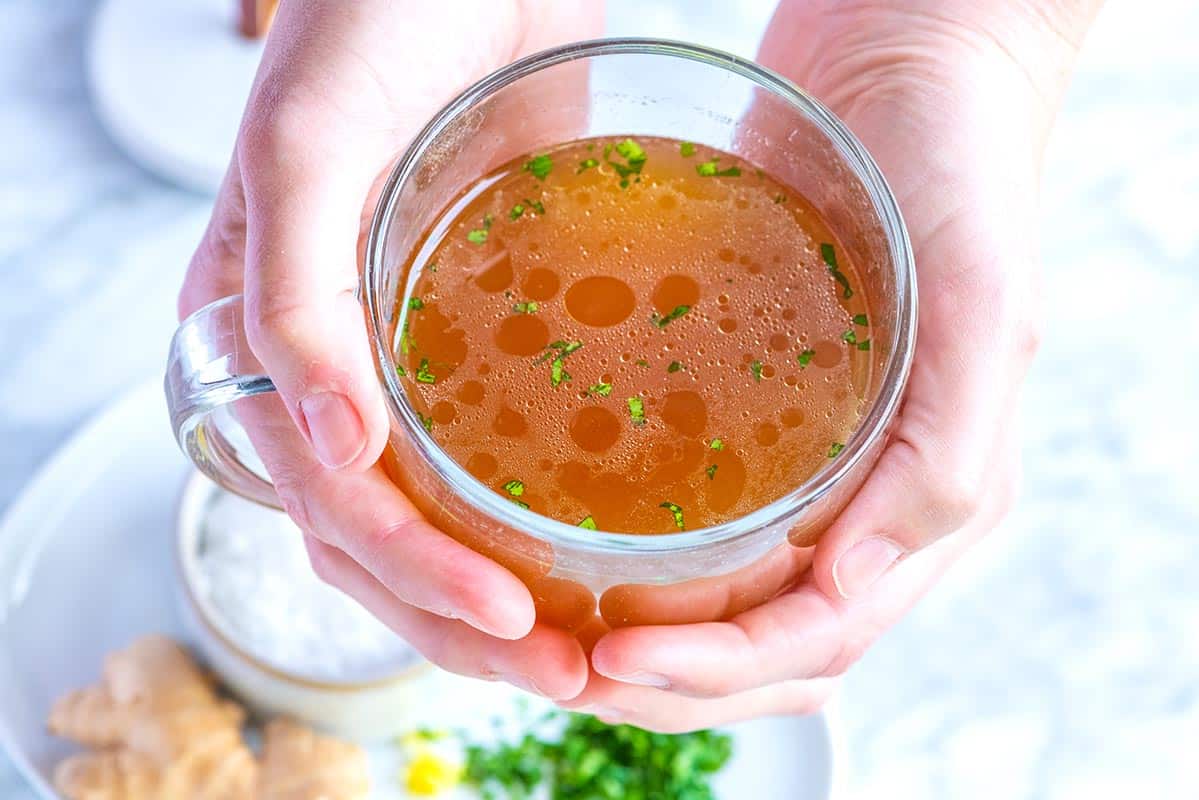
    My favorite bone broth recipe is easy to make and guarantees an intensely flavorful, velvety broth perfect for using in recipes or sipping by itself.
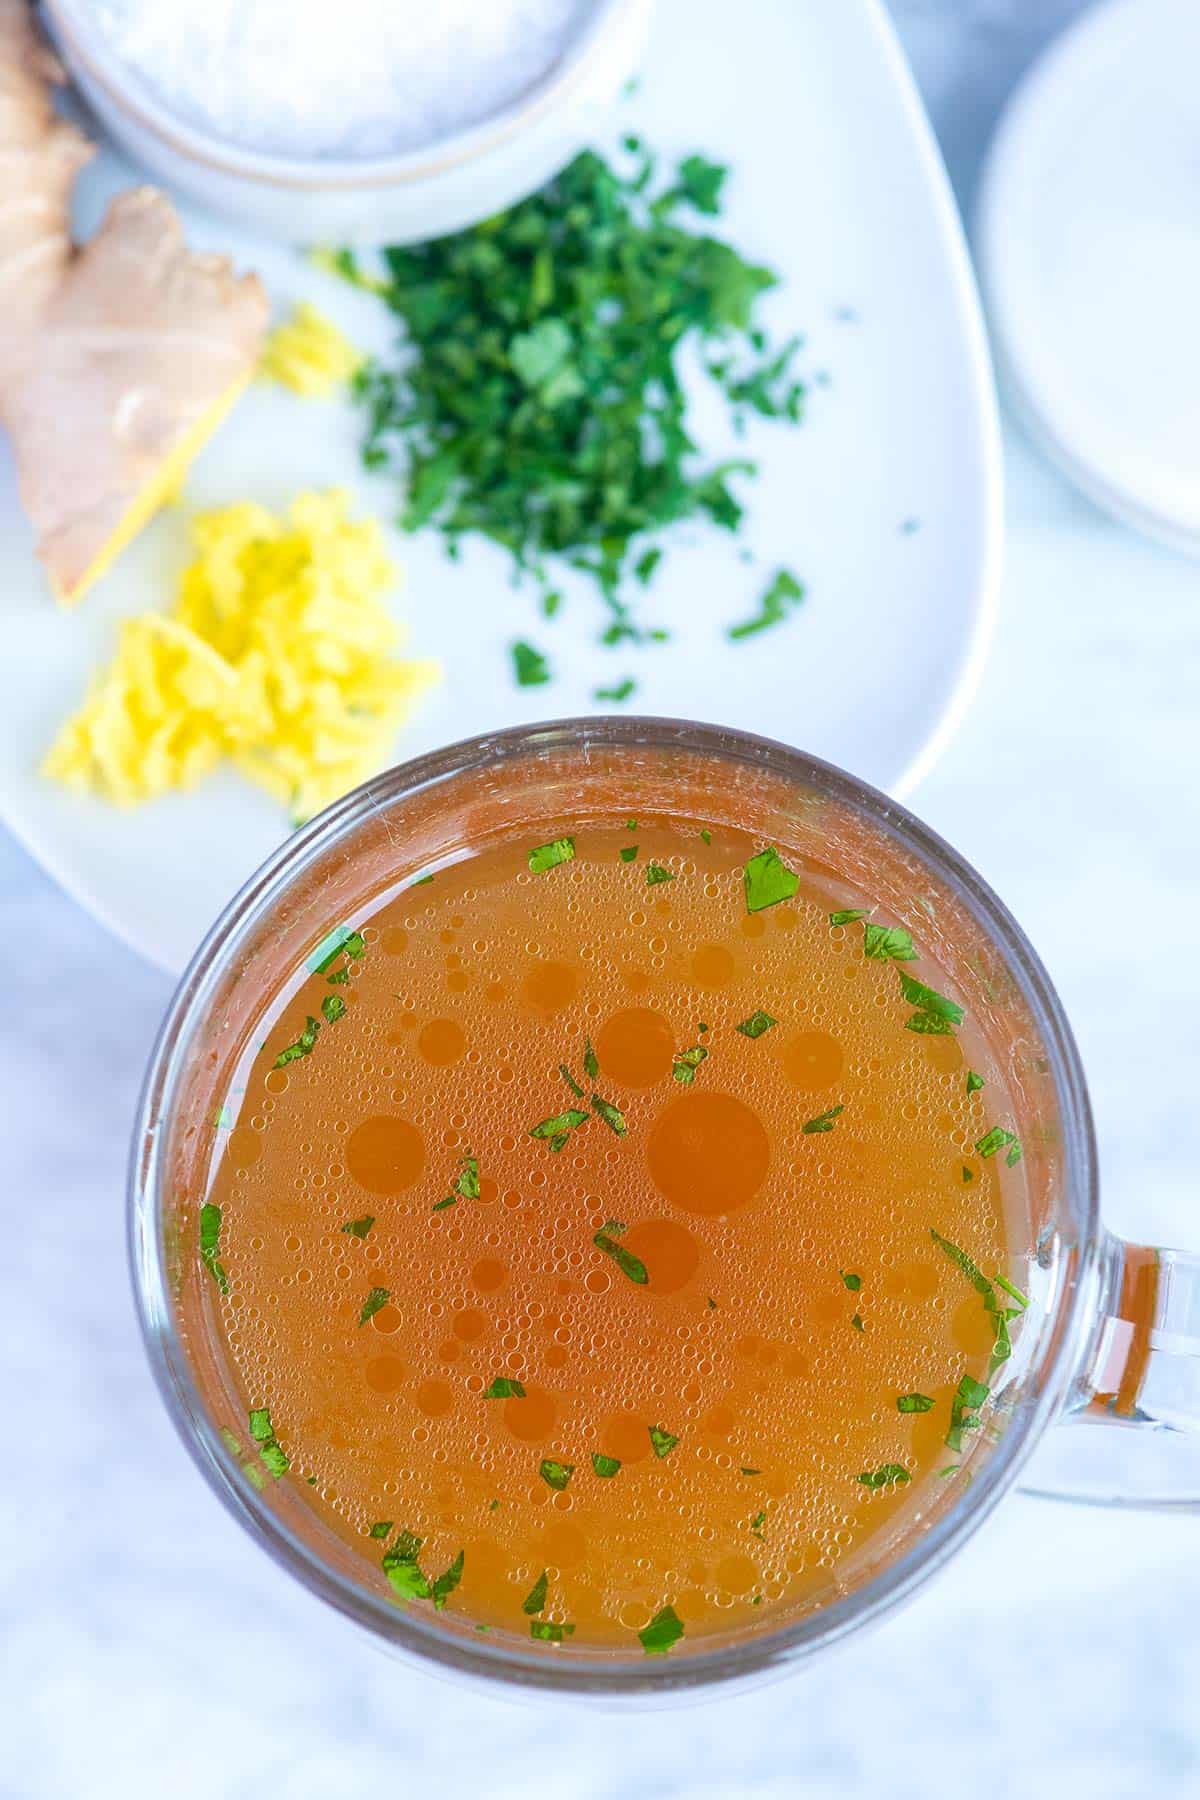
    Homemade Bone Broth

    This bone broth tastes just way better than store-bought, and it is much less expensive!

    You can use a pressure cooker (Instant Pot) or a slow cooker, so I’ve shared both methods below. The one you choose depends on what works best for your schedule. For more broth recipes you’ll love, see our easy chicken broth, vegetable broth, classic chicken stock, or beef stock.

    Key Ingredients

    • Bones: I usually use chicken bones and make chicken bone broth, but you can use our recipe below for beef, pork, or a mix of bones. I often use leftover bones from roasting a chicken. Still, the best bones for this recipe have a high collagen and marrow content, providing rich flavor, gelatinous texture, and more nutritional benefits. For poultry, I like chicken wings, backs and necks, and chicken feet (don’t be put off, they have lots of collagen). For beef, use knuckles, marrow bones, and neck bones. And for pork, use neck bones and feet.
    • Apple Cider Vinegar: I always add a bit of vinegar to my broth, but it is optional. Some say it helps to break down the bones and connective tissue, which sounds great, but honestly, I cannot confirm. What I do know is that acid almost always makes dishes taste better, and I always have a bottle of ACV in the pantry, so I use it for my bone broth. Other vinegars, like white or red wine vinegar, work well, too.
    • Aromatics: Onion, carrots, celery, garlic, bay leaves, peppercorns, and salt help to make this really tasty. For a cleaner, more chicken-forward broth, remove the carrot. For a gingery broth, add a few coins of fresh ginger. For a herby broth, add parsley, dill, or thyme.

    Find the full recipe with measurements below.

    Tips for How to Make the Best Bone Broth

    Tip 1: Use a pressure cooker. I prefer using a pressure cooker (like an Instant Pot) or a slow cooker when making bone broth. While you can make it on the stove, the extended cooking time (24+ hours) makes me uneasy about leaving a pot on an open flame for that long.

    Tip 2: Roast your bones. Roasting your bones intensifies the flavor of the broth. I spread them in a single layer on a baking sheet and roast them in a hot oven until they turn brown, usually about 30 minutes.

    Tip 3: Building your flavors. Once roasted, transfer the bones to your pressure cooker or slow cooker. Add your desired vinegar and aromatics, then cover everything with cold water. Ensure the water level covers all the ingredients but doesn’t exceed the maximum fill line of your cooker.
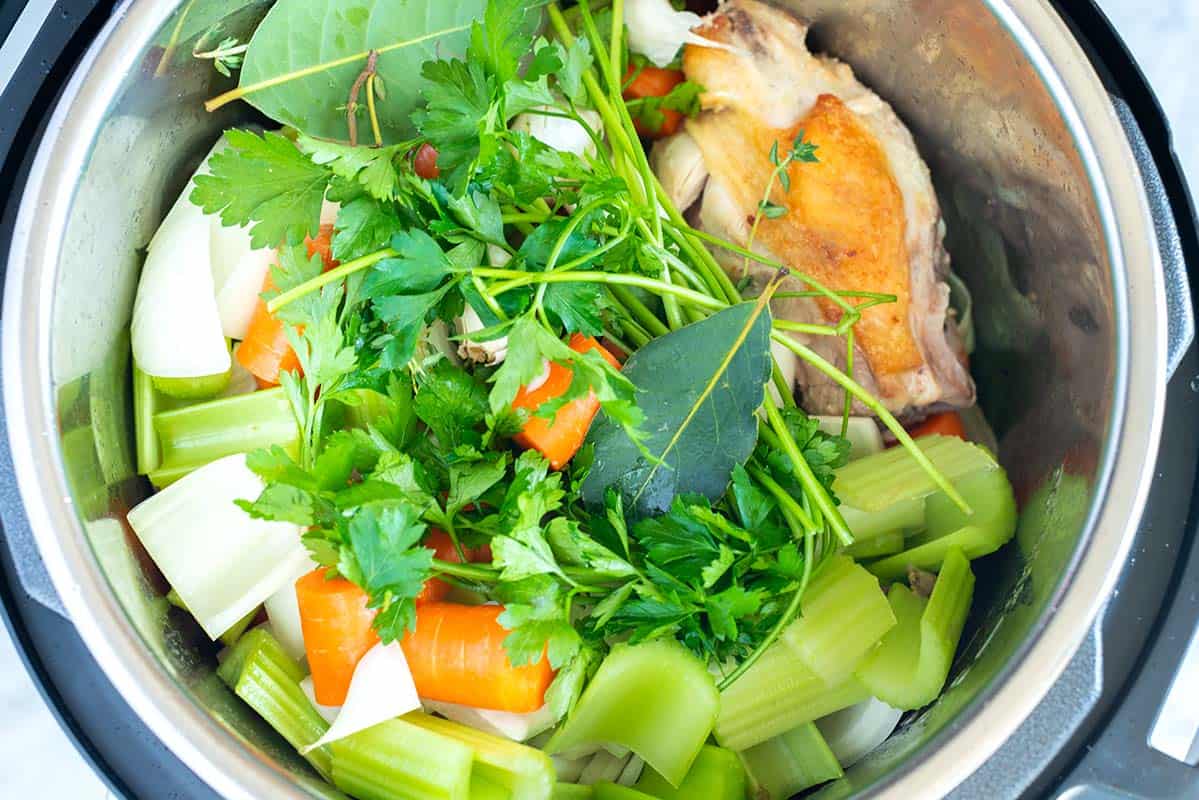
    An Instant Pot with chicken and veggies

    Tip 4: Cooking times. Once you have everything in your cooker secure the lid and cook according to your appliance:

    • Pressure cooker (Instant Pot): Cook on high pressure for 3 to 4 hours.
    • Slow cooker: Cook on LOW for 24 to 48 hours.

    Ways to Enjoy Bone Broth

    Serve on its own. My favorite way to serve this is to sip it like tea. Heat a cup of broth and season with salt, pepper, or other spices you love. I love grating fresh ginger into my cup for a gingery kick. Then, I sip it as a comforting drink.

    Add to recipes. You can also use this broth as your base for soups, stews, gravies, risotto, and rice. Some of my favorite recipes that make the rich, satisfying flavor of bone broth sing are:
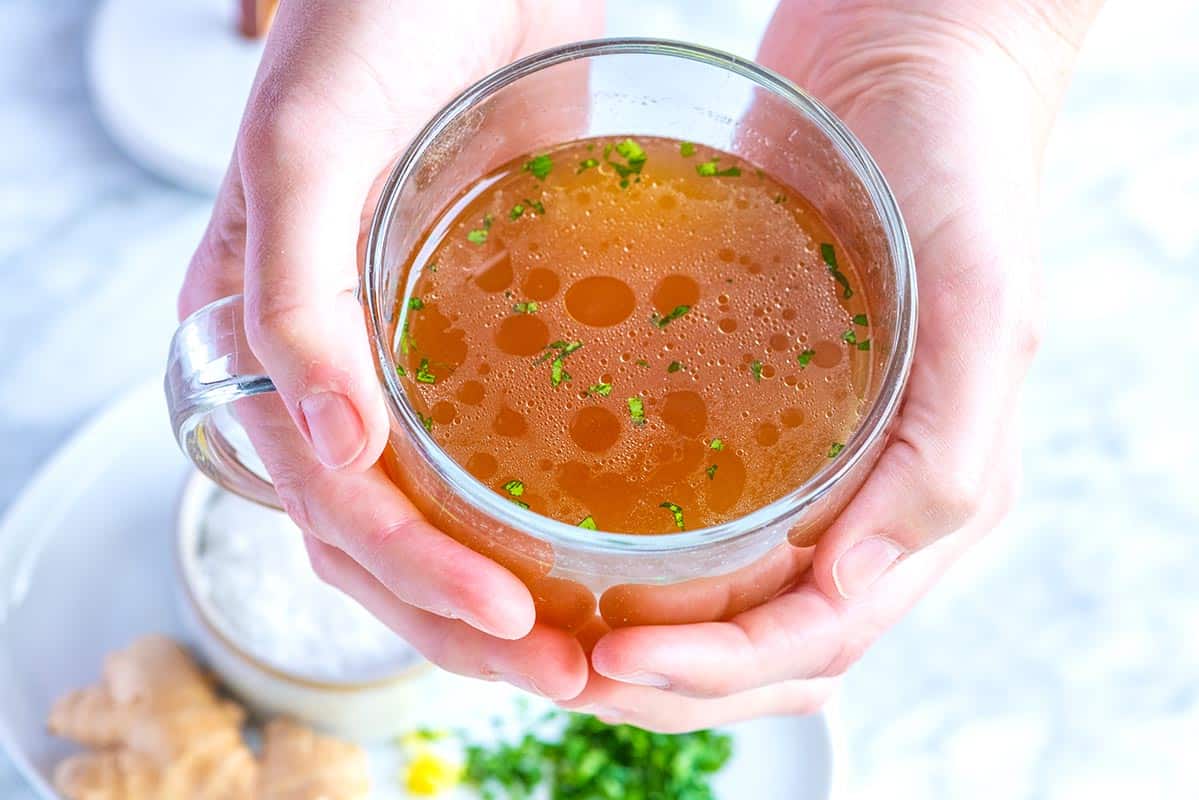
    Instant Pot Chicken Bone Broth

    Homemade Bone Broth

    • PREP
    • COOK
    • TOTAL

    Bone broth is like a supercharged stock that’s been simmered for so long the bones become fragile and release all their goodness. This extra cooking extracts more collagen and nutrients, which many believe can benefit joints, gut health, and the immune system.

    While we’re not health experts, we can vouch for bone broth’s deliciously rich and satisfying flavor. It’s delicious on its own as a warm drink or light soup. I love adding fresh pepper, minced ginger, and herbs for an extra kick. Think of it as a savory tea with potential health perks. You can also use it in your favorite recipes that call for broth or stock (think soups, stews, and gravies).

    We usually use chicken bones, but adding some pork or beef bones is never a bad idea. Keep in mind that beef, pork, or other meat bones will increase the cooking time a bit (tips are in the recipe).

    Makes 10 to 12 cups

    You Will Need

    3 to 4 pounds bones, can be chicken, beef, pork, or a mix, see tips

    2 tablespoons apple cider vinegar or red wine vinegar

    1 onion, chopped

    2 medium carrots, chopped

    2 celery ribs, chopped

    3 medium cloves garlic, crushed

    2 bay leaves

    1 teaspoon whole peppercorns

    2 teaspoons sea salt or more to taste

    Optional: small bunch of fresh parsley or dill, 3 to 6 sprigs fresh thyme, 4 quarter-sized slices of unpeeled fresh ginger

    Directions

    • Pressure Cooker Bone Broth
    • 1For a richer broth, roast the bones. Preheat the oven to 425°F (218°C). Spread the bones in one layer on a rimmed baking sheet and roast them until browned, about 30 minutes.

      2Layer the bones with the rest of the ingredients in the bottom of the pressure cooker (Instant Pot). Cover with 12 to 14 cups of water. You want the water to cover the ingredients but not pass the fill line.

      3Secure the lid, and cook on HIGH PRESSURE for 3 hours for chicken bones. If you have added beef, pork, or other bones, cook for 4 hours.

      4When the cooking time is up, do not immediately open the lid, and let the pressure naturally release.

      5You know the bone broth is ready when the tendons and connective tissues have dissolved, and the bones are falling apart and fragile. If this has not happened, place the lid back on and cook on high for another 20 minutes to an hour.

      6Strain the broth through a fine-mesh strainer and season with additional salt to taste. Let cool until not hot. Transfer to containers and refrigerate until thoroughly chilled, about 6 hours or overnight.

      7Skim off and remove any fat on the surface. Refrigerate for up to 5 days or freeze for 3 months (or more).

    • Slow Cooker Bone Broth
    • 1For a richer broth, roast the bones. Preheat the oven to 425°F (218°C). Spread the bones in one layer on a rimmed baking sheet and roast them until browned, about 30 minutes.

      2Layer the roasted bones with the rest of the ingredients in the bottom of the slow cooker. Cover with 12 to 14 cups of water. You want the water to cover the ingredients but not pass the fill line.

      3Secure the lid, then cook on LOW for 24 to 48 hours. You will know it’s done when the tendons and connective tissues have dissolved and the bones are falling apart and fragile. If this has not happened, place the lid back on and cook for another few hours. Chicken bones should be done in closer to 24 hours, while beef and pork bones take longer.

      4Strain the broth through a fine-mesh strainer and season with additional salt to taste. Let cool until not hot. Transfer to containers and refrigerate until thoroughly chilled, about 6 hours or overnight.

      5Skim off and remove any fat on the surface. Refrigerate for up to 5 days or freeze for 3 months (or more).

    Adam and Joanne’s Tips

    • Bones: Use any mix of bones to make bone broth. I love using leftover bones from roasting chicken. That said, the best bones for this recipe have a high collagen and marrow content, providing rich flavor, gelatinous texture, and more nutritional benefits. For poultry, I like chicken wings, backs and necks, and chicken feet (don’t be put off, they have lots of collagen). For beef, use knuckles, marrow bones, and neck bones. And for pork, use neck bones and feet.
    • Storing: Your broth can be refrigerated for up to 5 days or frozen for up to 3 months. To reheat, pour out as much broth as you’d like and gently heat it on the stove or in the microwave.
    • The recipe was inspired and adapted from Melissa Clark’s recipe.
    • The nutrition facts provided below are estimates. This recipe is difficult to calculate, so please use the data as a guide.

    Nutrition Per Serving
    Serving Size
    1 cup
    /
    Calories
    12
    /
    Protein
    1 g
    /
    Carbohydrate
    1 g
    /
    Dietary Fiber
    0 g
    /
    Total Sugars
    0 g
    /
    Total Fat
    0 g
    /
    Saturated Fat
    0 g
    /
    Cholesterol
    0 mg
    /
    Sodium
    343 mg


    AUTHOR:

    Joanne Gallagher

    Adam and Joanne of Inspired Taste

    We are Adam and Joanne Gallagher, the creators of Inspired Taste. Established in 2009, Inspired Taste grew from a childhood dream into one of the internet’s most trusted recipe sites with hundreds of reliable recipes, step-by-step videos, and expert tips.More About Us
    Source link

  • Fall Off the Bone Oven Baked Beef Ribs Recipe

    Fall Off the Bone Oven Baked Beef Ribs Recipe

    Learn how to cook incredibly delicious BBQ beef ribs in the oven. Most of the cooking time is hands-off, letting the ribs slowly bake until fall-apart tender.

    Baked BBQ Beef Ribs

    The key is baking them low and slow. It’s the same approach we use for our popular pork ribs, and it works beautifully with beef. Once I started making beef ribs this way, I never looked back.

    For this beef ribs recipe, we rub short ribs with a simple dry rub, sear them to build flavor, and then bake until unbelievably tender. A final layer of BBQ sauce goes on at the end, and as it finishes in the oven, it becomes sticky and glossy over the meat. They are incredible!

    Key Ingredients

    • Beef Ribs: This recipe is written for beef short ribs, which are meaty and become very tender when cooked low and slow. If using beef back ribs, you can still follow this method, but they may cook a little faster. Note, do not use flanken ribs (Korean-style ribs), as these are too thin for this cooking method. More details below.
    • Dry Rub: Beef needs a generous amount of seasoning. We mix salt, pepper, smoked paprika, garlic powder (or granulated garlic), and onion powder.
    • BBQ Sauce: Use your favorite store-bought sauce, or make our tangy BBQ sauce recipe.
    • Apple Cider Vinegar: We add a bit of extra tang to the BBQ sauce with apple cider vinegar. White wine vinegar or champagne vinegar are good substitutes.
    • Beef Stock or Water: This thins our BBQ sauce a bit. You only need ¼ cup, so if you have beef stock in the fridge, great. Otherwise, water does the job.
    • Worcestershire Sauce: A teaspoon adds a bit more savoriness to the sauce.

    Find the full recipe with measurements below.

    How to Cook Beef Ribs in the Oven

    Tip 1: Do not trim all the fat. When working with short ribs, we rarely trim much fat before cooking. The butcher has already done most of the work. If you see any very large pieces of fat or gristle, you can remove them, but avoid over-trimming. Some fat is key to tender, juicy ribs. As Chef Richard likes to say, “don’t go chasing the fat.”

    Tip 2: Use our dry rub and sear before baking. Beef needs a good amount of seasoning, so use our simple dry rub early on to build flavor. It’s a mixture of salt, pepper, smoked paprika, garlic powder, and onion powder.

    Rub the short ribs all over with the dry rub. They should be thoroughly coated. Then, sear them in a pan with some oil until golden on all sides. This step builds flavor and gives the fat on the outside a head start.

    Searing short ribs rubbed with BBQ dry rub

    Tip 3: Bake them low and slow. High heat will toughen beef ribs before they have a chance to soften. A lower oven temperature gives us more time to slowly cook the connective tissues (collagen) and fat, which keeps the beef tender and juicy. In the photos below, the first one shows the seared ribs ready for the oven, and as you scroll down, you can see how tender they look after cooking them slowly in the oven.

    For tender ribs, cook them at 275°F (135°C) for 2 to 3 hours, then add BBQ sauce and continue cooking for another hour. The size of your short ribs will affect baking time. We provide tips in our recipe below.

    Ribs ready to be baked in the oven until tender

    Tip 4: Cover the pan for most of the cooking time. Tightly cover your baking pan with foil so the ribs cook in their own steam. This prevents moisture from escaping and helps the ribs turn tender. Baking them uncovered for too long will dry them out.

    Keep your ribs tightly covered with foil until the last 20 to 25 minutes. Then, uncover and bake until the glaze is shiny and sticky.

    Tip 5: Check the ribs toward the end of cooking. Every oven runs a little differently. When the ribs are done, a fork should slide in easily with very little resistance. If they still feel firm, keep baking. Also, check the pan. There should be plenty of rendered fat and juices. If the pan seems dry, the foil was not sealed tightly enough.

    Spooning BBQ sauce over tender baked beef ribs

    Tip 6: Add BBQ sauce at the end. Spoon over your BBQ sauce during the last part of cooking. If added too early, you’ll lose some flavor, and the sugars in the sauce might even cause your ribs to dry out.

    Brush on the BBQ sauce after the ribs have become tender, then return the pan to the oven. Finishing uncovered allows the sauce to thicken into a glossy glaze without burning or drying the ribs.

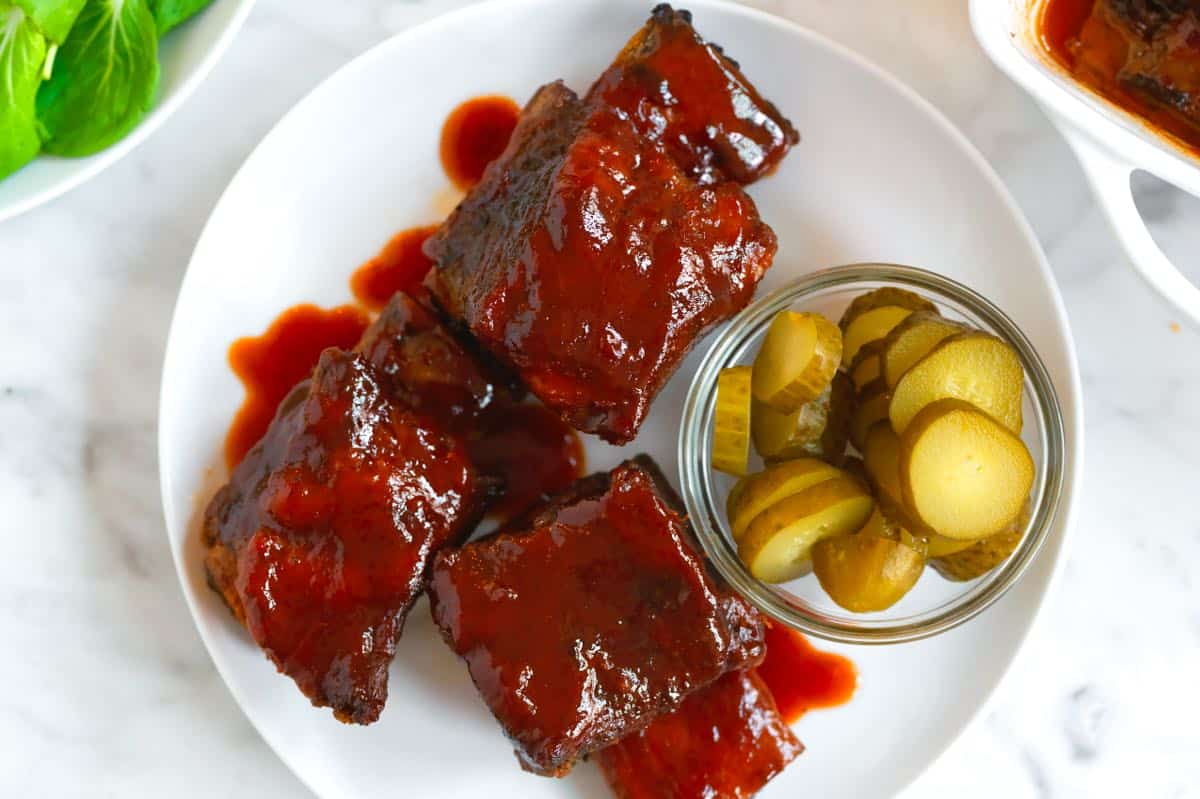
    Beef ribs ready to serve

    A Note on Types of Beef Ribs

    There are four common types of beef ribs you’ll likely come across:

    • Chuck short ribs: These are cut from the upper portion of the rib cage (closer to the shoulder). They are smaller, a bit more irregular in shape, and are the most common option in standard grocery stores.
    • Plate short ribs: These come from the lower portion of the rib cage. They are larger, meatier, and have richer marbling. You are more likely to find them at a butcher shop or specialty grocery store.
    • Beef back ribs: These have much less meat because they are usually removed after the rib roast or ribeye is cut away. Rib roasts or ribeyes are some of the most expensive cuts of beef, so most butchers leave very little meat on the bone. These work in the recipe below, but will cook faster. Start checking for tenderness earlier.
    • Flanken ribs: These are cut very thin, sometimes called Korean-style or Galbi. These do better with quick, high-heat cooking, and are not ideal for this recipe. We use them in our Korean short ribs recipe.

    Our recommendation: If you have the choice, use plate short ribs cut into smaller pieces (3 to 4 inches long), sometimes labeled English-style. They have the best balance of meat and fat and become especially tender when baked low and slow. I also use plate ribs for these red wine braised short ribs.

    Serving Suggestions

    These BBQ ribs are rich and satisfying. Depending on their size, plan for 1 to 2 ribs per person. Short ribs can be quite meaty, which is one of the reasons we love them.

    For serving, something fresh on the side works beautifully. Coleslaw is a favorite. Try our creamy coleslaw or vinegar coleslaw. A simple green salad with a bright lemon vinaigrette or honey mustard dressing is also a great match, and this napa cabbage salad is excellent. As shown in our photos, we also love a side of pickles for something tangy.

    For more sides, Cajun butter corn, corn salad, or homemade cornbread are all wonderful. If you want something heartier, serve the ribs with potatoes au gratin, mashed potatoes, a baked potato, or baked mac and cheese. Enjoy!

    More Rib Recipes

    Oven Baked BBQ Beef Ribs

    Fall Off the Bone Oven Baked Beef Ribs

    • PREP
    • COOK
    • TOTAL

    For these beef ribs, bake them covered with foil for 2 to 3 hours, then check for tenderness. If a fork slides in easily, go ahead and add the BBQ sauce.

    If the ribs are not yet tender, reseal the pan tightly, and continue baking. If the pan ever looks dry (it shouldn’t), add a splash of water or stock, then seal well with foil. Keep baking until the ribs are very tender, then uncover, add the sauce, and finish baking as directed below.

    *See the article above for tips on buying ribs for this recipe.

    6 Servings

    You Will Need

    For the Ribs

    3 pounds meaty short ribs, 8 to 10 ounces each, about 6 ribs (1.3kg)

    1 tablespoon fine sea salt

    1 ½ teaspoons freshly ground black pepper

    1 teaspoon smoked paprika

    1 teaspoon garlic powder or granulated garlic

    ½ teaspoon onion powder

    2 tablespoons avocado oil


    For the Sauce

    1 cup BBQ sauce, try our homemade BBQ sauce

    2 tablespoons apple cider vinegar

    ¼ cup beef stock or water

    1 teaspoon Worcestershire sauce

    Directions

      1Prep: Preheat the oven to 275°F (135°C). Set aside a 13×9-inch baking dish (possibly 2 if you have really large ribs).

      2Prep ribs: We don’t trim much from the short ribs. If you see larger fat clumps or flaps, trim them. Don’t over trim. You want to leave most of the fat for flavor and moisture.

      3Add spice rub: In a small bowl, mix the salt, pepper, smoked paprika, garlic powder, and onion powder. Pat the ribs dry with paper towels, then coat all sides generously with the spice rub.

      4Sear the ribs: Heat the oil in a wide skillet over medium heat. Working in batches, sear the ribs on all sides until browned, about 2 minutes on each side. Transfer them to the baking dish, placing the fattiest side facing up. It will be a tight fit.

      5Bake the ribs: Tightly cover the baking dish with foil and bake until the ribs are very tender but not yet falling apart, about 2 ½ hours.

      6Begin checking for tenderness after 1 ½ hours by sliding a fork into the meat. It should meet some resistance but not feel tough. Continue checking every 30 minutes until tender. The goal is tender, but not yet fall-apart-tender.

      7Prepare the sauce: While the ribs bake, whisk together the BBQ sauce, vinegar, beef stock, and Worcestershire in a medium bowl.

      8Add the sauce: When the ribs are fork tender, remove the foil and check the liquid in the dish. Some is fine, but if it’s almost to the top, remove some of it. Then, brush the ribs all over with sauce (saving some for later). Re-cover tightly with foil and return to the oven for 45 minutes.

      9Caramelize the sauce: Remove the foil completely, add more sauce, and return to the oven for another 20 to 25 minutes, or until the sauce has thickened into a shiny glaze and the edges look slightly caramelized.

      10Let them rest: Remove the ribs from the oven and let them rest for 15 minutes, tented lightly with foil, before serving.

    Adam and Joanne’s Tips

    • Short ribs thickness: The thickness and meatiness of your ribs affect cooking time. Begin checking for tenderness after 1 ½ hours of baking (before adding sauce). Meaty, thick ribs typically need about 2 ½ hours, and really meaty ribs may need even longer, before they’re ready for sauce.
    • Short ribs vs. back ribs: Short ribs are meatier and richer than beef back ribs. You can use back ribs in the recipe above, but expect less meat and a shorter cooking time (about 45 minutes to 1 hour less before adding sauce). The remaining steps and times stay the same.
    • Doneness: The ideal texture depends on preference. For ribs that hold together when bitten (the classic barbecue competition style), bake for slightly less time and stop when the meat is tender but still cohesive. For a fall-apart texture, continue baking until a fork slides in easily and the meat pulls away with minimal effort.
    • Sauce: For store-bought sauce, we have used Sweet Baby Ray’s with great results. I also love this homemade barbecue sauce, which was our attempt at recreating store-bought sauce, but with slightly less sugar.
    • Storing: Store them in an airtight container in the fridge for up to 4 days, or freeze for up to 3 months (I double-wrap them before freezing). Thaw overnight in the refrigerator.
    • Reheating: Place the ribs (thawed), wrapped in foil, in a 275°F oven for 20 to 30 minutes or place them on the grill over medium heat. Slather the warmed ribs with extra BBQ sauce before serving.
    • The nutrition facts provided are estimates.

    Nutrition Per Serving
    Serving Size
    1/6 of the recipe, or 1 short rib
    /
    Calories
    508
    /
    Total Fat
    26.6g
    /
    Saturated Fat
    9.8g
    /
    Cholesterol
    125.4mg
    /
    Sodium
    1678.5mg
    /
    Carbohydrate
    23.6g
    /
    Dietary Fiber
    1g
    /
    Total Sugars
    18.6g
    /
    Protein
    41.2g


    AUTHOR:

    Joanne Gallagher

    Source link