Author: admin

  • Fall Off the Bone Oven Baked Beef Ribs Recipe

    Fall Off the Bone Oven Baked Beef Ribs Recipe

    Learn how to cook incredibly delicious BBQ beef ribs in the oven. Most of the cooking time is hands-off, letting the ribs slowly bake until fall-apart tender.

    Baked BBQ Beef Ribs

    The key is baking them low and slow. It’s the same approach we use for our popular pork ribs, and it works beautifully with beef. Once I started making beef ribs this way, I never looked back.

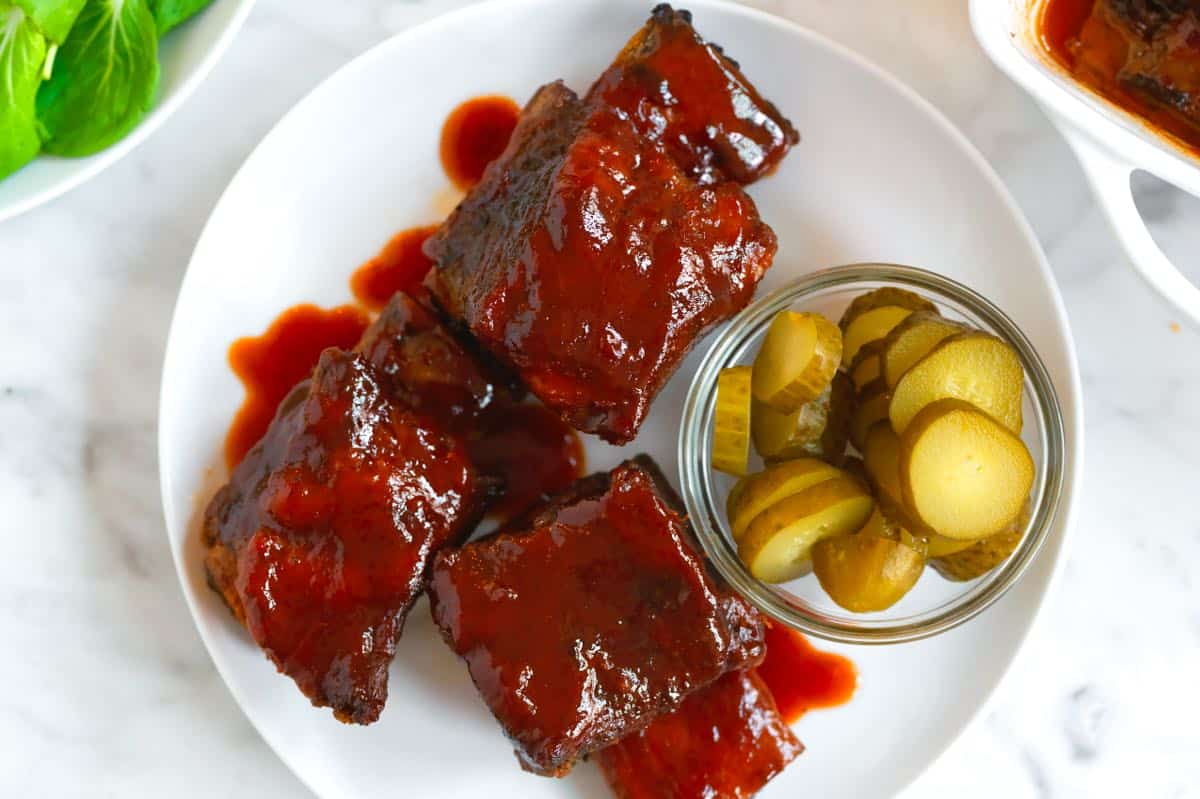
    For this beef ribs recipe, we rub short ribs with a simple dry rub, sear them to build flavor, and then bake until unbelievably tender. A final layer of BBQ sauce goes on at the end, and as it finishes in the oven, it becomes sticky and glossy over the meat. They are incredible!

    Key Ingredients

    • Beef Ribs: This recipe is written for beef short ribs, which are meaty and become very tender when cooked low and slow. If using beef back ribs, you can still follow this method, but they may cook a little faster. Note, do not use flanken ribs (Korean-style ribs), as these are too thin for this cooking method. More details below.
    • Dry Rub: Beef needs a generous amount of seasoning. We mix salt, pepper, smoked paprika, garlic powder (or granulated garlic), and onion powder.
    • BBQ Sauce: Use your favorite store-bought sauce, or make our tangy BBQ sauce recipe.
    • Apple Cider Vinegar: We add a bit of extra tang to the BBQ sauce with apple cider vinegar. White wine vinegar or champagne vinegar are good substitutes.
    • Beef Stock or Water: This thins our BBQ sauce a bit. You only need ¼ cup, so if you have beef stock in the fridge, great. Otherwise, water does the job.
    • Worcestershire Sauce: A teaspoon adds a bit more savoriness to the sauce.

    Find the full recipe with measurements below.

    How to Cook Beef Ribs in the Oven

    Tip 1: Do not trim all the fat. When working with short ribs, we rarely trim much fat before cooking. The butcher has already done most of the work. If you see any very large pieces of fat or gristle, you can remove them, but avoid over-trimming. Some fat is key to tender, juicy ribs. As Chef Richard likes to say, “don’t go chasing the fat.”

    Tip 2: Use our dry rub and sear before baking. Beef needs a good amount of seasoning, so use our simple dry rub early on to build flavor. It’s a mixture of salt, pepper, smoked paprika, garlic powder, and onion powder.

    Rub the short ribs all over with the dry rub. They should be thoroughly coated. Then, sear them in a pan with some oil until golden on all sides. This step builds flavor and gives the fat on the outside a head start.

    Searing short ribs rubbed with BBQ dry rub

    Tip 3: Bake them low and slow. High heat will toughen beef ribs before they have a chance to soften. A lower oven temperature gives us more time to slowly cook the connective tissues (collagen) and fat, which keeps the beef tender and juicy. In the photos below, the first one shows the seared ribs ready for the oven, and as you scroll down, you can see how tender they look after cooking them slowly in the oven.

    For tender ribs, cook them at 275°F (135°C) for 2 to 3 hours, then add BBQ sauce and continue cooking for another hour. The size of your short ribs will affect baking time. We provide tips in our recipe below.

    Ribs ready to be baked in the oven until tender

    Tip 4: Cover the pan for most of the cooking time. Tightly cover your baking pan with foil so the ribs cook in their own steam. This prevents moisture from escaping and helps the ribs turn tender. Baking them uncovered for too long will dry them out.

    Keep your ribs tightly covered with foil until the last 20 to 25 minutes. Then, uncover and bake until the glaze is shiny and sticky.

    Tip 5: Check the ribs toward the end of cooking. Every oven runs a little differently. When the ribs are done, a fork should slide in easily with very little resistance. If they still feel firm, keep baking. Also, check the pan. There should be plenty of rendered fat and juices. If the pan seems dry, the foil was not sealed tightly enough.

    Spooning BBQ sauce over tender baked beef ribs

    Tip 6: Add BBQ sauce at the end. Spoon over your BBQ sauce during the last part of cooking. If added too early, you’ll lose some flavor, and the sugars in the sauce might even cause your ribs to dry out.

    Brush on the BBQ sauce after the ribs have become tender, then return the pan to the oven. Finishing uncovered allows the sauce to thicken into a glossy glaze without burning or drying the ribs.

    Beef ribs ready to serve

    A Note on Types of Beef Ribs

    There are four common types of beef ribs you’ll likely come across:

    • Chuck short ribs: These are cut from the upper portion of the rib cage (closer to the shoulder). They are smaller, a bit more irregular in shape, and are the most common option in standard grocery stores.
    • Plate short ribs: These come from the lower portion of the rib cage. They are larger, meatier, and have richer marbling. You are more likely to find them at a butcher shop or specialty grocery store.
    • Beef back ribs: These have much less meat because they are usually removed after the rib roast or ribeye is cut away. Rib roasts or ribeyes are some of the most expensive cuts of beef, so most butchers leave very little meat on the bone. These work in the recipe below, but will cook faster. Start checking for tenderness earlier.
    • Flanken ribs: These are cut very thin, sometimes called Korean-style or Galbi. These do better with quick, high-heat cooking, and are not ideal for this recipe. We use them in our Korean short ribs recipe.

    Our recommendation: If you have the choice, use plate short ribs cut into smaller pieces (3 to 4 inches long), sometimes labeled English-style. They have the best balance of meat and fat and become especially tender when baked low and slow. I also use plate ribs for these red wine braised short ribs.

    Serving Suggestions

    These BBQ ribs are rich and satisfying. Depending on their size, plan for 1 to 2 ribs per person. Short ribs can be quite meaty, which is one of the reasons we love them.

    For serving, something fresh on the side works beautifully. Coleslaw is a favorite. Try our creamy coleslaw or vinegar coleslaw. A simple green salad with a bright lemon vinaigrette or honey mustard dressing is also a great match, and this napa cabbage salad is excellent. As shown in our photos, we also love a side of pickles for something tangy.

    For more sides, Cajun butter corn, corn salad, or homemade cornbread are all wonderful. If you want something heartier, serve the ribs with potatoes au gratin, mashed potatoes, a baked potato, or baked mac and cheese. Enjoy!

    More Rib Recipes

    Oven Baked BBQ Beef Ribs

    Fall Off the Bone Oven Baked Beef Ribs

    • PREP
    • COOK
    • TOTAL

    For these beef ribs, bake them covered with foil for 2 to 3 hours, then check for tenderness. If a fork slides in easily, go ahead and add the BBQ sauce.

    If the ribs are not yet tender, reseal the pan tightly, and continue baking. If the pan ever looks dry (it shouldn’t), add a splash of water or stock, then seal well with foil. Keep baking until the ribs are very tender, then uncover, add the sauce, and finish baking as directed below.

    *See the article above for tips on buying ribs for this recipe.

    6 Servings

    You Will Need

    For the Ribs

    3 pounds meaty short ribs, 8 to 10 ounces each, about 6 ribs (1.3kg)

    1 tablespoon fine sea salt

    1 ½ teaspoons freshly ground black pepper

    1 teaspoon smoked paprika

    1 teaspoon garlic powder or granulated garlic

    ½ teaspoon onion powder

    2 tablespoons avocado oil


    For the Sauce

    1 cup BBQ sauce, try our homemade BBQ sauce

    2 tablespoons apple cider vinegar

    ¼ cup beef stock or water

    1 teaspoon Worcestershire sauce

    Directions

      1Prep: Preheat the oven to 275°F (135°C). Set aside a 13×9-inch baking dish (possibly 2 if you have really large ribs).

      2Prep ribs: We don’t trim much from the short ribs. If you see larger fat clumps or flaps, trim them. Don’t over trim. You want to leave most of the fat for flavor and moisture.

      3Add spice rub: In a small bowl, mix the salt, pepper, smoked paprika, garlic powder, and onion powder. Pat the ribs dry with paper towels, then coat all sides generously with the spice rub.

      4Sear the ribs: Heat the oil in a wide skillet over medium heat. Working in batches, sear the ribs on all sides until browned, about 2 minutes on each side. Transfer them to the baking dish, placing the fattiest side facing up. It will be a tight fit.

      5Bake the ribs: Tightly cover the baking dish with foil and bake until the ribs are very tender but not yet falling apart, about 2 ½ hours.

      6Begin checking for tenderness after 1 ½ hours by sliding a fork into the meat. It should meet some resistance but not feel tough. Continue checking every 30 minutes until tender. The goal is tender, but not yet fall-apart-tender.

      7Prepare the sauce: While the ribs bake, whisk together the BBQ sauce, vinegar, beef stock, and Worcestershire in a medium bowl.

      8Add the sauce: When the ribs are fork tender, remove the foil and check the liquid in the dish. Some is fine, but if it’s almost to the top, remove some of it. Then, brush the ribs all over with sauce (saving some for later). Re-cover tightly with foil and return to the oven for 45 minutes.

      9Caramelize the sauce: Remove the foil completely, add more sauce, and return to the oven for another 20 to 25 minutes, or until the sauce has thickened into a shiny glaze and the edges look slightly caramelized.

      10Let them rest: Remove the ribs from the oven and let them rest for 15 minutes, tented lightly with foil, before serving.

    Adam and Joanne’s Tips

    • Short ribs thickness: The thickness and meatiness of your ribs affect cooking time. Begin checking for tenderness after 1 ½ hours of baking (before adding sauce). Meaty, thick ribs typically need about 2 ½ hours, and really meaty ribs may need even longer, before they’re ready for sauce.
    • Short ribs vs. back ribs: Short ribs are meatier and richer than beef back ribs. You can use back ribs in the recipe above, but expect less meat and a shorter cooking time (about 45 minutes to 1 hour less before adding sauce). The remaining steps and times stay the same.
    • Doneness: The ideal texture depends on preference. For ribs that hold together when bitten (the classic barbecue competition style), bake for slightly less time and stop when the meat is tender but still cohesive. For a fall-apart texture, continue baking until a fork slides in easily and the meat pulls away with minimal effort.
    • Sauce: For store-bought sauce, we have used Sweet Baby Ray’s with great results. I also love this homemade barbecue sauce, which was our attempt at recreating store-bought sauce, but with slightly less sugar.
    • Storing: Store them in an airtight container in the fridge for up to 4 days, or freeze for up to 3 months (I double-wrap them before freezing). Thaw overnight in the refrigerator.
    • Reheating: Place the ribs (thawed), wrapped in foil, in a 275°F oven for 20 to 30 minutes or place them on the grill over medium heat. Slather the warmed ribs with extra BBQ sauce before serving.
    • The nutrition facts provided are estimates.

    Nutrition Per Serving
    Serving Size
    1/6 of the recipe, or 1 short rib
    /
    Calories
    508
    /
    Total Fat
    26.6g
    /
    Saturated Fat
    9.8g
    /
    Cholesterol
    125.4mg
    /
    Sodium
    1678.5mg
    /
    Carbohydrate
    23.6g
    /
    Dietary Fiber
    1g
    /
    Total Sugars
    18.6g
    /
    Protein
    41.2g
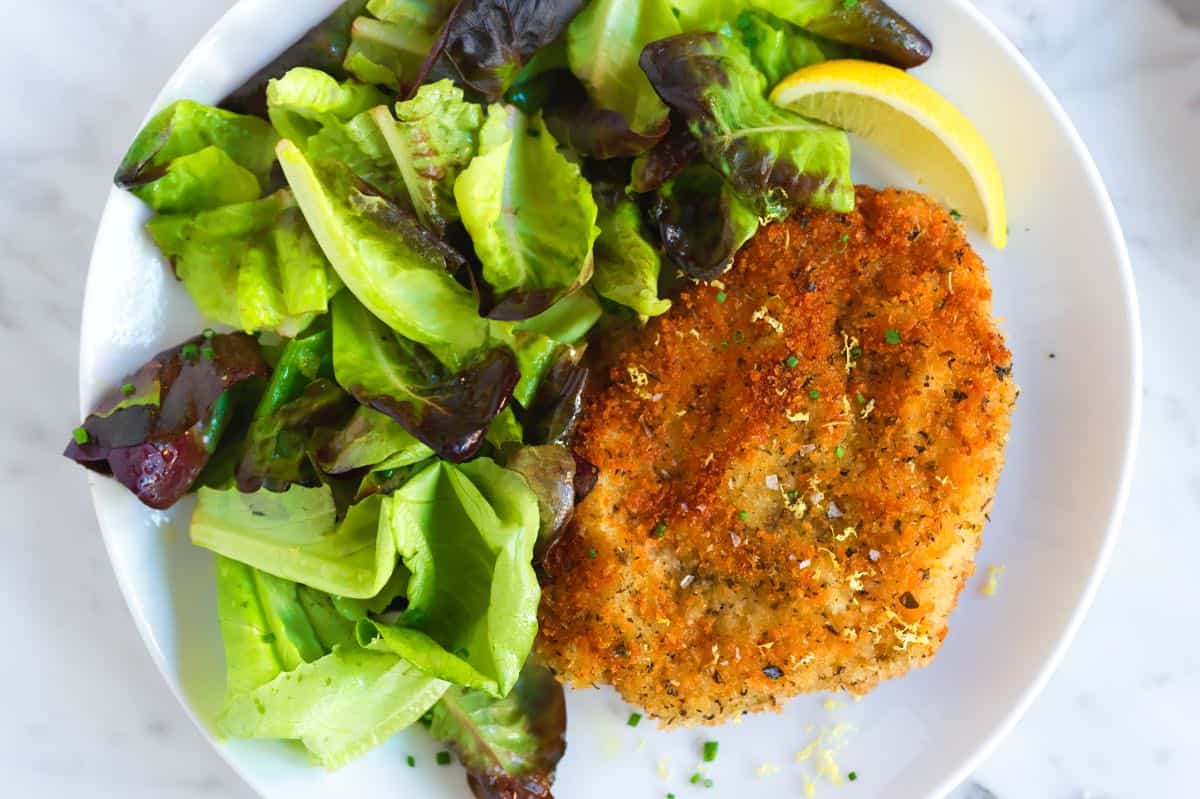

    AUTHOR:

    Joanne Gallagher

    Source link

  • Crispy Pork Milanese Recipe

    Crispy Pork Milanese Recipe

    This pork milanese recipe is all about tender, juicy pork with a light, crispy breading. It’s easier than you might think and turns out absolutely delicious every time.

    Pork Milanese

    Inspired by Italian cotoletta alla milanese (made with veal) and chicken milanese, this version made with lean pork chops is quick, budget-friendly, and so tasty. It’s perfect with a squeeze of lemon and a side of lightly dressed salad greens (I especially love it with our lemon vinaigrette!).

    Pounding the pork thin is the secret to success. It helps the meat cook quickly and evenly, keeping it juicy inside while the breading turns golden and crisp. From there, you’ll bread and cook the cutlets, either traditionally by pan-frying in oil or in an air fryer (both methods are below!).

    Key Ingredients

    • Pork Chops: Start with boneless pork chops. I like center-cut or loin-cut chops. This dish works best with thinner cuts, so either buy thin-cut or slice thicker ones in half crosswise to make two thinner pieces. More tips for this are below.
    • Flour and Eggs: We use a three-part breading station for this recipe. Step one is to dredge your pork in flour, and step two is to pull them through whisked eggs. I use all-purpose flour.
    • Breadcrumbs: After flour and eggs, the third part of the breading is breadcrumbs. I love light and crispy panko breadcrumbs or homemade breadcrumbs.
    • Italian Seasoning: We are really generous with the herbs in our breading, so we mix a good amount of Italian seasoning into the breadcrumbs.
    • Parmesan Cheese: Optional, but highly recommended. Finely grated Parmigiano-Reggiano stirred into the breadcrumb mixture takes the milanese-style breading to the next level.

    Find the full recipe with measurements below.

    How to Make Pork Milanese

    Tip 1: Prepare the pork. Start with thin pork chops (see above). Then, pound them even thinner with a meat mallet, rolling pin, or the bottom of a sauce pot.

    Pounding helps them cook quickly and evenly, so your breading turns golden before the pork overcooks. As a bonus, it tenderizes the meat, so your pork will turn out tender and juicy.

    Pounding pork chops thin before breading for pork milanese

    Tip 2: Set up the breading station. You’ll need three wide, shallow bowls. Add flour to the first. In the second, whisk the eggs and water until smooth. In the third, combine the breadcrumbs, Italian seasoning, parmesan cheese, and a good pinch of salt.

    Tip 3: Bread the pork. I like to work with one chop at a time and use a fork to move it around.

    1. Dip it into the flour on both sides, shaking off any excess.
    2. Next, coat it in the egg mixture.
    3. Finally, press it into the breadcrumbs until evenly covered.

    Gently shake off any loose crumbs, then place the breaded pork on a baking sheet. Continue with the remaining chops.

    Breading pork chops

    Tip 4: Cook the pork. You have two options. My favorite way to cook them is to pan-fry in a skillet with some oil. You can also use an air fryer. Both cooking methods are provided in the recipe below.

    However you cook them, you’ll know they’re perfect when: the coating is crisp and golden and the pork feels firm but still juicy.

    Pan-frying pork chops breaded in breadcrumbs for pork milanese

    More Pork Recipes

    Pork Milanese

    Crispy Pork Milanese

    • PREP
    • COOK
    • TOTAL

    Serve pork milanese next to a light, fresh salad. I especially love tossing salad greens with this lemon vinaigrette. The bright, tangy dressing is perfect with the pork.

    Note on the pork: The recipe assumes 1-inch thick chops, which you will slice in half crosswise before pounding to ¼ inch. Another option is to start with thin-cut pork chops (about ½ inch thick) and pound them to ⅓ inch thick (you will need 6 of them).

    6 Servings

    You Will Need

    1 ½ pounds boneless pork chops, 3 chops about 1-inch thick

    1 cup all-purpose flour (130g)

    2 large eggs

    4 tablespoons water

    1 ½ cups panko or homemade breadcrumbs, crushed a little finer (130g)

    3 tablespoons Italian seasoning

    3 tablespoons finely grated Parmigiano-Reggiano, optional

    Salt and fresh ground black pepper

    Oil, for cooking

    Directions

      1Prepare the pork: Slice each pork chop in half crosswise to make two thinner chops. Place them between sheets of plastic wrap or parchment paper and pound to about ⅓ inch thick using a mallet or the bottom of a small pot.

      2Season the pork: In a small bowl, mix ½ teaspoon salt with ½ teaspoon freshly ground black pepper. Line a large baking sheet with parchment paper, then arrange the flattened pork chops on it. Season both sides evenly with the salt and pepper mixture.

      3Set up the breading station: You’ll need three wide, shallow bowls. Add the flour to the first. In the second, whisk together the eggs and water until smooth. In the third, combine the breadcrumbs, Italian seasoning, parmesan cheese, and a good pinch of salt.

      4Bread the pork: Working with one chop at a time, using a fork, dredge it with flour, shaking off any excess. Dip it into the egg mixture, then press it into the breadcrumb mixture so it is well coated. Shake off any excess crumbs, then place the breaded pork back on the baking sheet. Repeat with the remaining chops.

      5Cook: Set a large skillet (with sides) over medium heat and let it preheat. Add enough oil to cover the bottom by about ⅛ inch. To test the temperature, drop in a breadcrumb. It should sizzle right away.

      6When the oil is ready, add 2 to 3 chops at a time, depending on the size of your pan. Cook for 2 to 3 minutes per side, or until golden brown and the internal temperature reaches at least 145°F. Transfer to a rack, sprinkle lightly with salt, and repeat with the remaining chops (adding a little more oil to the pan as needed).

    Adam and Joanne’s Tips

    • Leftover breading: You will have some flour, eggs, and breadcrumbs left over. We do not recommend saving them.
    • Air fryer instructions: Spray both sides of the breaded pork chops lightly with cooking spray. Place them in a single layer in the air fryer basket (work in batches if needed). Cook at 375°F for 8 minutes, then flip and continue cooking for 5 to 10 minutes more, or until the pork is golden brown and the internal temperature reaches 145°F.
    • The nutritional information provided are estimates.

    Nutrition Per Serving
    Serving Size
    1 breaded chop
    /
    Calories
    378
    /
    Total Fat
    8.9g
    /
    Saturated Fat
    3g
    /
    Cholesterol
    136.1mg
    /
    Sodium
    544.3mg
    /
    Carbohydrate
    37.6g
    /
    Dietary Fiber
    2.8g
    /
    Total Sugars
    1.9g
    /
    Protein
    34.5g


    AUTHOR:

    Joanne Gallagher

    Adam and Joanne of Inspired Taste

    We are Adam and Joanne Gallagher, the creators of Inspired Taste. Established in 2009, Inspired Taste grew from a childhood dream into one of the internet’s most trusted recipe sites with hundreds of reliable recipes, step-by-step videos, and expert tips.More About Us

    Source link

  • Perfect Black Bean Soup Recipe

    Perfect Black Bean Soup Recipe

    This black bean soup recipe has quickly become a family favorite! It’s easy, incredibly flavorful, and vegetarian when you use veggie broth.

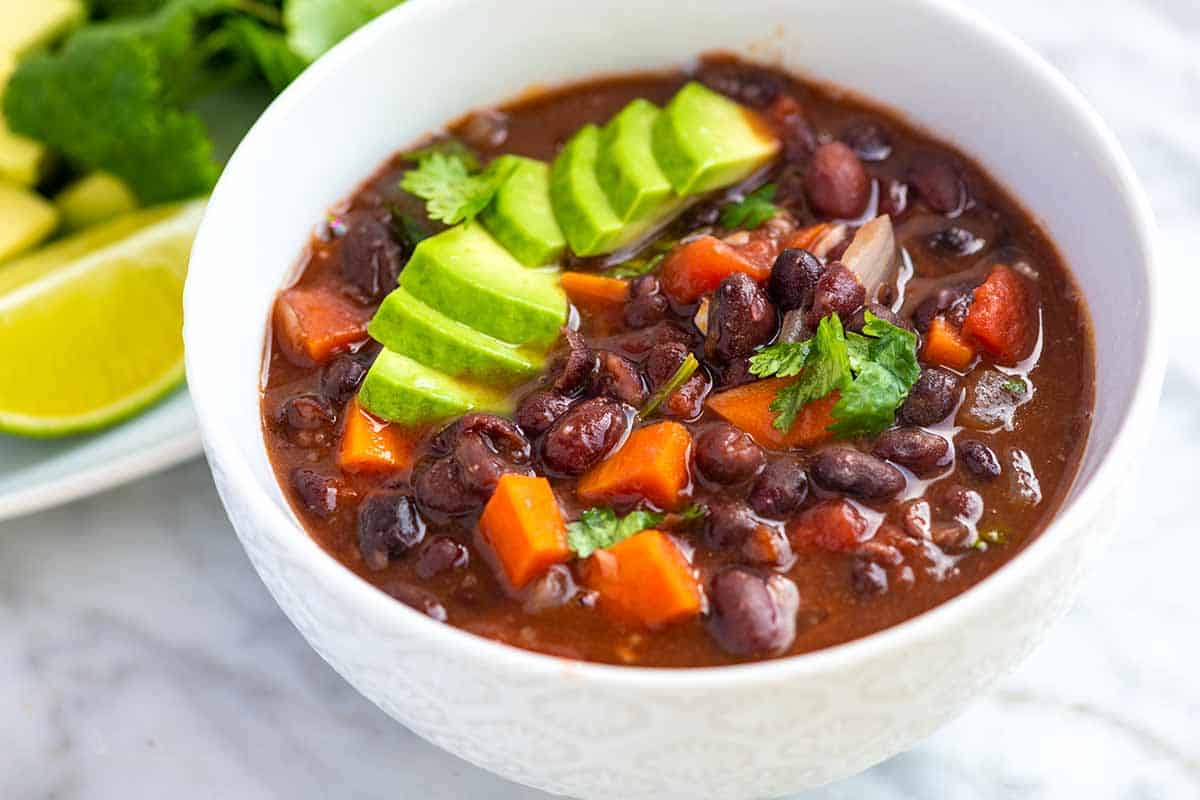
    Homemade black bean soup

    My family loves this easy black bean soup recipe so much. We make it often! I love how quickly it comes together and that it’s designed for canned or previously cooked black beans (hello, quick dinner!).

    You can make this soup as spicy as you like. I add canned chipotles in adobo, which adds some spice, but you can add even more for a spicy black bean soup. For more bean soups, try our white bean soup, easy vegetarian chili with quinoa and black beans, or this hearty split pea soup.

    Key Ingredients

    • Black Beans: You can use canned black beans or home-cooked black beans (here’s how to cook dried black beans).
    • Aromatics: I love making this soup hearty, so I combine onion, carrot, and garlic for the base. Then, I add more flavor with a bay leaf, cilantro, vinegar, oregano, and cumin. This soup is so flavorful!!
    • Chipotle Chiles in Adobo: Whenever I see them in the store, I add a can of chipotles in adobo sauce to my cart. Chipotles are dried, smoked jalapeños that taste smoky and quite spicy. Adobo sauce is a spicy, red sauce that packs a major punch of flavor. For this soup, I add one pepper, which I mince, along with a little sauce. This amount adds enough spice to the soup so that you notice it. For an extra spicy black bean soup, add more. You will have some leftover, which you can save for another recipe (it freezes well). I also use chipotles in adobo sauce to make my chipotle bean chili.
    • Tomatoes: Canned diced tomatoes are perfect for this soup, but chopped fresh tomatoes are great, too. If you go the canned route, look for fire-roasted tomatoes for extra flavor.
    • Broth: I use veggie broth, but chicken broth or chicken stock are fine. Use what you love!

    Find the full recipe with measurements below.

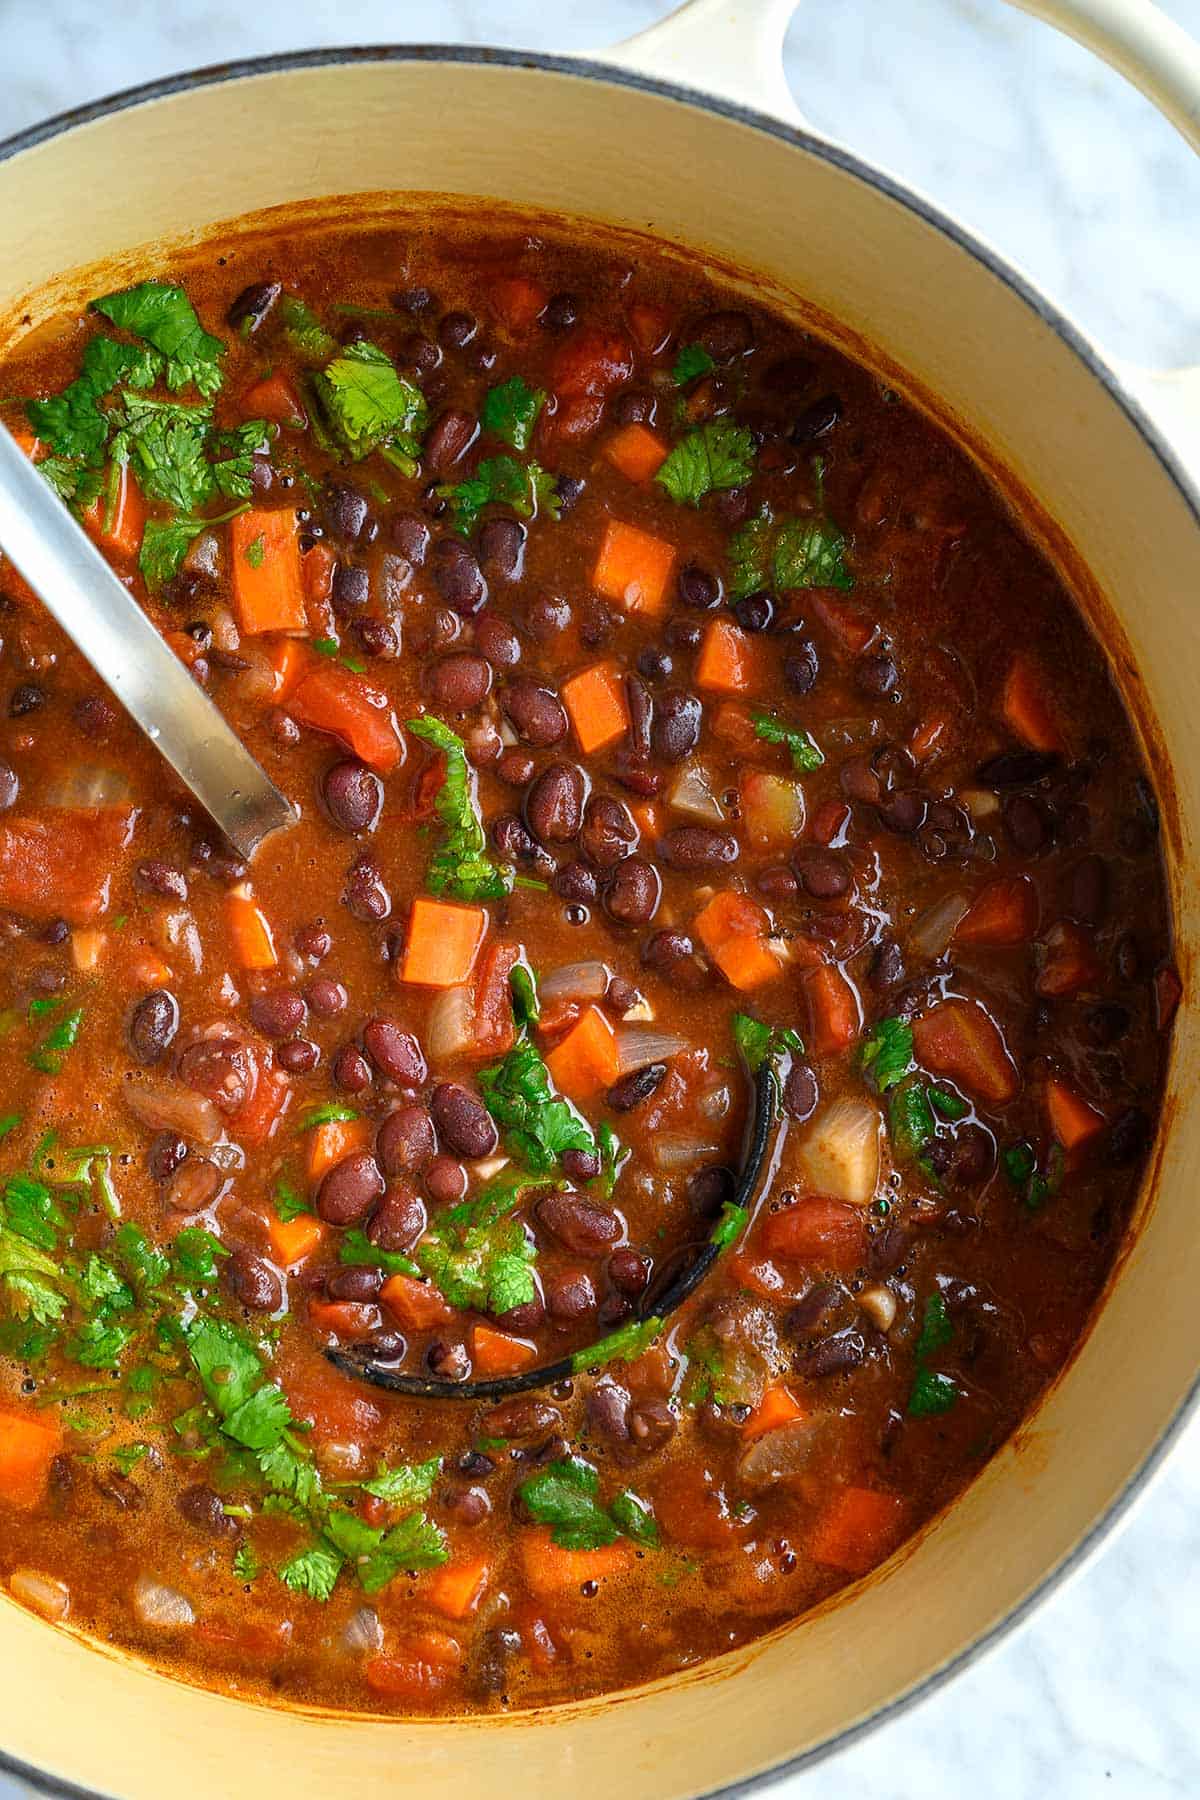
    Pot of homemade black bean soup

    How to Make the Best Black Bean Soup

    Tip 1: Use one pot. Making black bean soup is simple (it all happens in one pot)! To make it, you’ll cook onions and carrots in olive oil until soft and sweet. Then stir in garlic, ground cumin, oregano, red wine vinegar, and chipotle chiles for more flavor. Pour in your broth, tomatoes, and a bay leaf. Then, stir in the black beans and simmer until the veggies are tender, about 20 minutes.

    Tip 2: Season with salt and acid. Before serving, I like to taste the soup and season it with salt and a little extra acid from vinegar or lime juice. I love lime juice for this (it really makes the flavors of the soup pop).

    Tip 3: Creamy or brothy. We often enjoy this as a brothy soup (like in our photos), but you can also turn this into a creamy black bean soup by blending. For a thickened soup that’s somewhere in between, blend a portion and add it back (like I do for this white chicken chili).

    Serving Suggestions

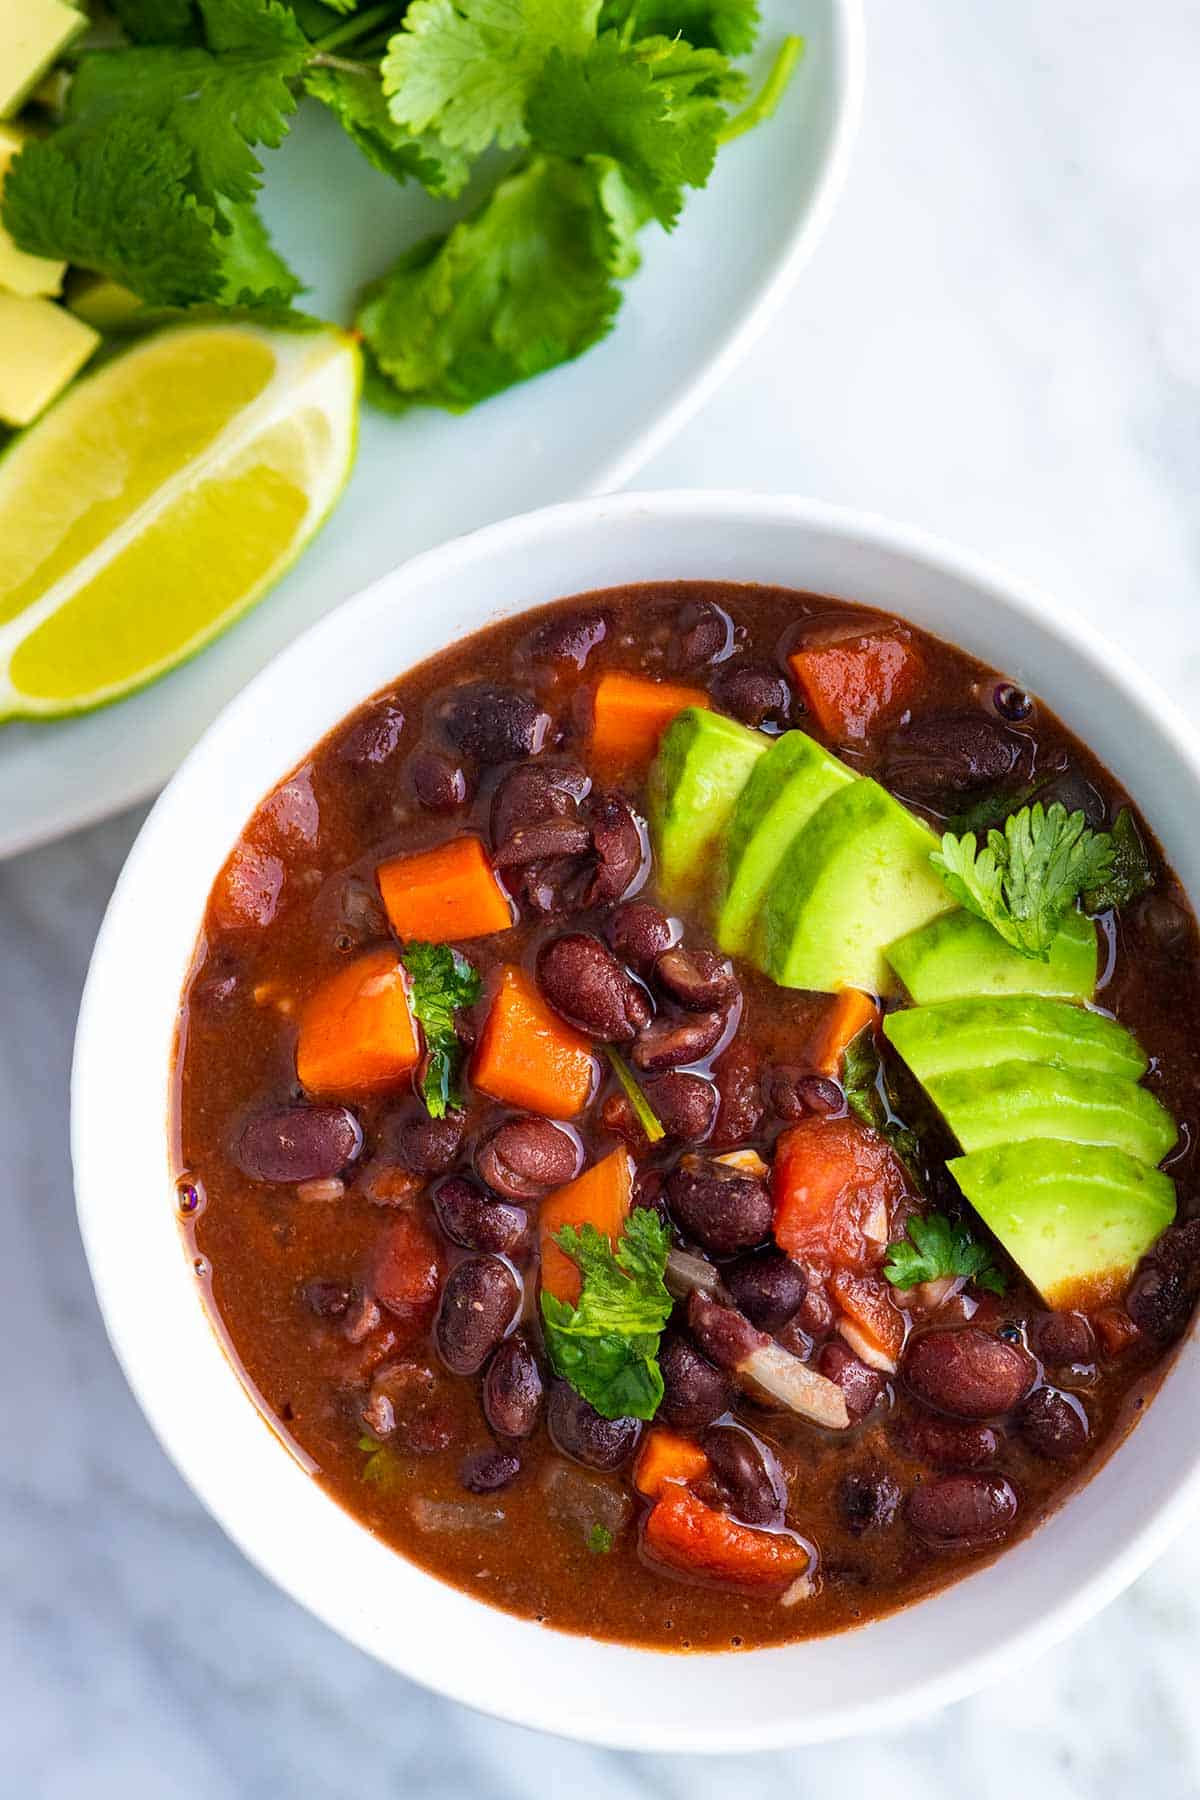
    I usually add a few slices of avocado to the top of this soup, but there are many options. Try our favorite guacamole, crushed tortilla chips, or a spoonful of sour cream. I also love extra lime juice and cilantro!

    Beyond that, you can add something to the side. Consider a batch of homemade corn tortillas (they are so good) or a side of this avocado salad.

    Black Bean Soup

    Perfect Black Bean Soup

    • PREP
    • COOK
    • TOTAL

    My family loves this easy black bean soup. Use your favorite stock or broth to make it. I love veggie broth, which keeps it vegetarian, but chicken stock works well, too. Serve this brothy or blend a portion or all of the soup to make it super creamy.

    Makes 4 to 6 servings

    Watch Us Make the Recipe

    You Will Need

    4 (15oz) cans black beans, drained and rinsed or use 6 cups cooked black beans

    1 to 3 canned chipotles in adobo, finely chopped, plus 1 tablespoon adobo sauce

    2 tablespoons olive oil

    1 cup diced onion, 1/2 large onion

    3/4 cup diced carrots, 1 large carrot

    1 tablespoon minced garlic, 3 to 4 cloves

    1 teaspoon ground cumin

    1/2 teaspoon dried oregano

    1 tablespoon red wine vinegar or lime juice

    1 (15oz) can diced tomatoes, try fire roasted tomatoes

    4 cups (946ml) vegetable broth, see our homemade veggie broth

    1 bay leaf

    1/2 cup cilantro leaves, roughly chopped

    For serving: Avocado, lime wedges, cilantro, sour cream, cheese

    Directions

      1Open the can of chipotles and adobo sauce, remove a pepper (or more for spicier soup), and mince finely.

      2Heat the olive oil in a large Dutch oven or deep pot over medium heat. Add the onions and carrots. Cook, stirring often, until they have softened slightly and smell sweet, about 5 minutes.

      3Stir in the garlic, cumin, and oregano, and cook for 30 seconds.

      4Add the vinegar or lime juice, minced chipotles and adobo sauce, can of tomatoes, broth, black beans, and bay leaf.

      5Bring to a simmer, taste, and then season with salt and pepper.

      6Simmer the soup until the carrots are tender, and the broth reduces slightly, about 20 minutes.

      7Stir in the cilantro and the juice from half a lime (or substitute the lime with an additional tablespoon of vinegar).

      8For a brothy soup (like in our photos and video), serve the soup straight away.

      9For a thicker, more velvety soup, transfer 1/4 of the soup to a blender and blend until smooth. Pour the blended portion back into the soup and serve.

    Adam and Joanne’s Tips

    • Chipotles in adobo: We use 1 whole pepper and 1 tablespoon of the adobo sauce in the can, adding moderate heat to the soup. For a spicier soup, add more, but be careful. The peppers do pack a punch. Find canned chipotles in adobo sauce in most grocery stores, usually near hot sauce or enchilada sauces. Substitute your favorite smoky hot sauce.
    • The nutrition facts provided below are estimates.

    Nutrition Per Serving
    Serving Size
    1 cup
    /
    Calories
    169
    /
    Total Fat
    2.9g
    /
    Saturated Fat
    0.5g
    /
    Cholesterol
    0mg
    /
    Sodium
    387.2mg
    /
    Carbohydrate
    27.4g
    /
    Dietary Fiber
    10.6g
    /
    Total Sugars
    2.4g
    /
    Protein
    9g


    AUTHOR:

    Joanne Gallagher

    Adam and Joanne of Inspired Taste

    We are Adam and Joanne Gallagher, the creators of Inspired Taste. Established in 2009, Inspired Taste grew from a childhood dream into one of the internet’s most trusted recipe sites with hundreds of reliable recipes, step-by-step videos, and expert tips.More About Us

    Source link

  • Perfect Seared Scallops Recipe

    Perfect Seared Scallops Recipe

    Learn how to cook restaurant-worthy scallops at home. Our recipe guarantees beautiful golden-brown seared scallops and comes together in 10 minutes!

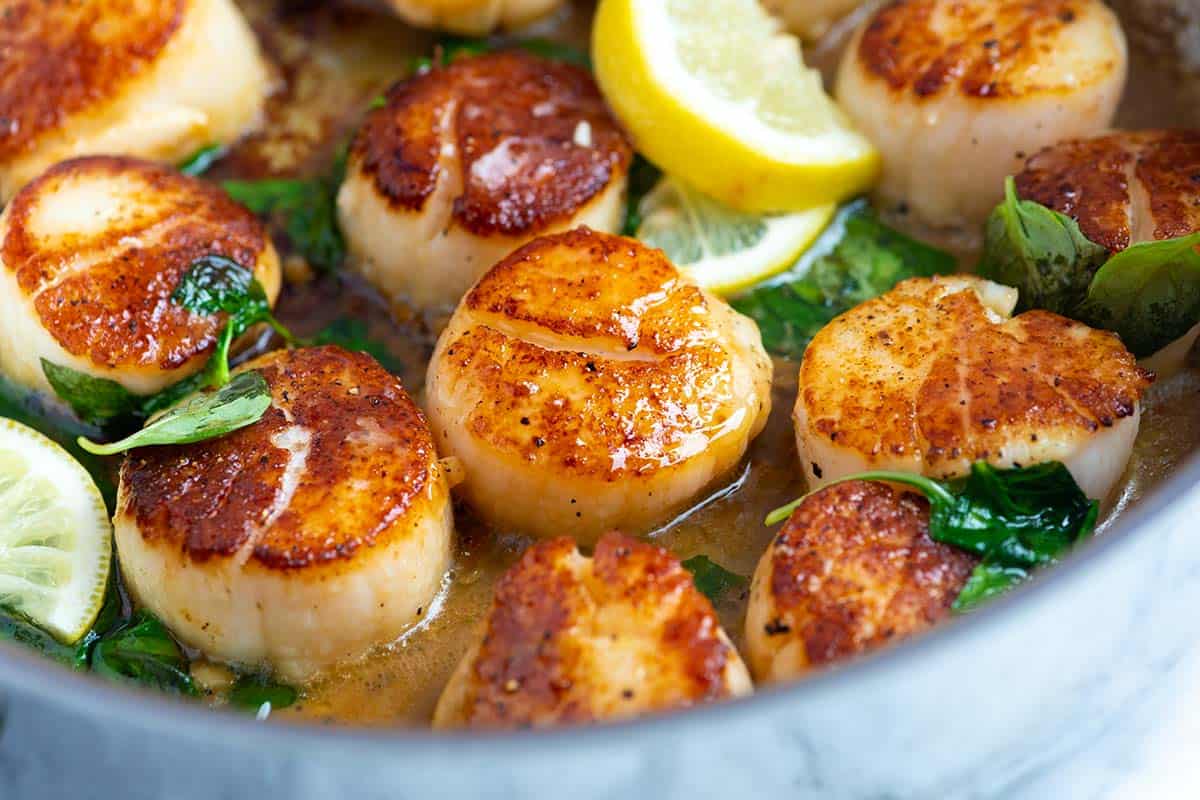
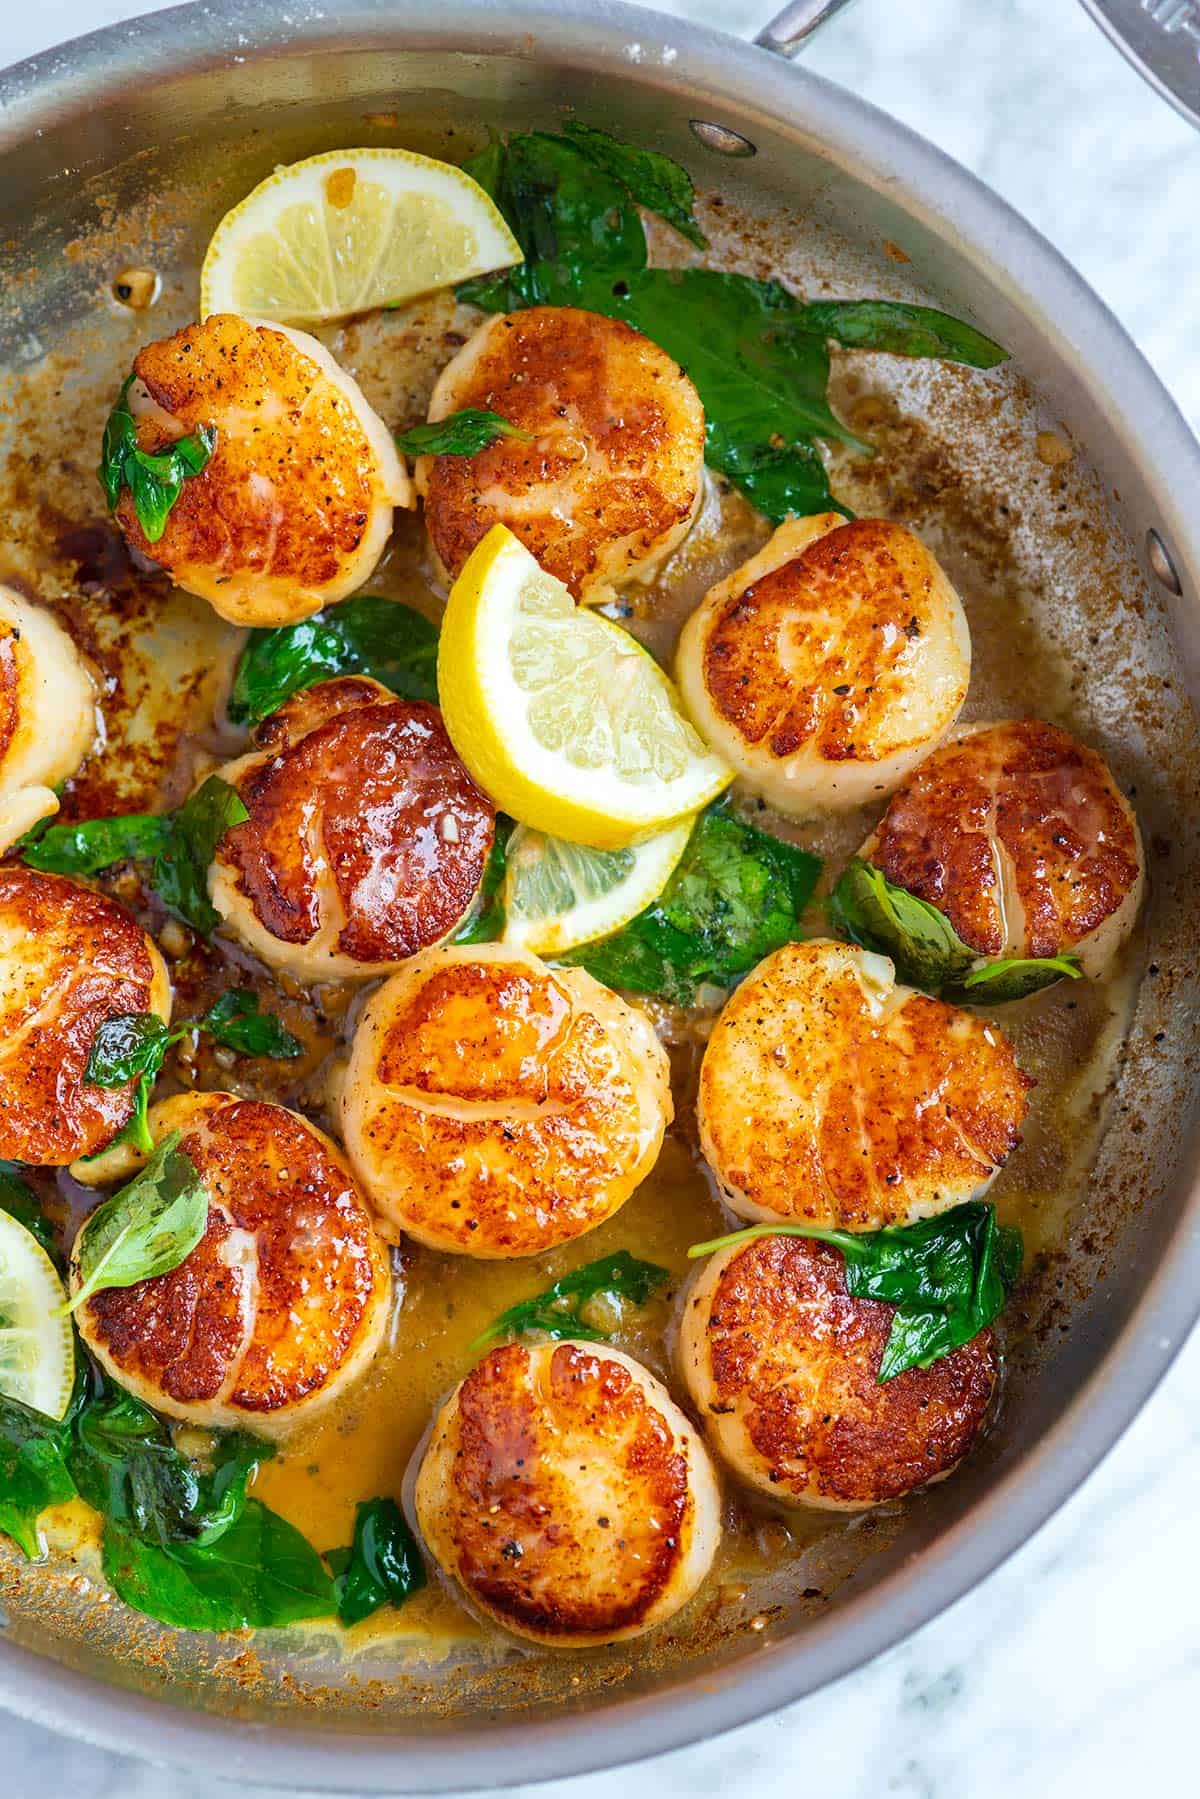
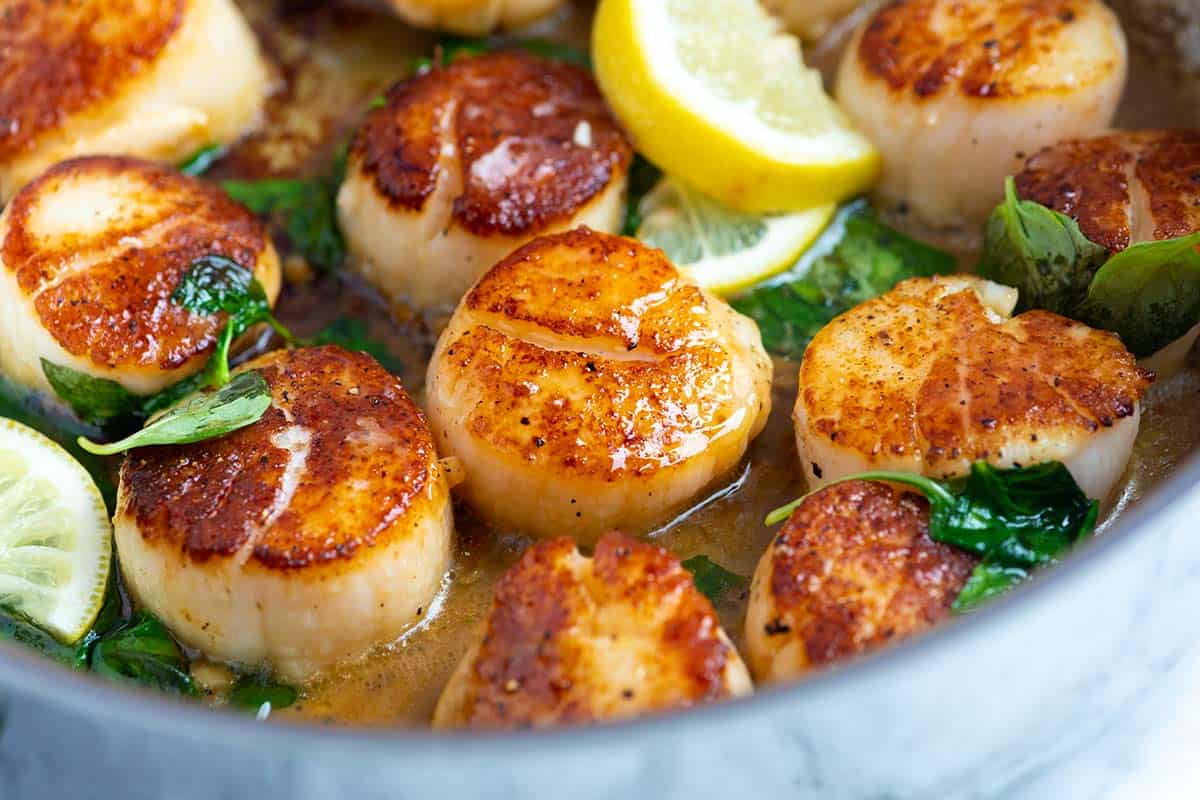
    Pan-seared scallops with butter, lemon, and basil

    Scallops are one of the easiest things you can cook, especially if you sear them in a pan (they’re just as easy as shrimp). This is my go-to scallops recipe, and I’m happy to share it with you!

    There’s no need to be intimidated. Scallops are easy to cook, I promise. With a few tricks, you’ll be cooking them like a pro in no time. Plus, I’ll show you how to make our delicious garlic basil butter to serve with them.

    Key Ingredients

    • Scallops: I look for large sea scallops since they taste sweet. I also prefer fresh. Frozen will work in this recipe, so check the tips section below for tips on thawing them before cooking.
    • Oil, salt, and pepper: I cook them in a hot skillet with some oil. Any high-heat oil works. I especially love avocado oil. You’ll also want to season your scallops liberally before cooking them.
    • Flour: While optional, I love dusting flour over mine before cooking them. The flour absorbs excess moisture and adds a nice golden brown crust. You can skip this step if you don’t have flour or are gluten-free.
    • Butter, garlic, basil, and lemon: It’s hard to describe just how delicious our garlic basil butter is with these seared scallops. I highly recommend it, and it only adds a minute or two of cooking time.

    Find the full recipe with measurements below.

    How to Cook Scallops Like a Pro

    Tip 1: Pat them dry. I use a paper towel to pat them as dry as possible. Damp scallops don’t sear or brown in the pan. The drier they are, the better they will sear. Frozen scallops will have more moisture, so take extra care when patting them dry.

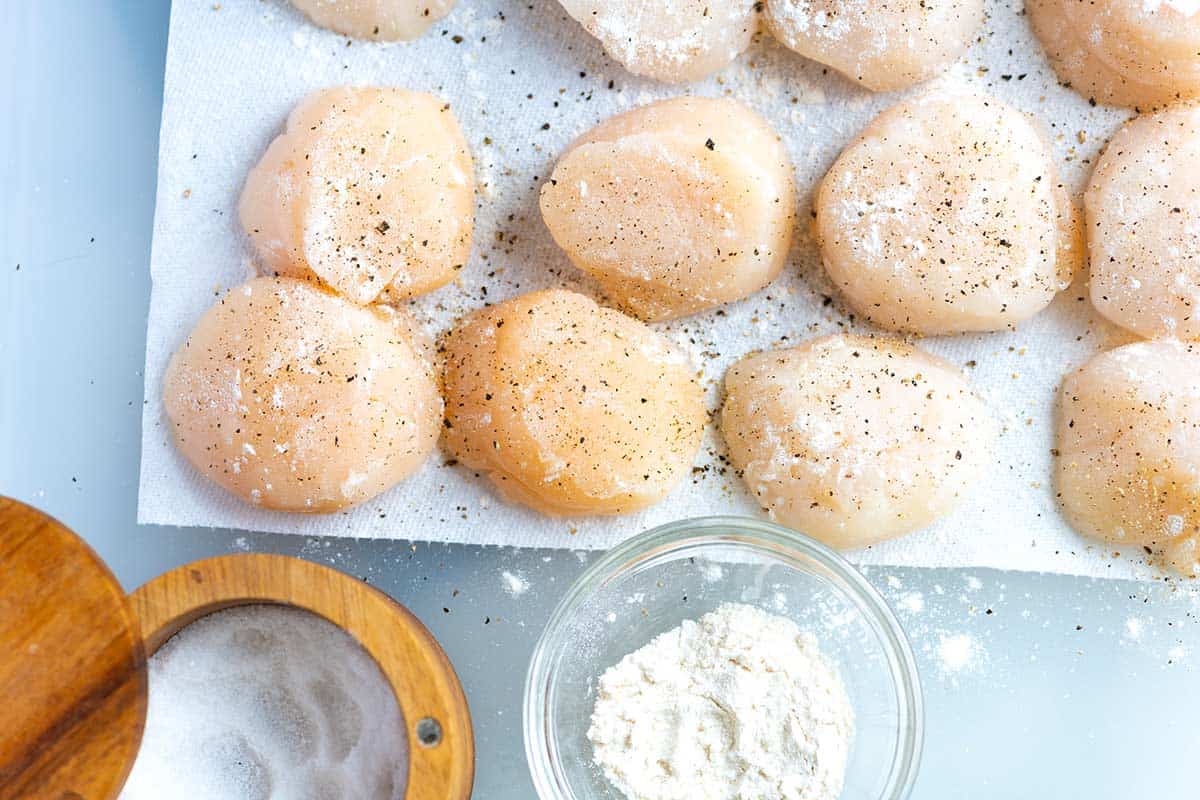
    Tip 2: Lightly dust flour on each side. The flour absorbs excess moisture and adds a nice golden brown crust. I use the same trick when searing fish, and even pork chops!

    Scallops with a light dusting of flour, salt and pepper

    Tip 3: Season well. I use a generous amount of salt and pepper. I season one side of the scallops out of the pan, place them seasoned side down into the hot pan, and then while that side cooks, I season the other side.

    Tip 4: Use a hot skillet. If they aren’t sizzling when you place them in the pan, it isn’t hot enough. You can always test the heat with one scallop and adjust from there.

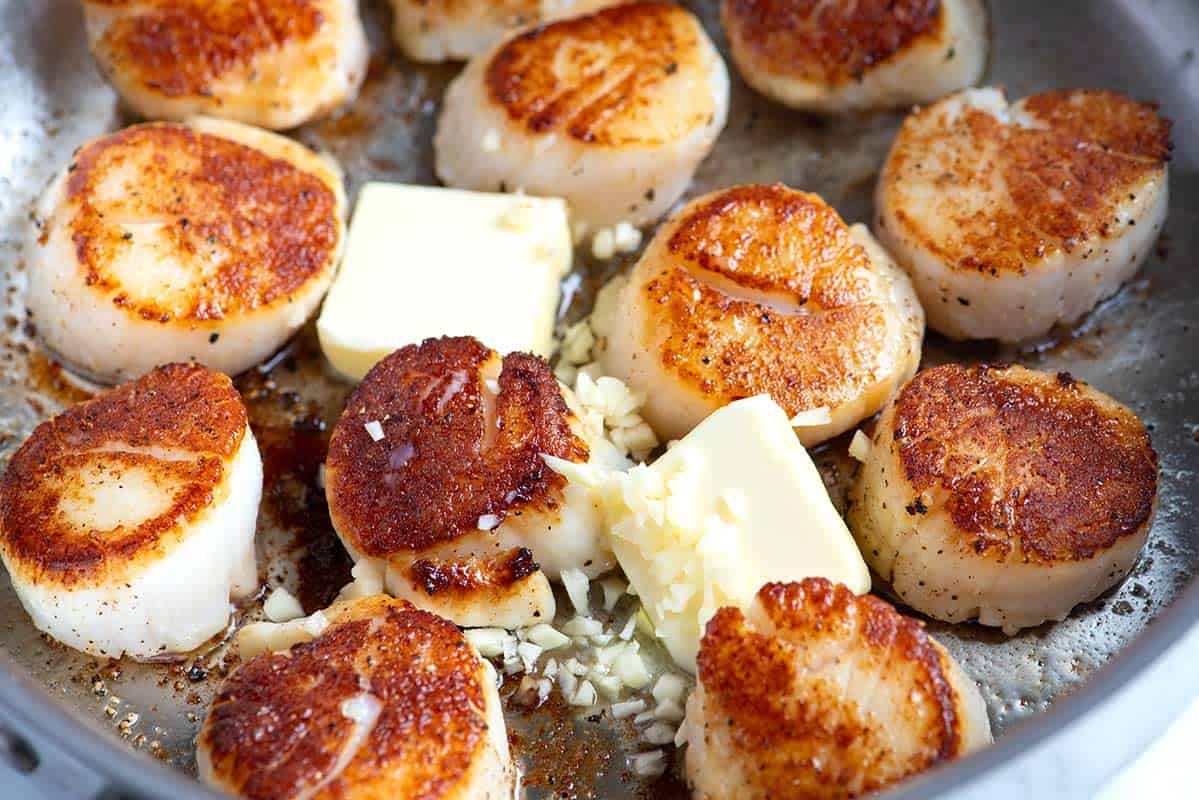
    Tip 5: Finish with our garlic basil butter. To really make these restaurant-worthy, use our garlicky butter. Scallops already taste incredible, but adding a bit of creamy butter, garlic, and fresh herbs at the end of cooking makes them out of this world. I also love using garlic butter when finishing our shrimp scampi recipe and cilantro lime butter shrimp.

    Pan-seared scallops with butter and garlic

    Serving Suggestions

    Many side dishes work well with seared scallops. I love creamy grits, polenta, mashed potatoes, and mushroom risotto. For a lighter, low-carb side, try mashed cauliflower or zucchini noodles.

    For rice, take a look at our saffron rice, coconut rice or this cilantro lime rice. Roasted vegetables are also lovely. Think about roasted asparagus, roasted cabbage, or roasted green beans.

    More Favorite Seafood Recipes

    Seared scallops

    Perfect Seared Scallops

    • PREP
    • COOK
    • TOTAL

    Seared scallops cook quickly (within 5 minutes) and are best when enjoyed immediately. If you’re serving them with pasta, vegetables, or rice, make sure they are ready before cooking the scallops. I highly recommend the garlic basil butter!

    A few favorite sides for these are creamy polenta, mashed cauliflower, and this saffron rice!

    4 Servings, 3 large scallops each

    Watch Us Make the Recipe

    You Will Need

    12 large sea scallops, 1 ¼ to 1 ½ pounds

    2 teaspoons all-purpose flour, optional, see notes

    Salt and fresh ground black pepper

    2 tablespoons avocado oil or vegetable oil


    Garlic Basil Butter

    1 ½ tablespoons butter

    2 garlic cloves, minced

    1 cup fresh basil leaves

    3 to 4 lemon slices

    Directions

      1Pat the scallops dry with a paper towel. Dust one side of the scallops with a small amount of flour, then season with salt and pepper.

      2Heat a wide skillet over medium-high heat. Add the oil to the pan. When the oil is hot and shimmery, carefully place the scallops in the pan, seasoned side down.

      3Cook, without moving them, until browned, about 2 minutes.

      4While the first side is browning, dust the unseasoned side of the scallops with a bit of flour and season them with salt and pepper.

      5Flip the scallops. If any stick to the pan, wait a few more seconds then try again, gently wiggling them side to side to help release them.

      6Add the butter and garlic to the pan, swirling the butter around as it melts.

      7Cook another minute or two, then remove the pan from the heat. Stir in the basil leaves and lemon slices. Serve.

    Adam and Joanne’s Tips

    • Storing: Cooked scallops last in an airtight container in the fridge for up to 3 days. Do your best to store them in the coldest part of your fridge (usually towards the back). While you can technically freeze cooked scallops, you should only freeze scallops that were initially from fresh sources (not previously frozen).
    • Reheating: To reheat, add them to a skillet over medium heat with a small amount of butter or olive oil. Sear for 1 to 2 minutes per side until heated through.
    • Do I need to use flour? If you don’t want to use flour, it’s okay. It helps with even browning, and since some of the flour sticks to the bottom of the pan, it mixes with the butter, helping to thicken the garlic basil butter sauce. If you are gluten-free or don’t want to use flour, make sure the scallops are as dry as you can get them for the best chance at a good sear.
    • Using frozen scallops: The easiest and safest way to thaw them is to place them in the refrigerator the night before cooking them. To quickly thaw scallops, add them to a sealed bag and put them in a large bowl under cold running water. Move the bag around the bowl occasionally until the scallops have defrosted, about 30 minutes. Before cooking them, take extra care when patting them dry.
    • The nutrition facts provided below are estimates.

    Nutrition Per Serving
    Serving Size
    1/4 of the recipe (3 scallops)
    /
    Calories
    267
    /
    Total Fat
    12.6g
    /
    Saturated Fat
    3.7g
    /
    Cholesterol
    69.5mg
    /
    Sodium
    1236.8mg
    /
    Carbohydrate
    9.6g
    /
    Dietary Fiber
    0.2g
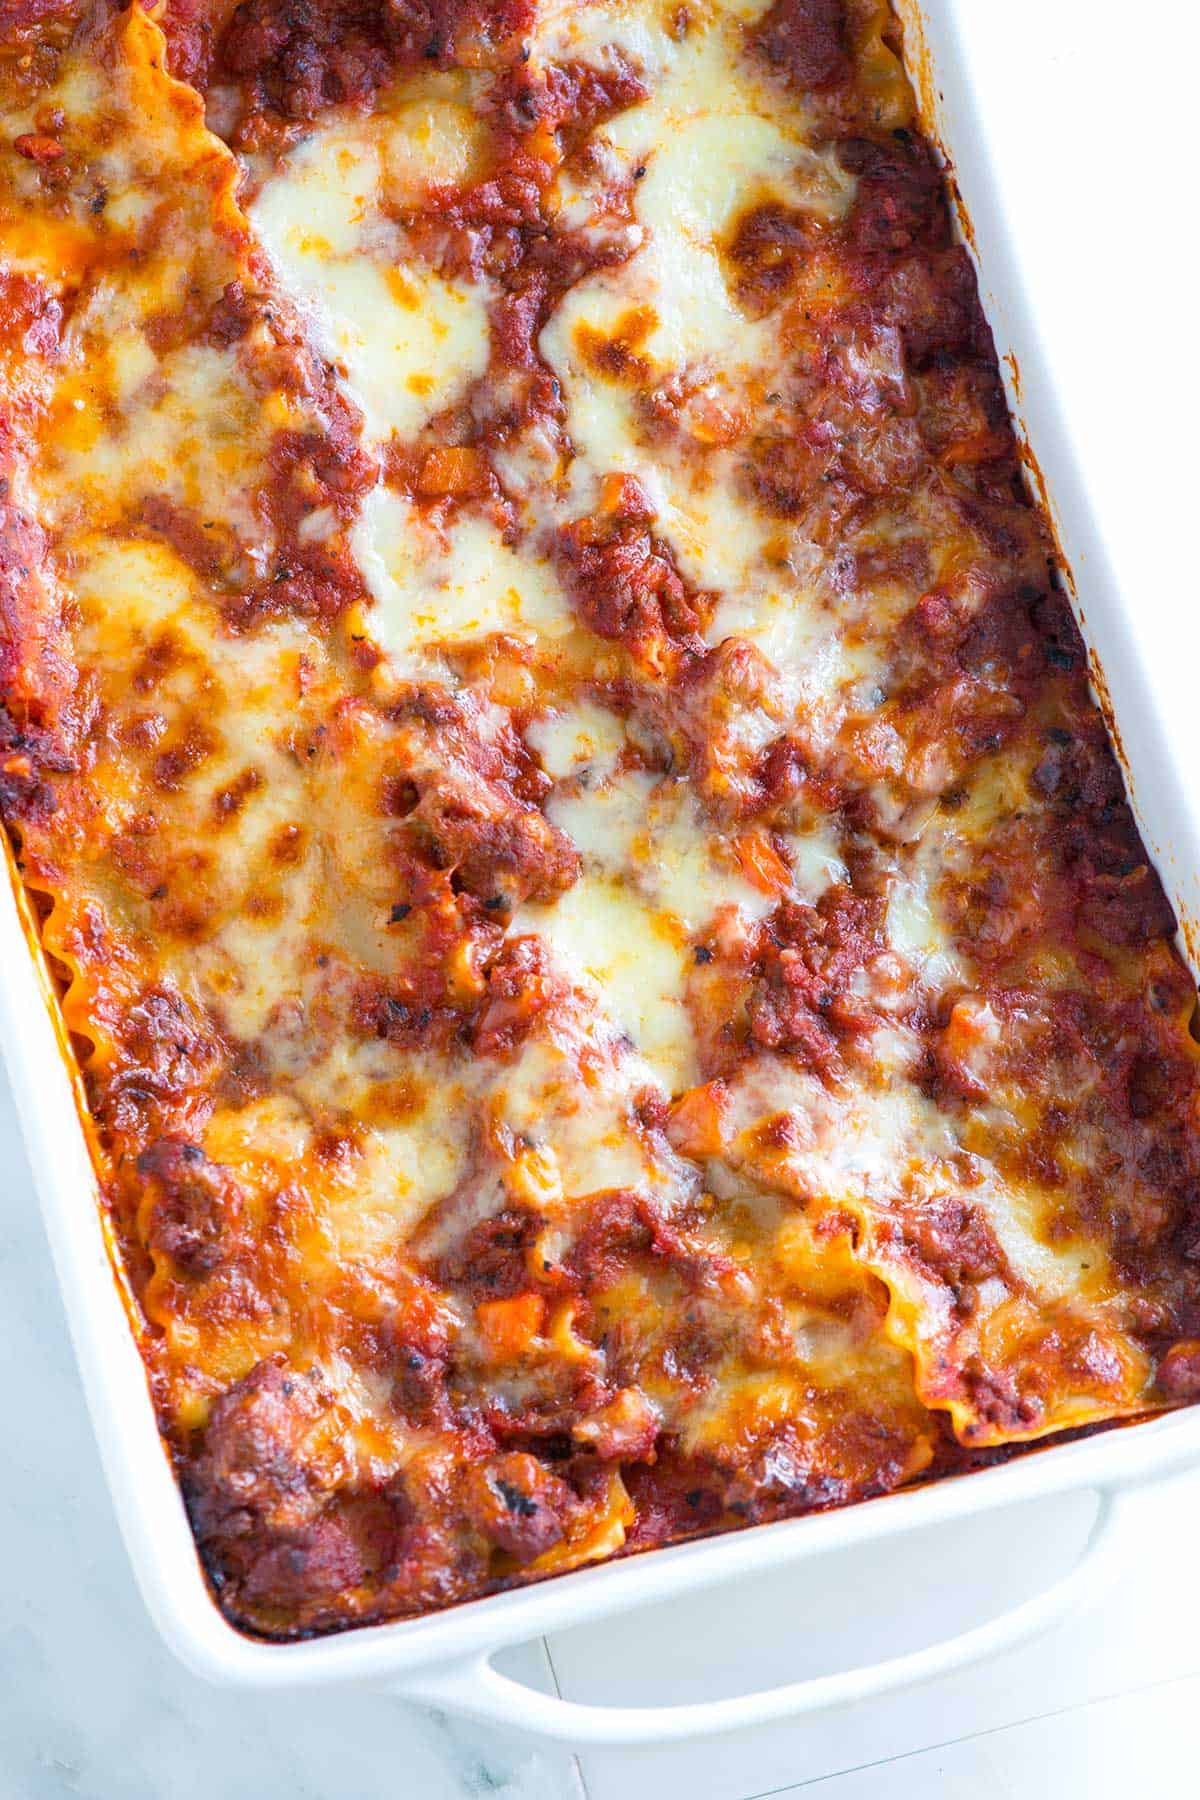
    /
    Total Sugars
    0.2g
    /
    Protein
    29.6g
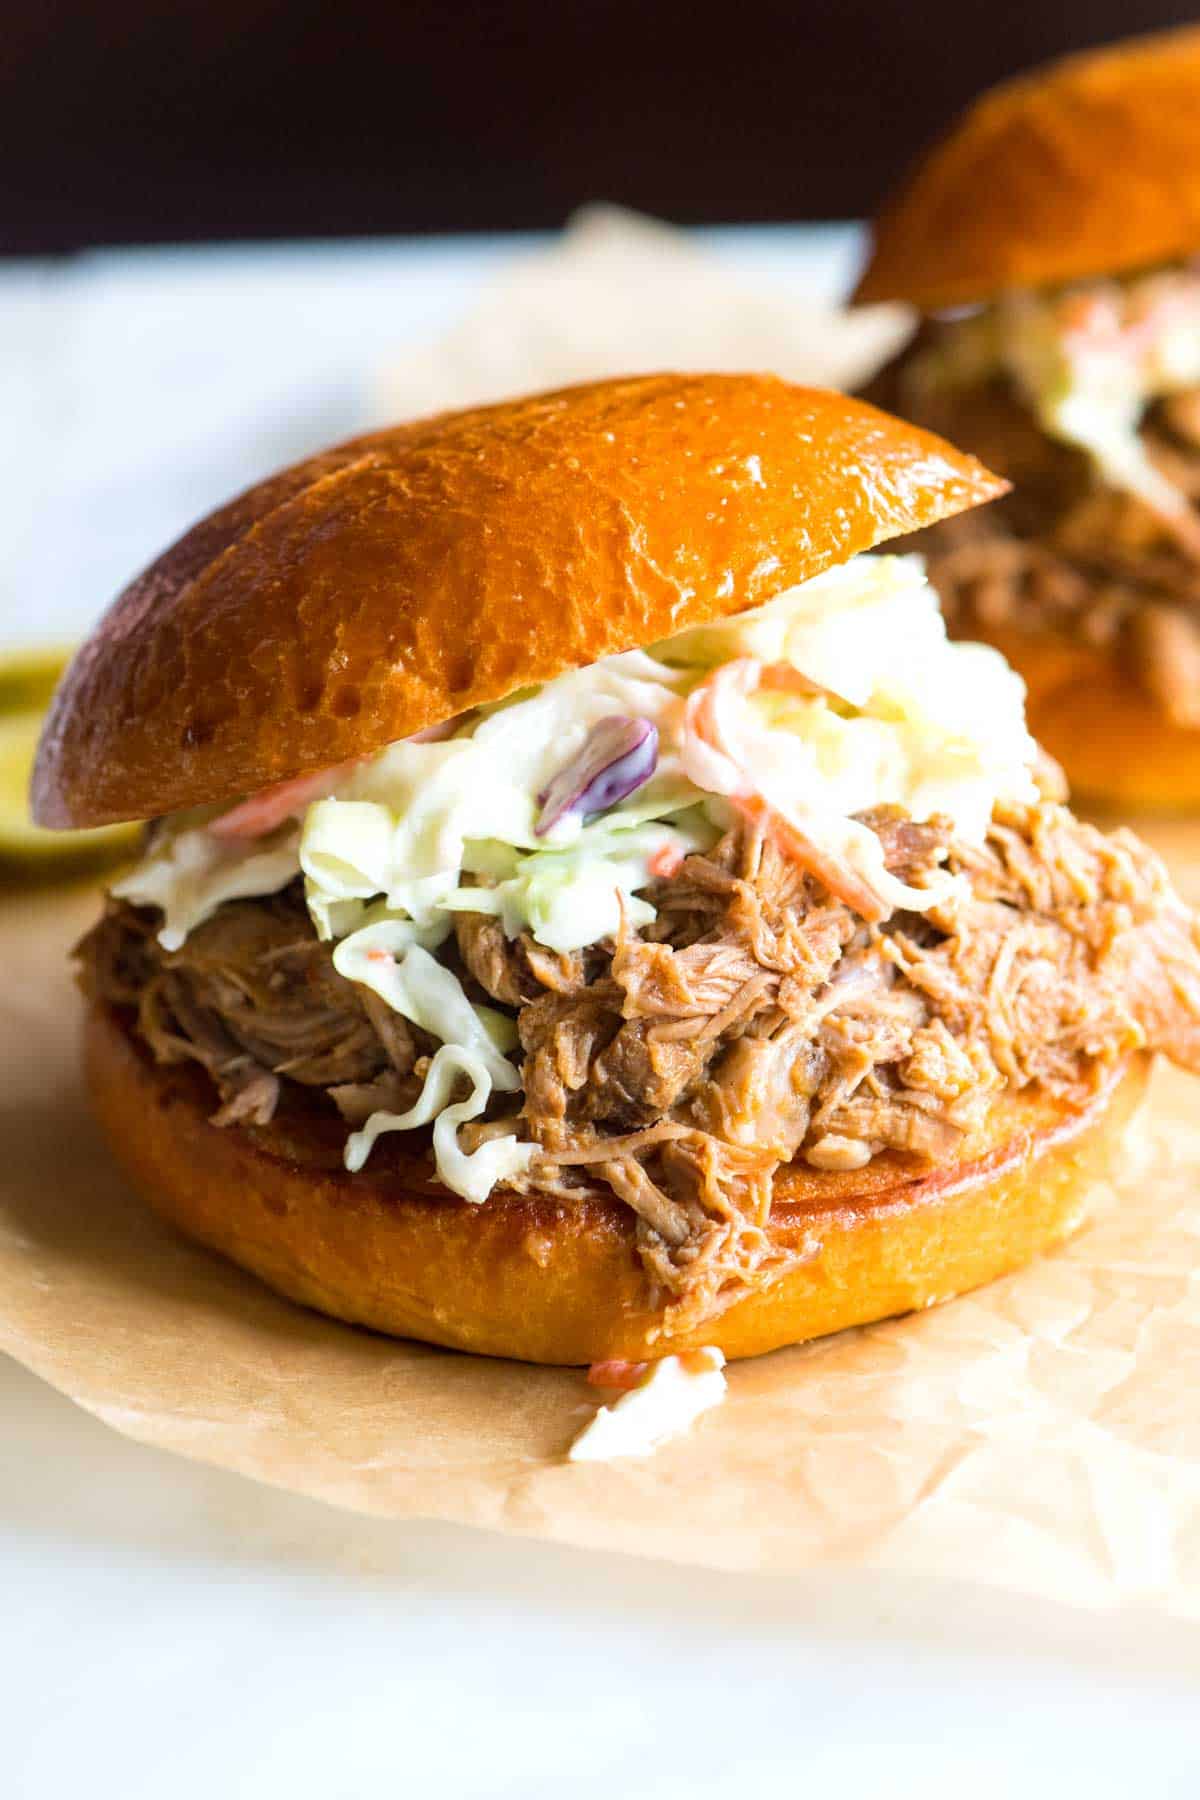

    AUTHOR:

    Adam Gallagher

    Adam and Joanne of Inspired Taste

    We are Adam and Joanne Gallagher, the creators of Inspired Taste. Established in 2009, Inspired Taste grew from a childhood dream into one of the internet’s most trusted recipe sites with hundreds of reliable recipes, step-by-step videos, and expert tips.More About Us

    Source link

  • Curried Chicken Salad

    Curried Chicken Salad

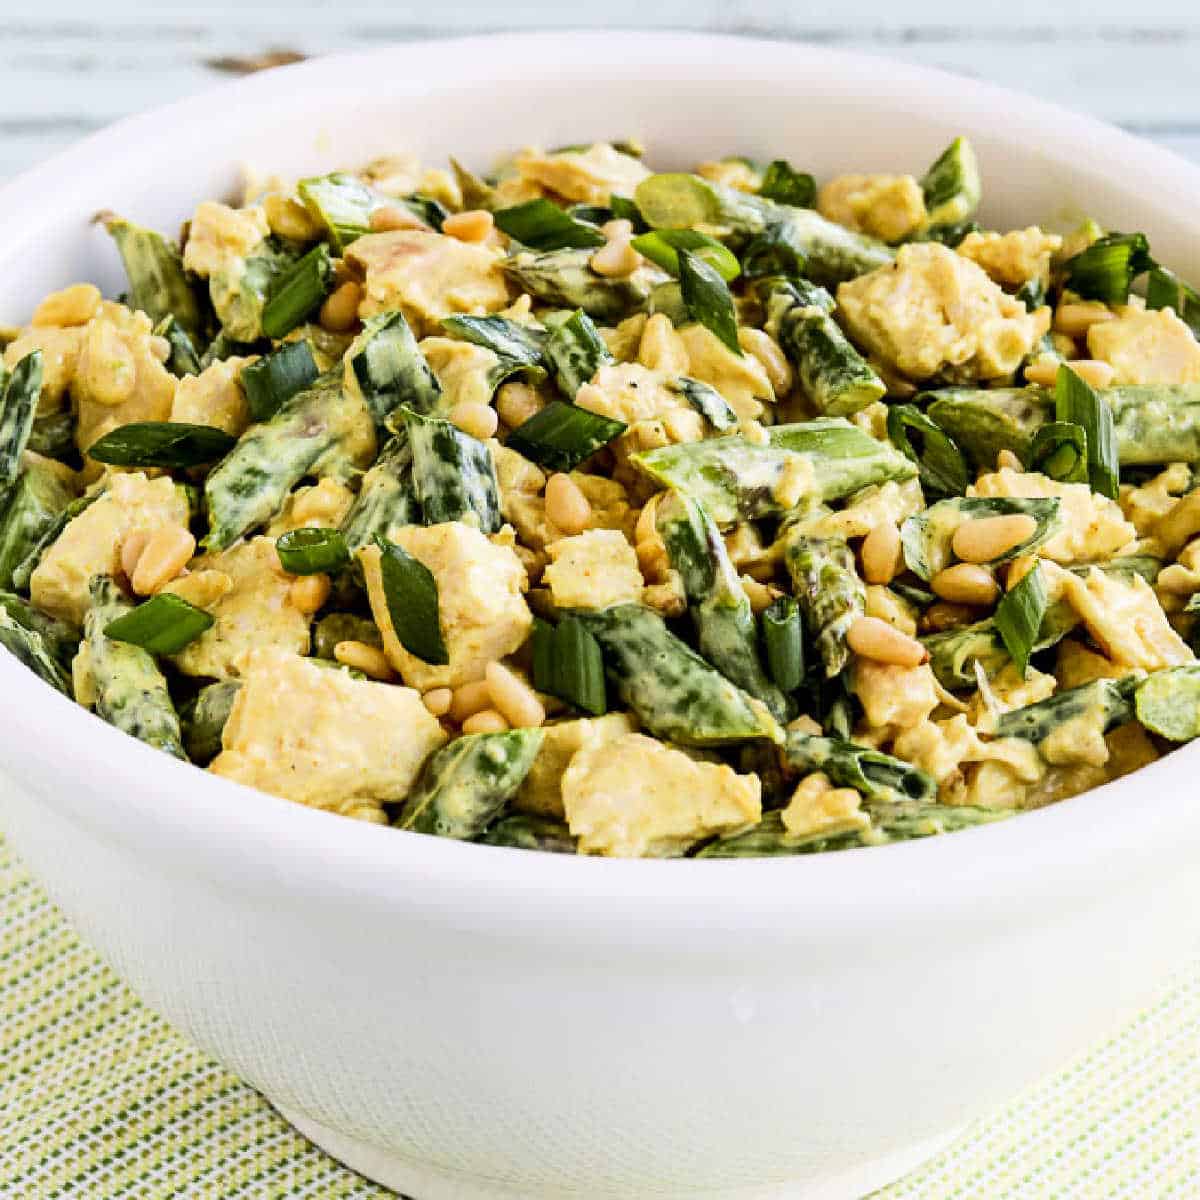
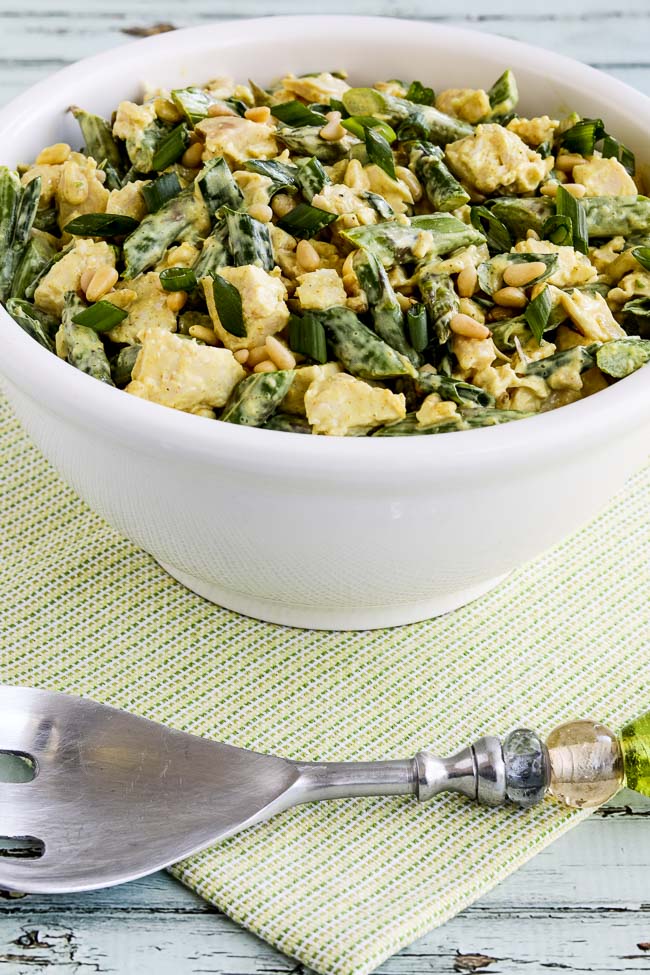
    My favorite Curried Chicken Salad has chicken, asparagus, pine nuts, and a creamy lemony dressing with curry flavors and a touch of mustard! And curry fans who like chicken and asparagus will make this delicious salad recipe over and over!

    PIN the Curried Chicken Salad to try it later!

    Low-Carb Curried Chicken Salad with Asparagus and Pine Nuts found on KalynsKitchen.com

    Curried Chicken Salad is a recipe I’ve been waiting to feature, because in Utah we kept getting rainy weather so I thought cold chicken and asparagus salad might be pushing it. But I noticed when I checked my blog stats that a few salad recipes had gone crazy on Pinterest, so I decided some of you are ready for salads!

    I’m a huge salad fan, and some of my favorite restaurant meals are salads that I order over and over and never get tired of. And when I ate leftovers from this salad for breakfast the day after we shot the new photos, I wished there had been a bit more left!

    We made a few changes to this salad recipe when we updated it, including switching out the peanuts in the original salad for pine nuts, which were an amazing change! Here’s the printer-friendly version of the original recipe, in case anyone was a fan of the older version.

    What ingredients do you need for this recipe?

    (This is only a list of ingredients; please scroll down for complete printable recipe. Or if you use the JUMP TO RECIPE link at the top of the page, it will take you directly to the complete recipe with ingredients amounts.)

    • fresh asparagus
    • cooked chicken breast
    • green onion
    • pine nuts
    • salt and fresh-ground black pepper to taste
    • buttermilk, sour cream, or Greek Yogurt for dressing
    • mayo
    • fresh-squeezed lemon juice (I used my fresh-frozen lemon juice)
    • lemon zest
    • curry powder (affiliate link)
    • Dijon Mustard (affiliate link)

    How did we make the Curried Chicken Salad recipe easier?

    For the updated version of this salad we used pre-cooked and cut up rotisserie chicken from Costco, which made the salad easier to put together.

    What Curry Powder did we use to flavor this Chicken Salad?

    I used a mix of mild and hot curry powder for this recipe, but any curry powder you like the flavor of will be delicious here.

    What if you don’t want asparagus in the Curried Chicken Salad?

    This salad also has asparagus which I know some people don’t have warm fuzzy feelings about. If you want to try a different veggie, I think barely-blanched sugar snap peas, broccoli, or green beans would also be good.

    How low in carbs is this curried chicken salad with asparagus?

    Chicken, asparagus, and pine nuts are all extra low in carbs, so this amazing salad recipe has only 3.5 net carbs per serving with 37 grams of protein!

    Low-Carb Curried Chicken Salad with Asparagus and Pine Nuts found on KalynsKitchen.com

    How to make Curried Chicken Salad:

    (This is only a summary of the steps for the recipe; please scroll down for complete printable recipe. Or if you use the JUMP TO RECIPE link at the top of the page, it will take you directly to the complete recipe.)

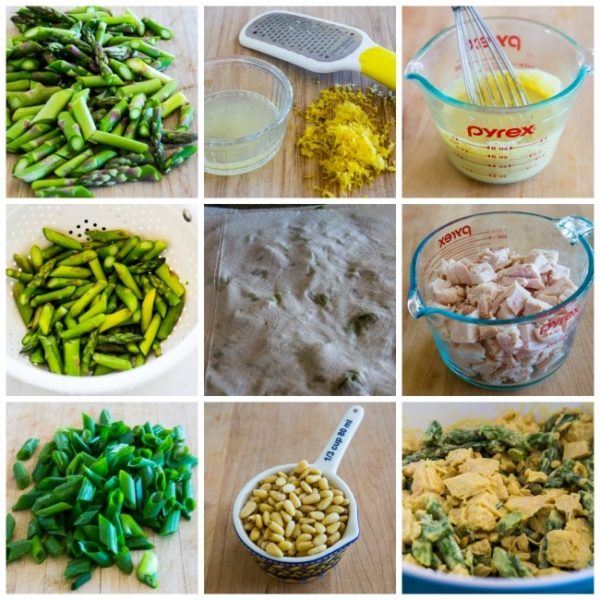
    1. Cut asparagus on the diagonal into pieces and then blanch in salted water.
    2. While you’re waiting for water to come to a boil and cooking asparagus, zest the lemon and squeeze the juice. You can use a fine cheese grater if you don’t have a lemon zester (affiliate link).
    3. Whisk together ingredients to make the curry dressing.
    4. After three minutes, drain asparagus well.
    5. Lay out a paper towel on the counter and spread out the asparagus, then cover with another paper towel and blot away as much water as possible.
    6. Let asparagus cool while you cut up enough cooked chicken to make 4 cups.
    7. Slice green onions on the diagonal and measure out the pine nuts (or nuts of your choice.)
    8. Combine diced chicken and asparagus with desired amount of dressing.
    9. Gently stir in the green onion and pine nuts, season to taste with salt and fresh-ground black pepper, and serve.
    10. We saved a few pine nuts to sprinkle on the top!
    11. The Curried Chicken Salad can be kept in the fridge for a few hours before serving, and it was still amazing as leftovers when it had been in the fridge overnight, so if you’re cooking for a few people you could certainly double the recipe.

    Make it for a Low-Carb Meal:

    If you want to serve the chicken salad with curry flavors as part of a low-carb meal, it would taste great with any of these choices:

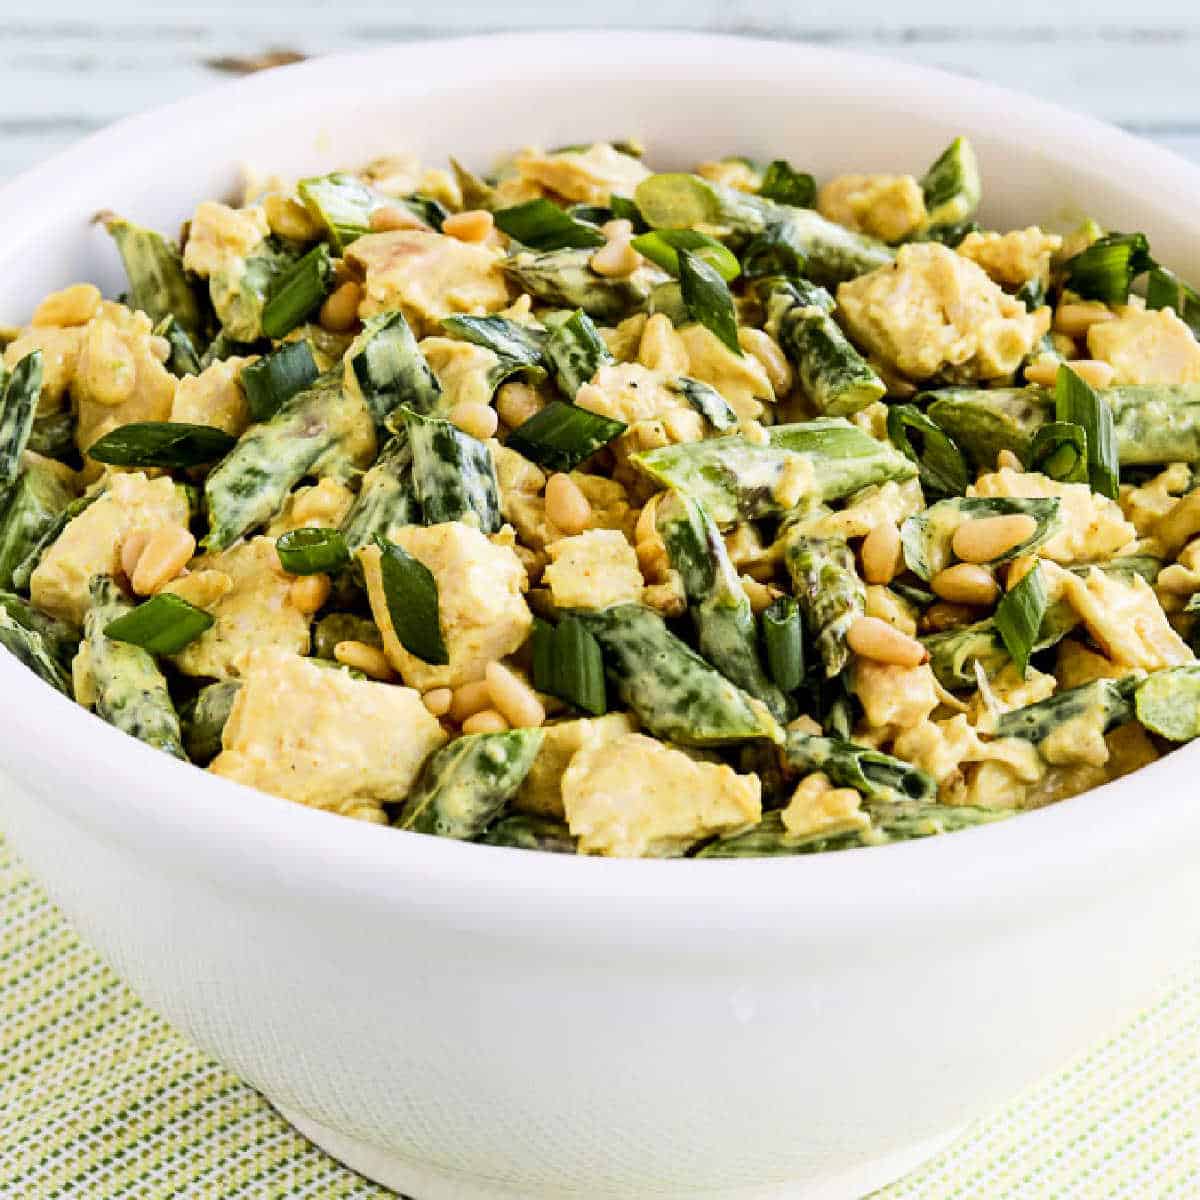
    Square image for Curried Chicken Salad with Asparagus and Pine Nuts shown in white bowl.

    More Tasty Ideas for Asparagus:

    Check out Low-Carb and Keto Asparagus Recipes to see lots more ideas for using my favorite spring vegetable!

    Weekend Food Prep:

    Curried Chicken Salad has been added to a category called Weekend Food Prep to help you find recipes you can prep or cook on the weekend and eat during the week! And when I make this I often wish I had more left over, so you might want to double the recipe!

    Ingredients

    • 1 lb fresh asparagus, trimmed and cut into diagonal 2 inch pieces
    • 1 lemon (zest the skin and then squeeze the juice)
    • 4 cups cooked chicken breast, cut into 1 inch pieces (see notes)
    • 1 cup sliced green onion (see notes)
    • 1/2 cup pine nuts, or other nuts of your choice
    • salt and fresh-ground black pepper to taste
    • 2 T buttermilk, sour cream, or Greek Yogurt
    • 1/3 cup mayo
    • 1 T fresh-squeezed lemon juice (or use more if you really like lemon)
    • 1 T curry powder (or a little more)
    • 2 tsp. Dijon Mustard
    • 2 tsp. lemon zest (or a little more)
    • 1/4 tsp. sea salt

    Instructions

    1. Bring a pot of salted water to a boil. Hold one piece of asparagus in both hands and bend until it snaps to see where the woody part ends; then trim all the asparagus to that length. Cut asparagus on the diagonal into pieces and then cook in salted water for 3 minutes. (Don’t overcook!)
    2. While you’re waiting for water to come to a boil and cooking asparagus, zest the lemon and then cut lemon in half and squeeze the juice. (Use a fine cheese grater if you don’t have a lemon zester (affiliate link).)
    3. Whisk together buttermilk (or sour cream or Greek yogurt), mayo, lemon juice, curry powder, Dijon mustard, lemon zest and sea salt to make the curry dressing. Start with the original amount of lemon juice and zest and taste to see if you want a bit more lemon.
    4. After it cooks exactly three minutes, drain asparagus into a colander placed in the sink and let it drain well. Then lay out a paper towel on the counter and spread out the asparagus on the towel. Then cover with another paper towel and gently press down to blot away much water as possible.
    5. Let asparagus cool while you cut up enough cooked chicken to make 4 cups.
    6. Slice green onions on the diagonal and measure out the pine nuts (or nuts of your choice.)
    7. Combine diced chicken and asparagus with desired amount of dressing; you may not need all the dressing if you prefer your salads to be fairly dry.
    8. Gently stir in the green onion and pine nuts.
    9. Season the finished salad to taste with salt and fresh-ground black pepper, and serve.
    10. This Curried Chicken Salad can be kept in the fridge for a few hours before serving. It was still amazing as leftovers when it had been in the fridge overnight, so if you’re cooking for a few people you could certainly double the recipe. If you have any extra dressing you might want to add a bit more right when you serve the salad.

    Notes

    We used rotisserie chicken breast that comes in a package at Costco which makes the salad extra easy to make!

    Please use the full amount of sliced green onion; this is so good in the salad!

    This recipe adapted from The South Beach Diet Taste of Summer Cookbook., although I changed it quite a bit from their recipe.

    Nutrition Information

    Yield

    6

    Serving Size

    1

    Amount Per Serving

    Calories 396Total Fat 24gSaturated Fat 4gUnsaturated Fat 18gCholesterol 87mgSodium 433mgCarbohydrates 7.5gFiber 4gSugar 4gProtein 37g

    Nutrition information is automatically calculated by the Recipe Plug-In I am using. I am not a nutritionist and cannot guarantee 100% accuracy, since many variables affect those calculations.

    Did you make this recipe?

    Did you make this recipe? Please leave a star rating (under the PRINT button in the recipe) or share a photo of your results on Instagram! THANKS!

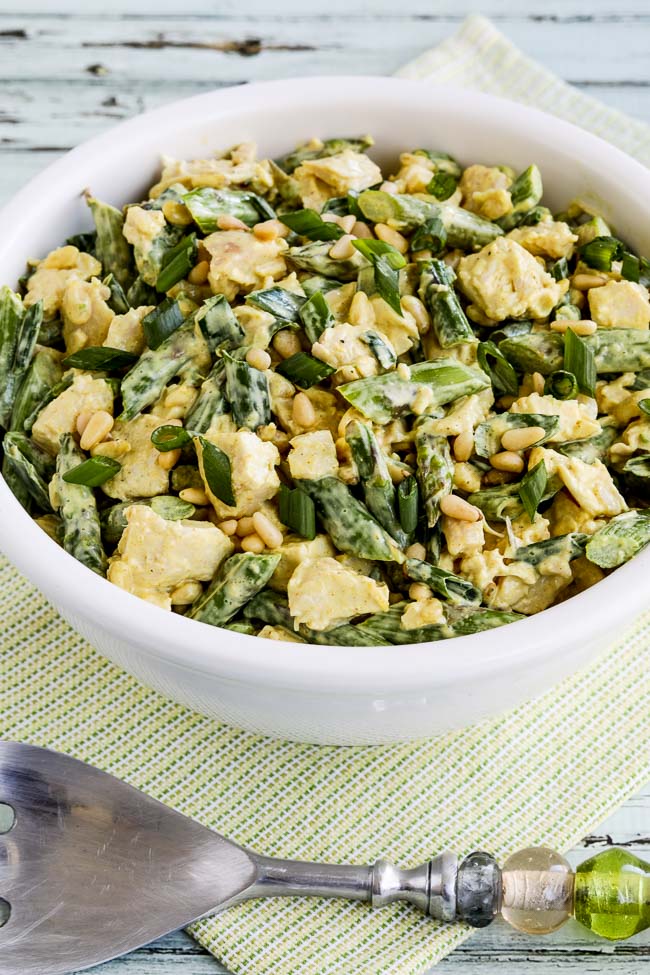
    Curried Chicken Salad in white bowl with serving fork.

    Low-Carb Diet / Low-Glycemic Diet / South Beach Diet Suggestions:
    This Curried Chicken Salad recipe would be approved for low-carb or Keto diet plans as well as any phase of the original South Beach Diet. South Beach would recommend light mayo and other diet plans would prefer the full-fat variety so take your choice on that!

    Find More Recipes Like This One:
    Use Salad Recipes to find more low-carb salads like this one! Use the Diet Type Index to find recipes suitable for a specific eating plan. You might also like to follow Kalyn’s Kitchen on Pinterest, on Facebook, on Instagram, on TikTok, or on YouTube to see all the good recipes I’m sharing there.

    Historical Notes for this Recipe:
    The recipe for chicken and asparagus salad with curry dressing was first posted in 2011 and updated with better photos and a few minor changes in 2019. The recipe was last updated with more information in 2026.

    Pinterest image of Curried Chicken Salad

    We are a participant in the Amazon Services LLC Associates Program, an affiliate advertising program designed to provide a means for us to earn fees by linking to Amazon.com and affiliated sites. As an Amazon Associate, I earn from qualifying purchases.


    Source link

  • Our 21 Most Loved Pork Recipes (Readers Keep Coming Back)

    Our 21 Most Loved Pork Recipes (Readers Keep Coming Back)

    These are our 21 most loved pork recipes that have earned a permanent spot in our readers’ kitchens.

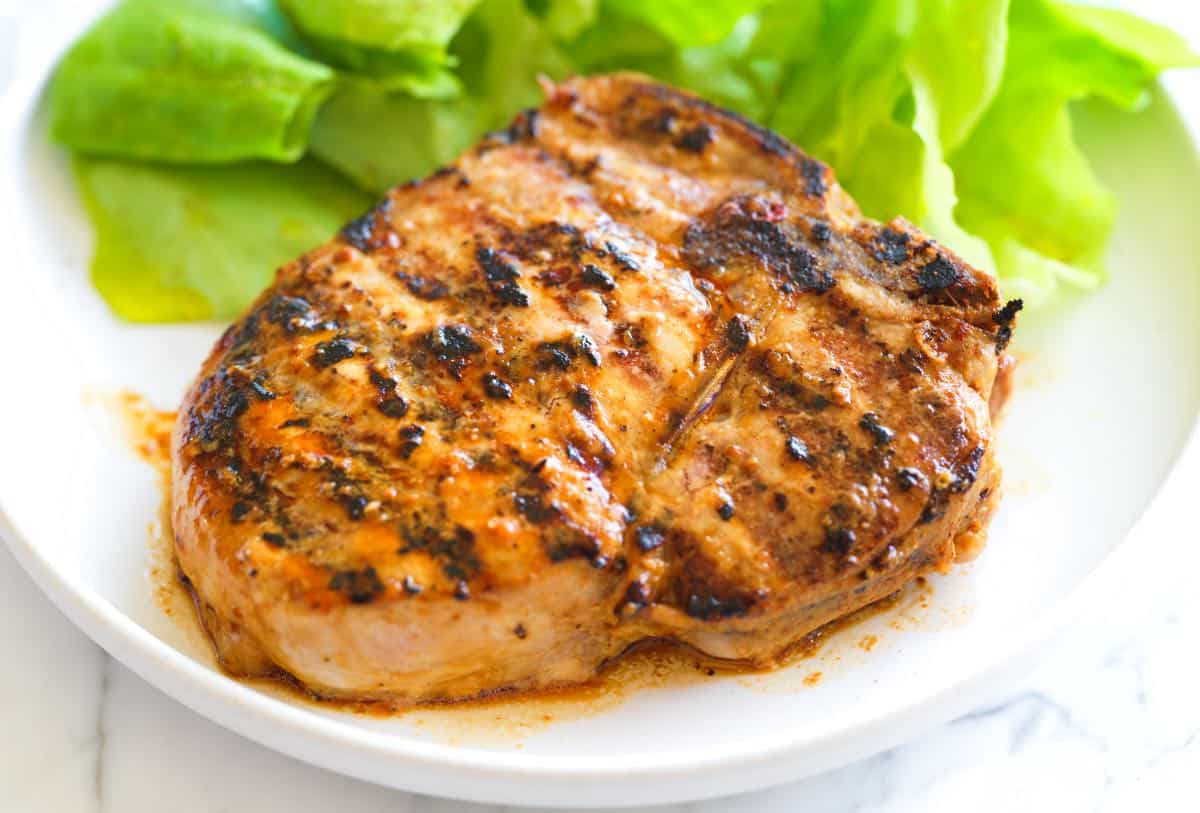
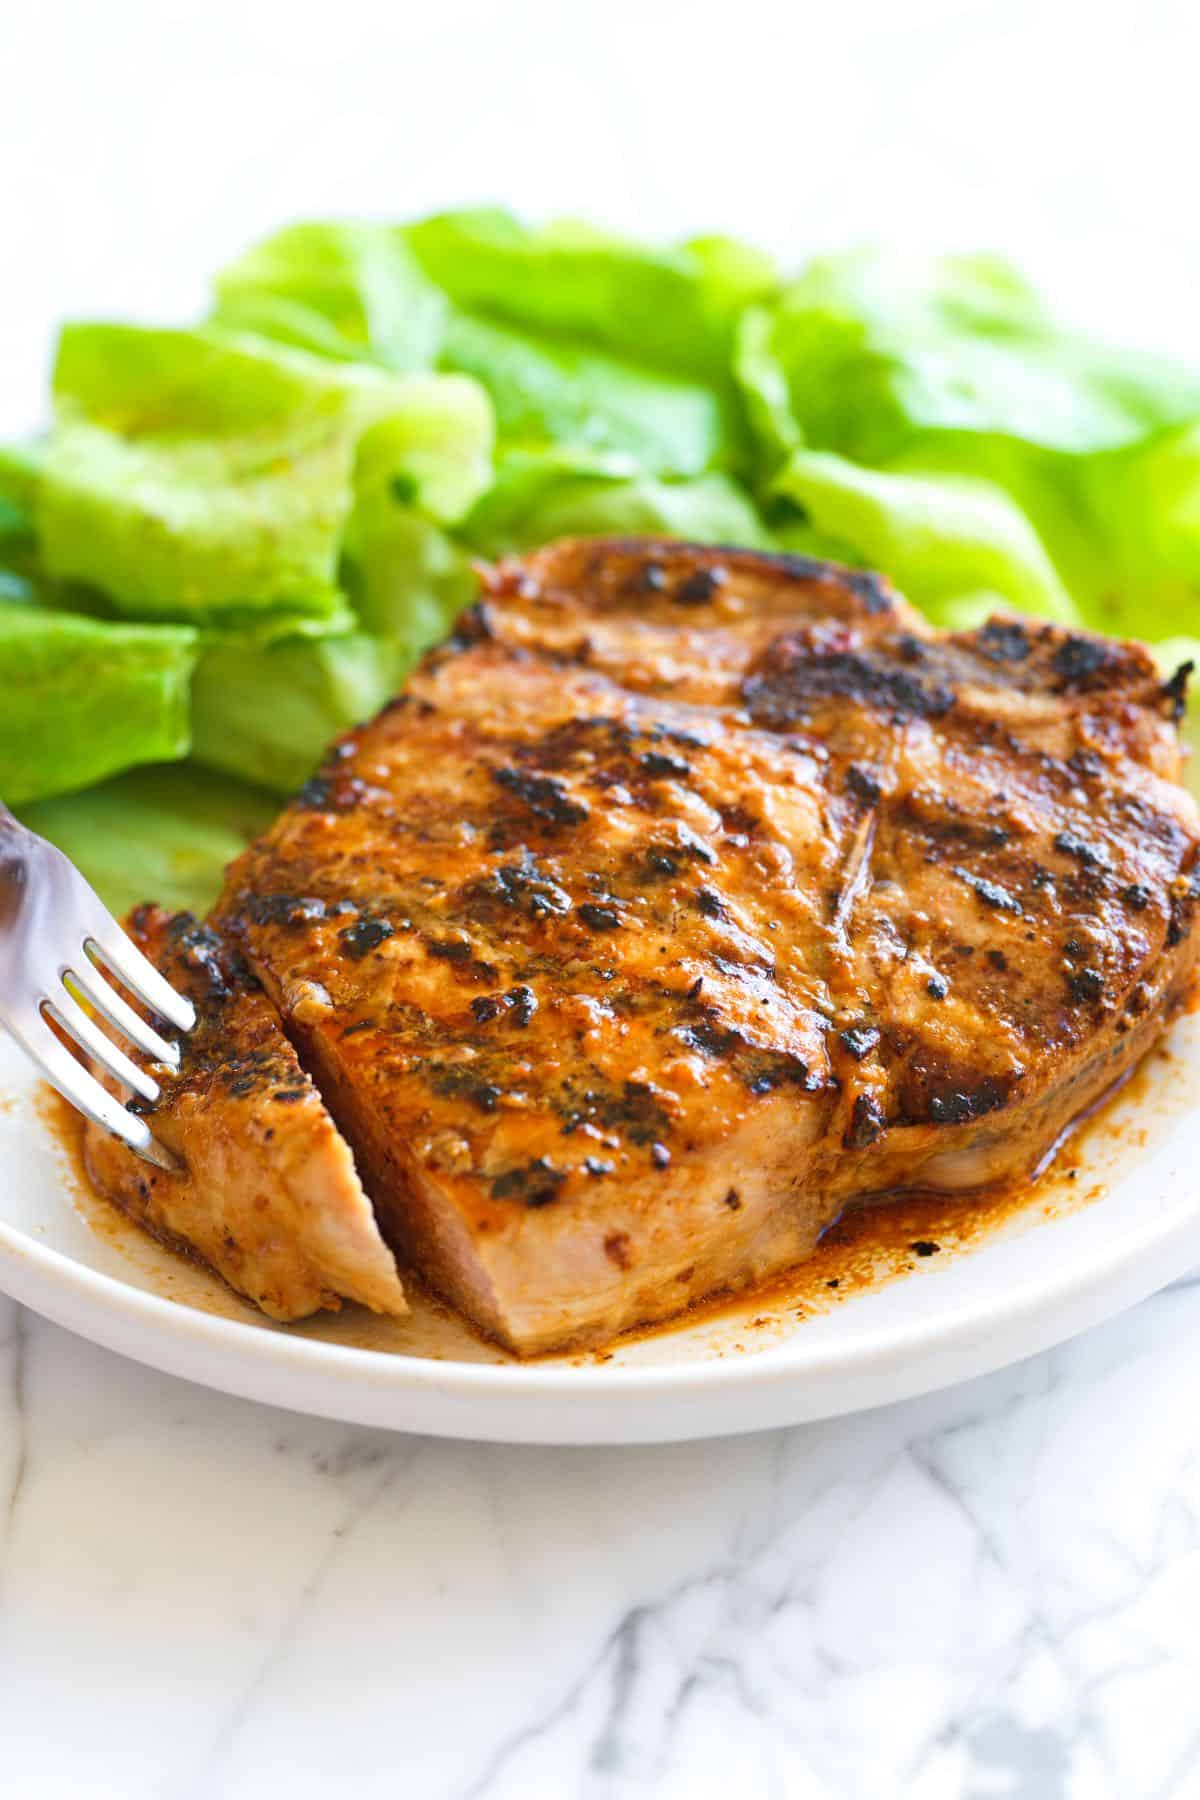
    Pork Chop Marinade

    Below, you’ll find everything from easy weeknight dinners to slow-cooked classics like pulled pork, ribs, and carnitas. Over the years, these recipes have become true reader favorites, and the recipes you’ve shared, rated, and come back to again and again.

    They also happen to be some of our own family’s most-cooked pork recipes. I hope you find a new favorite (or two) to add to your rotation!

    Find all 20 recipes below! For more, see all of pork recipes or join our free newsletter and get our best seasonal recipes delivered straight to your inbox. Happy cooking!

    Our Best Pork Chop Recipes

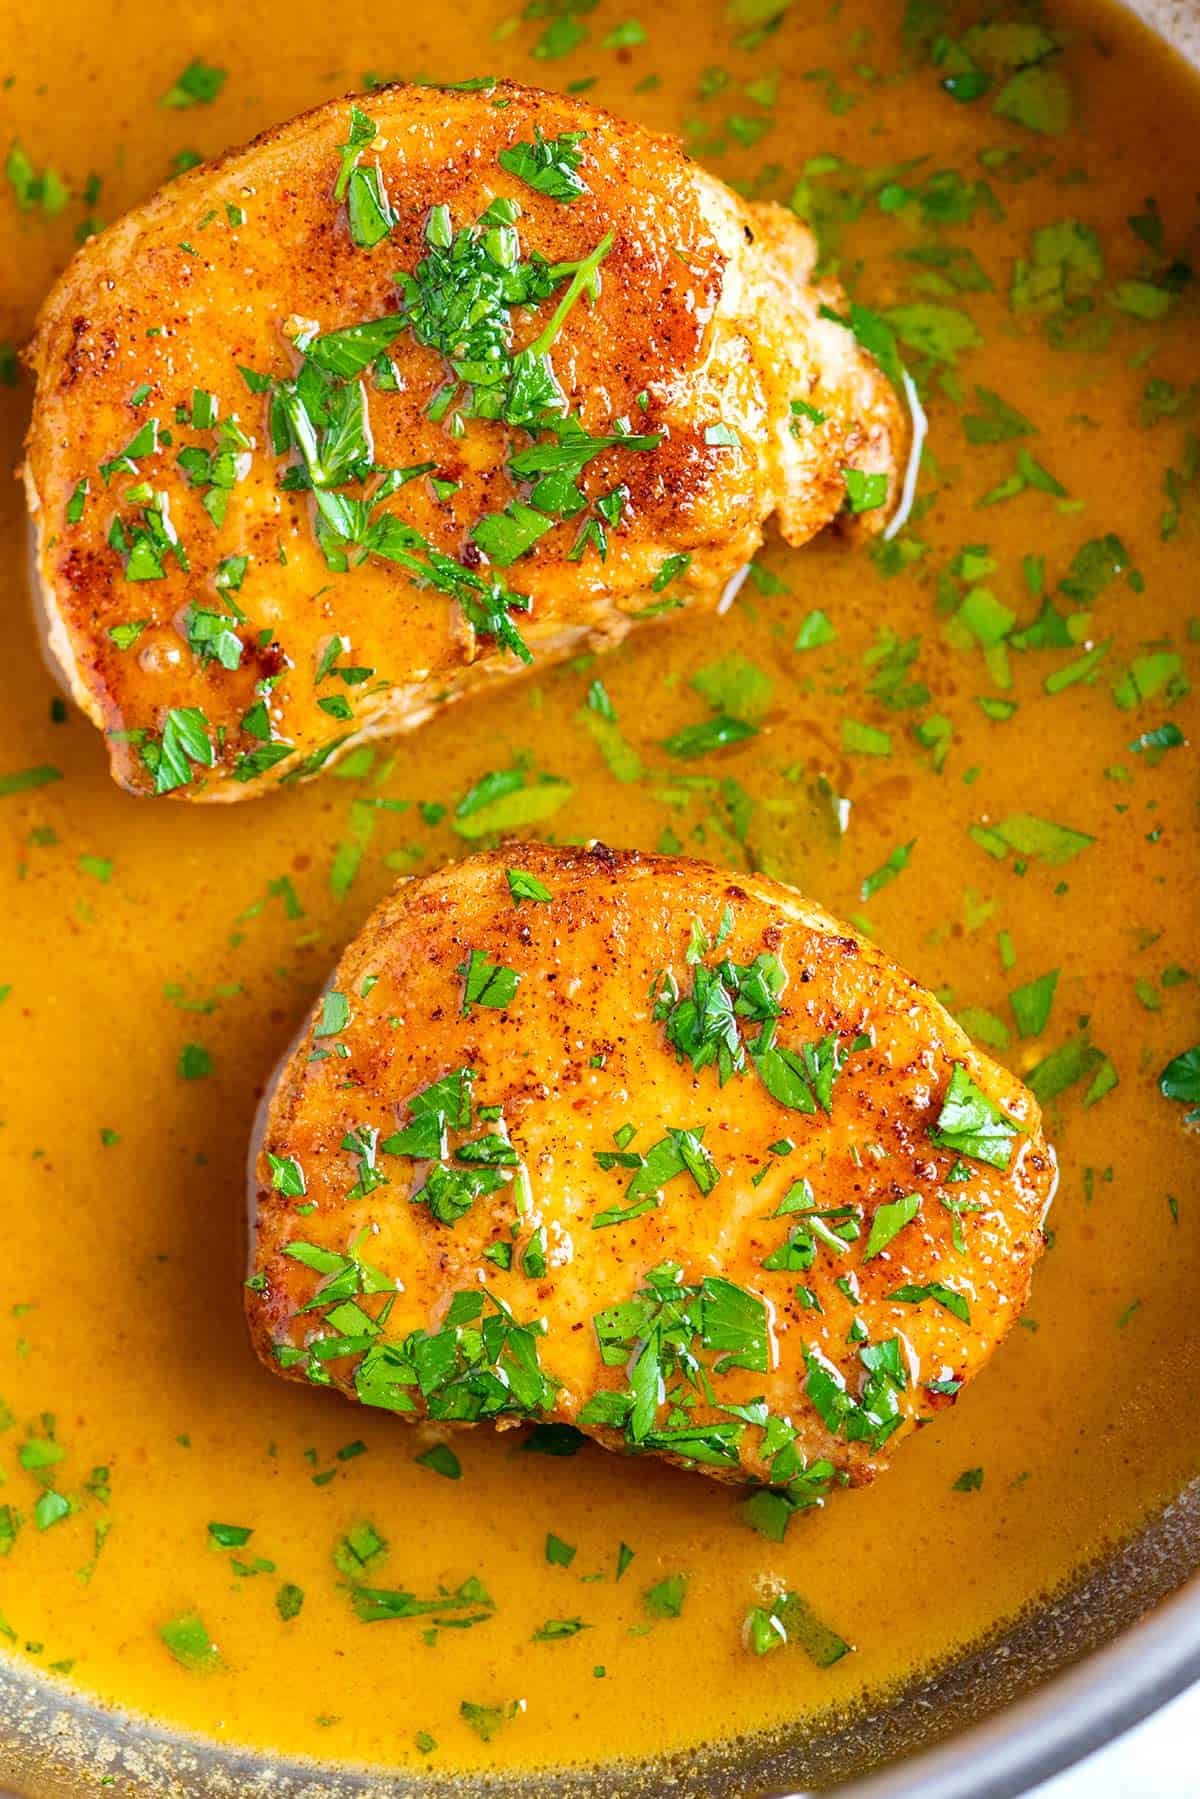
    My family is always happy when a new pork chop recipe makes it into our dinner rotation. Pork chops are easy to find, budget-friendly, and work with just about any flavor you’re craving. Our most popular version is our juicy skillet pork chops, which have become a reader favorite because they show exactly how to cook pork chops so they stay tender and flavorful (no dry pork here!).

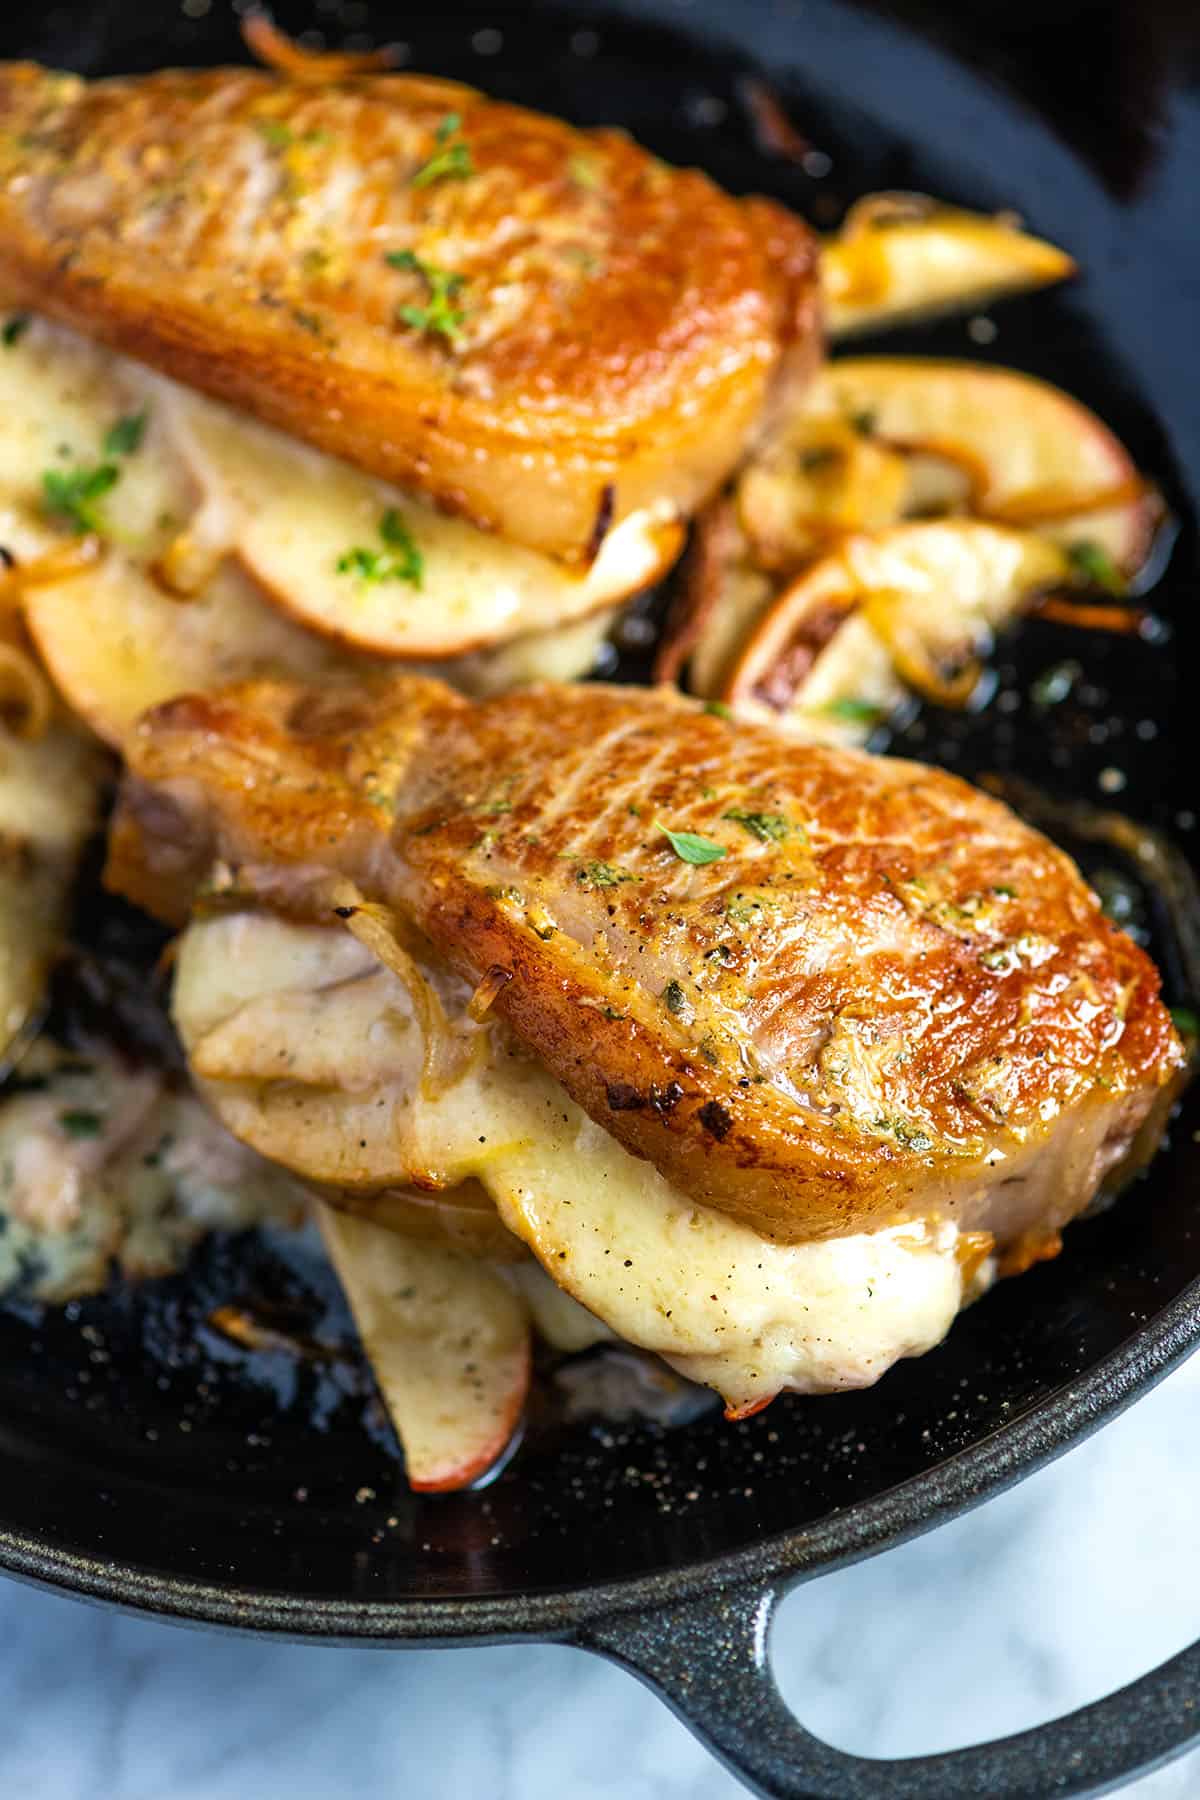
    If you’re looking to mix things up, don’t miss our pork chop marinade. It adds incredible flavor every single time (we have Chef Richard to thank for that one). And the apple stuffed chops are absolutely perfect for fall!

    Juicy pork chops

    The Best Juicy Skillet Pork Chops

    This is the most popular pork chop recipes on Inspired Taste, and for good reason. They’re quick, reliable, and practically foolproof. With our easy method and a few simple tips, you can make juicy, tender pork chops with very little effort. Once you try them, you’ll see why readers keep coming back to this recipe again and again.

    Pork Milanese

    Crispy Pork Milanese

    This pork milanese recipe is all about tender, juicy pork with a light, crispy breading. It’s easier than you might think and turns out absolutely delicious every time.

    Apple Stuffed Pork Chops

    Easy Stuffed Pork Chops

    I love pork chops, but stuffed pork chops filled with apples and cheese are on another level. The sweet-tart apples, melty cheese, and savory pork are an unbeatable combo. Add a quick mustard rub, and they turn out outrageously good. They’re perfect for an easy weeknight dinner or for impressing friends and family. A total winner!

    The Best Juicy Baked Pork Chops

    Juicy Baked Pork Chops

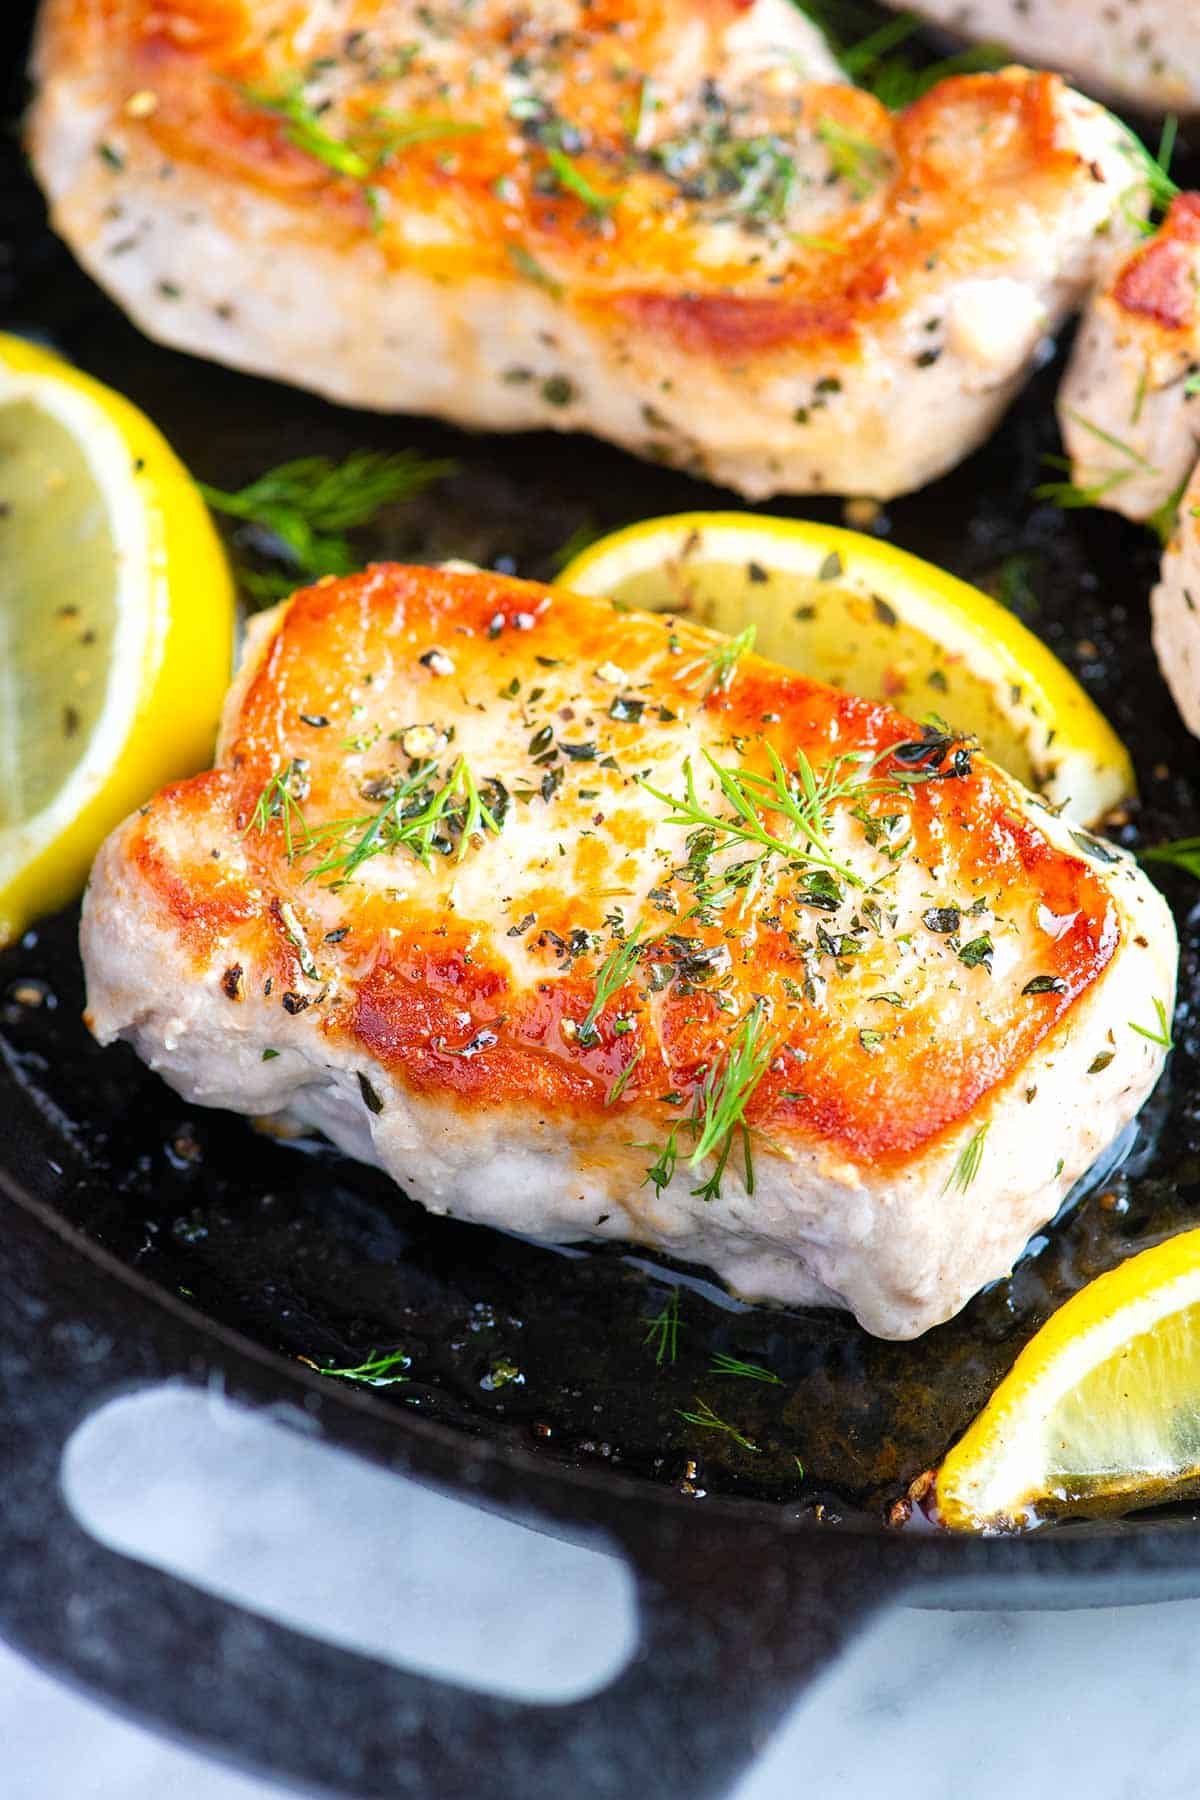
    Our baked pork chop recipe guarantees juicy, tender, golden-brown results every time. It’s easily one of my favorite ways to cook pork chops. It’s simple, reliable, and so flavorful. The herb and lemon seasoning adds a fresh twist that works really well with roasted potatoes, roasted veggies, or a simple green salad. You’ll love how easy (and delicious) this recipe is!

    Easy Pork Chop Marinade

    Easy Pork Chop Marinade

    We call this a pork chop marinade, but honestly, you can use it with any cut of pork. It’s savory, delicious, and thick so it sticks to the pork really well as it marinates.

    Our Favorite Ground Pork Recipes

    Ground pork might be one of my favorite ingredients to cook with. It’s naturally flavorful and has just the right amount of fat, which keeps whatever you’re making moist and juicy. That little bit of richness is the secret to why our Italian meatballs turn out so tender and delicious, and why our homemade breakfast sausage is such a favorite around here.

    Easy Ground Pork Tacos

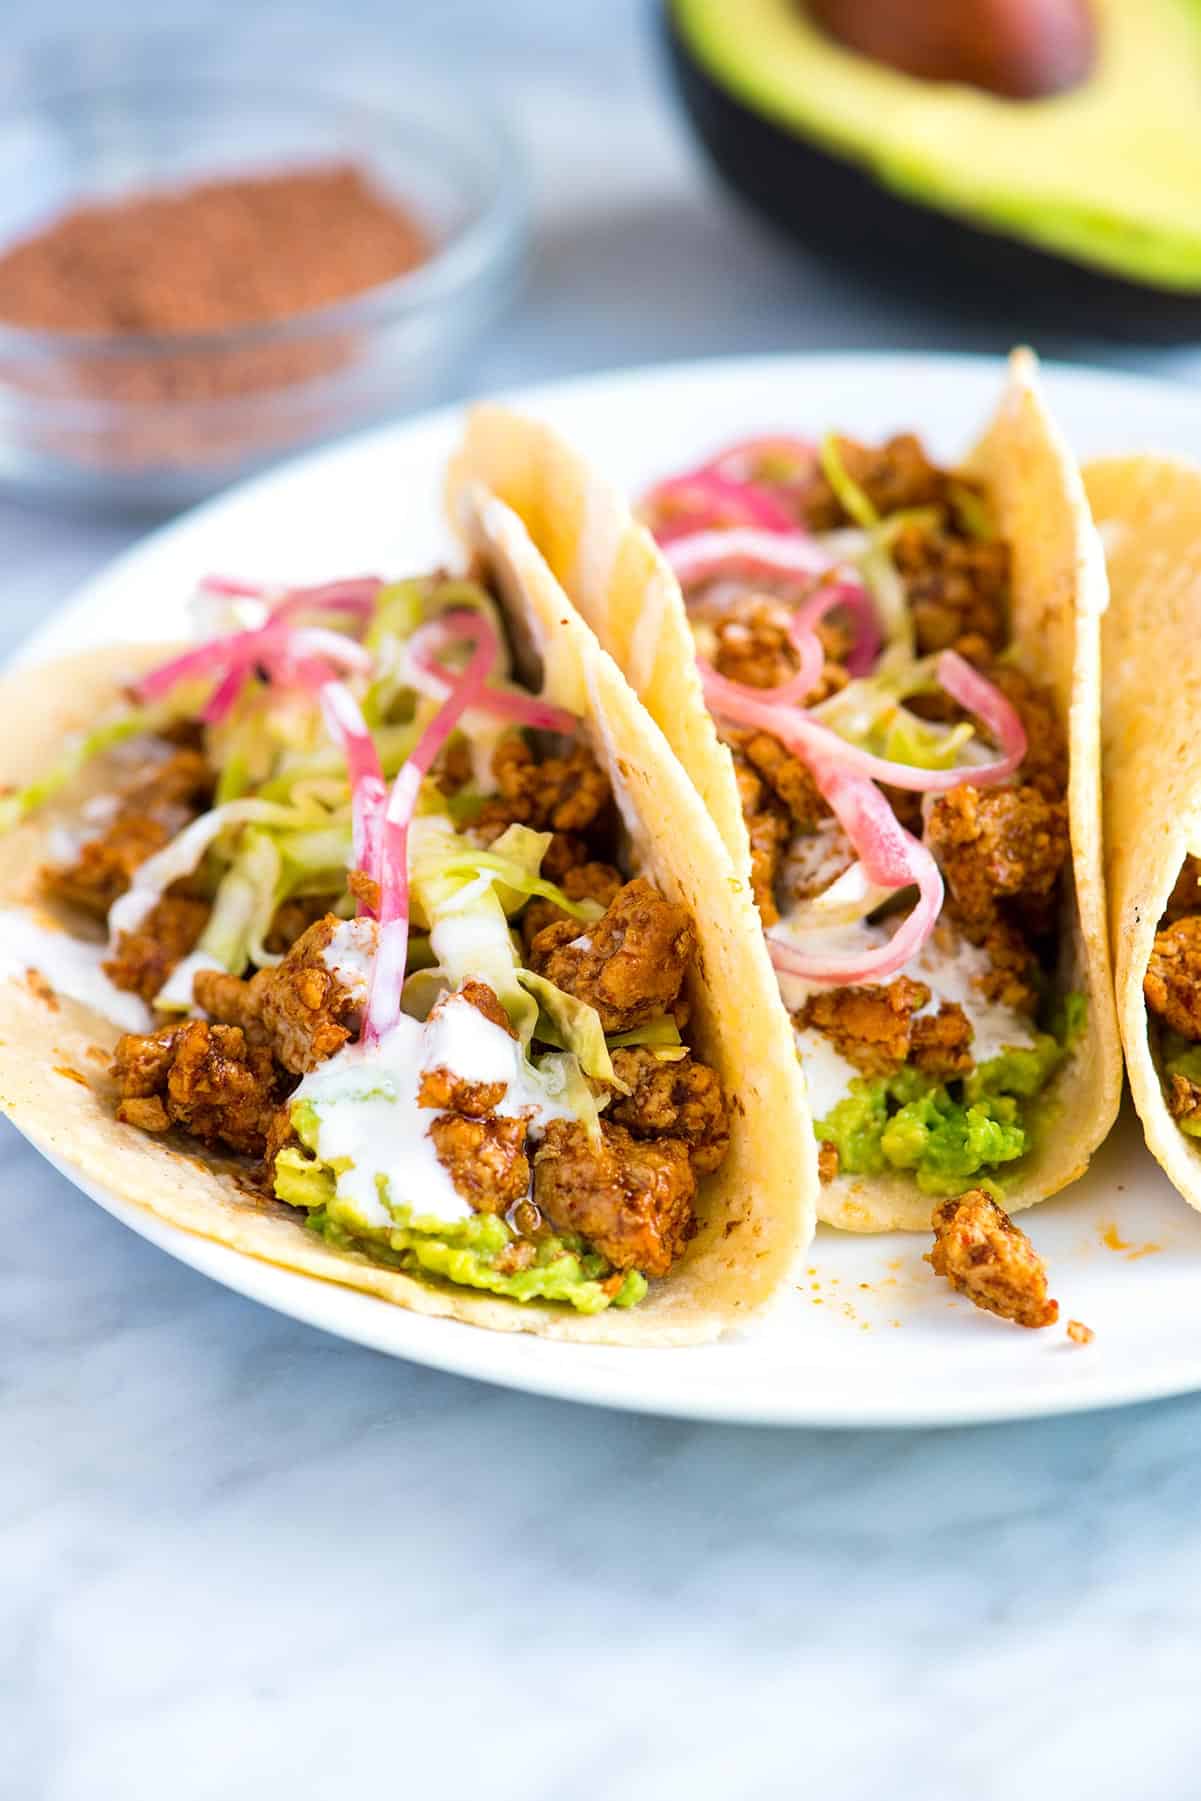
    Thanks to ground pork, this pork tacos recipe comes together quickly. We’re talking 20 minutes, and you’ll have dinner on the table. I especially love these with homemade corn tortillas (but that’s if you’re feeling fancy).

    Easy Swedish Meatballs

    Swedish Meatballs

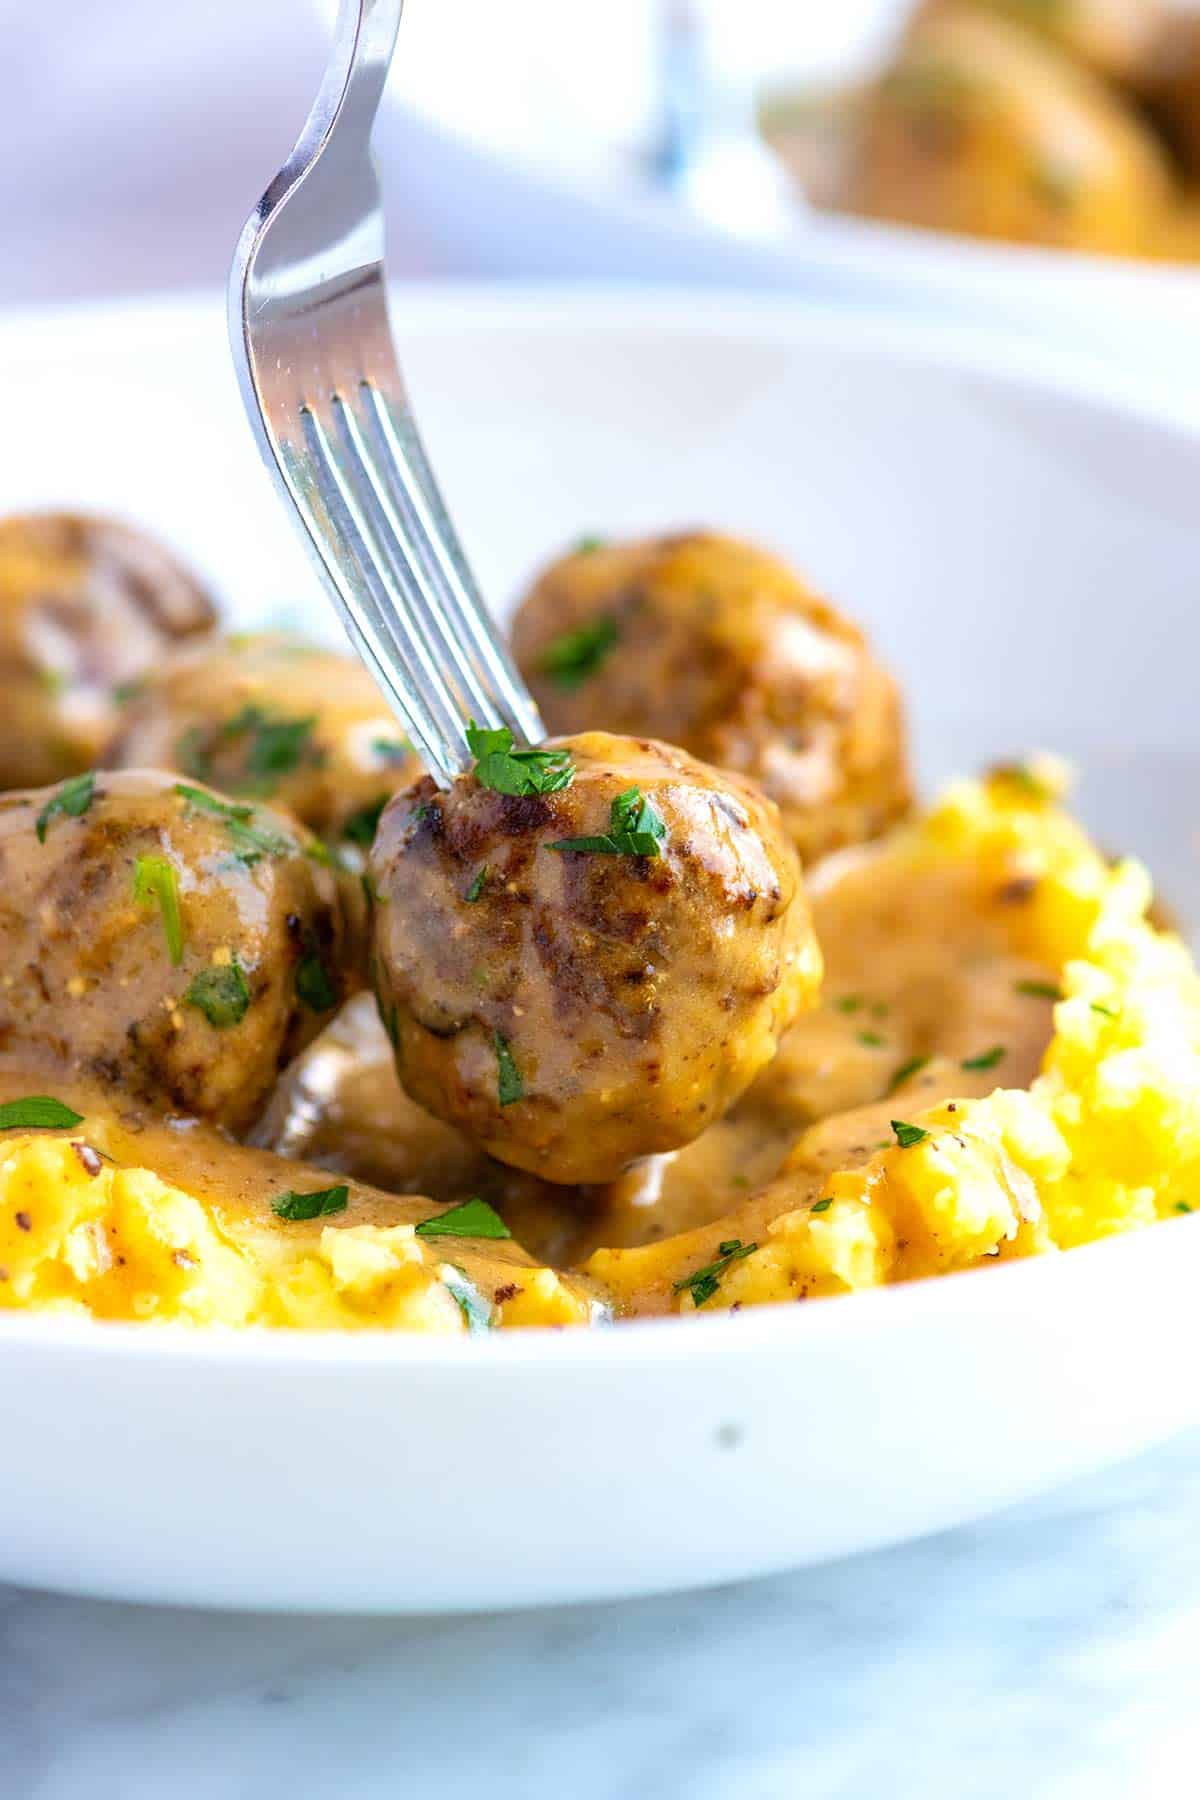
    This Swedish meatball recipe guarantees juicy, tender meatballs, with an unbelievably good homemade gravy, and that’s all thanks to a mixture of ground pork and ground beef. The combination genuinely makes such a fantastic meatball. And of course, they would not be complete without mashed potatoes.

    Authentic Italian Meatballs

    Italian Meatballs with the Best Sauce

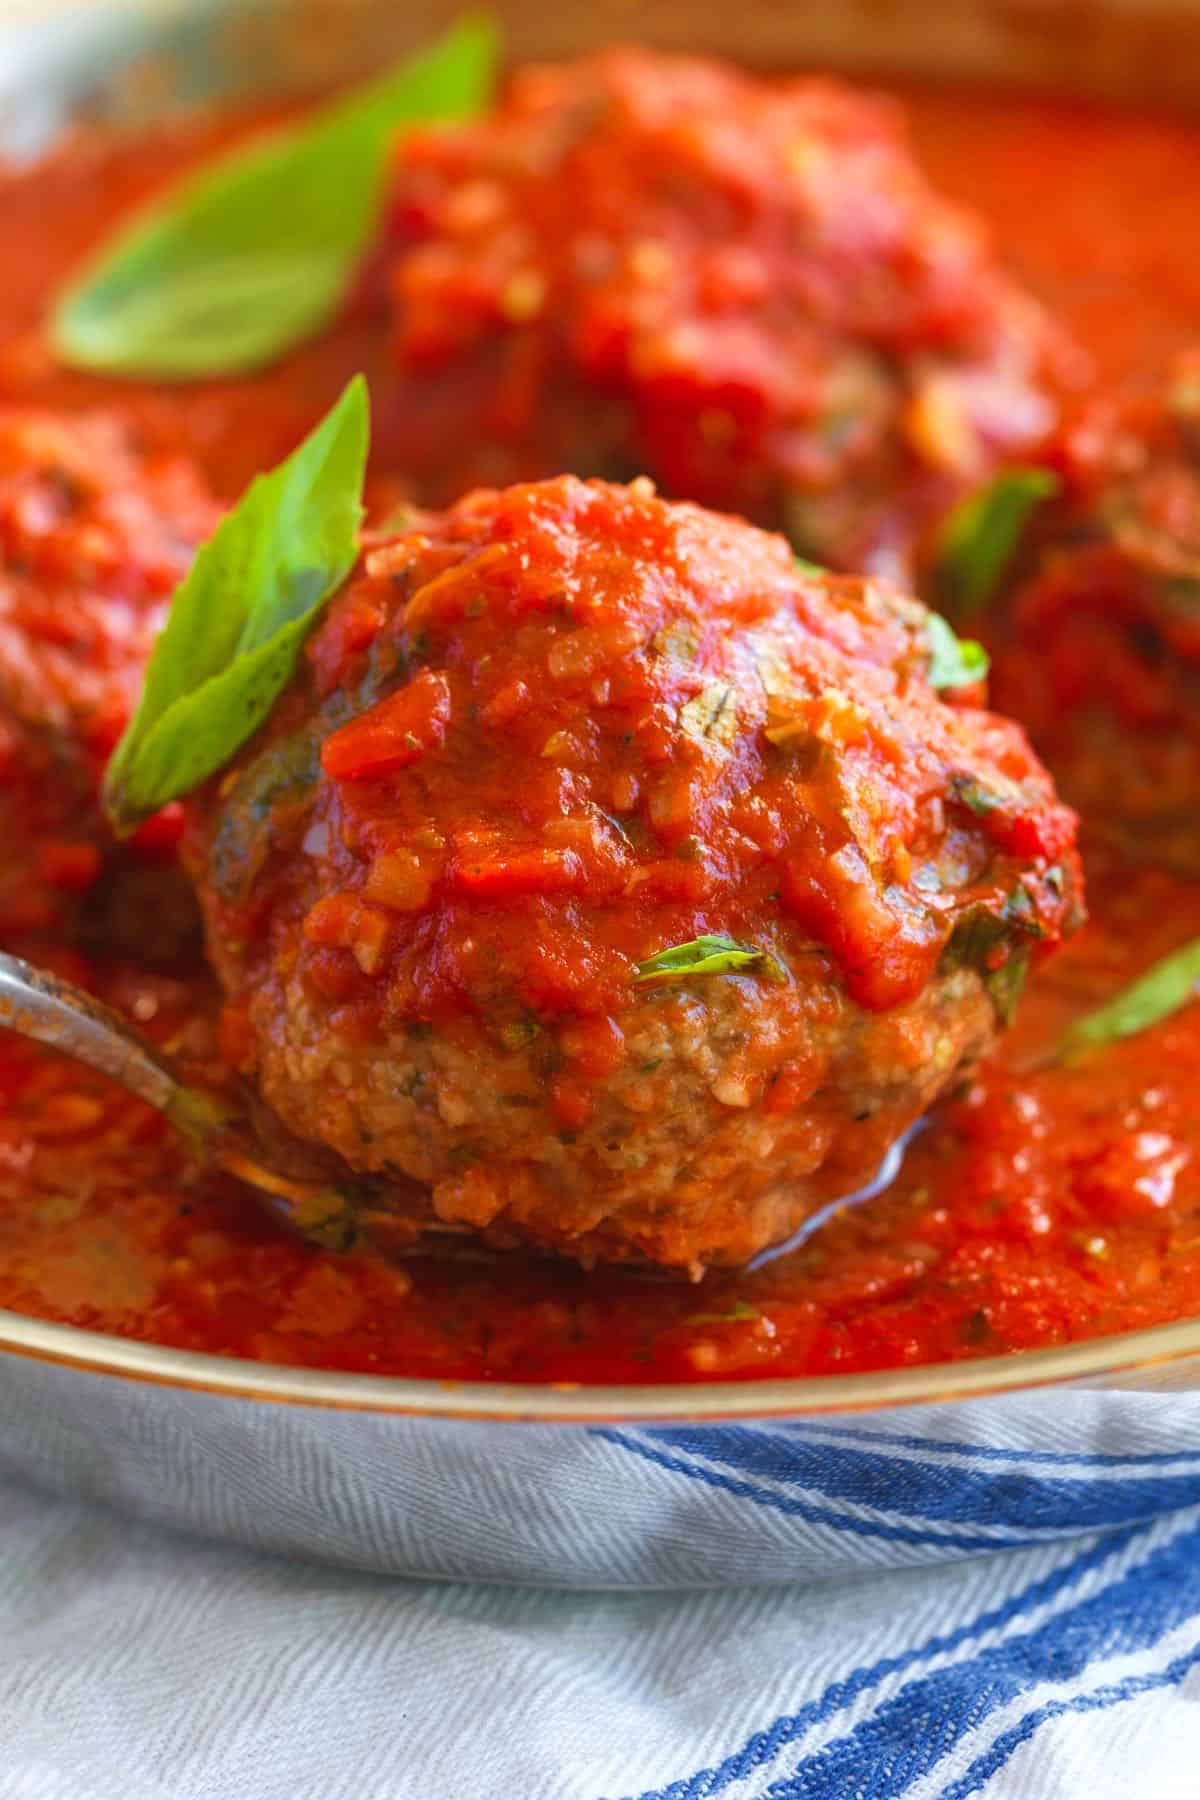
    We call these the ultimate Italian meatballs, because they knock the socks off any other recipe we’ve tried (really!). The base is a mix of ground beef and pork, which makes them light, fluffy, and really delicious. Then, there’s the homemade sauce, which brings it all together.

    Easy Italian Wedding Soup

    Easy Italian Wedding Soup

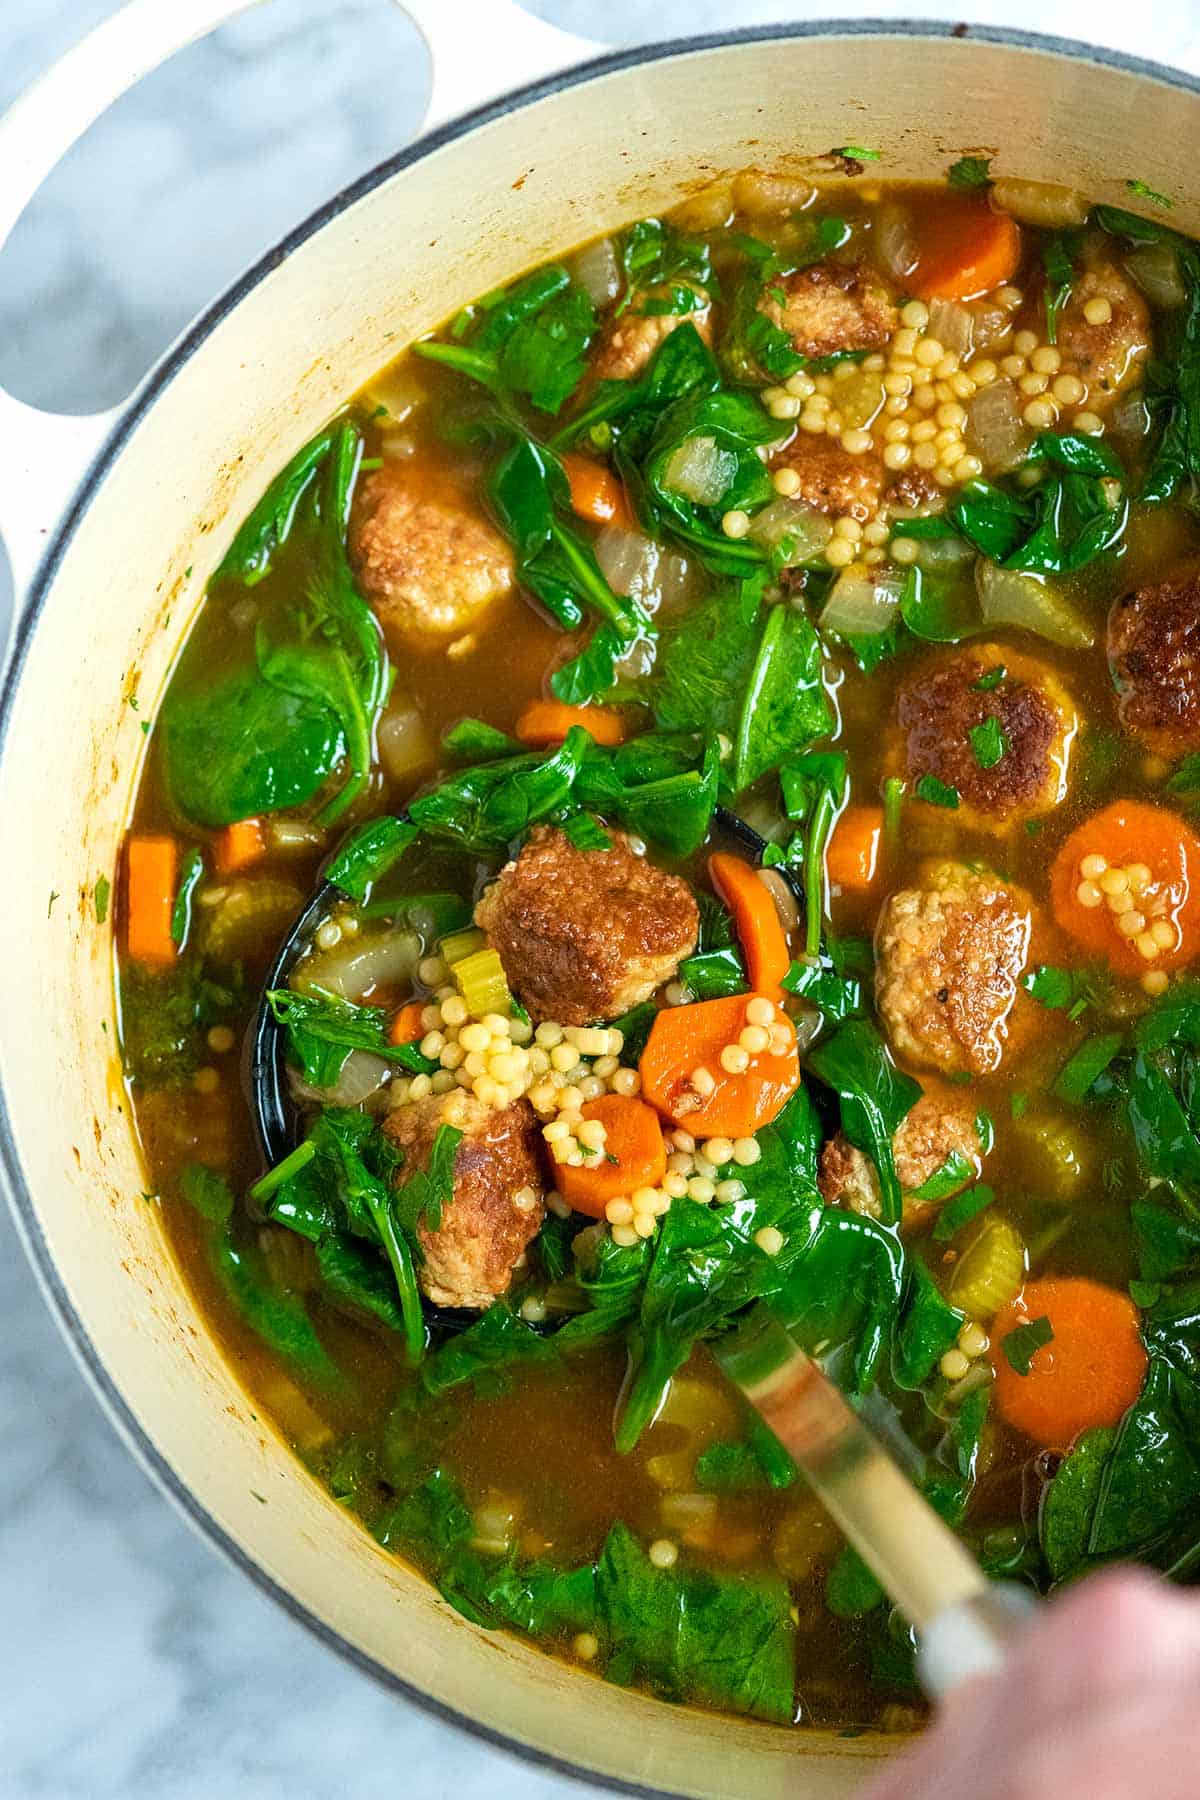
    This Italian wedding soup is so good! We make the meatballs with a mix of ground turkey and pork, so they turn out tender, juicy, and so flavorful without feeling heavy. They simmer in a savory broth with tender greens and tiny pasta, creating the most perfectly balanced, cozy soup you’ll want to make again and again.

    Weeknight Taco Soup

    Weeknight Taco Soup

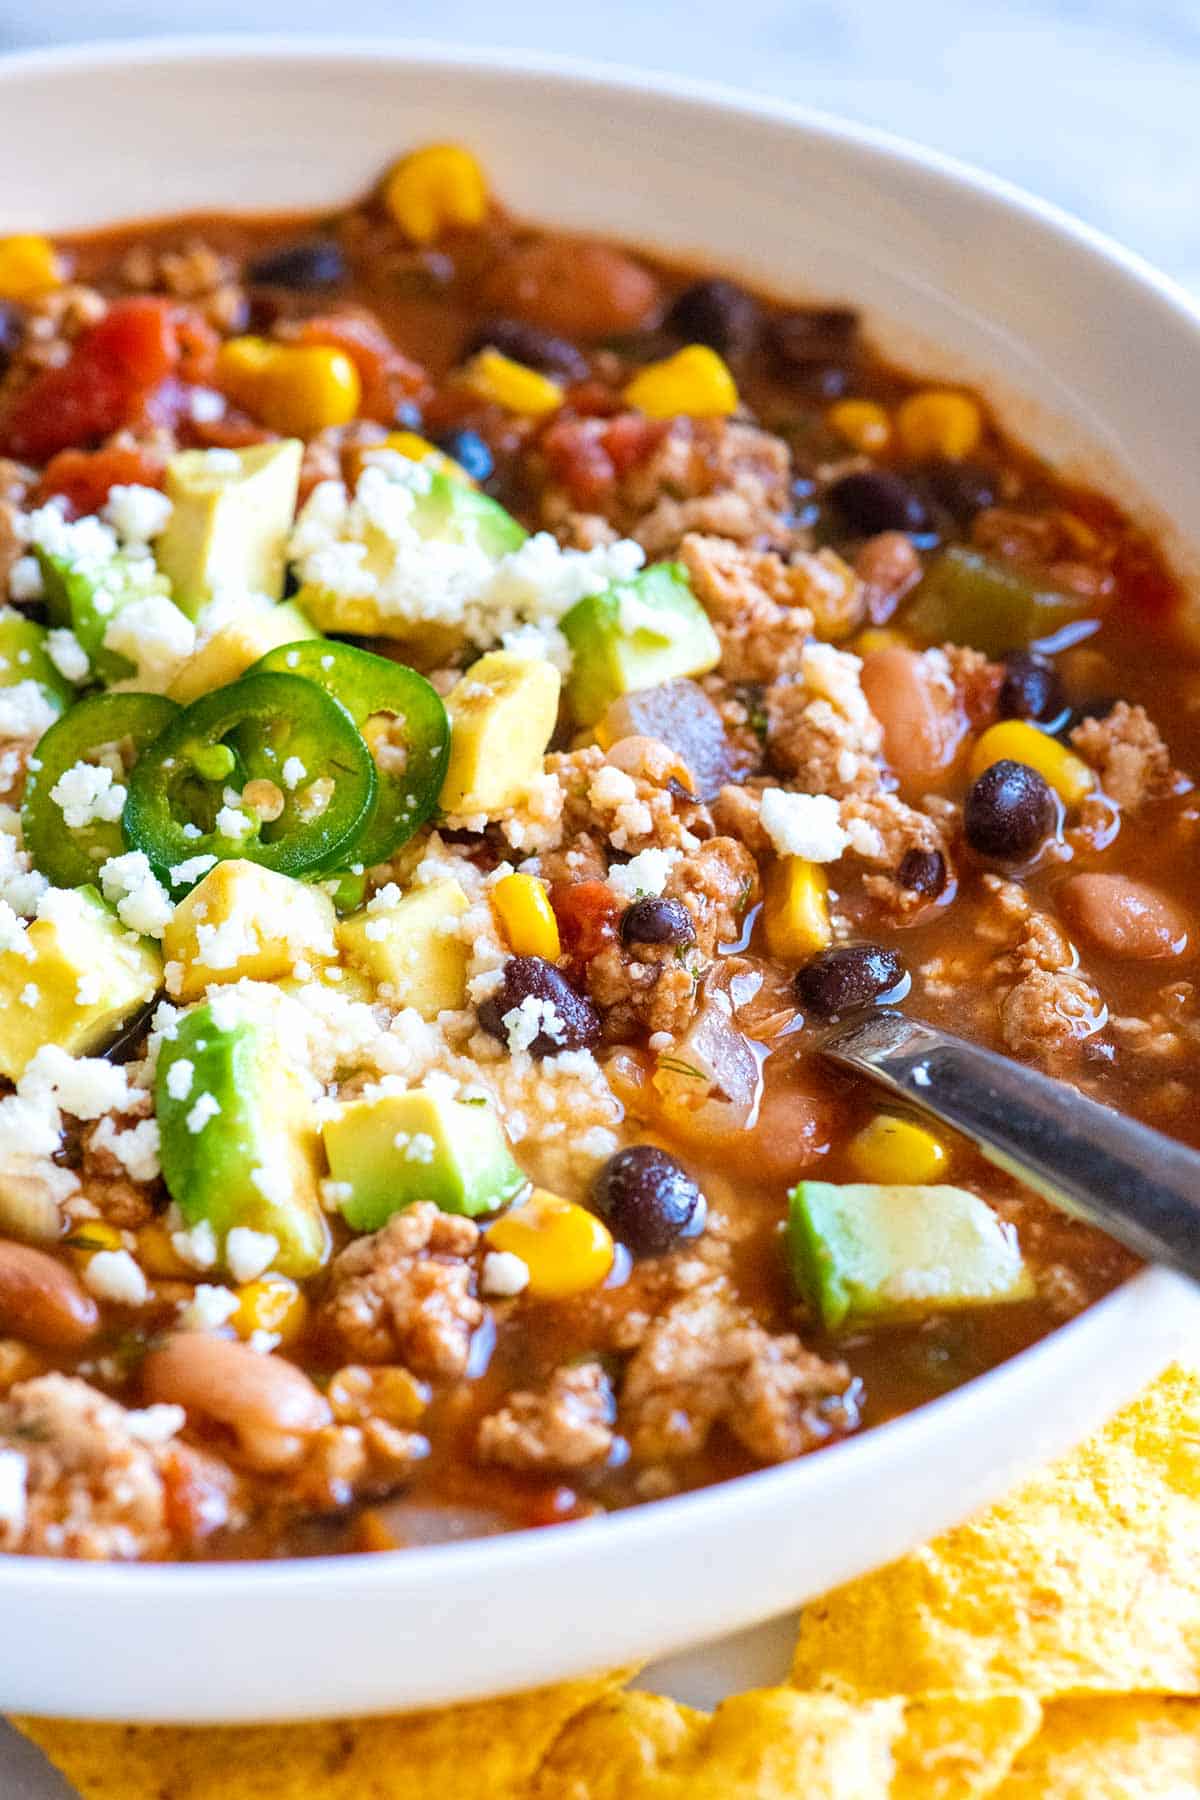
    I love this easy taco soup made with ground meat and pantry staples! You can use any type of ground meat, but my favorite is ground pork. It combines all the best parts of taco night into a healthy, hearty, and delicious one pot soup!

    A plate of the best spaghetti and meatballs (made from scratch)

    Perfect Spaghetti and Meatballs

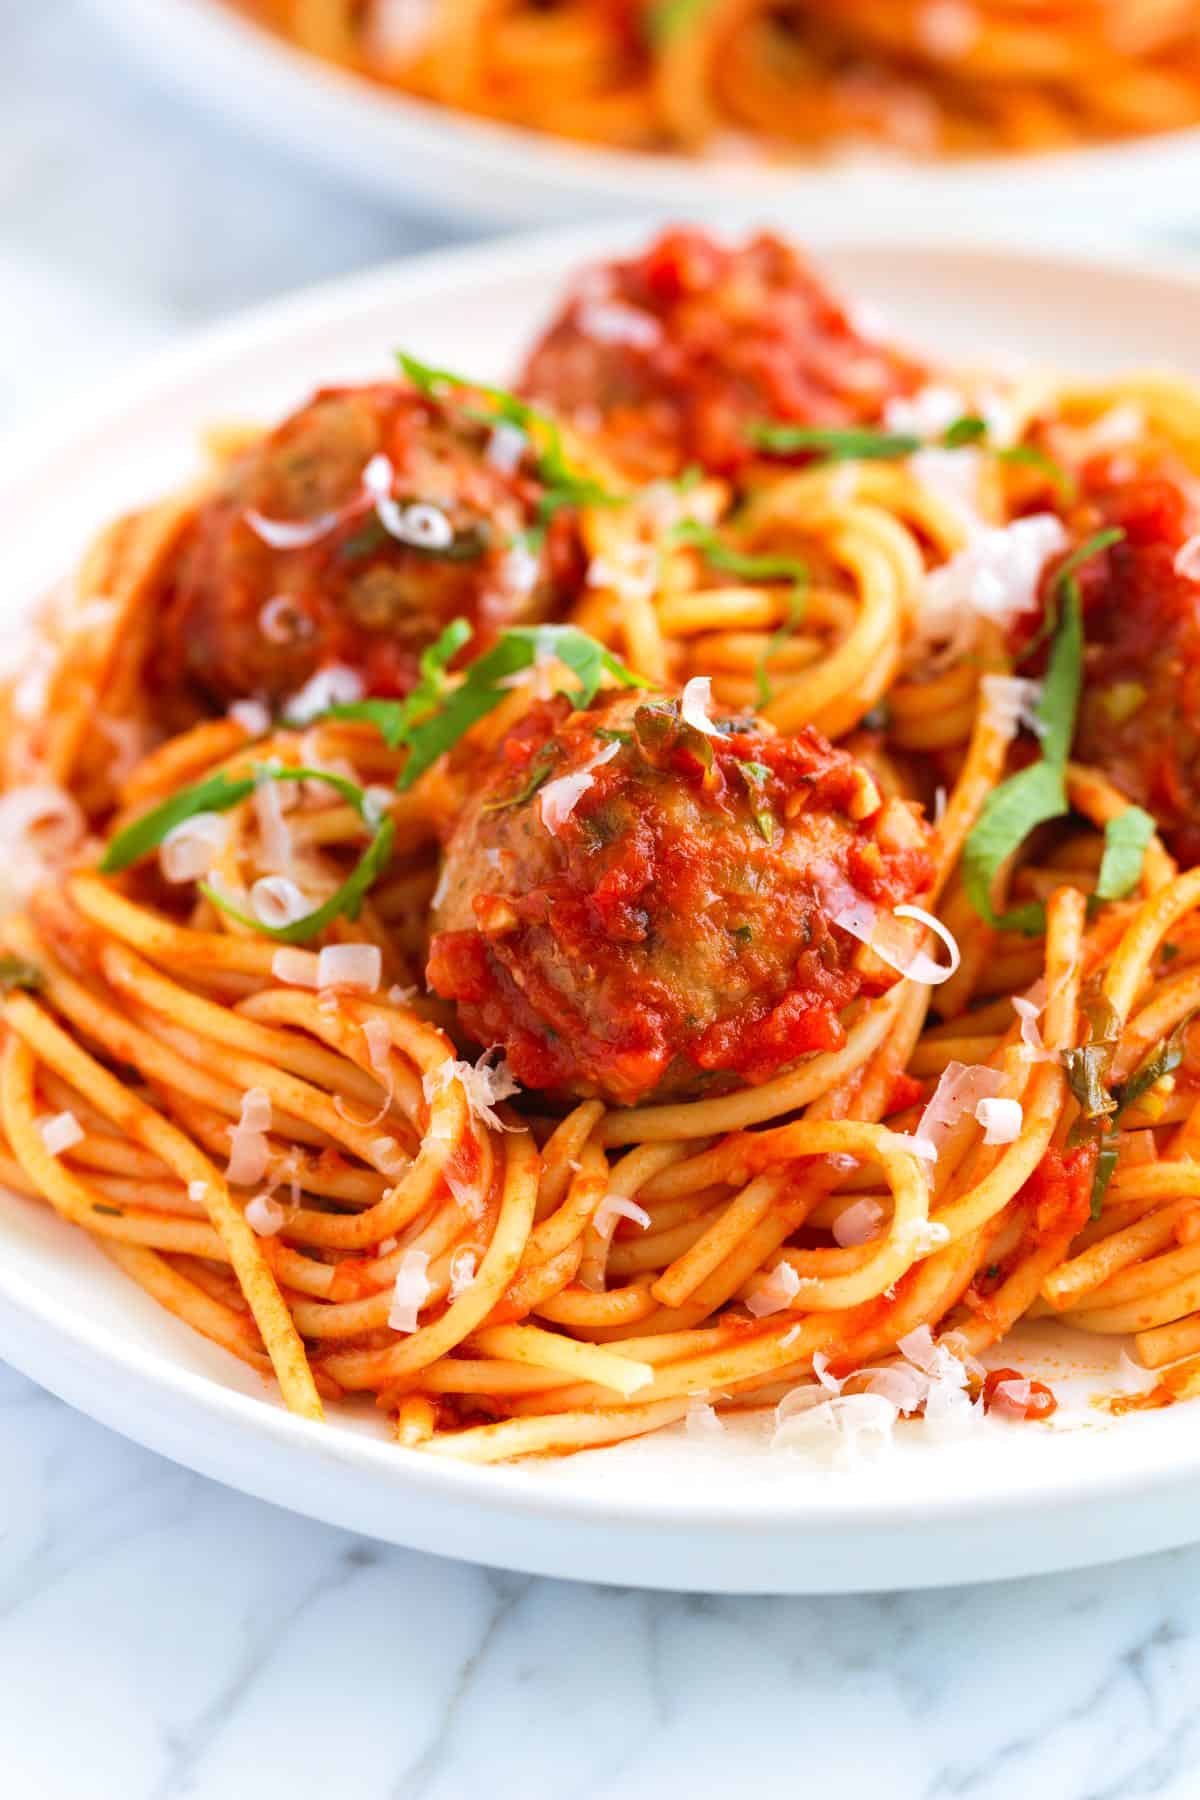
    This homemade spaghetti and meatballs recipe is a keeper. The meatballs are tender and flavorful, thanks to ground pork, and the quick sauce tastes like it’s been simmering for hours. Use boxed spaghetti or really take this over the top with homemade pasta.

    Homemade Breakfast Sausage

    Breakfast Sausage

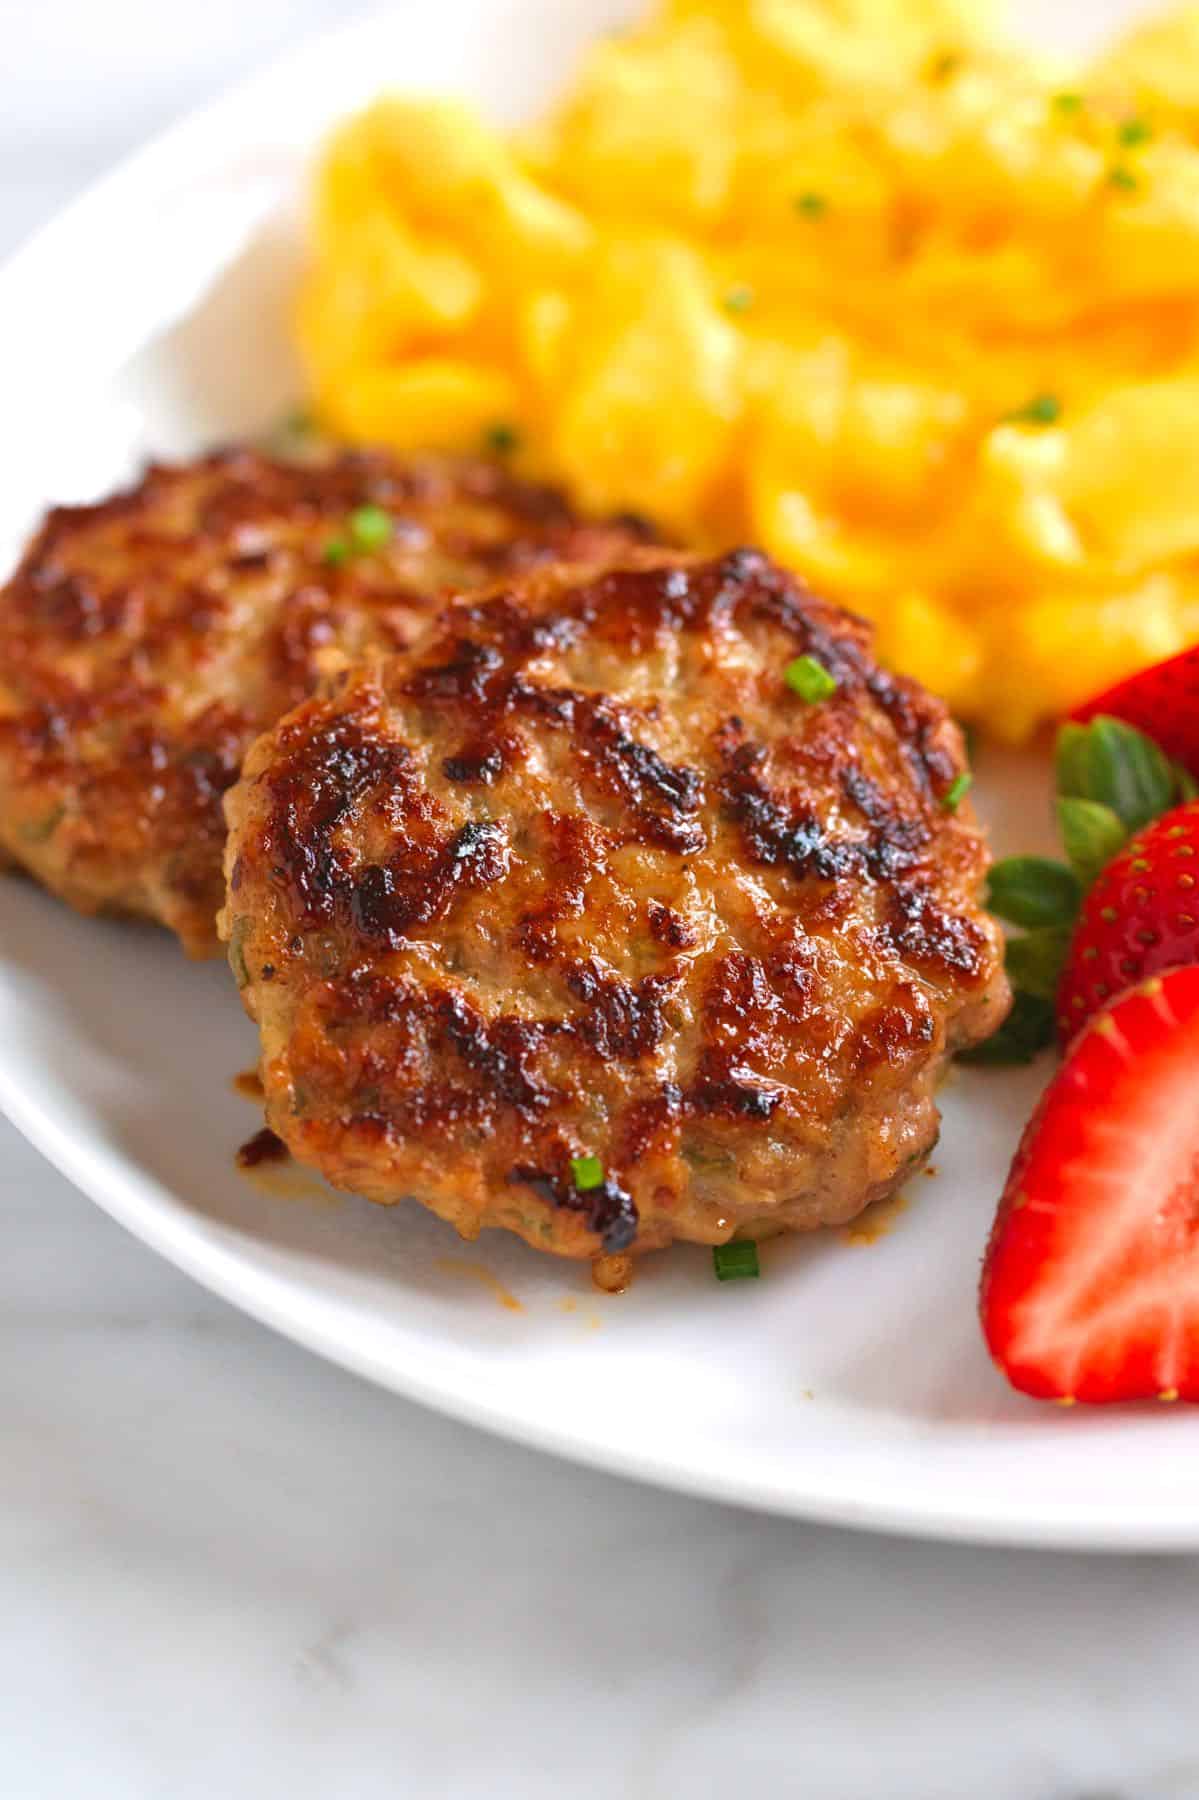
    This homemade breakfast sausage recipe is juicy, flavorful, and made with a handful of simple ingredients. It’s so much better than anything from the store. To make it, we combine ground chicken and pork, which keeps the sausage light and really flavorful.

    Spinach Sausage Alfredo Pasta

    Spinach Sausage Alfredo Pasta

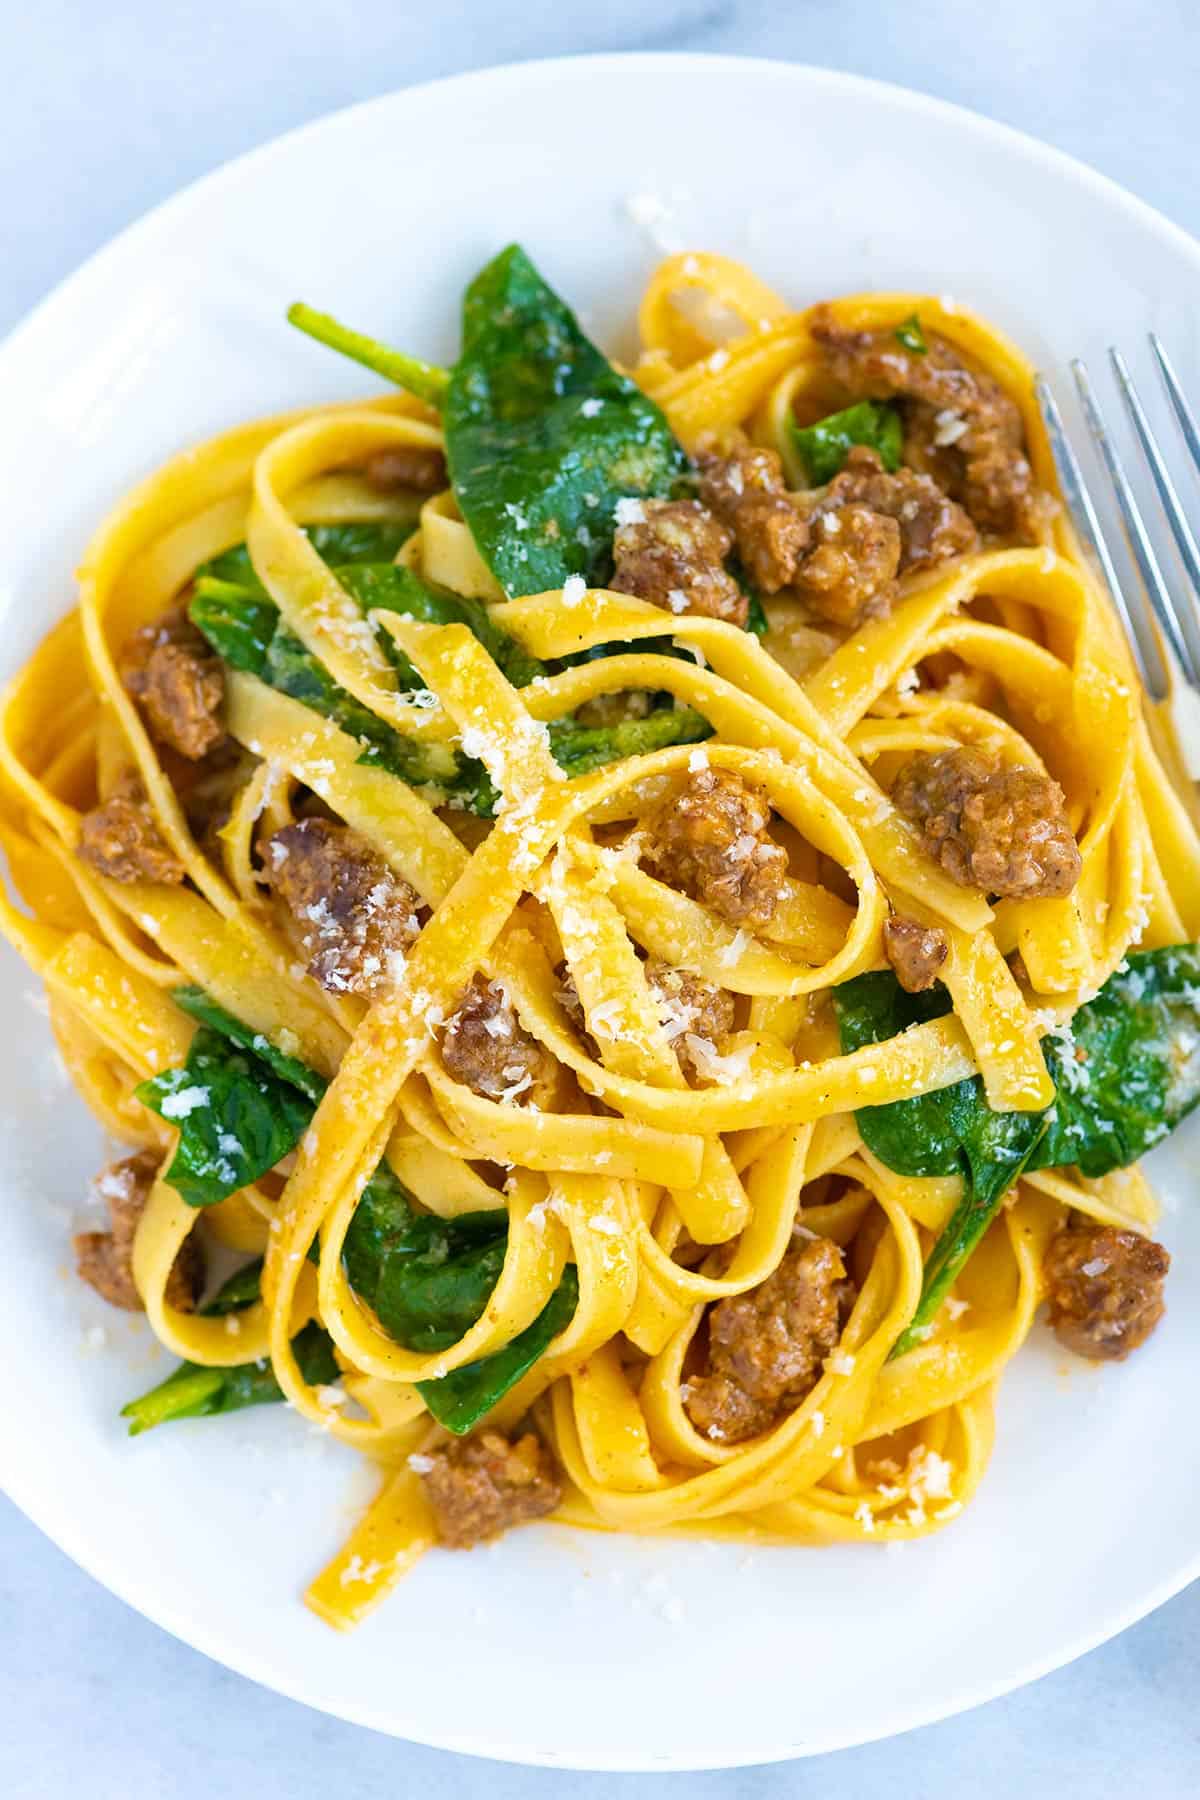
    My sausage Alfredo pasta recipe has the most delicious, silky smooth sauce made with butter and parmesan cheese, sausage, and lightly wilted spinach. You need less than 20 minutes to make it, and there isn’t a splash of cream in sight.

    Easy Sausage Stuffed Peppers

    Easy Sausage Stuffed Peppers

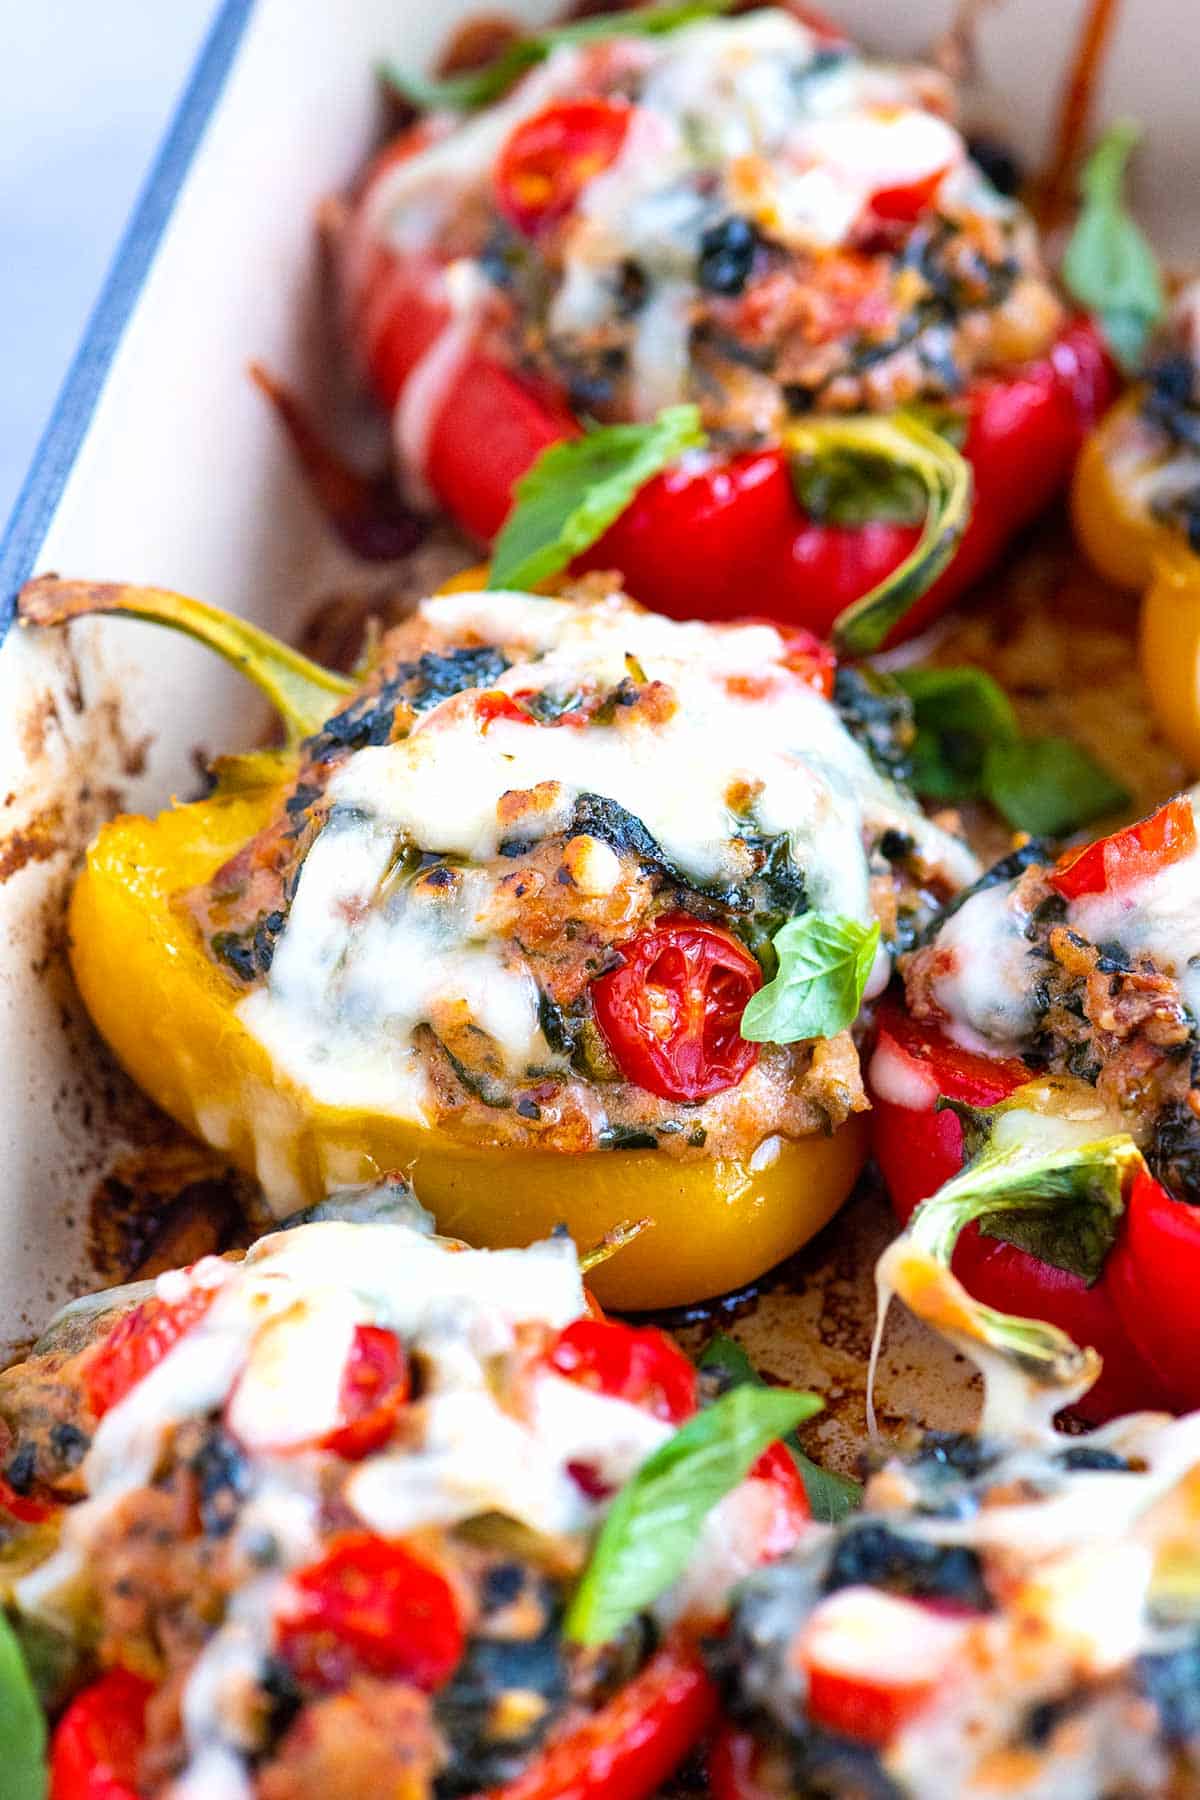
    I love these easy sausage stuffed peppers filled with Italian sausage, spinach, creamy ricotta, and tomatoes. They’re hearty, flavorful, and quick to make, perfect for a weeknight dinner or a casual gathering!

    Seriously Good Lasagna

    Seriously Good Lasagna

    This meat lasagna recipe is made with the most delicious homemade tomato and meat sauce. We combine ground beef and sausage (or ground pork), which makes the homemade sauce rich, hearty, flavorful, and unbelievably good.

    Easy Chorizo and Eggs

    Chorizo and Eggs

    This easy chorizo and eggs recipe is incredibly flavorful thanks to the chorizo and you can make it in under 20 minutes. I love this for an easy weekend breakfast or a simple dinner.

    Pork Butt and Shoulder Recipes

    The secret to pork butt and pork shoulder is simple: cook them low and slow until they’re melt-in-your-mouth, fall-apart tender. The recipes shared below do exactly that. Keep scrolling for our slow cooker pulled pork and my all-time favorite crispy, flavorful carnitas recipe.

    Best Slow Cooker Pulled Pork

    Perfect Slow Cooker Pulled Pork

    This is the best slow cooker pulled pork recipe we’ve made. The pork turns out incredibly juicy and tender, with a rich, flavorful broth that’s perfect for spooning over the meat. It’s easy and unbelievably delicious.

    Juicy Oven Pulled Pork

    Juicy Oven Pulled Pork

    If you don’t have a slow cooker, you can make our pulled pork in the oven. Our oven pulled pork recipe guarantees perfectly seasoned, melt-in-your-mouth tender pork. You’ll love our simple seasoning blend and easy oven method! This recipe is a keeper!

    Crispy Pork Carnitas

    Epic Pork Carnitas

    This carnitas recipe is incredible and makes the most tender, juicy pork perfect for tacos, burritos, and more. It’s probably one of our family’s favorite recipes on the blog (especially my son’s).

    Pork Ribs

    Adam loves pork ribs, so it’s only natural that we have a few ribs recipes. The most iconic is our fall-off-the-bone ribs. They are easily one of the most loved recipes on the blog, and has been for years. Then, a little while back, we shared our Asian sticky ribs, which I have to say, are my favorite. They’re sweet, savory, and absolutely irresistible.

    How to Make Oven Baked Ribs Recipe

    Easy Fall Off the Bone Oven Baked Ribs

    This is hands down the best ribs recipe I’ve ever made! The secret to incredibly tender ribs is baking them low and slow. Baking ribs in the oven is so easy. 95% of the cooking time is spent relaxing while your ribs transform into fall-off-the-bone perfection.

    Hoisin Sticky Ribs

    Hoisin Sticky Ribs

    This irresistible sticky ribs recipe is one of the best things we’ve made in our kitchen. The ribs are unbelievably tender and coated in a delicious homemade hoisin glaze. You will love them!

    For more cooking inspiration, join our free newsletter and get our best seasonal recipes delivered straight to your inbox. Click here to join. Happy cooking!

    Source link

  • Hoisin Sauce Recipe (Better than Store-Bought)

    Hoisin Sauce Recipe (Better than Store-Bought)

    Make this homemade hoisin sauce recipe, and you’ll never feel the need to buy it from the store again. Use in stir-fries, marinades, glazes, and more!

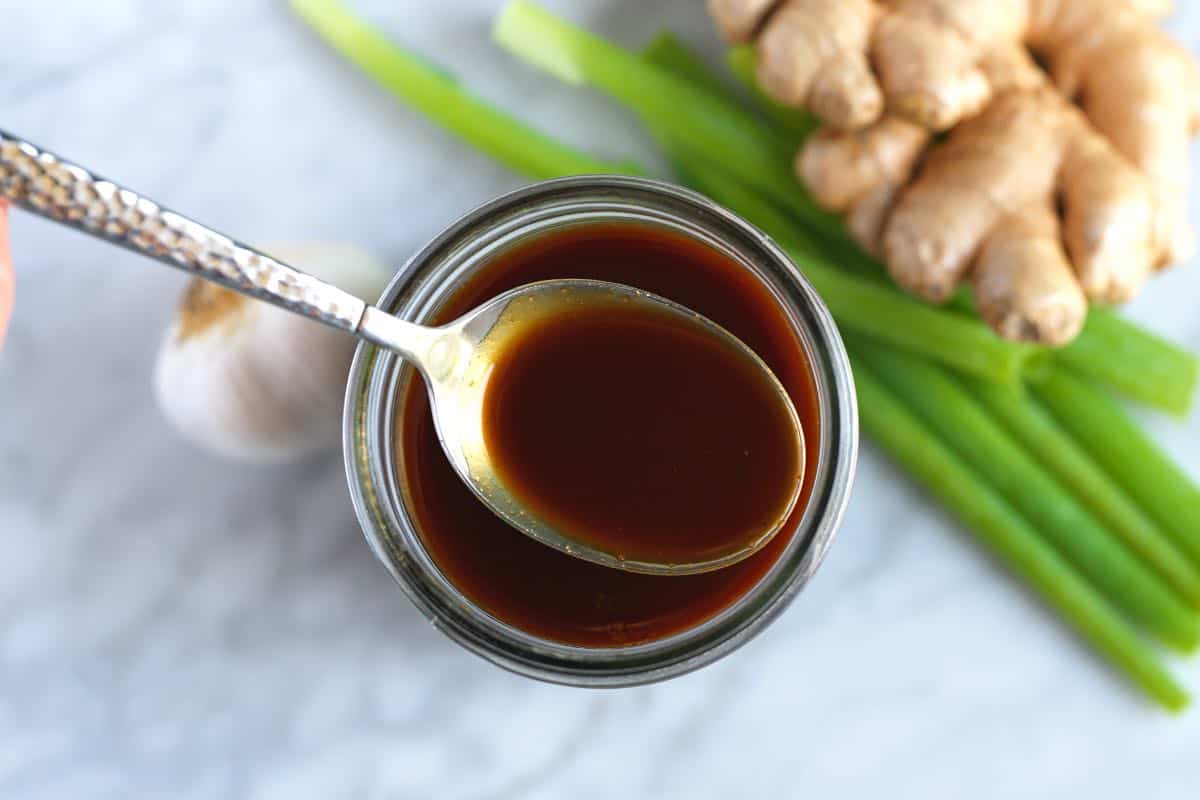
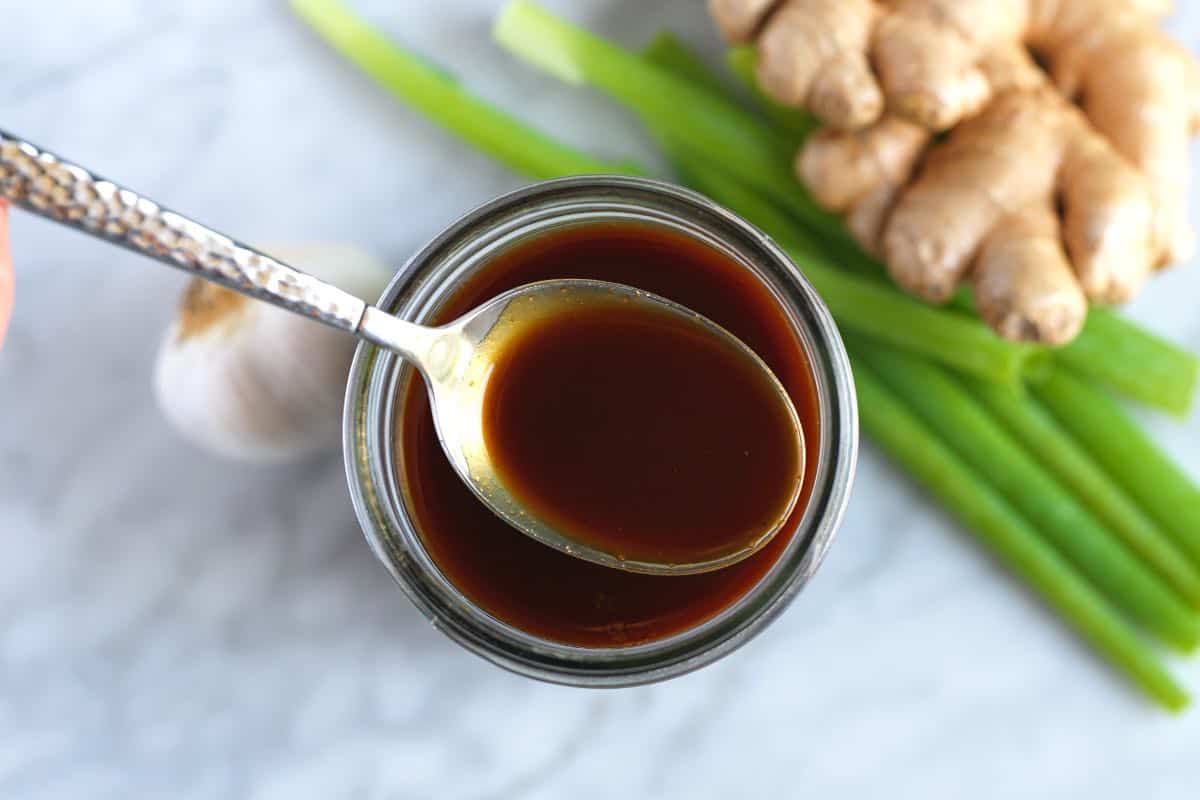
    Homemade hoisin sauce

    Store-bought hoisin tends to be excessively salty, overly sweet, and disappointingly thick. Our recipe tastes sweet, salty, tangy, and downright delicious. Use this umami-rich sauce for chicken, salmon, ribs, tofu, and veggies.

    Since perfecting this homemade hoisin sauce recipe, we’ve explored so many ways to use it. To date, we’ve used it to make glazed salmon, tossed it with tofu, and used it for hoisin sticky ribs. We also love using this sauce to make these chicken lettuce wraps.

    Key Ingredients

    • Garlic, ginger, and green onion: Add fresh flavor to our sauce. I especially love the ginger in this homemade sauce.
    • Light tamari or soy sauce: The foundation of our sauce’s salty, savory flavor. Light tamari offers a cleaner taste, but light soy sauce works nicely.
    • Maple syrup and molasses: Sweeten our sauce and balance the salty tamari.
    • Peanut butter: Makes the hoisin taste more complex. However, the finished sauce does not taste like peanut butter. You can substitute tahini or almond butter.
    • Gochujang: Replicates the complex flavor of fermented beans in traditional hoisin sauce. For a substitute, use miso paste and add a dash of your favorite hot sauce for optional heat. We also use gochujang when making our easy shrimp marinade.
    • Rice wine vinegar: Just a little vinegar brightens the sauce and brings all of the flavors together.
    • Chinese Five Spice: A warm and fragrant blend of star anise, fennel, Szechuan peppercorns, cloves, and cinnamon. Look for this in the spice aisle of most grocery stores.
    • Cornstarch: Thickens our sauce (optional, but recommended).

    Find the full recipe with measurements below.

    How to Make the Best Hoisin Sauce

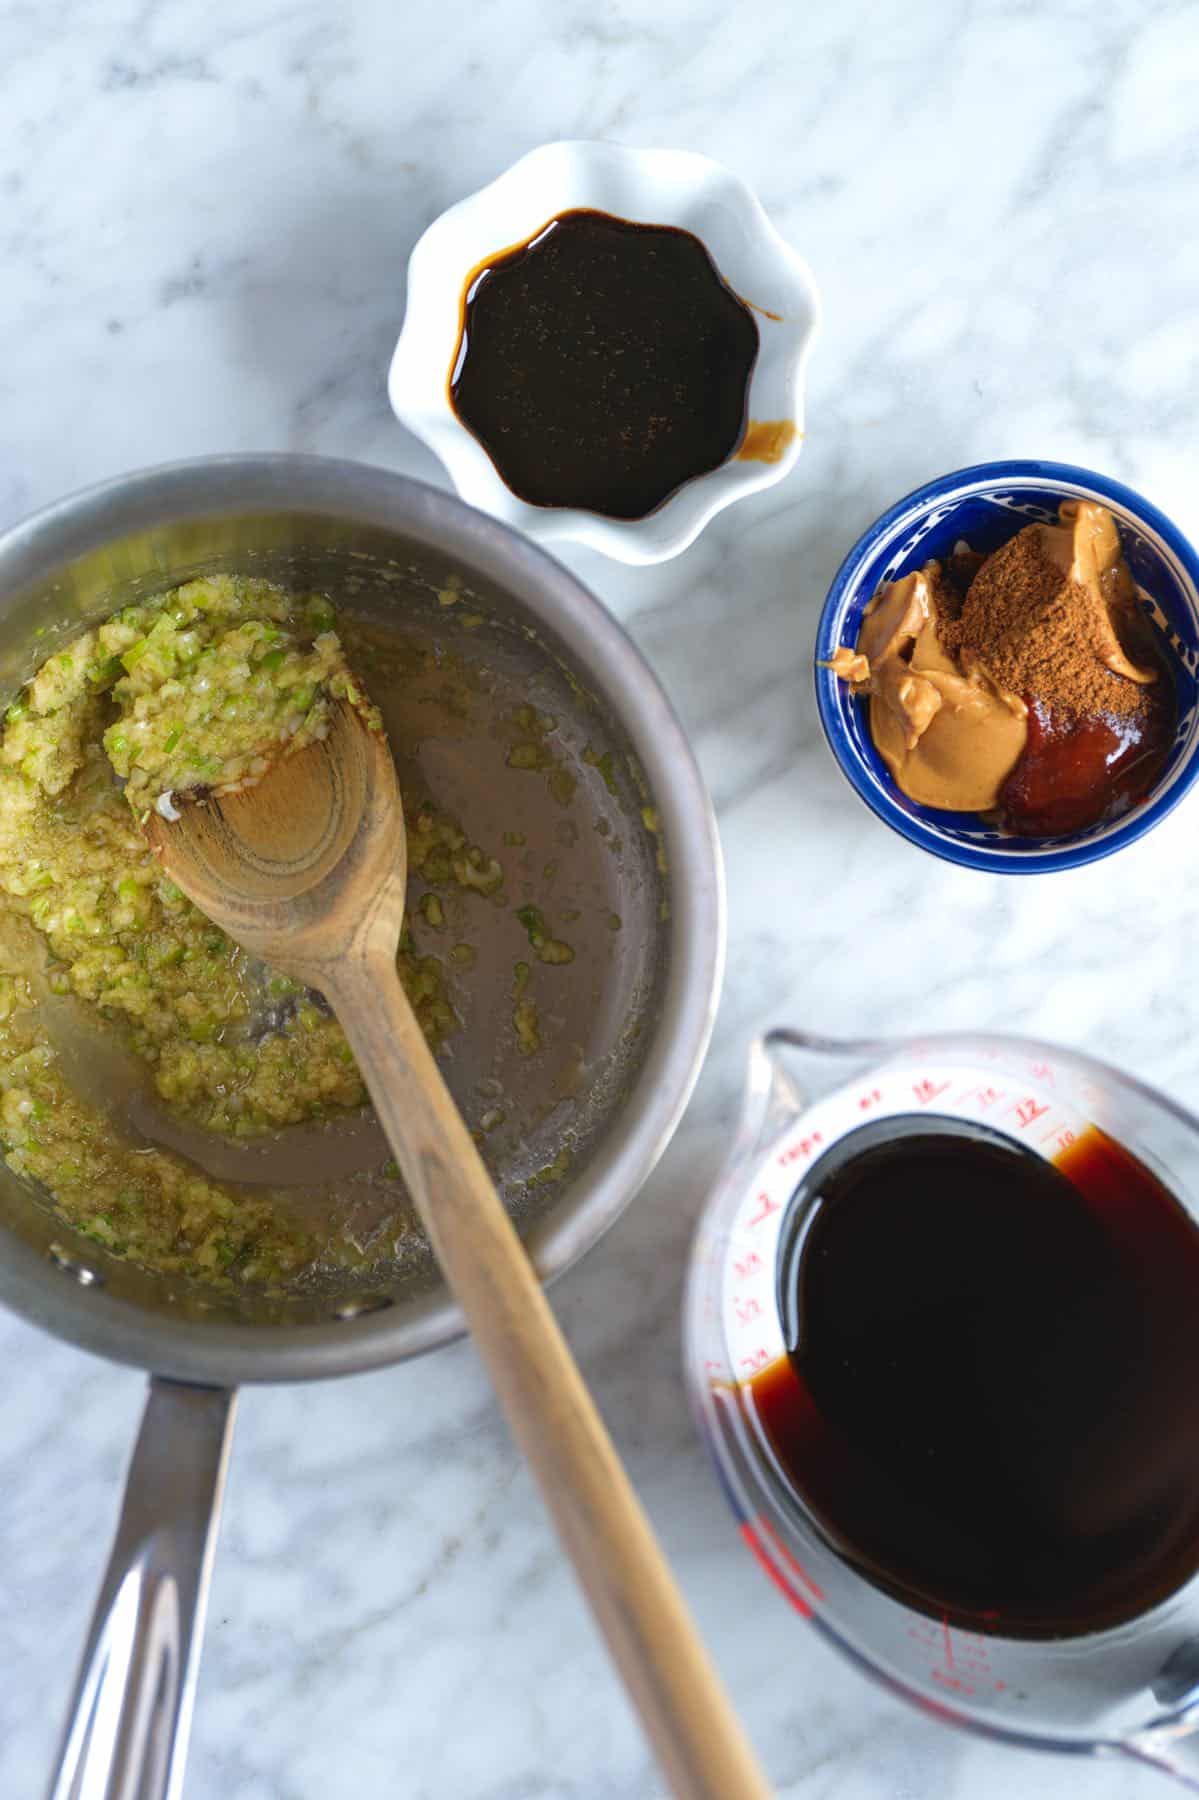
    Tip 1: Make in small saucepan. This recipe only takes about 15 minutes to make, and it all happens in a small saucepan. Sauté fresh garlic, ginger, and scallions until softened, then stir in everything left on your ingredient list. The peanut butter melts into the sauce, and the garlic and ginger perfume the sauce nicely.

    Hoisin sauce ingredients

    Tip 2: Thicken your sauce. Our recipe includes cornstarch, which helps thicken the sauce. You can stick with our suggested amount or add more for a thicker sauce. (As written, the hoisin is slightly thinner than you might find with store-bought.)

    Tip 3: Keep a jar on standby. This sauce makes weeknight dinners so easy. Whenever I have something like chicken or tofu (like our baked tofu) in the fridge and have no idea what to do with it, I reach for this sauce. Toss whatever you have in the fridge in some sauce and bake. Easy!

    More Homemade Sauces

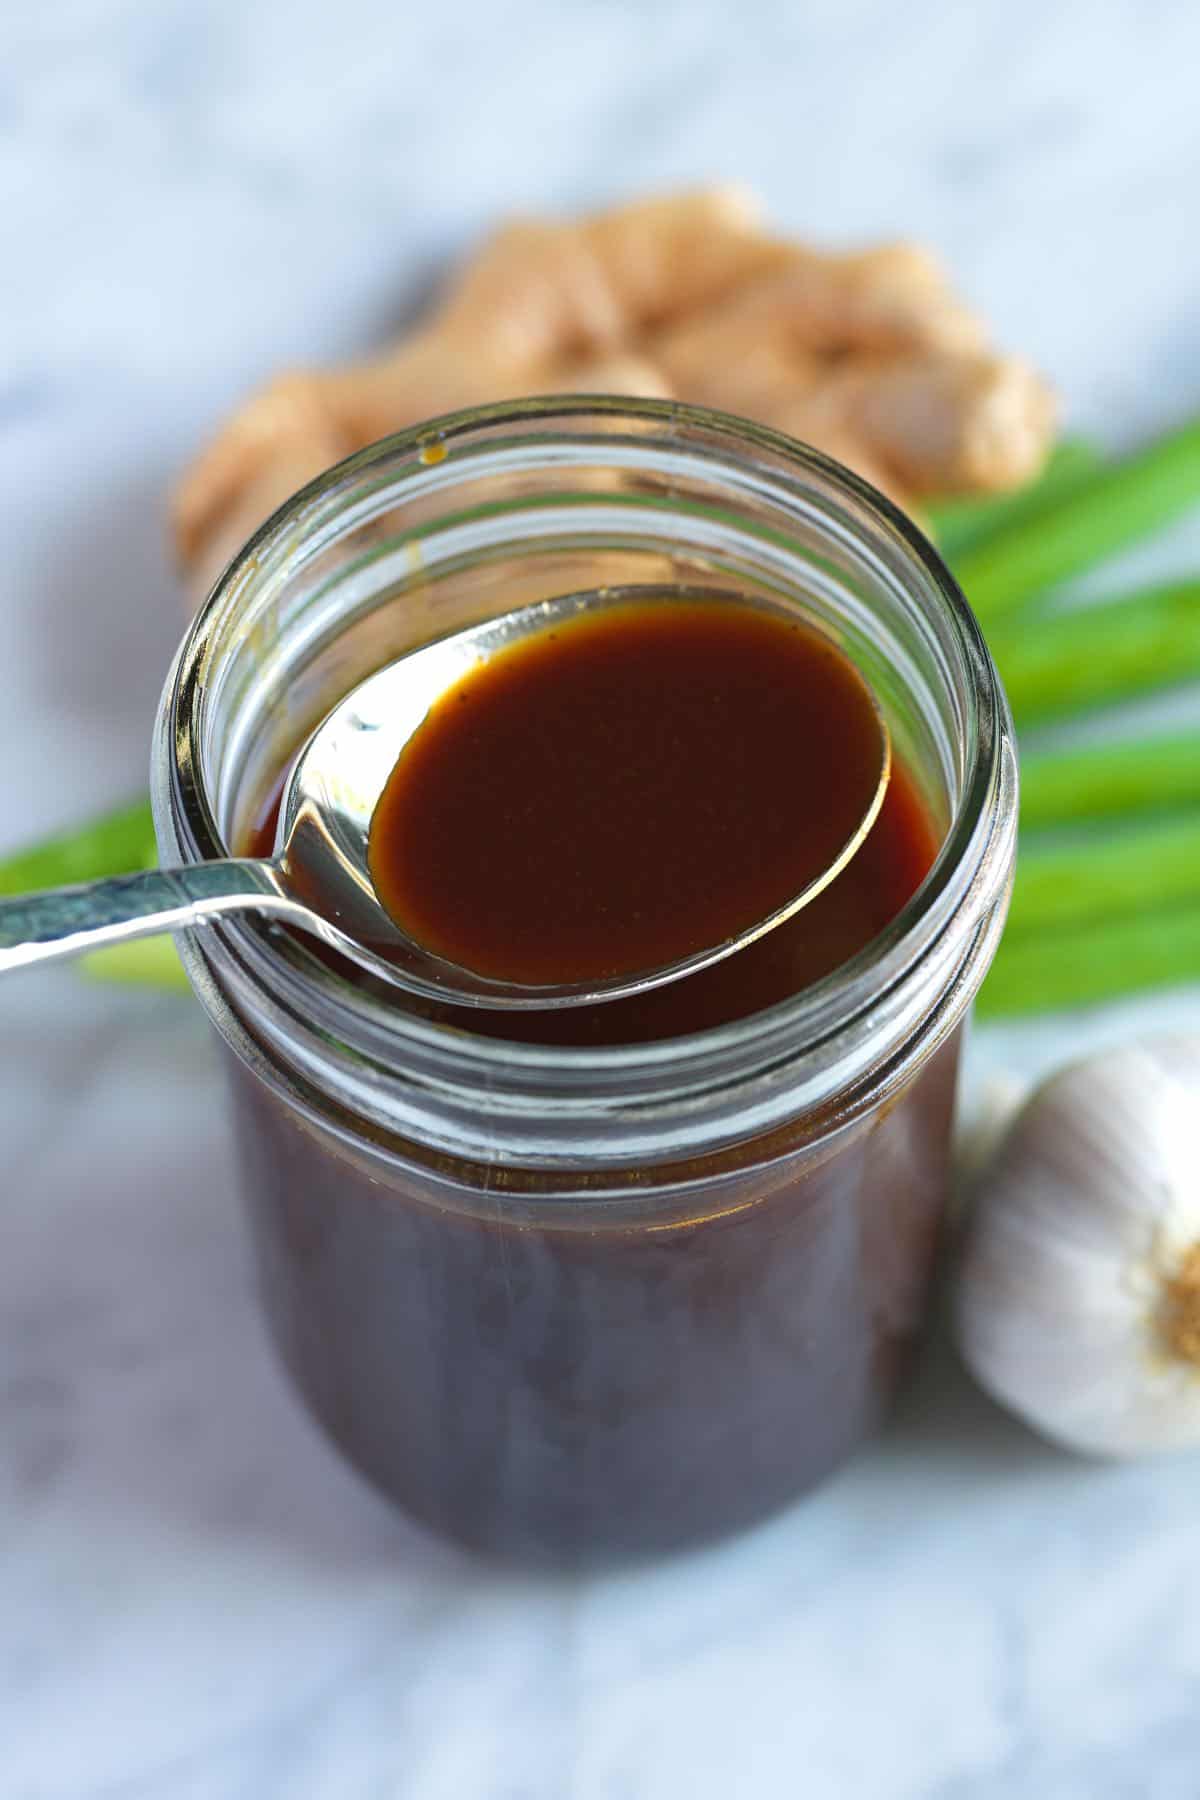
    A jar of homemade hoisin sauce

    Hoisin Sauce (Better than Store-Bought)

    • PREP
    • COOK
    • TOTAL

    Homemade hoisin sauce is a thick, flavorful condiment popular in Chinese cuisine, particularly Cantonese cooking. It’s added to stir-fries, marinades, and glazes (think Peking duck!). I find store-bought hoisin too sweet, salty, and thick. Once you try this homemade hoisin, you’ll never need to buy it from the store again.

    Makes 1 cup

    Watch Us Make the Recipe

    You Will Need

    1 tablespoon toasted sesame oil

    2 cloves garlic, finely minced or grated

    One 1-inch thumb-size piece fresh ginger, finely minced or grated

    2 green onions, whites and light green parts only, finely minced

    5 tablespoons (65g) light tamari or light soy sauce, plus more to taste

    5 tablespoons (65g) pure maple syrup

    2 tablespoons (30g) molasses

    1 tablespoon (20g) peanut butter, try homemade peanut butter

    1 ½ teaspoons Gochujang, see notes

    1 teaspoon rice wine vinegar

    1/4 teaspoon Chinese Five Spice, see notes

    1/4 teaspoon cornstarch

    Directions

      1Heat sesame oil in a small saucepan over medium heat. Stir in the garlic, ginger, and green onion. Cook, stirring occasionally, until tender and translucent, 3 to 5 minutes. Set the saucepan aside to cool.

      2Stir in soy sauce, maple syrup, molasses, peanut butter, Gochujang, rice wine vinegar, and the Chinese Five Spice. Return the saucepan to medium heat and, while stirring, slowly bring to a simmer. Taste the sauce and adjust with 1/2 tablespoon to 1 tablespoon of soy sauce if necessary.

      3Make a cornstarch slurry by mixing 1/2 teaspoon cornstarch with 2 teaspoons water. Whisk the slurry into the sauce. As it simmers, the sauce will thicken. Once thickened, remove it from the heat and let it cool. Refrigerate your sauce for up to one month.

    Adam and Joanne’s Tips

    • Storing: Your sauce can be refrigerated for up to 1 month. As it sits, it may separate. We store our sauce in an airtight glass jar, which allows us to shake it to combine before using it. The sauce also freezes well. Keep it in a freezer-safe container in the freezer for up to 3 months.
    • Gochujang: Gochujang is a spicy Korean condiment made with rice and fermented soybeans. Substitute miso paste, and if you’d like to add some spice, add a dash or two of hot sauce or chili paste like sambal oelek.
    • Adjusting to your taste: Feel free to adjust the spice level, saltiness, and sweetness to your taste. I love the heat from Gochujang, but you can substitute it with miso paste if you’d prefer.
    • Thickness of the sauce: I like to keep this on the thinner side, which makes it more saucy when tossing it into stir-fries or slathering it over ribs. Increase the cornstarch for a thicker sauce.
    • Gluten-free: Double check that all products are labeled gluten-free (especially the soy sauce or tamari) for gluten-free hoisin sauce.
    • The nutrition facts provided below are estimates.

    Nutrition Per Serving
    Serving Size
    2 tablespoons
    /
    Calories
    86
    /
    Total Fat
    2.8g
    /
    Saturated Fat
    0.5g
    /
    Cholesterol
    0mg
    /
    Sodium
    290mg
    /
    Carbohydrate
    14.8g
    /
    Fiber
    0.3g
    /
    Total Sugars
    12.3g
    /
    Protein
    1.3g


    AUTHOR:

    Joanne Gallagher

    Adam and Joanne of Inspired Taste

    We are Adam and Joanne Gallagher, the creators of Inspired Taste. Established in 2009, Inspired Taste grew from a childhood dream into one of the internet’s most trusted recipe sites with hundreds of reliable recipes, step-by-step videos, and expert tips.More About Us

    Source link

  • Easy Tzatziki Sauce Recipe

    Easy Tzatziki Sauce Recipe

    This easy tzatziki sauce recipe is unbelievably delicious and super simple to make. It’s a creamy cucumber yogurt dip you can serve with almost anything!

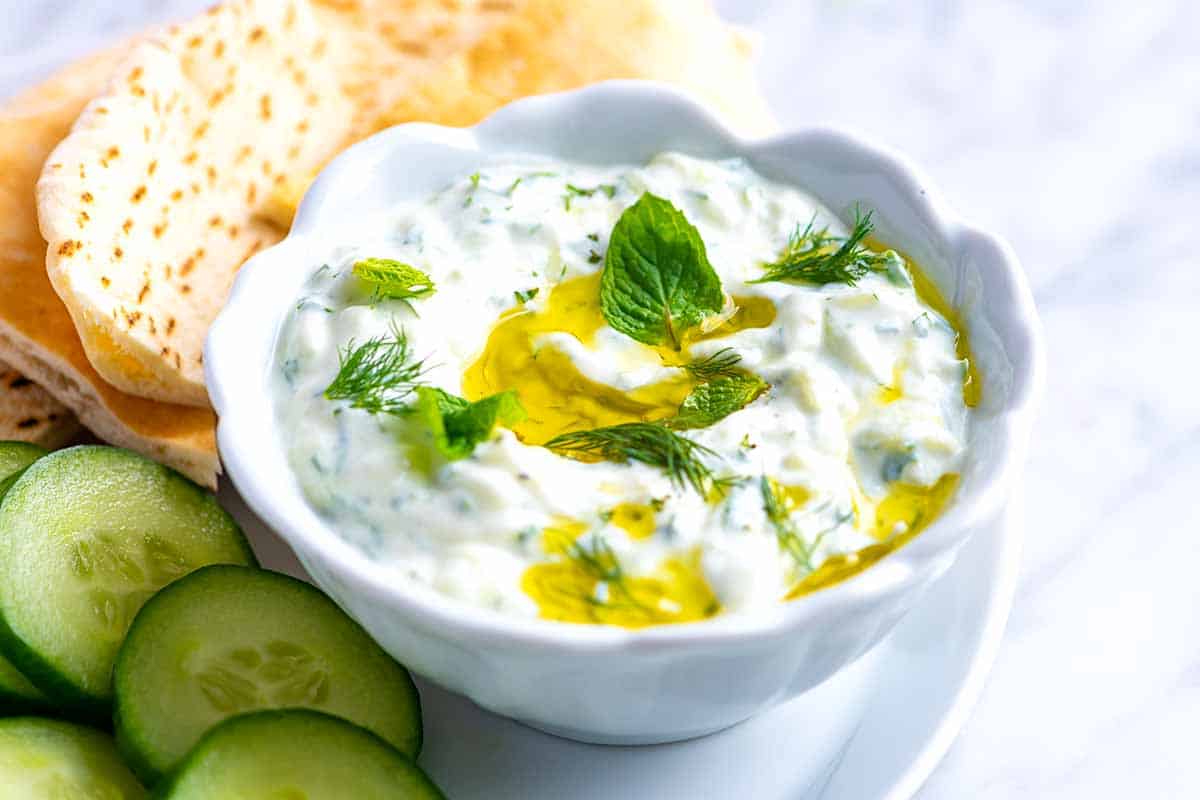
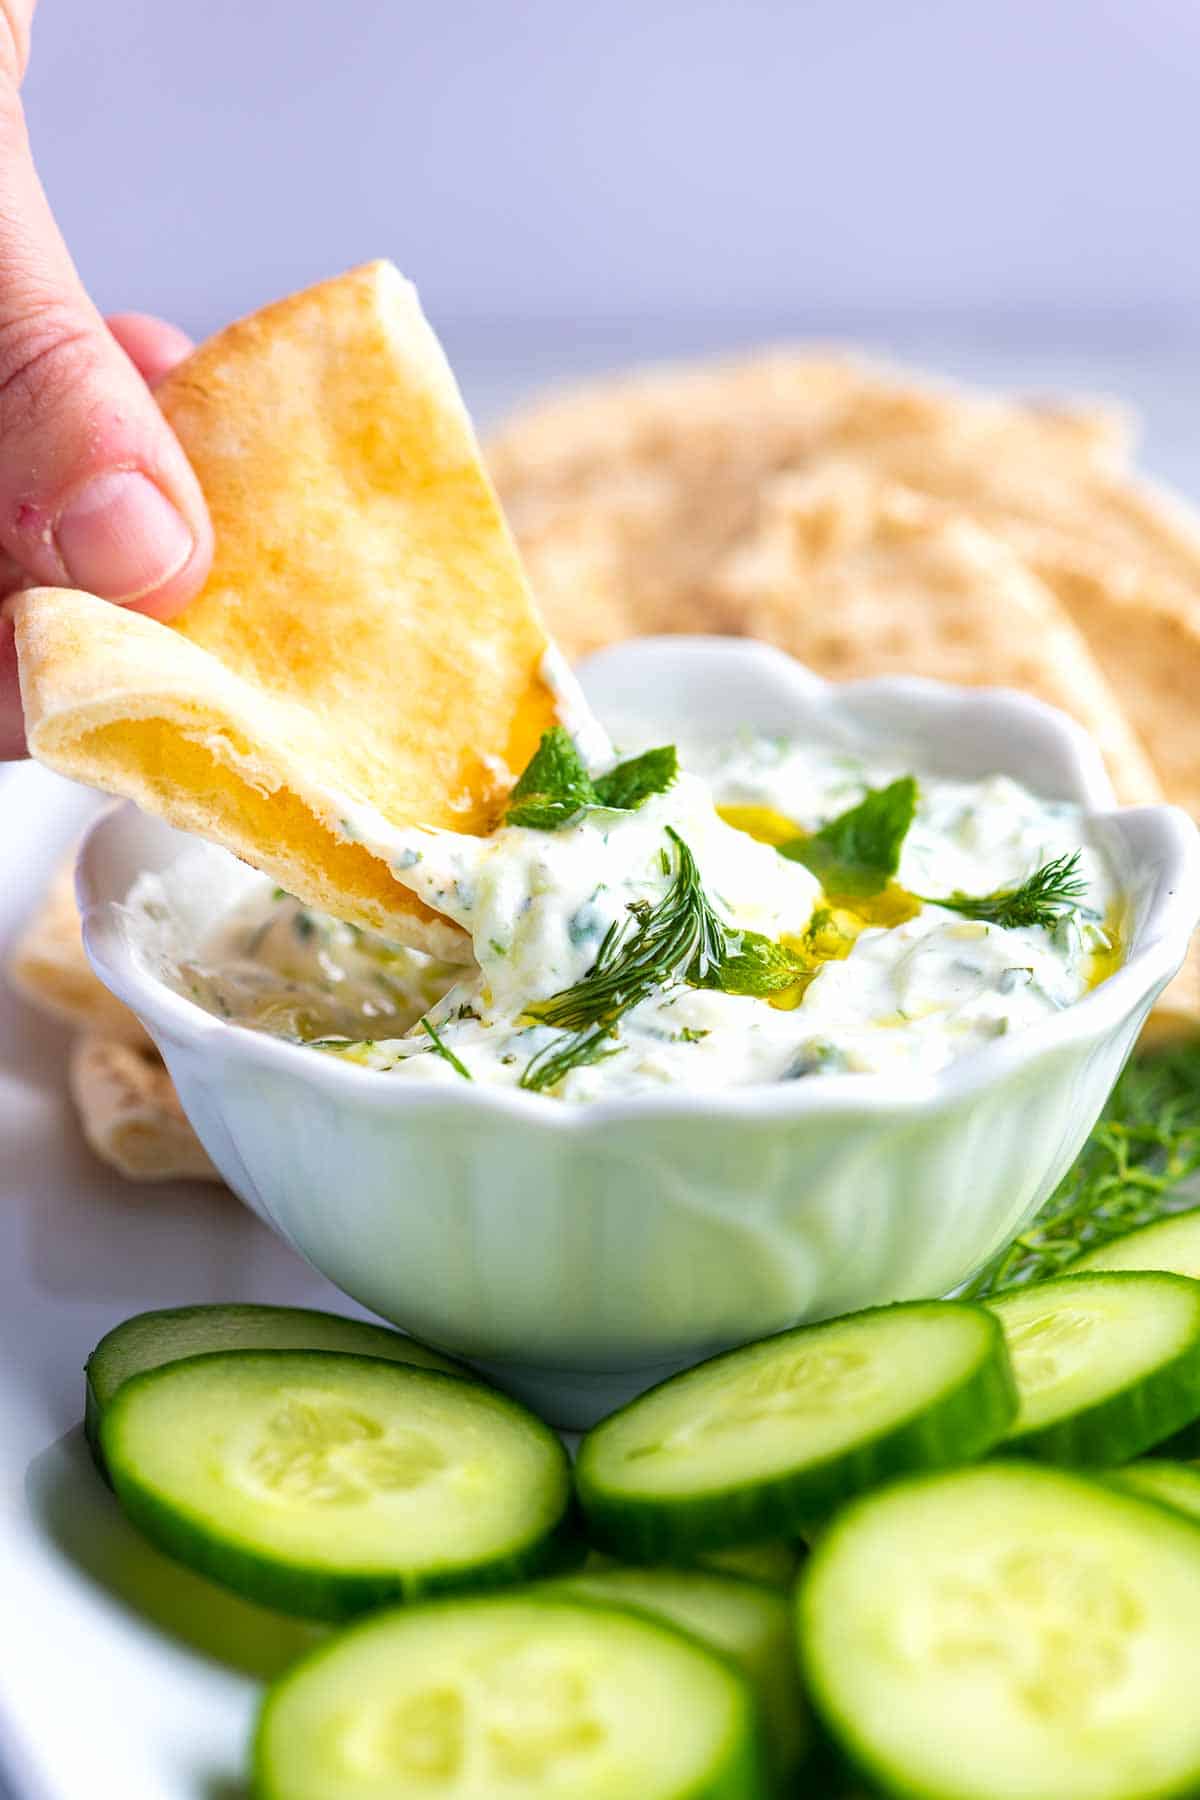
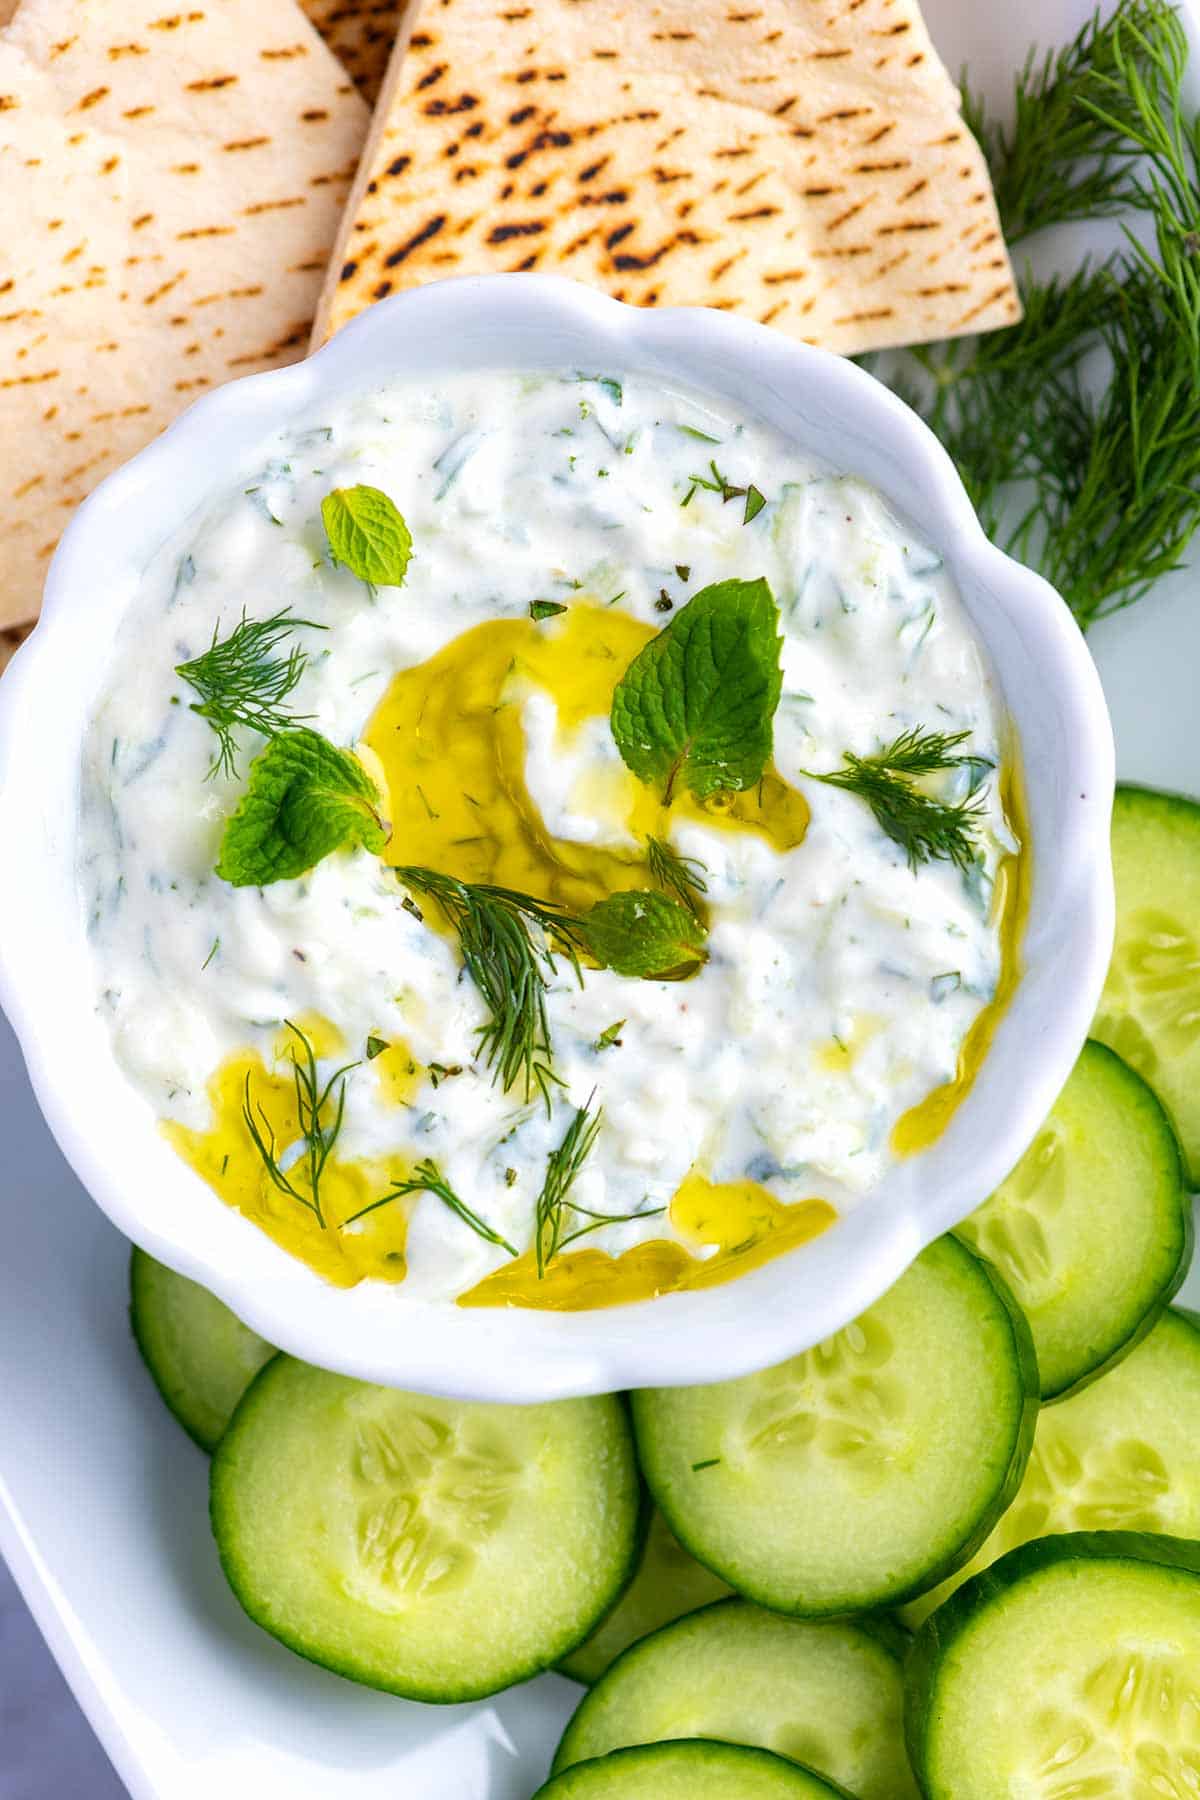
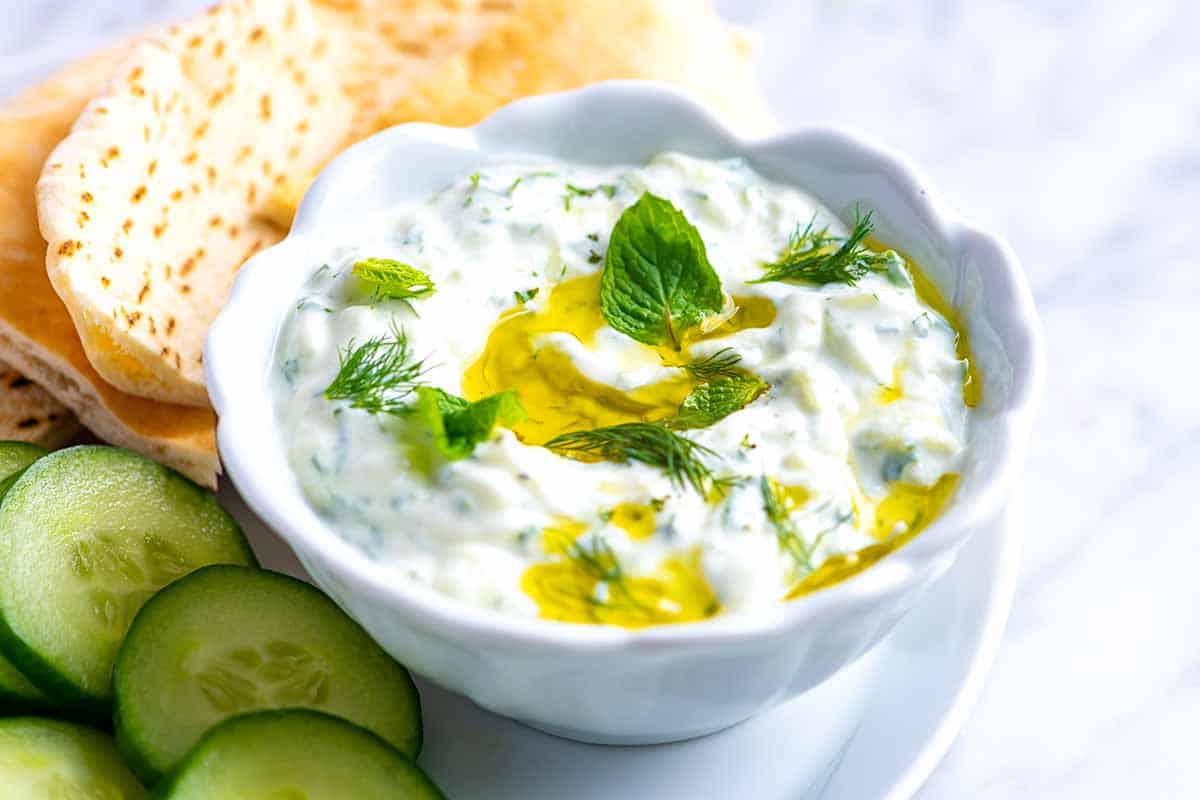
    Tzatziki Sauce with pita and cucumbers

    Tzatziki (pronounced tuh-zee-kee) is a creamy sauce made with yogurt, cucumber, fresh herbs, and garlic. It’s often associated with Greek food, but similar sauces are served throughout the Mediterranean and Middle East. I love to serve it as a sauce, spread, or dip for homemade pita and veggies.

    If this is your first time making it, tzatziki is easy. You don’t need much time or fancy equipment. I love this sauce so much that I’ve also shared this feta tzatziki and this creamy cucumber salad with a dressing inspired by authentic Greek tzatziki.

    Key Ingredients

    • Cucumber: I use thin-skinned cucumbers, such as hothouse, English, or Persian cucumbers. I don’t peel them, and since they are usually seedless, I don’t need to remove any seeds.
    • Yogurt: I use full-fat plain Greek yogurt when making homemade tzatziki sauce. Icelandic-style yogurt will work well, too (you are just looking for a thicker-style yogurt). If you can only find thinner yogurt, add it to cheesecloth and strain it for a few hours, like we do when making homemade labneh.
    • Garlic: The amount of garlic you use is up to you. I use 2 medium cloves, which gives the sauce a strong garlic flavor. Reduce or increase the garlic in your sauce, depending on how much you want to taste it.
    • Olive oil: Adds flavor and a little richness to our sauce.
    • Lemon: I love fresh lemon juice in my tzatziki sauce. It really brings all the ingredients together.
    • Fresh herbs: I’ll never pass up an opportunity to add some fresh herbs, and I absolutely love them in tzatziki. I love fresh dill and fresh mint.

    Find the full recipe with measurements below.

    Tzatziki is a creamy, delicious, and simple sauce made with cucumber, yogurt, and fresh herbs.

    How to Make Tzatziki Sauce

    Tip 1: Grate your cucumbers. You’ll start by grating your cucumber. I use my box grater, which takes less than a minute, or you can use the grater attachment for your food processor.

    Tip 2: Salting the cucumber makes it taste better. Sprinkle salt over the grated cucumber and leave it for 5 minutes. Salting cucumbers like this helps to season them, bump up their “cucumbery” flavor, and pull out excess water, which would inevitably make our sauce too runny.

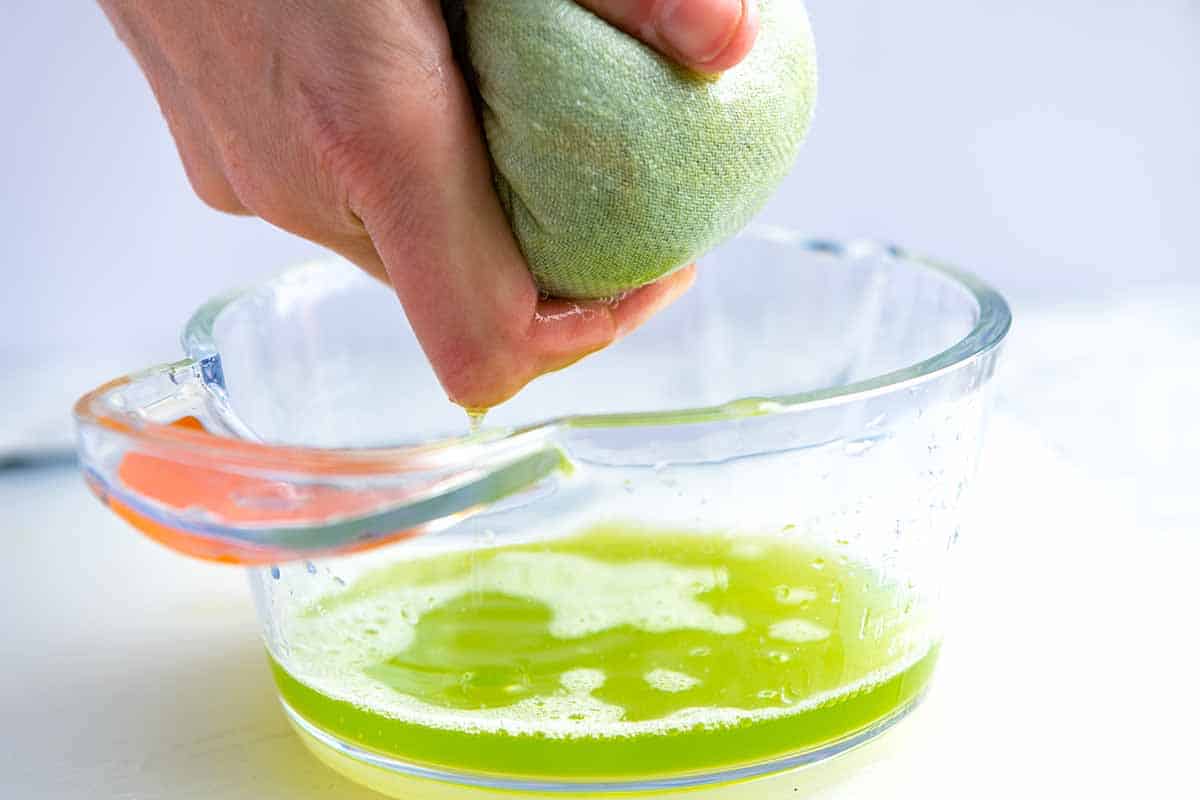
    Tip 3: Wring out the cucumbers. After 5 minutes of sitting with the salt, place the cucumber in a clean dishcloth or cheesecloth and wring it out. We want the cucumber’s flavor in our tzatziki, but we don’t want all the water that comes with it. By the way, the cucumber water is delicious, so don’t throw it away. I add it to soups, grains, or salad dressings.

    Showing how to make the best tzatziki by wringing excess water out of the grated cucumber

    Tip 4: Let the sauce sit for 10 minutes. Stir the cucumber into the other tzatziki ingredients and let them sit for at least 10 minutes so the flavors meld, making our tzatziki taste incredible.

    Stirring cucumber and herbs into yogurt for tzatziki sauce

    What to Serve with Tzatziki Sauce

    Tzatziki sauce can be served in so many different ways. It can be served alongside other dips like our hummus or baba ganoush with this easy flatbread or homemade pita bread. I also love it with seafood and chicken. Next time you make this lemon dill baked salmon, add a dollop of tzatziki (it will be so good!). Or, try it with our juicy skillet chicken breasts.

    You can also add it to sandwiches and burgers. I love a dollop of tzatziki on these juicy turkey burgers and our homemade veggie burgers! You can also serve it with raw or roasted veggies or this Greek salad!

    Tzatziki is a creamy, delicious, and simple sauce made with cucumber, yogurt, and fresh herbs.

    Easy Tzatziki Sauce Recipe

    • PREP
    • TOTAL

    Tzatziki is a creamy, delicious sauce made with cucumber, yogurt, and fresh herbs. Salting and wringing out your cucumbers is the secret to making the best tzatziki sauce. This seasoning makes them taste more cucumbery and removes excess water that would water the sauce down. Use a thick plain yogurt for this (Greek or Icelandic yogurt is perfect).

    Makes about 2 cups

    You Will Need

    2 cups grated cucumber (we love hothouse or seedless cucumbers)

    2 cups plain Greek yogurt

    2 tablespoons extra-virgin olive oil

    1 to 2 medium cloves garlic, minced, depending on how much you love garlic

    2 tablespoons fresh squeezed lemon juice or more to taste

    2 to 3 tablespoons chopped fresh mint and/or dill

    Salt and fresh ground black pepper

    Directions

      1Grate the cucumber and scatter it over a clean dishcloth (or cheesecloth). Sprinkle with 1/4 teaspoon salt. Let sit for 5 minutes.

      2Gather up the corners of the dishcloth and squeeze as much liquid from the grated cucumber as possible. Discard the liquid or save it for another use.

      3In a medium bowl, combine the squeezed cucumber with yogurt, olive oil, garlic, lemon juice, fresh herbs, a pinch of salt, and a pinch of pepper.

      4Set aside for at least 10 minutes, then serve.

    Adam and Joanne’s Tips

    • Storing: Homemade tzatziki lasts in an airtight container in the fridge for 3 to 4 days. It might get runnier as it sits since the cucumbers will continue to release some of their water. Give a good stir before serving.
    • Cucumber water: Save the cucumber water and use in salad dressings, soups, or grains.
    • The nutrition facts provided below are estimates.

    Nutrition Per Serving
    Serving Size
    About 2 tablespoons
    /
    Calories
    53
    /
    Total Fat
    3.6g
    /
    Saturated Fat
    1.1g
    /
    Cholesterol
    4.6mg
    /
    Sodium
    85.7mg
    /
    Carbohydrate
    2.2g
    /
    Dietary Fiber
    0.1g
    /
    Total Sugars
    1.7g
    /
    Protein
    3.3g


    AUTHOR:

    Joanne Gallagher

    Adam and Joanne of Inspired Taste

    We are Adam and Joanne Gallagher, the creators of Inspired Taste. Established in 2009, Inspired Taste grew from a childhood dream into one of the internet’s most trusted recipe sites with hundreds of reliable recipes, step-by-step videos, and expert tips.More About Us

    Source link

  • Instant Pot Shredded Chicken Recipe

    Instant Pot Shredded Chicken Recipe

    My favorite Instant Pot shredded chicken recipe for tacos, enchiladas, burritos, and rice bowls. It turns out juicy, tender, and packed with incredible flavor.

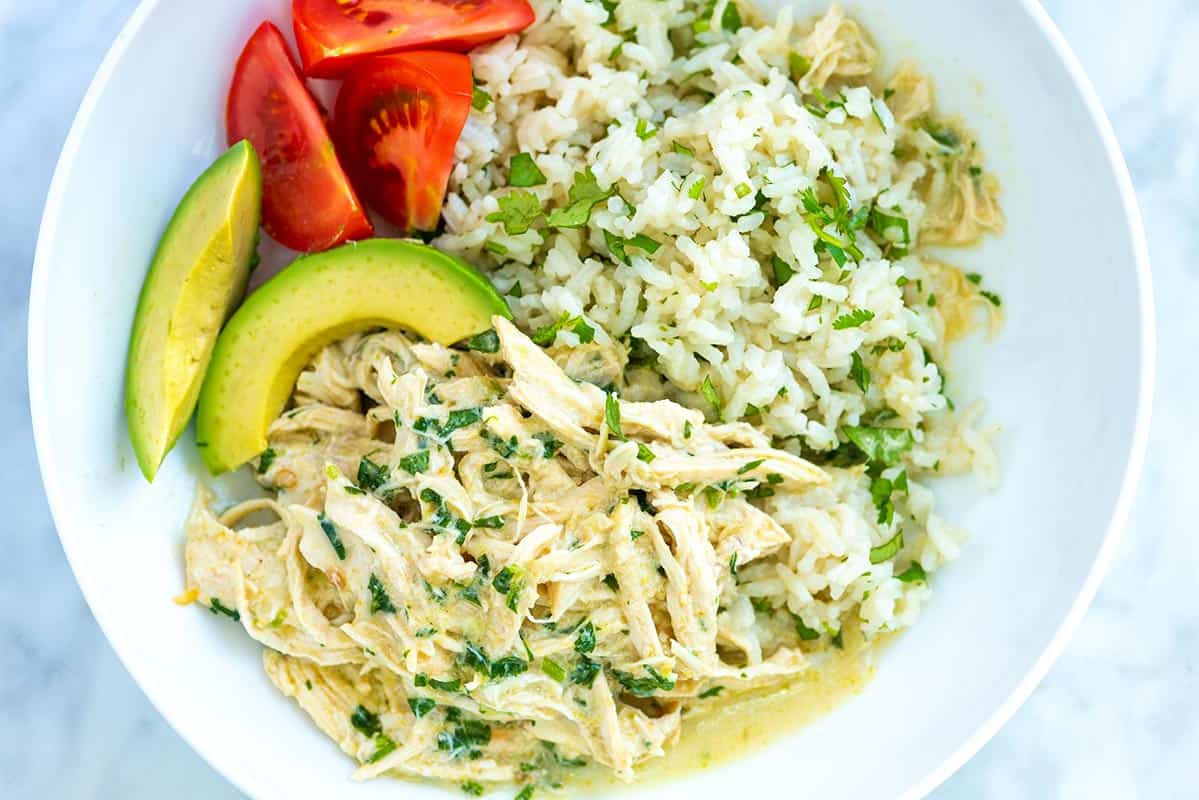
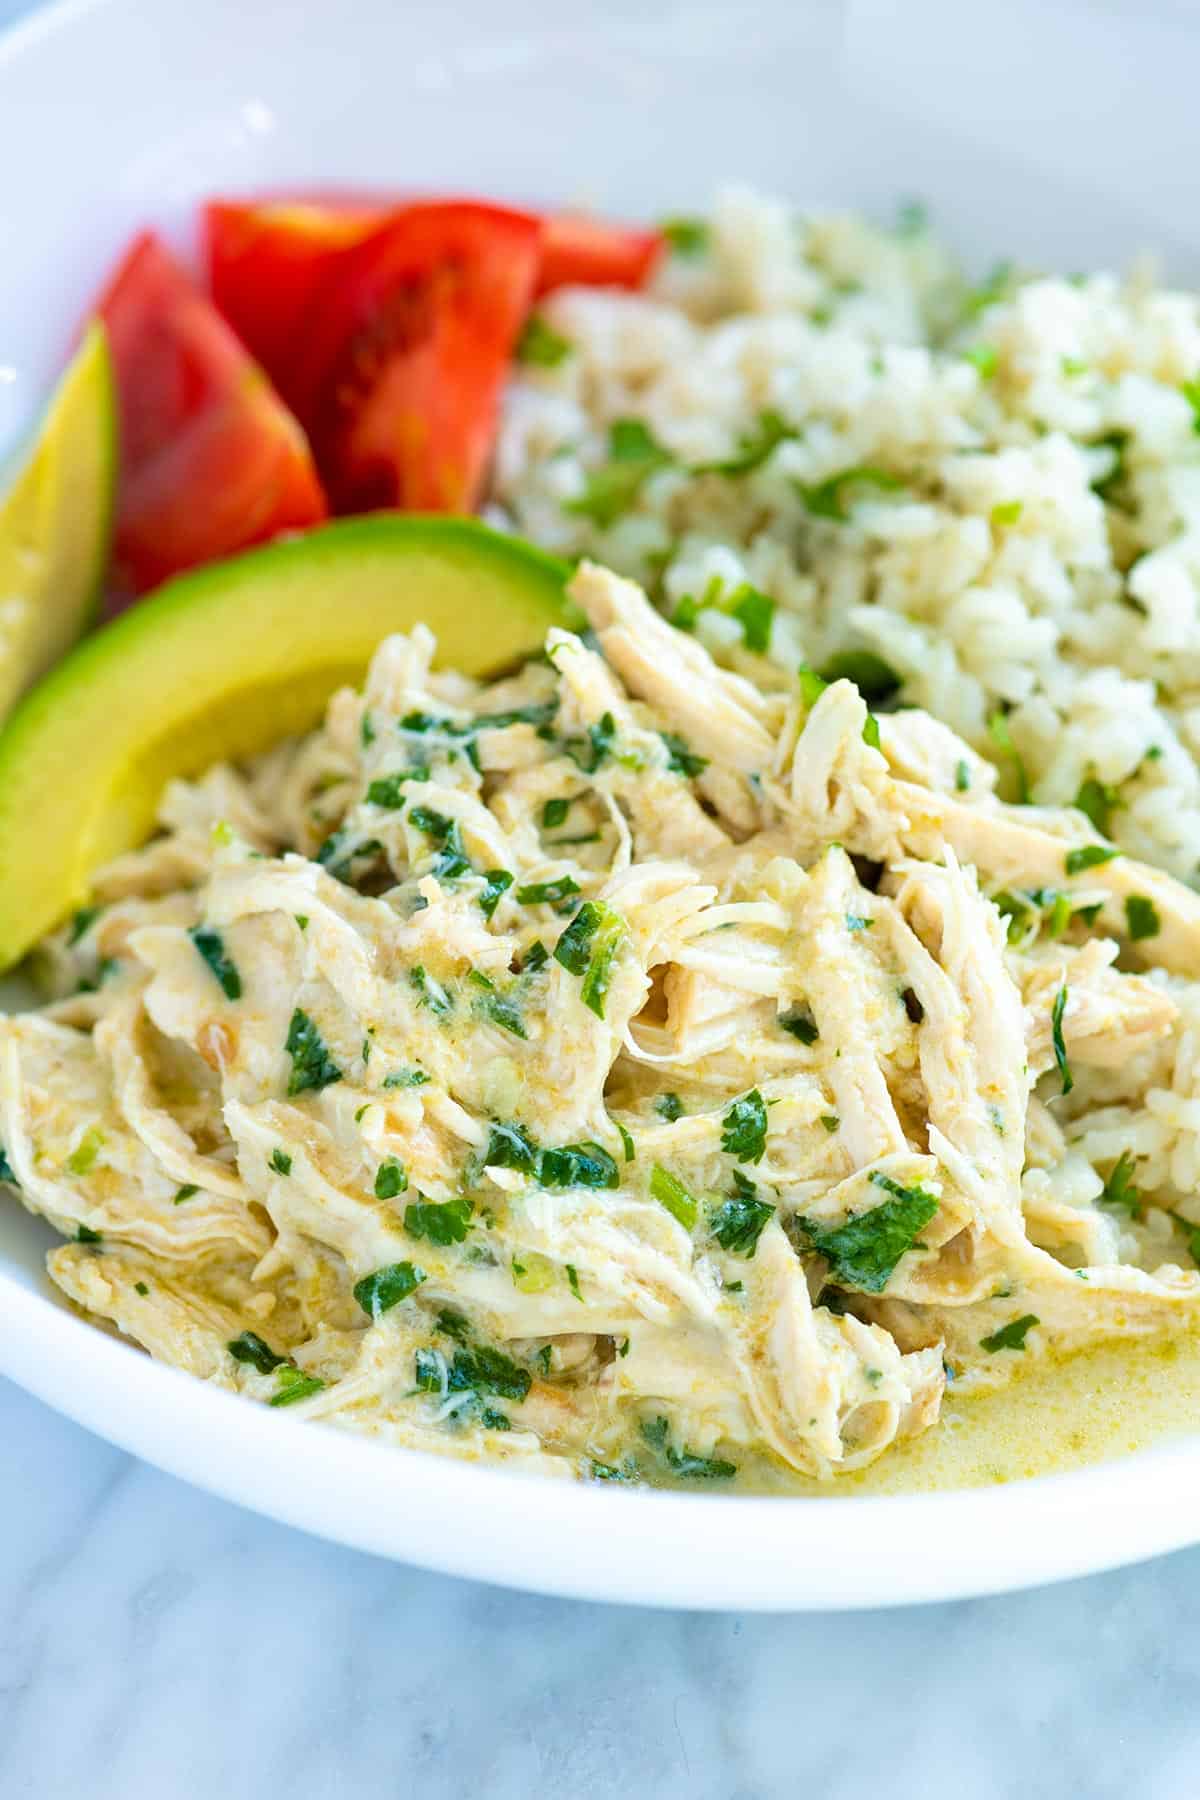
    Instant Pot Shredded Chicken

    You only need a few ingredients to make it, and the Instant Pot does all the work. I use green enchilada sauce or salsa verde to infuse the chicken with flavor while keeping it perfectly moist. The result tastes like it’s been simmering for hours, even though it comes together in under 30 minutes.

    It’s one of those recipes I come back to week after week. I’ll use leftovers to make shredded chicken tacos one night, rice bowls the next, and maybe stuffed into quesadillas for lunch. I’m obsessed.

    Key Ingredients

    • Chicken: I used boneless, skinless chicken breasts in our photos, but this recipe works beautifully with either chicken breasts or thighs. Thighs stay extra juicy, while breasts shred easily and soak up all the sauce. I prefer thawed chicken for this, but tips for using frozen chicken are below the recipe.
    • Enchilada Sauce: My family loves green enchiladas, so I usually make this with green enchilada sauce or our homemade salsa verde. Red enchilada sauce works just as well, and you can even use your favorite jarred salsa.
    • Sour Cream: A spoonful of sour cream stirred in at the end makes the cooking liquid slightly creamy and extra delicious. It’s optional, but I highly recommend it.
    • Cilantro: Stir a little chopped fresh cilantro in at the end. It adds color and fresh flavor.

    Find the full recipe with measurements below.

    How to Make Instant Pot Shredded Chicken

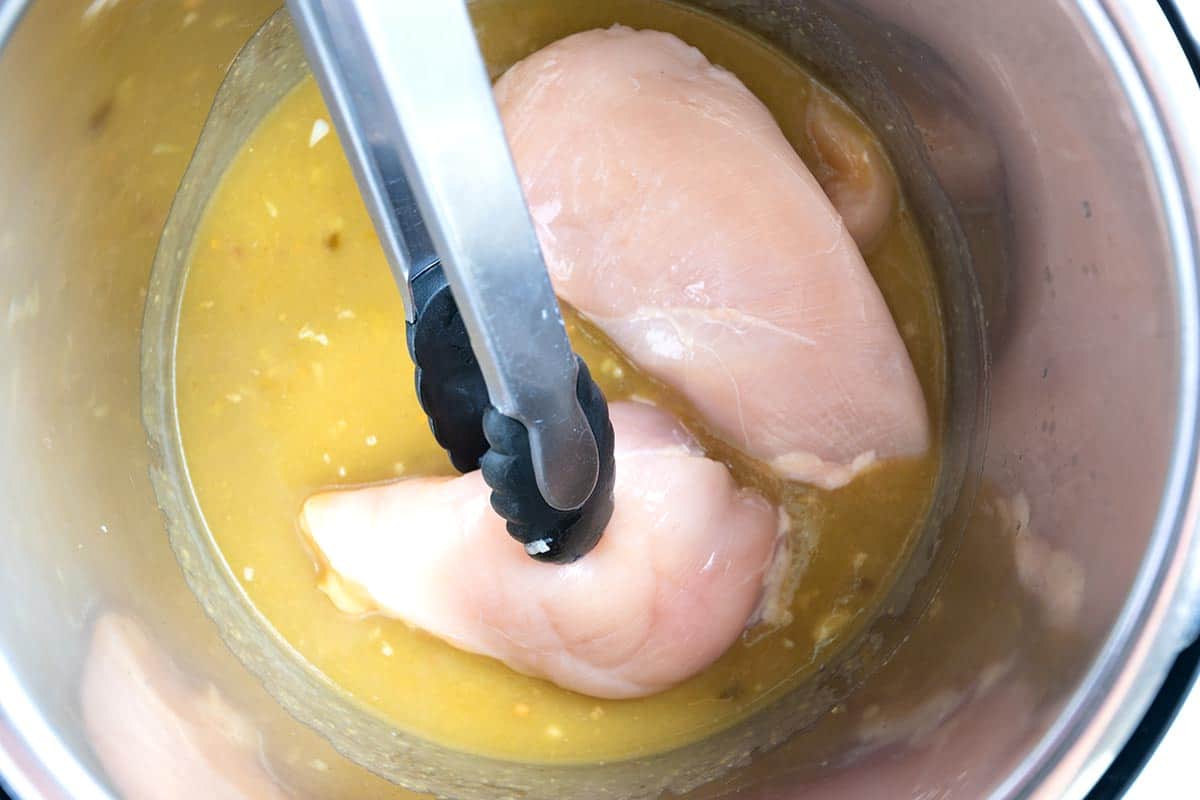
    Tip 1: Add liquid. Pressure cookers need liquid to build pressure, so be sure to add at least 1 cup to the bottom of the pot. For the most flavorful chicken, skip plain water and use salsa verde, enchilada sauce, or broth. Salsa verde adds a tangy, rich flavor that we love.

    Placing chicken breasts into the Instant Pot with green enchilada sauce

    Tip 2: Let the Instant Pot do the work. Once you’ve added your chicken and salsa, secure the lid and cook on “Pressure Cook” or “Manual” mode.

    For 1 pound of thawed chicken breasts, cook on high pressure for 8 minutes, then let it naturally release for 5 minutes before using the quick release.

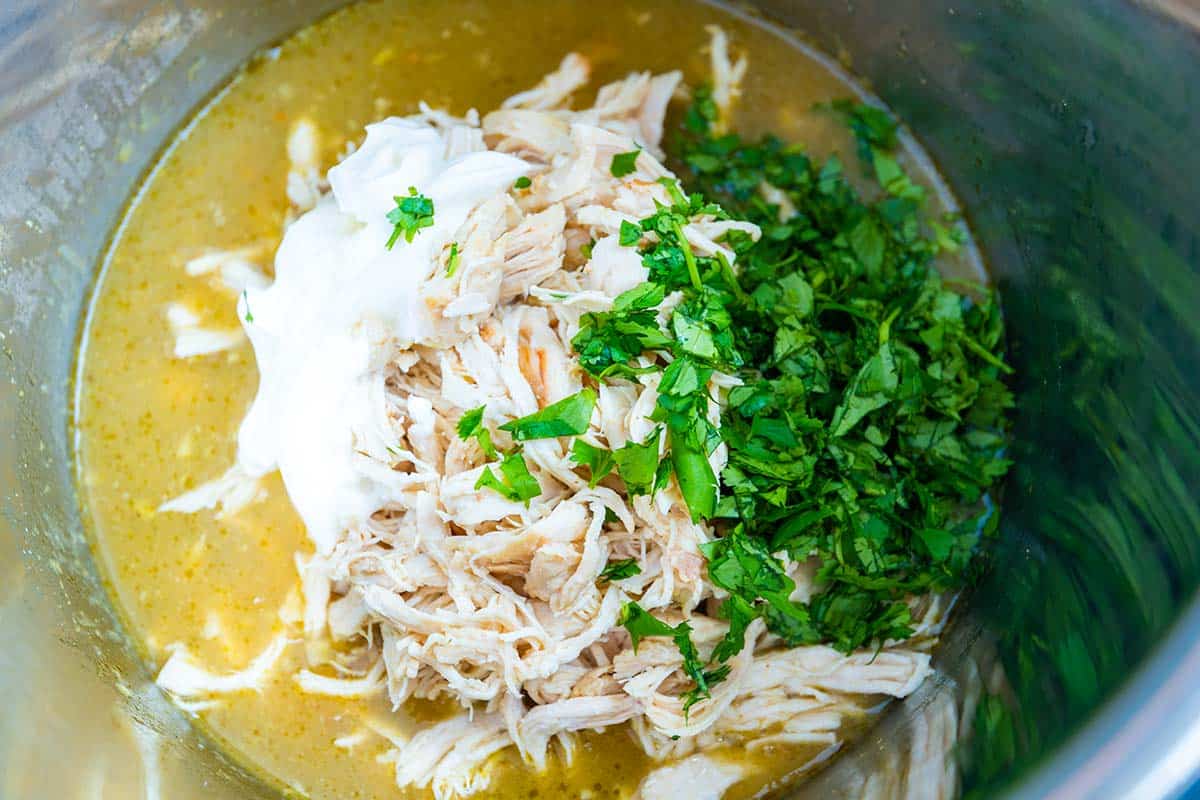
    Tip 3: Shred the chicken and stir back in. After allowing the cooker to naturally release for 5 minutes, use the manual pressure release to release the remaining pressure. Then, shred the chicken with two forks, and stir it back into the sauce. This lets it soak up all those delicious flavors. For a creamy shredded chicken, stir in a little sour cream and chopped cilantro at the end.

    Shredded chicken in the Instant Pot with cilantro and sour cream

    Serving Suggestions

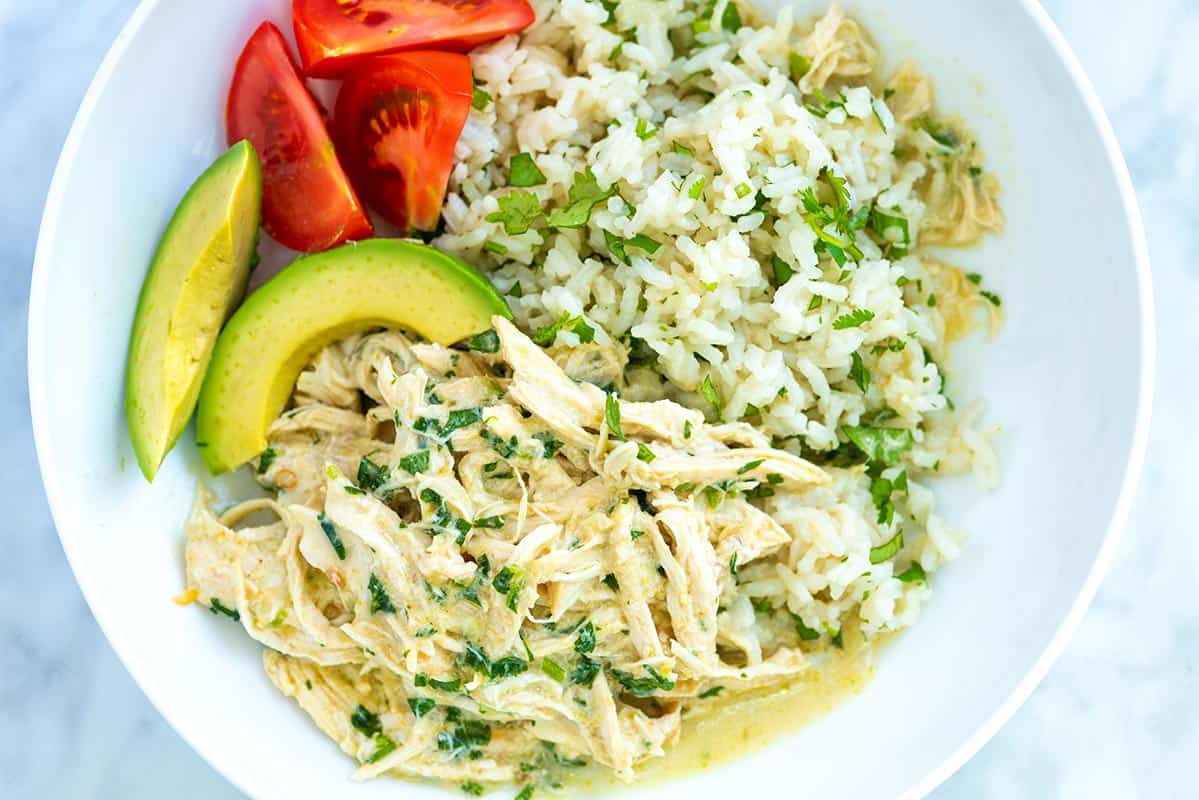
    This shredded chicken is incredible for rice bowls. I love using a base of cilantro lime rice or Mexican rice, then topping it with fresh tomatoes, pico de gallo, avocado, avocado salad, or a scoop of guacamole.

    It’s also perfect for tacos, and if you want to make them truly homemade, try our flour tortillas or corn tortillas. The chicken also works beautifully rolled into burritos for a quick meal prep option.

    And I can’t let you go without suggesting our chicken quesadillas, shredded chicken nachos, or green enchiladas. Both are family favorites and pair perfectly with this juicy Instant Pot shredded chicken.

    More Instant Pot Recipes I Love

    Instant Pot Shredded Chicken

    Instant Pot Shredded Chicken

    • PREP
    • COOK
    • TOTAL

    We love this Instant Pot shredded chicken recipe made with a creamy salsa verde sauce. The Instant Pot is a programmable pressure cooker, but if you don’t have one, you can easily adapt this recipe for any standard pressure cooker. For a stovetop version, see this easy shredded chicken recipe, or to make it in a slow cooker, see this crockpot shredded chicken.

    Makes 4 cups of shredded chicken

    You Will Need

    2 cups green enchilada sauce or Mexican salsa verde, try our homemade salsa verde

    1 pound boneless, skinless chicken breasts or thighs

    ½ cup sour cream

    Handful of fresh chopped cilantro

    Salt, to taste

    Directions

      1Add chicken and sauce: Pour the enchilada sauce or salsa verde into the Instant Pot. Nestle the chicken into the sauce, then secure the lid.

      2Pressure cook: Select the Pressure Cook or Manual function and set the timer for 8 minutes on high pressure. The timer won’t start until the pot reaches full pressure, which can take a few minutes.

      3Release pressure: When the cooking time is up, allow the pressure to naturally release for 5 minutes, then carefully use the quick-release valve to vent any remaining pressure.

      4Shred and finish: Transfer the chicken to a cutting board and shred it with two forks. Stir the shredded chicken back into the sauce along with the sour cream and cilantro. Taste and season with salt. Enjoy over rice or grains, or use as a filling for tacos, burritos, enchiladas, or quesadillas.

    Adam and Joanne’s Tips

    • Storing: Keep chicken in an airtight container in the fridge for up to 4 days. Reheat in the microwave or over medium-low heat in a saucepan.
    • Sauce: We love making our roasted tomatillo salsa verde, but when we don’t have time to make it, store-bought works beautifully. Our favorite brands are Frontera by Rick Bayless and Hatch.
    • Canned sauce: If you’re using canned salsa, you’ll get about 1 ⅔ cups per can. No need to open a second one, just top it off to the 2-cup line with a little water or broth.
    • Chicken underdone: If you notice the chicken isn’t fully cooked when you remove it, switch the Instant Pot to Sauté mode and simmer for a few minutes until it’s cooked through.
    • The nutrition facts provided below are estimates.

    Nutrition Per Serving
    Serving Size
    1/2 cup
    /
    Calories
    251
    /
    Protein
    28 g
    /
    Carbohydrate
    9 g
    /
    Dietary Fiber
    2 g
    /
    Total Sugars
    5 g
    /
    Total Fat
    11 g
    /
    Saturated Fat
    4 g
    /
    Cholesterol
    85 mg
    /
    Sodium
    813 mg


    AUTHOR:

    Joanne Gallagher

    Adam and Joanne of Inspired Taste

    We are Adam and Joanne Gallagher, the creators of Inspired Taste. Established in 2009, Inspired Taste grew from a childhood dream into one of the internet’s most trusted recipe sites with hundreds of reliable recipes, step-by-step videos, and expert tips.More About Us

    Source link

  • Quick Shrimp Stir Fry Recipe

    Quick Shrimp Stir Fry Recipe

    This shrimp stir fry recipe is fast, easy, and unbelievably delicious. Ready in 20 minutes with juicy shrimp, crisp veggies, and a crave-worthy homemade sauce.

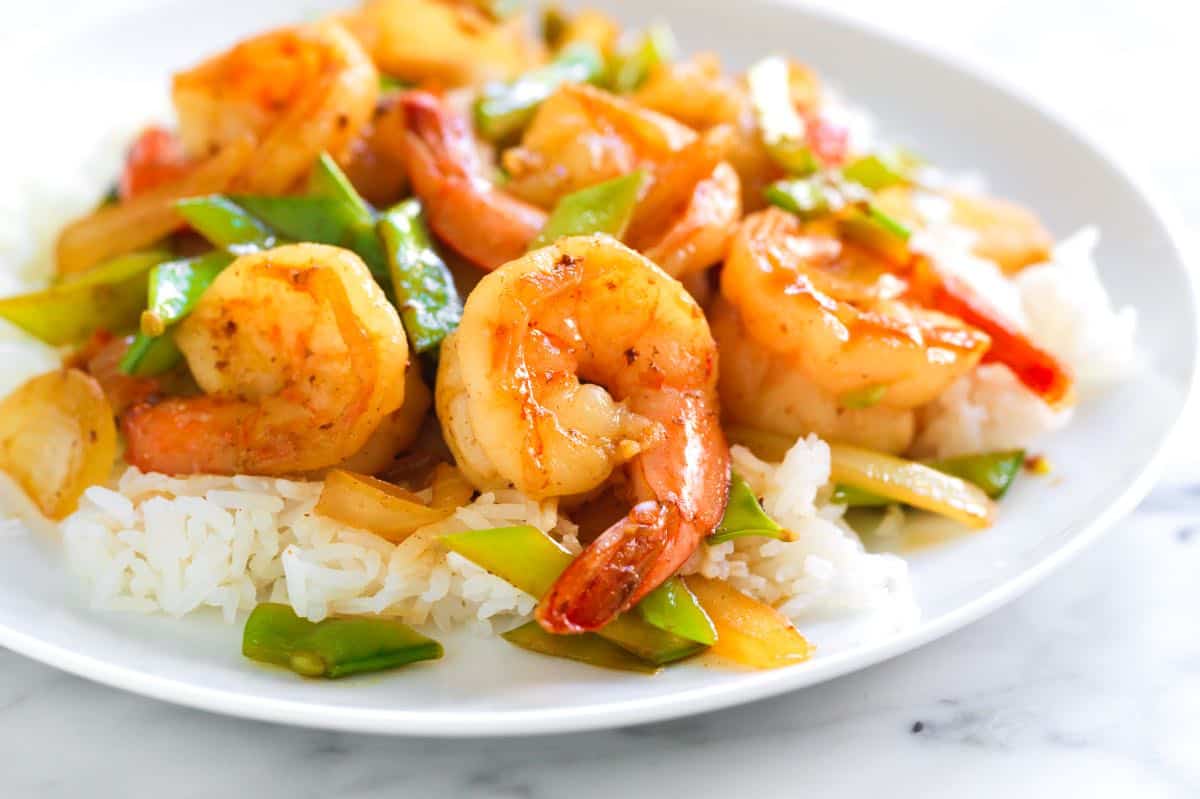
    Shrimp Stir Fry

    The secret to making this shrimp stir fry so good is the sauce. We use the same one we whisk together for fried rice. It’s savory, a little sweet, and flavorful. Tossed with juicy shrimp and veggies, it transforms a quick weeknight dinner into something that tastes restaurant-worthy.

    Once you try this recipe, I’m betting you’ll be making it on repeat, because that’s exactly what happened with our family.

    Key Ingredients

    • Shrimp: I prefer extra-large or jumbo shrimp for this recipe (look for 16-20 count on the package). If yours are frozen, see the quick-thawing tip below the recipe (it only takes a few minutes with cold running water).
    • Veggies: Stick with quick-cooking vegetables, such as onions and snap peas. Zucchini, asparagus, green beans, small broccoli florets, bell peppers, and bok choy also work beautifully.
    • Garlic: I love a kick of garlic, and highly recommend adding 2 cloves. I like to slice them thinly so you can see them in the stir fry.
    • Sauce: I use our fried rice sauce for this and love it. The basic recipe only has 4 ingredients. It is a mixture of soy sauce, brown sugar, rice wine vinegar, and toasted sesame oil. If you’re up for it, you can also add mirin, Chinese 5-spice, and a bit of heat with chile paste, but the basic sauce is still really good! Another option is to use our ginger stir fry sauce.
    • Butter: This is my secret for making the sauce nice and creamy. You’ll add one tablespoon just before serving.

    Find the full recipe with measurements below.

    How to Make the Best Shrimp Stir Fry

    Tip 1: Salt, then rinse your shrimp. Before cooking, toss the shrimp with a bit of salt and let them sit in a colander for a few minutes. The salt firms up their texture and seasons them throughout. After rinsing, the shrimp taste cleaner, cook more evenly, and stay plump and juicy. Try this trick for all your favorite shrimp recipes. I also use it when making this shrimp burger recipe.

    Tip 2: Cook the shrimp first. Sear the shrimp until they’re just barely done, then remove them from the skillet. This keeps them from overcooking and gives you time to stir fry the veggies until perfectly tender.

    Cooking shrimp in a wok for shrimp stir fry

    Tip 3: Use our sauce. Our fried rice sauce is incredible for fried rice, but it’s also the secret to this quick and flavorful shrimp stir fry. It takes just 2 minutes to make: simply simmer soy sauce, brown sugar, rice vinegar, toasted sesame oil, and any optional add-ins until the sugar has dissolved. Keep a jar in your fridge. It lasts for a week and works with almost any stir-fry.

    Adding sauce to the stir fry

    Tip 4: Finish with butter. Just as the stir fry is finishing up, turn off the heat and swirl in a little butter. It melts into the sauce, making it silky, slightly creamy, and extra delicious.

    Finishing the shrimp stir fry with a bit of butter to make the sauce creamy.

    More Stir Fry Recipes

    Shrimp Stir Fry

    Quick Shrimp Stir Fry

    • PREP
    • COOK
    • TOTAL

    It’s a good night when this quick and easy shrimp stir fry is for dinner. Thanks to quick cooking shrimp and veggies, it’s fast! Thanks to the sauce, it’s really delicious! It’s so much more delicious than simply stirring in plain soy sauce or store-bought stir-fry sauce. The sauce takes 3 minutes to make, so I highly recommend making a batch! For more ways to use it, see our fried rice sauce recipe. For serving, I love this over steamed jasmine rice or this coconut rice.

    4 Servings

    You Will Need

    For the Stir Fry

    1 pound peeled and deveined jumbo shrimp, 16-20 count (450g)

    1 tablespoon high-heat cooking oil (like avocado, grapeseed, or canola)

    1 tablespoon toasted sesame oil

    1 medium onion, thinly sliced into quarter-moons

    2 garlic cloves, thinly sliced

    6 ounces snap peas, sliced on the diagonal (170g)

    4 tablespoons fried rice sauce (recipe below)

    1 tablespoon butter

    Fine sea salt, as needed

    Cooked rice or noodles, for serving, optional


    For the Sauce (Makes about 1 cup)

    ¾ cup low-sodium soy sauce (190g)

    ¼ cup brown sugar (50g)

    2 tablespoons rice vinegar

    1 tablespoon toasted sesame oil

    2 tablespoons mirin, optional

    ¼ teaspoon Chinese five spice, optional

    1 tablespoon sambal oelek or gochujang, optional, for heat

    Directions

      1Make the sauce: Add soy sauce, brown sugar, rice vinegar, and sesame oil to a small saucepan over medium heat. Bring to a simmer and cook until the sugar dissolves. If you are adding them, stir in the optional ingredients. You will have leftover sauce, see tips for storing instructions.

      2Prepare the shrimp: Place the shrimp in a colander and toss with ¼ teaspoon salt. Let sit for 1 minute, then rinse and pat very dry with paper towels.

      3Cook the shrimp: Heat a wok or large skillet over medium-high heat. Add a tablespoon each of high-heat oil and toasted sesame oil to coat the bottom of the pan. Add the shrimp in a single layer and cook until they start to curl and turn opaque, about 2 minutes. Transfer to a plate.

      4Cook the vegetables: If the pan is dry, add a little more oil, then add the onion to the pan with a small pinch of salt. Cook, stirring around the pan until the onion begins to soften and turn translucent, 1 to 2 minutes. Add the snap peas and garlic, and cook for another minute.

      5Add the sauce: Pour in 4 tablespoons of the sauce and return the shrimp to the pan (along with any juices). Cook until the snap peas are just tender, 1 to 2 minutes more.

      6Finish: Turn off the heat and stir in the butter until melted. Taste, and add an extra spoonful of sauce if you’d like. Serve immediately with rice or noodles.

    Adam and Joanne’s Tips

    • Storing: Keep leftovers stored in an airtight container in the fridge for up to 3 days.
    • Storing the sauce: Keep leftover sauce in an airtight container like a mason jar in the refrigerator for up to one week. Shake before using. You can also freeze in ice cube trays for longer storage.
    • Frozen shrimp: Rinse the shrimp in a colander under cold running water until they are no longer frozen hard, 3 to 5 minutes. They can still be very cold.
    • The nutritional information provided are estimates.

    Nutrition Per Serving
    Serving Size
    1/4 of the recipe
    /
    Calories
    237
    /
    Total Fat
    11.4g
    /
    Saturated Fat
    3g
    /
    Cholesterol
    190.1mg
    /
    Sodium
    610.1mg
    /
    Carbohydrate
    11.8g
    /
    Dietary Fiber
    1.6g
    /
    Total Sugars
    7.4g
    /
    Protein
    25.3g


    AUTHOR:

    Joanne Gallagher

    Adam and Joanne of Inspired Taste

    We are Adam and Joanne Gallagher, the creators of Inspired Taste. Established in 2009, Inspired Taste grew from a childhood dream into one of the internet’s most trusted recipe sites with hundreds of reliable recipes, step-by-step videos, and expert tips.More About Us

    Source link