Author: admin

  • Easy Potato Leek Soup Recipe

    Easy Potato Leek Soup Recipe

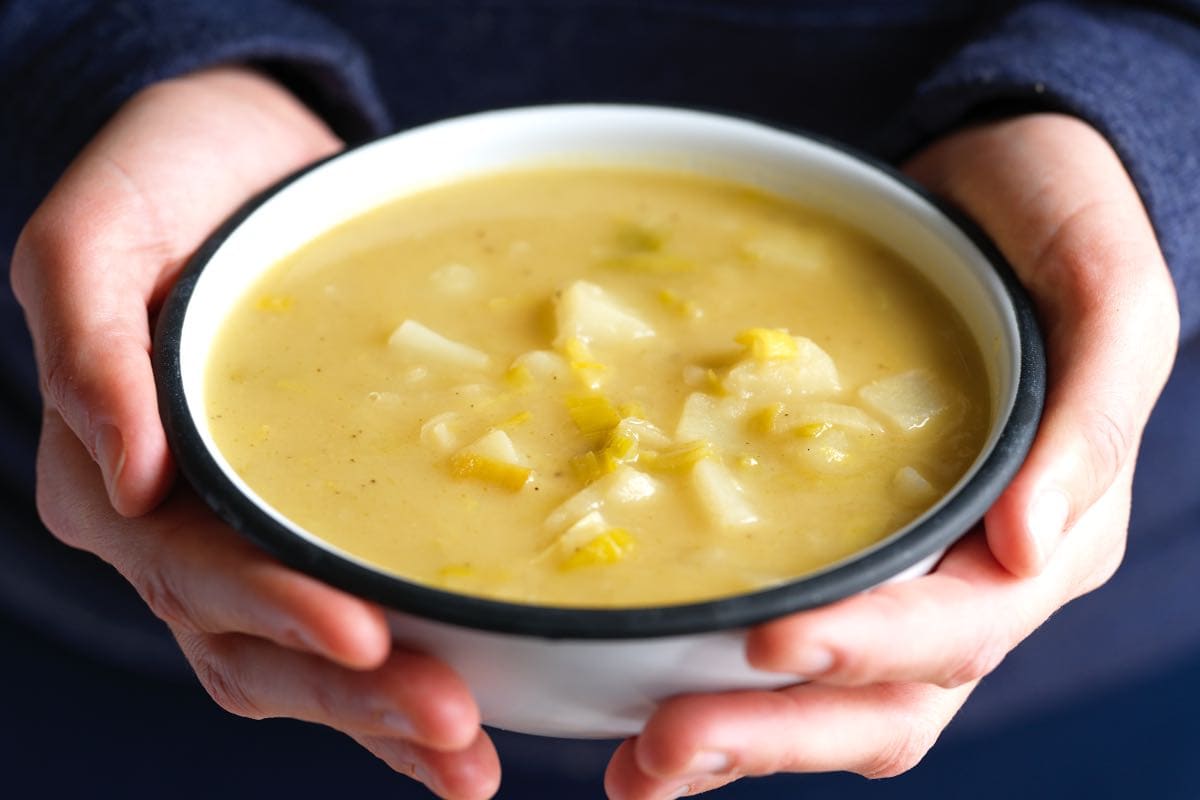
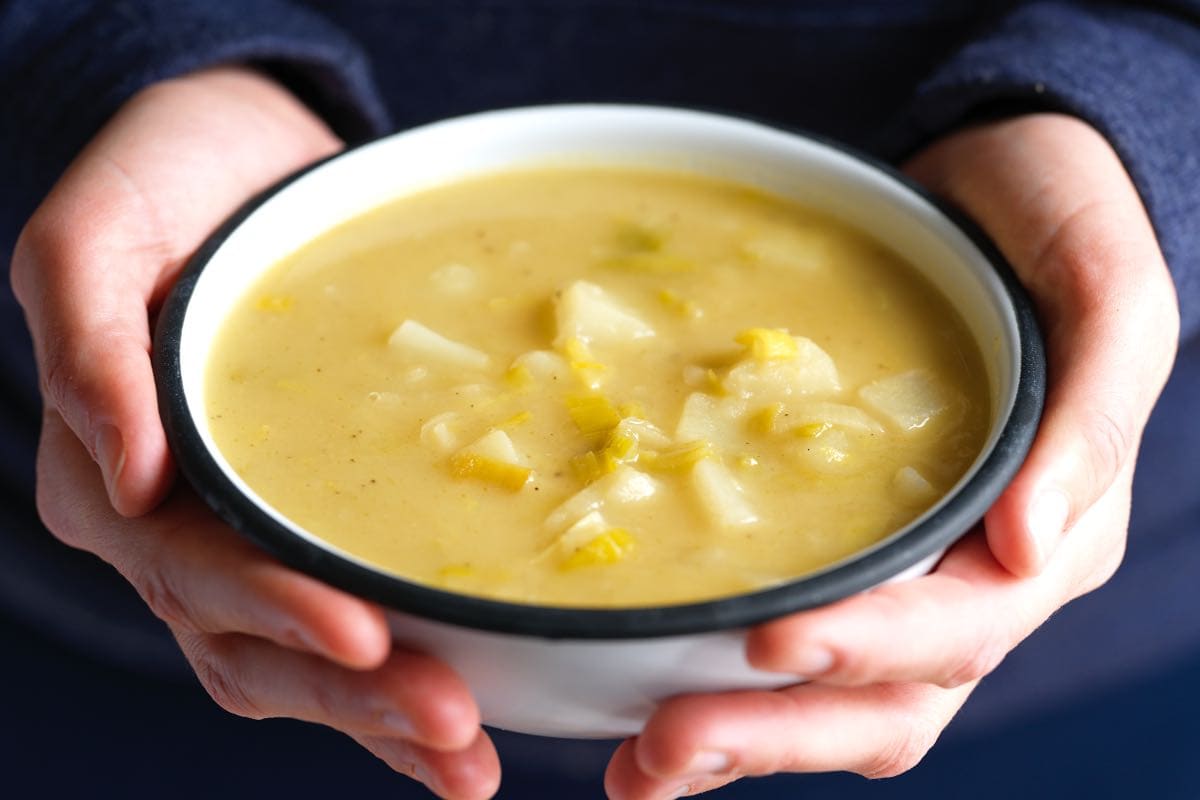
    I make this potato leek soup recipe all the time! This easy soup is super creamy and comforting (and I make it without cream!).
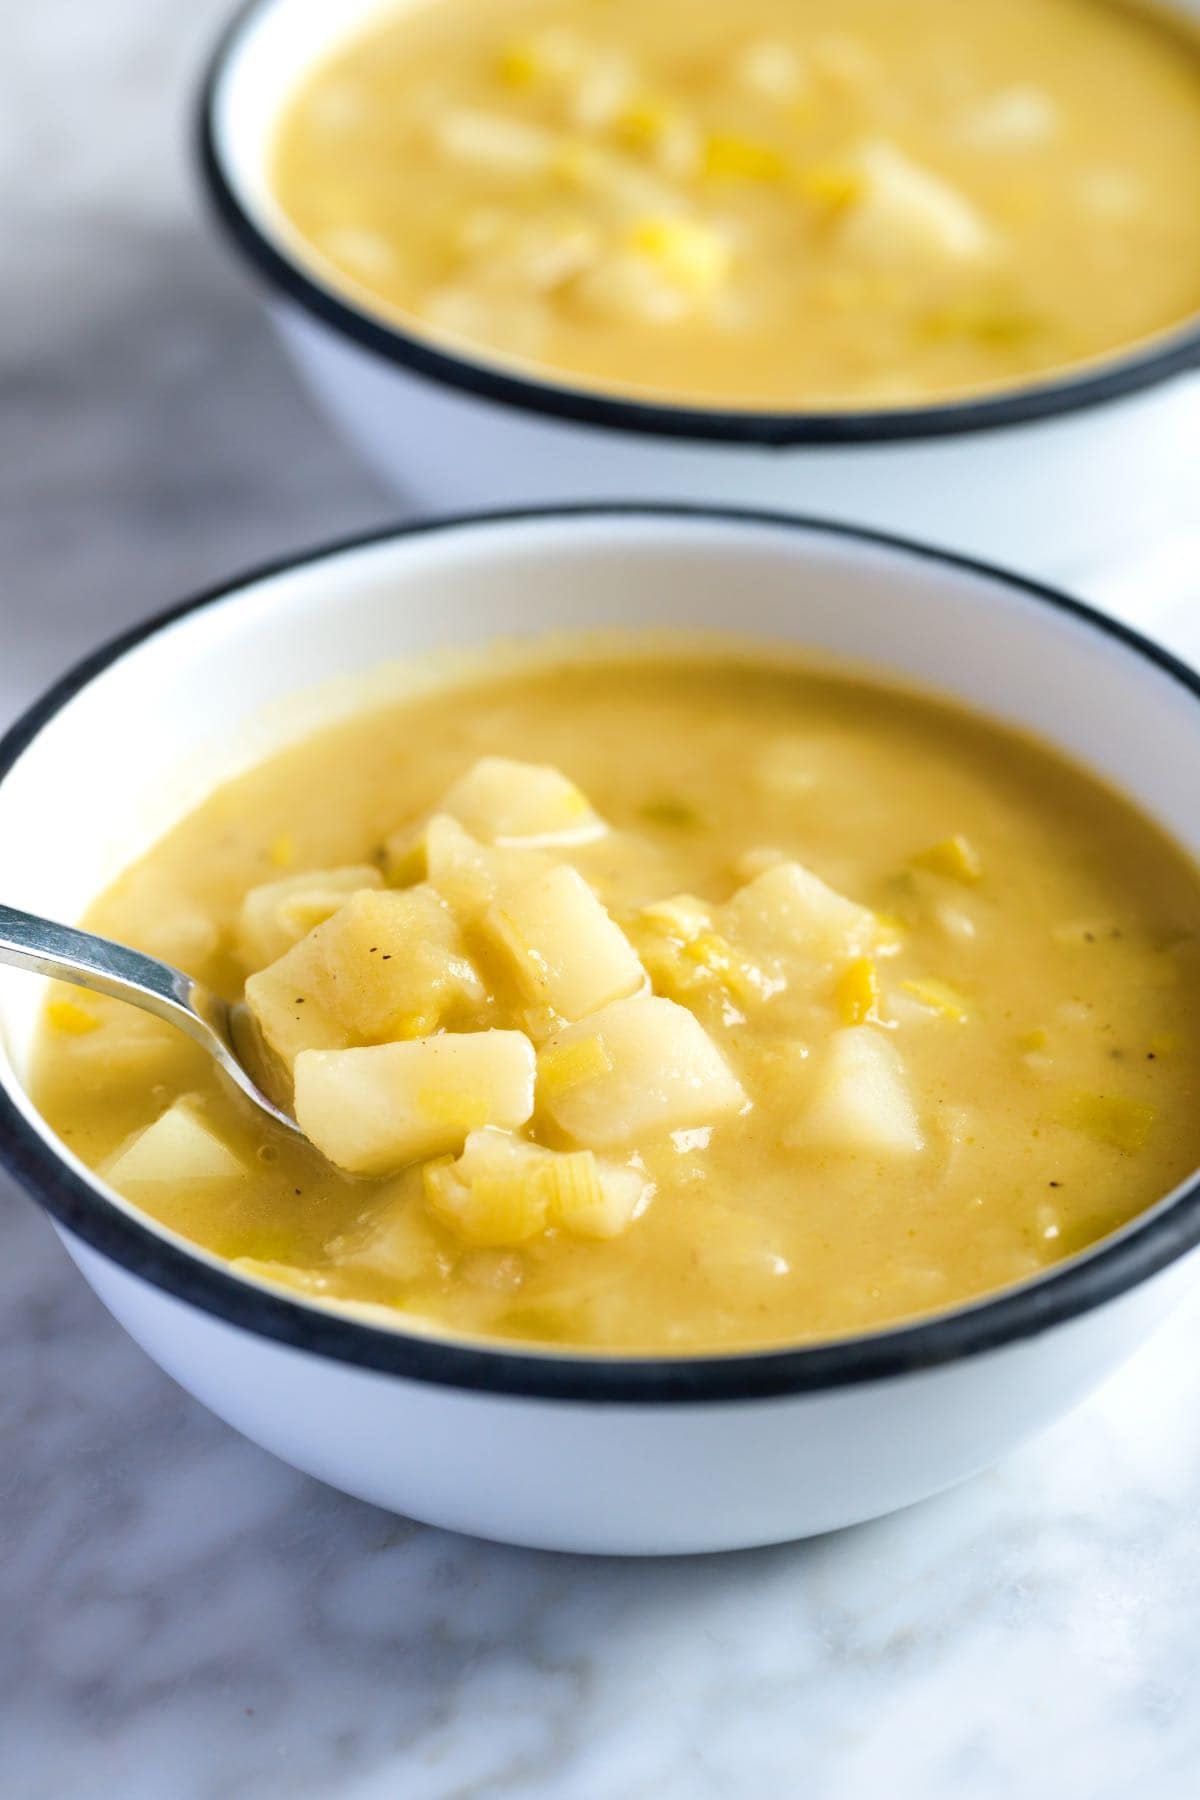
    Two Bowls of Leek and Potato Soup

    I learned how to make potato leek soup from my Mom, who makes it weekly. The ingredient list for this easy soup is pretty short (woohoo!) and super simple to prepare.

    Plus, it keeps well in the fridge or freezer for busy days. We love this soup and hope you’ll give it a try!

    Key Ingredients

    • Butter: I love the creaminess butter adds, especially since this soup has no cream, but olive oil is a good substitute.
    • Leeks: Think of leeks as sweet, mellow onions. We’ll use the white and light green parts, saving the tougher dark green tops for stock. Check out my article about how to clean leeks for more tips!
    • Potatoes: Use any kind you have. Yukon Gold potatoes will make it extra creamy, but russets break down easily for a nice texture, too.
    • Broth: Either chicken broth or vegetable broth works perfectly here.
    • Spices: Don’t be shy with the salt and pepper! A pinch of nutmeg adds a subtle warmth, and half a bay leaf is plenty for flavor.

    Find the full recipe with measurements below.

    How to Make Potato and Leek Soup

    Tip 1: Throughly clean your leeks. Leeks tend to trap sand, so I always clean them thoroughly. My go-to method is slicing them in half lengthwise, which makes it easier to rinse away any hidden grit. If you need a visual guide, check out my article on cleaning leeks.

    Tip 2: Cook the leeks until soft. Once your leeks are clean and chopped, this soup comes together quickly. Start by cooking the leeks in butter until they’re very soft, then add the rest of the ingredients and simmer until the potatoes are tender.

    Tip 3: Blend half of the soup for the best texture. I’m a big fan of textured soups. While many potato leek soup recipes call for blending until silky smooth, I prefer a heartier, more rustic approach. I leave plenty of potato chunks and sliced leeks in the pot. We blend about half the soup to thicken it up and add creaminess while leaving the rest chunky for texture.
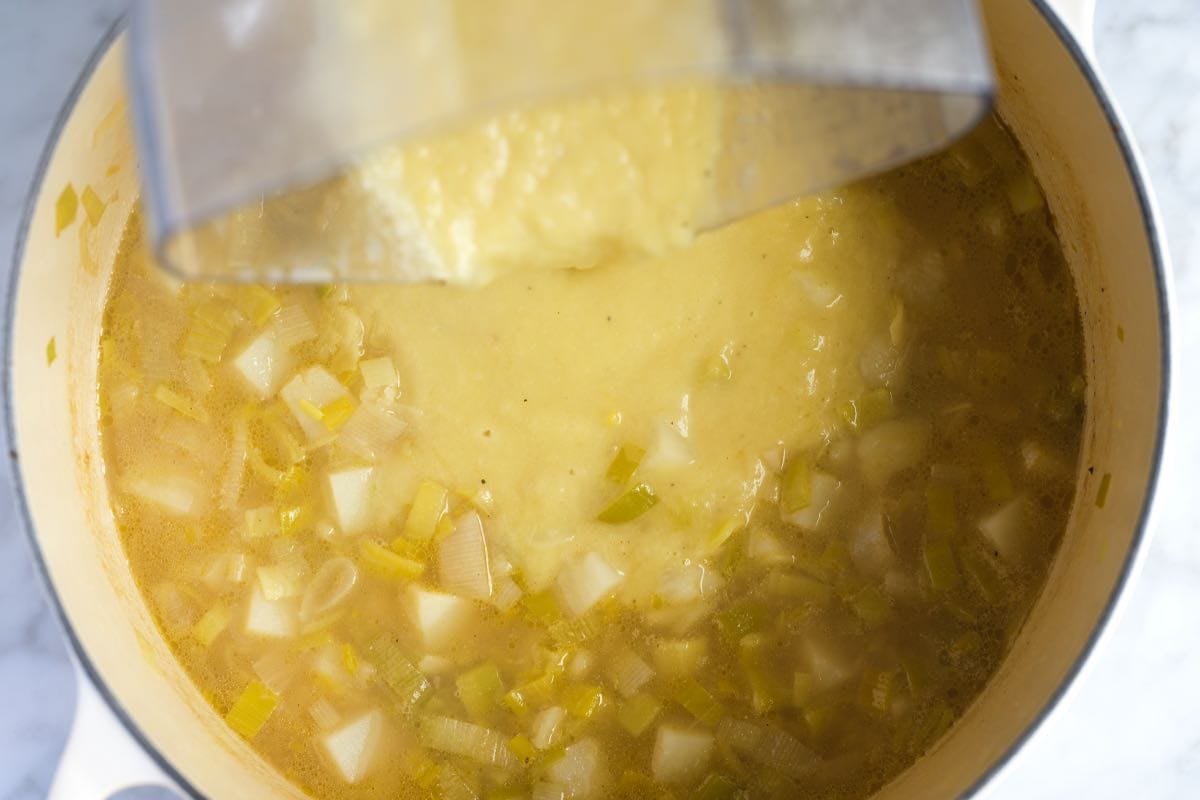
    Blending half of the potato and leek soup

    More Potato Soup Recipes

    Homemade Potato Leek Soup

    Easy Potato Leek Soup

    • PREP
    • COOK
    • TOTAL

    We love this potato and leek soup recipe with butter, leeks, potatoes, stock, and spices. This soup is so creamy and comforting. There’s no cream needed, but if you want to make this more decadent, add a little crème fraîche, sour cream, or cream to your bowl before serving.

    Makes 4 servings

    You Will Need

    3 tablespoons butter or olive oil

    3 large leeks

    2 medium-to-large russet potatoes, peeled and chopped into ½-inch cubes

    6 cups stock or broth, see our chicken stock or vegetable broth

    Half of a bay leaf

    Salt and fresh ground black pepper

    Pinch freshly ground nutmeg

    Crème fraîche, sour cream, or cream for serving, optional

    Directions

    • Prepare Leeks
    • 1Cut away the stem and dark green parts of the leeks. Discard the stem and save the green tops for stock or broth. We only need the light green and white parts of the leeks for this recipe.

      2Slice the leeks into half, lengthwise, and then run cold water over them, using your fingers to release any dirt stuck inside the layers.

      3Slice the leeks into 1/4-inch thick half-moons.

    • Prepare Soup
    • 1Melt the butter in a large saucepan or Dutch oven over medium heat.

      2Stir in the leeks and 1/4 teaspoon of salt. Reduce the heat to medium-low, and cook, stirring frequently, until very soft but not browned, 10 to 15 minutes. If the leeks begin to brown, lower the heat a bit more.

      3Stir in the potatoes, stock, and 1/4 teaspoon of fresh ground pepper. Add half of a bay leaf, and then bring it to a boil. Reduce the soup to a low simmer, and cook uncovered for 10 to 15 minutes or until the potatoes are tender.

      4Taste the broth and season with additional salt.

      5Blend one-third of the soup, and then stir back into the pot. Stir in a bit more ground pepper and a pinch of nutmeg. Serve.

    Adam and Joanne’s Tips

    • Storing: Store potato leek soup in airtight containers in the fridge for up to 3 days or in the freezer for up to 3 months.
    • Vegetarian and vegan adaptations: Use vegetable broth. Try our homemade veggie broth.
    • The nutrition facts provided below are estimates.

    Nutrition Per Serving
    Serving Size
    1/4 of the recipe
    /
    Calories
    263
    /
    Total Fat
    11.3g
    /
    Saturated Fat
    6.2g
    /
    Cholesterol
    22.9mg
    /
    Sodium
    418.8mg
    /
    Carbohydrate
    33.7g
    /
    Dietary Fiber
    2.9g
    /
    Total Sugars
    3.8g
    /
    Protein
    10.7g


    AUTHOR:

    Joanne Gallagher

    Adam and Joanne of Inspired Taste

    We are Adam and Joanne Gallagher, the creators of Inspired Taste. Established in 2009, Inspired Taste grew from a childhood dream into one of the internet’s most trusted recipe sites with hundreds of reliable recipes, step-by-step videos, and expert tips.More About Us

    Previous Post: Essential Mignonette Sauce
    Next Post: Easy Apple Crisp
    Source link

  • Hummus with Spiced Ground Beef Recipe

    Hummus with Spiced Ground Beef Recipe

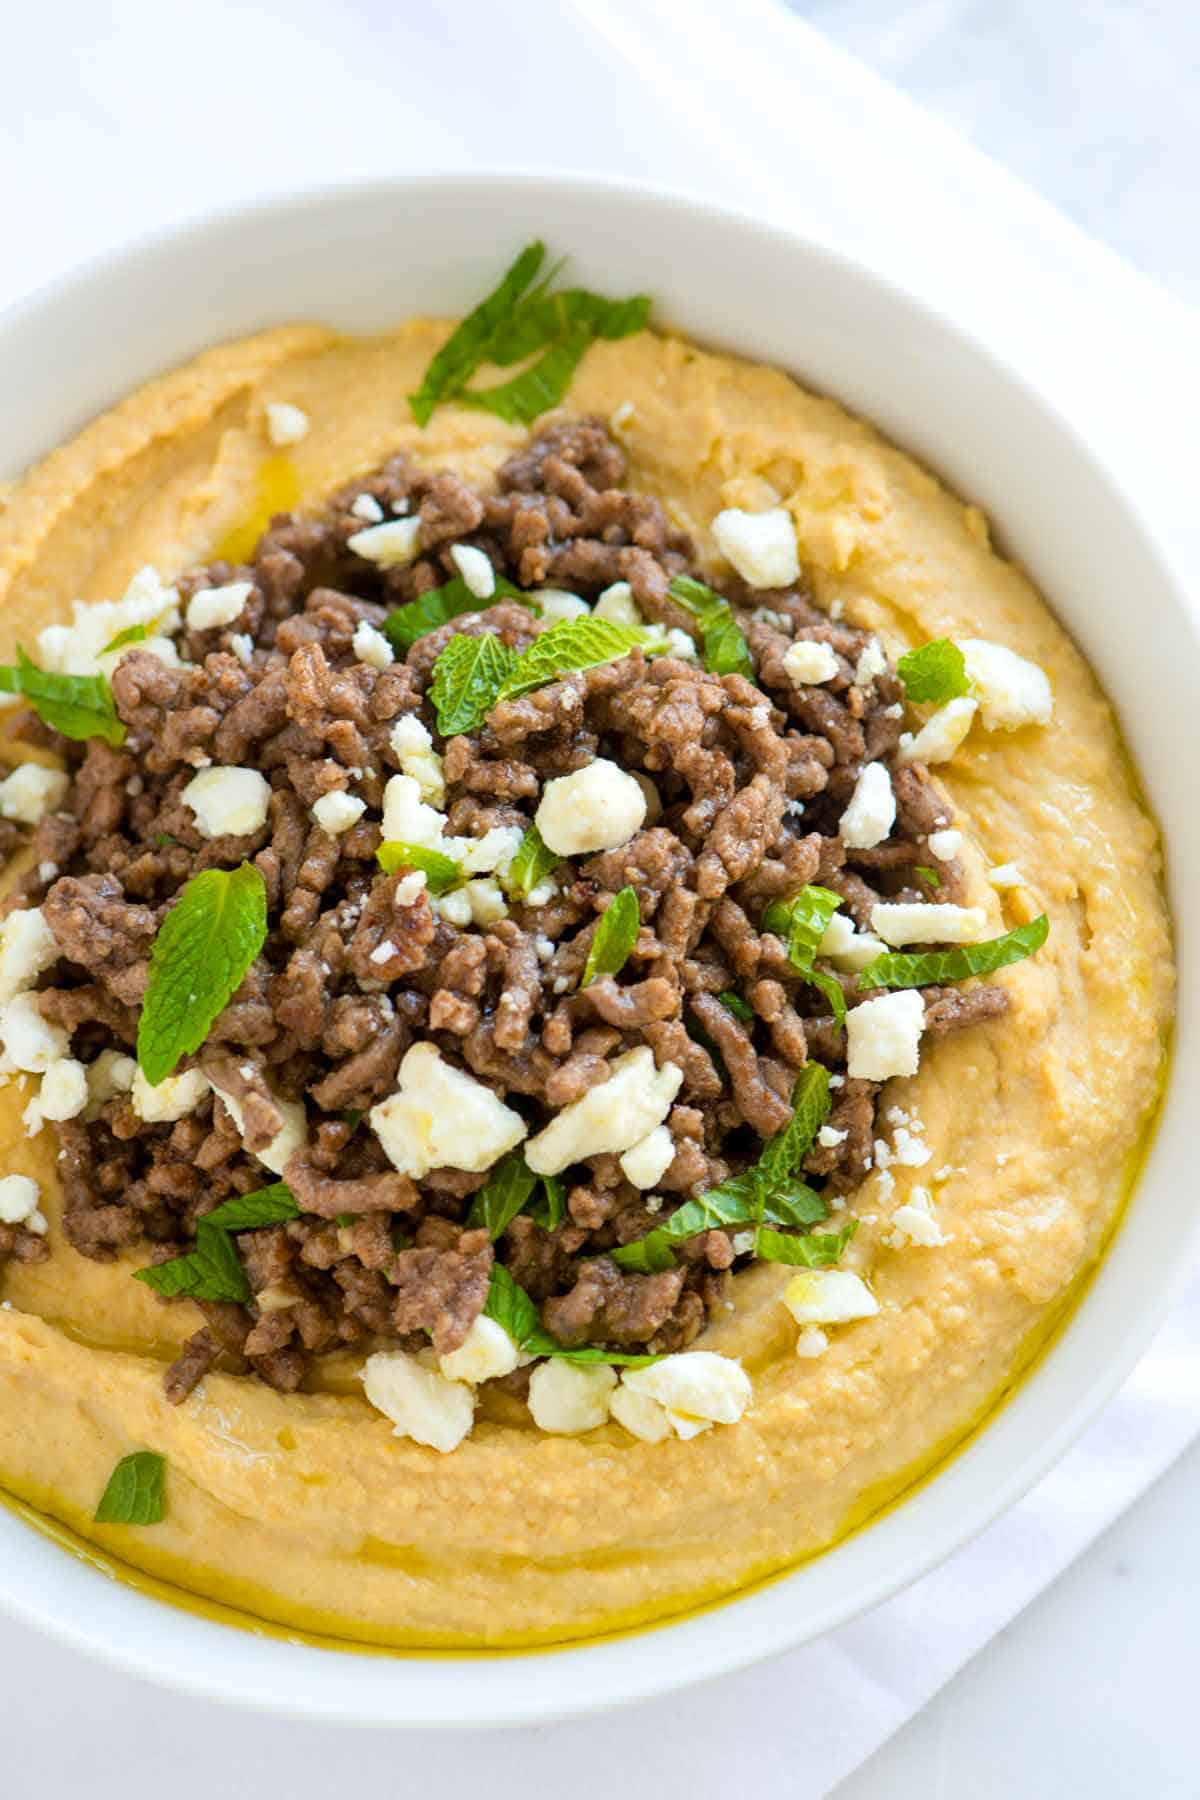
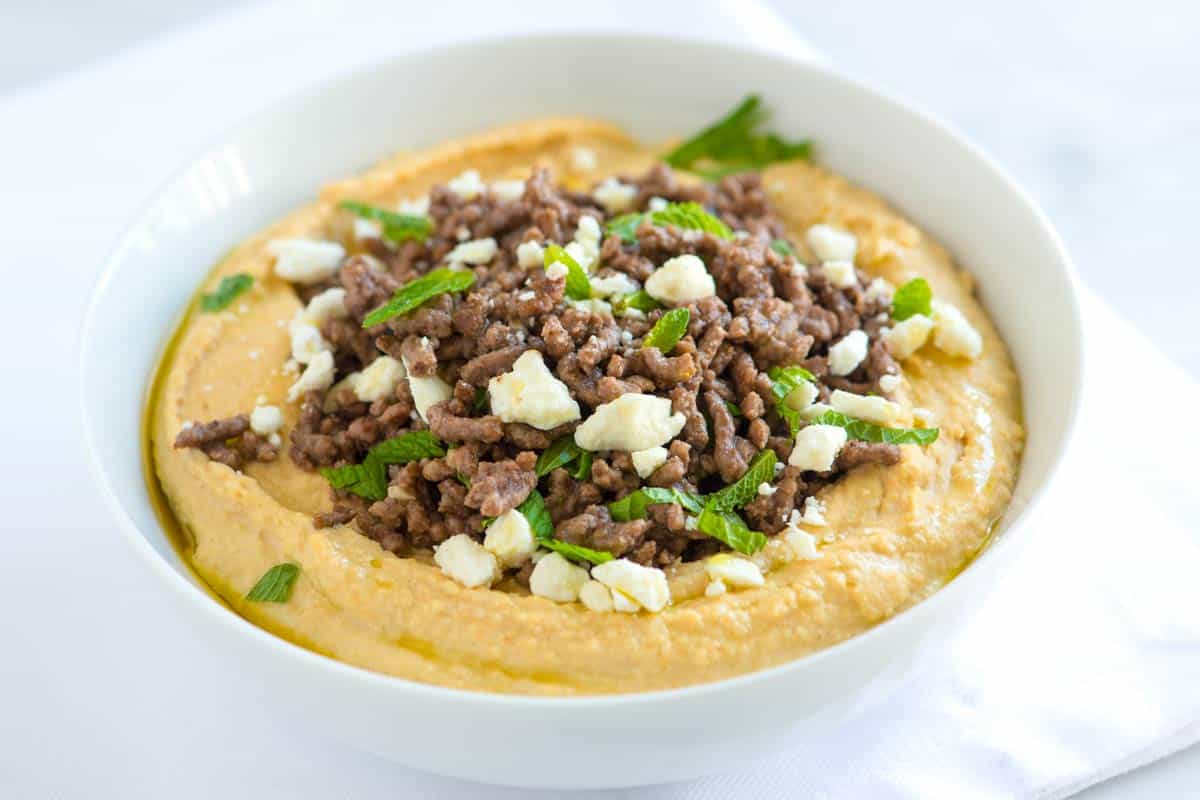
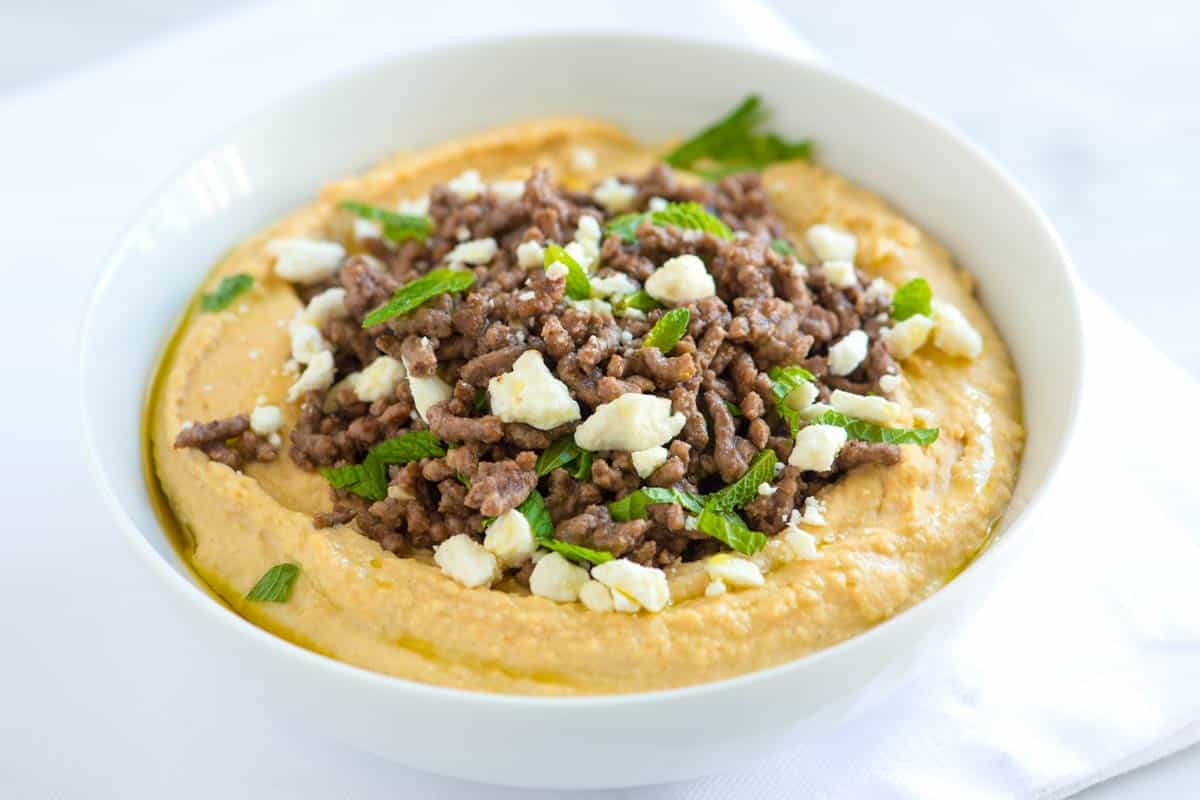
    This creamy hummus with spiced ground beef, feta cheese, and fresh mint is absolutely delicious! It’s the perfect appetizer or turn it into a light, high-protein meal.

    Hummus with Spiced Ground Beef

    Our long-time readers know how much we love our recipe for homemade hummus (shared many years ago). We’re always on the lookout for new ways to enjoy it, which is where this hummus with ground beef recipe came from.

    We take hummus and pile on lots of spiced ground beef, crumbled feta cheese, and fresh mint. It’s extra tasty, easy to do, and works really well with homemade pita bread, this quicker flatbread, or served on top of salad for a light protein-forward meal.

    Key Ingredients

    • Hummus: I highly recommend our simple hummus recipe, but feel free to use your favorite store-bought brand.
    • Ground Beef: Look for ground beef with some fat (85/15 or close to it is perfect). Ground lamb is also excellent.
    • Spices: We’re going for a Middle-Eastern vibe with the spice mixture, so you’ll combine cumin, cinnamon, cayenne, coriander, and allspice. These make the beef really delicious with an almost intoxicating warm spice.
    • Broth: Use beef stock, chicken stock, veggie stock, or, if you are in a pinch, water. We just need a little liquid to make our beef juicier.
    • Feta and Mint: I love the salty pop of feta cheese and the fresh flavor of mint. That said, you could skip this altogether and add a spoonful of homemade tzatziki sauce on top, instead.

    Find the full recipe with measurements below.

    My Tips for Making Hummus with Spiced Beef

    Tip 1: Don’t miss the opportunity to brown your beef. When cooking ground beef, I like to press it down into my skillet and resist the urge to stir it until the bottom is nicely browned. When it is, I stir and add my spice mixture.

    Tip 2: Season the beef really well. Think of the ground beef as a topper to the hummus, so it’s okay if it’s very well seasoned. That’s a good thing. You’ll likely be enjoying this with flatbread and scooping up some of the hummus with the beef for each bite, so while the meat on its own may seem too seasoned, once it’s all put together, it works.

    And there you go! If you want more ways to spice up hummus, see our roasted red pepper hummus (a reader favorite!).

    Hummus with Spiced Ground Beef

    Hummus with Spiced Ground Beef

    • PREP
    • COOK
    • TOTAL

    This hummus with spiced beef is seriously delicious. You can buy your hummus or make our simple hummus recipe. It only takes about 10 minutes and tastes better than store-bought. Feel free to substitute the ground beef in our recipe below for ground lamb. I especially love this with our soft and fluffy pita bread!

    6 Servings

    You Will Need

    1 batch homemade hummus or 2 cups store-bought hummus

    1/2 teaspoon ground cumin

    1/2 teaspoon ground coriander

    1/4 teaspoon ground cinnamon

    1/4 teaspoon ground allspice

    1/4 teaspoon cayenne pepper

    1/2 teaspoon fine sea salt

    2 tablespoons olive oil

    1 pound ground beef, we prefer 85/15 (450g)

    1/4 cup beef stock, chicken stock, or water (60ml)

    2 tablespoons chopped mint leaves

    1 ounce crumbled feta cheese (28g)

    Directions

      1Make the spice mixture: In a small bowl, whisk the cumin, coriander, cinnamon, allspice, cayenne, and salt together.

      2Brown the beef: Preheat a large skillet over medium heat. When it is hot, add the olive oil, and then press the beef down into the pan. Cook, without disturbing it, until browned on one side, about 8 minutes. Break the beef up, then stir in the spice mixture and continue for 2 minutes. Pour in the stock and cook until reduced and the beef is cooked, about 5 minutes more.

      3To serve: Spoon the hummus into a serving bowl, top with the spiced ground beef, and finish by sprinkling over the mint and feta cheese.

    Nutrition Per Serving
    Serving Size
    1/6 of the recipe
    /
    Calories
    362
    /
    Total Fat
    24.1g
    /
    Saturated Fat
    6.6g
    /
    Cholesterol
    55.6mg
    /
    Sodium
    486.4mg
    /
    Carbohydrate
    17g
    /
    Dietary Fiber
    3.4g
    /
    Total Sugars
    0.4g
    /
    Protein
    18.8g


    AUTHOR:

    Joanne Gallagher

    Adam and Joanne of Inspired Taste

    We are Adam and Joanne Gallagher, the creators of Inspired Taste. Established in 2009, Inspired Taste grew from a childhood dream into one of the internet’s most trusted recipe sites with hundreds of reliable recipes, step-by-step videos, and expert tips.More About Us

    Source link

  • Easy Cranberry Orange Scones Recipe

    Easy Cranberry Orange Scones Recipe

    This cranberry orange scones recipe is a keeper! They turn out light and flaky, with fresh orange zest and dried cranberries.

    Cranberry Orange Scones

    My Mom makes a lot of scones. She inherited her love from her Mom, and I can only imagine it goes back from there. Now, here I am sharing our favorite recipe with you! You can top these with bit of sugar, or add my delicious orange glaze.

    Scones are really easy to make. If you’ve made homemade biscuits, you’ll recognize many of the steps in our recipe below. For more scones recipes, see our classic scones, blueberry scones, blackberry lemon scones or these pumpkin scones.

    Key Ingredients

    • Cranberries: I use dried cranberries in my photos, but you can absolutely use fresh or frozen cranberries in these scones. If you opt for fresh cranberries, keep in mind that they are more tart, so you might want to add a touch more sugar to the dough (I’ve shared tips below the recipe).
    • Orange: I use plenty of orange zest to infuse the dough with a bright citrus flavor. For more orange flavor, try my optional orange glaze, which you’ll find in the recipe below.
    • Flour: I stick to all-purpose flour for my scones. It consistently yields light and flaky results.
    • Baking powder: This adds a little extra lift and lightness to the scones. I also use baking powder when making this strawberry shortcake!
    • Butter: I always use very cold butter when making these. The cold butter creates steam in the oven, resulting in that delightful flaky texture we all love.
    • Heavy cream: I’m partial to cream scones because they tend to be lighter and more tender than those made solely with butter.
    • Honey: I love the subtle sweetness honey adds to these cranberry orange scones. For an extra special touch, try using orange blossom honey! Feel free to substitute with sugar.

    Find the full recipe with measurements below.

    Tips for Making the Best Cranberry Orange Scones

    Tip 1: Use chilled ingredients. Using cold ingredients is really important when making scones. The butter should be chilled and hard, and you want to use the cream straight from the refrigerator.

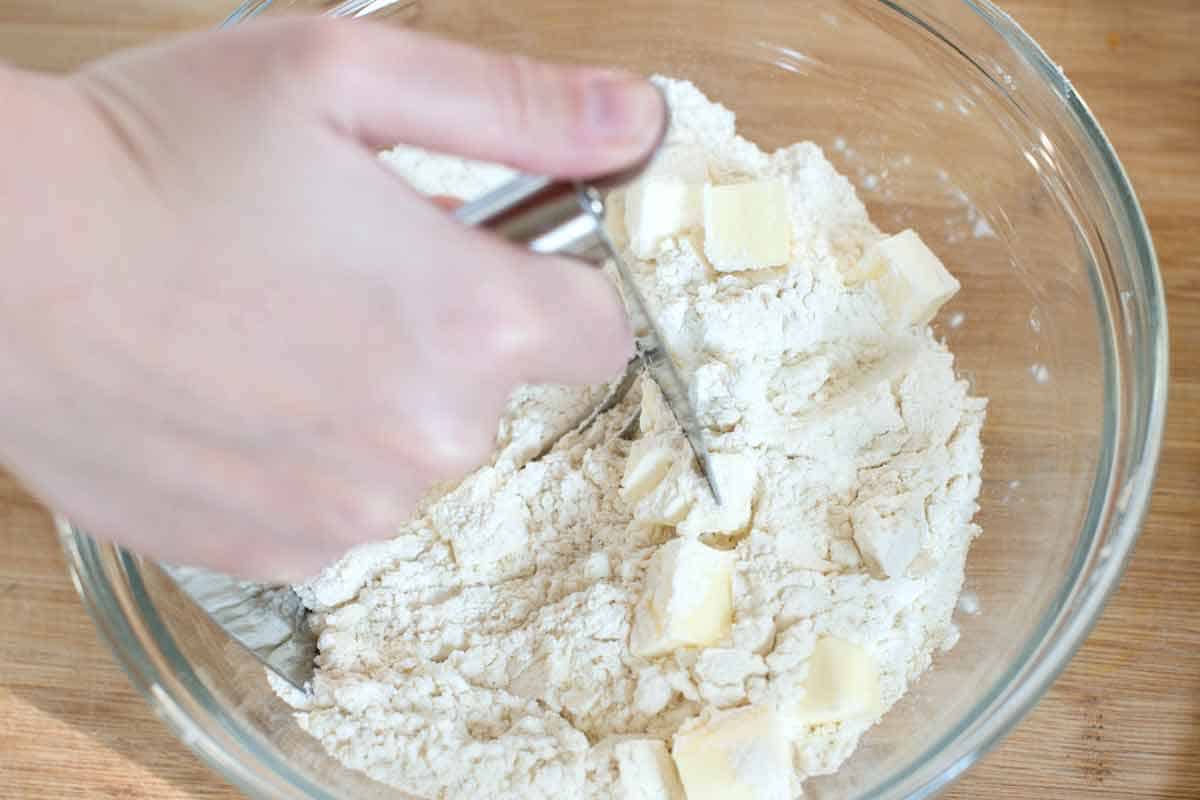
    To make scones, you will “cut in” very cold butter. I use a pastry blender, but cold hands or a food processor will work. The goal is to distribute small pieces of butter throughout the flour. As the scones bake, these little bits of butter create steam pockets that make the dough rise, resulting in a light and tender texture (the same happens in my butter pie crust recipe and these biscuits).

    Cutting cold butter into flour

    Tip 2: Add fresh orange flavor. You can add orange flavor in two ways to these scones. First, add a generous amount of orange zest to the dough itself (similar to how we add lemon zest to these blueberry scones). Second, you can make our orange glaze. It’s optional, but it’s really easy! Stir powdered sugar and fresh orange juice together, then drizzle the glaze over the baked and cooled scones.

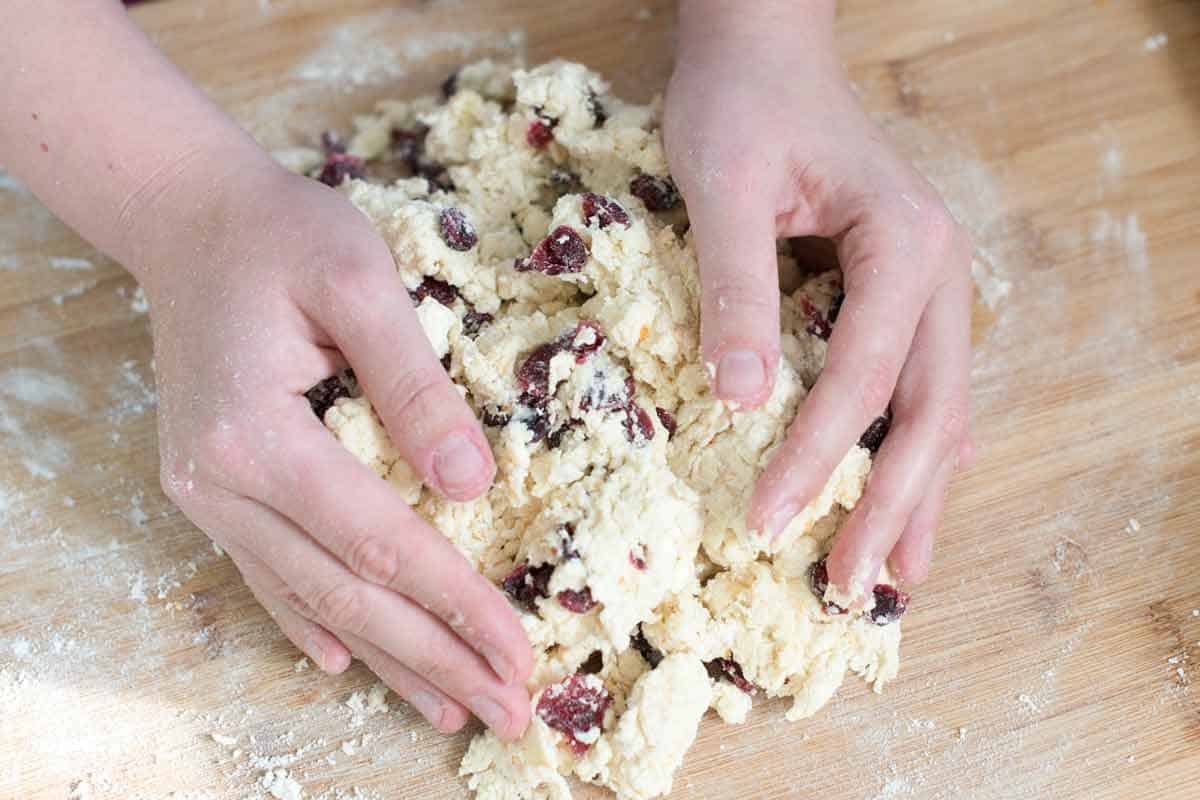
    Cranberry orange scone dough

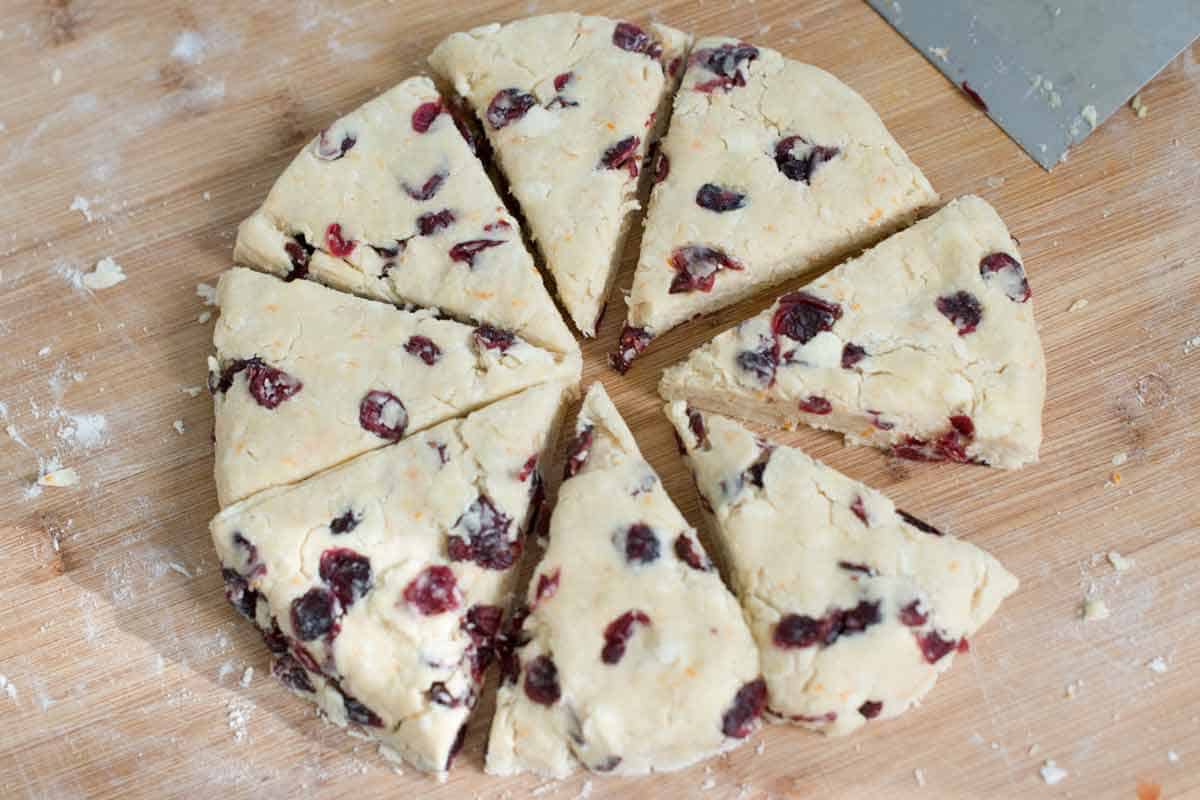
    Tip 3: Don’t overwork your dough. When making these, gentle handling is key! Overworking the dough develops gluten, which can make your scones less fluffy and tender. That’s why I skip the biscuit cutter and lightly pat the dough into a circle before cutting them into 8 triangles.

    Cutting scone dough into triangles.

    Tip 4: Sprinkle sugar on top (optional). Transfer your triangles of dough onto a baking sheet, leaving a little room (they will spread slightly), and then brush them generously with cream. For a beautiful, shiny, textured top, sprinkle coarse sugar over the cream and bake.

    Homemade Cranberry Orange Scones

    Easy Cranberry Orange Scones

    • PREP
    • COOK
    • TOTAL

    These incredible cranberry orange scones are light and flaky, with fresh orange zest and dried cranberries. I love topping them with a little coarse sugar, but they are also delicious drizzled with our optional orange glaze shared in the recipe below.

    Makes 8 scones

    You Will Need

    2 cups (260g) all-purpose flour

    1 tablespoon baking powder

    1/2 teaspoon fine sea salt

    5 tablespoons (70g) cold, unsalted butter, cut into 1/4-inch cubes

    1 cup (235ml) heavy cream, plus more for tops of scones

    3 tablespoons honey or sugar

    1 tablespoon grated orange zest

    3/4 cup (100 grams) dried cranberries, see tips for fresh cranberries

    1 tablespoon coarse sugar for tops of scones


    Optional Glaze

    1 cup (120g) powdered sugar

    2 to 3 tablespoons (30ml to 45ml) orange juice

    Directions

      1Adjust the oven rack to the middle position and heat the oven to 425°F (218°C). Line a large baking sheet with parchment paper or use a silicon baking mat.

      2Whisk together flour, baking powder, and salt in a medium bowl.

      3Combine cream, honey, and orange zest in a measuring jug. Stir until the honey is completely incorporated into the cream.

      4Use a pastry blender to work the butter into the flour mixture until it resembles a coarse meal with a few small crumbles of butter the size of peas. (Or use a food processor).

      5Stir in cranberries. Pour in the cream mixture and use a rubber spatula to mix until a crumbly dough forms.

      6Transfer the dough and all dry, floury bits to a lightly floured work surface. Knead the dough 3 to 5 times until it just comes together. Form into an 8-inch circle. Cut into 8 triangles, or use a biscuit cutter.

      7Place the scones on the baking sheet, brush with extra cream, and lightly sprinkle the tops with coarse sugar.

      8Bake until light golden brown, 12 to 15 minutes. Cool at least 10 minutes before serving.

      9For the optional glaze, whisk the powdered sugar and 2 tablespoons of the orange juice until smooth. If it’s too thick, add a bit more orange juice. Drizzle over the cooled scones.

    Adam and Joanne’s Tips

    • Fresh or frozen cranberries: You can substitute 1 heaping cup of fresh or frozen (not thawed) cranberries in the recipe above. They will be more tart, so consider increasing the honey or sugar by 1 to 2 tablespoons.
    • Storing: Scones are best eaten fresh. If you do have leftovers, your best bet for keeping them fresh is to freeze them. Freeze baked and cooled scones until hard, then transfer to resealable plastic bags. Freeze for up to 1 month. To reheat, bake in a 350°F oven until warmed. It shouldn’t take long.
    • You can freeze unbaked scone dough: Chill cut scones in the freezer until firm, then transfer to resealable plastic bags. They can be kept for up to one month. Bake in a 425°F oven straight from the freezer. (They may take a few extra minutes.)
    • Recipe inspired and adapted from America’s Test Kitchen

    Nutrition Per Serving
    Serving Size
    1 scone
    /
    Calories
    343
    /
    Protein
    4 g
    /
    Carbohydrate
    42 g
    /
    Dietary Fiber
    1 g
    /
    Total Sugars
    16 g
    /
    Total Fat
    19 g
    /
    Saturated Fat
    11 g
    /
    Cholesterol
    60 mg
    /
    Sodium
    342 mg


    AUTHOR:

    Joanne Gallagher

    Adam and Joanne of Inspired Taste

    We are Adam and Joanne Gallagher, the creators of Inspired Taste. Established in 2009, Inspired Taste grew from a childhood dream into one of the internet’s most trusted recipe sites with hundreds of reliable recipes, step-by-step videos, and expert tips.More About Us

    Source link

  • Sausage and White Beans with Sage

    Sausage and White Beans with Sage

    This Sausage and White Beans with Sage is flavored with tomatoes and ground fennel and it can be made in the Slow Cooker or the Instant Pot. This tasty combination of sausage and beans is surprisingly not that high in carbs, but for even lower carbs just double the sausage and use fewer beans.

    PIN the Sausage and White Beans to try it later!

    Italian Sausage and White Beans with Sage (Instant Pot or Slow Cooker) found on KalynsKitchen.com

    Sausage and White Beans with Sage is one of my favorite slow cooker recipes that I’ve discovered can be made more quickly in the Instant Pot! And it’s fun to have recipes that can work for people who prefer different cooking options. And sausage and white beans are a classic combination that worked out perfectly in both methods.

    This recipe was inspired by a lovely woman named Ilva, who lives in Tuscany. I met her online in the early days of blogging and we chatted frequently for a while. Then Ilva stopped focusing on recipes and started to focus on her beautiful food photography, and for the last few years I haven’t talked to her so much.

    But I appreciate Ilva introducing me to rustic Italian dishes like this one, where the emphasis is entirely on the flavors and not on the looks of the dish. And there are a lot of ways to adapt this recipe and still get good results, but no matter how you cook it or what kind of beans you use, please do not skip the dried fennel that makes this dish so amazingly flavorful!

    What ingredients do you need for this recipe?

    (This is only a list of ingredients; please scroll down for complete printable recipe. Or if you use the JUMP TO RECIPE link at the top of the page, it will take you directly to the complete recipe.)

    • dried white beans
    • celery
    • whole cloves garlic
    • fresh sage leaves, divided
    • salt
    • dried Italian Herb Seasoning (affiliate link), divided
    • Olive Oil (affiliate link), divided
    • uncooked turkey, chicken, or pork Italian sausage
    • ground fennel (affiliate link)
    • canned petite dice tomatoes with juice

    What sausage did I use for Sausage and White Beans with Sage?

    I used uncooked Italian Sausage for this tasty combination of sausage and beans! You can use turkey, chicken, or pork Italian Sausage and choose mild or spicy Italian Sausage, whichever you prefer.

    What gives this sausage and white beans recipe the Italian flavors?

    Of course the Italian Sausage used here is partly what makes this a recipe with Italian flavors! But the other ingredients that add Italian flavor notes include garlic, sage, Italian Herb Seasoning, and ground fennel. And I think fennel is one of the best flavors in Italian cooking. If you haven’t cooked with fennel much, I hope this recipe will help you see why I love it.

    Can you use canned beans for this sausage and white beans recipe?

    Whether you use the Instant Pot or the slow cooker for this recipe featuring sausage and beans, you’ll definitely get the best flavor if you start with dried beans and cook them yourself. But if that just isn’t happening at your house, I’ll also give tips for making this with canned beans.

    How high in carbs is this sausage and white beans?

    If you check the nutritional information you may be surprised this has only 14 net carbs per serving, with 18 grams of protein.

    How can you make this recipe lower in carbs?

    If you’re strictly watching carbs,  you can double the amount of sausage and use half as many beans in this recipe for a lower-carb dish with sausage and beans.

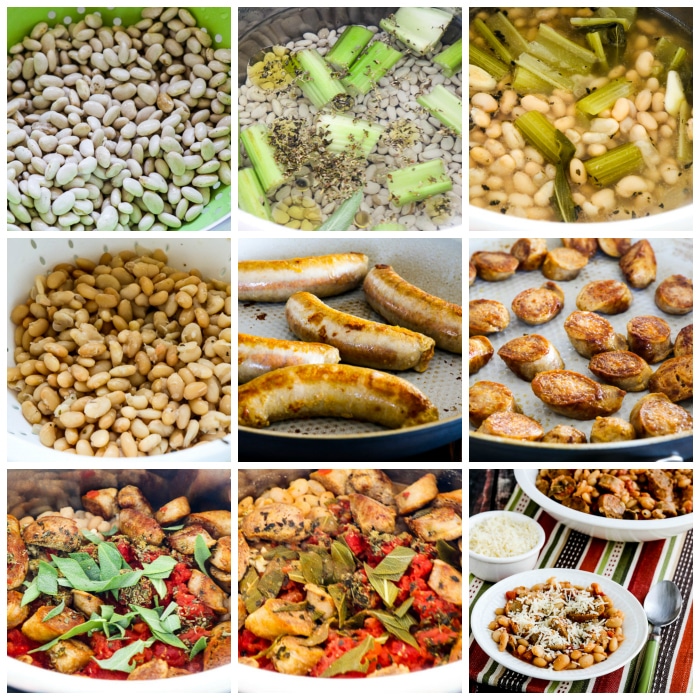
    Italian Sausage and White Beans with Sage process shots collage for Instant PotItalian Sausage and White Beans with Sage process shots collage for Instant Pot

    How to make Italian Sausage and White Beans with Sage:

    (This is only a summary of the steps for the recipe; please scroll down for complete printable recipe. Or if you use the JUMP TO RECIPE link at the top of the page, it will take you directly to the complete recipe.)

    1. If you’re cooking your own beans, start with 2 cups of fresh dried white beans. If you want to cook the beans on the stovetop, I would soak them in cold water overnight; for cooking dried beans in the slow cooker or the Instant Pot, you can skip the soaking.
    2. Put dried beans, celery, garlic, sage, salt, Italian Herb Seasoning (affiliate link), and a little olive oil in the slow cooker or Instant Pot with enough water to just cover the beans.
    3. Cook beans 5-6 hours in the slow cooker. (more here about How to Cook Dried Beans in a Slow Cooker.)
    4. In the Instant Pot, lock the lid and cook 30 minutes at HIGH PRESSURE; then let beans NATURAL RELEASE for 15 minutes followed by quick release as needed.
    5. For either cooking method, drain the beans, saving the large cloves of garlic and 1/2 cup cooking liquid.
    6. While beans cook (or when they’re nearly cooked for slow cooker method) heat 1 tablespoon olive oil in a large frying pan and brown the sausage. Then slice into diagonal pieces and brown the sides of those pieces. (This adds flavor; please don’t skip the browning!)
    7. Put the drained beans, sausage pieces, garlic, sage leaves, canned tomatoes, and ground fennel into the slow cooker or Instant Pot with 1/2 cup reserved liquid.
    8. For Instant Pot cook 10 minutes at HIGH PRESSURE, then NATURAL RELEASE for five minutes, and then quick release.
    9. For slow cooker, put same ingredients into the slow cooker and cook on high for 2-3 hours.
    10. Serve Sausage and White Bean with Sage hot, with a little freshly-grated Parmesan if desired, although the cheese is definitely optional.

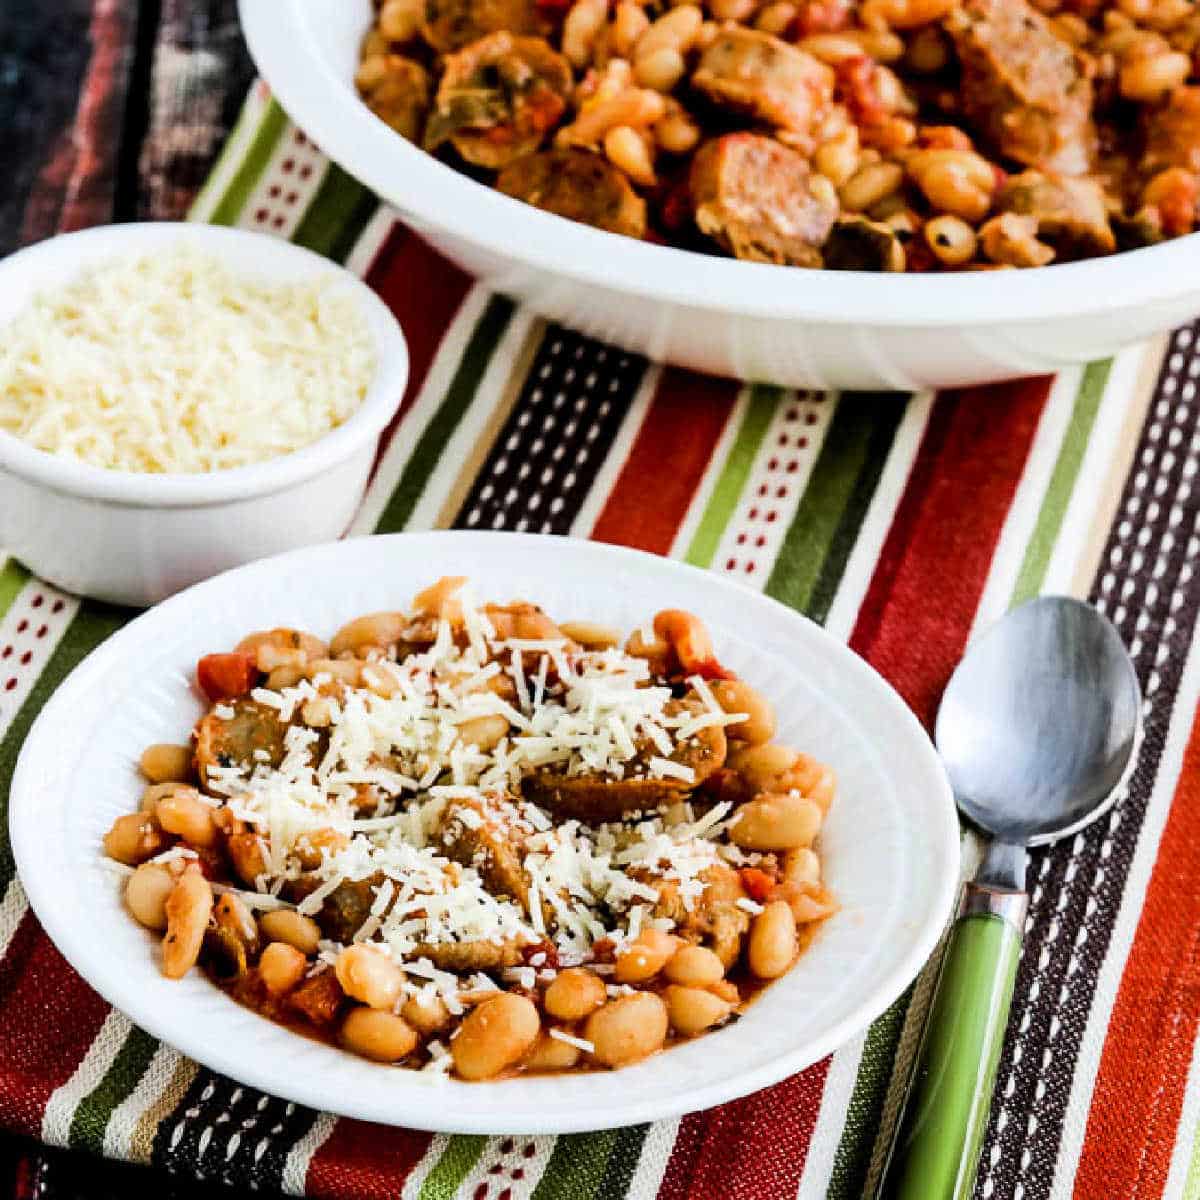
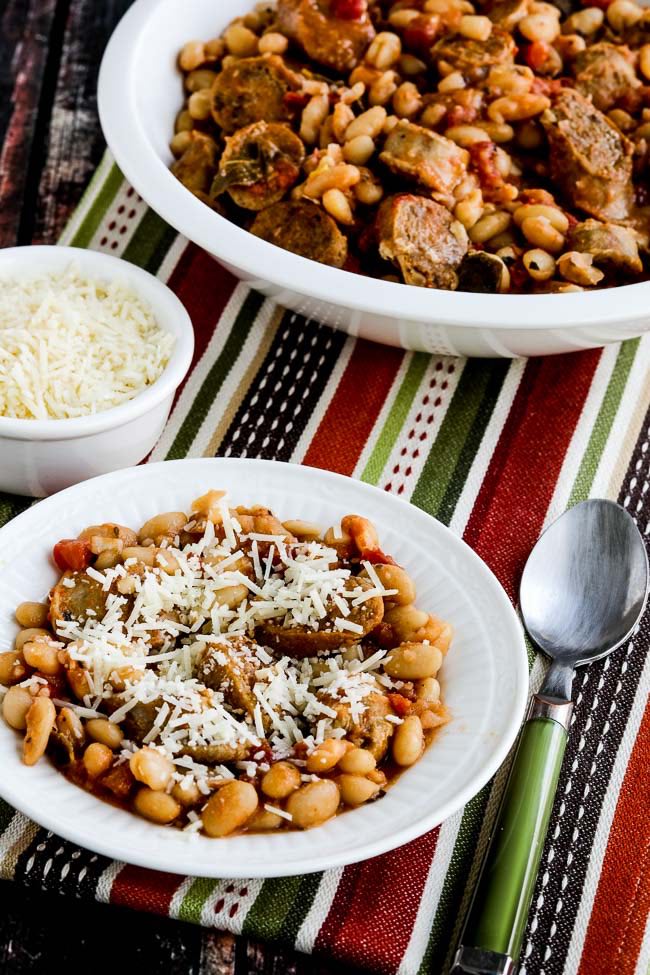
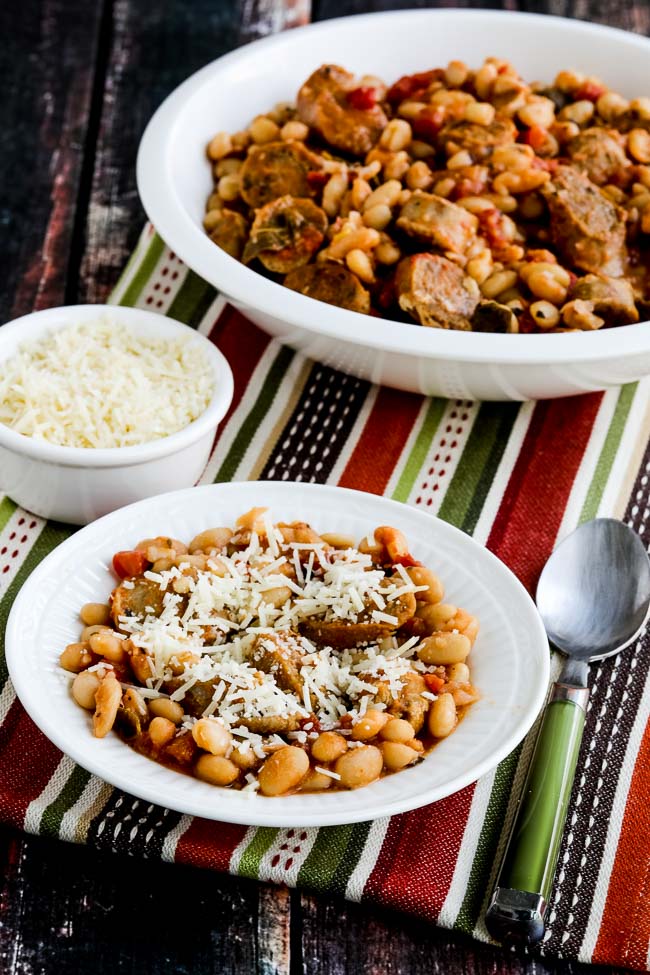
    Italian Sausage and White Beans with Sage shown in large serving dish and one serving bowl with spoon and parmesanItalian Sausage and White Beans with Sage shown in large serving dish and one serving bowl with spoon and parmesan

    Love Your Instant Pot or Slow Cooker?

    Check out all my Instant Pot Recipes or Slow Cooker Recipes if you’re a fan of one or both of these handy cooking gadgets!

    Weekend Food Prep:

    This recipe for sausage and white beans has been added to a category called Weekend Food Prep where you’ll find recipes you can prep or cook on the weekend and eat during the week!

    Ingredients

    • 2 cups dried white beans (see notes)
    • 2 stalks celery
    • 4 large whole cloves garlic (or more)
    • 13 fresh sage leaves, divided (see notes)
    • 1/2 teaspoon salt
    • 2 tsp. dried Italian Seasoning, divided
    • 2 T olive oil, divided
    • 5 links uncooked turkey or pork Italian sausage (see notes)
    • 1 tsp ground fennel seed (see notes)
    • one 14.5 oz. can petite dice tomatoes with juice
    • 1/2 cup cooking water (saved from cooking beans)

    Instructions

    1. If you’re cooking your own beans, start with 2 cups of fresh dried white beans. If you want to cook the beans on the stovetop, I would soak them in cold water overnight; for cooking dried beans in the slow cooker or the Instant Pot, you can skip the soaking.
    2. Put dried beans, celery, garlic, 3 leaves sage or a pinch of dried sage, salt, 1 tsp. Italian Seasoning, and 1 T olive oil in the slow cooker, Instant Pot, or in a pan on the stove with enough water to just cover the beans.
    3. Cook beans 5-6 hours in the slow cooker. (more here about How to Cook Dried Beans in a Slow Cooker.)
    4. For Instant Pot, lock the lid and cook 30 minutes at HIGH PRESSURE; then let beans NATURAL RELEASE for 15 minutes followed by quick release as needed.
    5. To cook beans on the stove, cook at a low simmer until beans are tender; cooking time will depend on how fresh the beans are.
    6. For either method, drain the beans, saving the large cloves of garlic and 1/2 cup cooking liquid.
    7. While beans cook or when slow cooker beans are almost done, heat another 1 1/2 tsp. olive oil in a large frying pan and brown the outside of sausage well. Let sausage cool and then cut into diagonal pieces. Add another 1 1/2 tsp. olive oil and brown the cut sides of the sausage well. (Don’t skip browning the sausage; this builds flavor.)
    8. Chop garlic pieces and add the cooked beans, chopped garlic, browned sausage pieces, 10 sage leaves or a little dried sage,  canned tomatoes with juice, ground fennel, second teaspoon of Italian Seasoning, and the 1/2 cup cooking water from the beans to slow cooker or Instant Pot.
    9. For slow cooker, cook 2-3 hours on high.
    10. For Instant Pot, lock lid and then cook at HIGH PRESSURE for 10 minutes; then let the dish NATURAL RELEASE for 5 minutes followed by quick release as needed.
    11. Serve Sausage and White Beans with Sage hot, with some freshly-grated Parmesan to add at the table if desired.

    Nutrition Information

    Yield

    8

    Serving Size

    1

    Amount Per Serving

    Calories 222Total Fat 9gSaturated Fat 2gTrans Fat 0gUnsaturated Fat 7gCholesterol 44mgSodium 292mgCarbohydrates 17gFiber 3gSugar 4gProtein 18g

    Nutrition information is automatically calculated by the Recipe Plug-In I am using. I am not a nutritionist and cannot guarantee 100% accuracy, since many variables affect those calculations.

    Did you make this recipe?

    Did you make this recipe? Please leave a star rating (under the PRINT button in the recipe) or share a photo of your results on Instagram! THANKS!

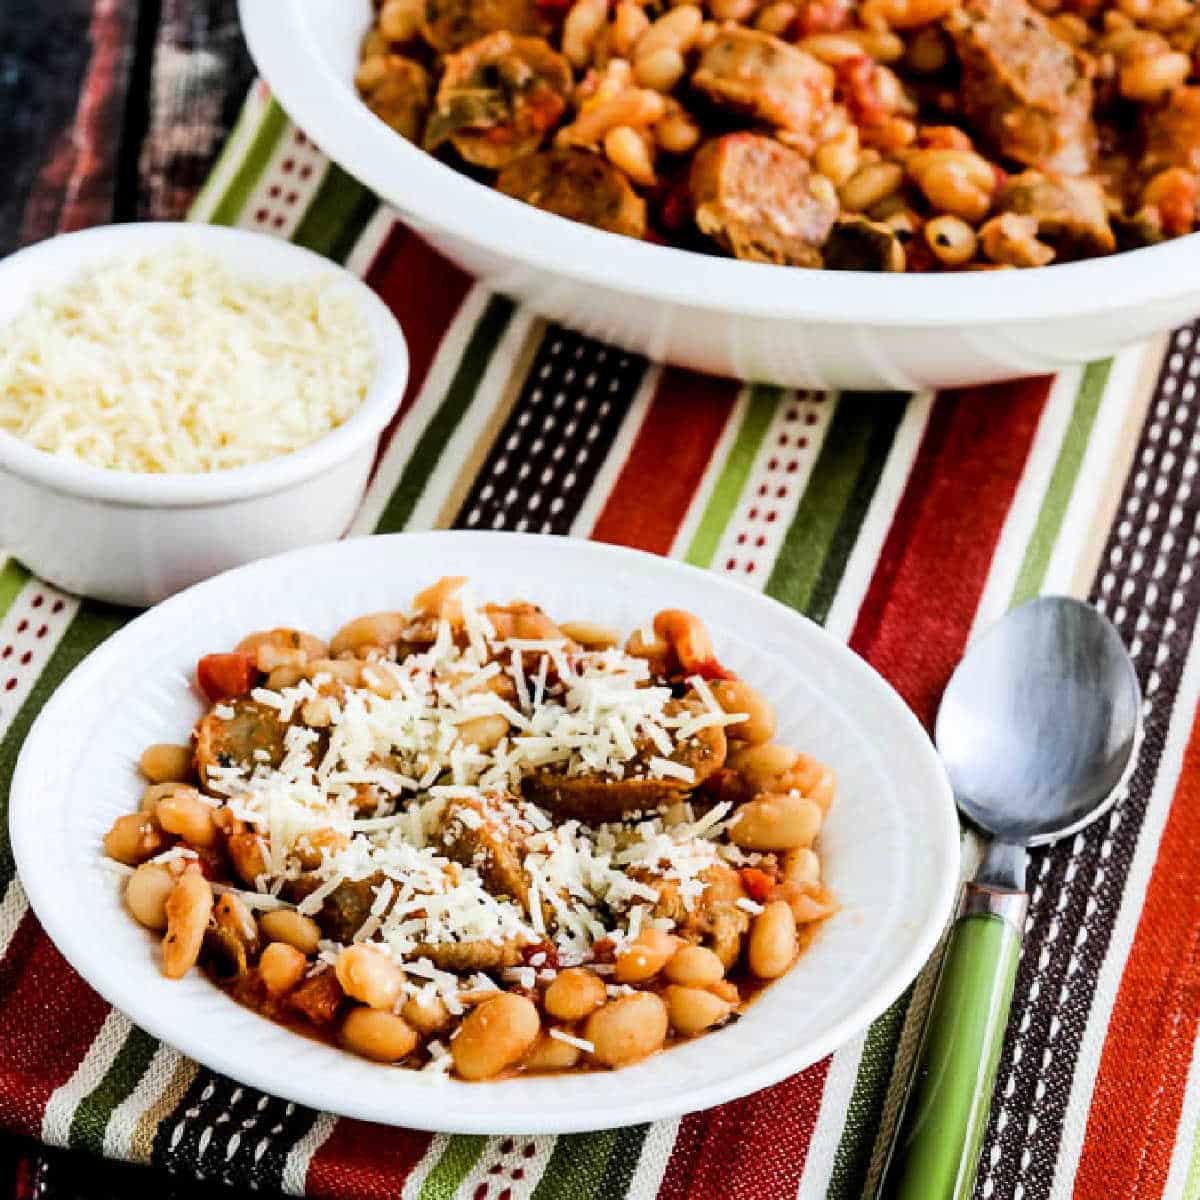
    Square image for Italian Sausage and White Beans with Sage showing beans in serving bowl with one serving dish in front.Square image for Italian Sausage and White Beans with Sage showing beans in serving bowl with one serving dish in front.

    Low-Carb Diet / Low-Glycemic Diet / South Beach Diet Suggestions:
    Sausage and White Beans with Sage would be suitable for any phase of the original South Beach Diet. South Beach would recommend turkey Italian Sausage, but lately it’s been hard to find, and pork sausage would also be delicious. Dried beans can be high in carbs if you’re following a strict low-carb eating plan, but this is probably lower in carbs than you think with 14 net carbs per serving! For a more carb-conscious version, just double the sausage and cut the amount of beans in half.

    Find More Recipes Like This One:
    Use the Diet Type Index to find recipes suitable for a specific eating plan. Use Instant Pot Recipes to find more recipes like this one. You might also like to follow Kalyn’s Kitchen on Pinterest, on Facebook, on Instagram, on TikTok, or on YouTube to see all the good recipes I’m sharing there.

    Historical Notes for this Recipe:
    The recipe for Sausage and White Beans with Sage was first posted as a slow cooker recipe in 2007, probably with dismal photos in those days! The recipe was updated to include Instant Pot instructions in 2017 and was last updated with more information in 2025.

    Pinterest image of Sausage and White Beans with Sage

    We are a participant in the Amazon Services LLC Associates Program, an affiliate advertising program designed to provide a means for us to earn fees by linking to Amazon.com and affiliated sites. As an Amazon Associate, I earn from qualifying purchases.


    Source link

  • Slow Cooker Korean BBQ Chicken – Easy & Flavorful

    Slow Cooker Korean BBQ Chicken – Easy & Flavorful

    This website may contain affiliate links and advertising so that we can provide recipes to you. Read my disclosure policy.

    Set it and forget it! This slow cooker Korean BBQ chicken is sweet, savory, and just the right amount of spice. Perfect for tossing over rice, piling onto buns, topping a salad, or even making tacos. Weeknight dinner just got easier!

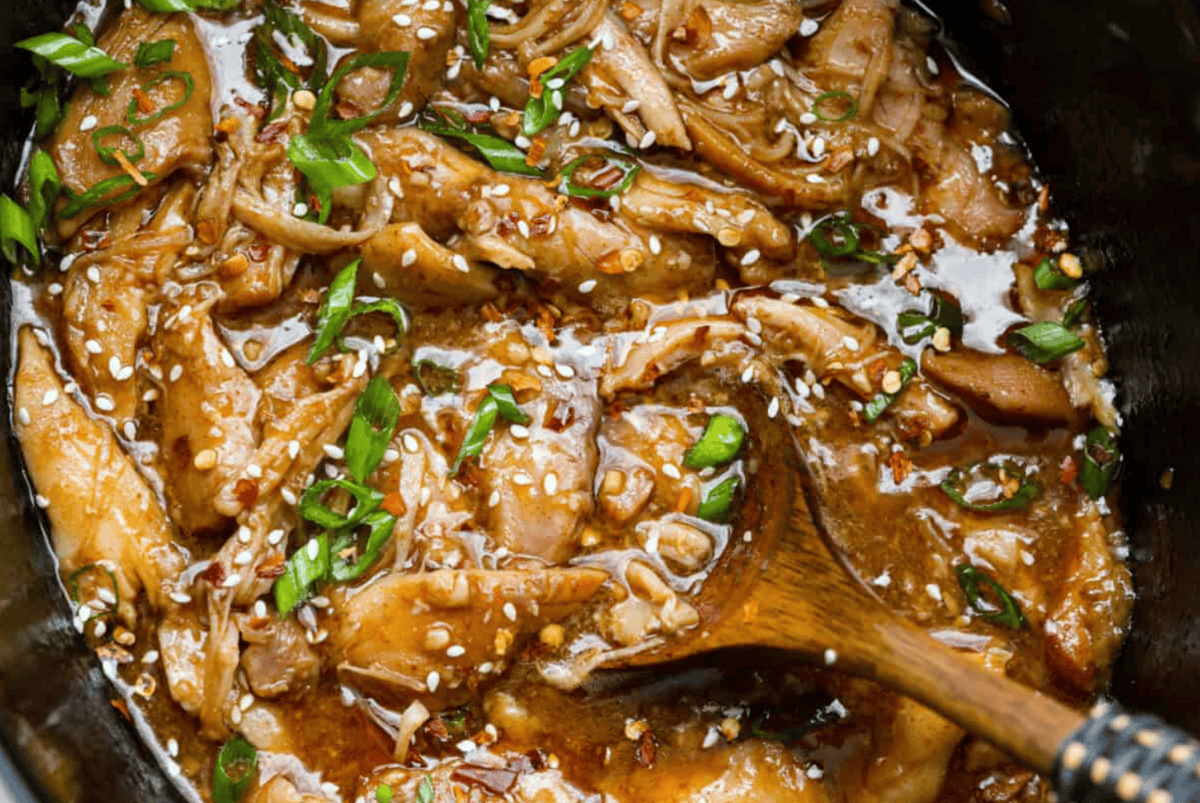
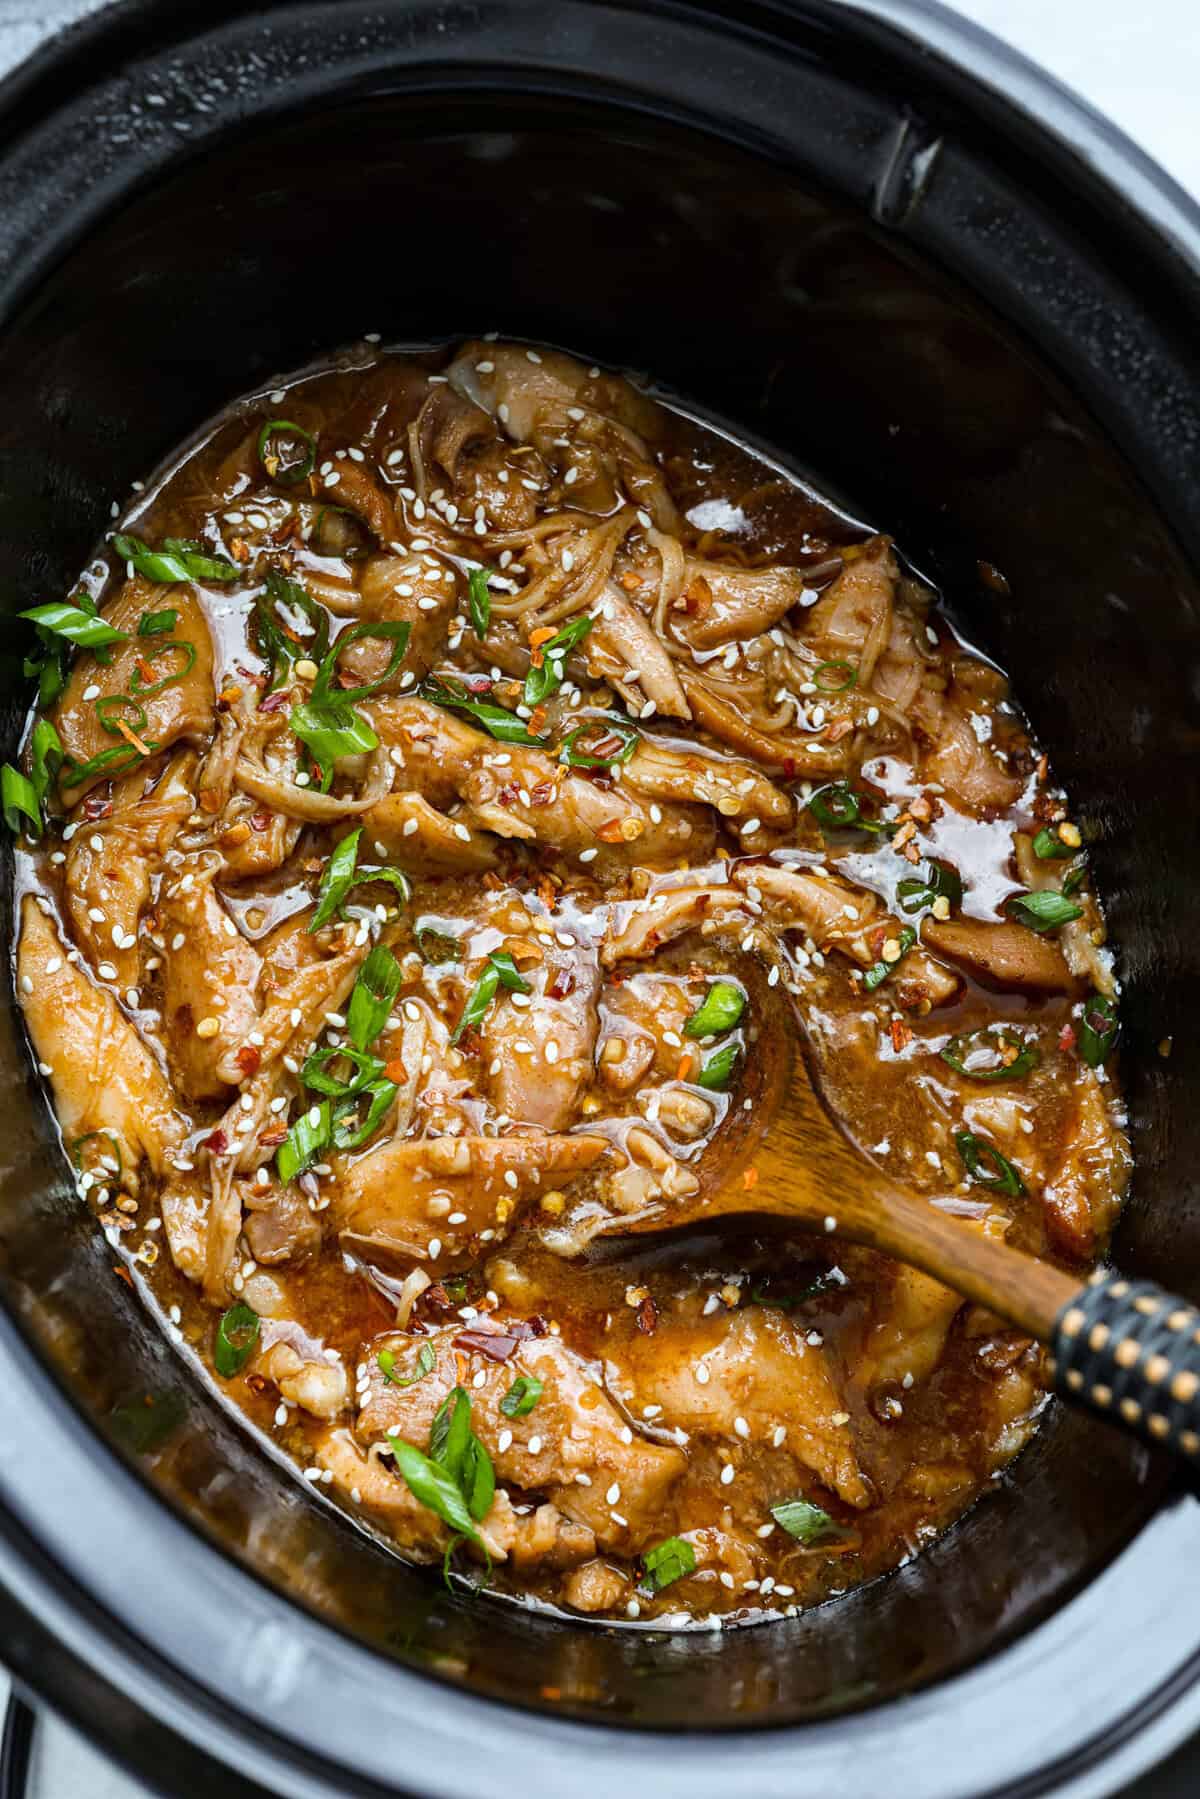
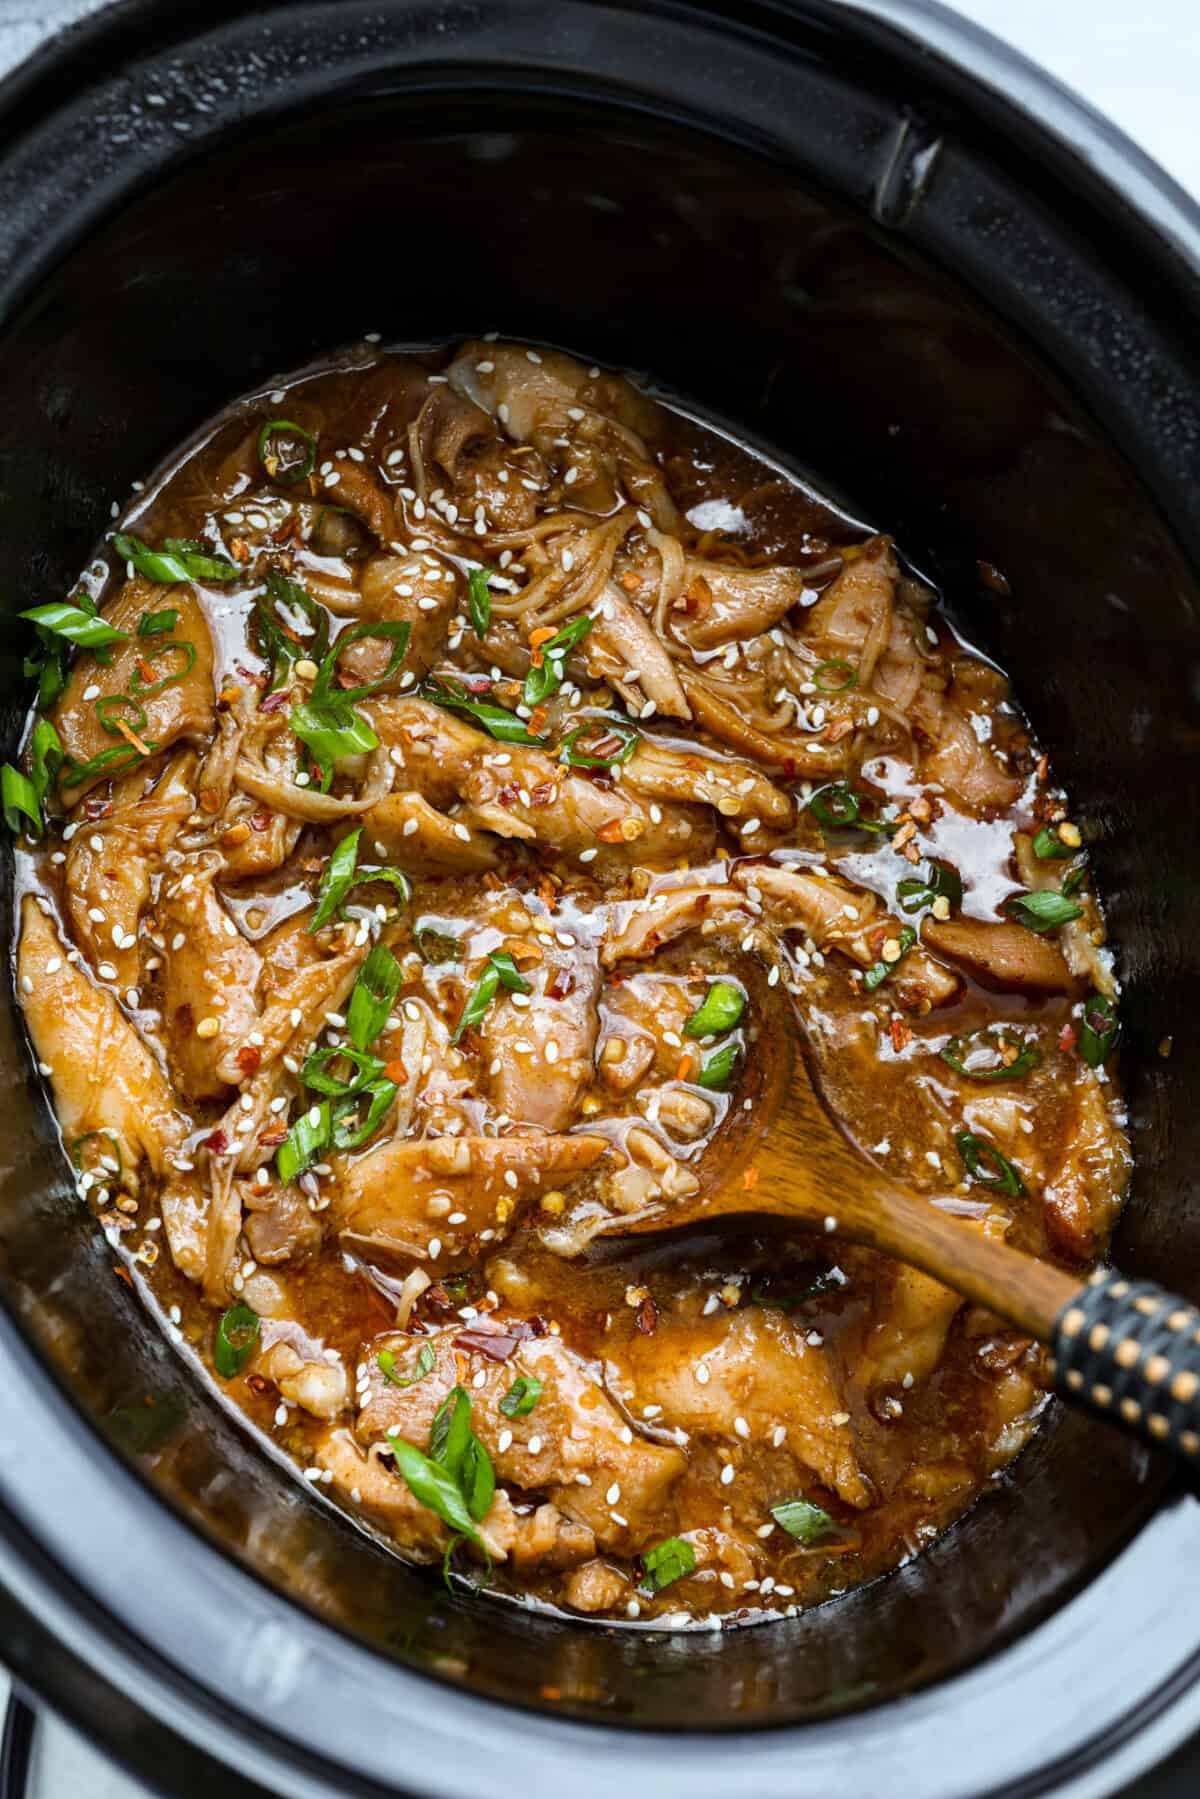
    Slow cooker Korean BBQ chicken in a crockpot with a wooden spoon, with sesame seeds and green onions.

    Why You’ll Keep Coming Back for More

    • Hands-Off Magic: Just toss it in the slow cooker and let the flavors meld while you go on about your day.
    • Tender Perfection: The low-and-slow cooking creates melt-in-your-mouth chicken every time.
    • Flavor Packed: Balanced sweet, savory, and spicy notes make each bite irresistible. Love Korean flavors? Make my Korean Short Ribs or Slow Cooker Korean Beef next.

    Korean BBQ Chicken Ingredients

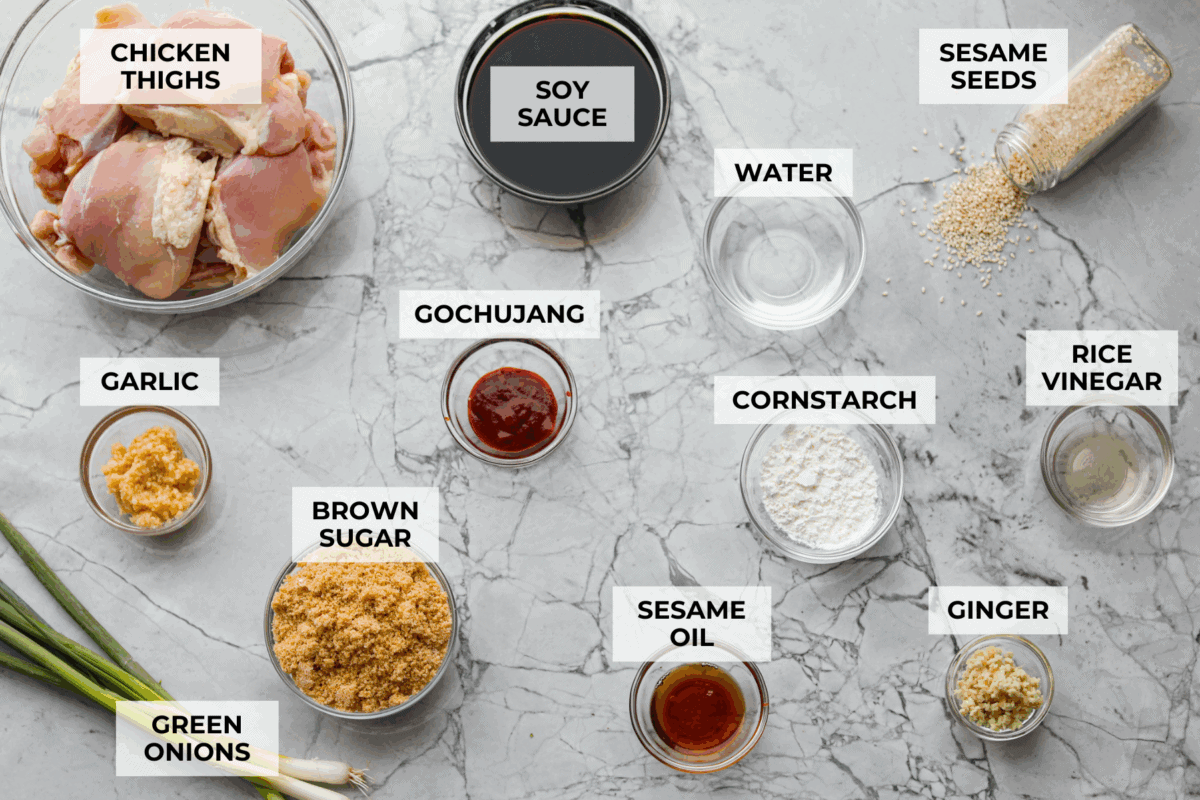
    Overhead shot of labeled ingredients.
    • Chicken Choice: If you prefer, you can use chicken breasts, but they may dry out slightly. I prefer boneless, skinless chicken thighs because they stay juicy and tender in the slow cooker.
    • Ginger: Fresh ginger gives the best flavor, but ½ teaspoon ground ginger works if that’s what you have on hand.
    • Heat Level: Start small, then taste, and adjust to your preferred spice level.
    • Soy Sauce: If you are salt sensitive, use low-sodium soy sauce, or half regular soy sauce and half water.

    How to Make Korean BBQ Chicken

    With just a few simple ingredients and five minutes of prep, this slow cooker Korean BBQ chicken recipe comes together. The result is tender chicken with bold Korean BBQ flavor that everyone will love!

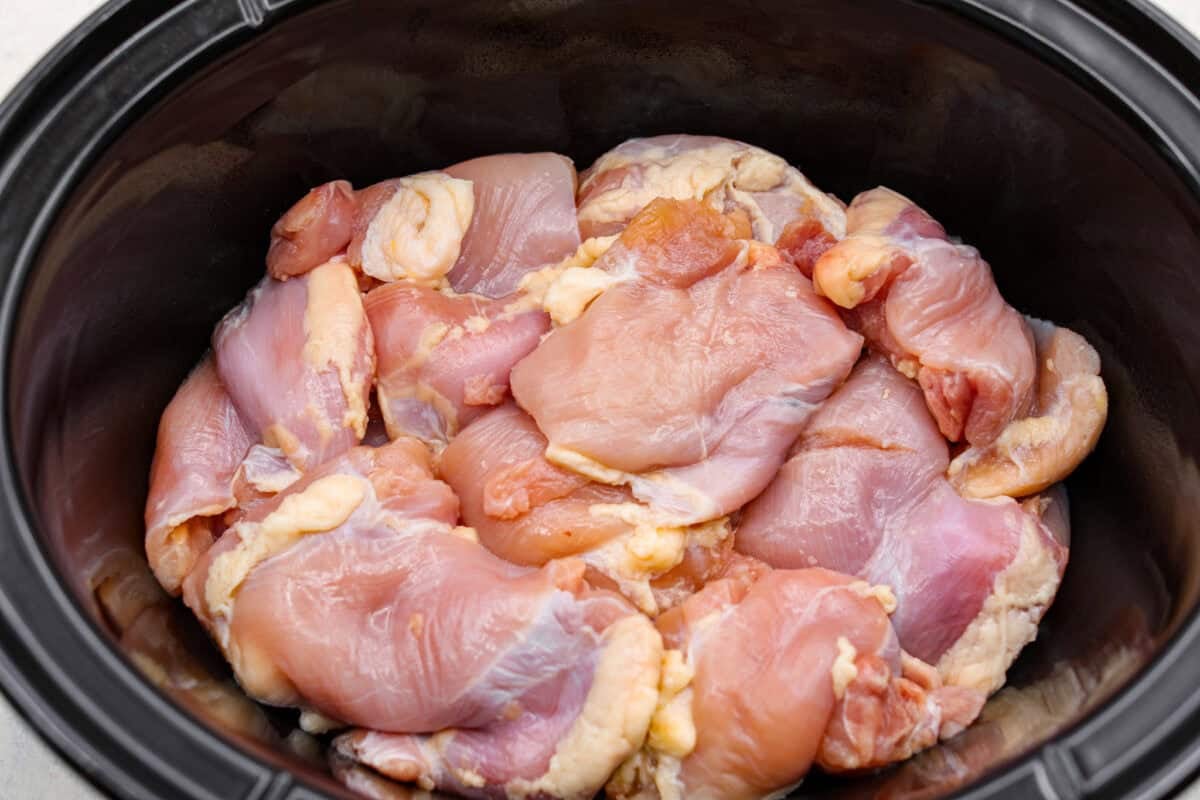
    1. Add Chicken: Spray a 4 or 6-quart slow cooker with nonstick cooking spray, then add the chicken to the bottom.
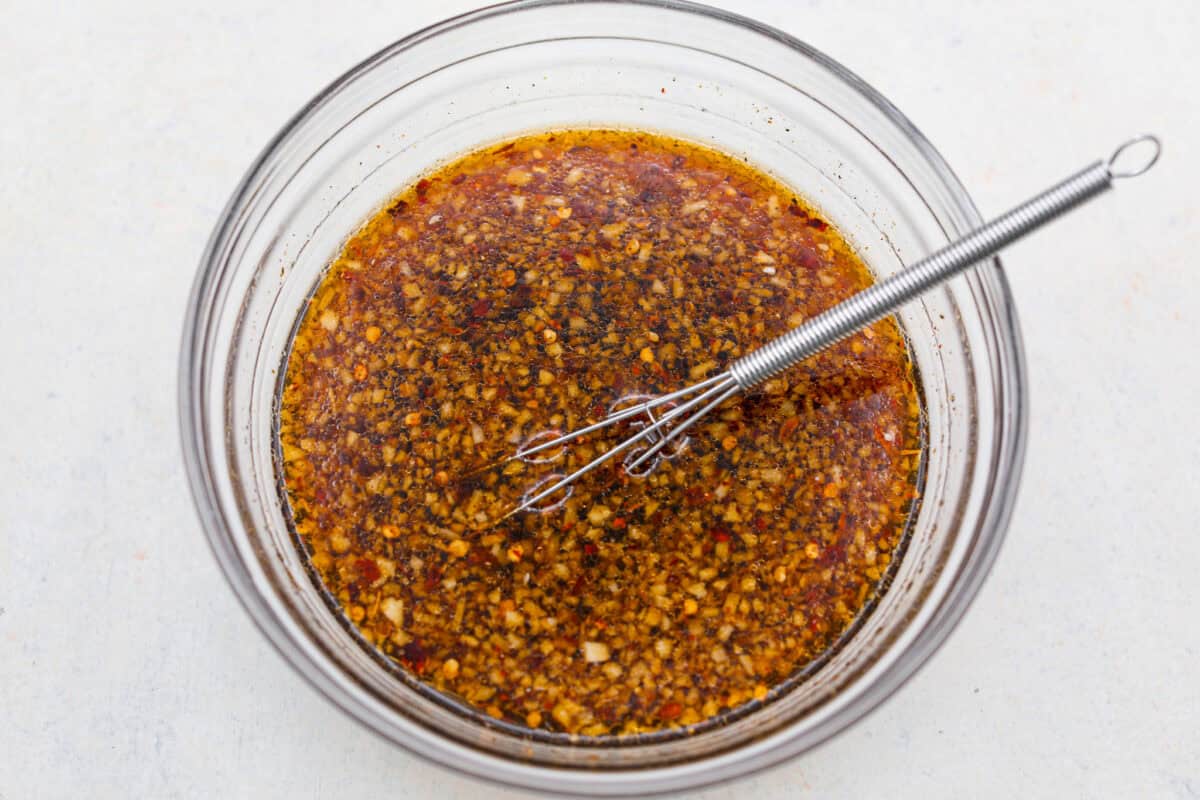
    2. Make the Sauce: Whisk brown sugar, soy sauce, sesame oil, garlic, ginger, rice vinegar, and gochujang together in a medium bowl. (Click here for my Korean BBQ sauce recipe.)
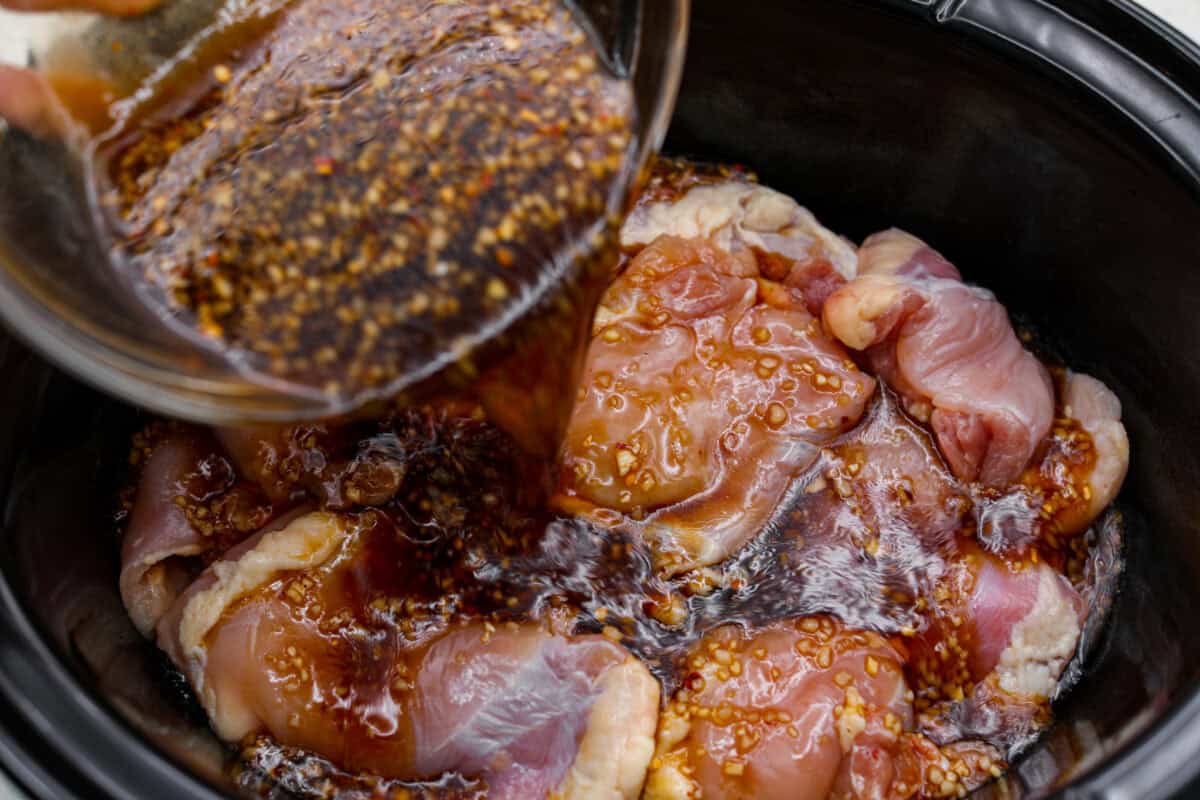
    3. Cook: Pour the sauce over the chicken, then toss to coat the thighs. Cover, then cook on LOW for 4-5 hours or on HIGH for 3-4 hours. 
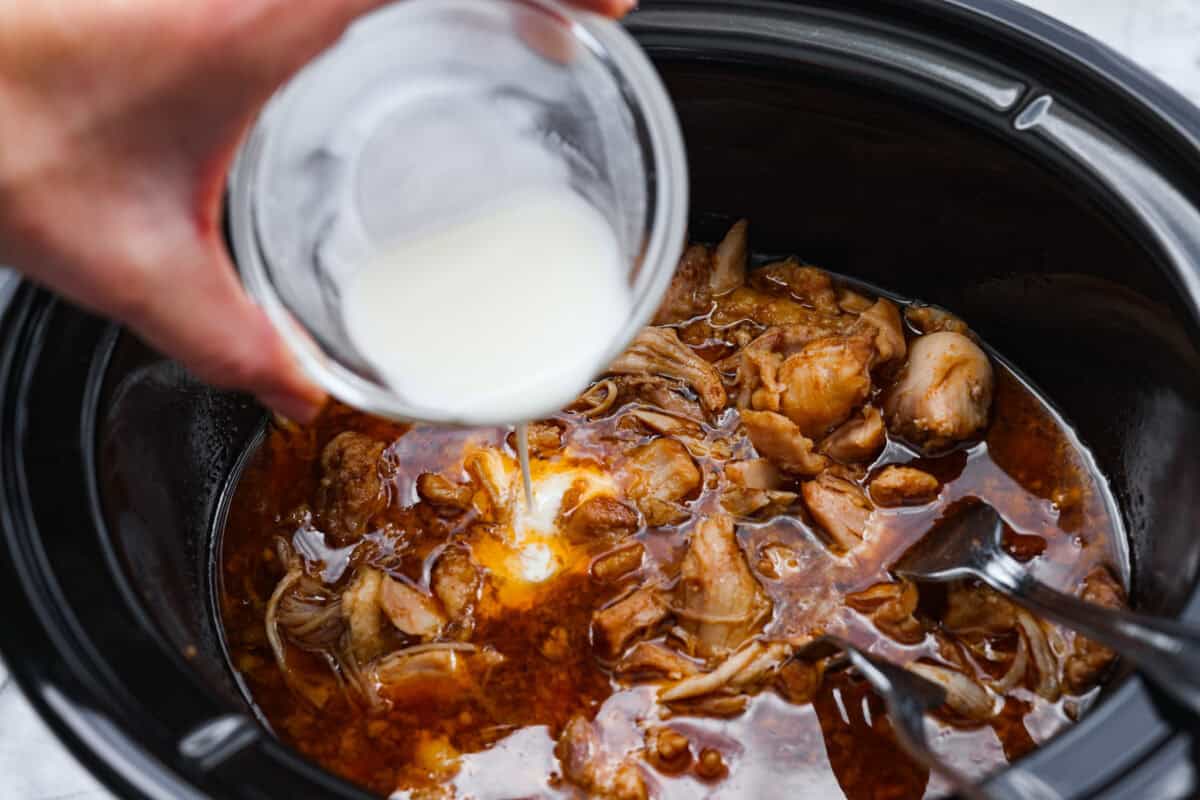
    4. Shred the Chicken: Use two forks to shred the chicken in the slow cooker. Whisk together cornstarch and water in a small bowl, then add to the slow cooker and stir to incorporate. Cover and cook for 20-30 minutes, until the sauce thickens. Serve your crockpot Korean BBQ chicken over warm rice, and garnish with green onions and sesame seeds.

    Alyssa’s Pro Tip

    Serving Ideas: Enjoy this Korean BBQ chicken over salad, rice, or quinoa. Pile it on a bun or slider, or even in tacos. For extra flavor and crunch, pair it with my broccoli ramen salad, pickled carrots, or a refreshing cucumber salad.

    Pin this now to find it later

    Pin It

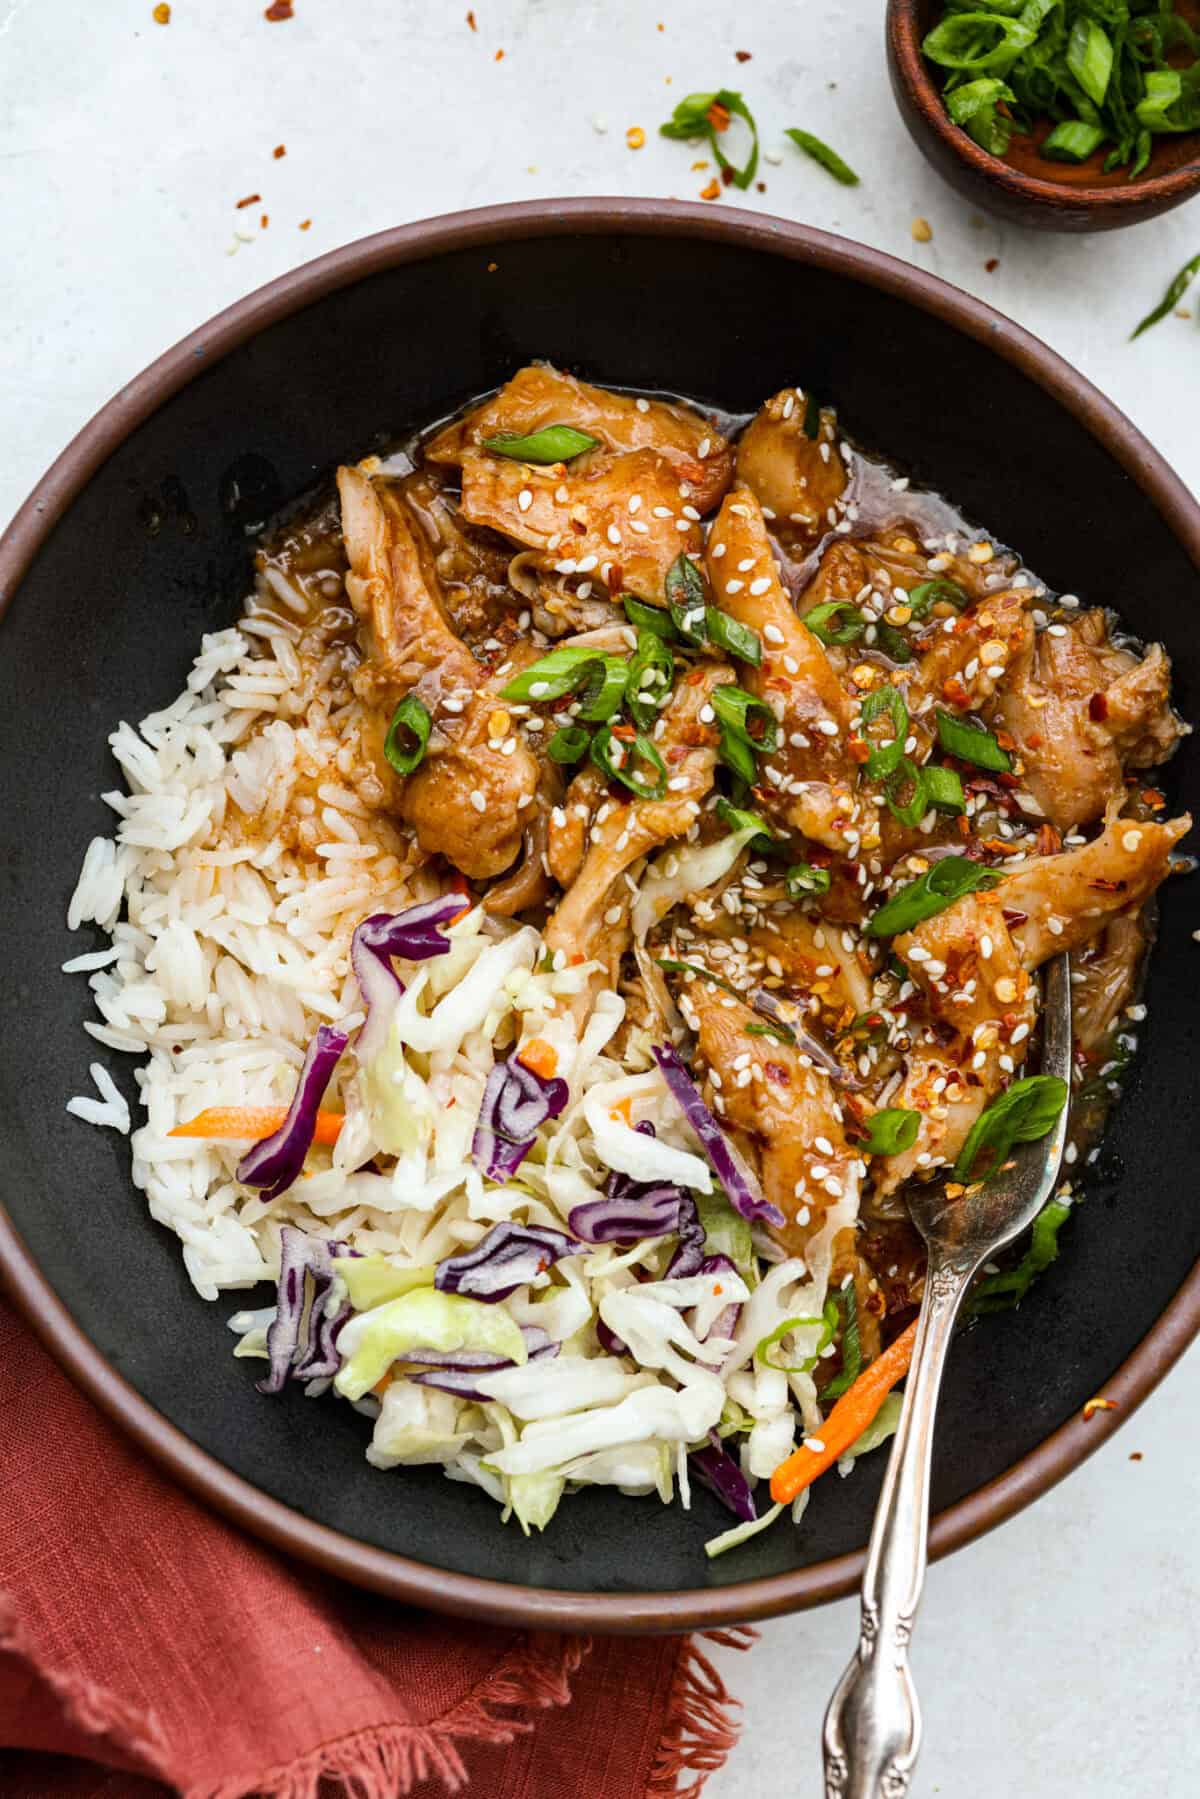
    Slow cooker Korean BBQ chicken in a bowl with rice and cabbage.

    More Asian Slow Cooker Recipes

    Slow Cooker General Tso’s Chicken

    3 hours 5 minutes


    Source link

  • Teriyaki Meatball Foil Packets – Oven, Grill or Campfire Recipe

    Teriyaki Meatball Foil Packets – Oven, Grill or Campfire Recipe

    This website may contain affiliate links and advertising so that we can provide recipes to you. Read my disclosure policy.

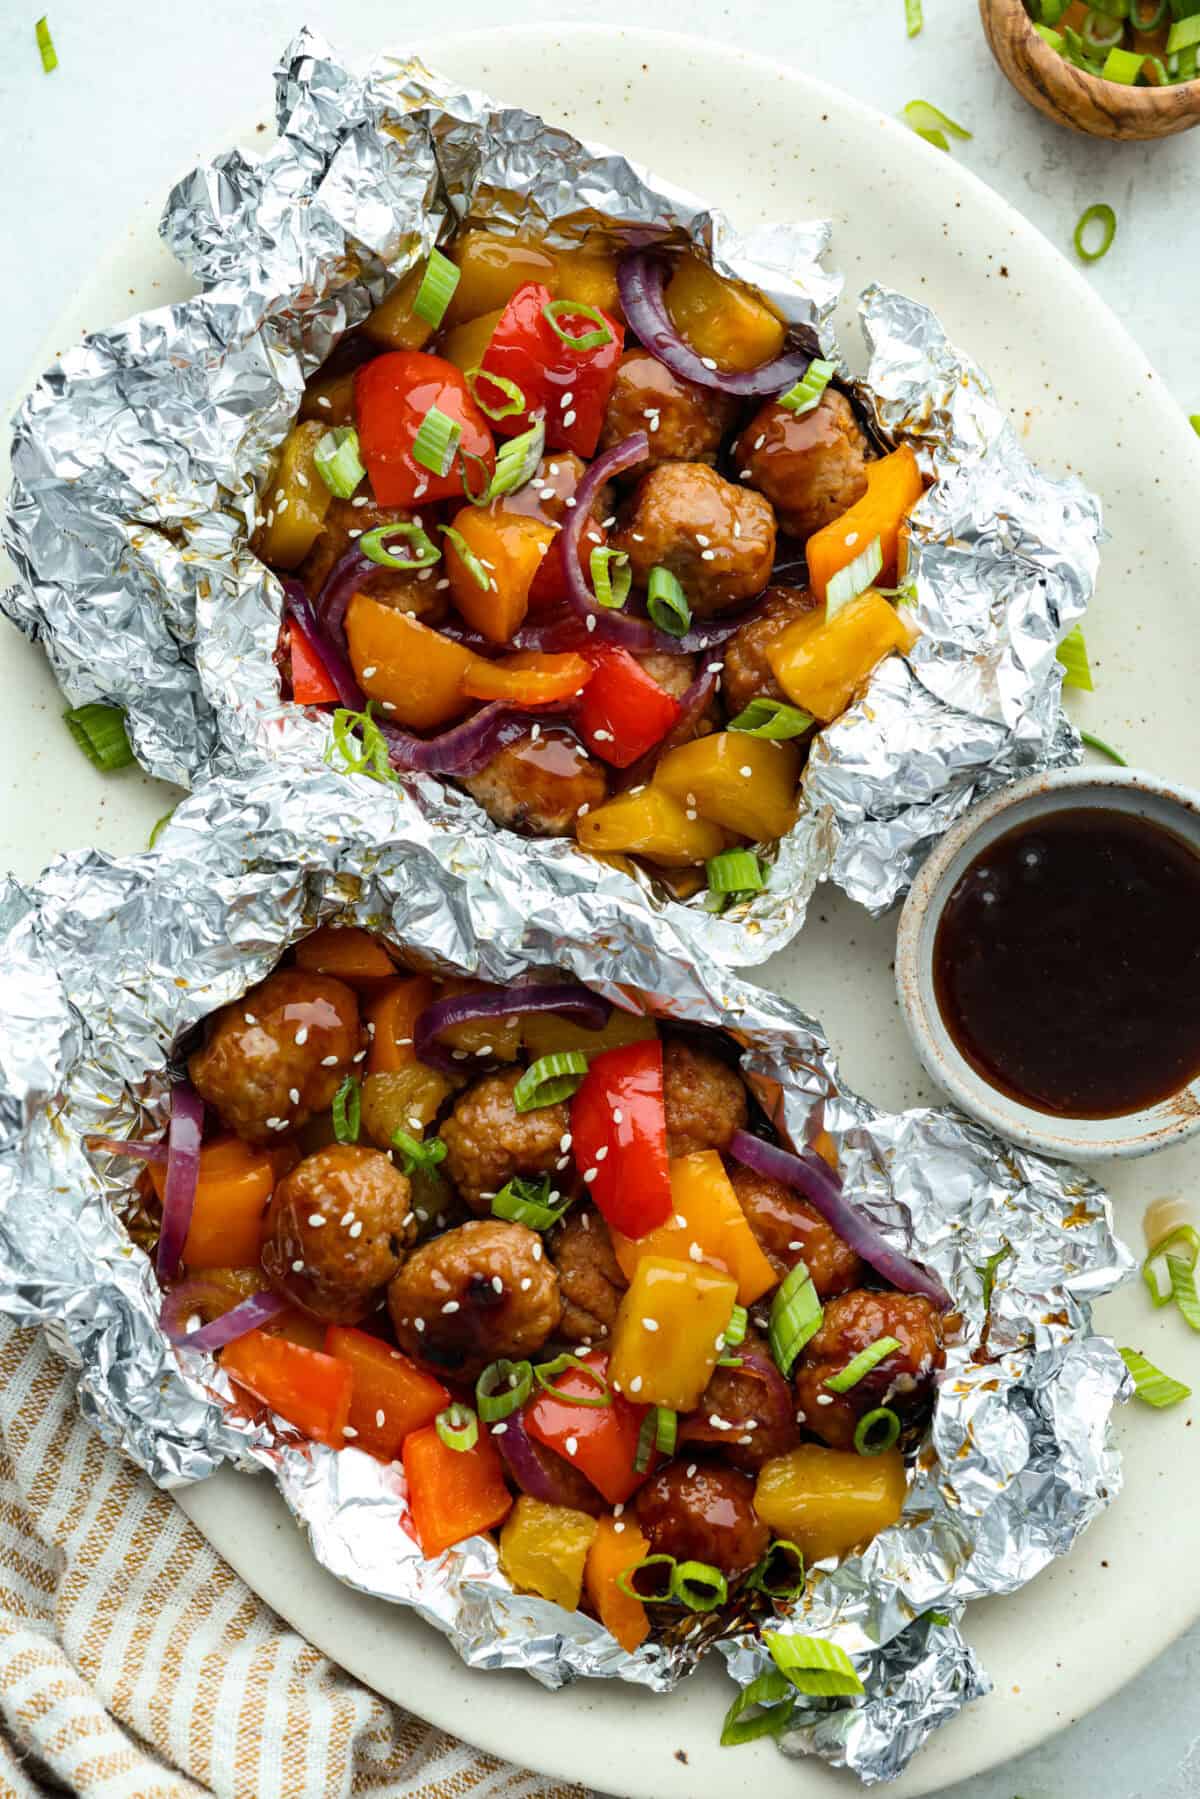
    My meatball foil packets have juicy meatballs, sweet pineapple, colorful veggies, covered in sticky teriyaki sauce, and grilled to perfection. Easy to make, fun to eat, and no dishes to wash! Yes, please!

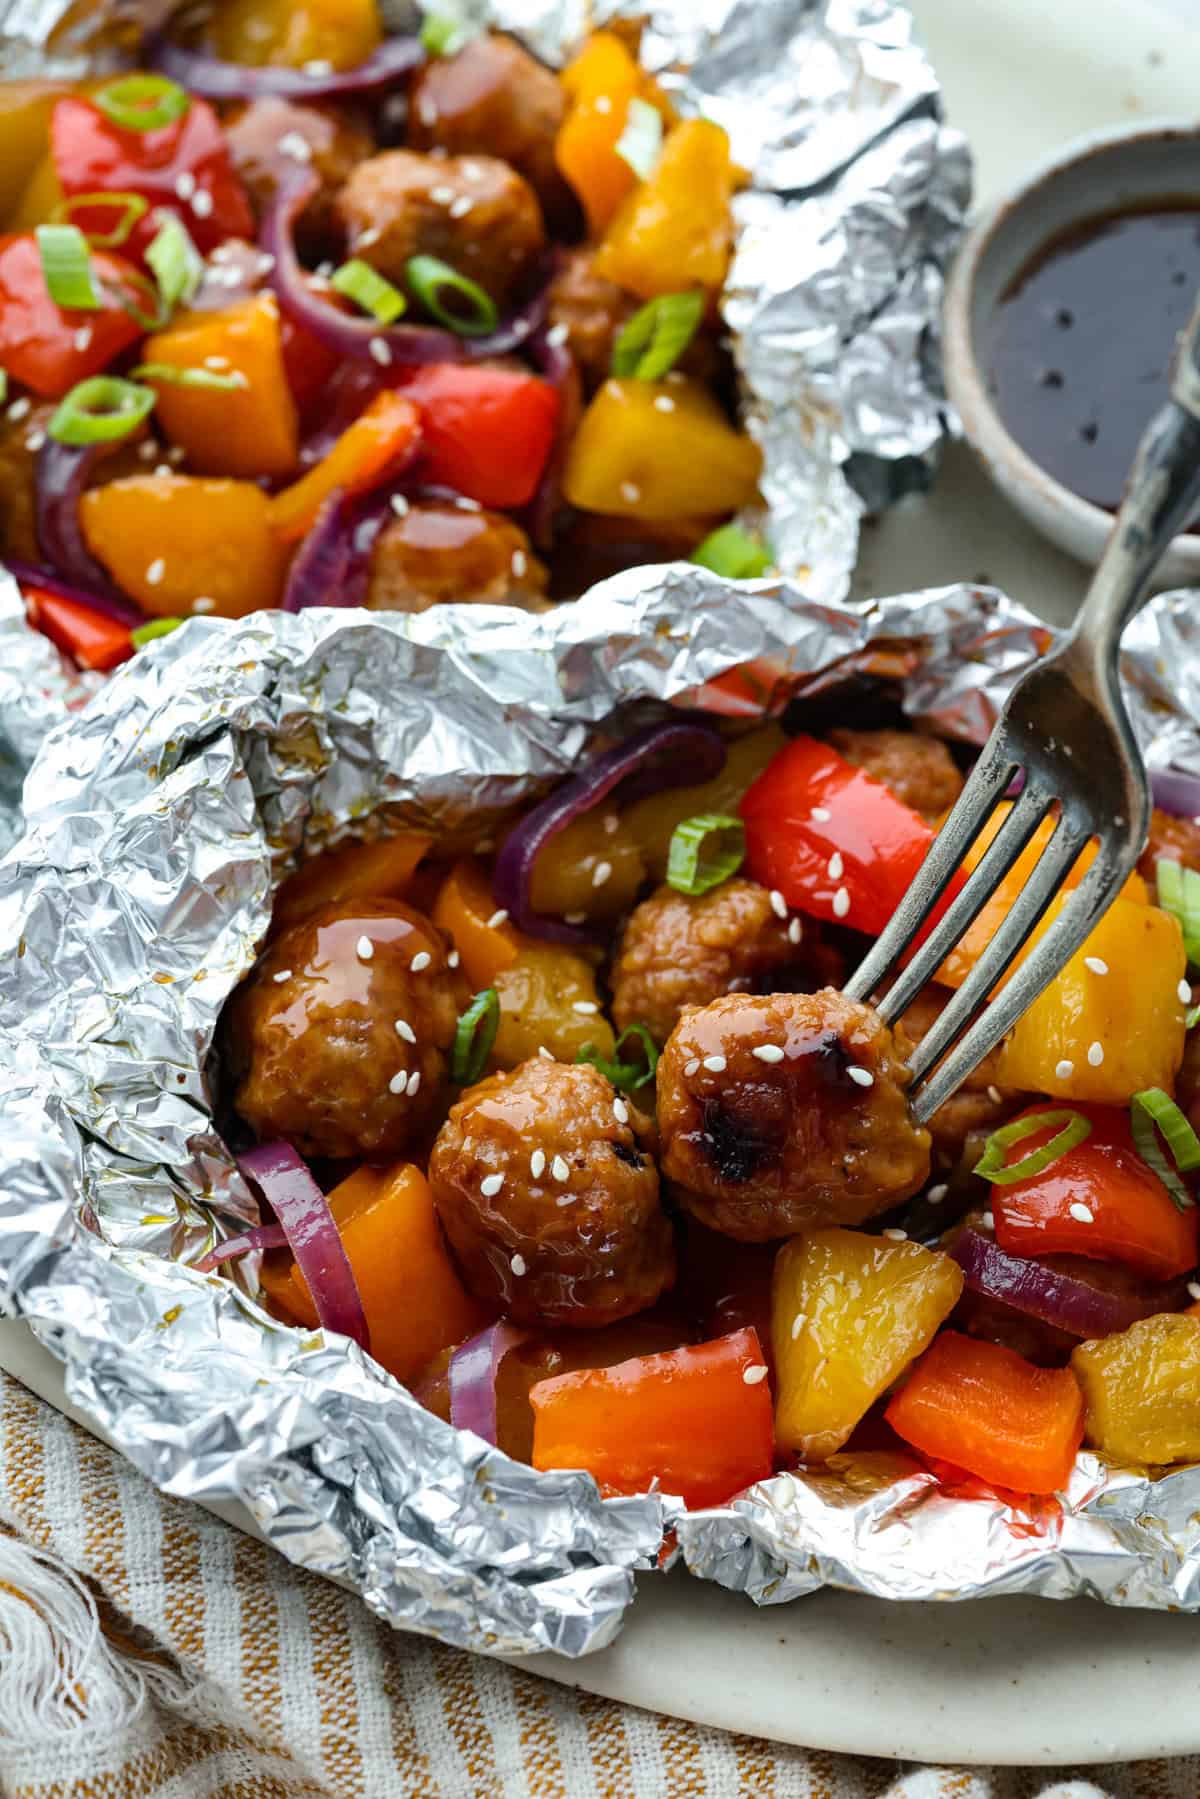
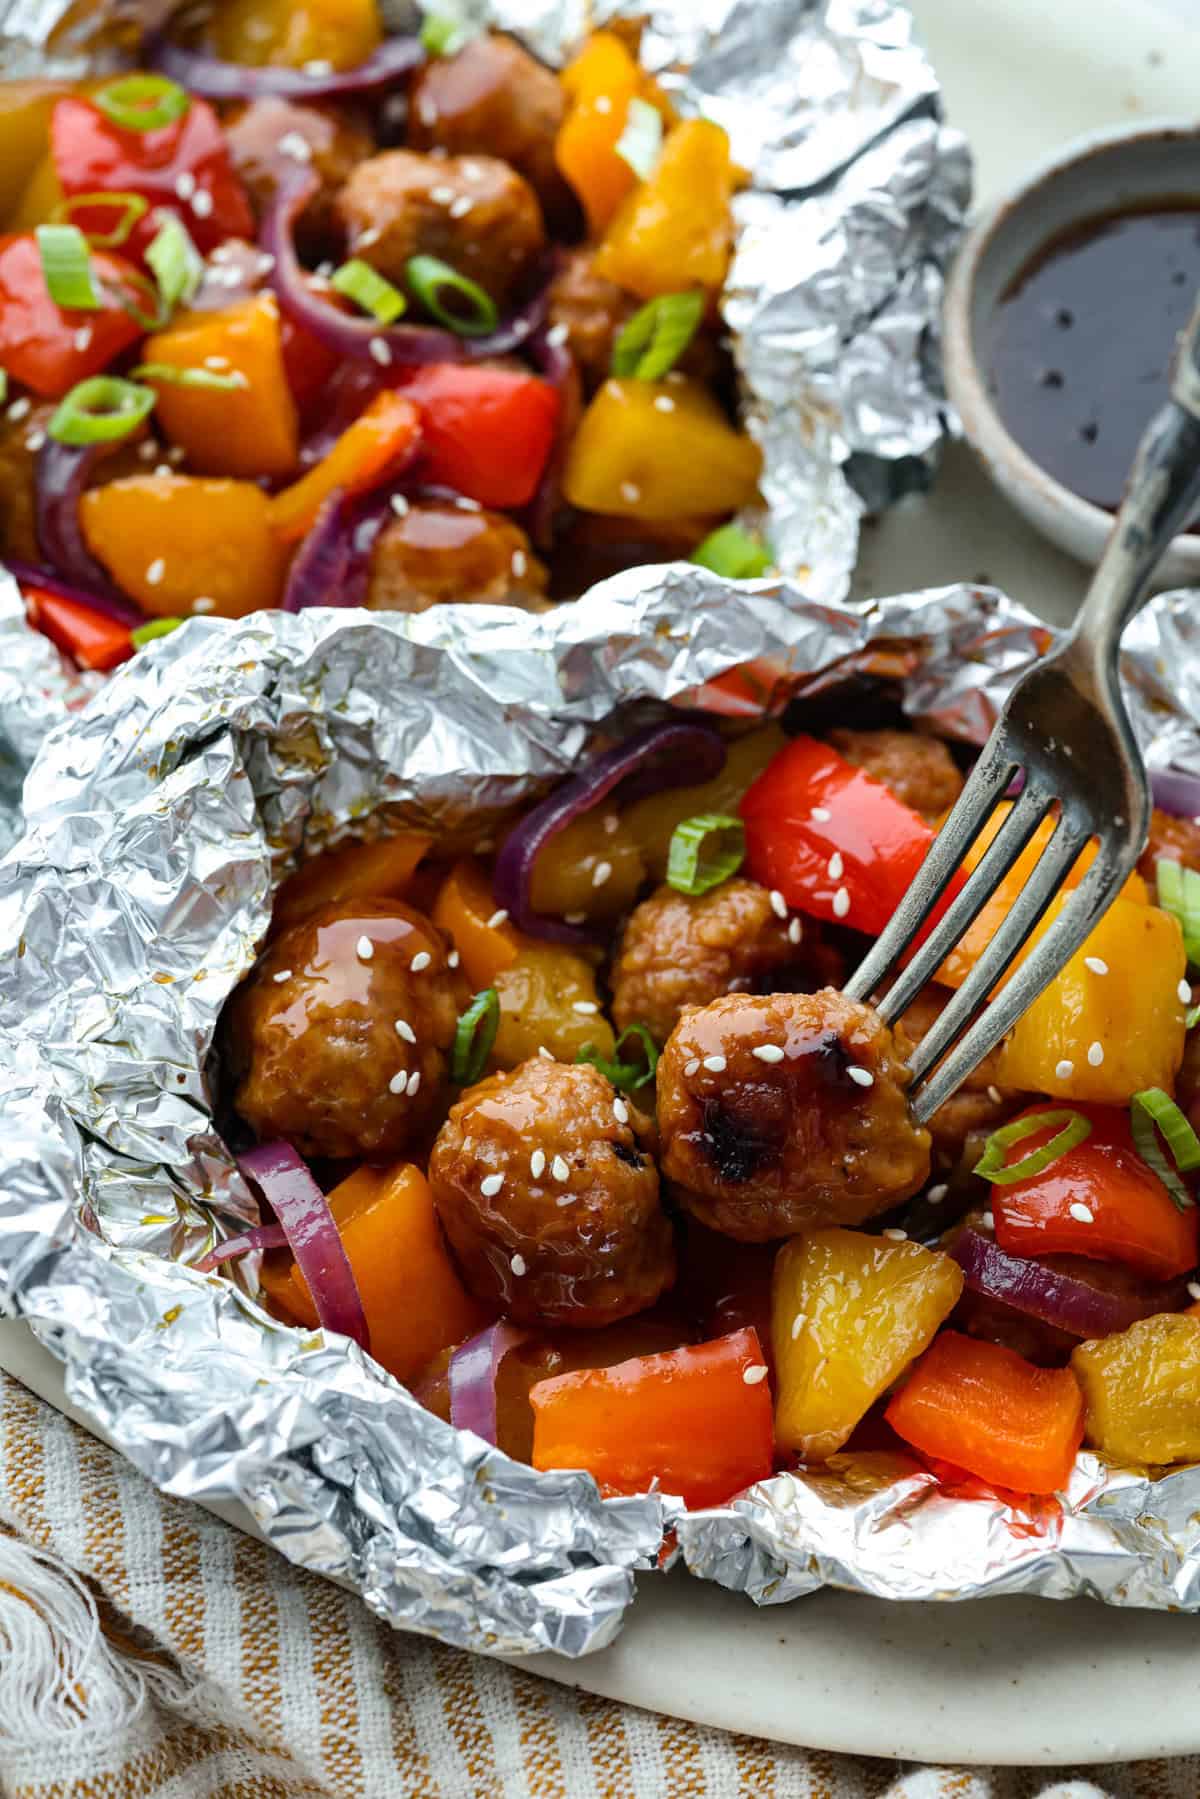
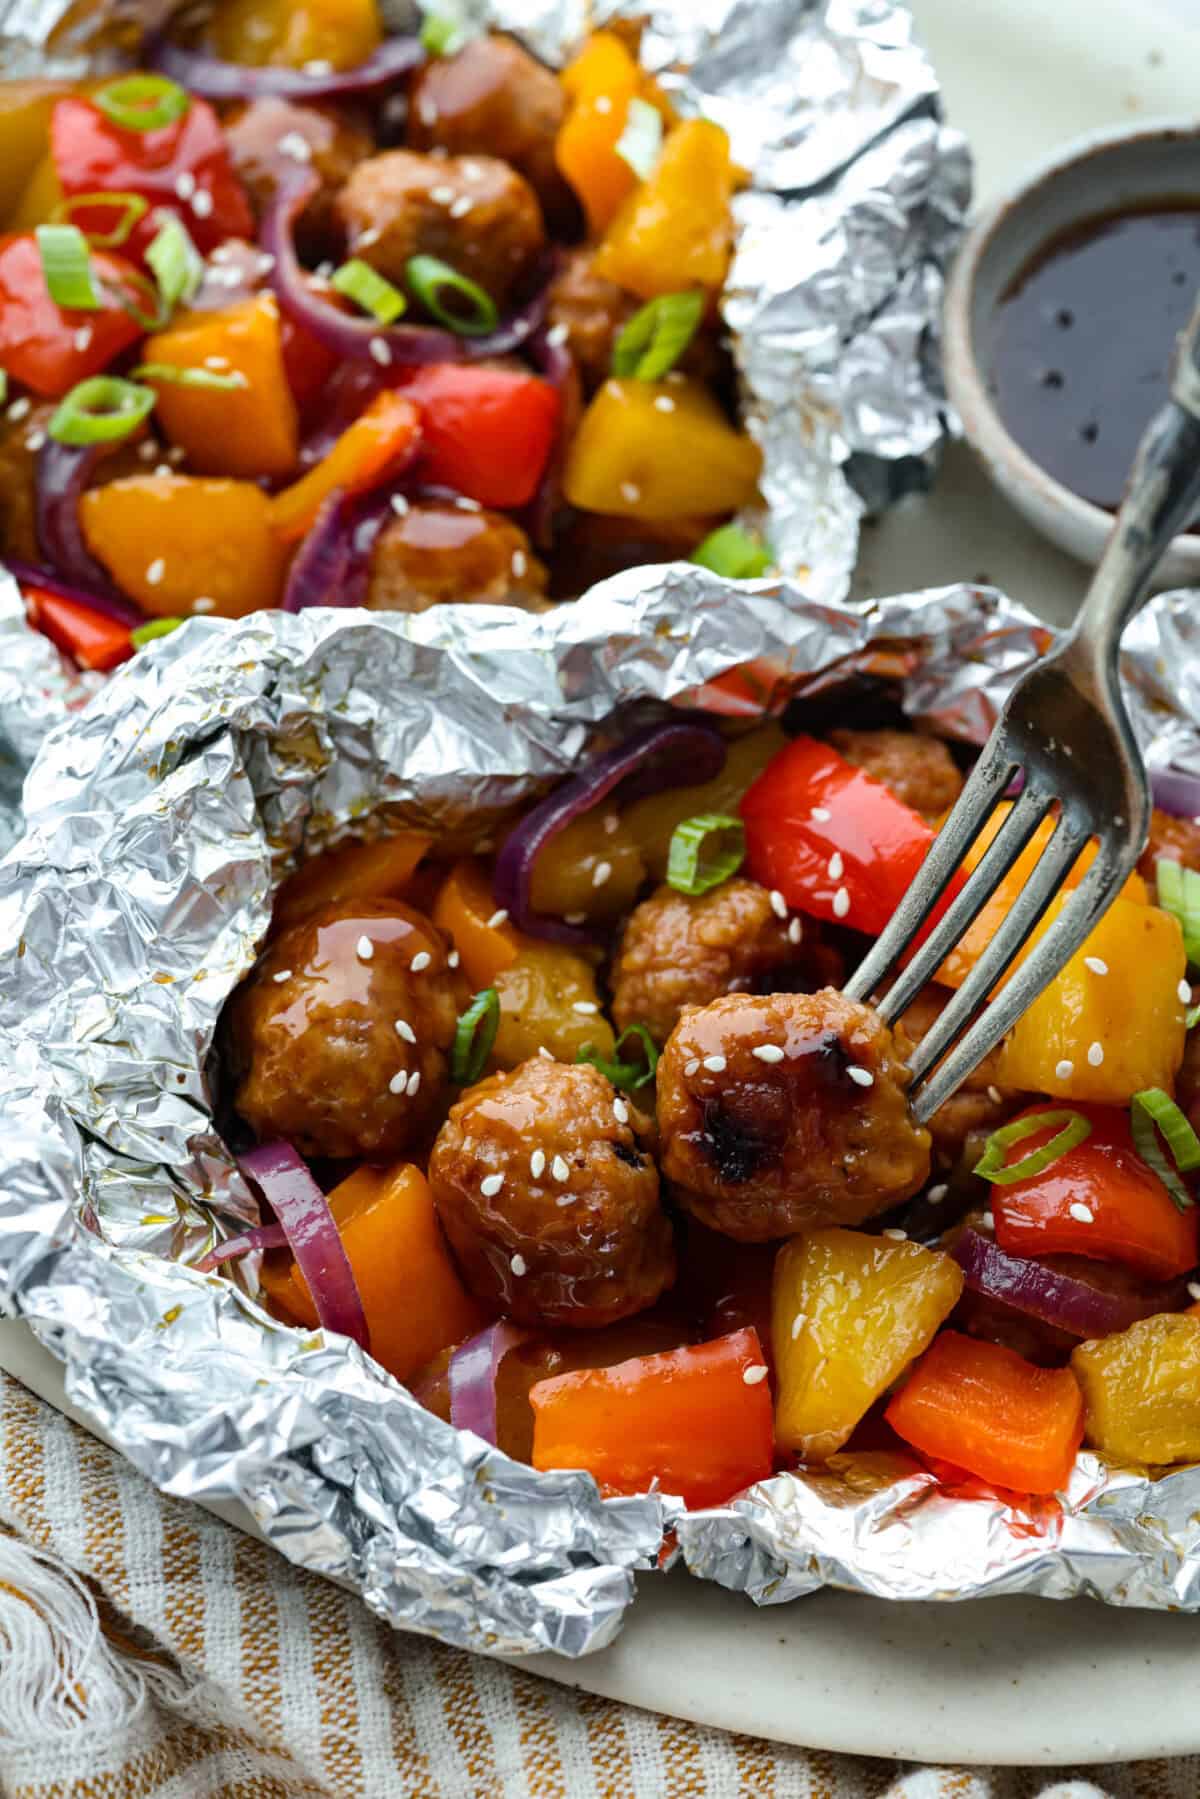
    Meatball foil packets with veggies and pineapple.

    Packet Perfection

    • Sweet & Savory Combo: Tender meatballs meet caramelized pineapple and teriyaki sauce for bold, irresistible flavor.
    • Optional Cooking Methods: These are delicious whether you’re grilling at home or cooking under the stars. They work great in the oven, too!
    • Perfect for Prep or Travel: Make ahead and toss on the grill when you’re ready—ideal for busy nights or weekend getaways.

    Teriyaki Meatball Foil Packet Ingredients

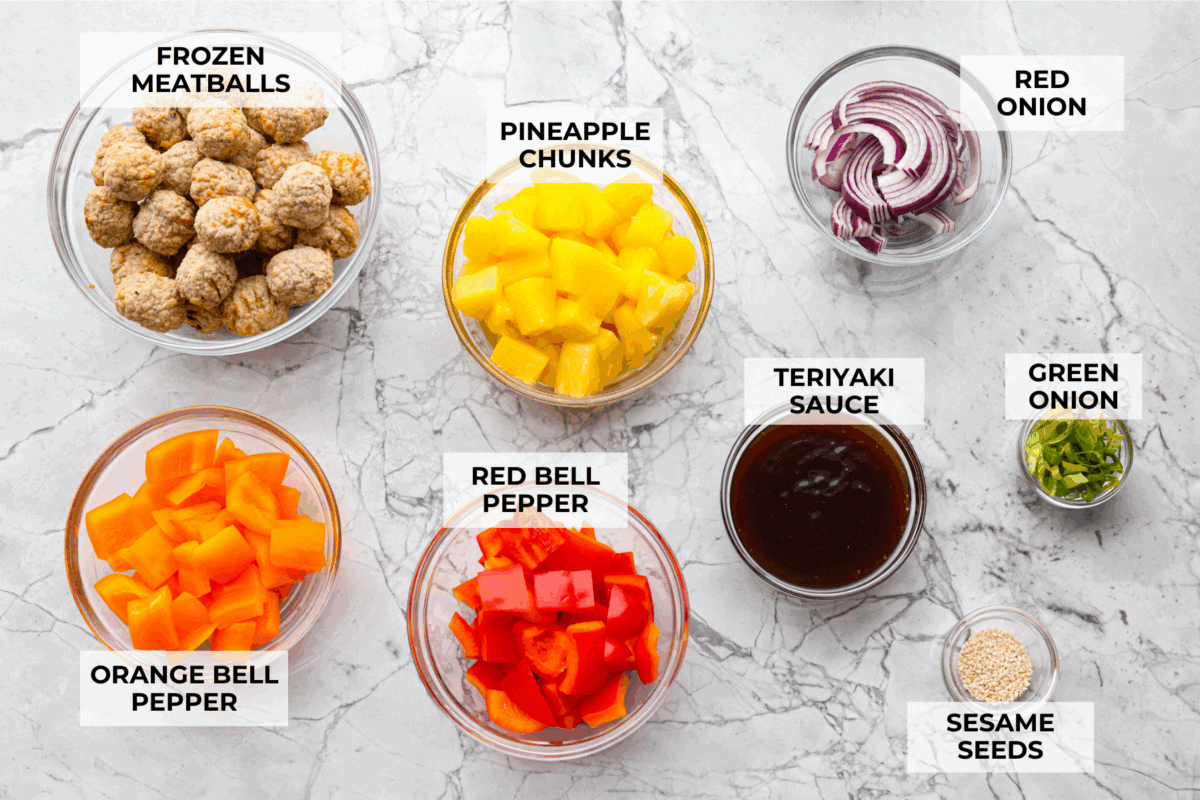
    Overhead shot of labeled ingredients.
    • Meatballs: I used pre-cooked frozen beef meatballs from Costco to save time, but you can make my homemade meatball recipes as well!
    • Teriyaki Sauce: I love using my homemade teriyaki sauce, but you can use store bought if you’re in a time crunch.
    • Veggies: Cut your veggies into even pieces so they cook at the same rate. Feel free to mix it up; zucchini, mushrooms, and broccoli all work!
    • Pineapple: Be sure to drain the pineapple well if you’re using canned. Fresh pineapple or pineapple rings are also an option!

    How to Make Meatball Foil Packets

    Dinner doesn’t get easier than this! With just a few ingredients and zero cleanup, you’ll have a delicious meal on the table (or around the campfire!) in no time.

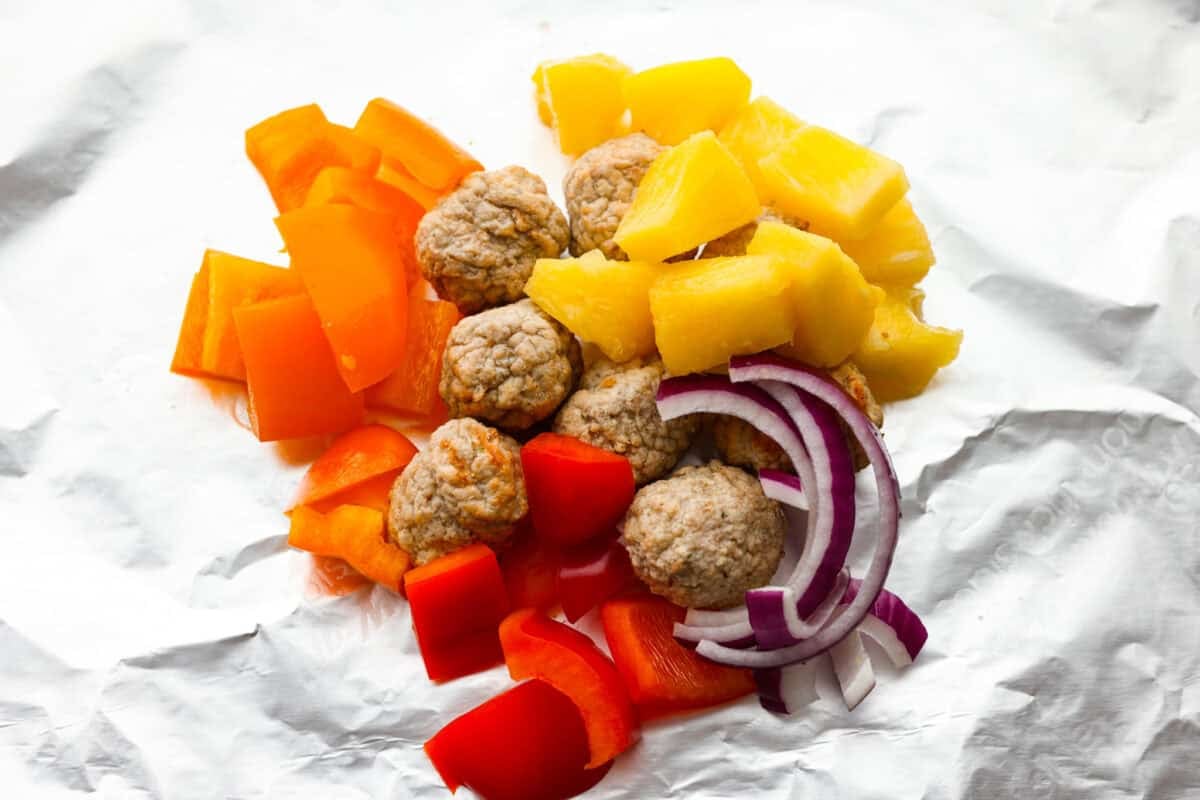
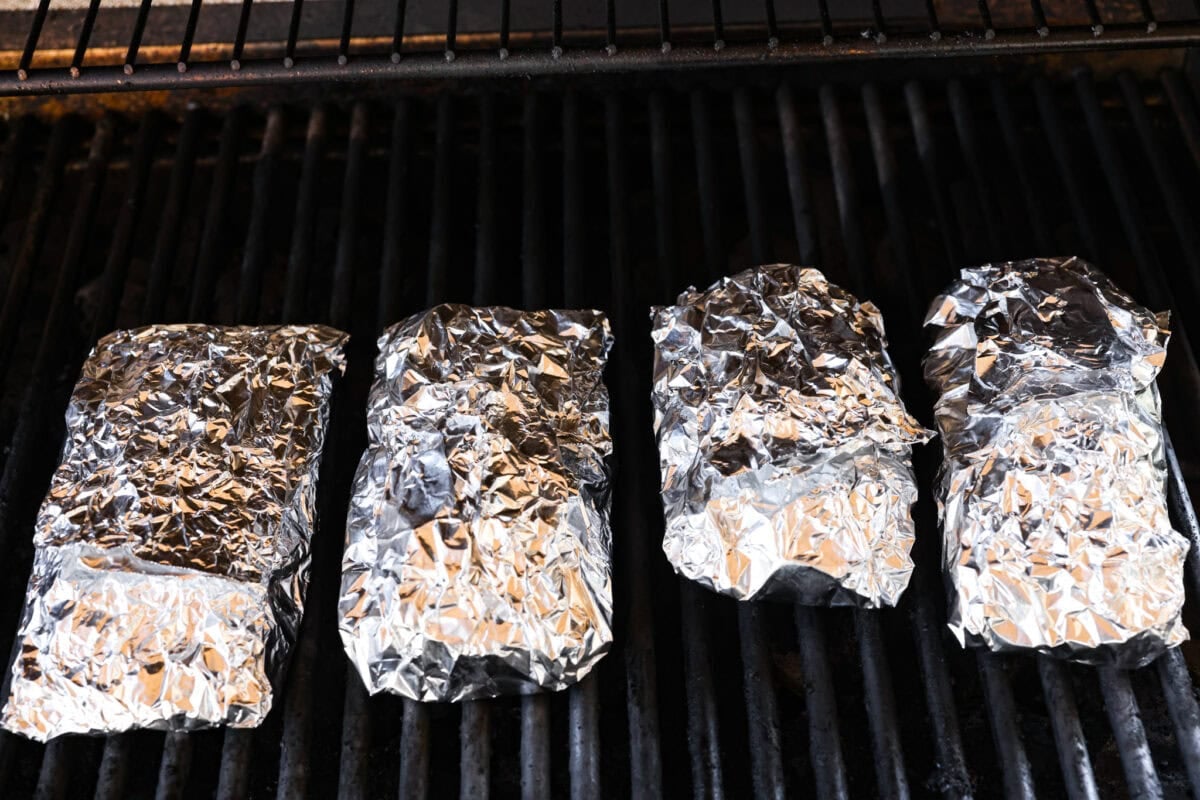
    1. Prepare and Assemble: Preheat the grill to medium heat, then cut heavy-duty aluminum foil into 4 large pieces, large enough to wrap around the meatballs and veggies. Place 8 meatballs in the center of each sheet of aluminum foil. Divide the pineapple chunks, chopped bell peppers, and the sliced red onion evenly into each packet. 
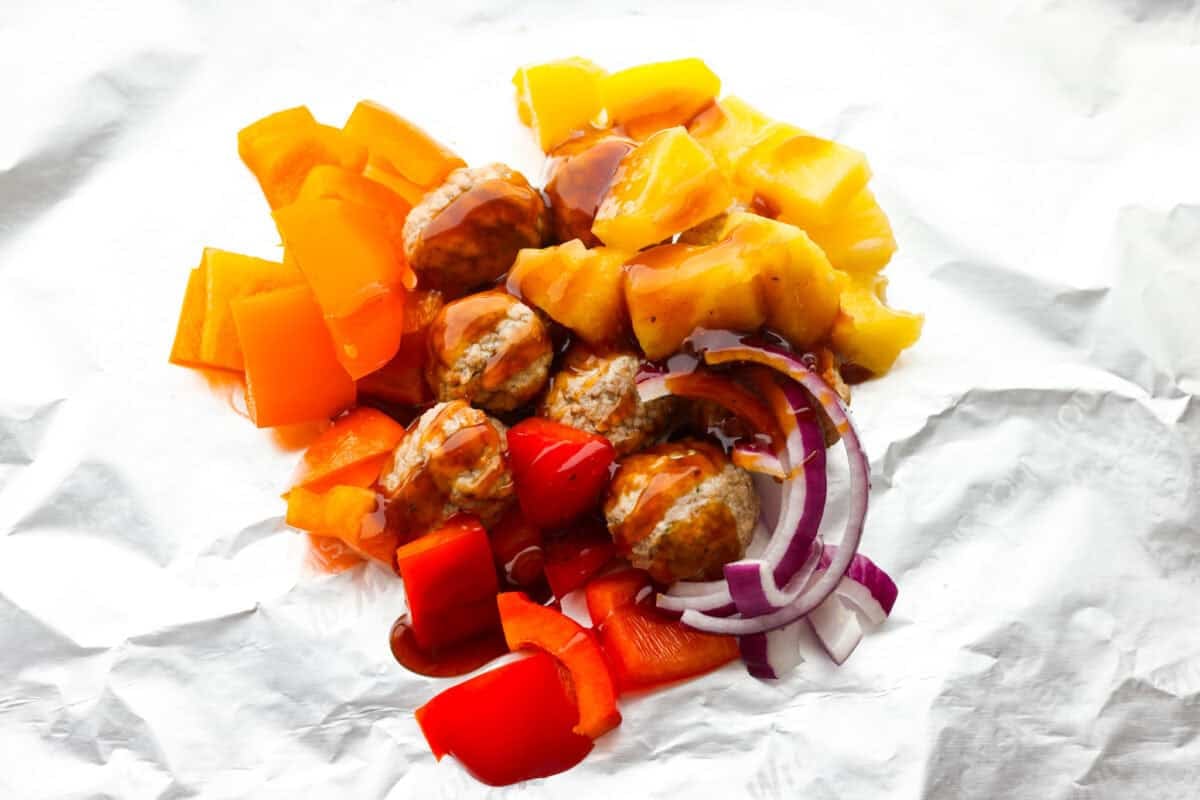
    2. Add the Sauce: Prepare Homemade Teriyaki Sauce or use your favorite store bought sauce. Drizzle ¼ cup of the sauce on top of each meatball and veggie mixture and slightly stir together.
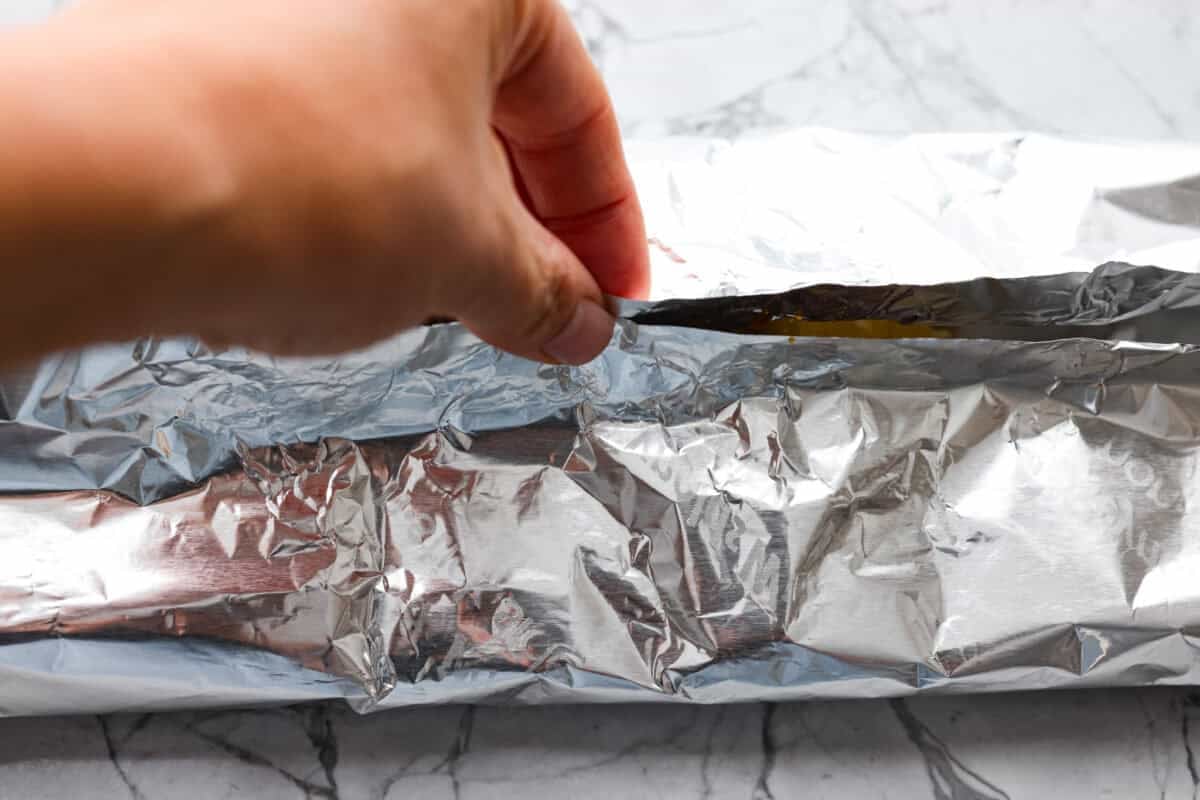
    3. Fold and Seal: Bring the two longer sides of the foil together and seal tightly, then fold in the shorter edges of the foil, making sure there are no openings or gaps.
    4. Cook: Place the packets onto the hot grill and cook for 15-20 minutes or until the meatballs are warmed through. To serve, carefully open packets, then garnish with green onions and sesame seeds. Serve meatball foil packets over cooked rice, if desired!

    Alyssa’s Pro Tip

    Use heavy-duty foil and seal your meatball foil packets tightly with no gaps. This prevents leaks on the grill and locks in steam for juicy, perfectly cooked meatballs.

    Meatball Foil Packet Cooking Methods

    • Oven: Preheat your oven to 375ºF. Place the sealed foil packets on a baking sheet and bake for 20–25 minutes, or until the meatballs are heated through.
    • Grill: Preheat the grill to medium high heat. Place the foil packets directly on the grill grates and cook for 15-20 minutes.
    • Campfire: Place the foil packets over medium hot coals in a campfire or fire pit. Cook for 15–20 minutes, rotating occasionally for even cooking.

    Overhead shot of plated teriyaki meatball foil packets.

    Storing and Reheating Leftovers

    • In the Refrigerator: These meatball foil packets are best served right away! Transfer the cooked meatball packets into an airtight container. Store in the fridge for up to 3 days.
    • To Reheat: Reheat in the oven at 350°F until warmed through, or toss in the air fryer for a quick option that crisps up the edges.

    Pin this now to find it later

    Pin It

    More Foil Packet Recipes

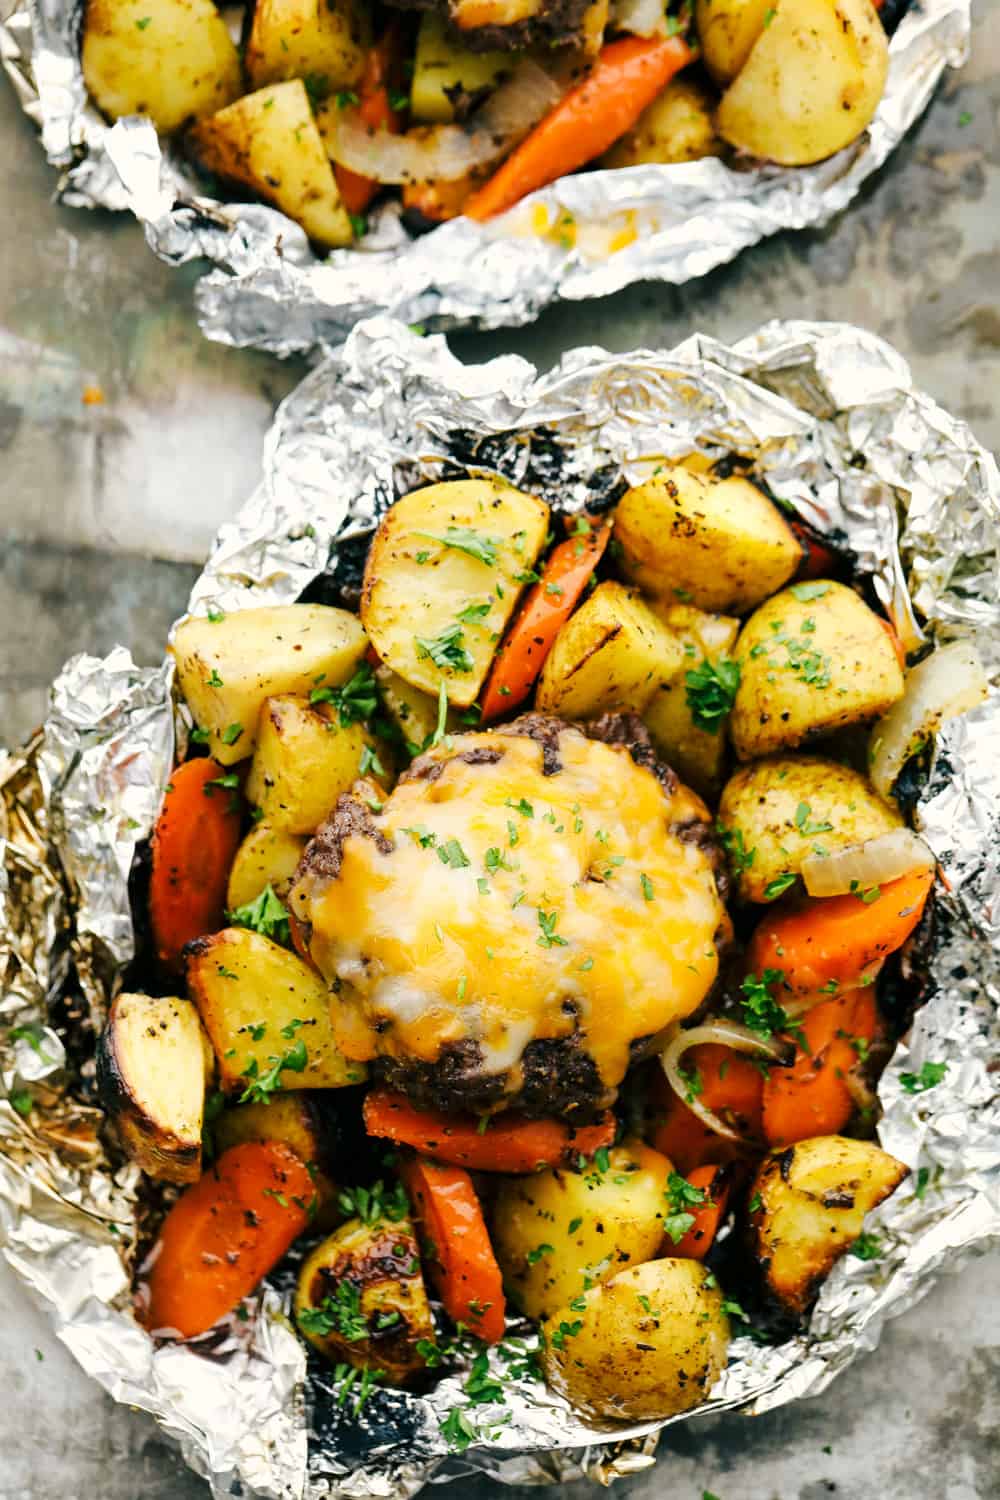
    These meatball foil packet dinners are such a game changer! Cleanup is a breeze, they’re packed with flavor, and they cook up quickly. Here are some of our other favorite foil packet meals.

    Butter Garlic Herb Salmon Foil Packets

    25 minutes


    Source link

  • Green Chile Chicken Enchilada Casserole

    Green Chile Chicken Enchilada Casserole

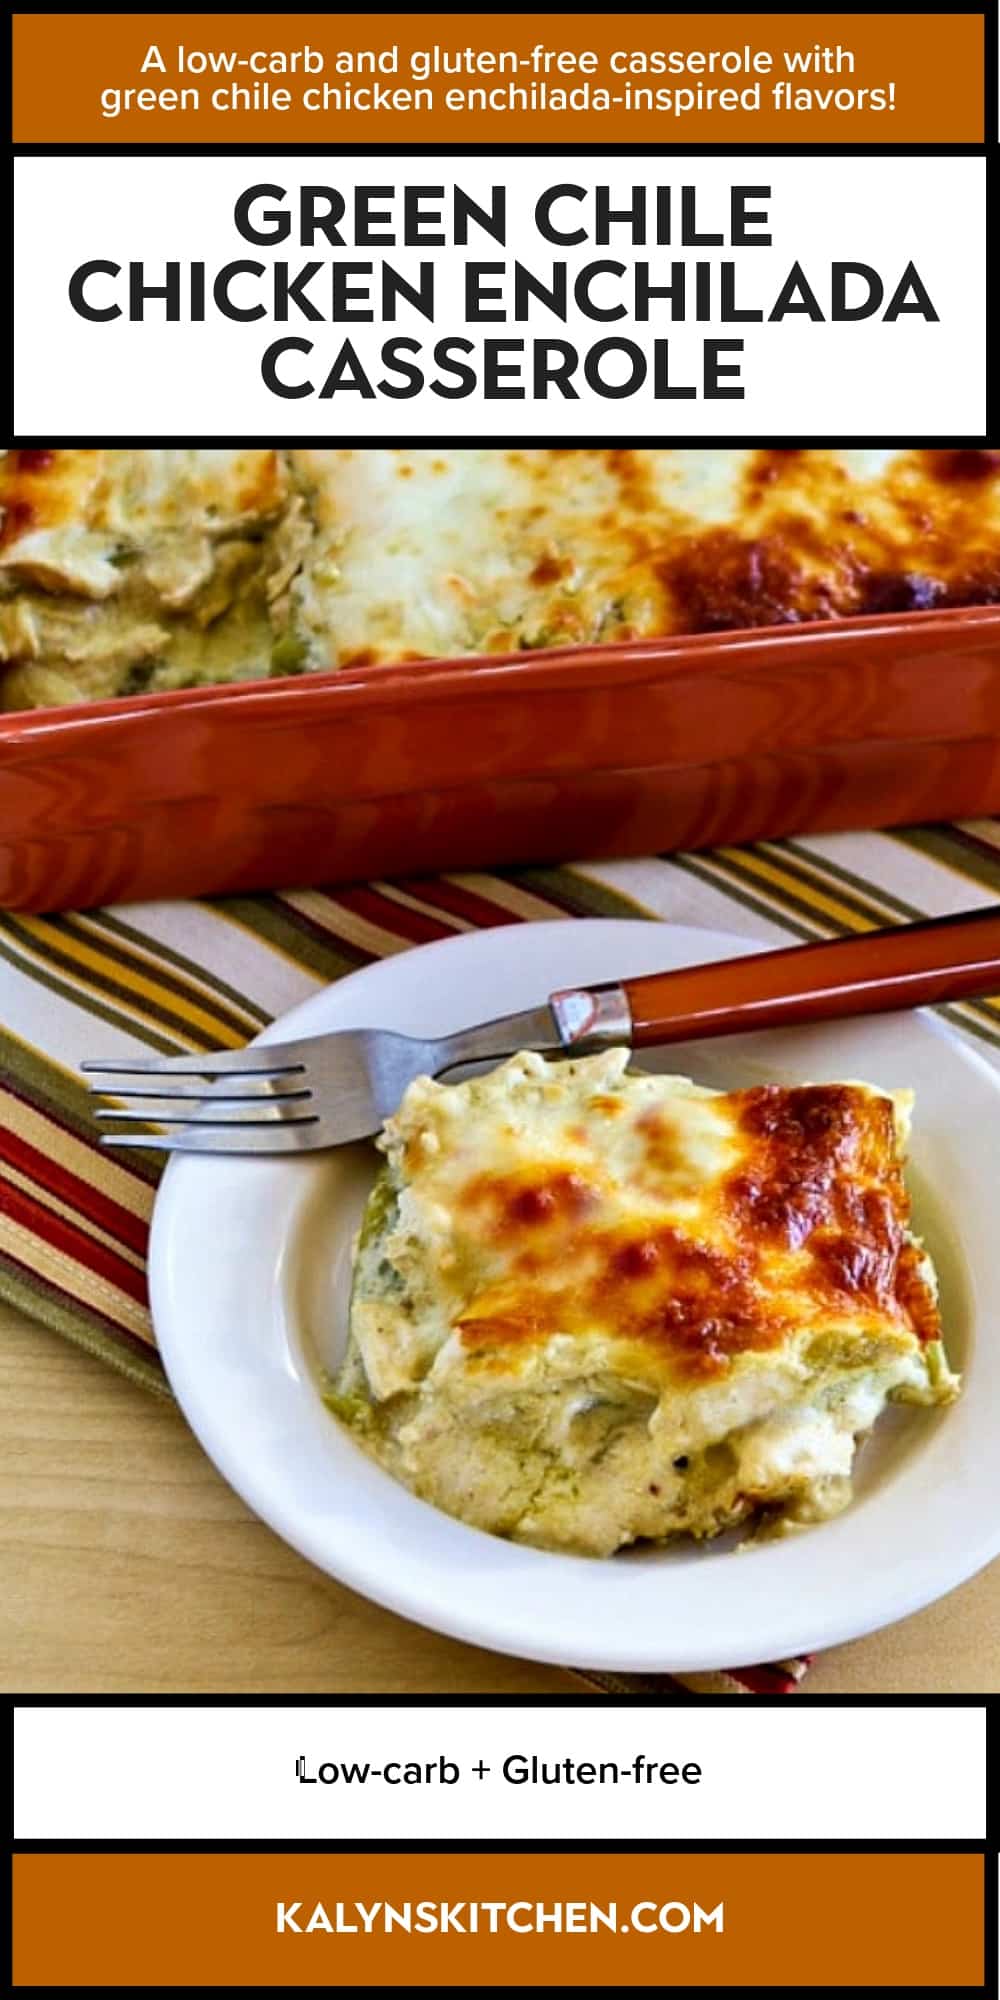
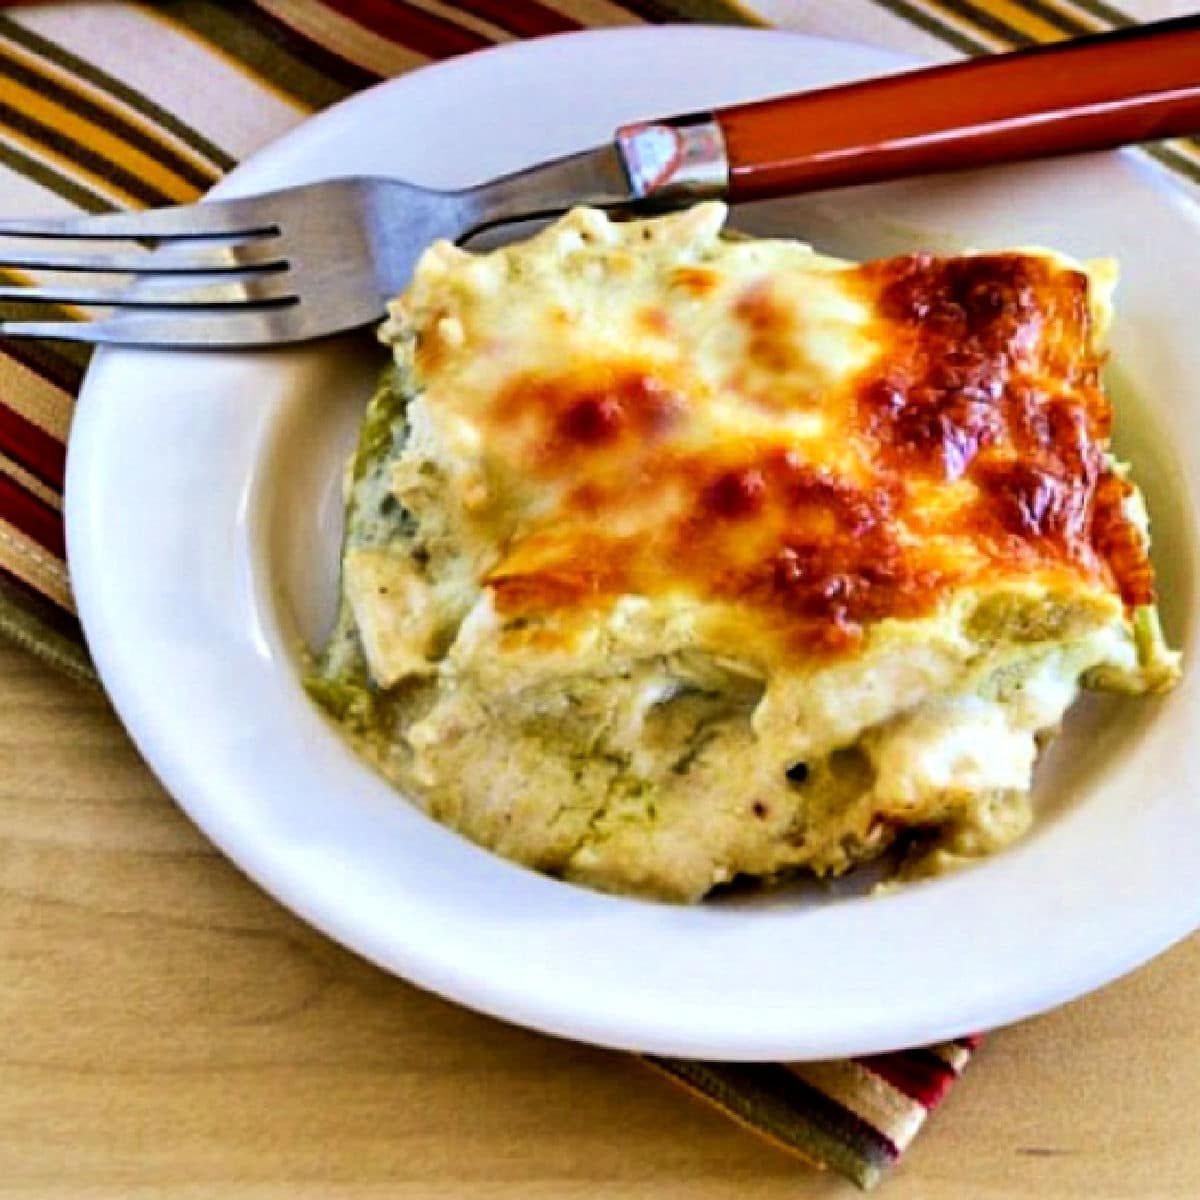
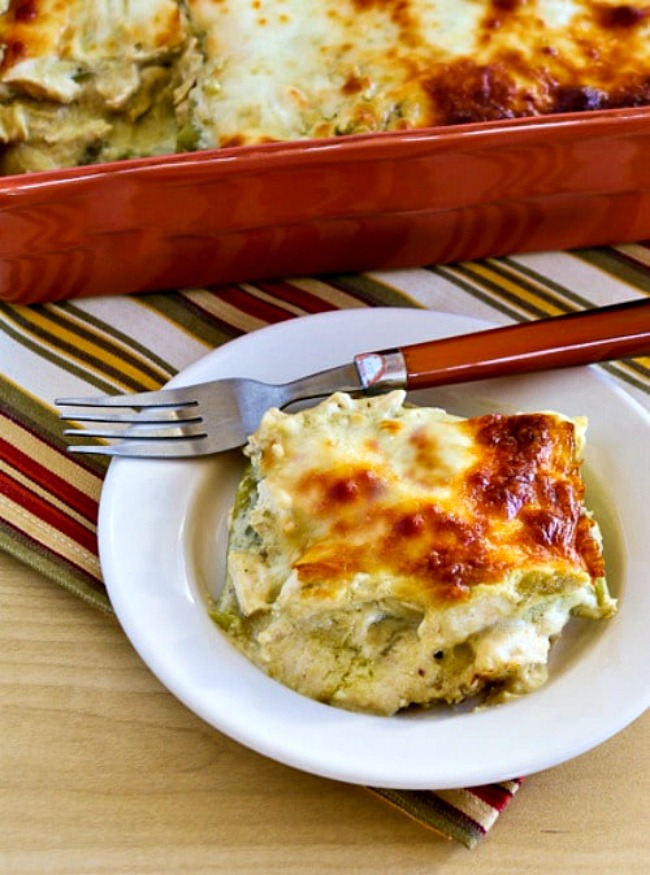
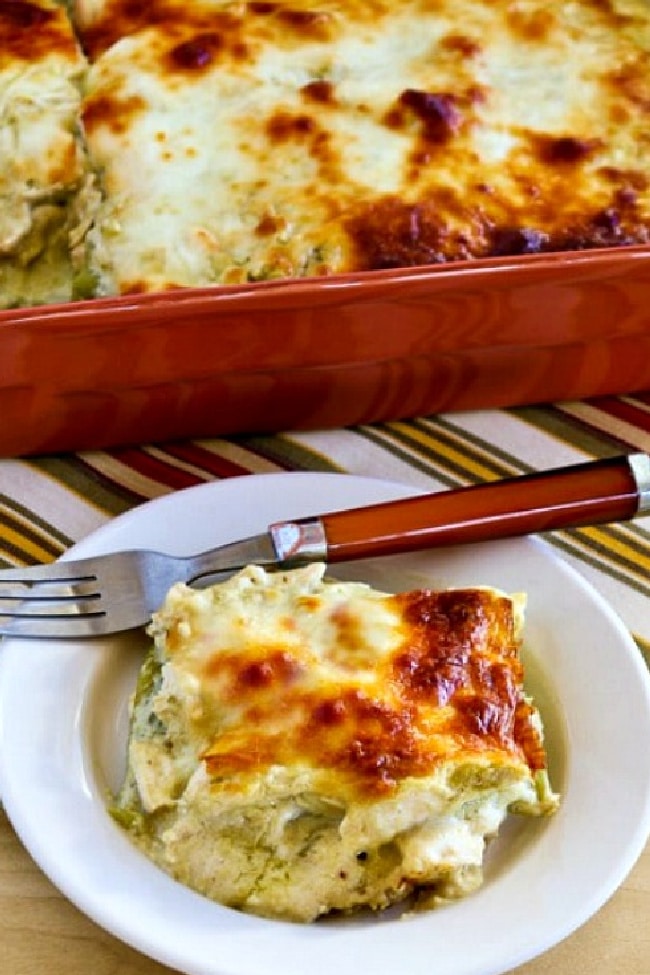
    This Green Chile Chicken Enchilada Casserole has the flavors you love in green chile chicken enchiladas, minus quite a few of the carbs! In this mock enchilada recipe, whole roasted green chiles replace the tortillas to make it low in carbs and gluten-free!

    PIN the Green Chile Chicken Enchilada Casserole to make it later!

    Green Chile and Chicken Mock Enchilada Casserole found on KalynsKitchen.com

    Green Chile Chicken Enchilada Casserole is a tasty lower-carb dish that has all the flavors people love in Mexican enchiladas. And when Jake and I came up with the idea of using roasted green chiles in a chicken casserole with enchilada flavors, it was a winner. And in my huge extended family this recipe has been a favorite for years!

     We replaced tortillas with layers of mild roasted green chiles from a can. We also used canned green chile enchilada sauce to make this easy to make. And when I first tested the Green Chile Chicken Enchilada Casserole with Jake, we loved the flavors. Hope you’ll try this soon if you also like Mexican flavors.

    What ingredients do you need?

    (This is only a list of ingredients; please scroll down for complete printable recipe. Or if you use the JUMP TO RECIPE link at the top of the page, it will take you directly to the complete recipe with ingredient amounts.)

    Where can you buy whole roasted green chiles?

    If you don’t live in the west, the hardest thing about this recipe might be finding big cans of roasted green chiles. If you have a Mexican market near you, that’s the best place to get a good price on 27 oz. cans of whole green chiles. But if that’s not an option you can buy 27 oz. cans of whole green chiles at Amazon.com (affiliate link).

    Is Green Chile Chicken Enchilada Casserole low in carbs?

    This casserole has about 11 net carbs in a serving and 28 grams of protein with the enchilada sauce I used. That should work for a nice carb-conscious dinner to enjoy when you’re craving Mexican food! I’m not tagging it Keto because and the green chile enchilada sauce has a small amount of cornstarch.

    Is Green Chile Chicken Enchilada Casserole gluten-free?

    I used Hatch Green Chile Enchilada Sauce (affiliate link) and that product is certified gluten-free. Every other ingredient in this recipe is naturally gluten-free.

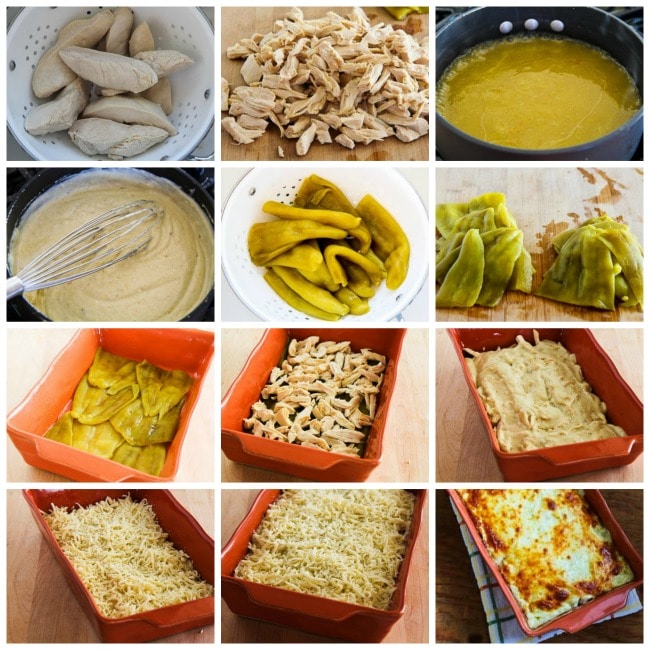
    Green Chile and Chicken Mock Enchilada Casserole process shots collage

    How to make Green Chile Chicken Enchilada Casserole:

    (This is only a summary of the steps for the recipe; please scroll down for complete printable recipe. Or if you use the JUMP TO RECIPE link at the top of the page, it will take you directly to the complete recipe.)

    1. Trim chicken breasts and cut each one in half lengthwise. Put the chicken breasts in a pan, cover with water, and simmer over low heat until the chicken is cooked through.
    2. As soon as the chicken is done, drain it in a colander and remove to a cutting board to cool.
    3. When it’s cool enough to handle, shred the chicken apart into bite-sized pieces.
    4. Simmer the green chile enchilada sauce until it’s thickened and reduced to 2 cups. (Look for the lowest sugar green chile enchilada sauce you can find.
    5. When the enchilada sauce has reduced to 2 cups, turn off the heat and then whisk in the cream cheese and sour cream.
    6. Put the colander back into the sink and drain the  27 oz. can of whole roasted green chiles (affiliate link).
    7. Then use your fingers to split each green chile and remove the seeds, making them into two equal piles so you can make two layers of chiles in the casserole.
    8. Spray a crockery or glass baking dish with non-stick spray and make a layer of green chiles.
    9. Make a layer of shredded chicken over the green chiles.
    10. Spread half the sauce over the chicken, then sprinkle half the cheese over the sauce.
    11. Make another layer each of whole roasted green chiles, chicken, sauce, and cheese.
    12. Bake uncovered at 375F/190C until the casserole is bubbling and the cheese on top is getting browned.
    13. Let cool about 5 minutes, then cut and eat while it’s hot.
    14. This Green Chile Chicken Enchilada Casserole will keep in the fridge for several days and can be reheated in the microwave, and it also freezes well.

    Make it for a Low-Carb meal:

    Most Mexican side dishes are NOT low in carbs! But you could serve No Mayo Vinegar Coleslaw, Tomato Salad with Cucumbers, Avocado, and Cilantro, or Kalyn’s Keto Coleslaw Recipe with this for a low-carb meal.

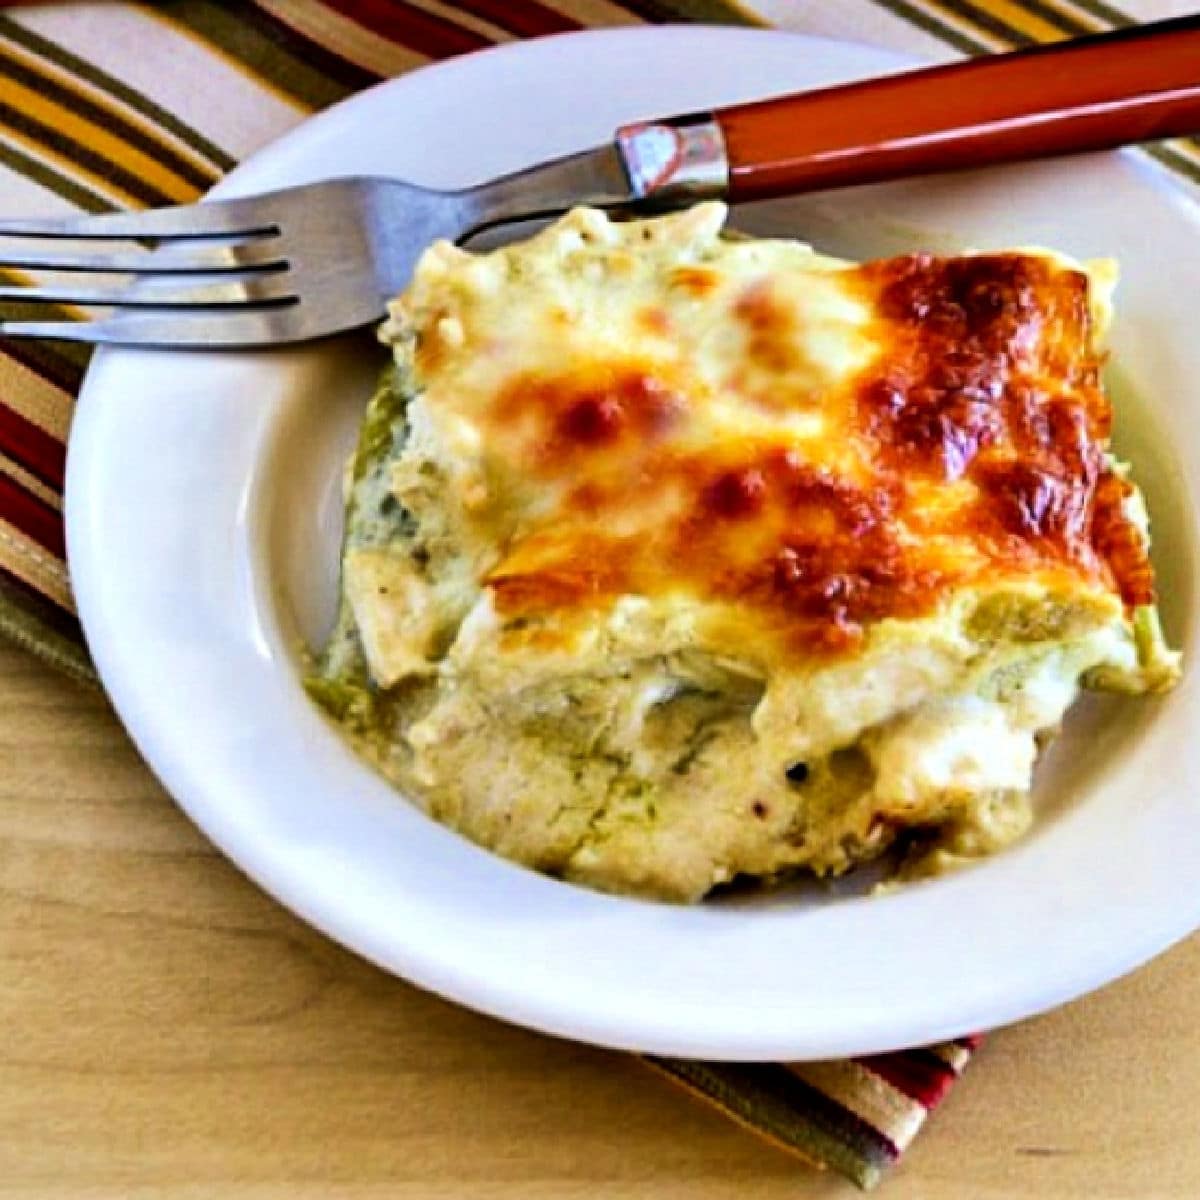
    Green Chile and Chicken Mock Enchilada Casserole with one serving on plate and baking dish in back.

    Want more low-carb Mexican food?

    Check out Low-Carb Mexican Food Favorites for more recipe with Mexican flavors without too many carbs!

    Weekend Food Prep:

    This recipe for Chicken Enchilada Casserole made with green chile sauce has been added to a new category called Weekend Food Prep where you’ll find recipes you can prep or cook on the weekend and eat during the week!

    Ingredients

    • 4 boneless, skinless chicken breasts, trimmed and cut in half lengthwise into two pieces
    • 2 15 oz. cans mild or medium green chile enchilada sauce (see notes)
    • 1 27 oz. can  whole roasted green chiles, (see notes)
    • 4 oz. cream cheese, room temperature
    • 1/2 cup sour cream
    • 2 cups grated mozzarella

    Instructions

    1. Preheat oven to 375F/190 C.  Spray a 9-inch x 13-inch casserole dish with non-stick spray.  (I recommend using a glass or crockery casserole dish; any size that is close to that will work.)
    2. Trim visible fat and other undesirable parts from chicken breasts and cut each one in half lengthwise.  Put chicken into a small shallow pan, cover with water, and simmer over low heat until the chicken is done, about 15 minutes.
    3. Drain chicken into a colander in the sink (you can rinse if there’s a lot of scum.)  Remove to cutting board to cool.
    4. Put the enchilada sauce into a small saucepan and simmer over low heat until the sauce has thickened and reduced to 2 cups, about 20 minutes.  (I’m not that good at eyeballing it, so I put it in a measuring cup to measure when I think it’s getting close.)
    5. Turn off the heat and stir in the cream cheese and sour cream
    6. After you remove the chicken, drain the can of whole green chiles into the colander and let them drain for a few minutes.  Then one at a time, use your fingers to split the chiles open and remove the seeds, piling them into two piles so you can make two equal layers in the casserole.  (If chiles still seem wet, you can blot them with a paper towel, but I didn’t need to do that.)
    7. When the chicken is cool enough to handle, shred apart into bite-sized pieces.
    8. Layer half the green chiles into the bottom of the casserole dish, arranging them so the whole surface is covered as much as you can.
    9. Over that make a layer of half the chicken, 1 1/2 cups of the sauce, and 1 cup of the grated cheese.
    10. Make another layer each of green chiles, chicken, sauce, and cheese.
    11. Bake uncovered until the casserole is bubbling and cheese is melted and browning on top, about 40 minutes.
    12. Let sit about 5 minutes before cutting.  Serve hot.
    13. Green Chile Chicken Enchilada Casserole will keep in the fridge for several days and can be reheated in the microwave, and it also freezes well.

    Nutrition Information

    Yield

    8

    Serving Size

    1

    Amount Per Serving

    Calories 309Total Fat 17gSaturated Fat 8.7gUnsaturated Fat 5.8gCholesterol 96mgSodium 344mgCarbohydrates 13gFiber 1.8gSugar 7.7gProtein 28g

    Nutrition information is automatically calculated by the Recipe Plug-In I am using. I am not a nutritionist and cannot guarantee 100% accuracy, since many variables affect those calculations.

    Did you make this recipe?

    Did you make this recipe? Please leave a star rating (under the PRINT button in the recipe) or share a photo of your results on Instagram! THANKS!

    Square image of Green Chile and Chicken Mock Enchilada Casserole with one serving on plate with fork.

    Low-Carb Diet / Low-Glycemic Diet / South Beach Diet Suggestions:
    Replacing tortillas with roasted green chiles makes Green Chile Chicken Enchilada Casserole a perfect dish for most low-carb eating plans or any phase of the original South Beach Diet. Most brands of green chile enchilada sauce do have a small amount of cornstarch as a thickener, so this isn’t suitable for people who are strictly following Keto or South Beach Diet Phase One, but the amount of carbs is still much lower than traditional enchiladas. 

    Find More Recipes Like This One:
    Use Casserole Recipes to find more recipes like this one! Use the Diet Type Index to find recipes suitable for a specific eating plan. You might also like to follow Kalyn’s Kitchen on Pinterest, on Facebook, on Instagram, on TikTok, or on YouTube to see all the good recipes I’m sharing there.

    Historical Notes for this Recipe:
    The mock enchilada casserole with chicken and green chiles was first posted in 2014 and right away it became a hit in my extended family and on the blog. The recipe was last updated with more information in 2025.

    Pinterest image of Green Chile Chicken Enchilada Casserole

    Share This:

    We are a participant in the Amazon Services LLC Associates Program, an affiliate advertising program designed to provide a means for us to earn fees by linking to Amazon.com and affiliated sites. As an Amazon Associate, I earn from qualifying purchases.


    Source link

  • Asian Carrot Salad With Chicken & Edamame

    Asian Carrot Salad With Chicken & Edamame

    Crunchy, fresh, and full of flavor, this Asian carrot salad with chicken and edamame is a high-protein, high-fiber meal that’s perfect for a light but filling lunch.


    Jump to: ℹ️ Overview | 🛒 Ingredients | 📷 How To Make | 📹 Watch The Video | 👩‍🍳 Recipe Tips | 🥗 Serving Suggestions | 📝 Full Recipe Card | 🍽 More High-Protein Salad Recipes


    This Asian-inspired carrot salad is a fresh, crunchy bowl of goodness with just the right balance of sweet, tangy, salty, and spicy. You get tender slices of pan-seared chicken breast for lean protein, vibrant carrots shredded or sliced into ribbons, and little pops of edamame for a fiber boost. It’s all tossed in a garlicky soy-lime dressing with a hint of sesame and a drizzle of chili crisp, just enough heat to keep things interesting without breaking a sweat.

    It’s inspired by that viral carrot salad all over social media, but let’s be real, if you’re going to make a salad, you might as well do more than carrots. By adding chicken and edamame, you turn a side dish into a fibre-rich, protein-packed and meal-prep-worthy main. It’s macro-friendly, naturally gluten-free (if you swap the soy sauce), and honestly, just super satisfying.

    Nutrition per serving based on 3 servings (approx.): Calories: ~388 | Protein: 40 grams | Fiber: 5 grams (boost fibre by adding extra sesame seeds or extra edamame beans)

    👉 This healthy carrot salad is part of my high-protein and fiber meals series. You might also like this baked chia oats recipe, my avocado cottage cheese toast, Asian cucumber tofu salad, or my high-protein butternut squash soup.

    What You’ll Need

    Here is what you’ll need for this Asian carrot salad with chicken and edamame recipe. Find the full measurements in the recipe card below.

    • Chicken breast – high in protein and super lean, plus a little olive oil for cooking and salt and pepper for seasoning.
    • Carrots – sweet, crunchy, and full of beta-carotene and fiber; I used pre-shredded carrot but you can thinly slice carrots or peel them into ribbons.
    • Edamame beans – packed with plant protein and fiber; I used frozen shelled edamame beans.
    • Green onion – adds a mild bite and freshness.
    • Cilantro (or coriander) – gives the salad a herby, citrusy finish.
    • Toasted sesame seeds – nutty crunch and visual flair.

    For the Dressing:

    • Lime juice + zest – fresh and zingy.
    • Rice vinegar – adds tang and keeps it light.
    • Soy sauce – umami central; use tamari for gluten-free.
    • Sesame oil – for that toasty Asian flavor.
    • Garlic – adds punch.
    • Sugar – just enough to balance.
    • Chili crisp – customizable heat and crunch.
    How To Make Asian Carrot Salad With Chicken & Edamame

    Find the full recipe and nutritional information below. Here are some handy step-by-step photos for Asian carrot salad with chicken and edamame.

    • Season and pan-fry the chicken breast until golden and cooked through.
    • Let the chicken rest before slicing into bite-sized pieces.
    • Defrost or briefly cook the edamame in boiling water, then strain.
    • Mix all the dressing ingredients in a large bowl.
    • Add carrots, edamame, green onion, sesame seeds, cilantro, and chicken to the bowl.
    • Toss everything together until well coated.
    • Optional: top with extra chili crisp or crunchy noodles for fun.
    Watch The Video

    Carrots – sweet, crunchy, and full of beta-carotene and fiber.

    Recipe Tips

    • Make-ahead? Yes! Store the salad and dressing separately for best texture. Or toss it all together and enjoy within 2 days—it’s still good the next day.
    • Swaps: Use rotisserie chicken if you’re in a rush. Sub edamame with chickpeas or cooked green peas for similar protein and fiber content.
    • Spice it up: Add more chili crisp or a splash of sriracha.
    • Storage: Keeps well in the fridge for 2-3 days. Not freezer-friendly.

    Serving Suggestions

    This is a meal on its own, but it also plays well with:

    • A side of steamed jasmine rice or vermicelli noodles if you’re extra hungry.
    • Lettuce cups for a fun, DIY wrap situation.
    • Crushed peanuts or cashews for added crunch.

    💬 If you’ve tried this Asian carrot salad with chicken and edamame or any other recipe on the blog then don’t forget to rate the recipe and let me know how you got on in the comments below, I love hearing from you! You can also FOLLOW ME on Instagram, Facebook, Pinterest, YouTube, and or sign up to my Newsletter to see more of my delicious food.

    Want to Save This Recipe?

    Enter your email & I’ll send it to your inbox. Plus, get great new recipes from me every week!

    By submitting this form, you consent to receive emails from Cooked & Loved

    Crunchy, fresh, and full of flavor, this Asian carrot salad with chicken and edamame is a high-protein, high-fiber meal that’s perfect for a light but filling lunch. Find step-by-step photos and more recipe tips above.

    • Season chicken with salt and pepper. Heat oil in a skillet over medium-high heat. Cook chicken for 4–5 minutes each side until golden and cooked through. Let it rest, then slice into bite-sized pieces.

    • Mix the dressing ingredients in a large bowl.

    • Place frozen edamame in boiling water for 1–2 minutes. Strain and set aside.

    • Add carrots, green onion, edamame, sesame seeds, cilantro, and sliced chicken into the bowl with the dressing.

    • Toss everything together using hands or tongs until well coated.

    • Serve as-is or top with extra chili crisp, crushed peanuts, or crunchy noodles.

    • Can I use pre-cooked chicken? Absolutely—grilled or rotisserie chicken works great here.
    • What if I don’t like cilantro? Swap with fresh mint, parsley, or just leave it out.
    • How spicy is this? Not very—the chili crisp adds mild heat, but you can easily adjust the amount or skip it.
    • Can I make it vegetarian? Yes! Just skip the chicken and maybe add tofu or more edamame.
    • Make-ahead? Yes! Store the salad and dressing separately for best texture. Or toss it all together and enjoy within 2 days—it’s still good the next day.
    • Swaps: Use rotisserie chicken if you’re in a rush. Sub edamame with chickpeas or cooked green peas for similar protein and fiber content.
    • Spice it up: Add more chili crisp or a splash of sriracha.
    • Storage: Keeps well in the fridge for 2-3 days. Not freezer-friendly.

    Macros per serving based on 3 servings: Calories: ~388 | Protein: 40 grams | Fiber: 4 grams
    Macros per serving based on 2 servings: Calories: ~580 | Protein: 59 grams | Fiber: 8 grams

    Calories: 388kcal | Carbohydrates: 21g | Protein: 40g | Fat: 16g | Saturated Fat: 2g | Polyunsaturated Fat: 4g | Monounsaturated Fat: 6g | Trans Fat: 0.02g | Cholesterol: 97mg | Sodium: 1304mg | Potassium: 1165mg | Fiber: 5g | Sugar: 9g | Vitamin A: 16813IU | Vitamin C: 10mg | Calcium: 117mg | Iron: 3mg

    Keywords: Asian chicken salad, Carrot salad, Asian Carrot Salad With Chicken & Edamame, edamame salad

    More High-Protein Salad Recipes


    Source link

  • Failproof Hollandaise Sauce Recipe

    Failproof Hollandaise Sauce Recipe

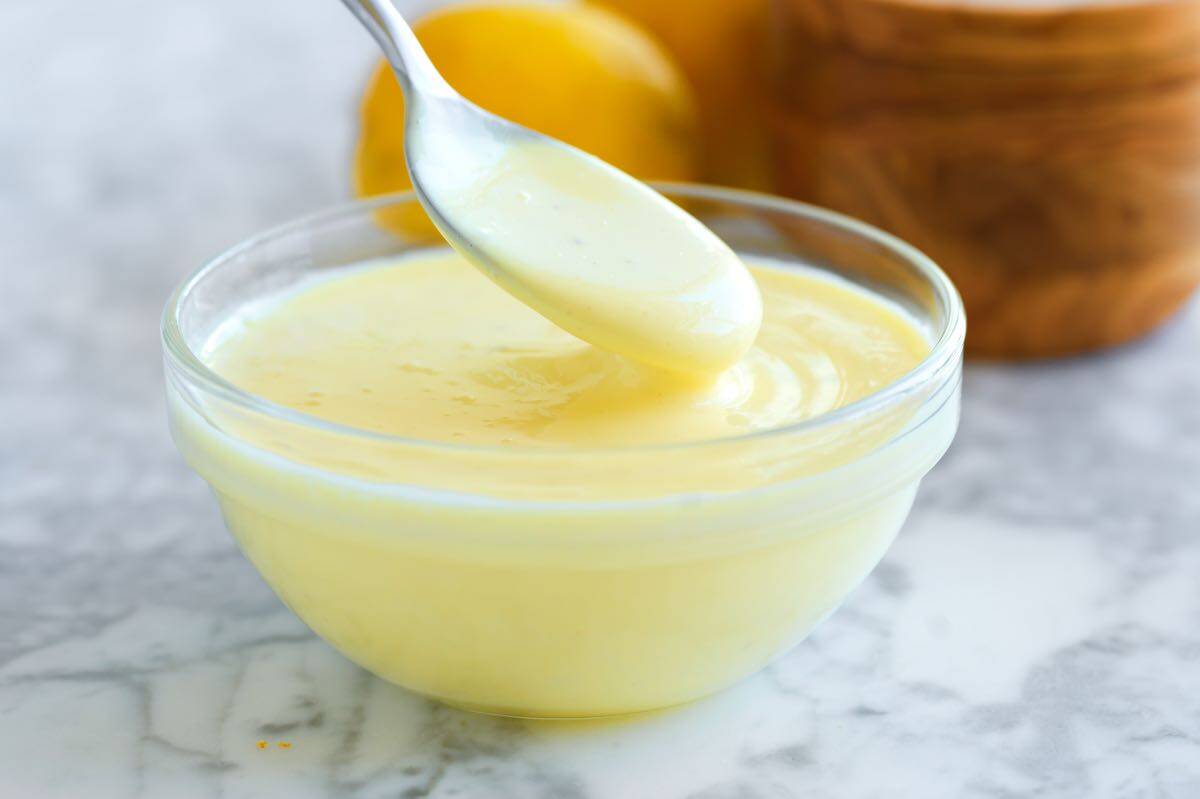
    How to make incredible homemade hollandaise sauce! Using a blender and a short list of simple ingredients, this hollandaise sauce recipe is practically failproof and extra easy!

    Hollandaise Sauce

    There are very few homemade sauces that hit as well as hollandaise. It’s creamy, velvety, decadent, and incredible with eggs (hello, Eggs Benedict), as a dip for vegetables, and with simple seafood dishes.

    Hollandaise was one of the first sauces I learned how to make in culinary school. We made it by hand with a whisk, and in large batches (my arms were so tired!). This home cook friendly hollandaise sauce recipe skips the whisk and calls on a blender, which means you’ll have a delicious batch of hollandaise in under 5 minutes! For another classic sauce, see our Homemade Mayonnaise.

    Key Ingredients

    • Melted Butter: Butter makes up the majority of this sauce, so spoiler, you need quite a bit of it. I use clarified butter for hollandaise. It’s easy to do, and I’ve shared how in the recipe below. You can make it with plain melted butter, but the clarifying process removes water and milk solids, which can cause our sauce to separate or break. Also, it tastes super rich and buttery, so your sauce tastes better. So, for the best hollandaise sauce, use clarified butter.
    • Egg Yolks: Classic hollandaise uses egg yolks. You can save the whites for scrambled later (as a note, scrambled egg whites with hollandaise spooned on top is really delicious).
    • Lemon Juice: You only need a little bit, but the lemon cuts through the richness of our sauce. Freshly squeezed really is best.
    • White Wine (optional): This is a tip from Chef Richard, who, for many years, was tasked with making hollandaise for brunch service at a very high-end hotel. You only need a couple of teaspoons, so only add this if you already have a bottle open! It makes the sauce more interesting and does a similar job as the lemon, cutting through the richness of the butter and egg yolks.
    • Salt and Pepper: Don’t forget to season your sauce and use a bit of pepper. Cayenne pepper is popular, but we skip that and use ground white pepper, which harmonizes a bit better with the sauce.

    Find the full recipe with measurements below.

    How to Make Hollandaise Sauce

    Tip 1: Use a blender. Hollandaise sauce is a rich, creamy, and decadent emulsion of egg yolks and butter. While some classic recipes call for making it by hand with a bowl and whisk, a blender is a game-changer for home cooks (kind of like how a food processor is a game-changer when making mayo). It simplifies the process and gives you a beautiful sauce every time. That said, I shared how we make it by hand below anyway, in case you wanted to give it a go.

    Tip 2: Use HOT butter. Drizzling hot (not warm) melted butter into the blender is key. If the butter isn’t hot enough, the sauce won’t thicken properly.

    Streaming hot butter into a blender with egg yolks

    Tip 3: Make it right before serving. Hollandaise is best served immediately. Prepare your other dishes first, then make the sauce just before serving.

    Tip 4: Keep it warm. Since the sauce is mostly butter, it will start to cool and thicken as it sits. To keep it warm, you can set the blender jar in a bowl of lukewarm water (hot from the tap) until you’re ready to serve.

    Tip 5: Fixing broken hollandaise sauce. While our blender method is more foolproof, this classic sauce can still break if your butter is added too quickly or isn’t hot enough. Here’s what to do if your sauce breaks (note, I use a blender, but you can do this in a bowl with a whisk):

    1. Pour your broken sauce into a bowl.
    2. Add 1 to 2 teaspoons of warm water to the blender.
    3. Turn the blender on, and slowly pour the broken sauce back into the blender through the lid opening. The sauce should re-emulsify and become smooth again. Hooray!

    Serving Suggestions

    Use your delicious hollandaise for dishes like Eggs Benedict (especially on a homemade English muffin) and Eggs Florentine. It’s also fantastic with poached eggs, vegetables like roasted asparagus, and simple seafood dishes like poached salmon.

    Homemade Hollandaise Sauce

    Failproof Hollandaise Sauce

    • PREP
    • COOK
    • TOTAL

    Here’s our favorite recipe for hollandaise sauce. Using a blender and hot butter are the secrets for the best results. I prefer clarified butter, which does add a step, but clarifying butter removes the water and milk solids, which can cause your sauce to break. Also, it tastes more buttery and rich! For my favorite way to use this sauce, see our Homemade Eggs Benedict Recipe.

    Makes 3/4 cup

    You Will Need

    12 tablespoons unsalted butter (170g)

    3 large egg yolks, cold from the fridge

    1 ½ tablespoons warm water

    2 teaspoons fresh lemon juice, plus more to taste

    2 teaspoons white wine, optional

    ½ teaspoon fine sea salt

    ¼ teaspoon ground white pepper, plus more to taste, see tips

    Directions

    • Make Clarified Butter
    • 1Melt the butter: Place the butter in a small saucepan to melt, then bring the melted butter to a gentle simmer and cook for 2 to 3 minutes, until a foamy layer forms on top and the butter underneath appears clear and golden.

      2Remove foamy layer: Use a spoon to skim all the foam from the top, and discard it. Set the saucepan of butter aside until you are ready to make your hollandaise sauce.

    • Blender Hollandaise (Preferred Method)
    • 1Blend the eggs: Add the egg yolks, water, lemon juice, white wine, salt, and white pepper to a blender. Pulse for about 5 seconds to combine.

      2Re-heat the butter: Place the saucepan of butter over low heat and heat until steamy, about 30 seconds. Your butter needs to be hot for the sauce to thicken.

      3Emulsify the sauce: With the blender running, remove the center insert from the lid. Slowly and steadily pour the hot clarified butter through the opening, stopping just before any milky white milk solids fall in from the bottom of the saucepan. The sauce will thicken and emulsify. If the sauce gets too thick at any point, whisk in a tablespoon of warm water to thin it.

      4Season and serve: Taste and adjust with more salt, pepper, or lemon juice as needed. Serve immediately or keep the blender jar in a bowl of warm water. If serving at the table, and it starts to thicken too much, stir in a little warm water to thin it back out to a creamy sauce.

    • Classic Hollandaise Made by Hand
    • 1Set up your double boiler: Fill a small saucepan with about an inch of water and bring it to a gentle simmer. Place a heat-proof bowl on top, making sure the bottom of the bowl does not touch the water.

      2Re-heat the butter: Heat the clarified butter in a small saucepan until it is hot.

      3Whisk the yolks: Add your egg yolks, water, lemon juice, and white wine to the bowl and whisk them constantly. Keep a close eye on them. If they get too hot, lift the bowl off the heat to prevent them from scrambling, then set it back down once they’ve cooled off. The yolks will go from a liquid to frothy, and then they will start to thicken.

      4Slowly add the butter: Once the yolks have thickened a bit, SLOWLY drizzle in the hot, melted butter. It’s crucial to add it a little at a time to prevent the sauce from “breaking.” Whisk continuously to incorporate the butter as you add it.

      5Adjust and finish: If the sauce gets too thick at any point, whisk in a tablespoon of warm water to thin it. Once all the butter is incorporated, season the hollandaise with salt and white pepper.

    Adam and Joanne’s Tips

    • Storing: Hollandaise is best enjoyed right away. You can keep it in an airtight container in the refrigerator for up to 3 days, but you need to take care when reheating it as it is easy to break (butter separates).
    • Reheating hollandaise: I do not recommend a microwave and prefer to reheat on the stove. Pour your sauce into a saucepan over low heat. Add a little bit of melted butter and a tablespoon of warm water. Whisk it as it warms up so it turns into a smooth, creamy sauce. Adding more warm water if it is too thick.
    • Clarified butter vs. melted butter: You can use plain melted butter in this recipe. Clarified butter is an extra fail-safe to prevent the sauce from breaking, AND it tastes richer and buttery. The sauce is still lovely when made with plain butter, though.
    • Pepper: White pepper fades into the sauce and is a bit more delicate, but you can use black pepper or for heat, cayenne.
    • The nutrition facts provided are estimates.

    Nutrition Per Serving
    Serving Size
    1 tablespoon
    /
    Calories
    87
    /
    Total Fat
    9.5g
    /
    Saturated Fat
    5.7g
    /
    Cholesterol
    57.4mg
    /
    Sodium
    111.7mg
    /
    Carbohydrate
    0.2g
    /
    Dietary Fiber
    0g
    /
    Total Sugars
    0g
    /
    Protein
    0.6g


    AUTHOR:

    Joanne Gallagher

    Adam and Joanne of Inspired Taste

    We are Adam and Joanne Gallagher, the creators of Inspired Taste. Established in 2009, Inspired Taste grew from a childhood dream into one of the internet’s most trusted recipe sites with hundreds of reliable recipes, step-by-step videos, and expert tips.More About Us

    Source link

  • Easy Balsamic Chicken Marinade for Grilling or Baking

    Easy Balsamic Chicken Marinade for Grilling or Baking

    This website may contain affiliate links and advertising so that we can provide recipes to you. Read my disclosure policy.

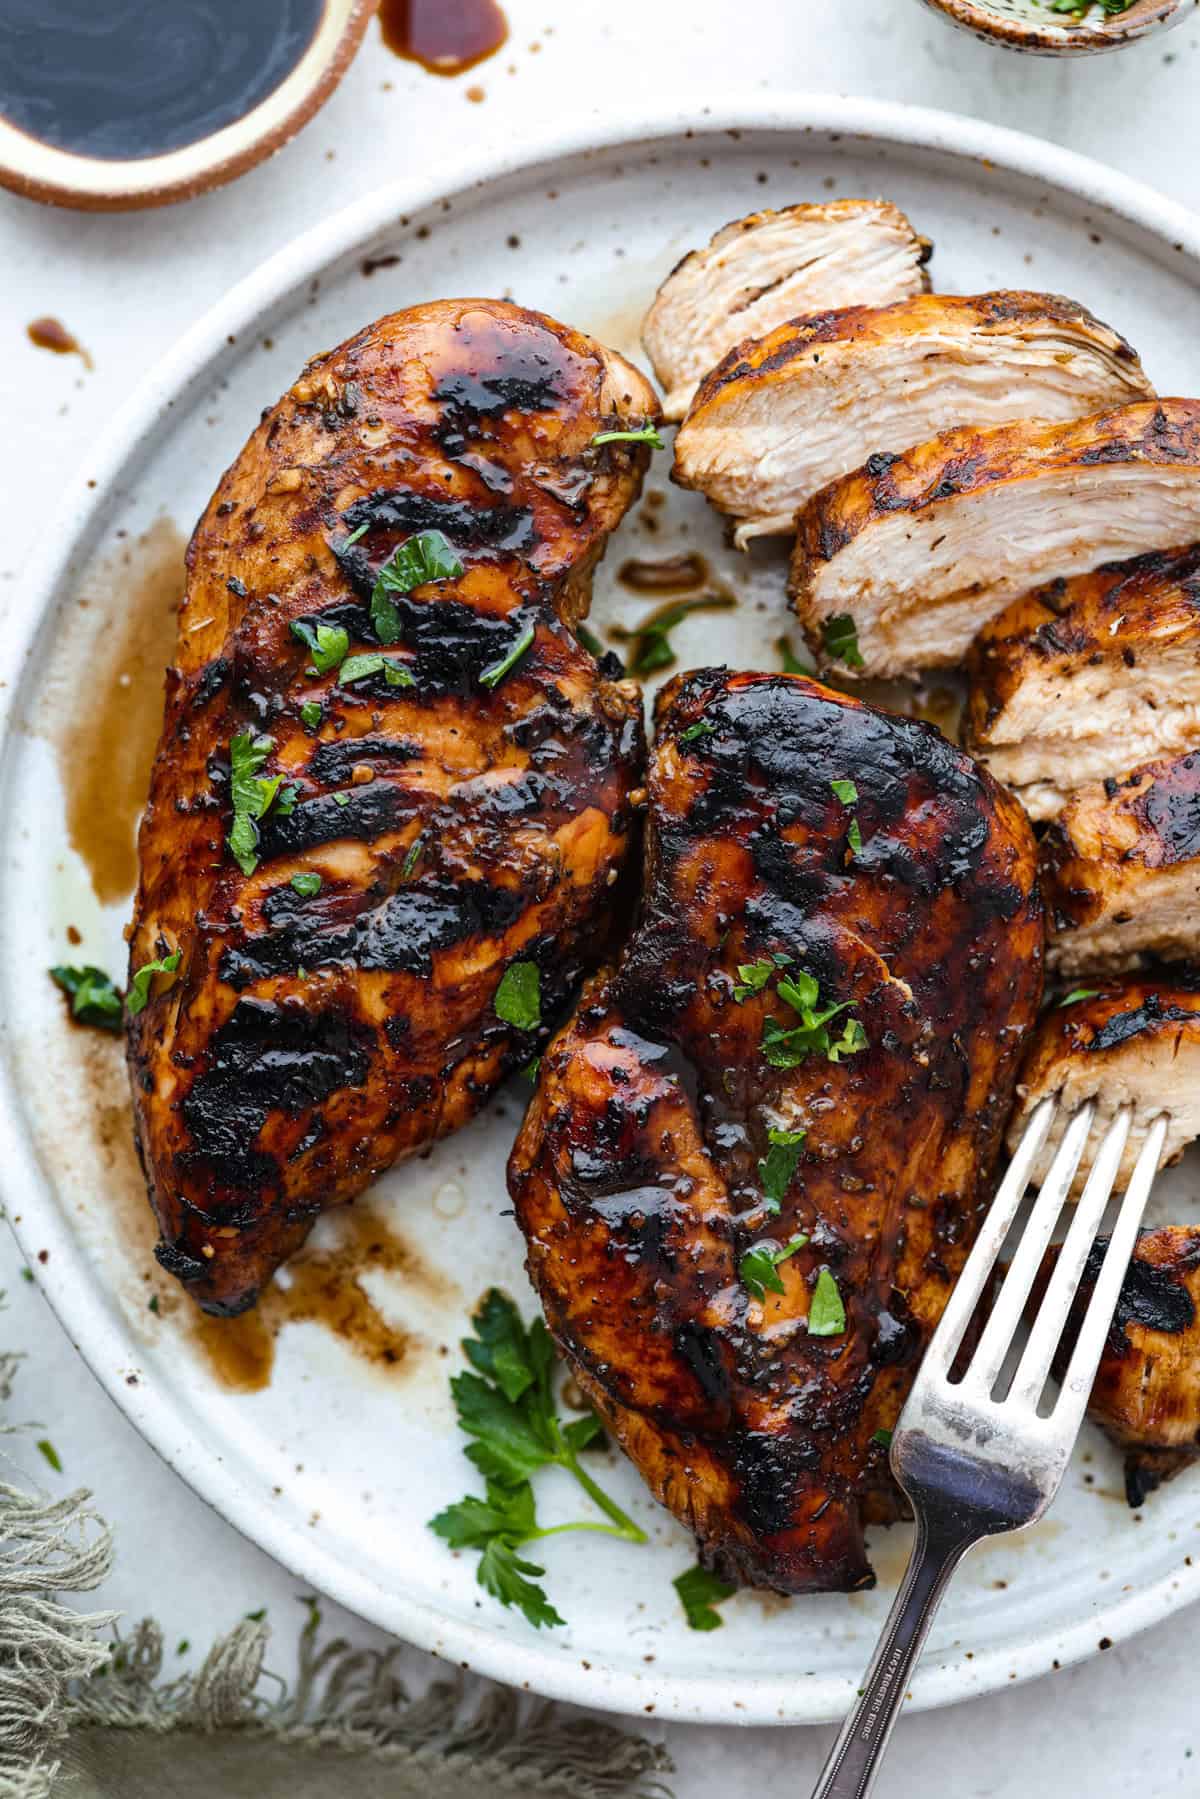
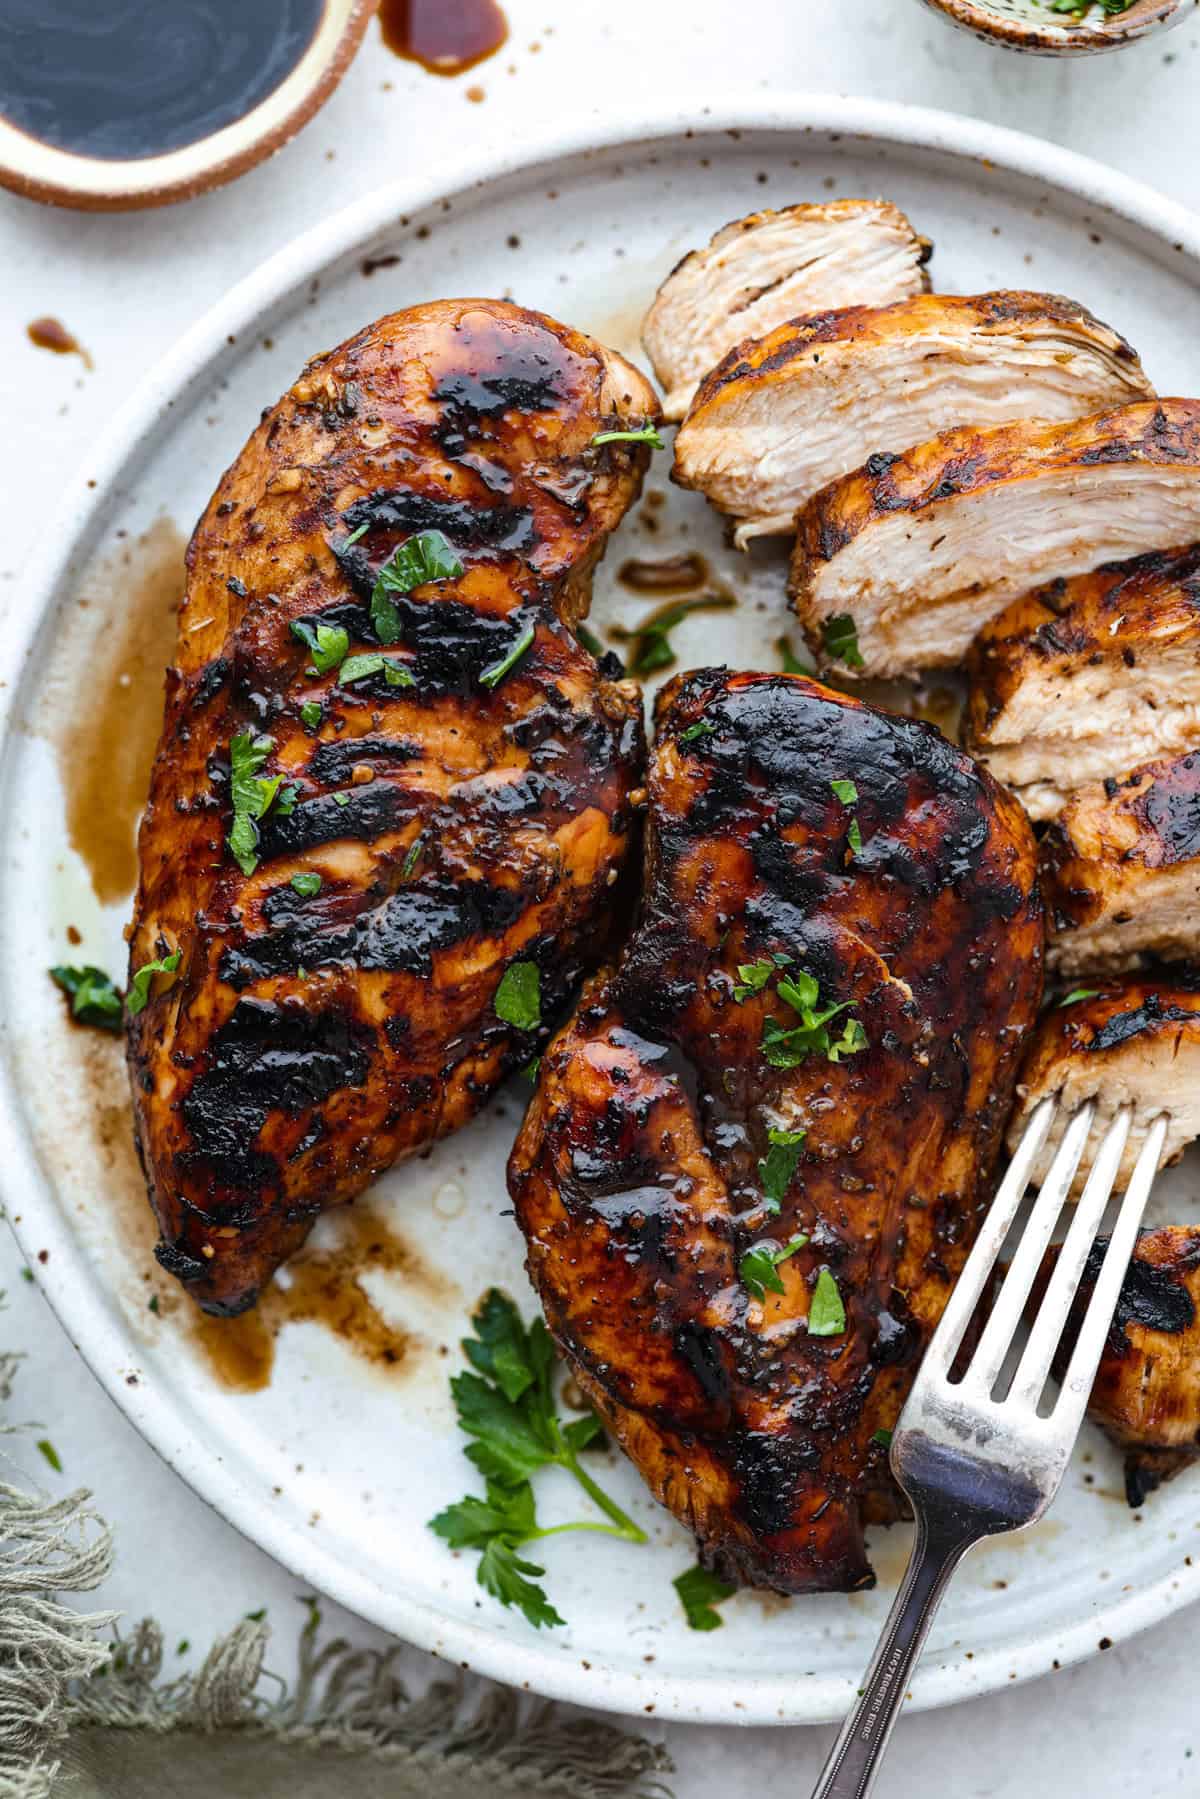
    I’ve been on a balsamic kick lately. Drizzling it on salads, veggies, and even watermelon! But this Balsamic Chicken marinade is pure magic. It’s tangy, a little sweet, and makes everyday chicken taste incredible!

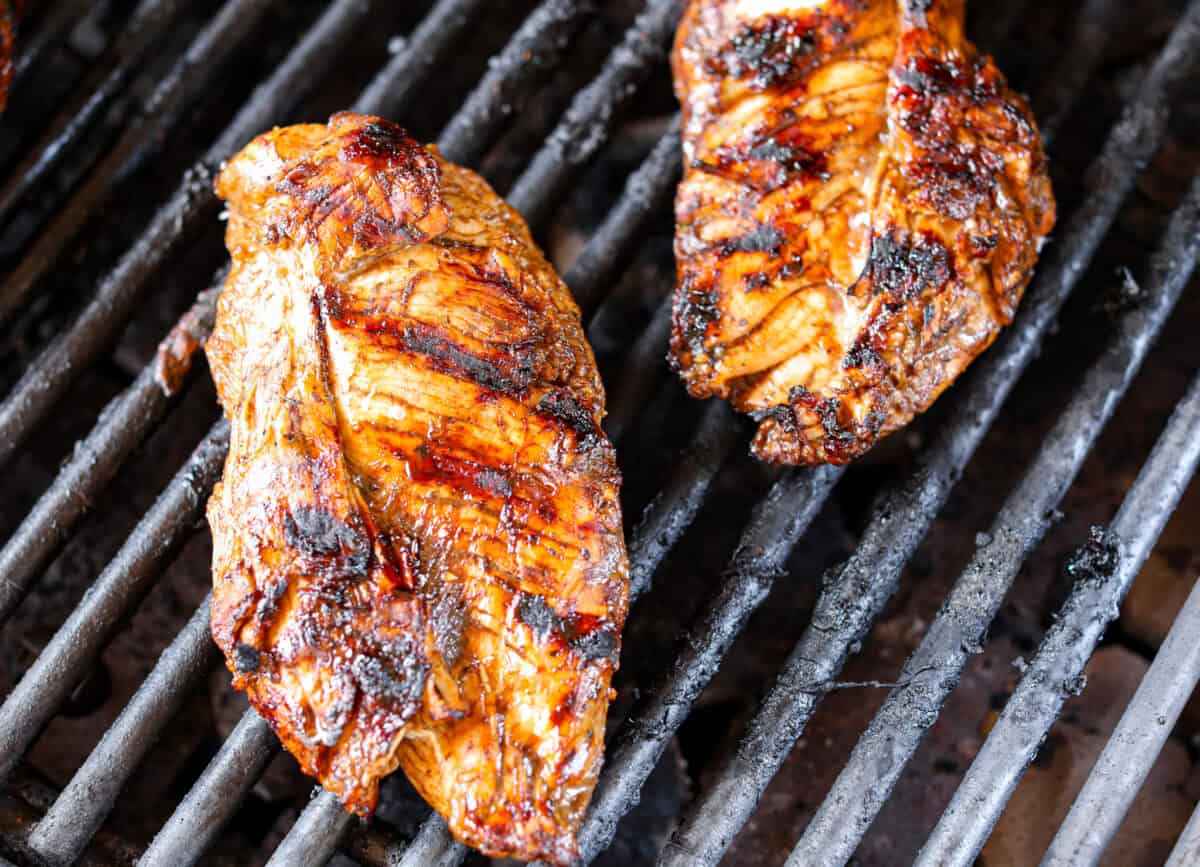
    Overhead shot of grilled chicken that was cooked in balsamic chicken marinade.Overhead shot of grilled chicken that was cooked in balsamic chicken marinade.

    Marinade Magic

    • Big Taste, Easy Prep: Balsamic chicken marinade packs bold, tangy flavor using just a few pantry staples.
    • Great for Meal Prep: Marinate ahead of time and then cook when you want. Perfect for quick weeknight meals or weekend grilling.
    • Cook Your Way: Grill it, pan-sear it, or roast it, this marinade performs like a champ no matter how you cook it up.
    • Pairs with Everything: Serve your balsamic chicken on salads, with veggies, rice, or pasta. It’s a tasty go-to for any meal!

    Balsamic Chicken Marinade Ingredients

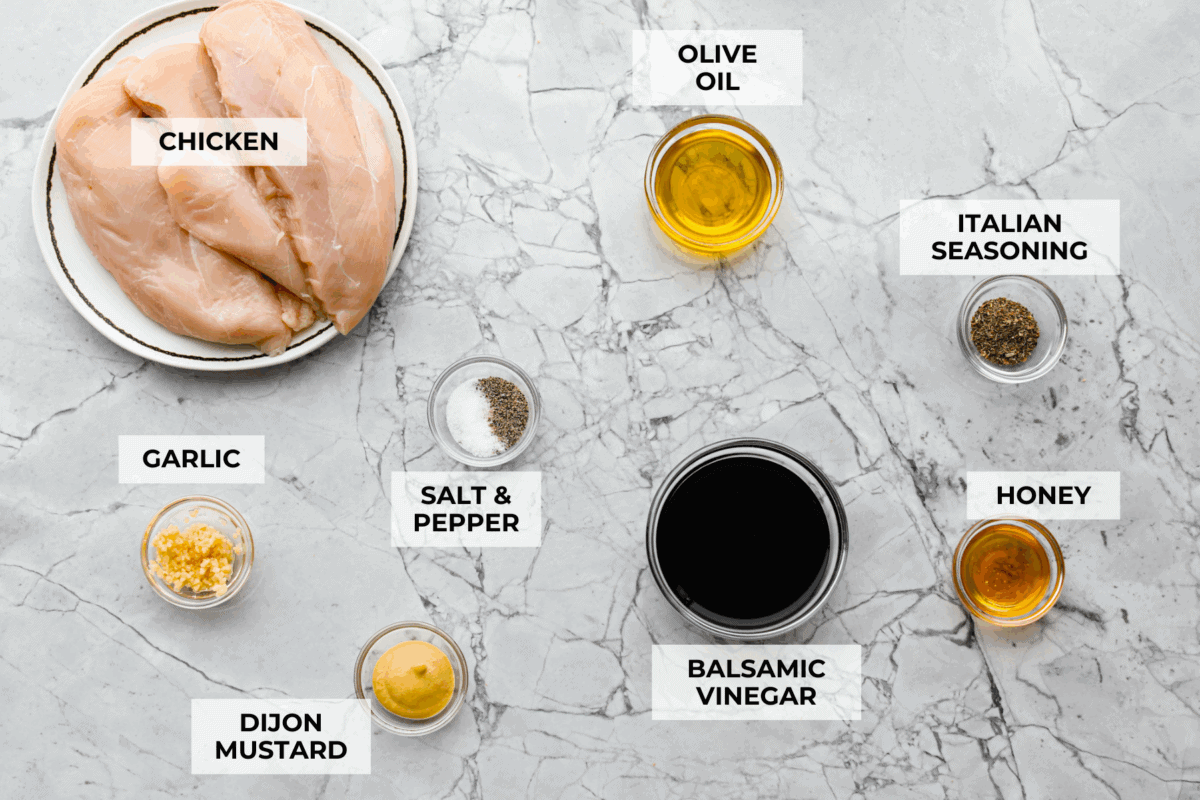
    Overhead shot of labeled ingredients.Overhead shot of labeled ingredients.
    • For sweetness: If you prefer brown sugar, it swaps in easily for the honey. Want it sweeter? Then add a tablespoon or two more of honey.
    • Add fresh herbs: Not into Italian seasoning? Skip it and toss in some chopped fresh herbs instead, about a teaspoon each. Rosemary, thyme, and oregano all play really well with balsamic.
    • Balsamic vinegar: No need to splurge here, affordable balsamic works perfectly since it gets mixed in. Save the fancy stuff for a drizzle on top when serving.

    How to Make Balsamic Chicken Marinade

    This easy balsamic chicken marinade takes 5 minutes to prepare! Just whisk the ingredients together and pour them into a large zip-top bag with your chicken!

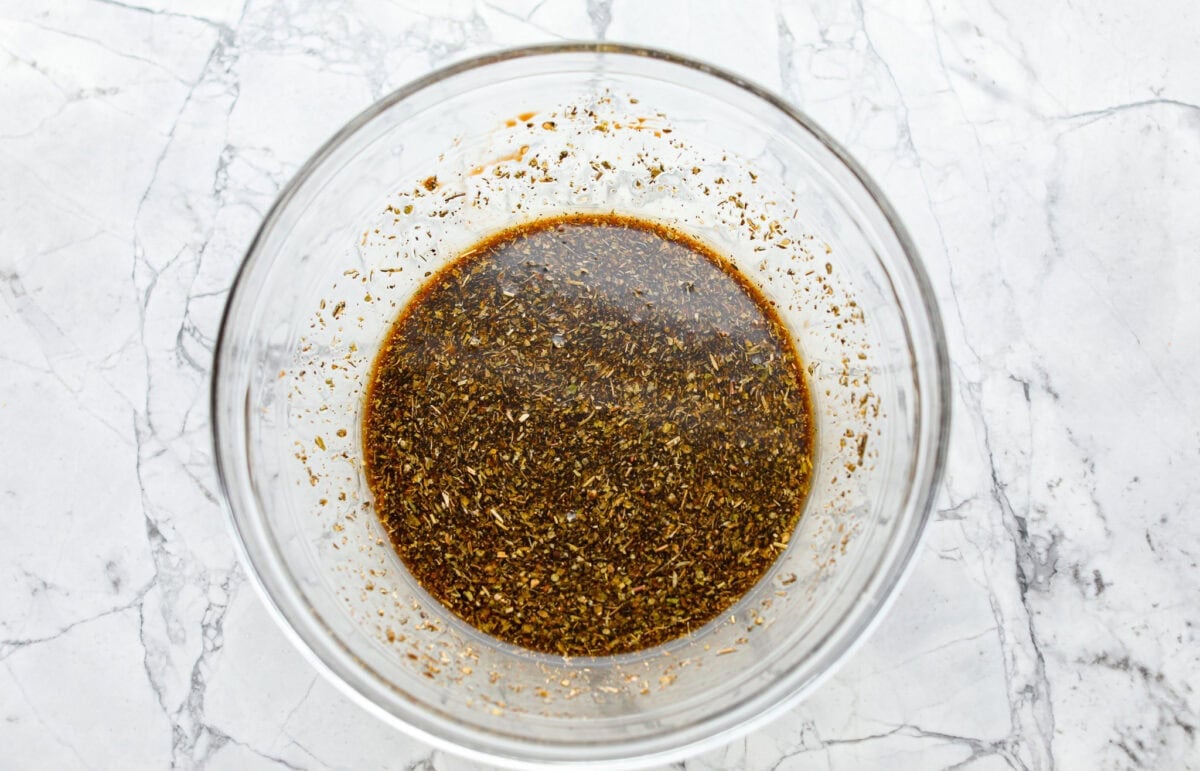
    1. Combine: Add the chicken breasts to a gallon ziplock bag, then set aside. Add the balsamic vinegar, olive oil, honey, garlic, mustard, Italian seasoning, salt, and pepper to a medium bowl, mix until fully combined.
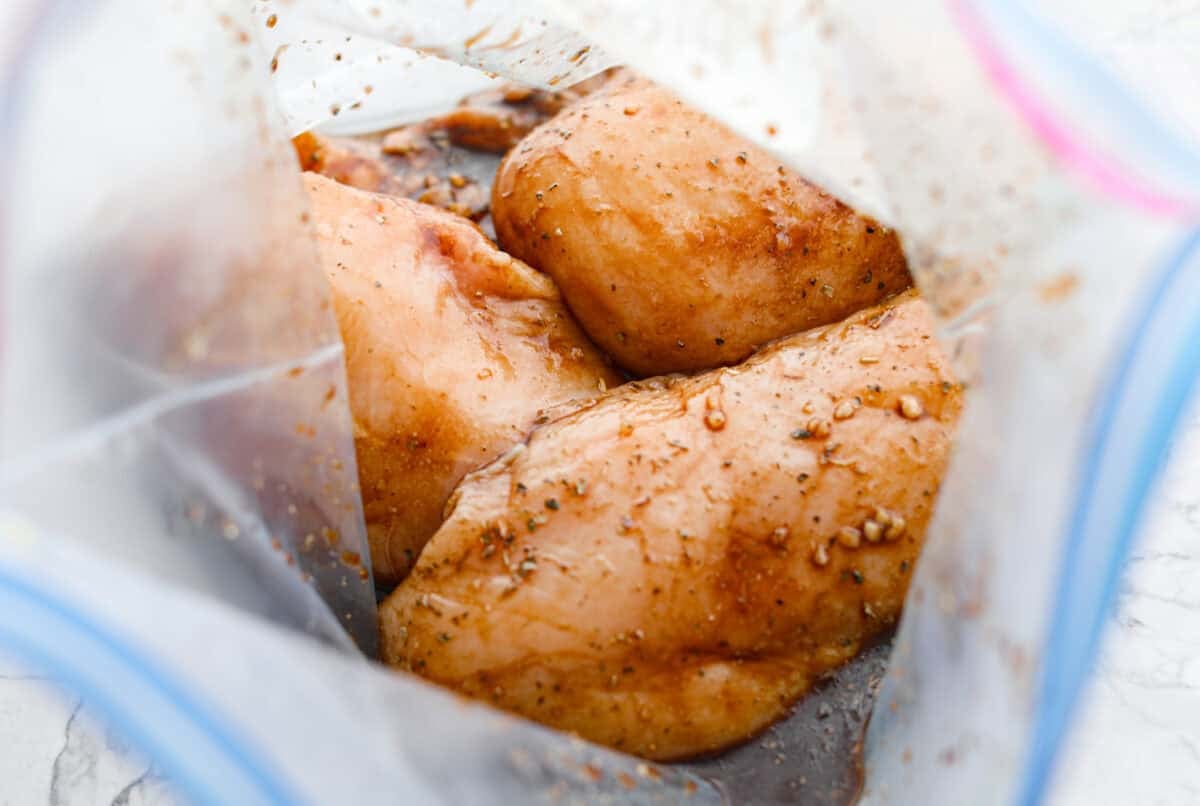
    2. Marinate: Pour the marinade over the chicken in the bag and close it. Be sure to press out all the air from the bag. Squish the chicken around to ensure all of it is covered with the marinade. Set it aside to marinate at room temperature for 1-1 ½ hours, or in the fridge for up to 8 hours. *Tip: Don’t marinate too long. If you do it over 8 hours (or 2 at room temp), the vinegar can make it mushy.
    3. Cook: Once finished marinating, discard the sauce and cook the chicken using your preferred cooking method. *Cooking instructions in recipe card below.

    Alyssa’s Pro Tip

    Doubling Up? If you’re marinating more than 2 pounds of chicken, go ahead and double the recipe. Every piece of chicken deserves its fair share of balsamic chicken marinade flavor.

    Freezing and Storing Cooked Chicken

    • Freezing: If you’re freezing the chicken in the balsamic chicken marinade, it’ll keep for up to 3 months. Just thaw it overnight in the fridge before cooking.
    • Storing Cooked Chicken: Once cooked, you can then store the chicken in the fridge for up to 7 days, or freeze it in an airtight container for up to 3 months. 

    Pin this now to find it later

    Pin It

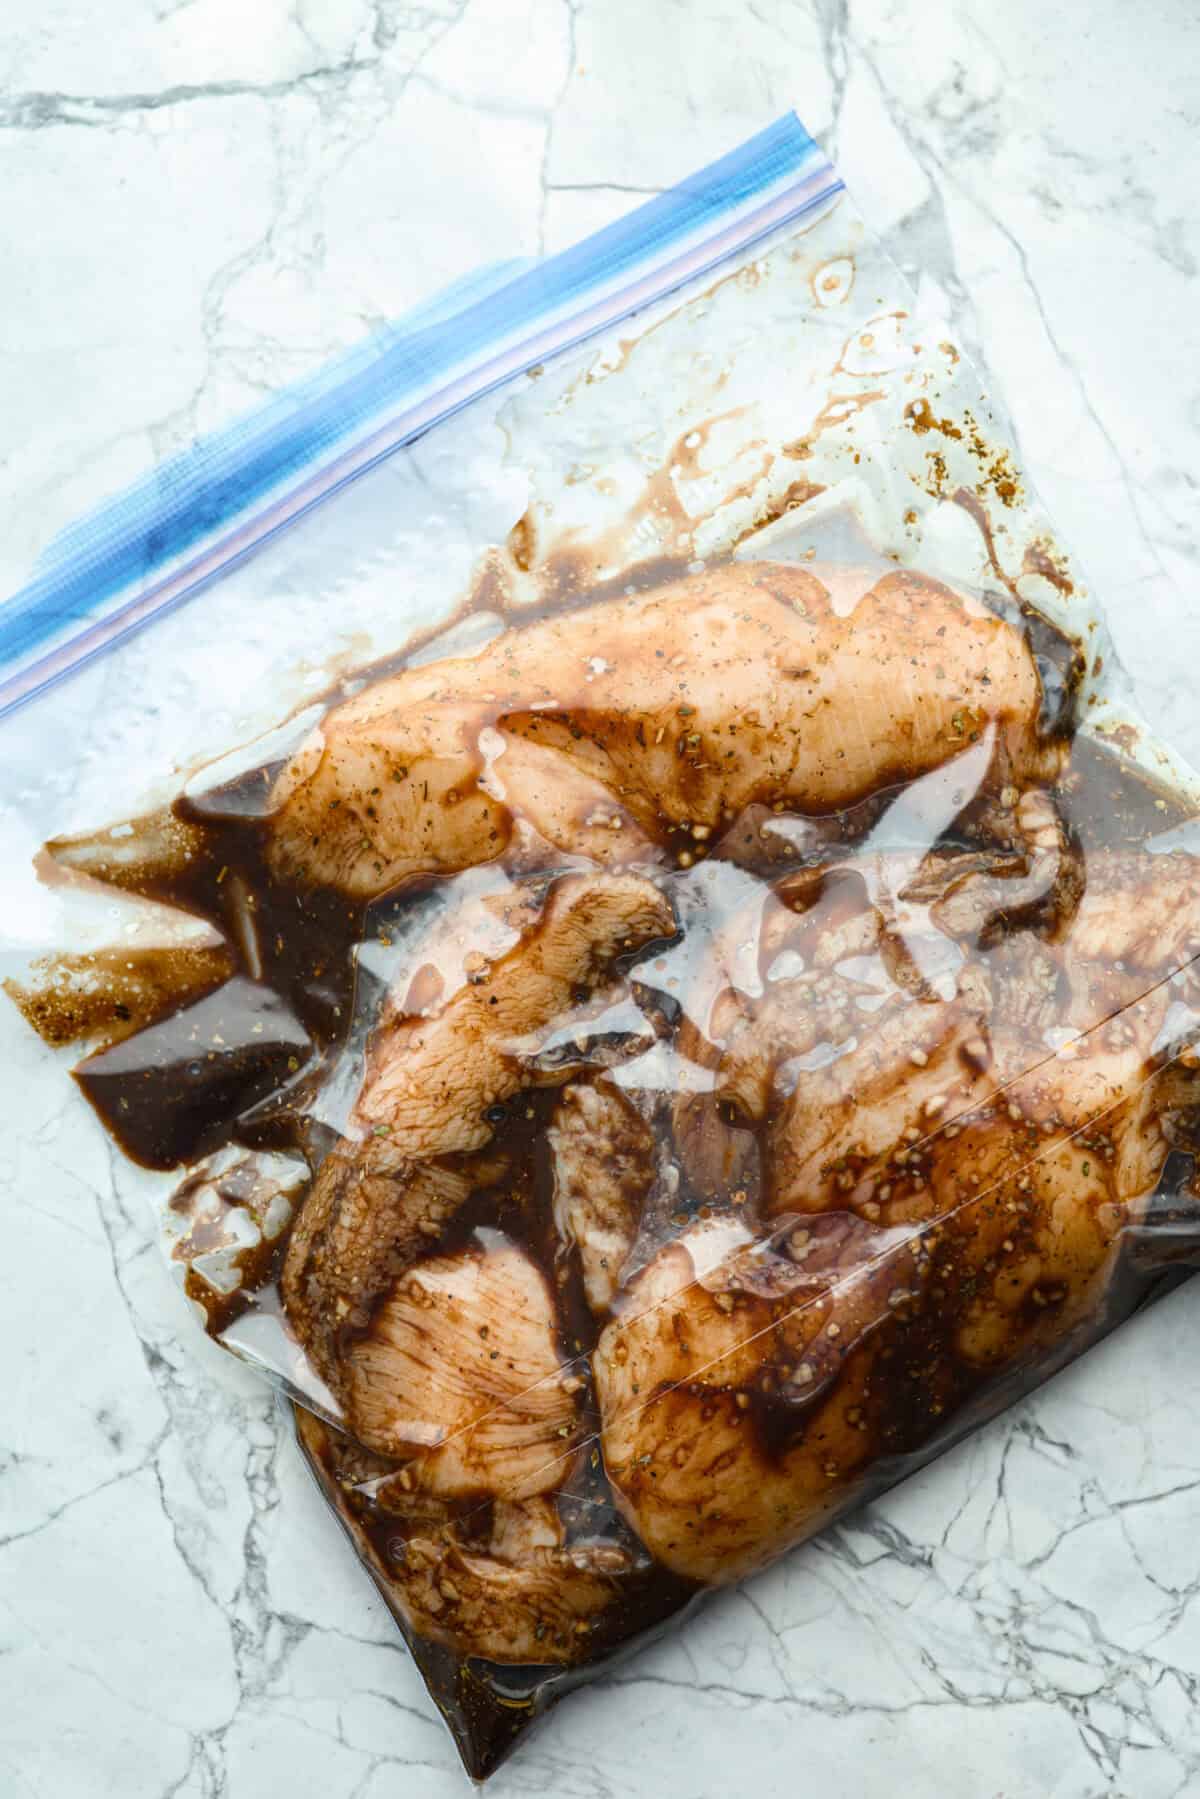
    Bag of raw chicken in the balsamic chicken marinade. Bag of raw chicken in the balsamic chicken marinade.

    More Marinade Recipes

    A good marinade can turn a simple meal into something amazing! It adds flavor, softens the meat, and makes it juicy and delicious. Here are some other tried and true favorites!

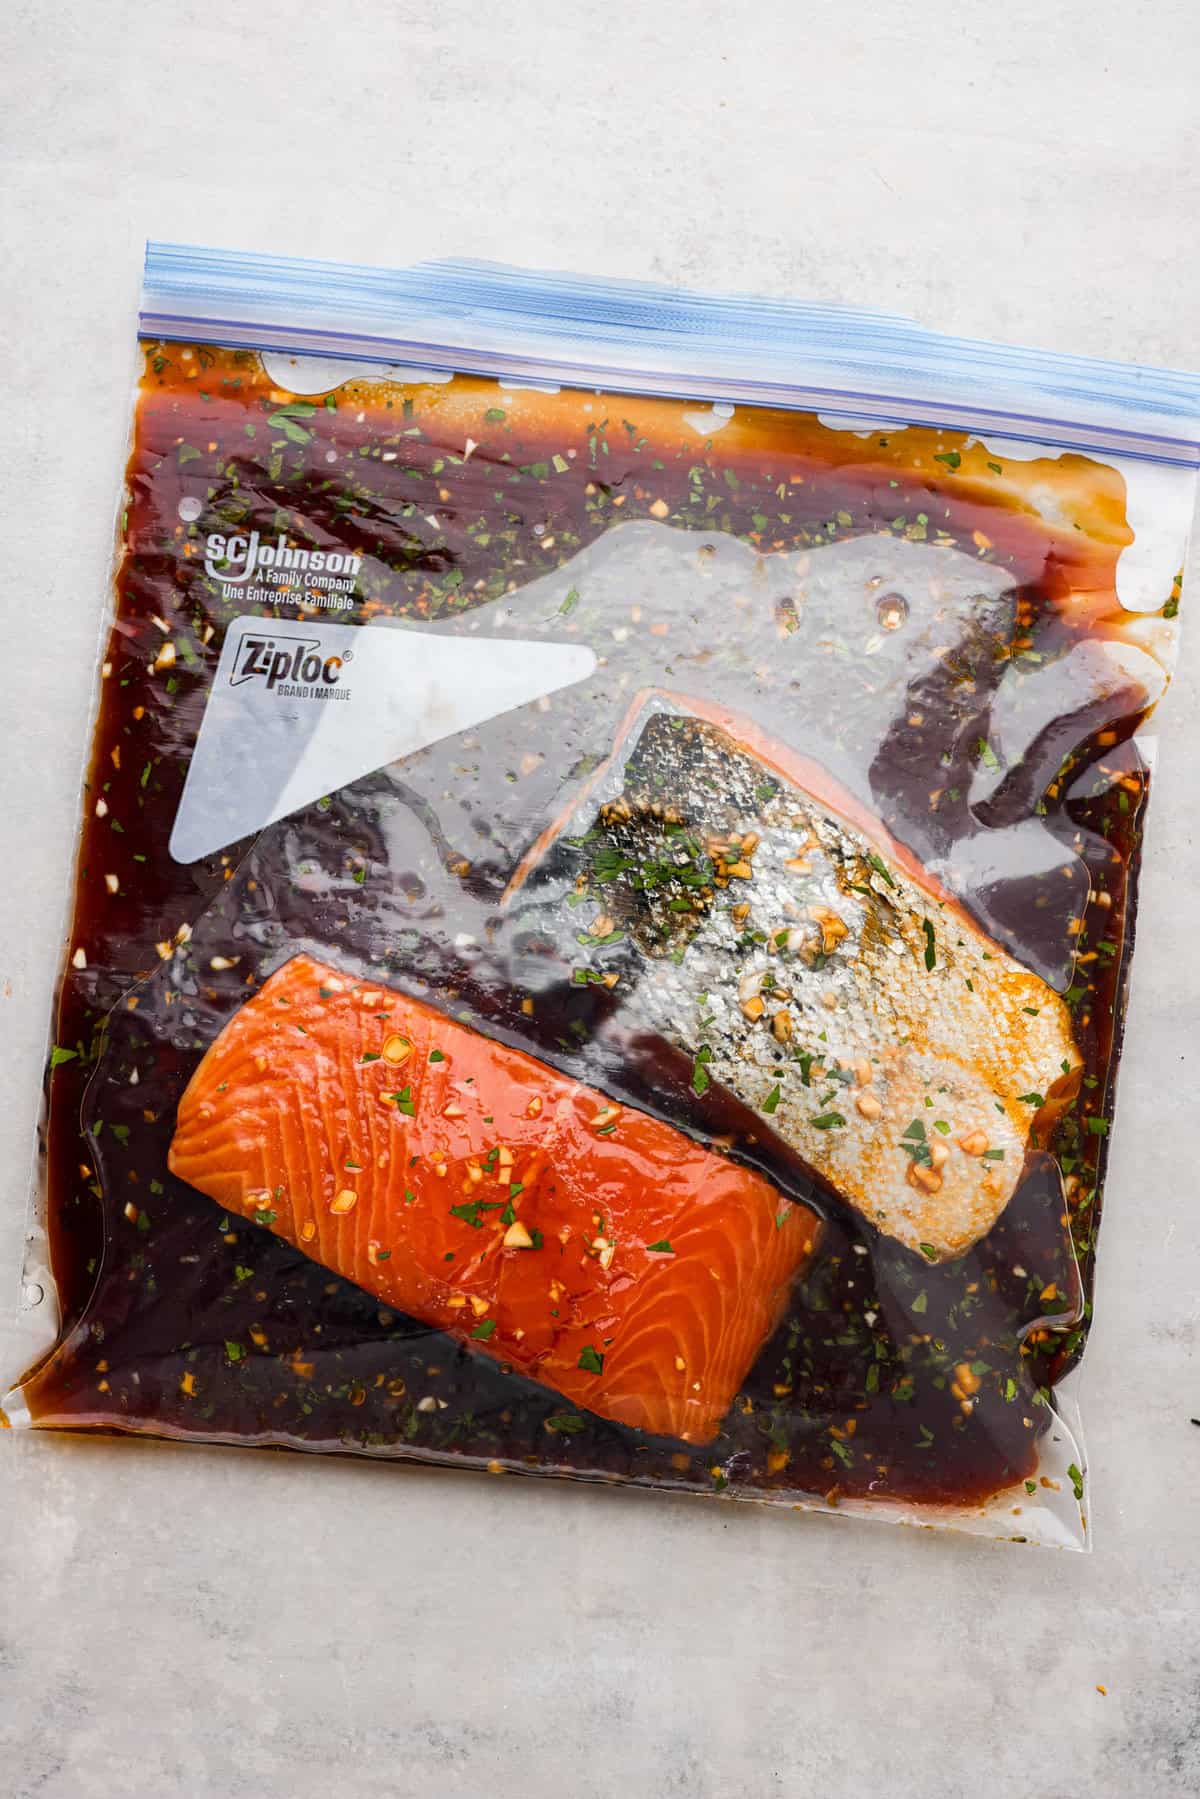
    Salmon Marinade

    32 minutes

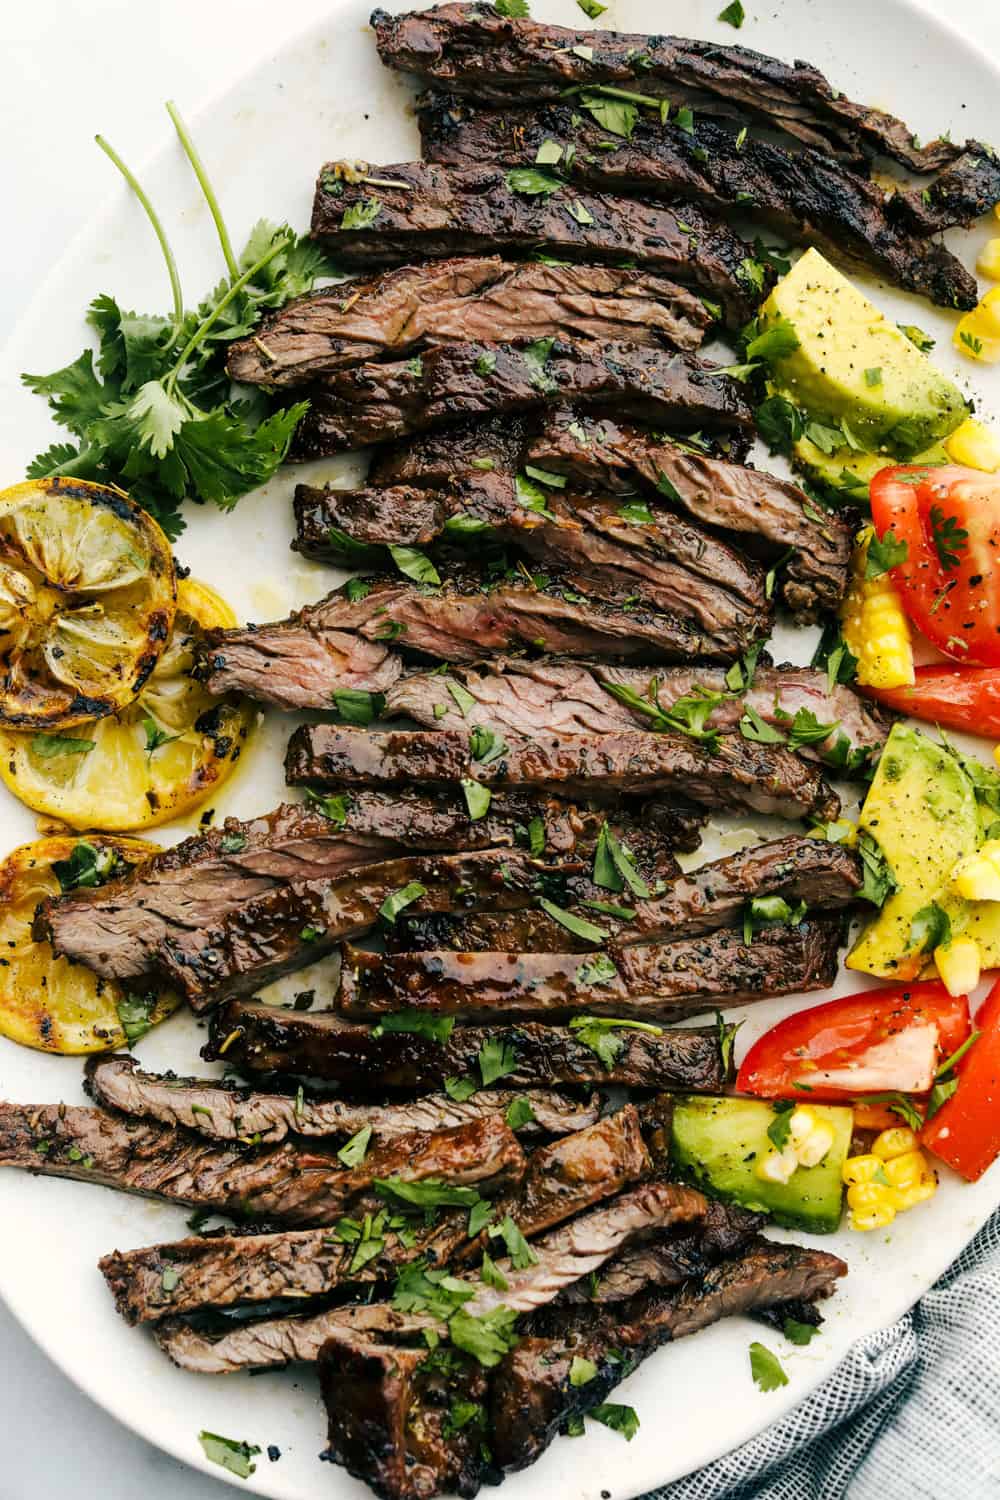
    Skirt Steak Marinade

    2 hours 10 minutes

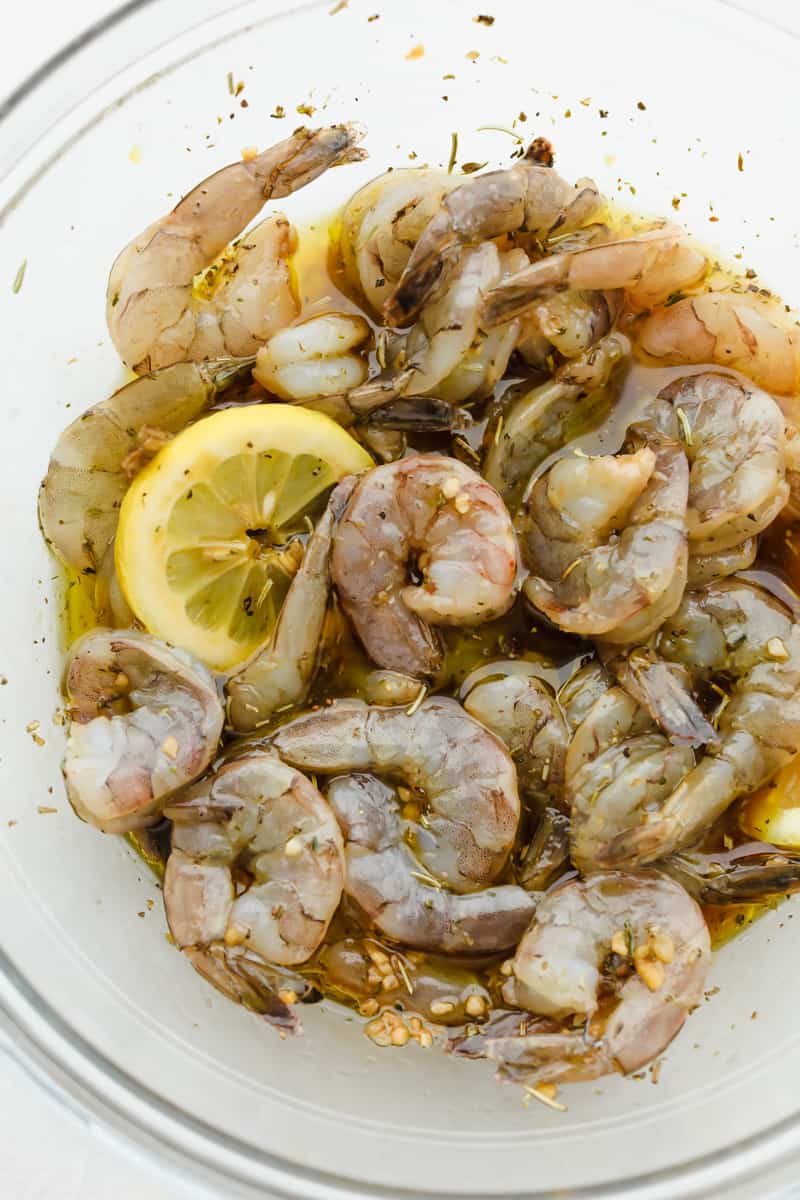
    The Best Shrimp Marinade

    1 hour 5 minutes

    Pork Chop Marinade

    5 minutes


    Source link